Behind the Pretty Frames: Diablo IV
- Introduction
- Configs
- Behind the Frame
- D3D12
- Compute
- Frame
- Prepare Resources
- Skining [Compute]
- Minimap/Navmesh from Distance Fields
- Terrain Stamper (Snow/Mud) [Not Always]
- Terrain Base
- Blurring Terrain Rendertarget
- Water/Wetness Stamper [Not Always]
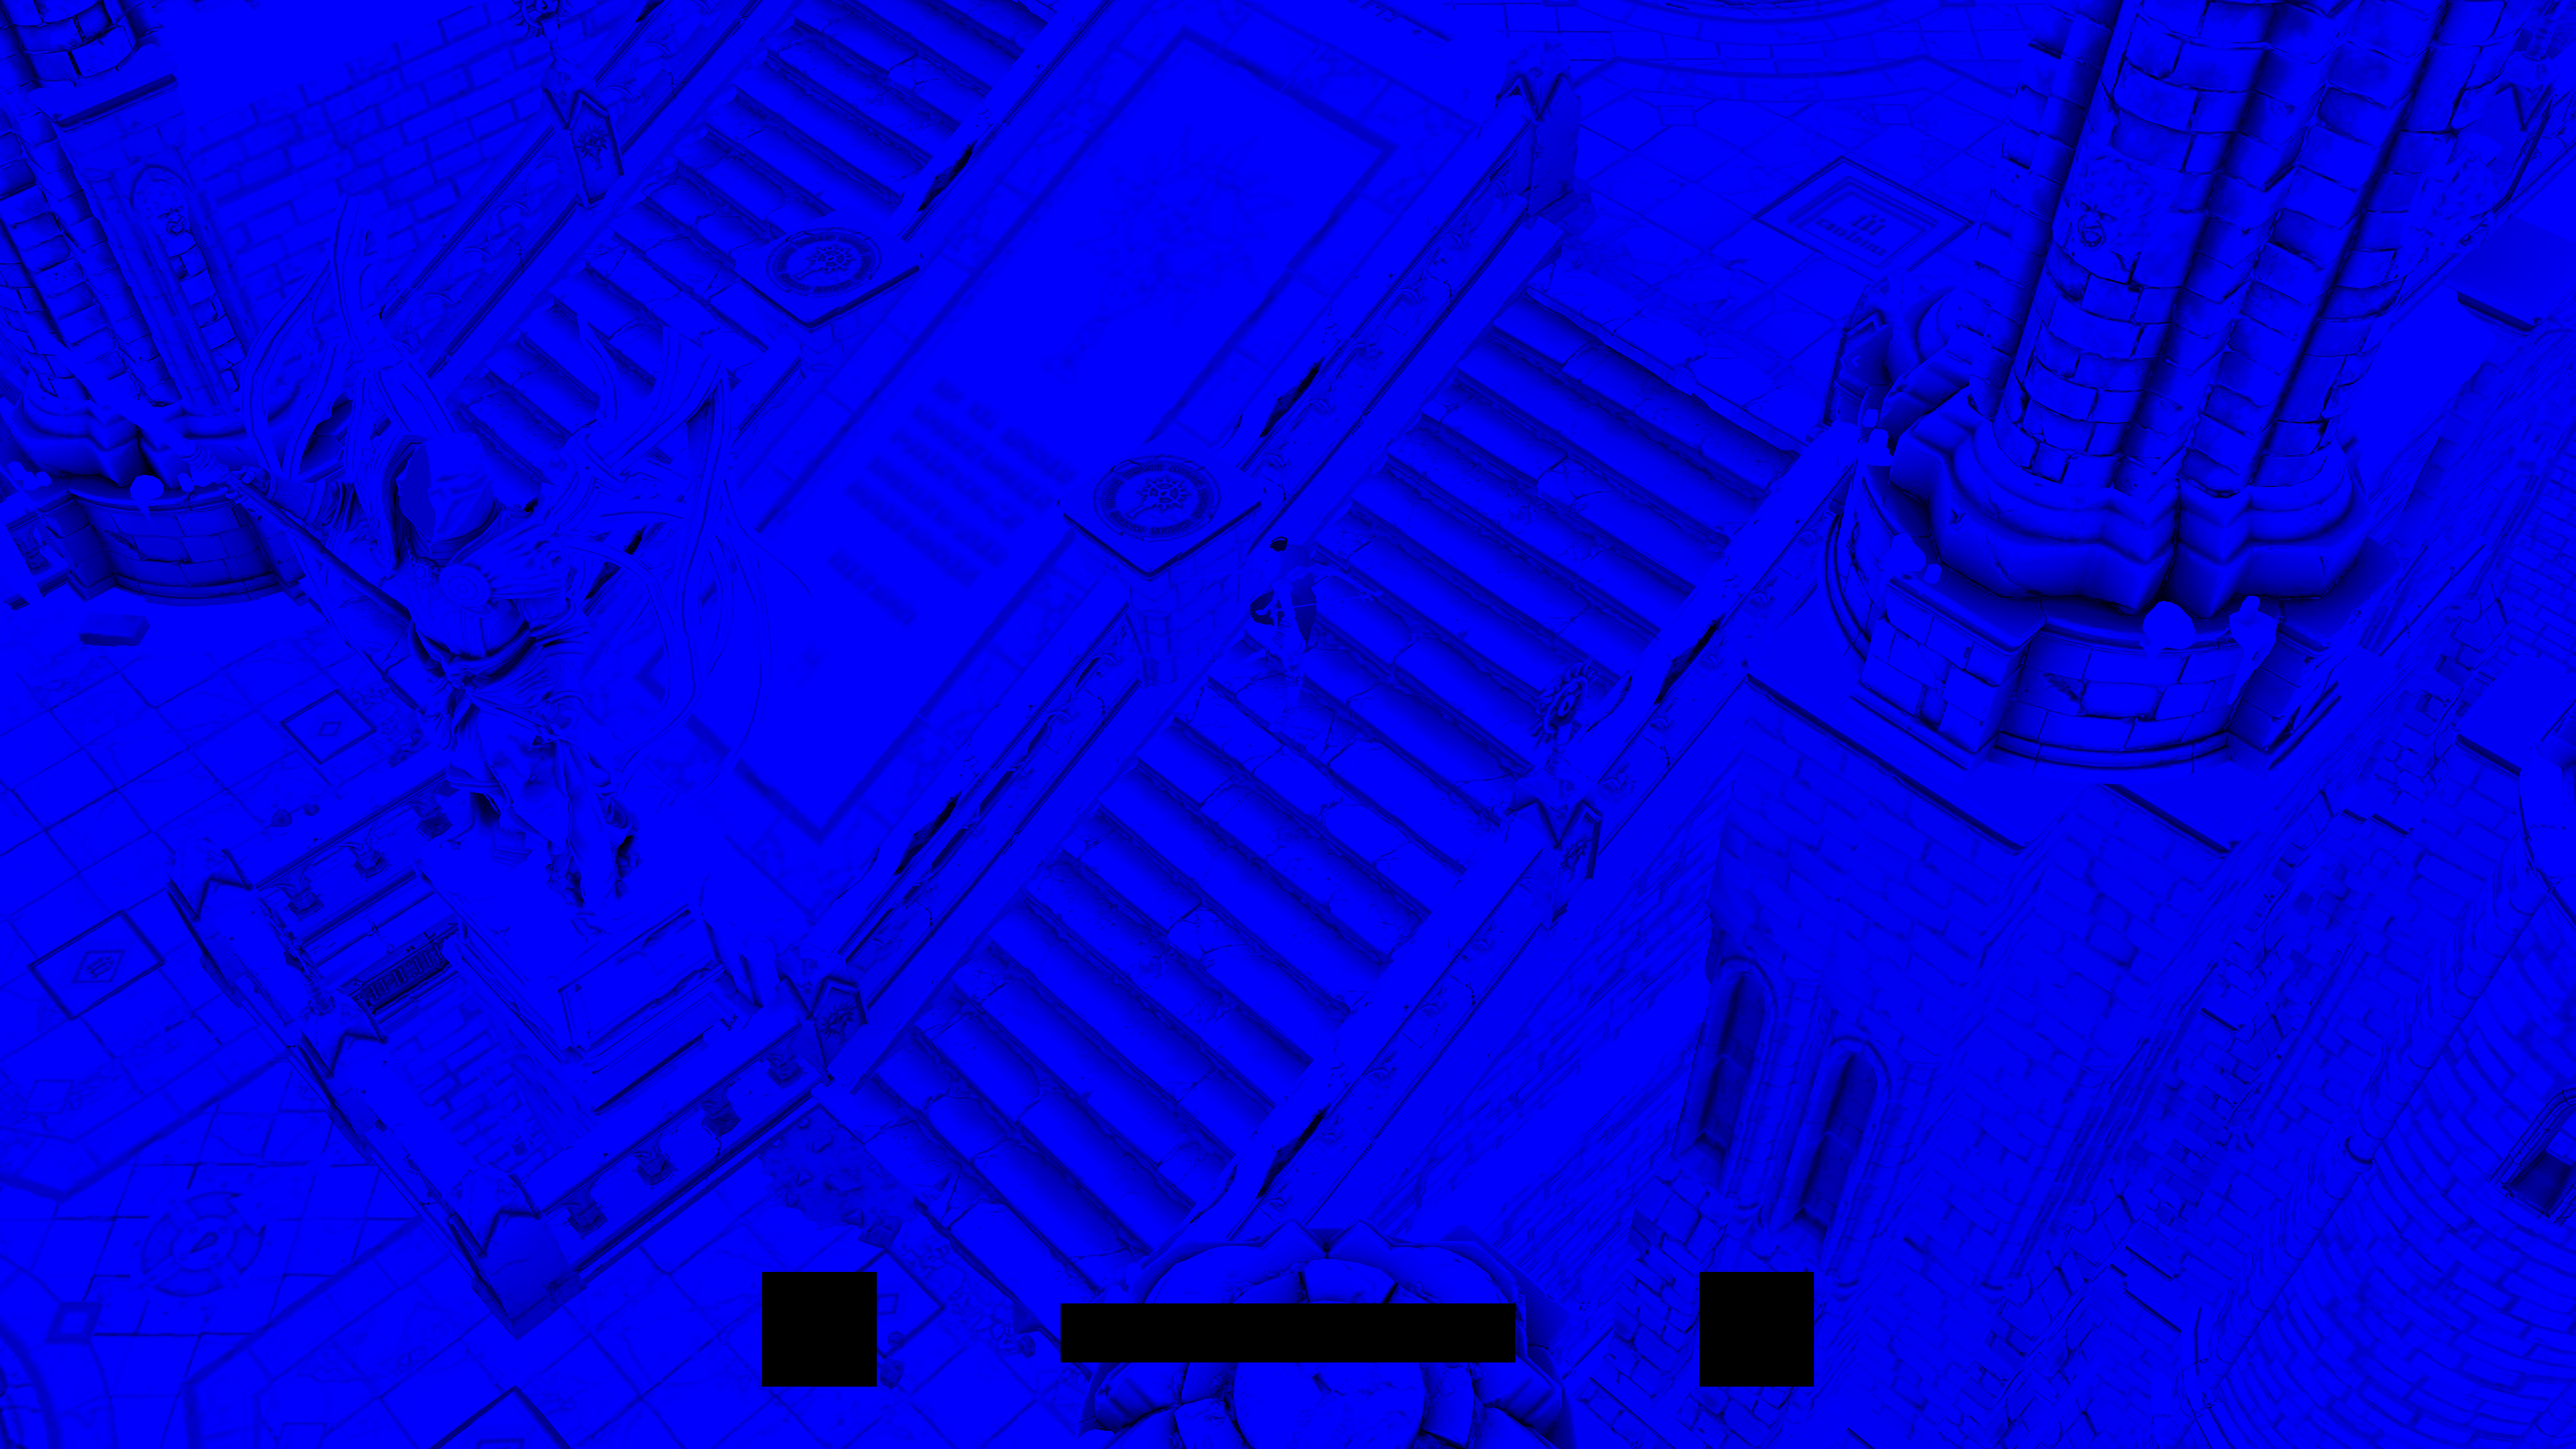
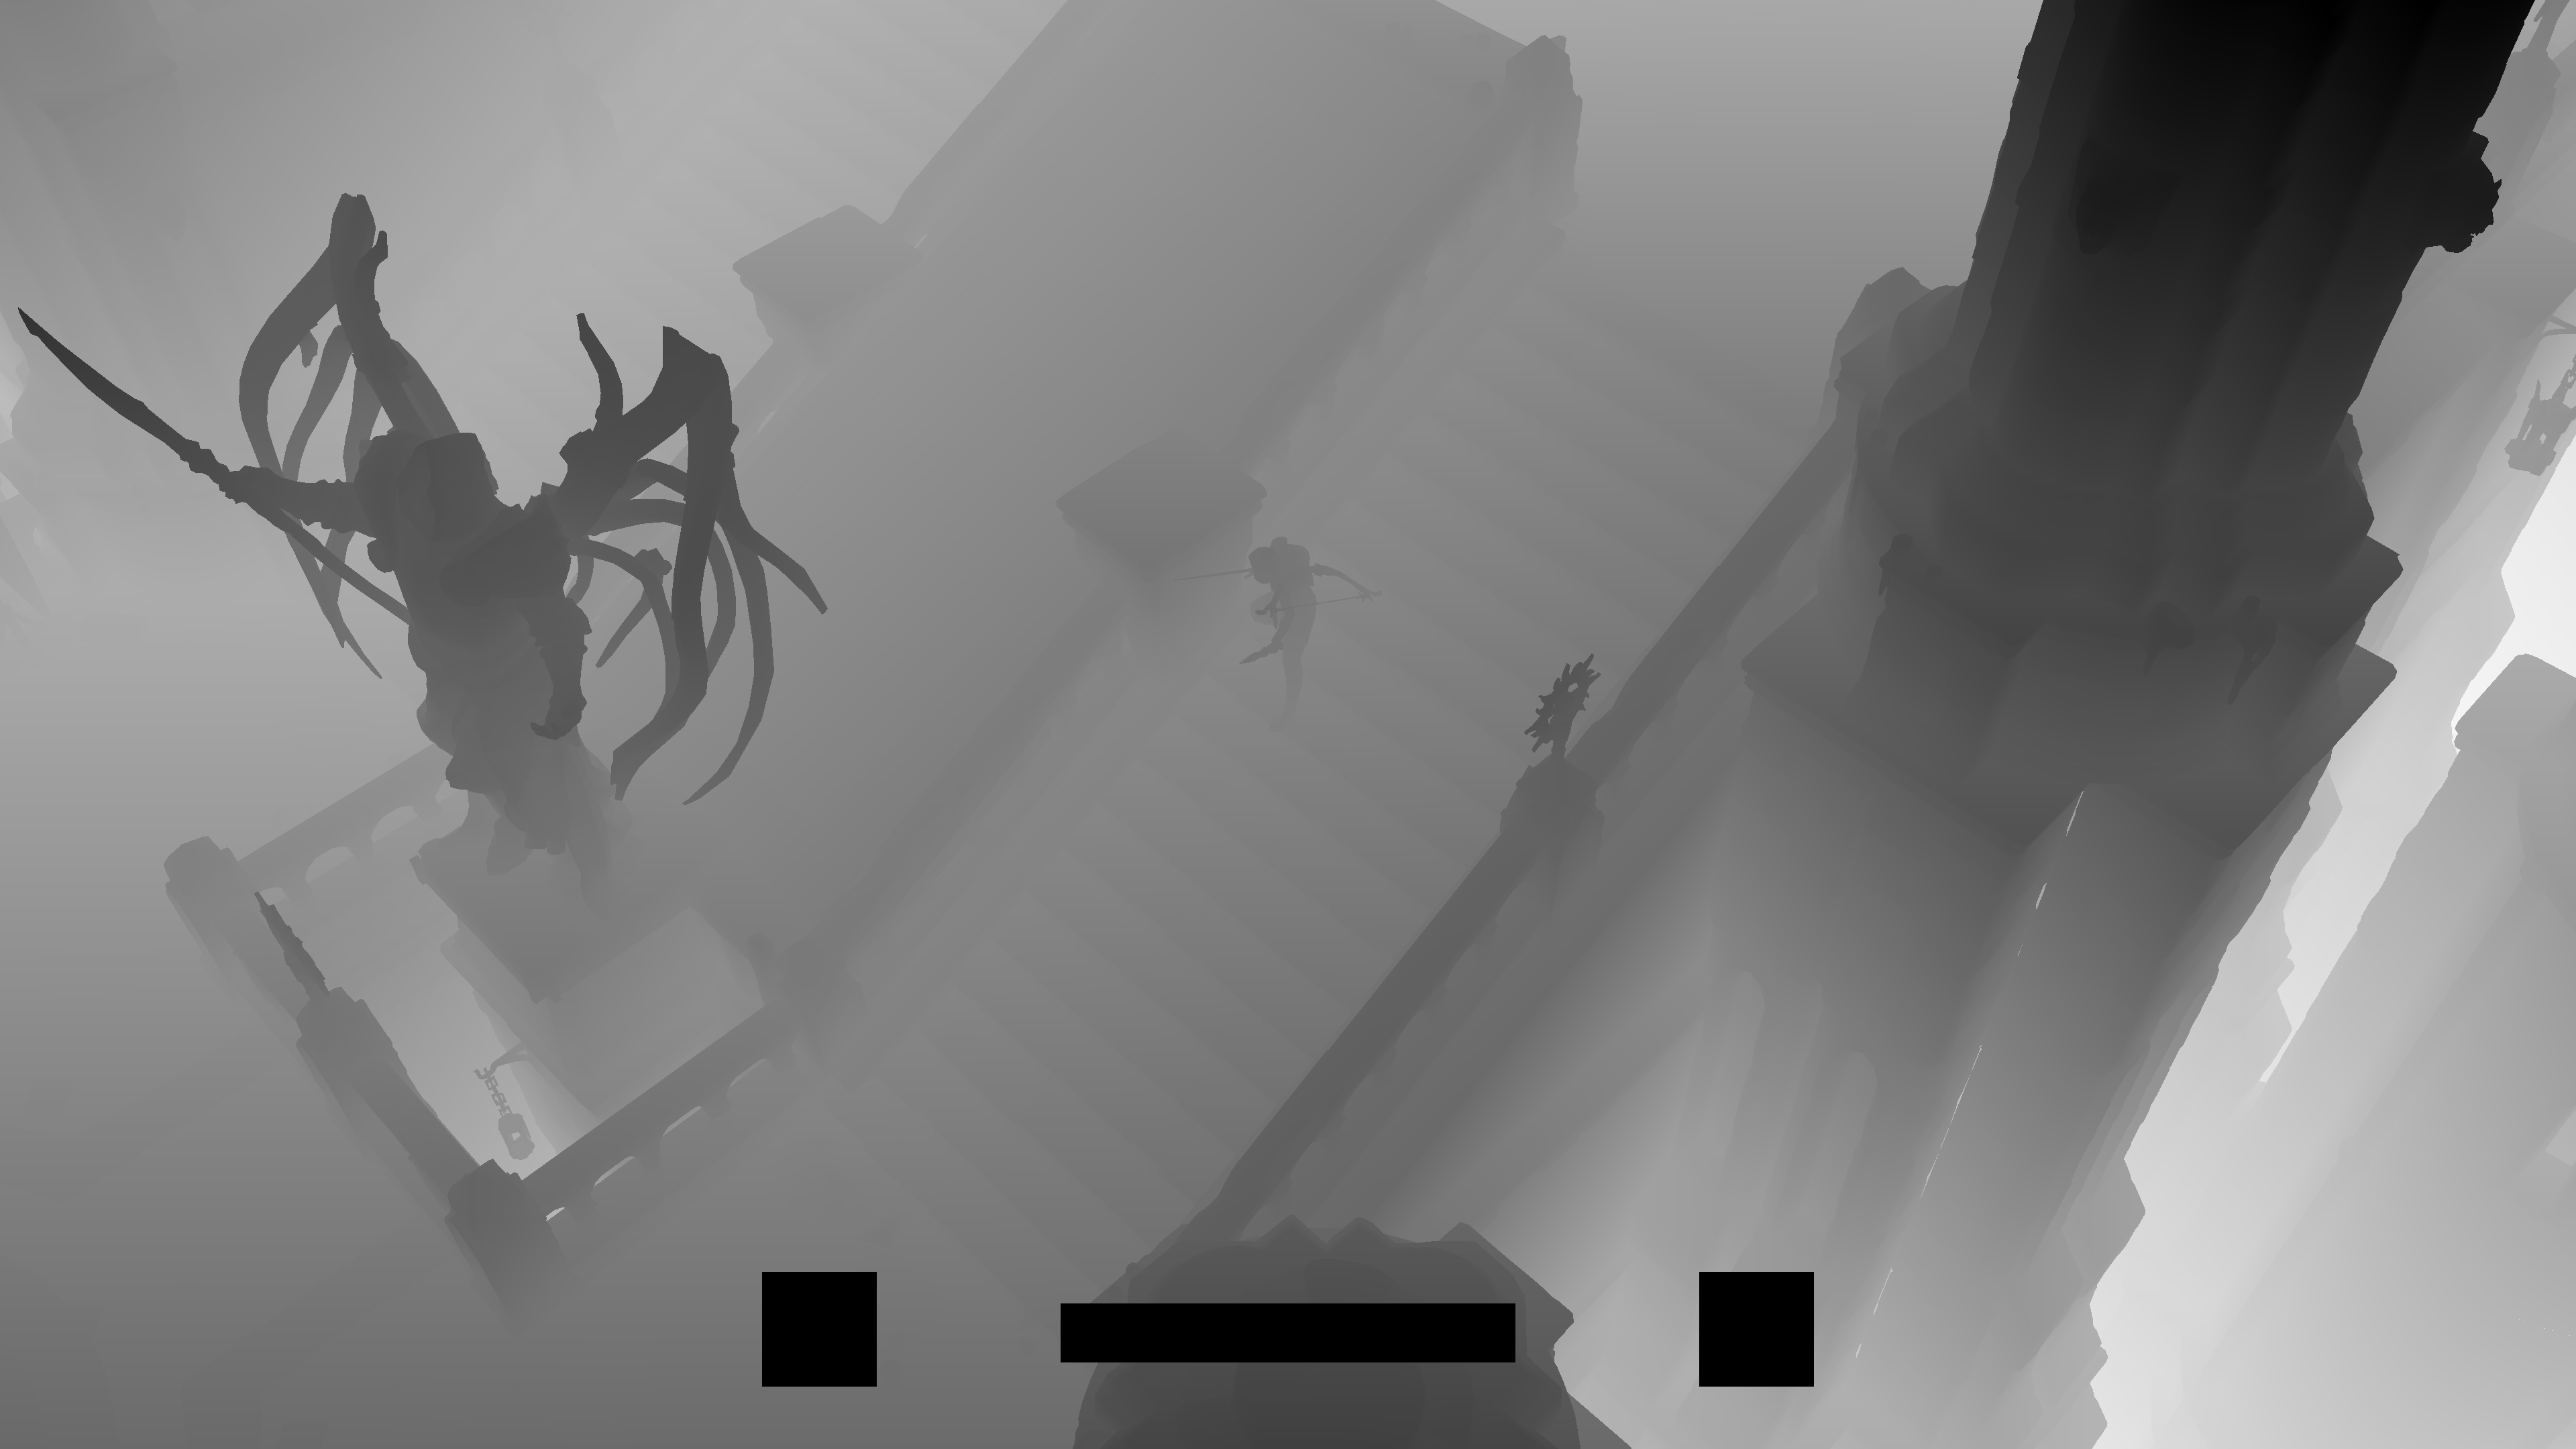
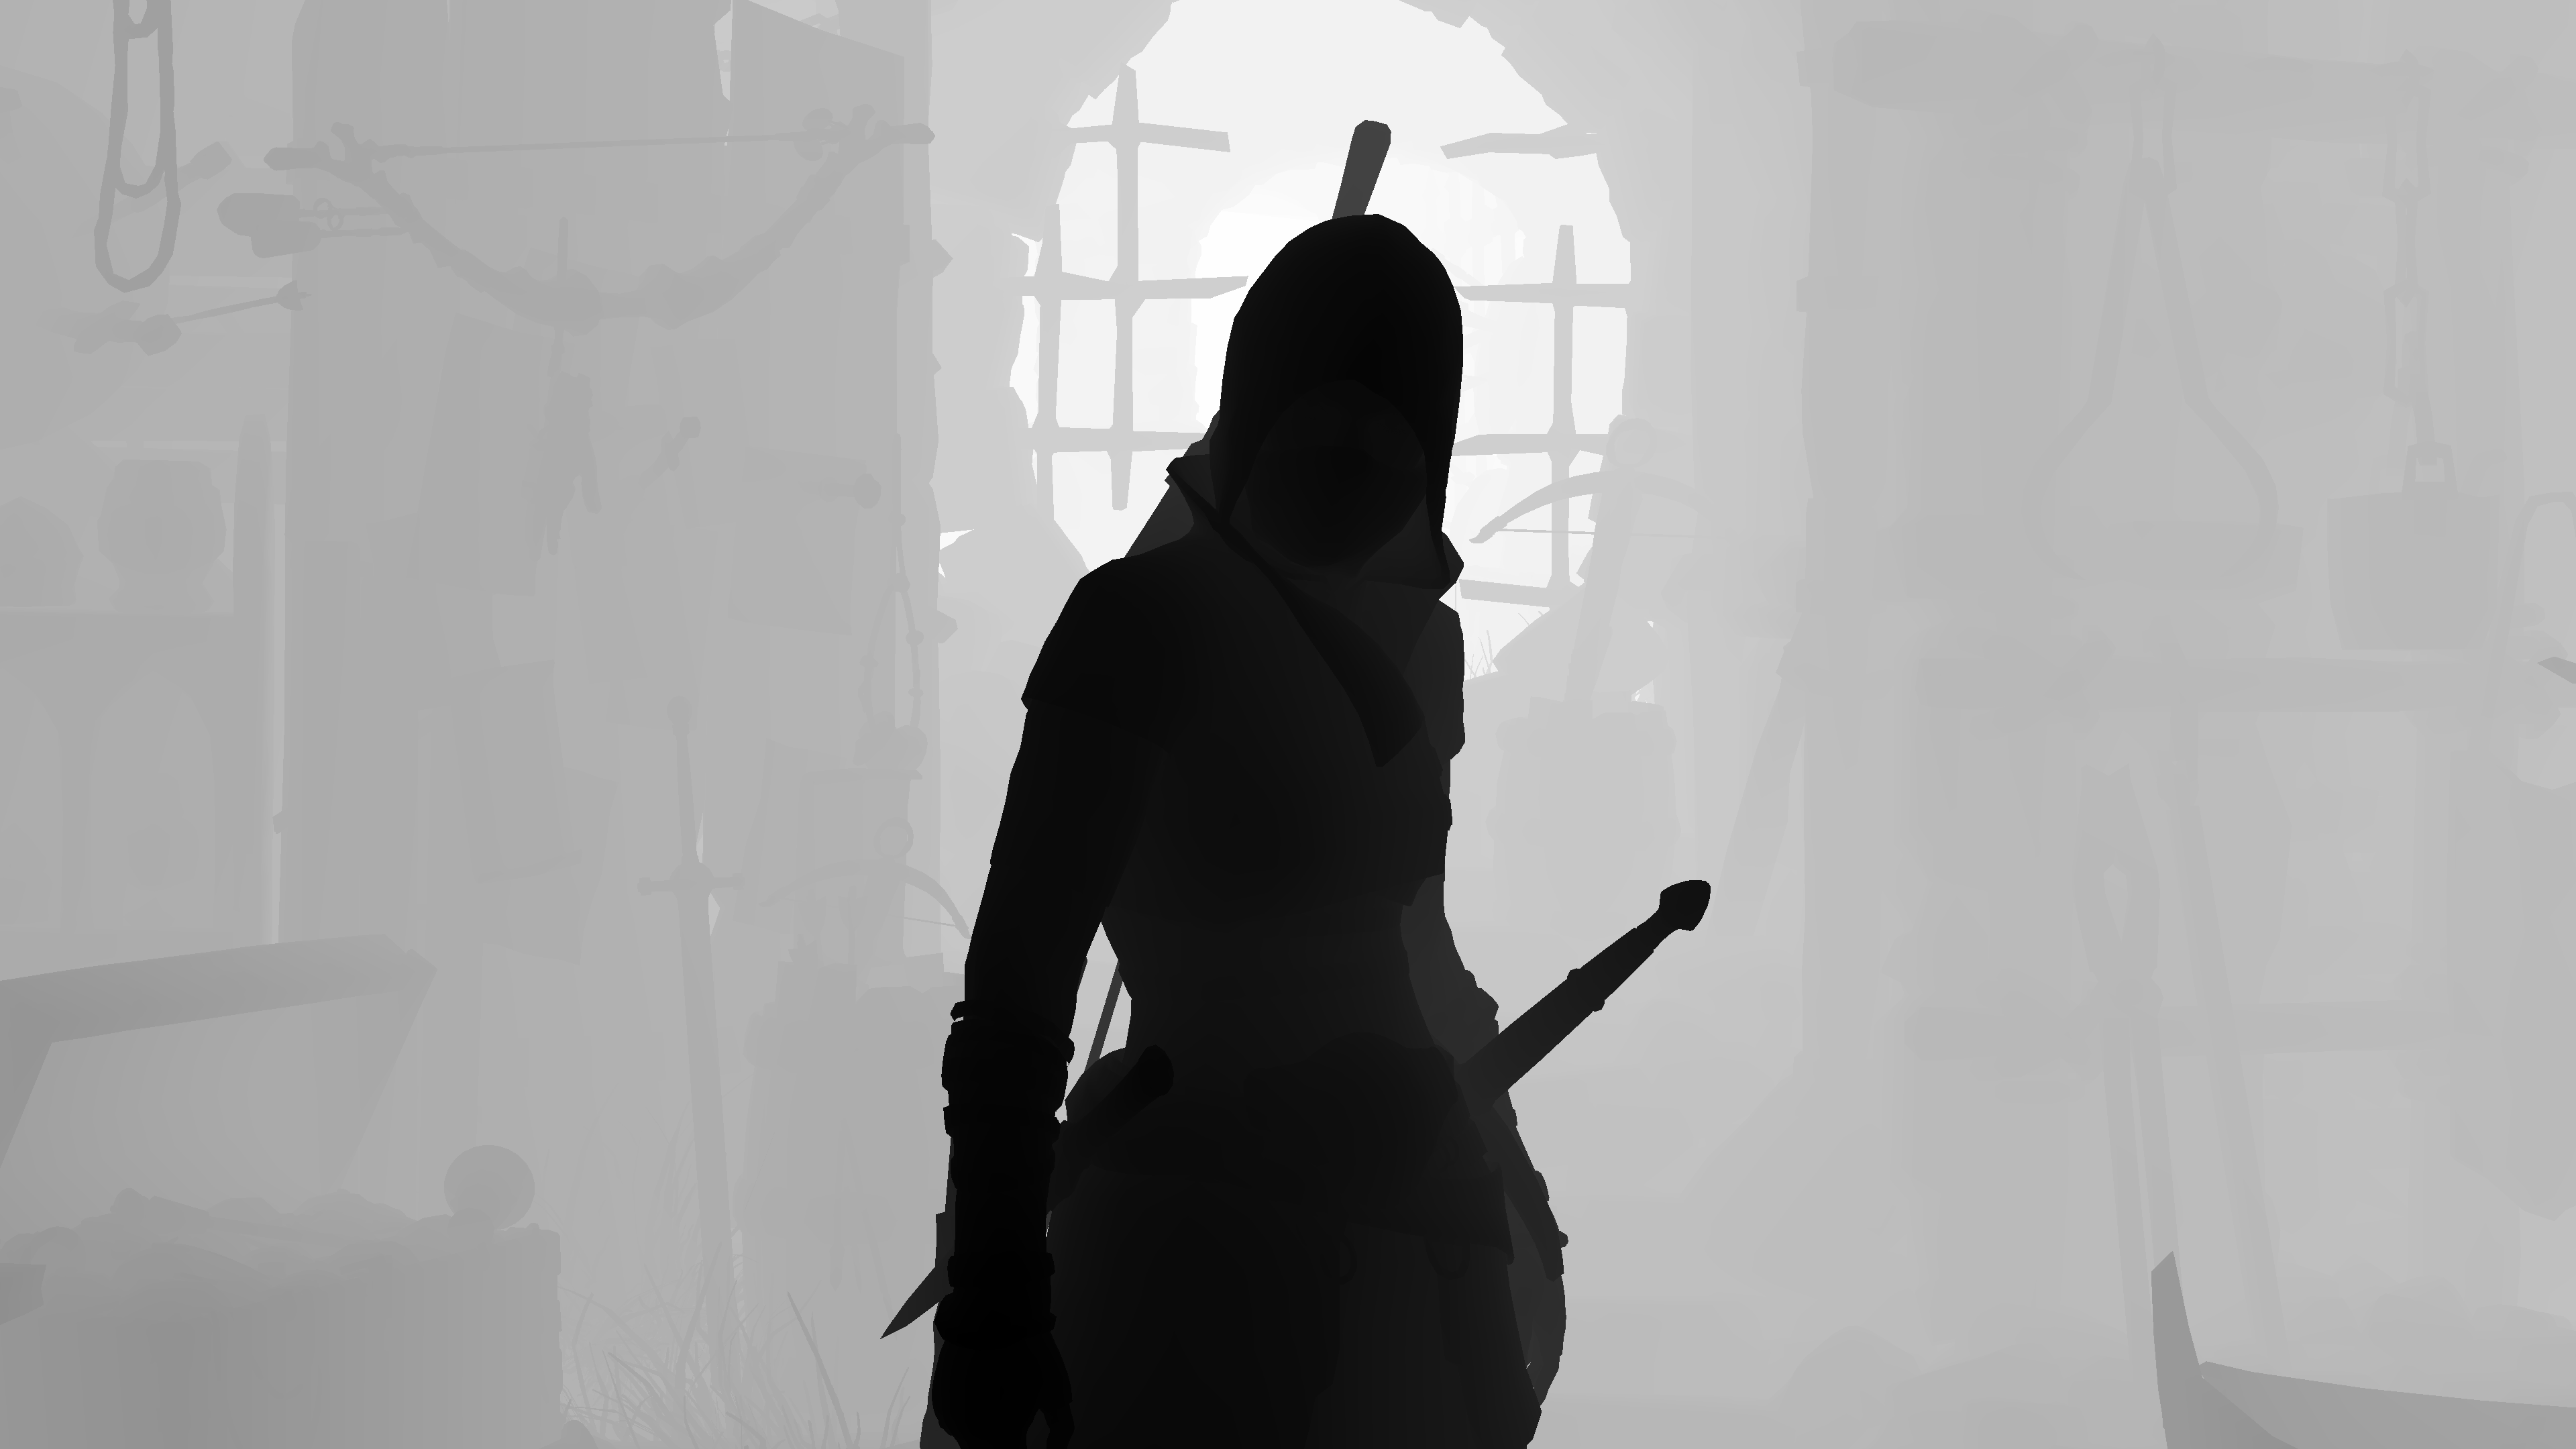
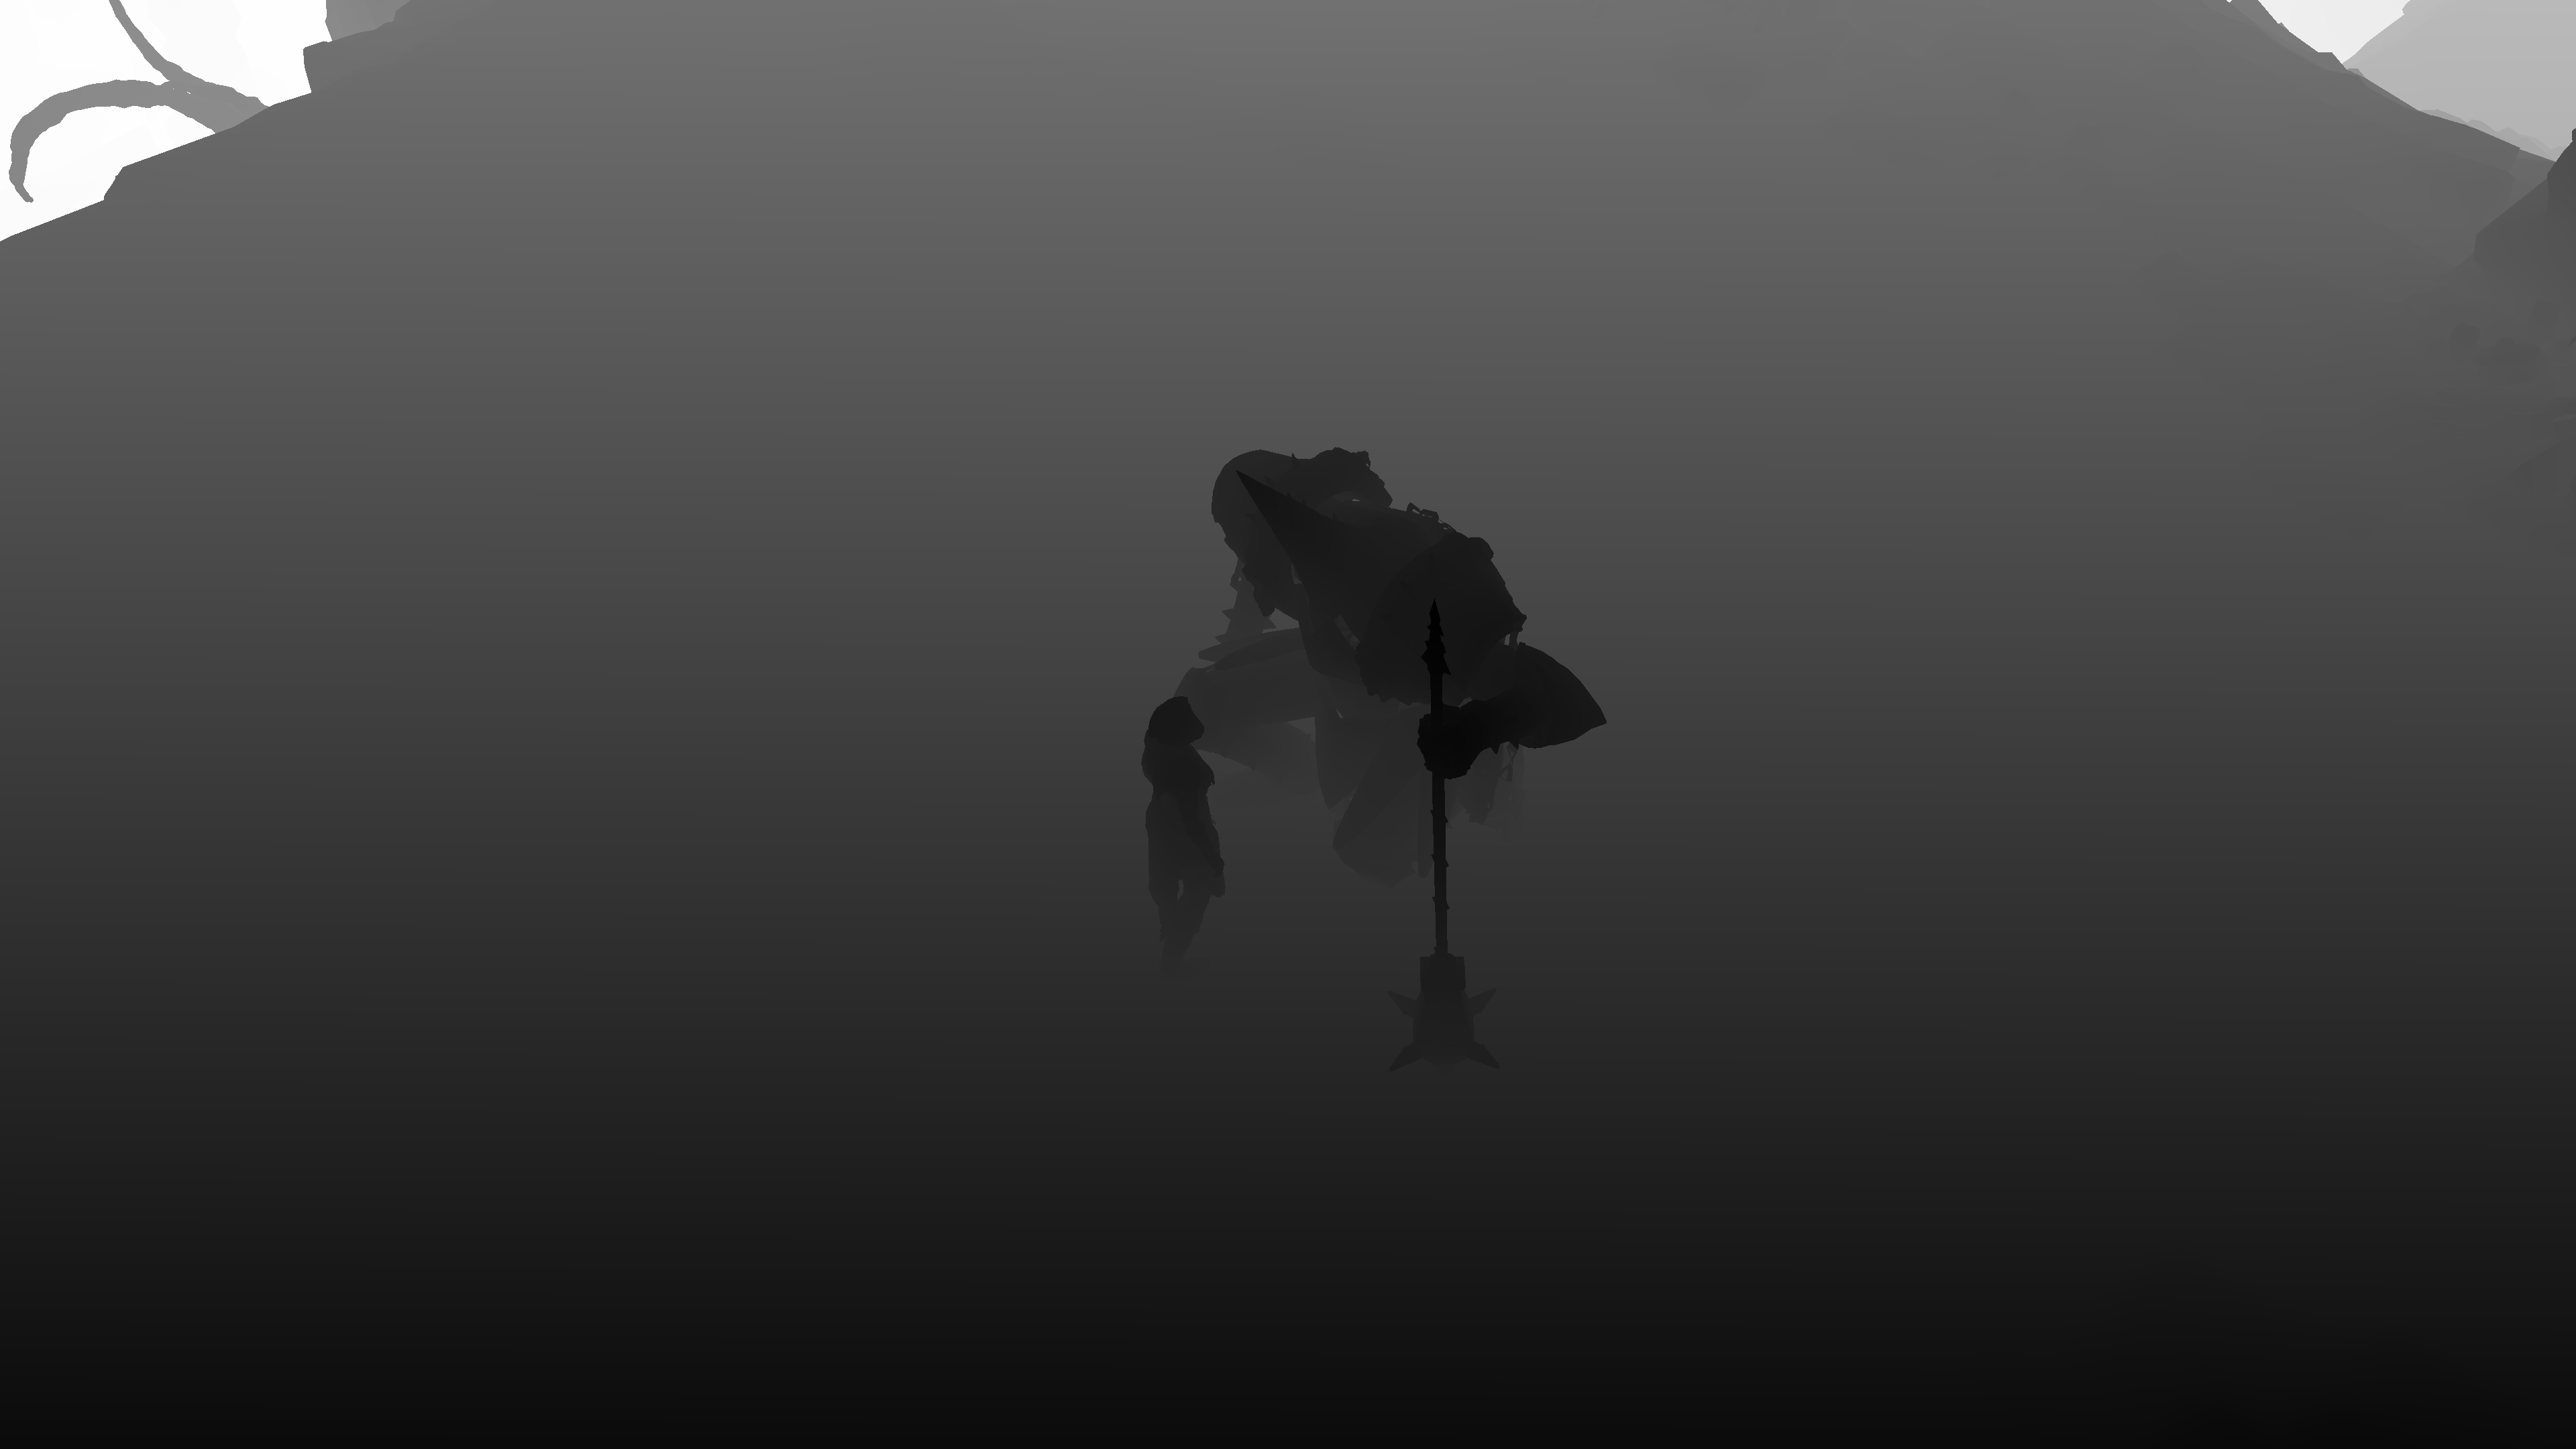
- ZPrepass & Direct Shadows
- Force
- GBuffer
- SSAO
- Depth Re-Format
- VSM [Not Always]
- Lighting
- SSR
- SSS
- Fog
- Forward Pass
- Skybox
- Volumetric Clouds [Not Always]
- Early Particles (Billboard)
- DoF [Not Always]
- Late Particles (Forward)
- DLSS [Not Always]
- TAA [Not Always]
- Average Luminance
- Bloom
- Post Processing (Tonemapping + Sharpen)
- HDR
- UI
- Present
- Life of a Frame [Rendering Graph]
- Engine General Observations
- Epilogue
- Related Readings & Videos
Introduction
Diablo 4!!! i didn’t see that coming!

Near 7 months ago i packaged everything related to “Behind the Pretty Frames” to an external portable drive, and decided to forget about writing new ones…or even continue in the couple of drafts that was WIP at that time (let’s keep their names secret🤐, they might see the light one day!). Life was good, spending my free-time on working on the 2nd iteration of my engine, or playing a lot of good games, and the Behind the Pretty Frames is officially behind the busy life! BUT out of the blue, Diablo came out.. i did not follow up that it is launching this year, and if you’re near me, you know that i don’t do day 1 purchase, or even year 1 purchase recently, i always wait for the best polished version and perhaps the price (75% discounts) as long as it is not a game that i need for an urgent investigation right now for the current project (and even that, usually employers list those as expenses & pay them). But then, another out of the blue, a nice colleague got free keys through NVIDIA couple of days earlier, and dropped me one! i was lucky i would say!

Photo by American McGee
You can read the announcement American put that day on Kickstarter, the page still live till today!!!
At the other hand, Diablo itself as a game means a lot to me….A WHOLE LOT!
i played Diablo 1 & Diablo 2 back at their time (god know how long 🤔) and both were great games (at least didn’t require online connection all the time 😅coz i don’t recall i ever had internet when i owned that computer i played them on), but by the time Diablo 3 was out, i was not following up, and was not…let’s say “interested anymore” in the game/genre, but why?….! At that time, around 2012 i was working for a company called Spicy Horse, and guess what they were building next at that time??
Exactly….a game that is similar to Diablo 3! It was Akaneiro: Demon Hunters.
If there is a game that i love a lot & playing in my freetime, but at the same time everyone around me at the office is playing, i stop playing it then. What’s the point of playing a game, that i’m surrounded by all the time, i see it in every monitor, all the day, every time i’m going to toilet or to the cafeteria…in the morning and after working hours, …all the time! Everything spoiled to me piece by piece before i reach it! And that was the case of Diablo 3, it was across the entire office, everyone (specially designers) playing it all the time, and hence i lost my interest in Diablo 3 and decided to drop that one! Why would i bother invest the money & the time in playing it if designers will kinda carbon copy everything that works well in there into our new in-production game, but with different some names, and under a different lore & art-style 😏 (at least -with all respect to the creative ones- this is what many game designers does…again not all of them, generalizing this is type of ignorance)!
So, Diablo 2 was my last interaction with the franchise. Seeing Diablo 4 releasing excited me again towards that genre, specially it’s been near decade since i cared about the genre (Akaneiro gave me enough stock of dopamine from that genre)!
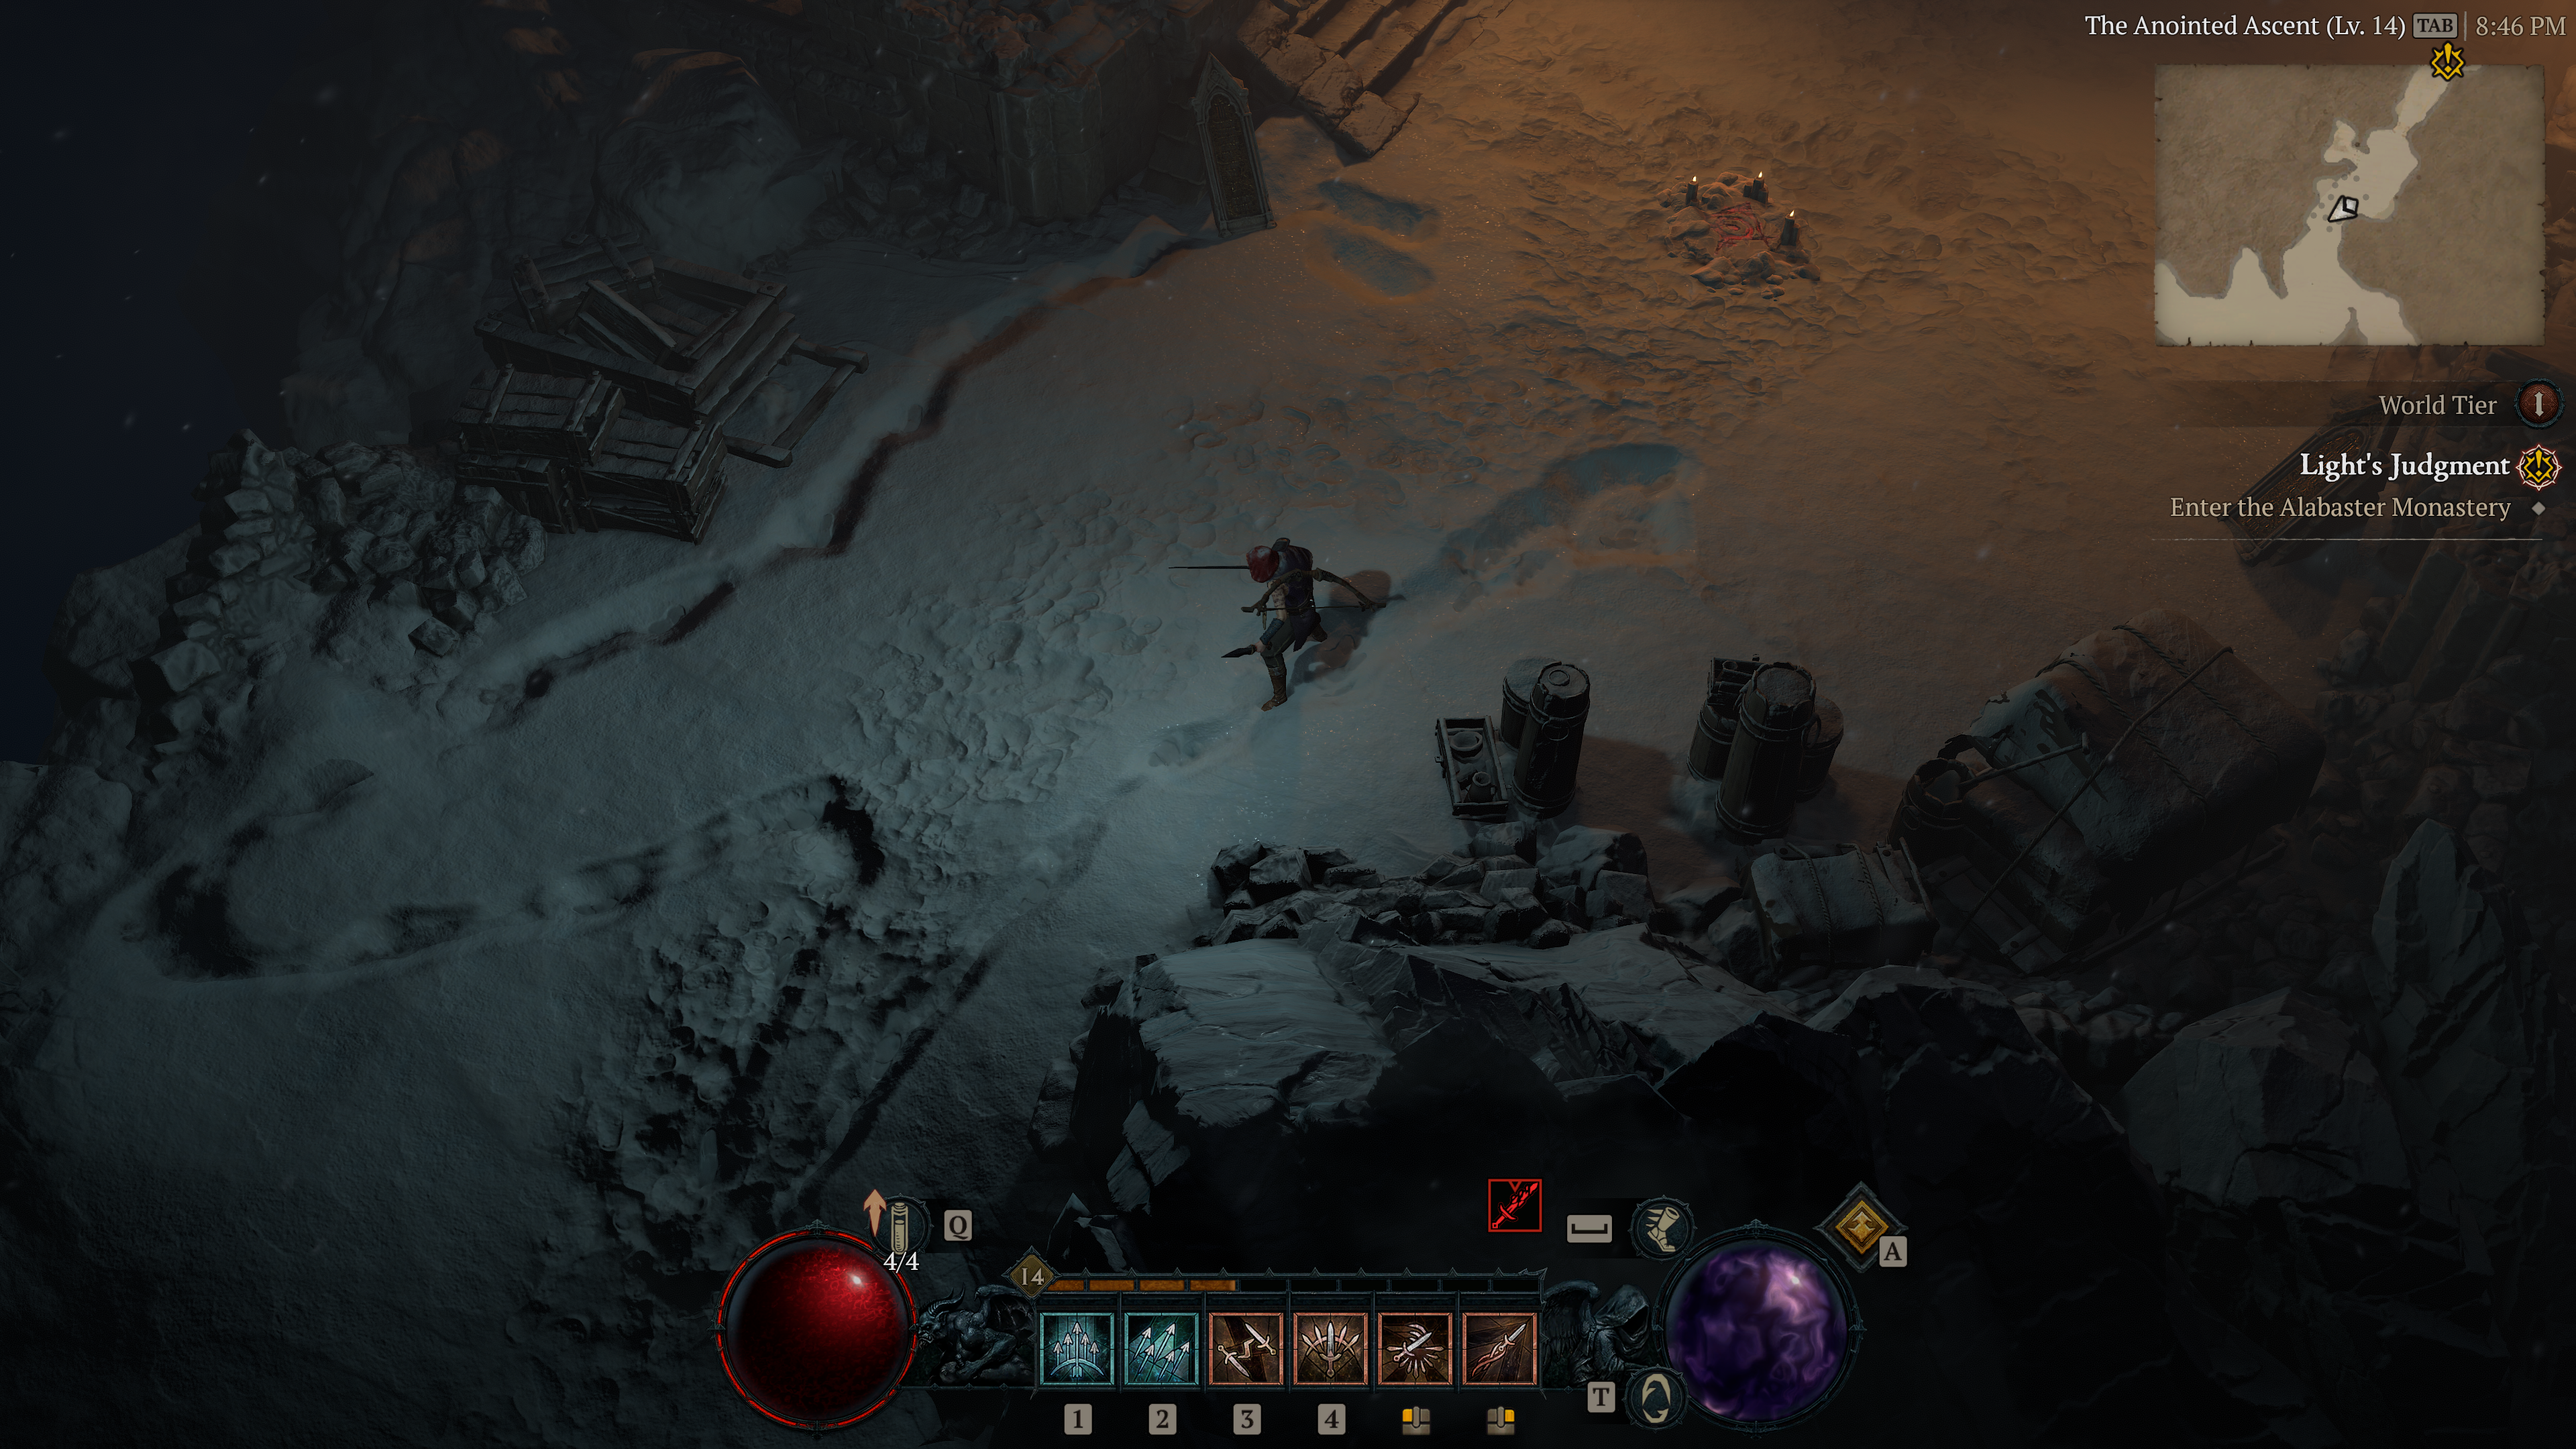
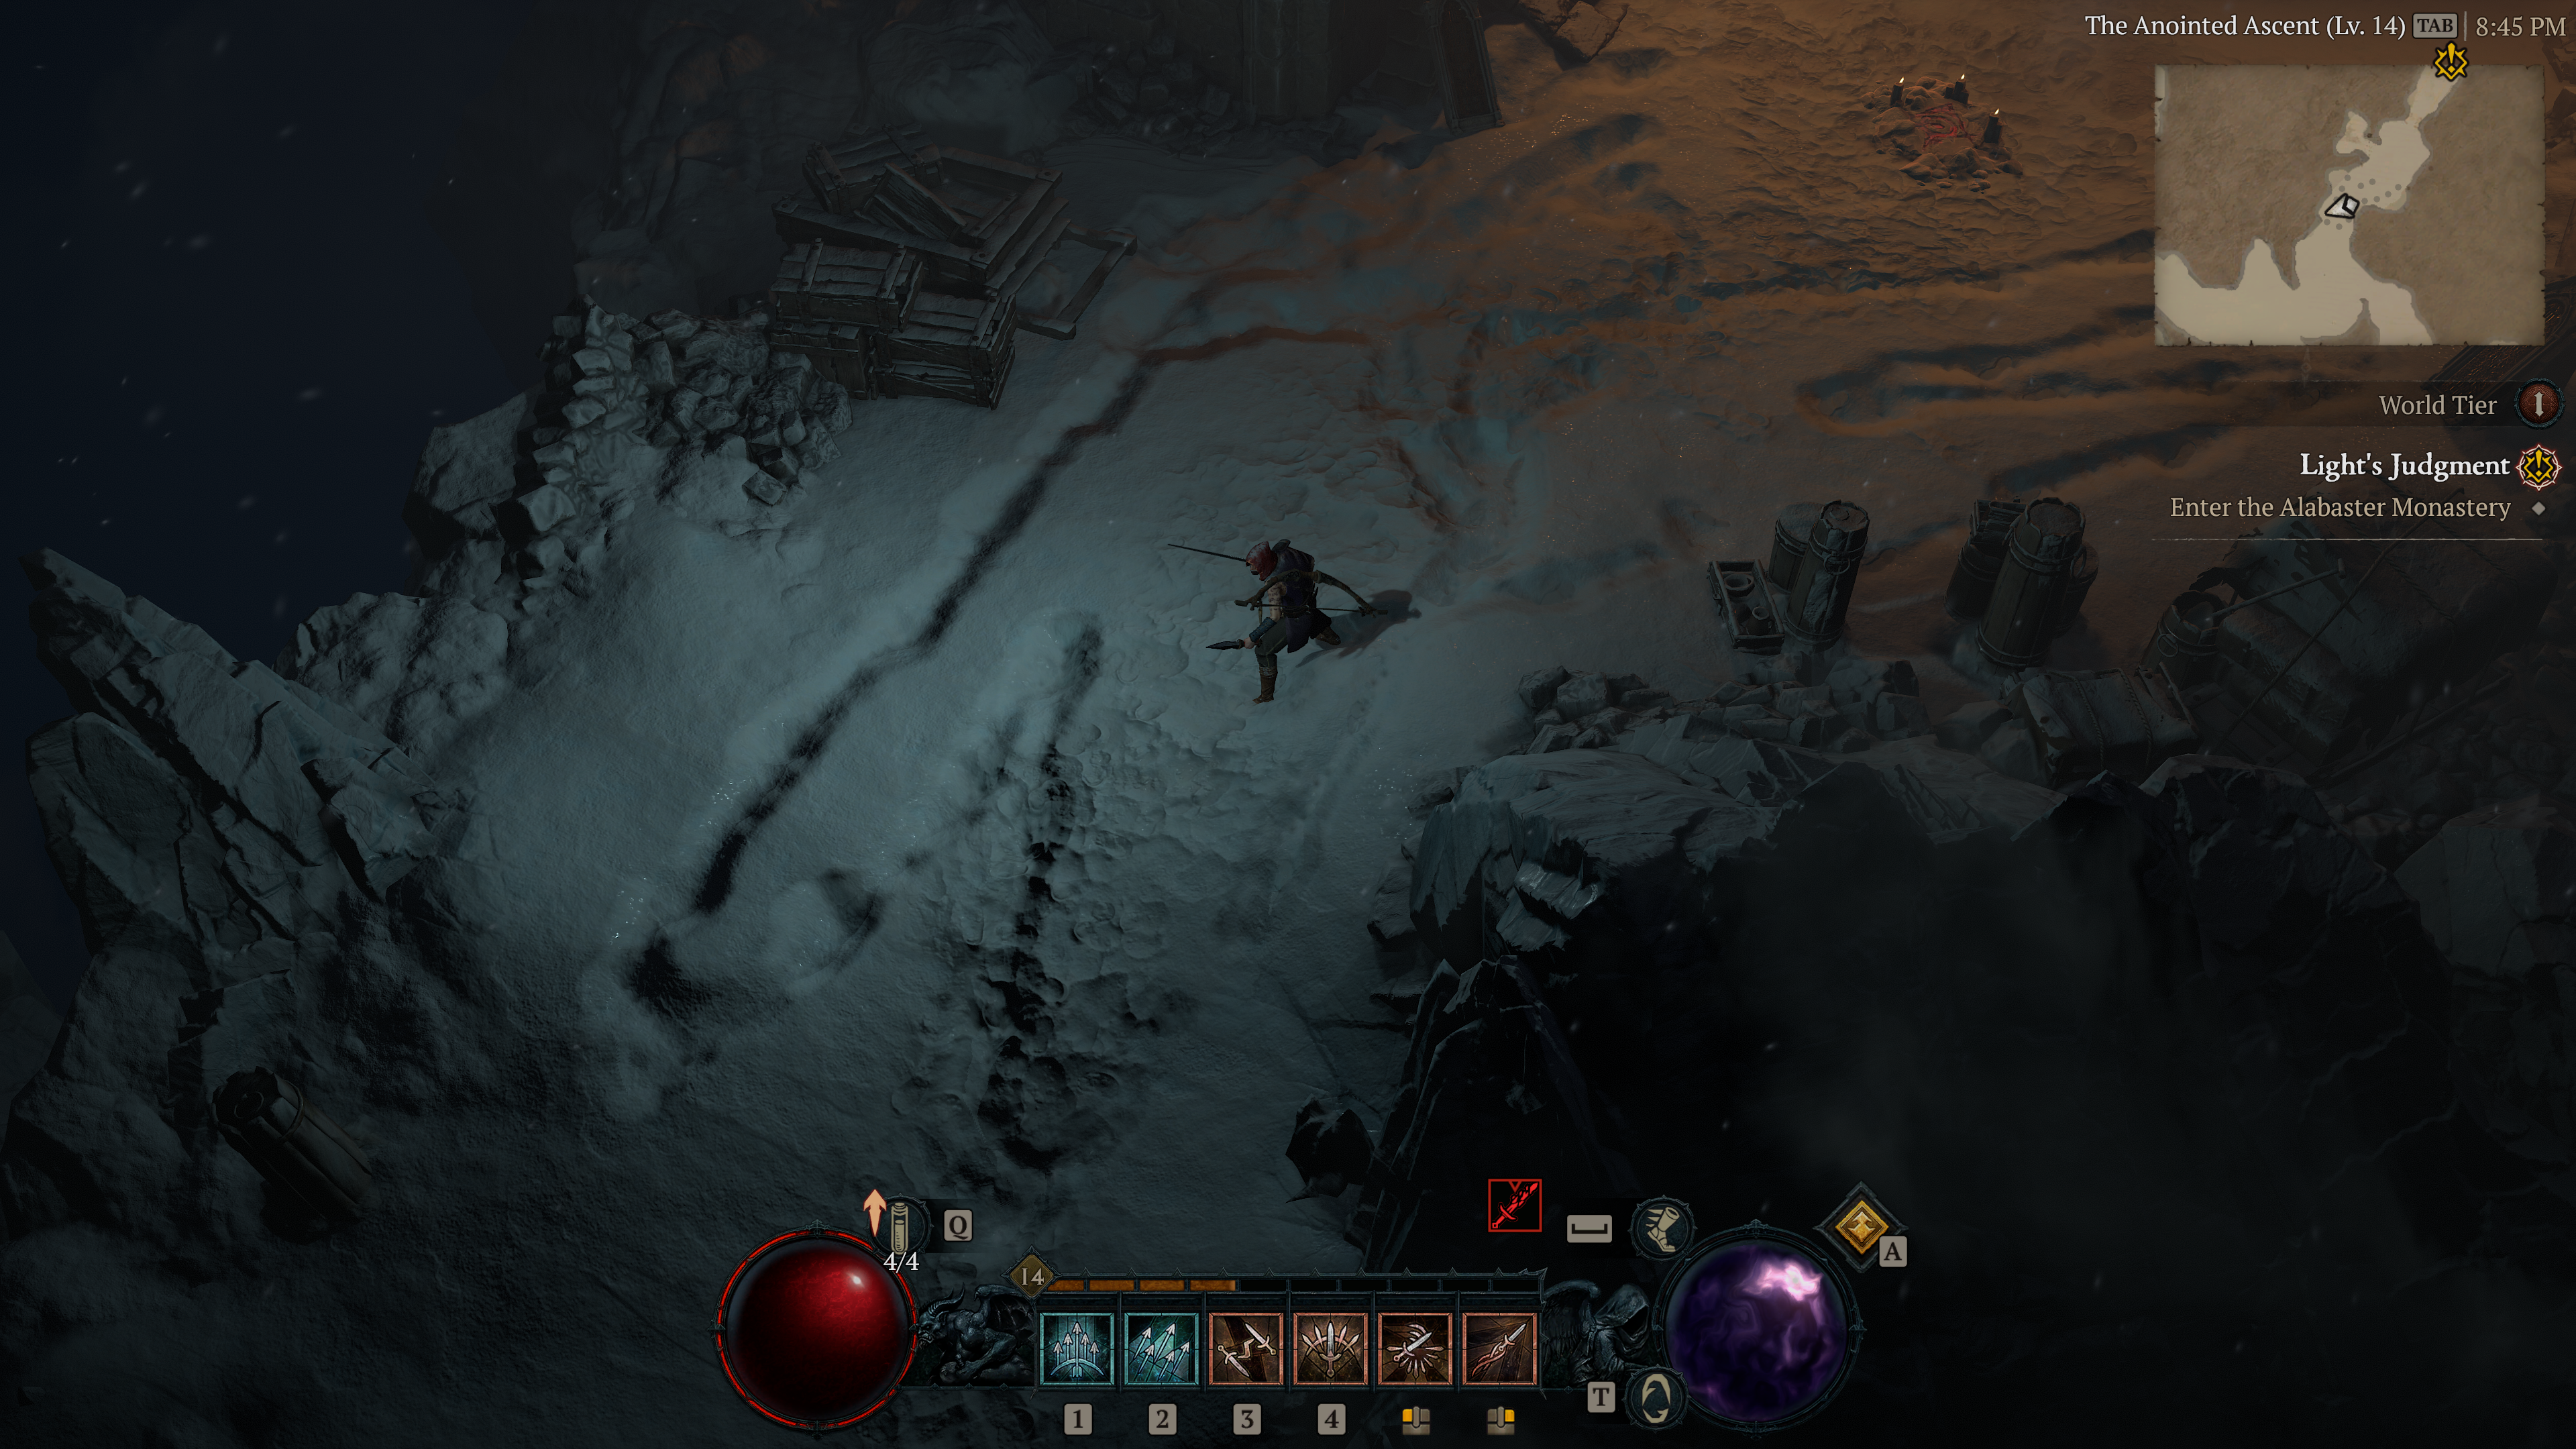
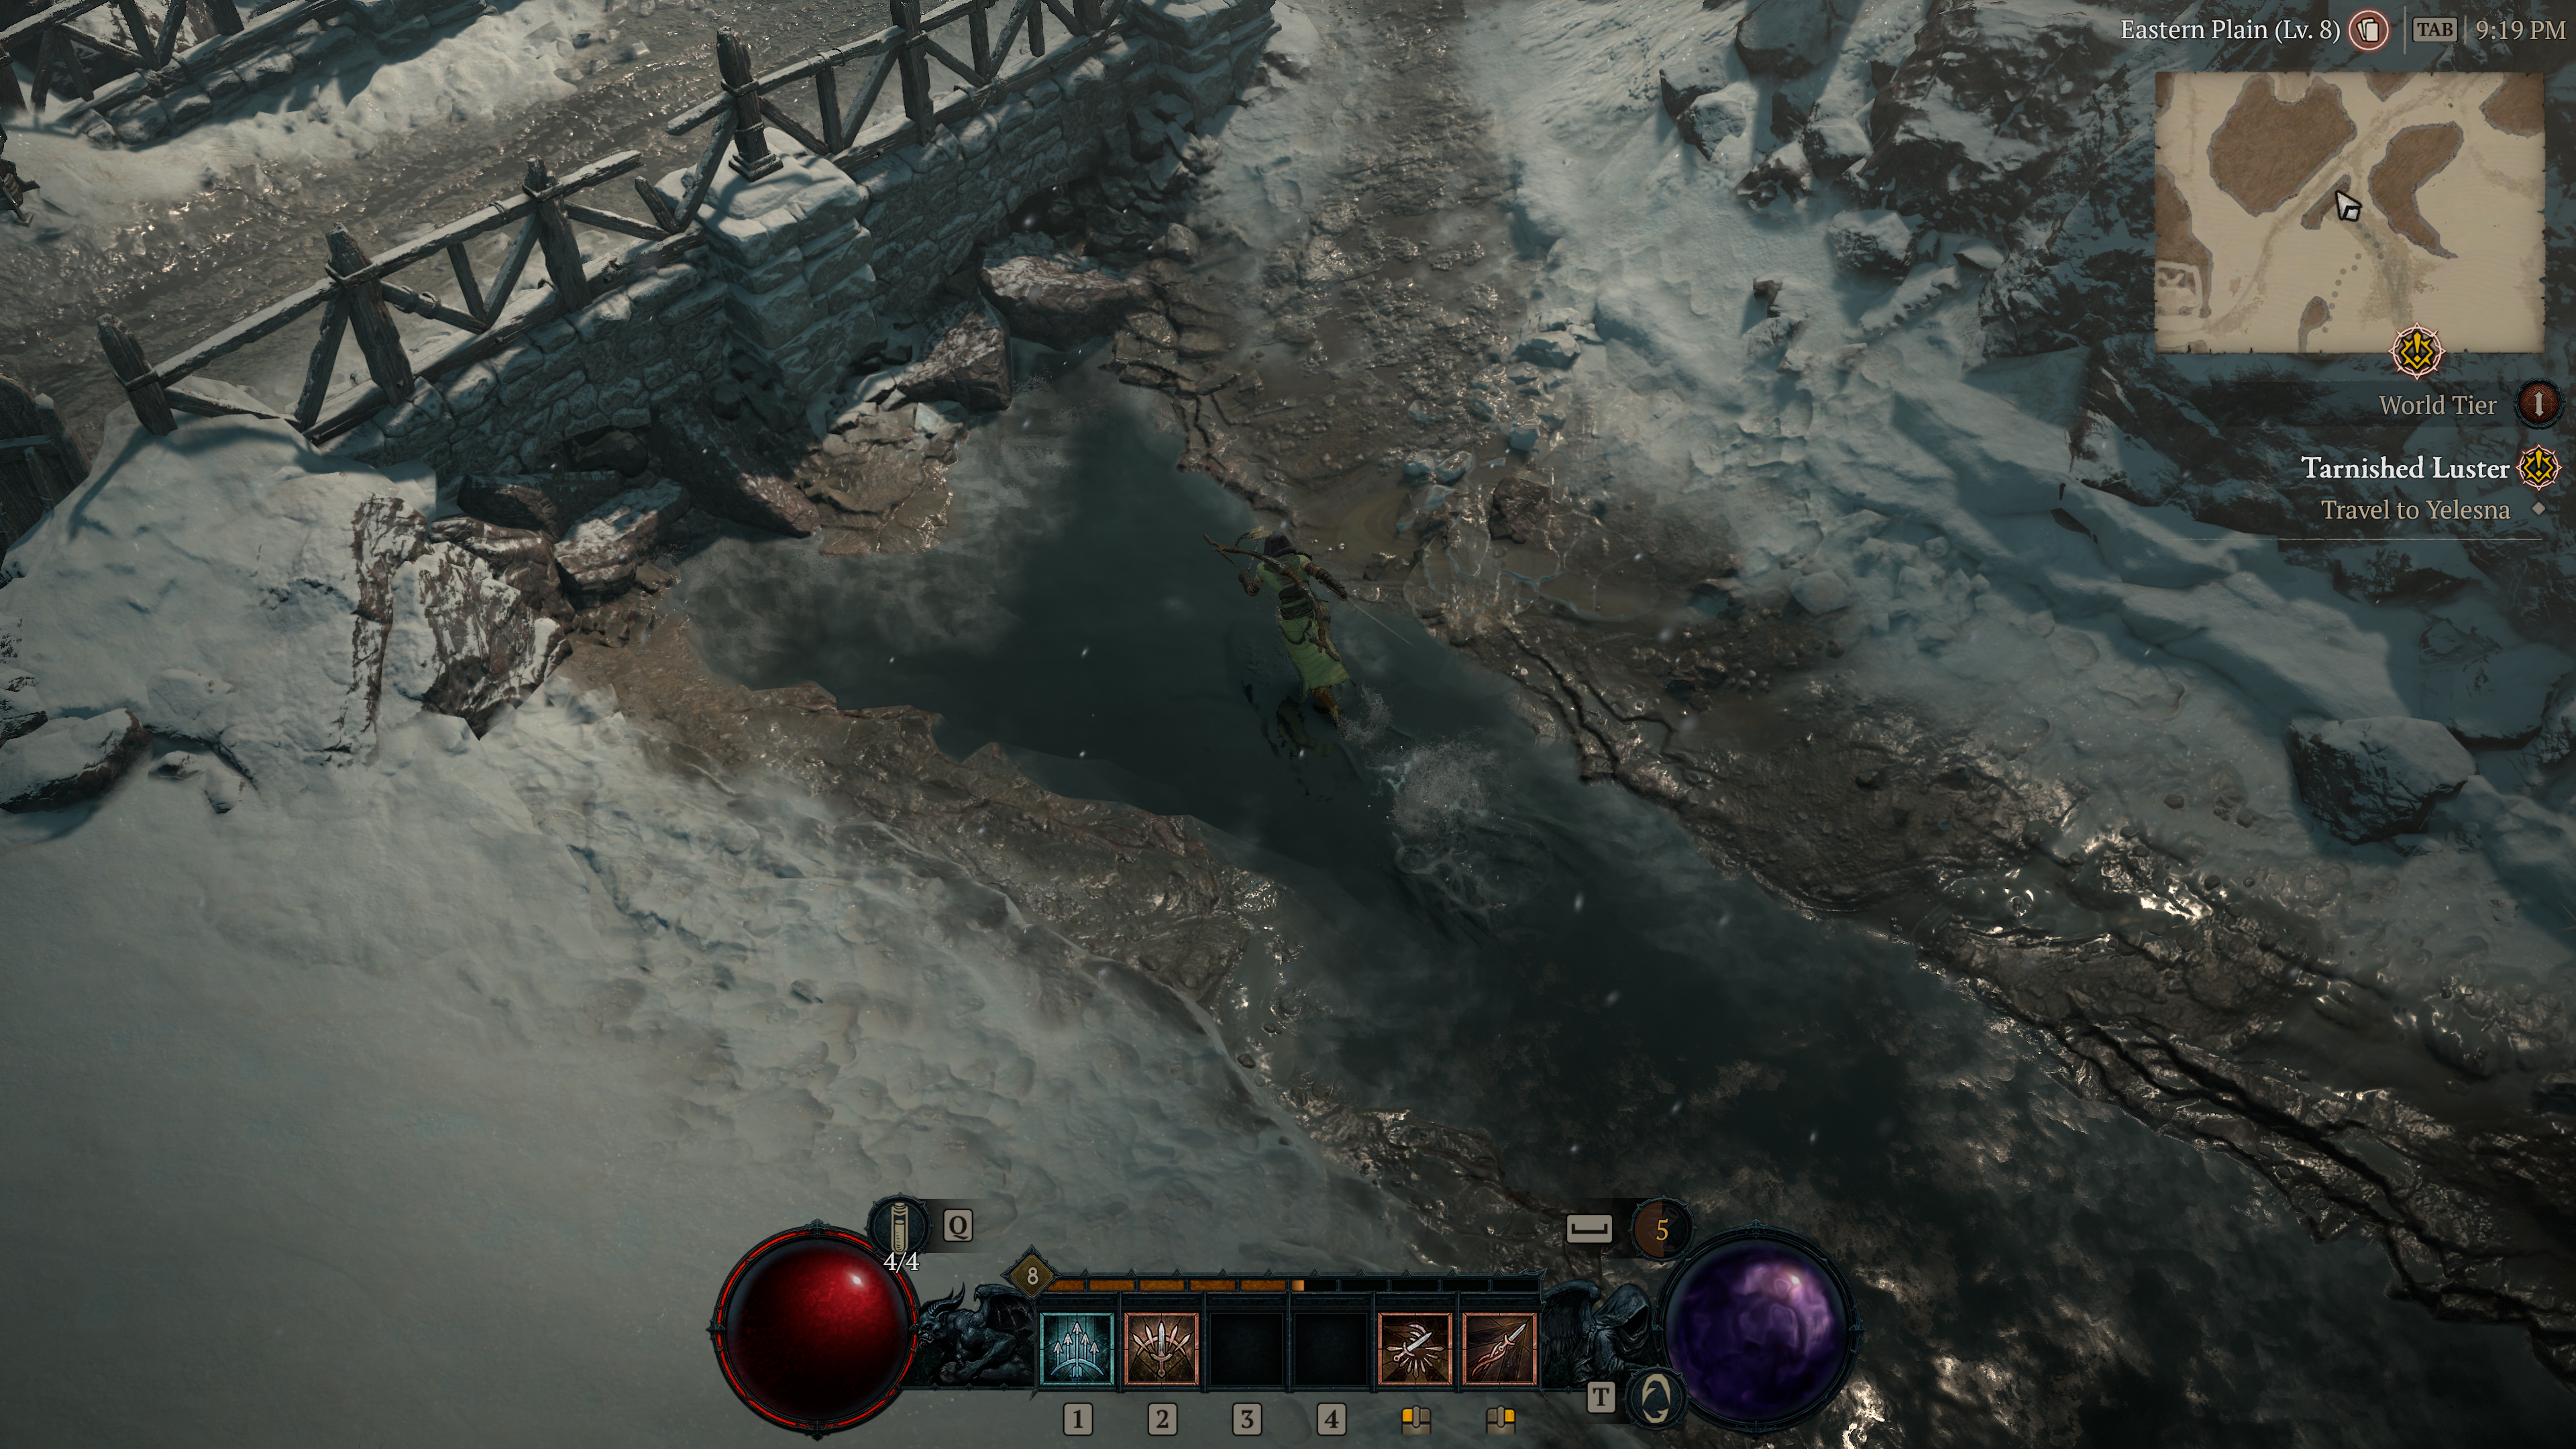
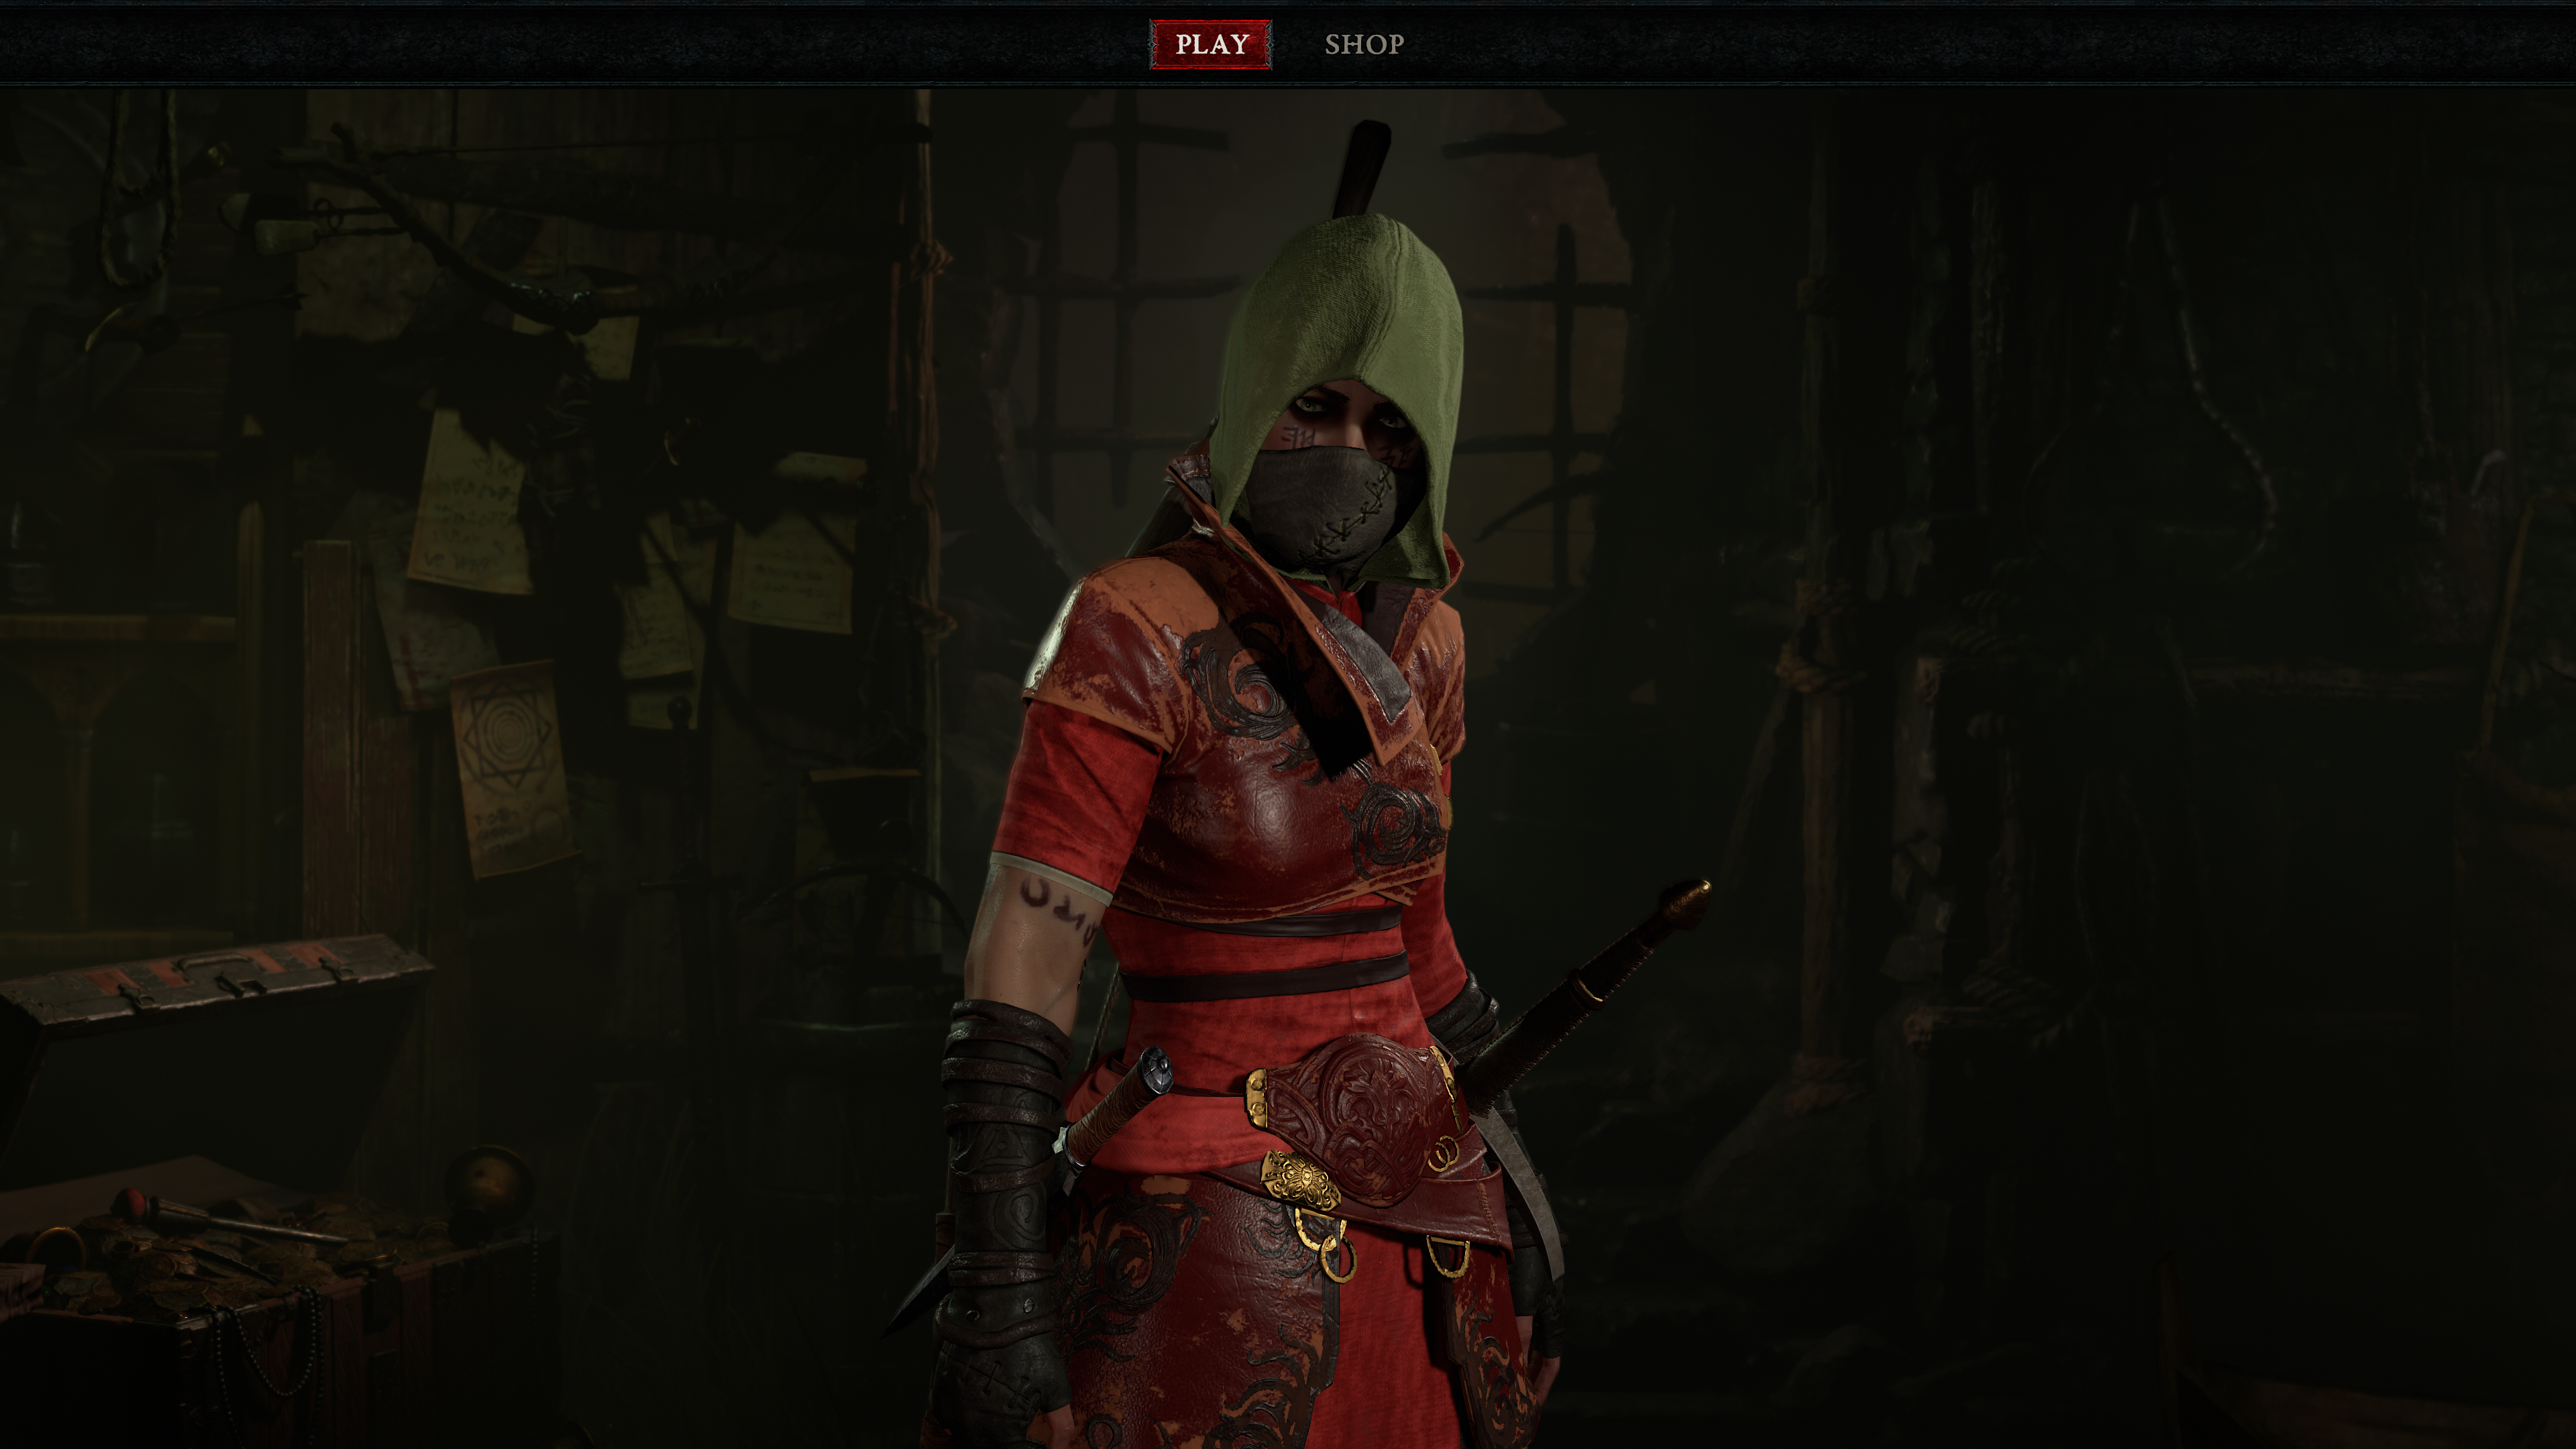
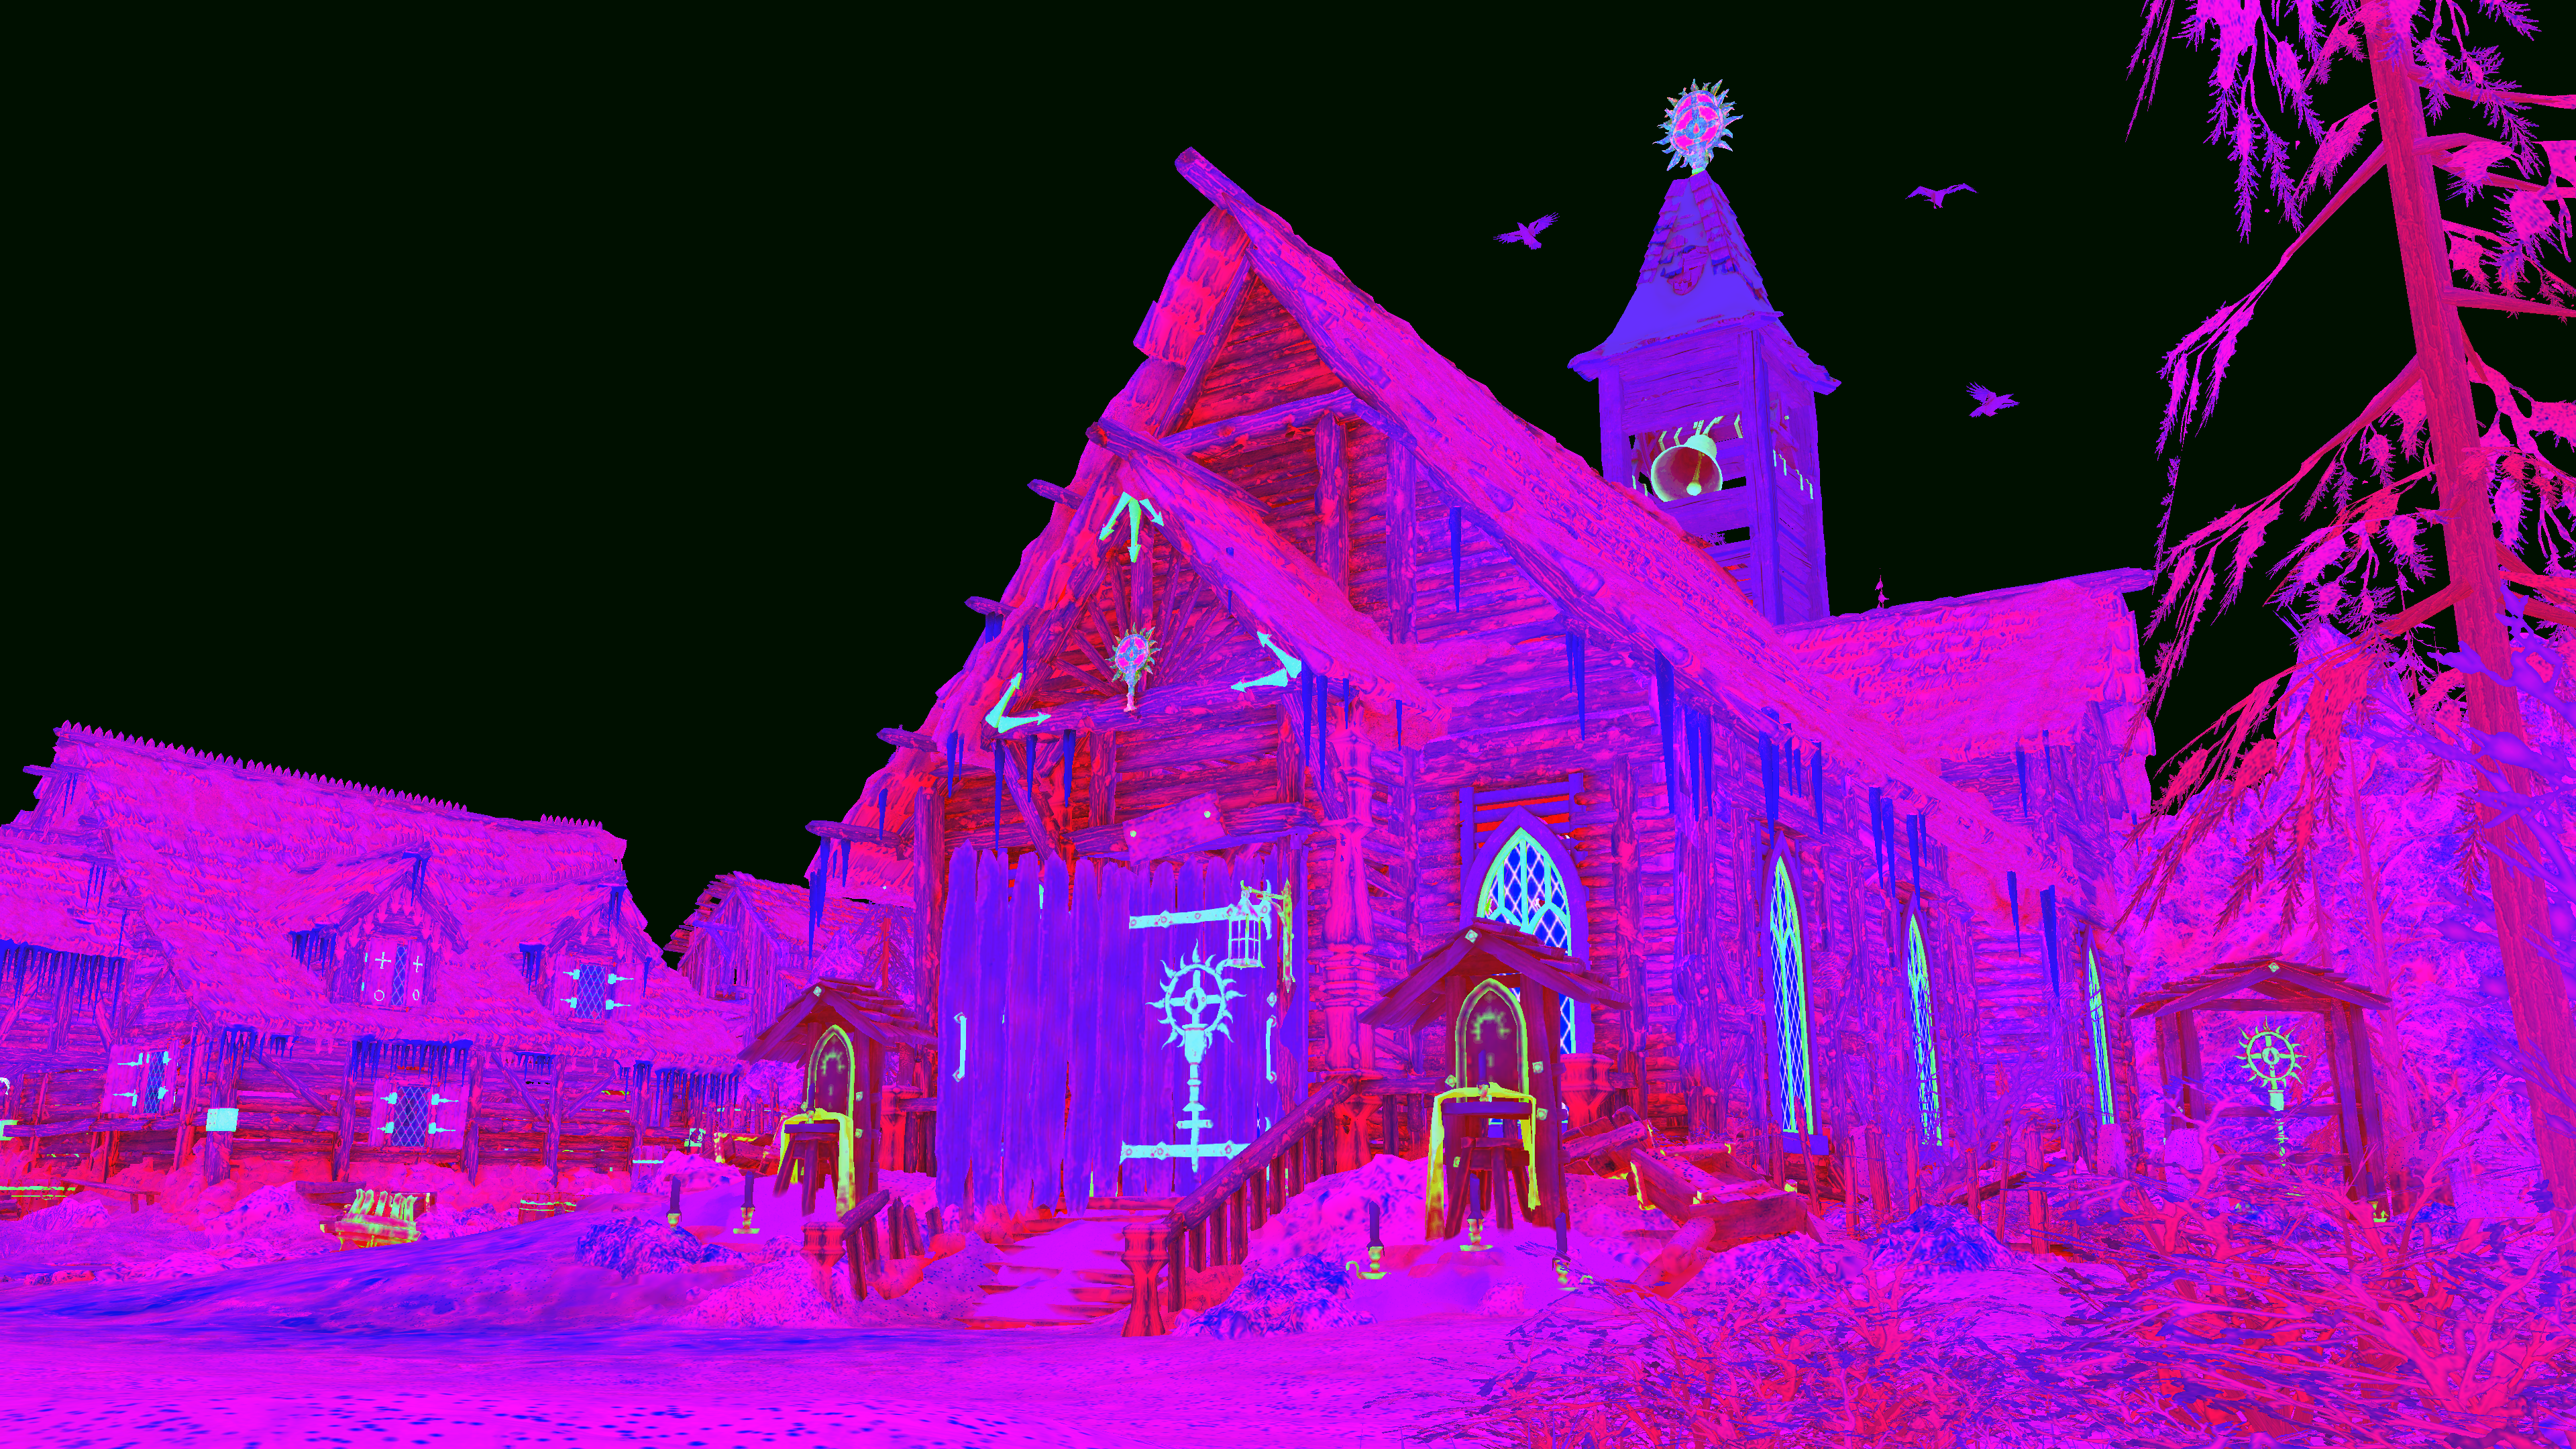
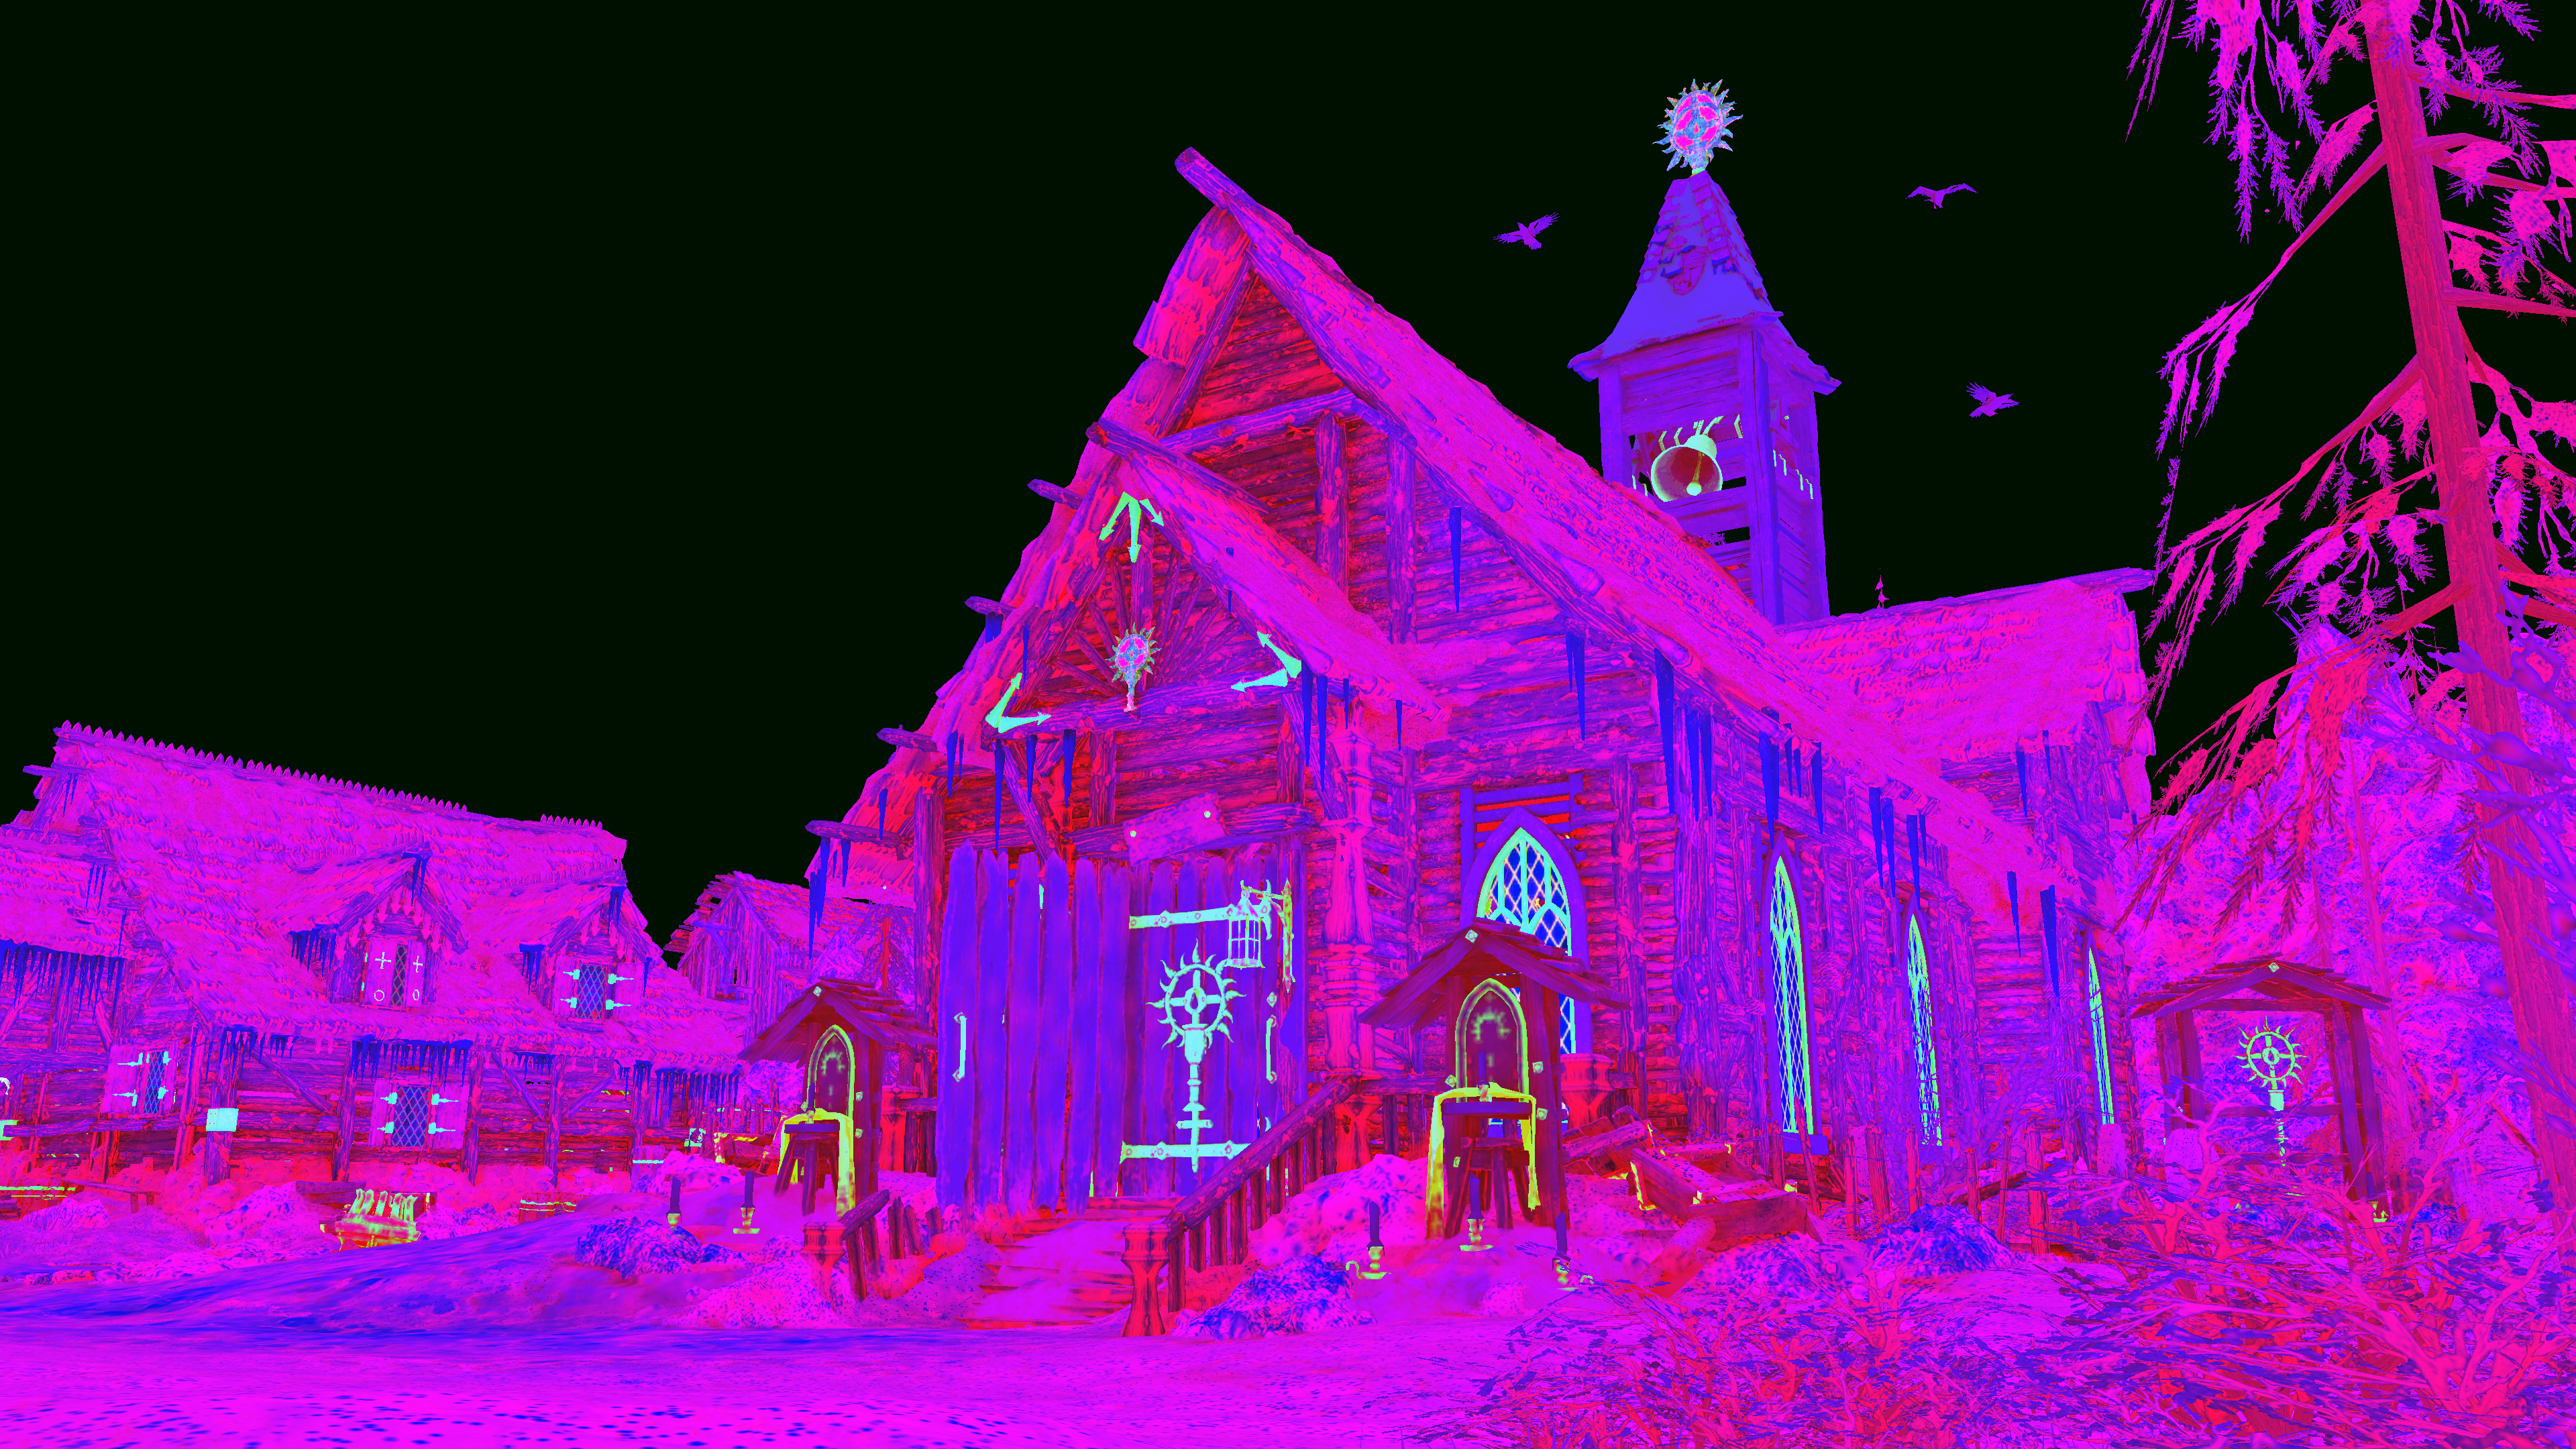
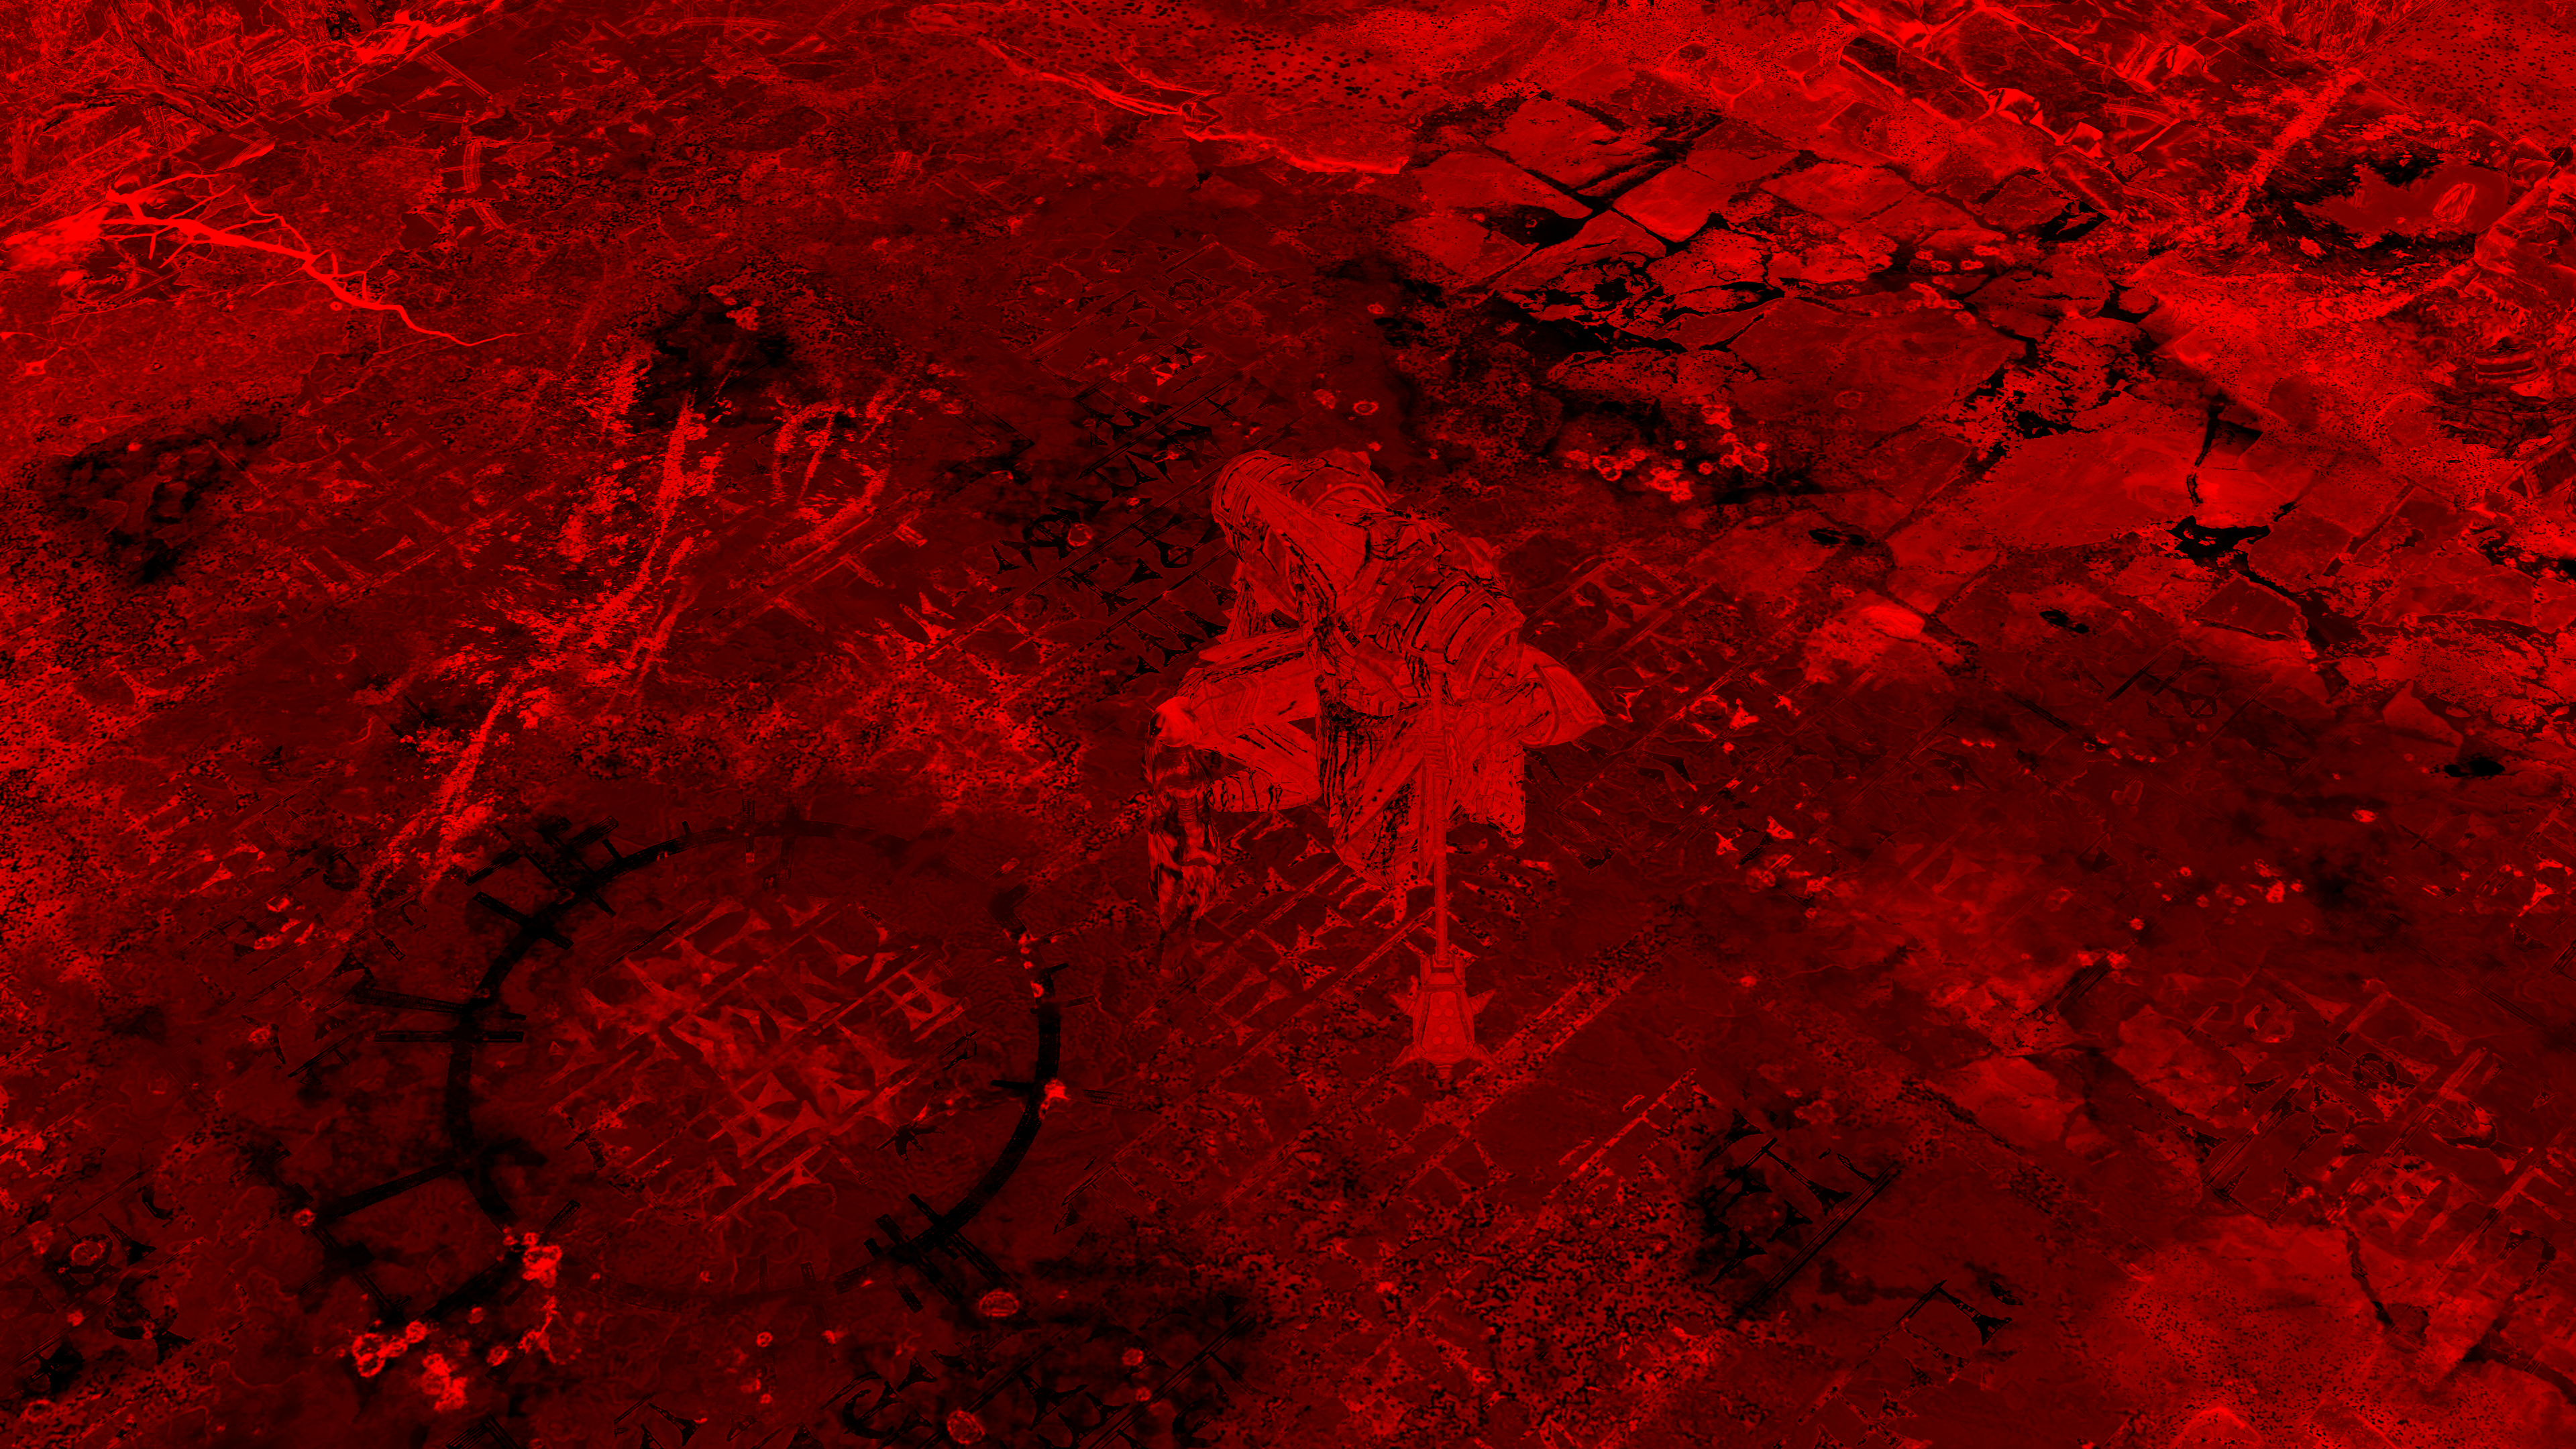
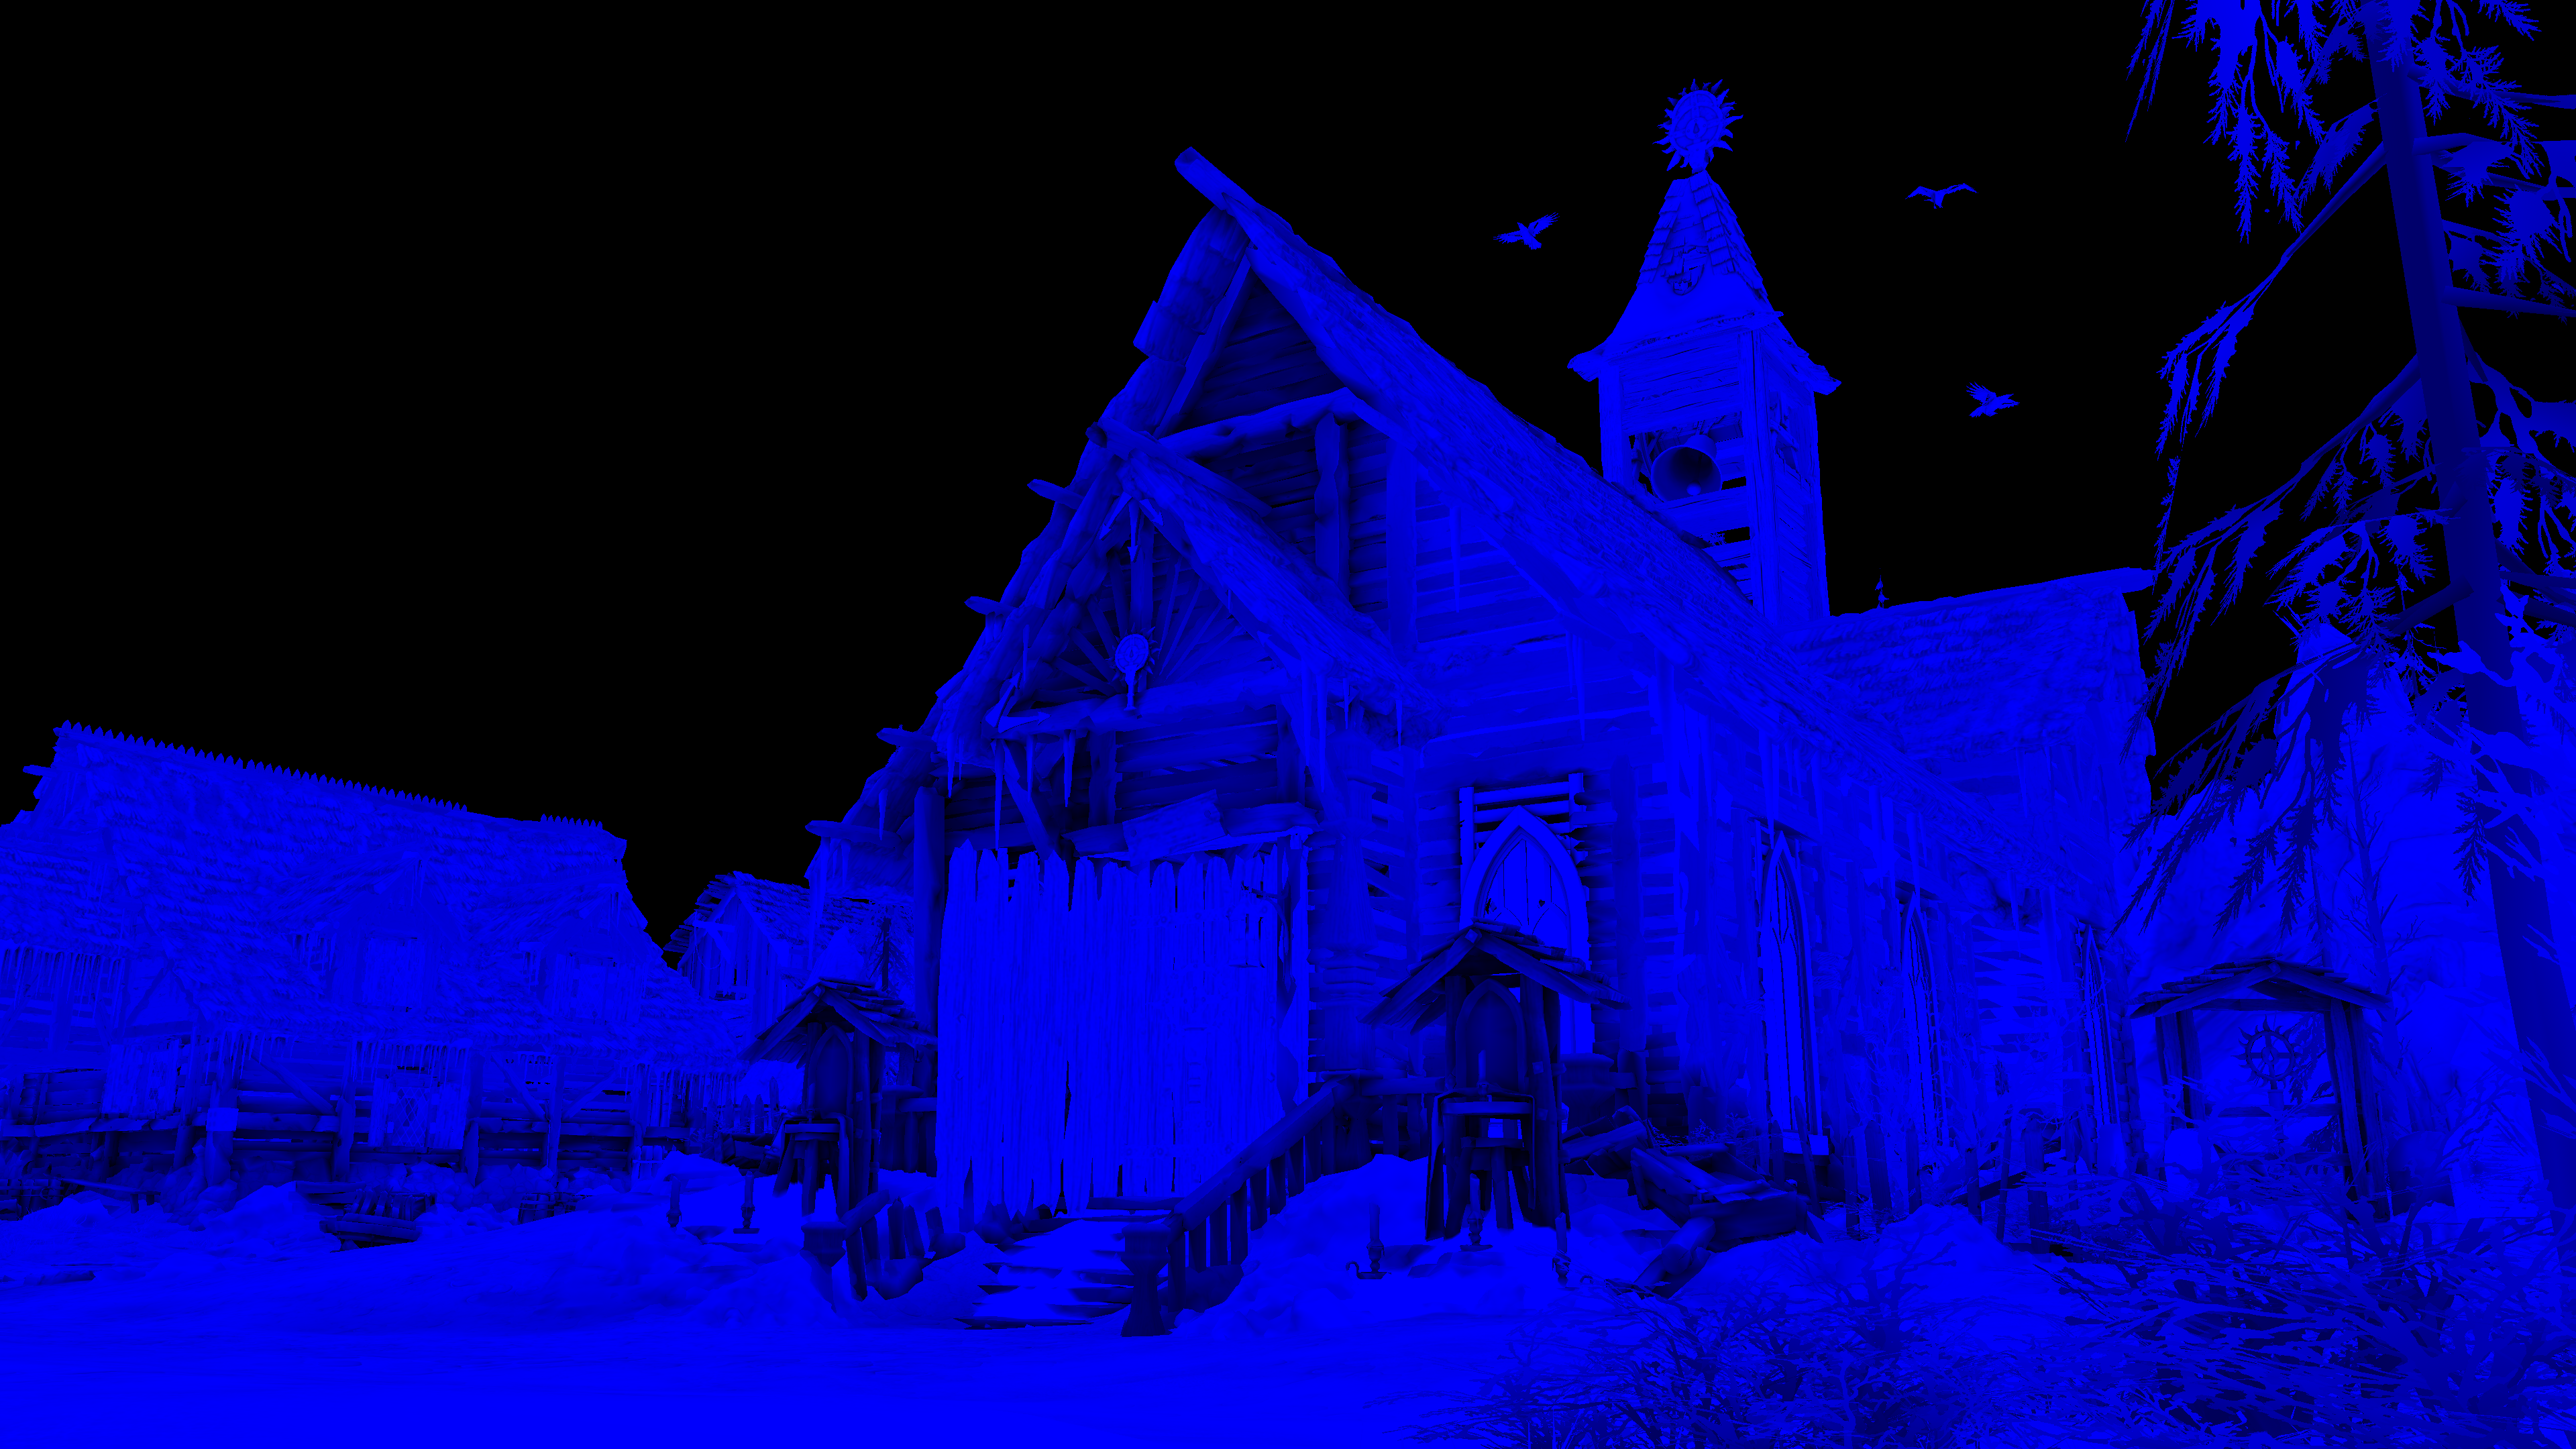
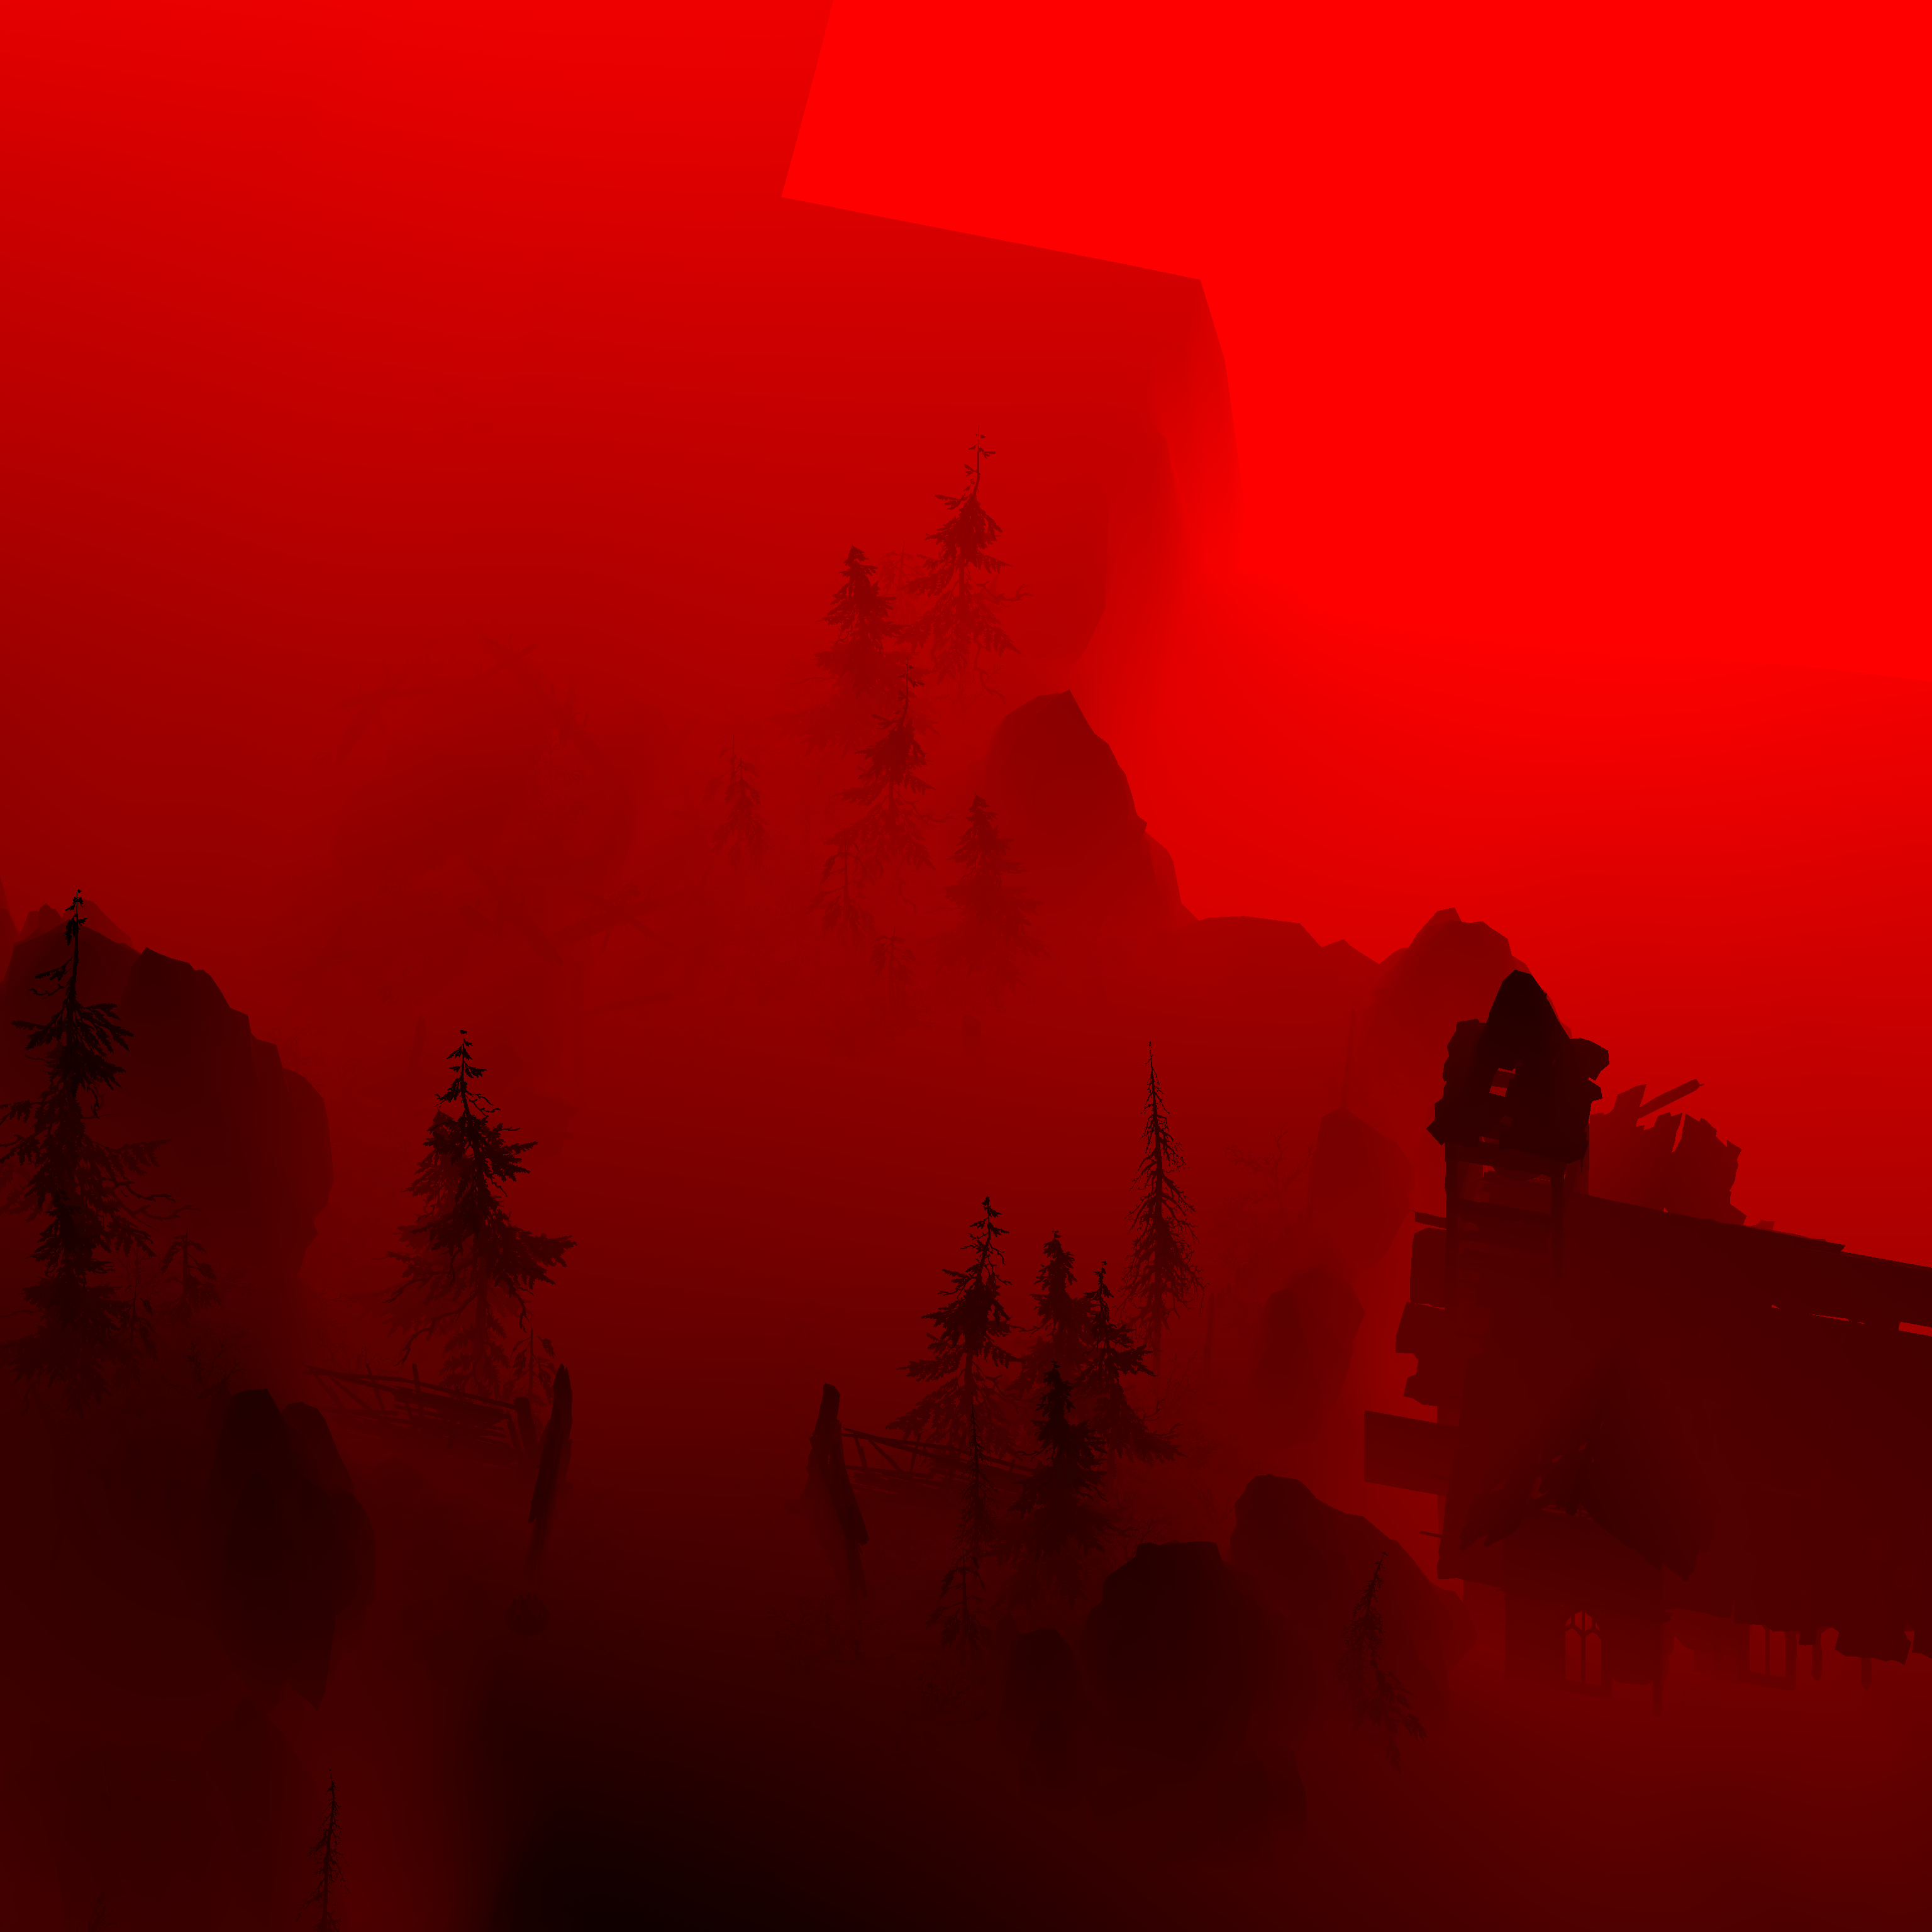
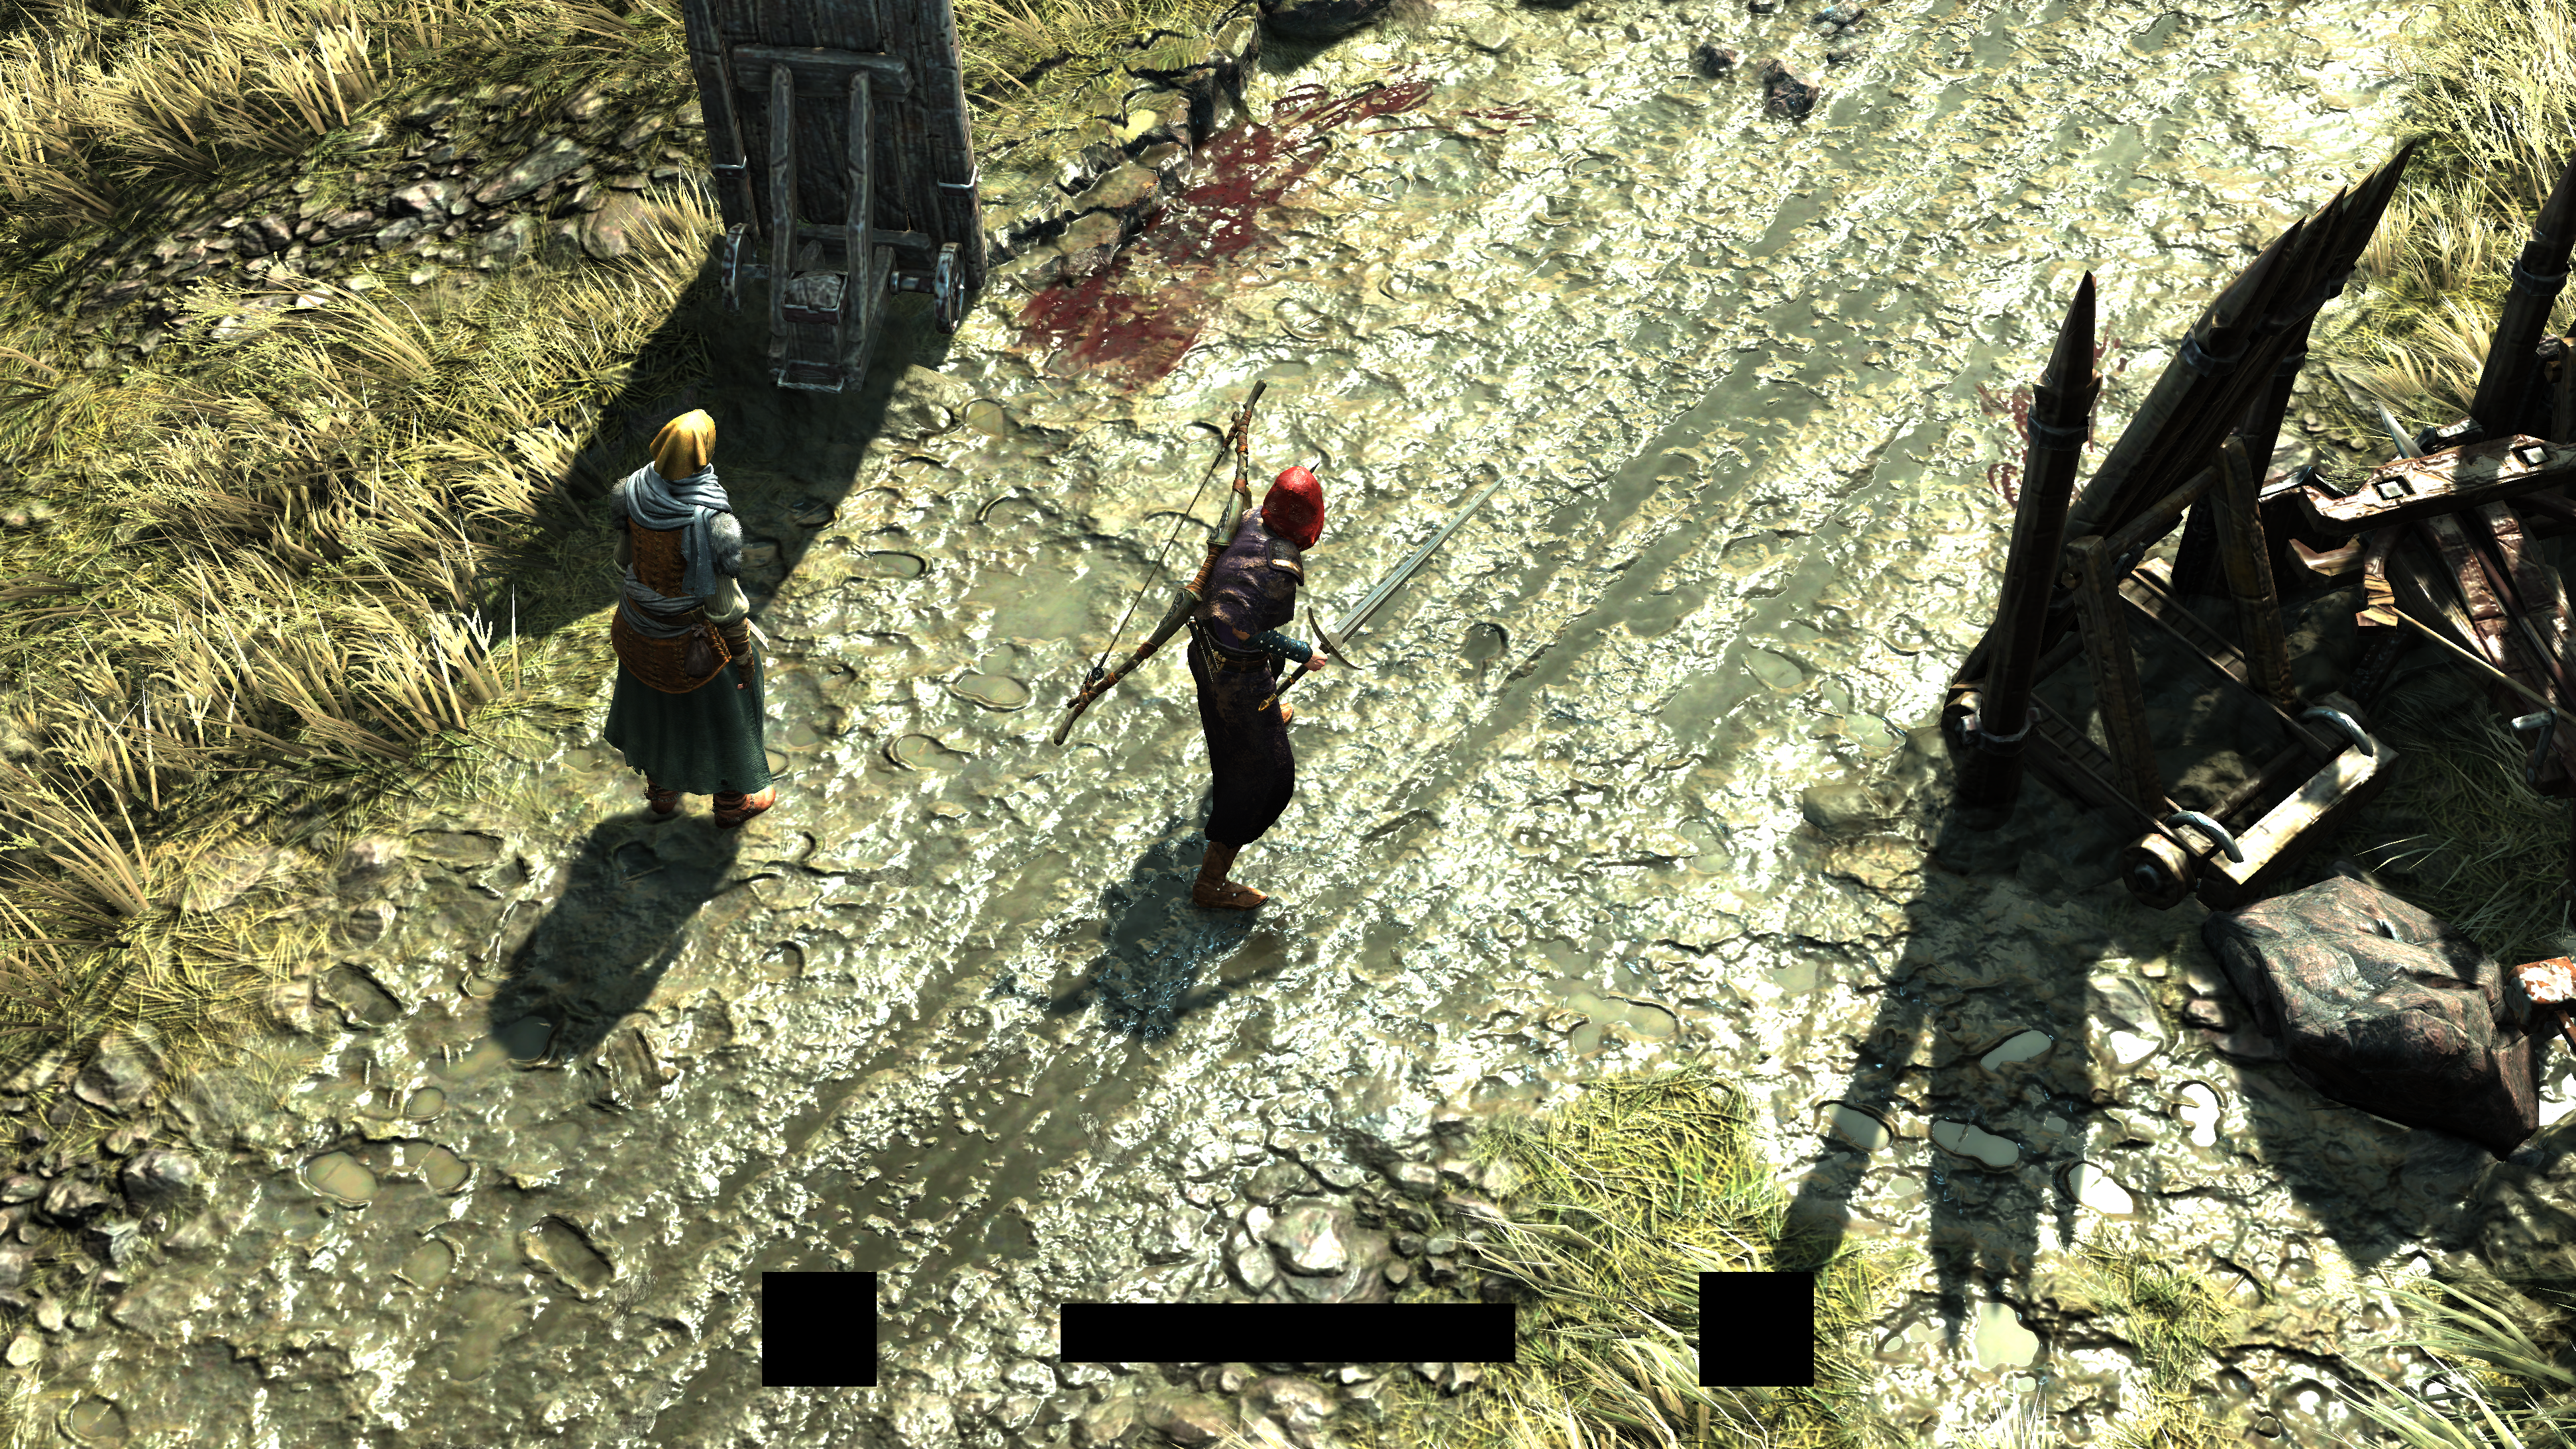
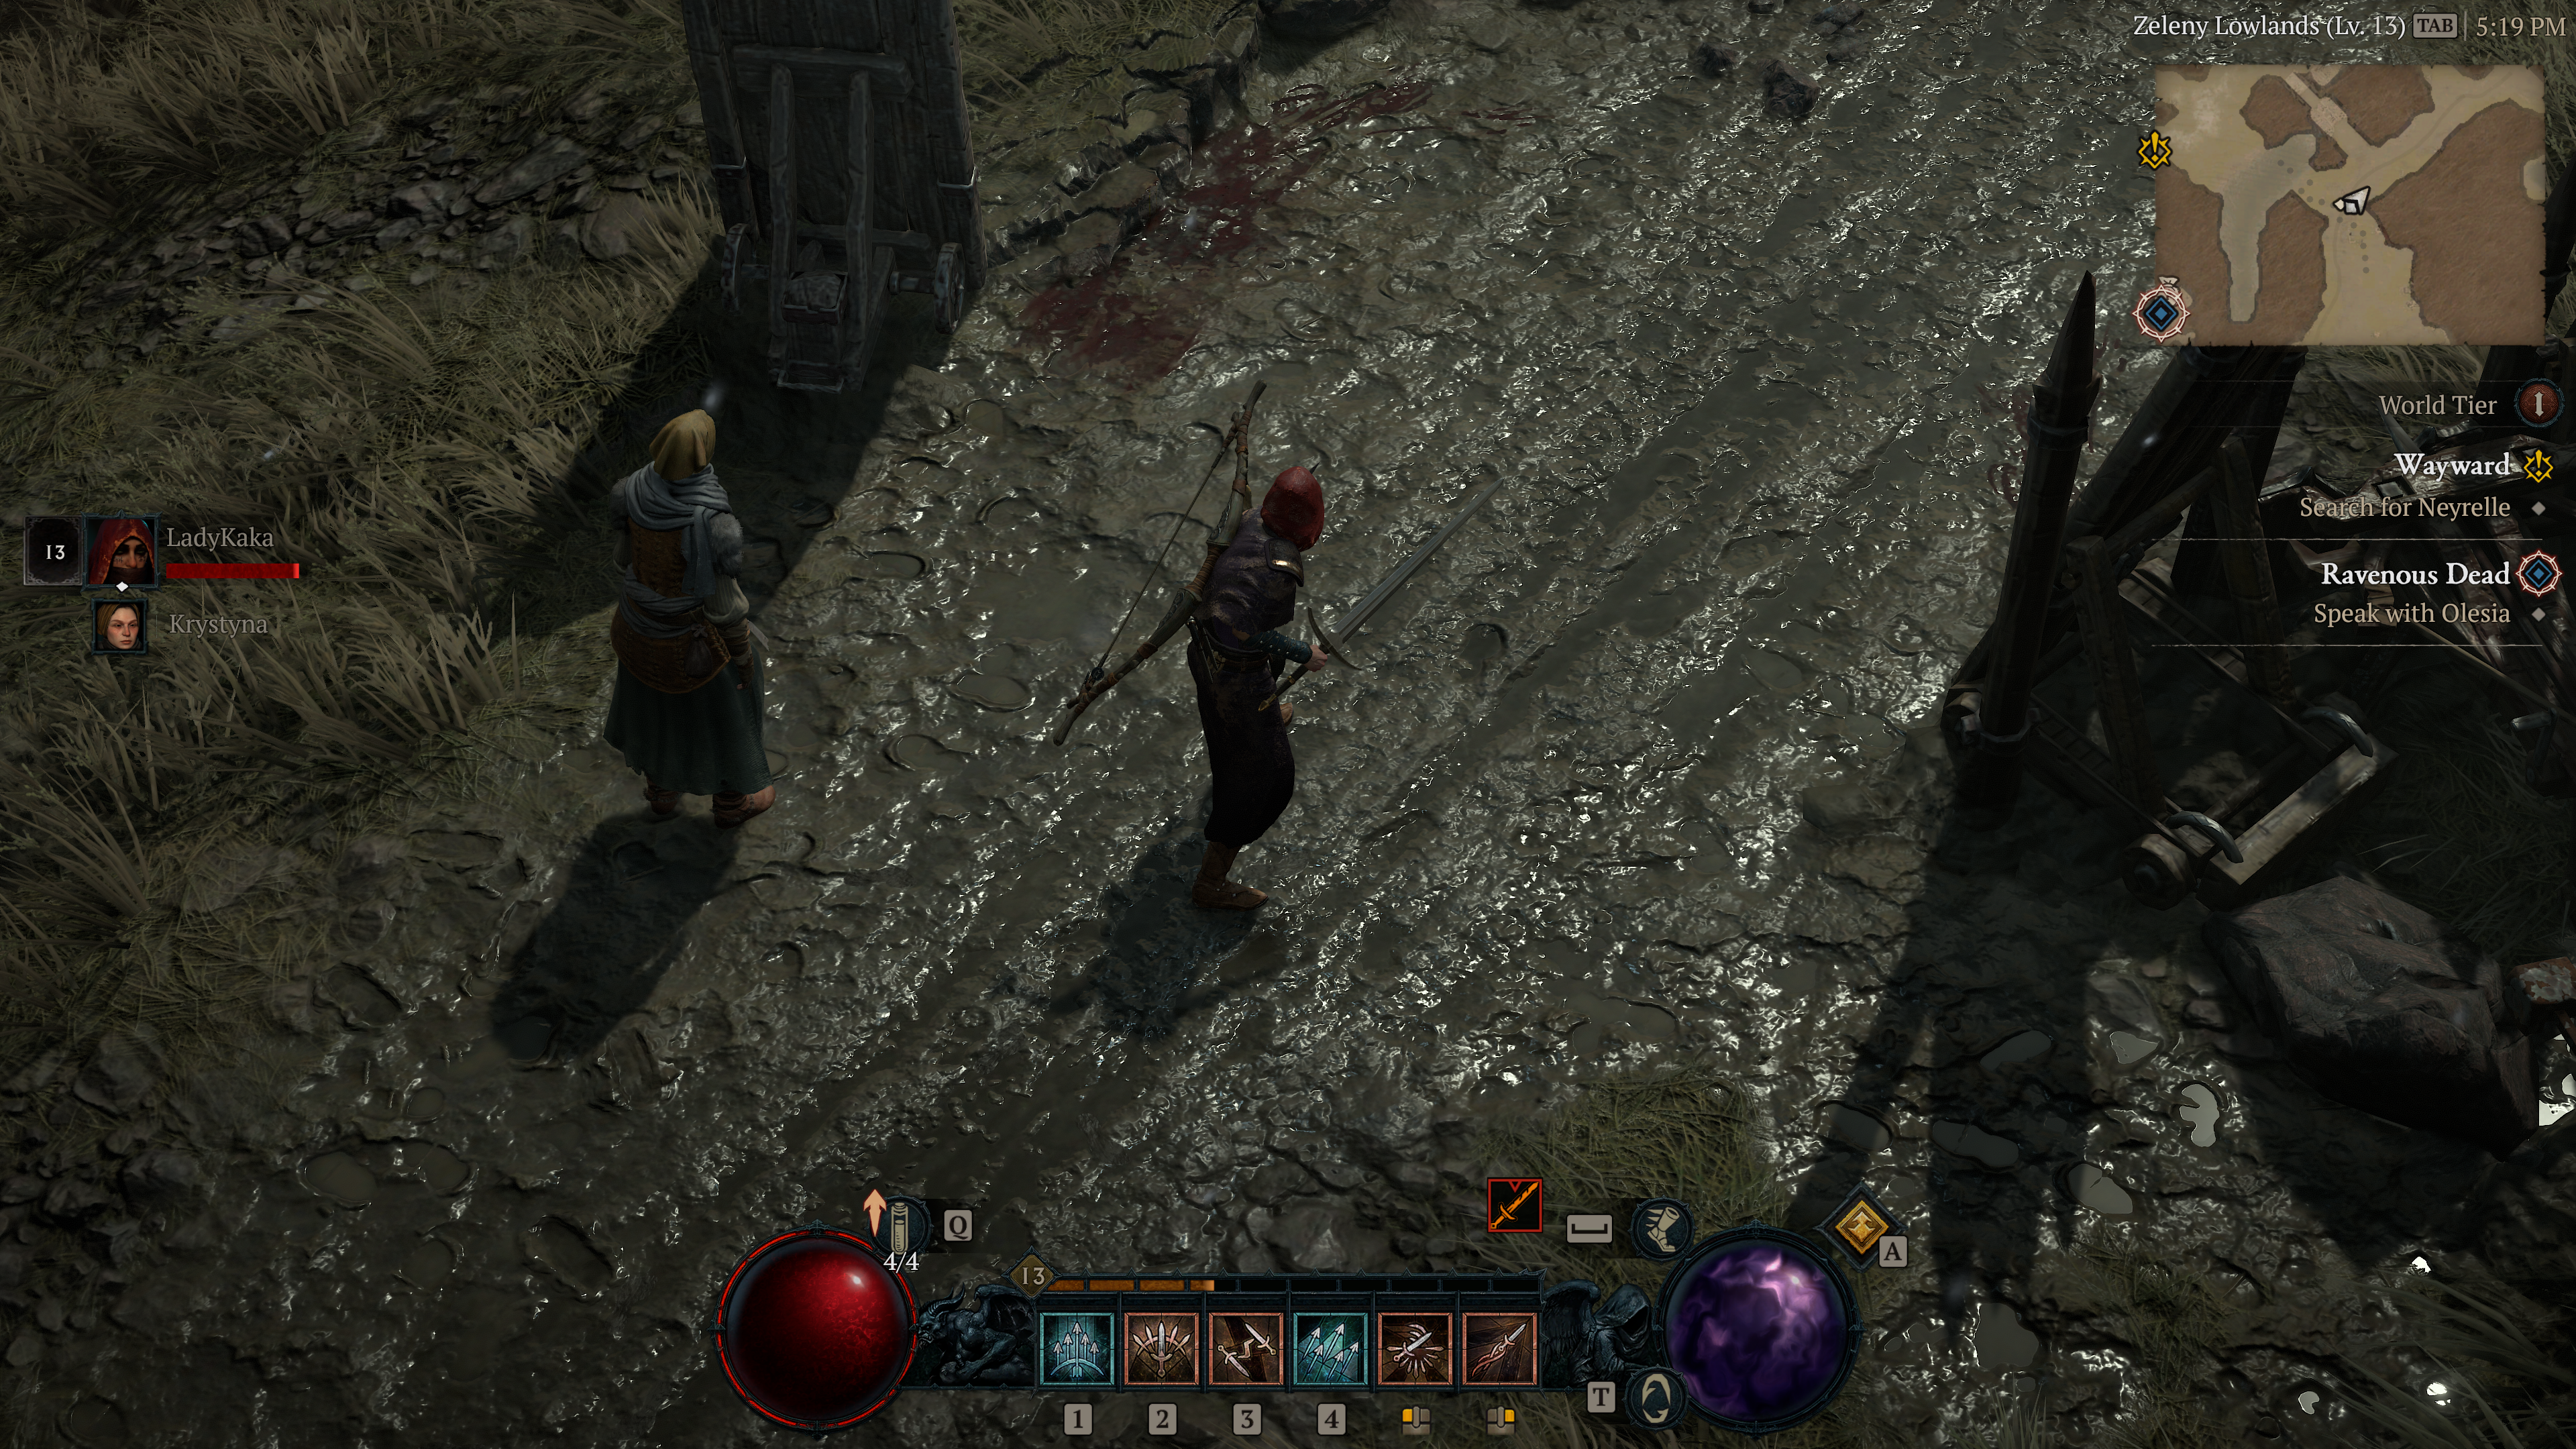
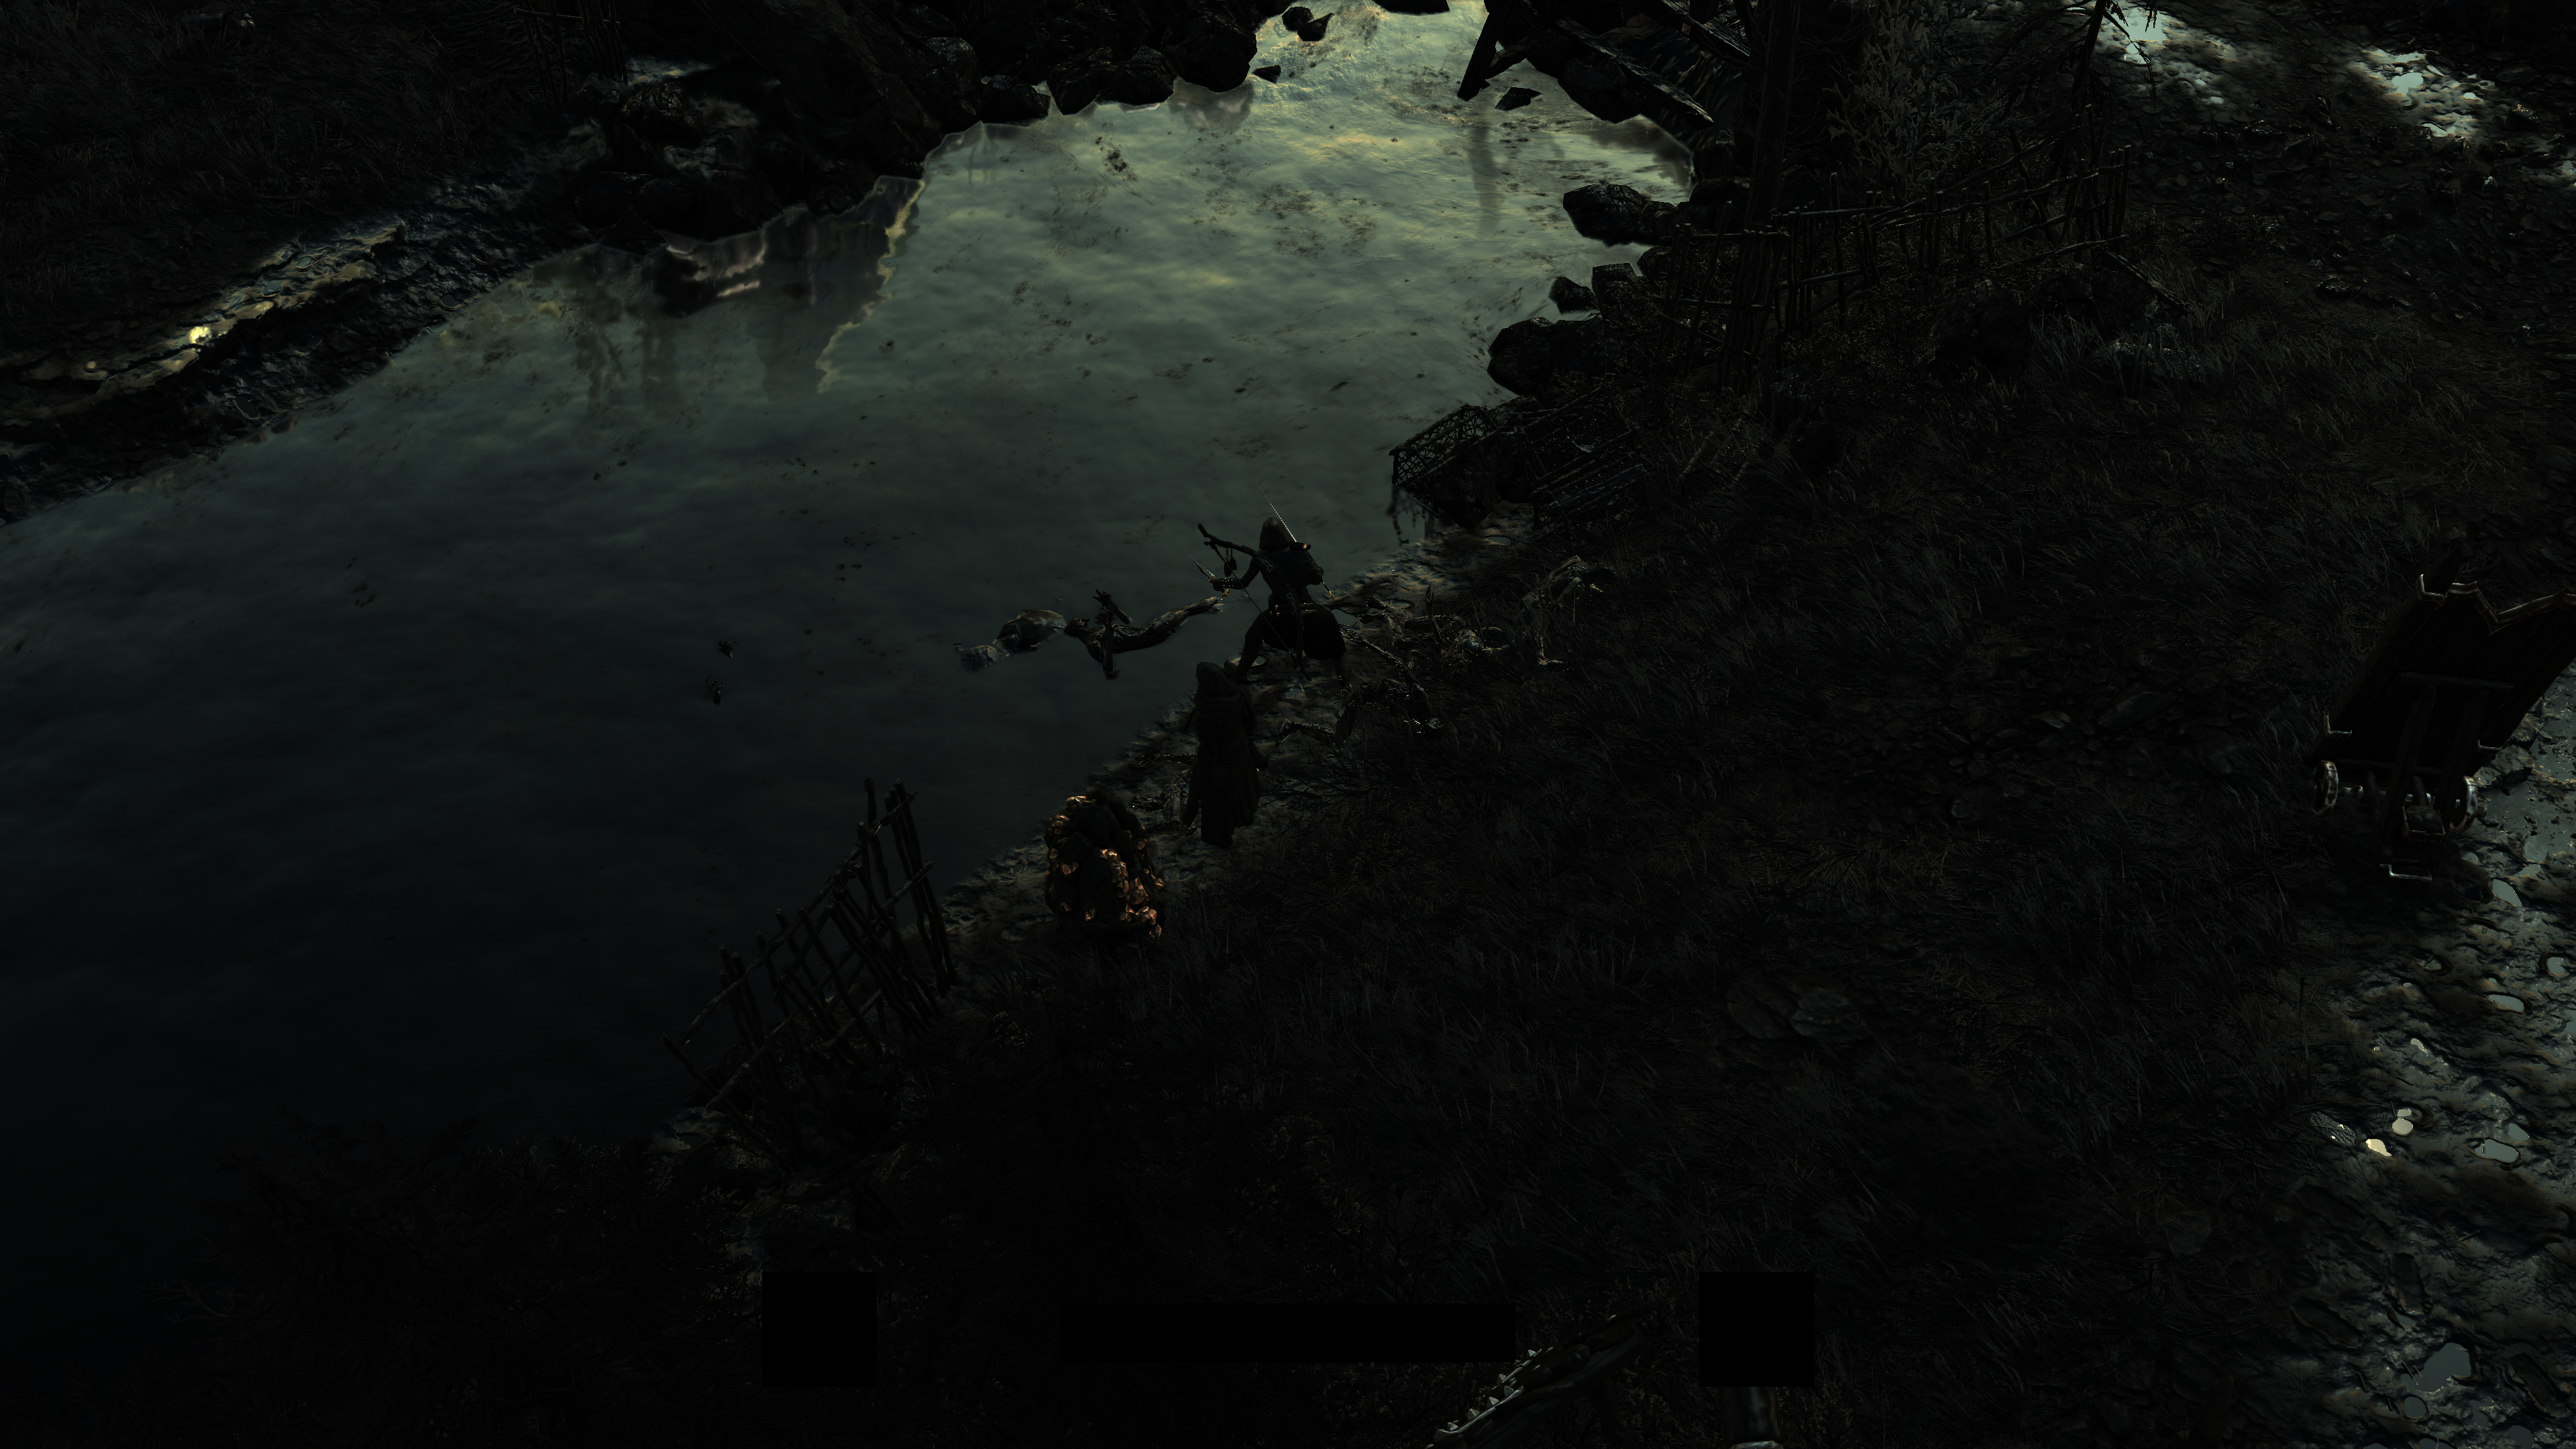
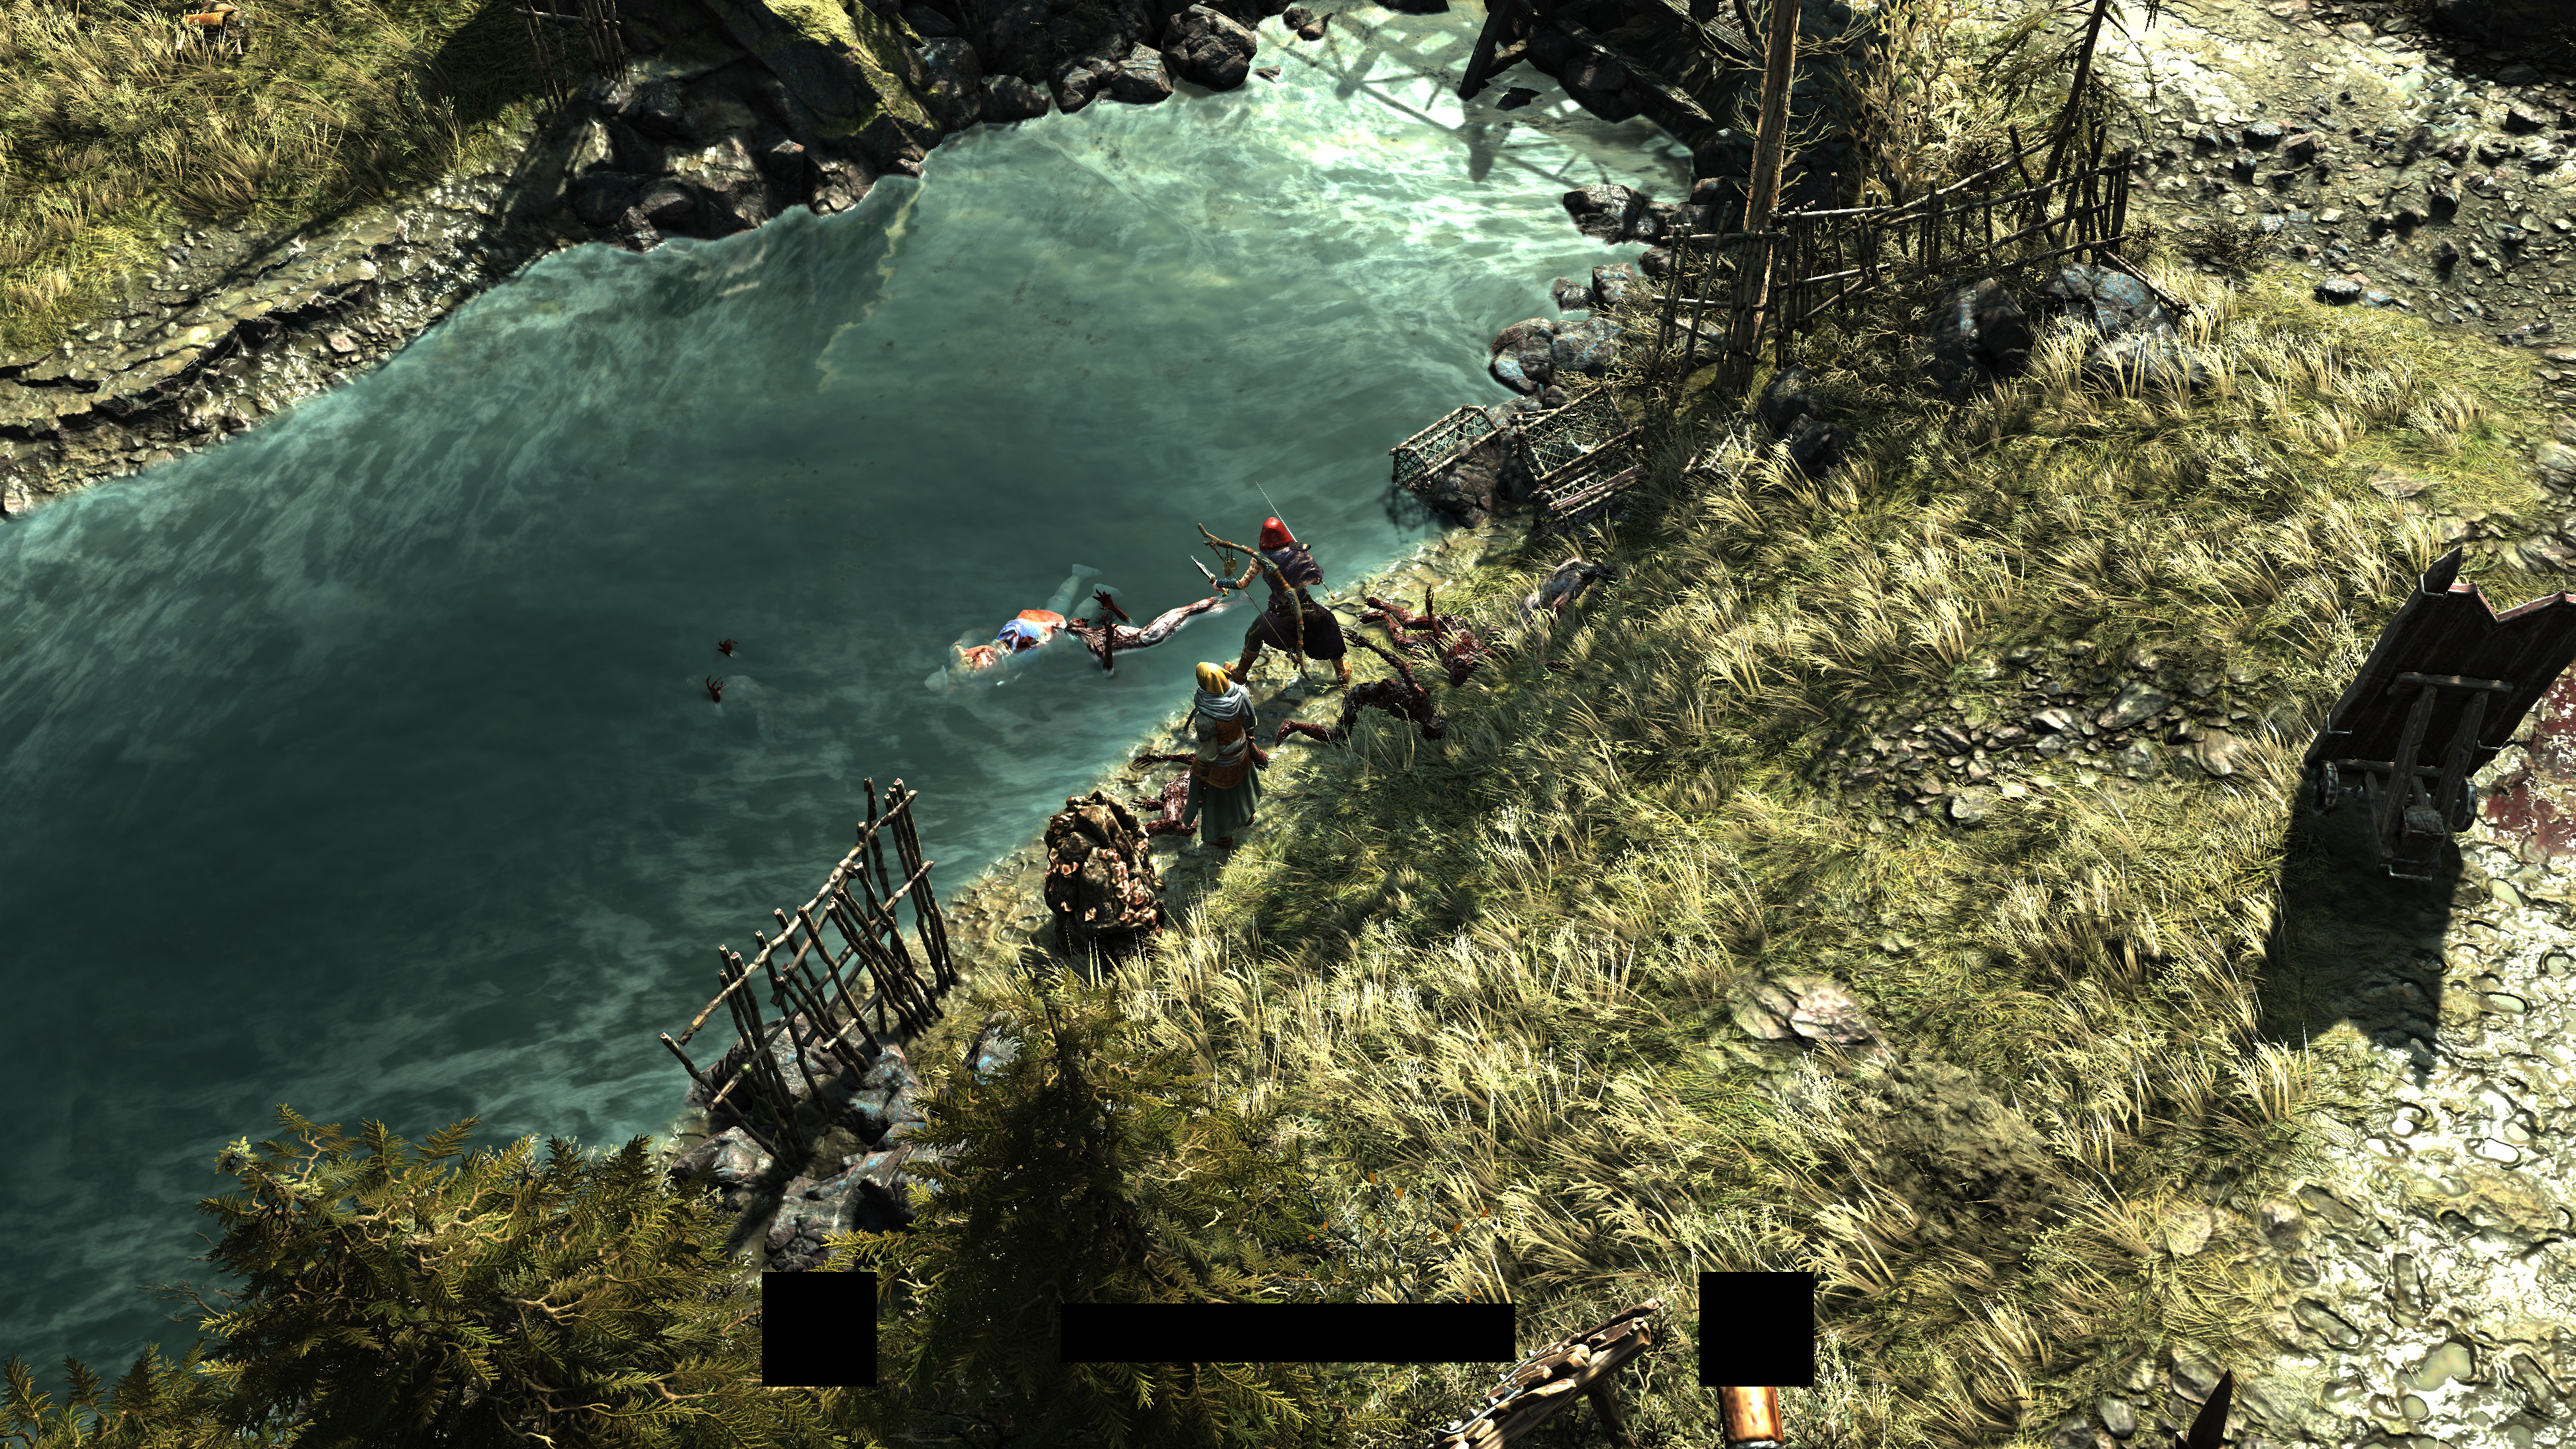
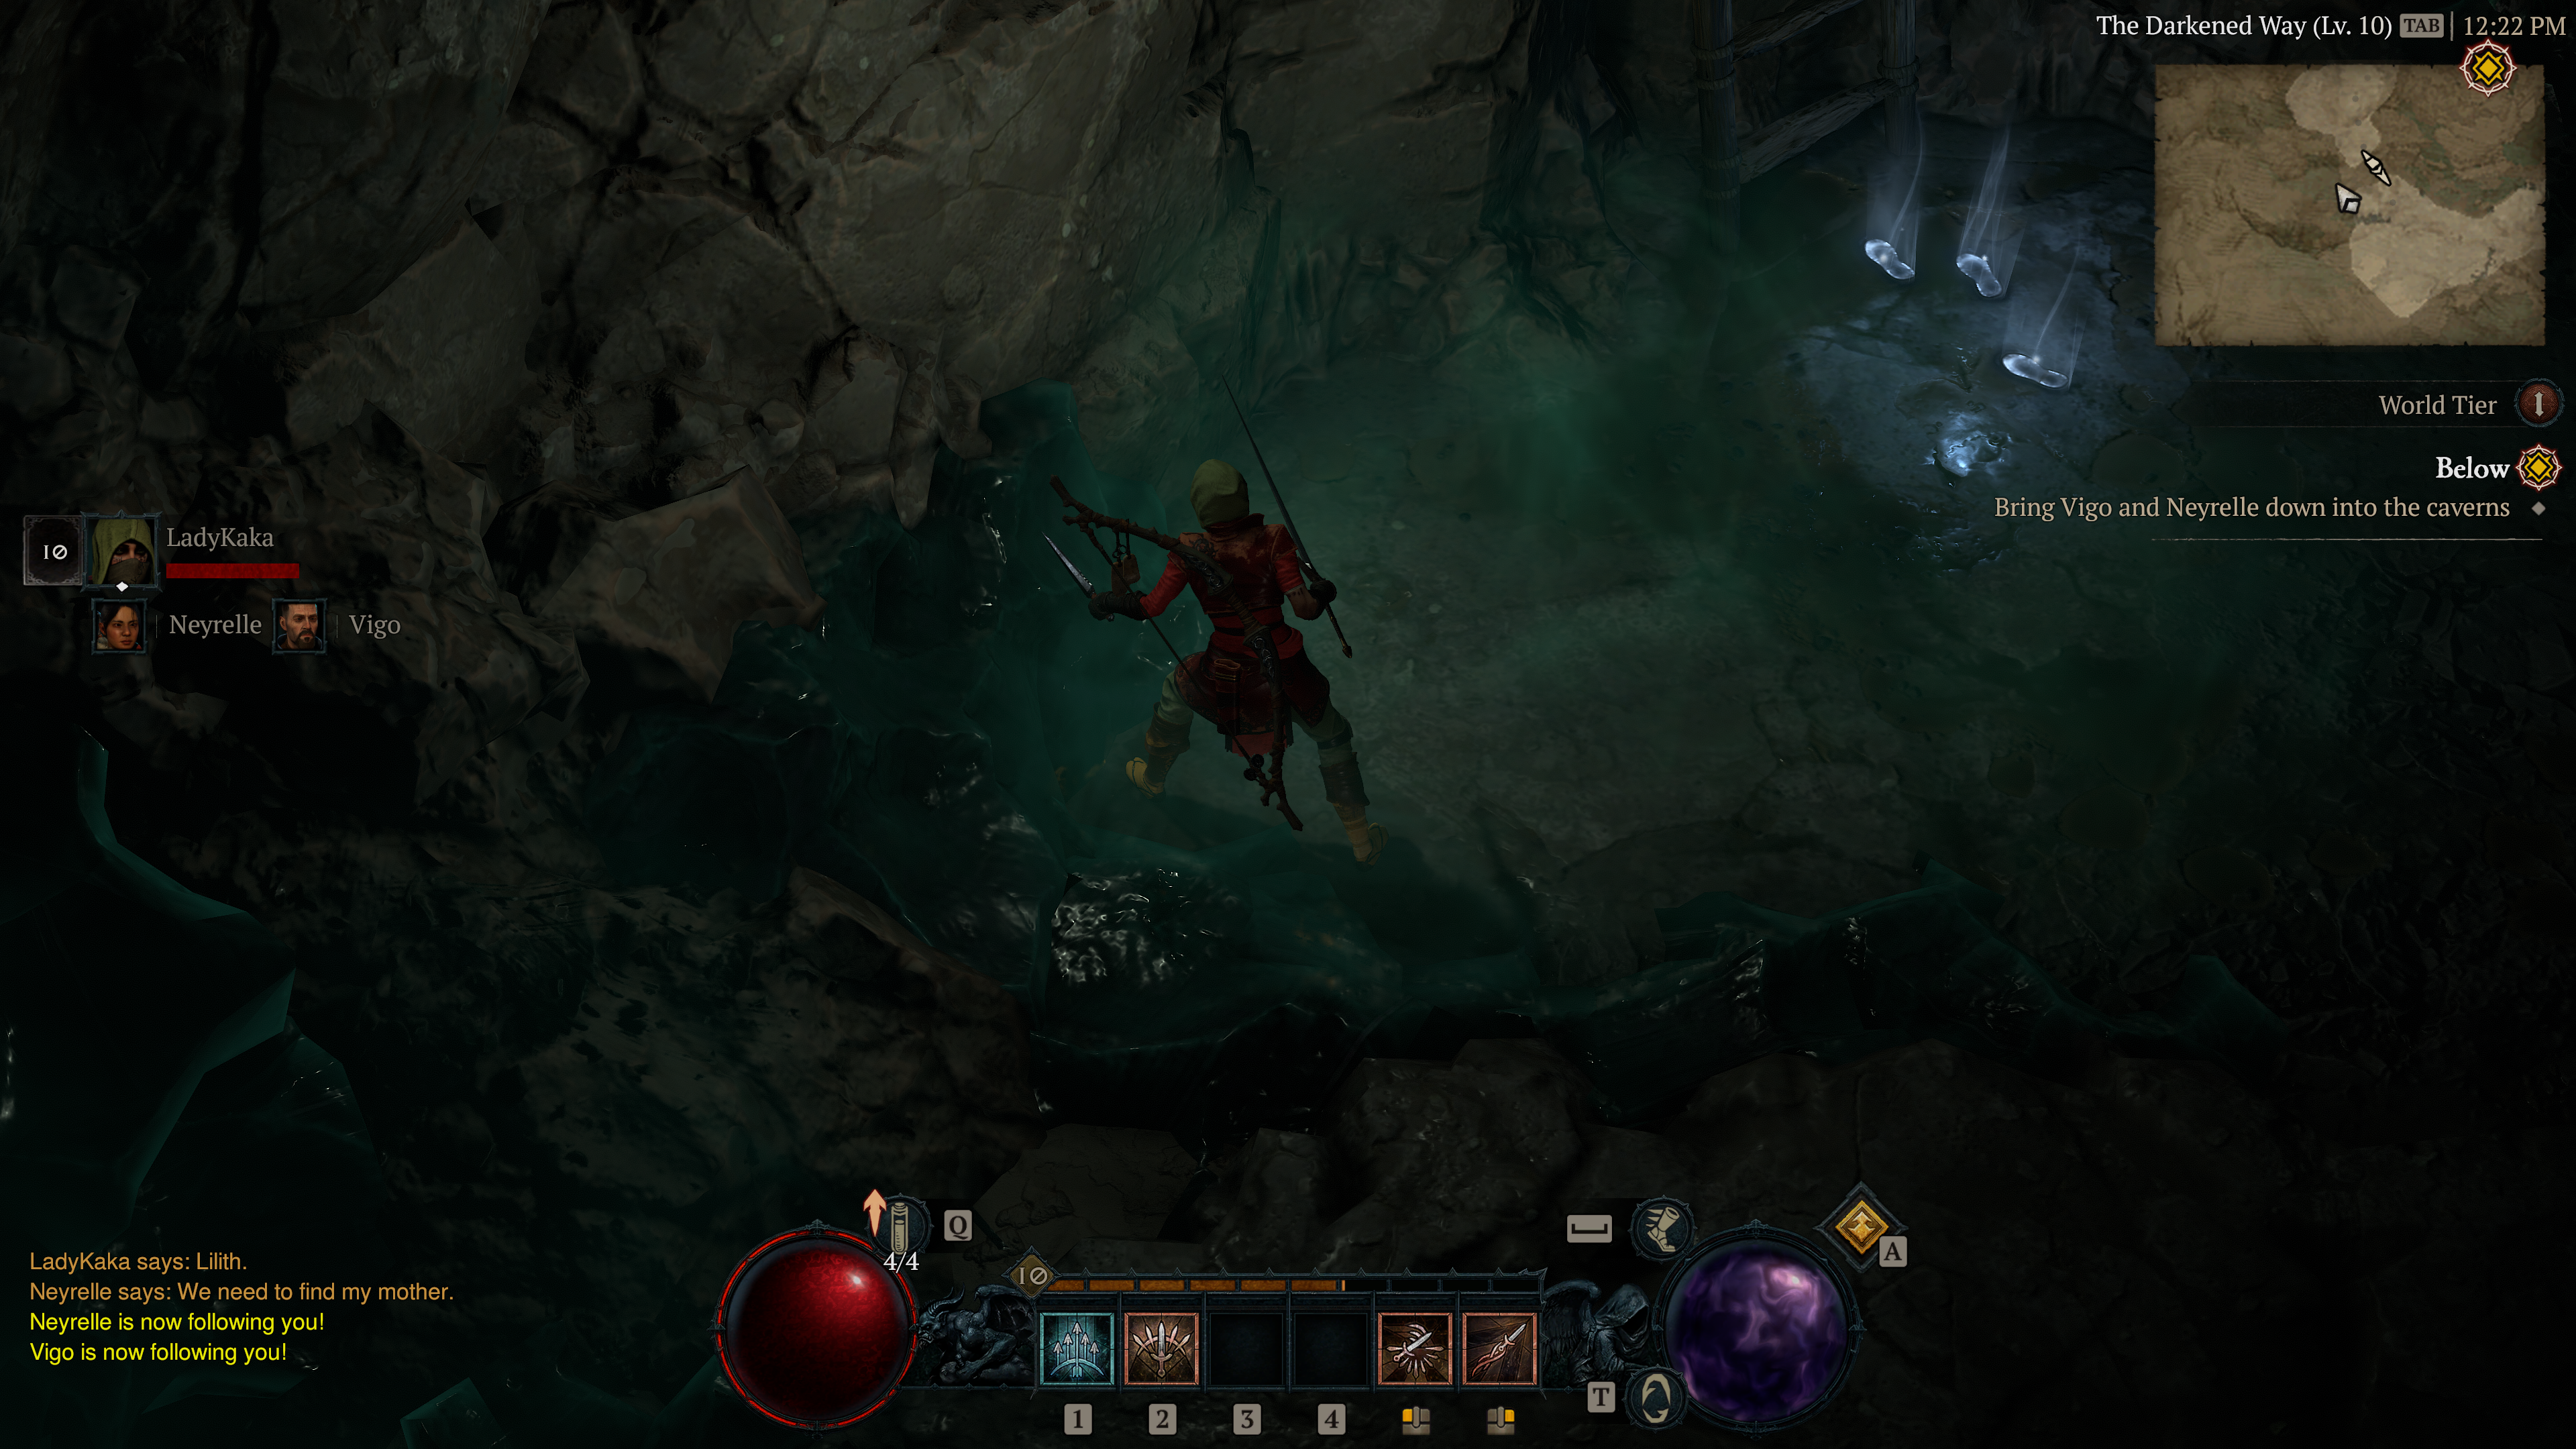
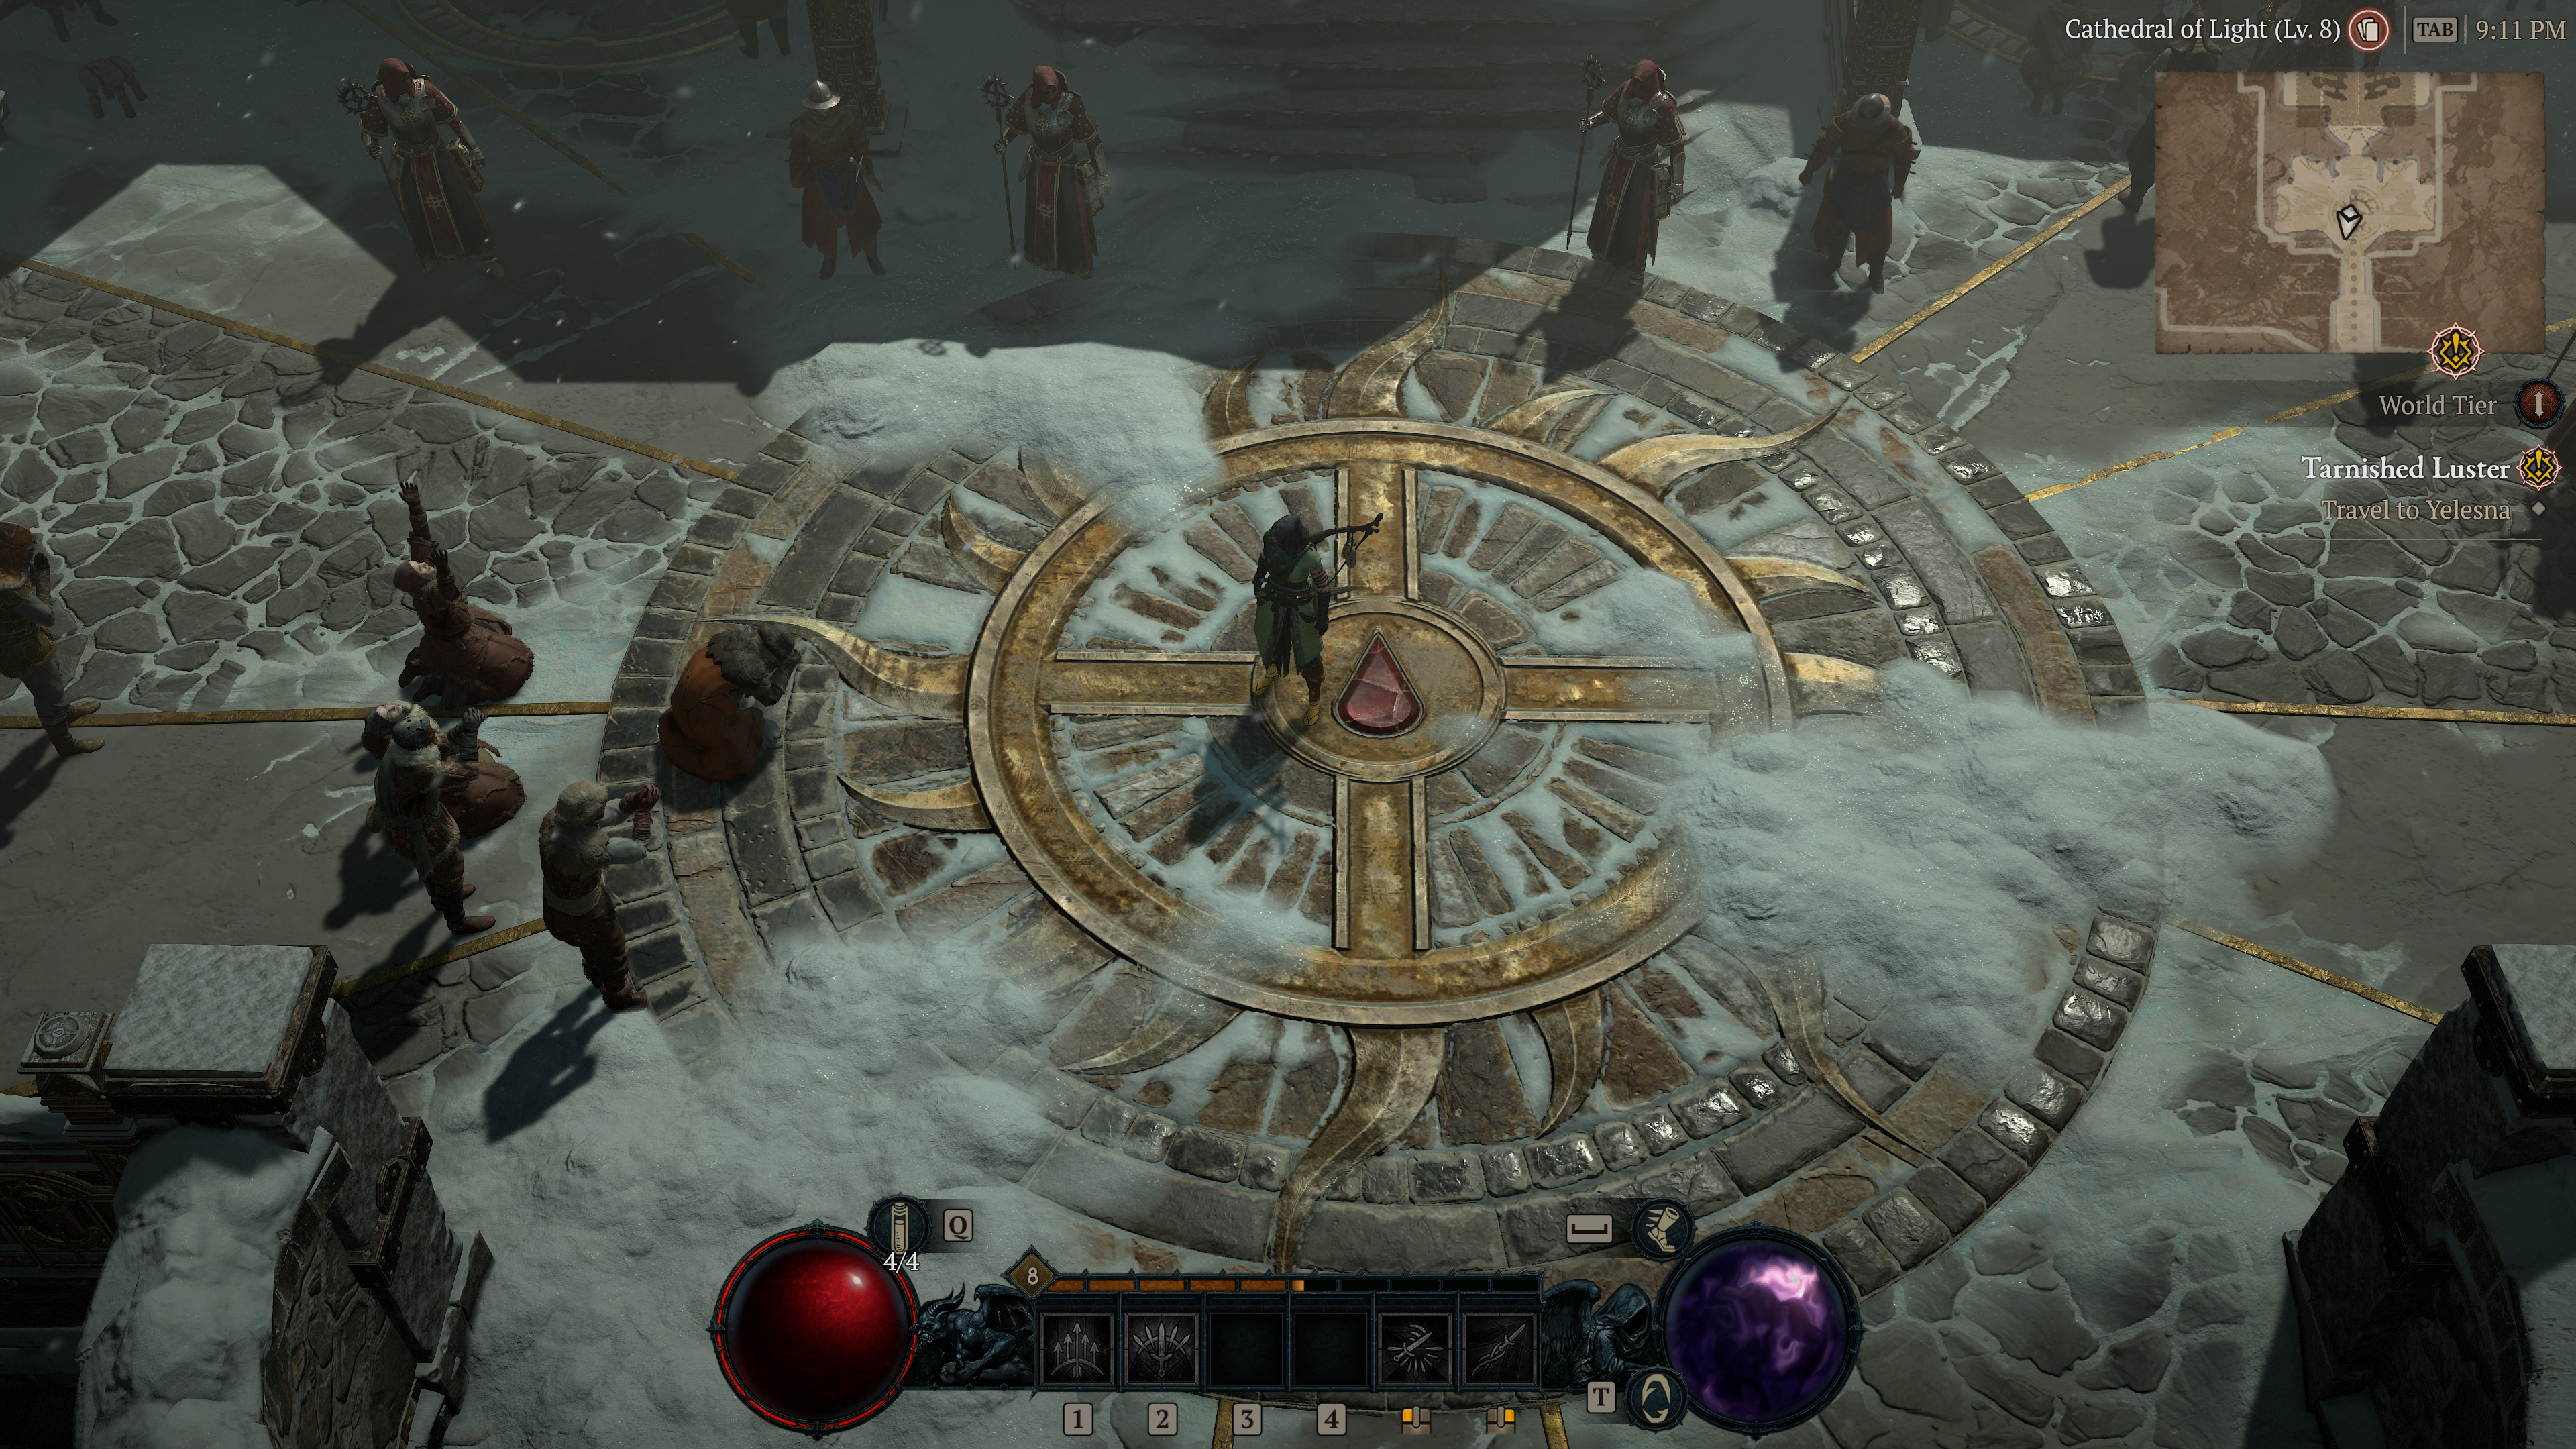
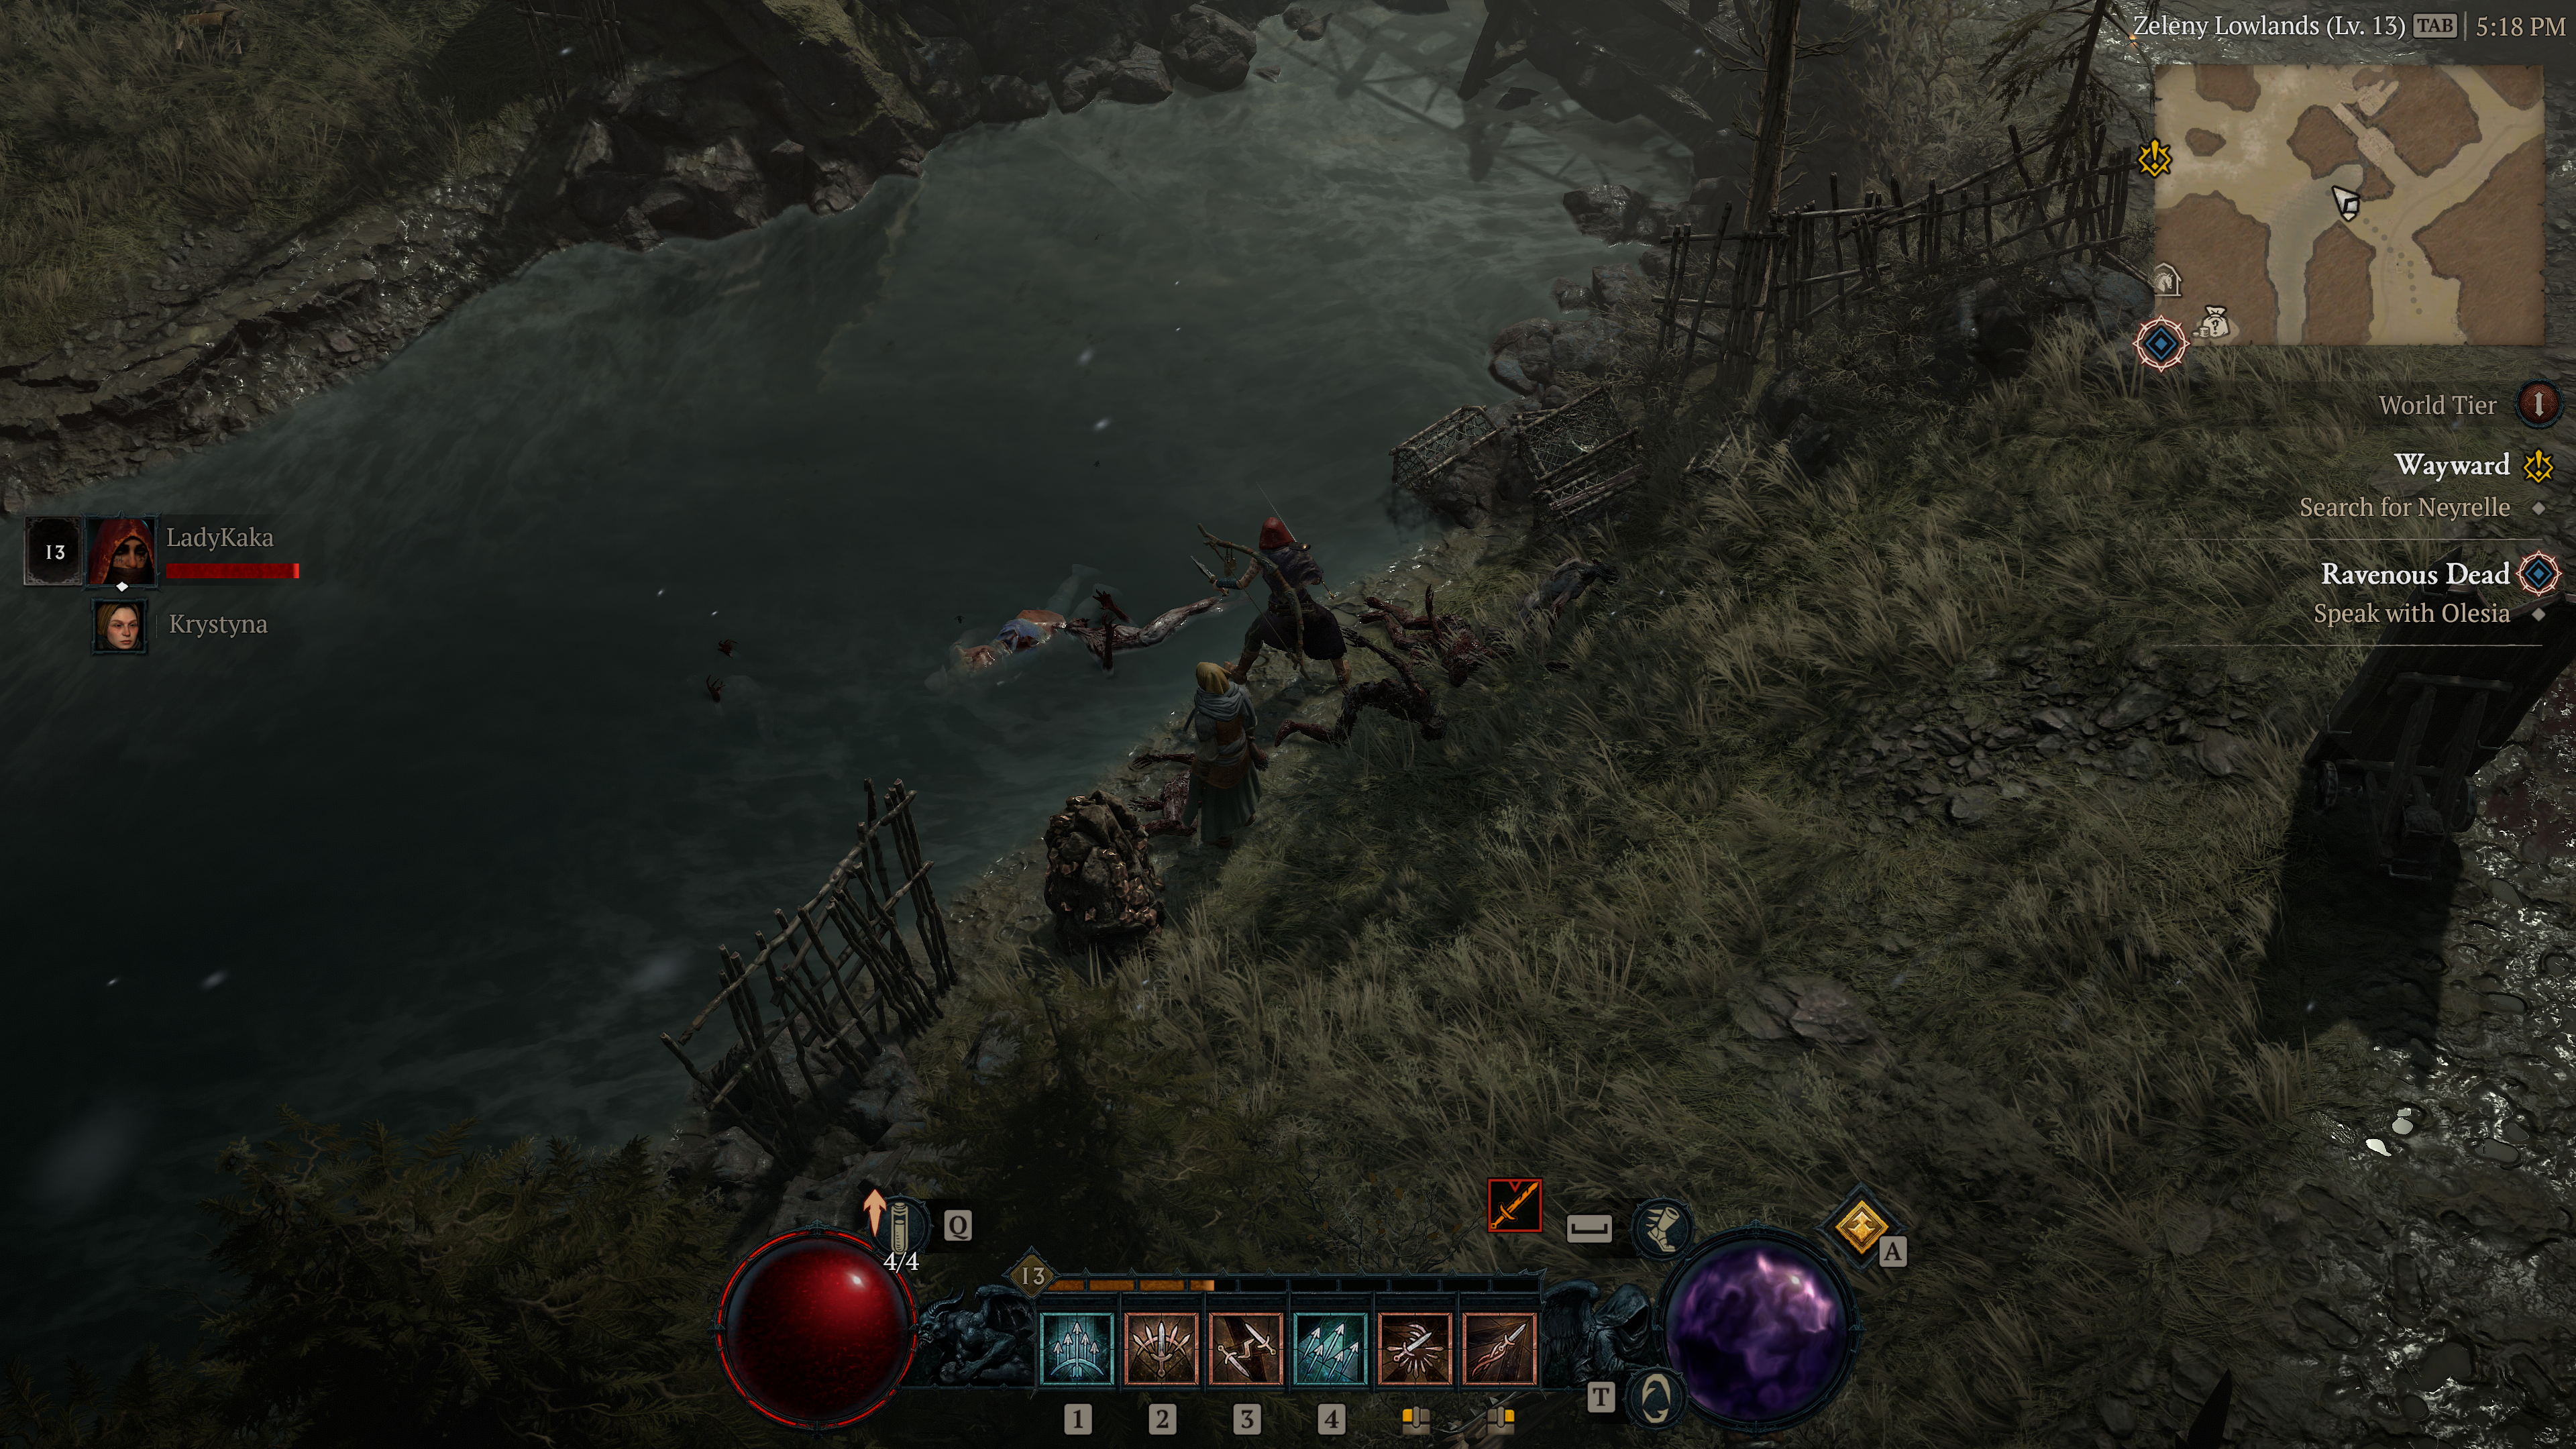
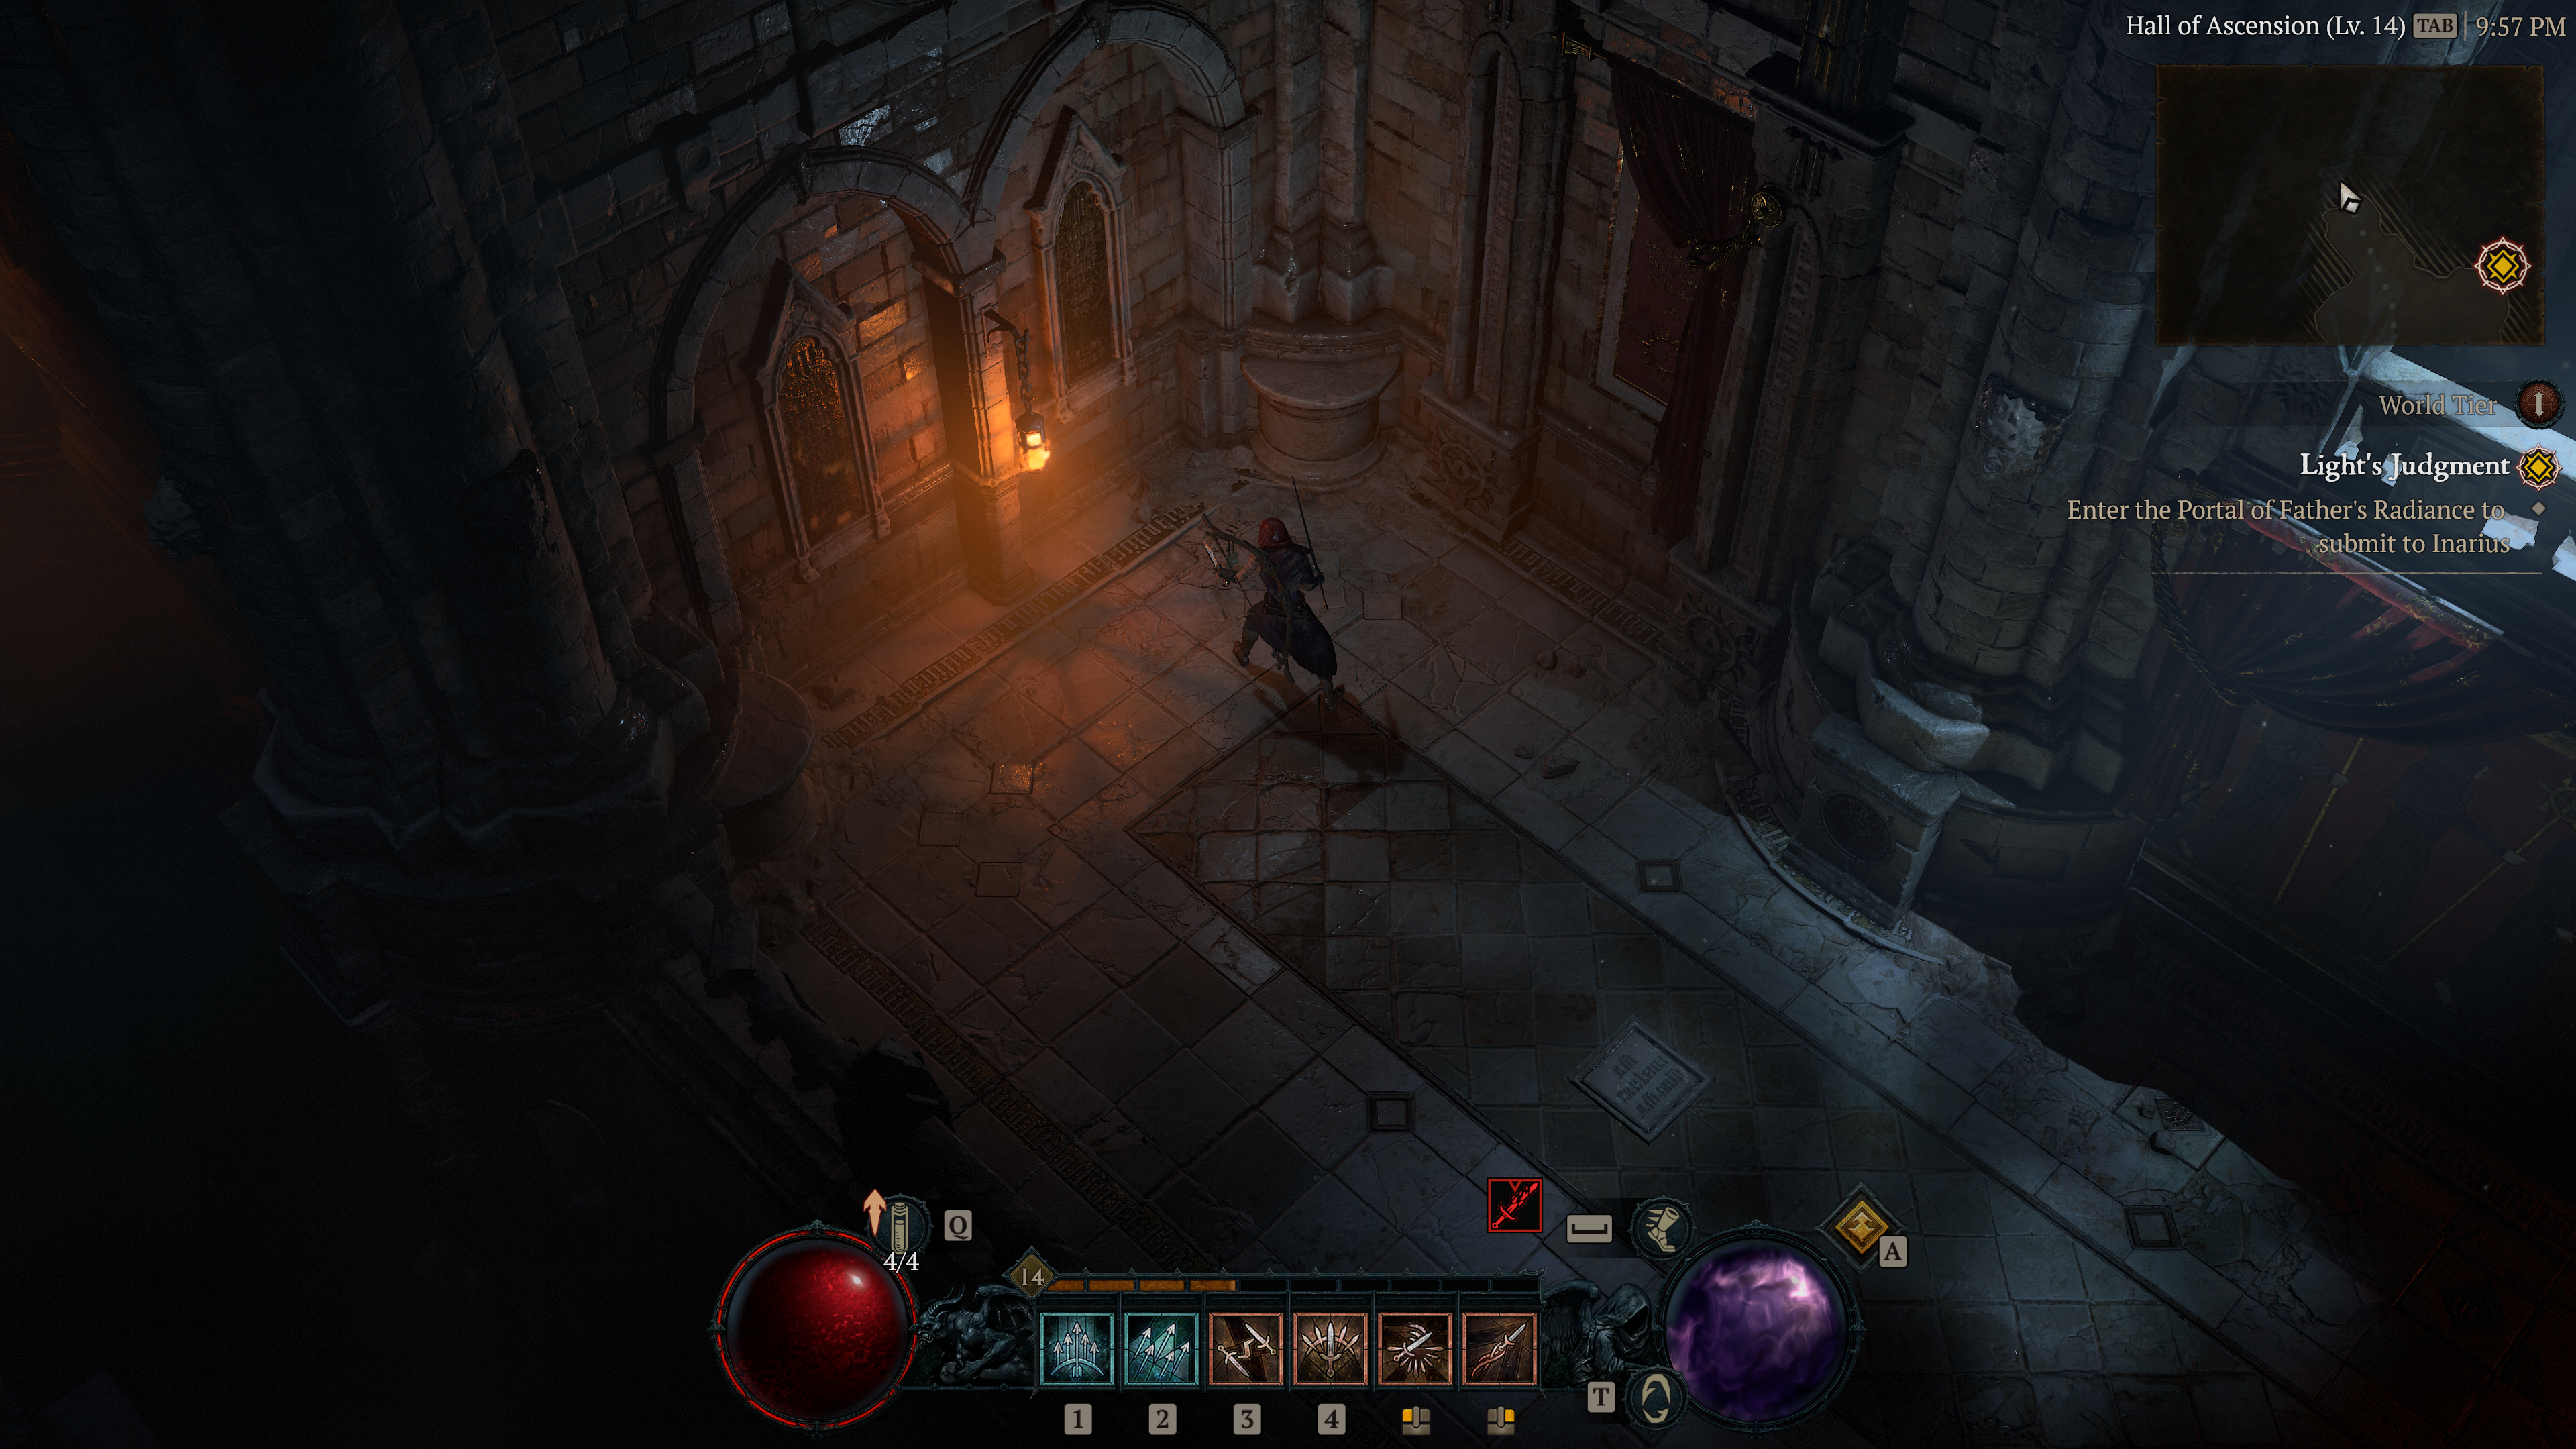
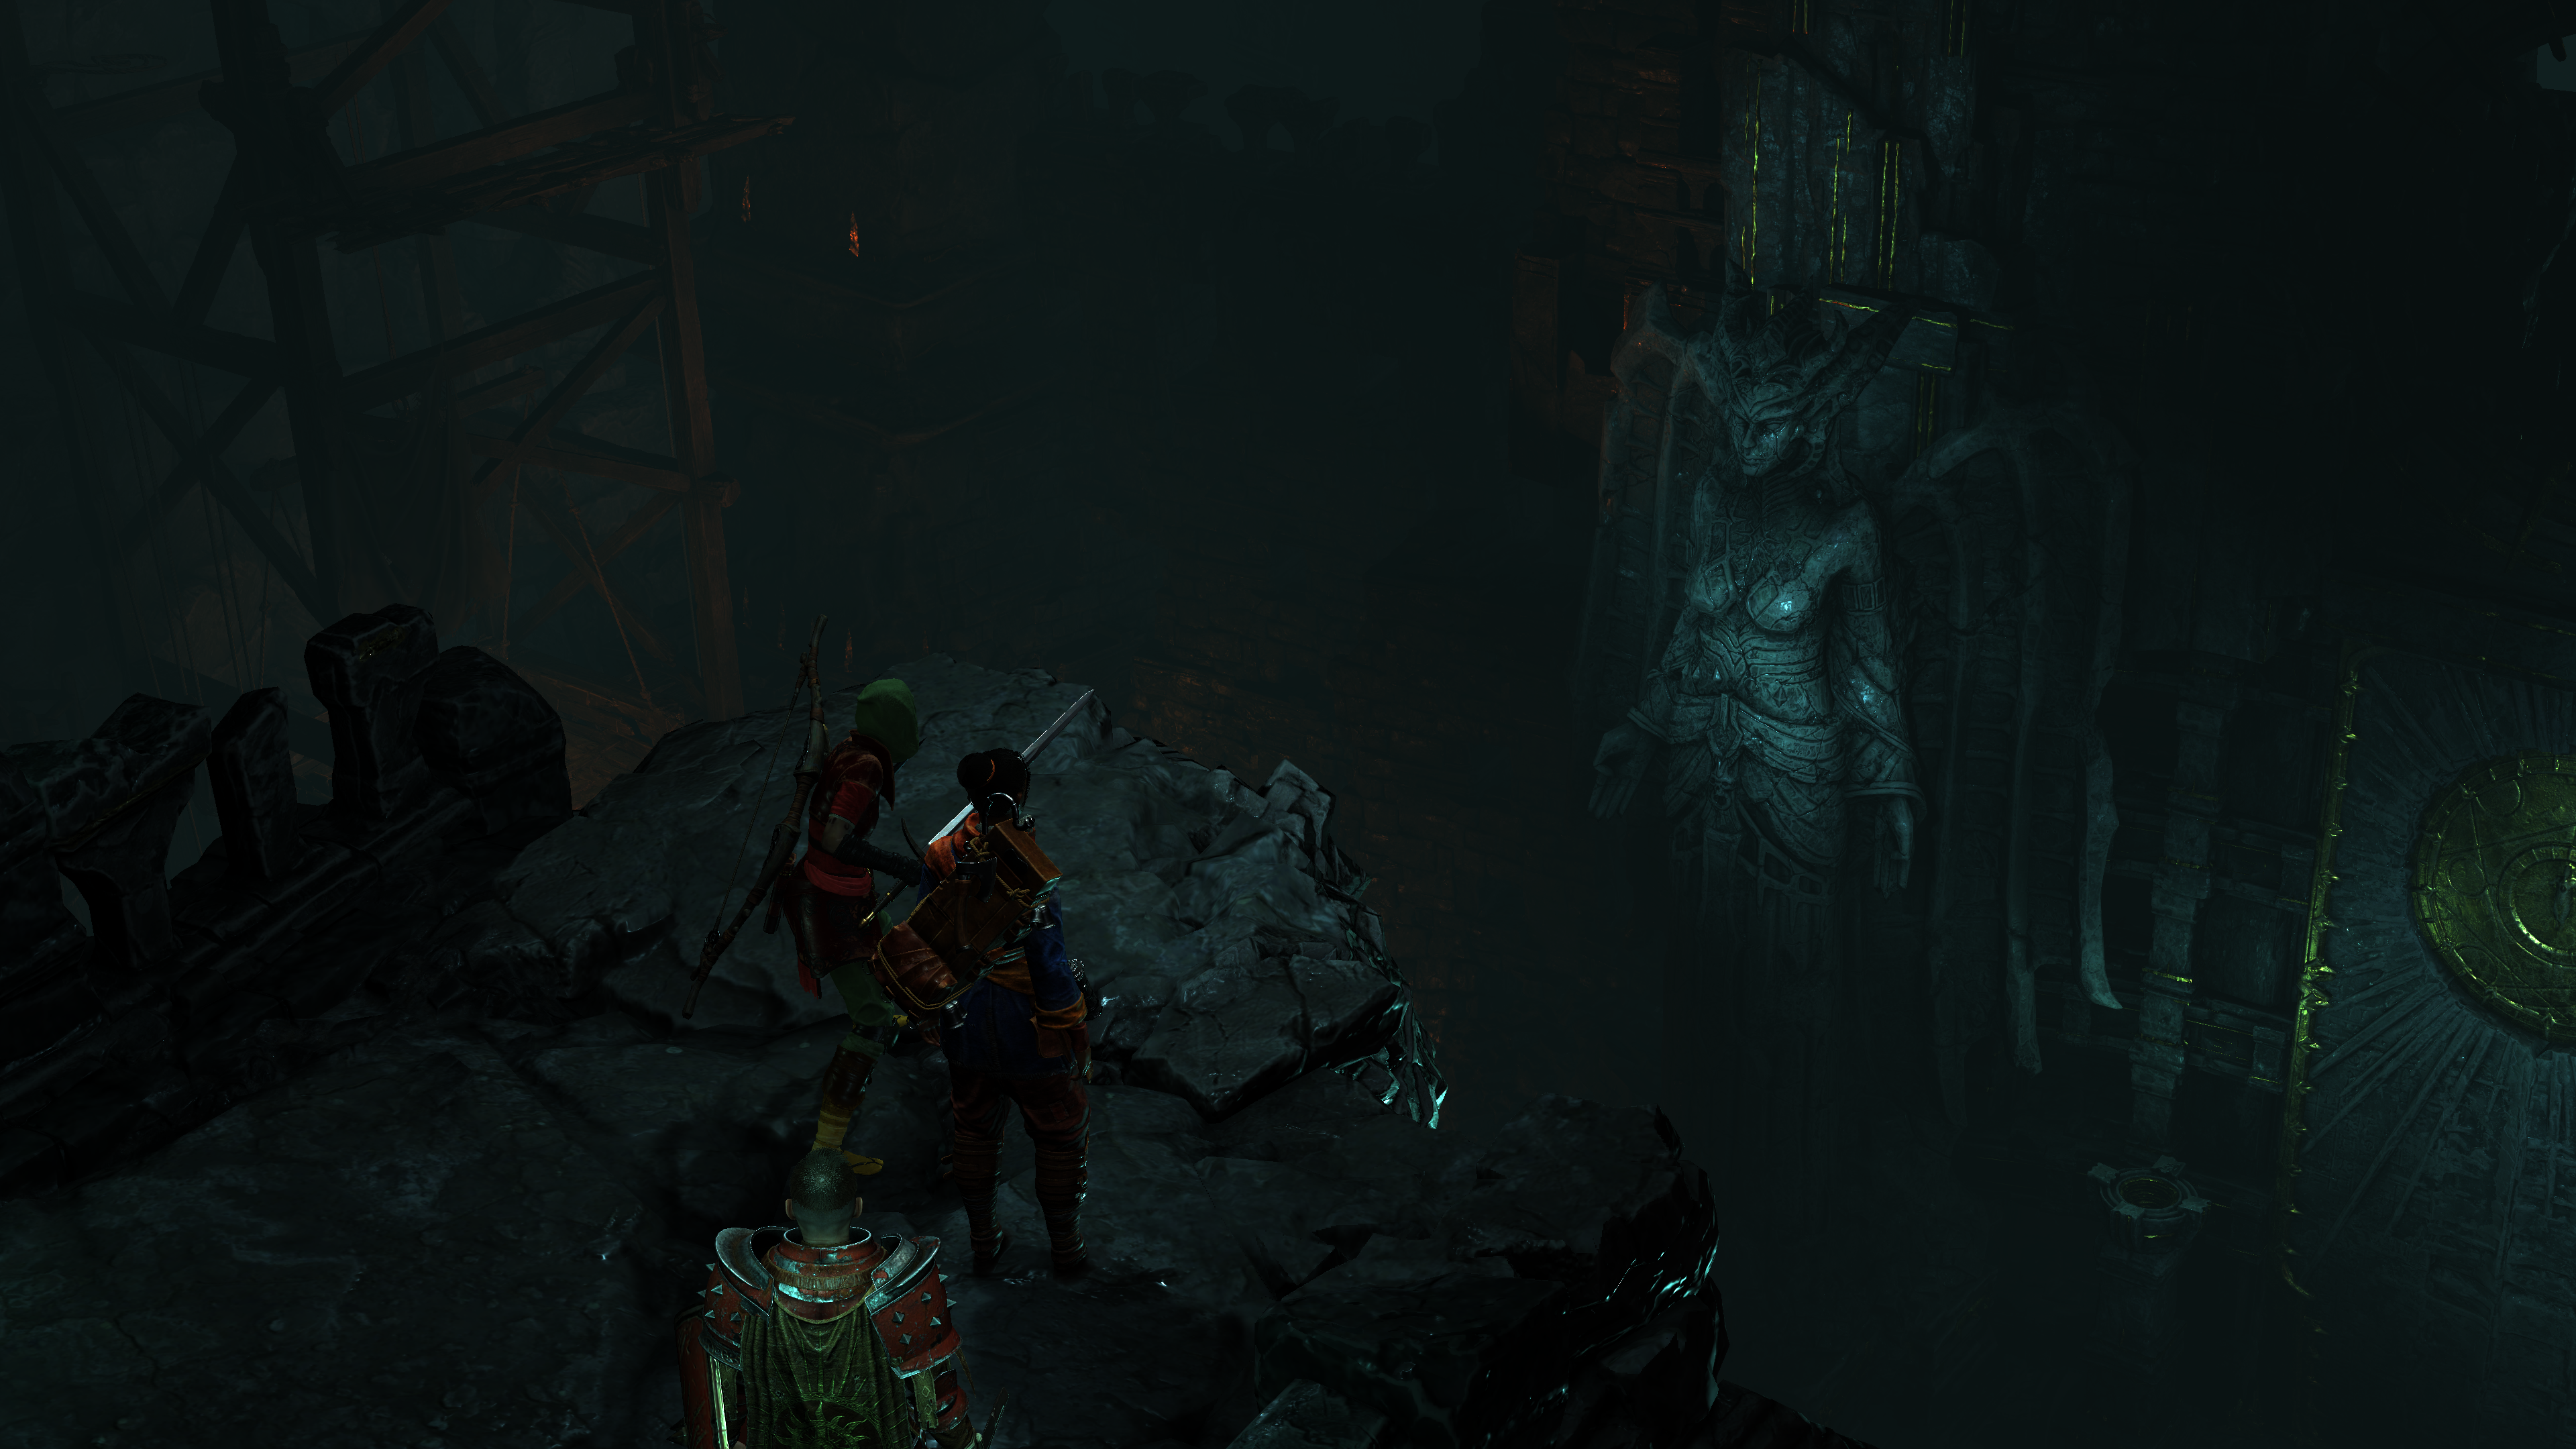
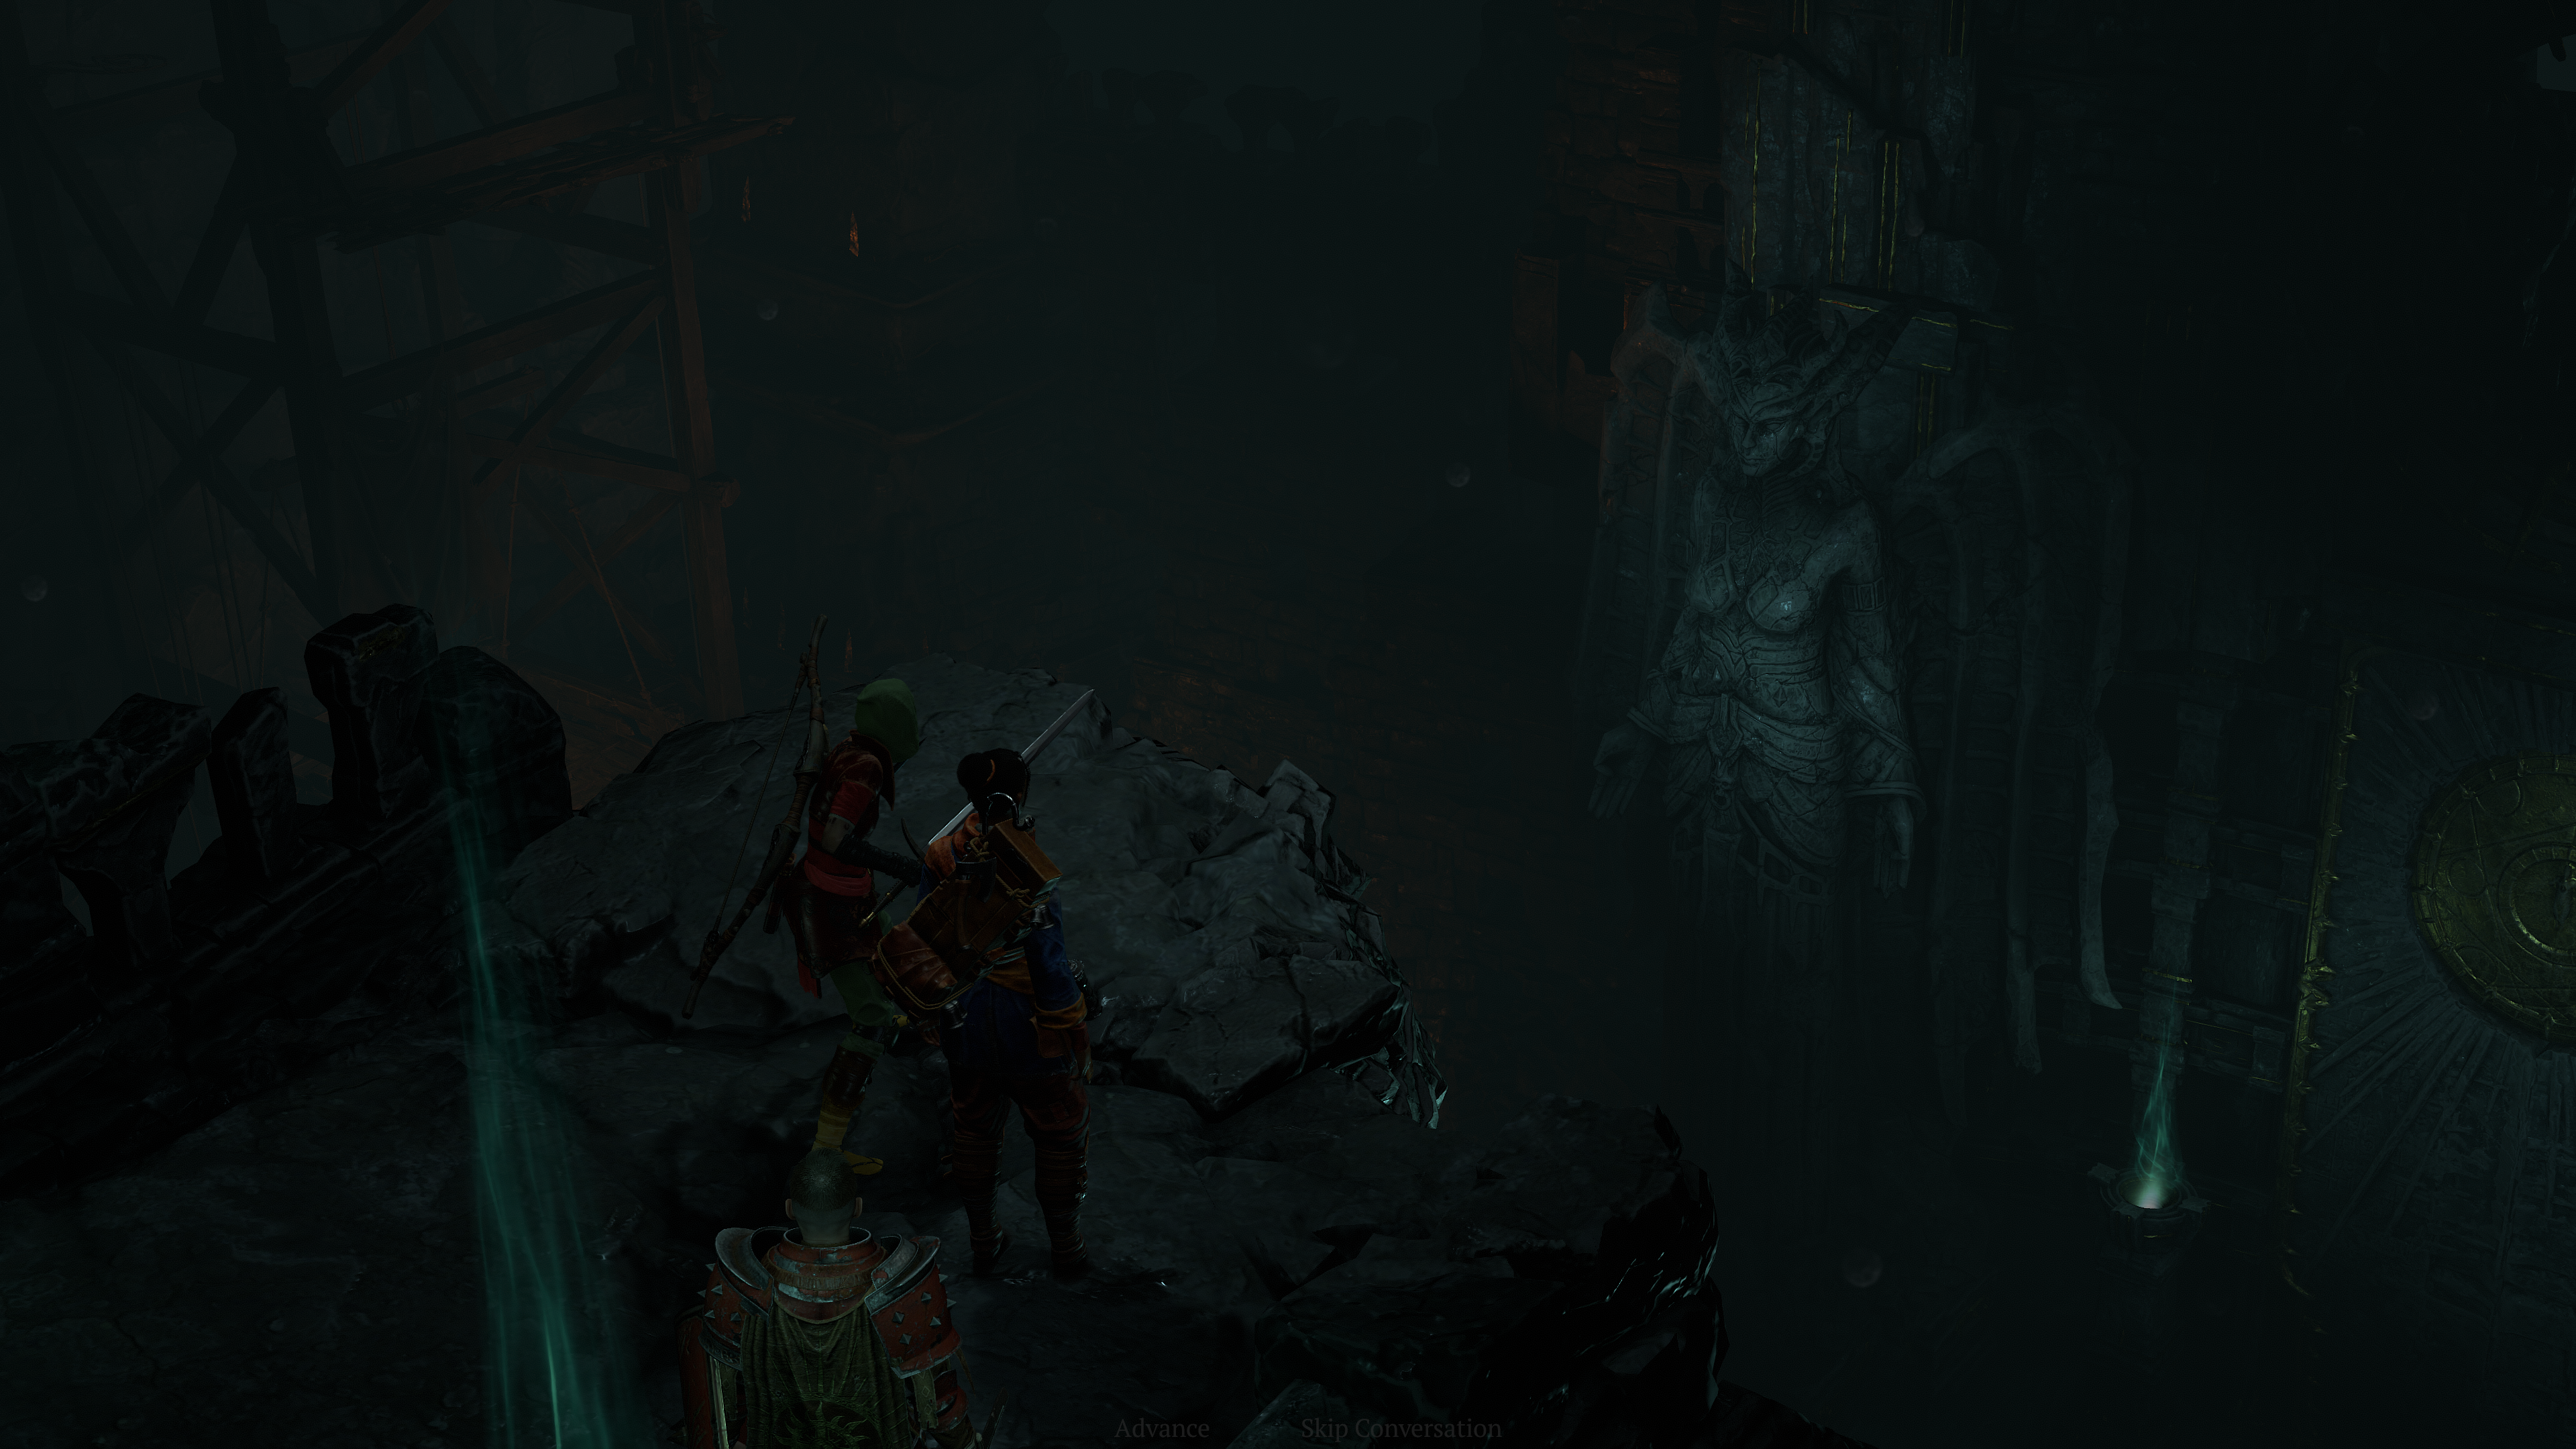
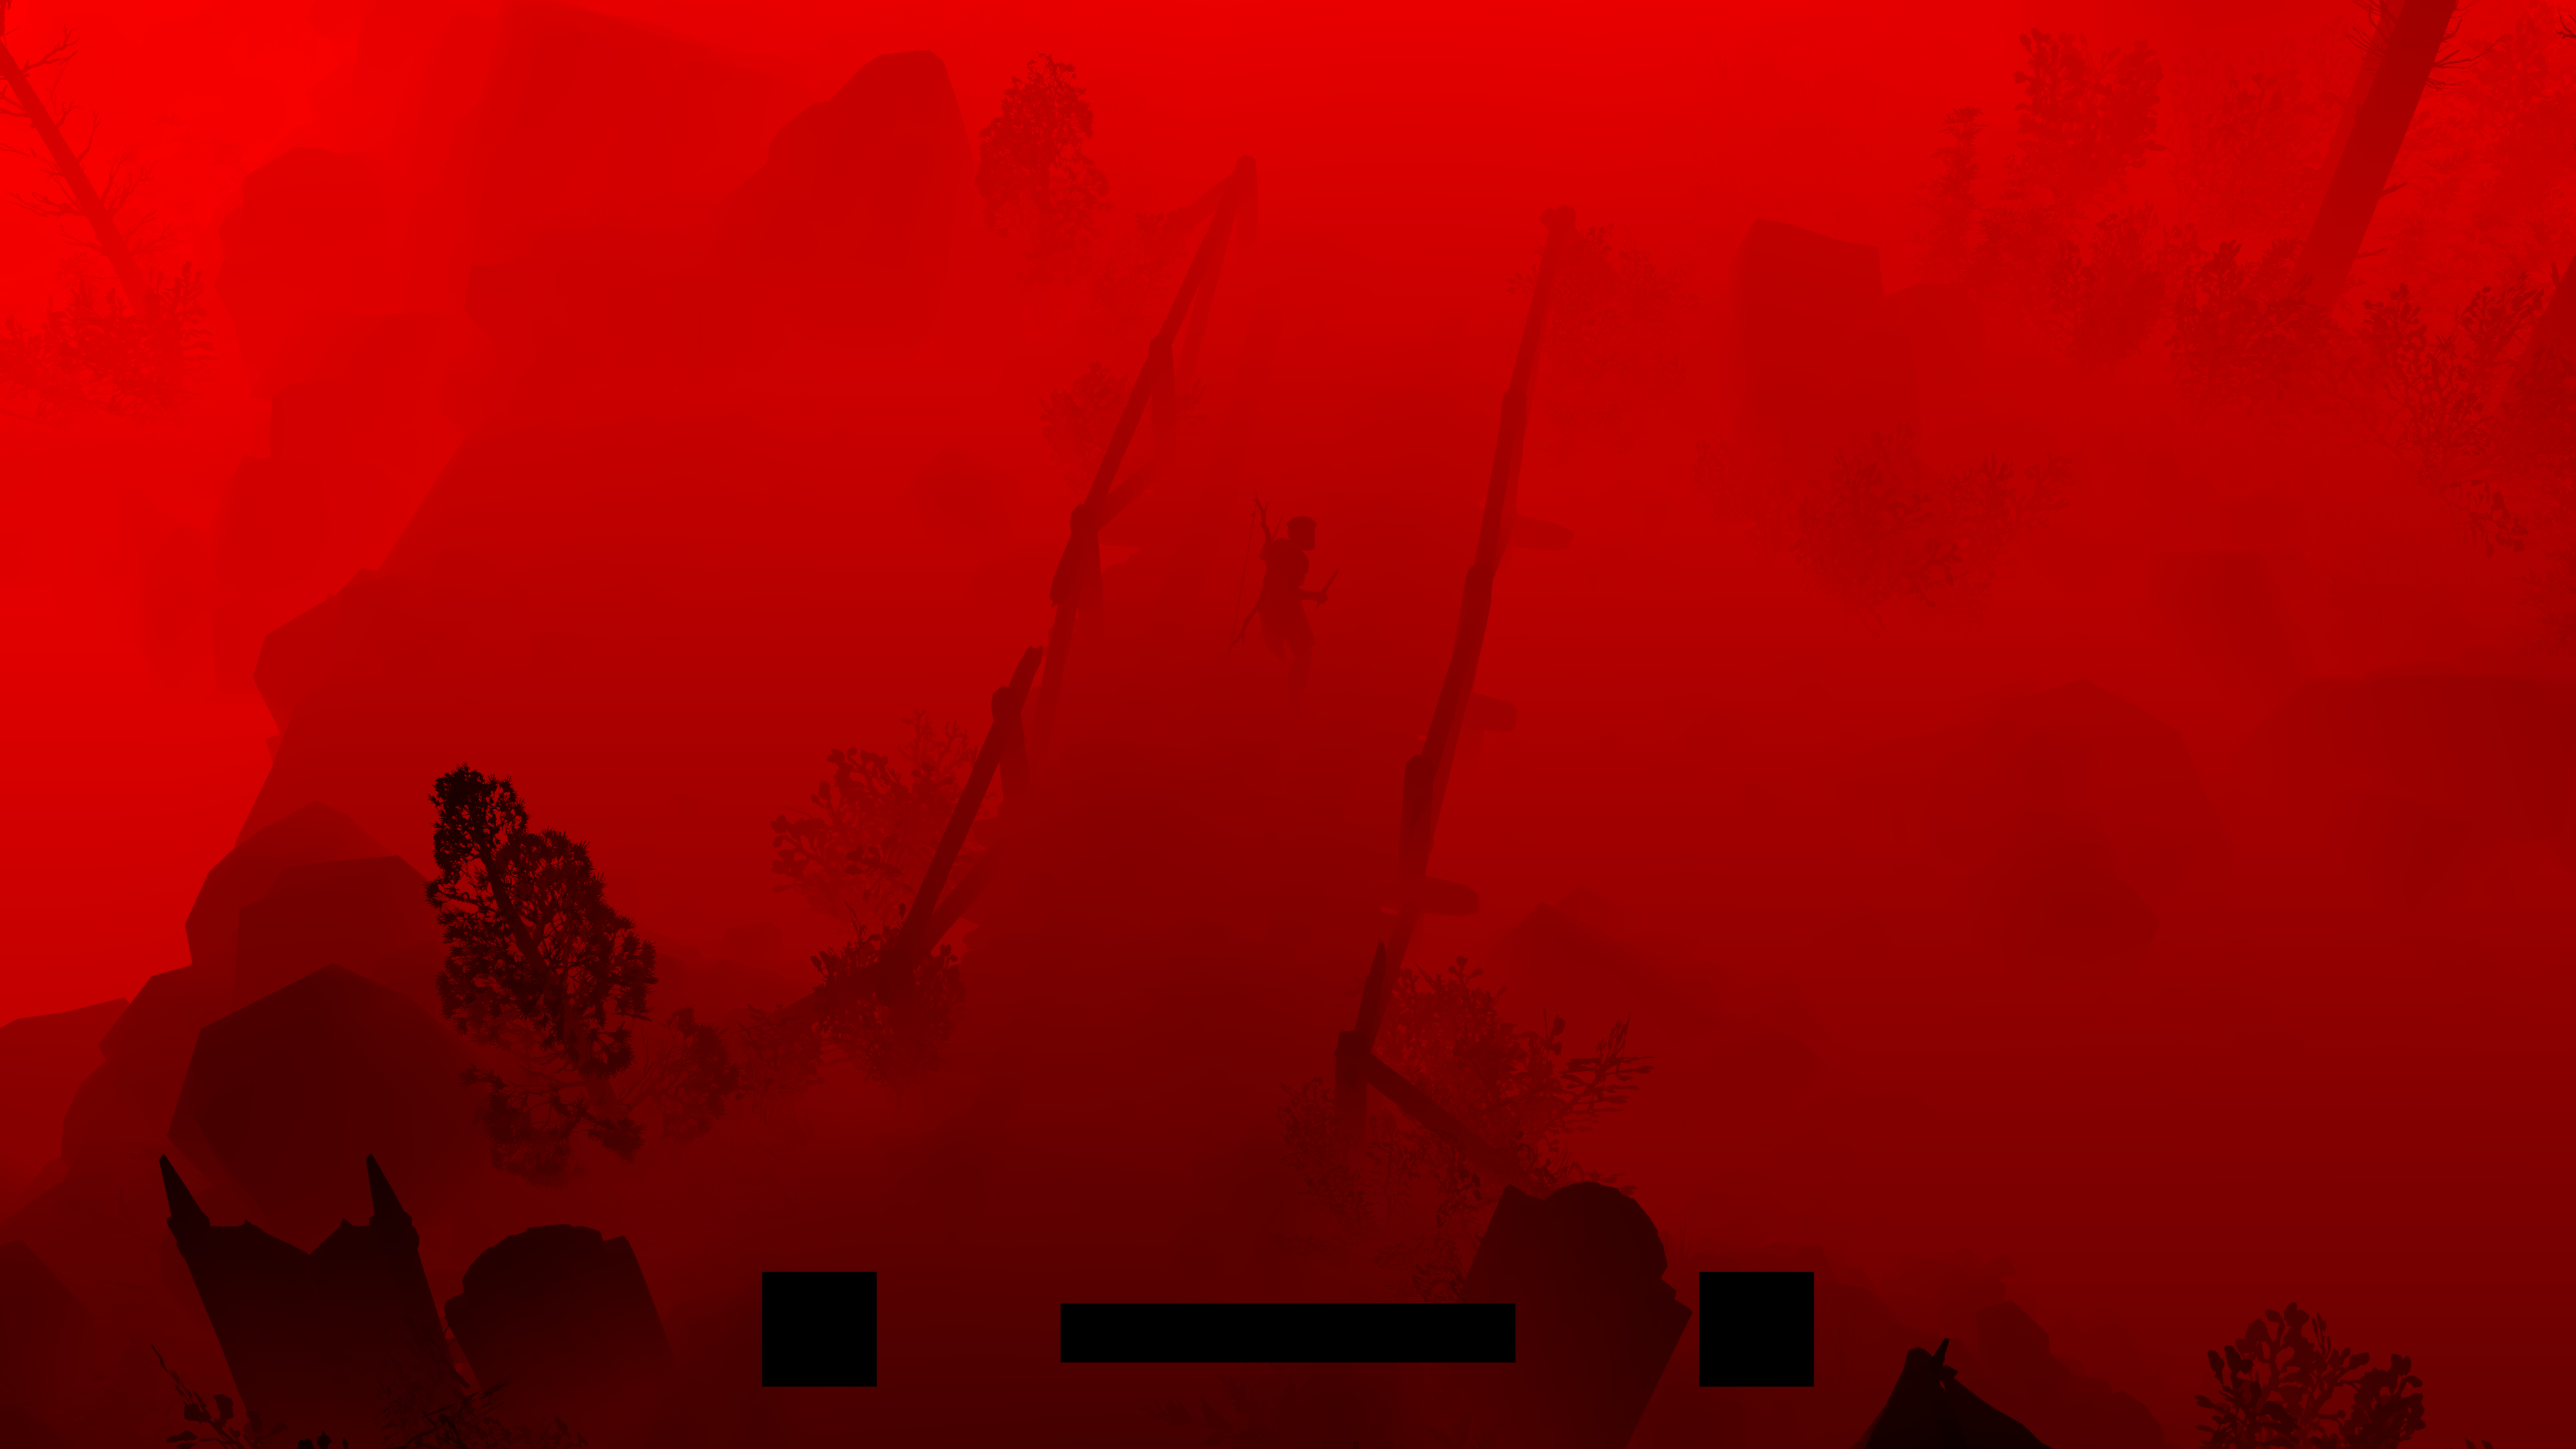
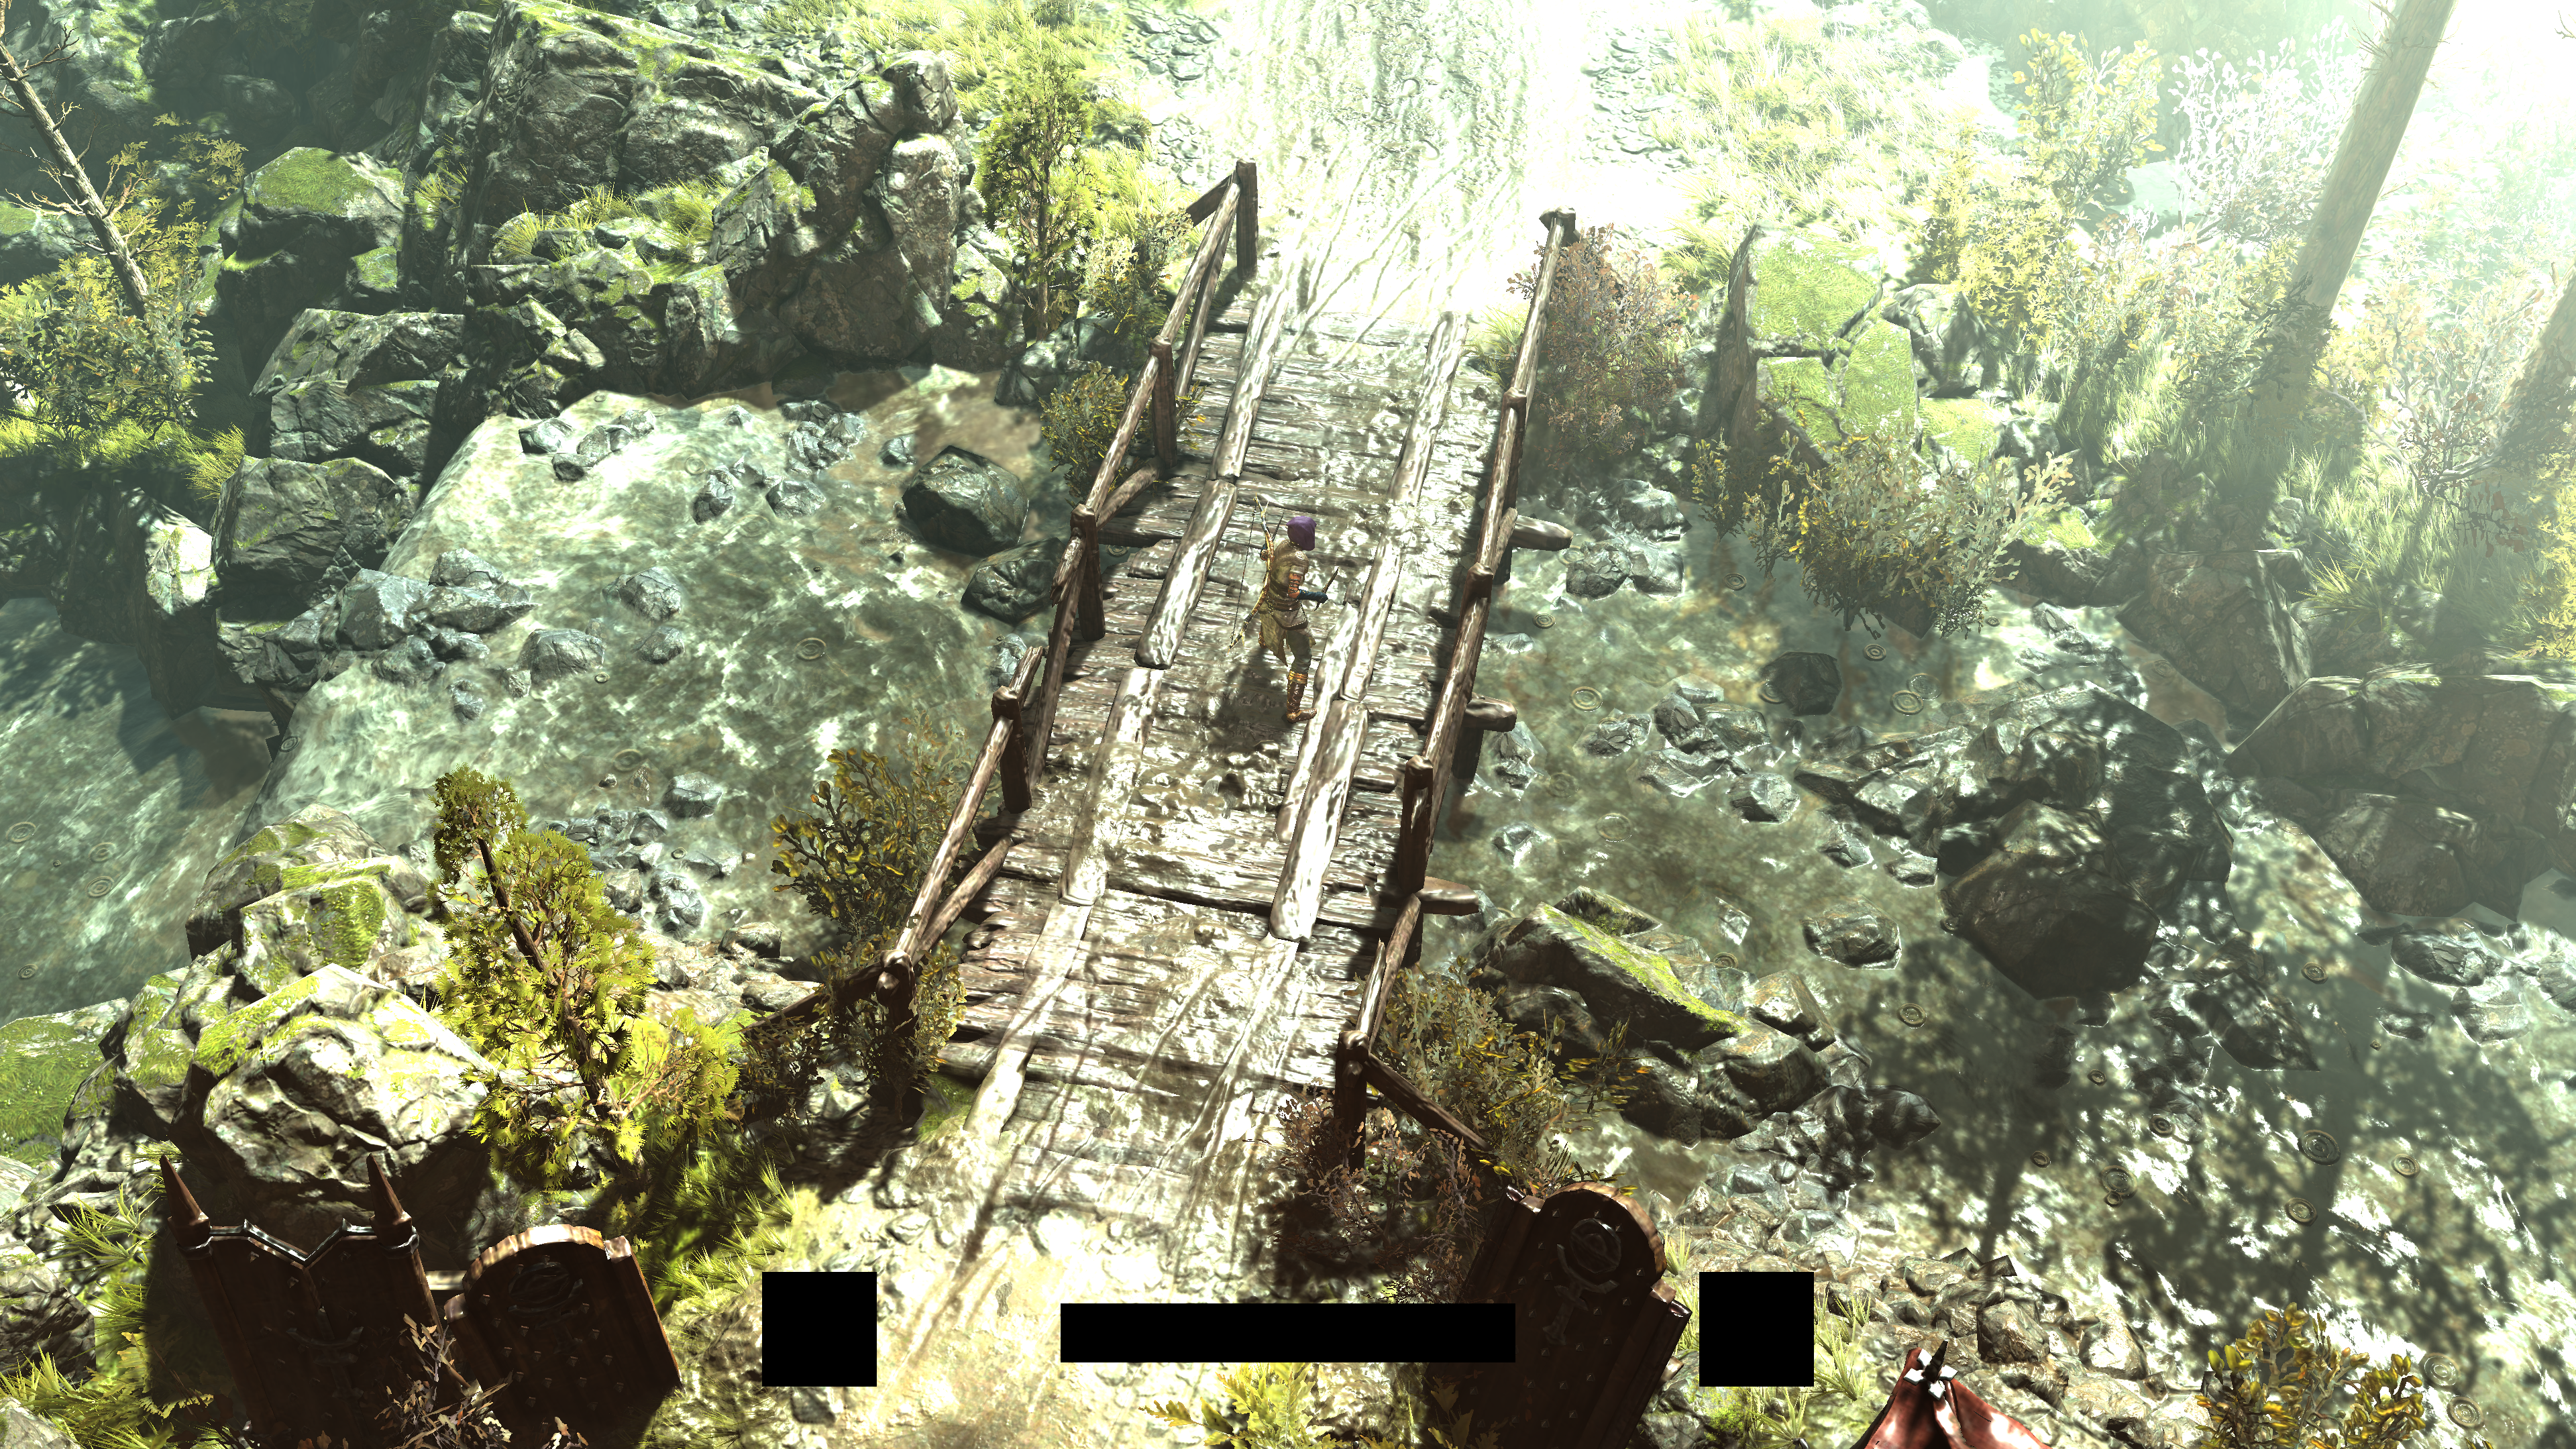
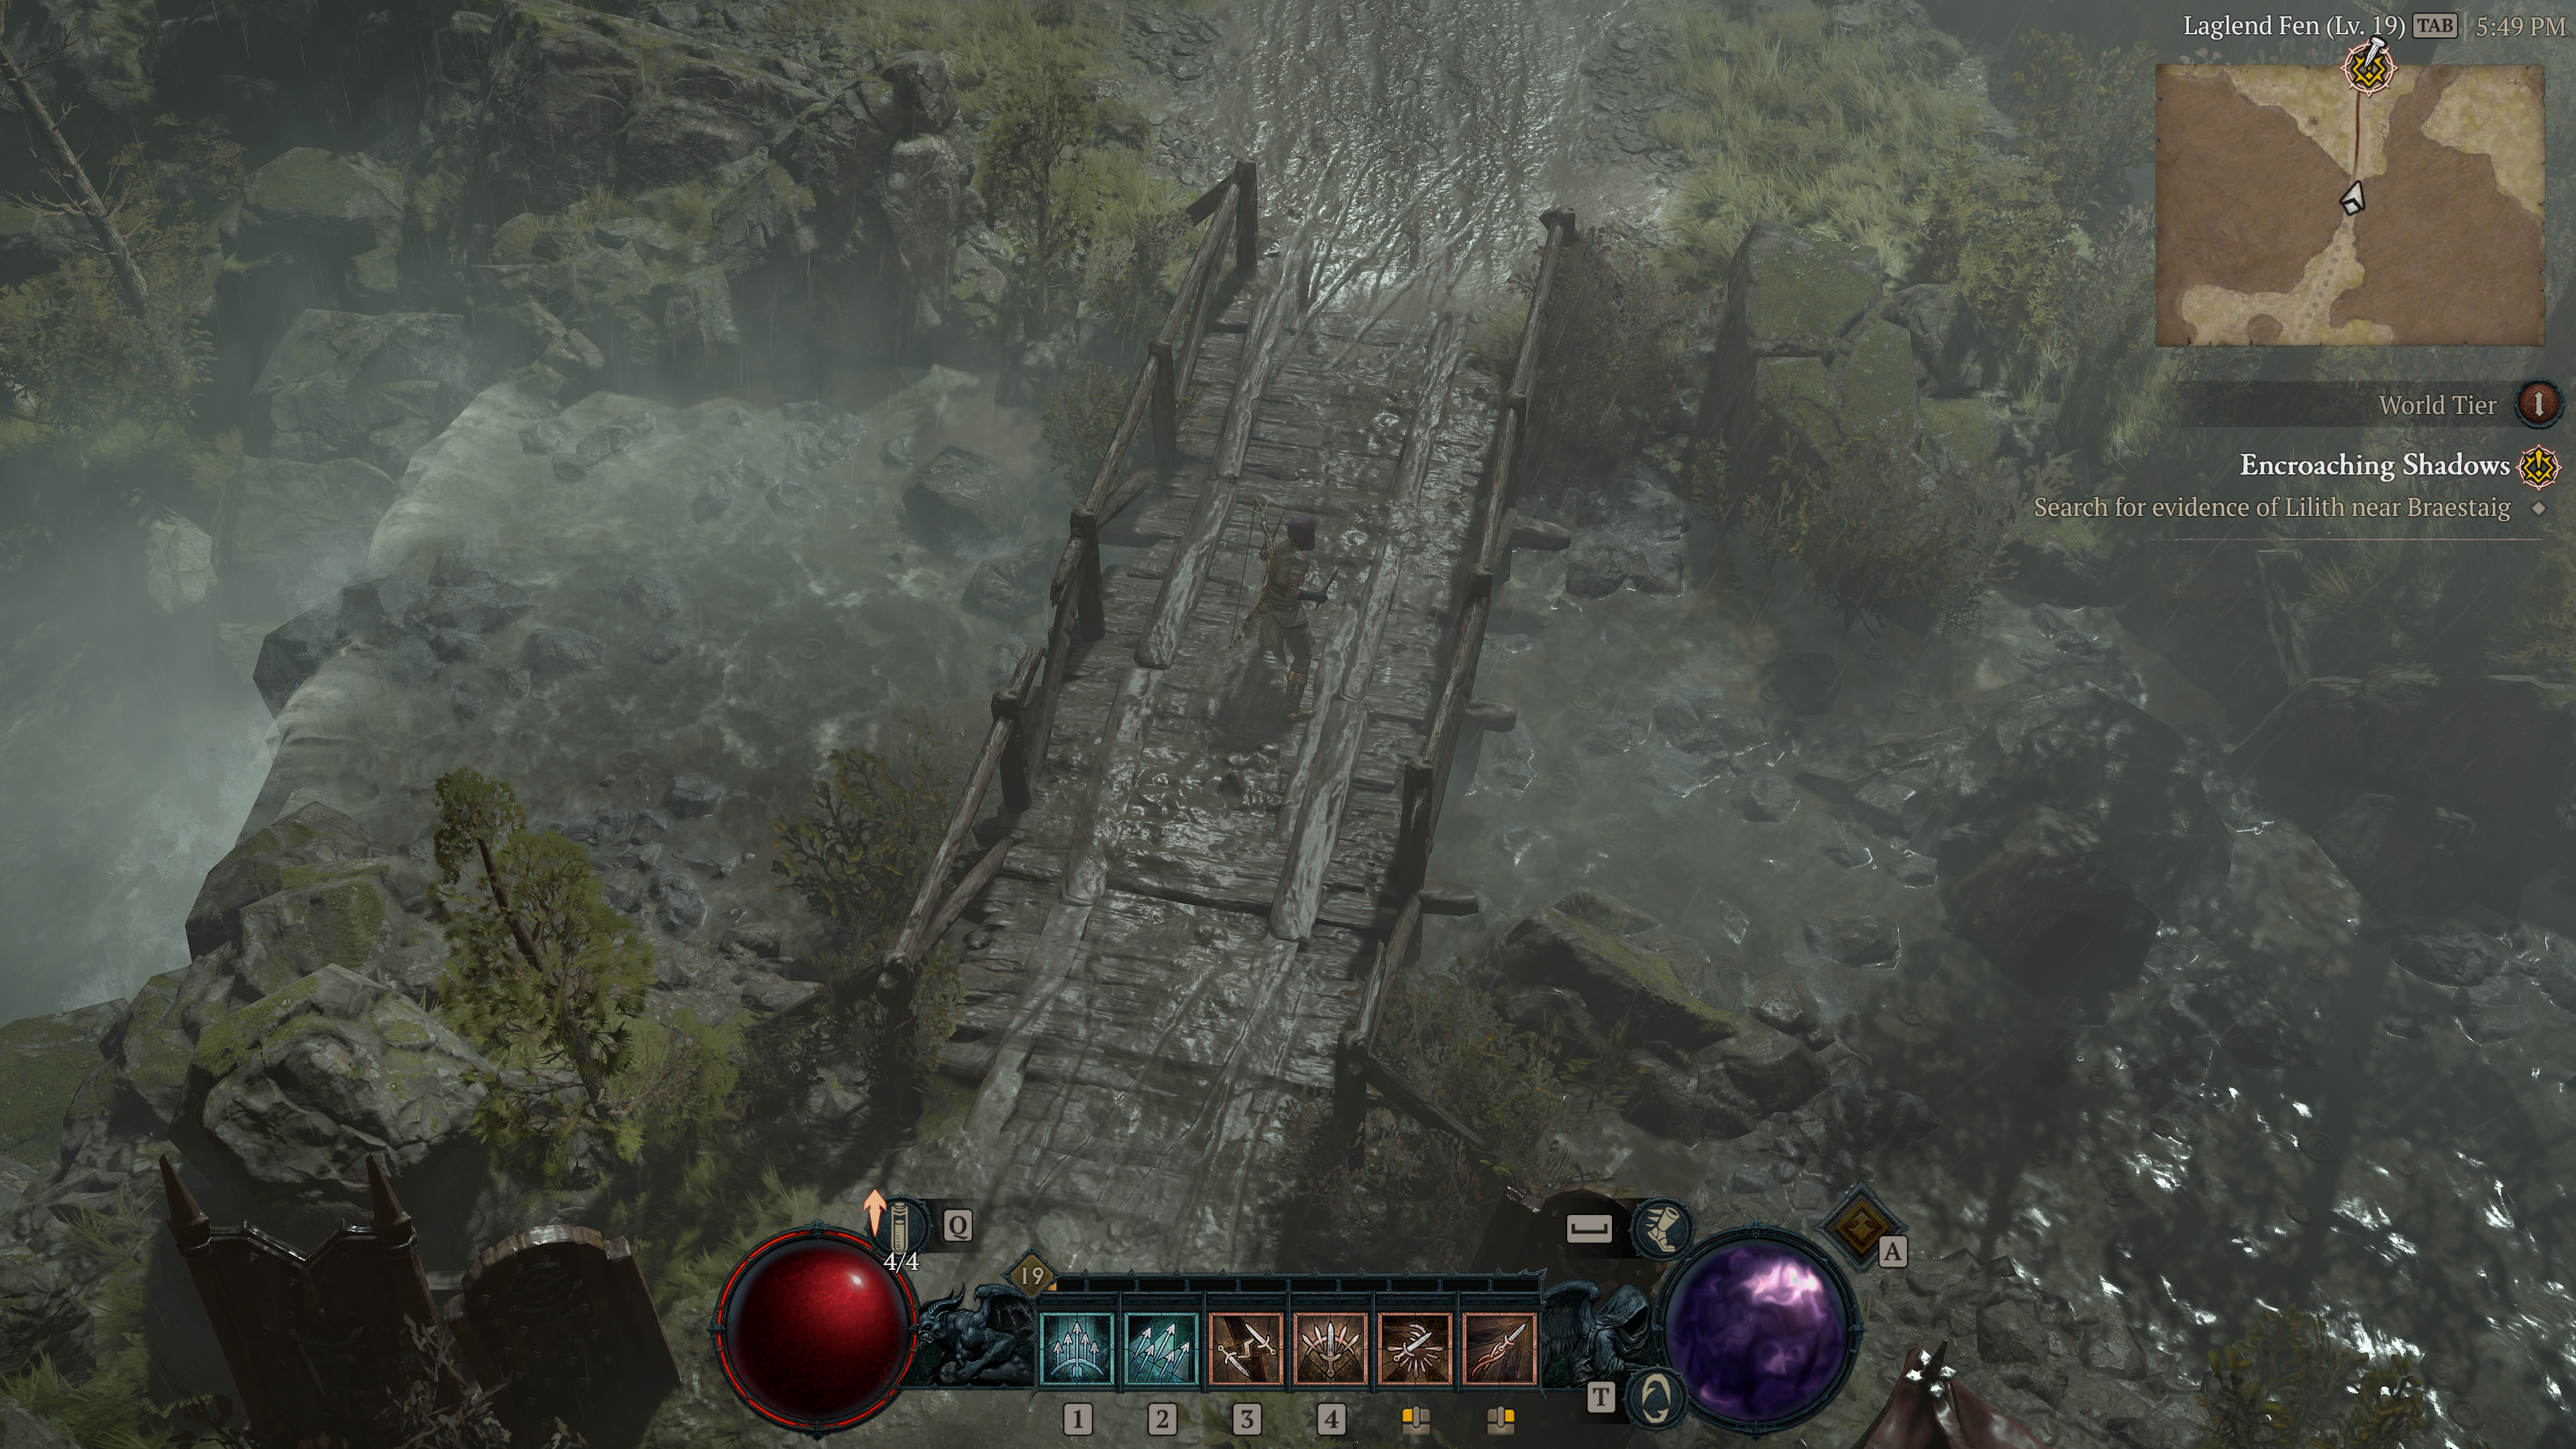
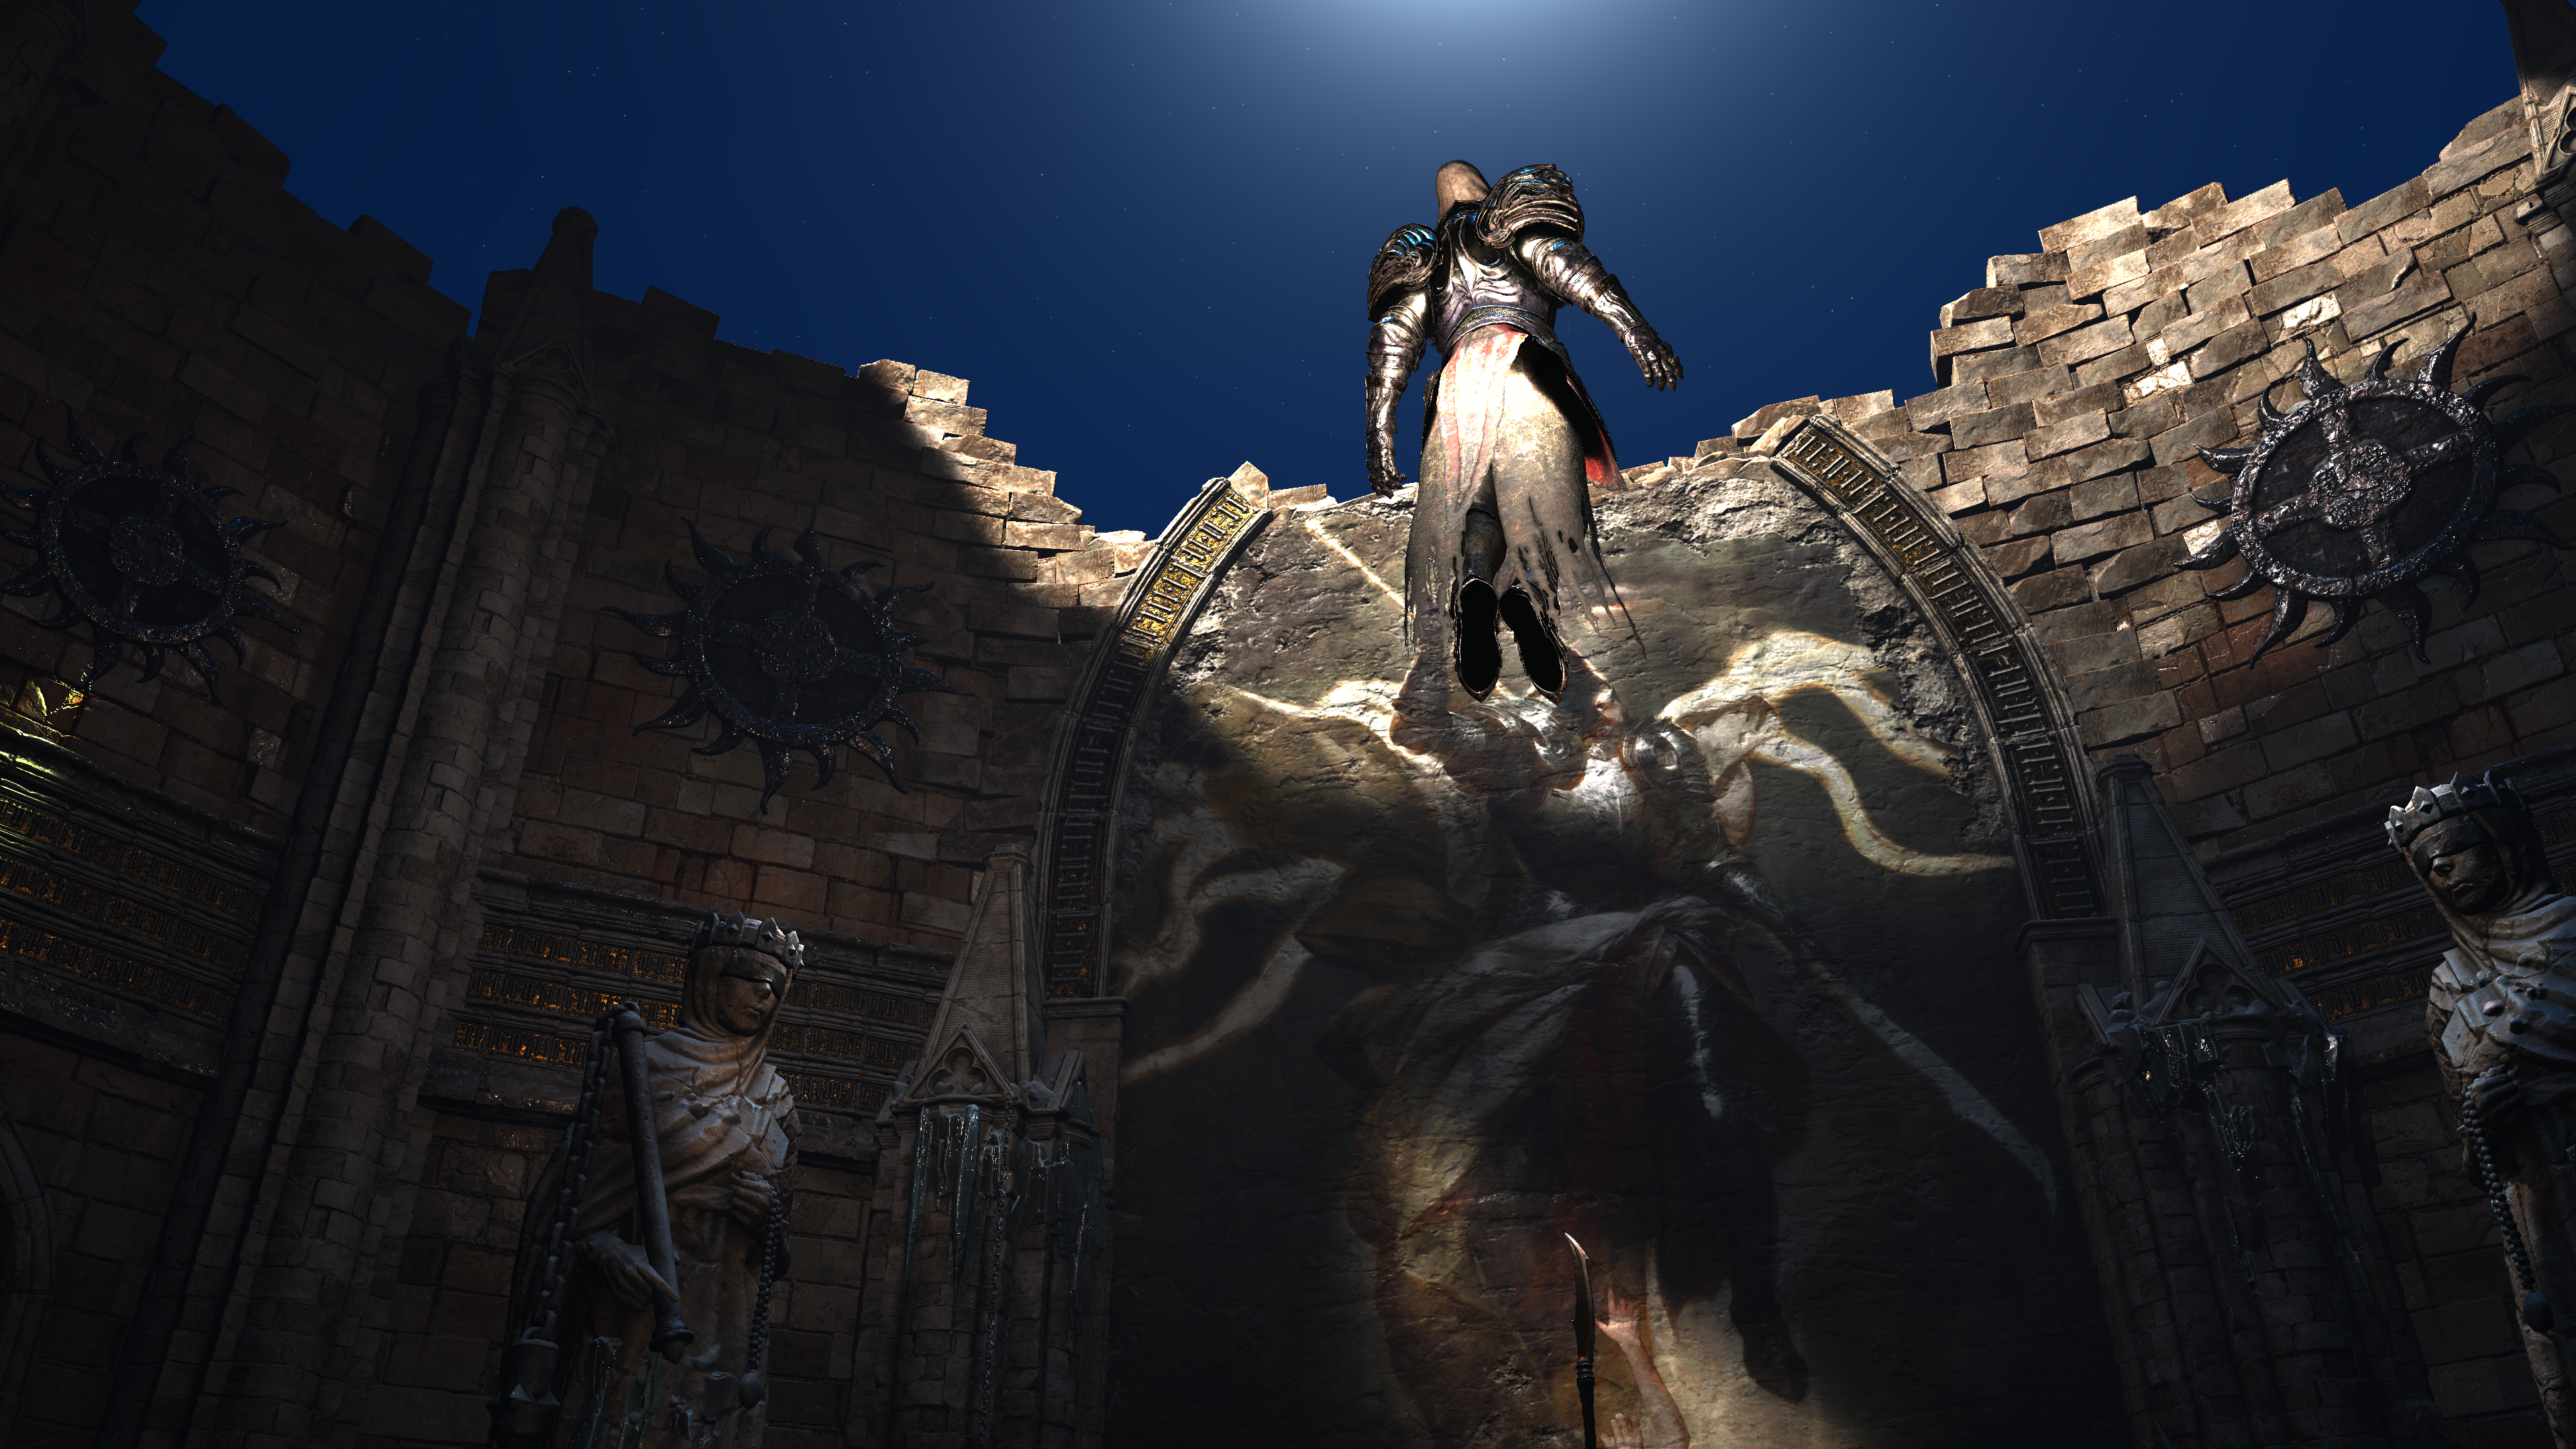
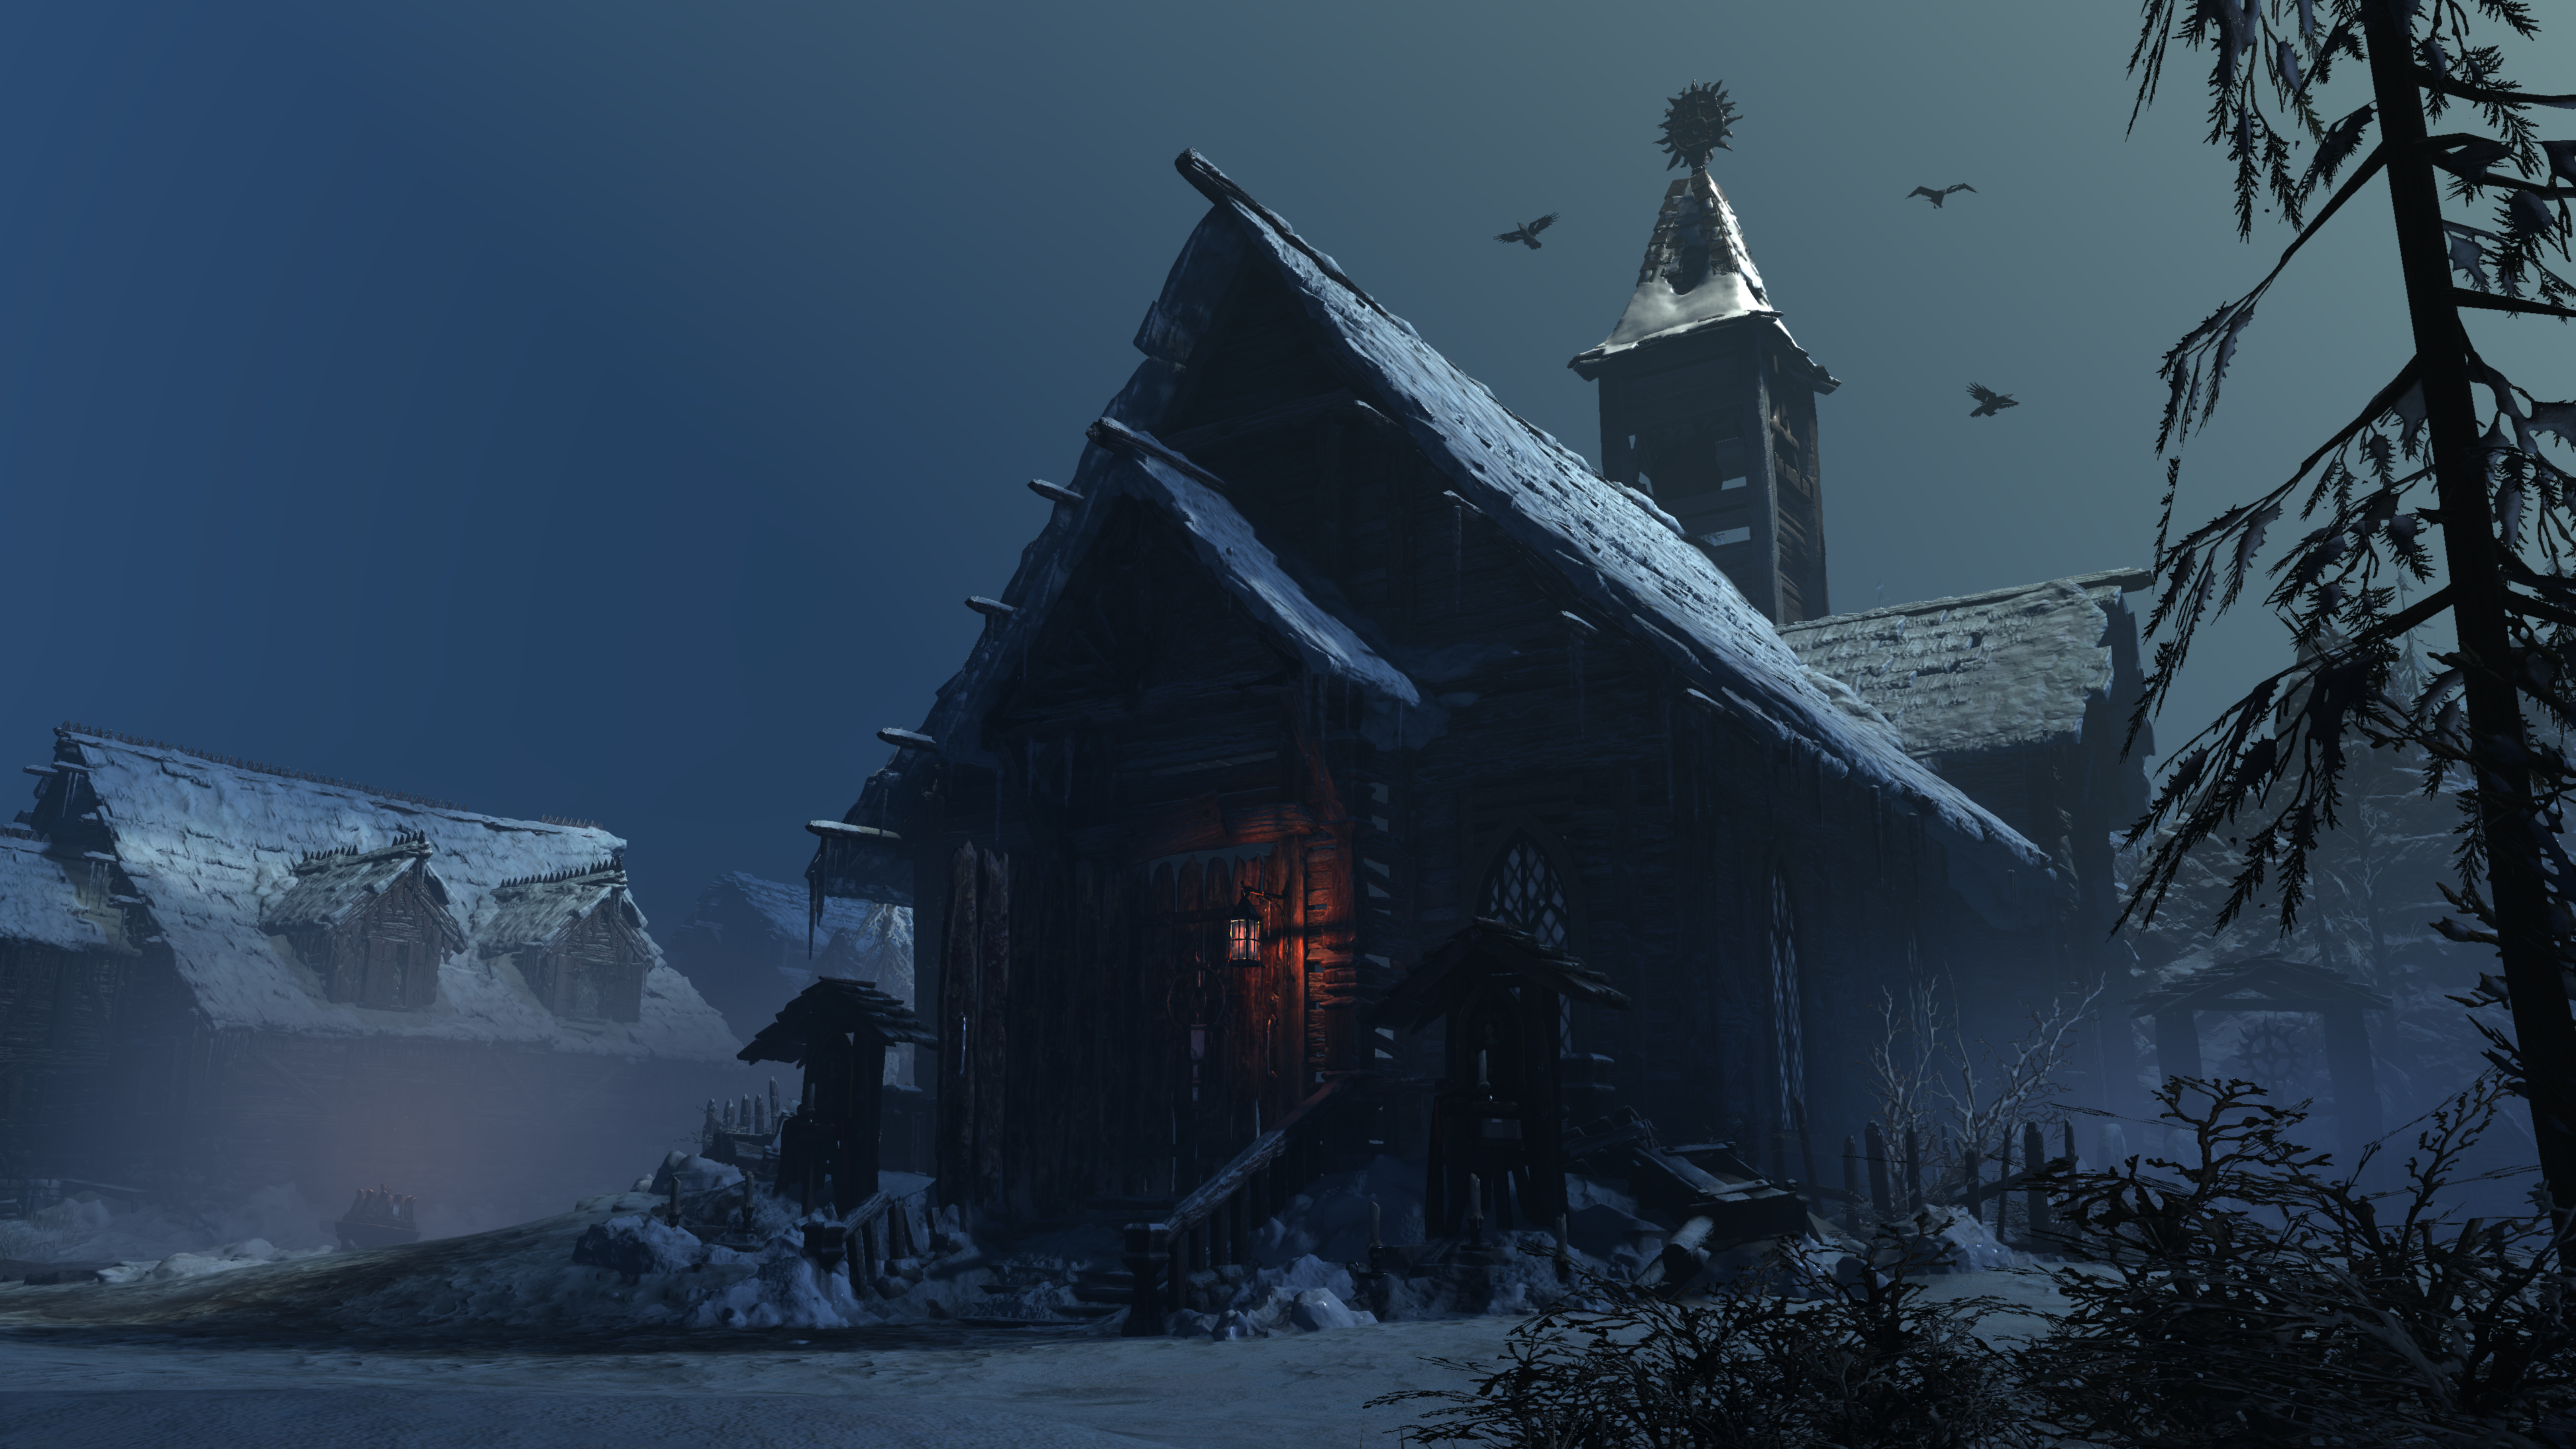
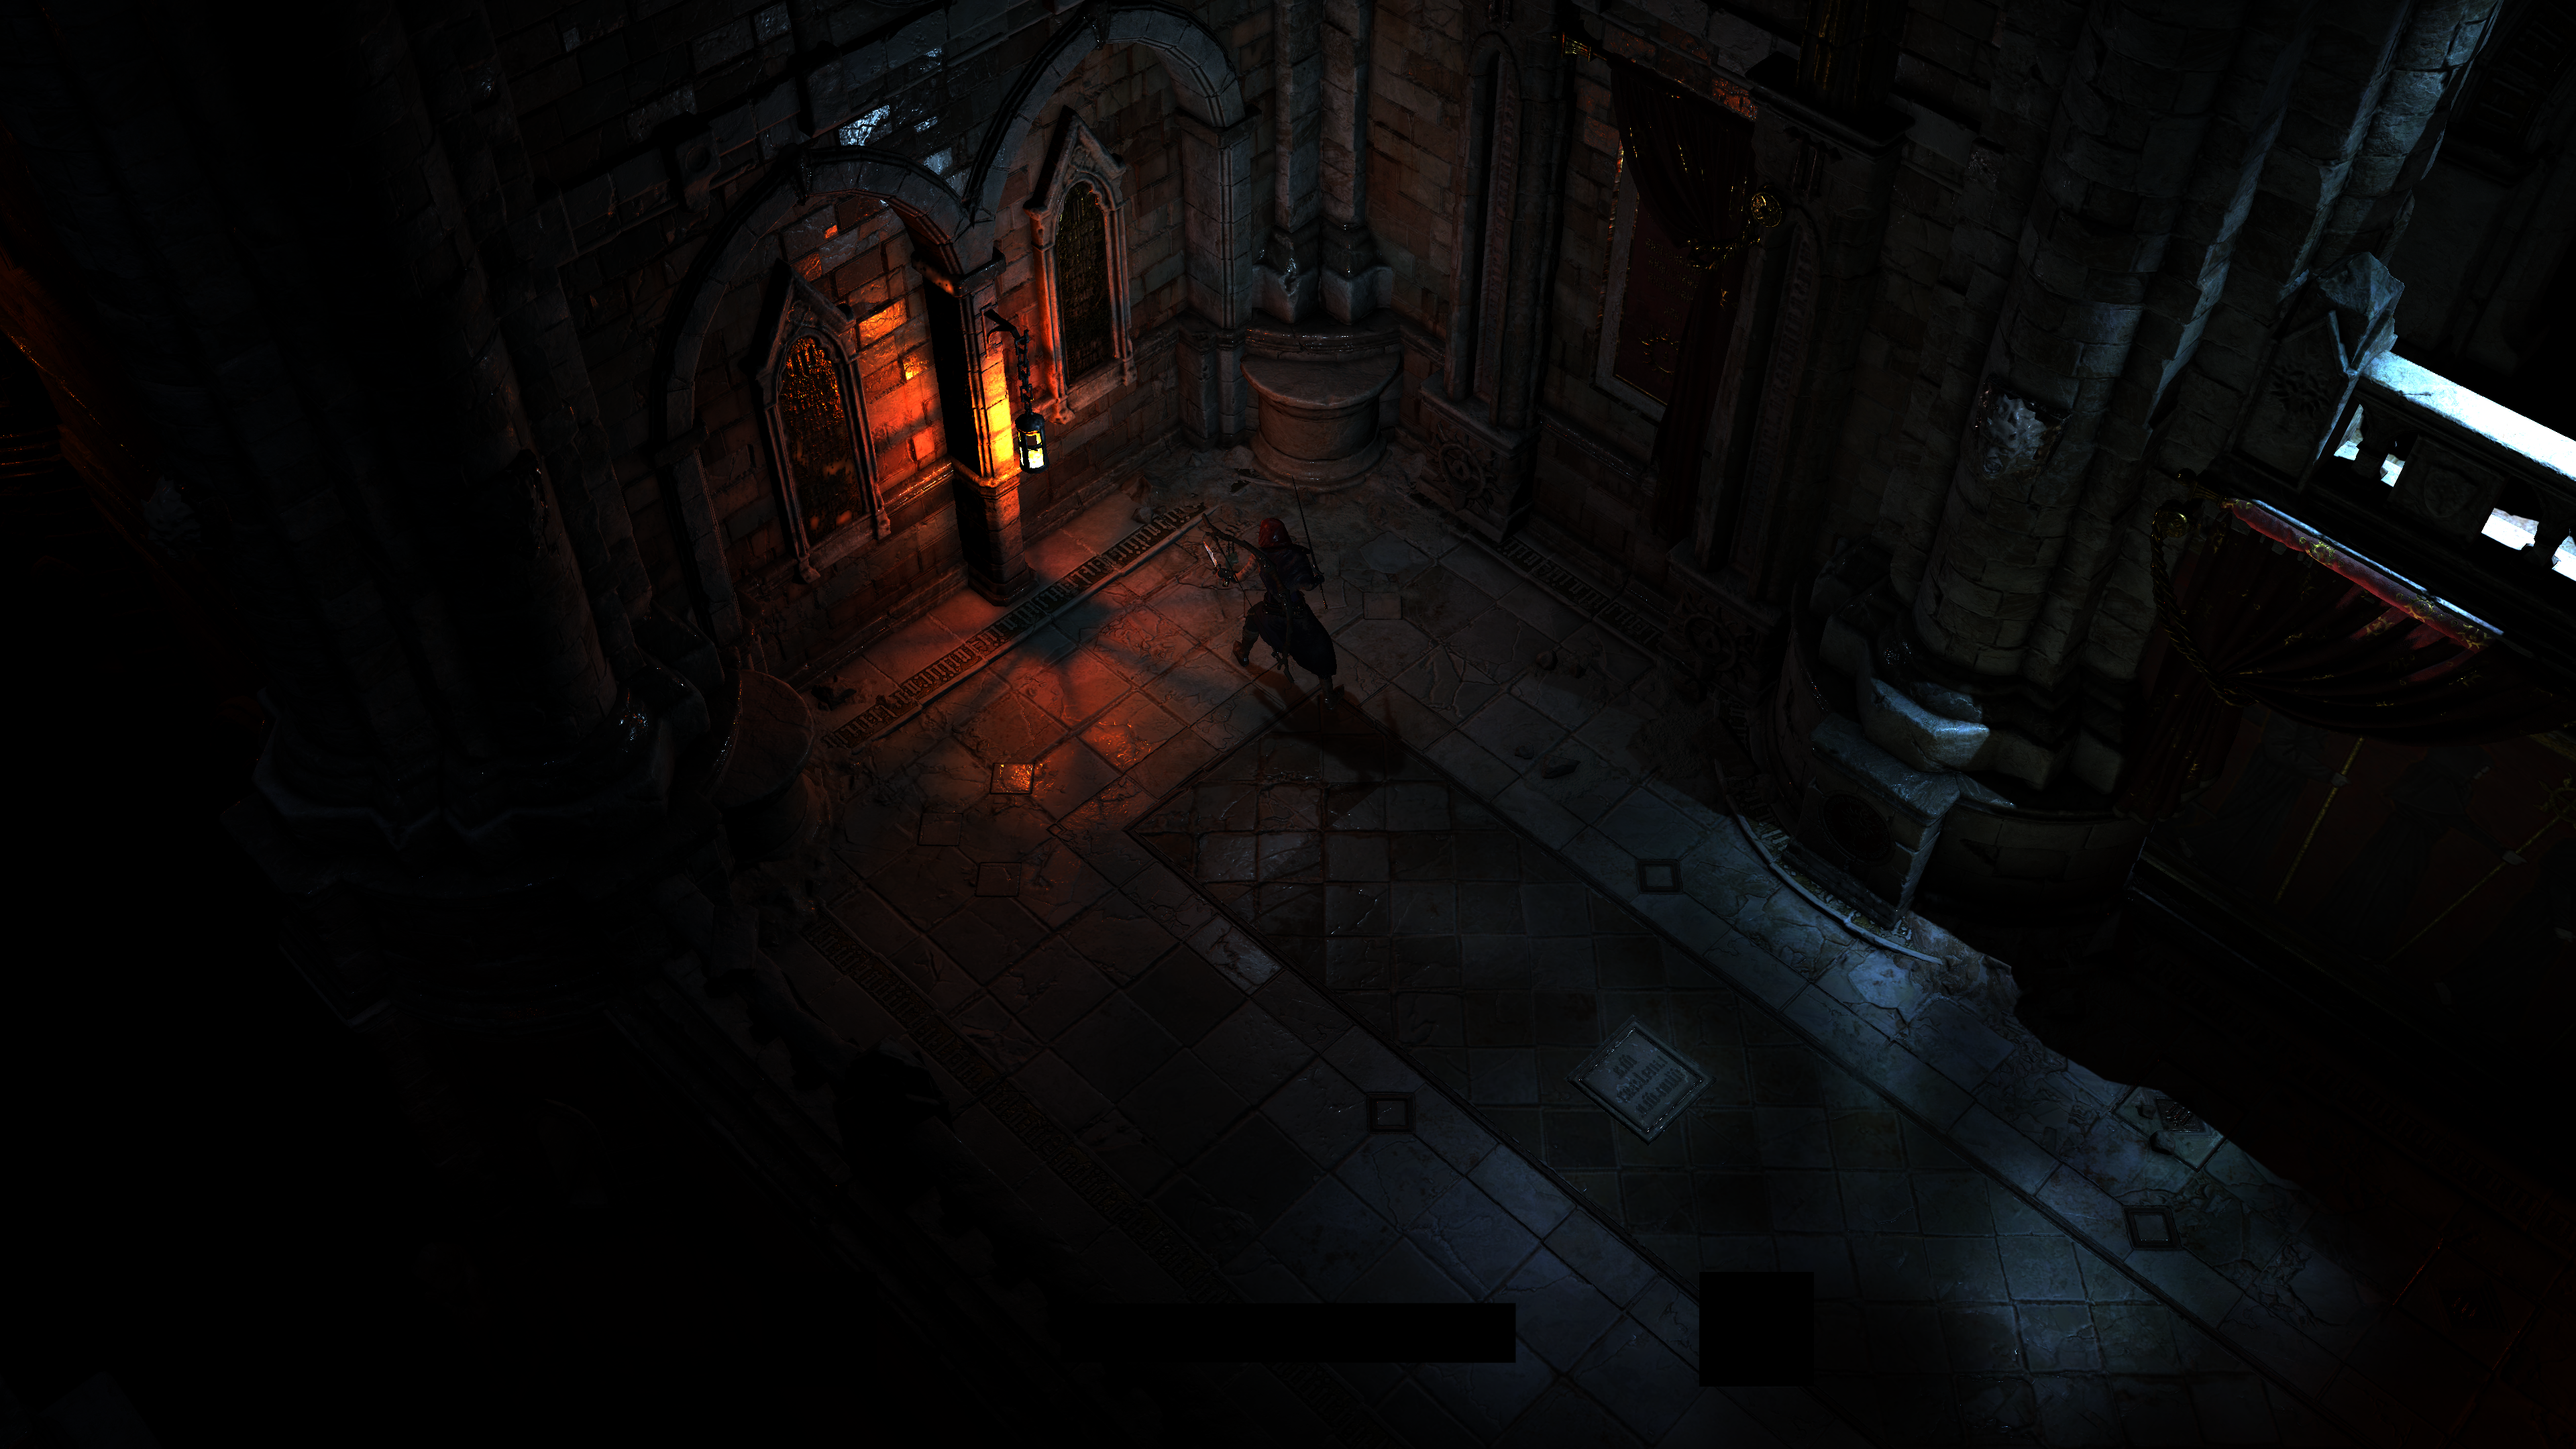
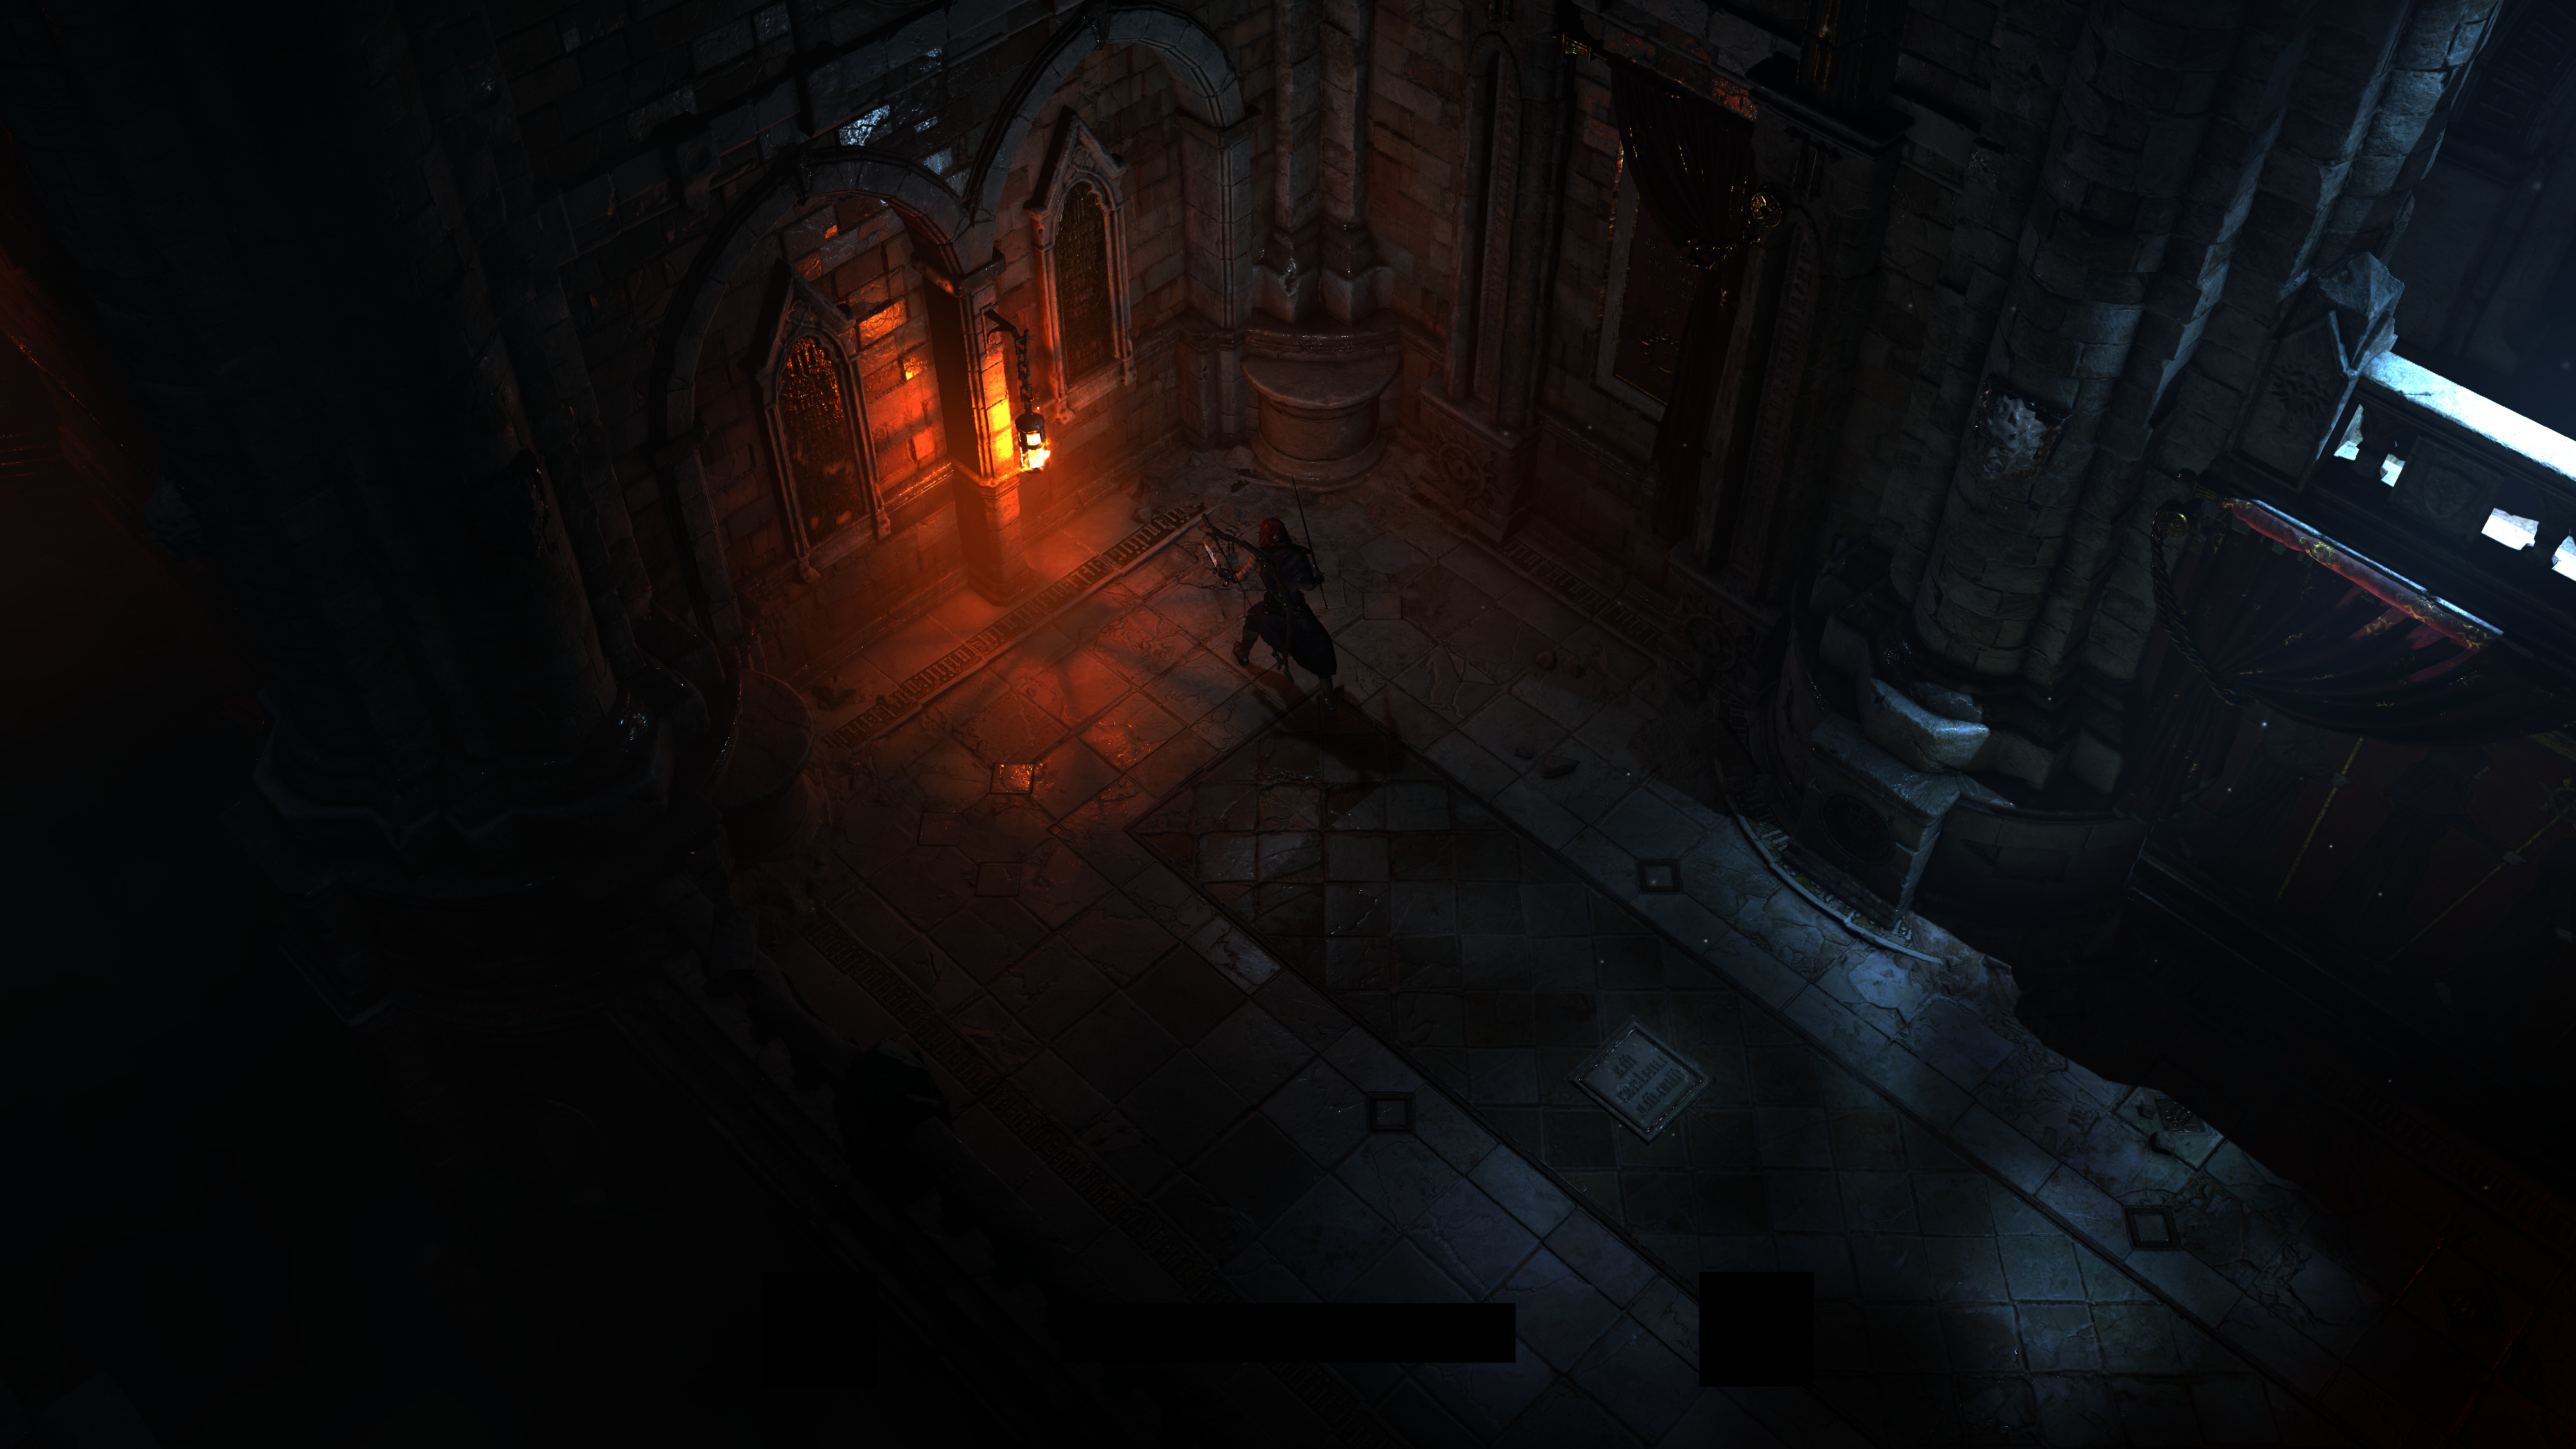
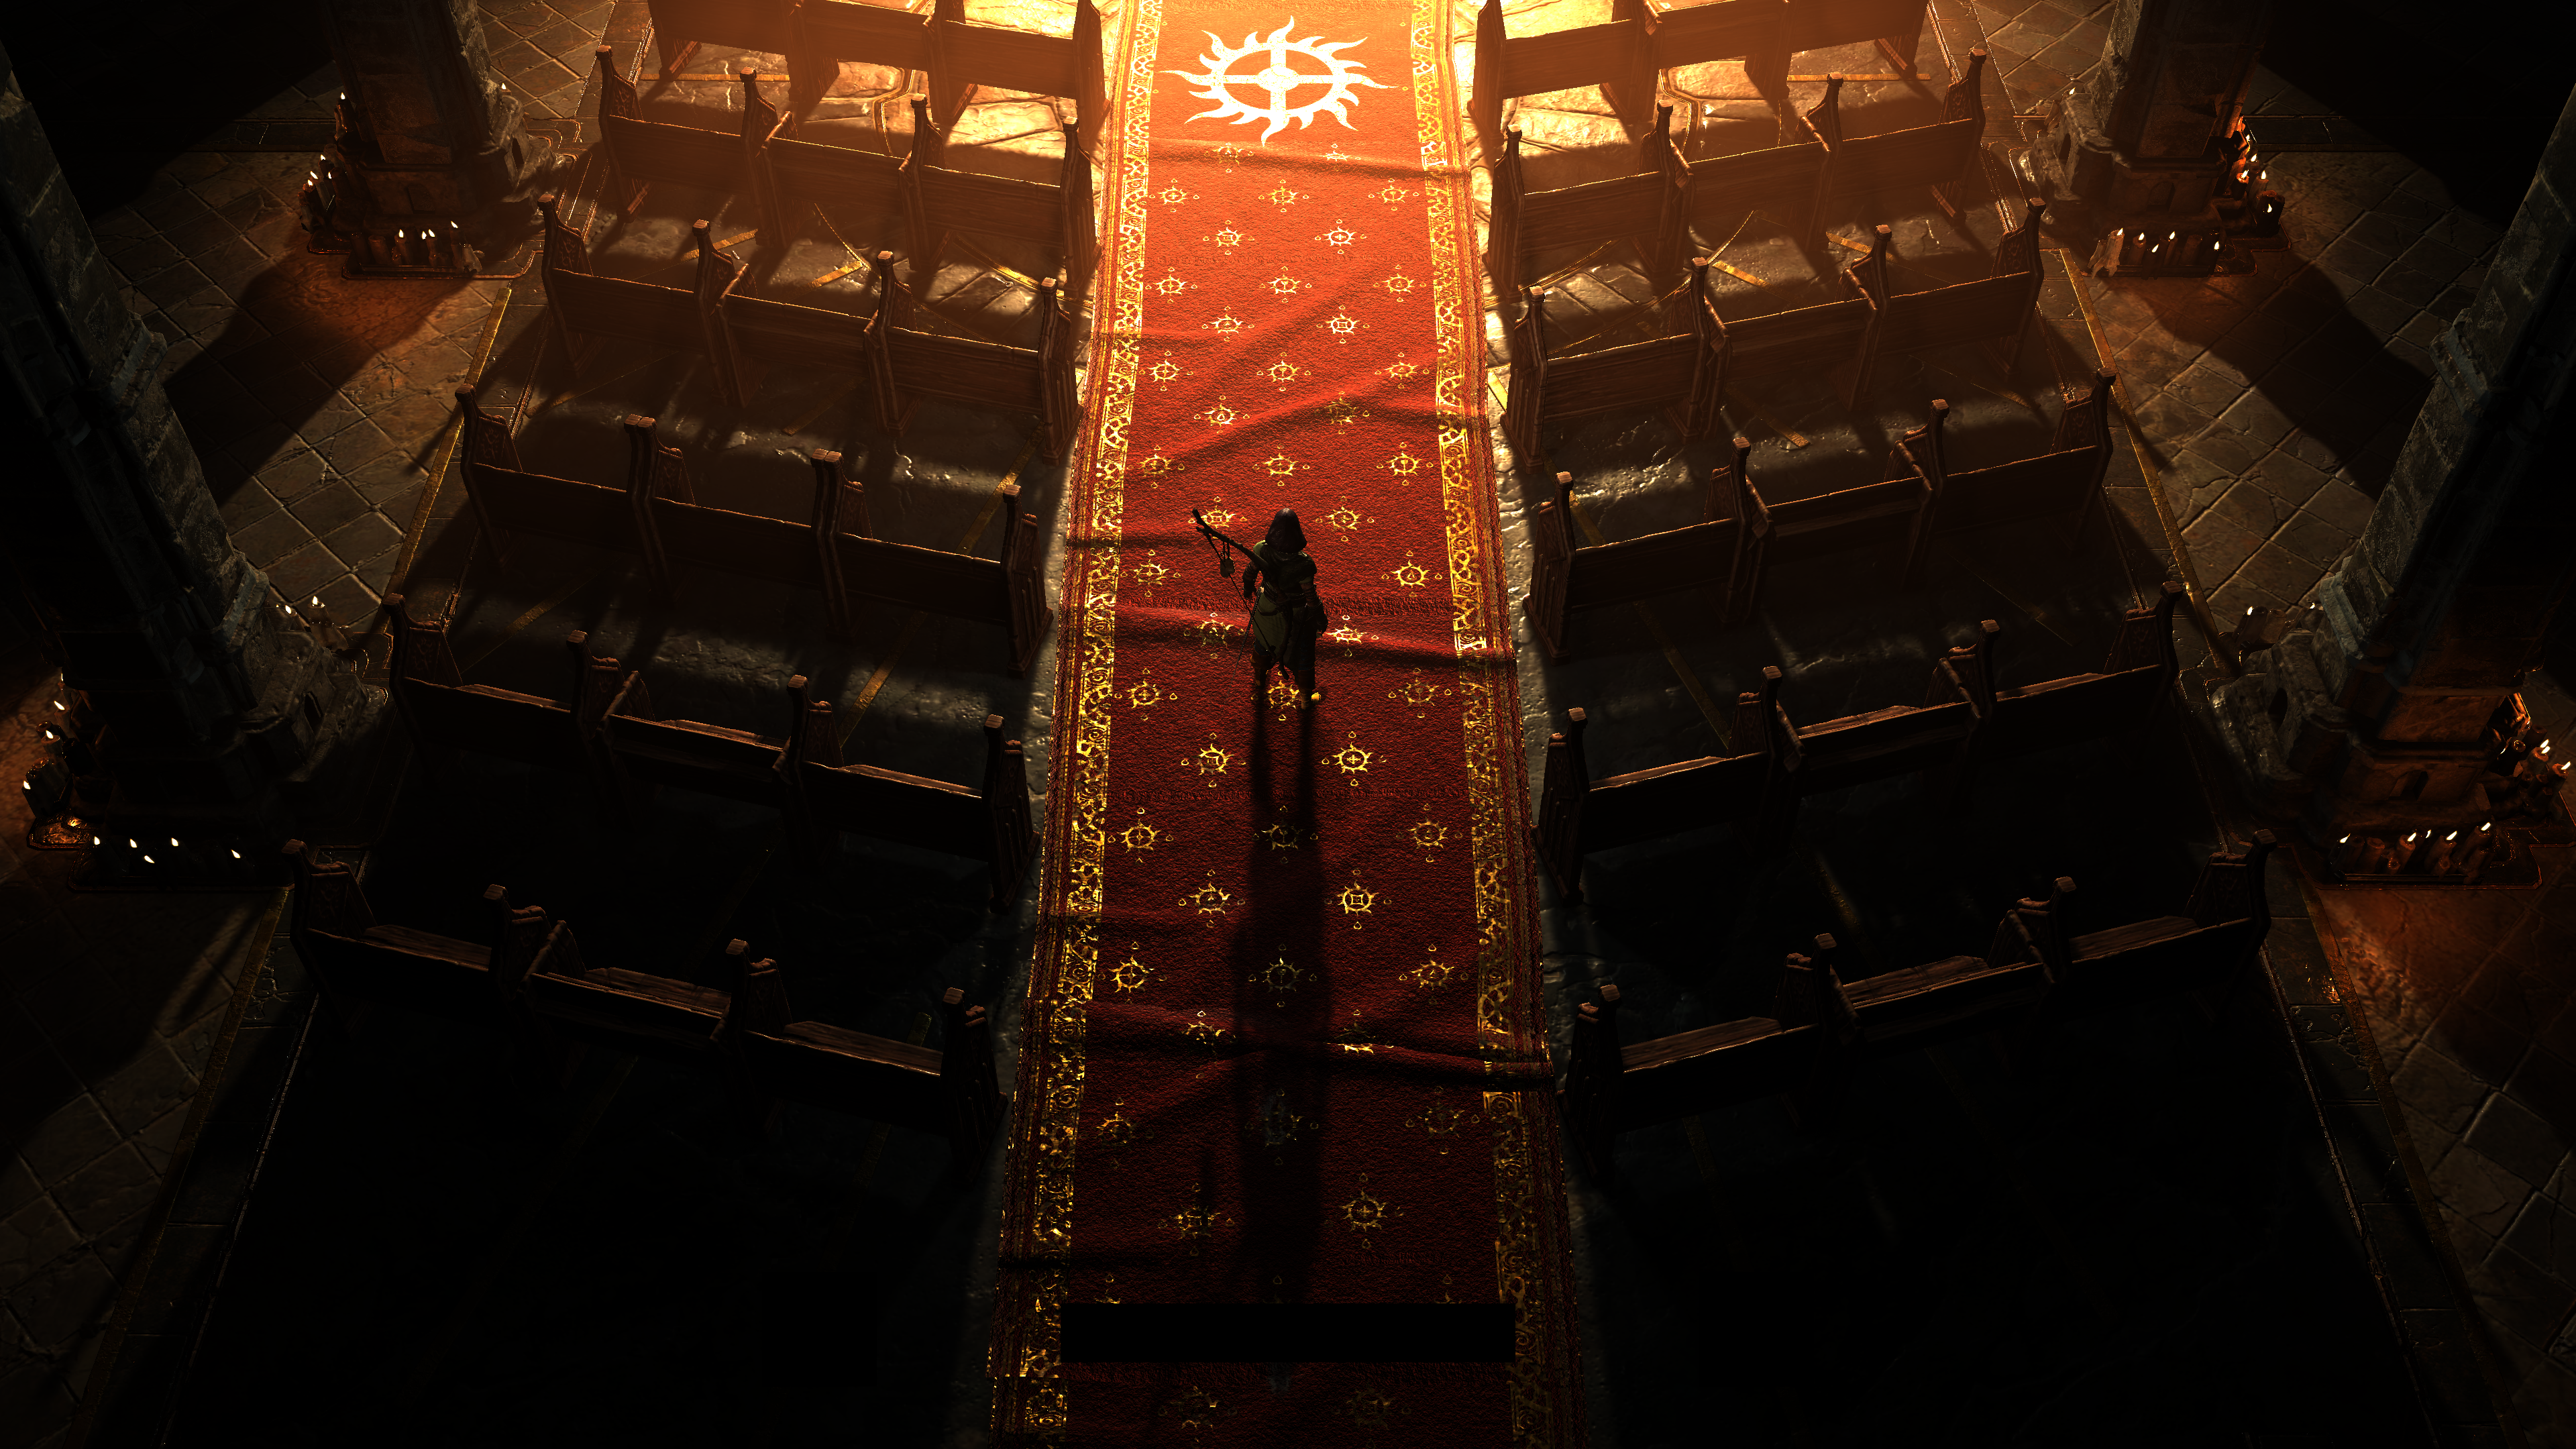
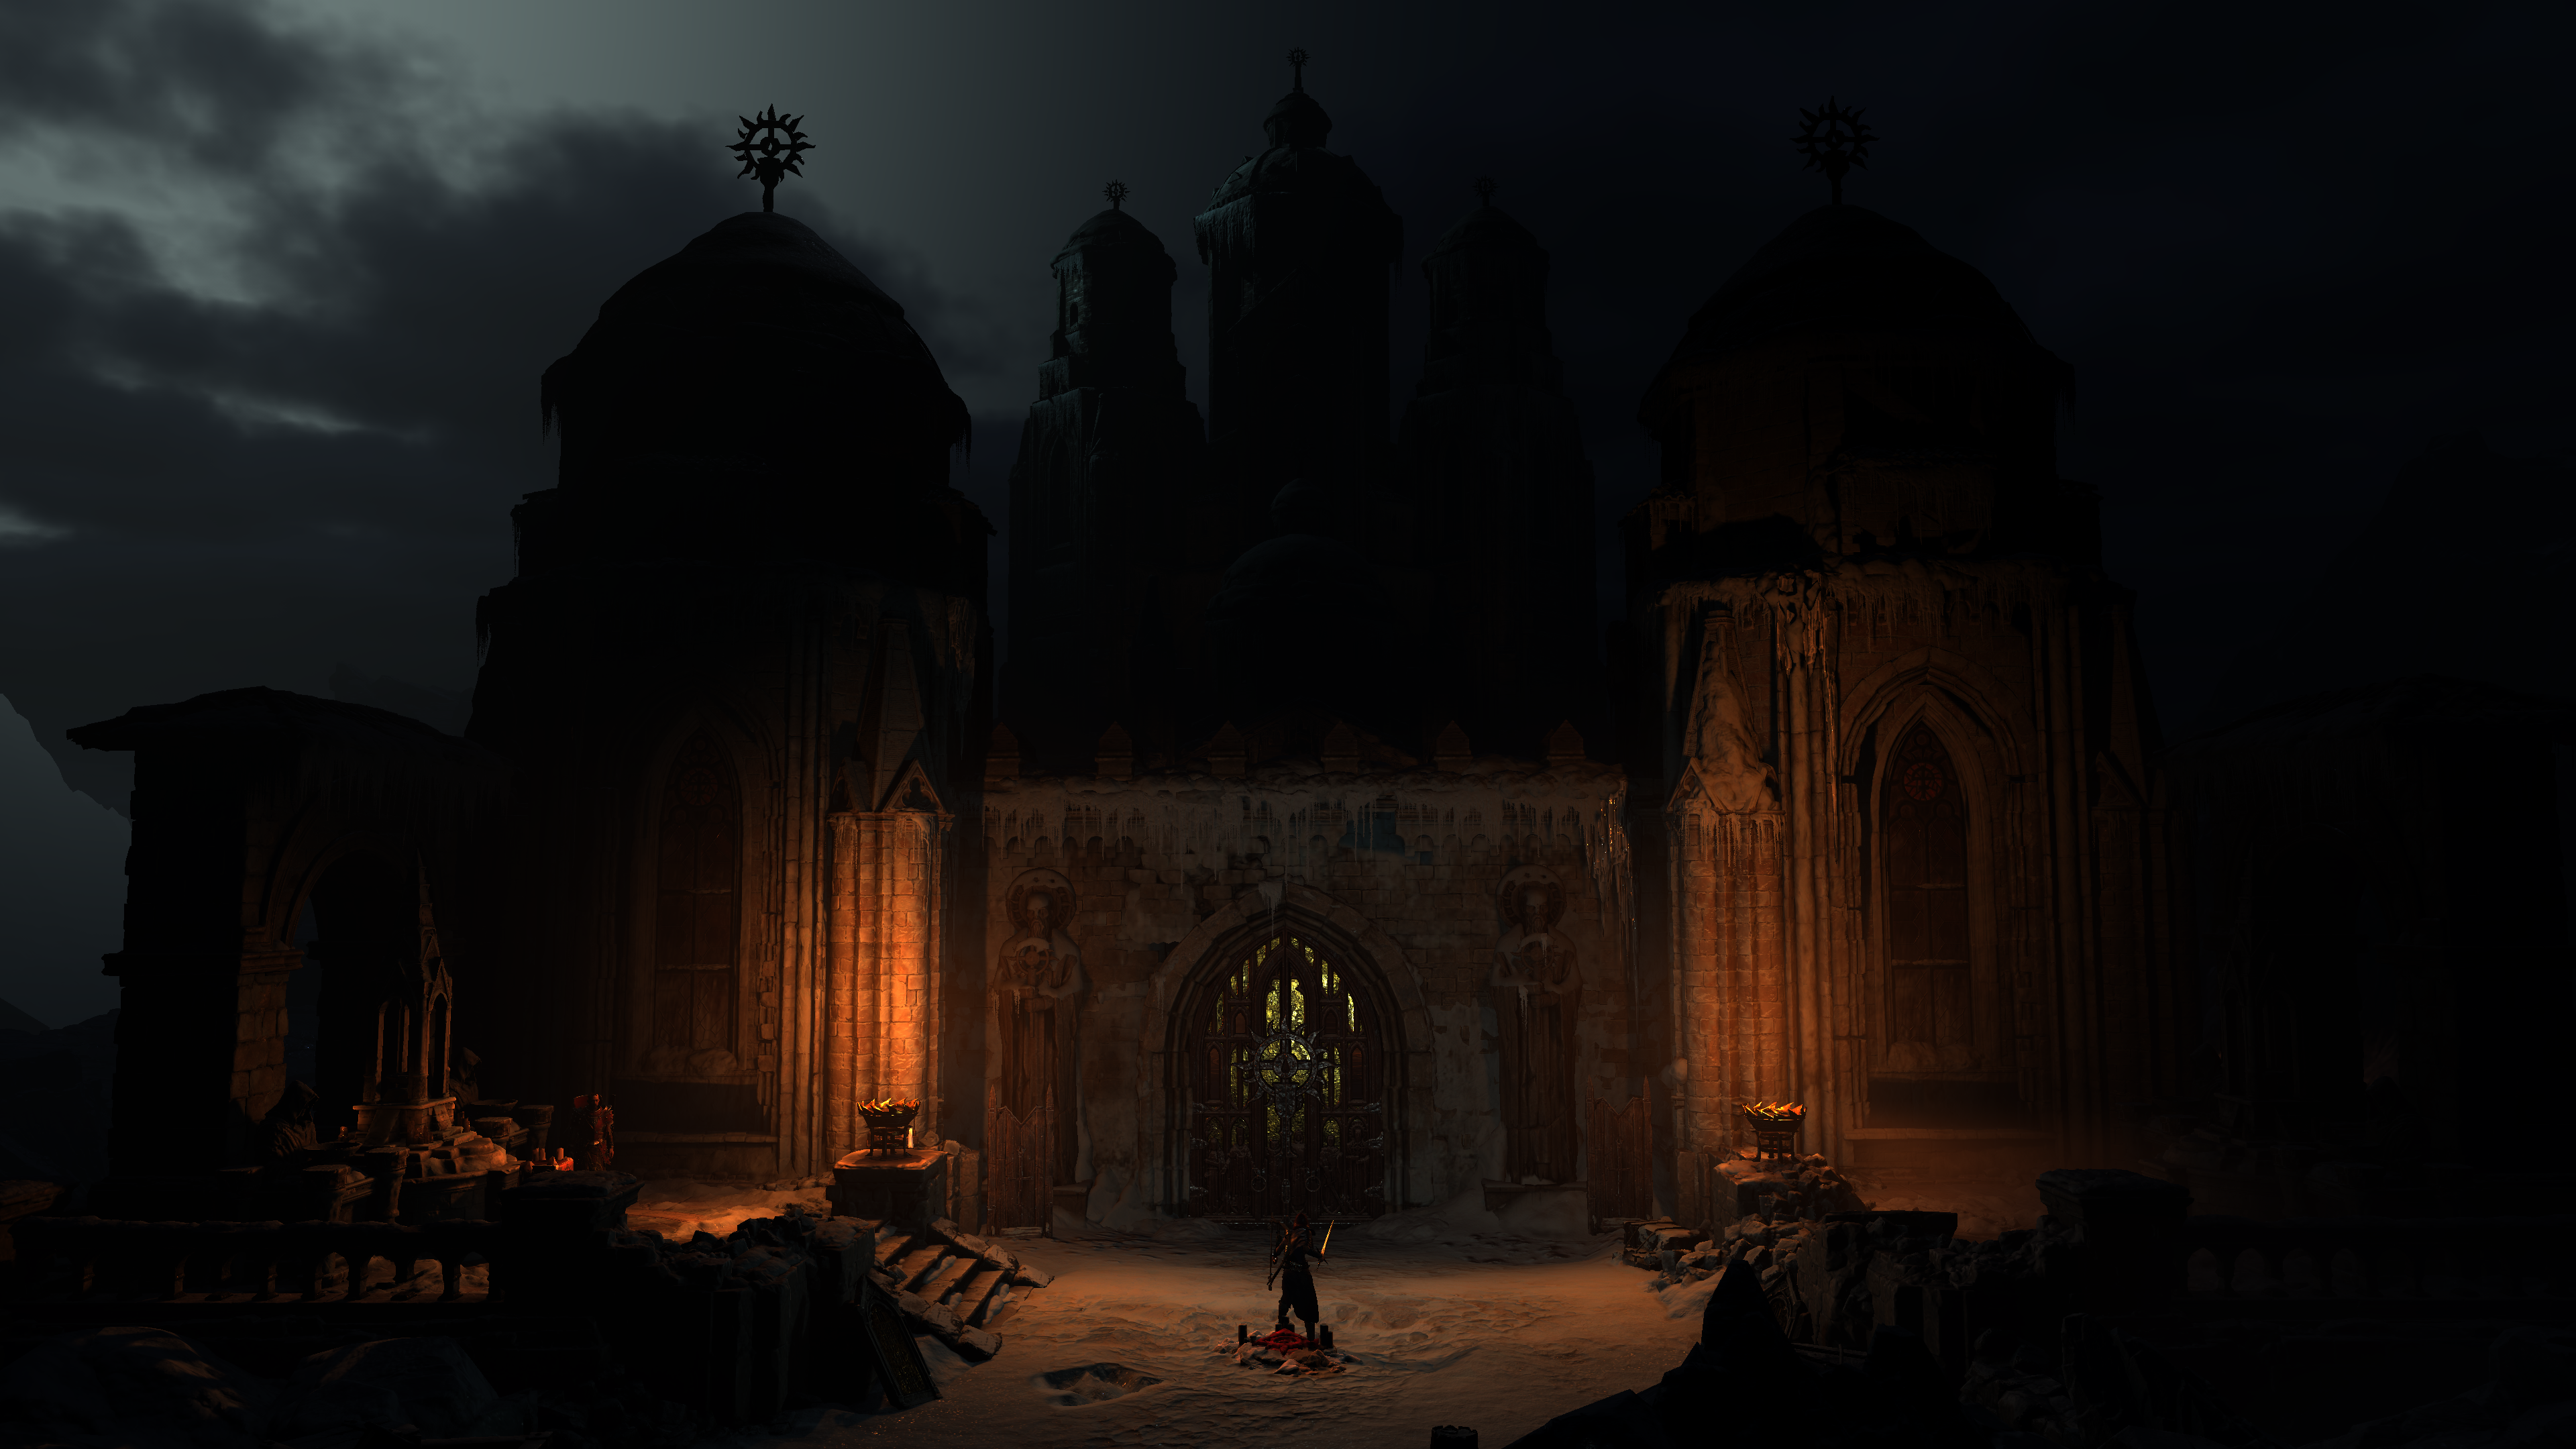
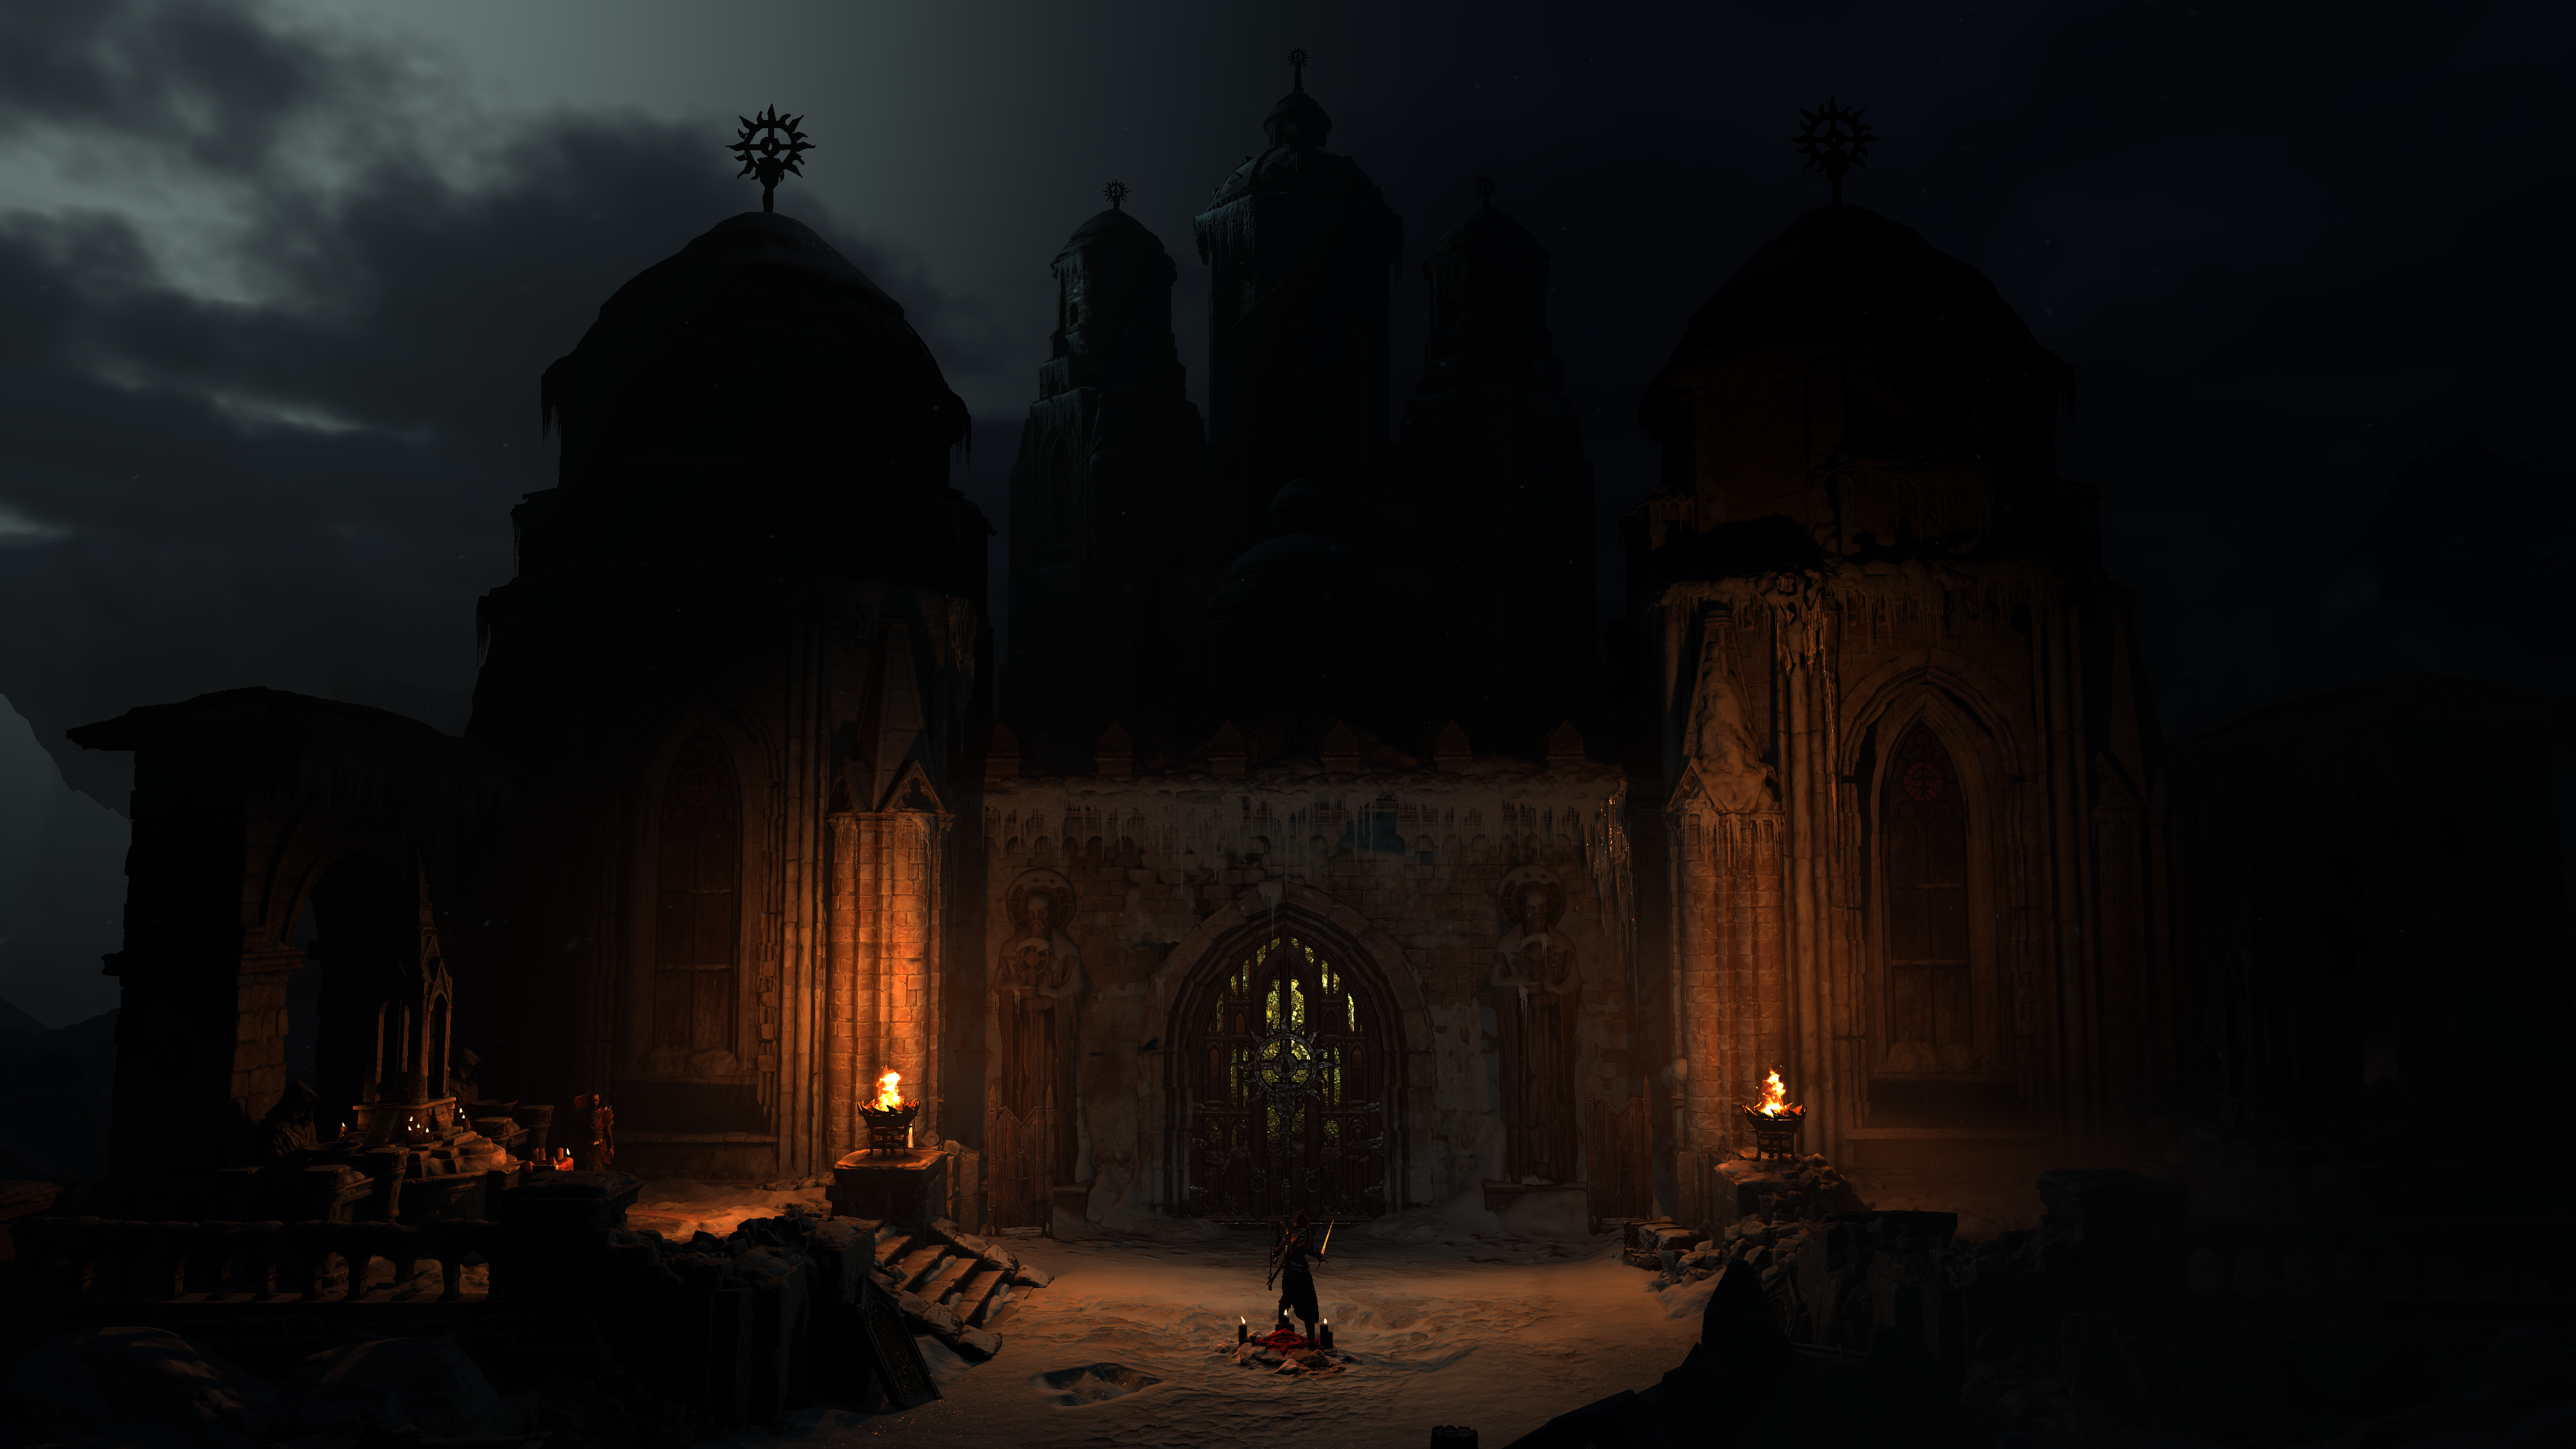
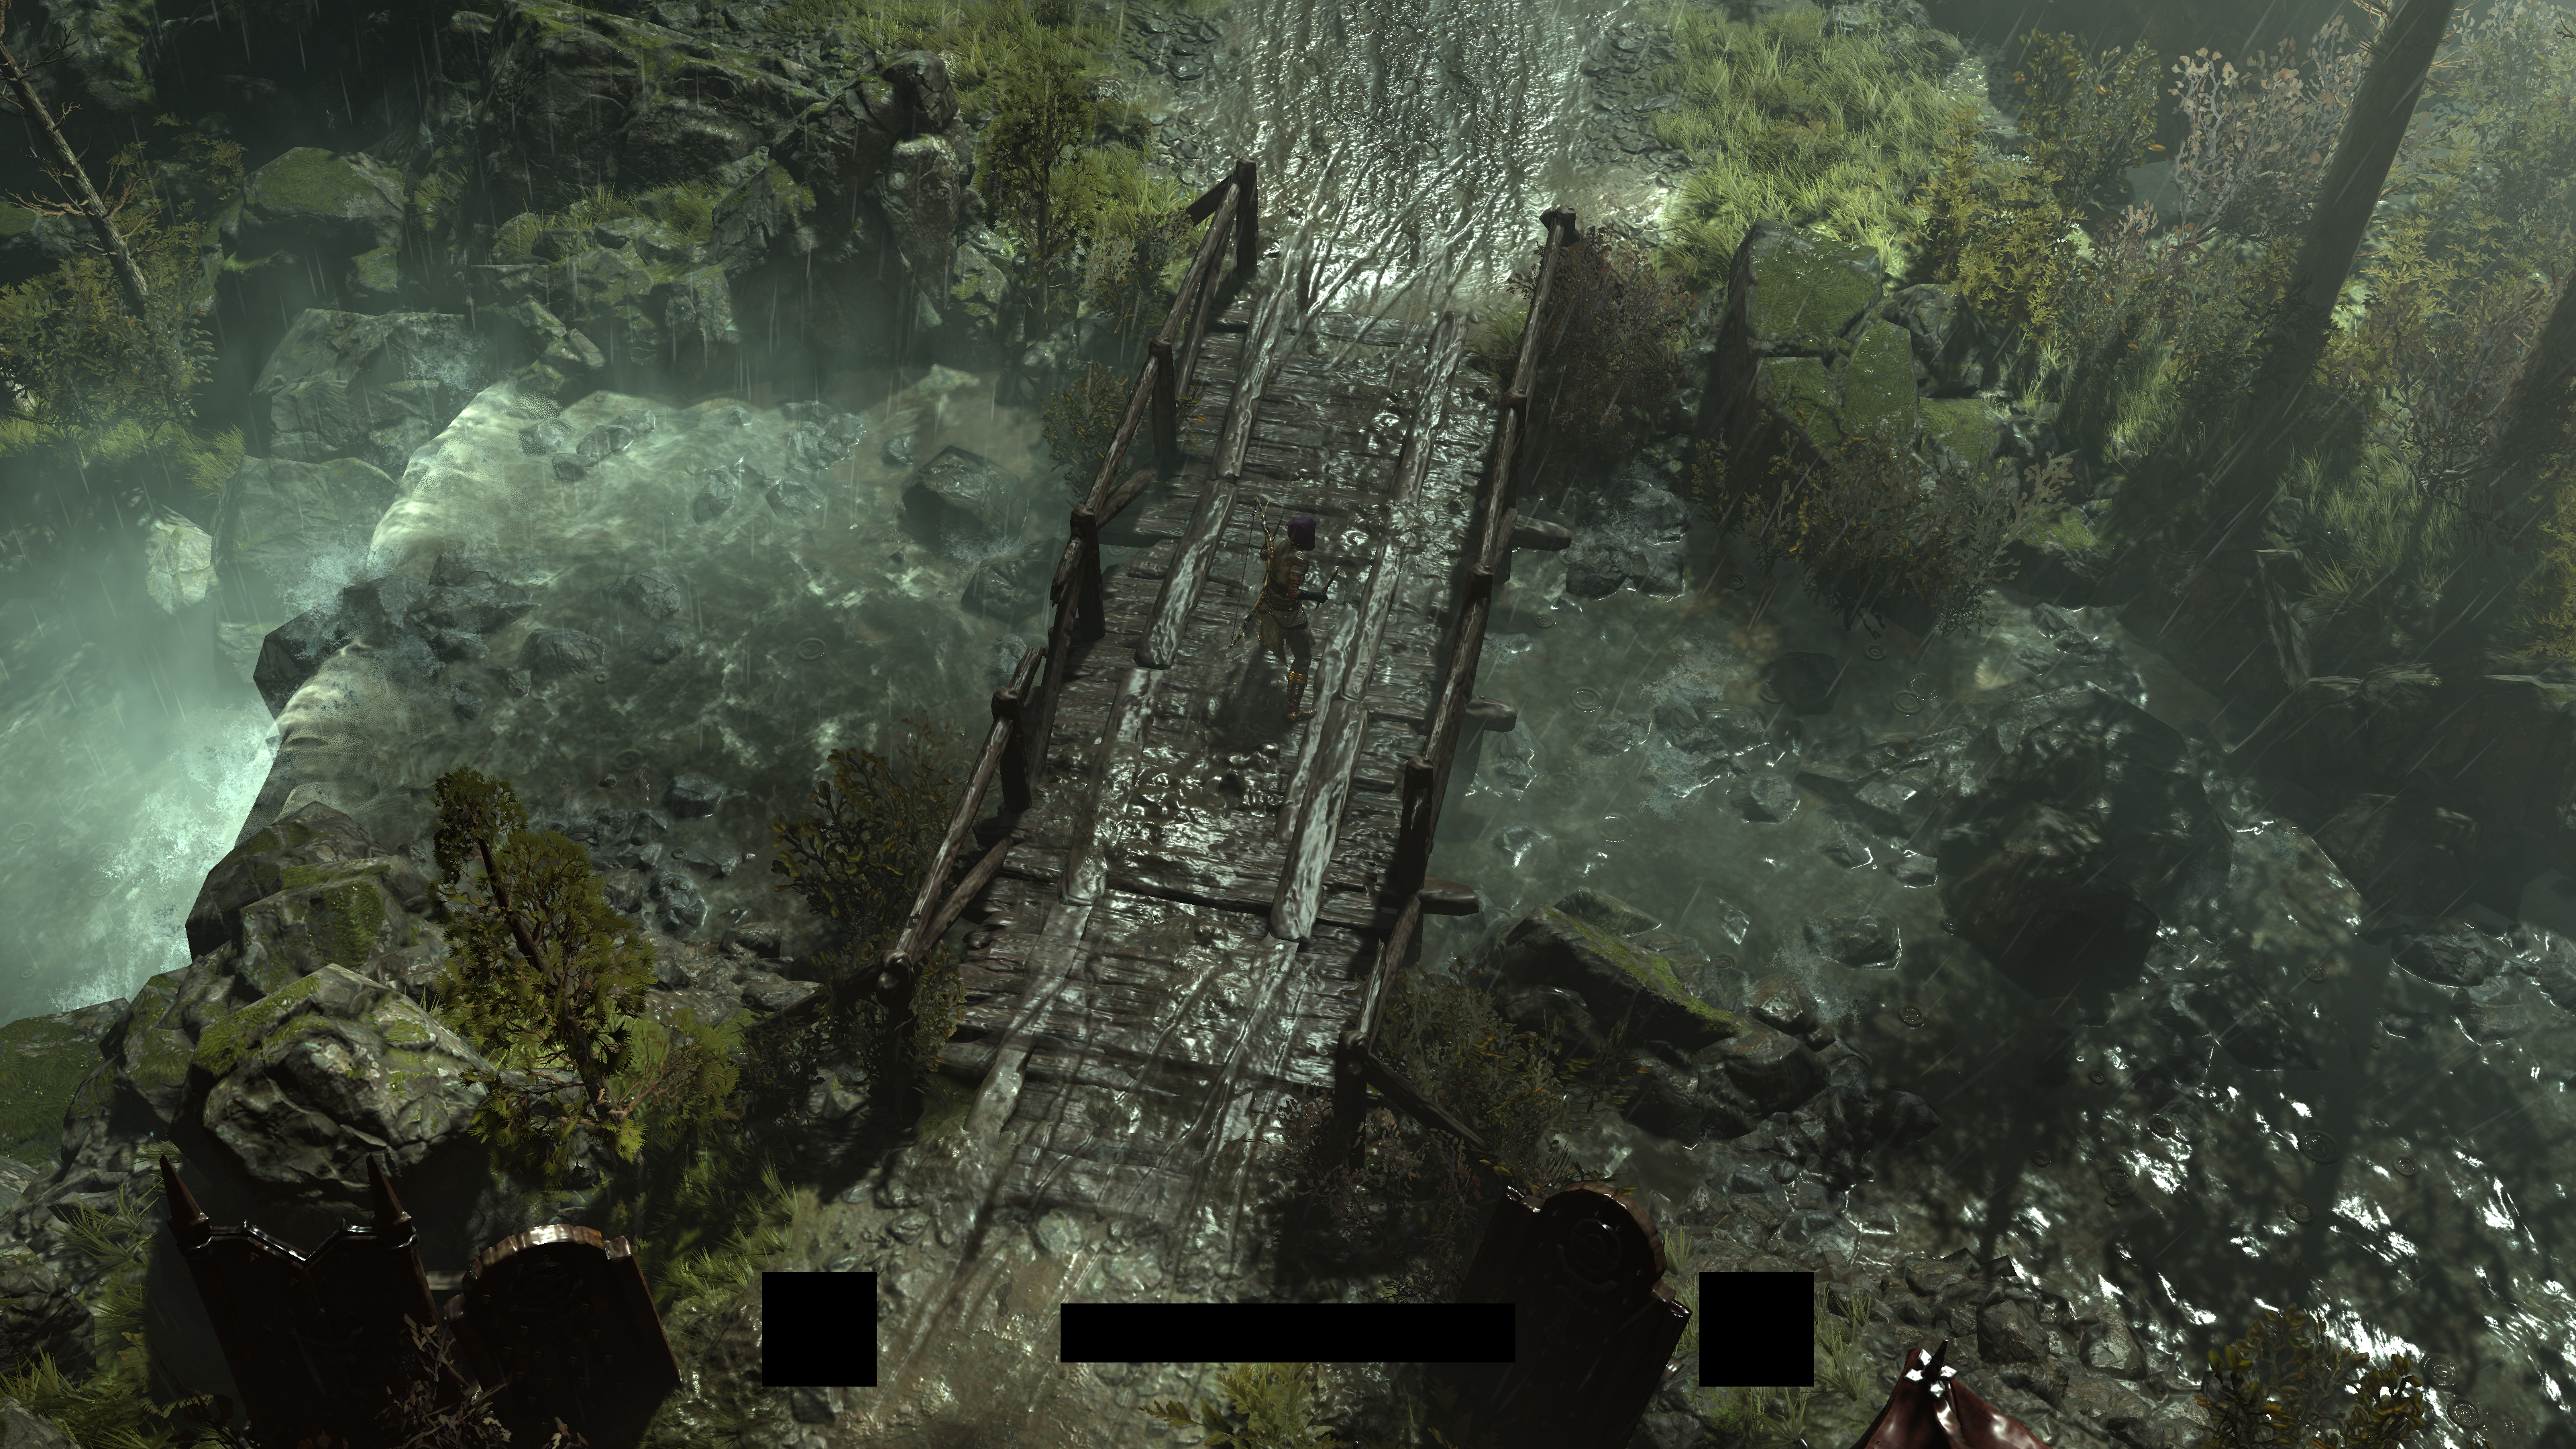
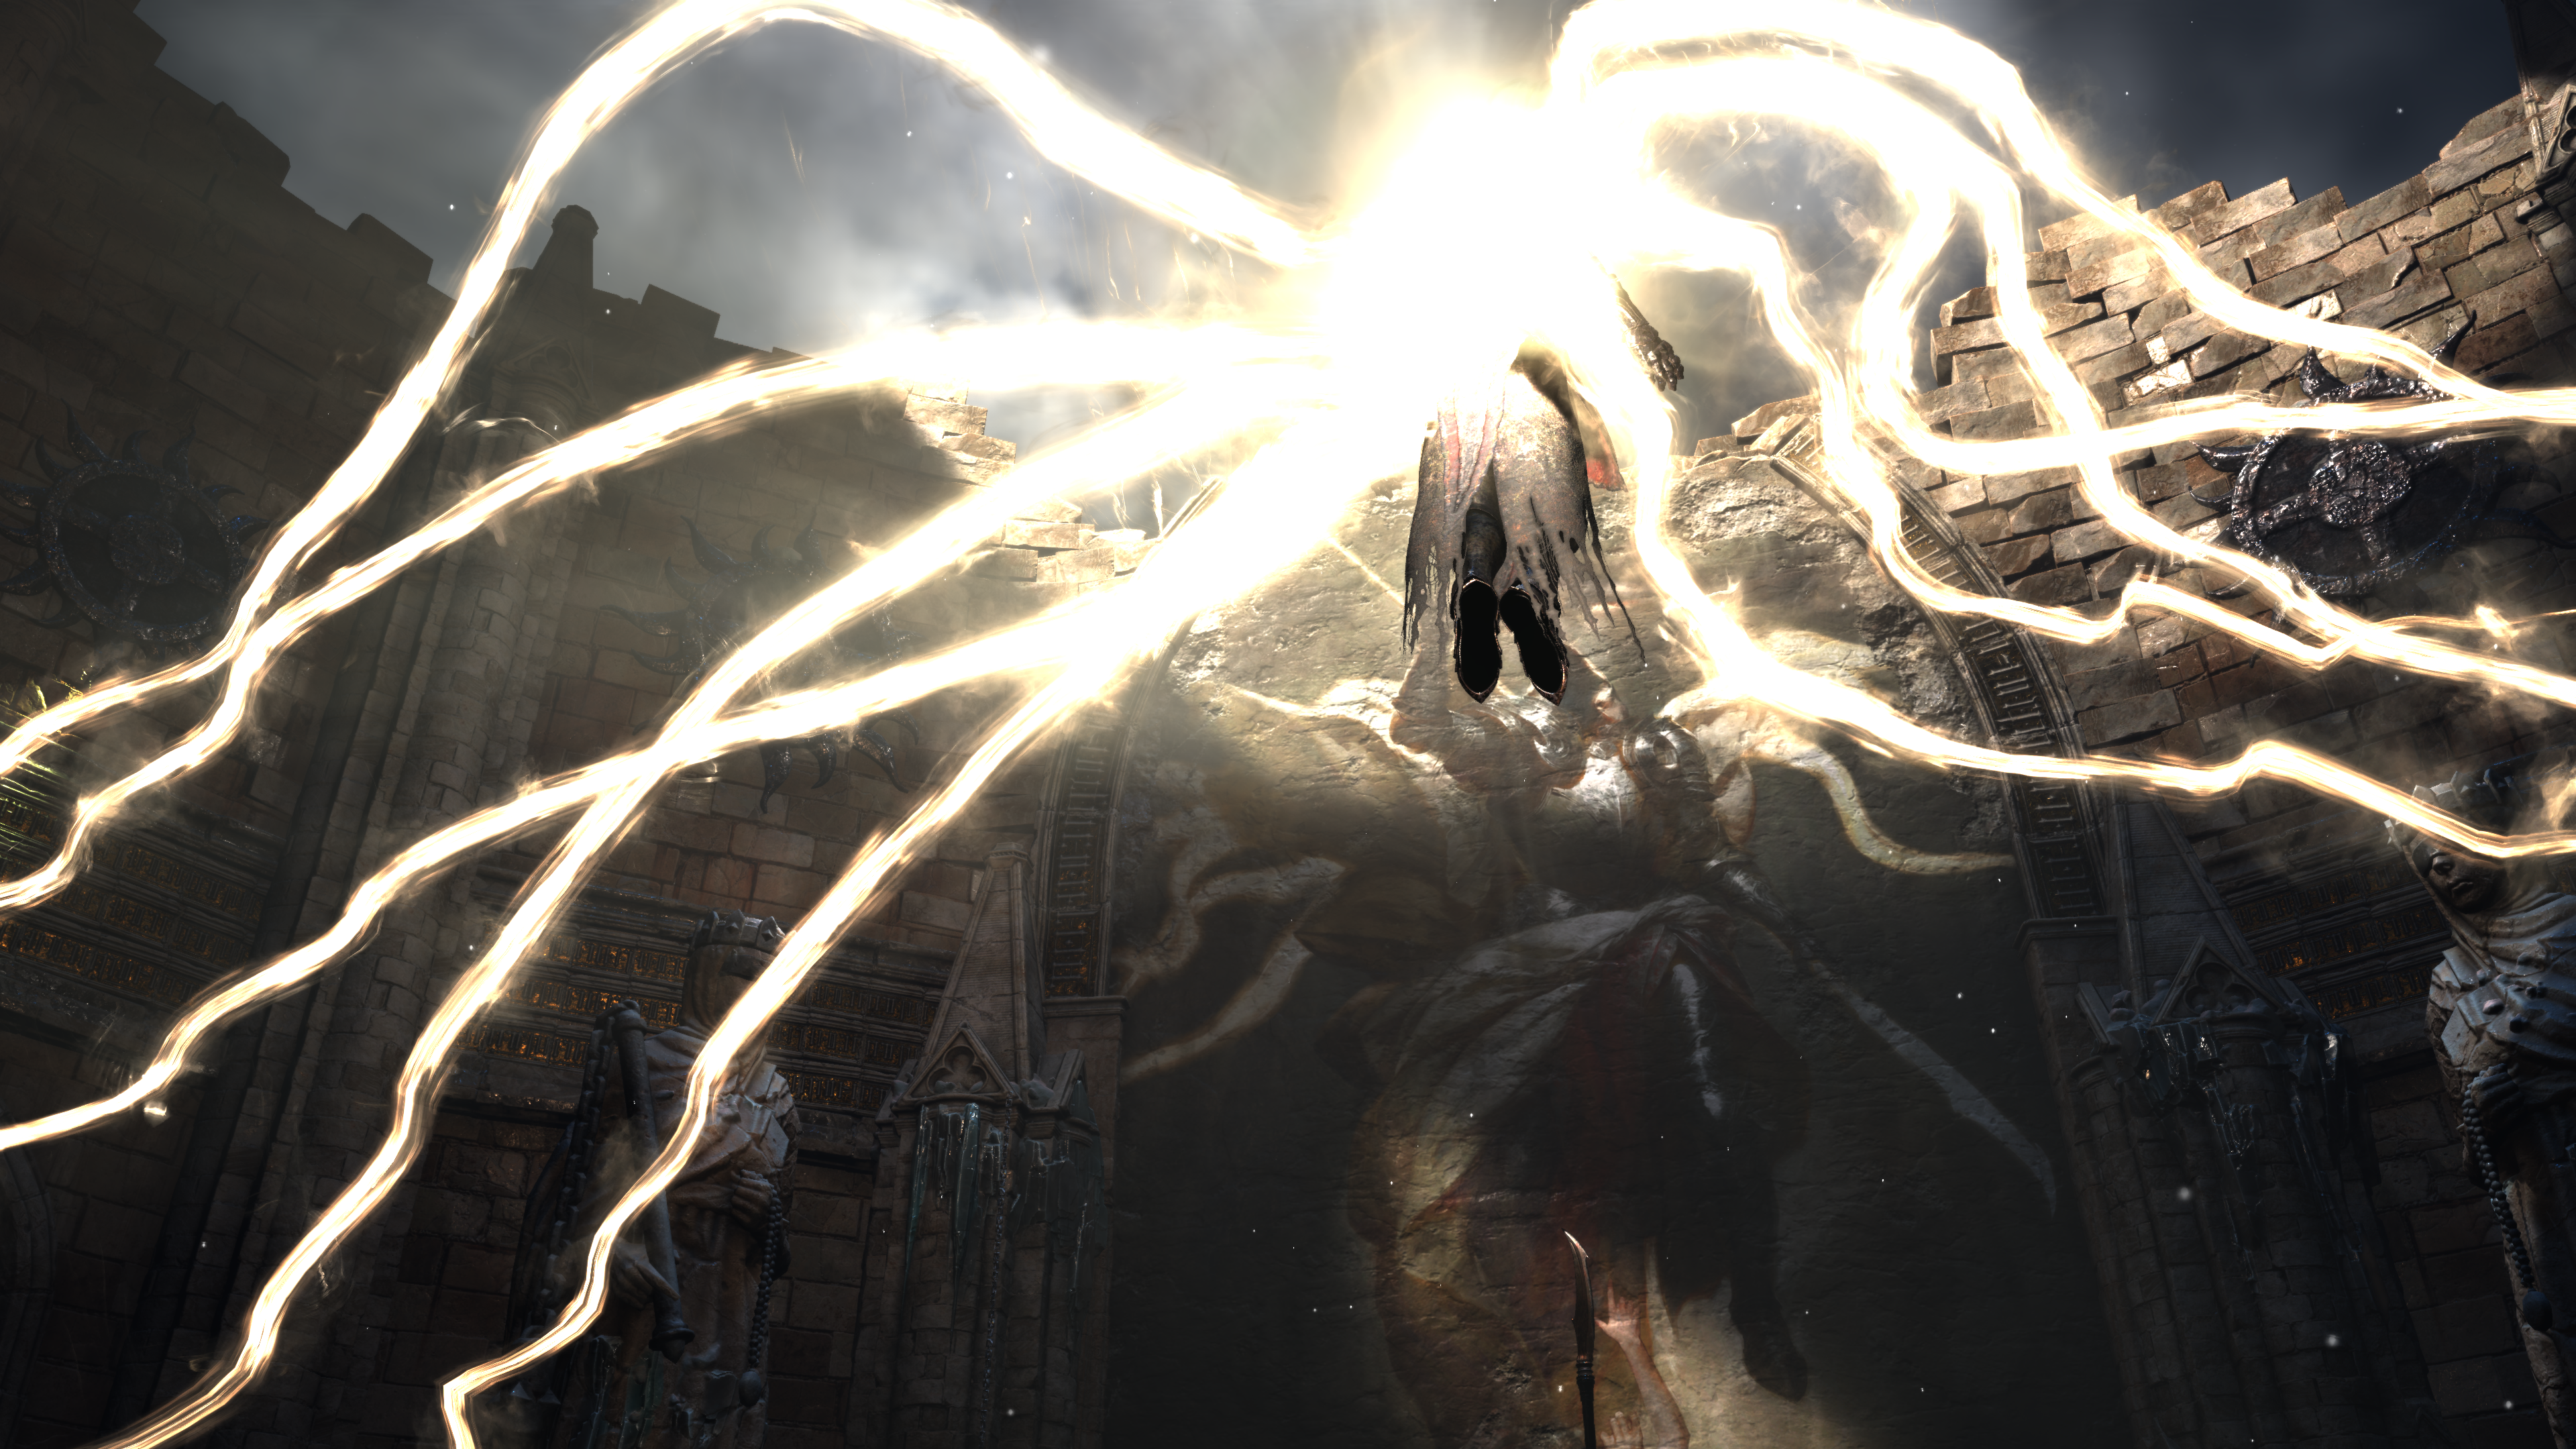
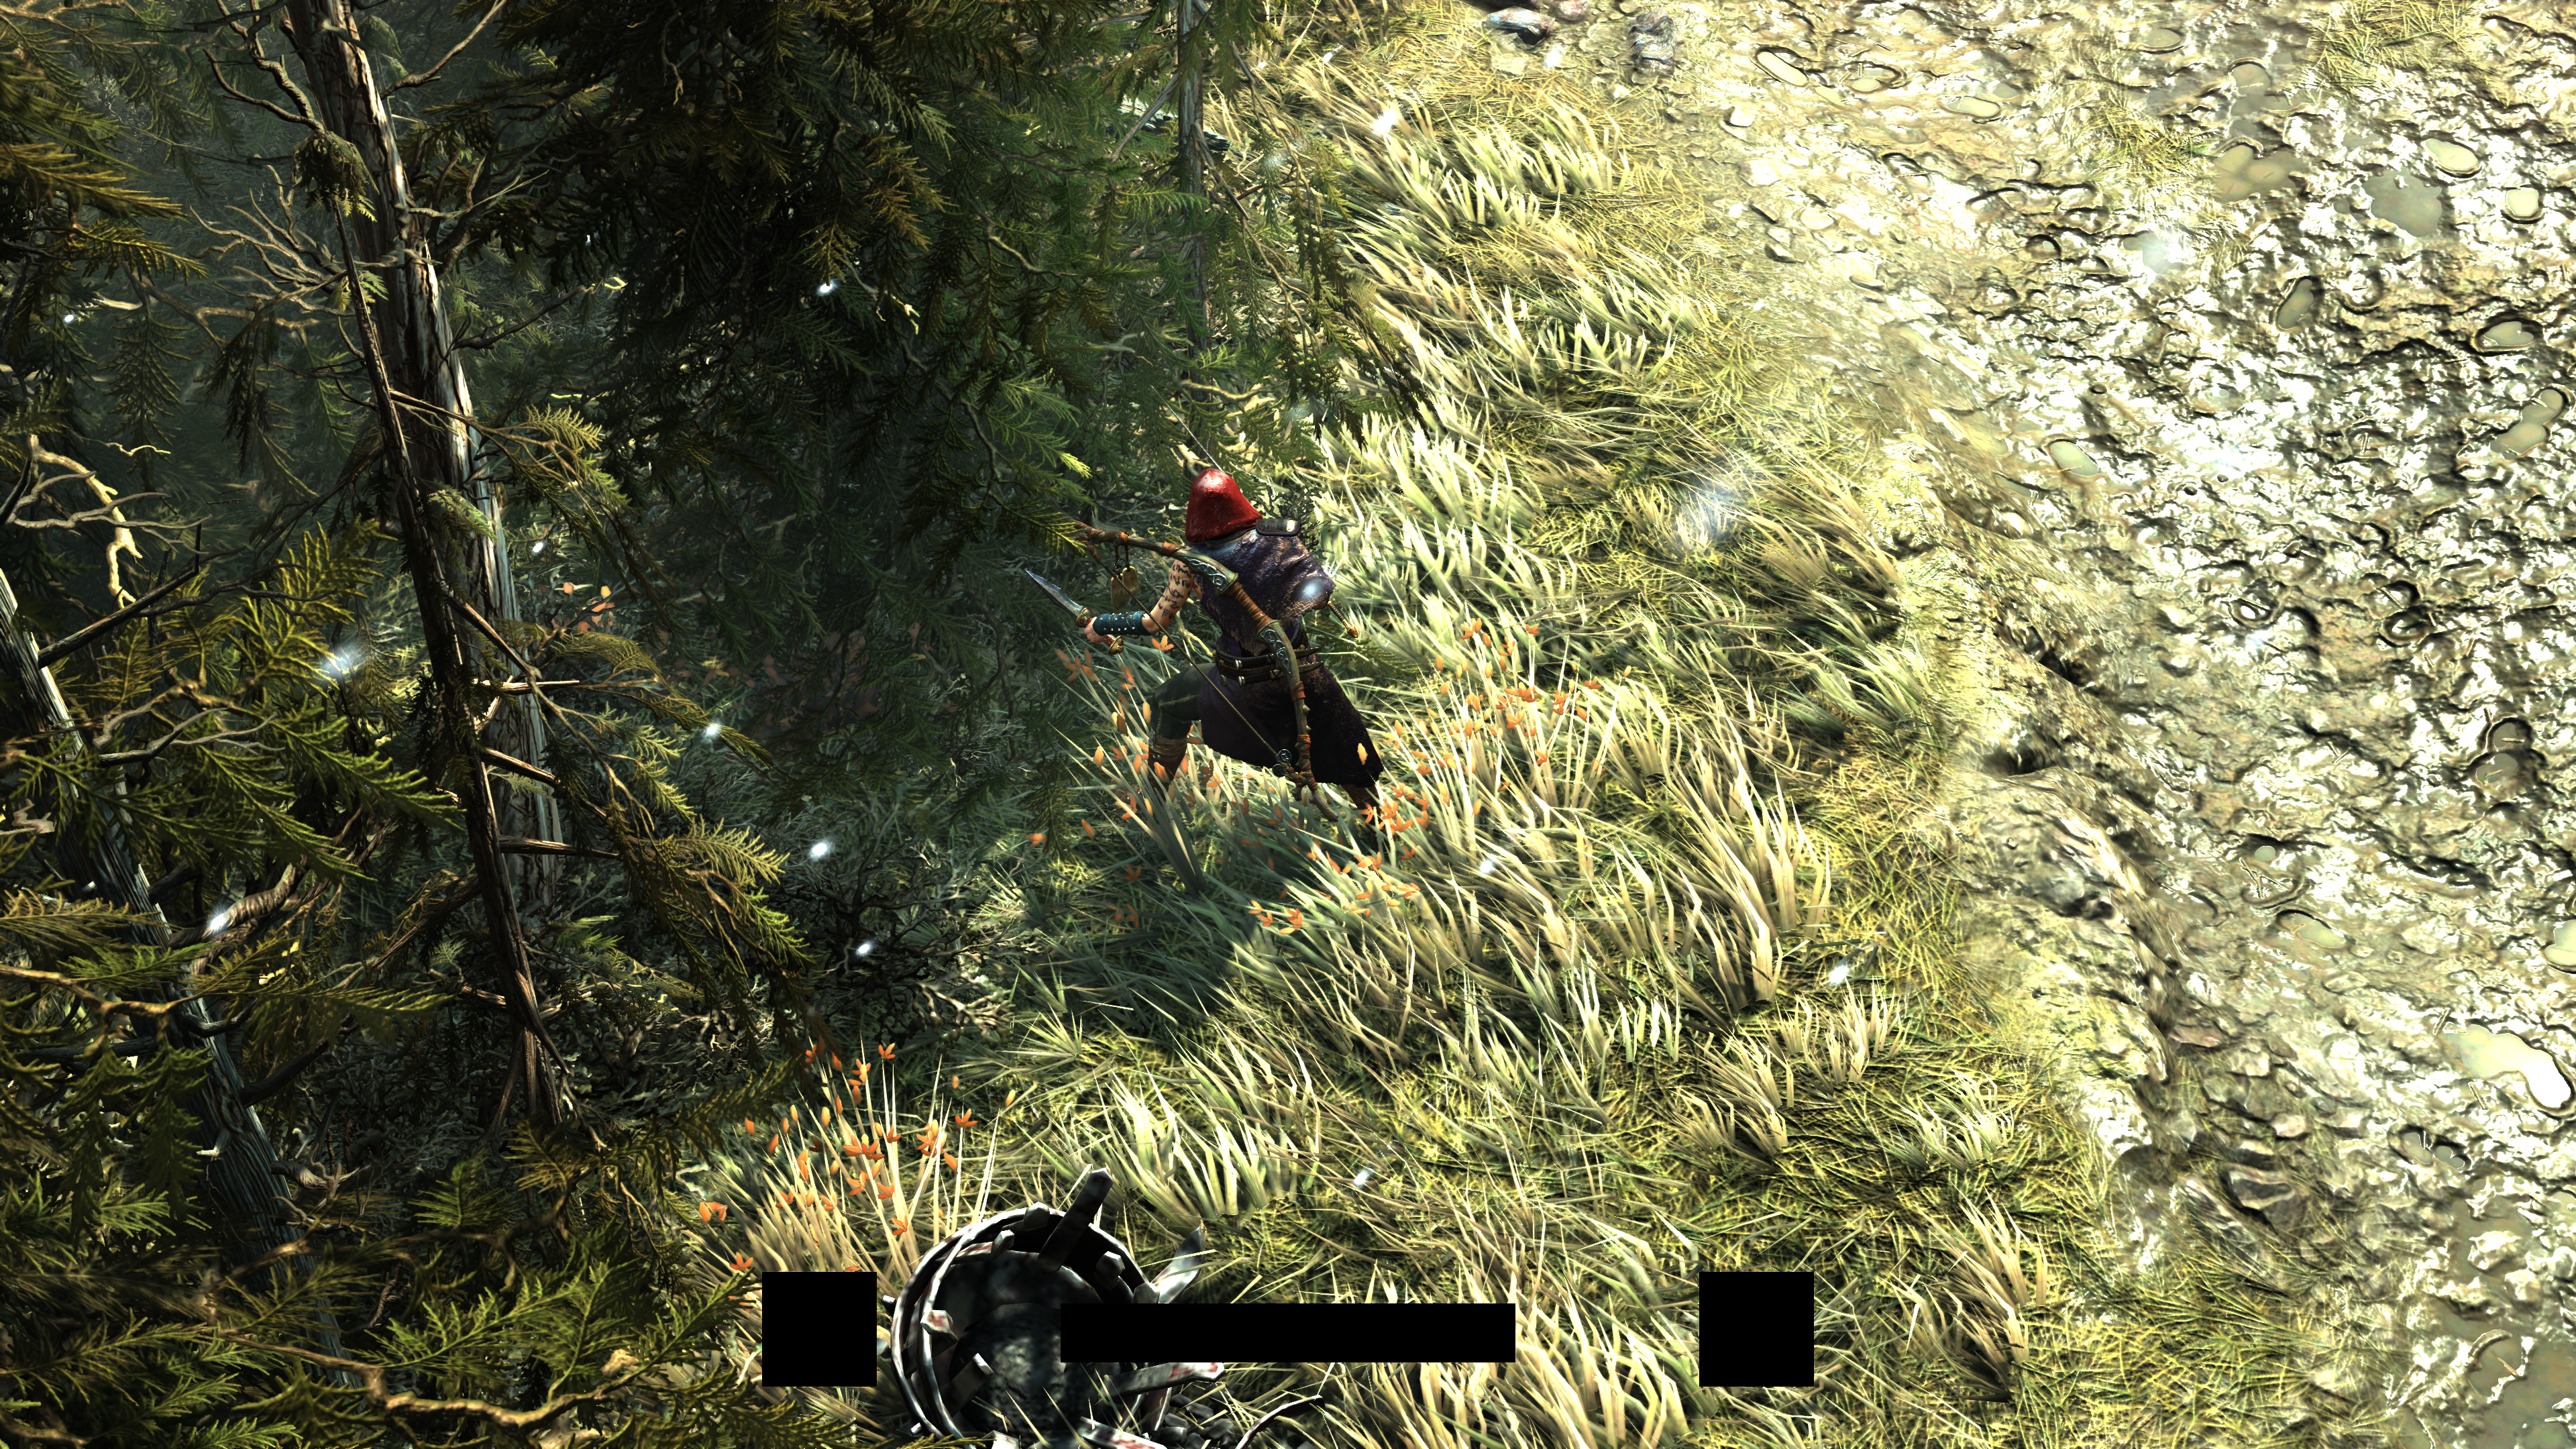
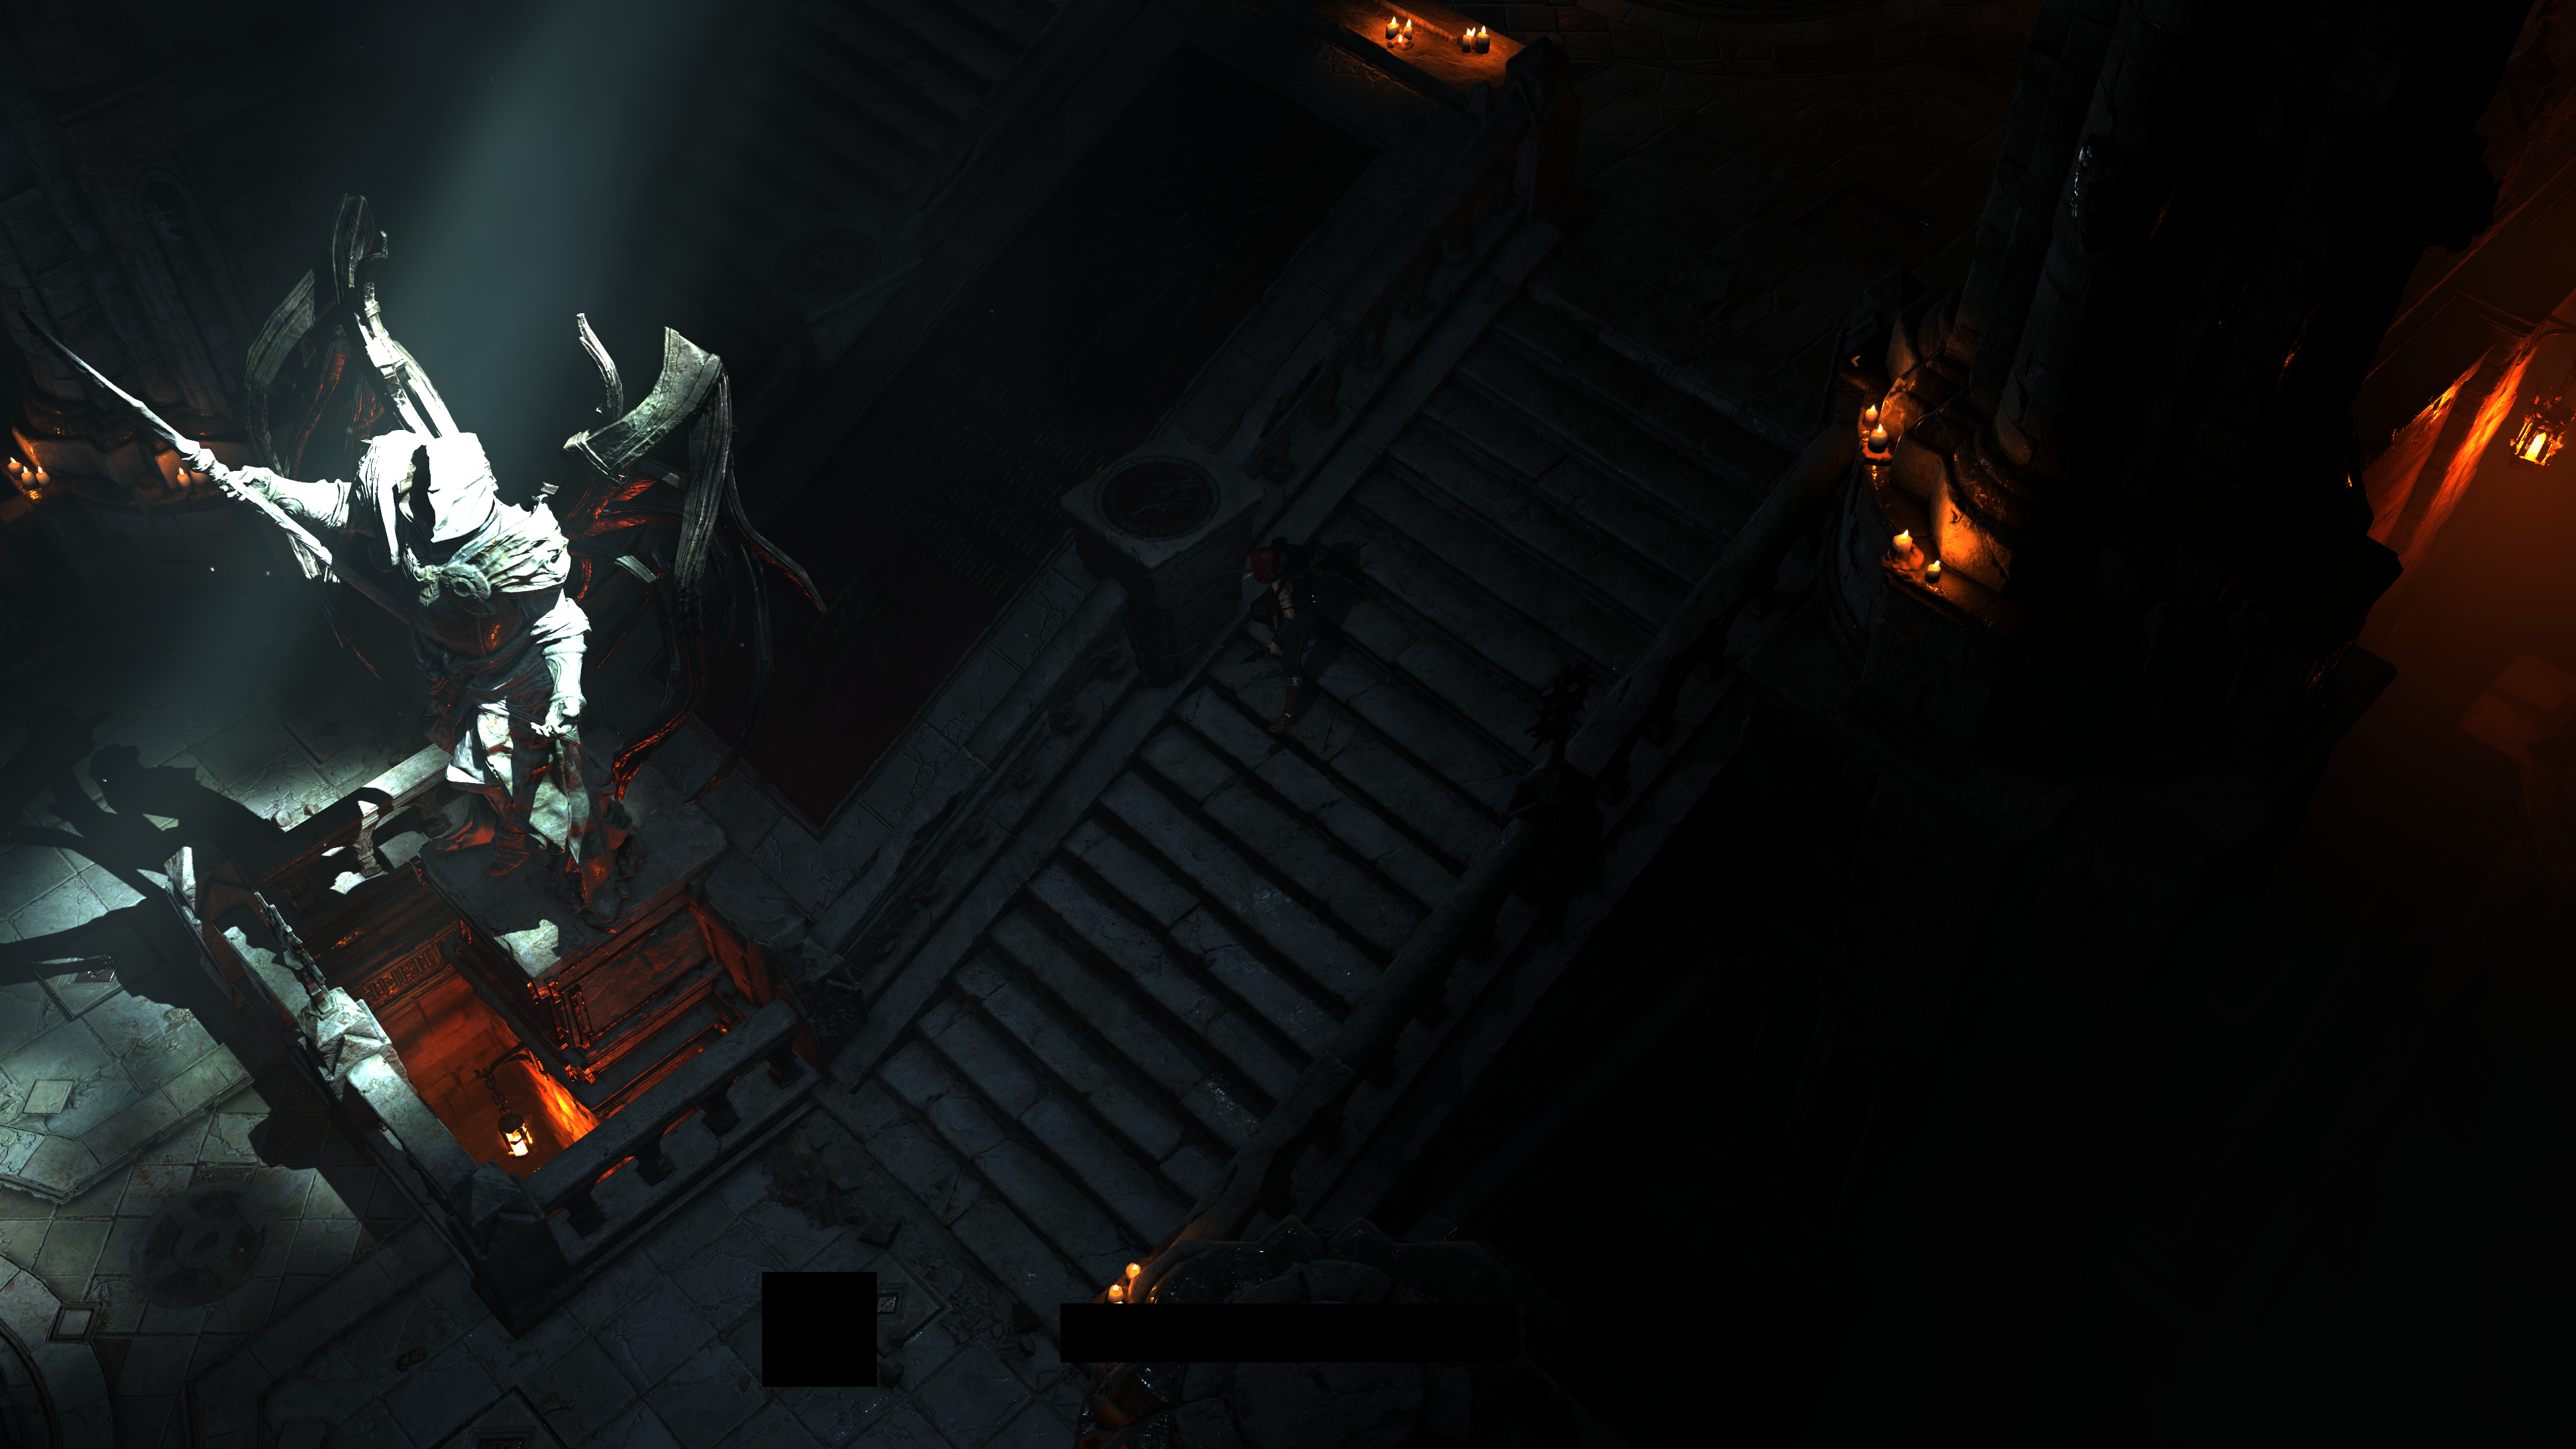
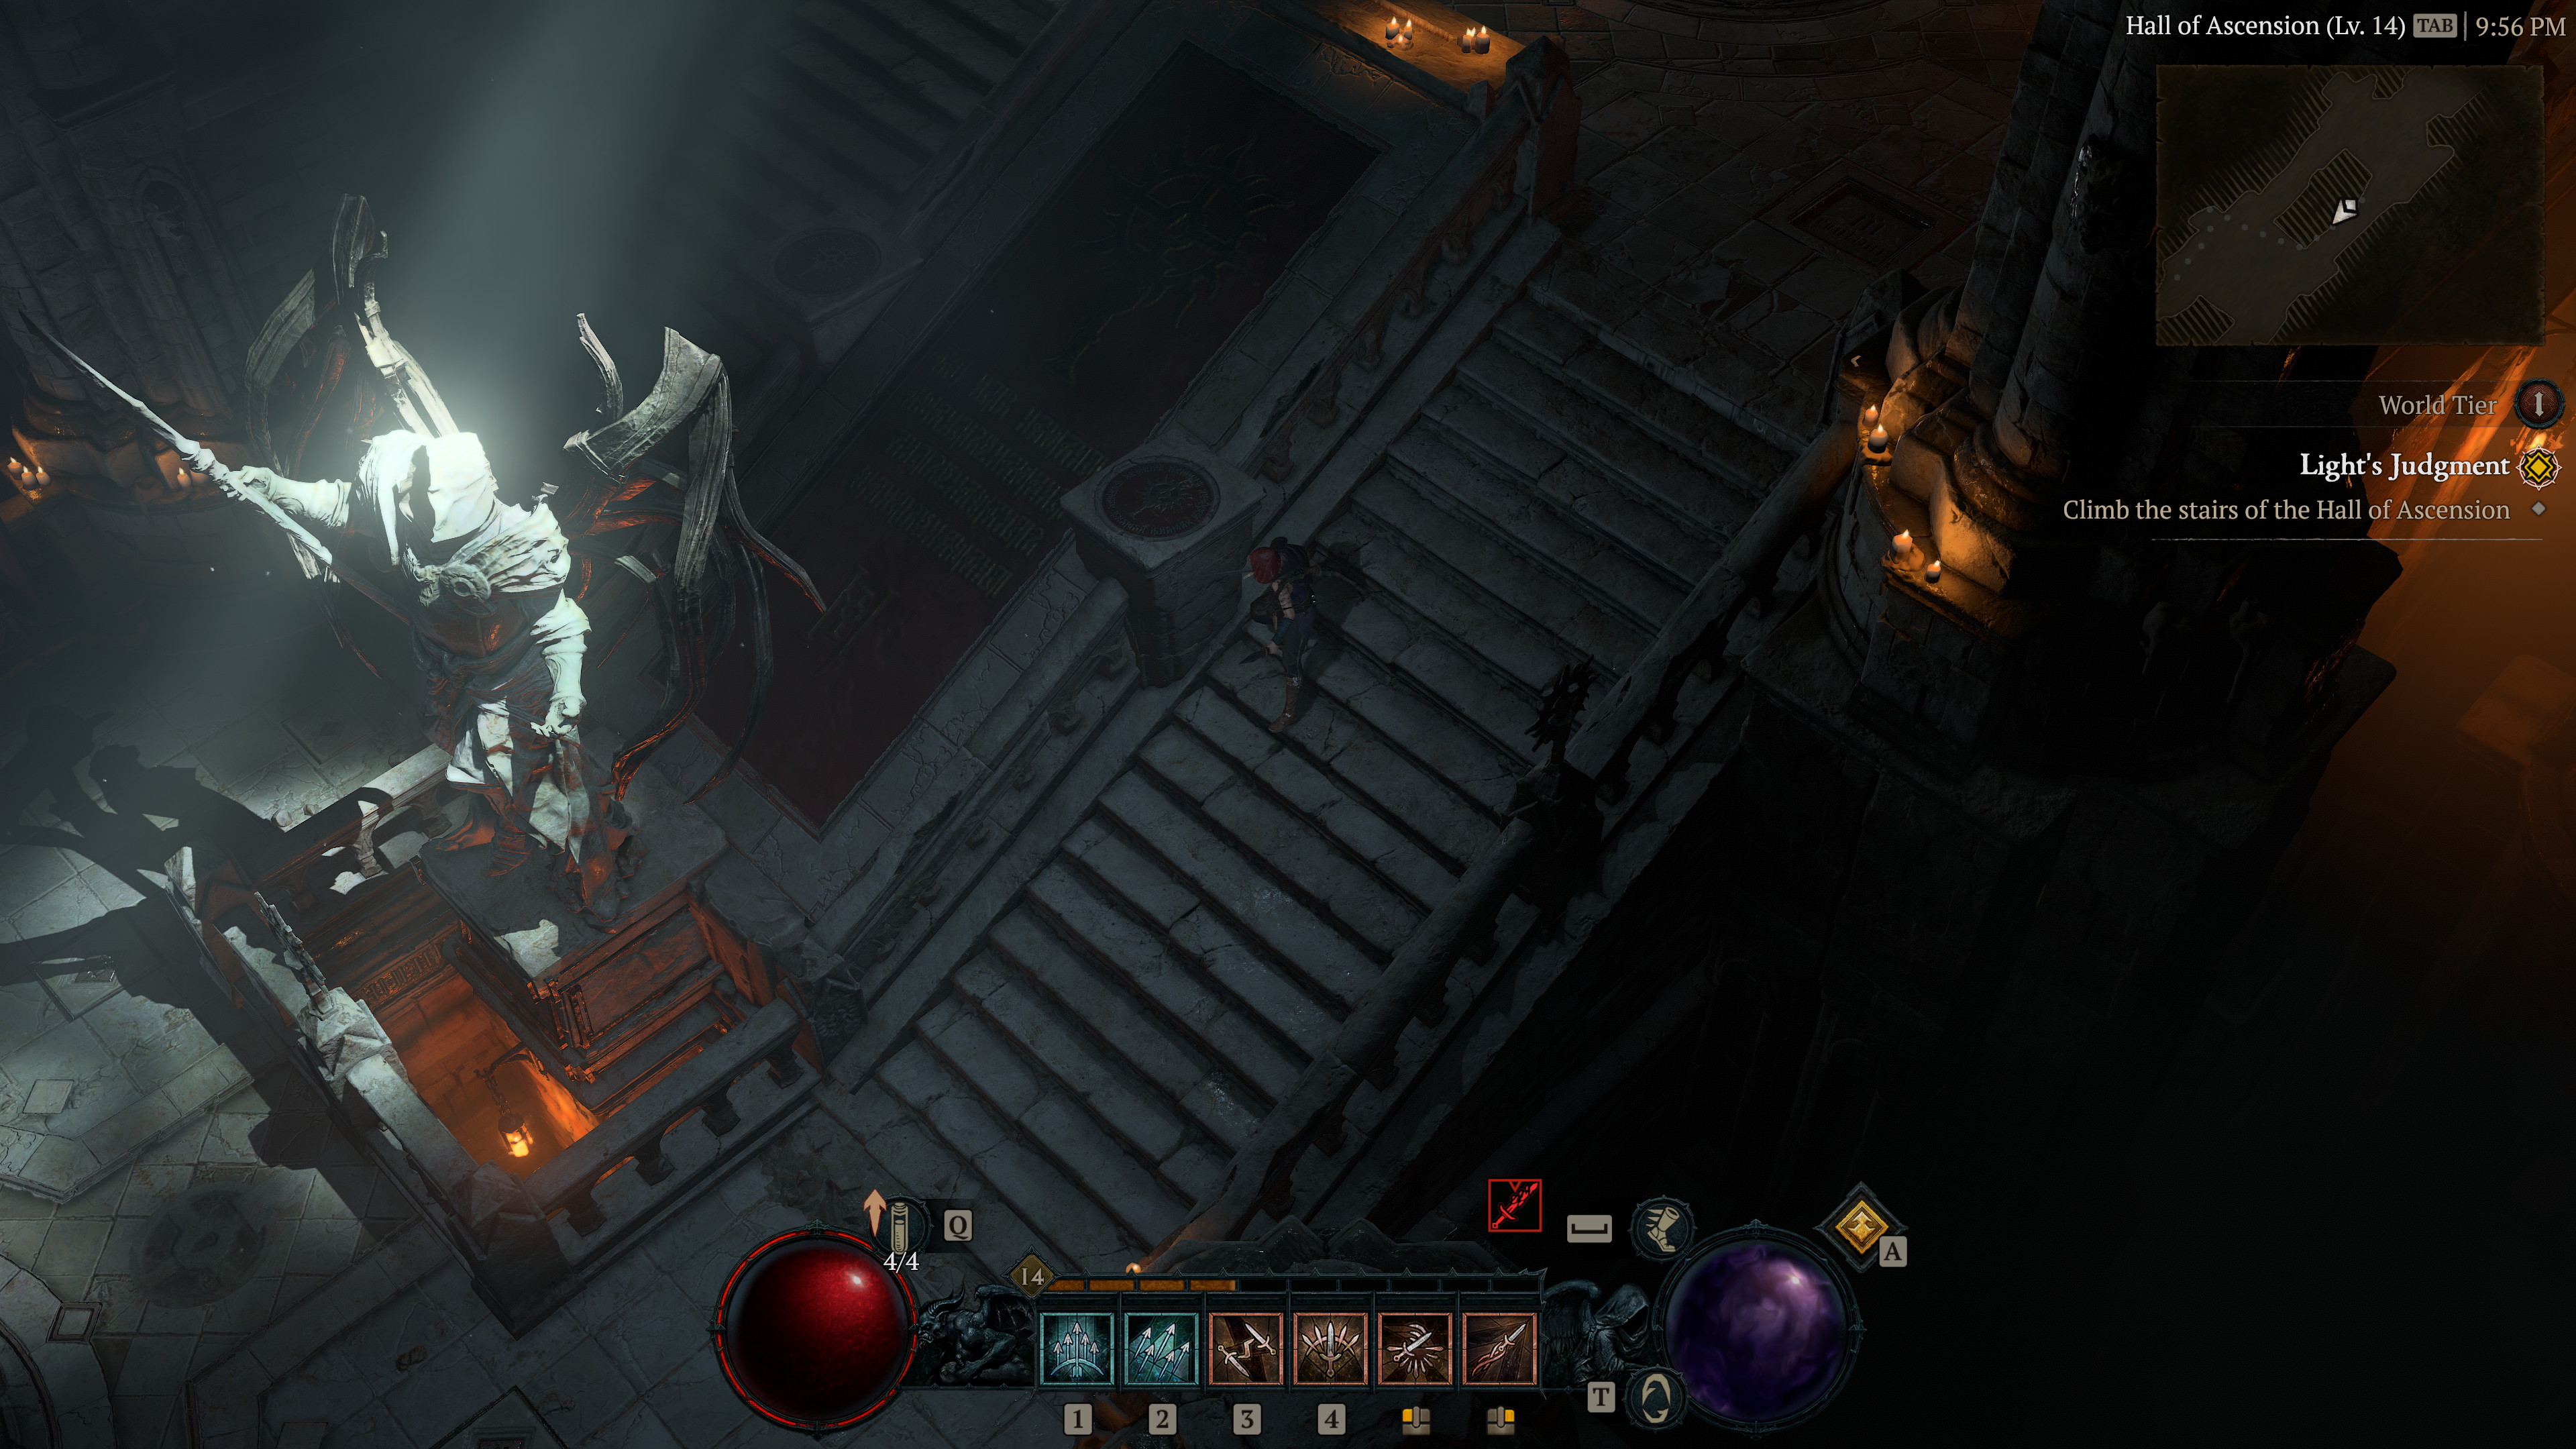
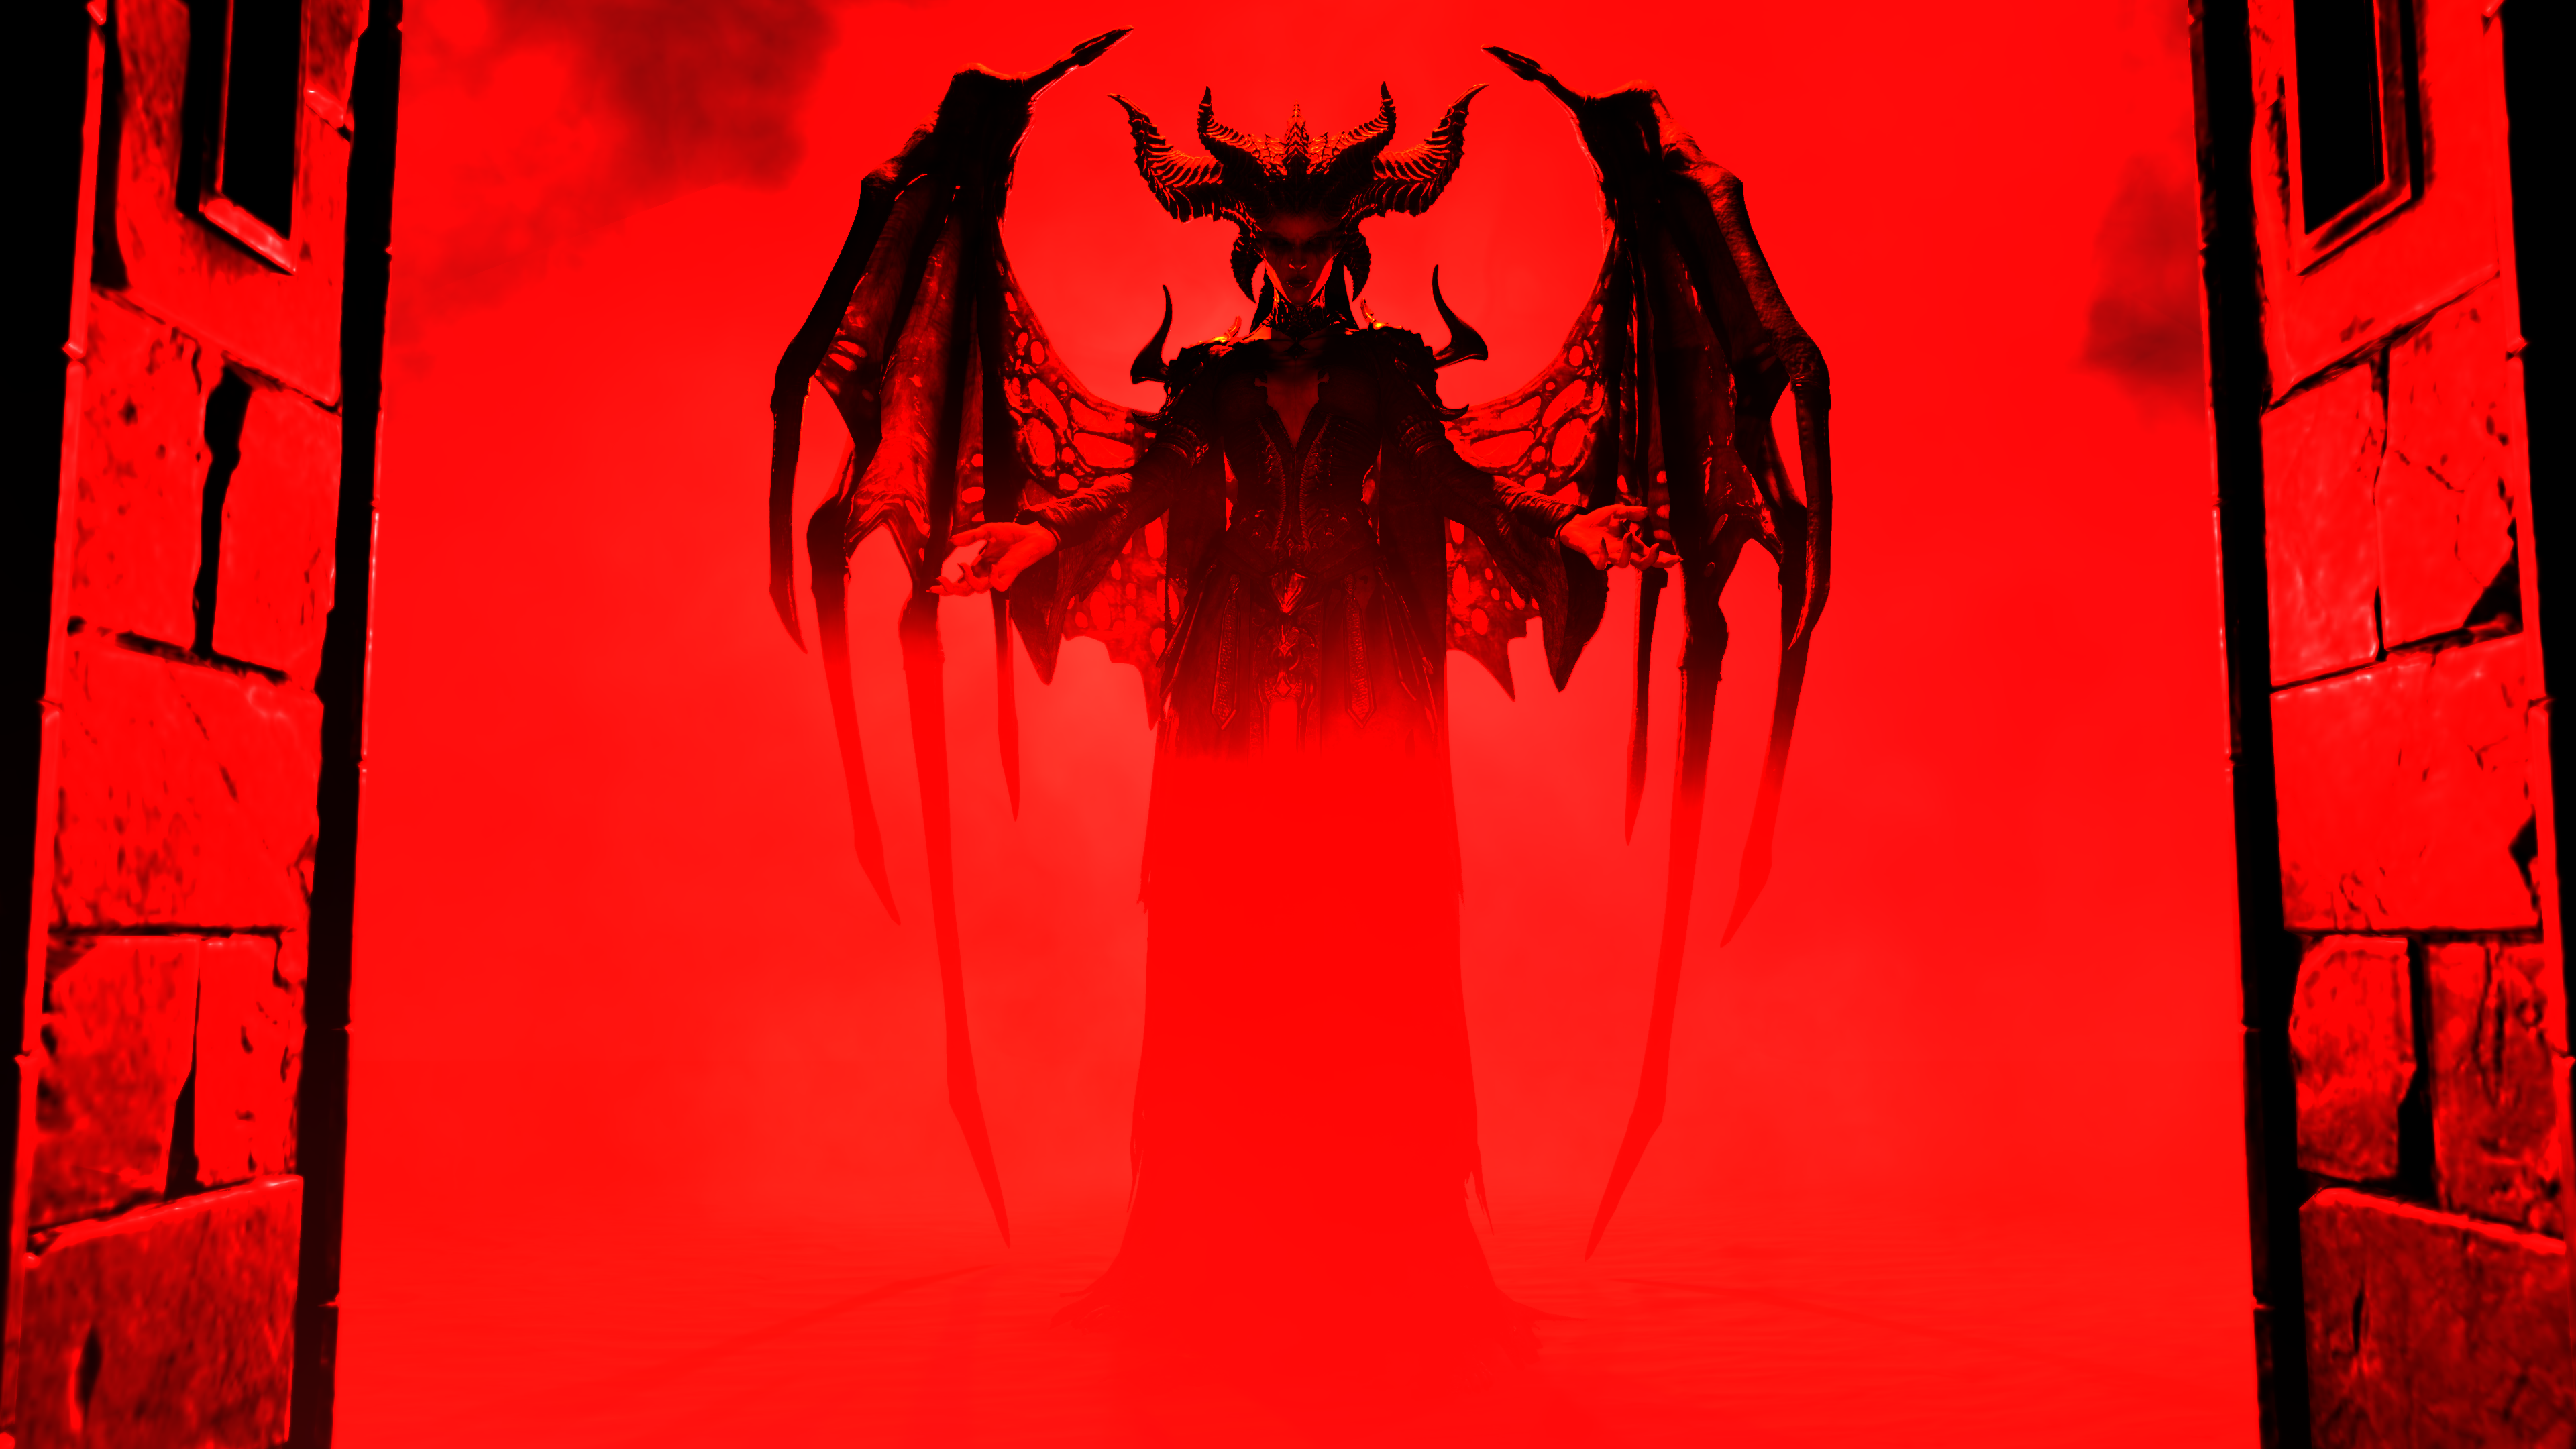
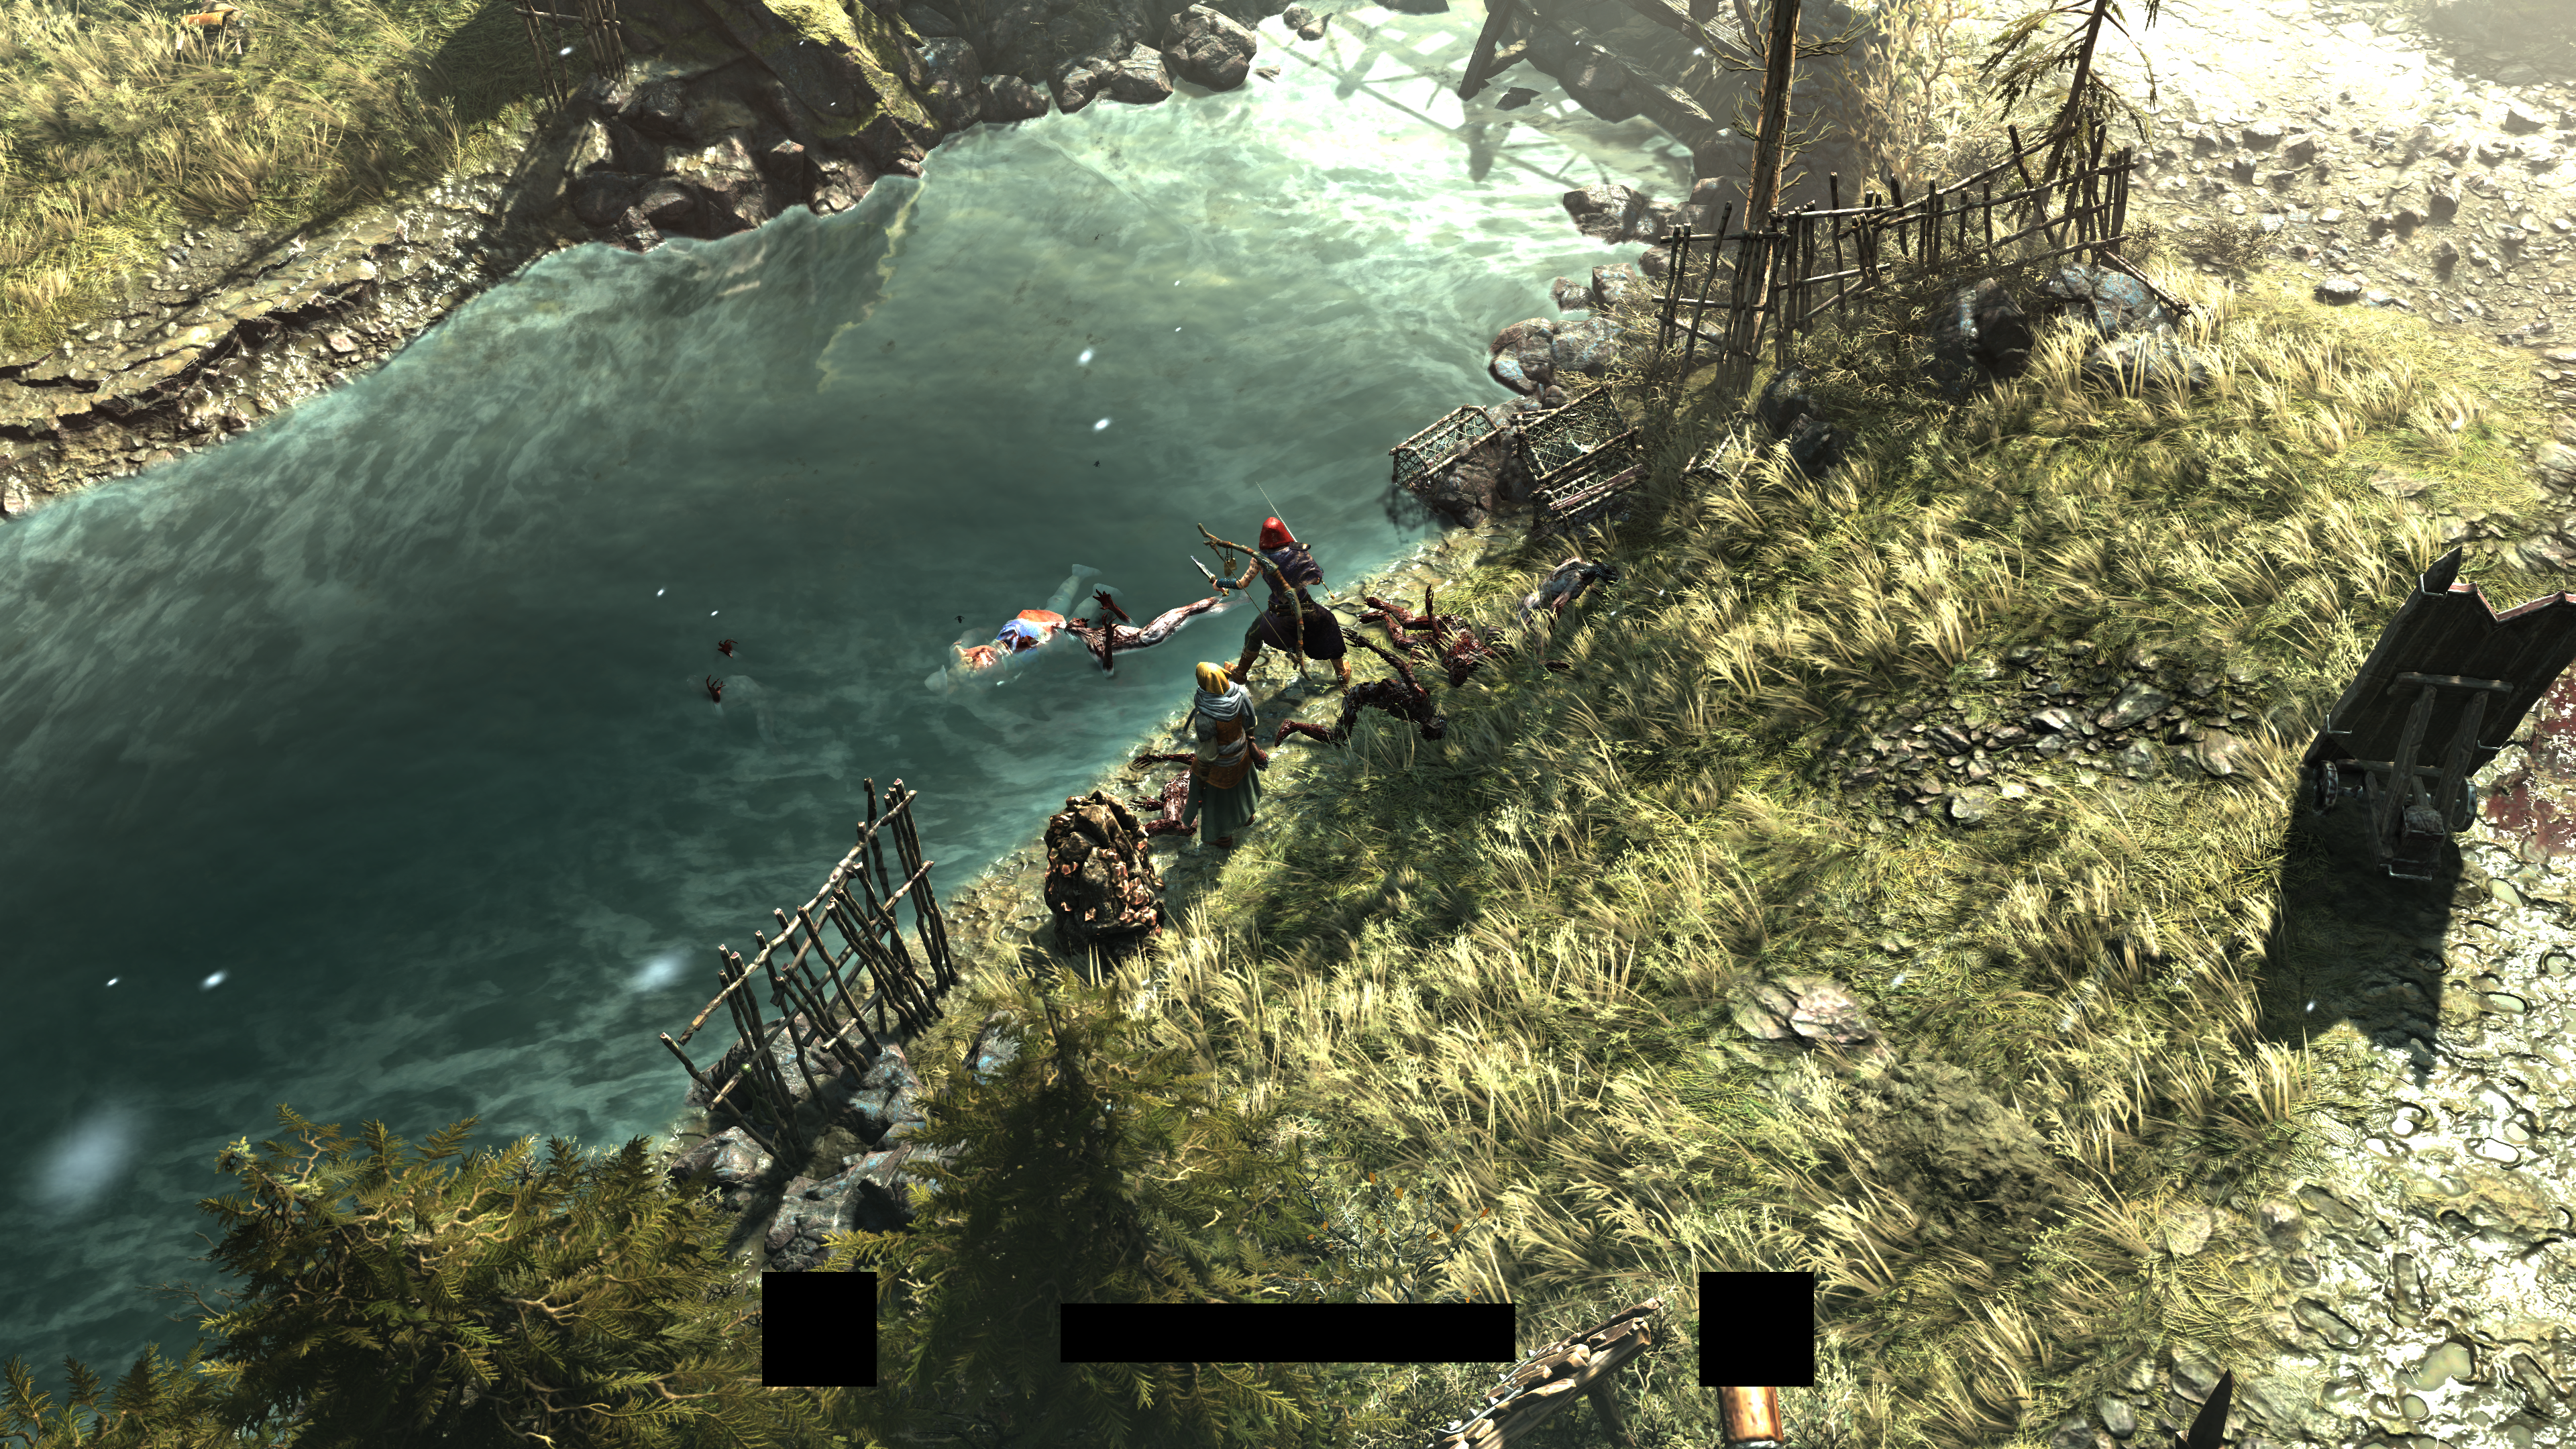
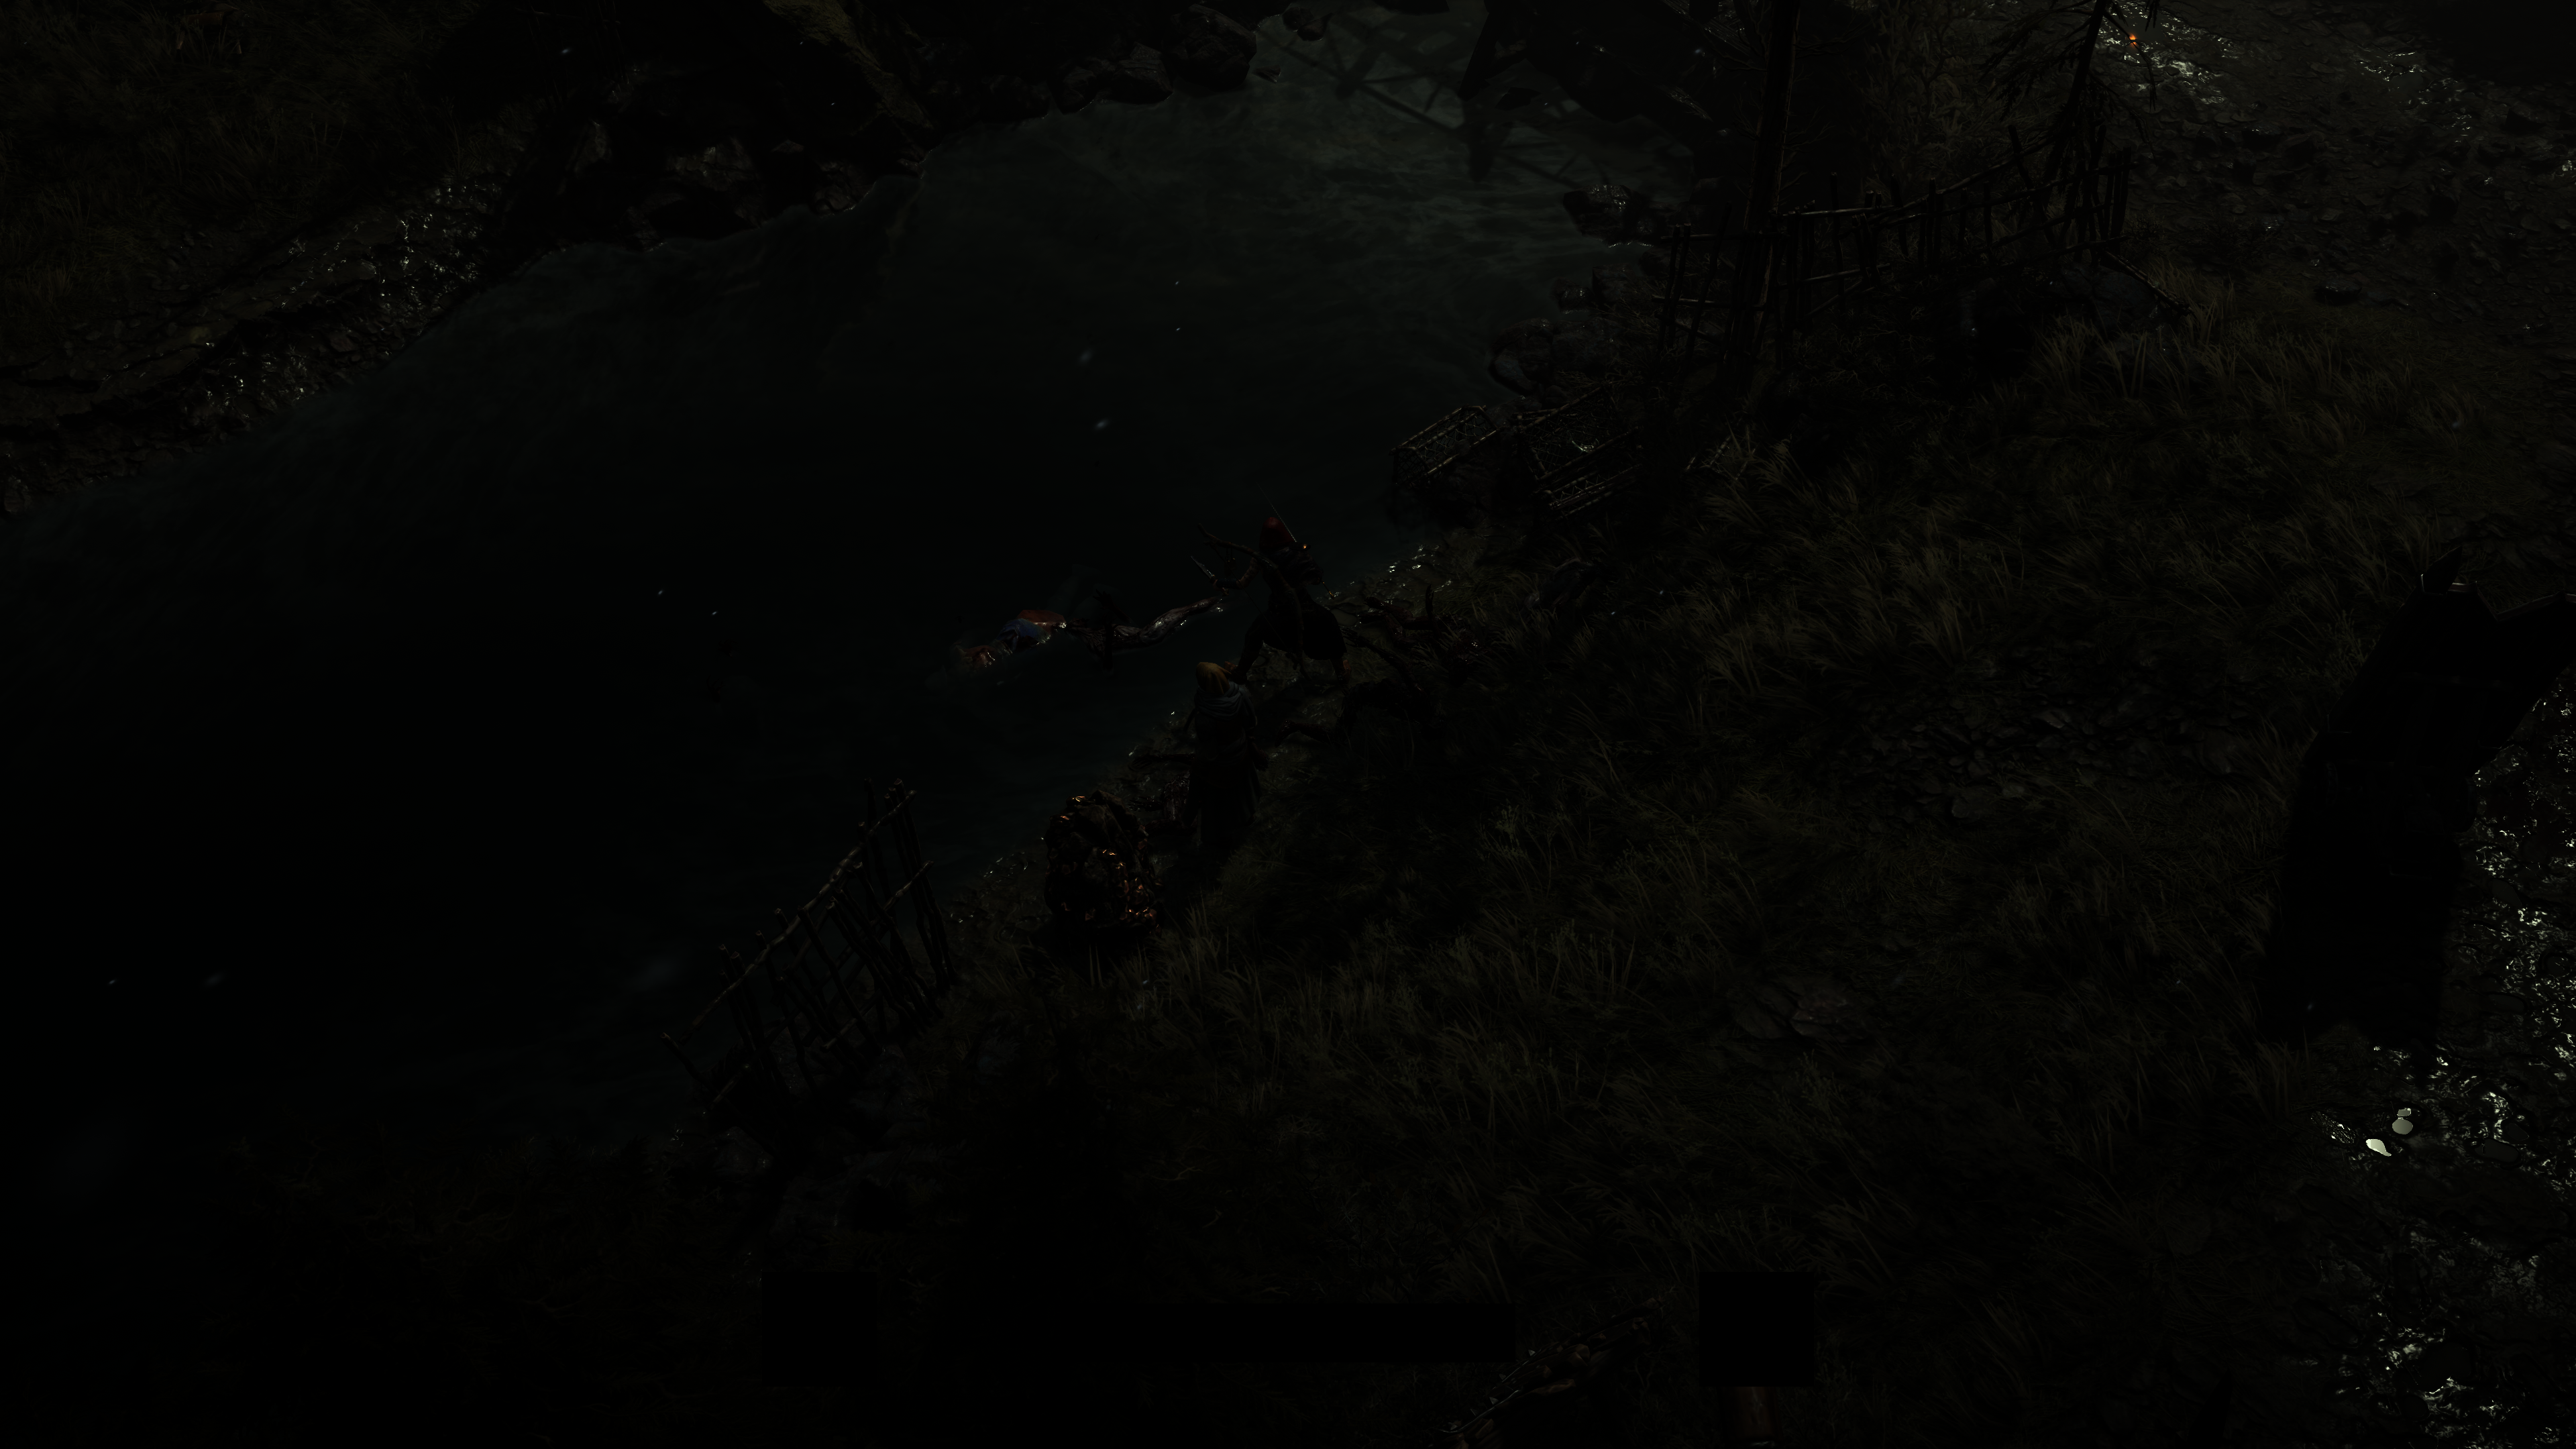
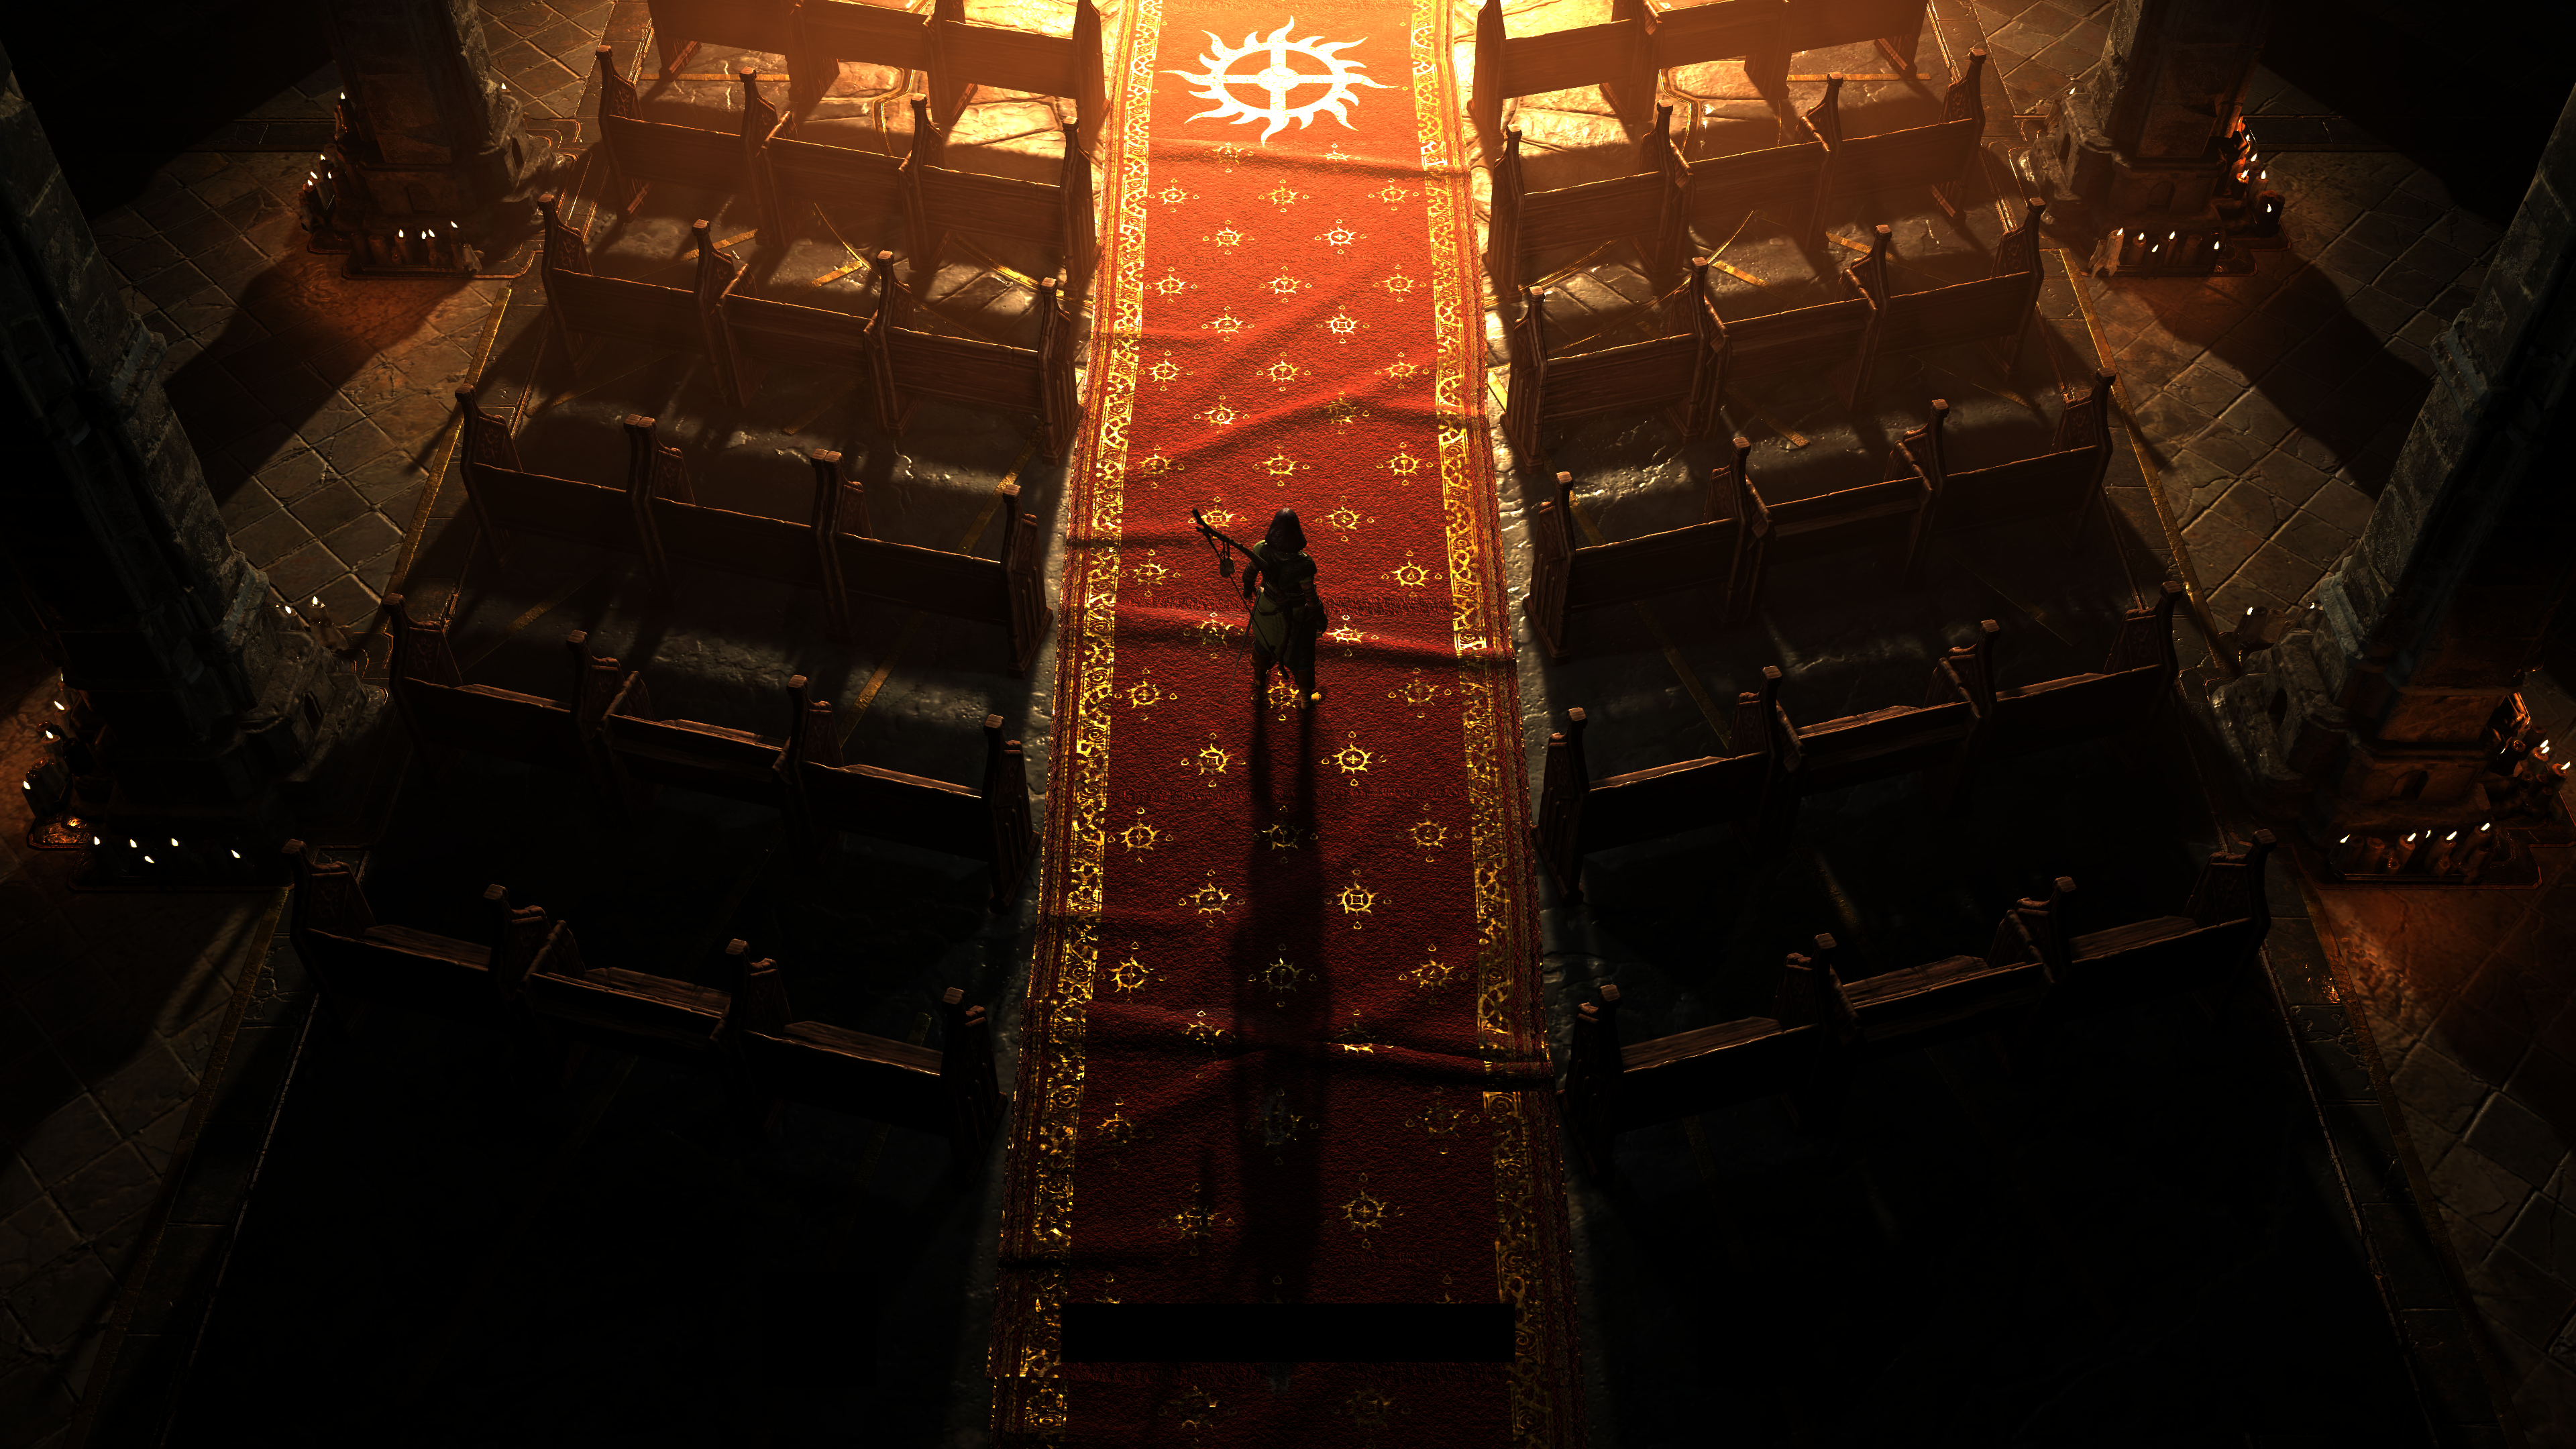
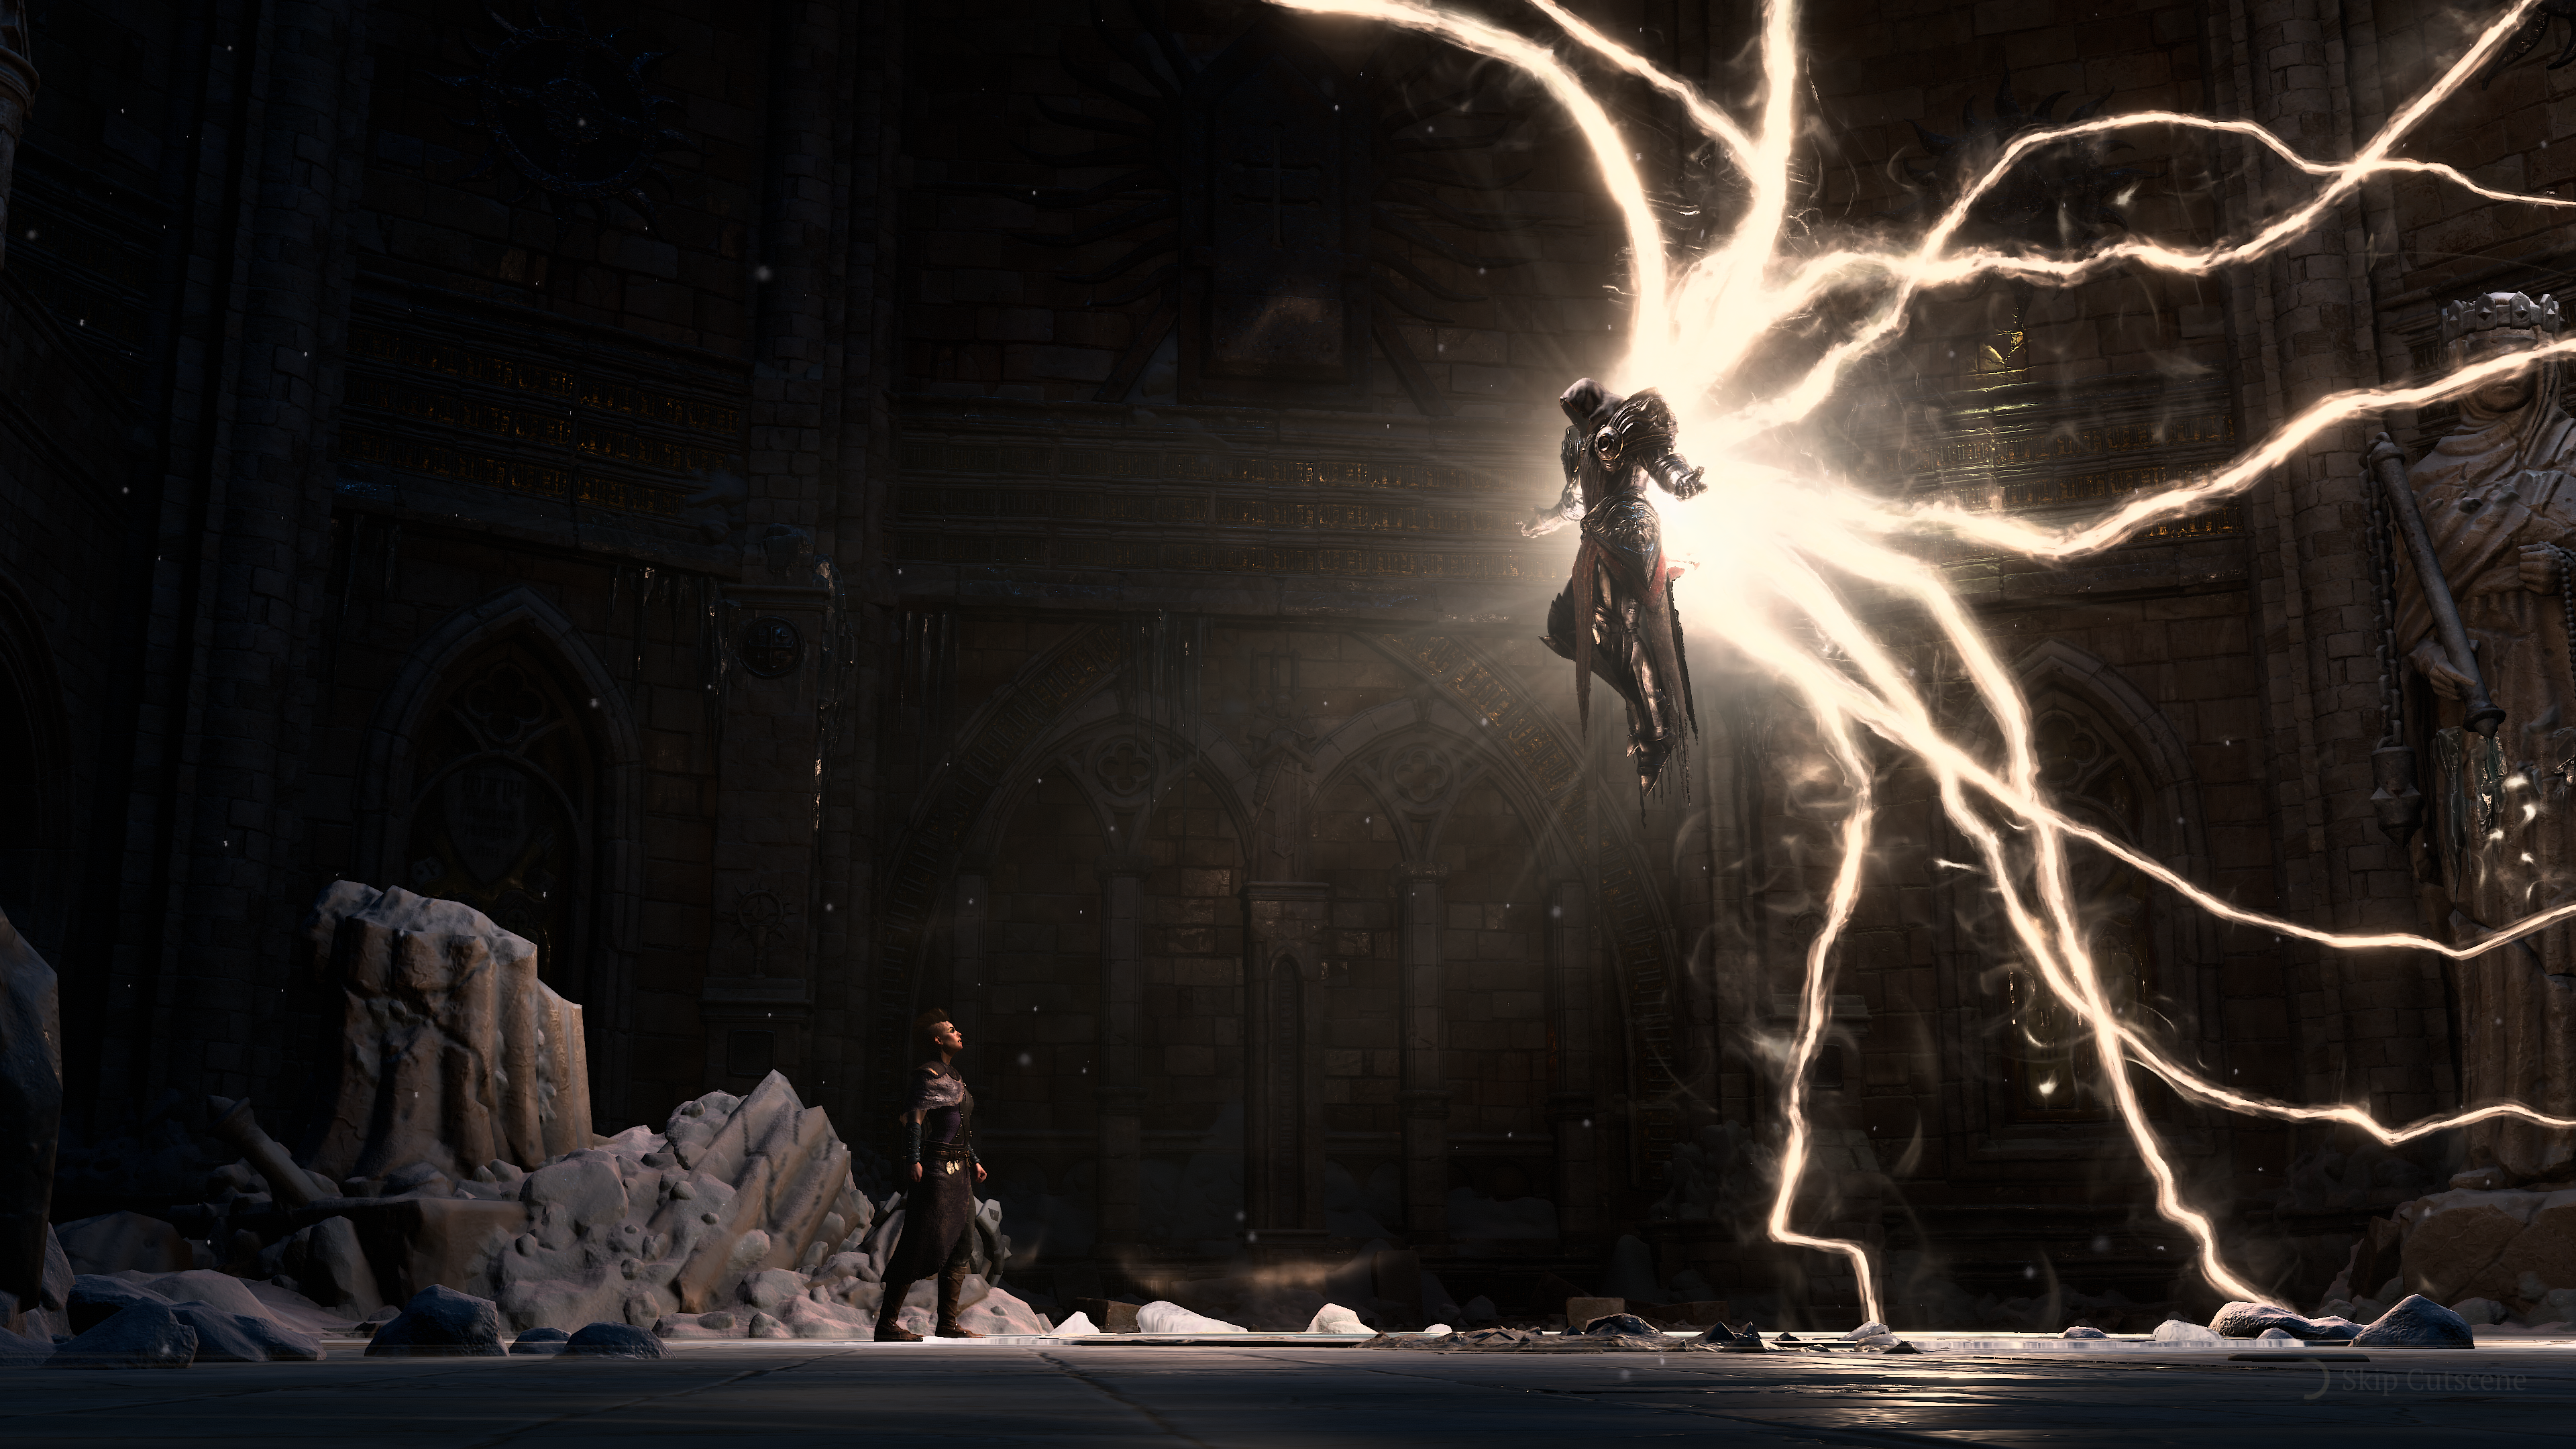
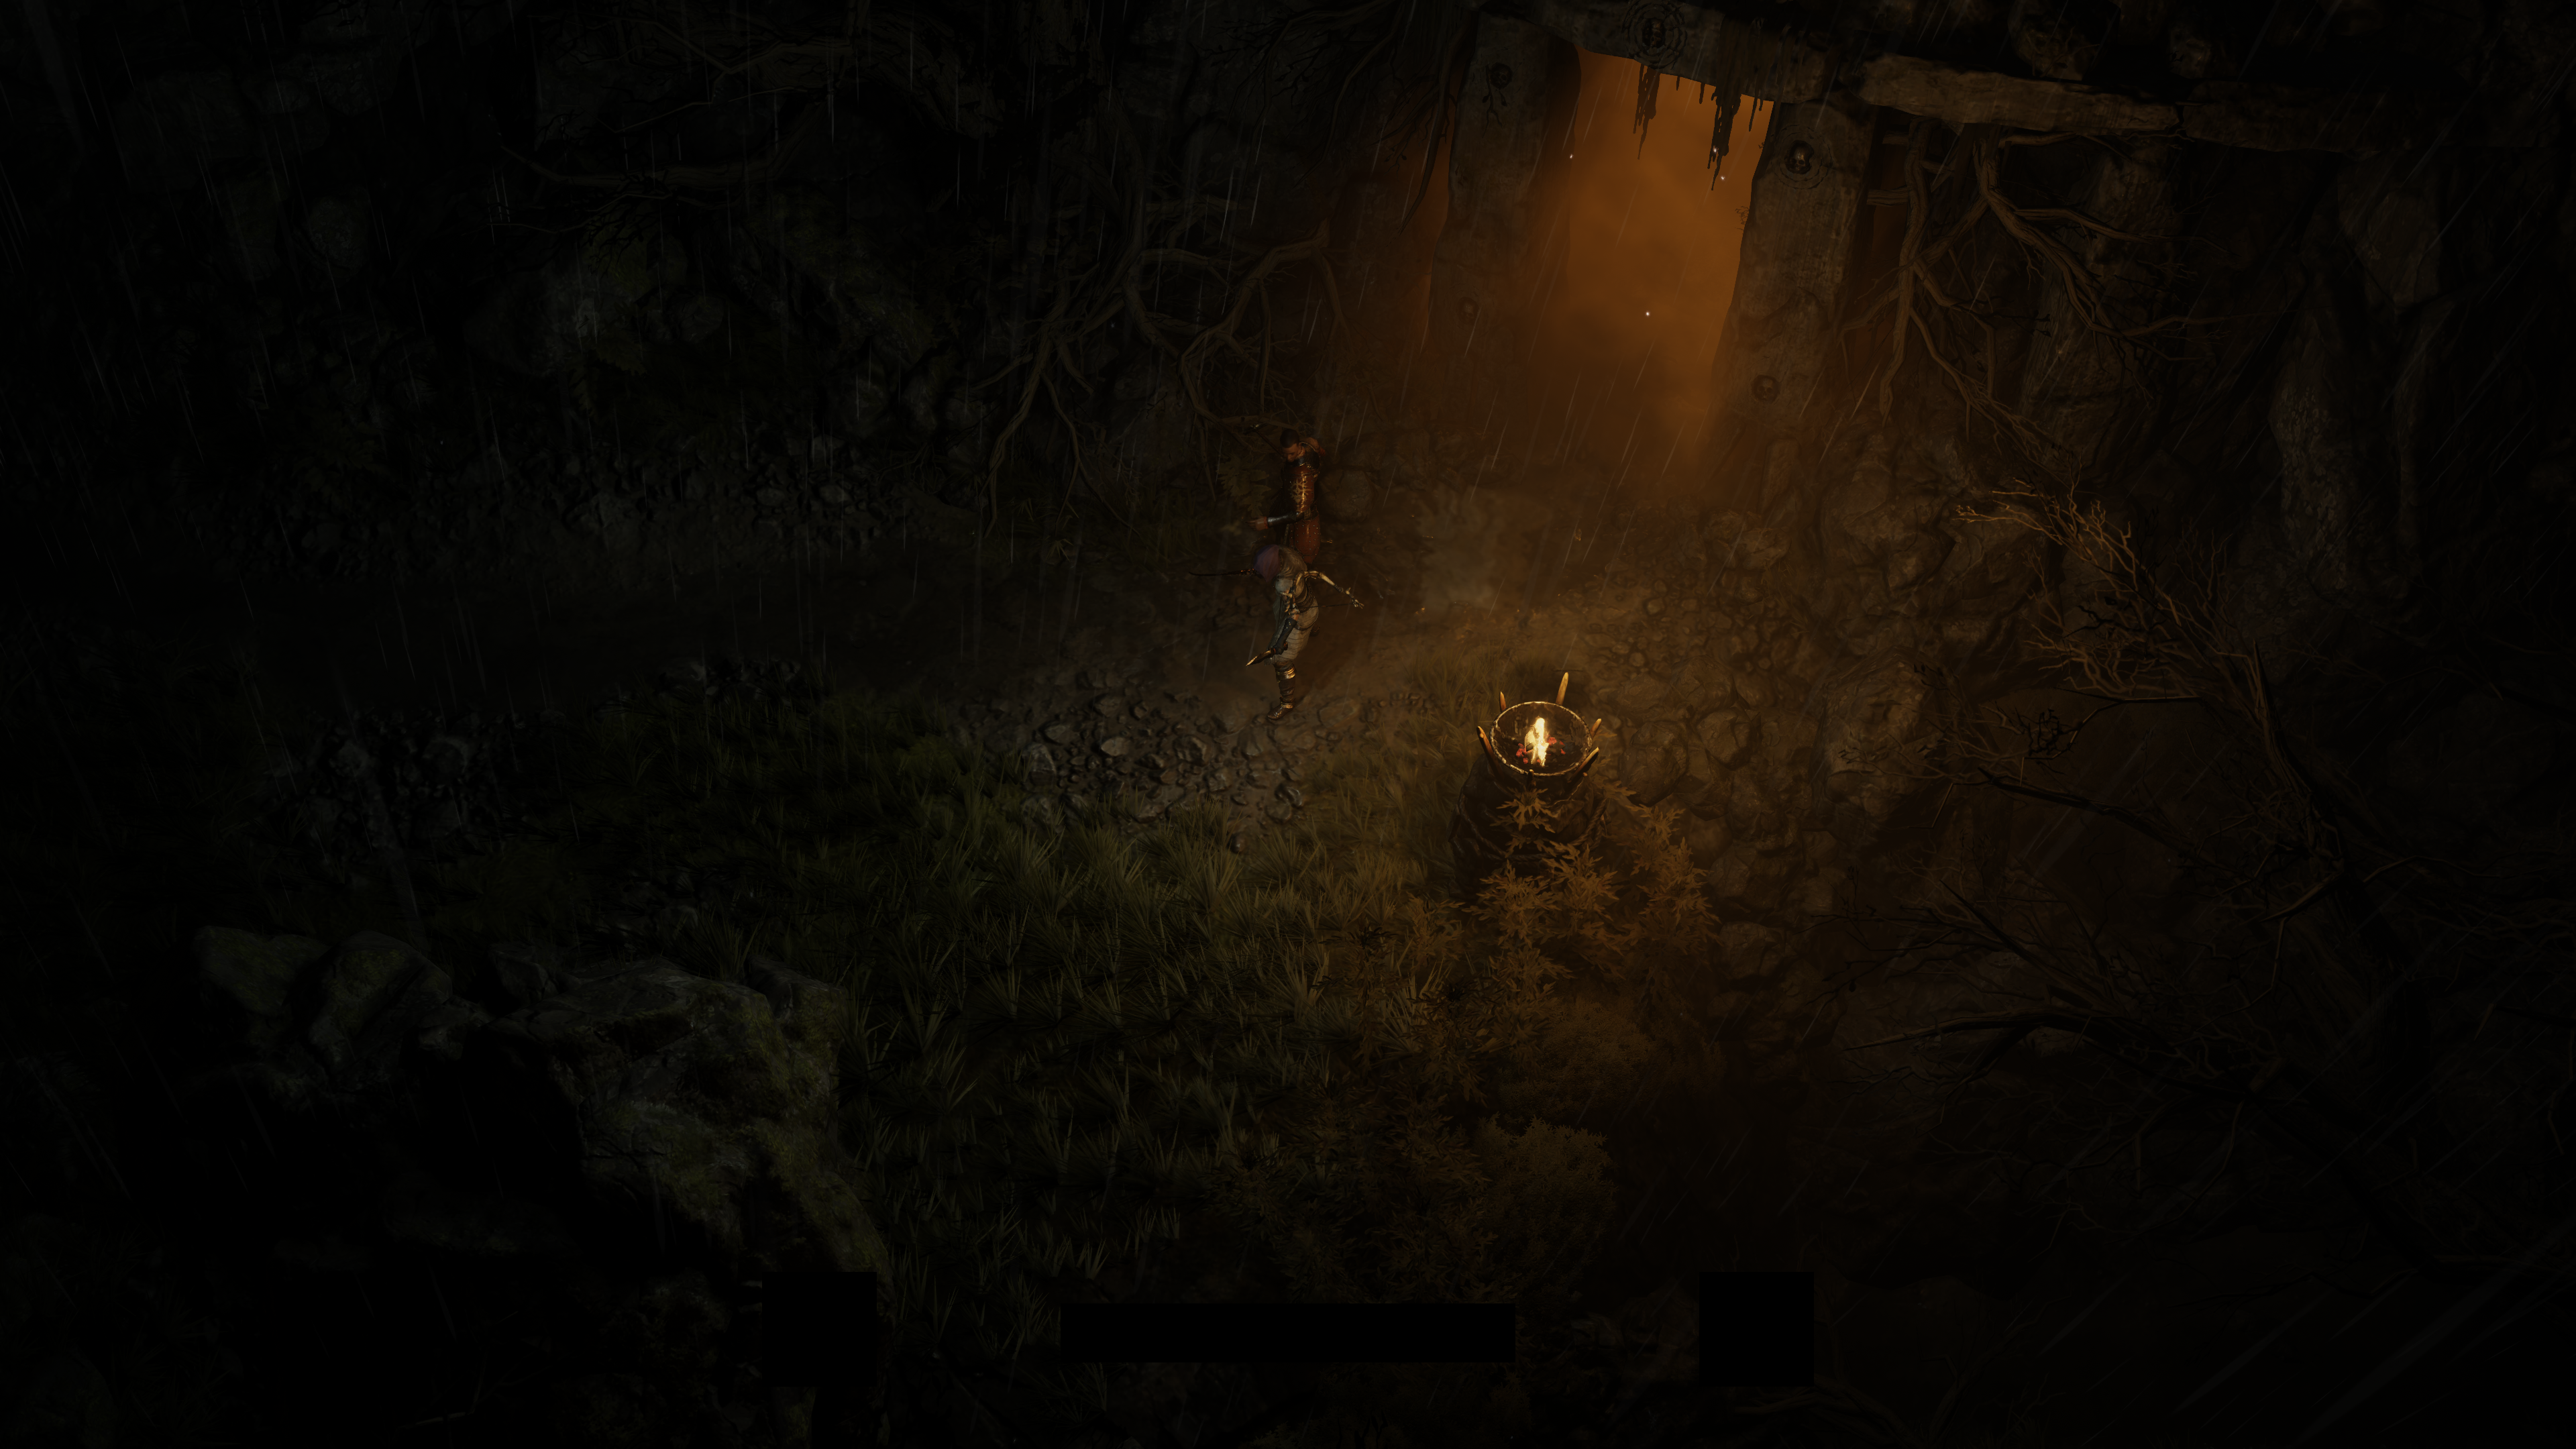
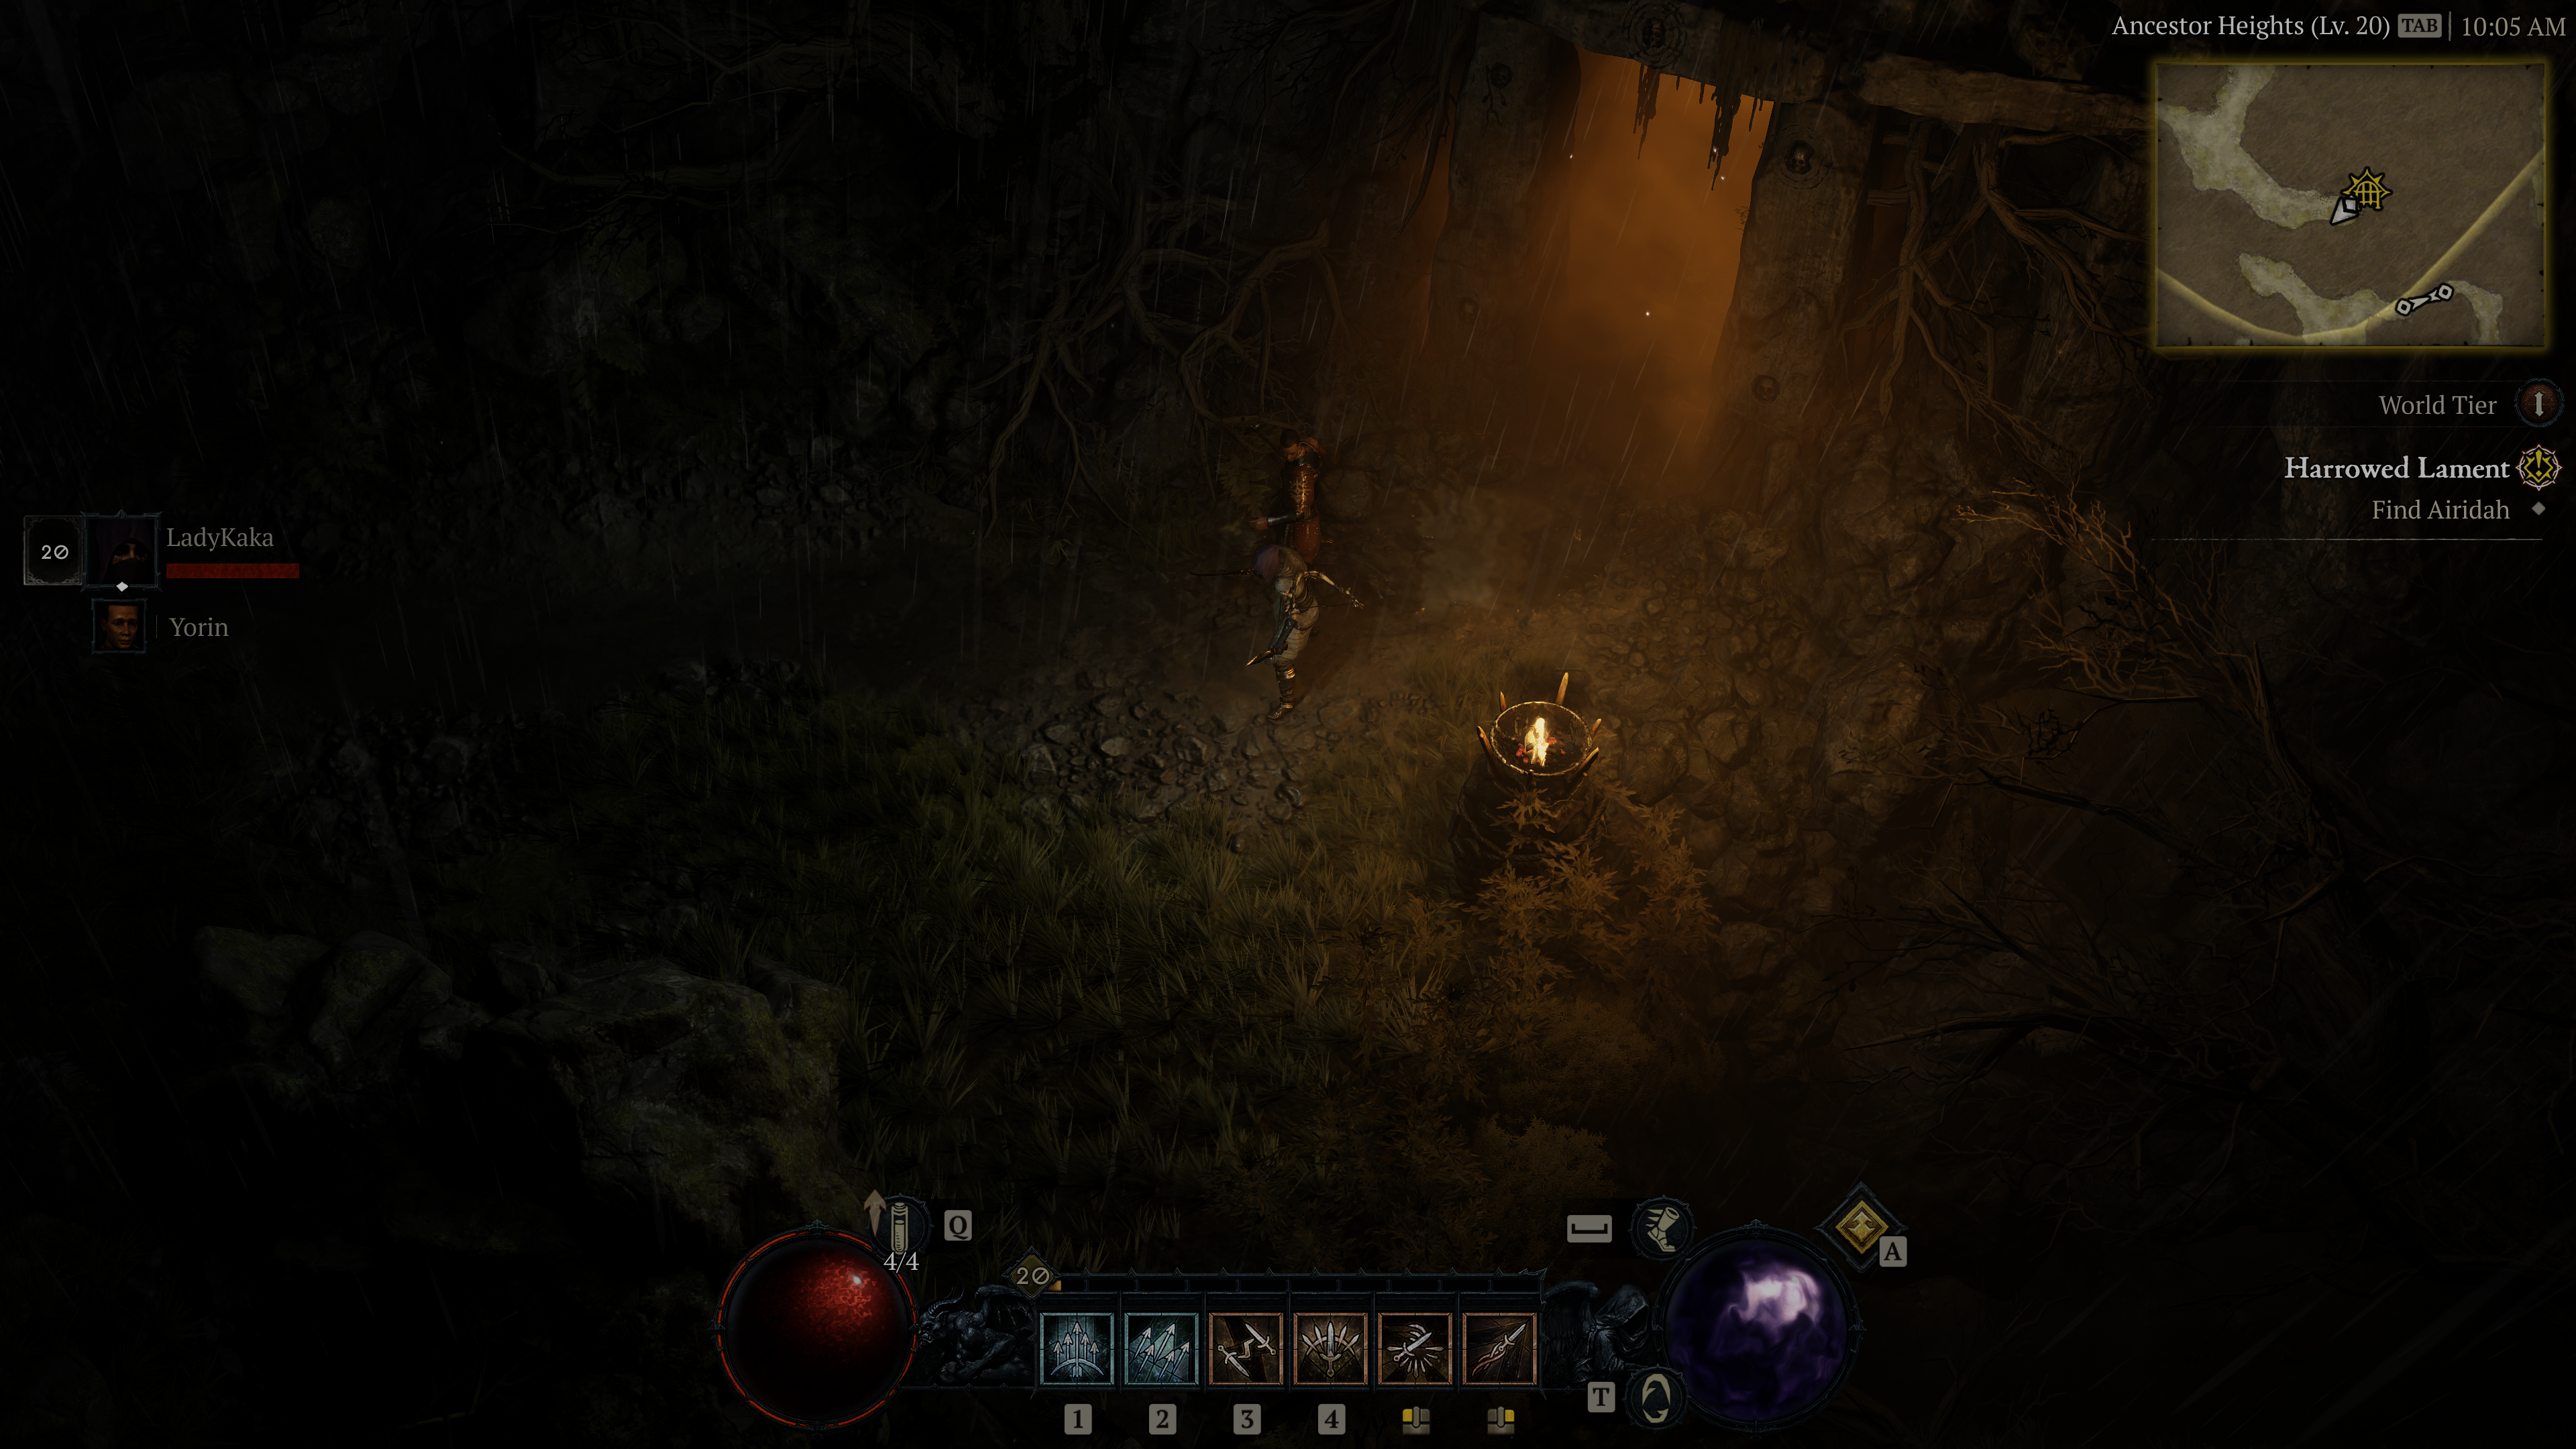
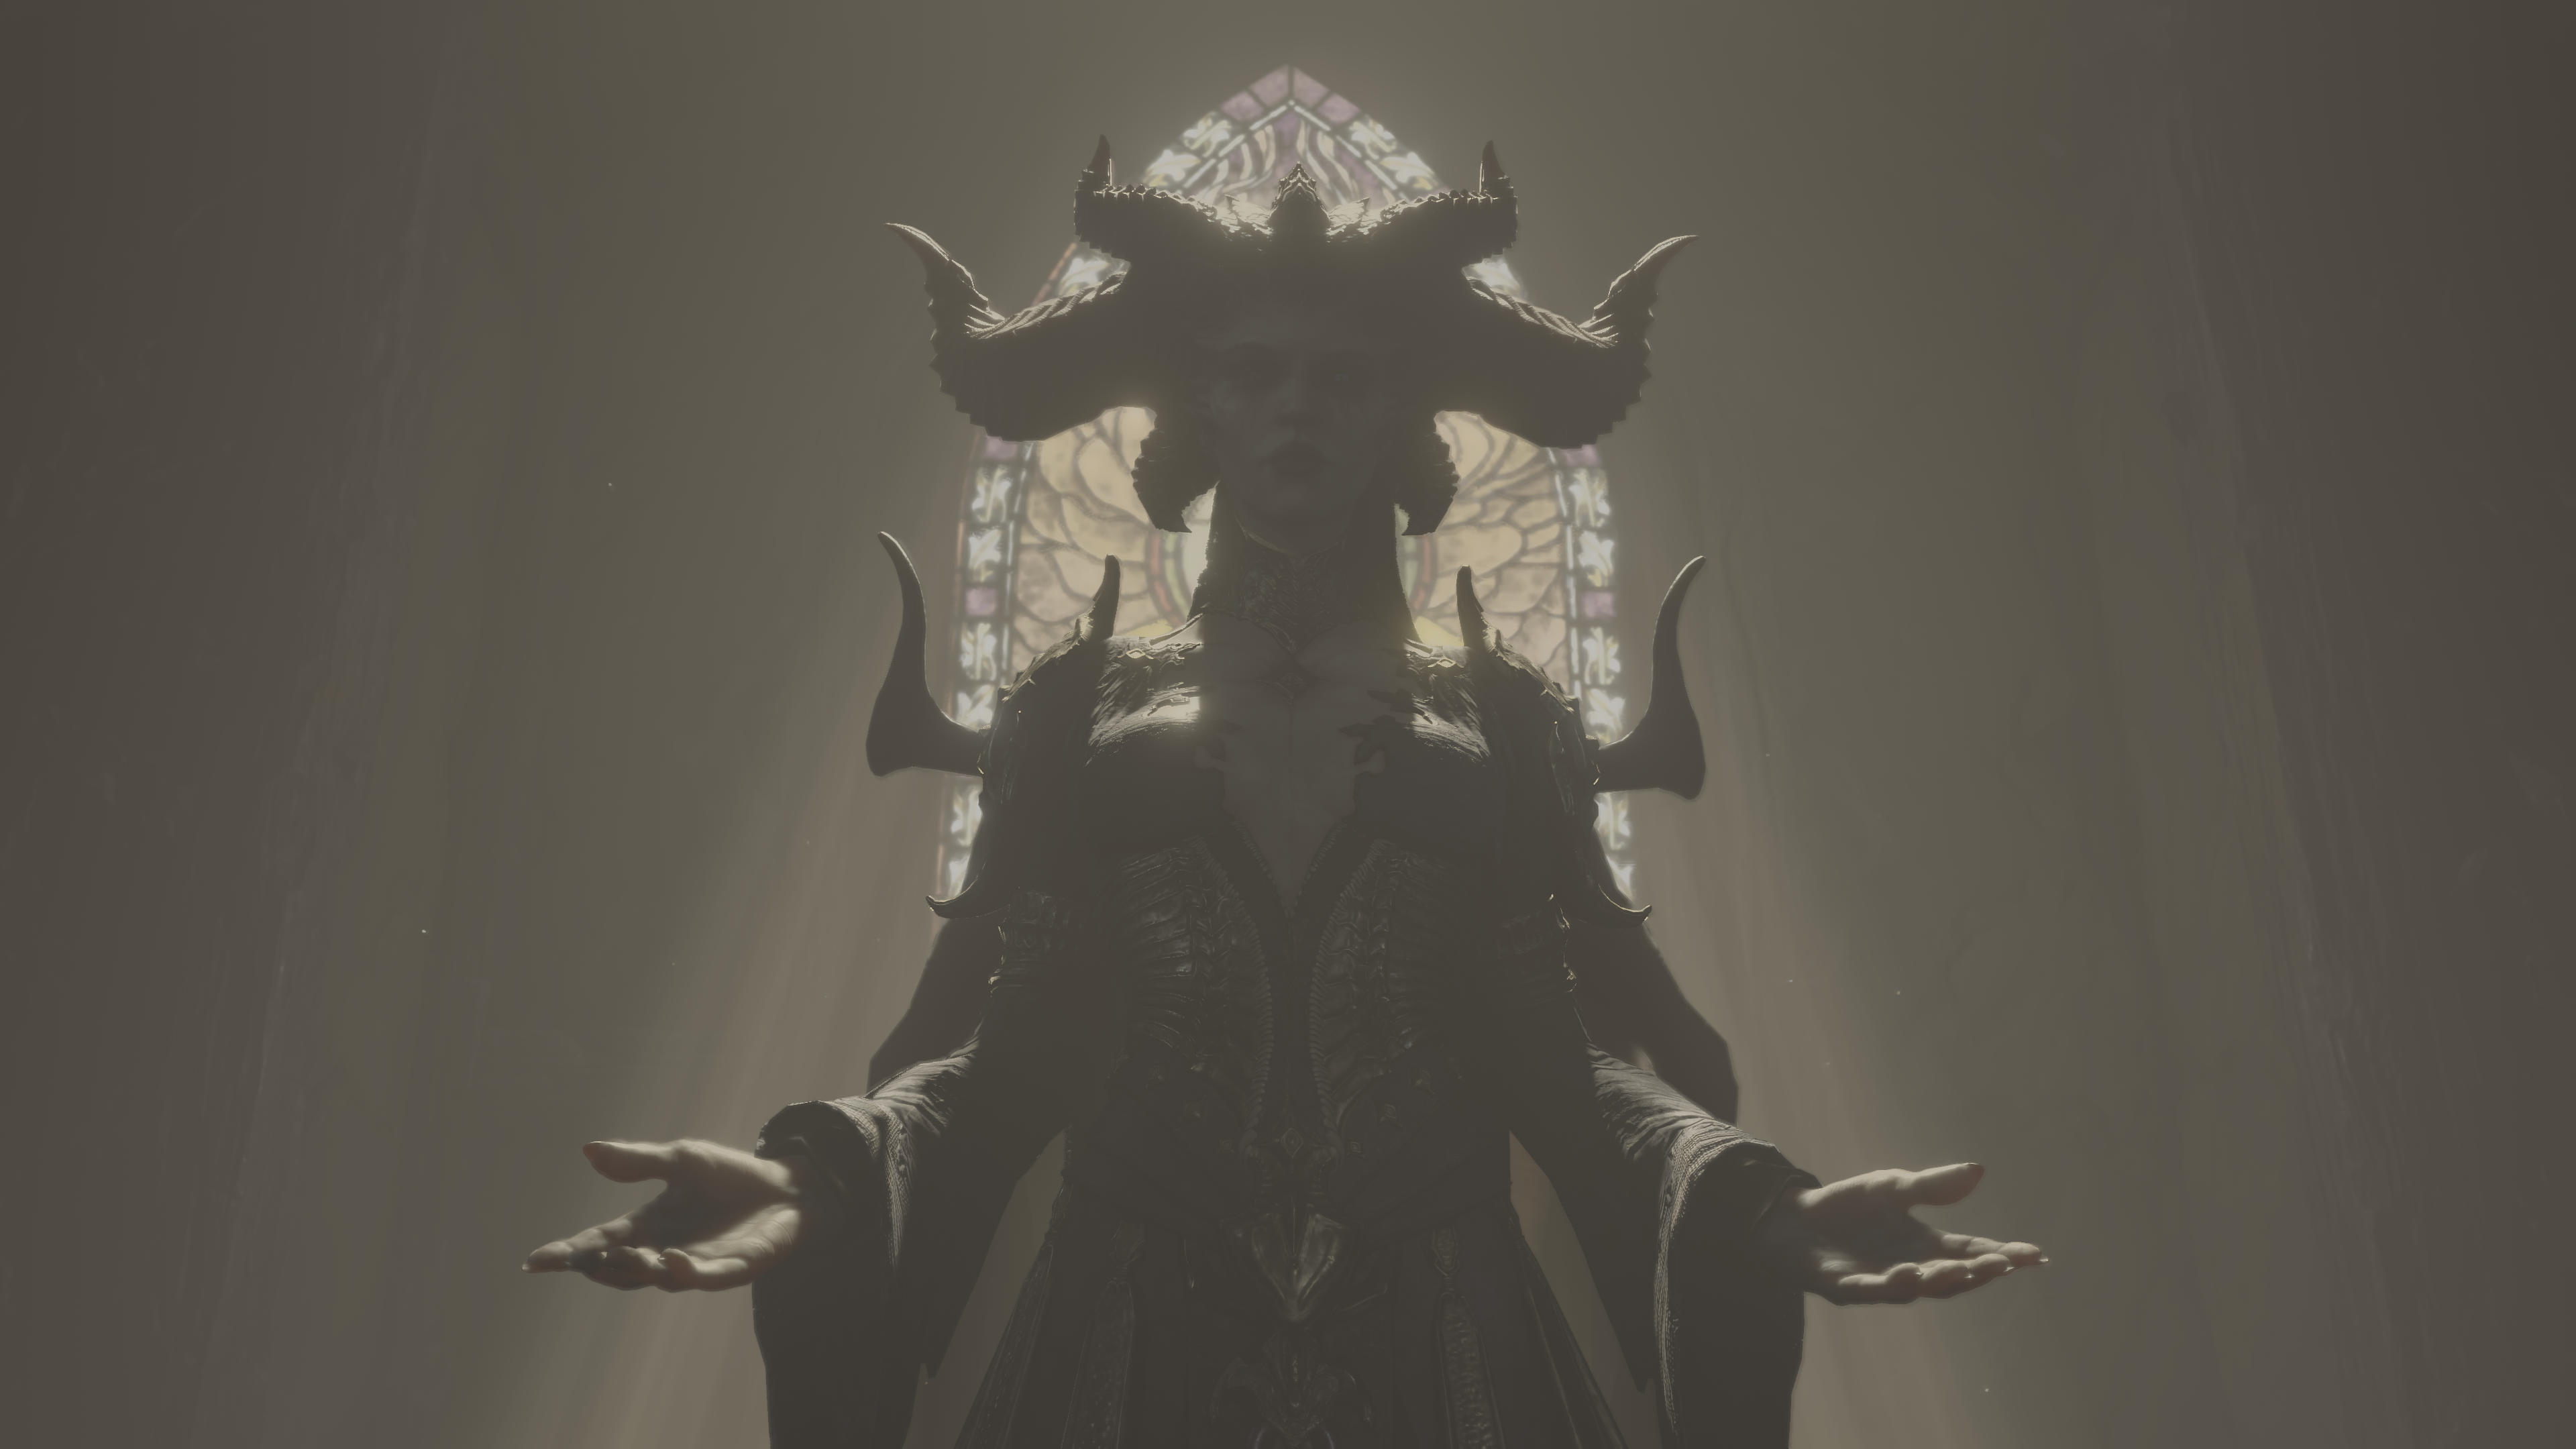
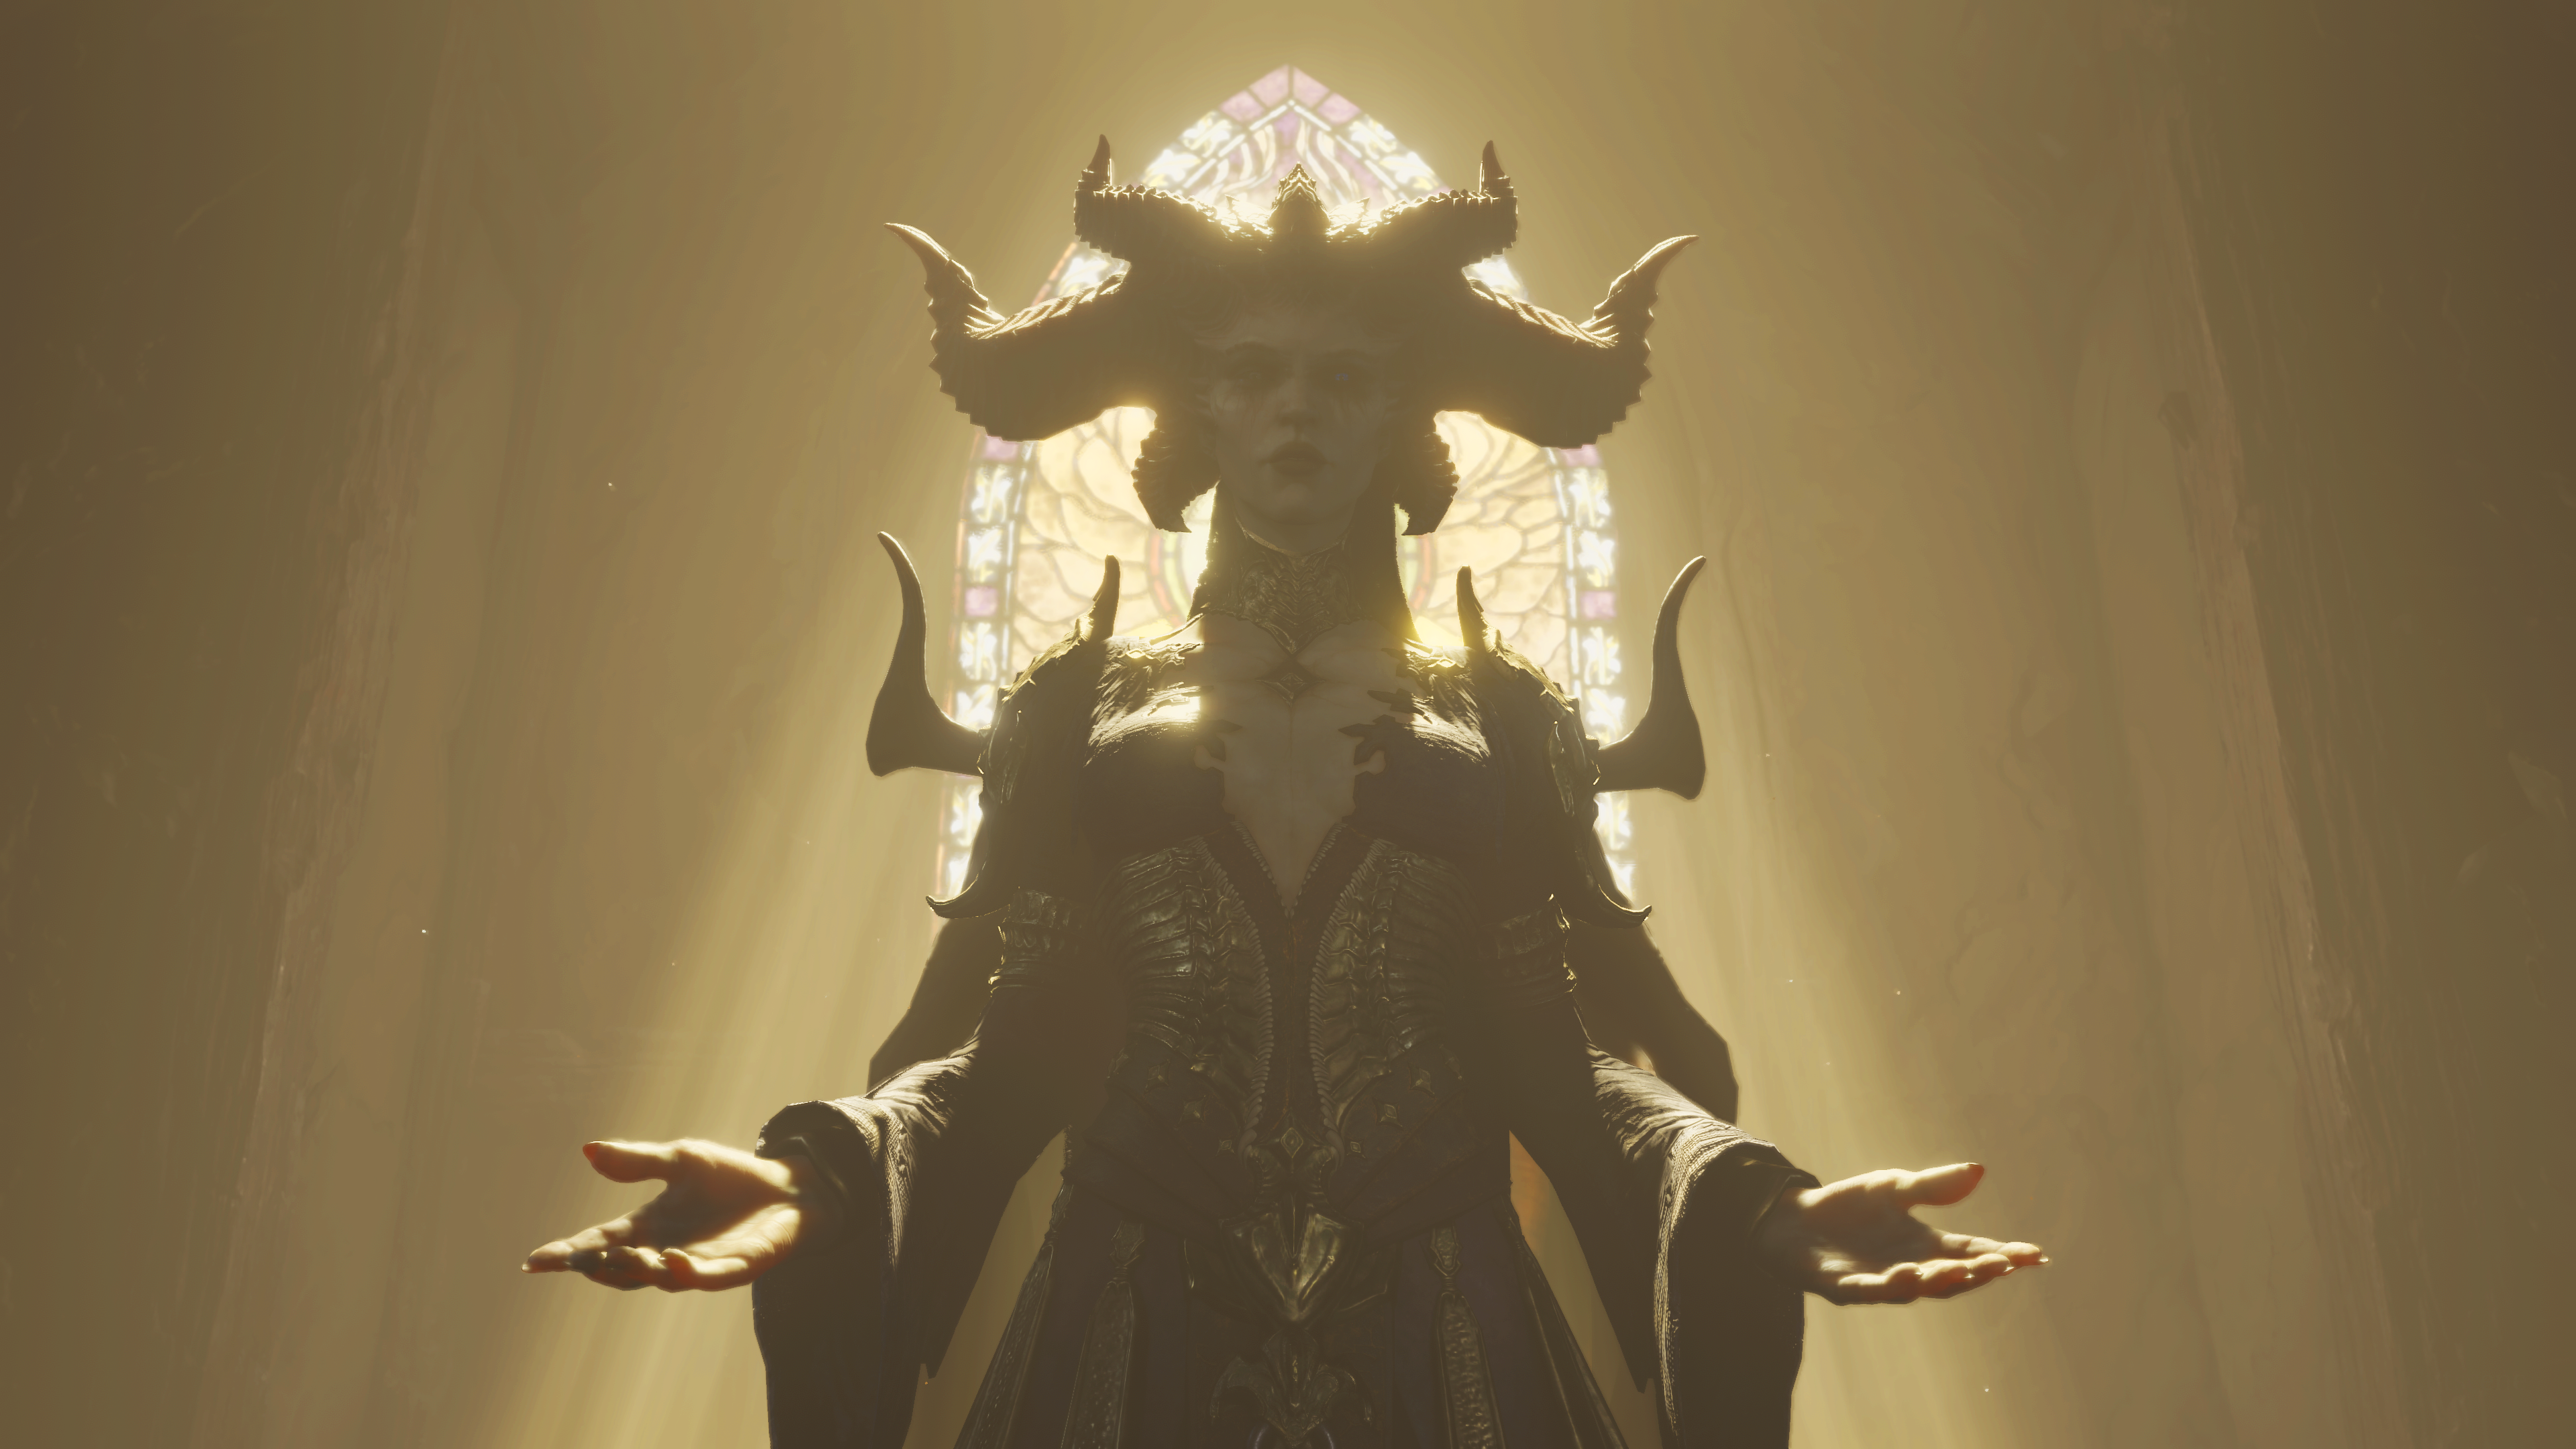
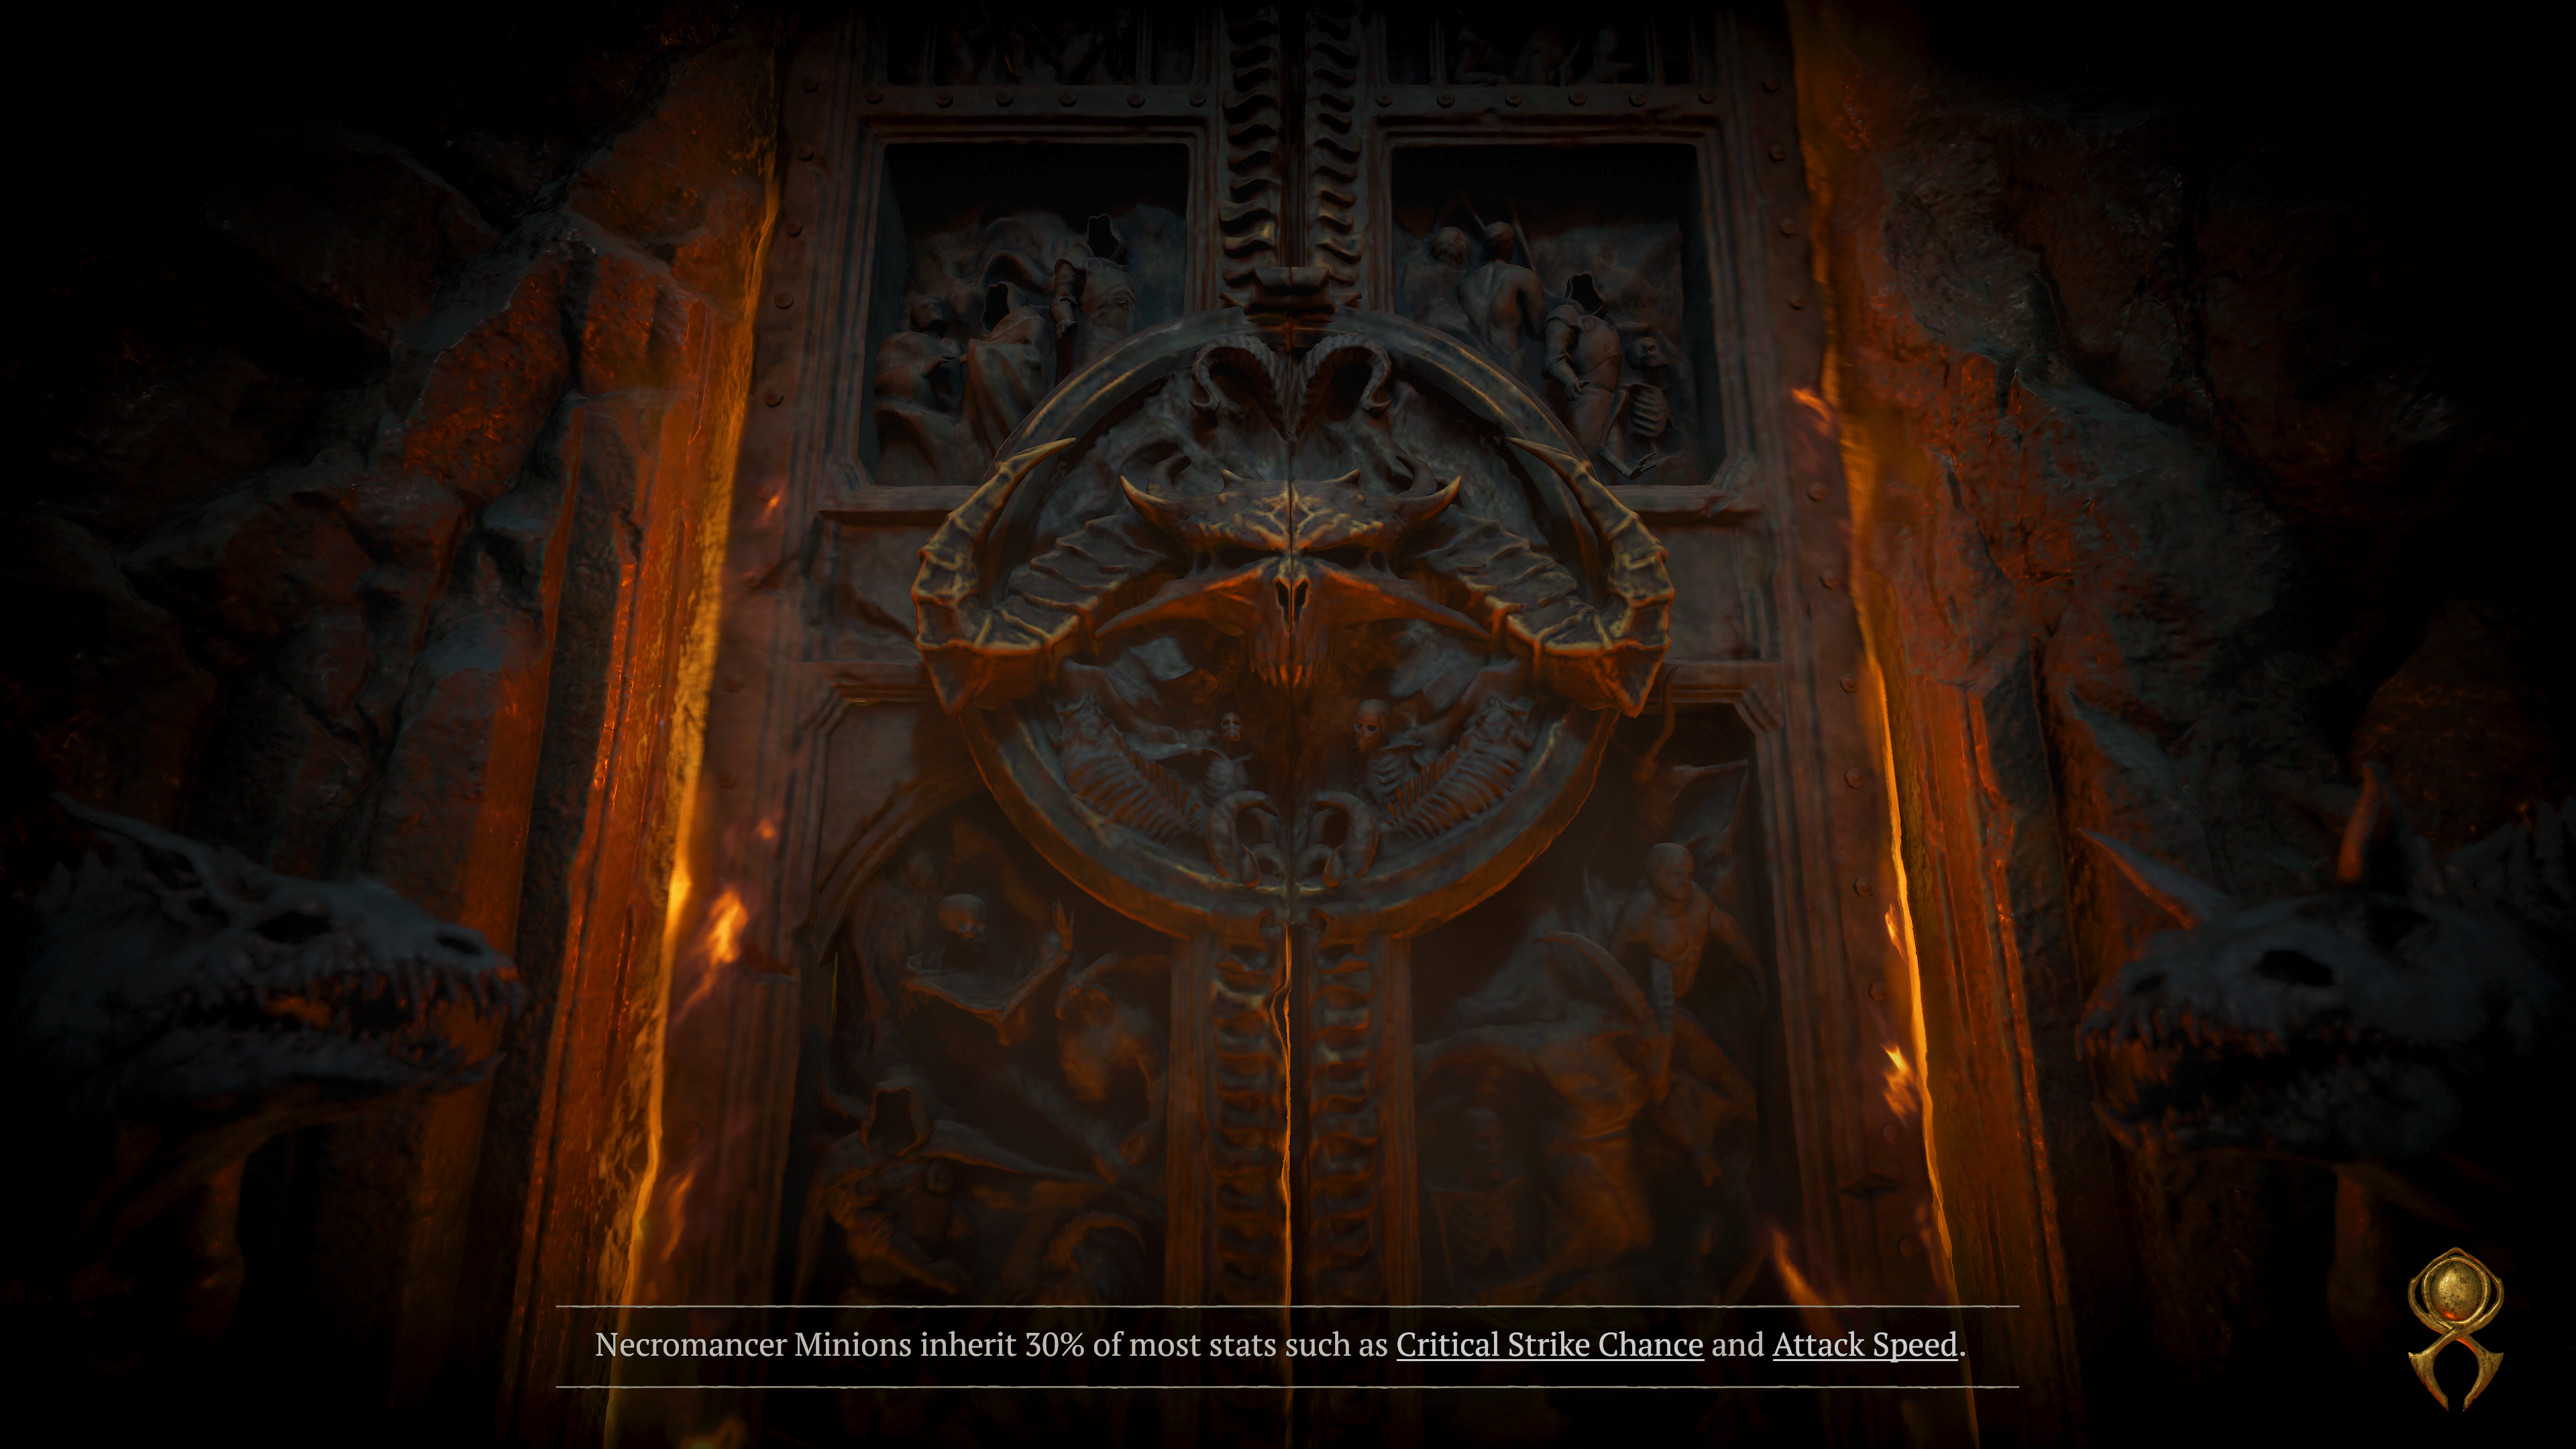
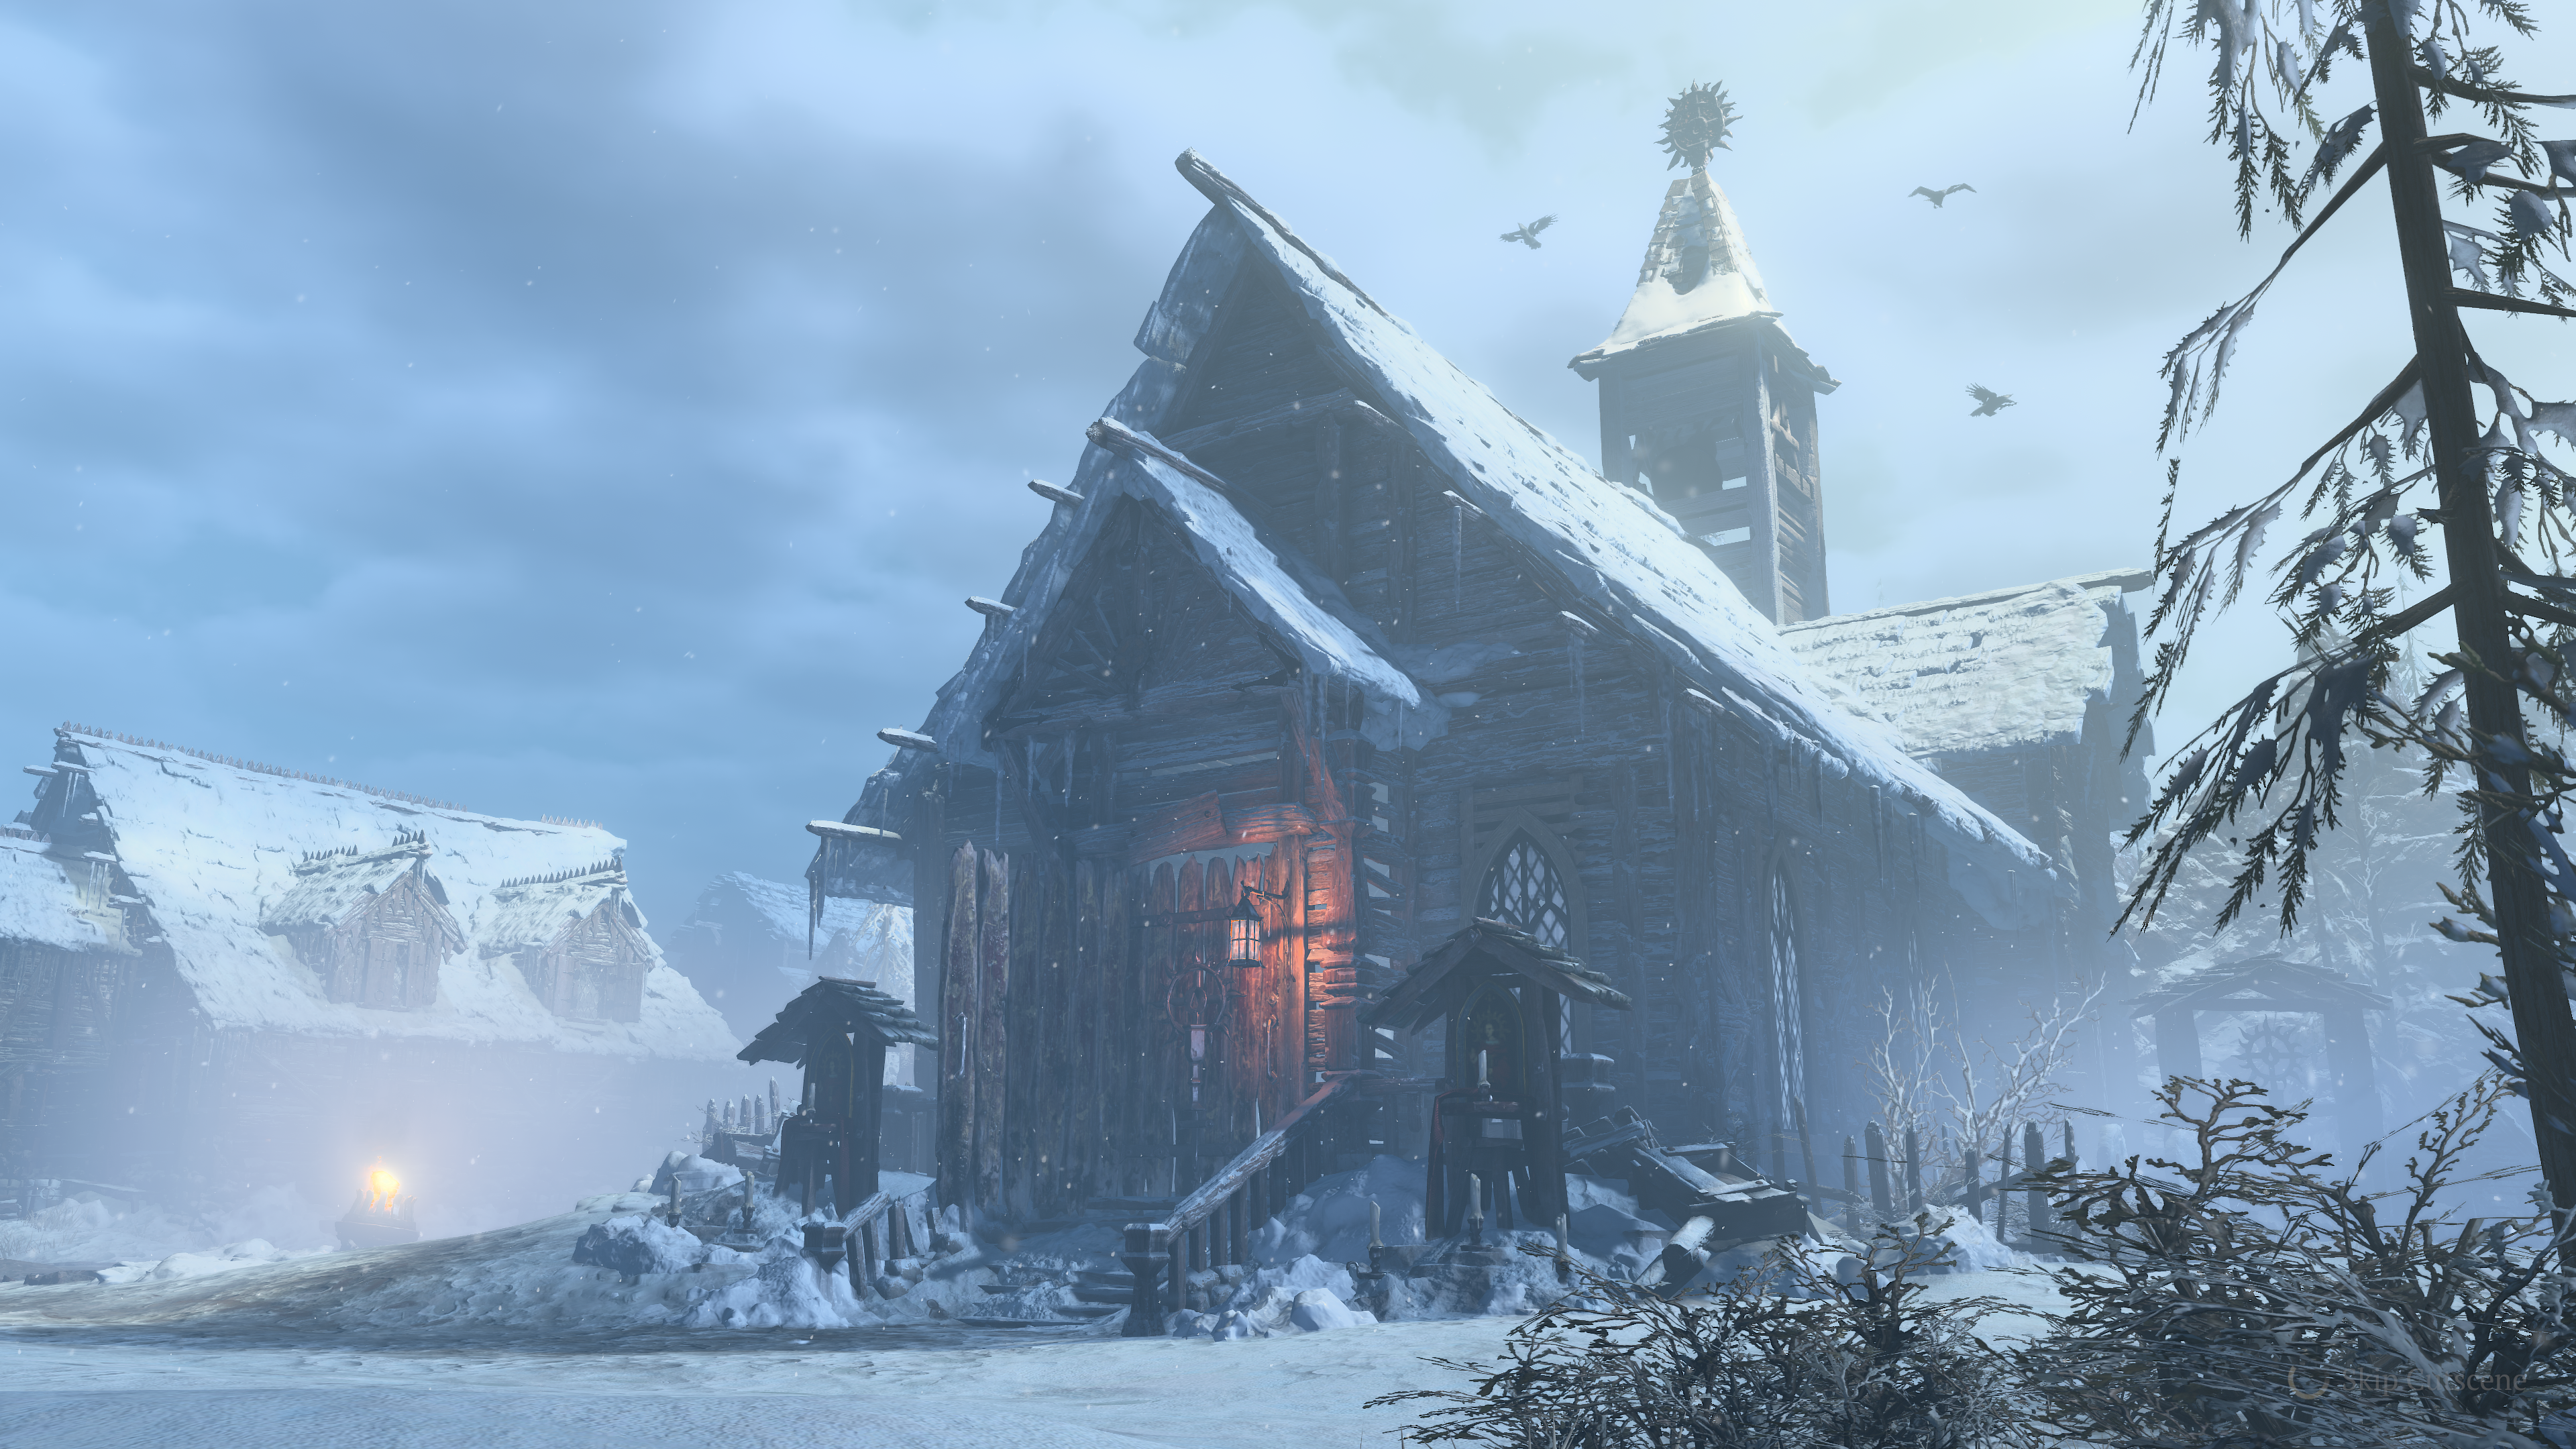
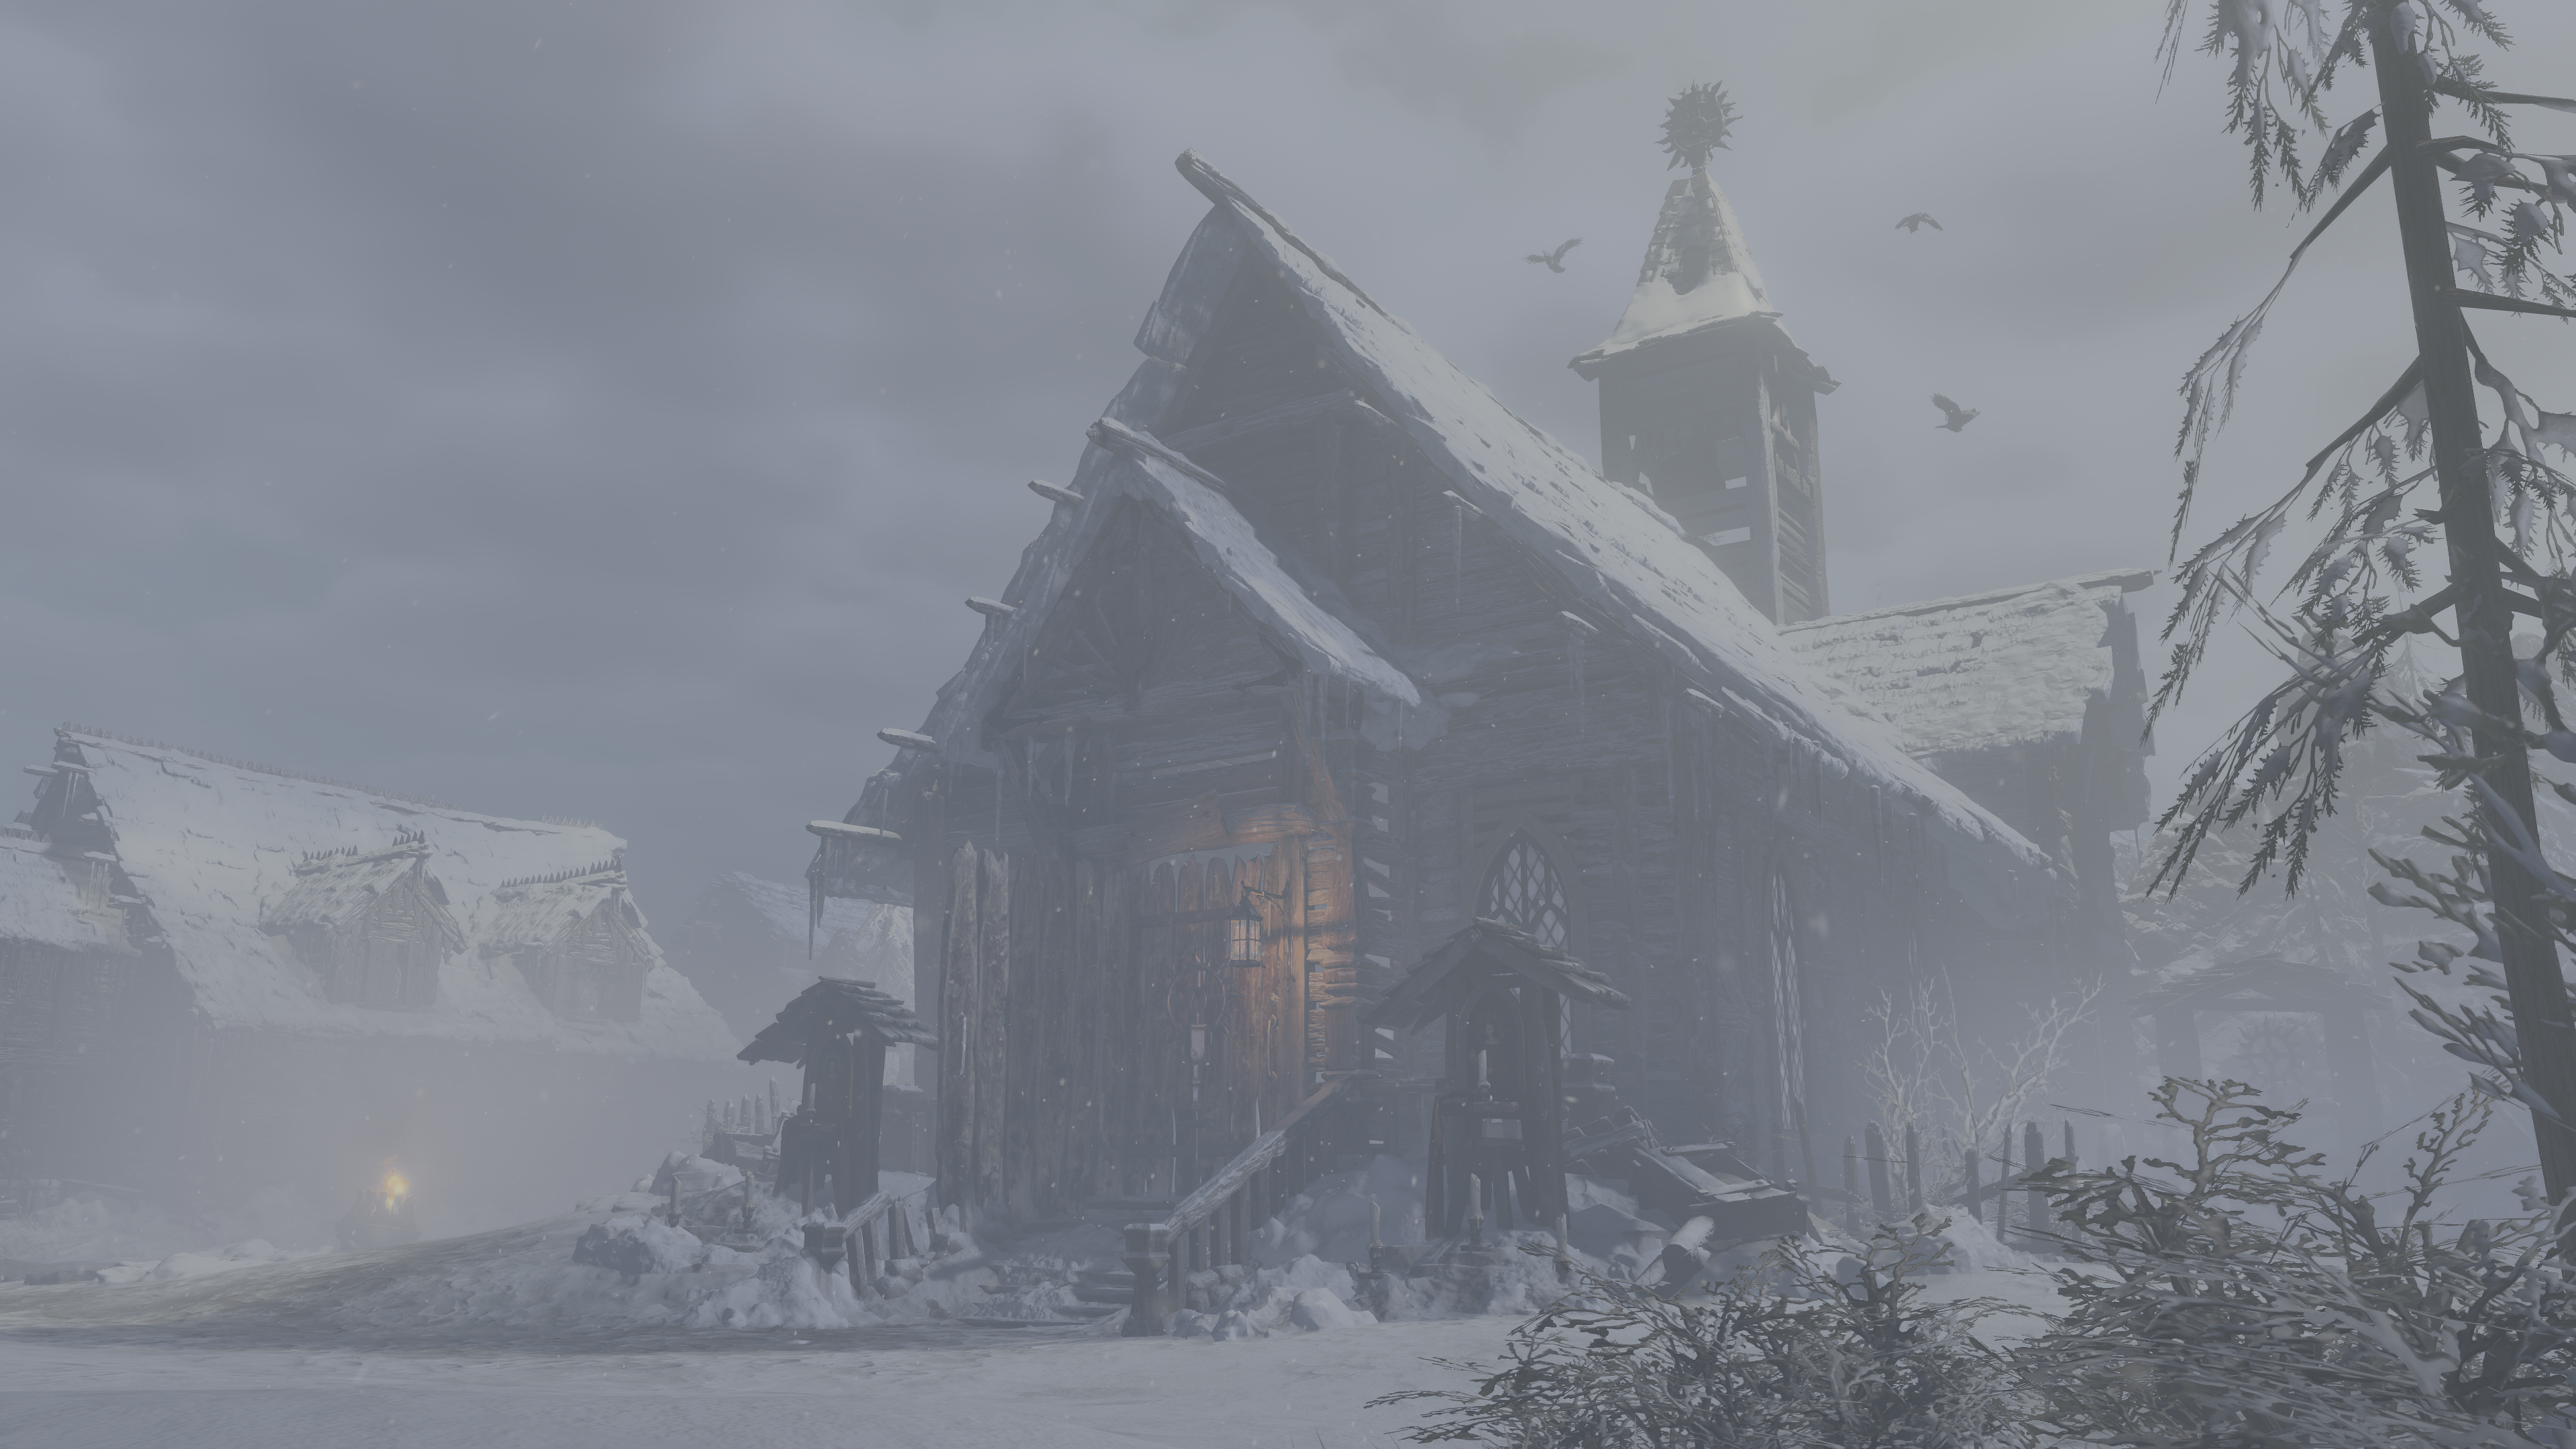
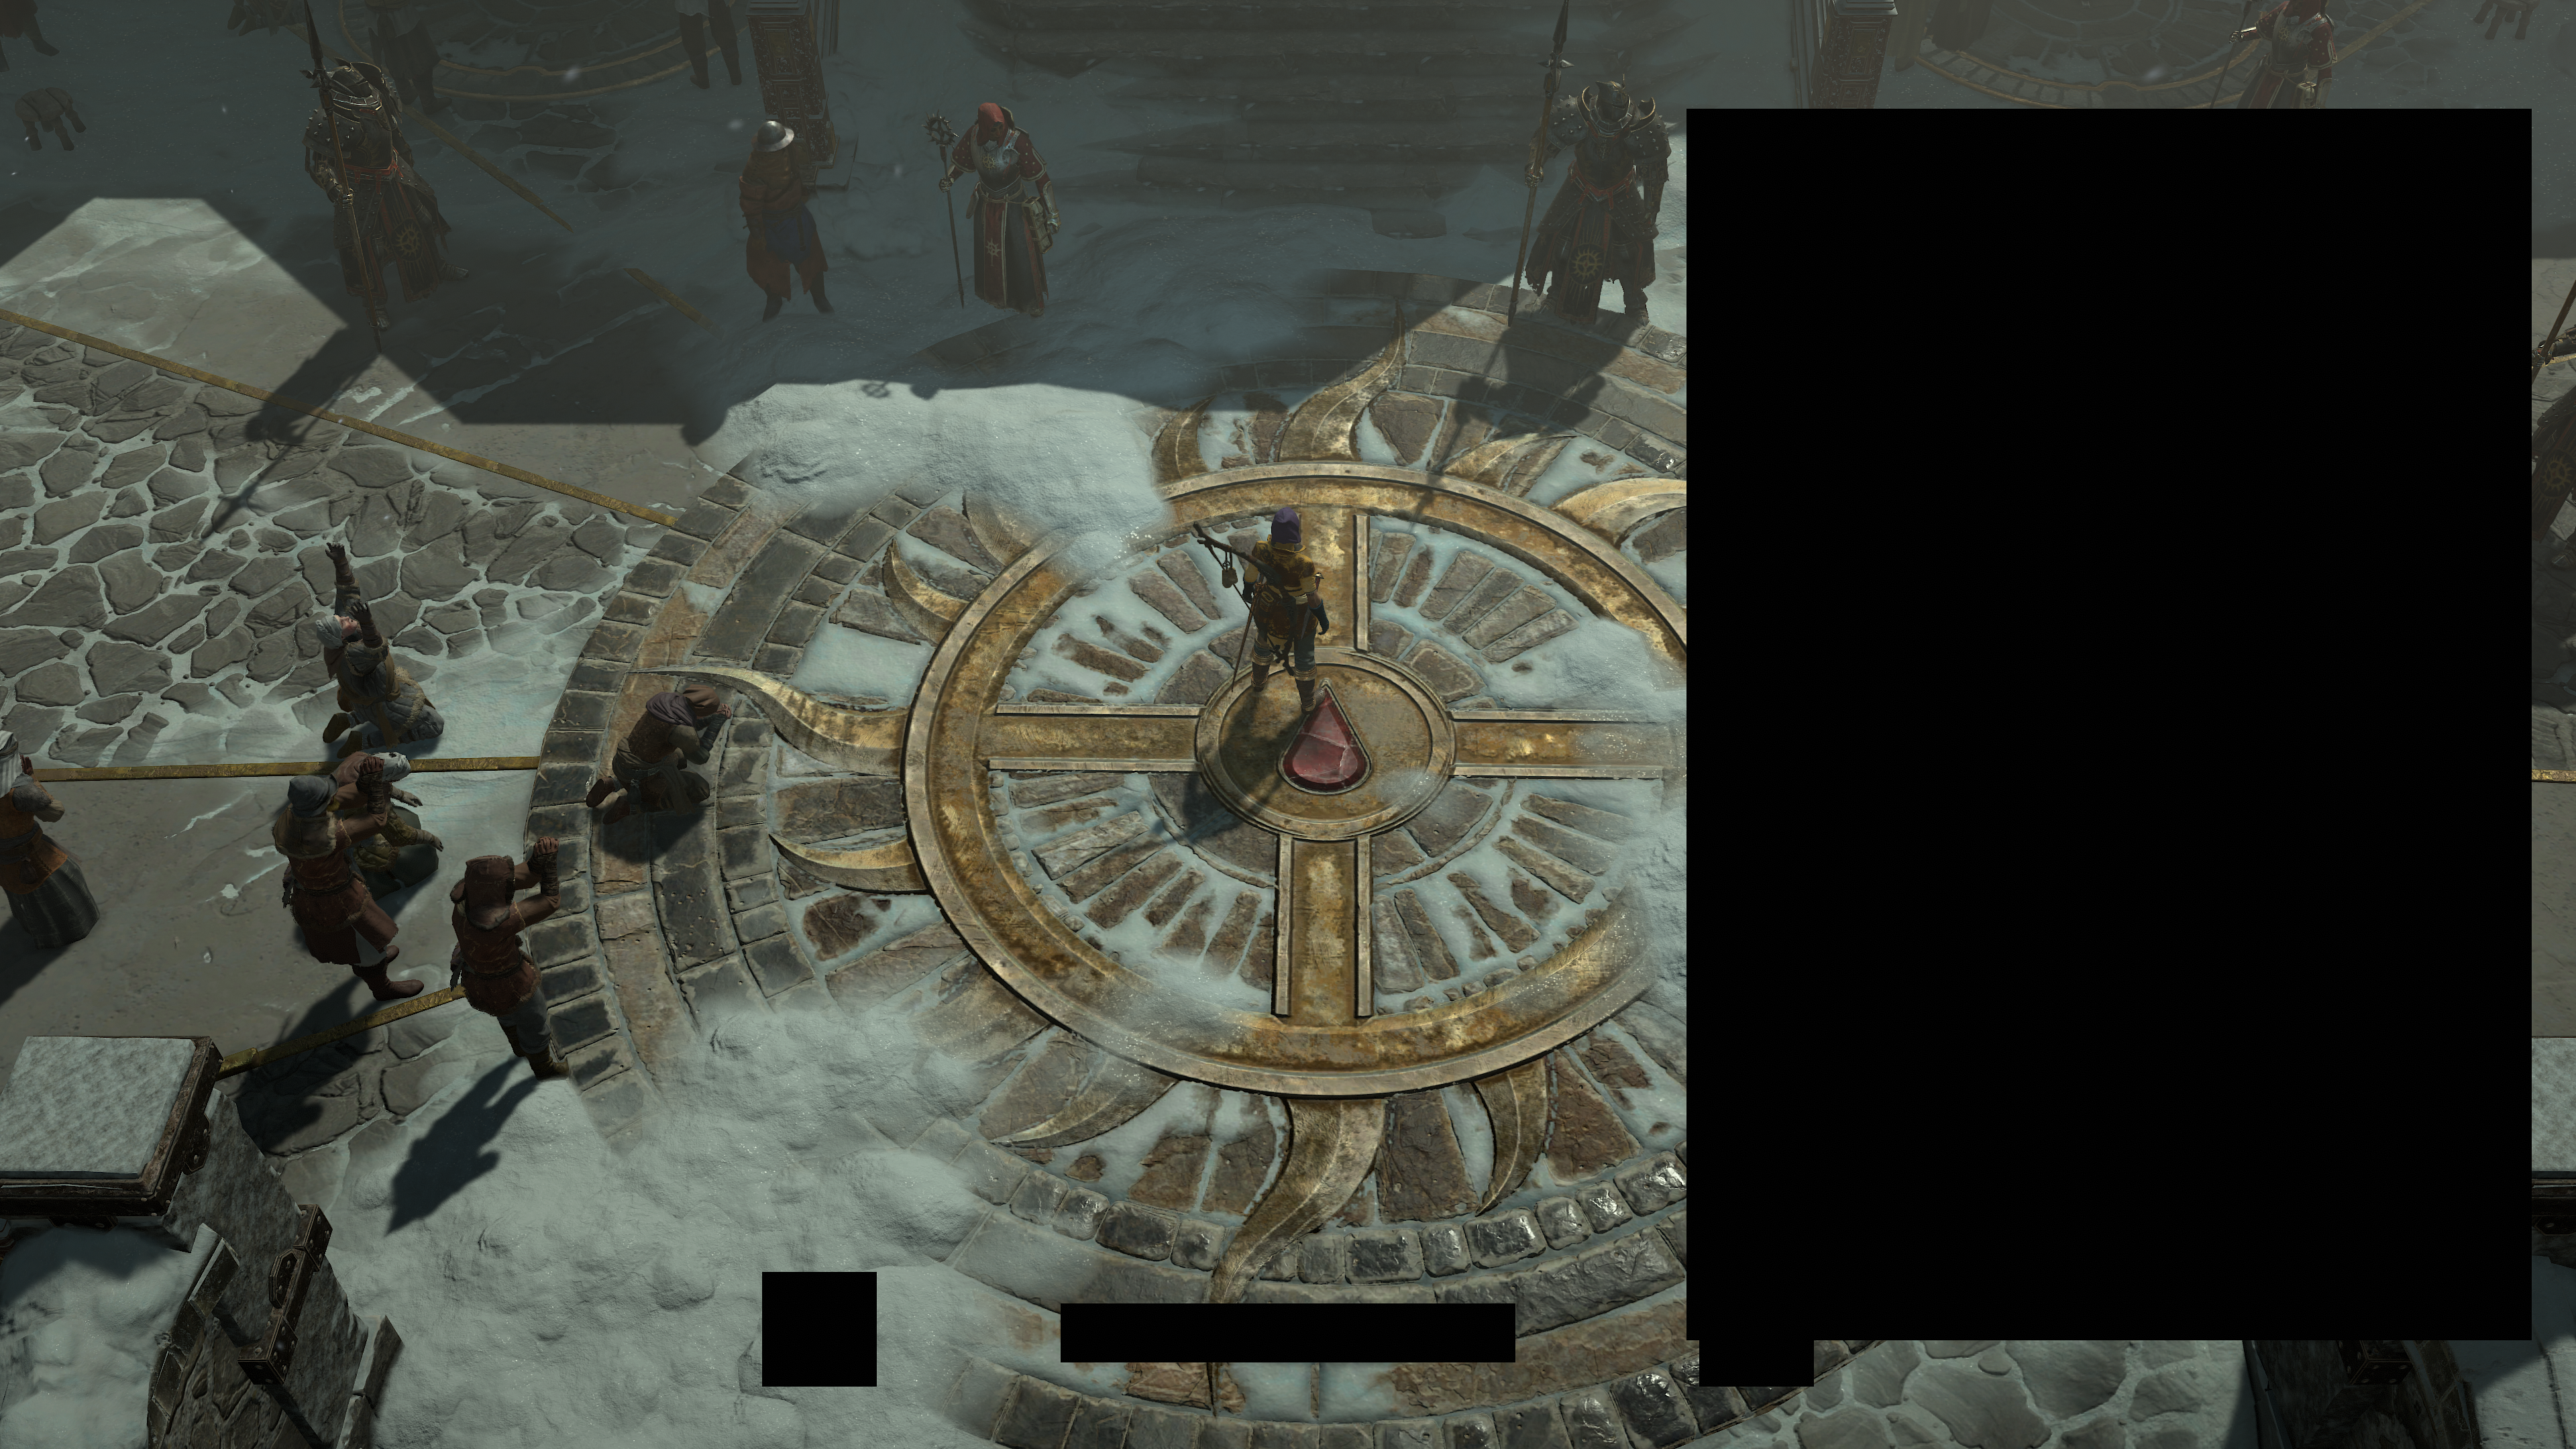
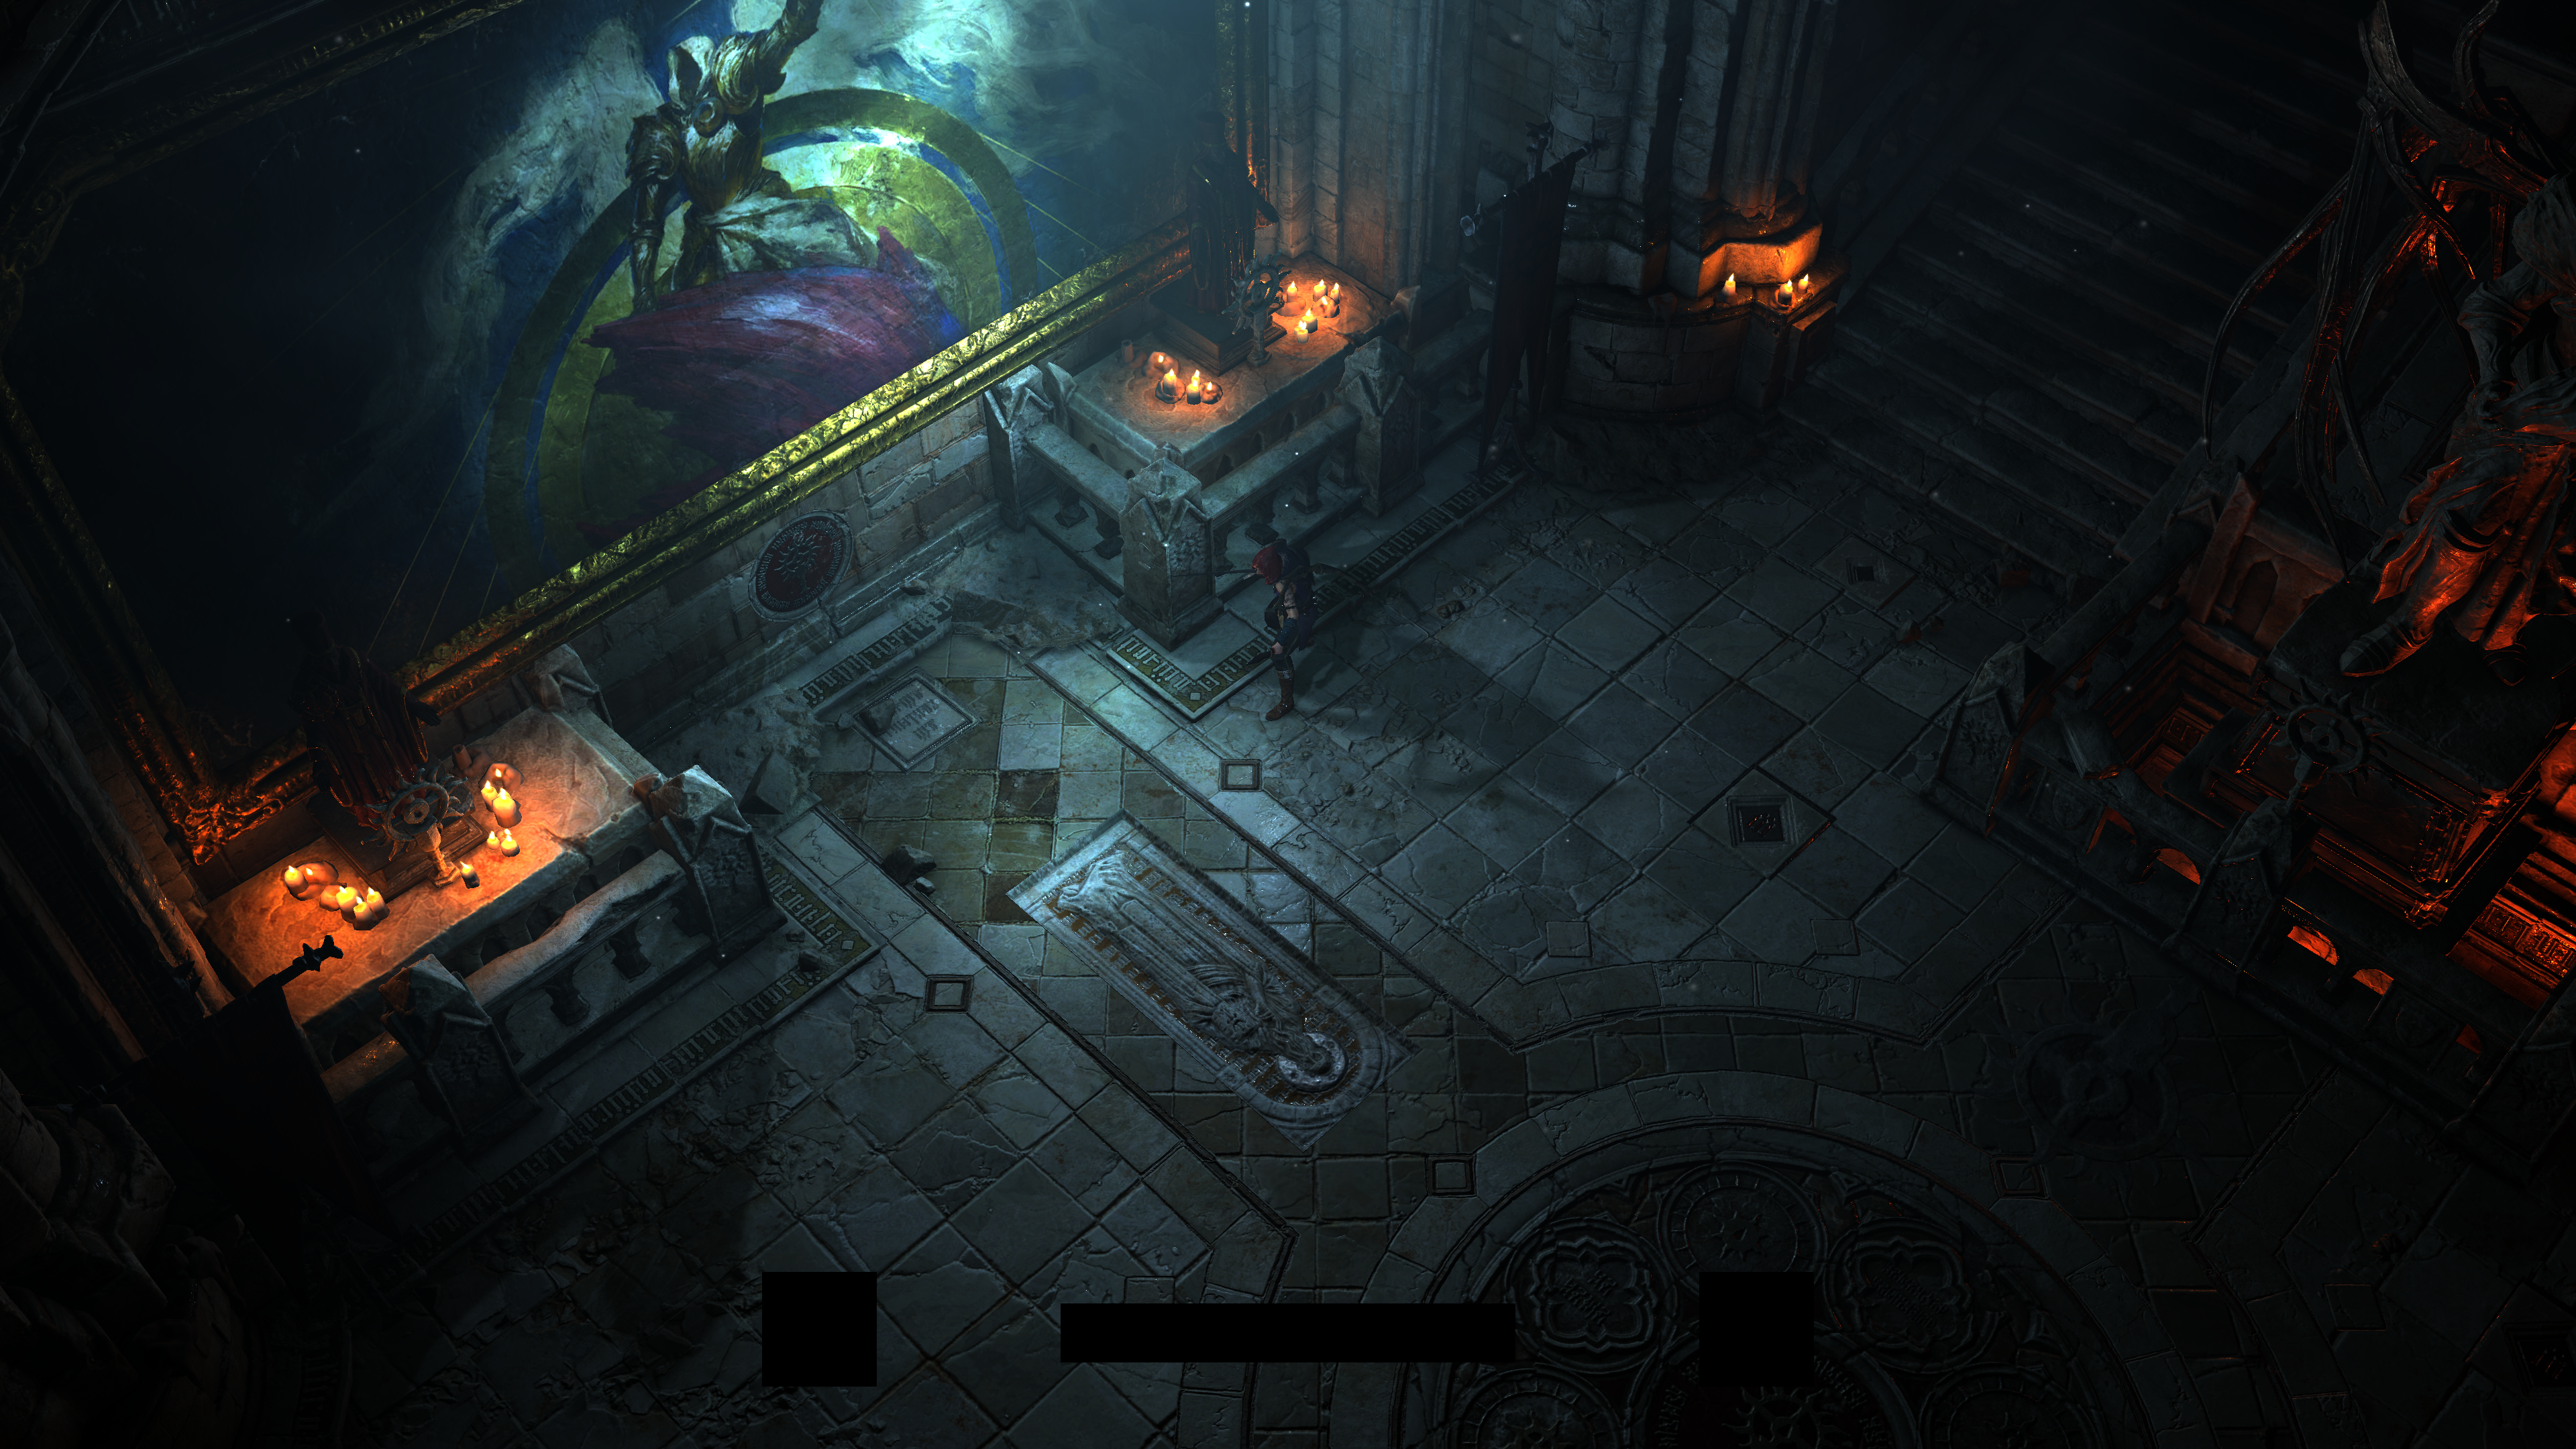
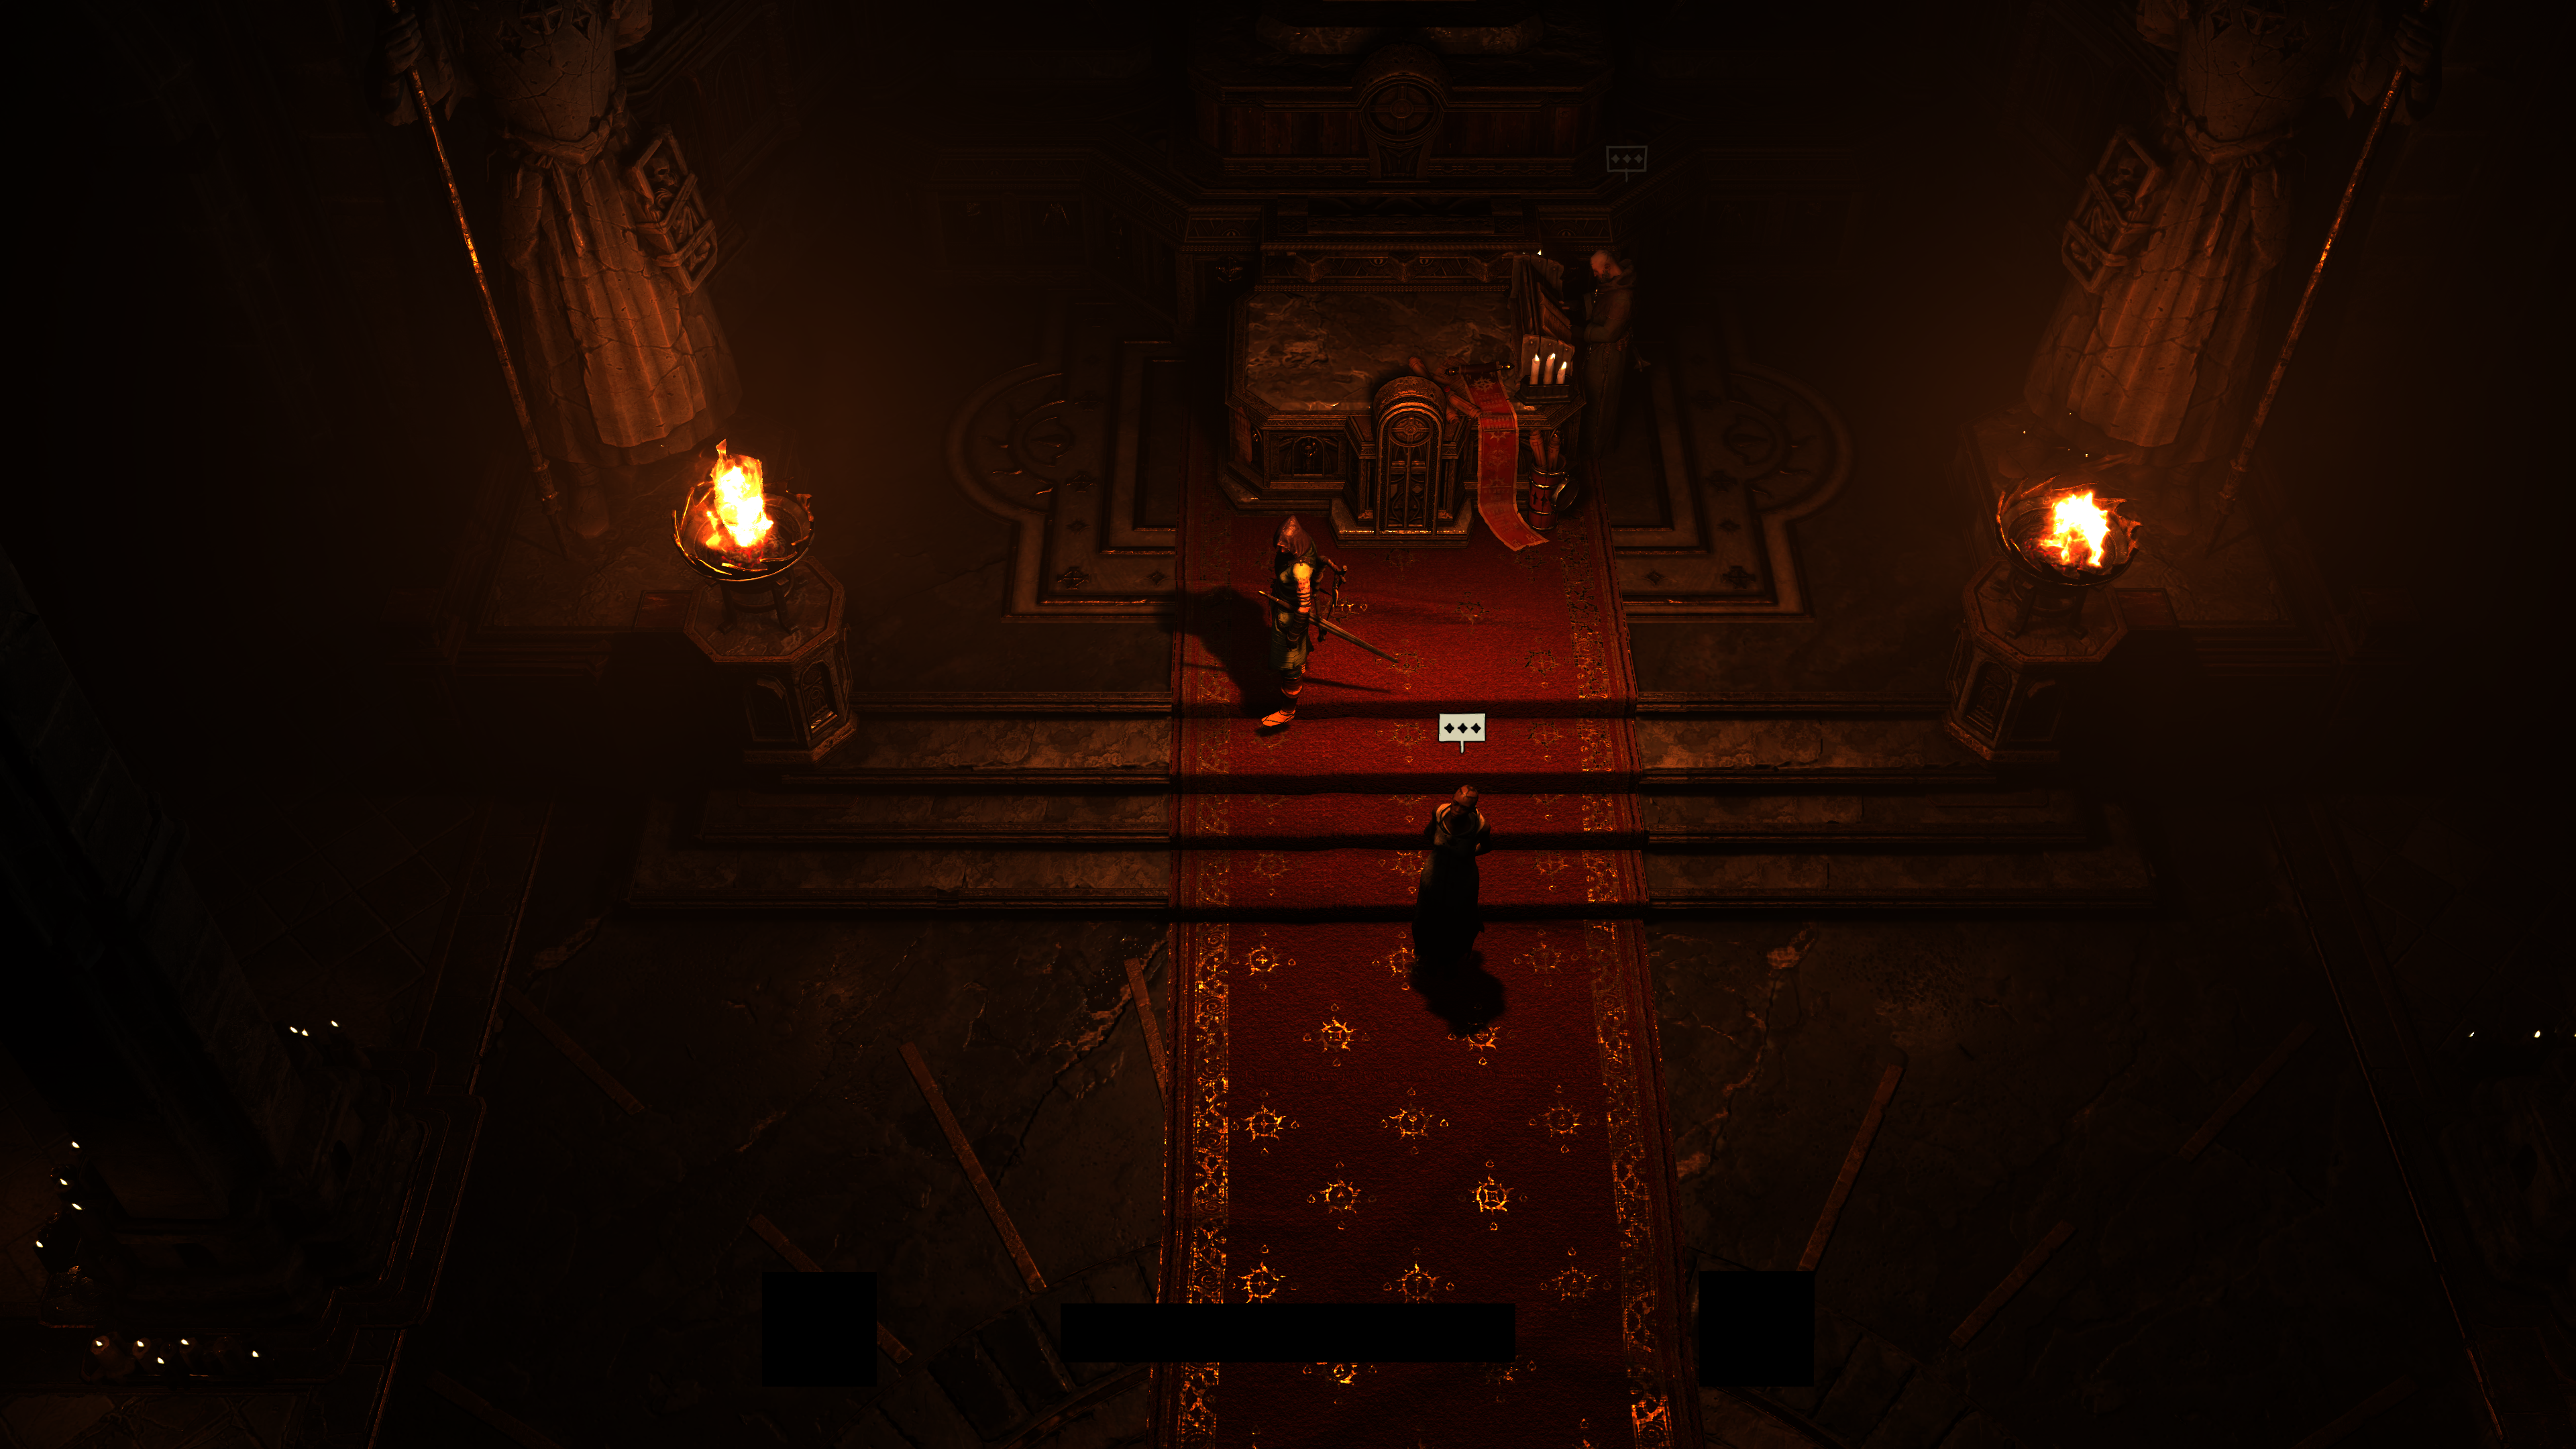
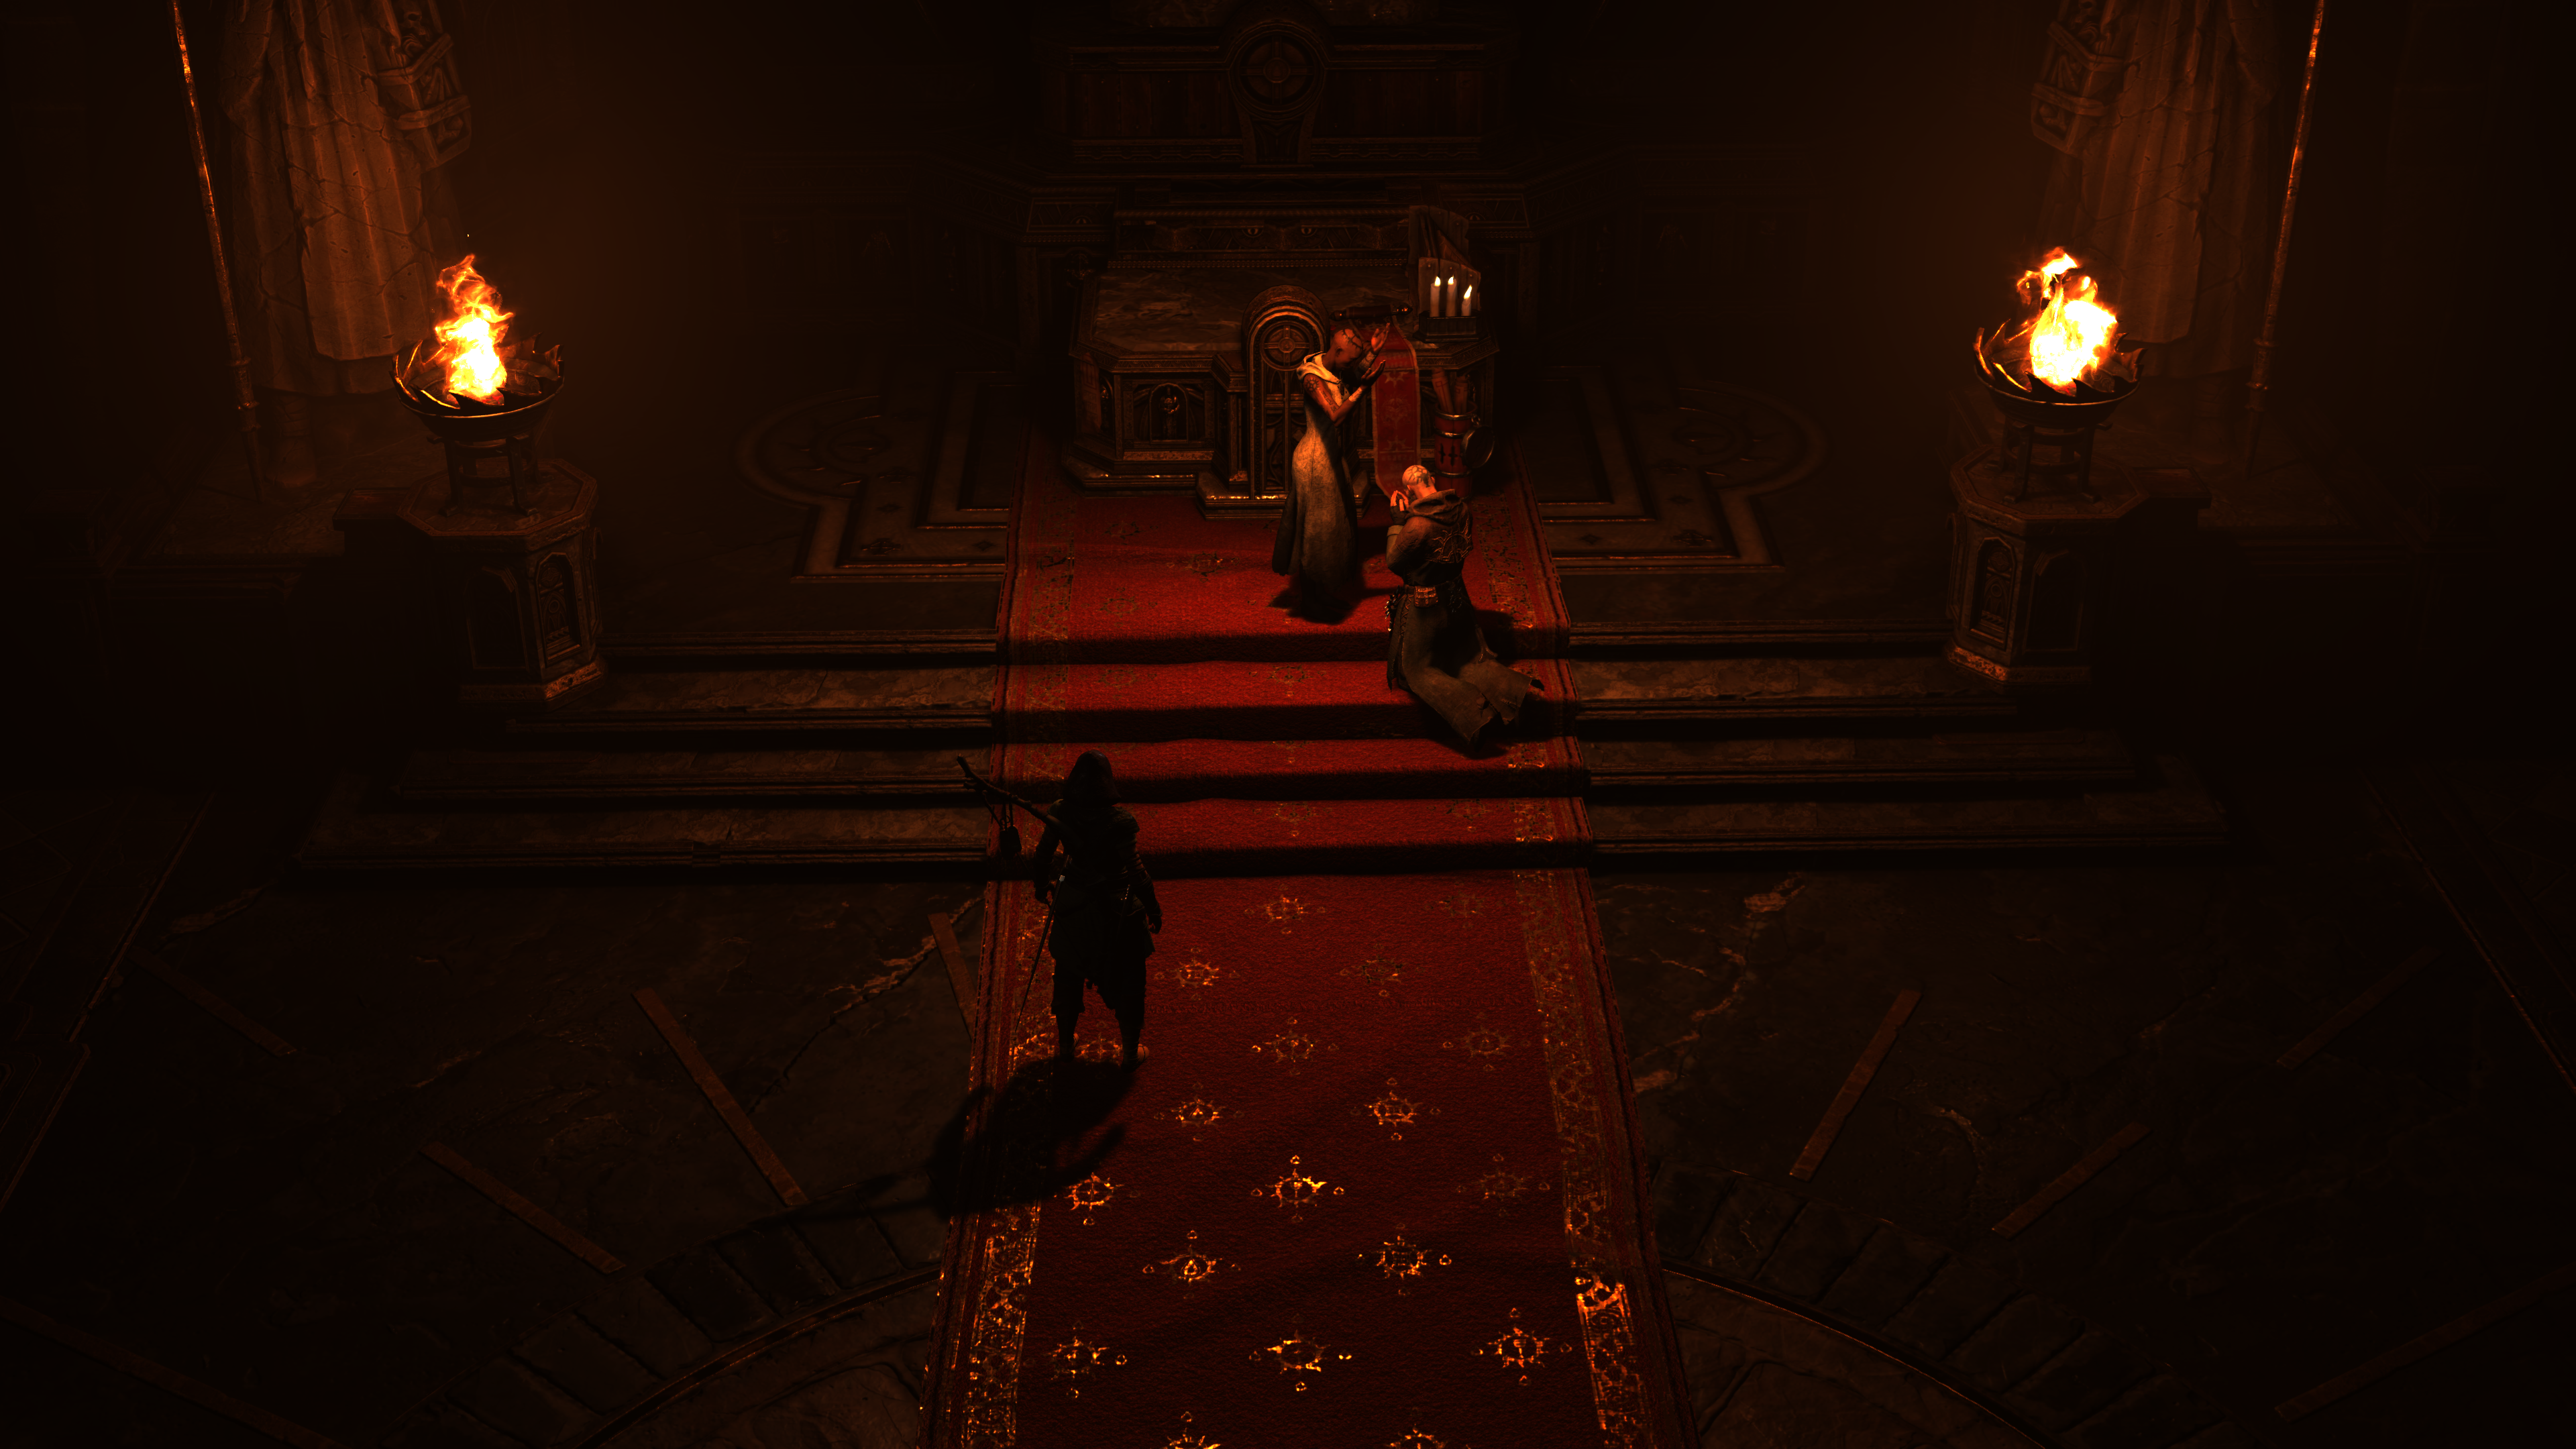
Diablo 4 is Beauty-Full
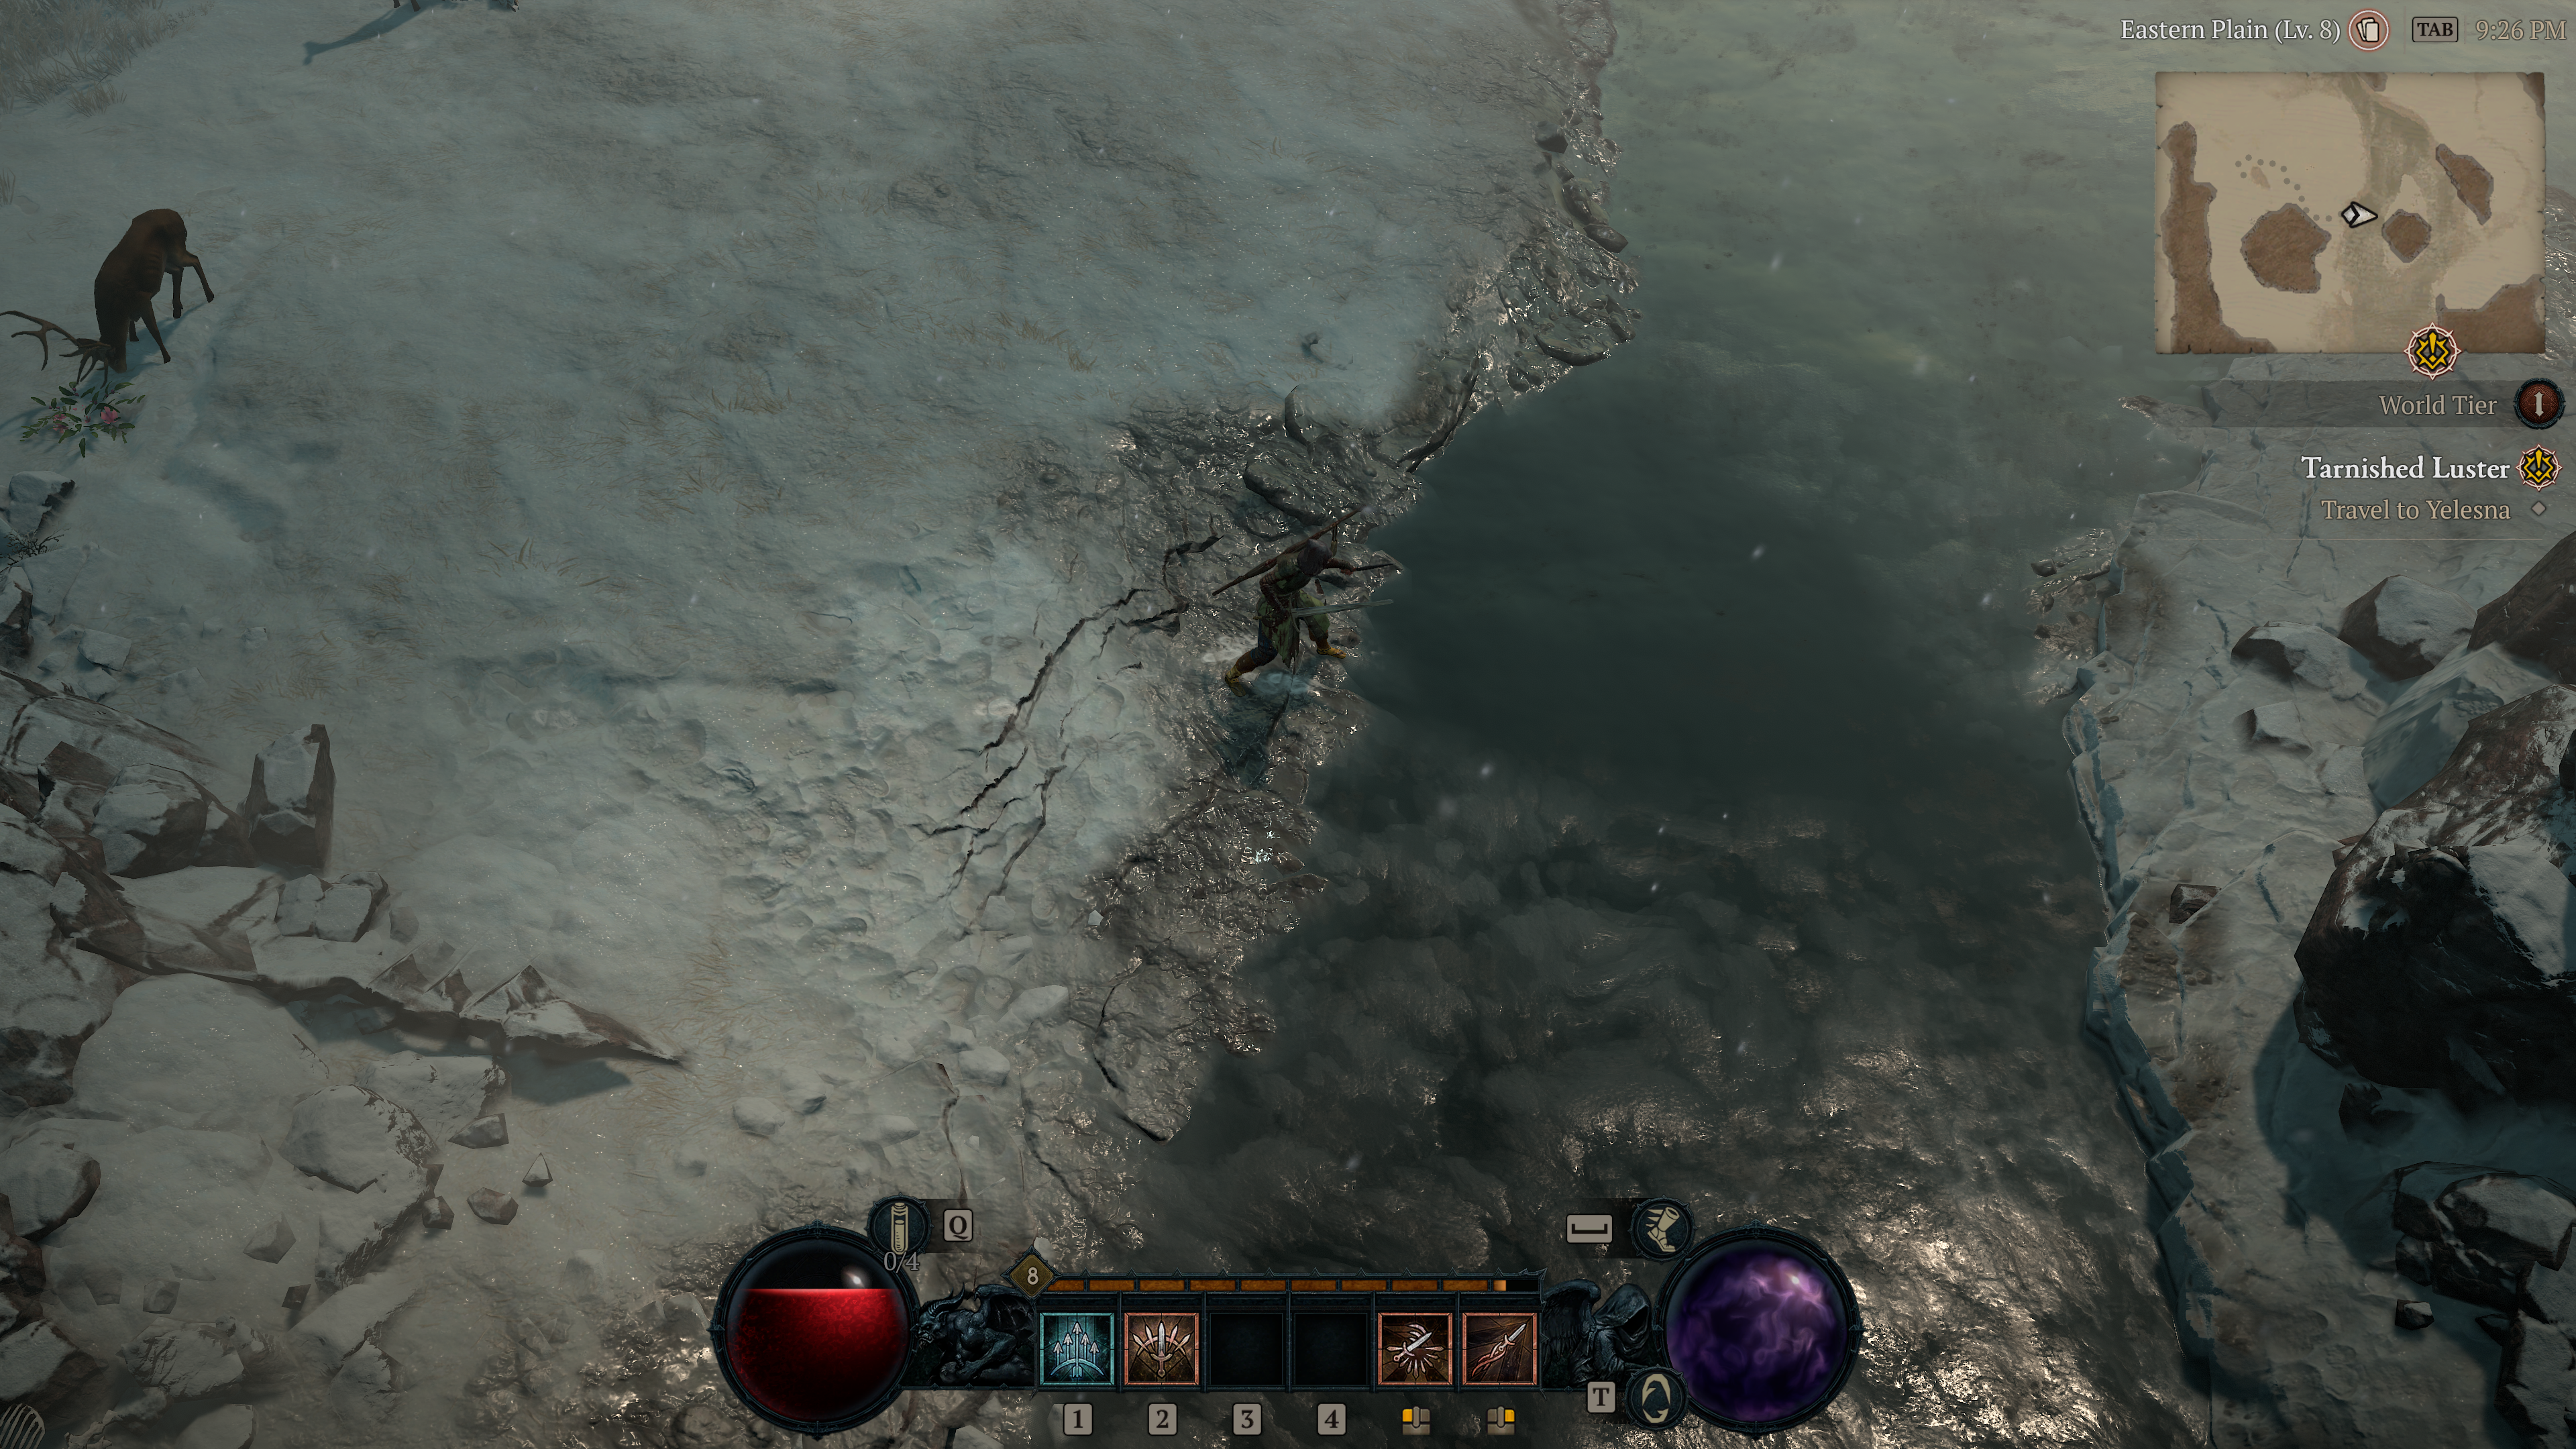
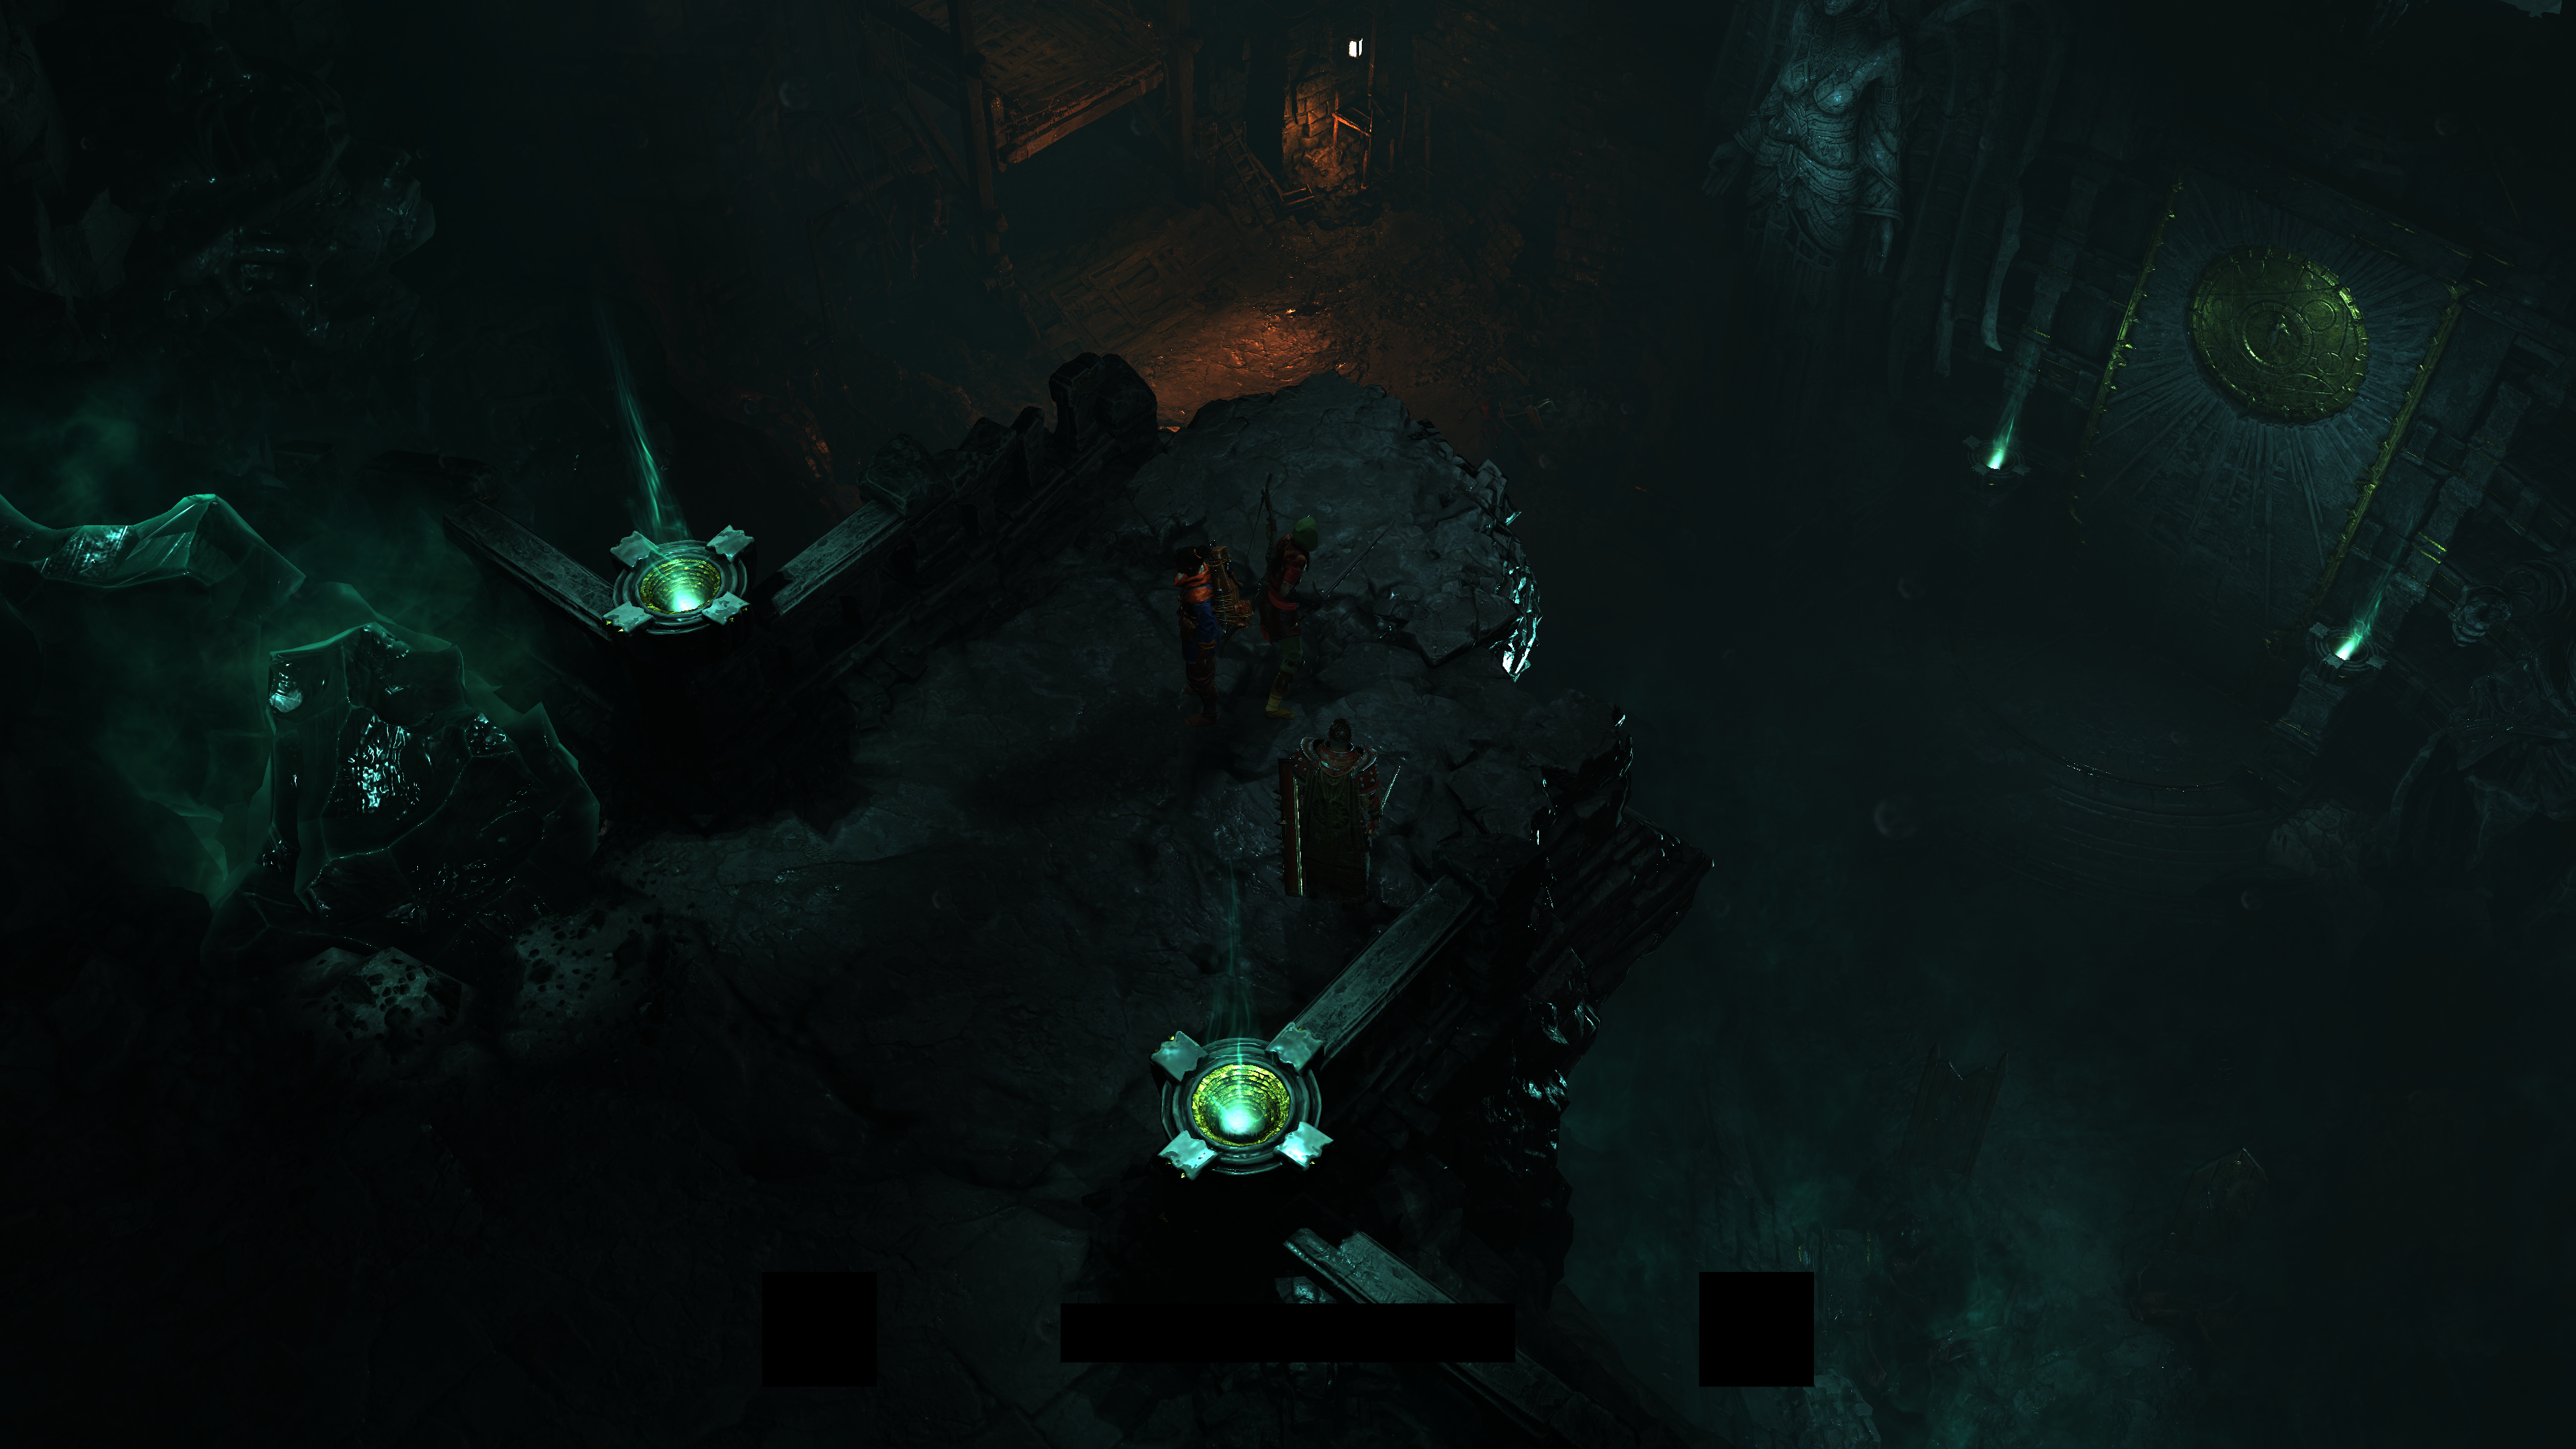
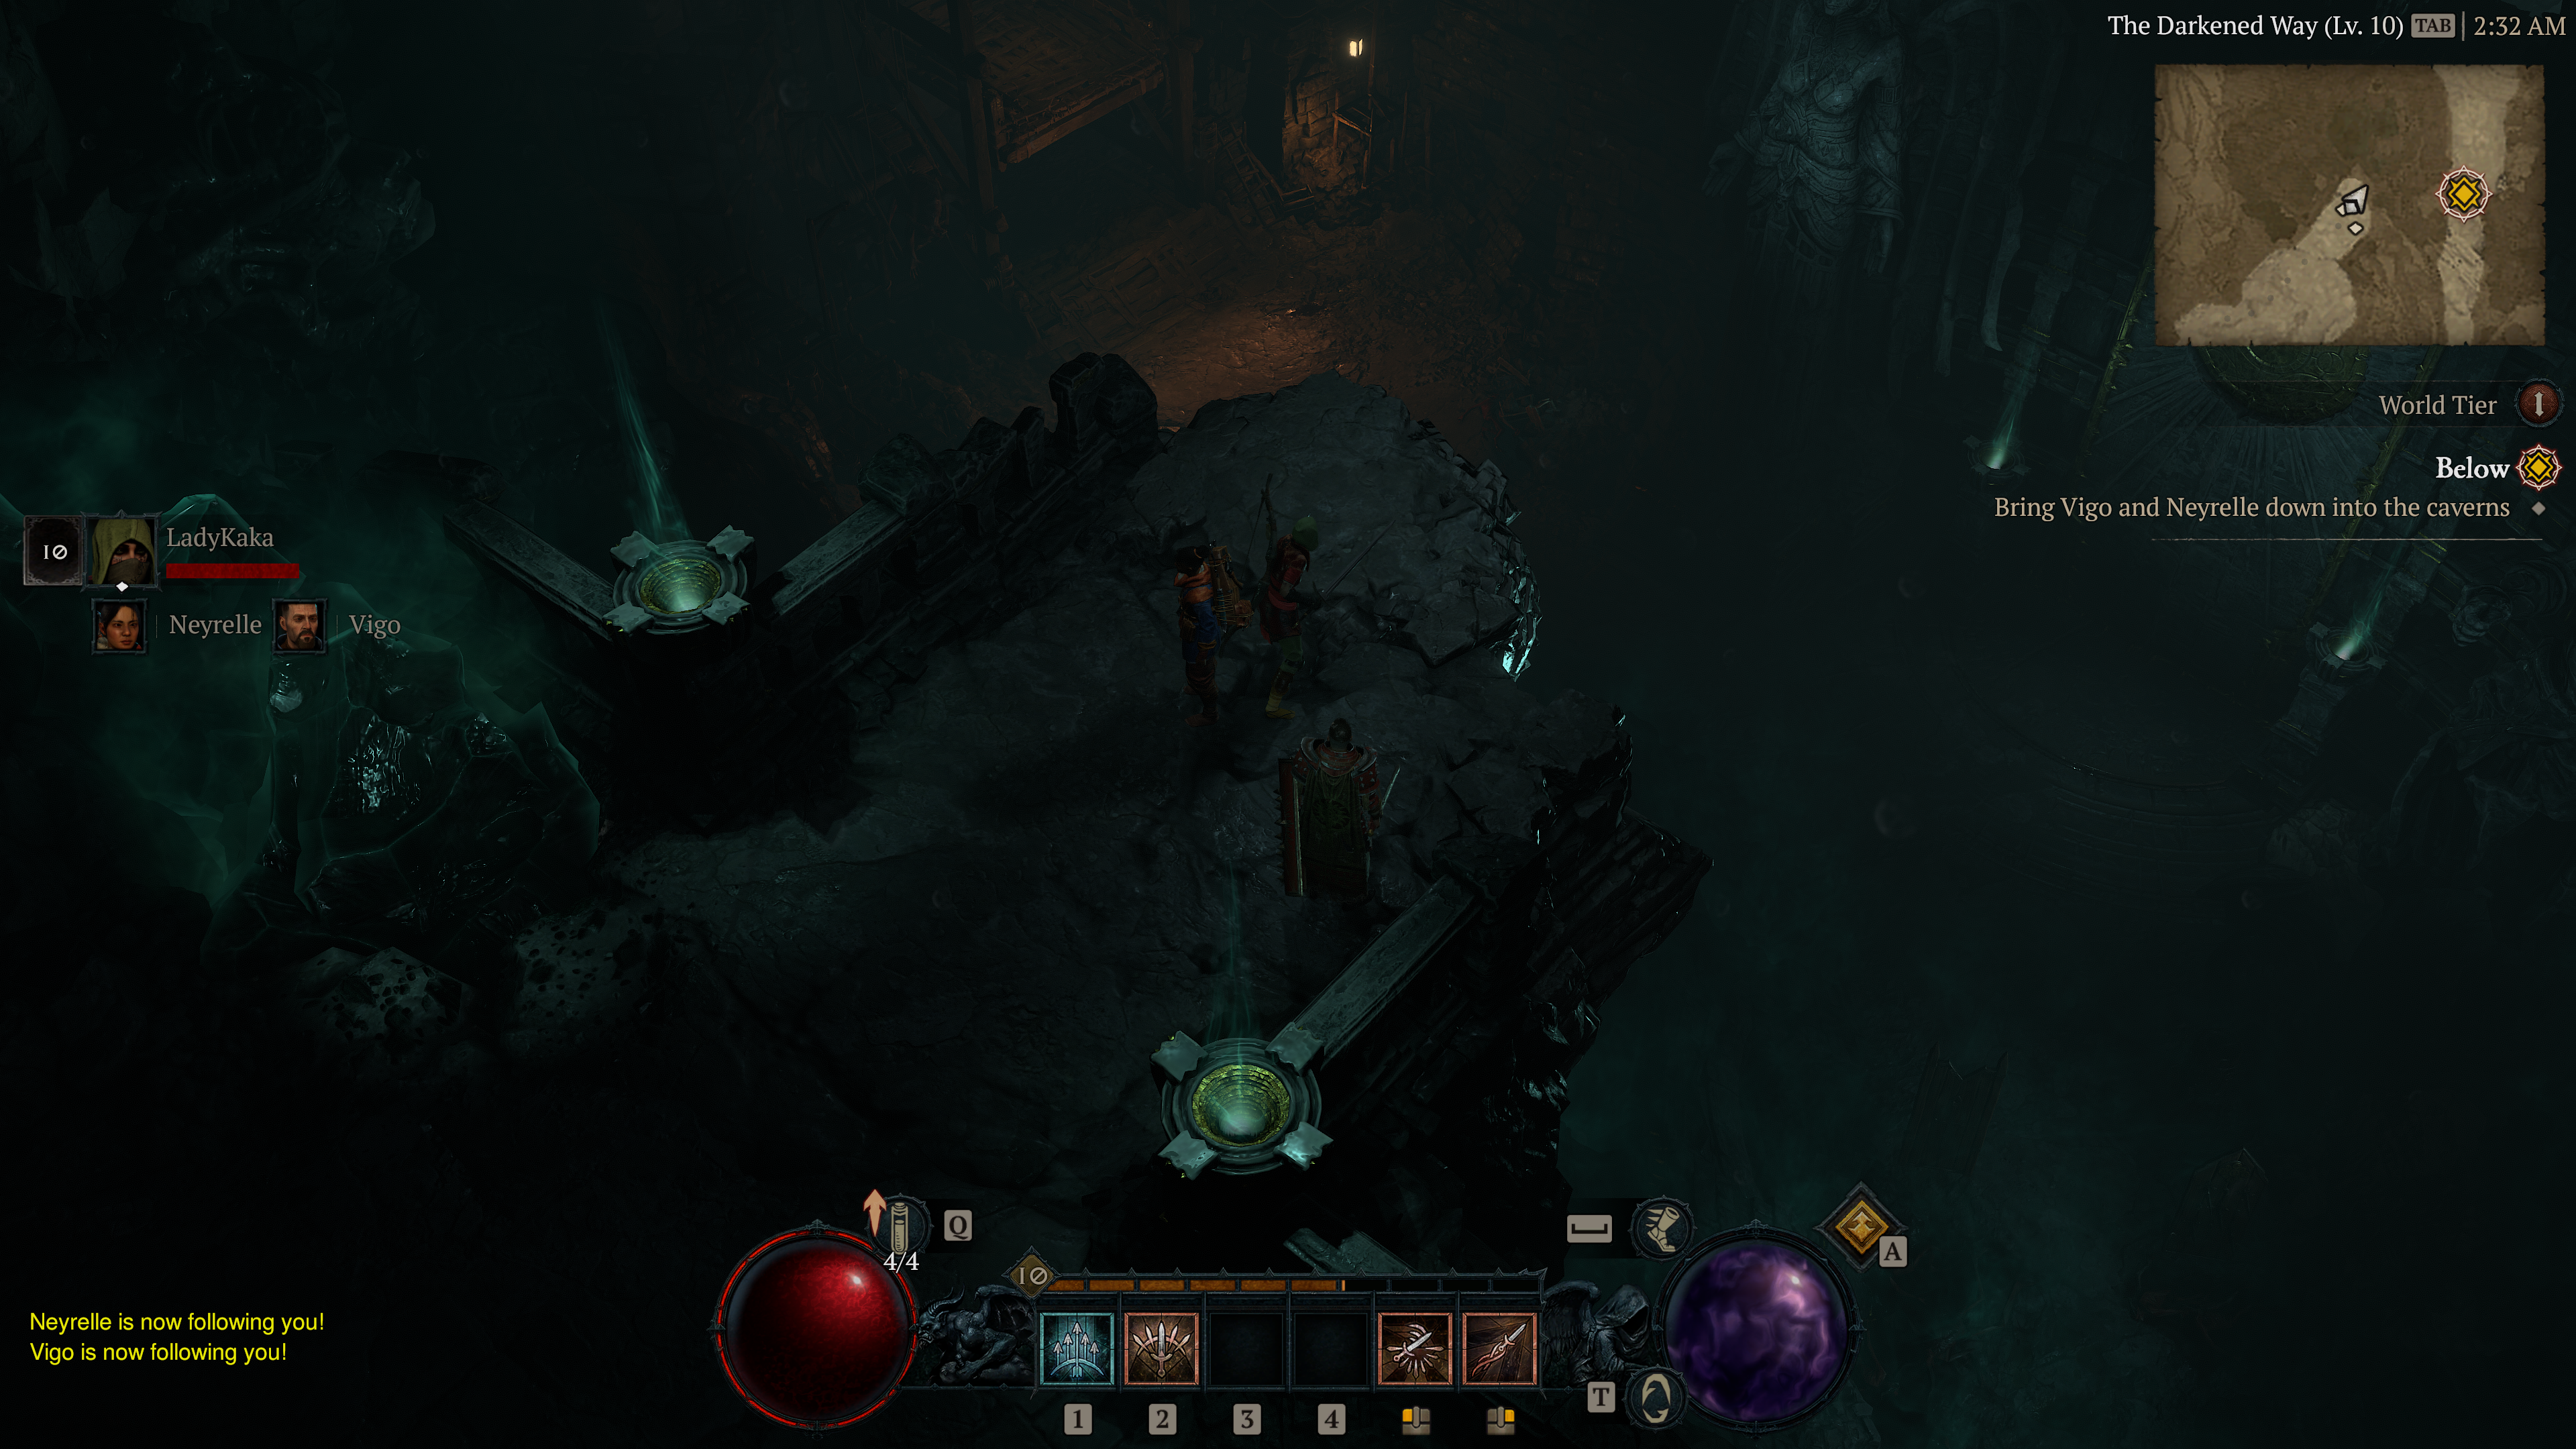
Beauty in general is something variable, you me, her & him can have many different tastes and definitions to what makes something “beautiful”. And i believe this is the same case in the world of graphics, and the world of rendering. People thinks i like to breakdown games that try to look real, or games that are from a view that allows you to see all the details (like 3rd person). But this is totally wrong. i dig games that are beautiful in my opinion, and what makes a game “look” beautiful for me, is not how realistic the graphics are, but more of how everything in the graphics works nice in a coherent way together in the final “frame” in a way that makes it appealing, pleasant and “pretty” to my eyes. Yes i care about realism, but to an extent and not as absolute realism, if i need something 100% real, then go buy camera and maybe work in the optics or photographing industry, but the beauty of graphics/rendering tech, is the output of the process of faking and simulating the reality to certain extent. And this is what i liked in Diablo 4. From the first moment i’ve been given the controls post the cinematic of the wolf, i was amazed! This is not how topdown games look like or “used” to look like during gameplay…i did not believe that I’m now in the gameplay! From the amount of details, nice dynamic & soft shadows, crazy snow particles, & of course the cool sound design! Simply, it was really visually beautiful (and this remained the case during my hours of play in the following days) with butter-smooth Cinematic-to-gameplay transitioning. And hence, i decided to unveil the curtain and have a glimpse. Beauty in such a game is not just there to see & enjoy, but also to question & understand!
Ouch…An official breakdown!
Not so long, same day, and a post at Blizzard’s blog came across my graphics-O-topics radar, it was posted one day pre-release, and it is clearly well prepared, i was yet still playing, and writing down notes about what & where i want to capture from the game. Once saw the post i shared it, and started reading it, with the hope that it will feed my curiosity, and maybe i’ll just settle for being player only this time.
It was good post to be fair, and the team behind the post did a great job, but i was sure that there are indeed more other things that was not discussed or even mentioned by the name, after all Blizzard (or any other AAA company) not going to build a game, and then put the entire technical details out there at launch, specially when they’re ORIGINAL folks (it’s my definition for teams who use their own tech/engine) where the documenting efforts always goes to internal hubs/pages only. Not to mention that the time itself i spend in those types of investigations, is always a good time and i enjoy it! Hence i decided to keep on my plan, don’t let this awesome Blizzard blog post stops me, go ahead capture and investigate for few days,…and possibly write an article about the findings.

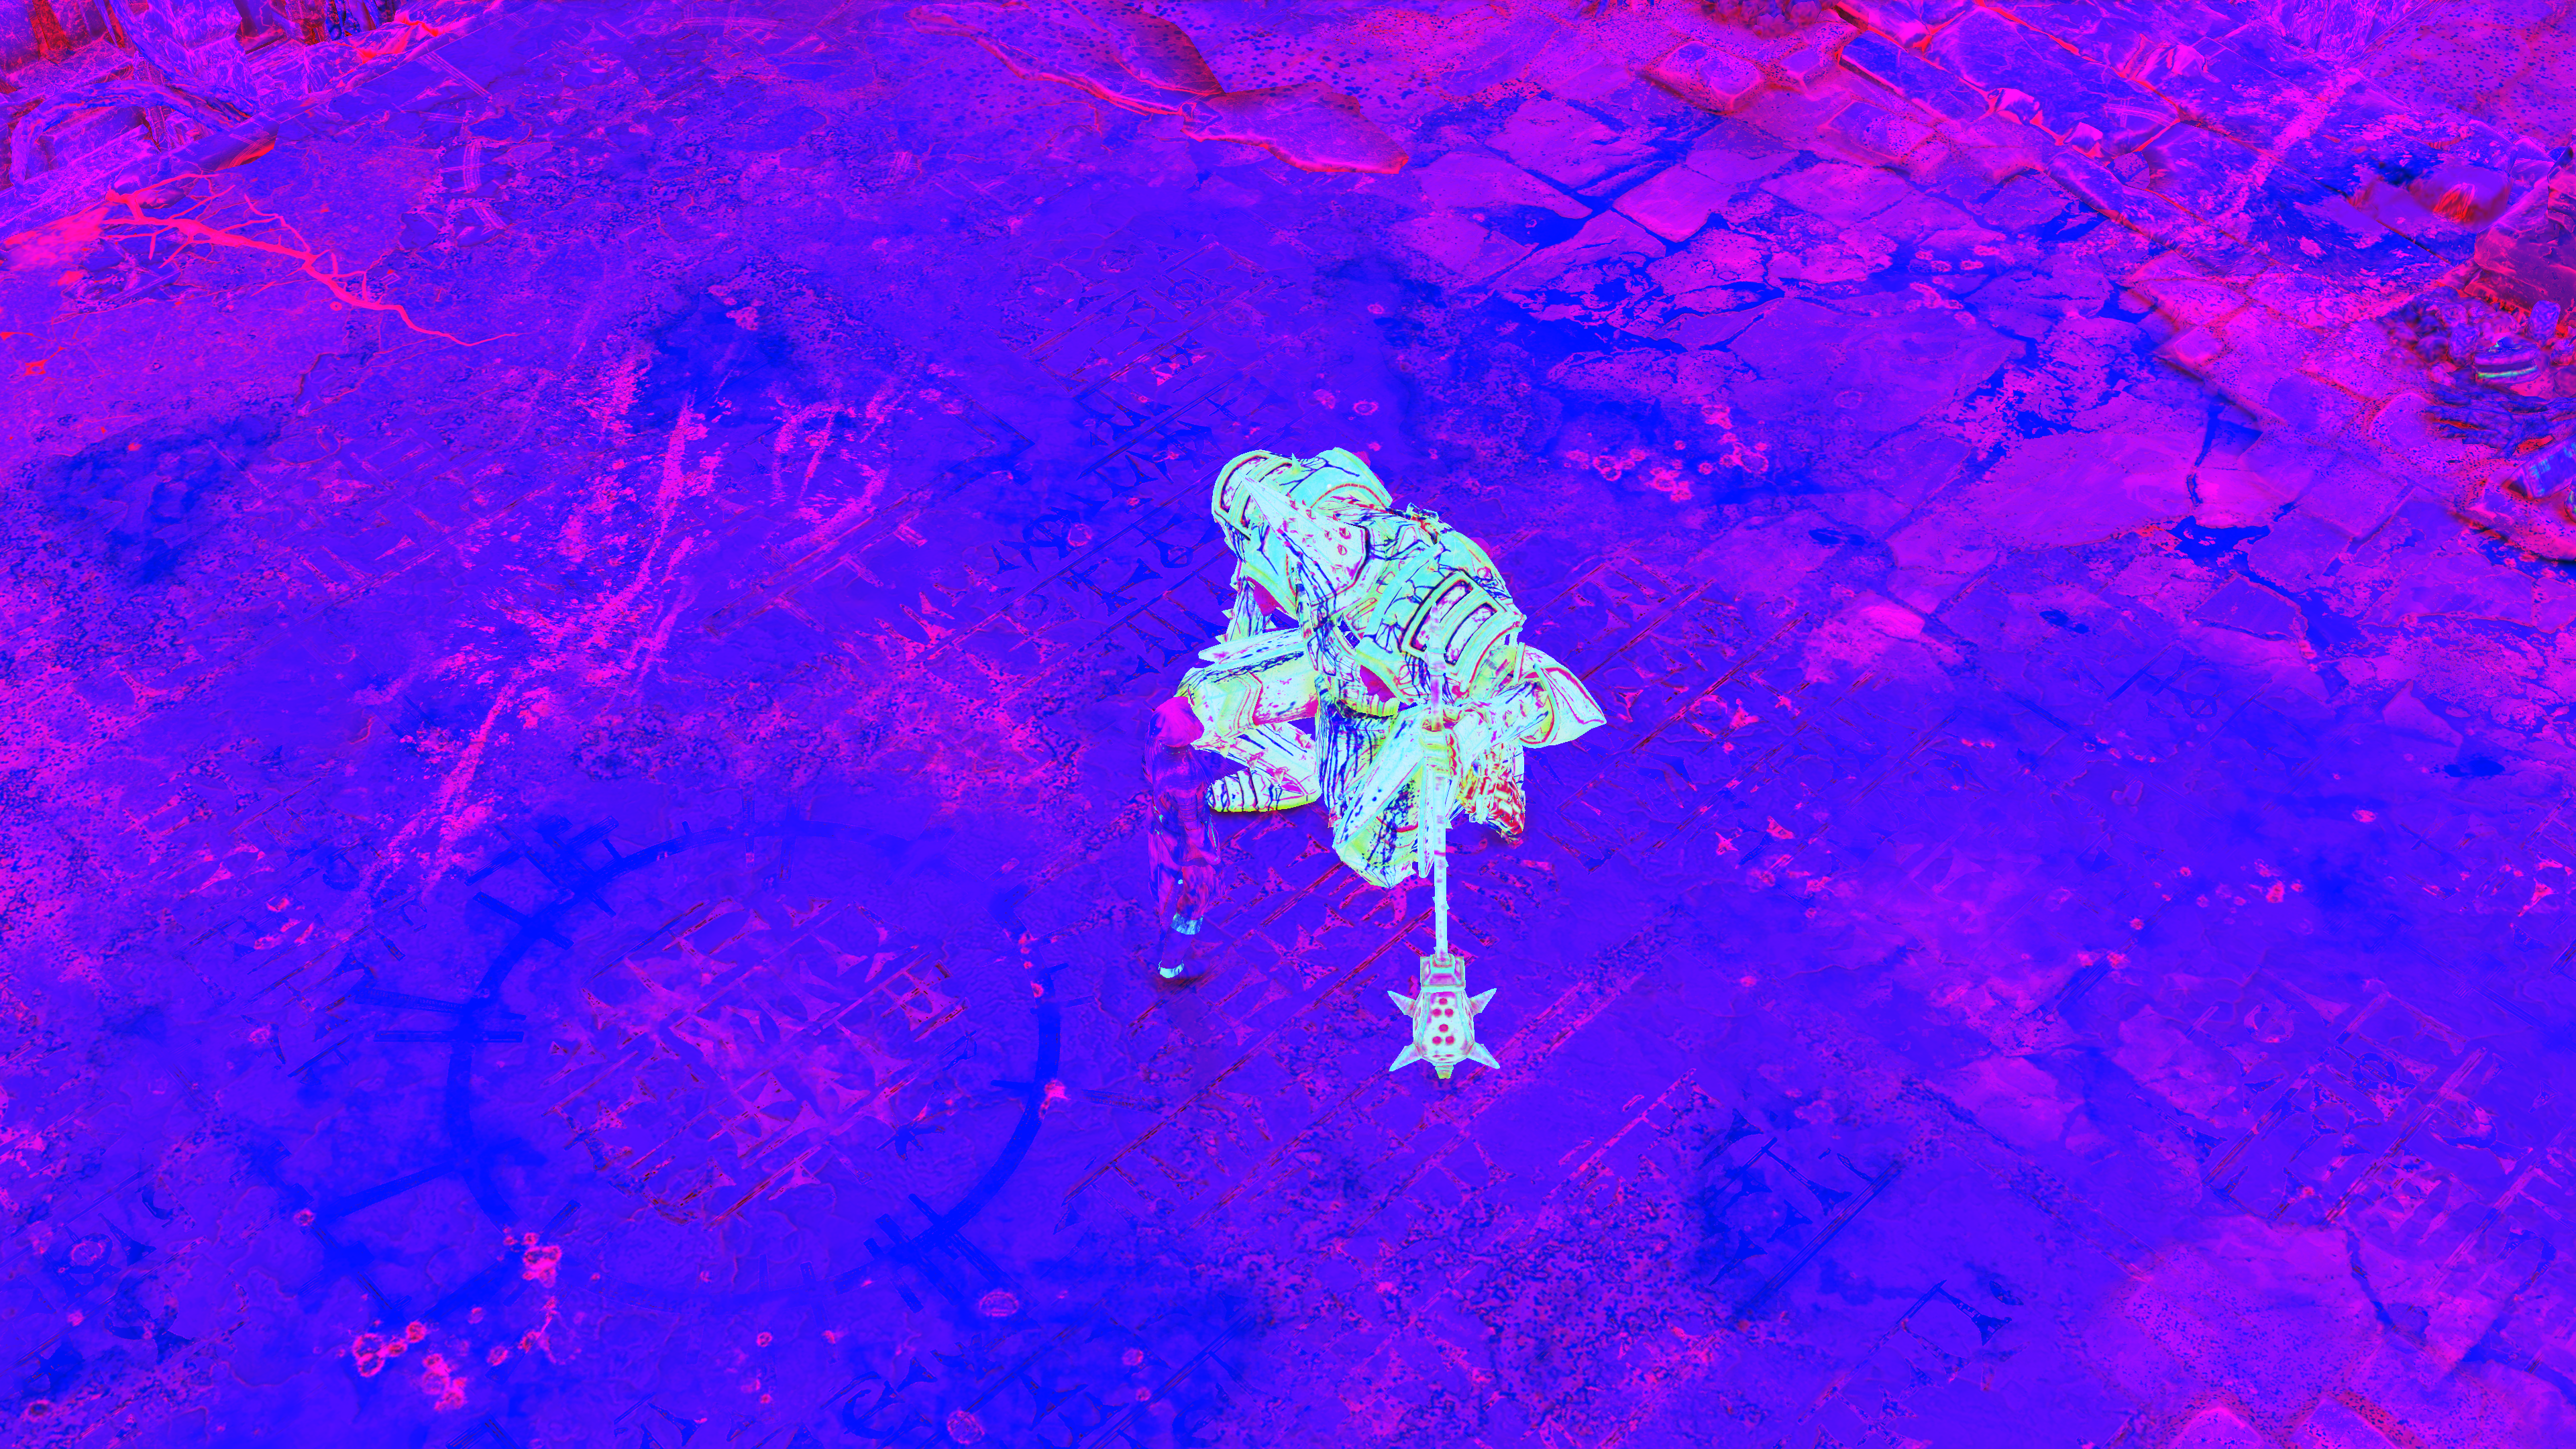
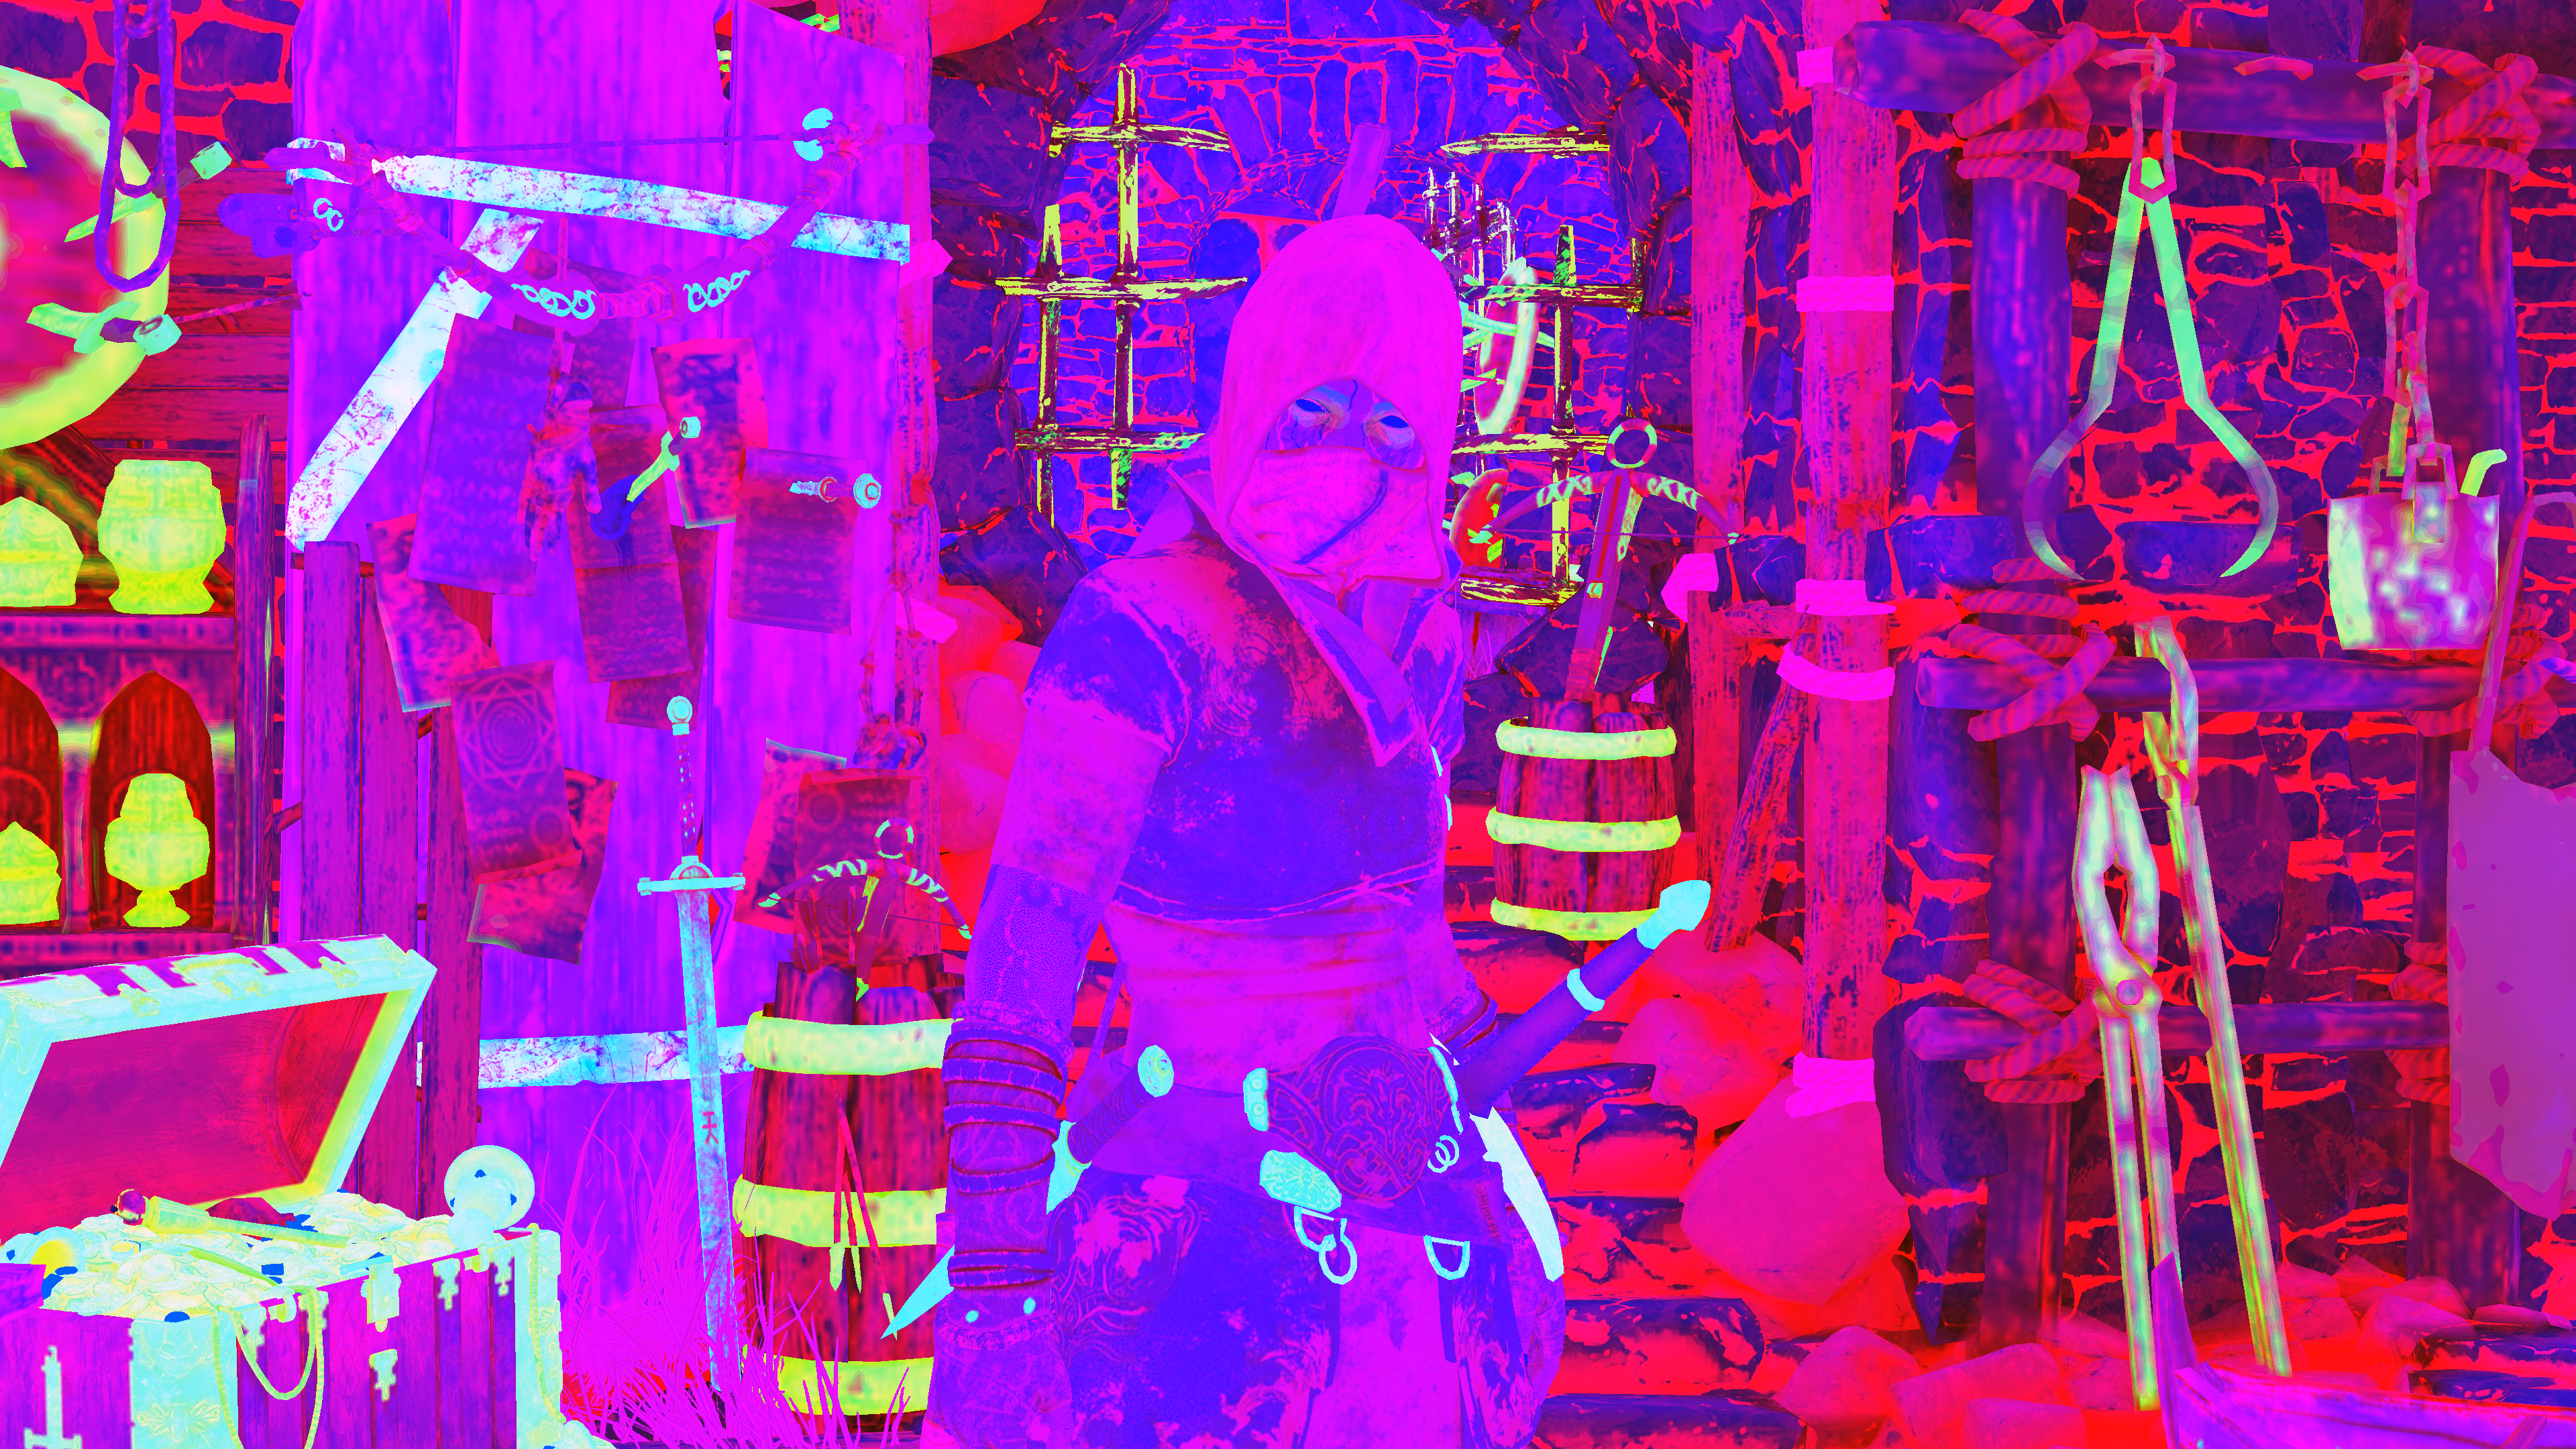
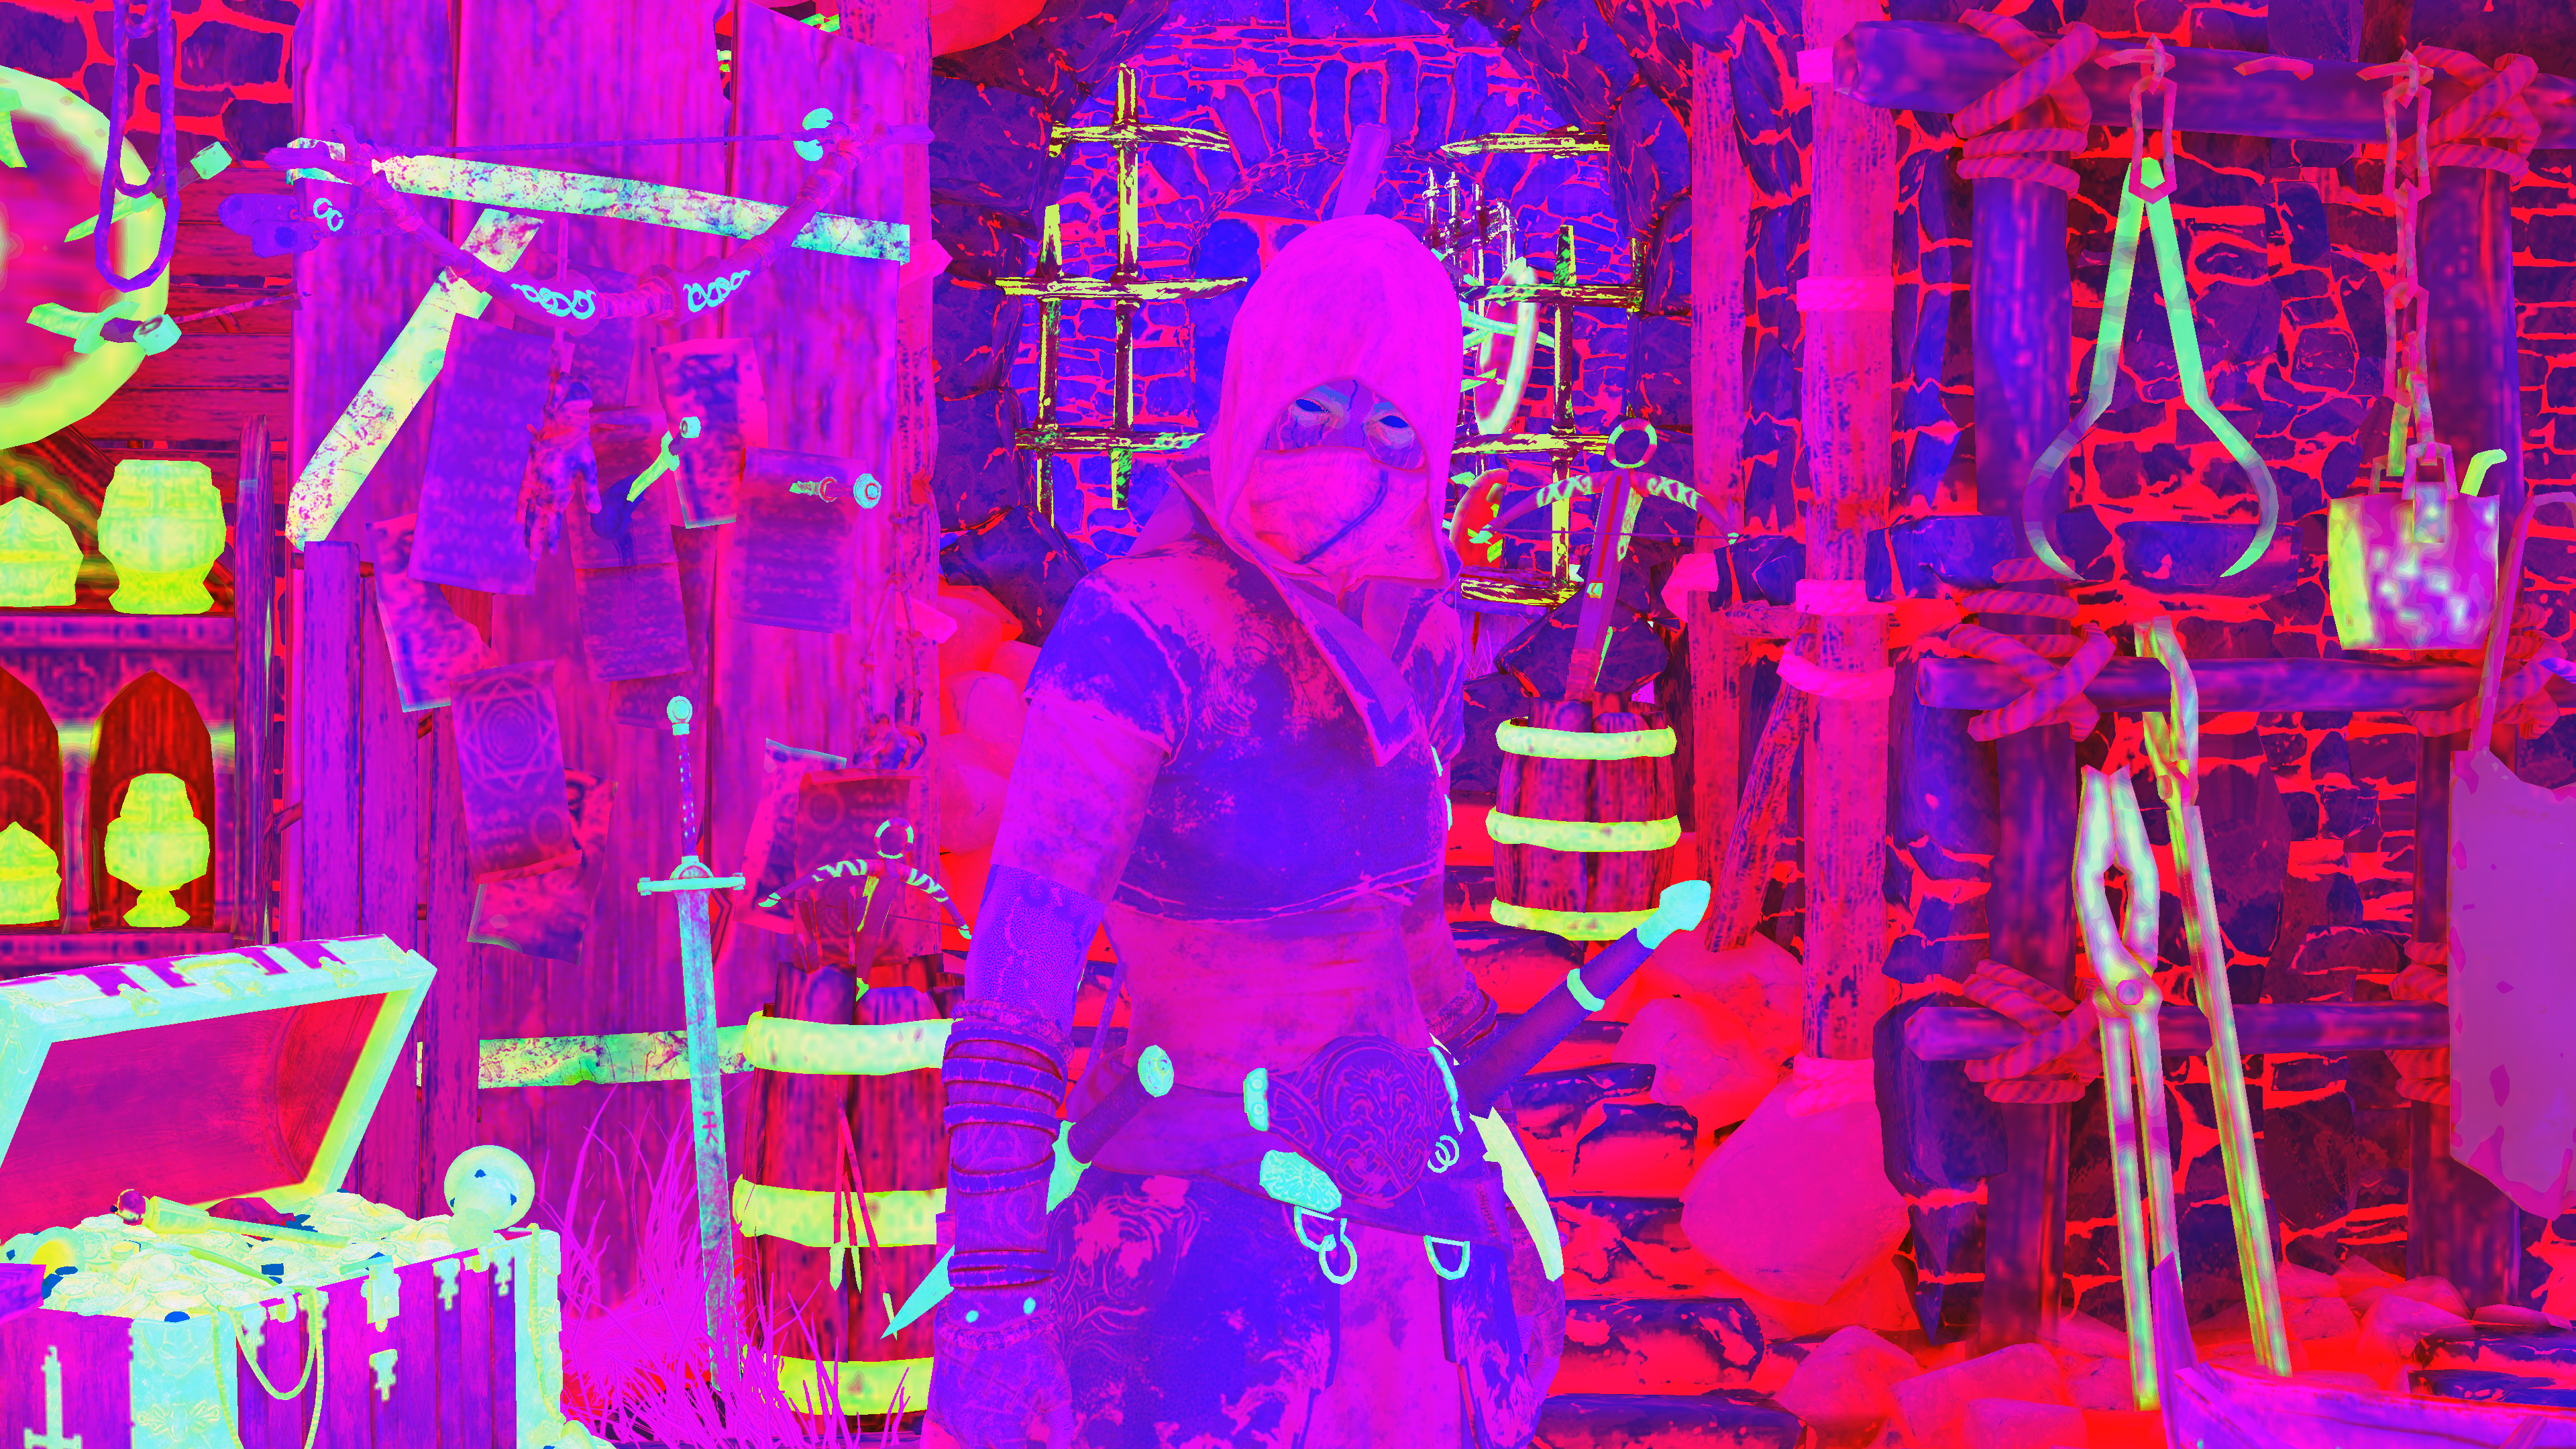
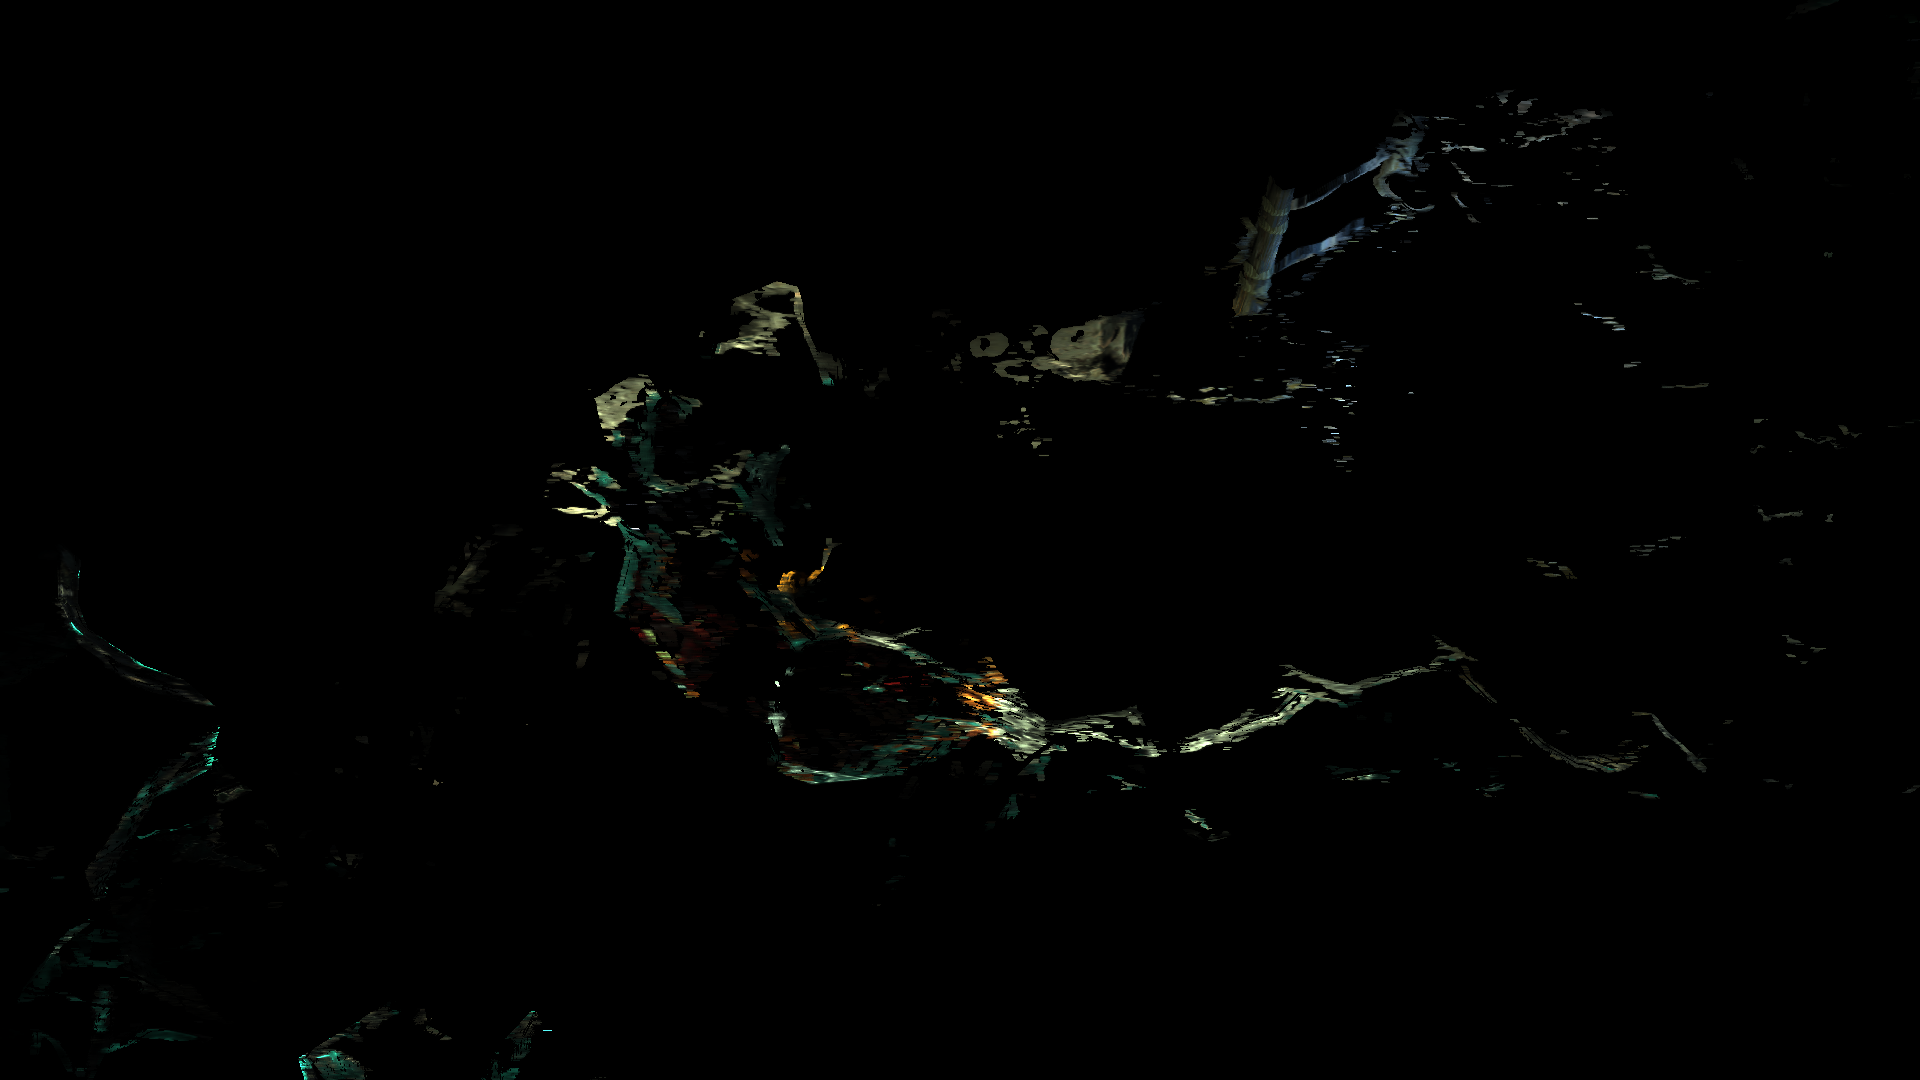
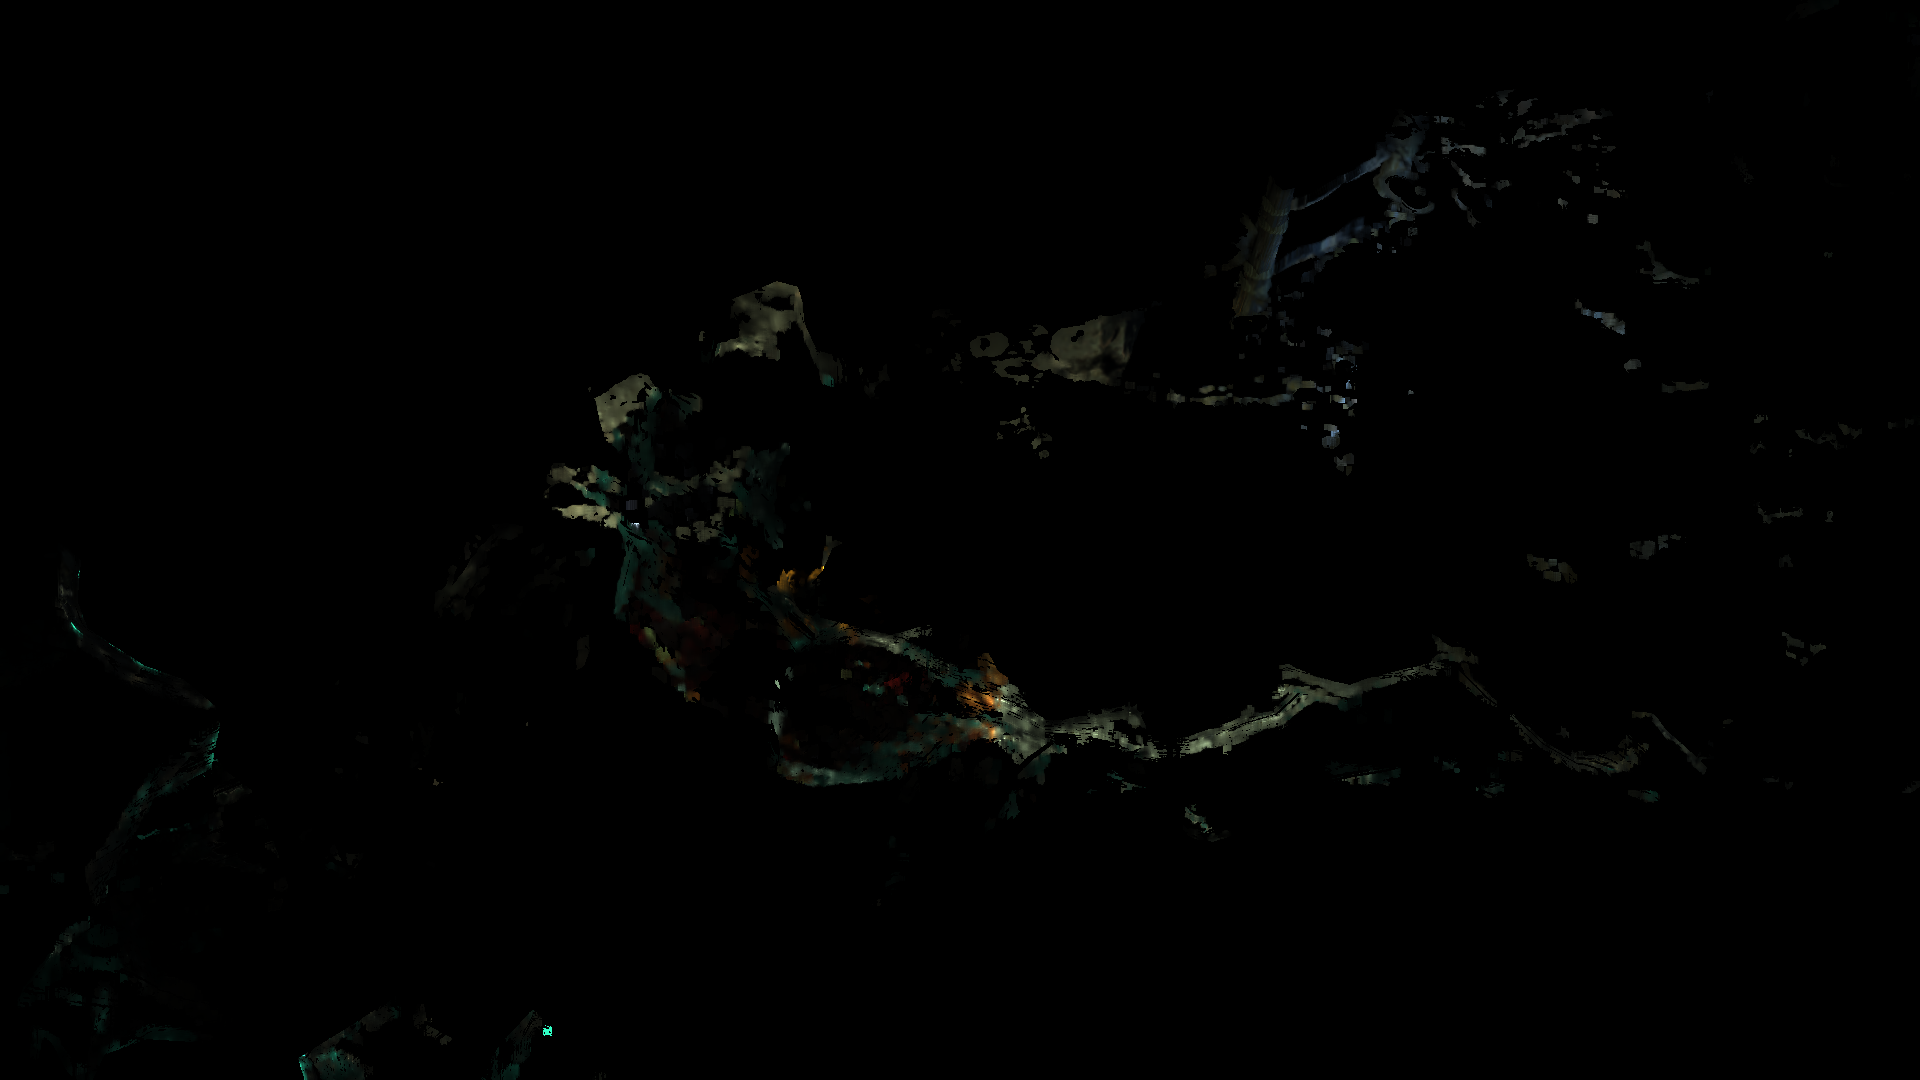
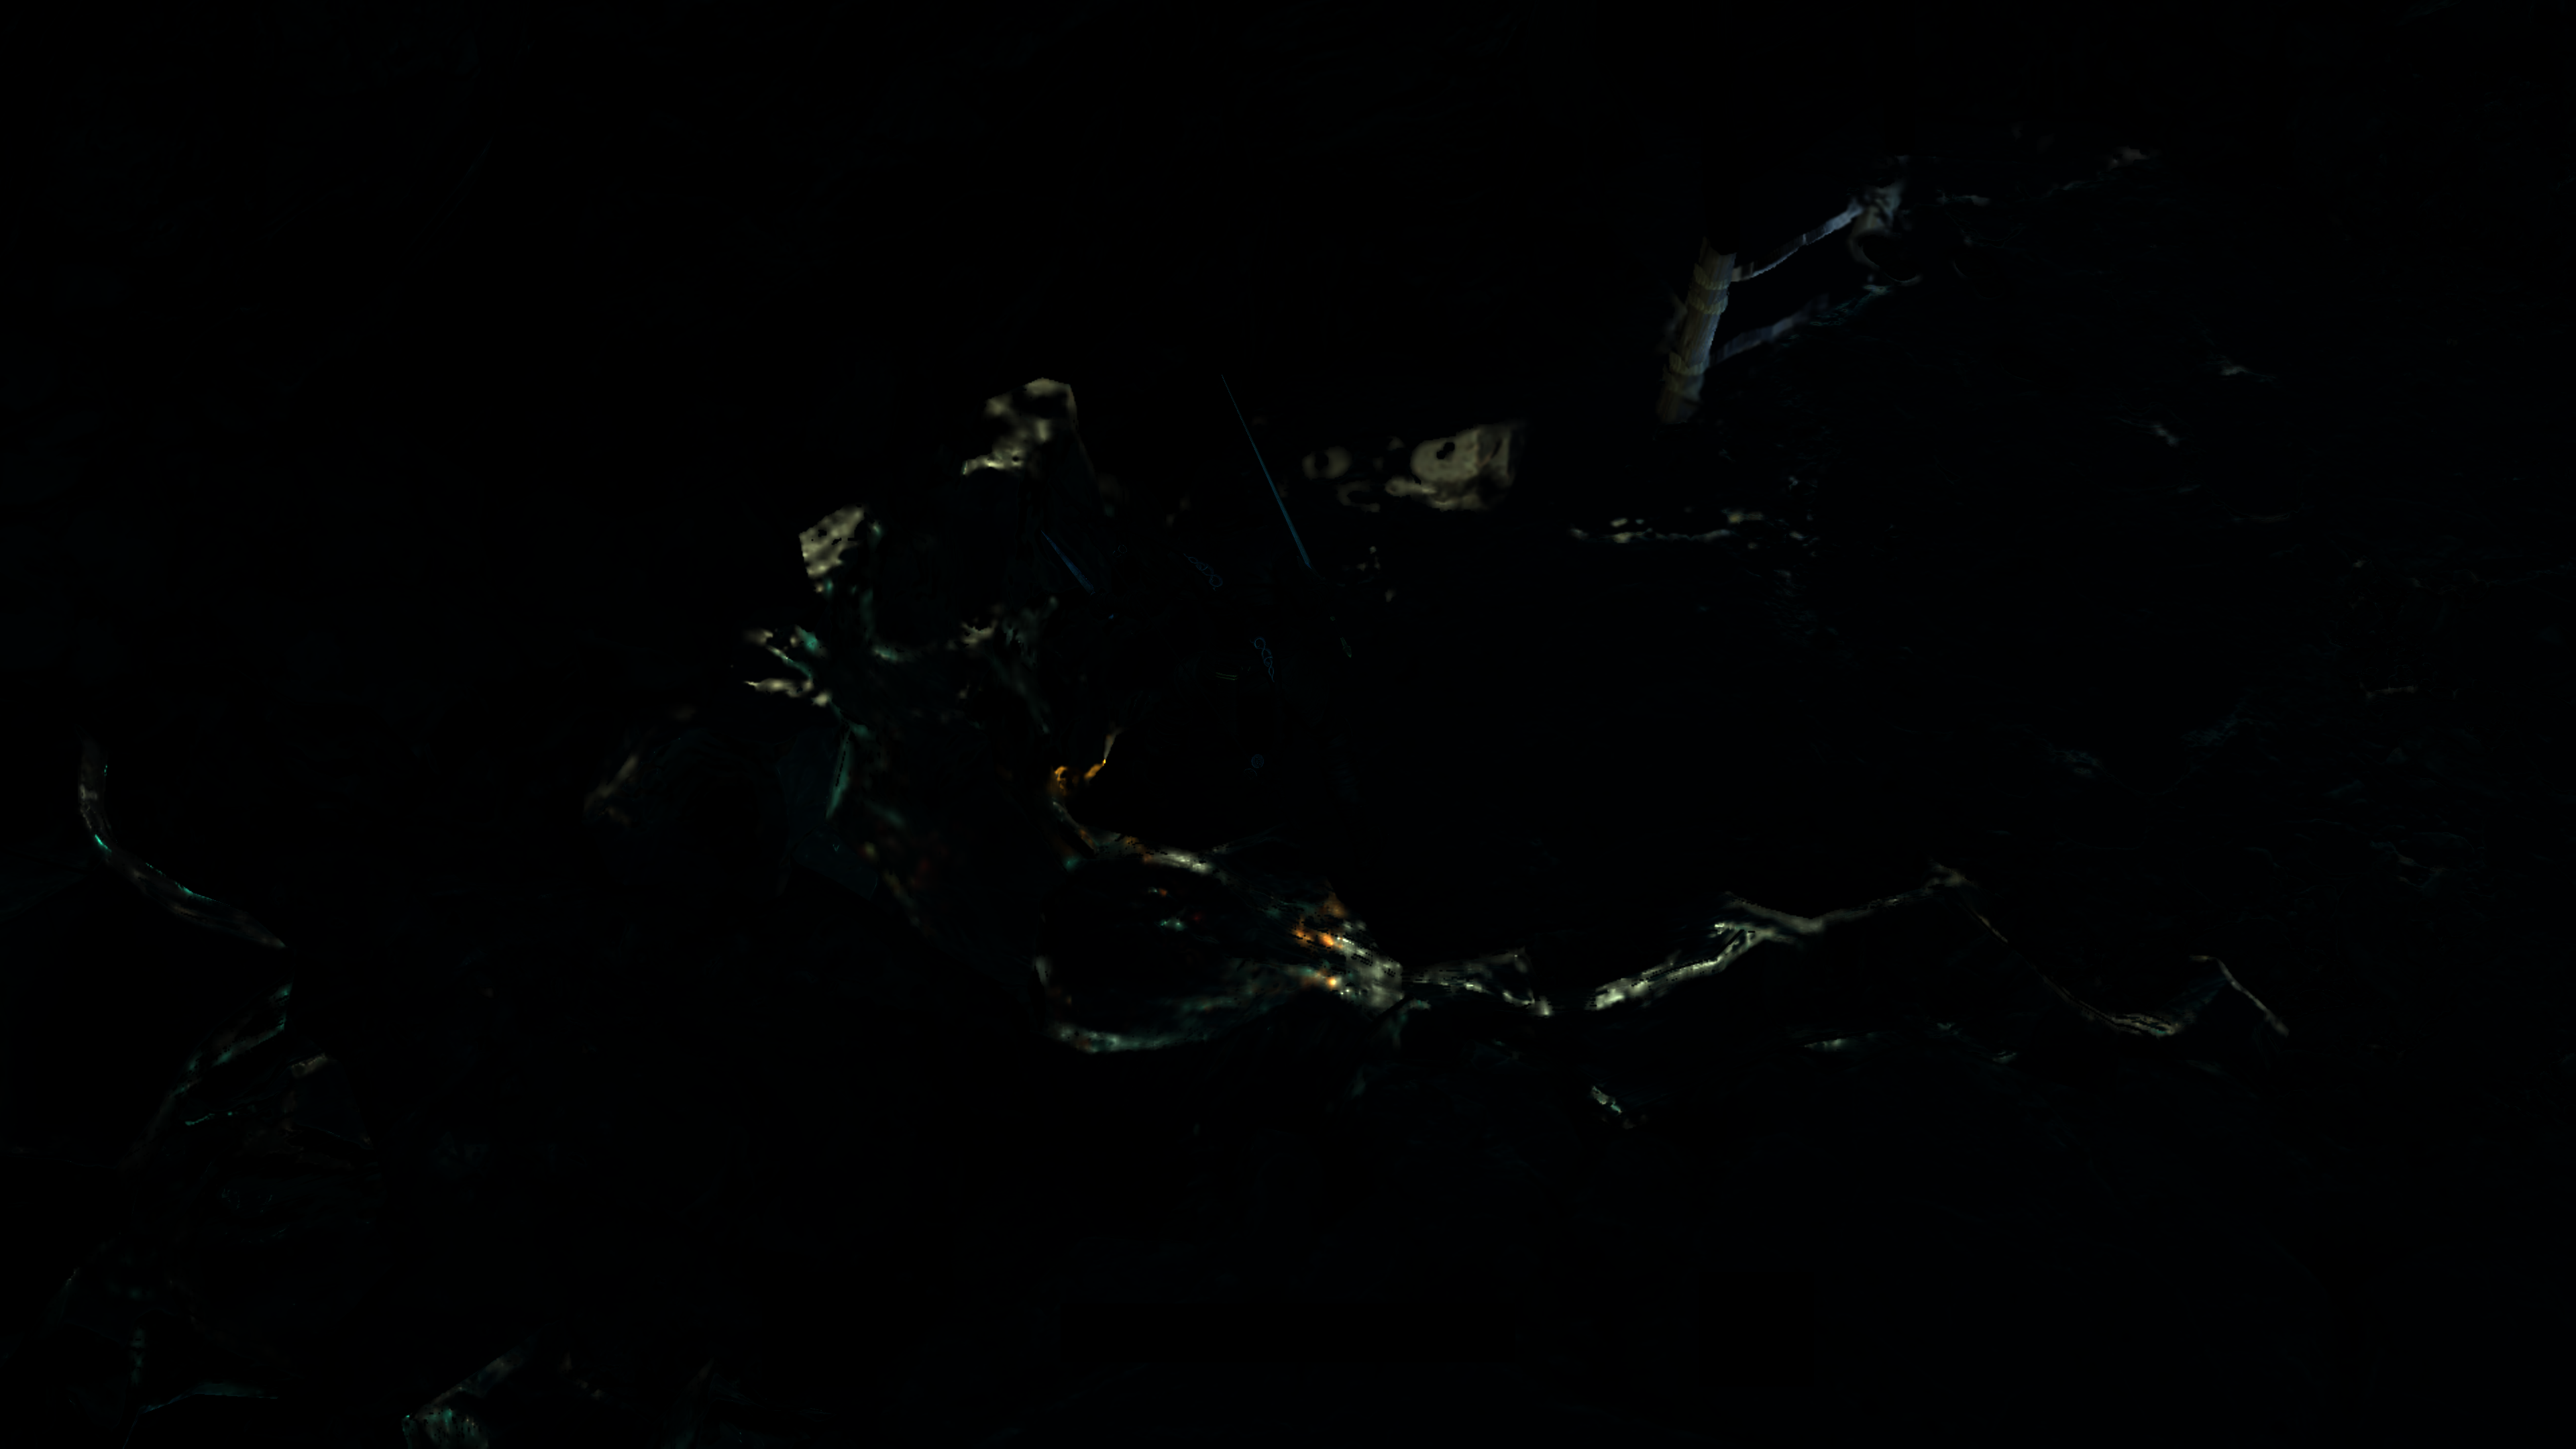
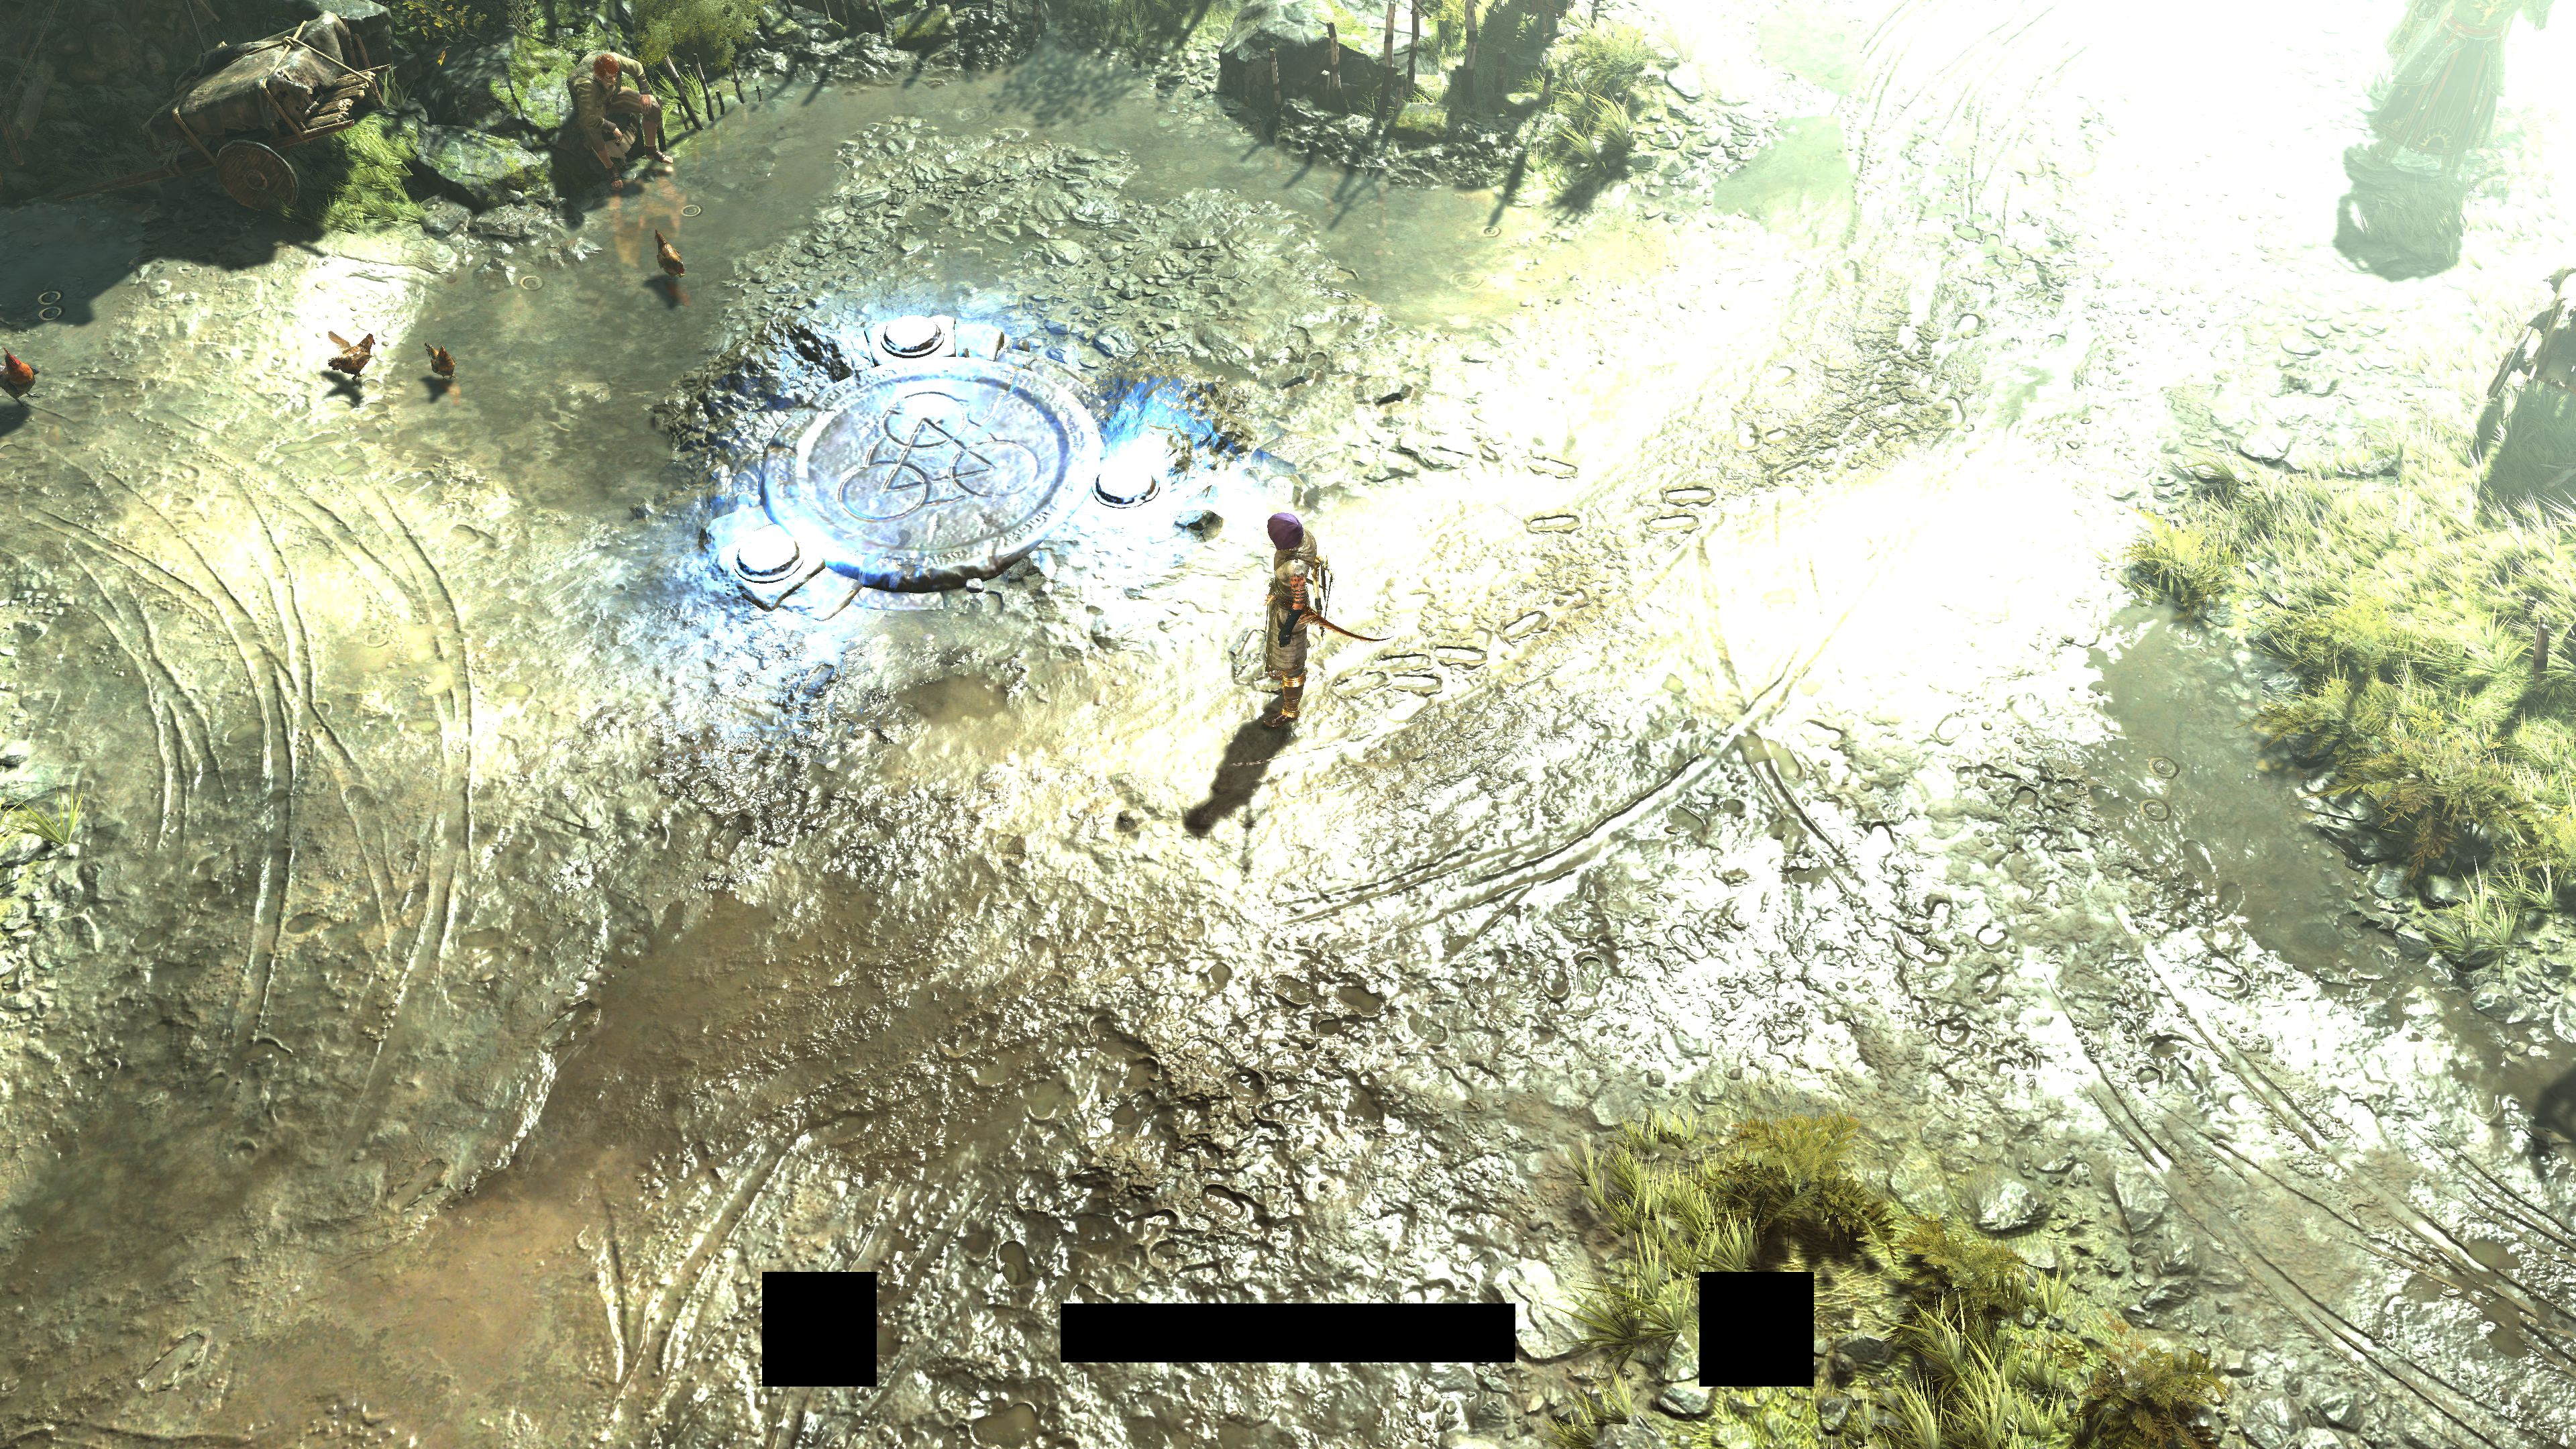
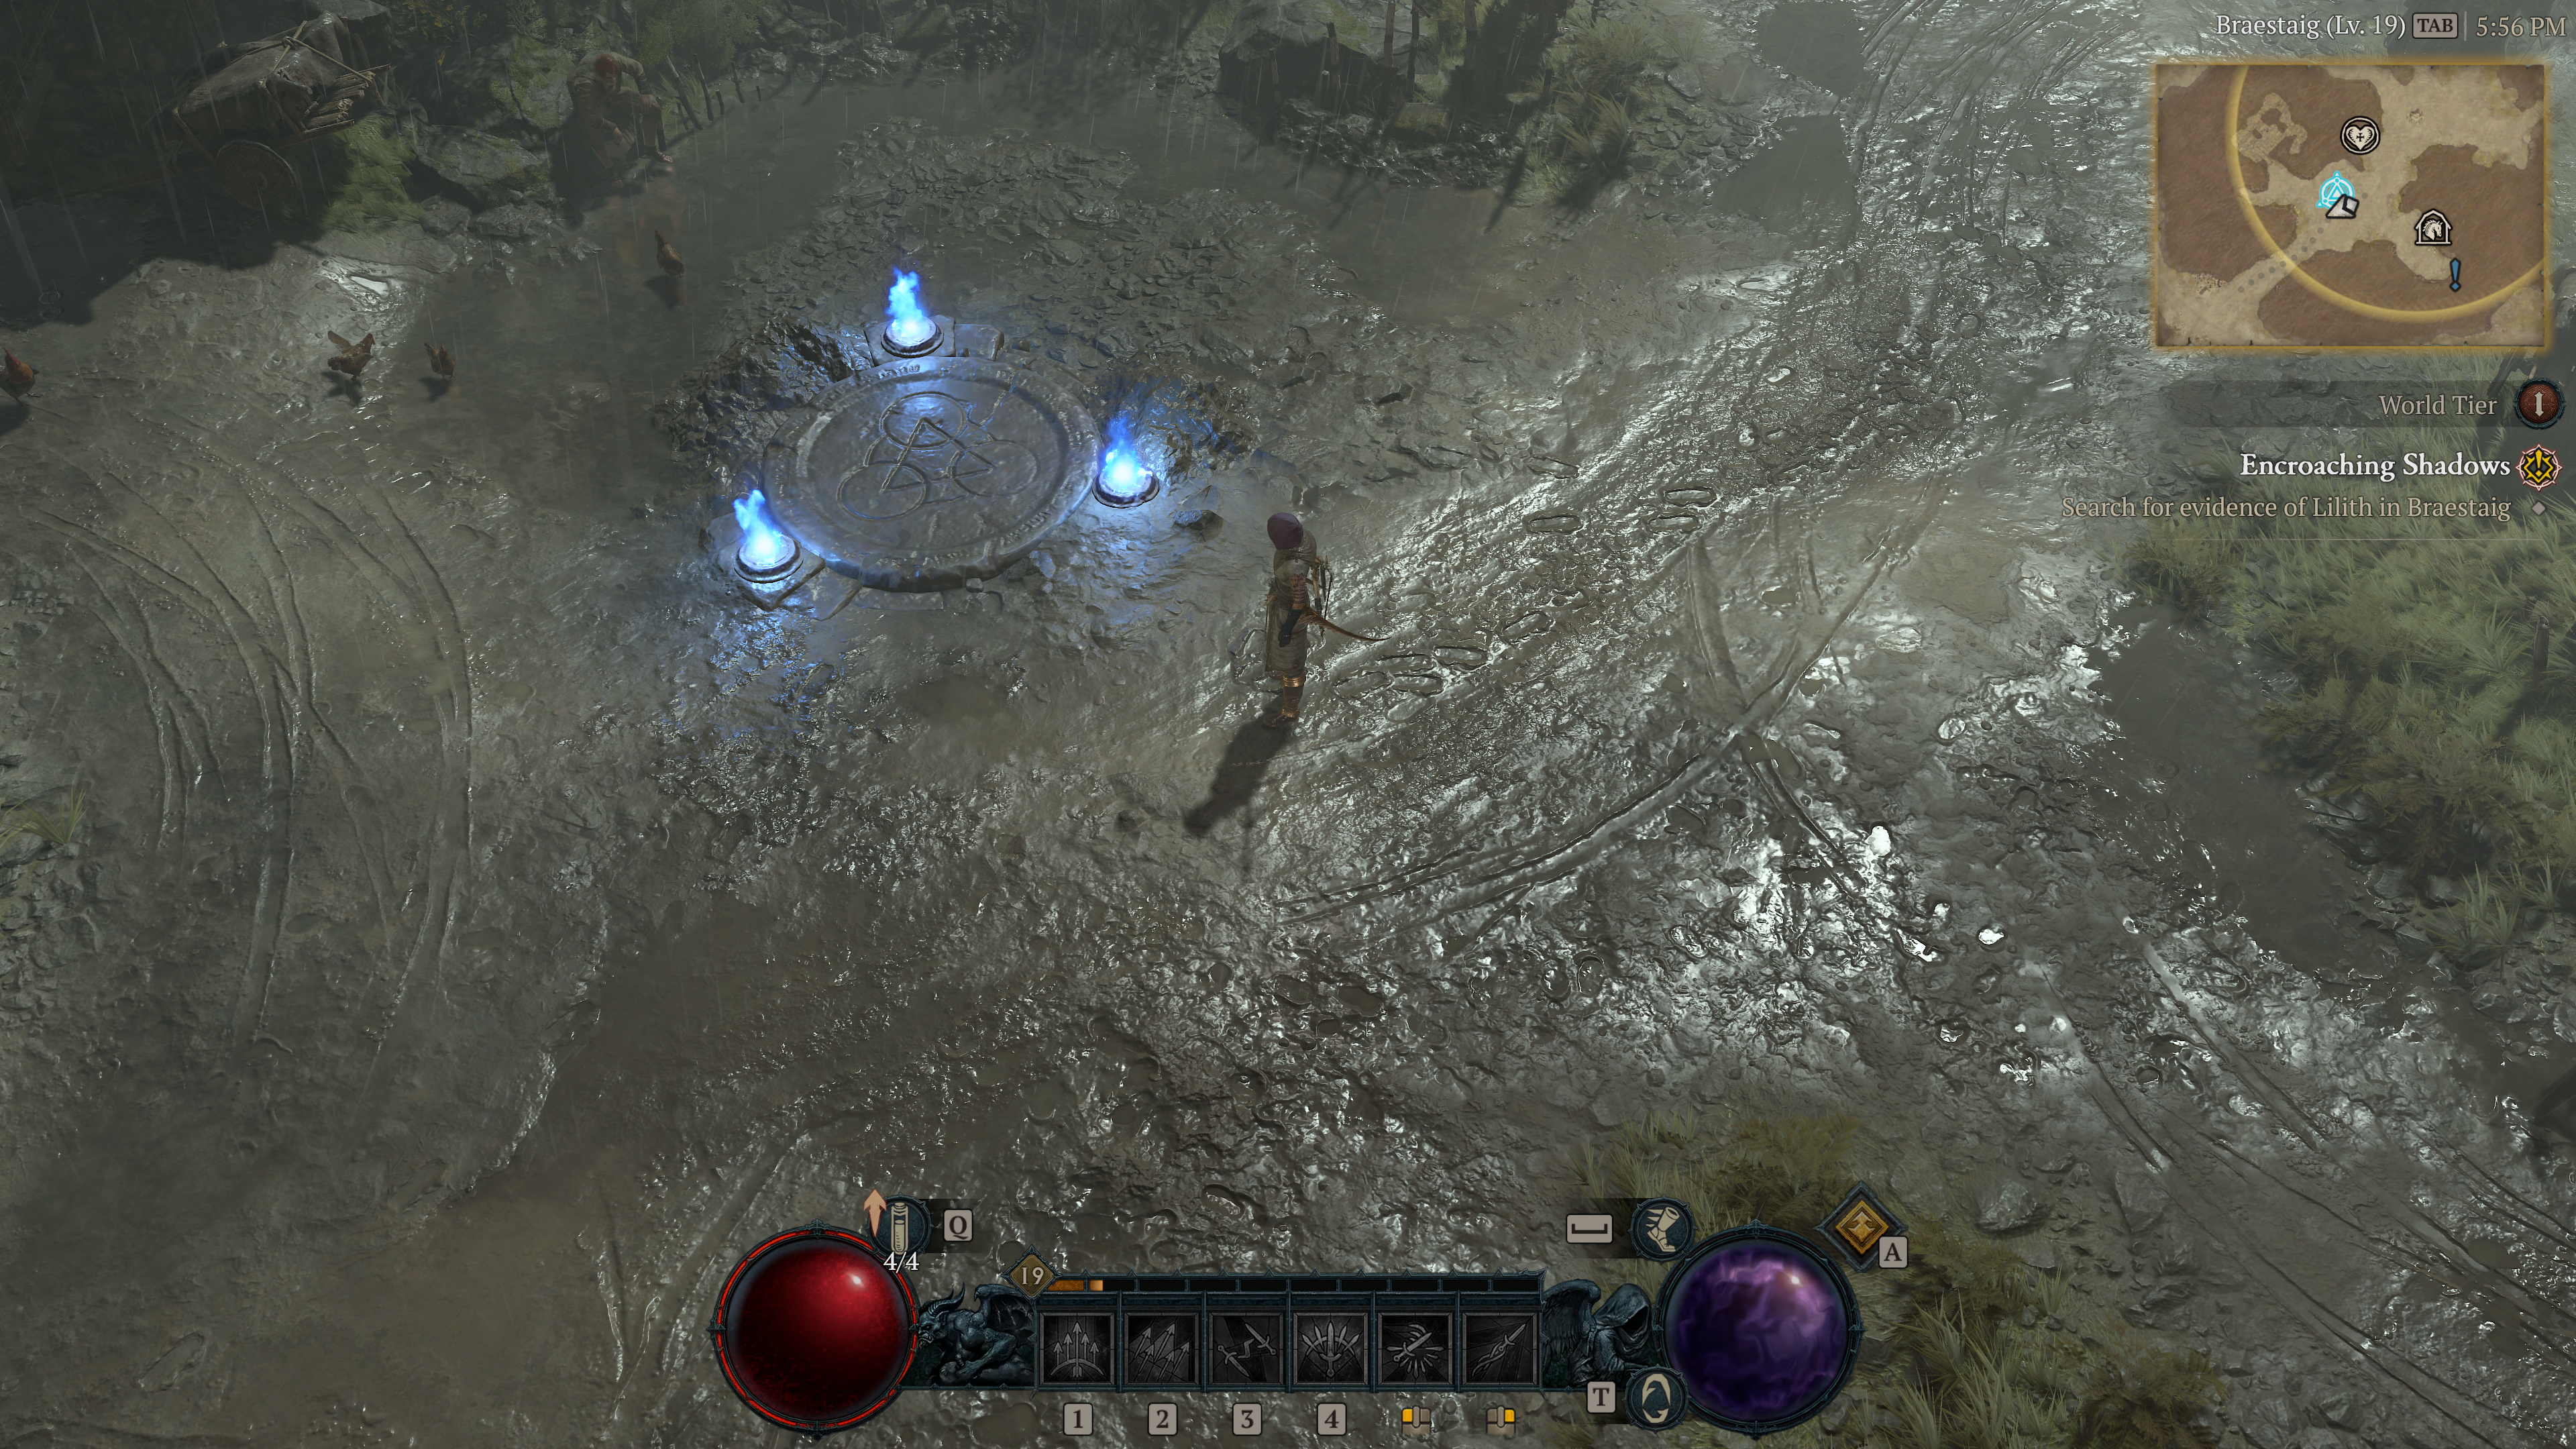
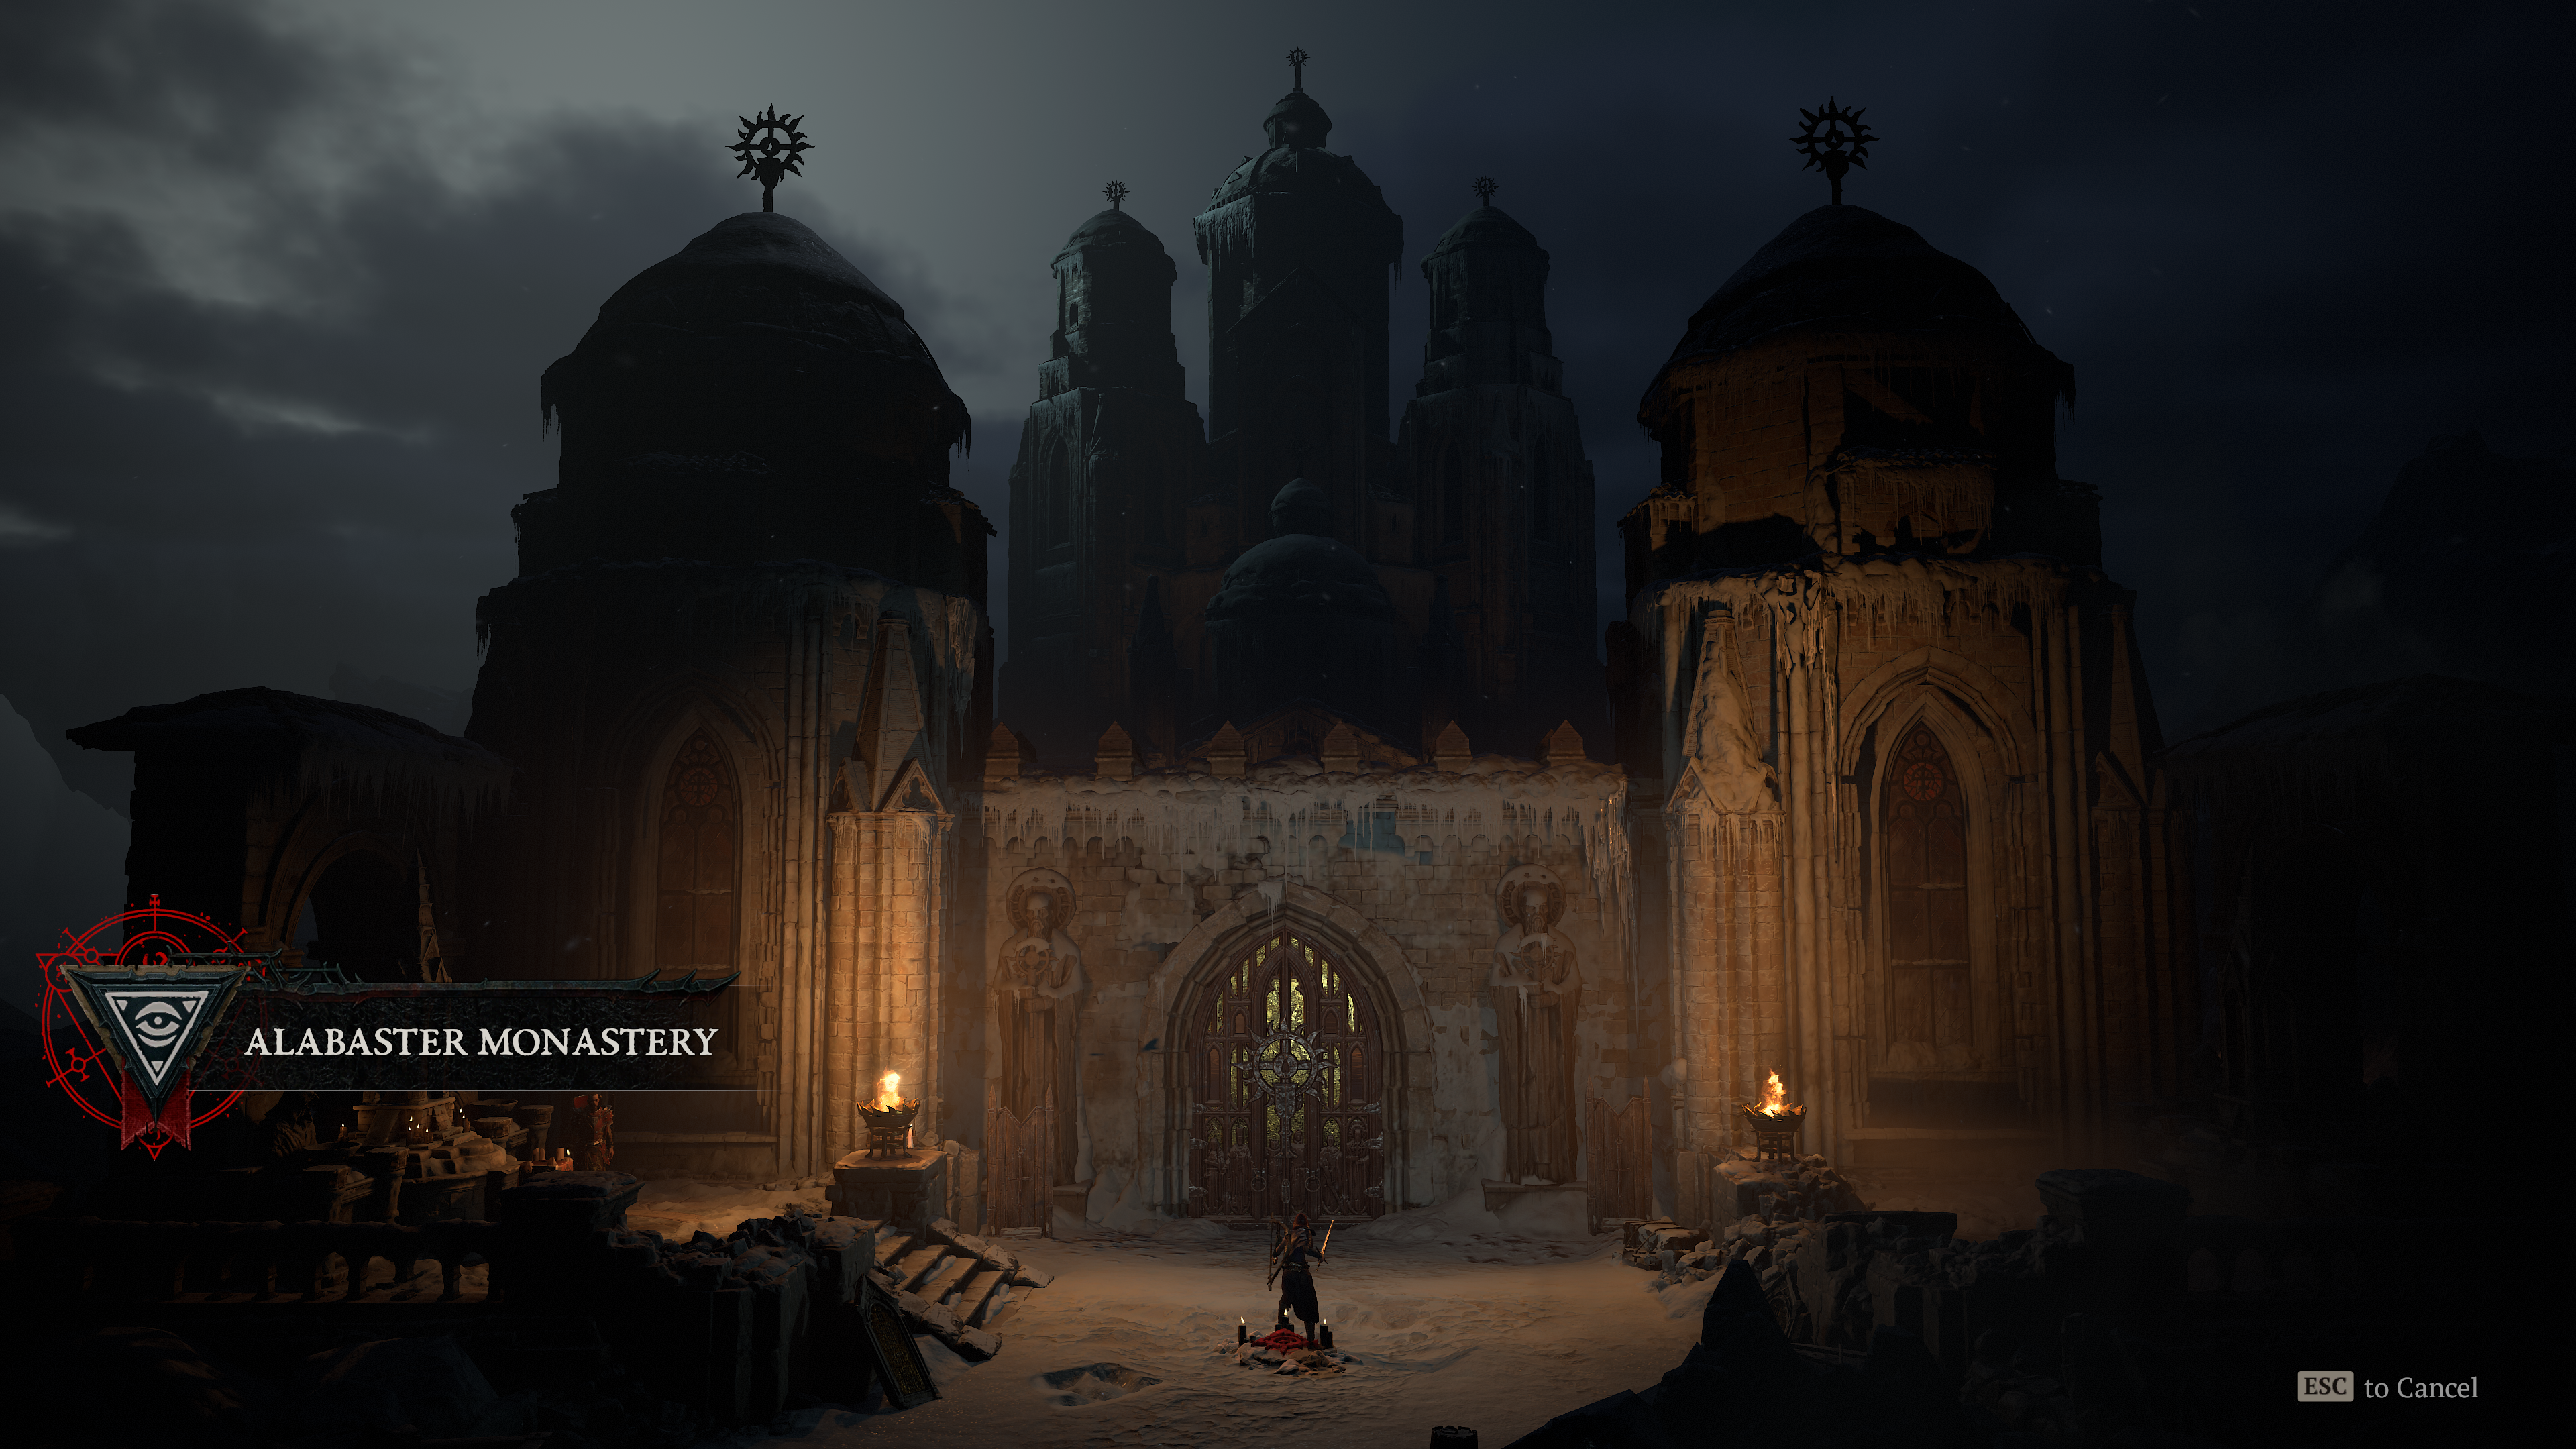
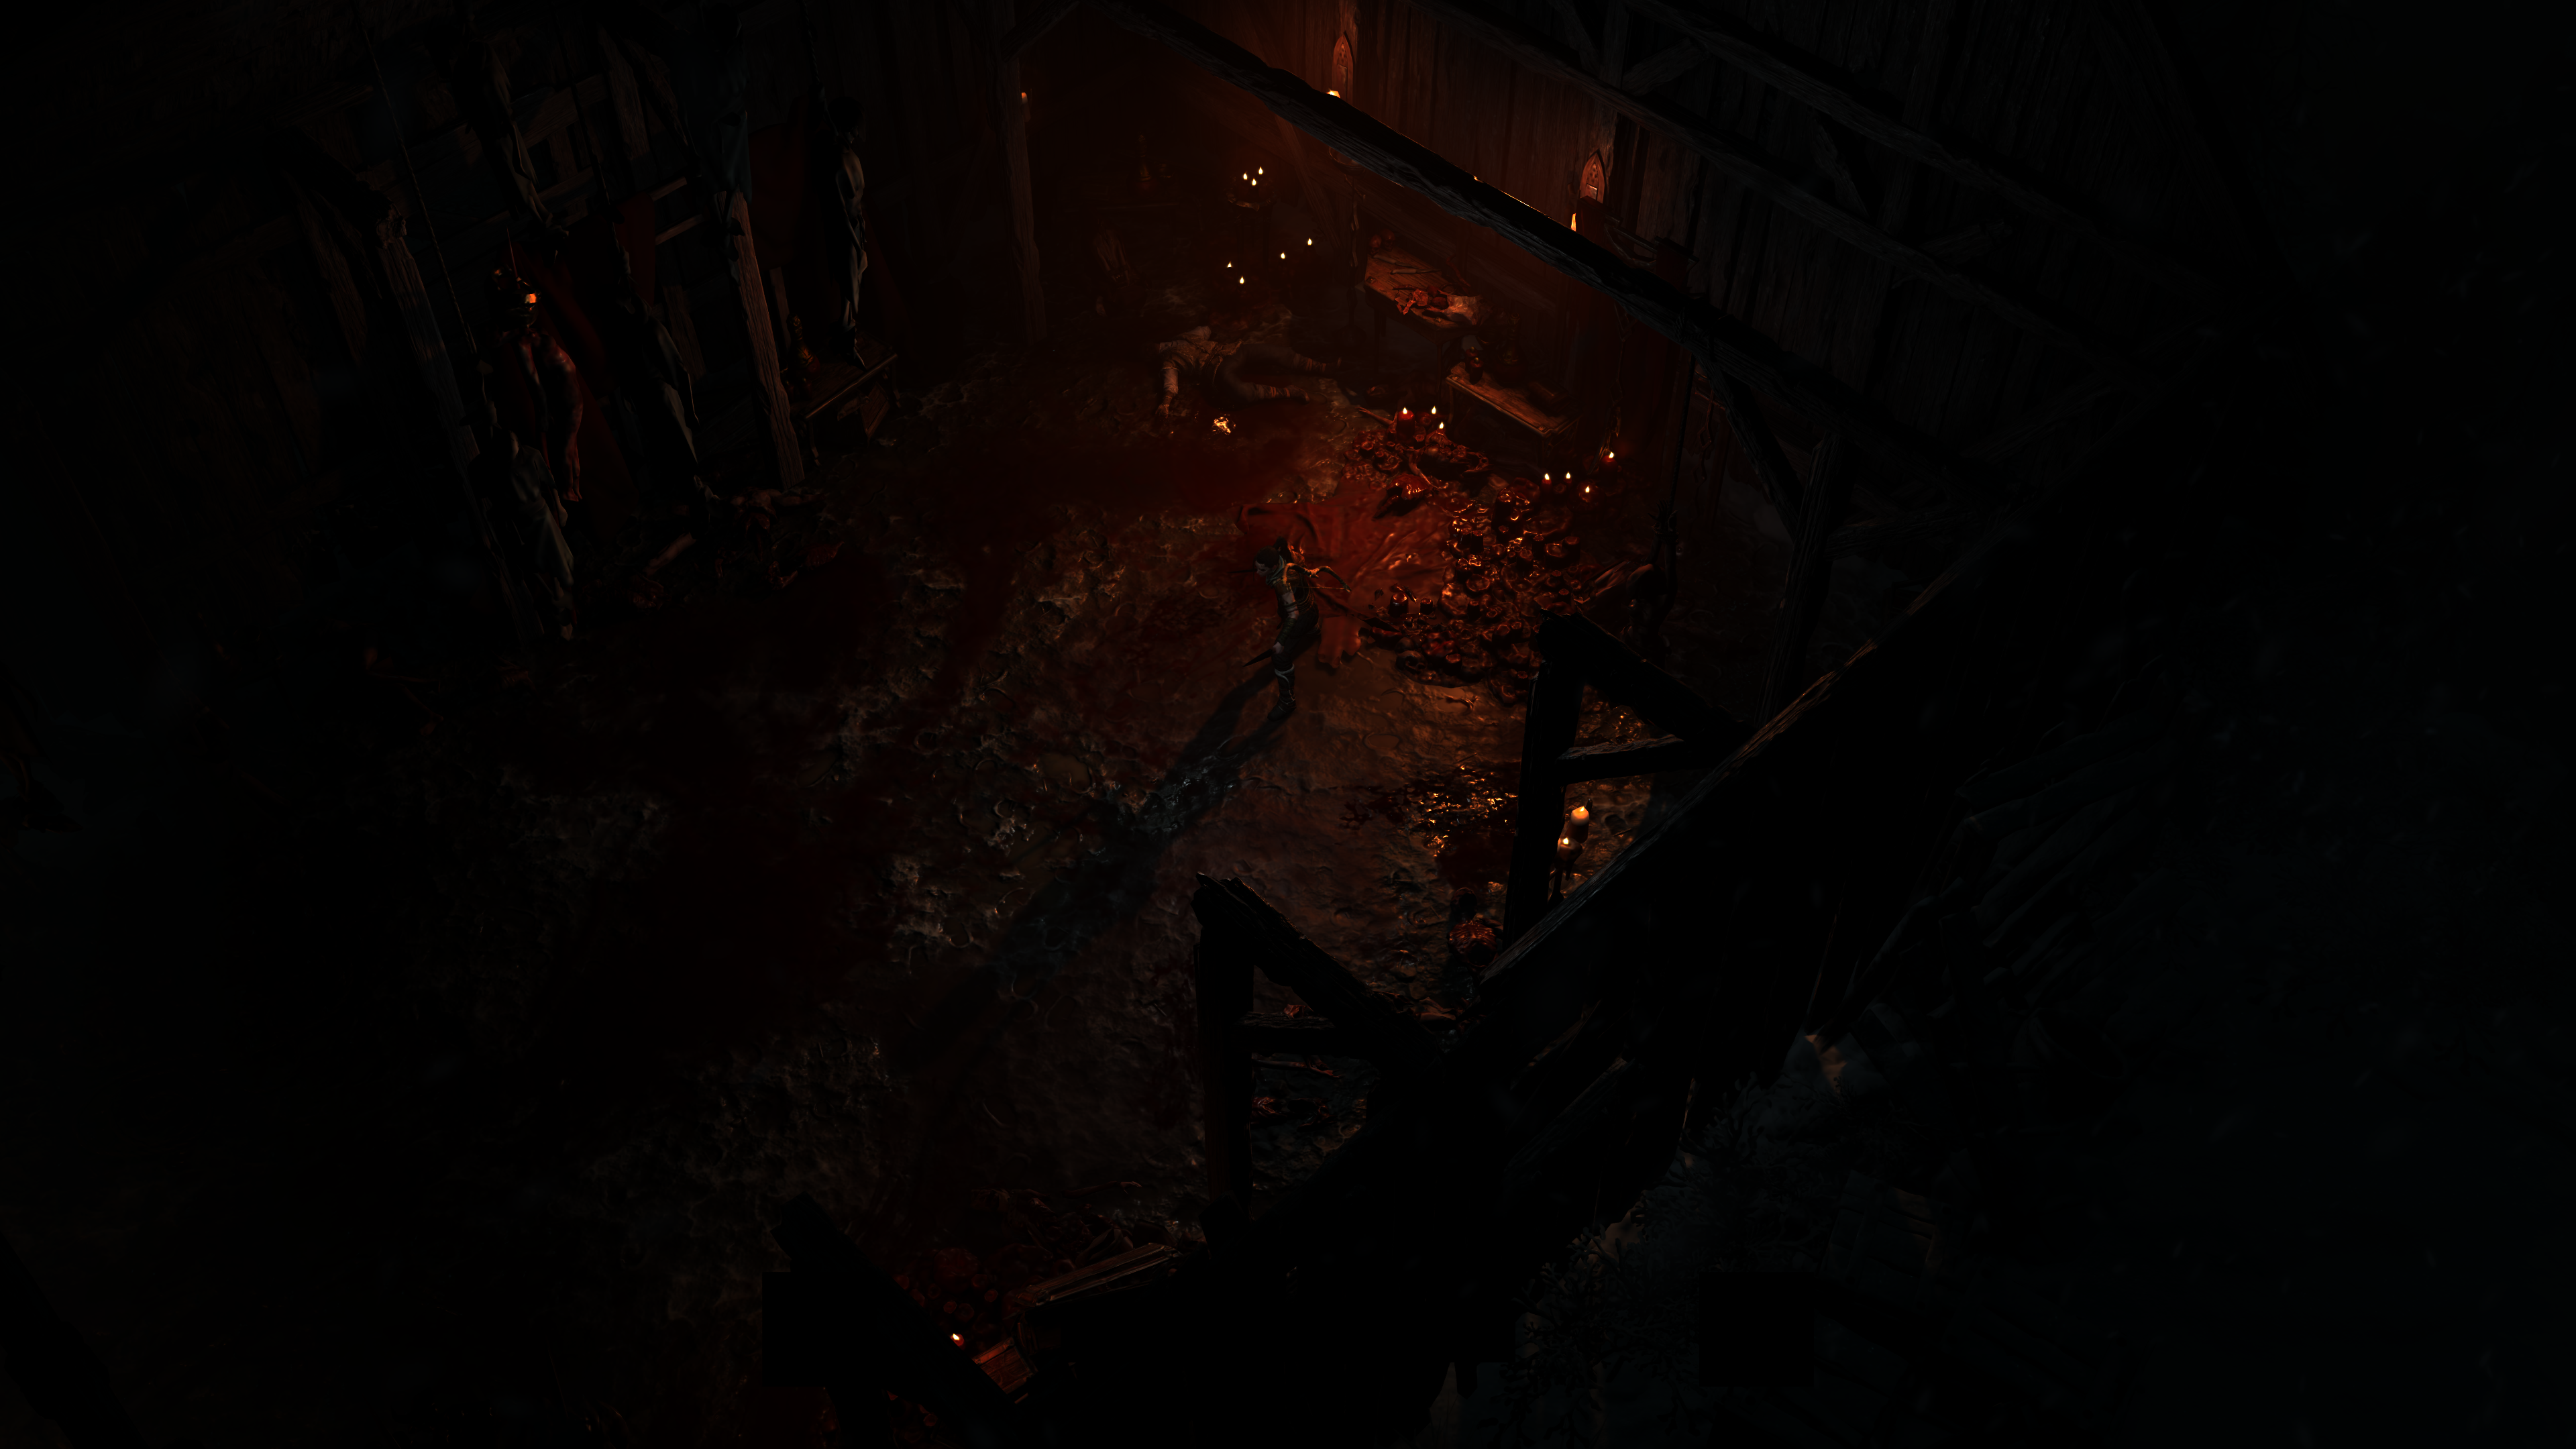
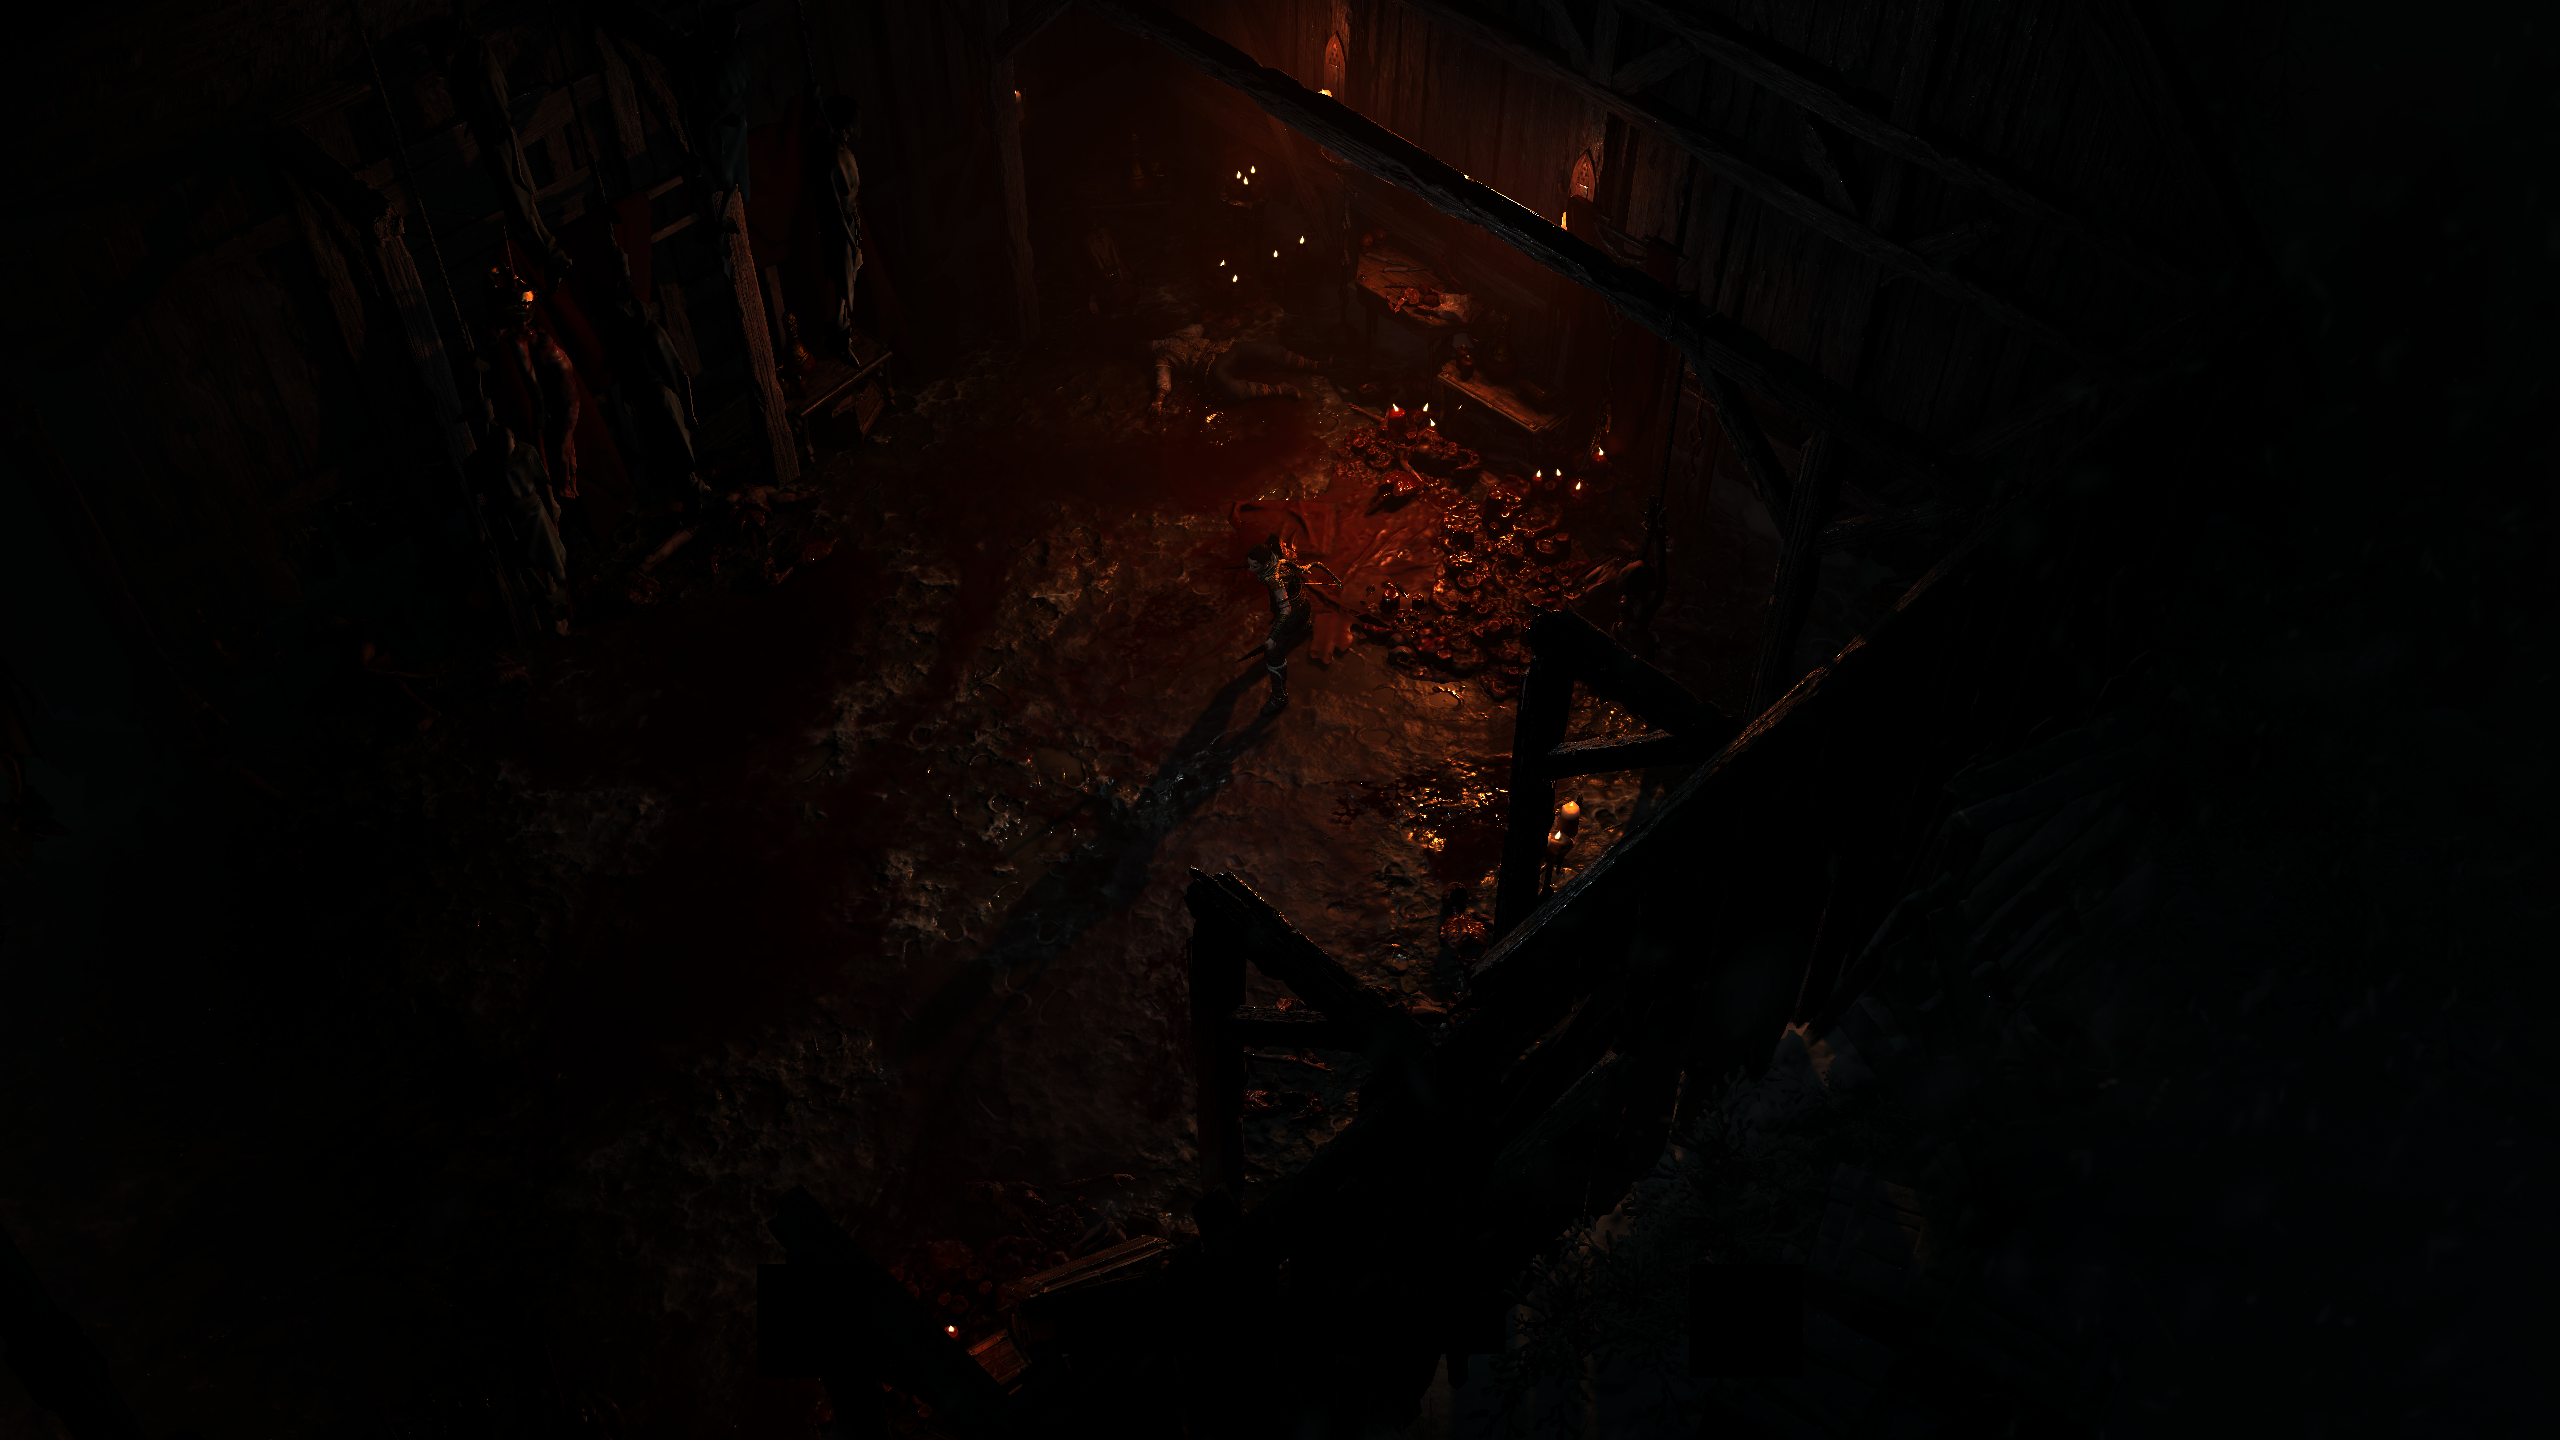
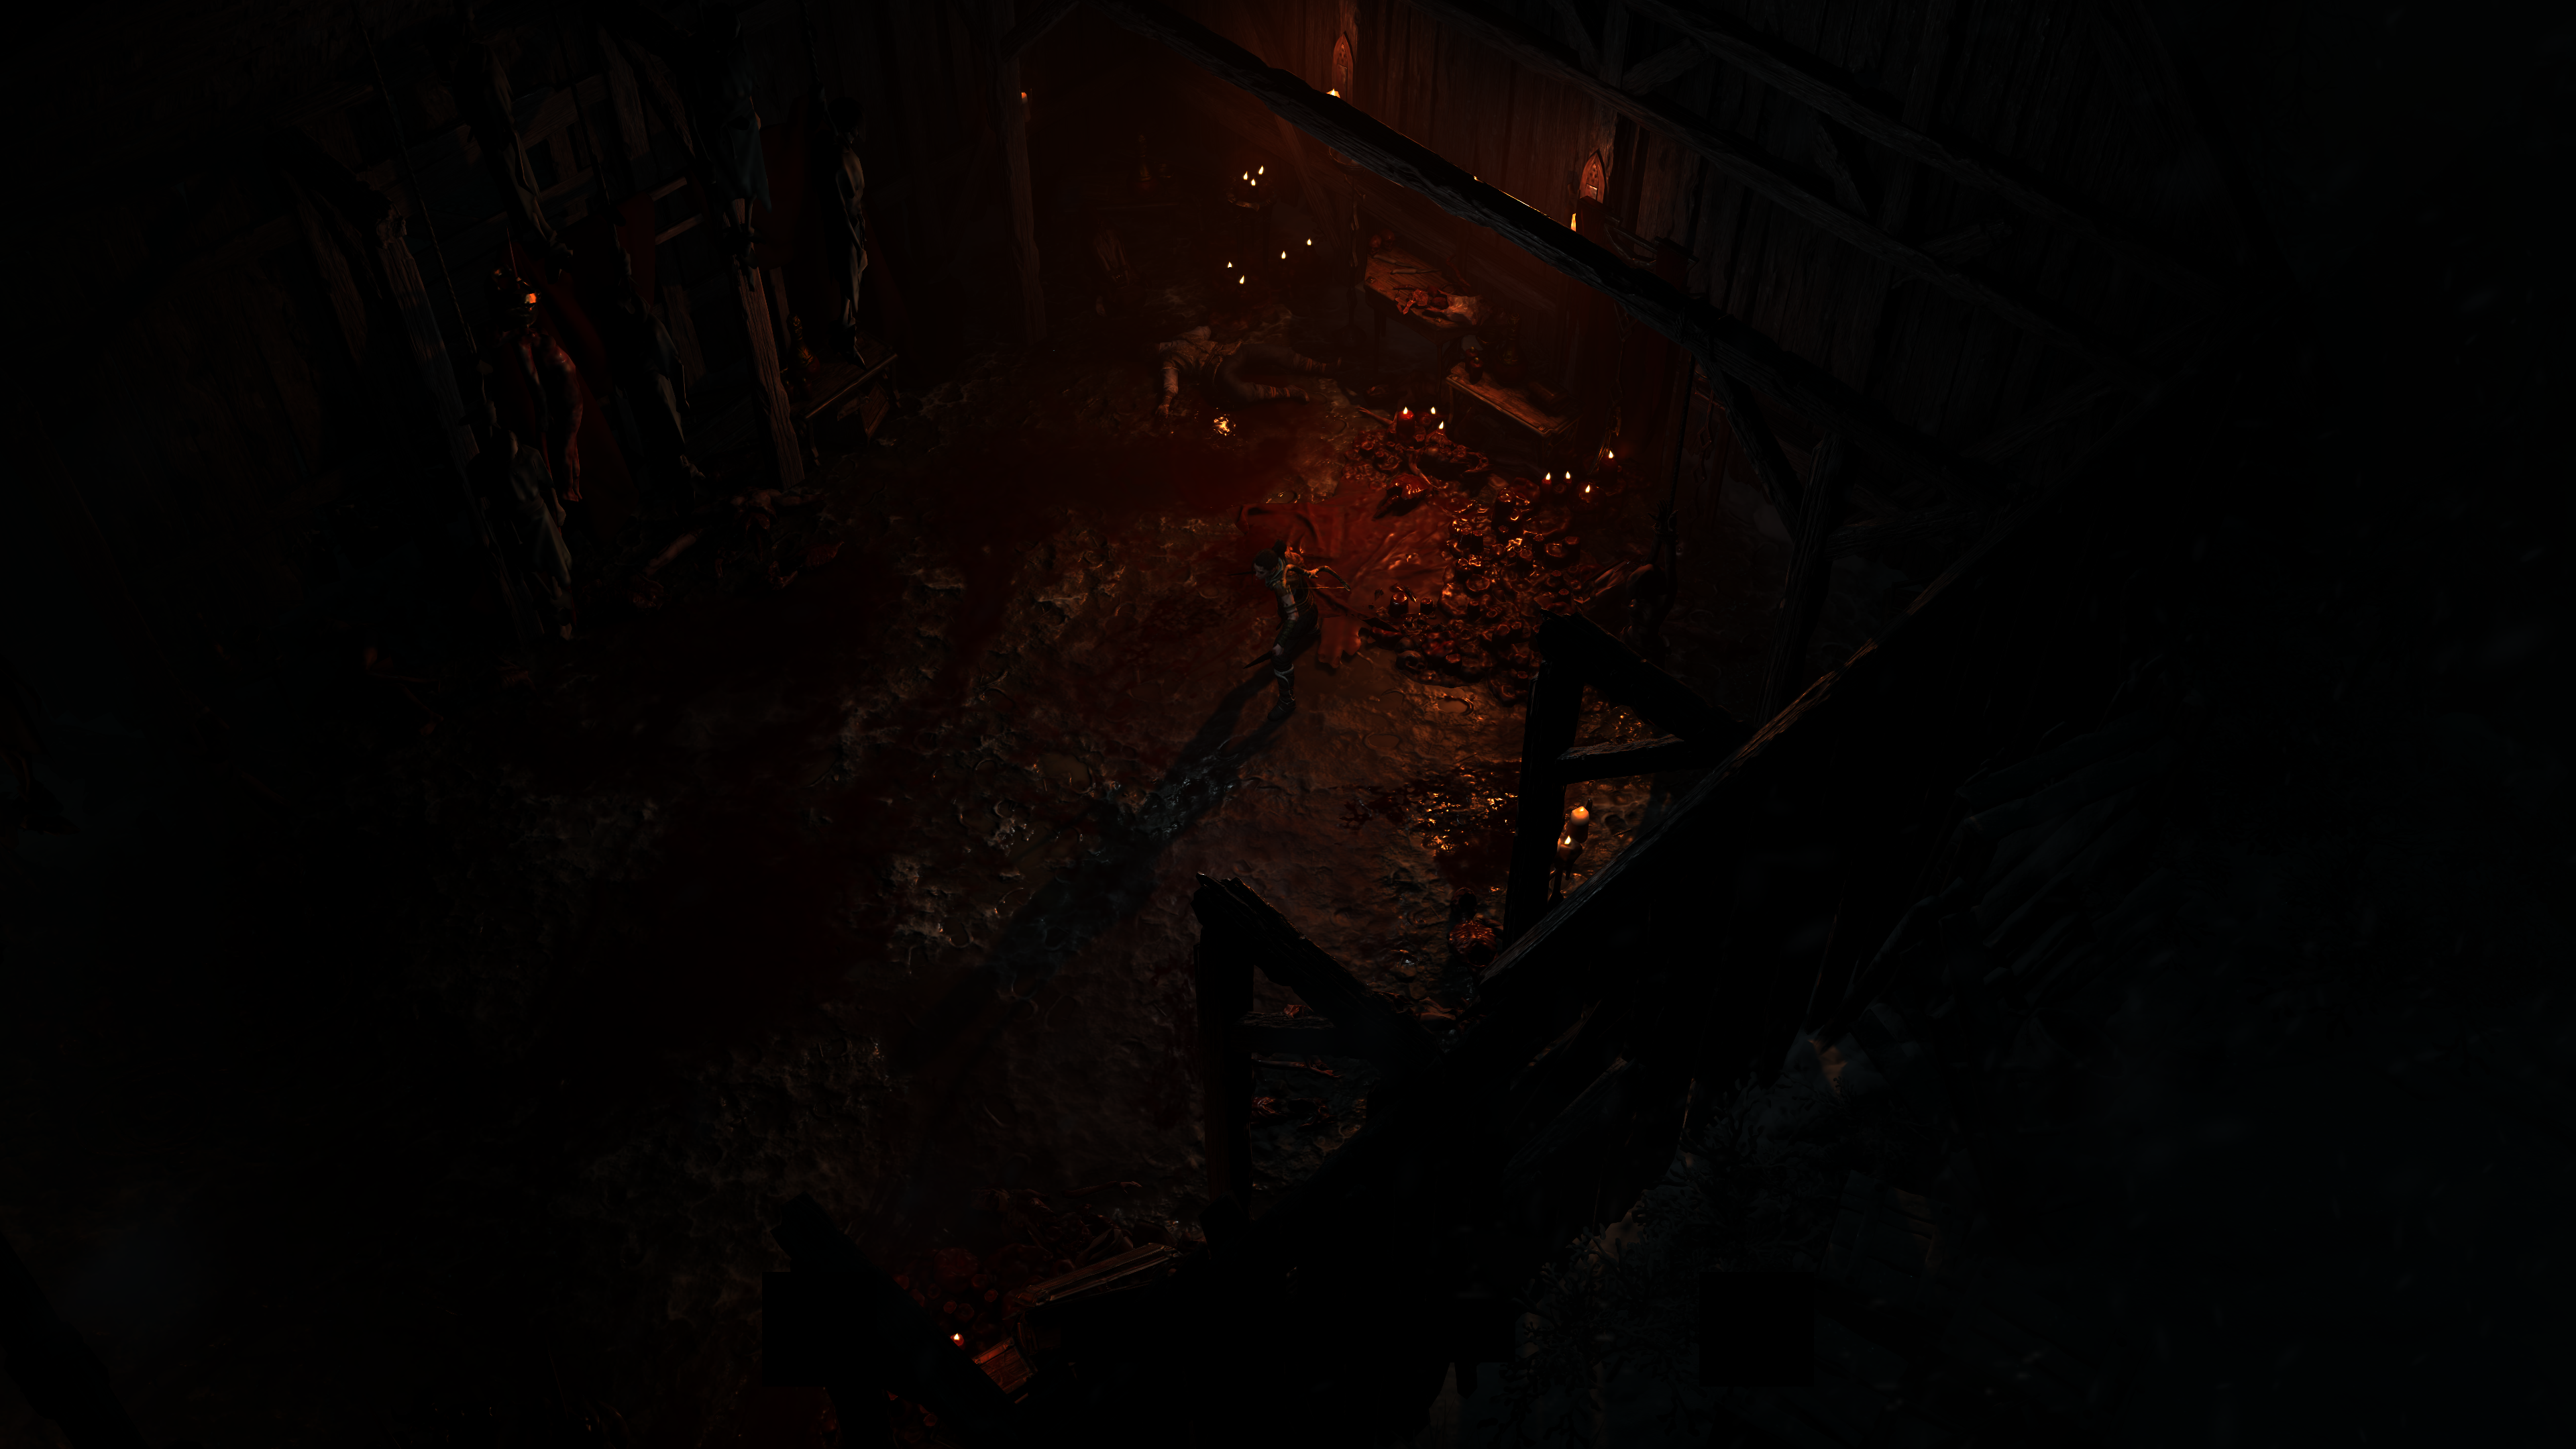
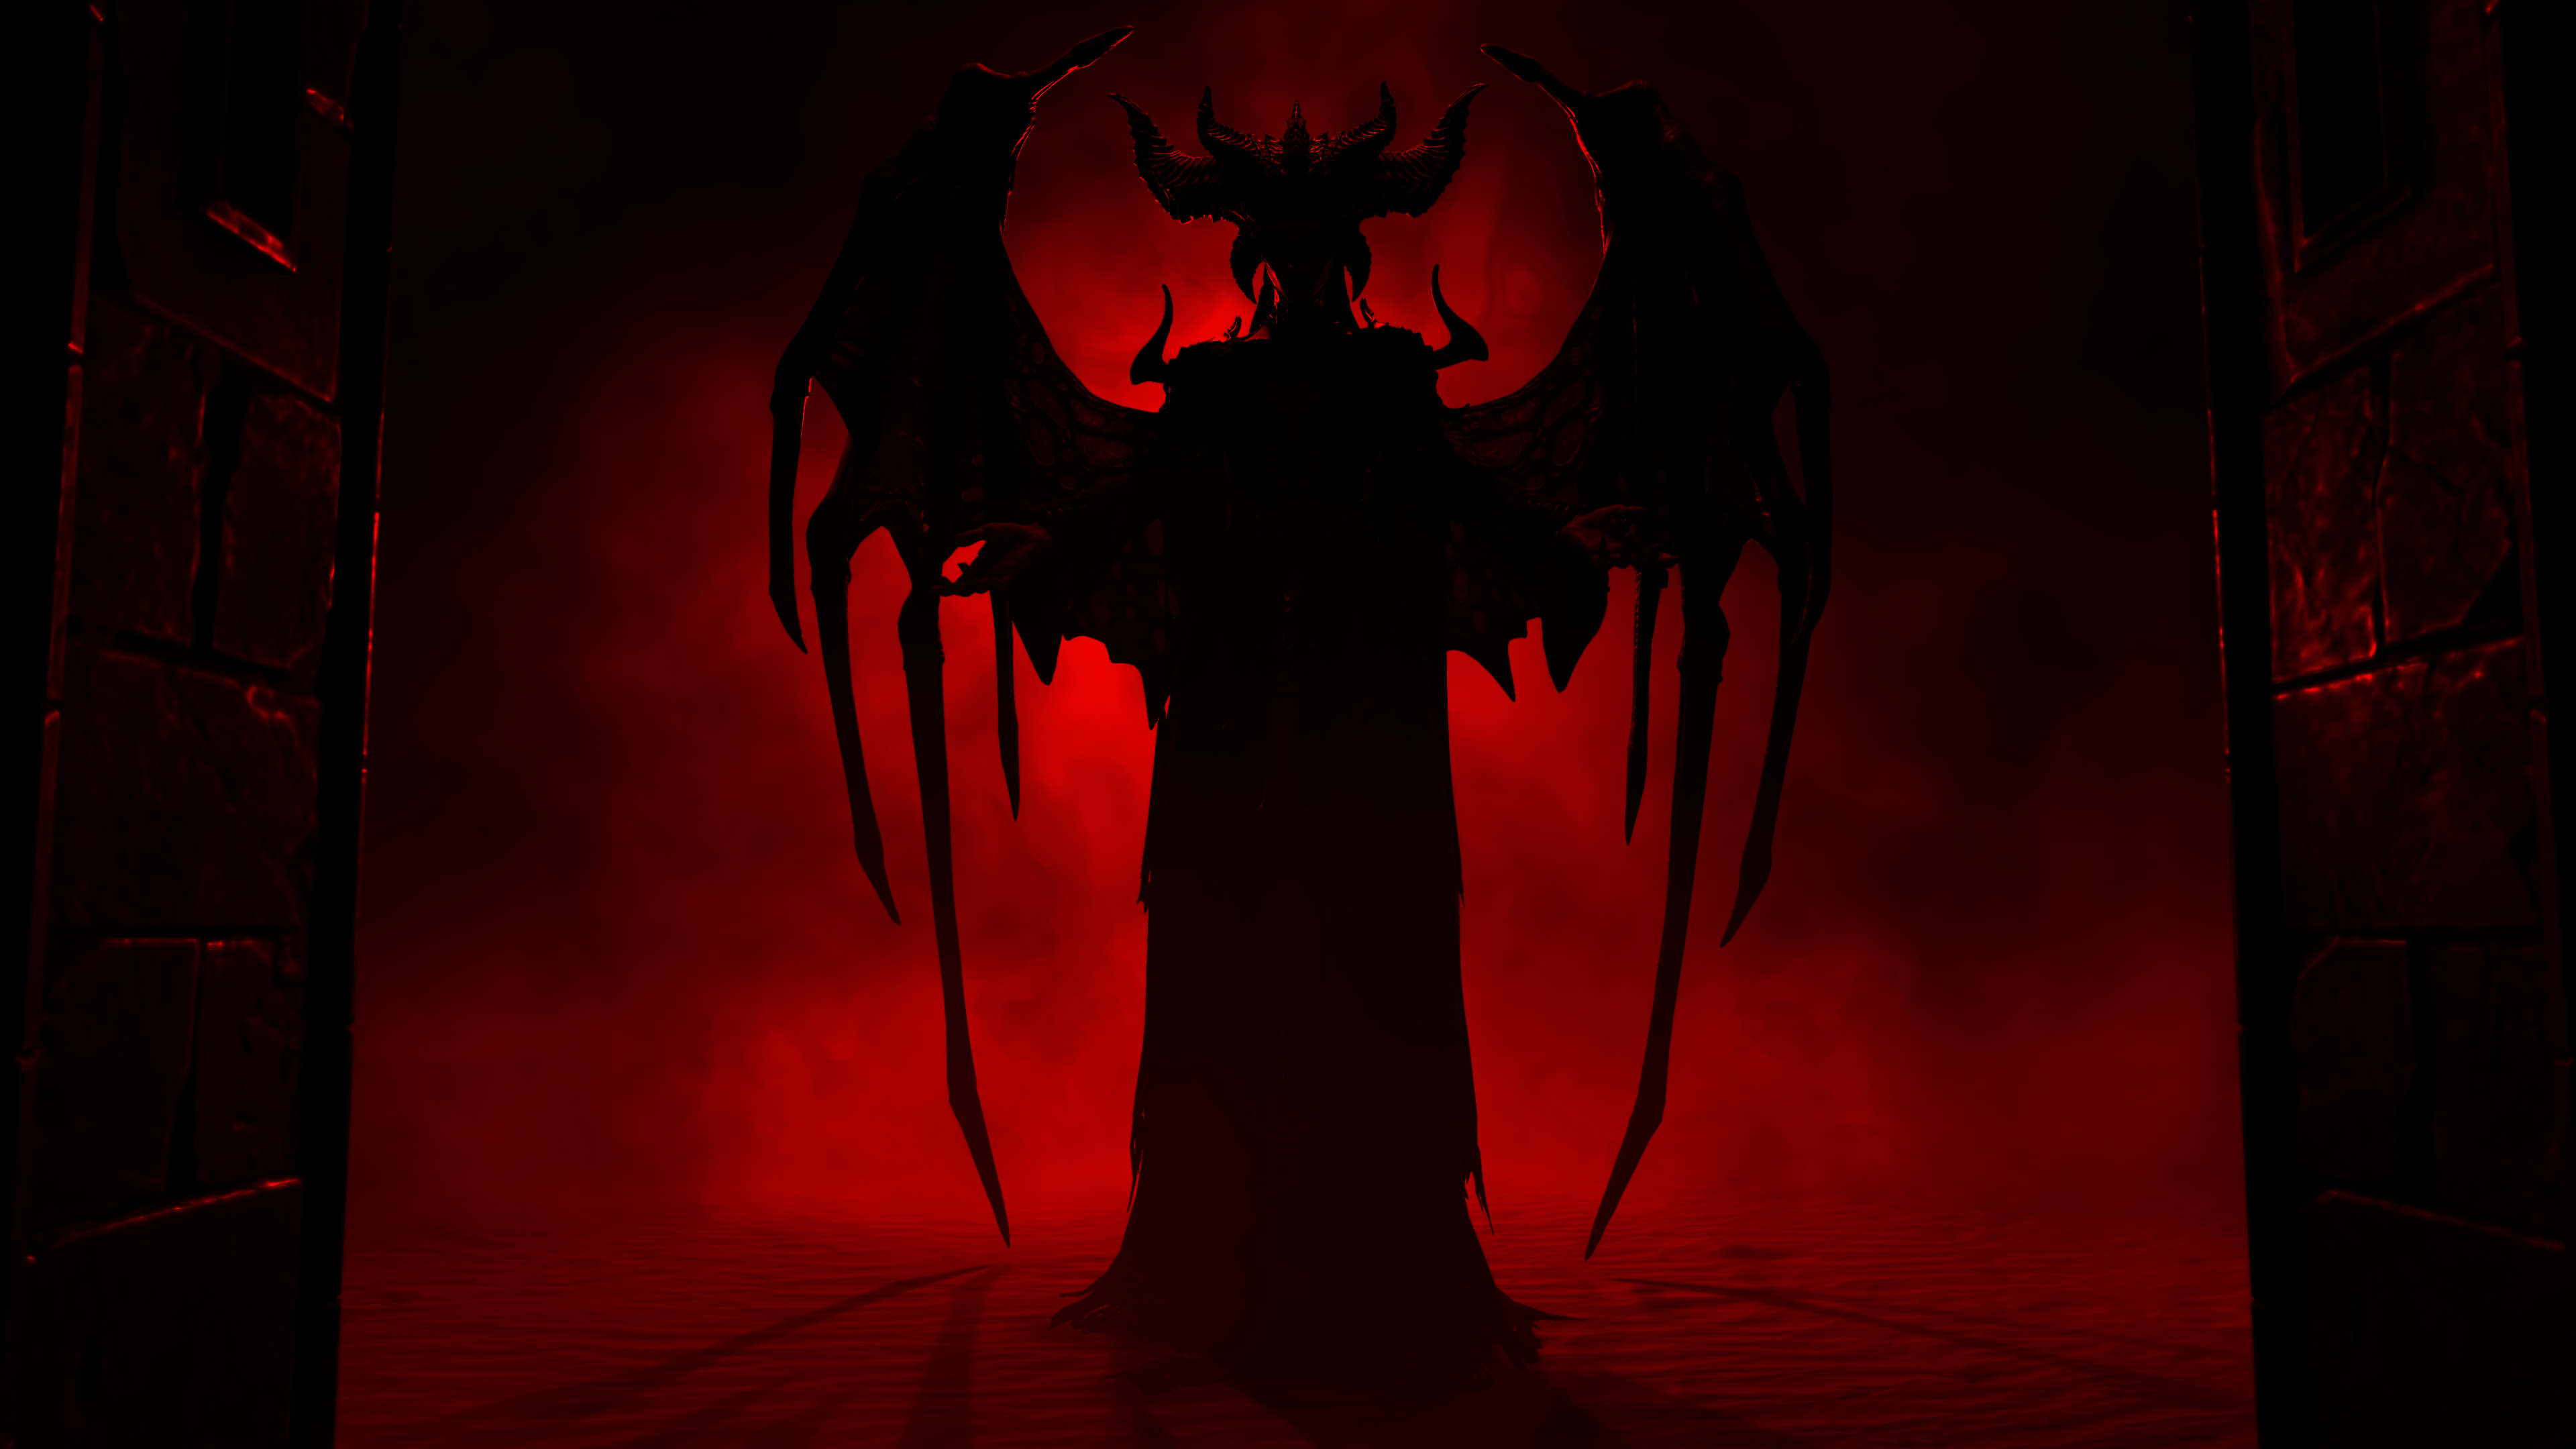
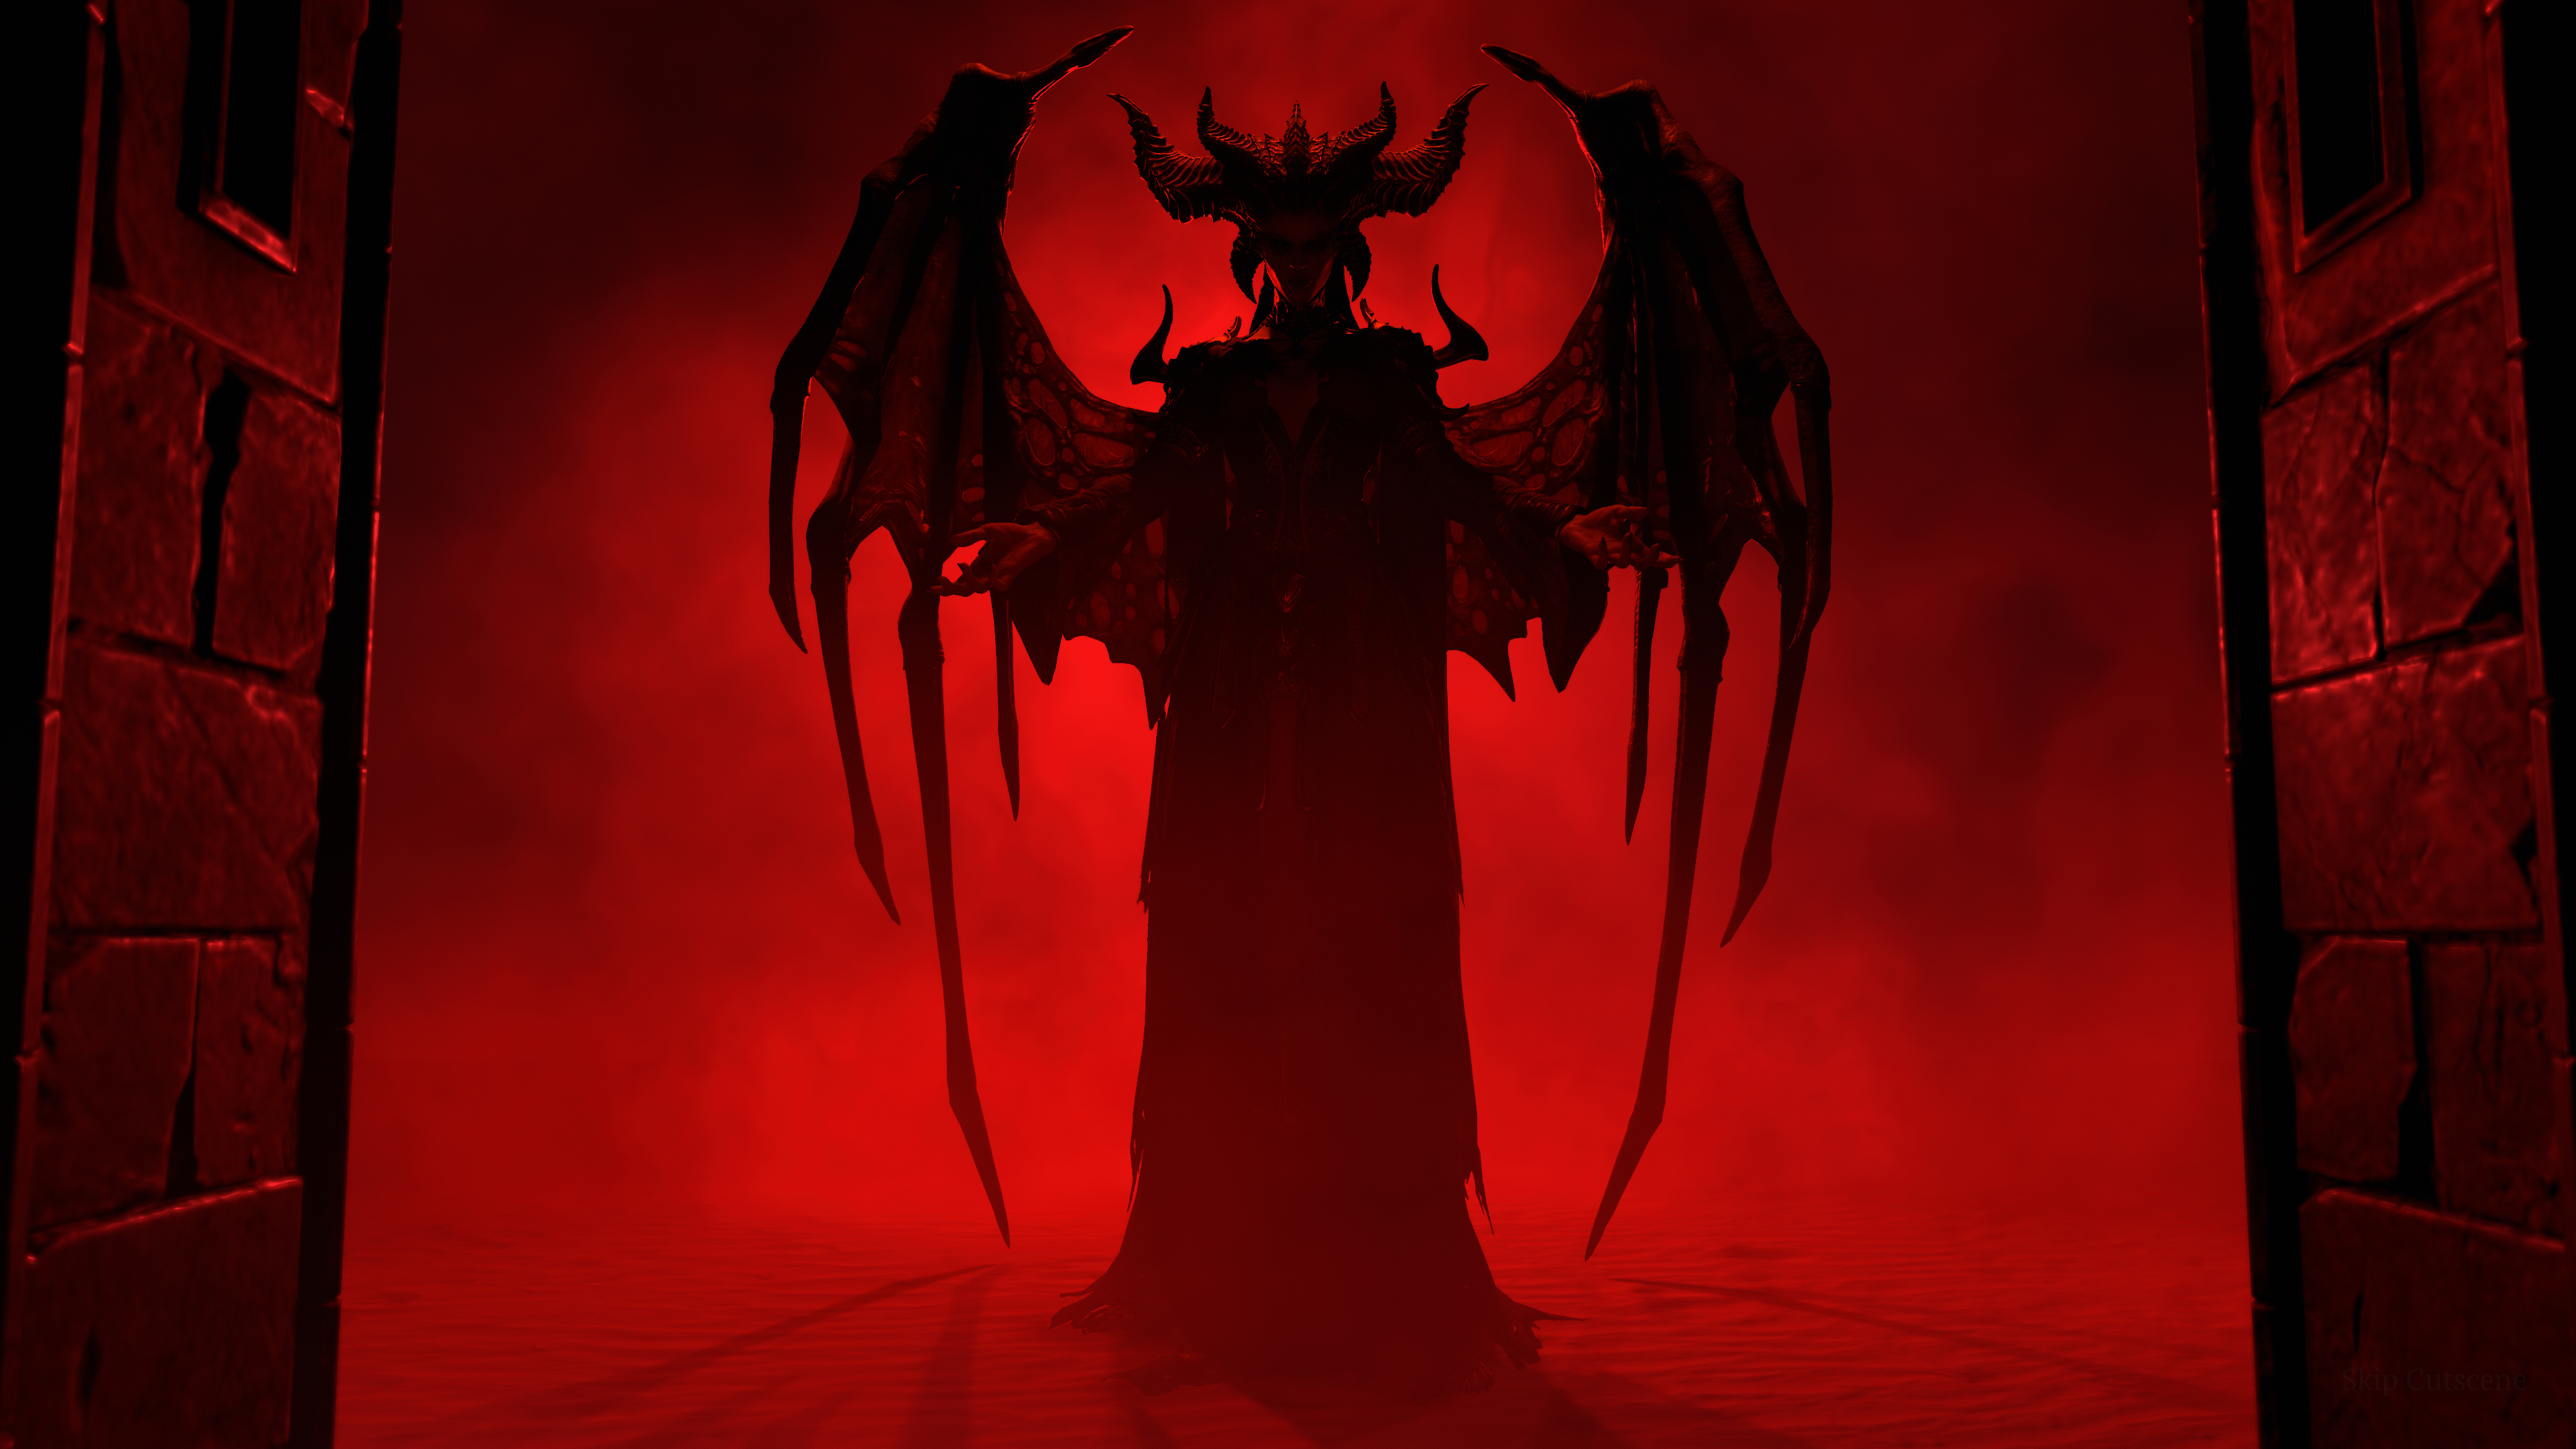
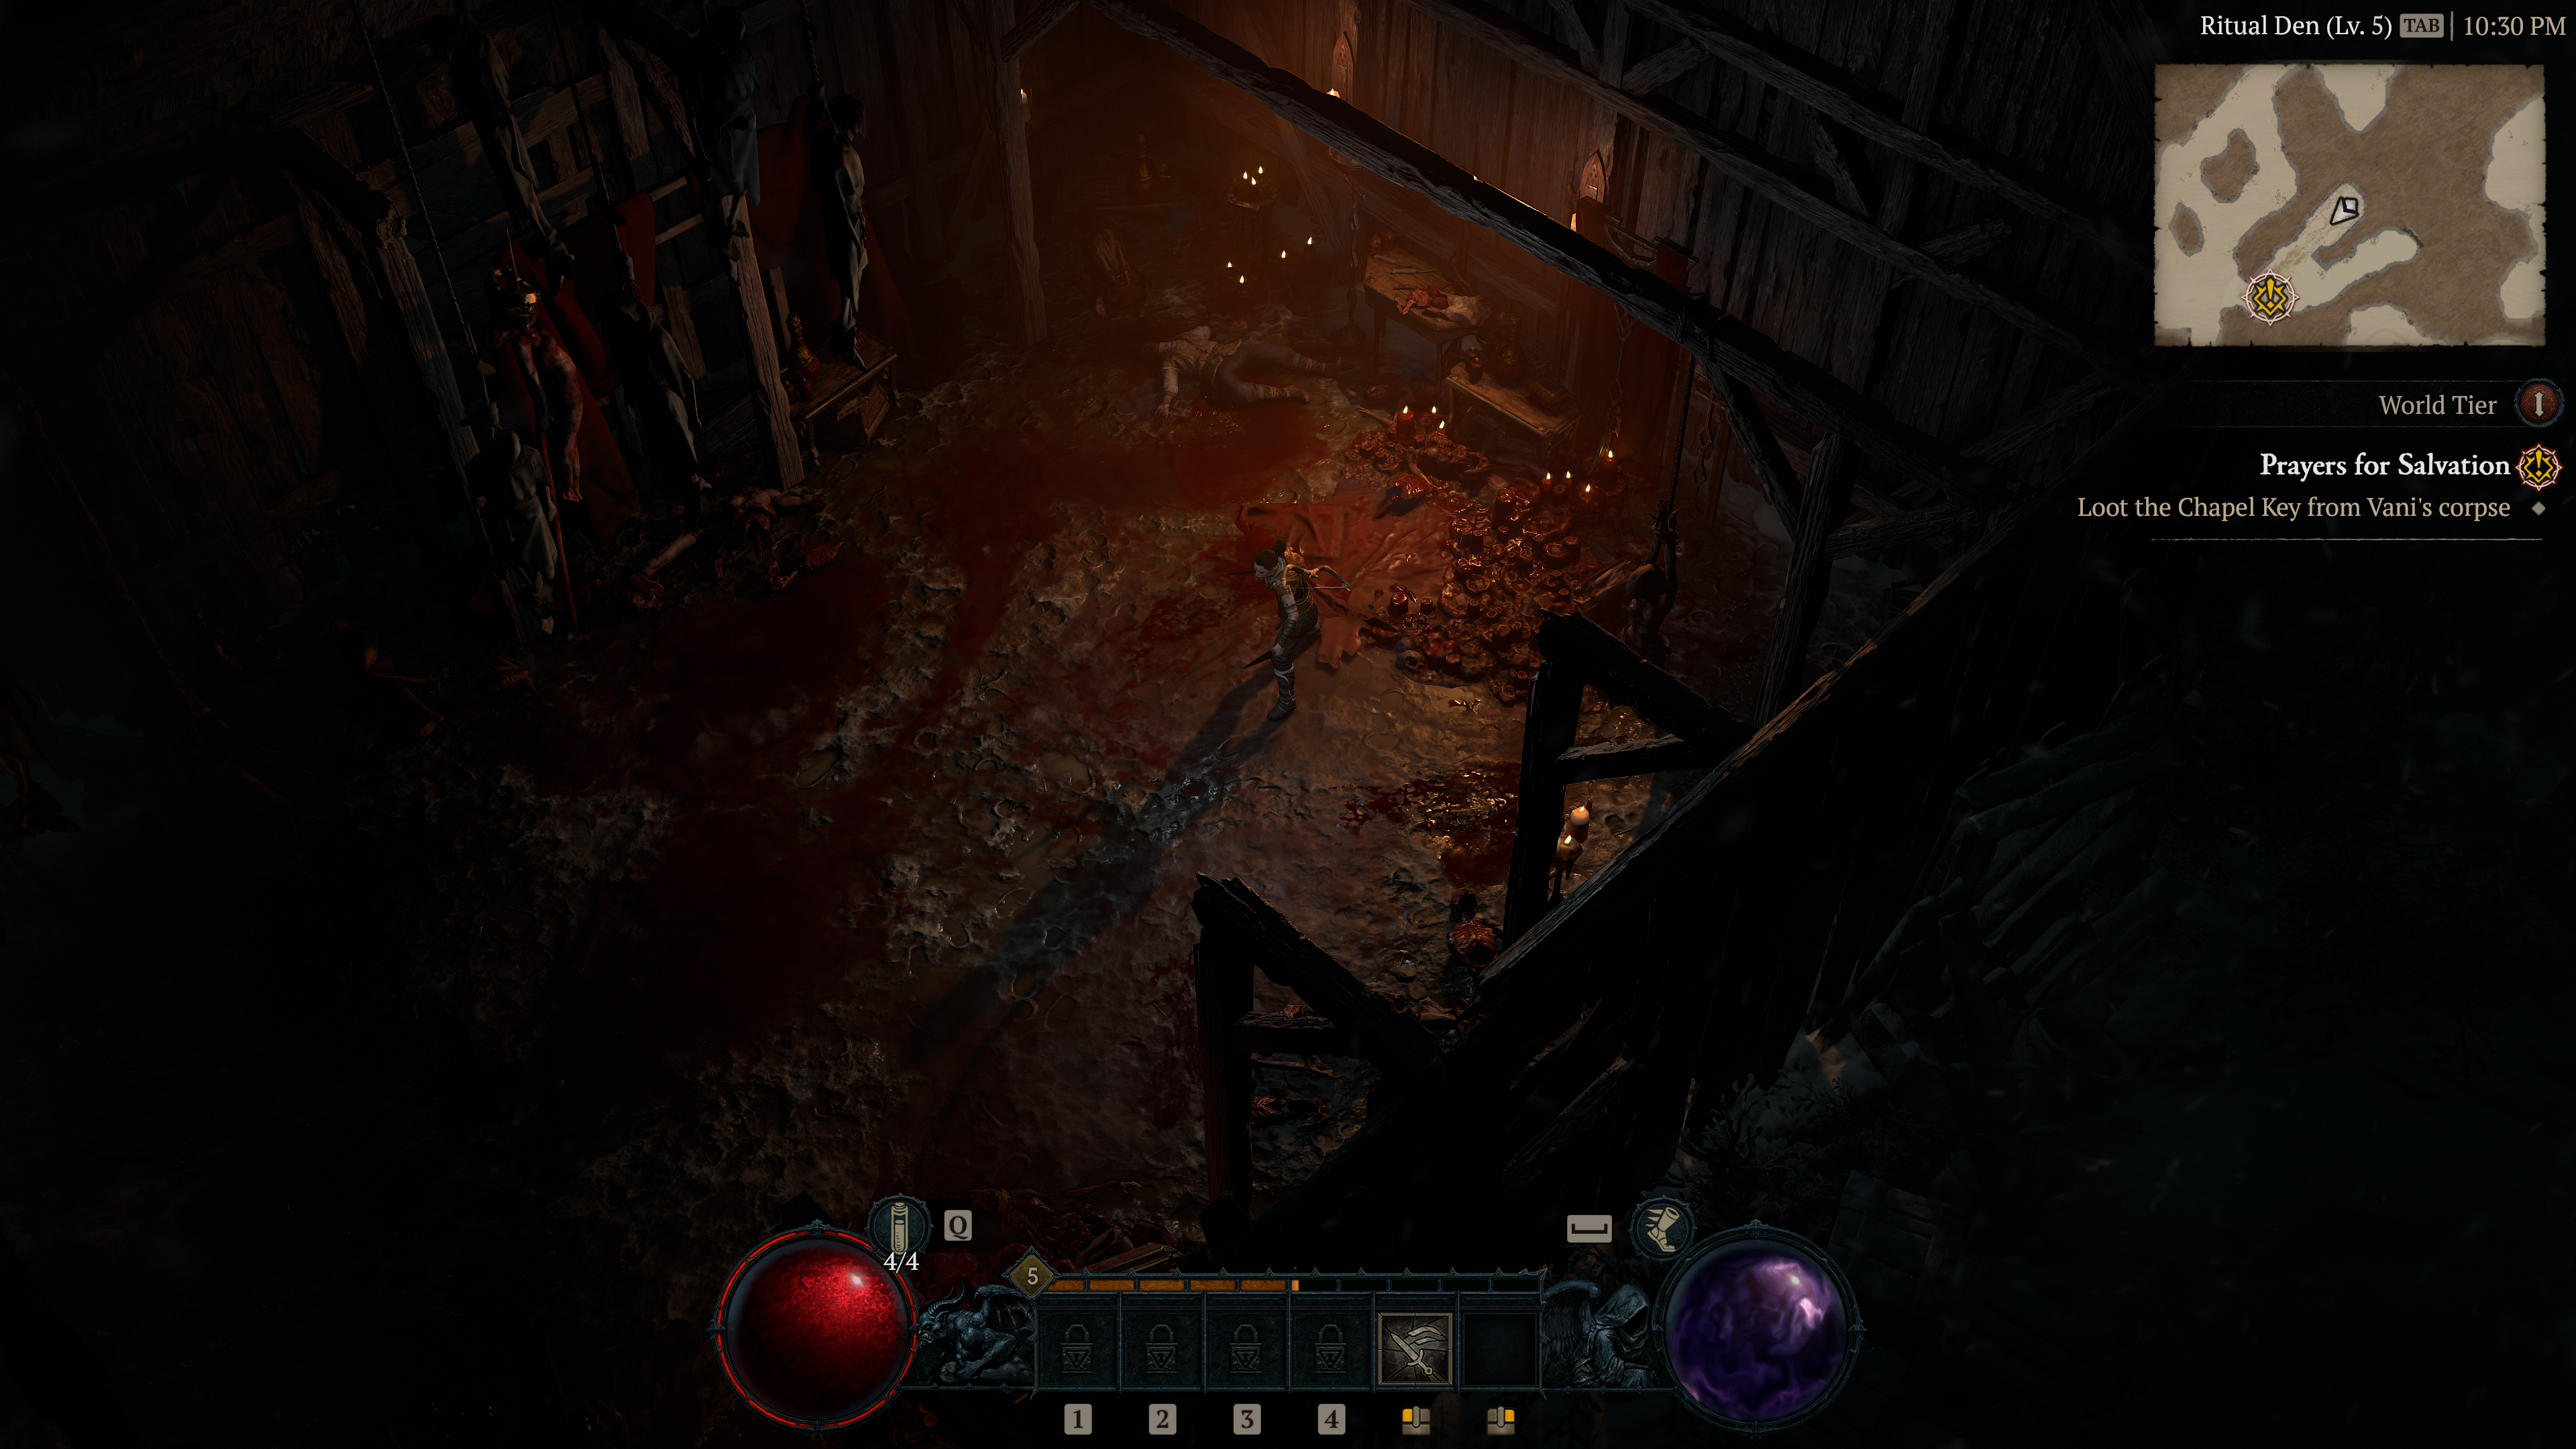
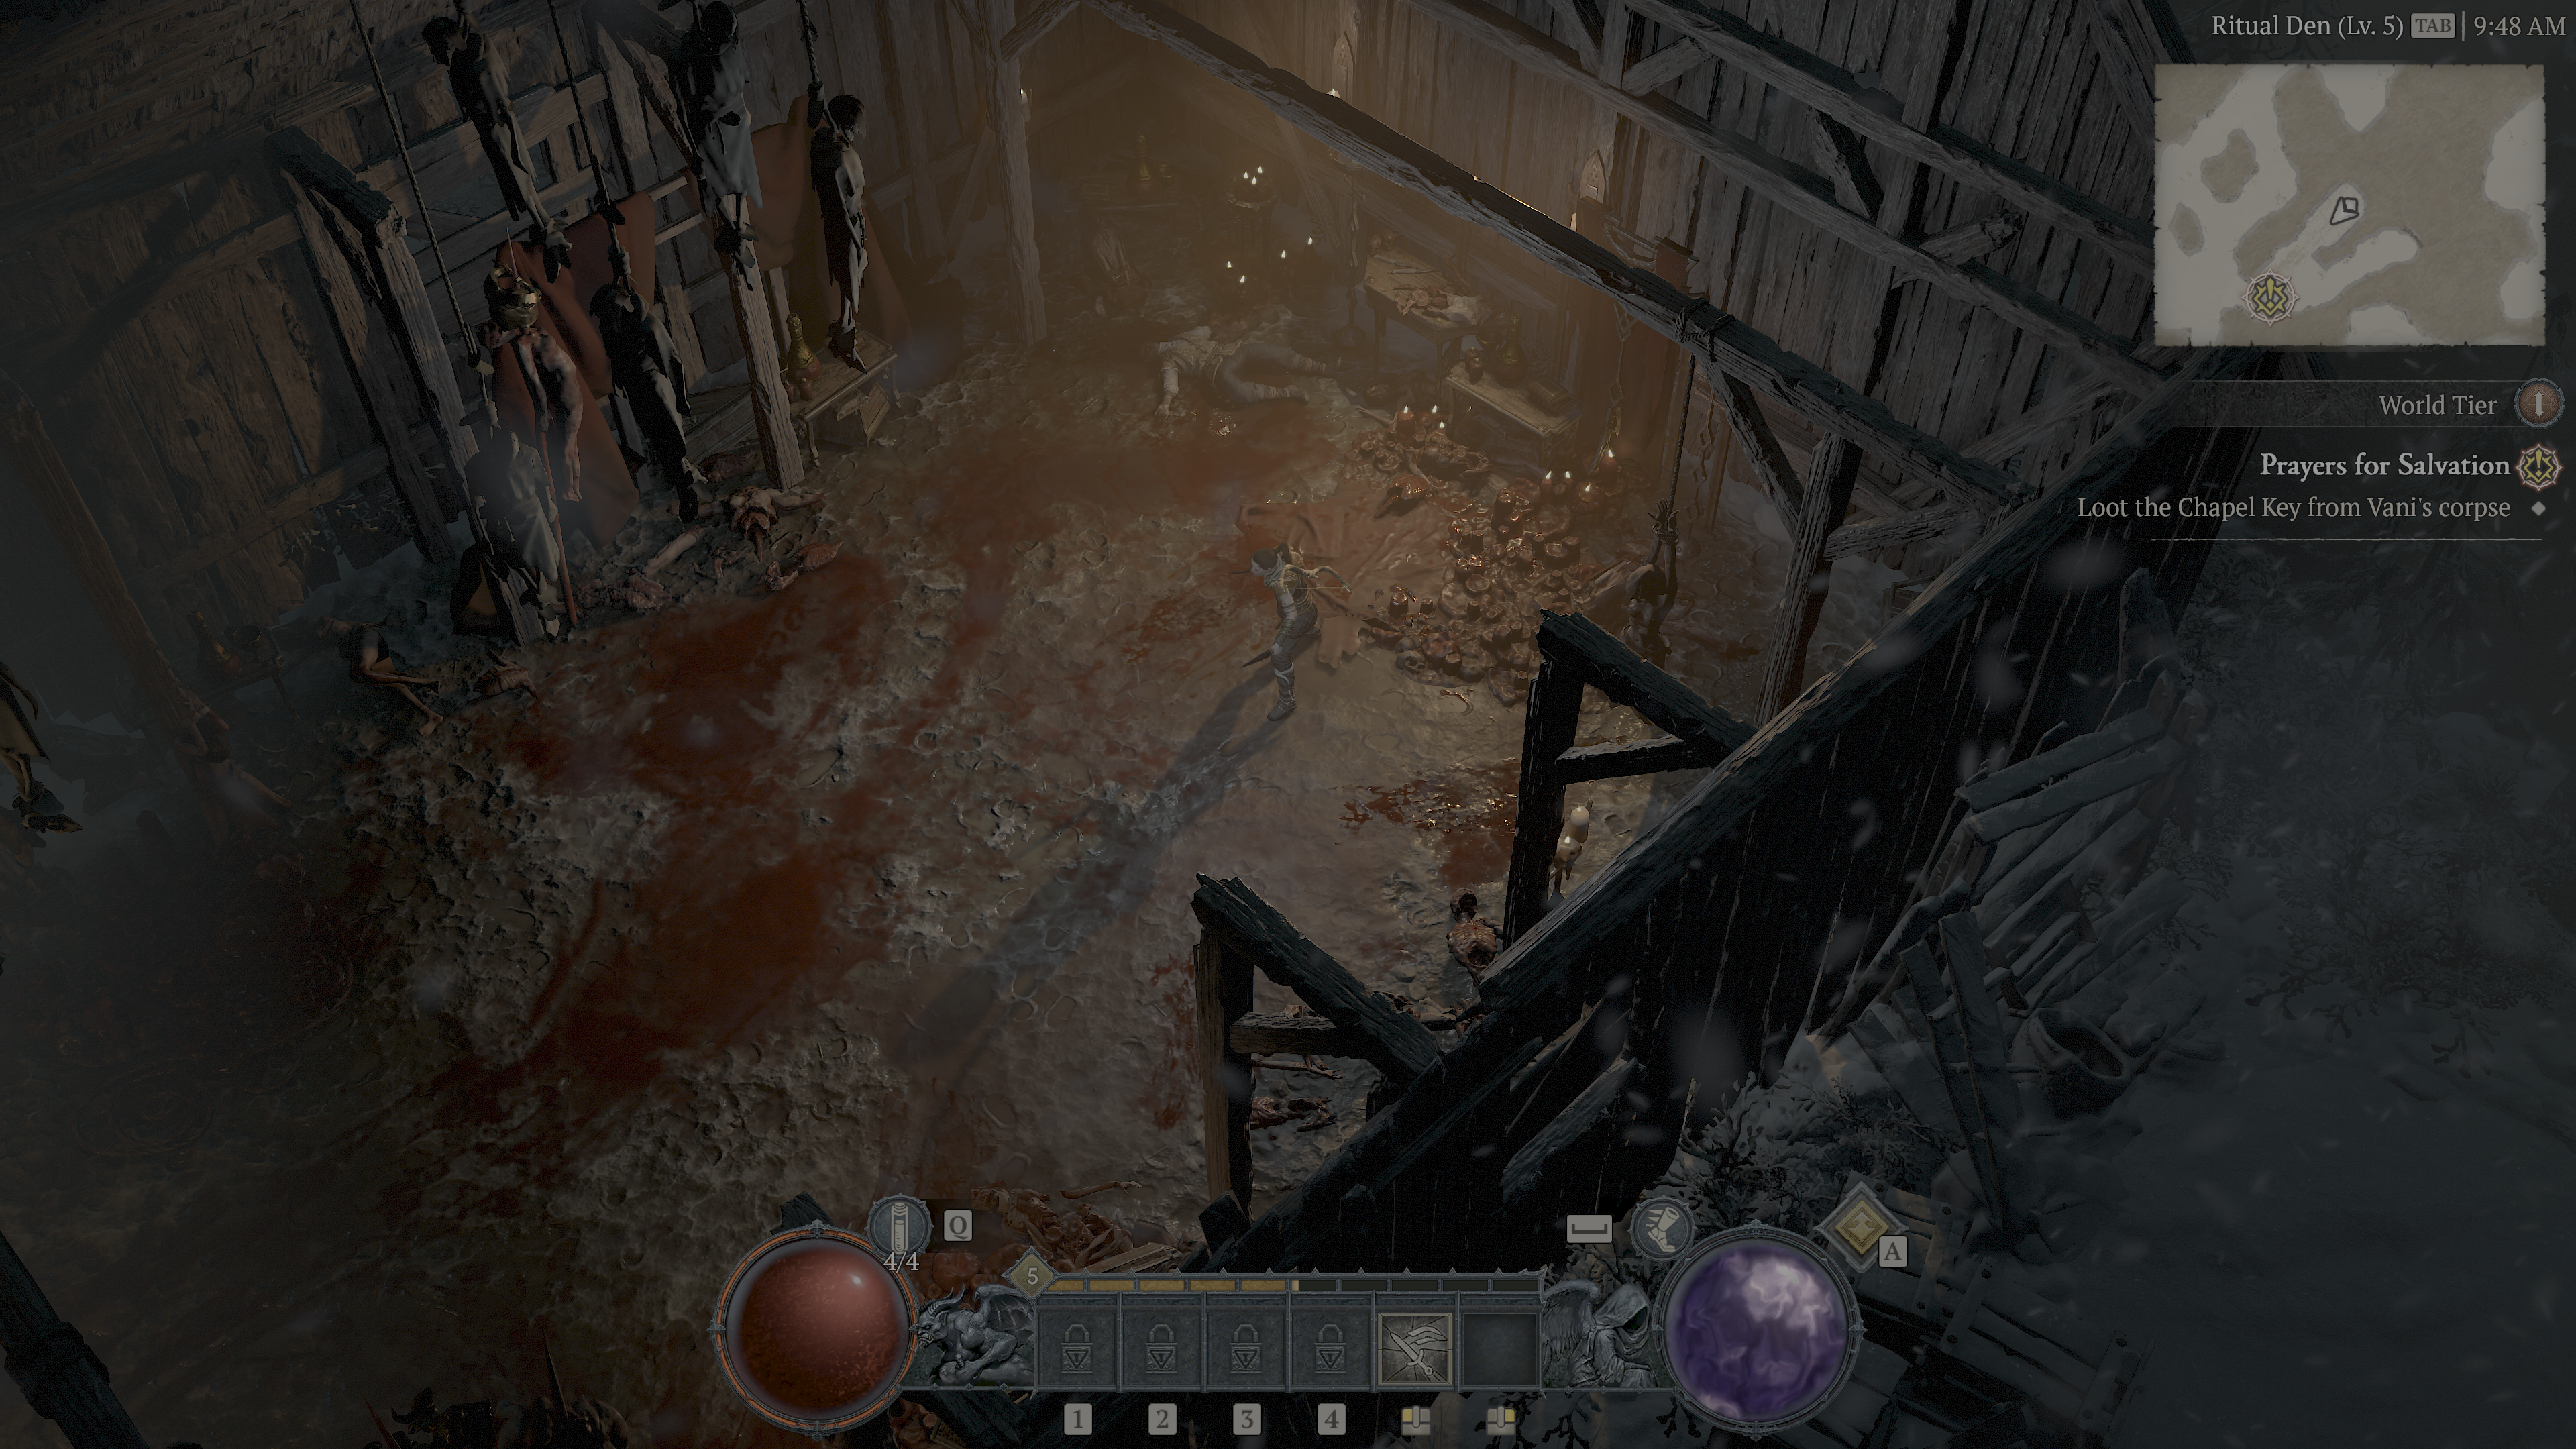
Go Away…
Everything about this game, feels to say “Go away” when you try to jump deeper into it’s graphics. Diablo 4 & it’s engine seem to be built with a HUGE effort put in obscuring and obfuscation (i hate these 2 English words), i spent two nights just trying to fetch data from the game. After all it looks pretty and it pushed me to learn about it. But every time you try, you hit a wall. Here are some of the challenges that makes digging frames of this game, a less fun experience.
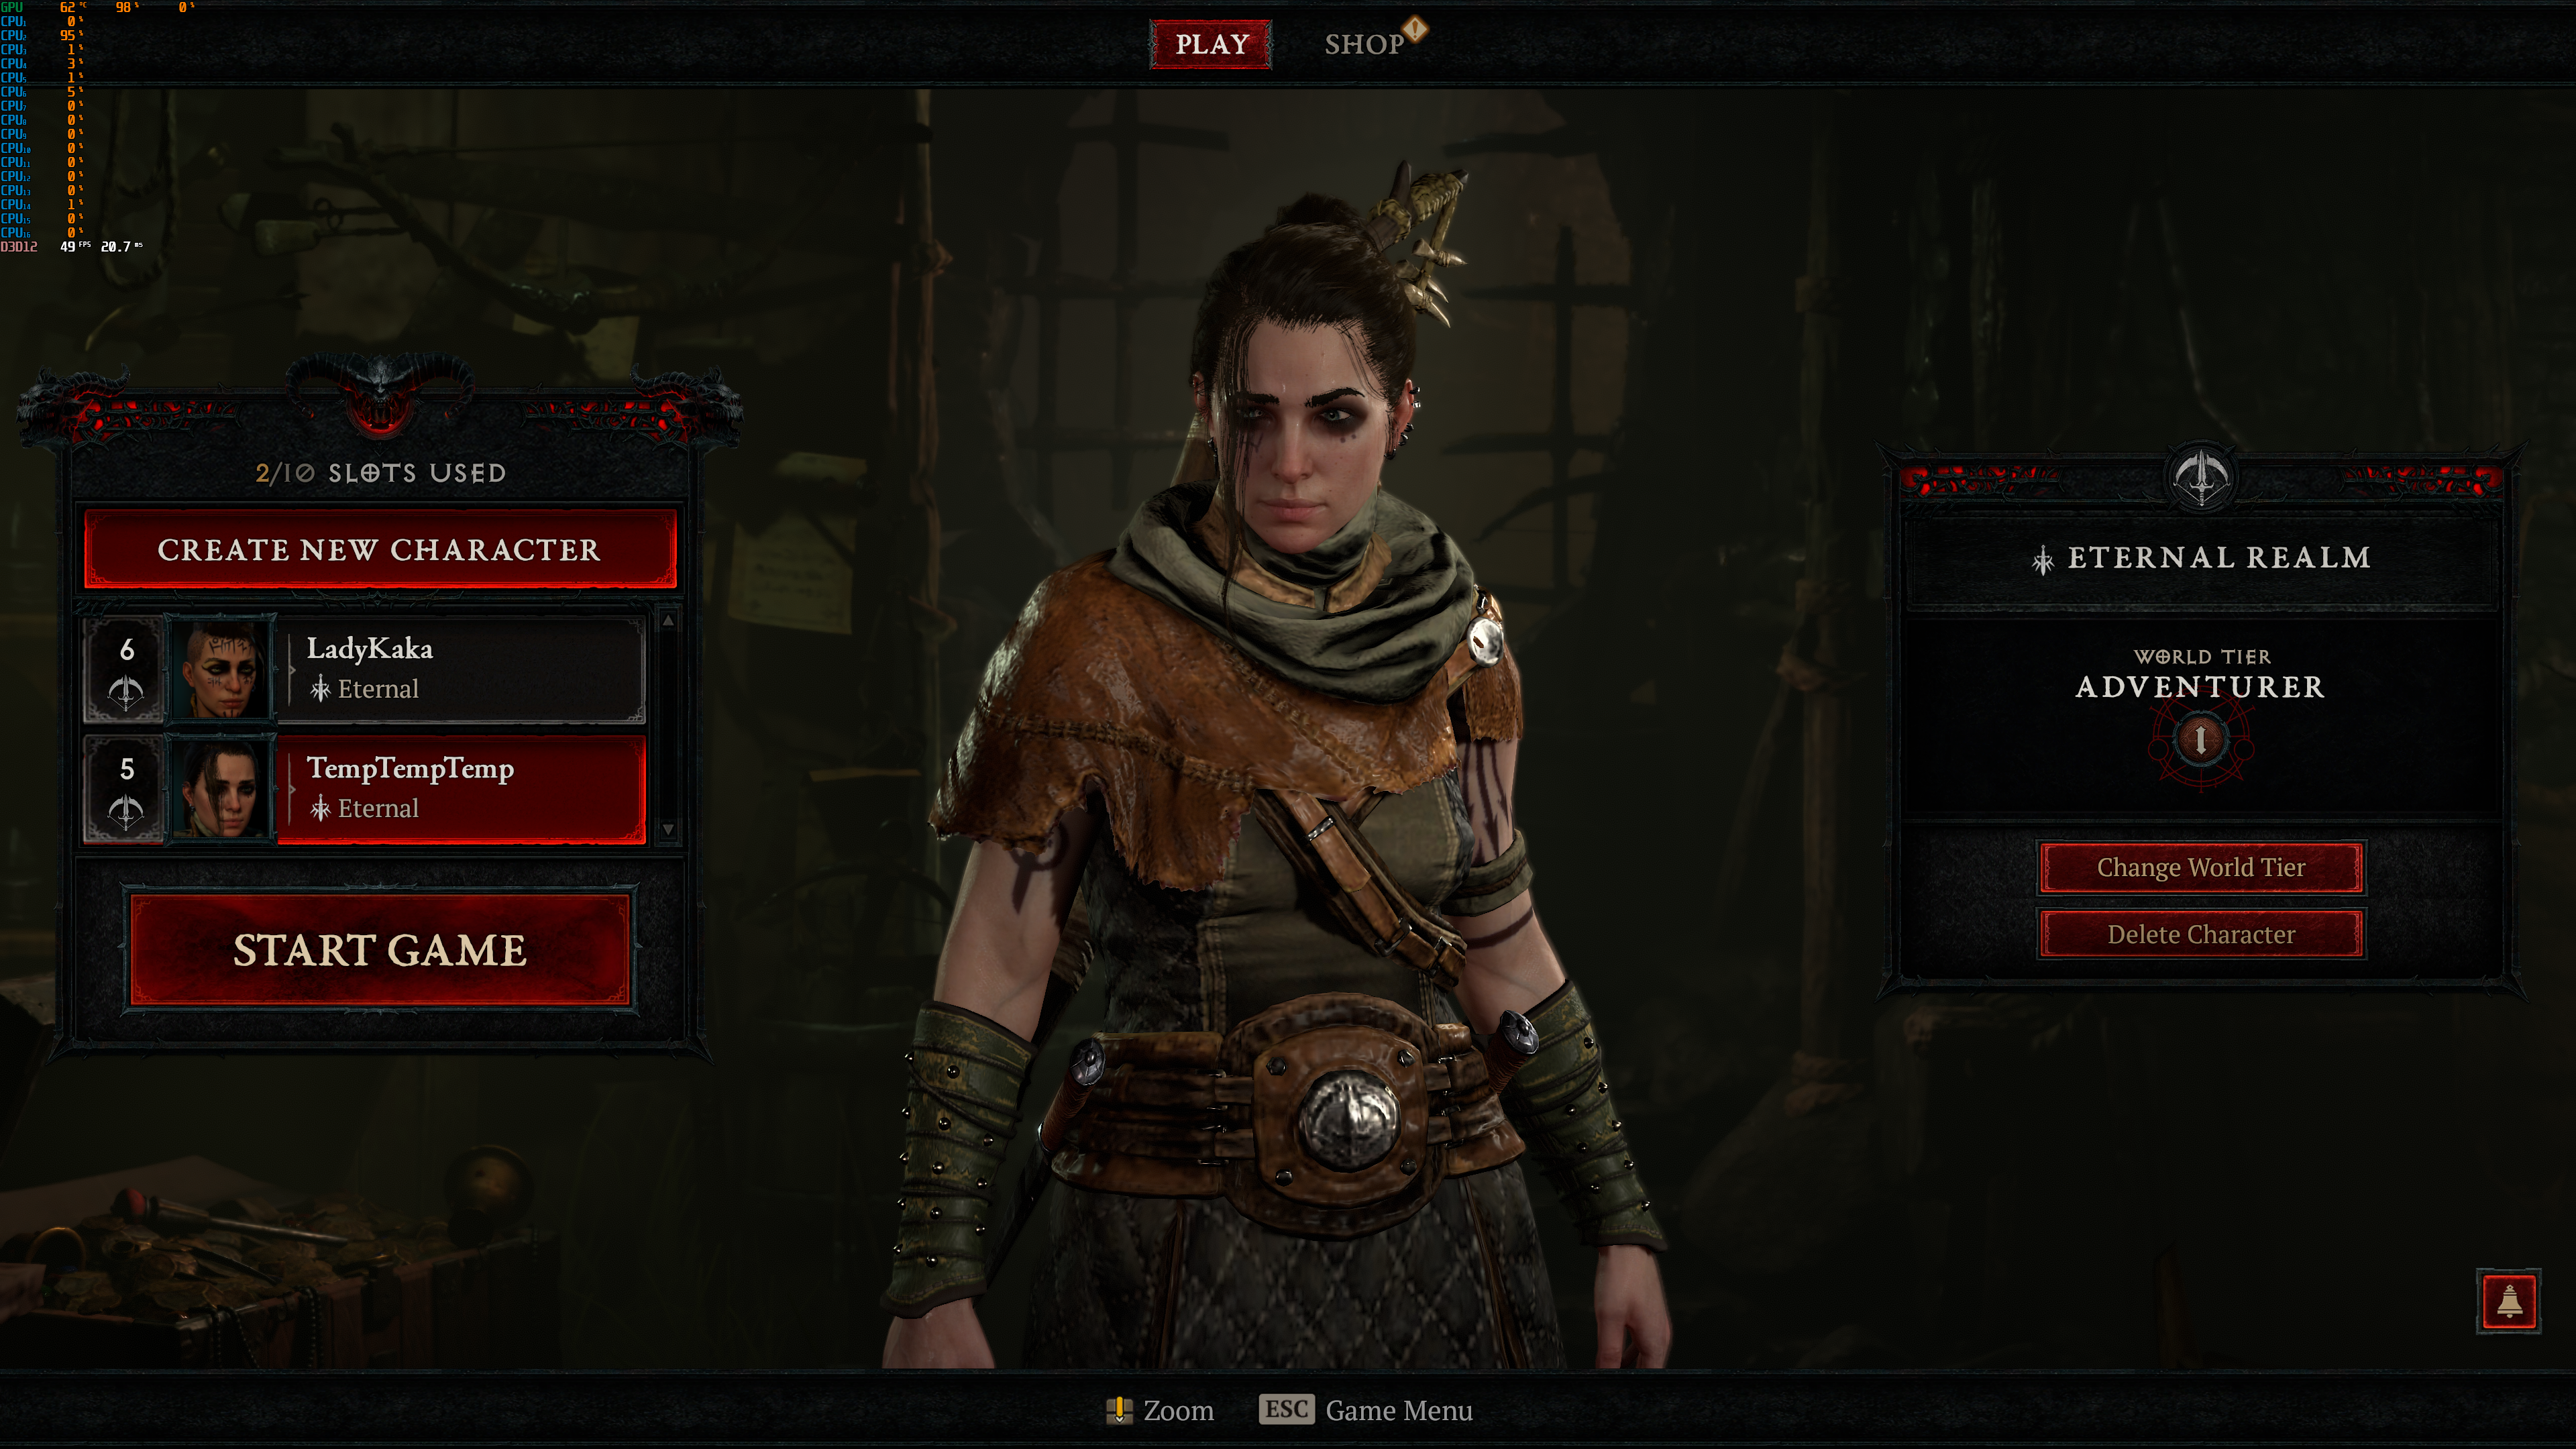
- Diablo 4 features the “real-time saving” that constantly uploads the progress to the game’s server, so no local saved data. This is a big deal, for me, i like to take snapshots of the saved folder, like “restore points” and keep playing the game, and then when i want to take captures around a specific area, i close the game, copy over the saved data folder snapshot of the target area, and then launch the game again. This is very important to me, because while i’m breaking down one part, i frequently need to go to the game, and take new captures for different areas that might help me understand it much better or might help me putting a better example/footage in the article. But that’s not going to be possibly anymore due to the online constant progress saving, so the only way i was able to “simulate” that process, was by making new profiles inside the game, but then, i had to re-play many parts (and boss encounters) multiple times! And even with that, it was very limiting in the amount of profiles, or restore points, because you can’t duplicate a profile and proceed from there, you always need to make new character and start gameplay form scratch!
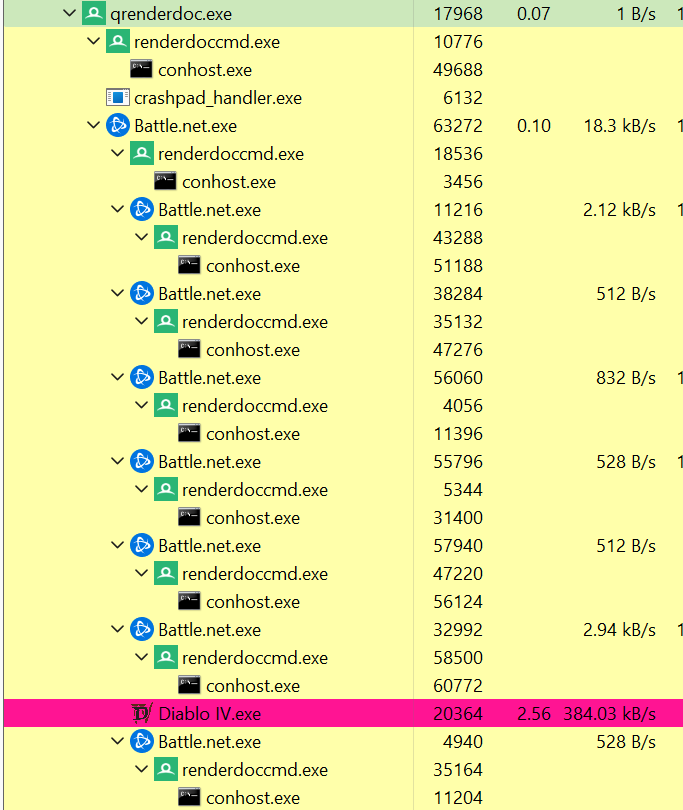
- The game launching process is little different than most other PC games. You can’t just double click the game icon and start playing, even if you open the game icon, it will launch Battle.net app. The game always have to go through Battle.net app, and if you think that is due to the launch args of the game that Battle.net is executing, then you are wrong. Even if you launch the game from cmd, or any other tool, using the same set of arguments, the game won’t launch correctly and will shutdown right away and refuse to proceed. And this makes it challenging to launch the game through any capturing tool!
Launched the Diablo IV.exe with the args -sso -launch -uid fenris
- Even if you try “somehow” to “force” inject aprocess like renderdoc into the game! it still going to a dead end, because someone in the dev team have anticipated that renderdoc could possibly somehow hooked into the Diablo 4 process!

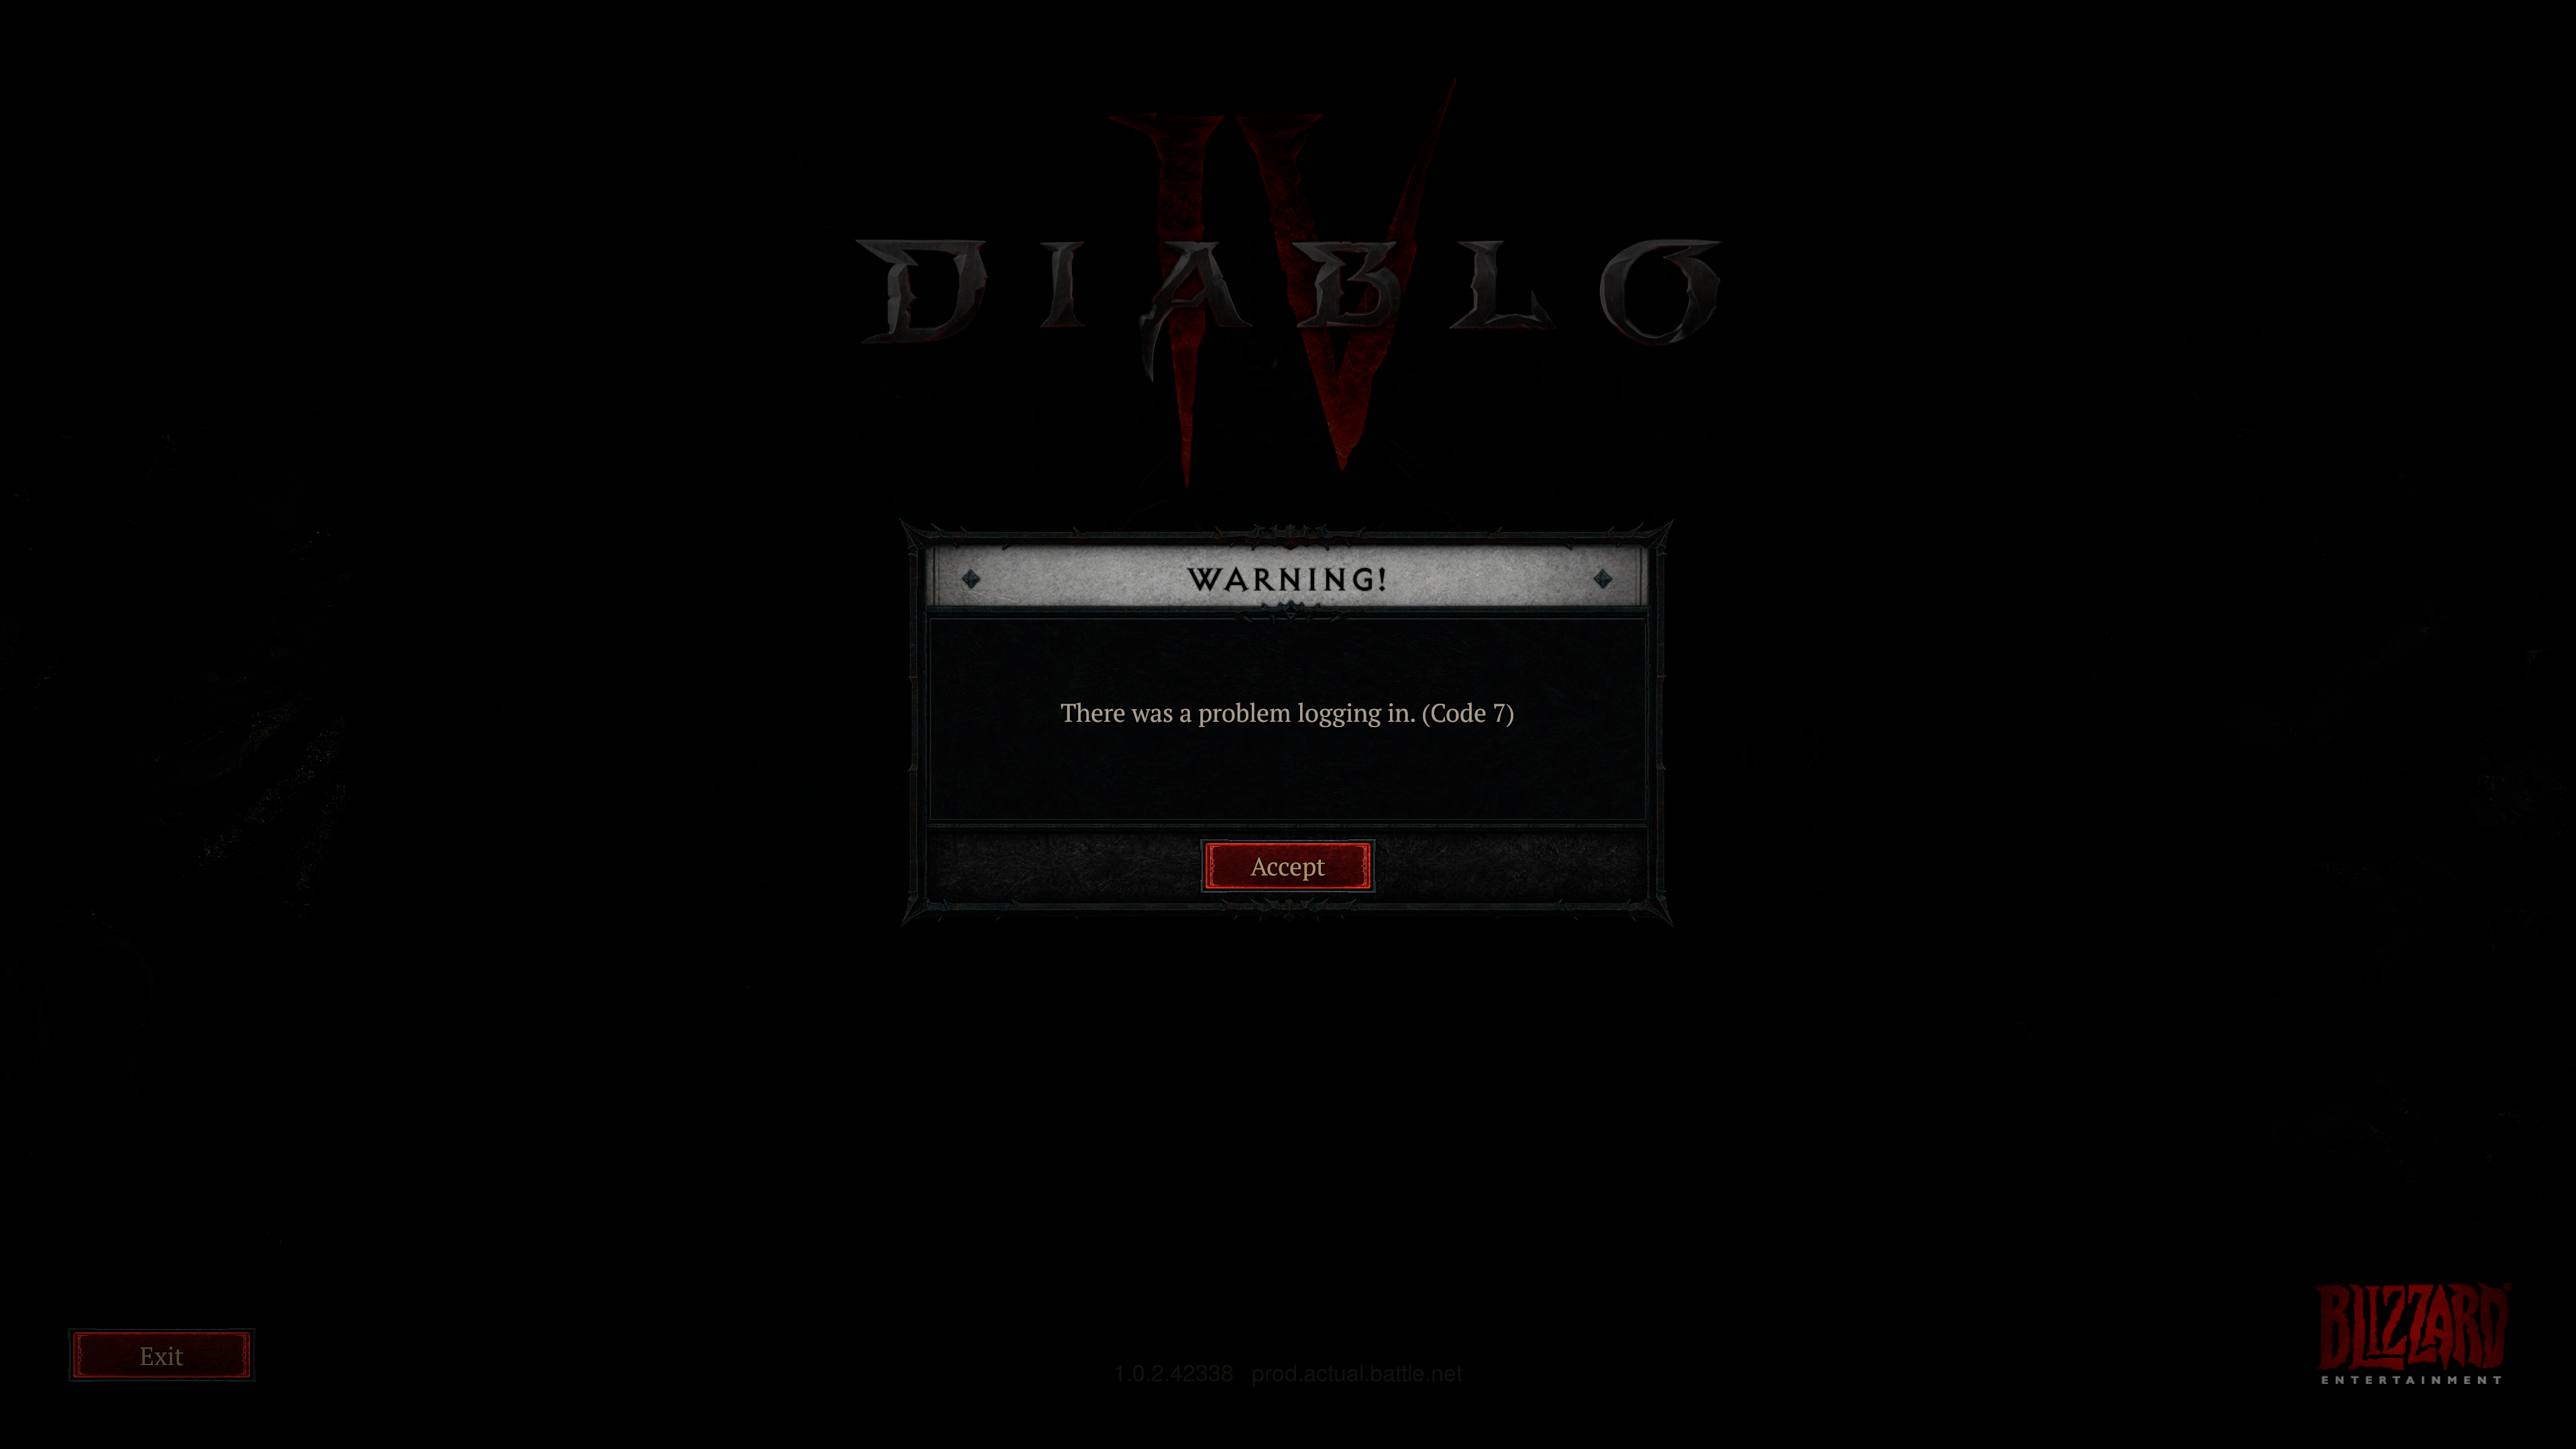
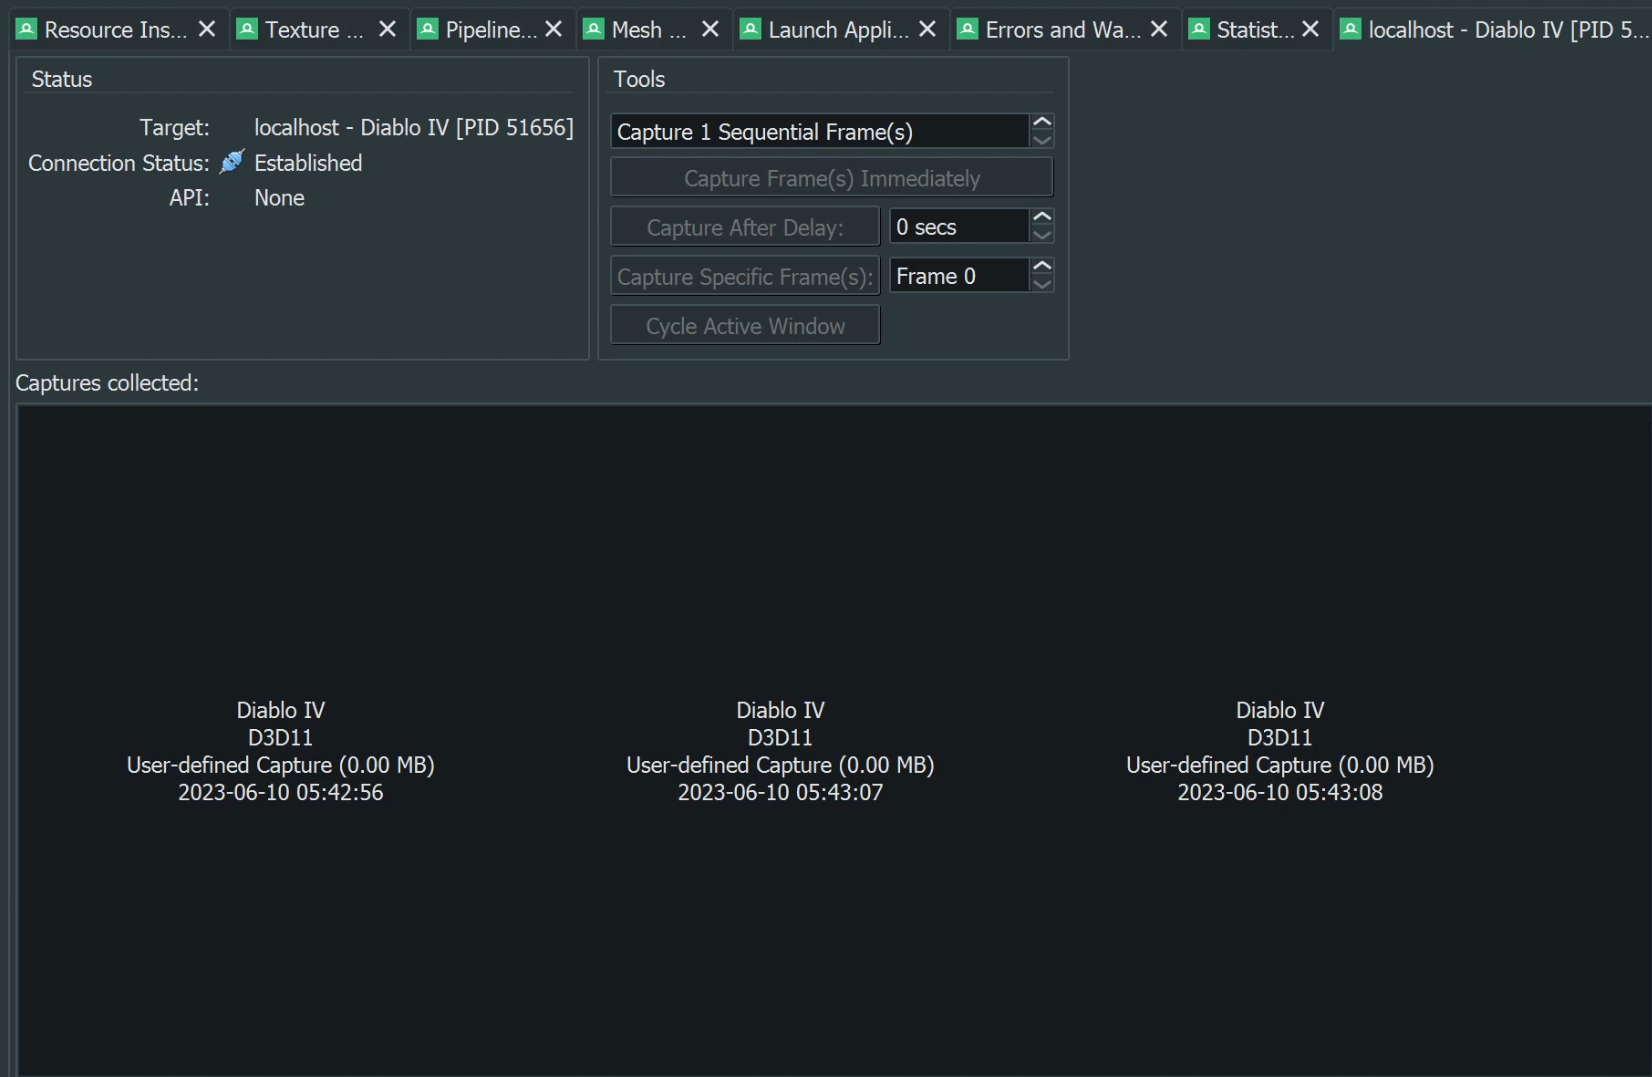
- And once you get around that! you’ll find rdoc launches and captures, but it capture a 0.00MB sized files that are D3D11!!!
Isn’t the game D3D12?
- From RivaTuner, to game logs, to even game dll files,…everything imply that it is D3D12 game, and it is a D3D12 game!
And if you think it is due to an overlay (NV Shadowplay, or Discord or such), nope! I’ve made sure to disable & kill all those processes beforehand!


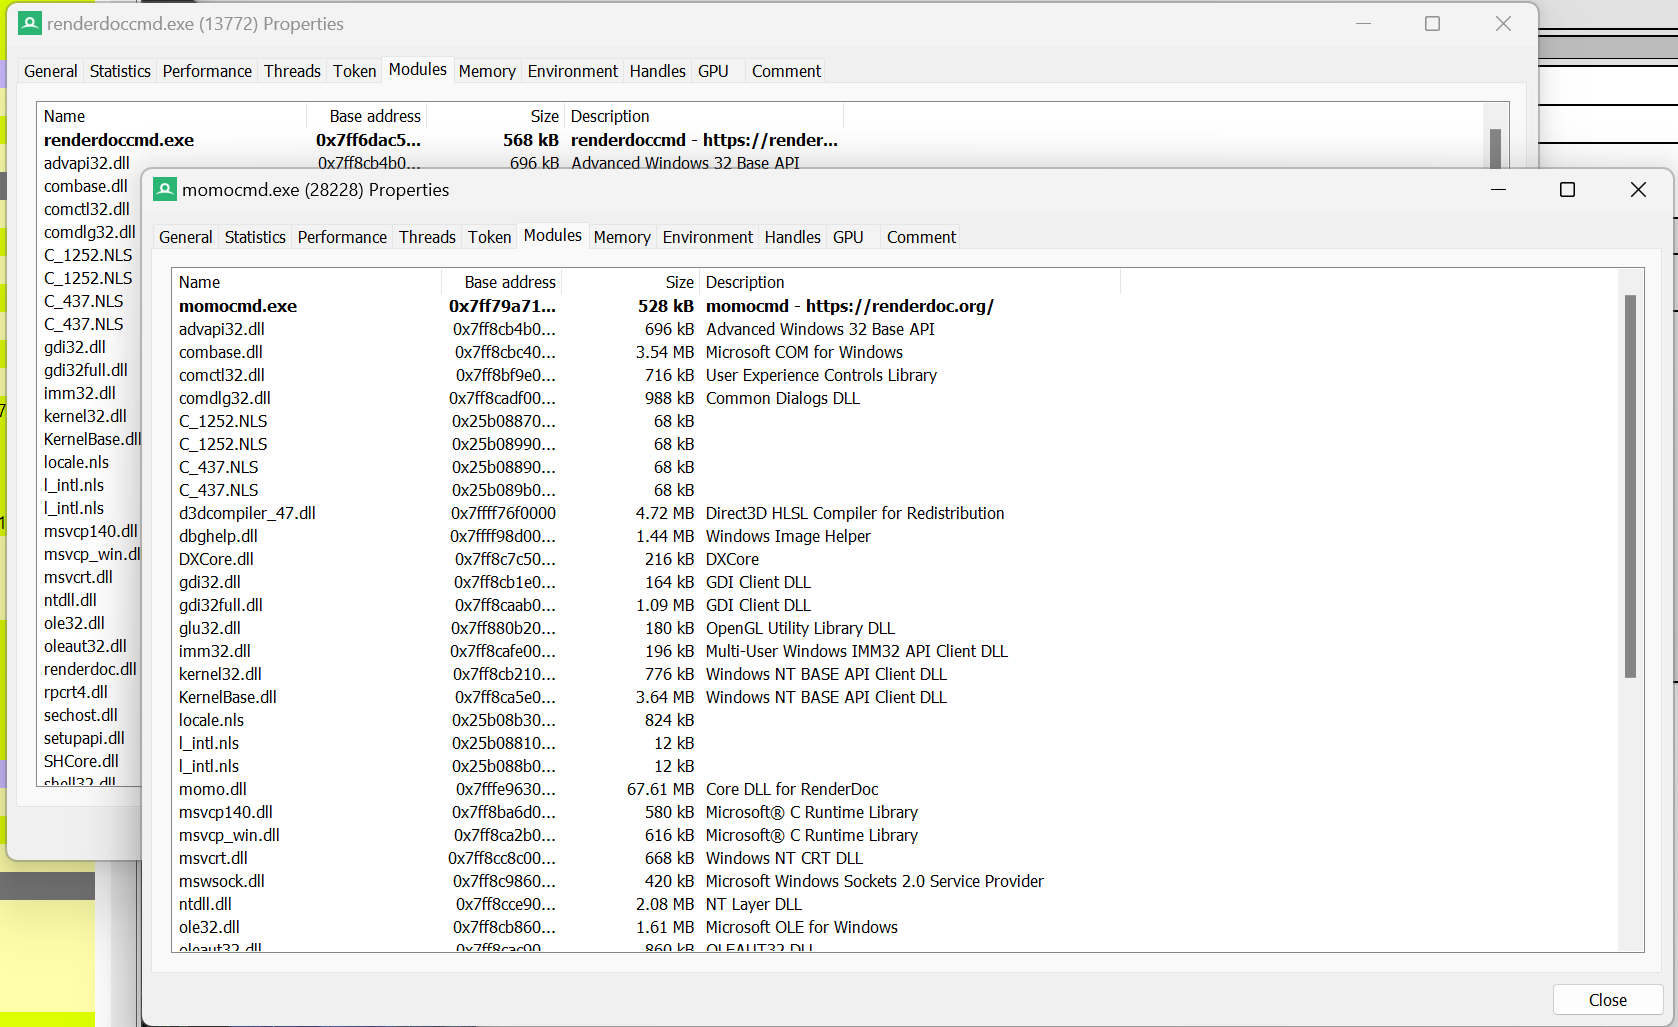
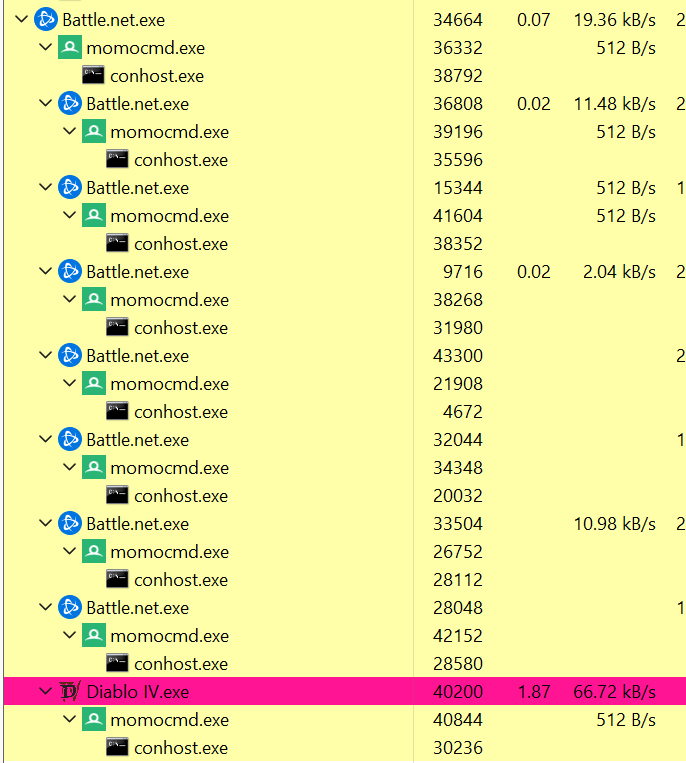
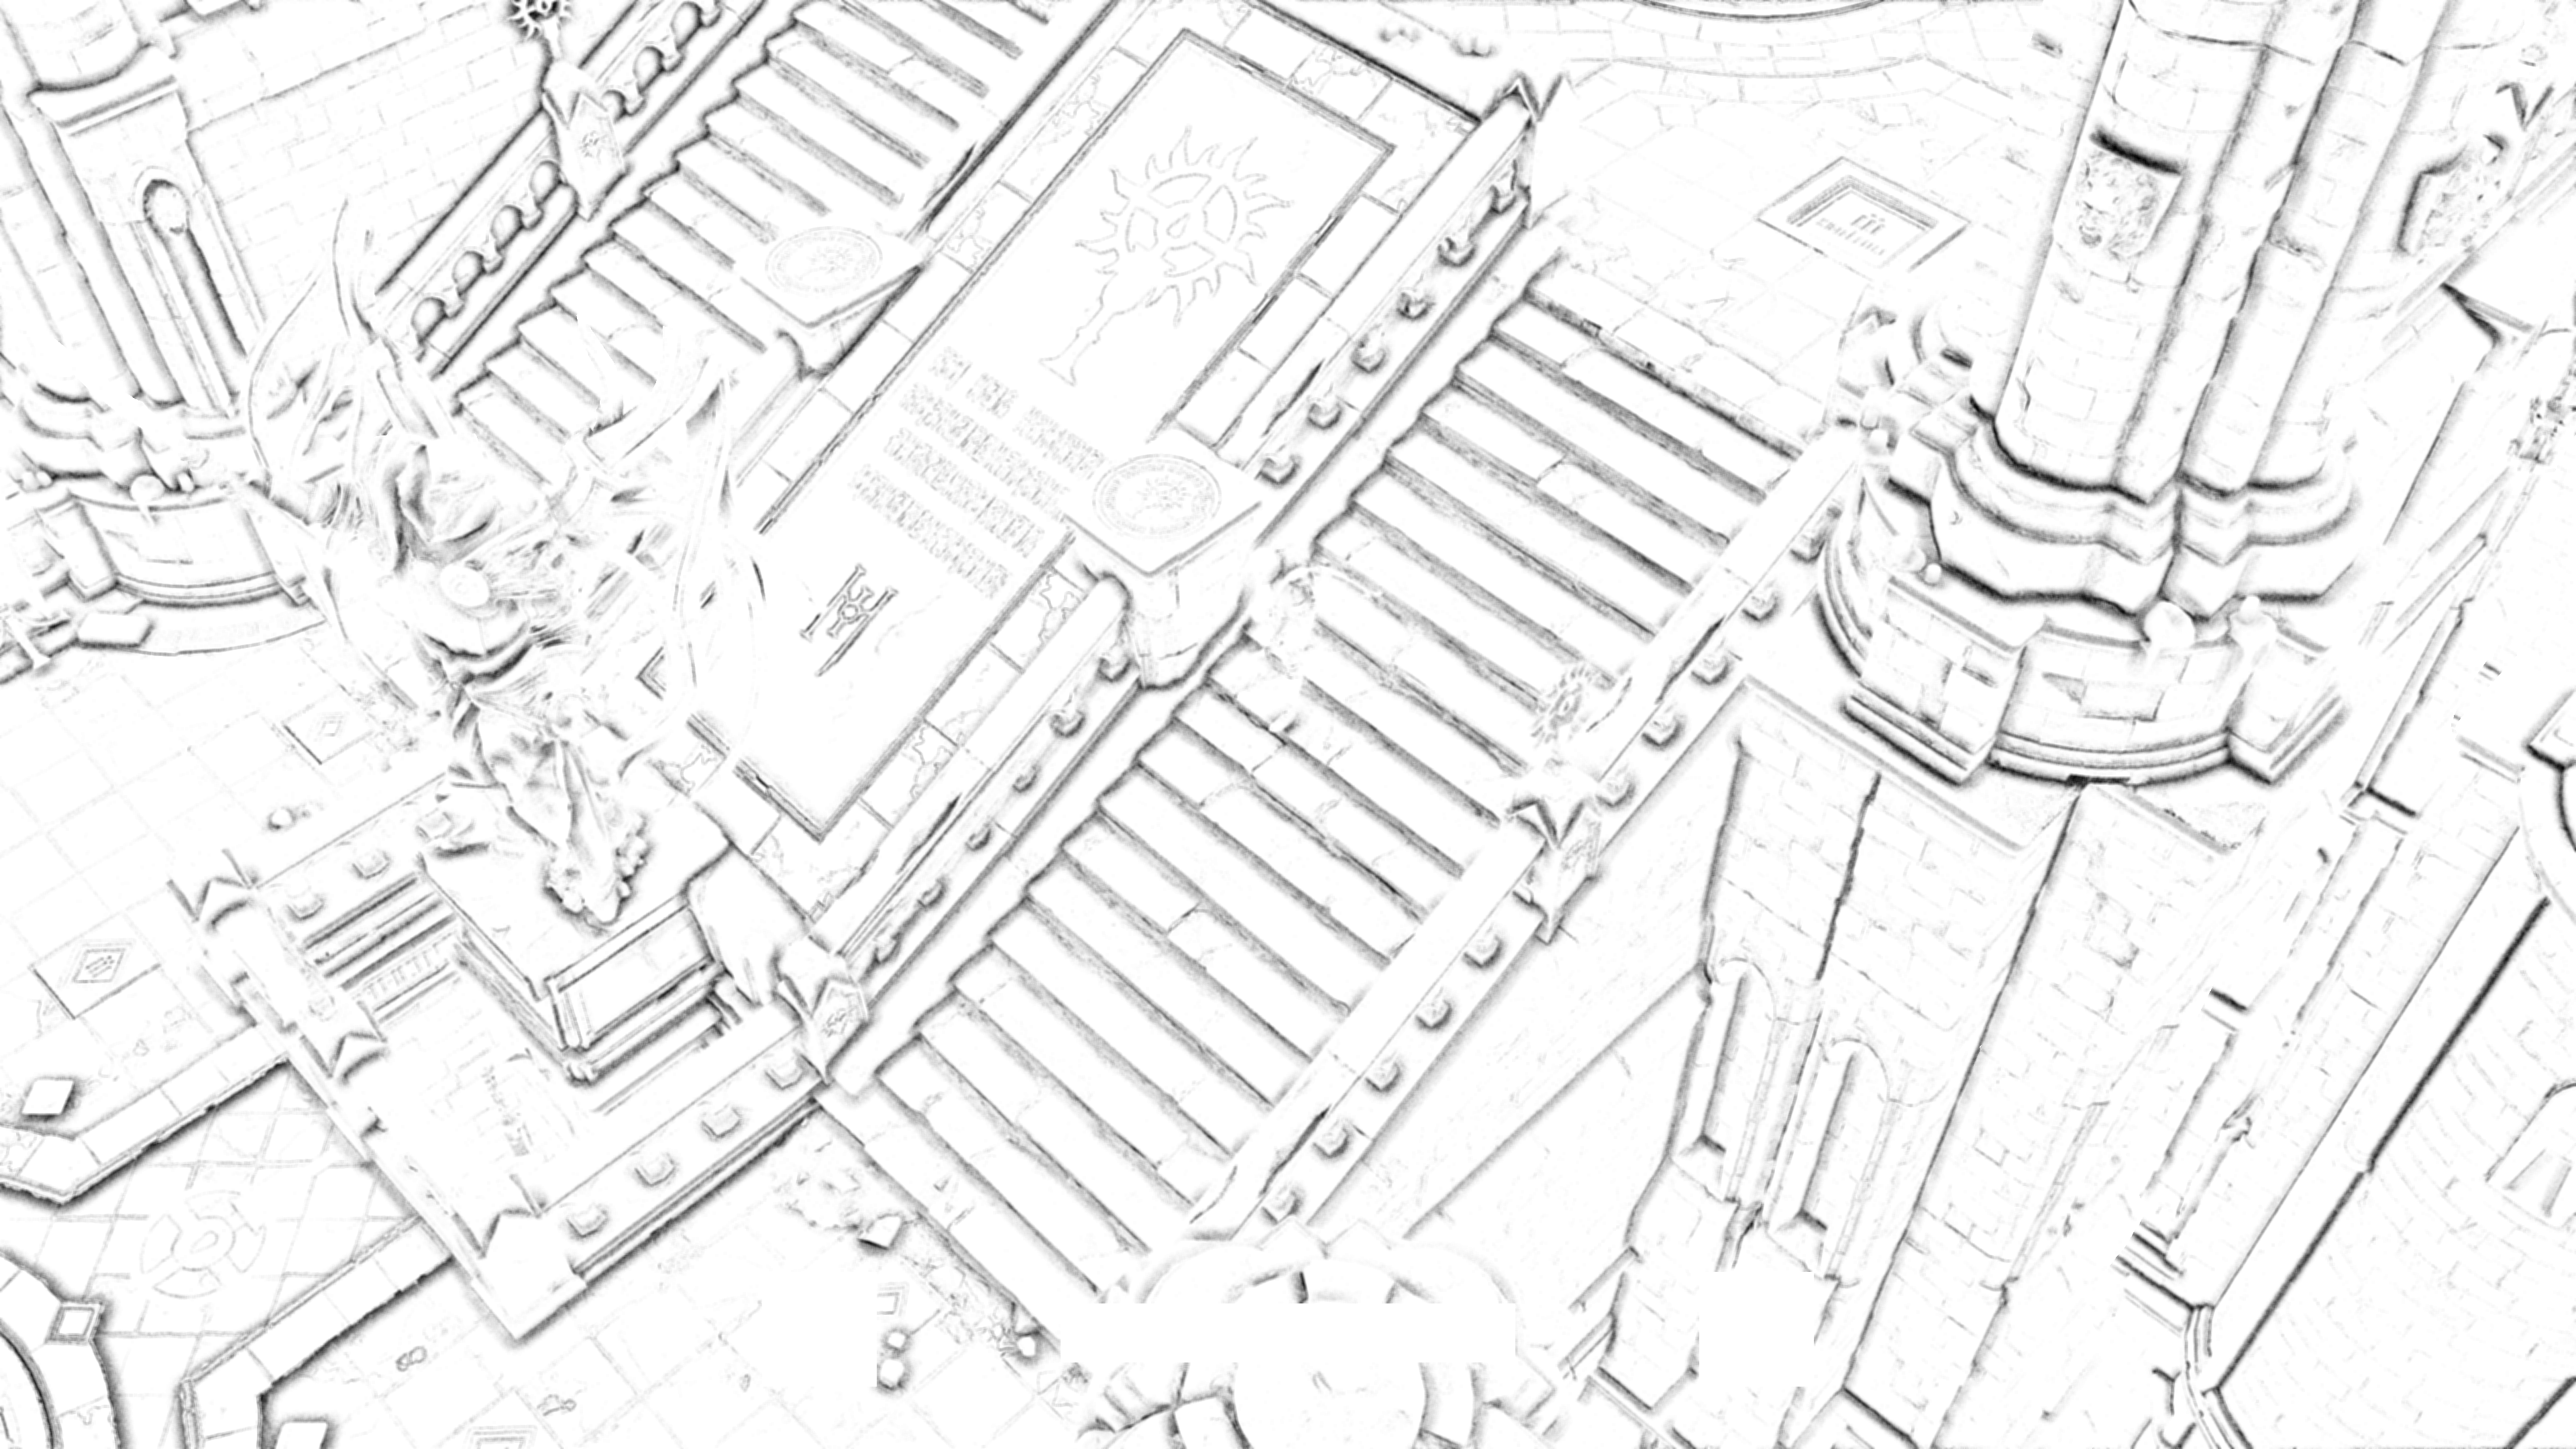
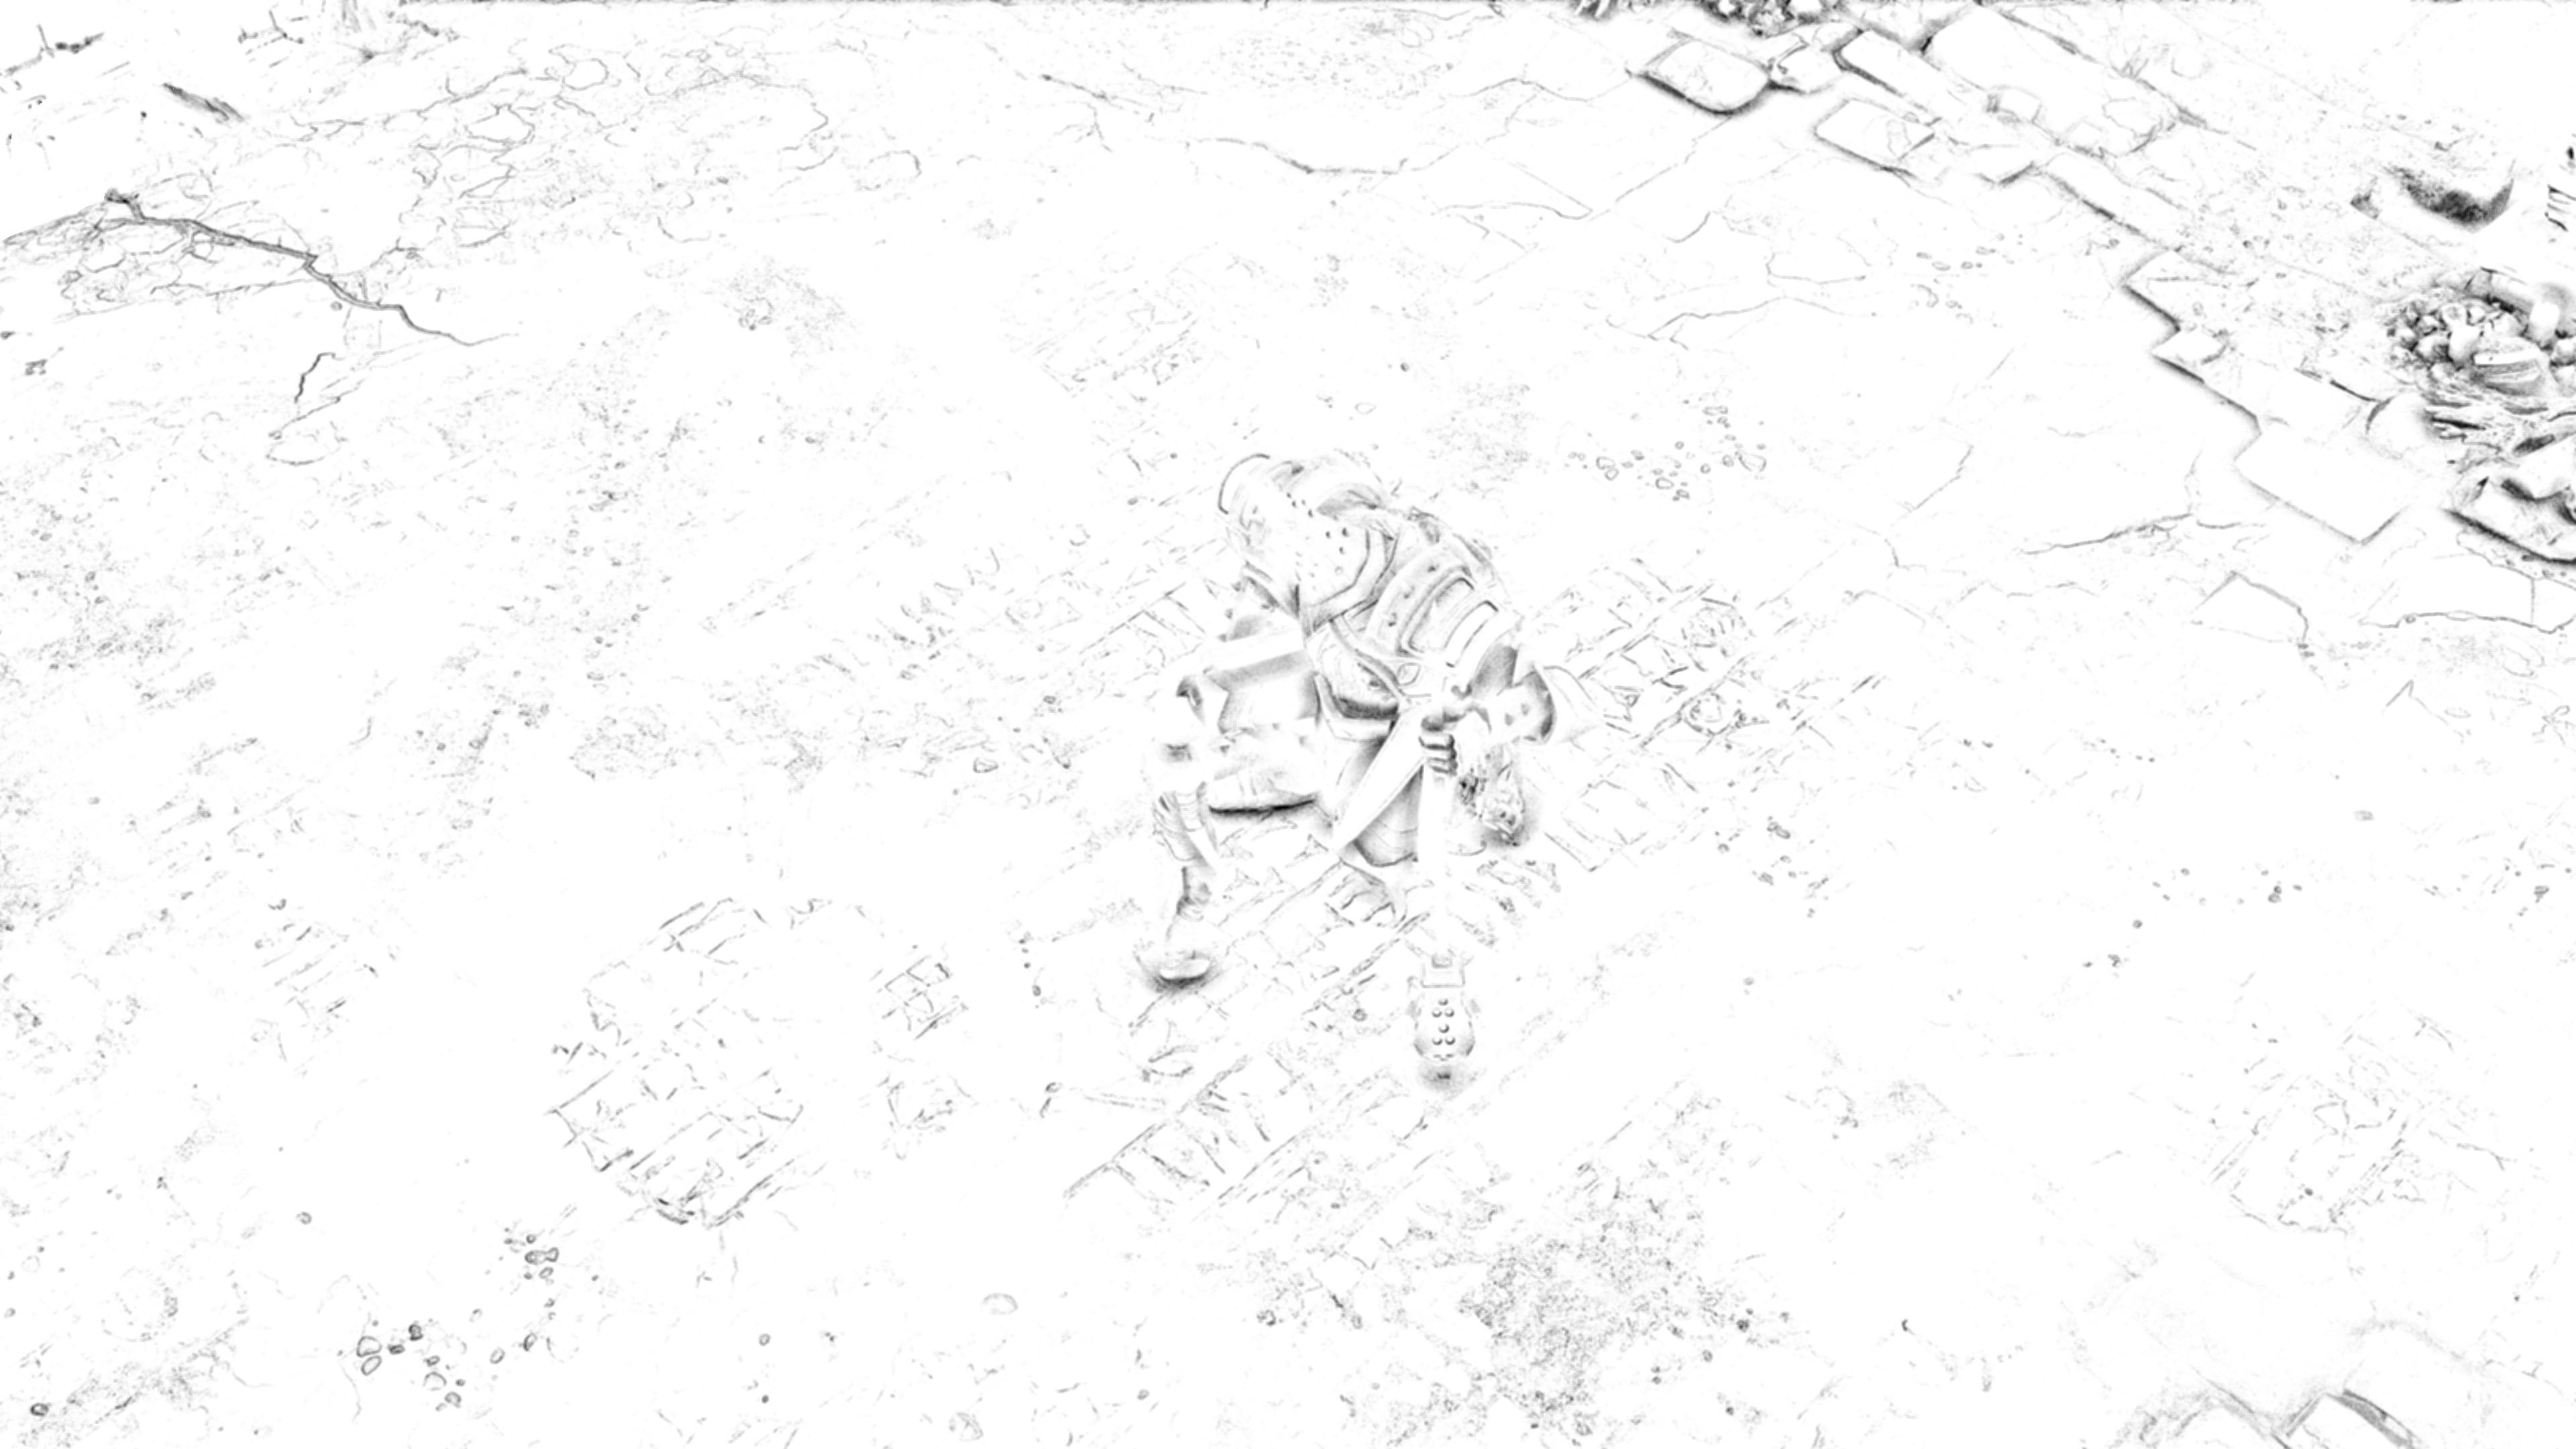
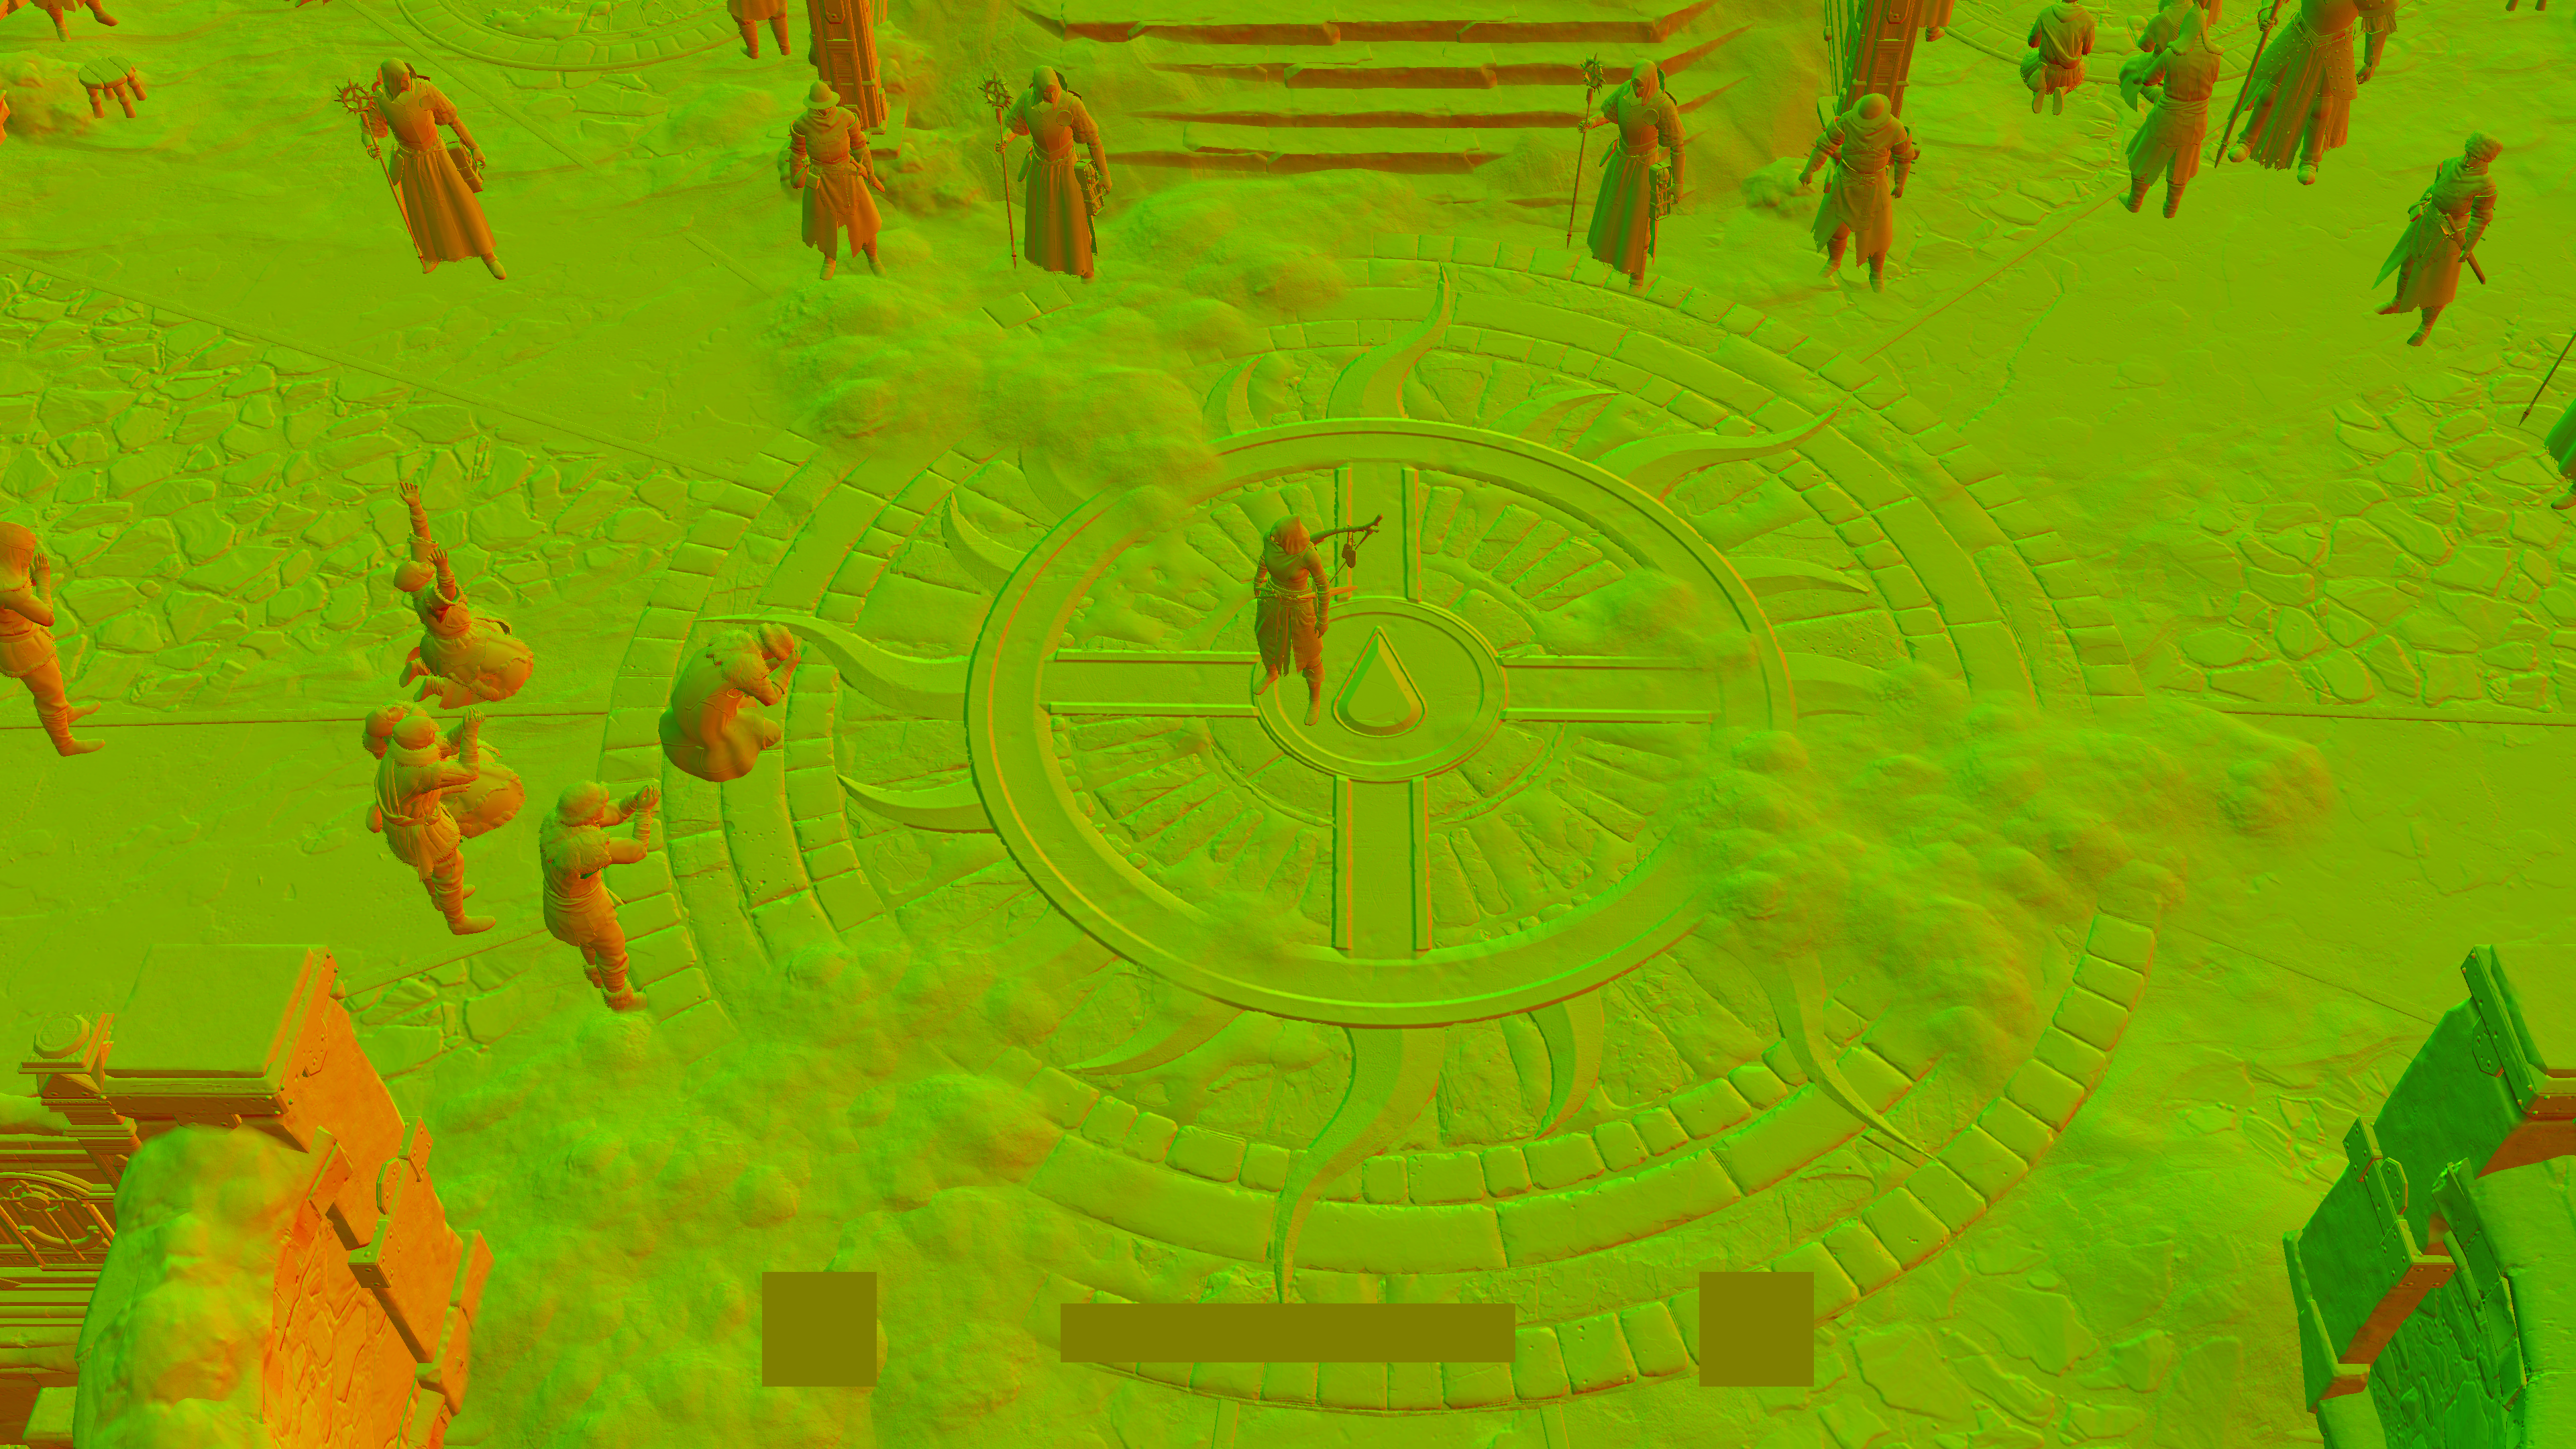
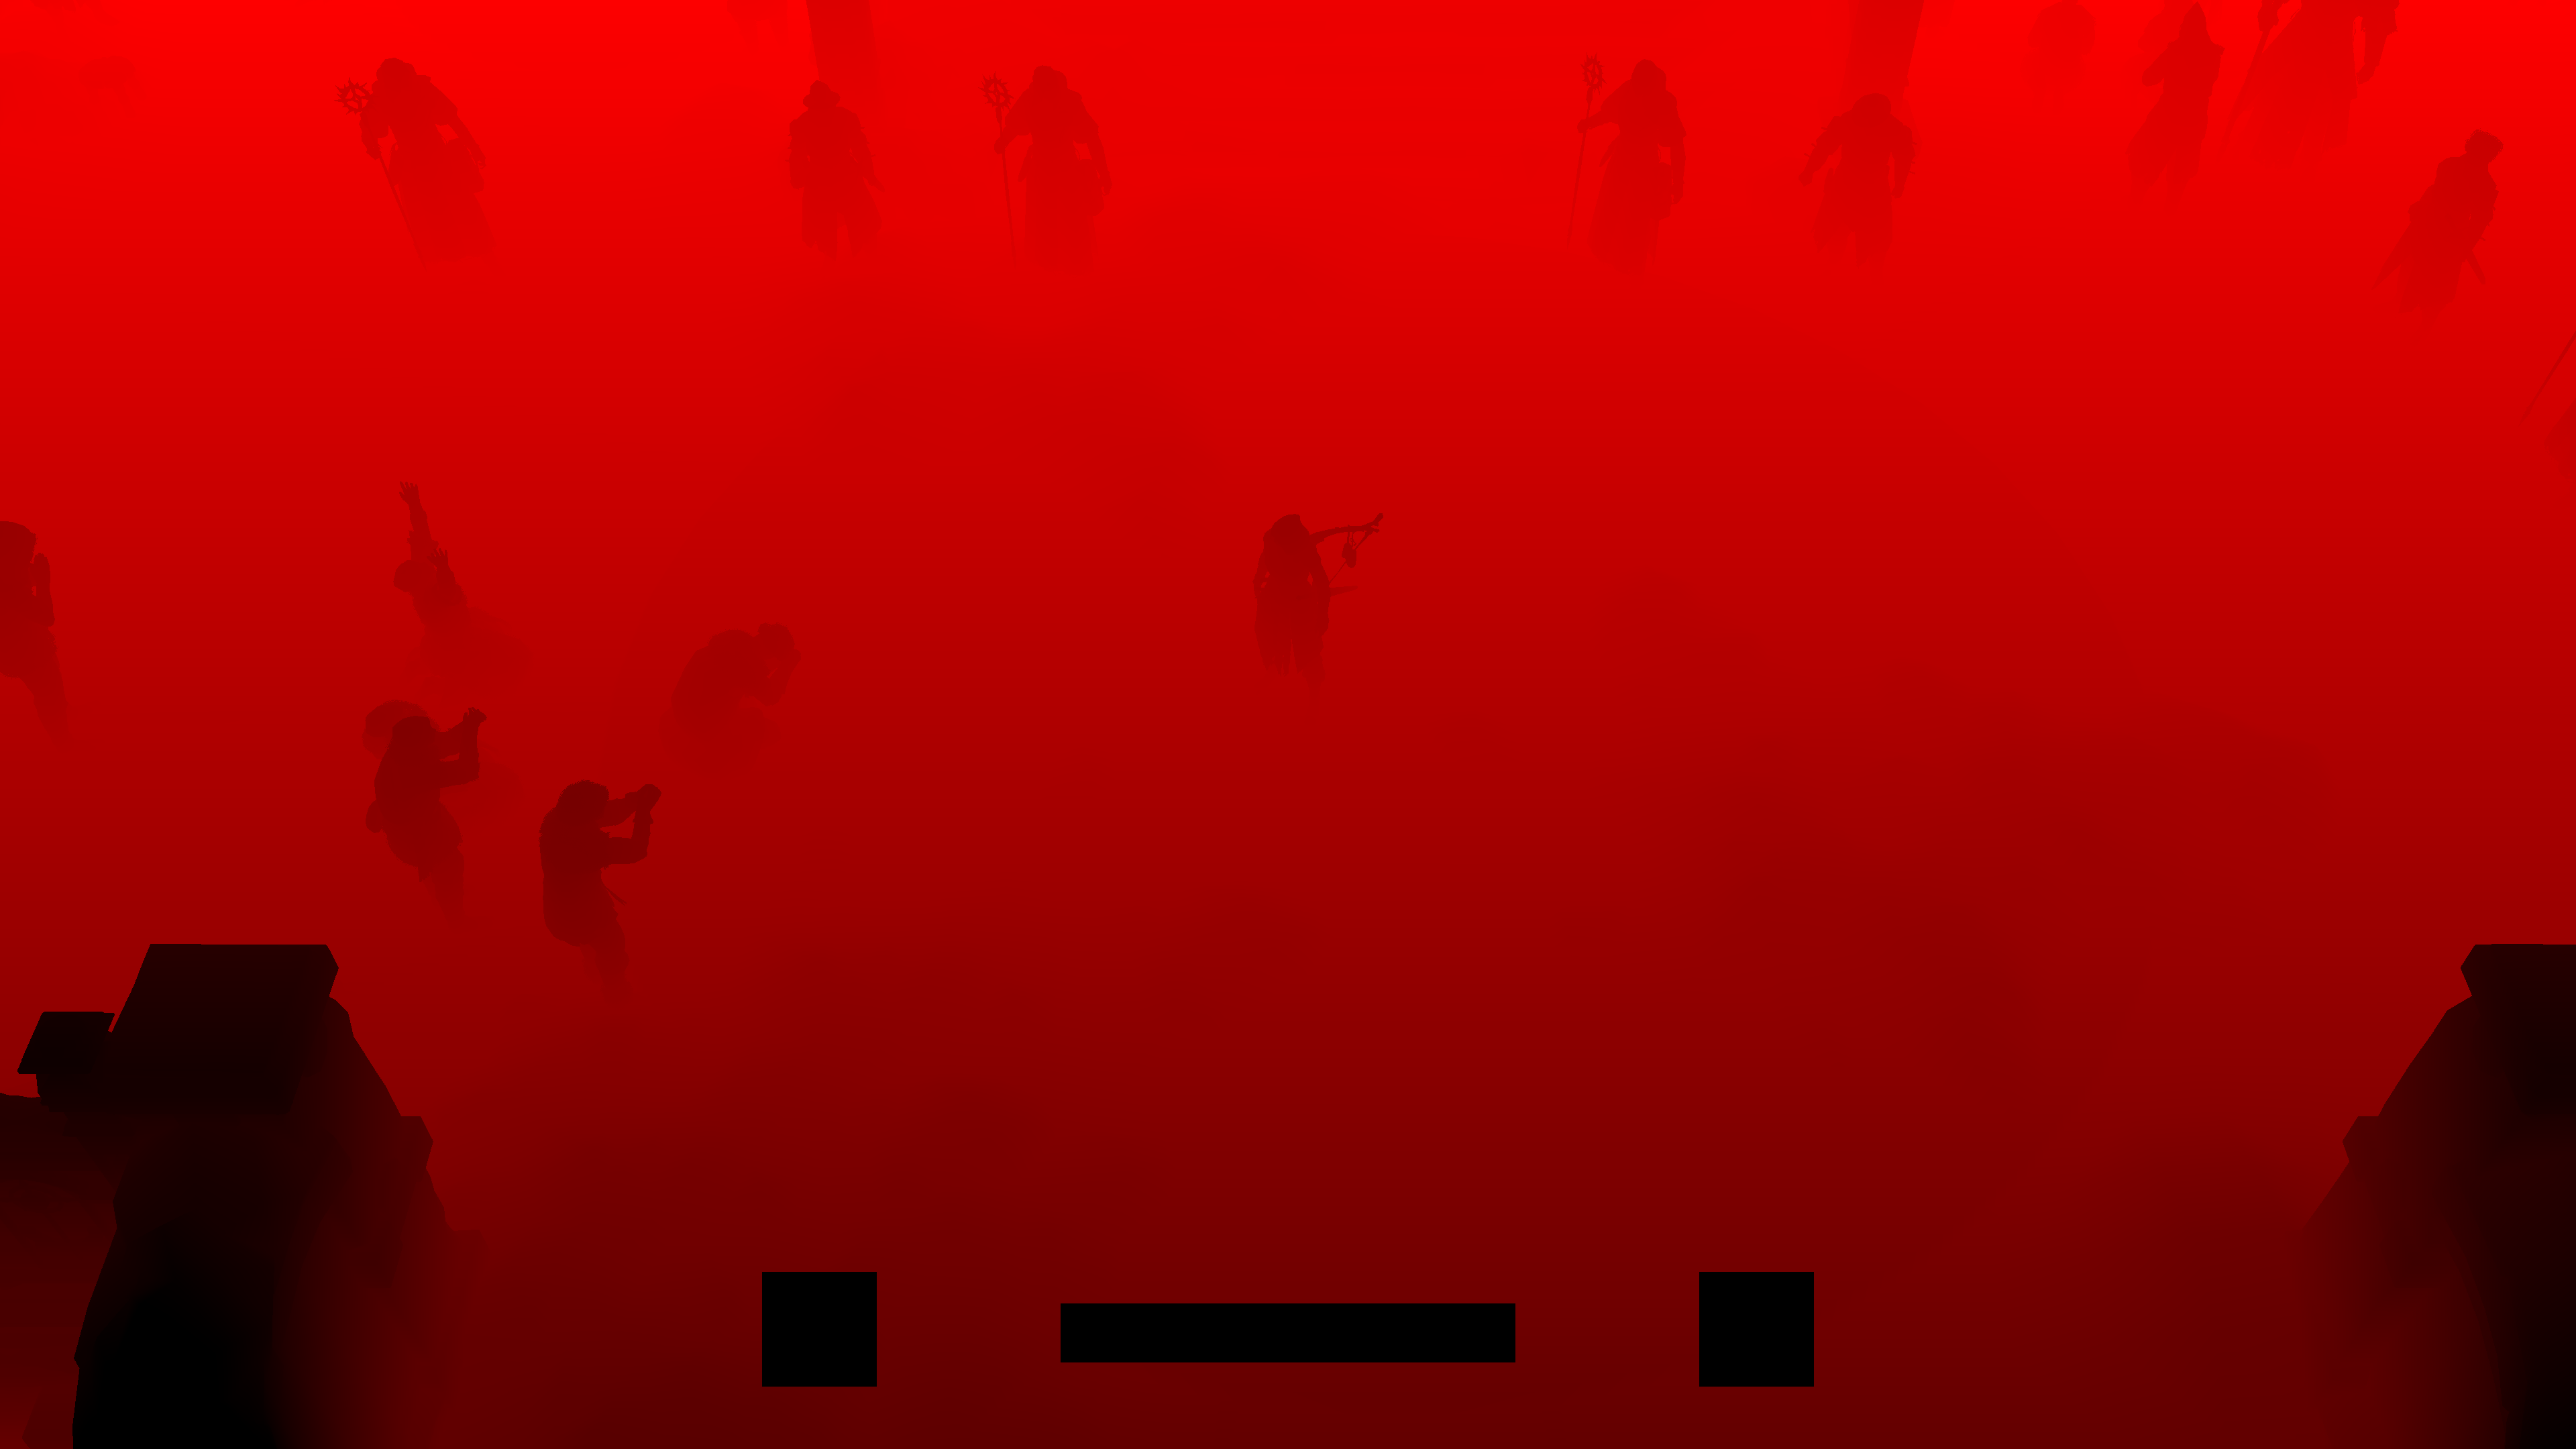
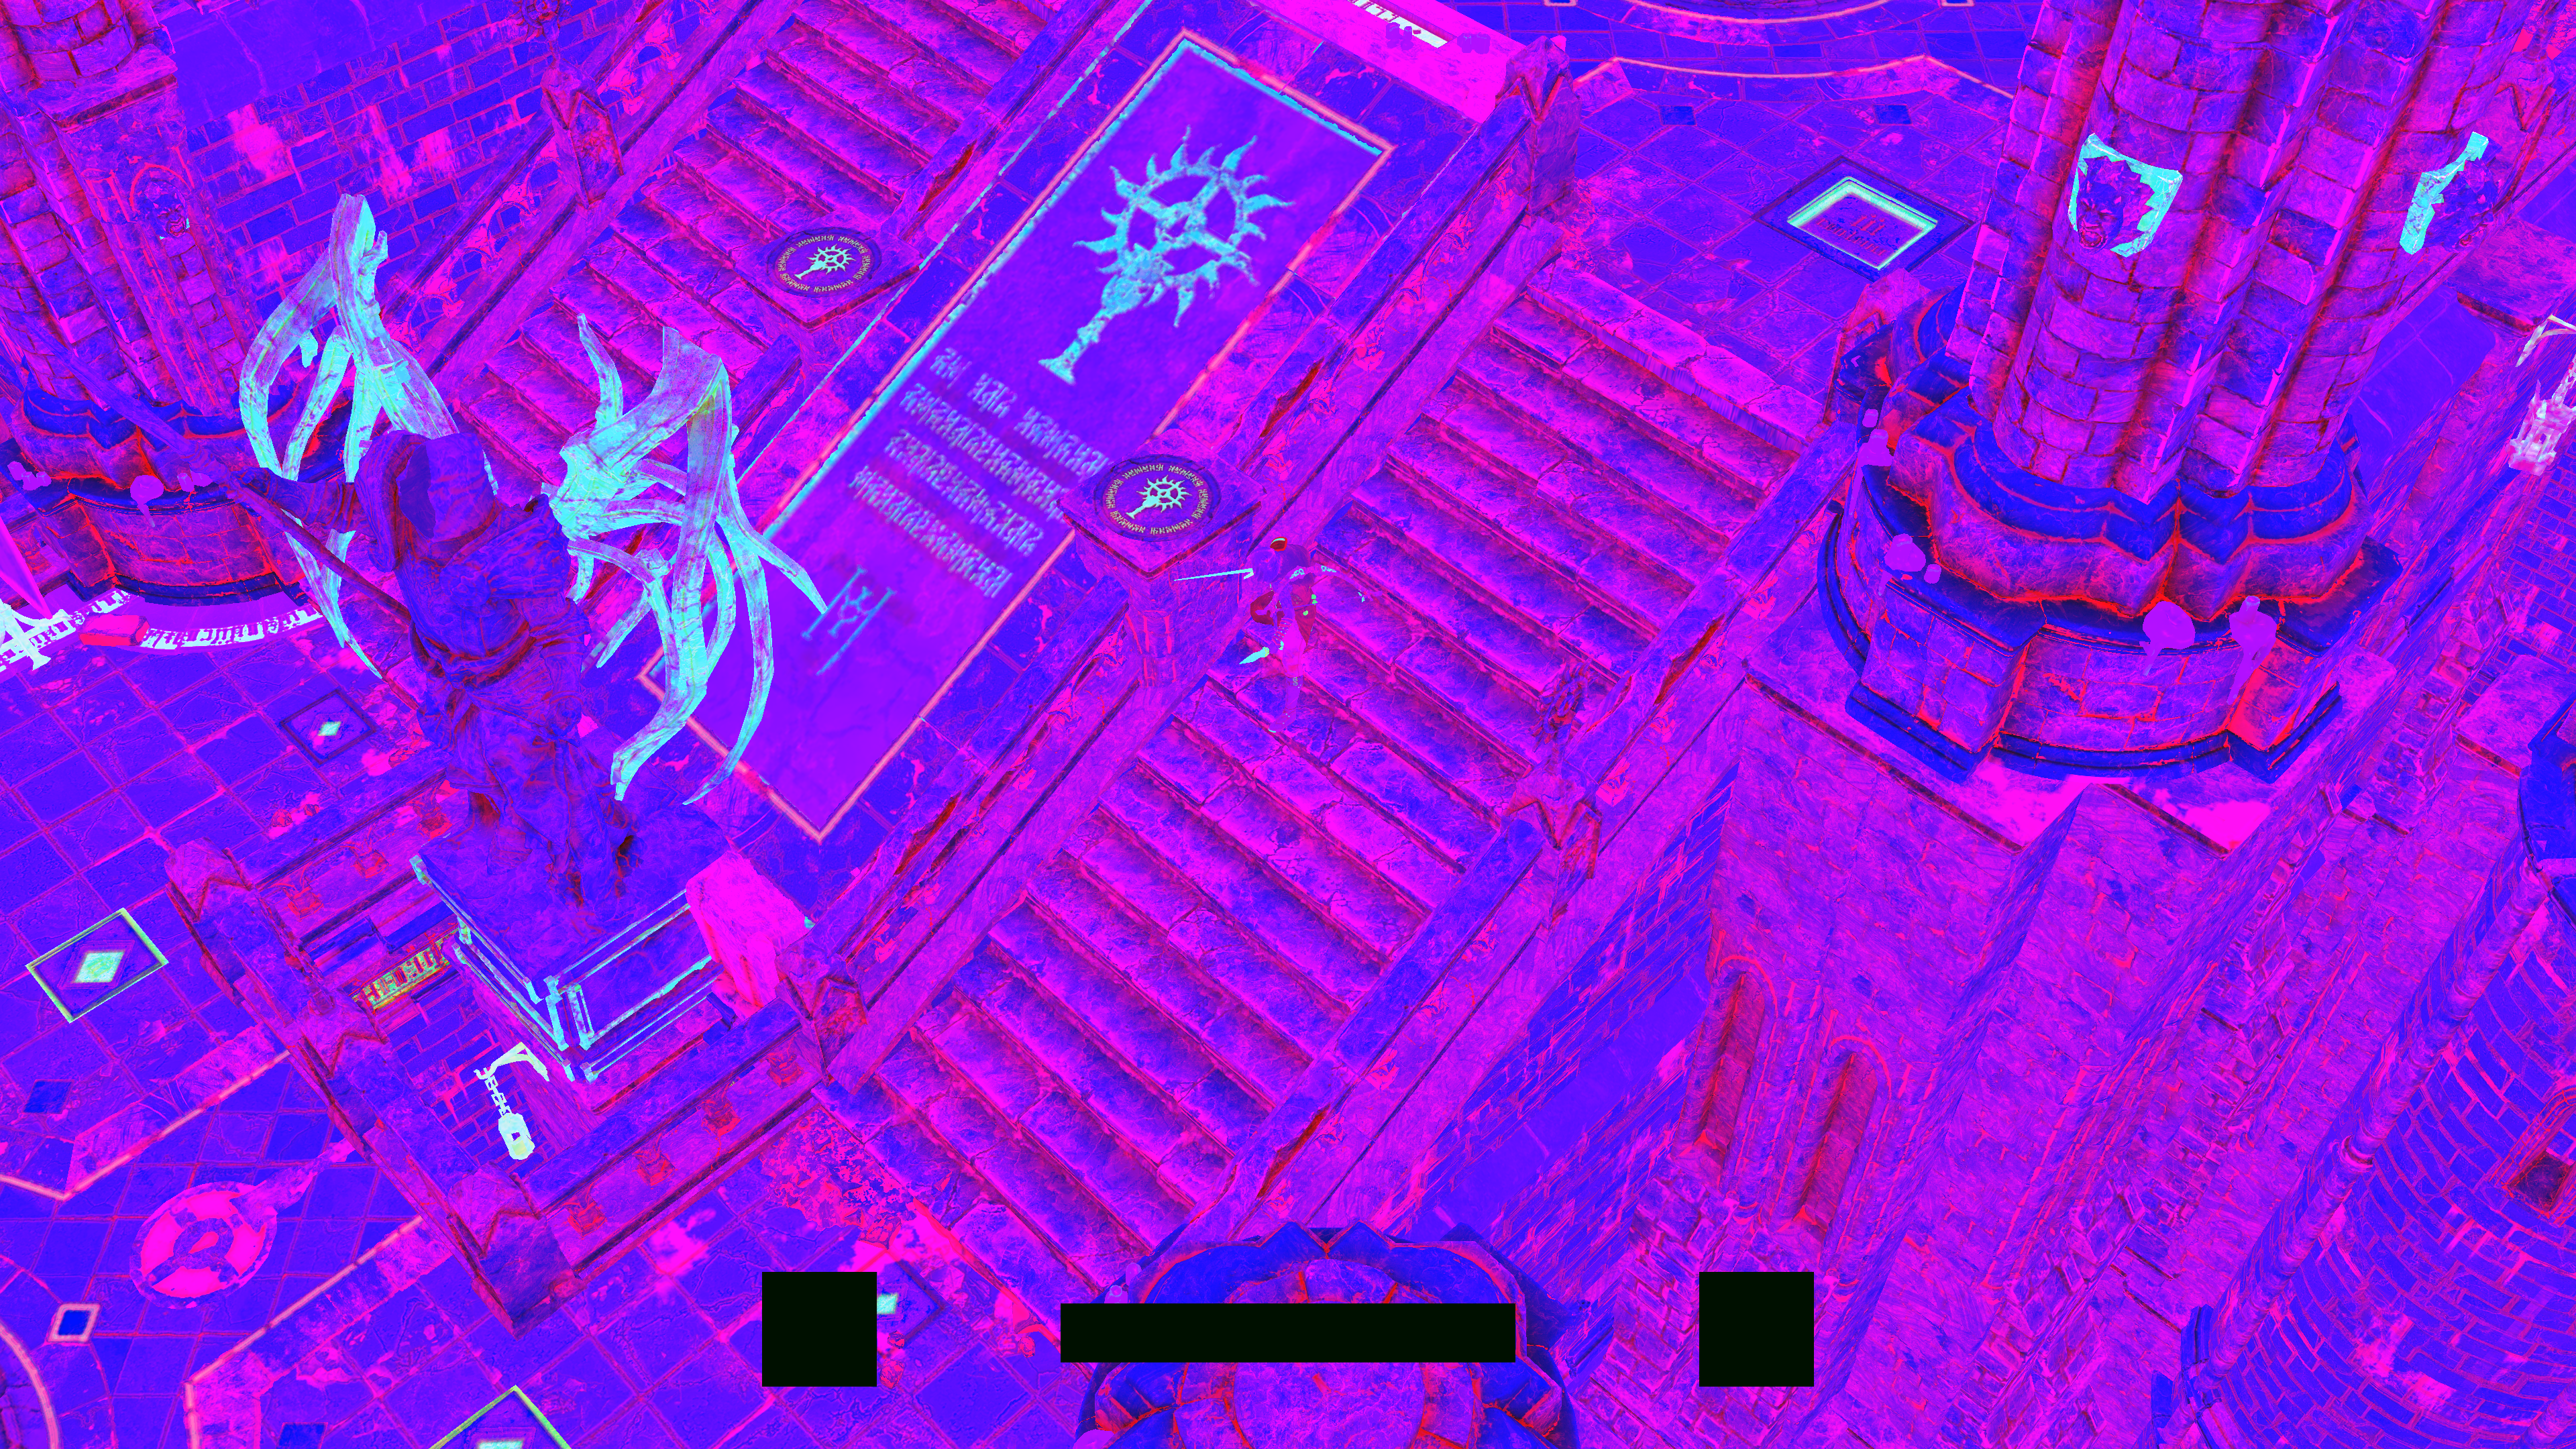
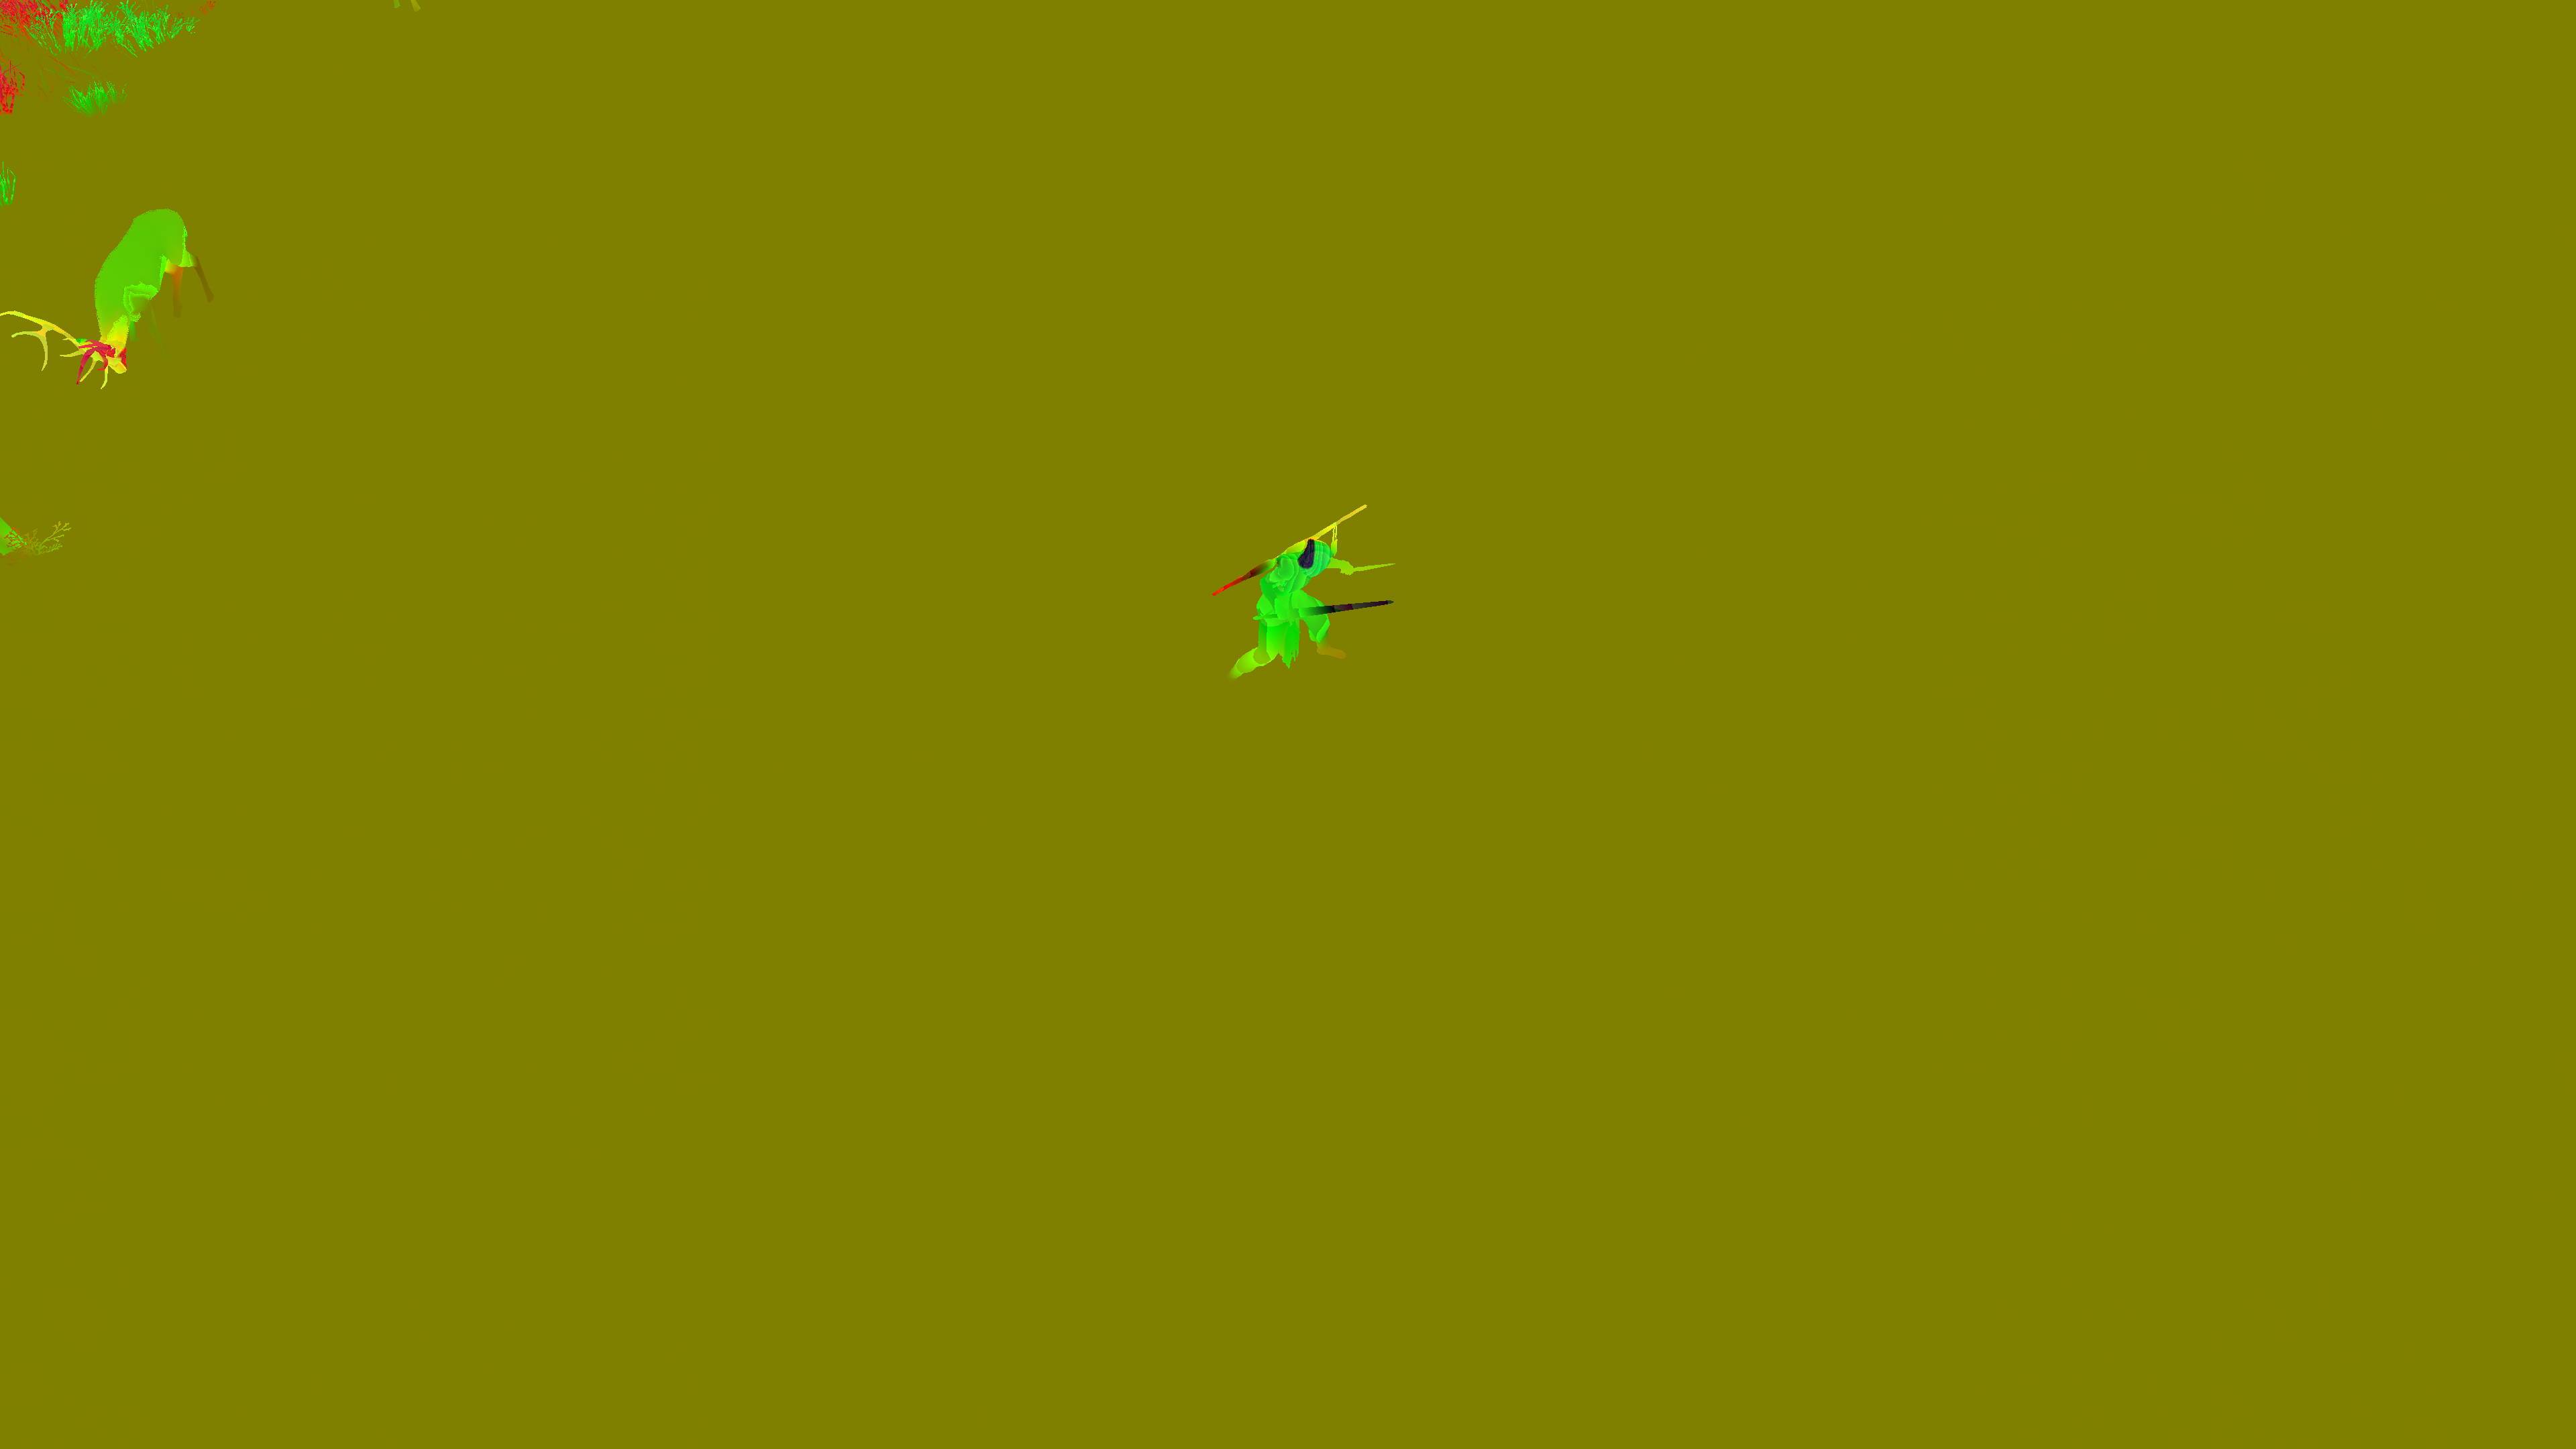
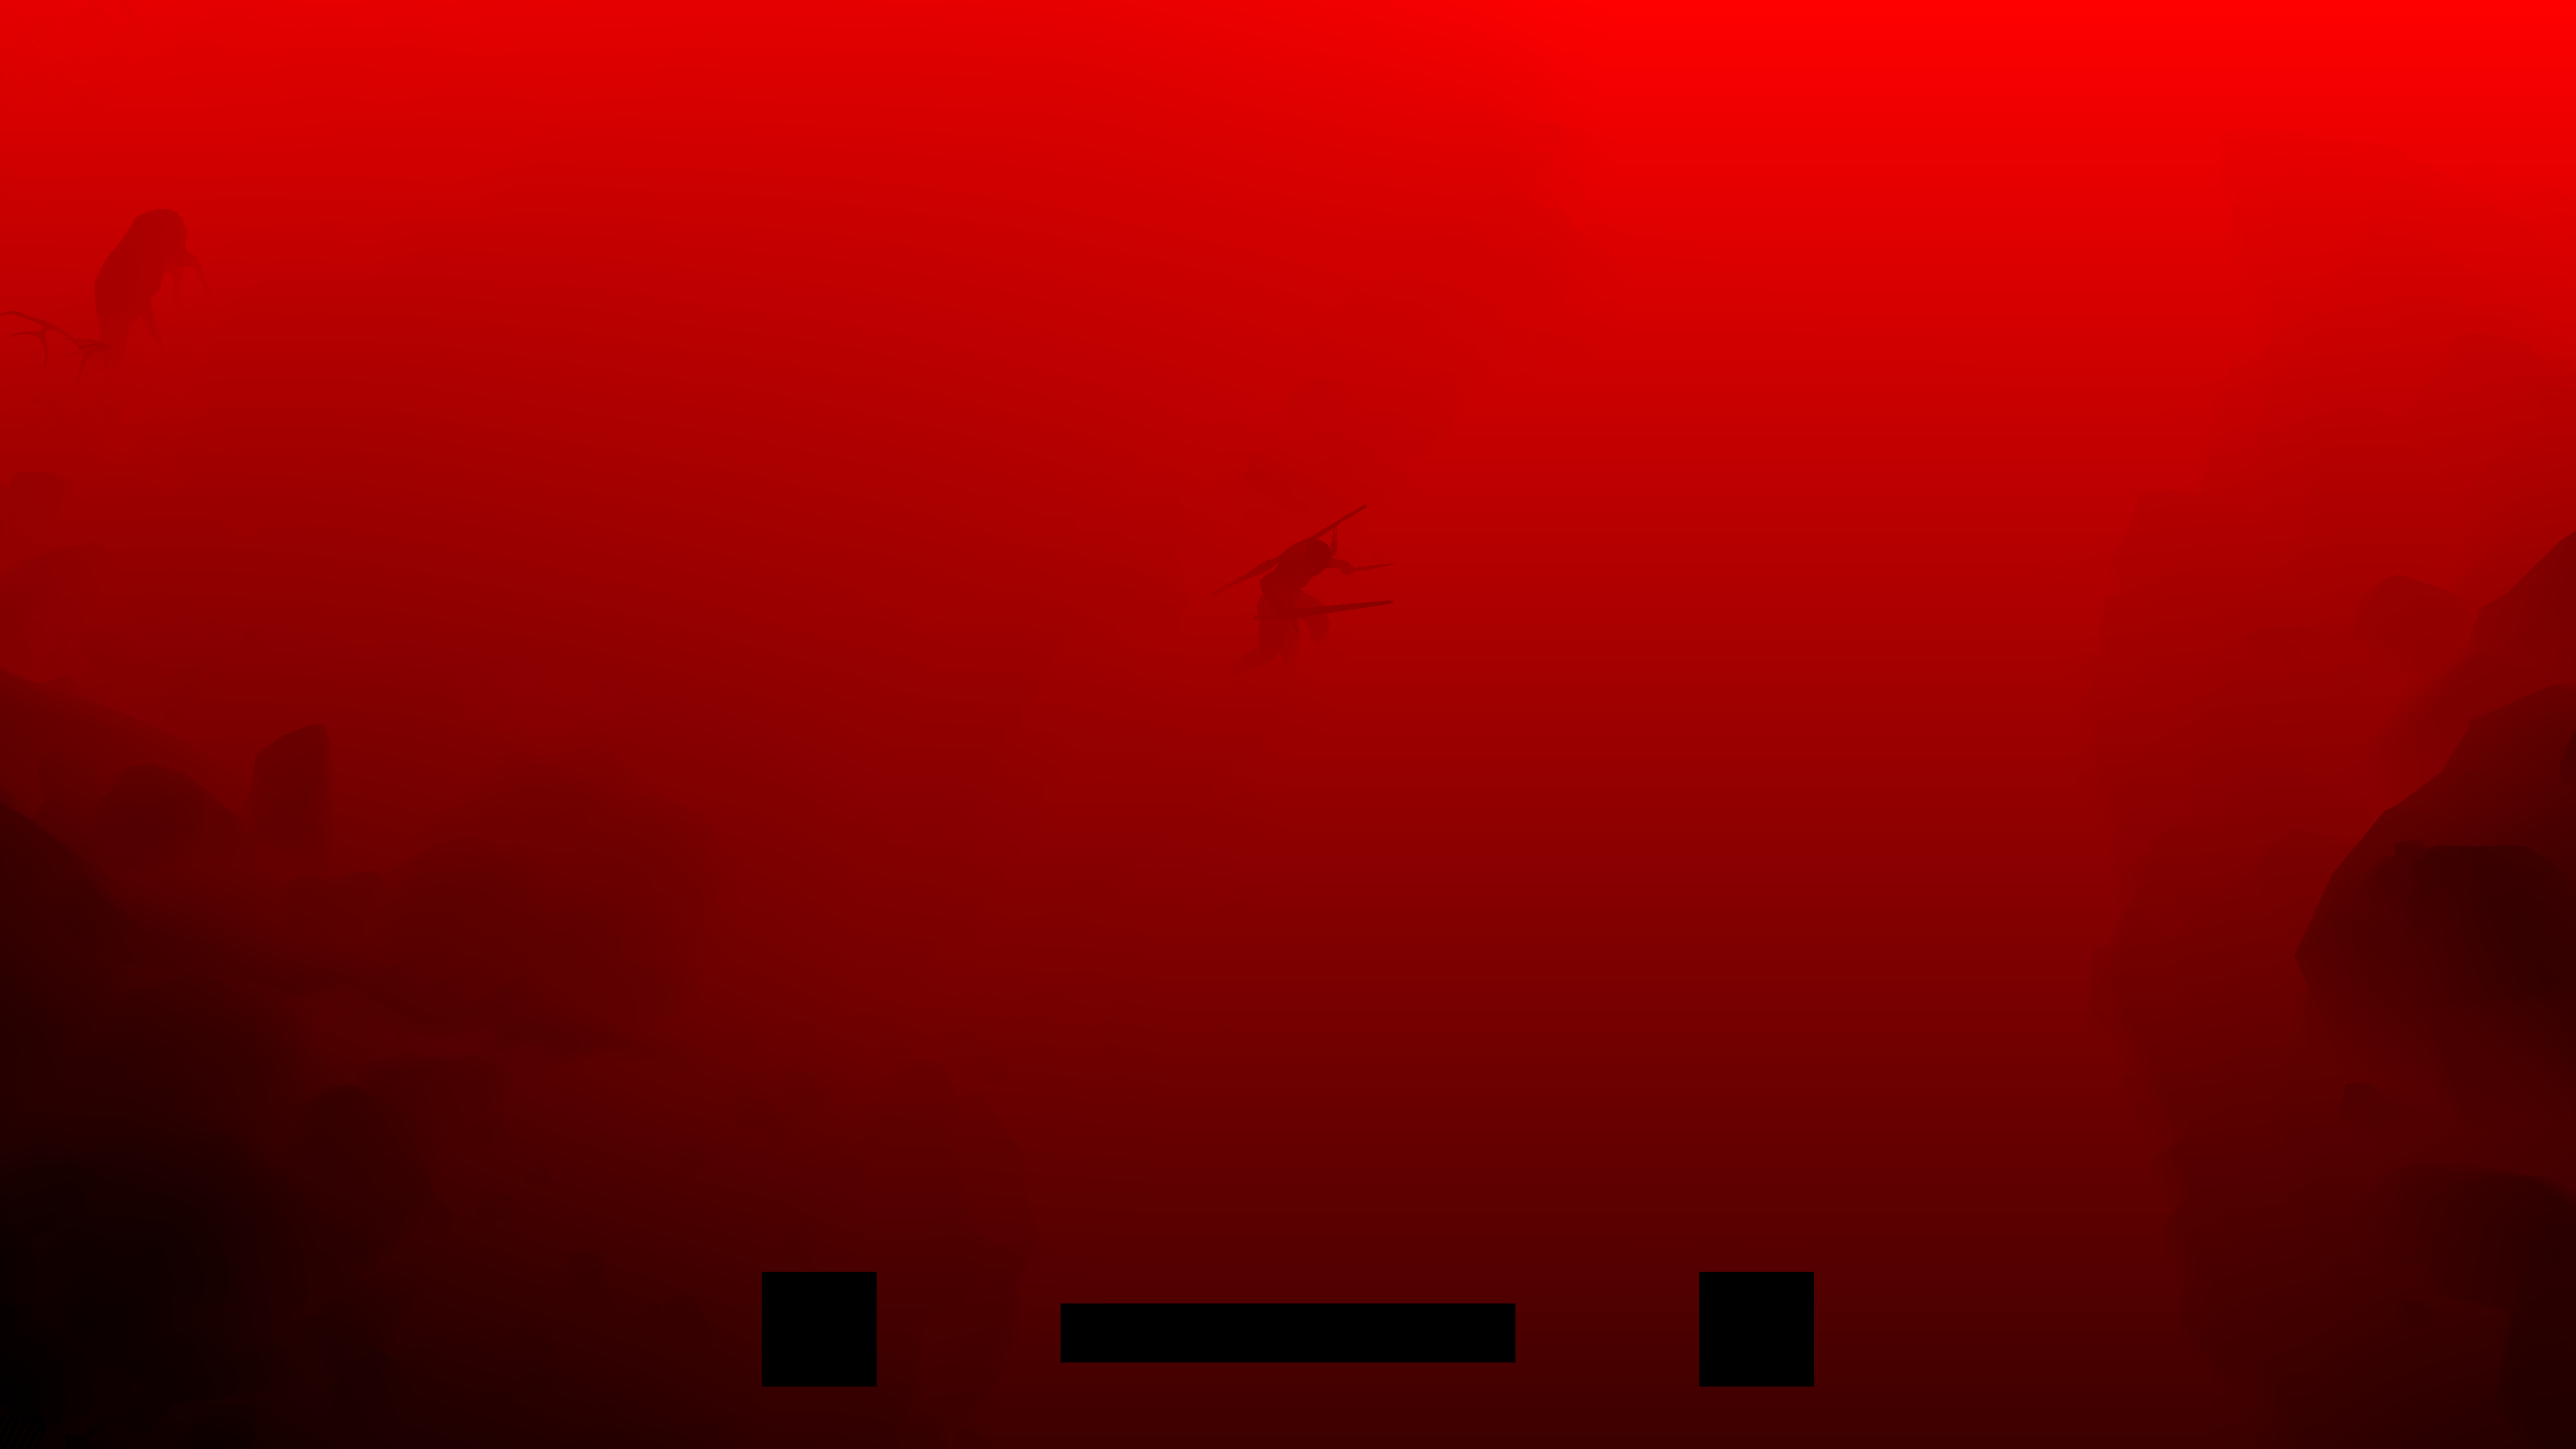
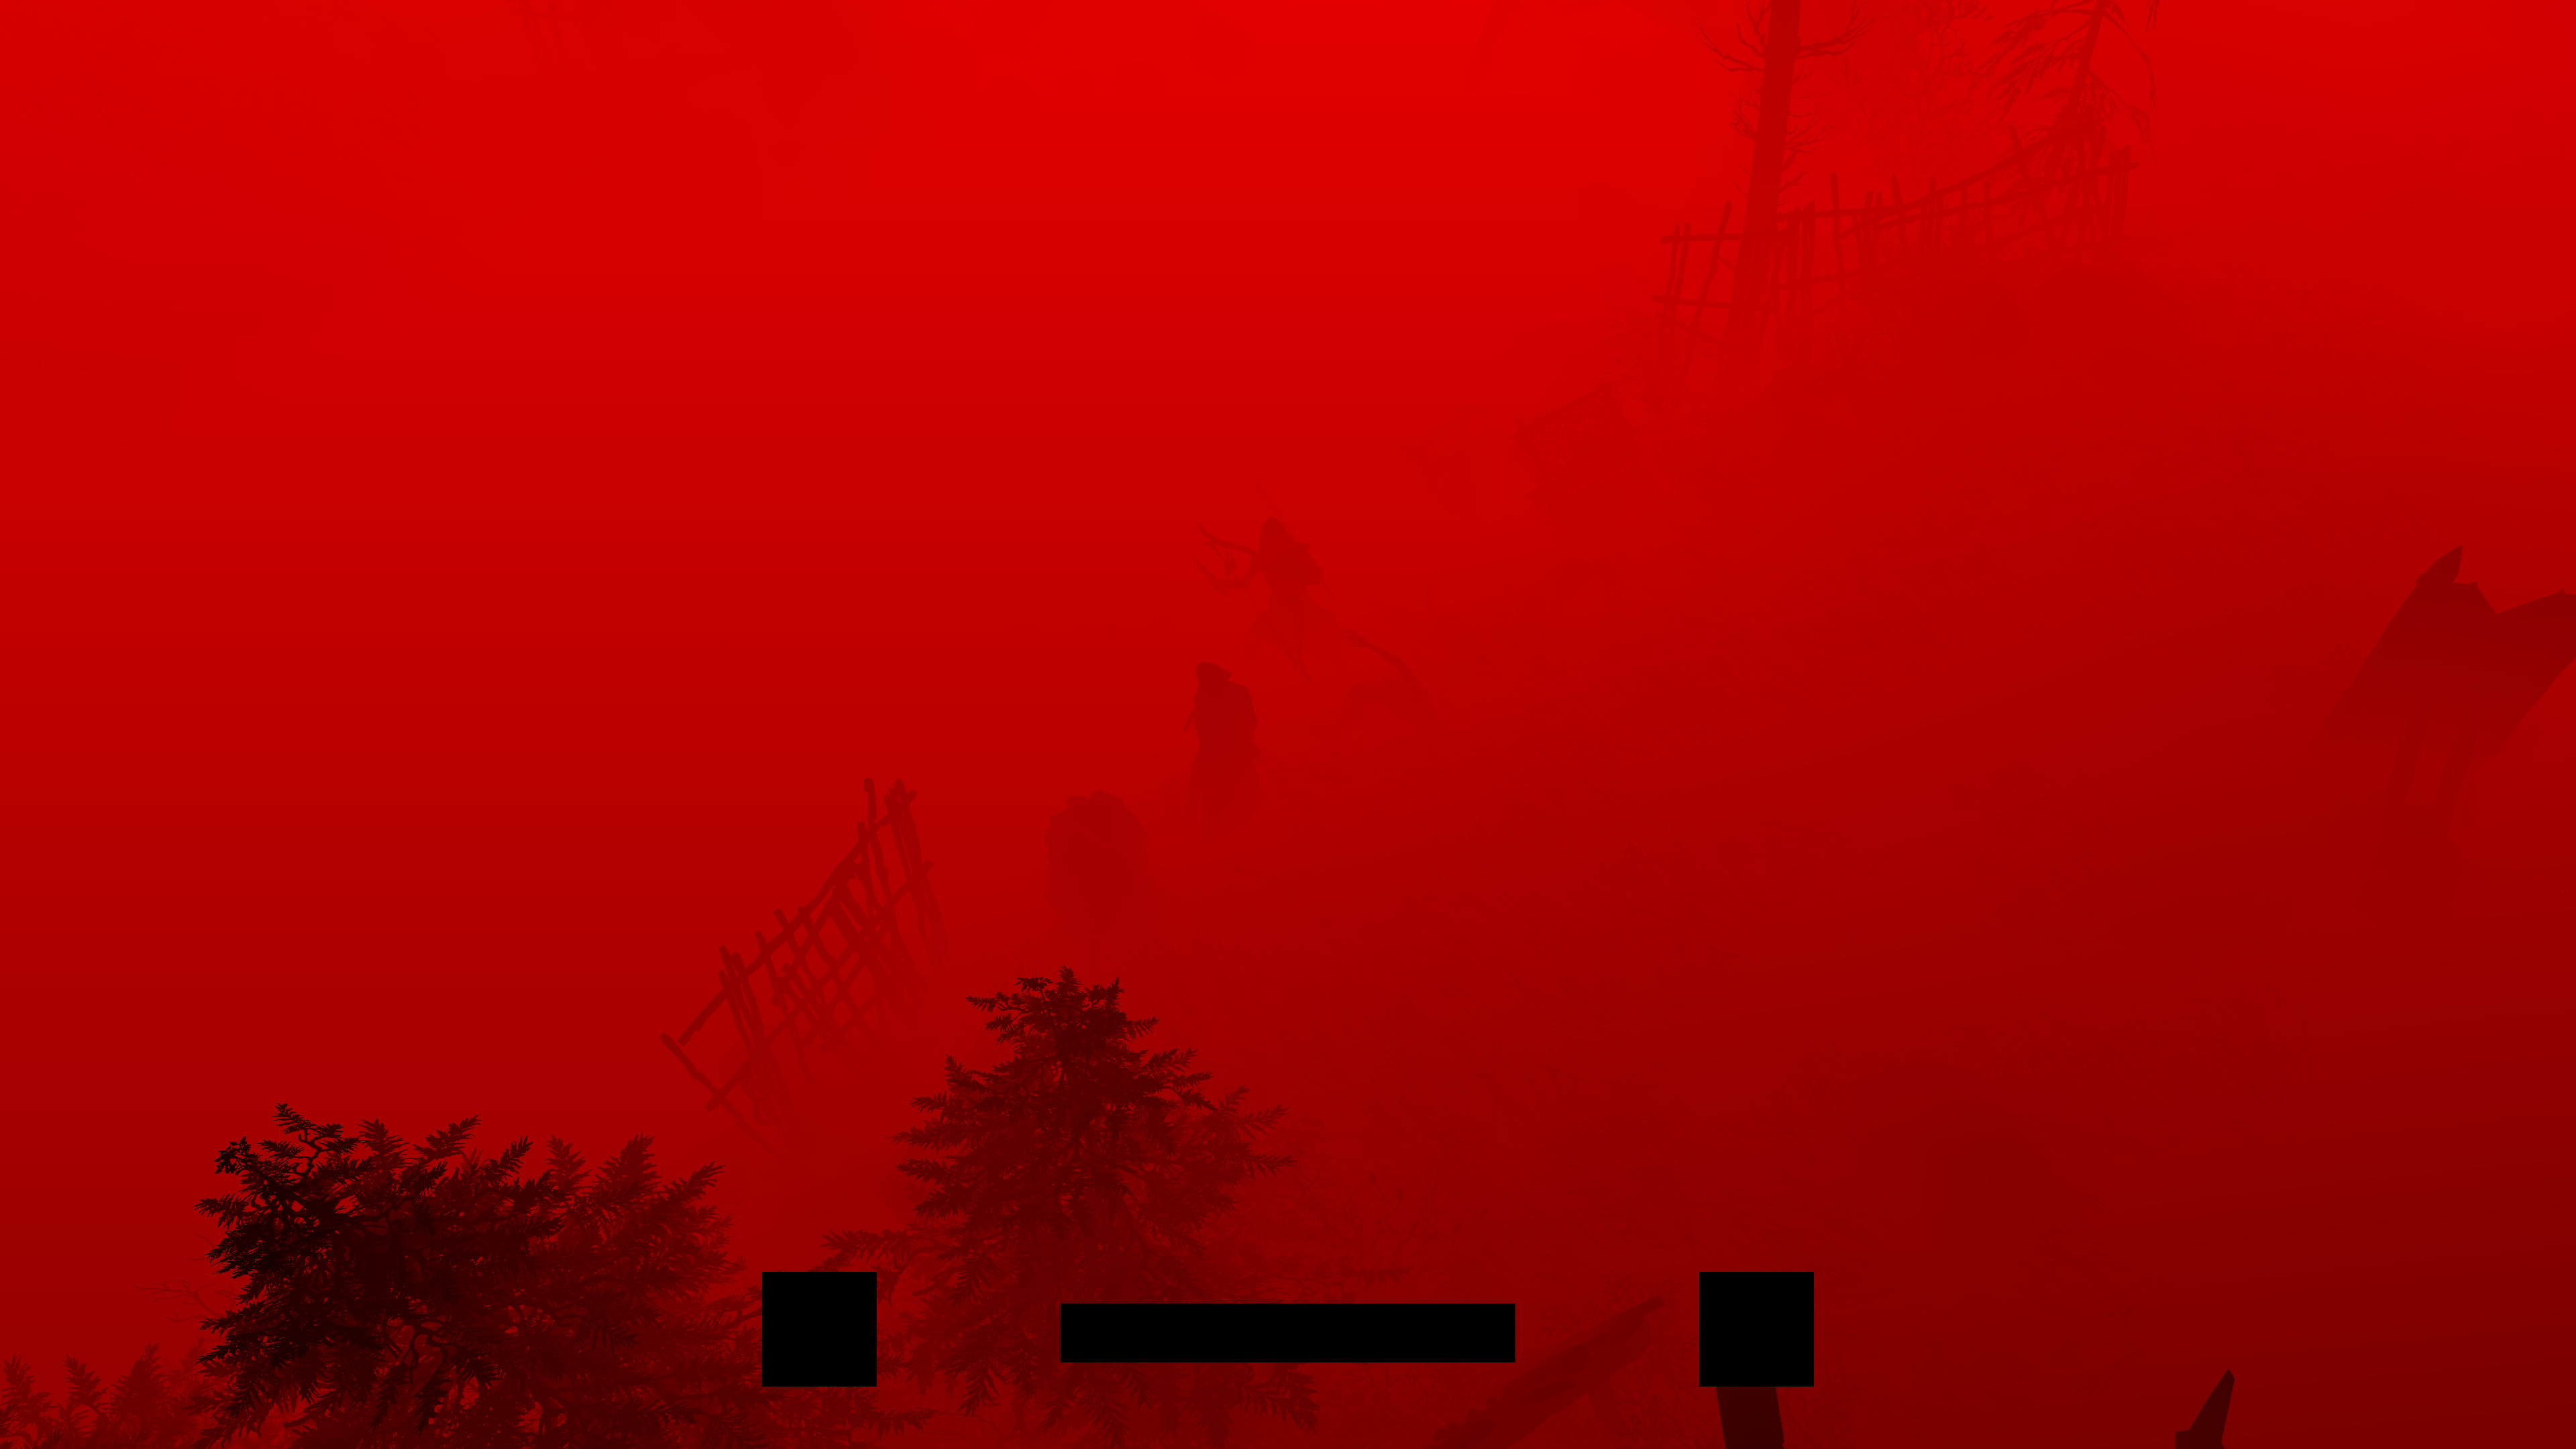
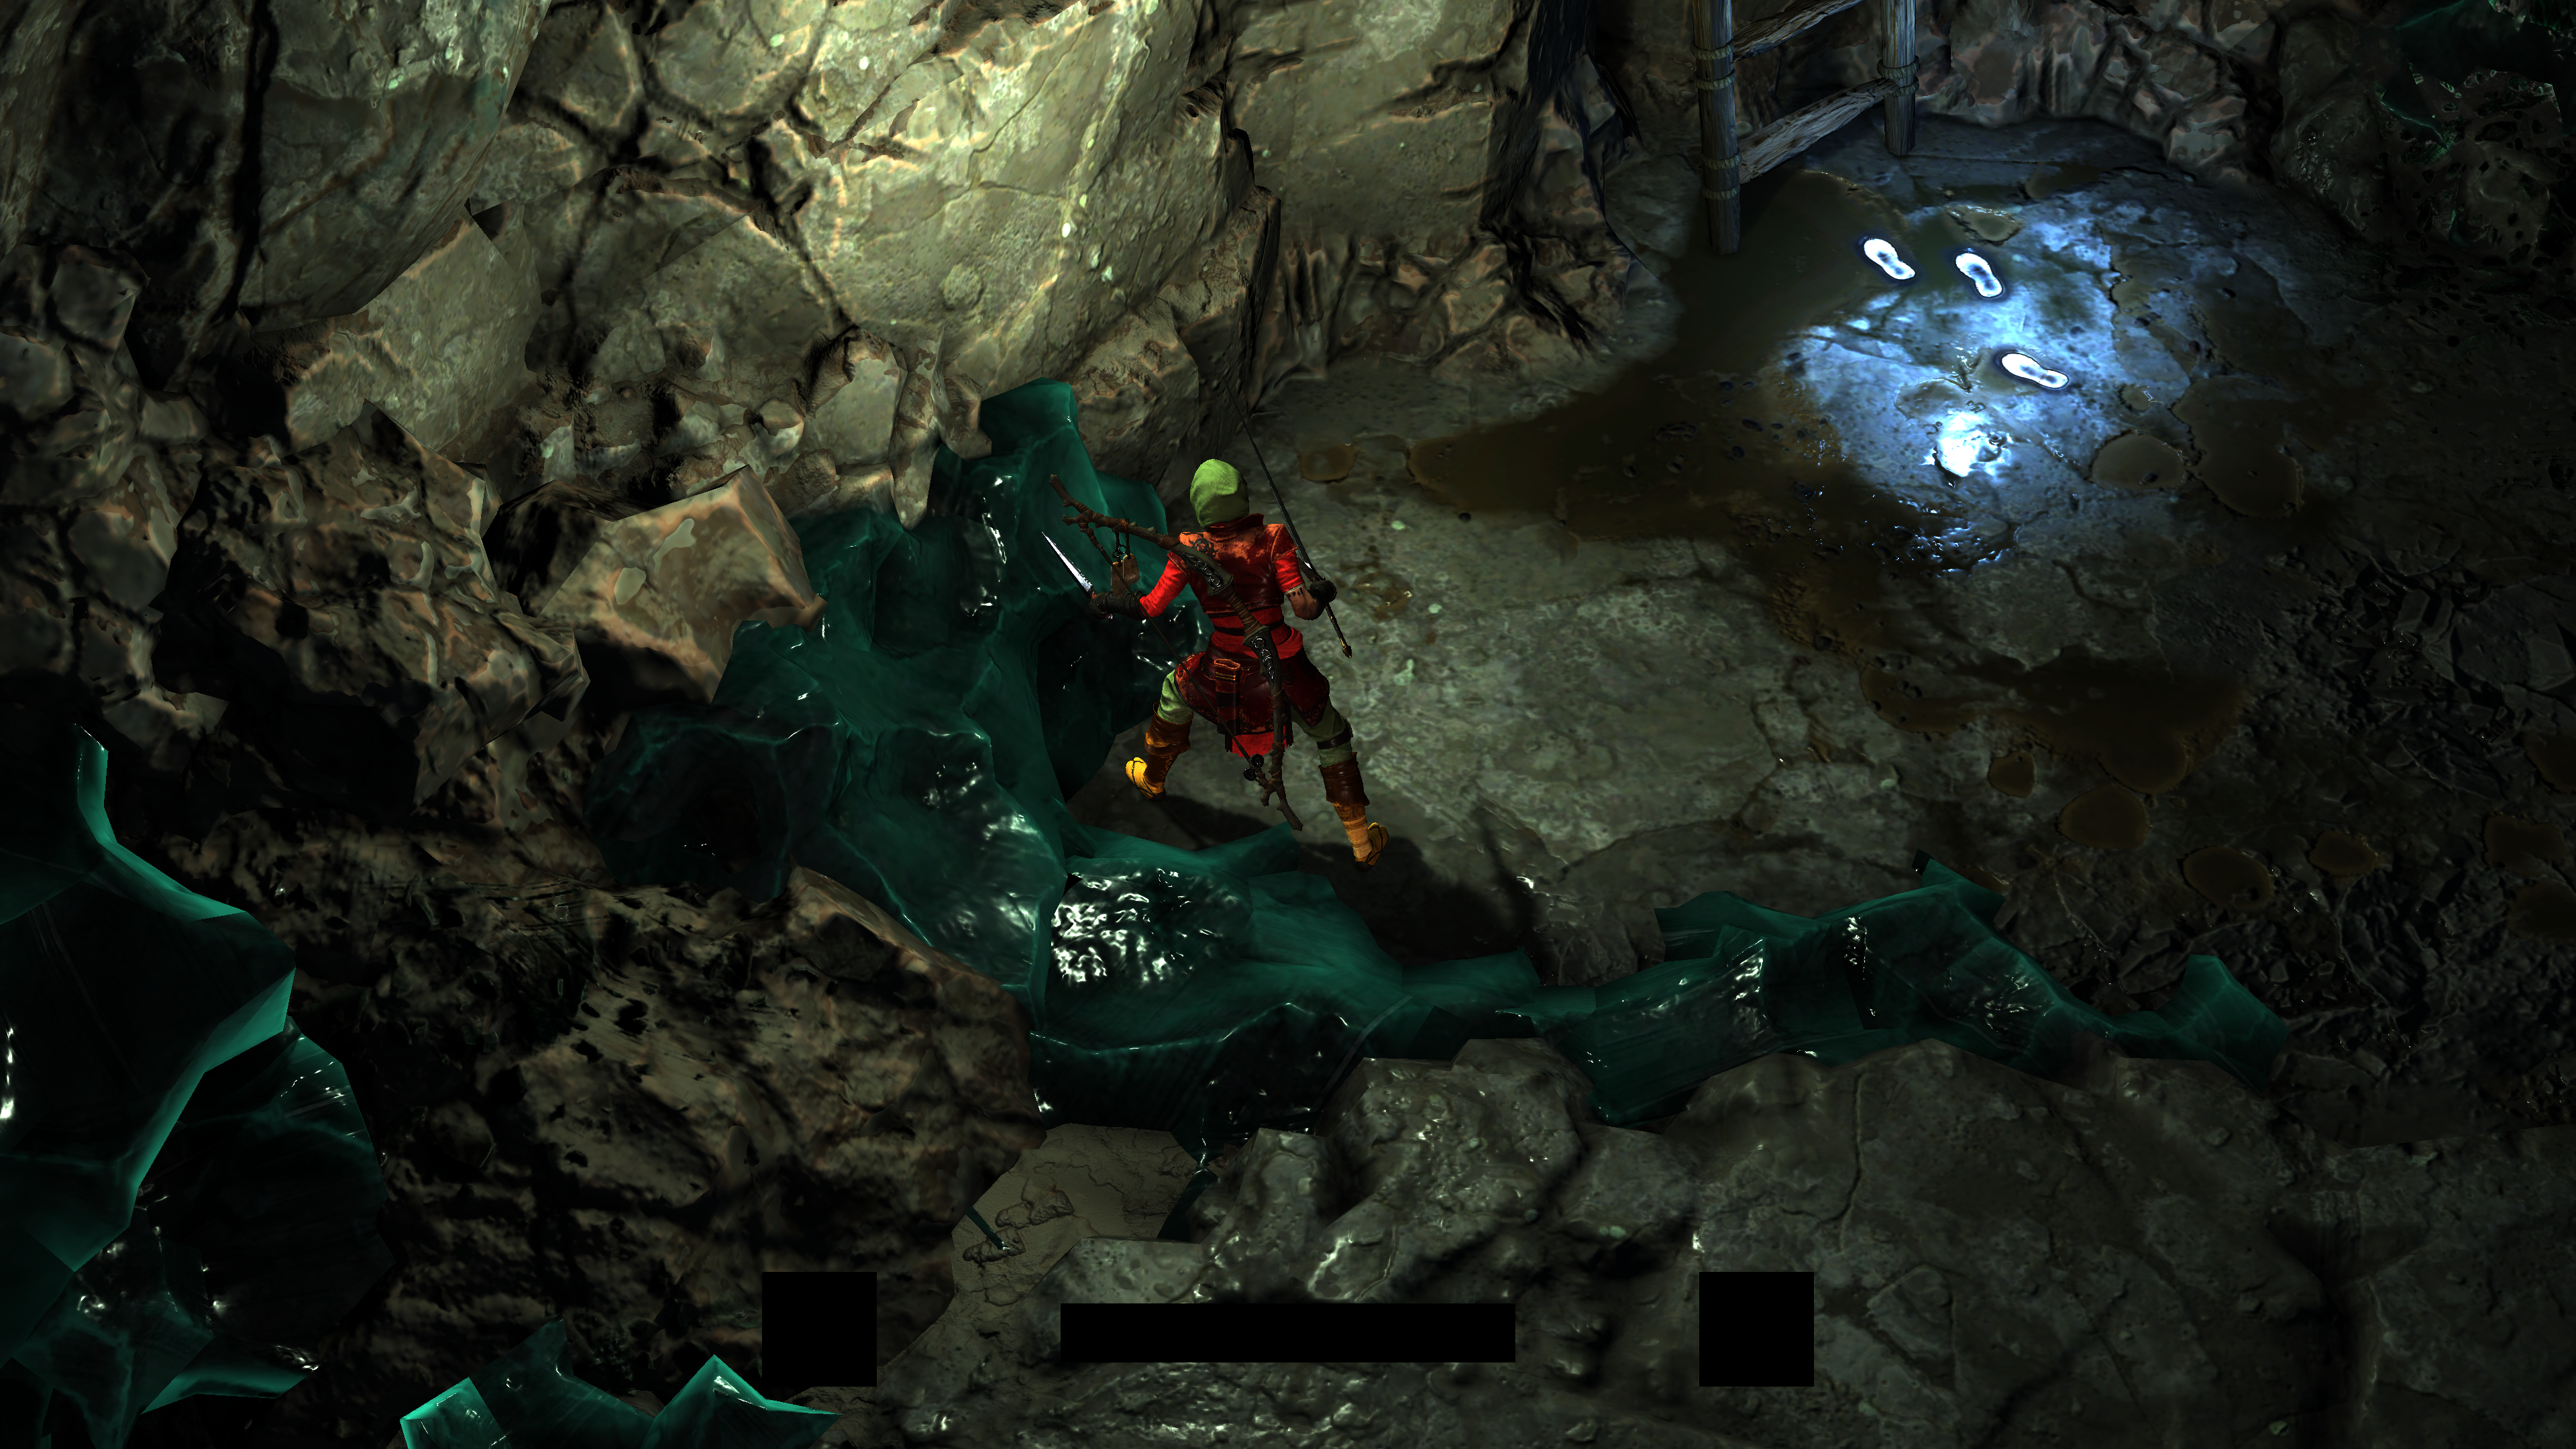
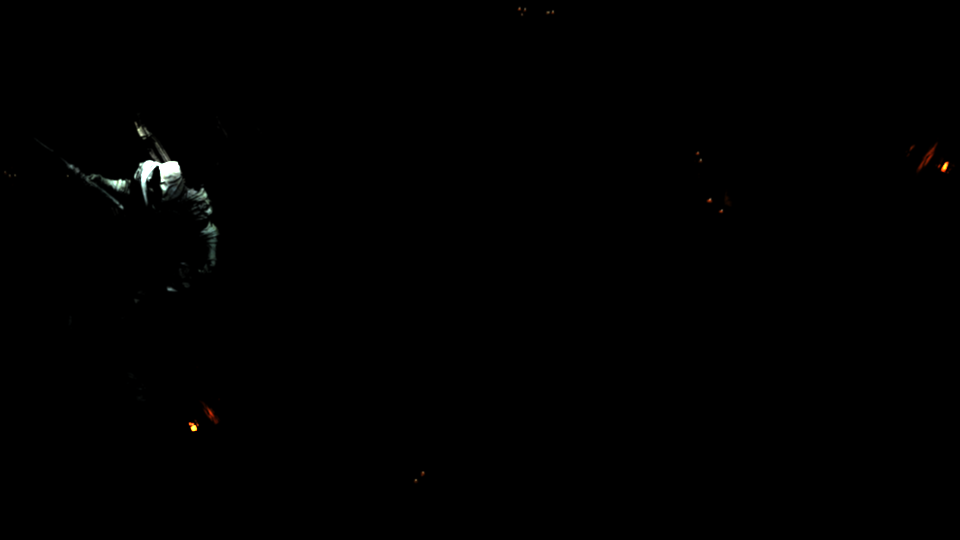
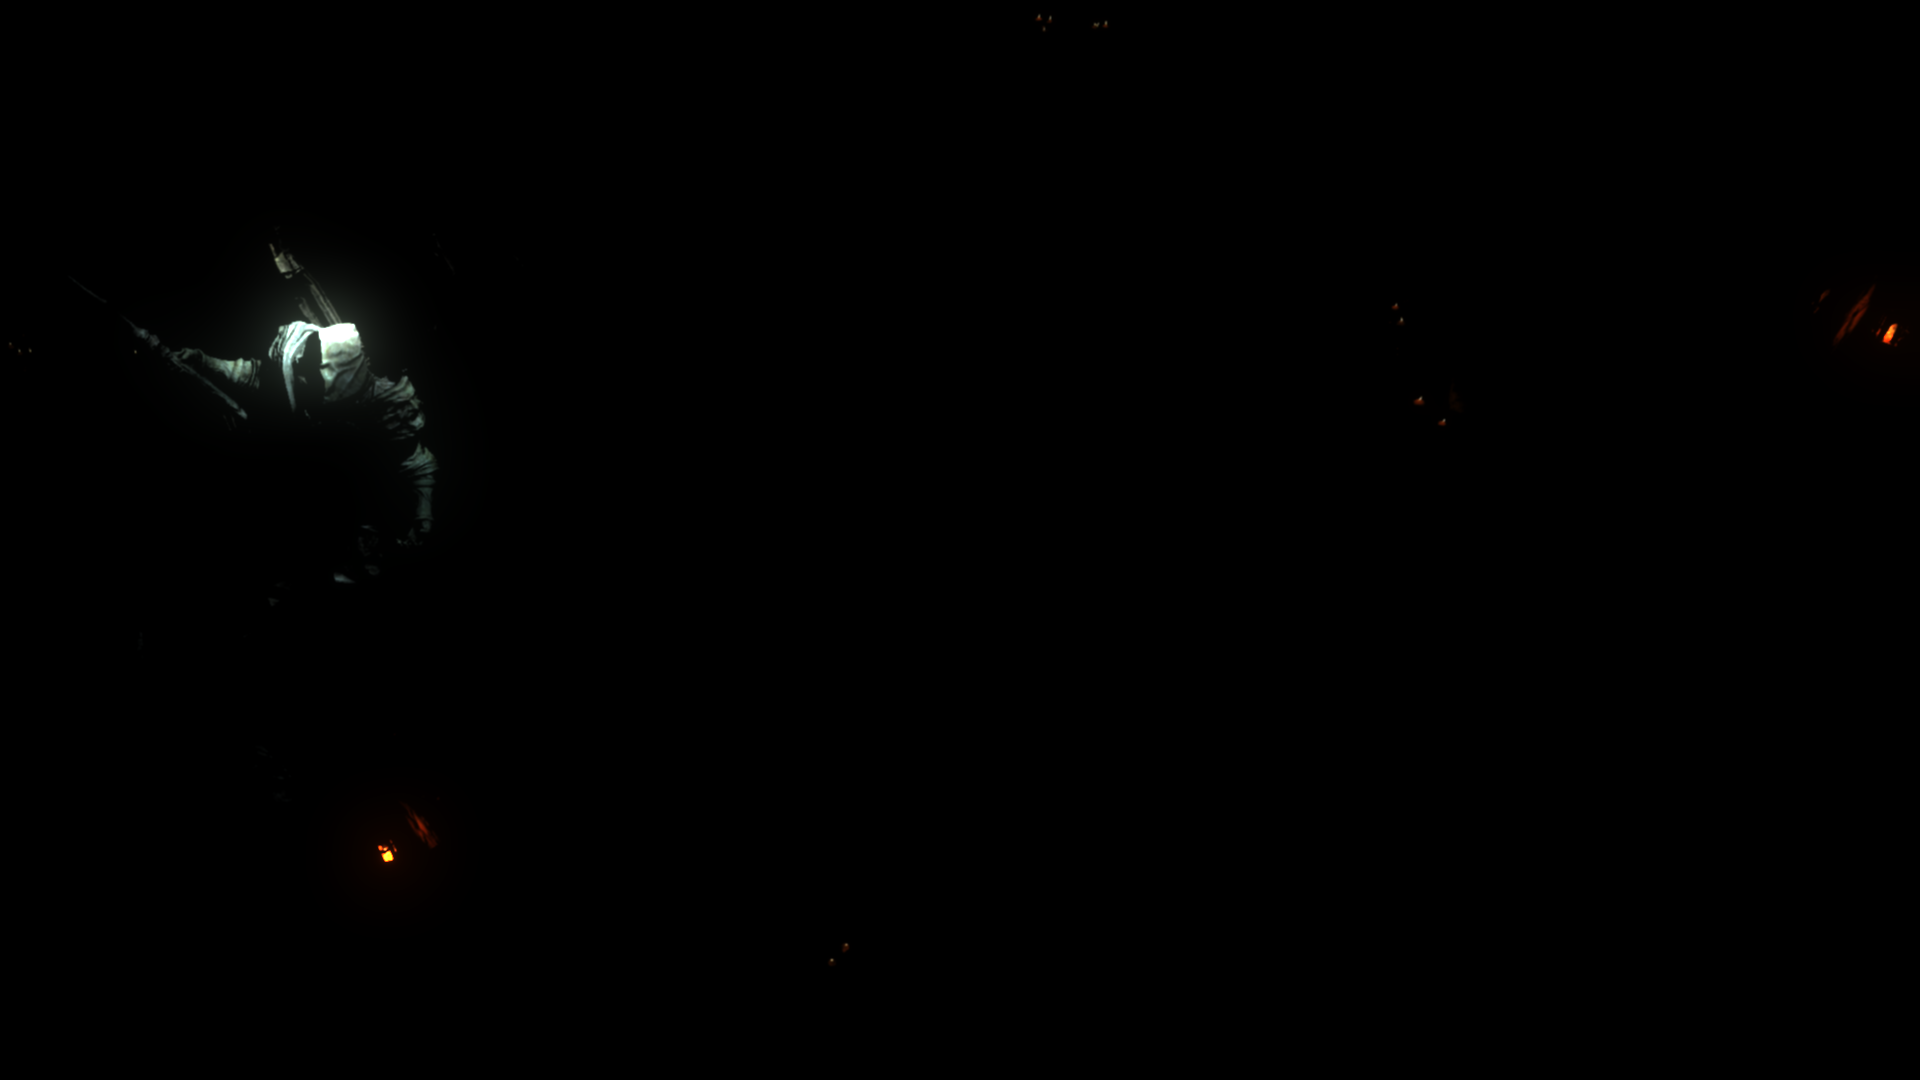
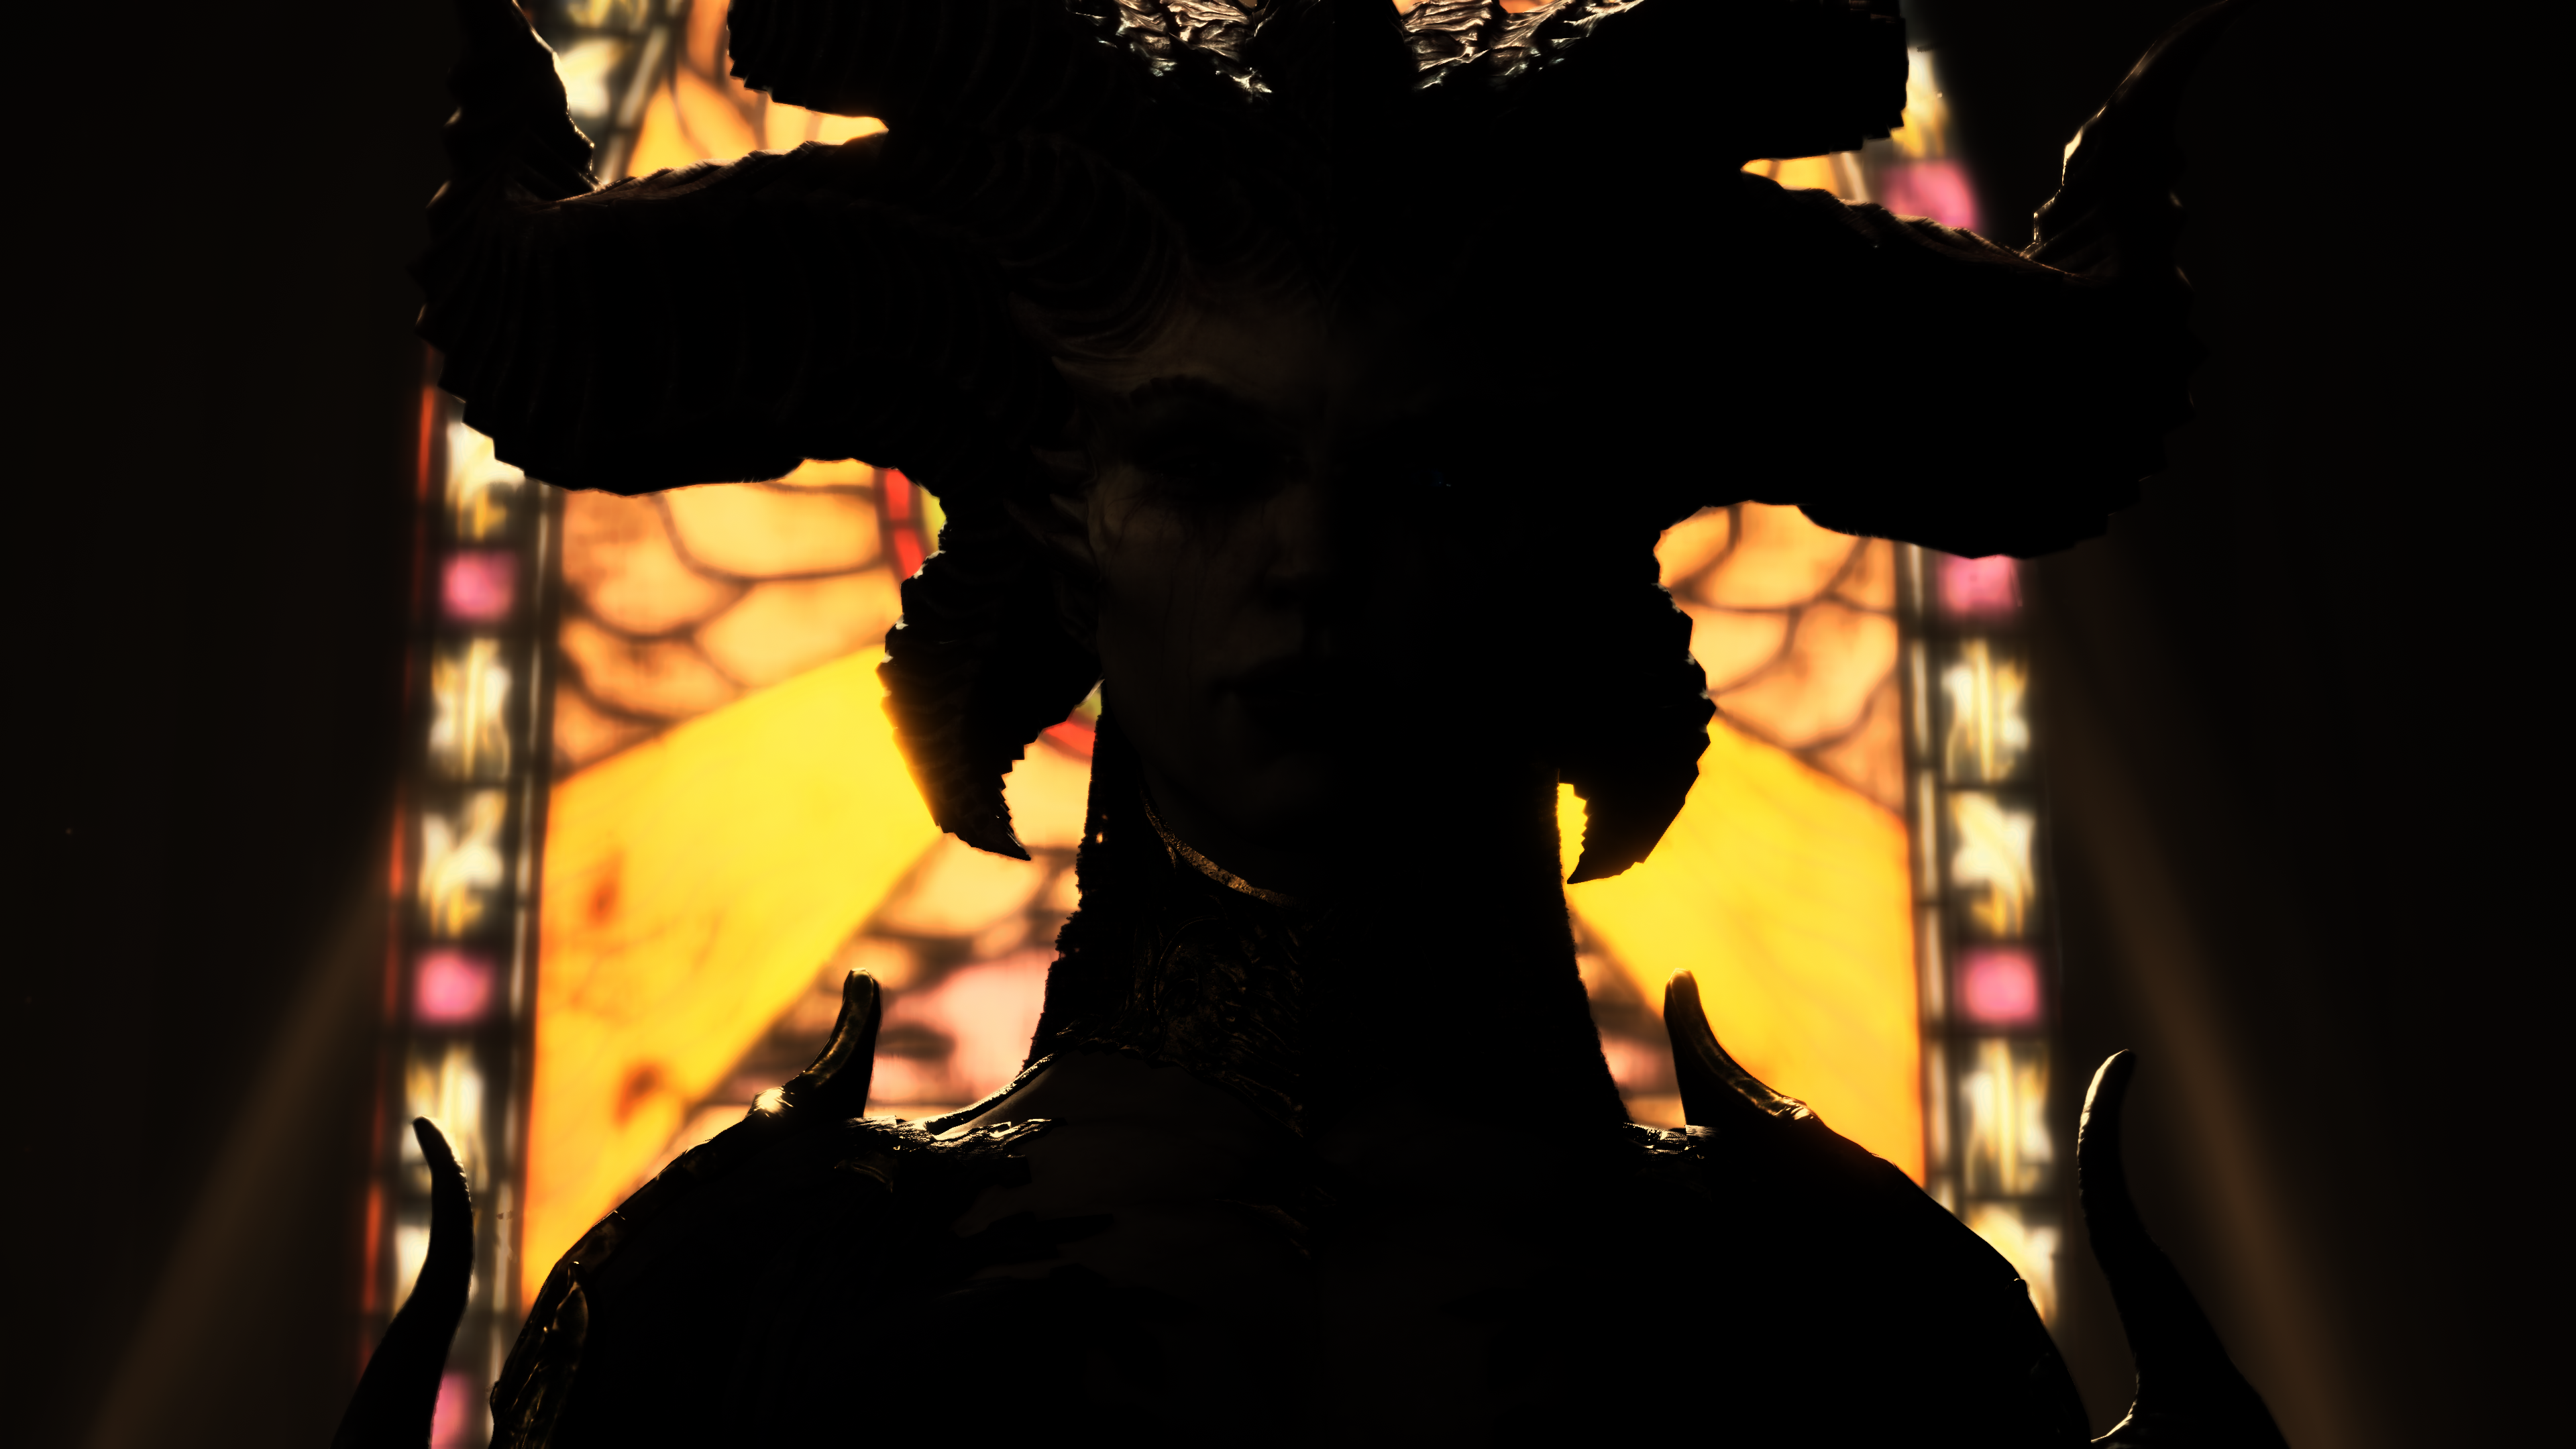
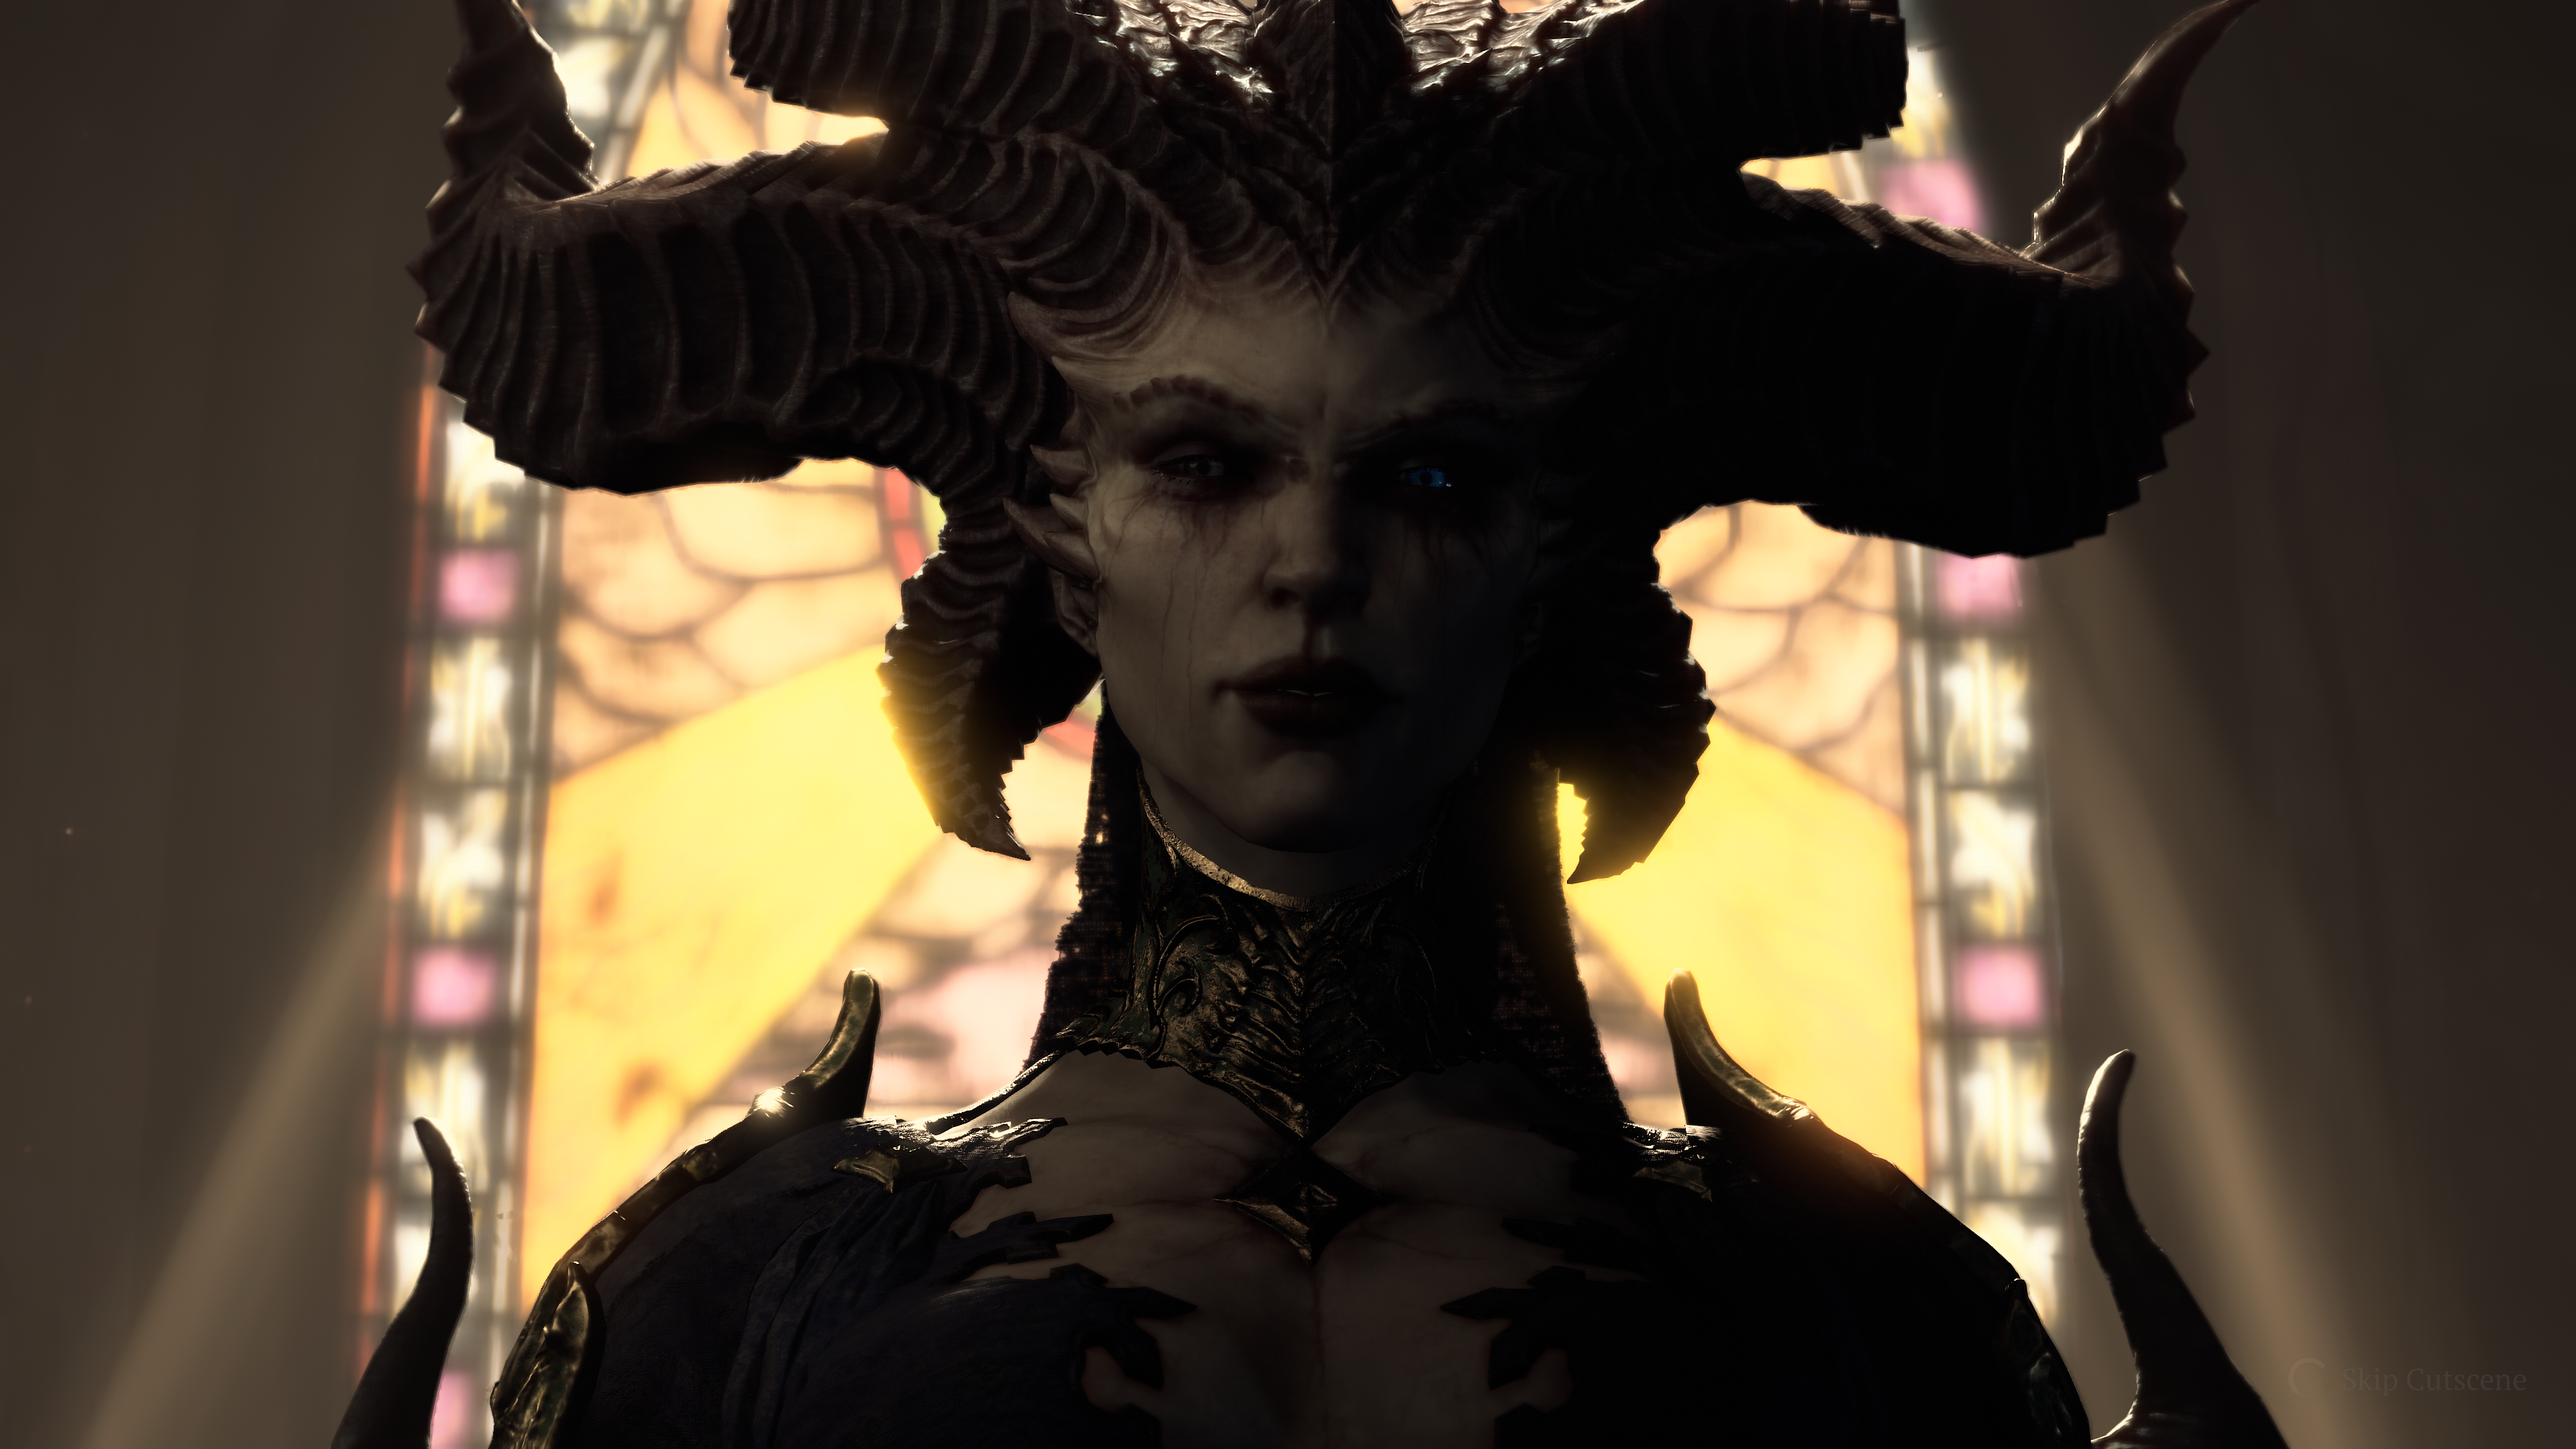
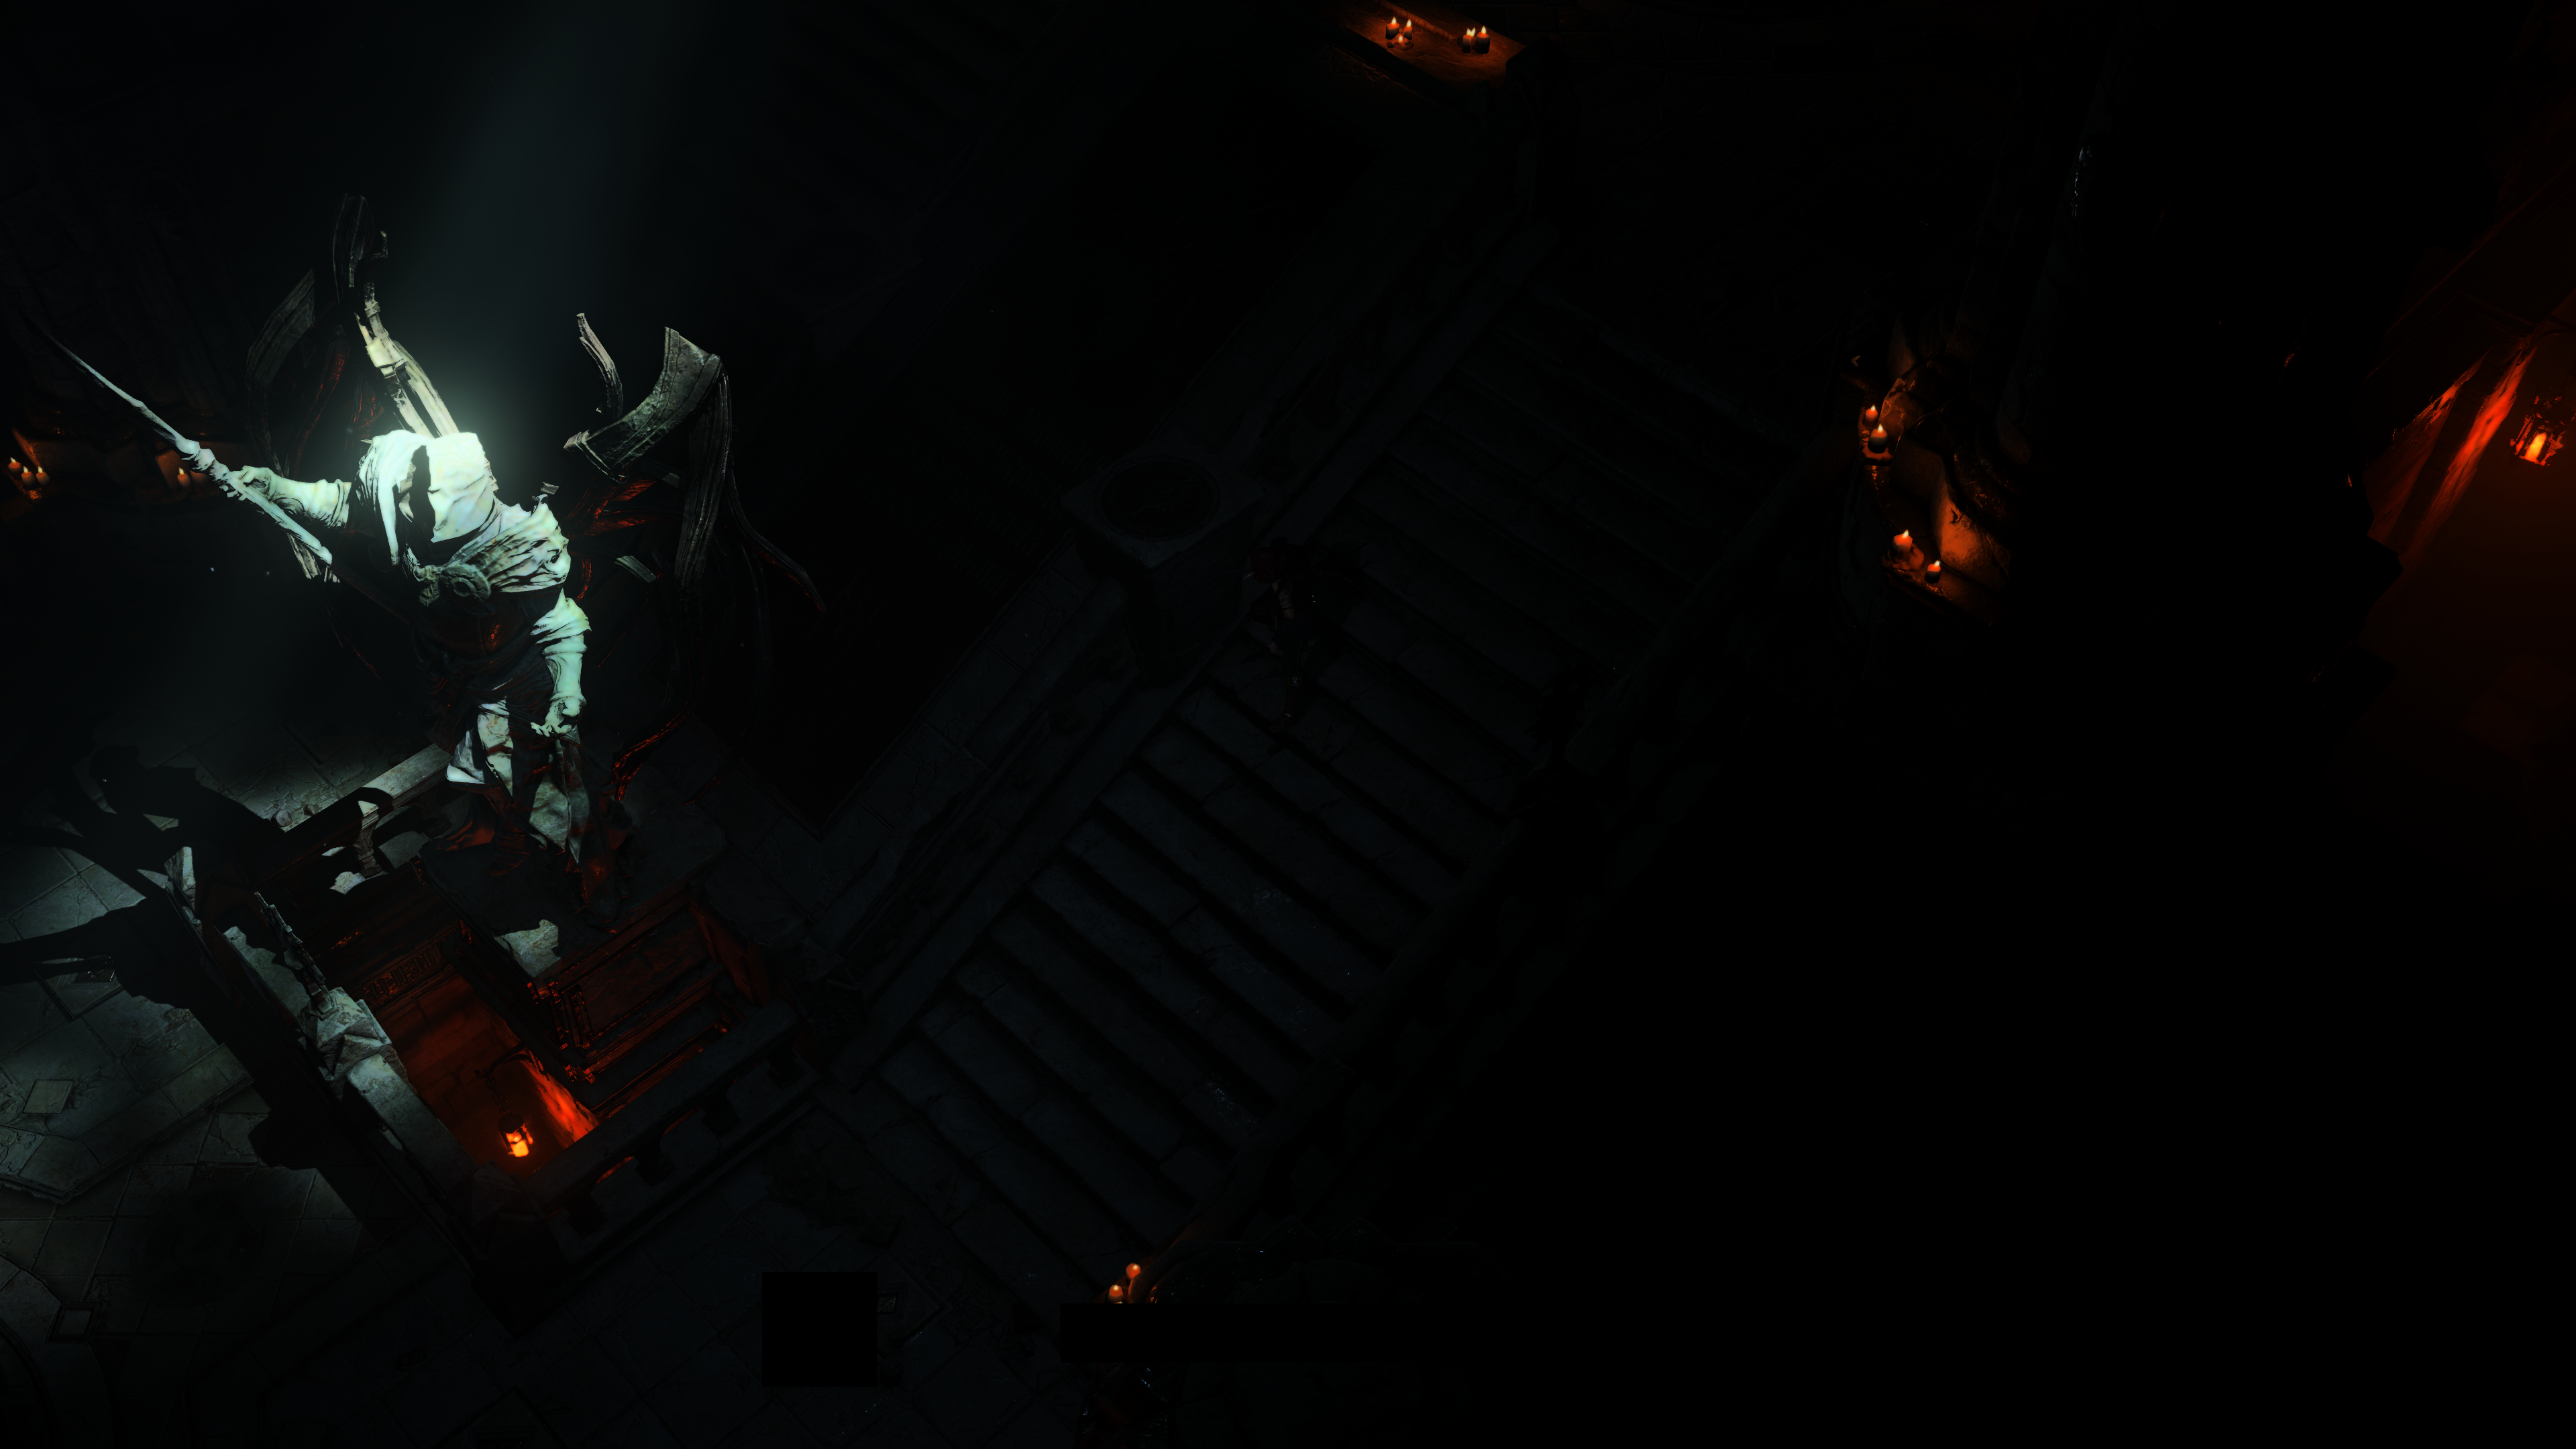
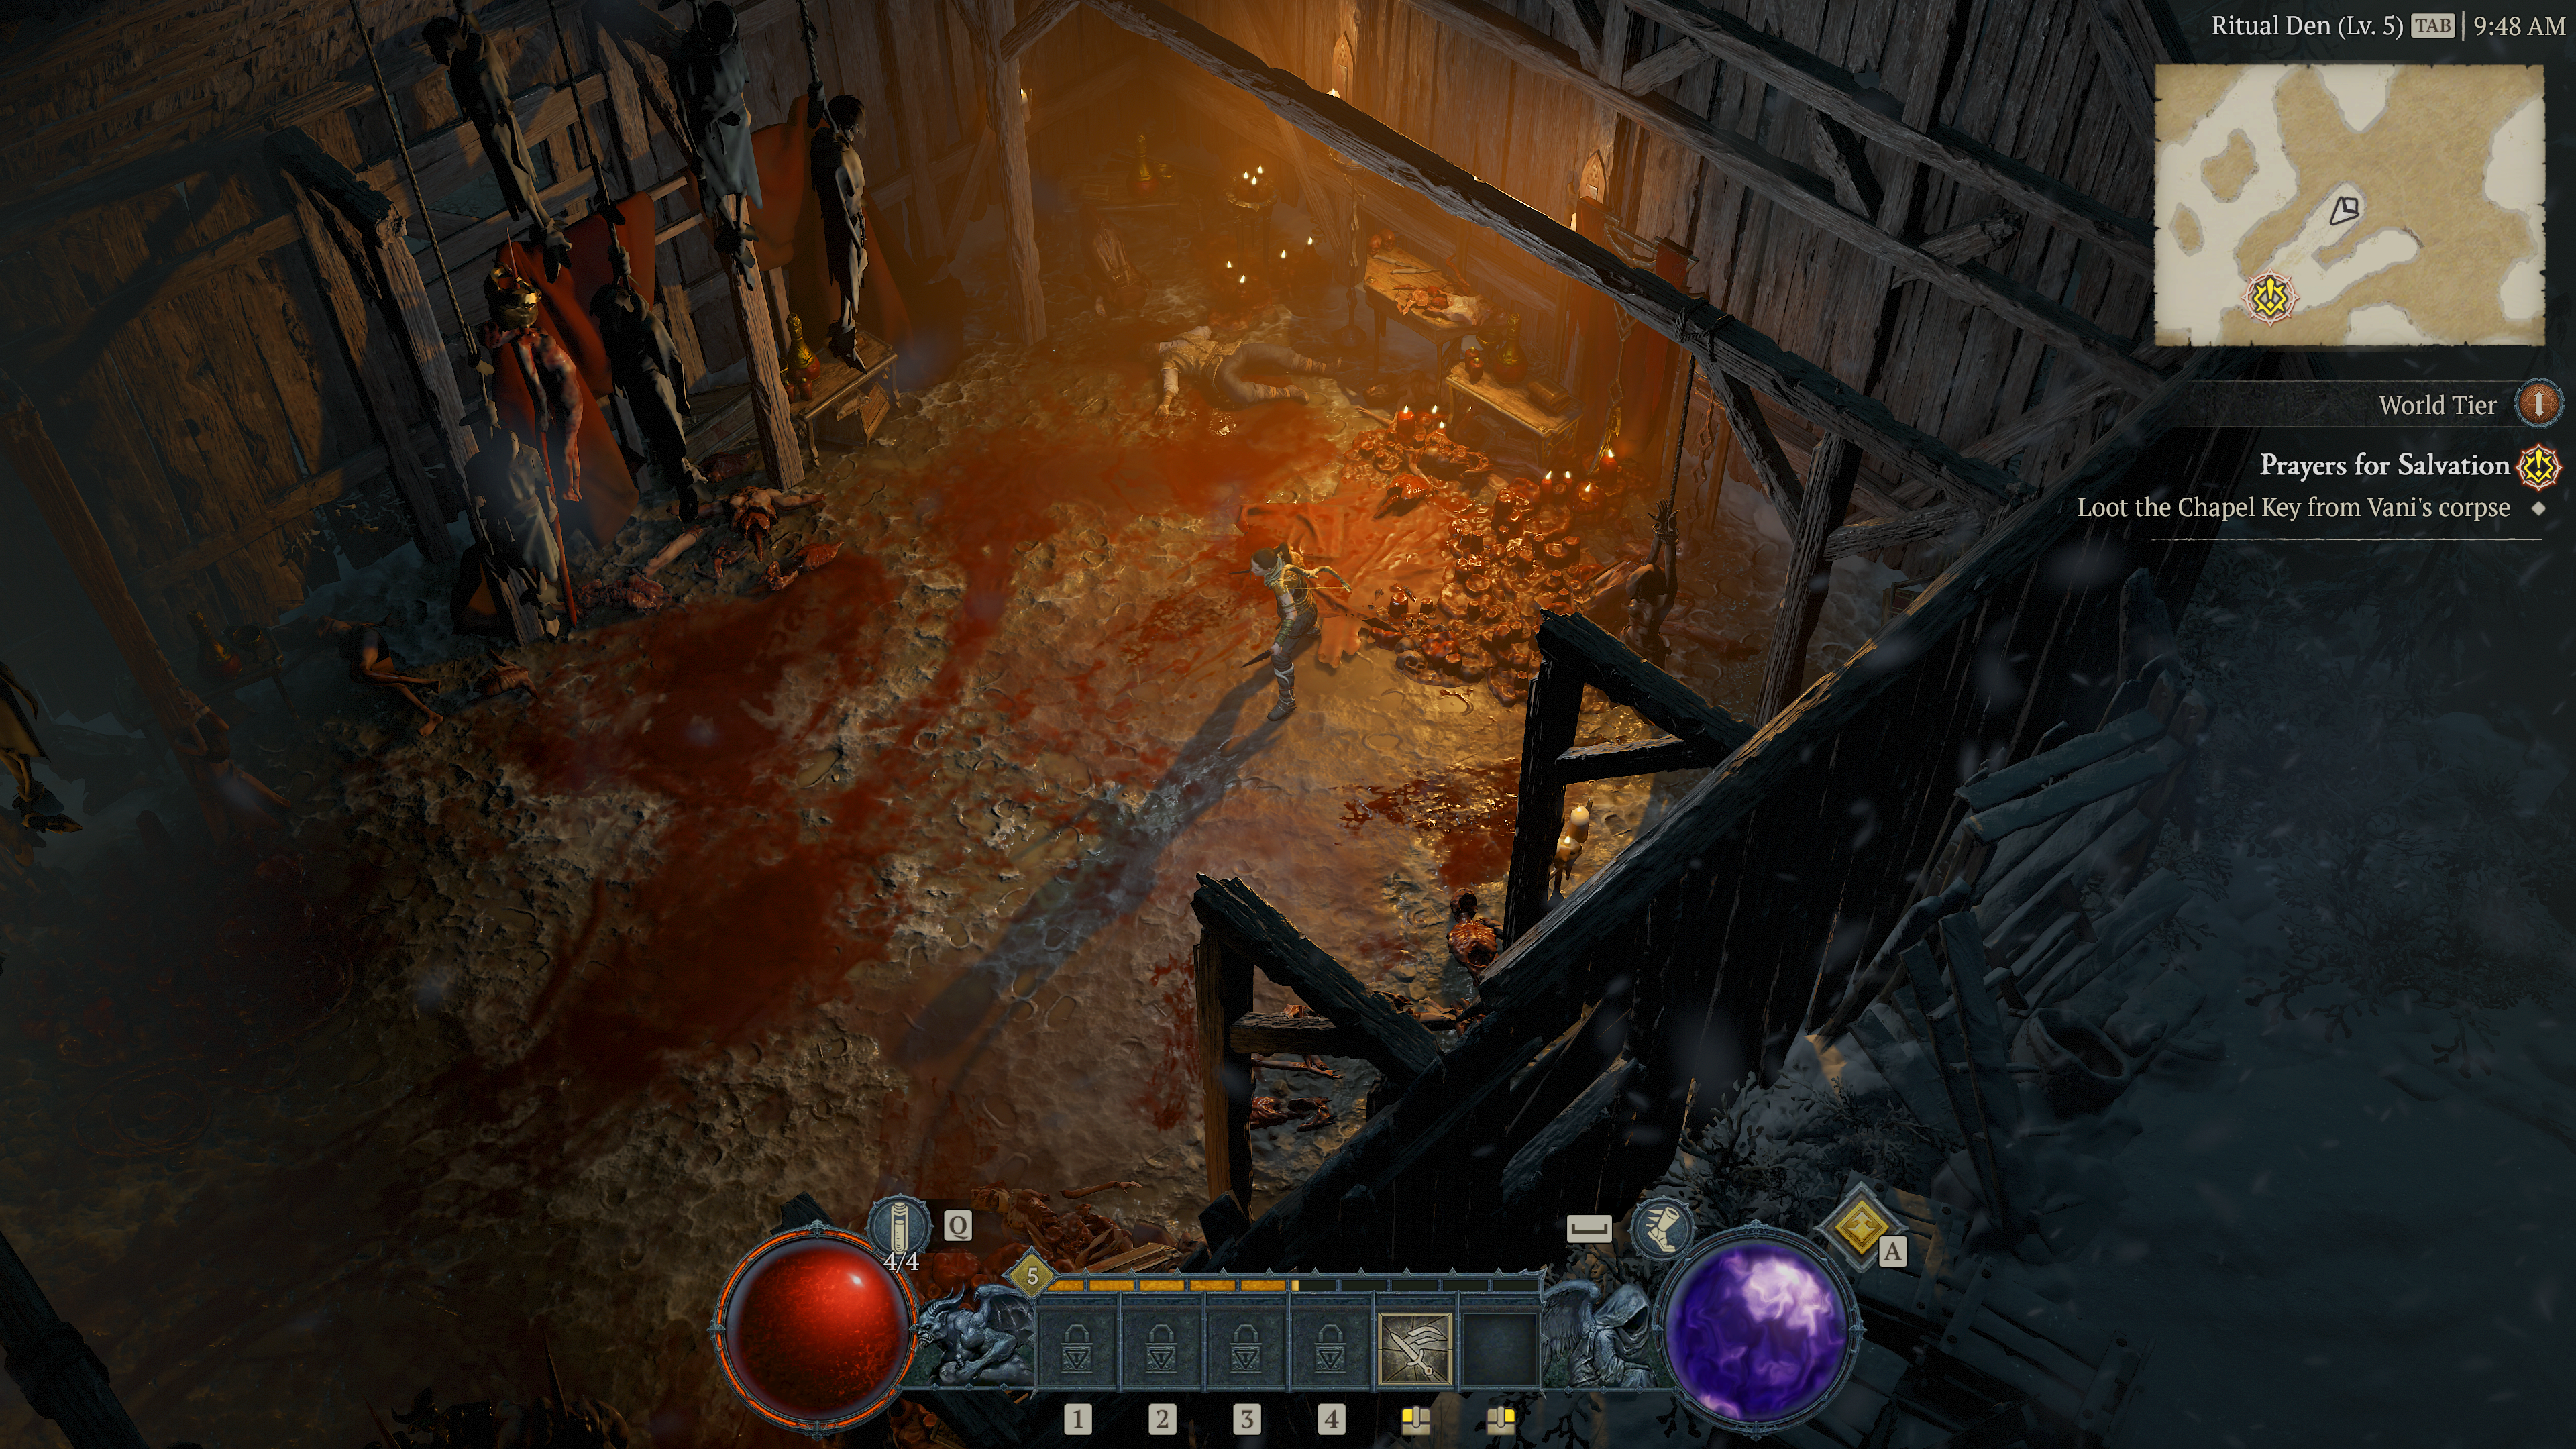
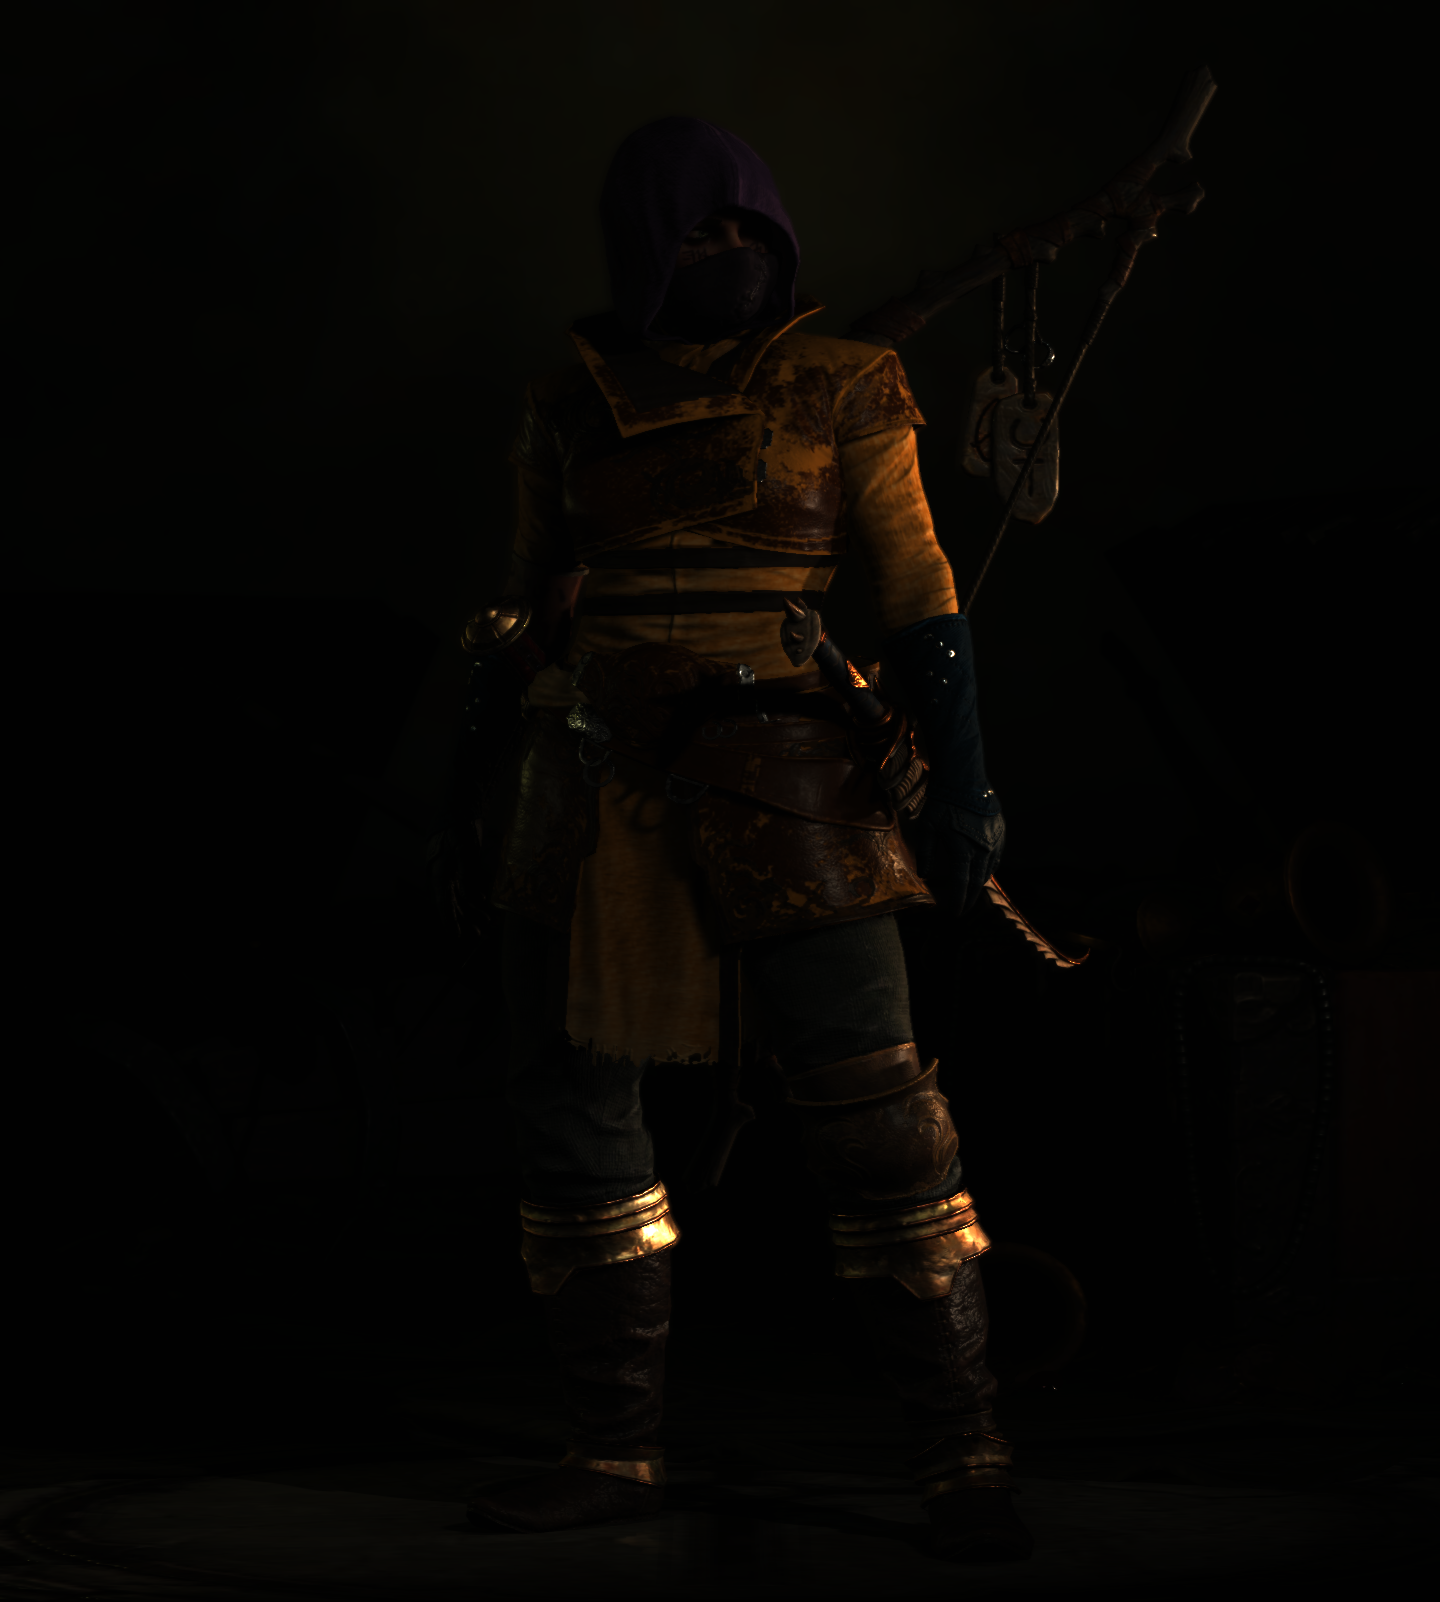
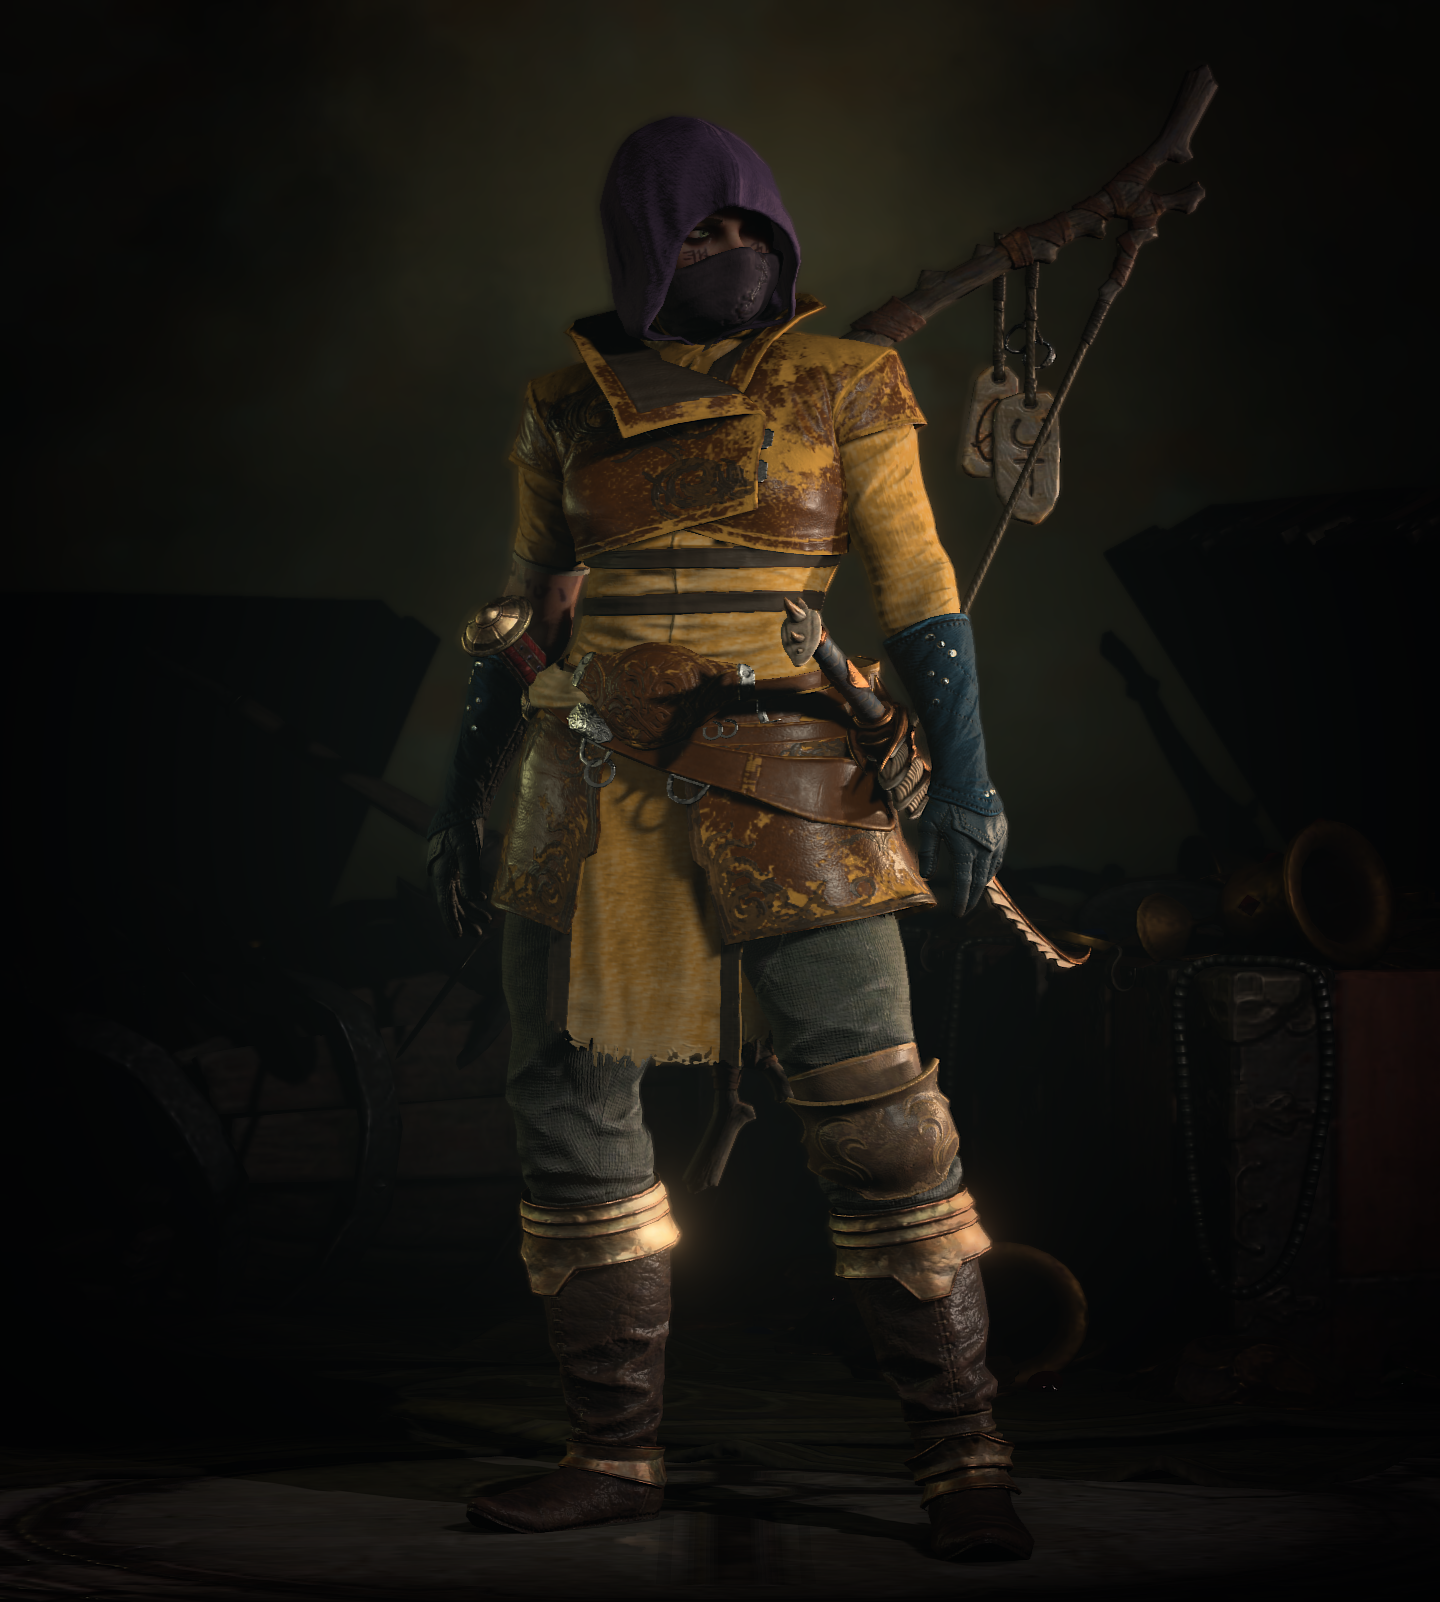
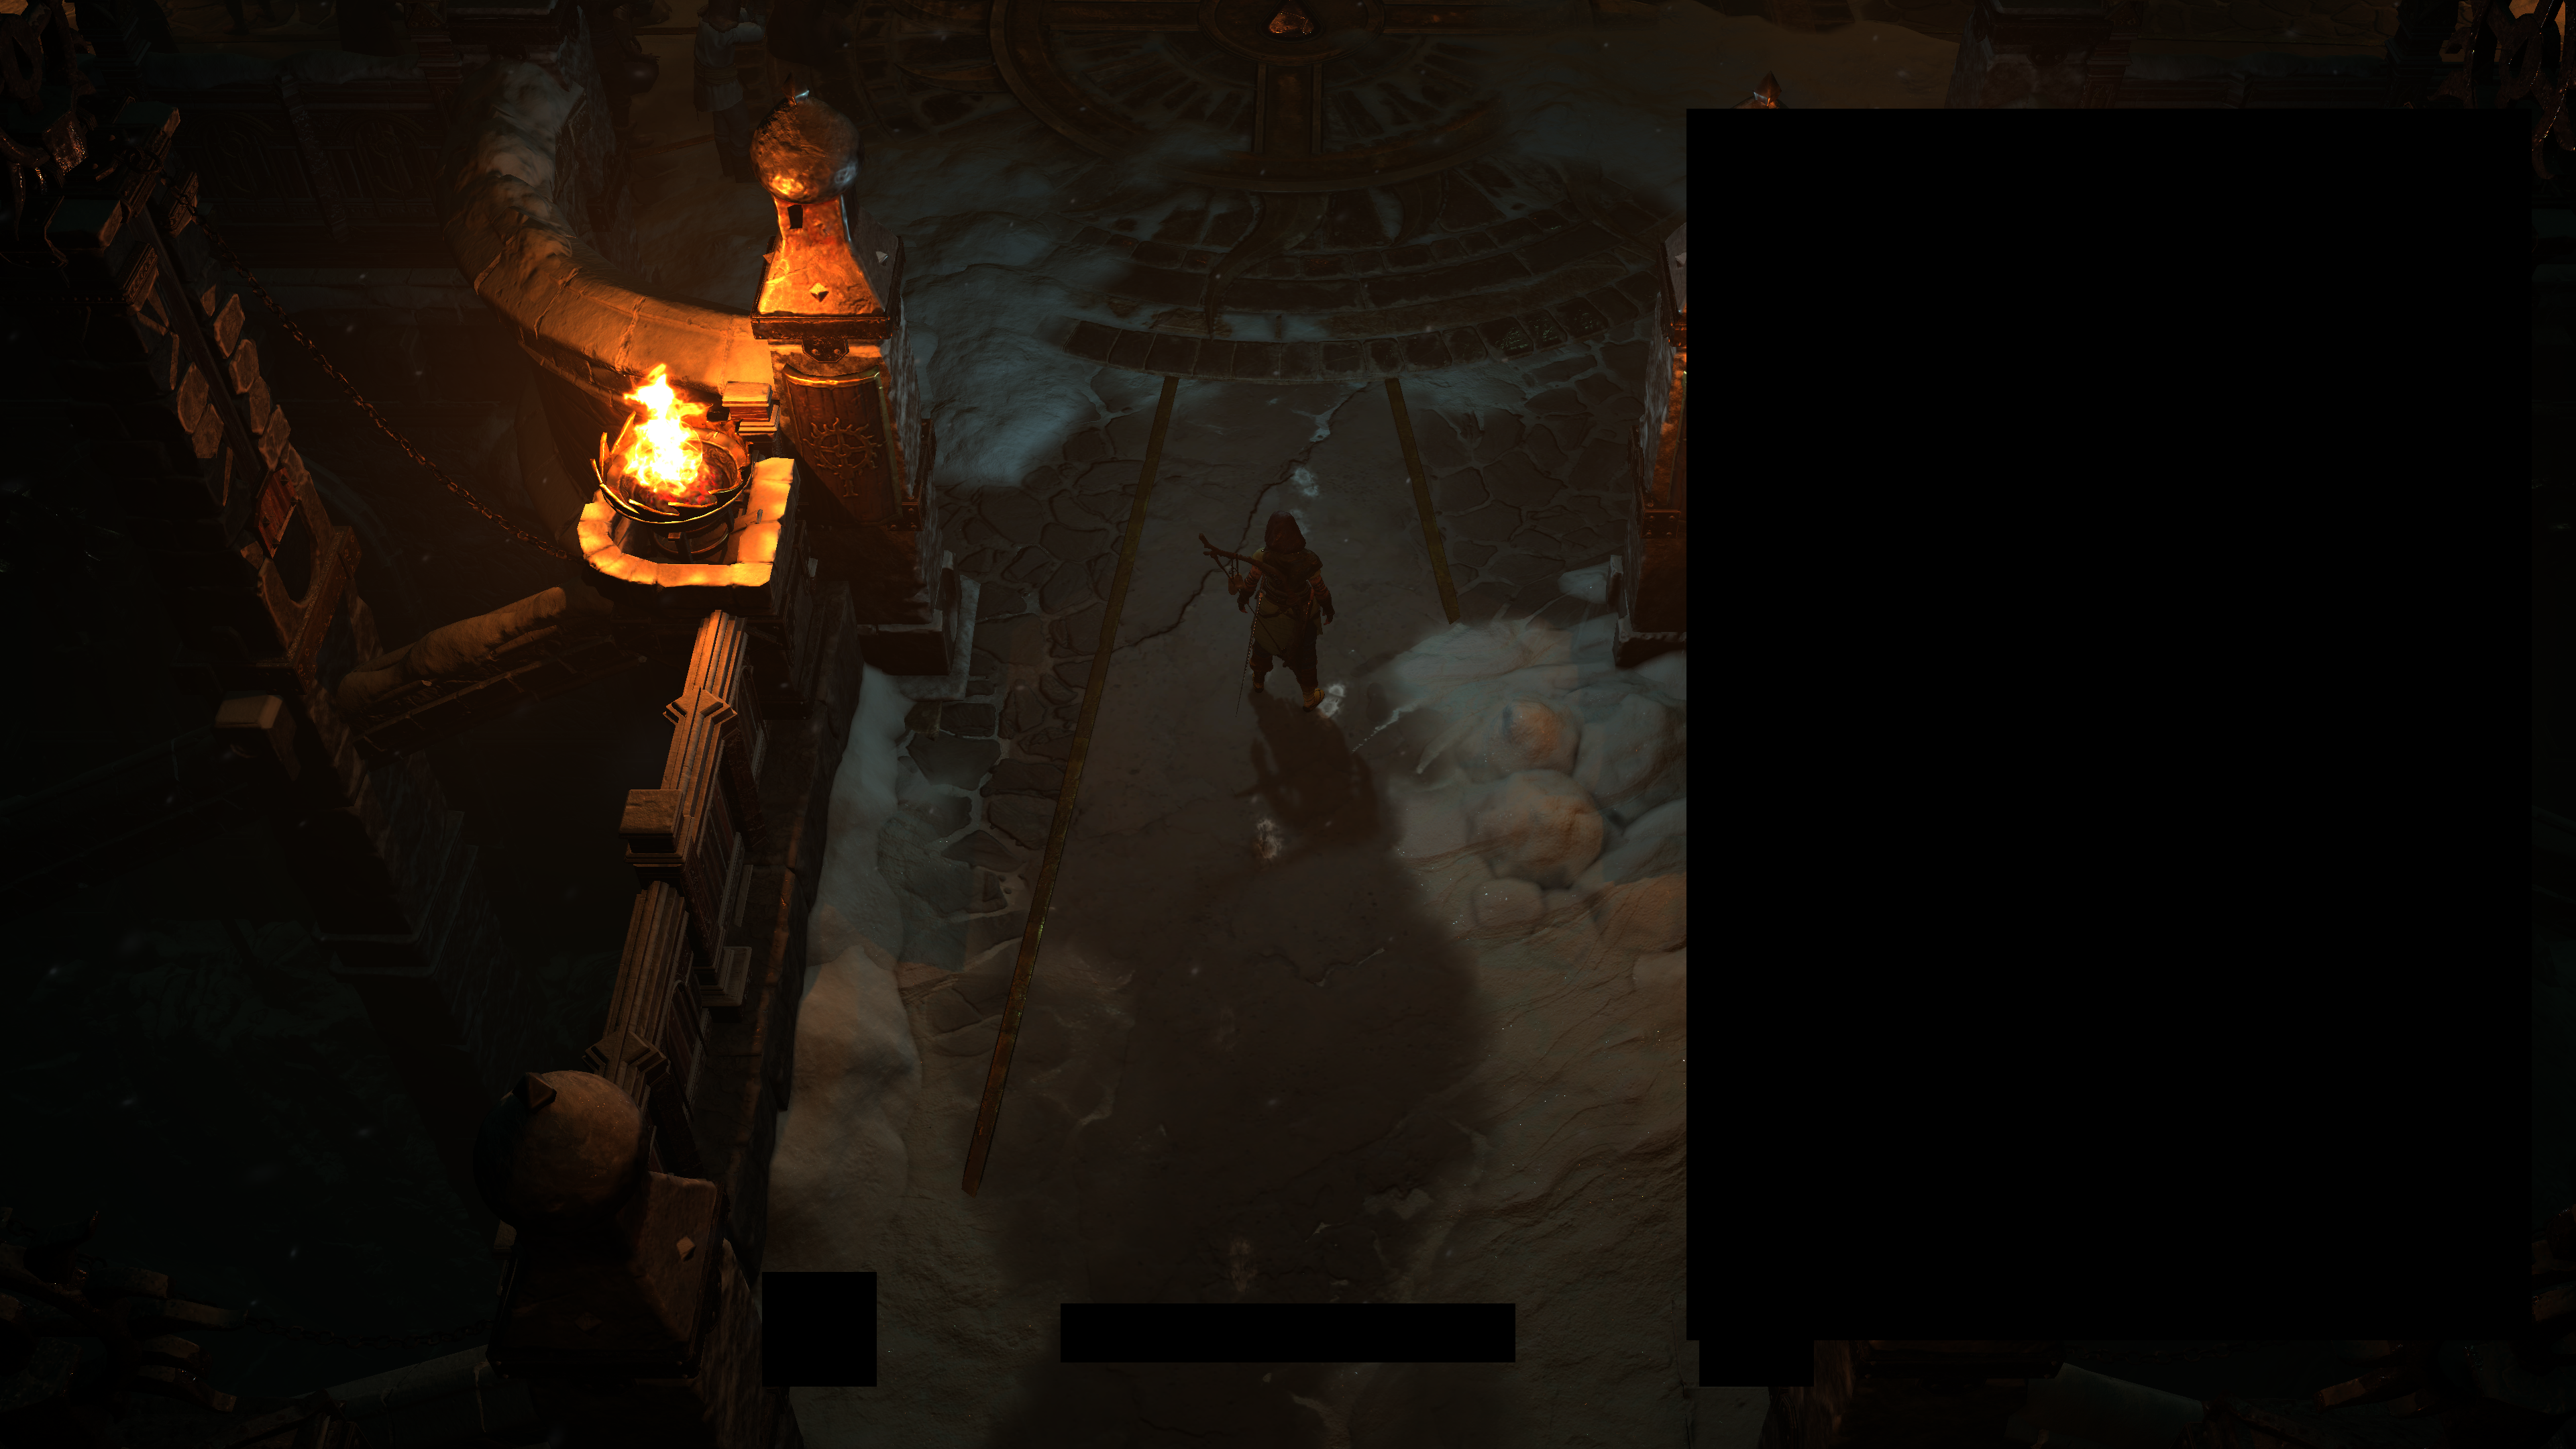
Remember when i said above that “the game always have to go through Battle.net app”, that’s it! The D3D11 is actually turned to be the Battle.net window itself, which made sense, and made no sense! Anyways, enough unveiling the endless road blockers i kept getting, it never ended here, it’s been couple of days of “You smarter, me smarter, let’s check who’s the smarter!” unitl i was able to hook & capture normally. i’ll drop the discussion at this point, and not going into any further details, or how exactly i managed to make it work eventually (read the red note below). Just know that it was a push & pull experience between me & the game! which was kinda FUN! And it is not always the case to be able to just launch & capture out of the box. And with that said, i’ll leave couple of images below as a hint…no more!
Anyways, at least now i guess i knew the hard way that the game codename was Fenris and the renderer glue/lib/interface called Prism 🙃
Totally Not Important Note[s]
- From the previous Elden Ring breakdown i was asked frequently to talk about the capturing process from a released game build or which software[s] i use, as i mentioned i had to work around Elden Ring to make it work. So this is why i decided to put a little section in this article to shed some light on what happens behind the behind of the pretty frames & how things could turn bumpy with none-development builds, and that always turns the capturing process form a goal to a dream! The process here is different than Elden Ring, but in general, there is not direct solution, it depends on the game itself, the developer’s security layers, and how it was delivered to the players.
- i did not want to detail or show code for my custom app & injector, it’s very far & beyond the scope of this article. But just wanted to let you know how things gone at the start of capturing process. Also, i always believe that there is a gray thin line between digging to learn and to do pure harmful piracy. As a programmer, i learned over the years that we’ve the tools and the knowledge, but it is up to us, to either use those for advancement or to cause harm. Any programmer with enough years of experience can do reverse engineering and can even make cracks & trainers to any game…or they can use that exact same knowledge and experience in getting better, improve and push their space forward as much as possible in a good way.
- The “You smarter, me smarter, let’s check who’s the smarter!” is a little common say back home among my generation/friends, we usually say when someone try to get around you, and then you in turn try to get around what they did to get around you, and then they does the same….endless loop, till someone achieve what they want, and frustrate the other’s attempts. So in short, there is no disrespect to the developers with this say, it’s a direct English translation to an Arabic idiom.
Configs
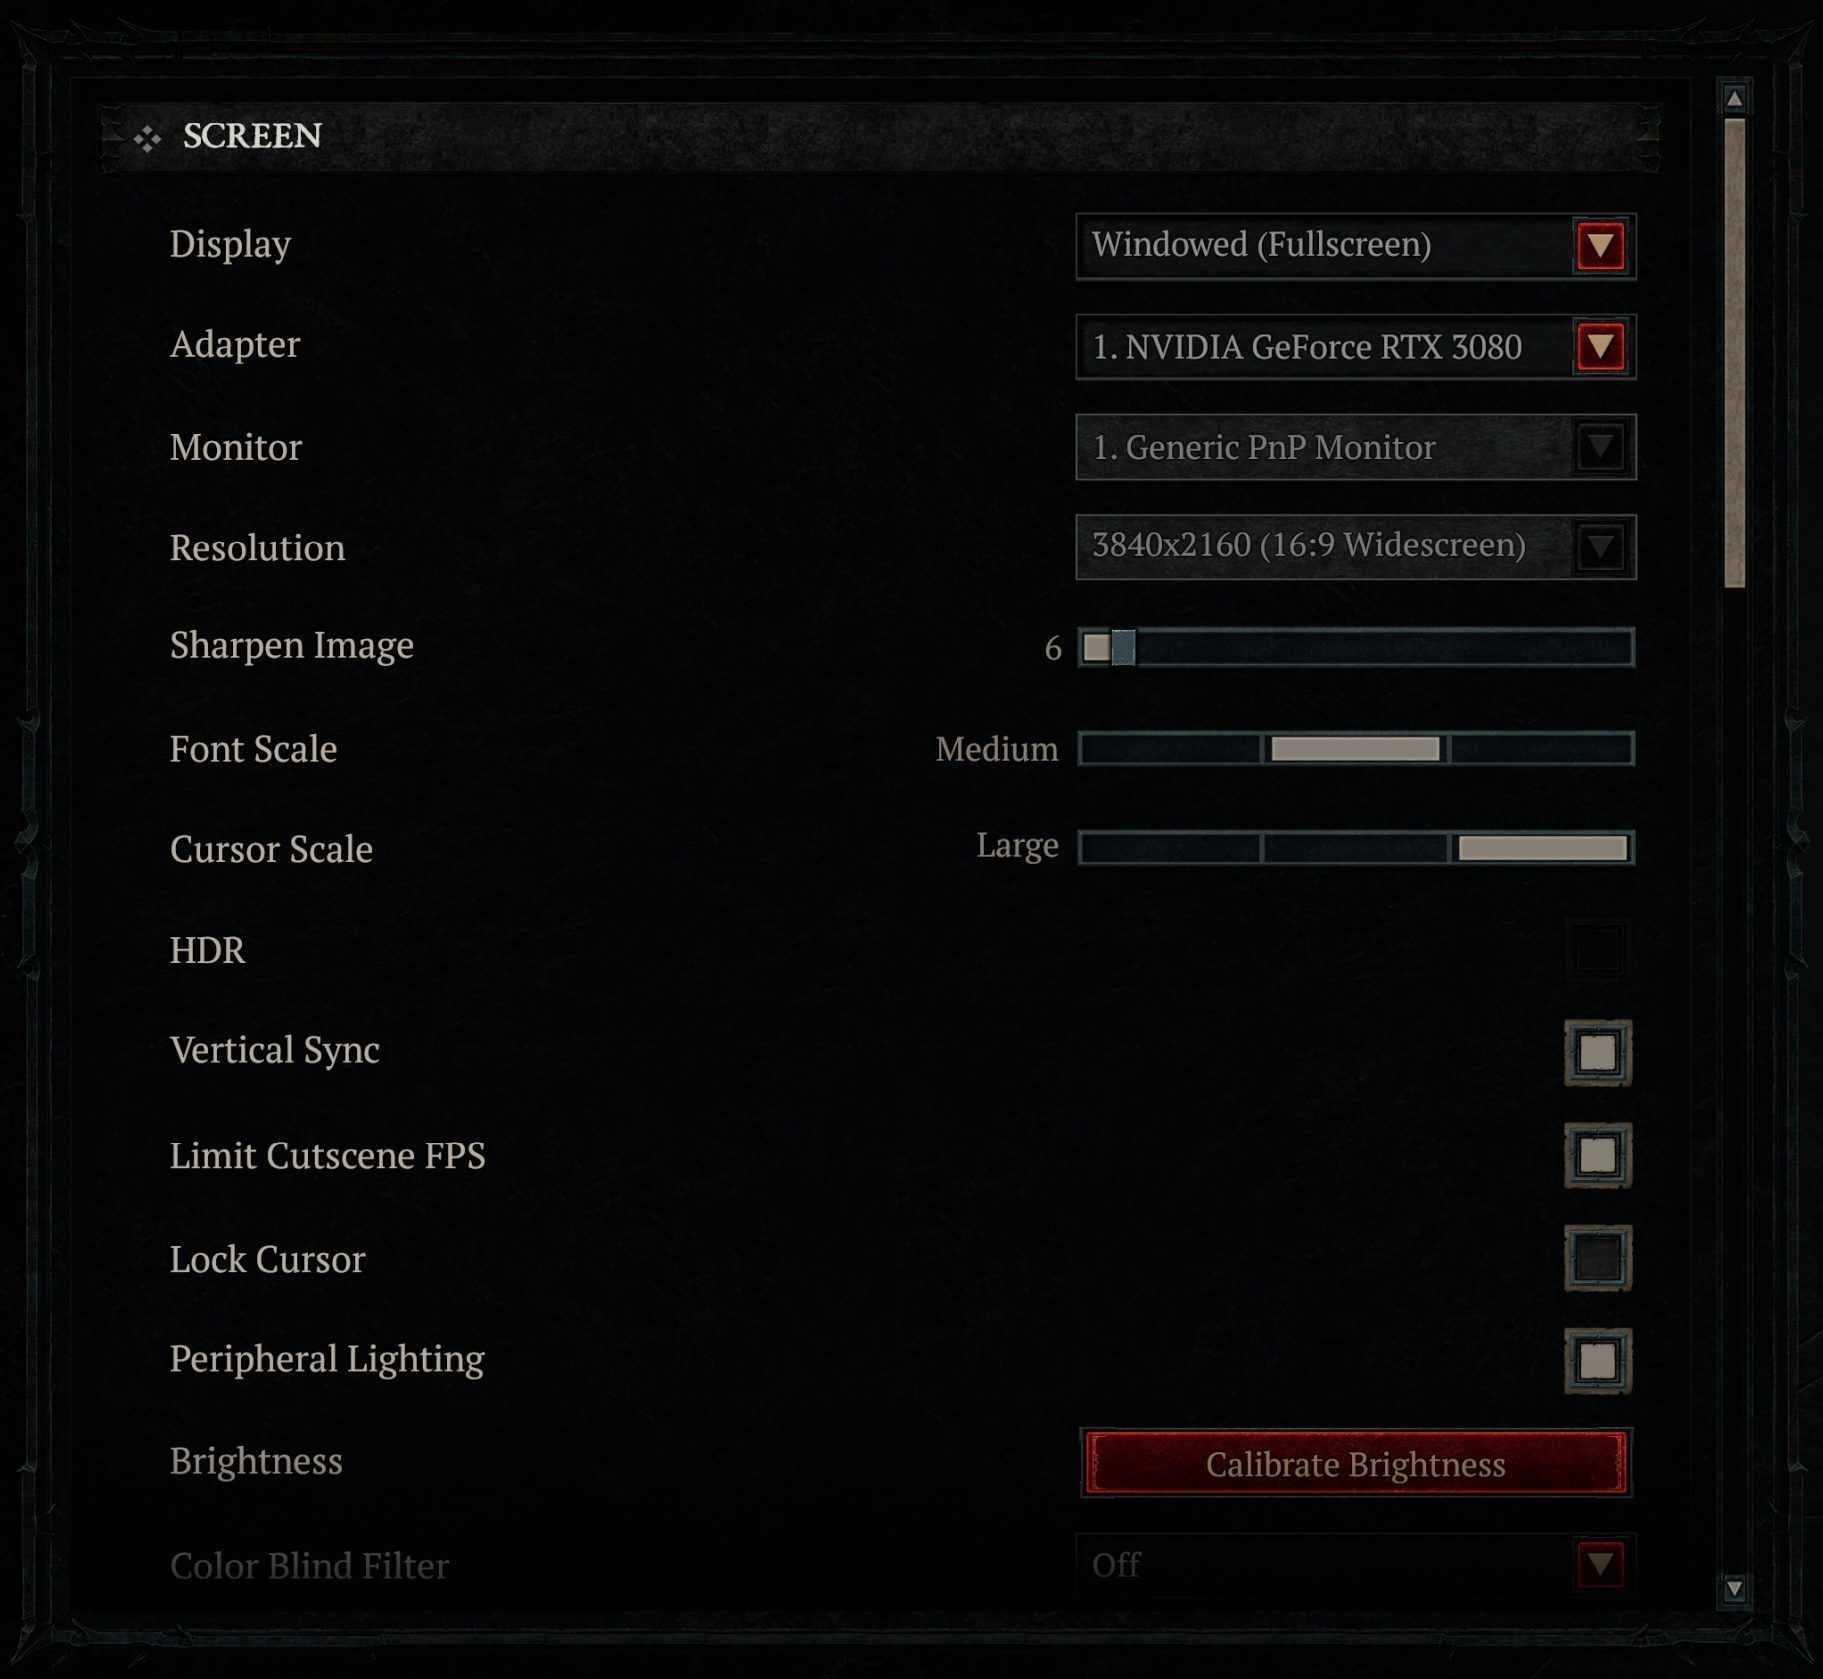
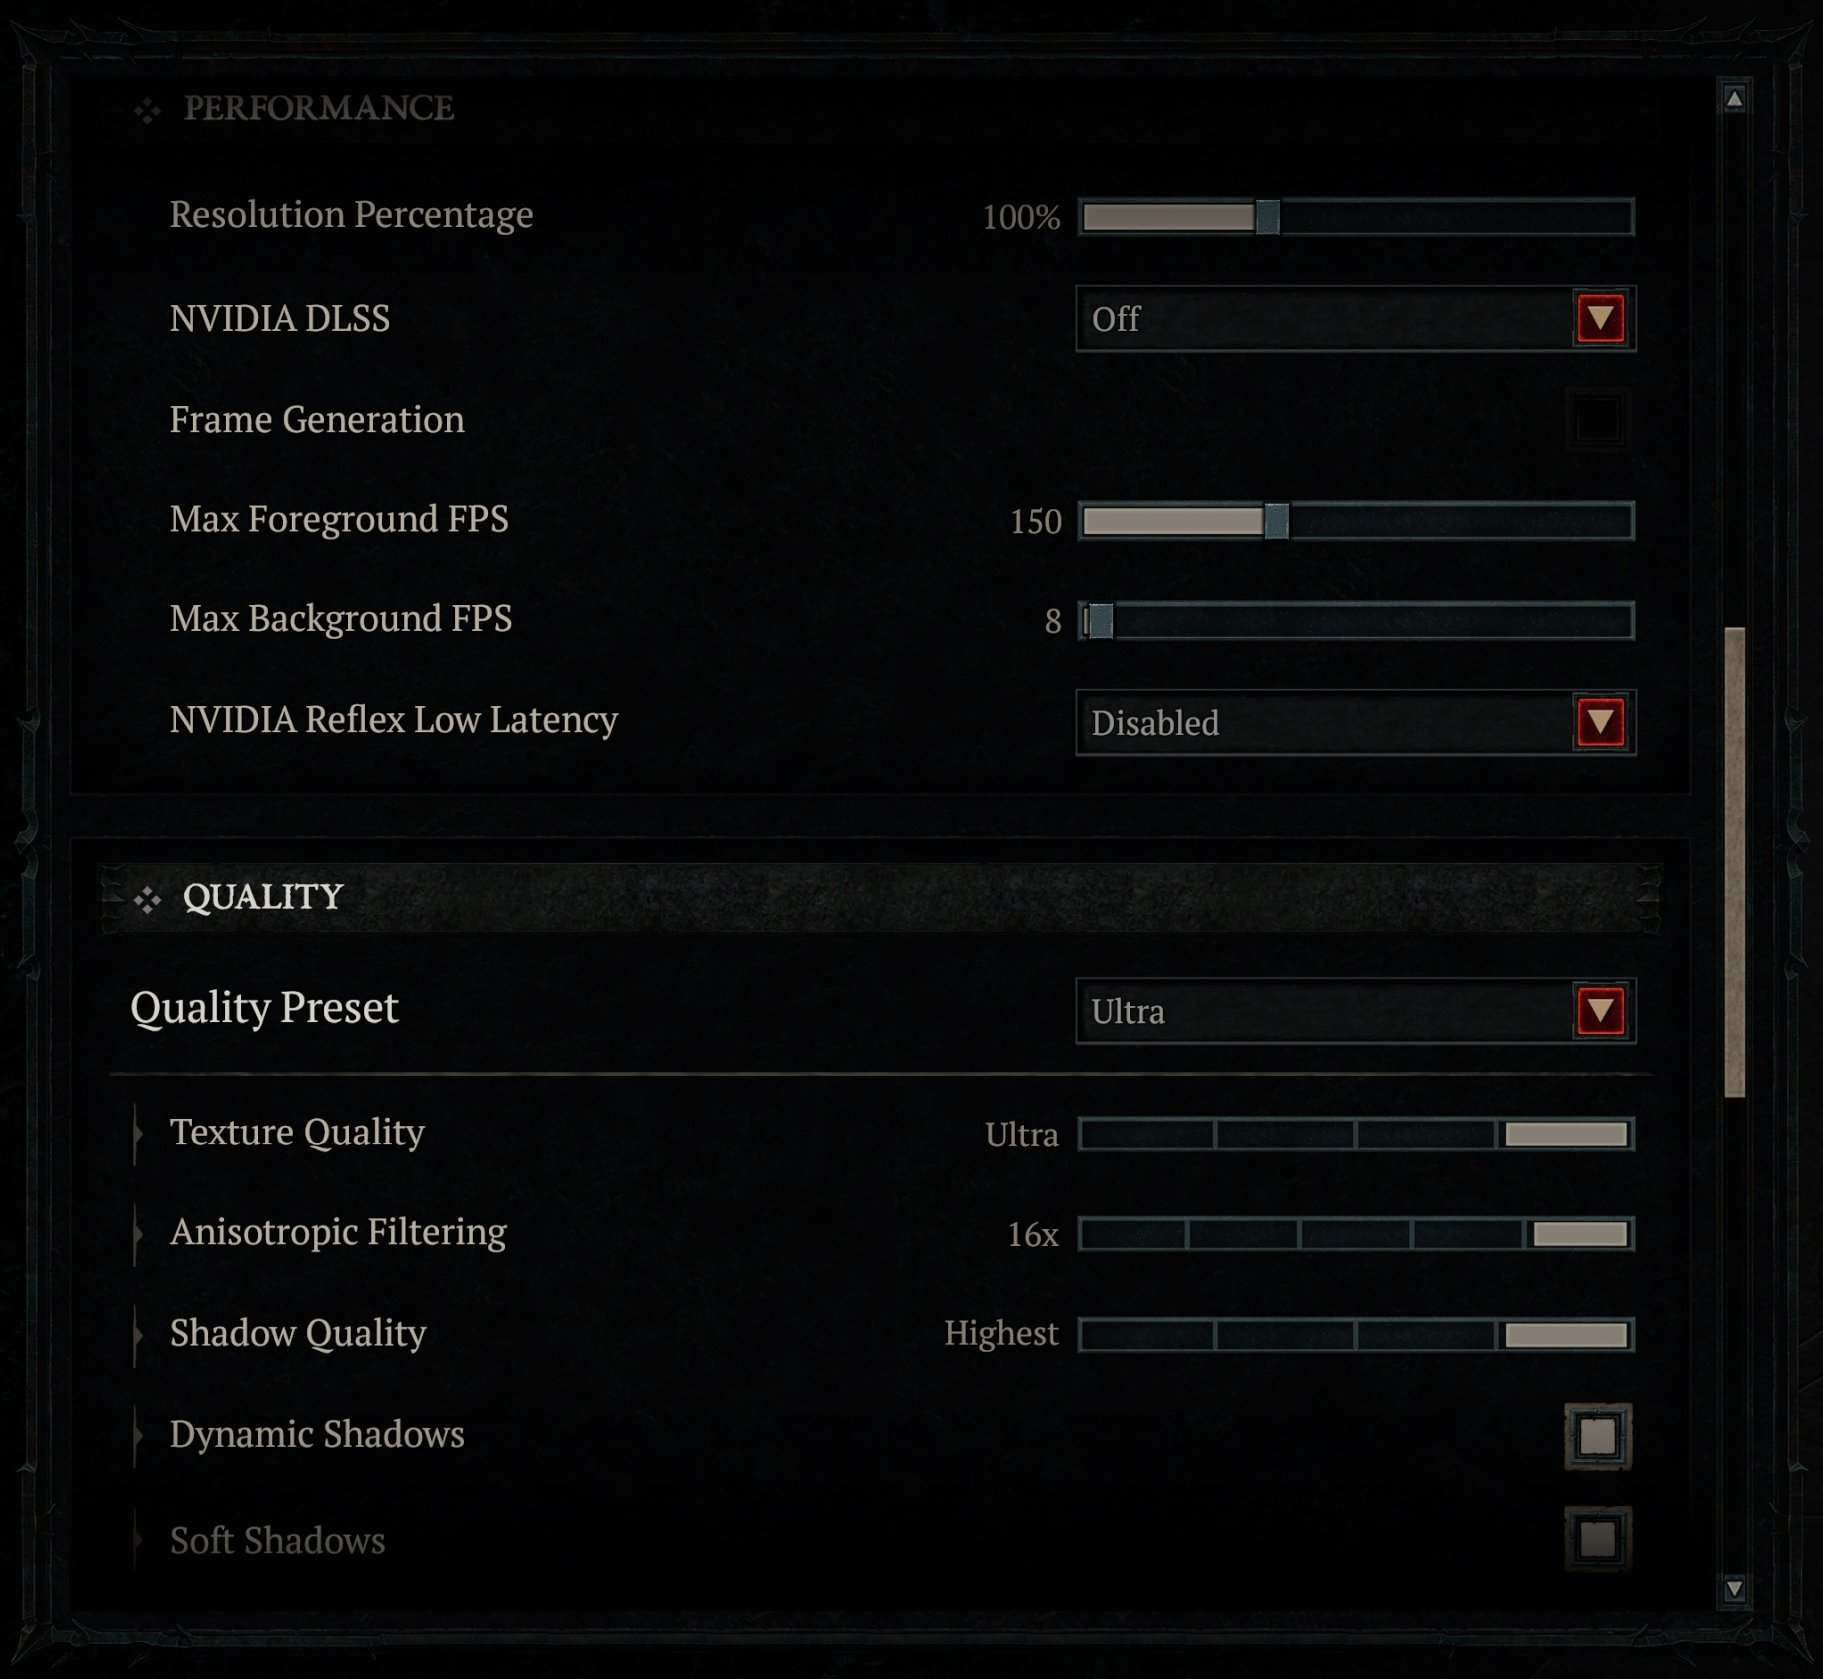
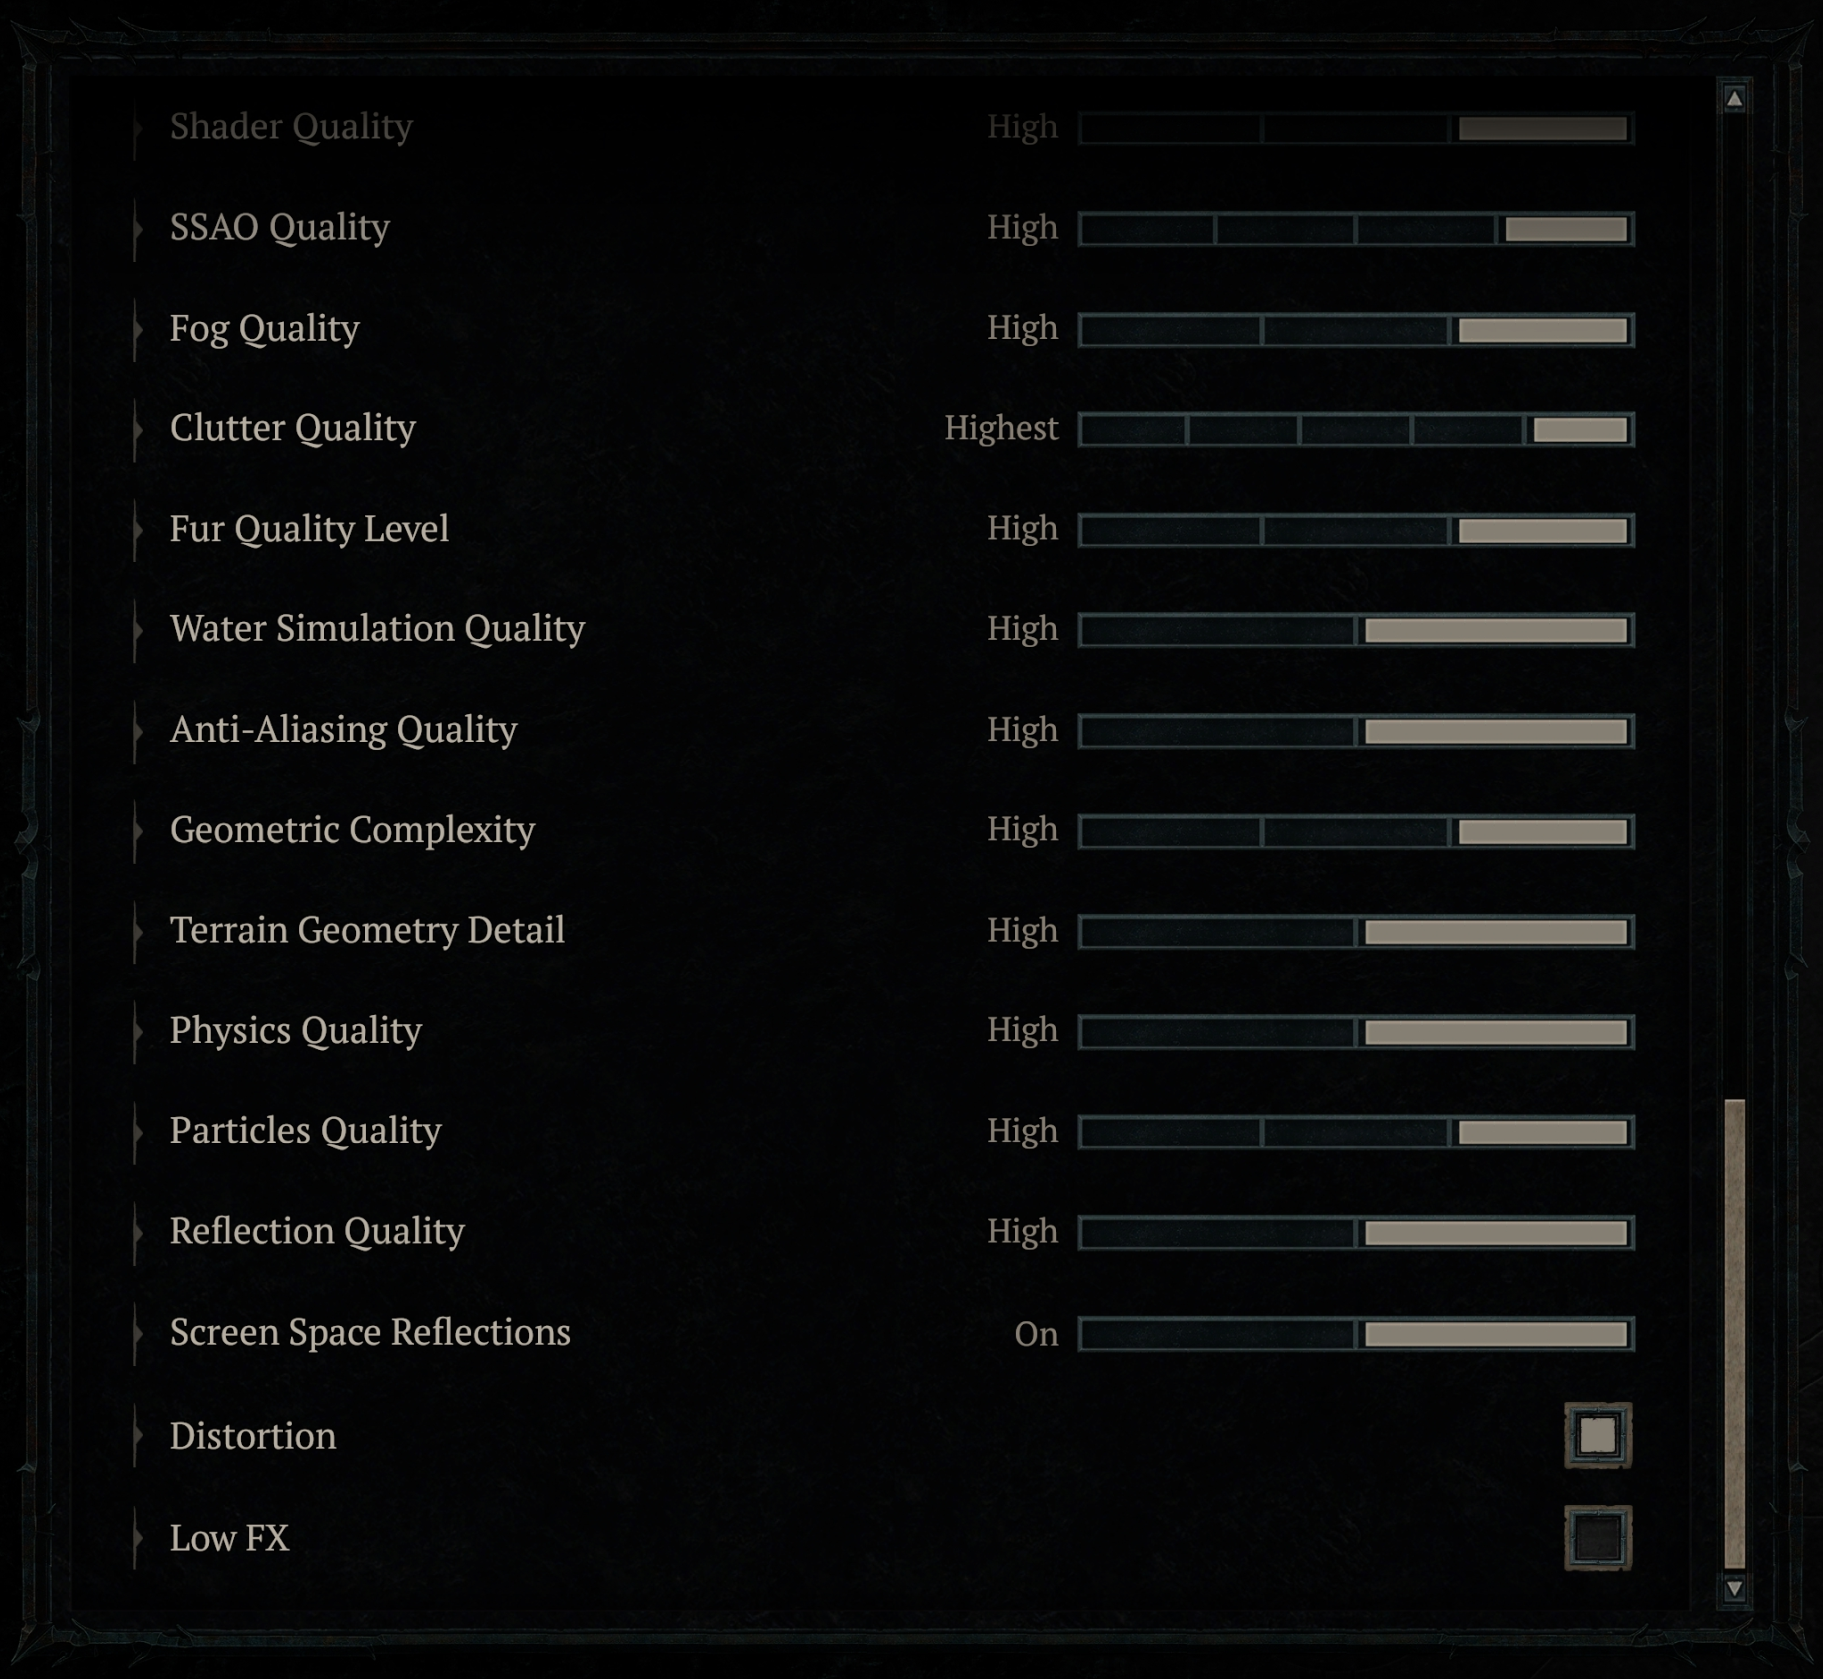
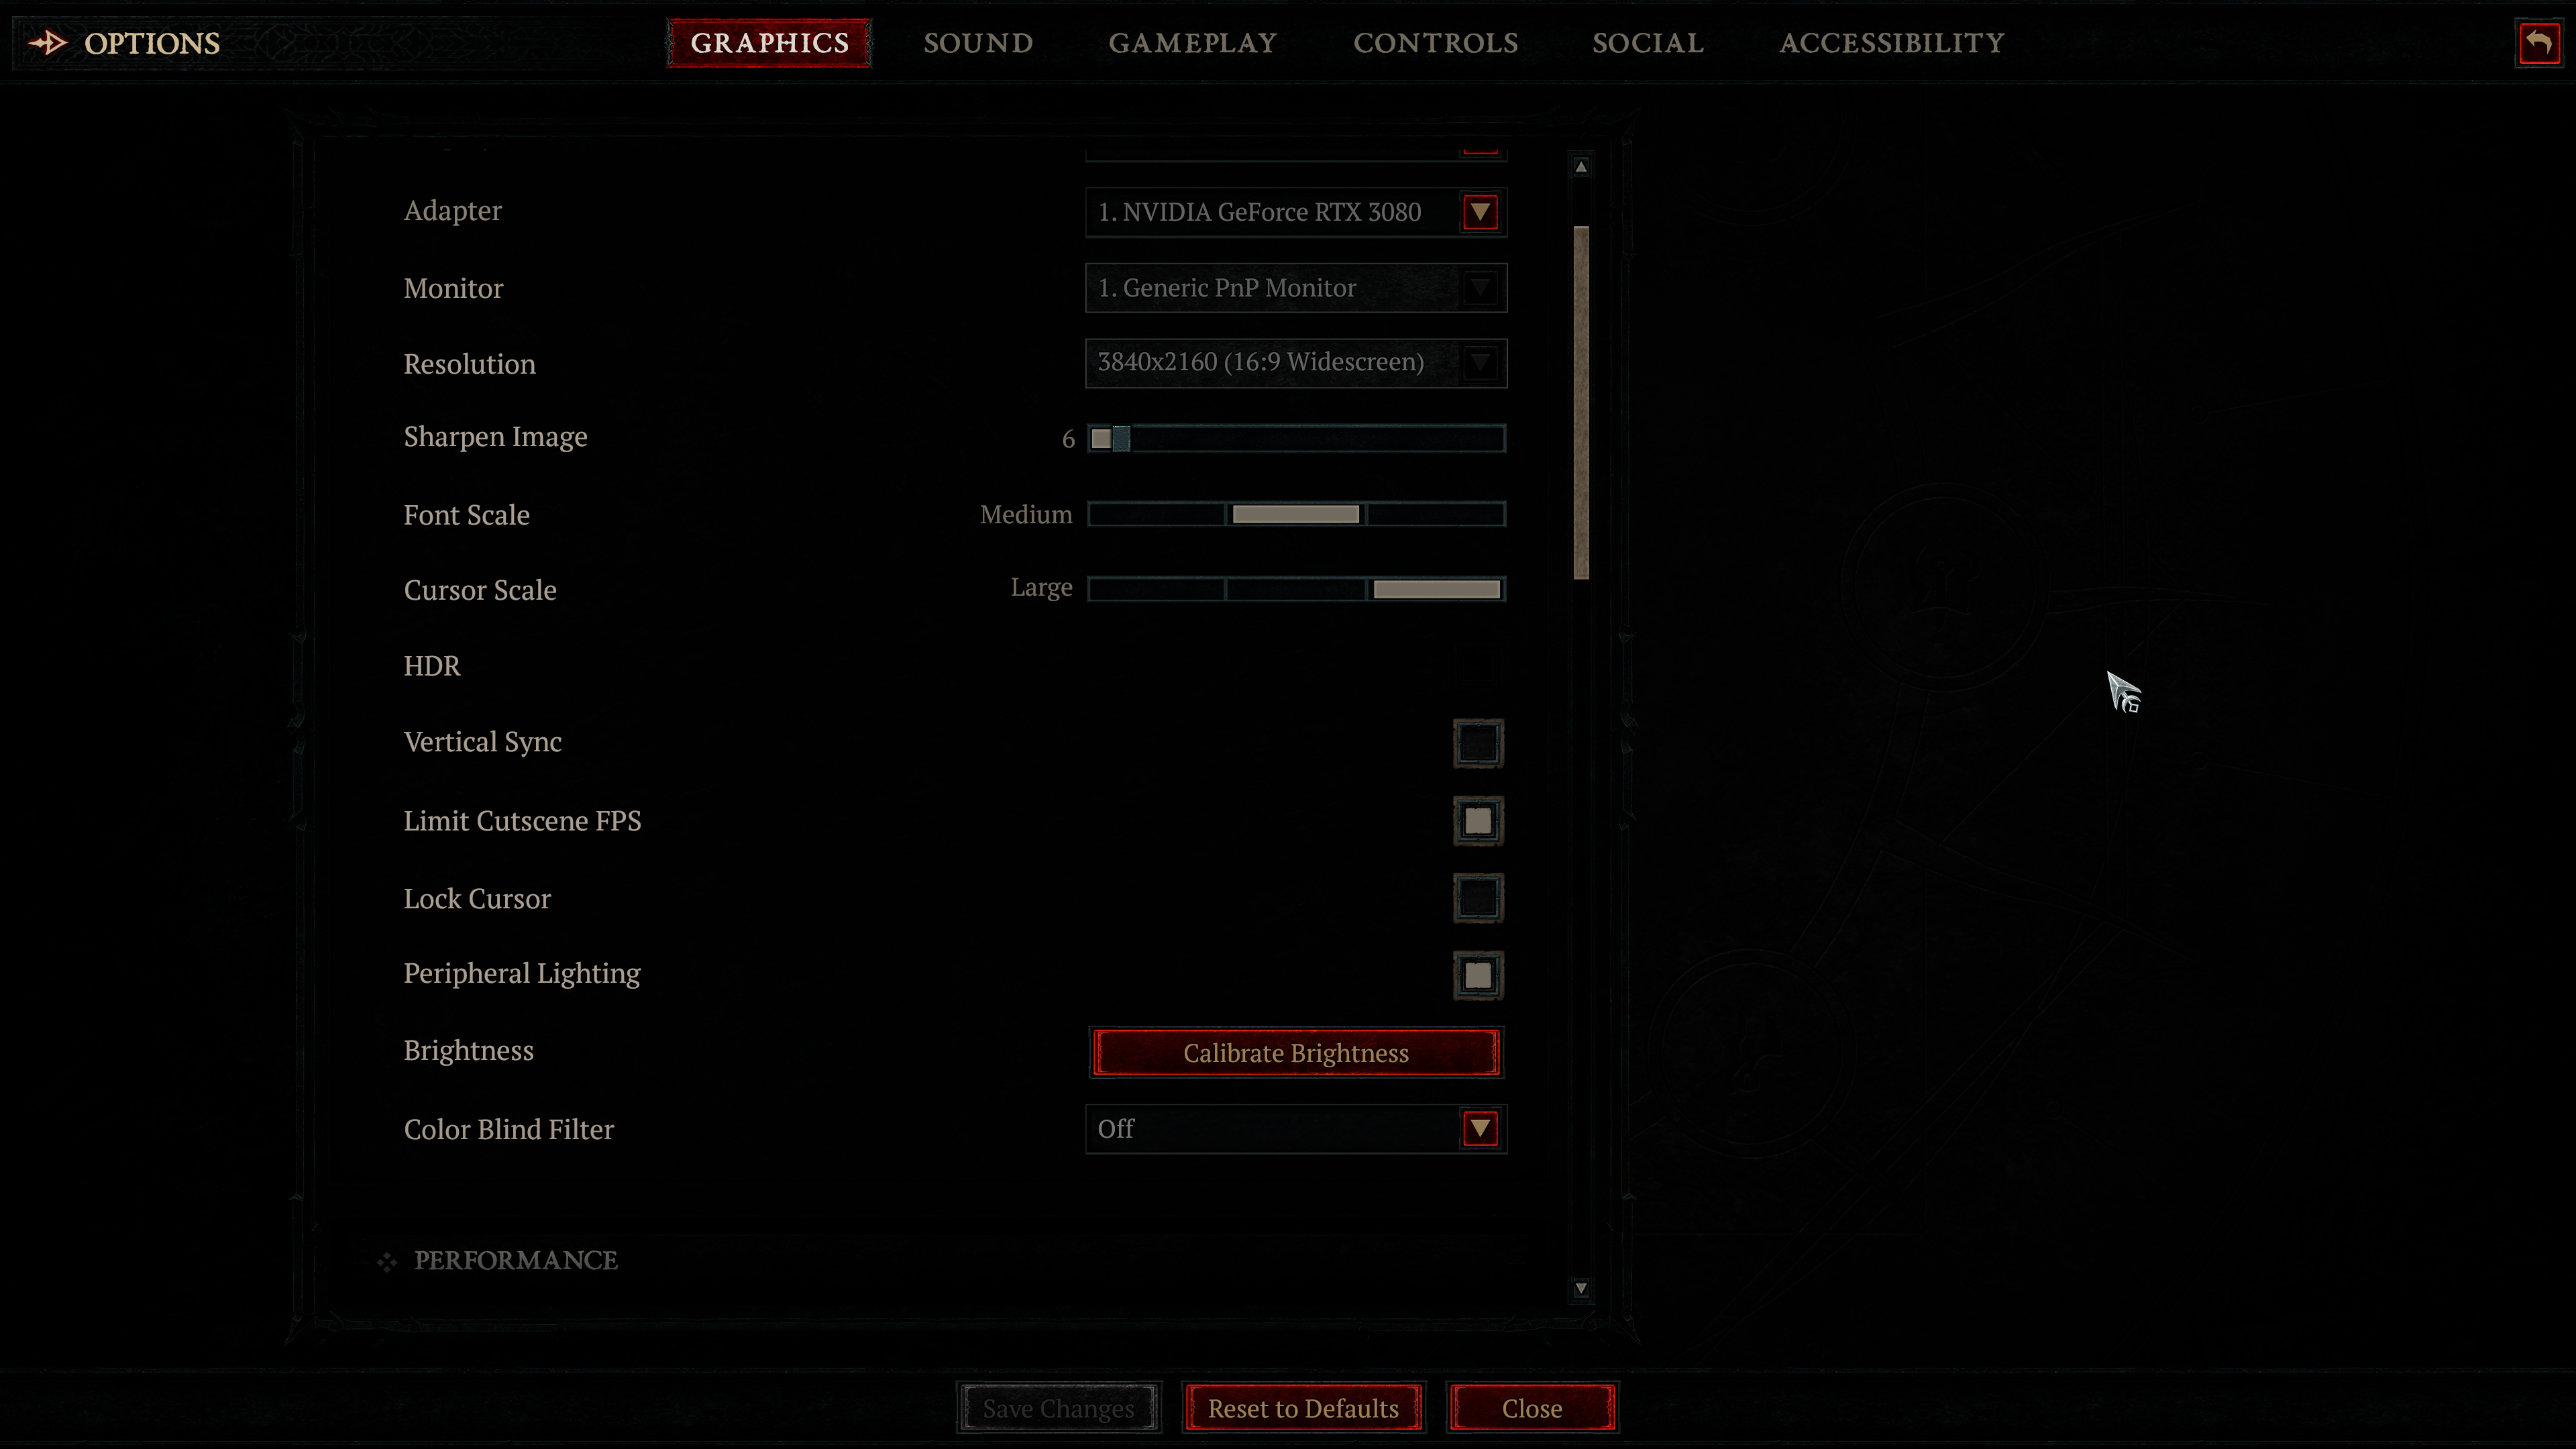
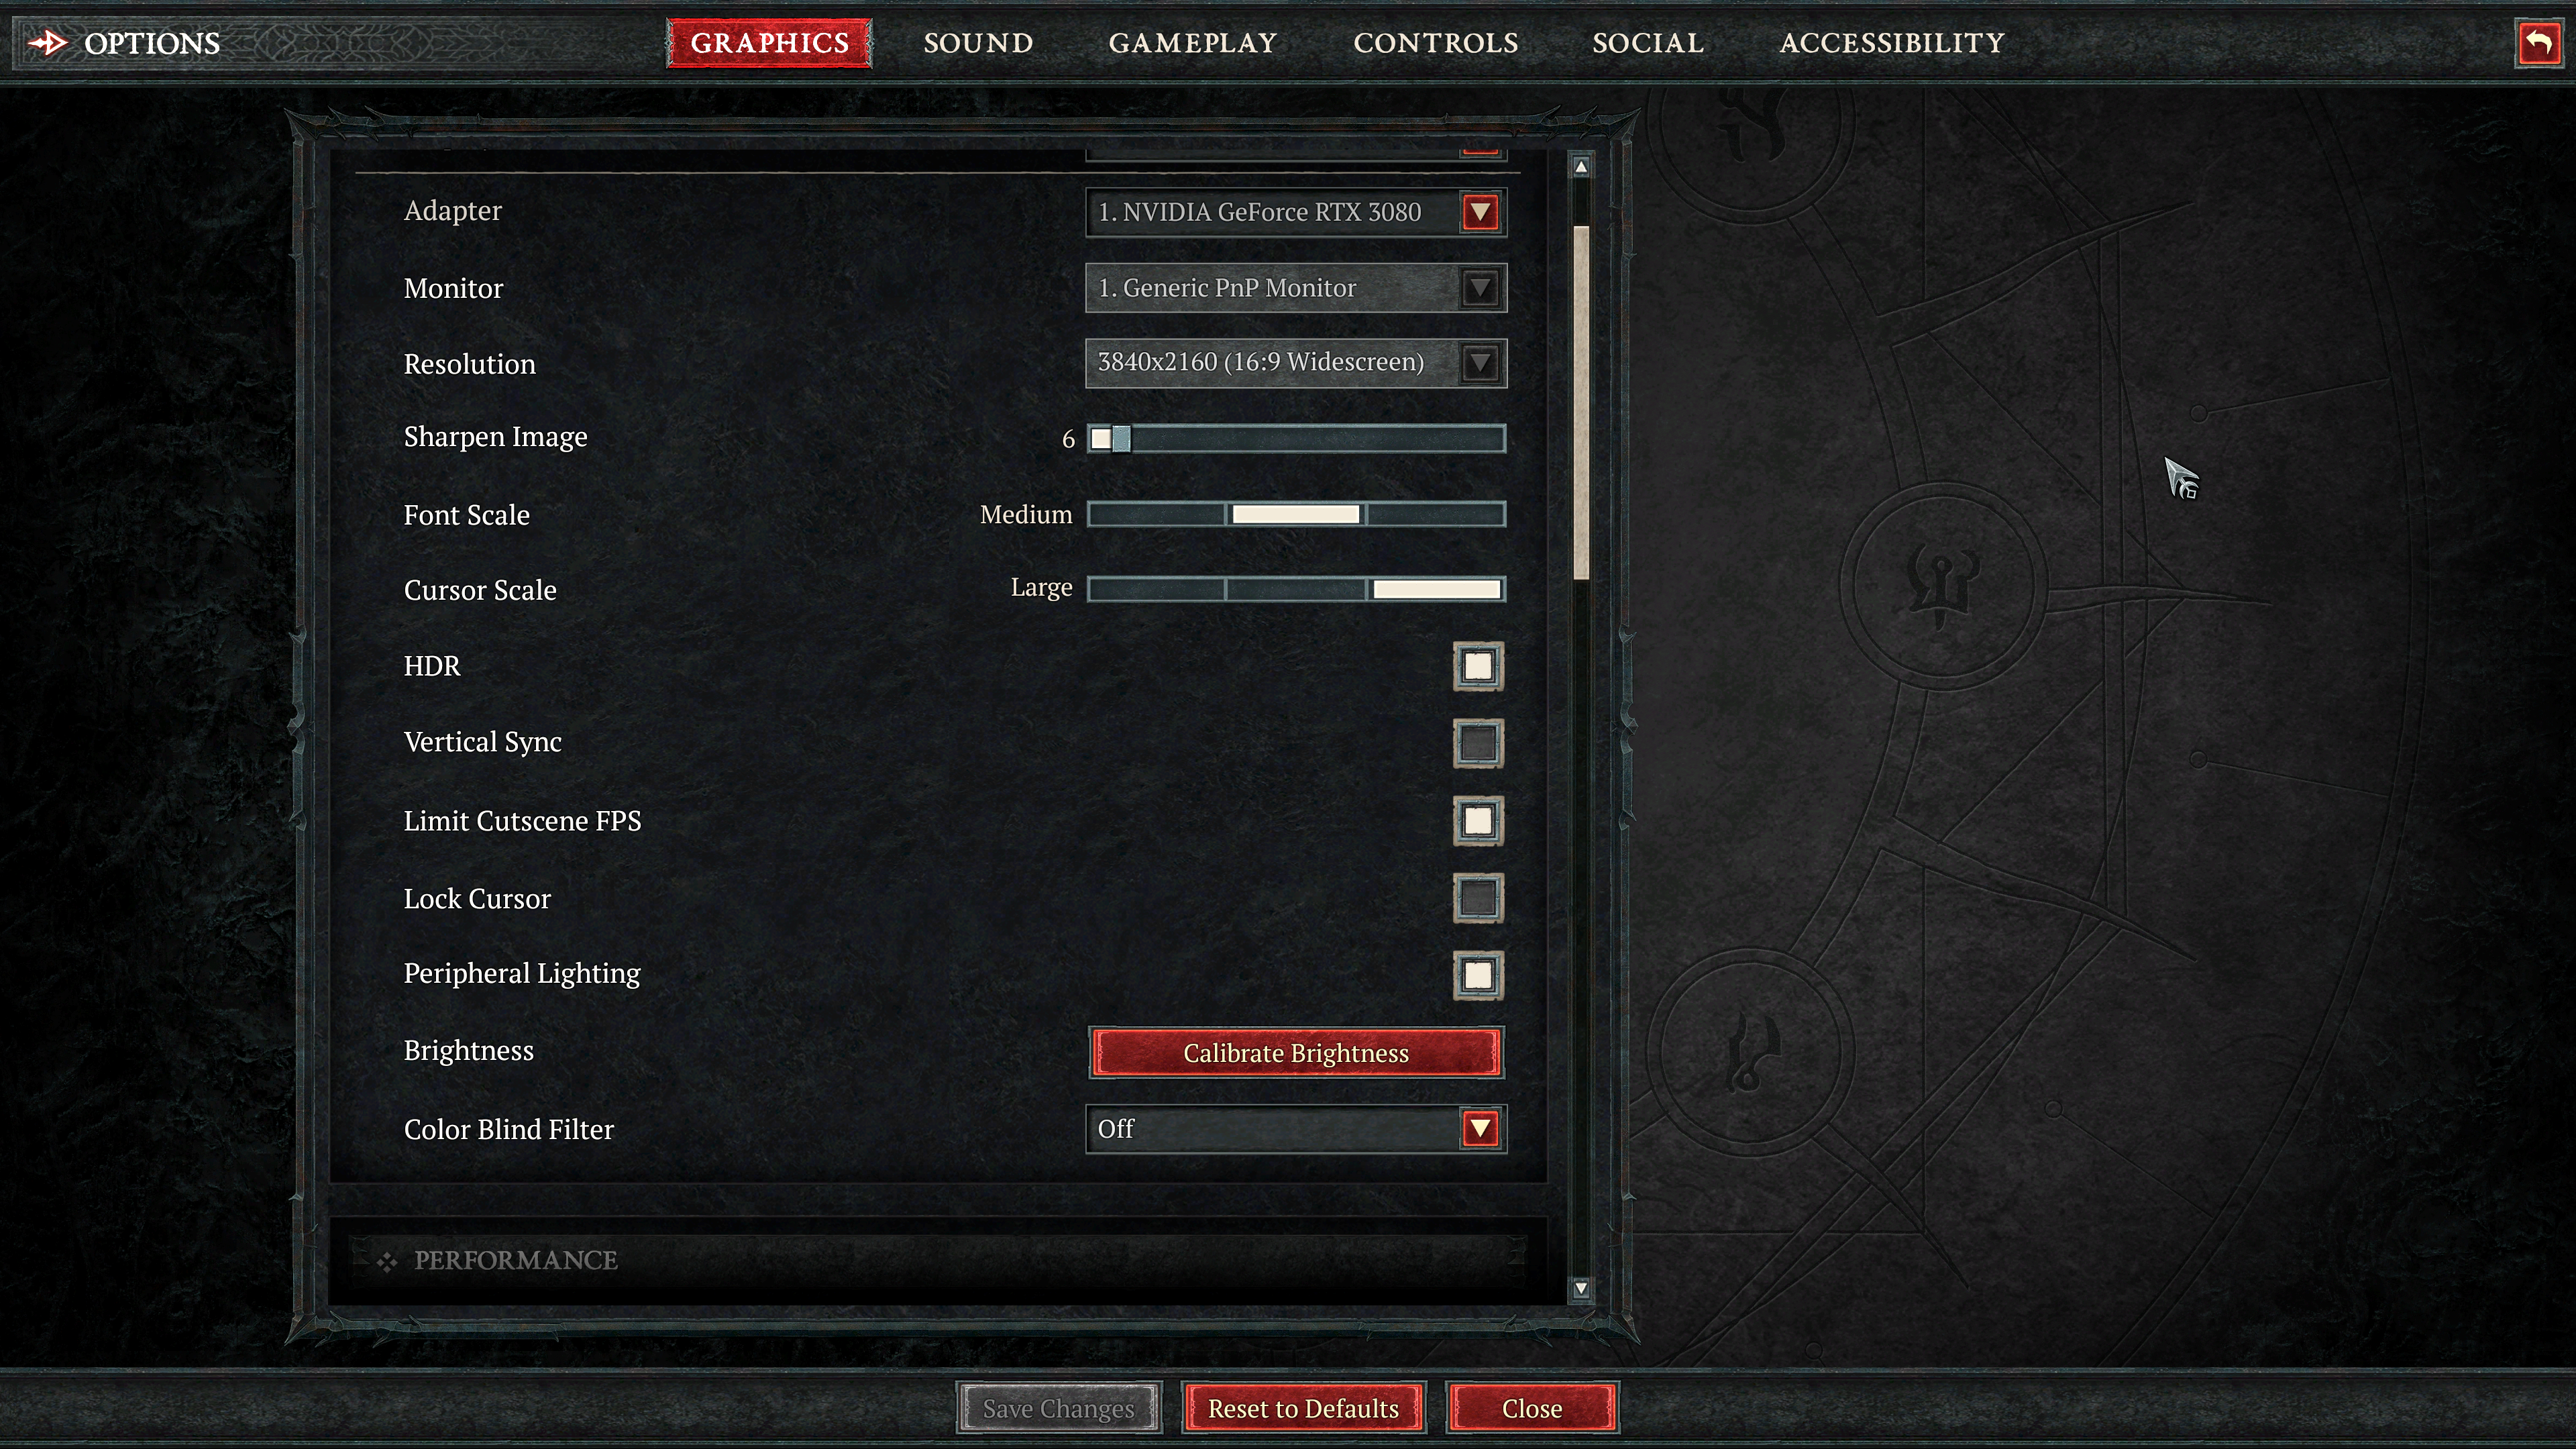
As a usual friendly PC gamer above anything else, i do have several setups, mostly for my engine development, but i do use them for such occasion.i played the game from 2 of the computers during the study, both were same configs, except one of them was a 3840*2160 (UHD-1) with HDR disabled most of the time, where the other were 1920*1200. With the said most of the time you will notice i favored the 4k captures not for anything specific,.. maybe because they held more details considering the top-down nature of the view. i learned that readers of those analysis love to zooming in, and zooming in a 4k is definitely better than in 1080p or 1200p.
That 4K PC is the same one from Death Stranding, Elden Ring’s and Resident Evil’s studies, which is the RTX 3080, Ryzen 5950x and 32G RAM. And the graphics settings is set as the follow
Behind the Frame
Let’s dive deep into Sanctuary!
GIFs Note
Still as before, keep in mind, all images are clickable to open in full 4k (or 1080p, depends on the frame), and almost all gif images below are linked with 4k videos on YT. So you don’t have to narrow your eyes to see details, it was meant to make the gifs as tiny as 500px, so it don’t take much time in the page loading.
D3D12
The game is utilizing D3D12, don’t expect something very fancy or crazy (Raytracing, VRS,…etc.), but at the same time don’t let that fool you. i do believe that it’s not a competition about how many of the API features you inject into the renderer. Just use what delivers the vision, and Prism seem doing just that!
Compute
Well, this section is here just for consistency with the previous articles, it is used to be long introduction section to the utilization of the priceless compute dispatched in every past articles. But unfortunately the compute queue this time is not that long, apart from Skinning and Volumetric Fog, there is nothing else!
But you know what,…by the end of the article, you might change your mind, after all this is very scalable game, and it need to run on a wide range of hardware, at the same time you will see that the game/team was able to deliver, and i believe this is all what matters!
Frame
This time i decided not to list all the clears when they happen. Listed the most important few ones only, just to not spam the article this time. Usually clears gives me a good idea about what happens. i insisted in doing that previously, because in some games/engines clears takes place fully at the start of a new frame (done for all regardless needed or not needed rendertargets), but at the same time there is other folks (like here) where it is more of the way i adopted in my engine, clears before filling the new info in a rendertarget. i like this because it is not always the case that all rendertargets from the previous frame would need to fill in this frame. Considering it is a rendertarget that you don’t want to use this frame, why then you waste the precious hyper teeny-tiny nano-seconds to clear! Things adds up afterall…
So i wanted to leave that note, to let you know that in general pretty much before every step (Heading of a paragraph), there were a clear/s for what will be consumed as an outputs in that coming step (and barriers of course😅).
Prepare Resources
A pretty common (by now) sequence of CopyTextureRegion with ResourceBarrier/s in-between with D3D12_TEXTURE_COPY_TYPE_SUBRESOURCE_INDEX at the start of every frame.
Skining [Compute]
Few sequences of compute dispatches that seem to be doing skinning on the gpu. Nothing very specific to show here at this point, except listing the step as part of the frame lifetime.
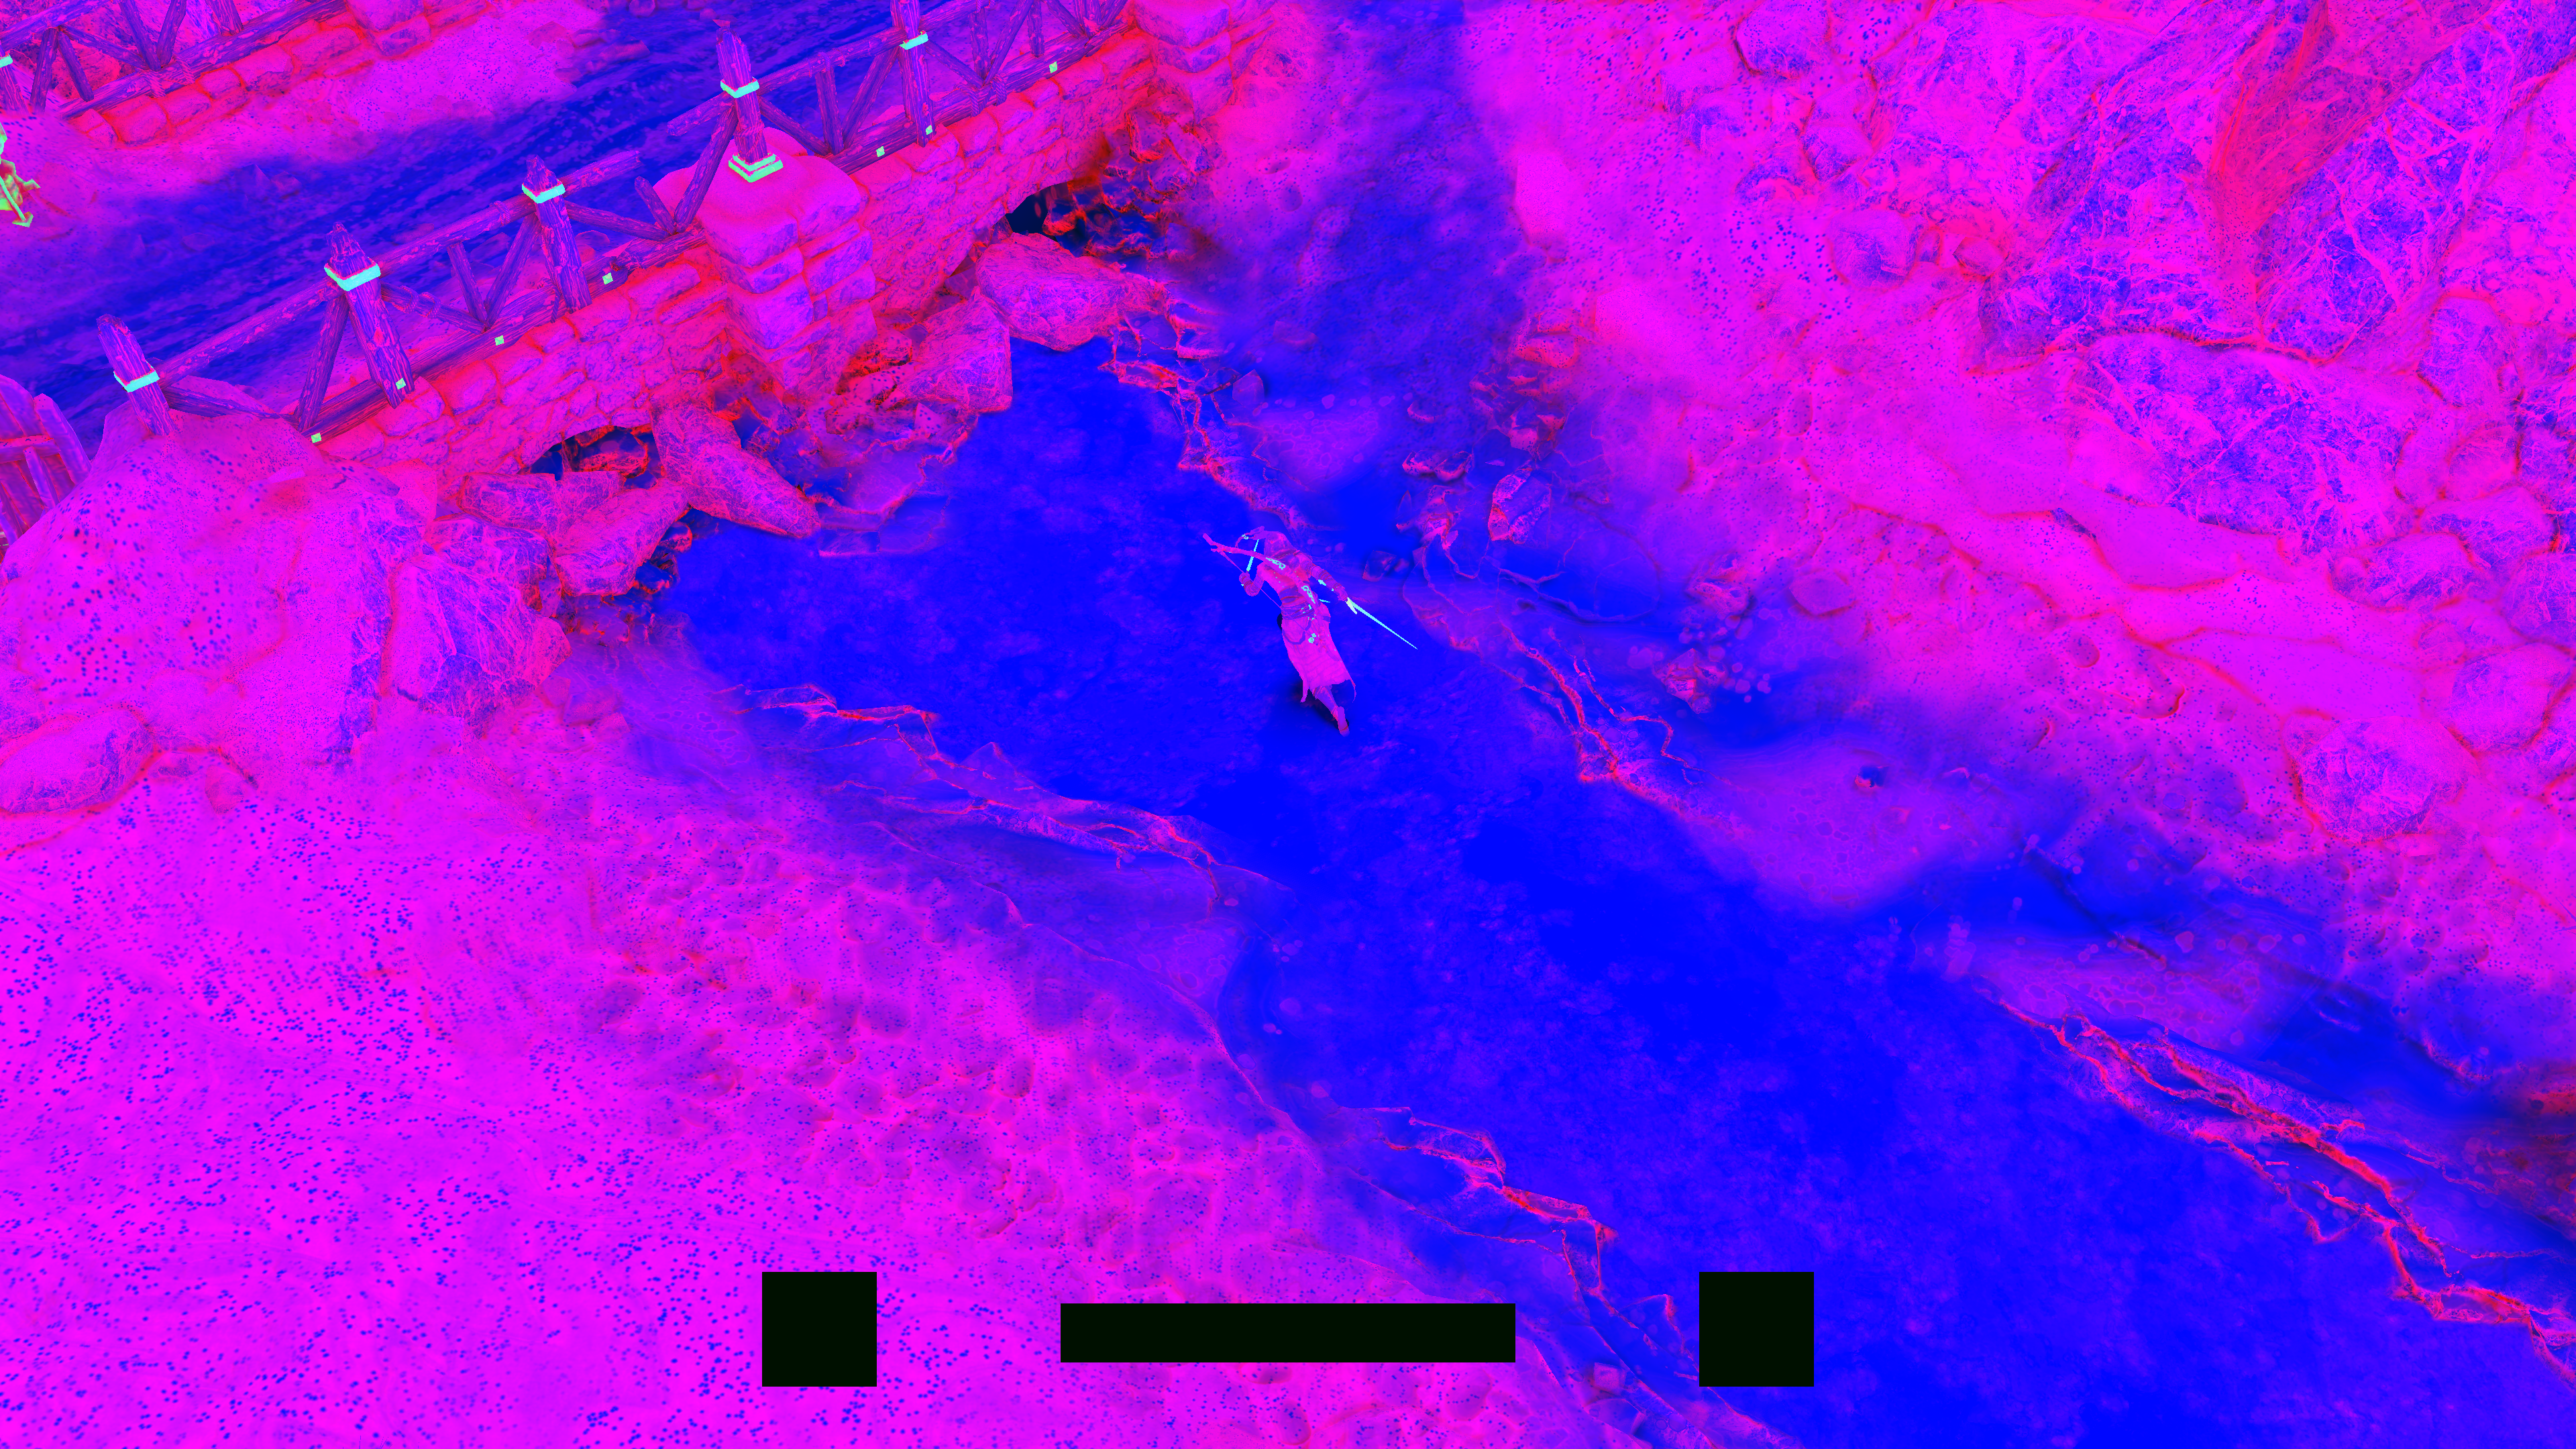
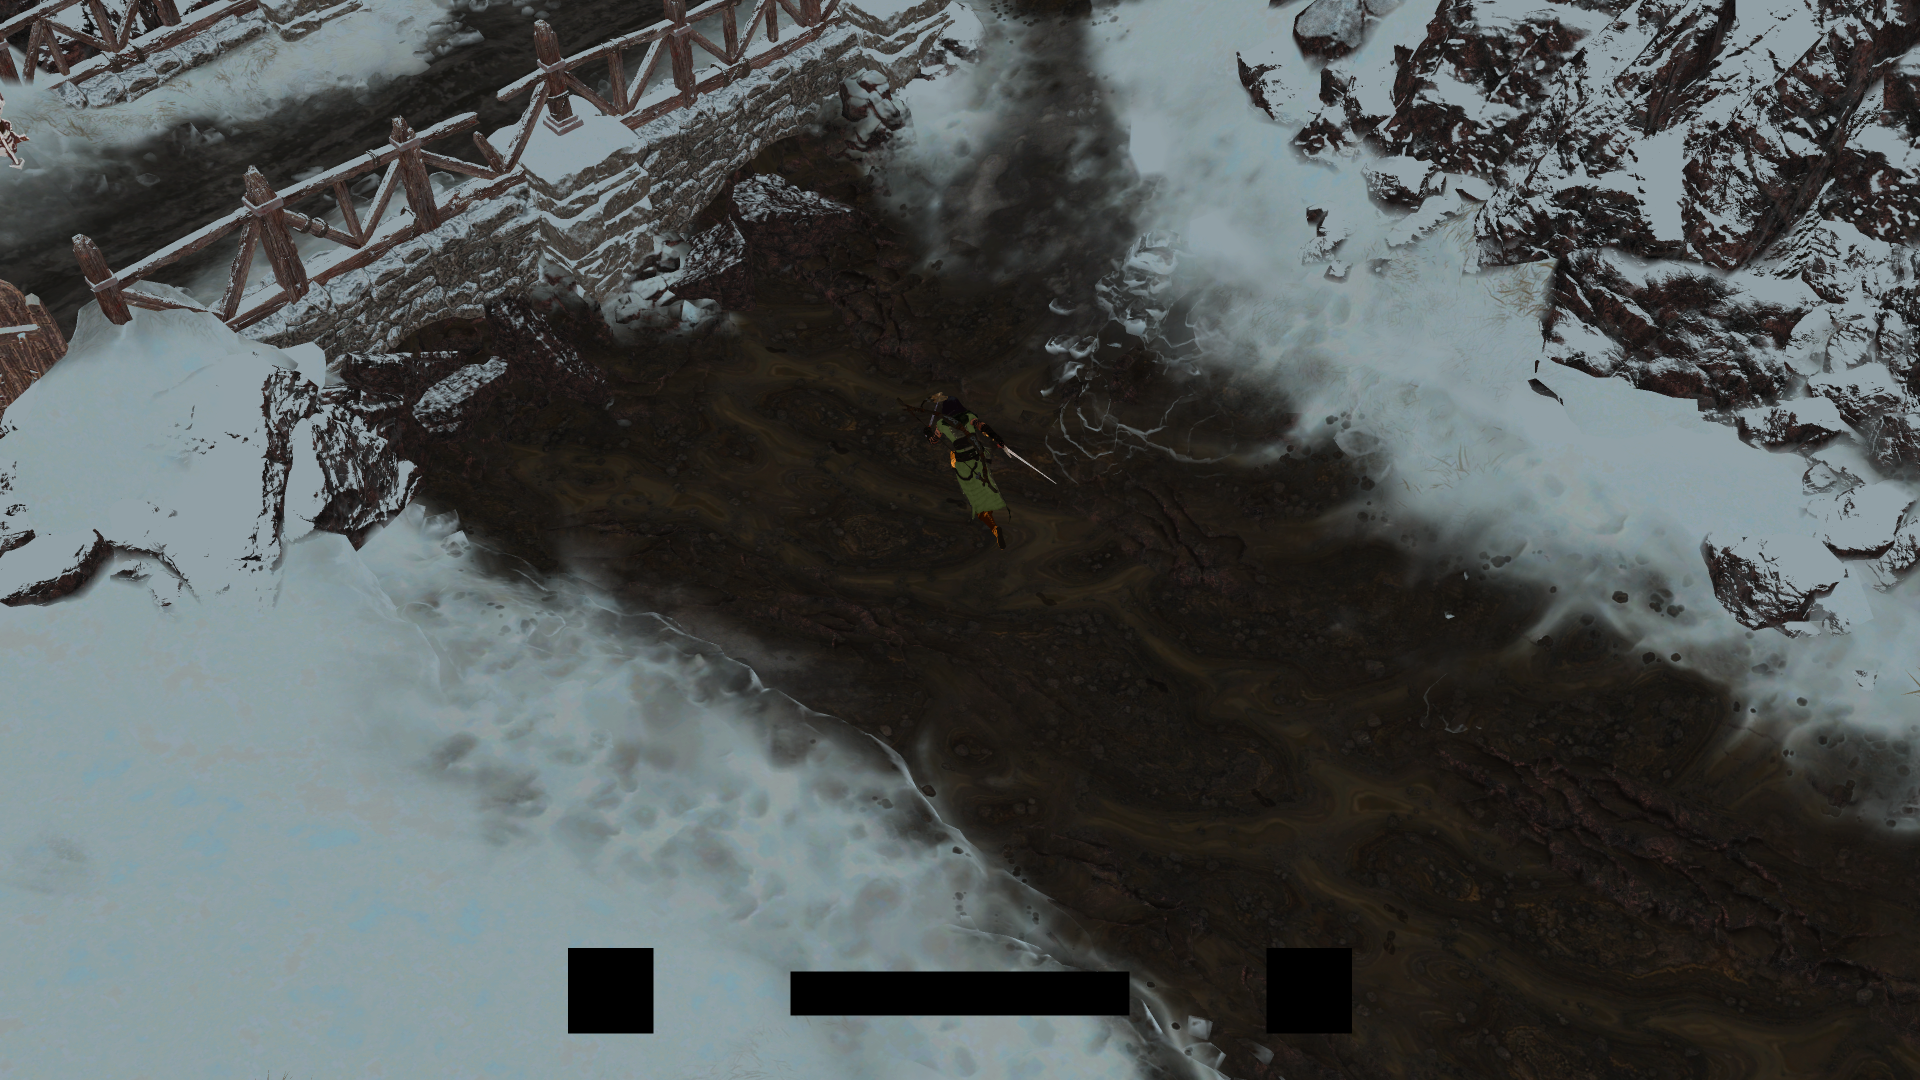
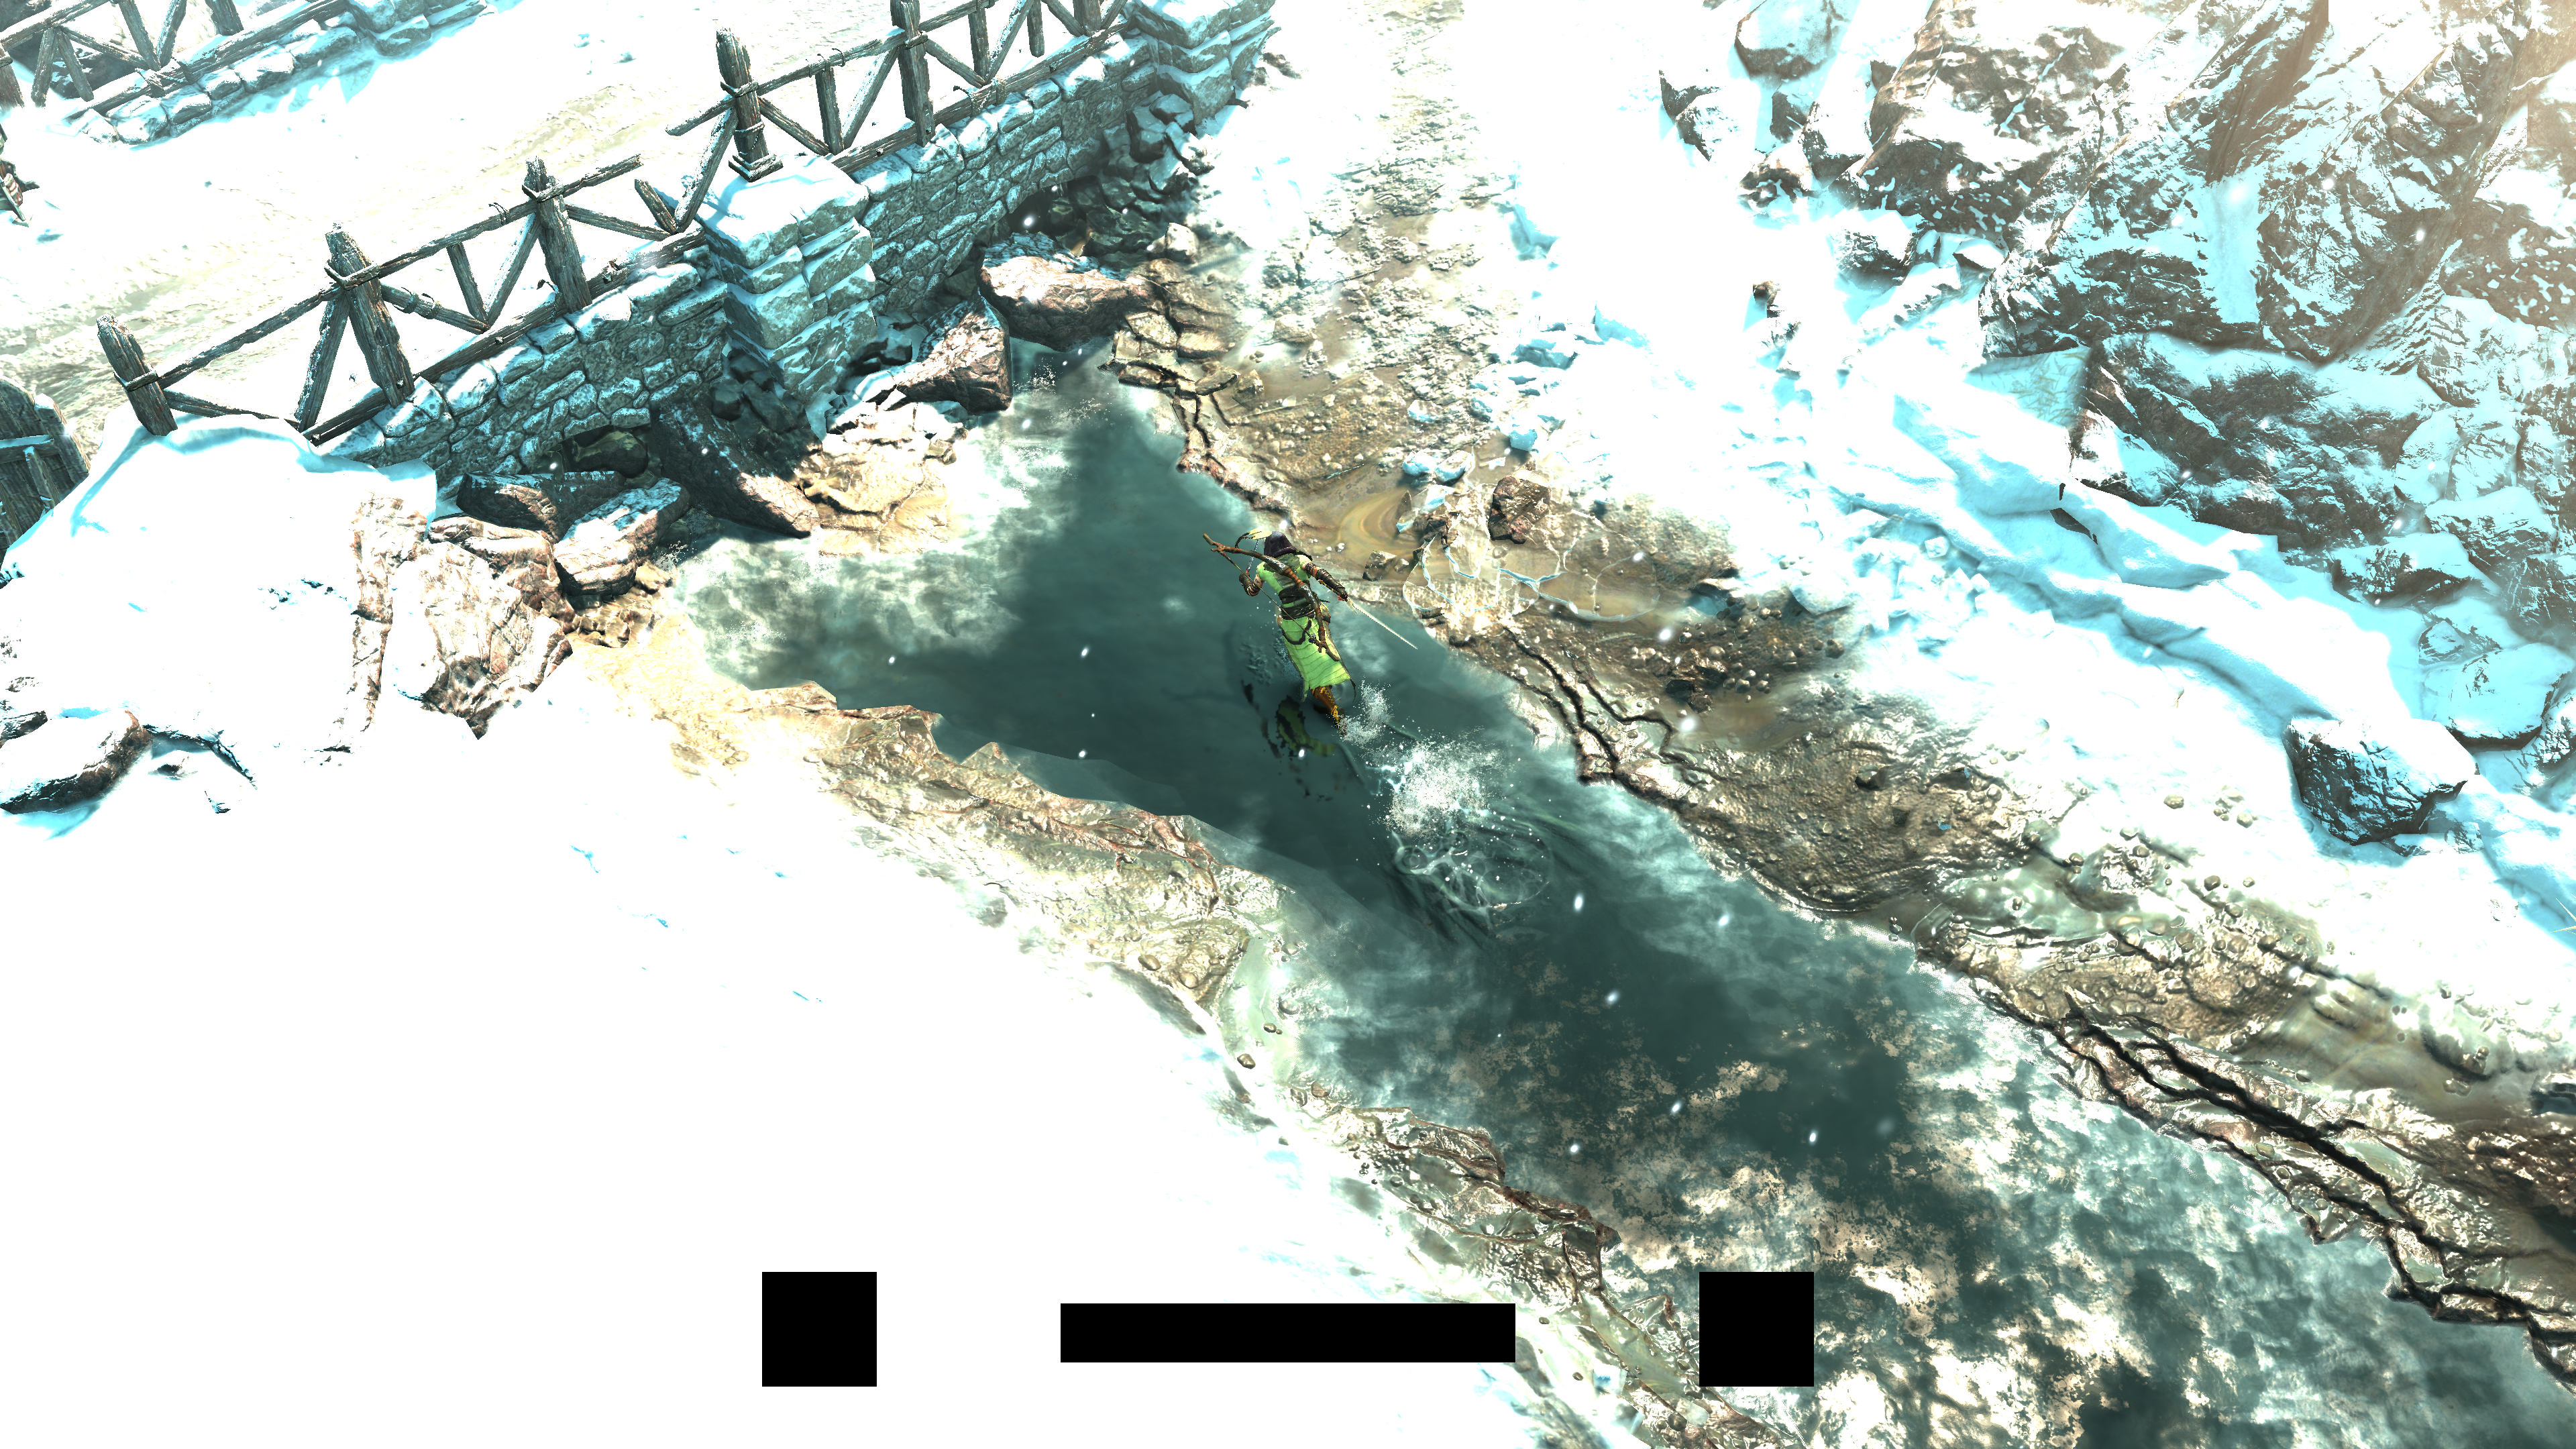
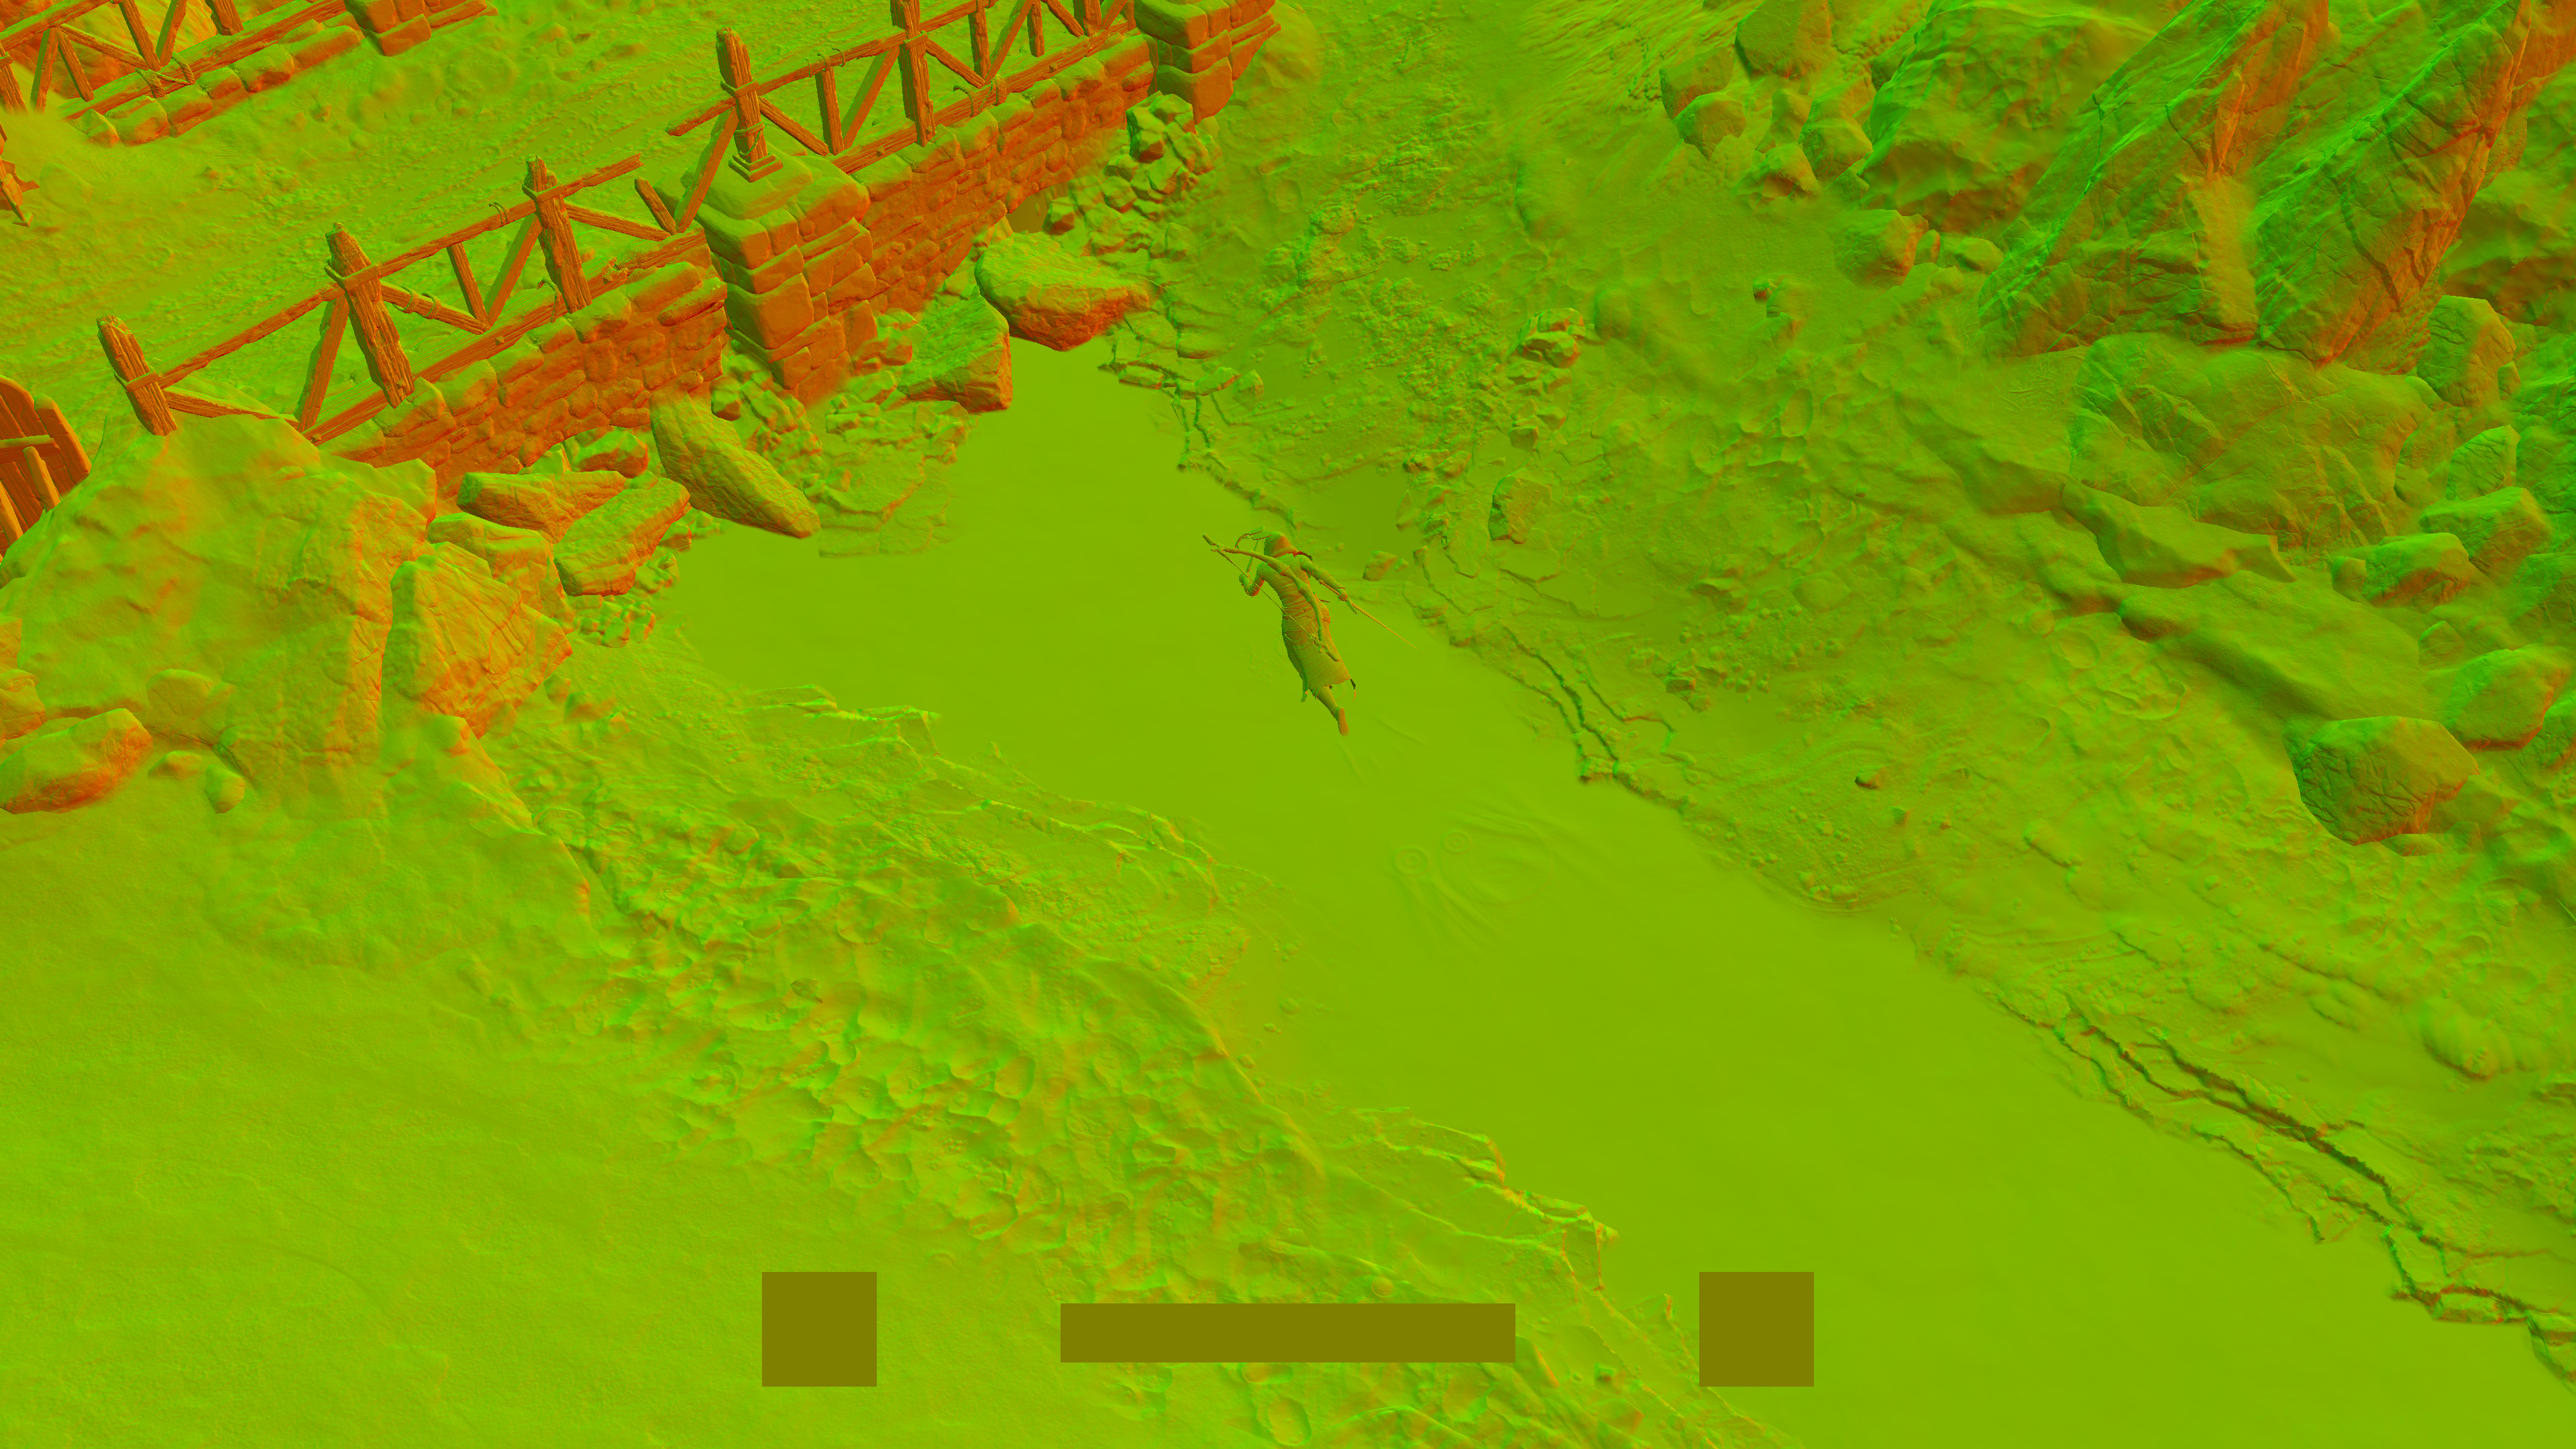
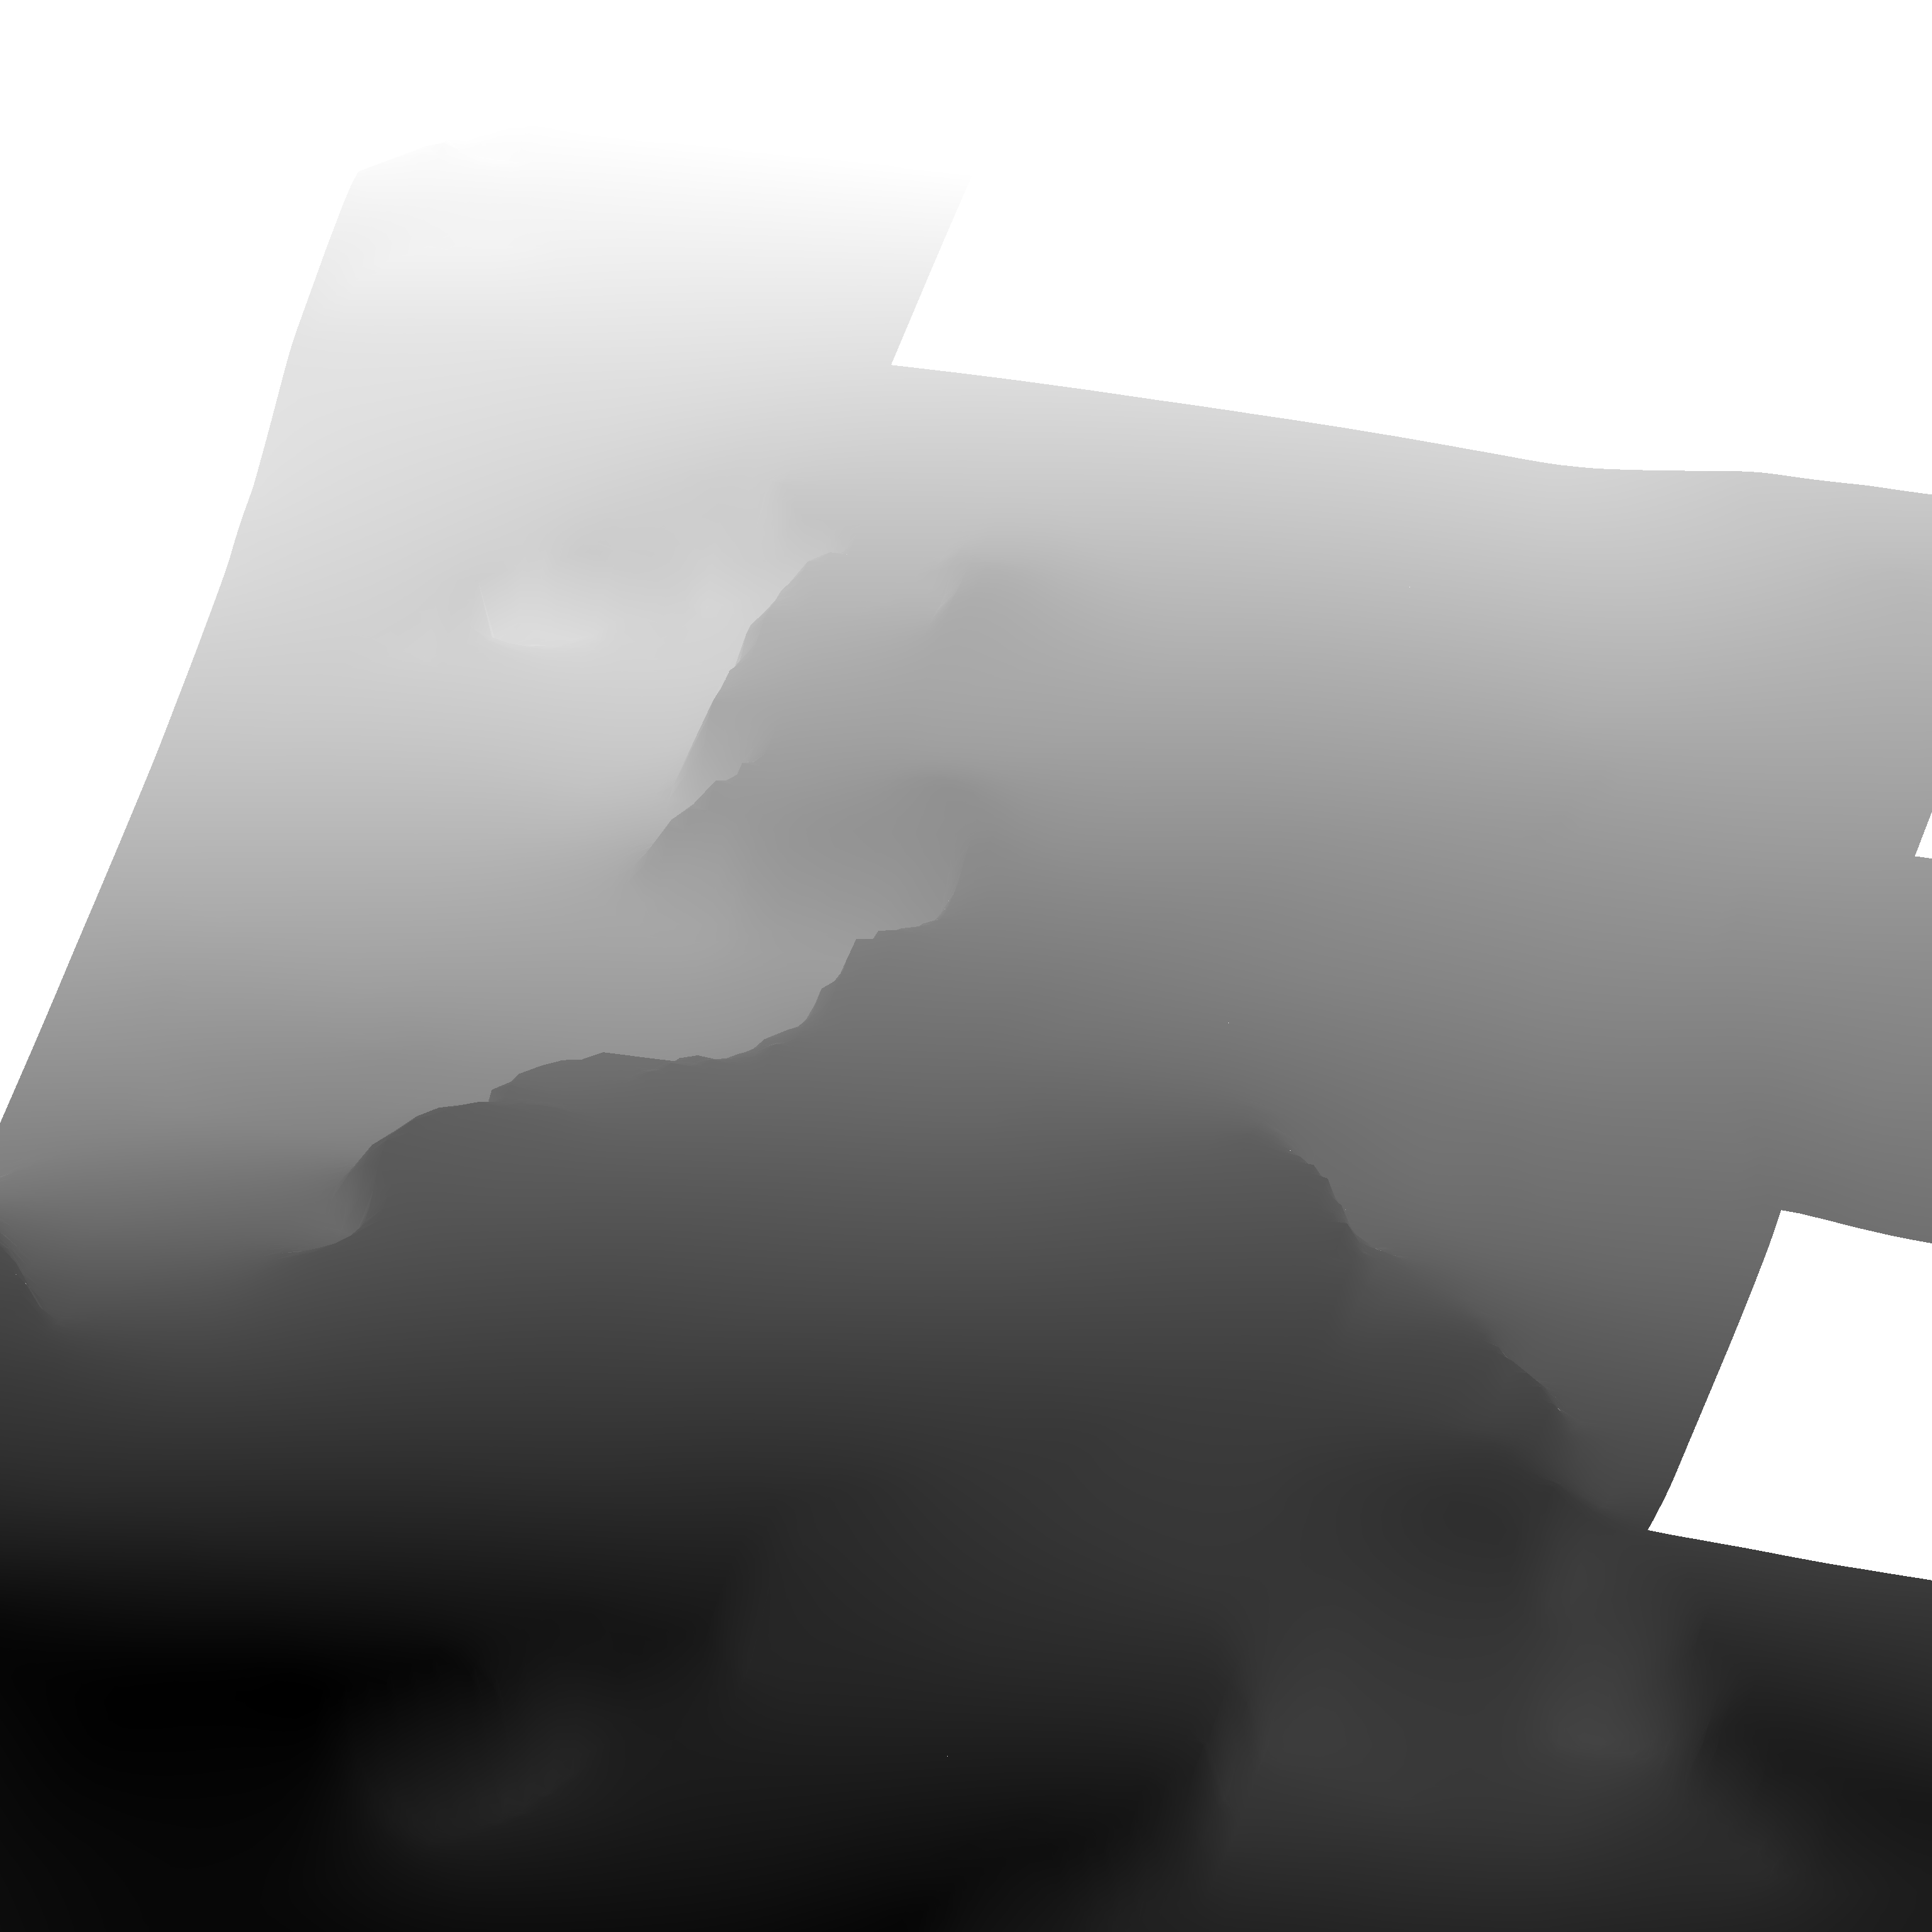
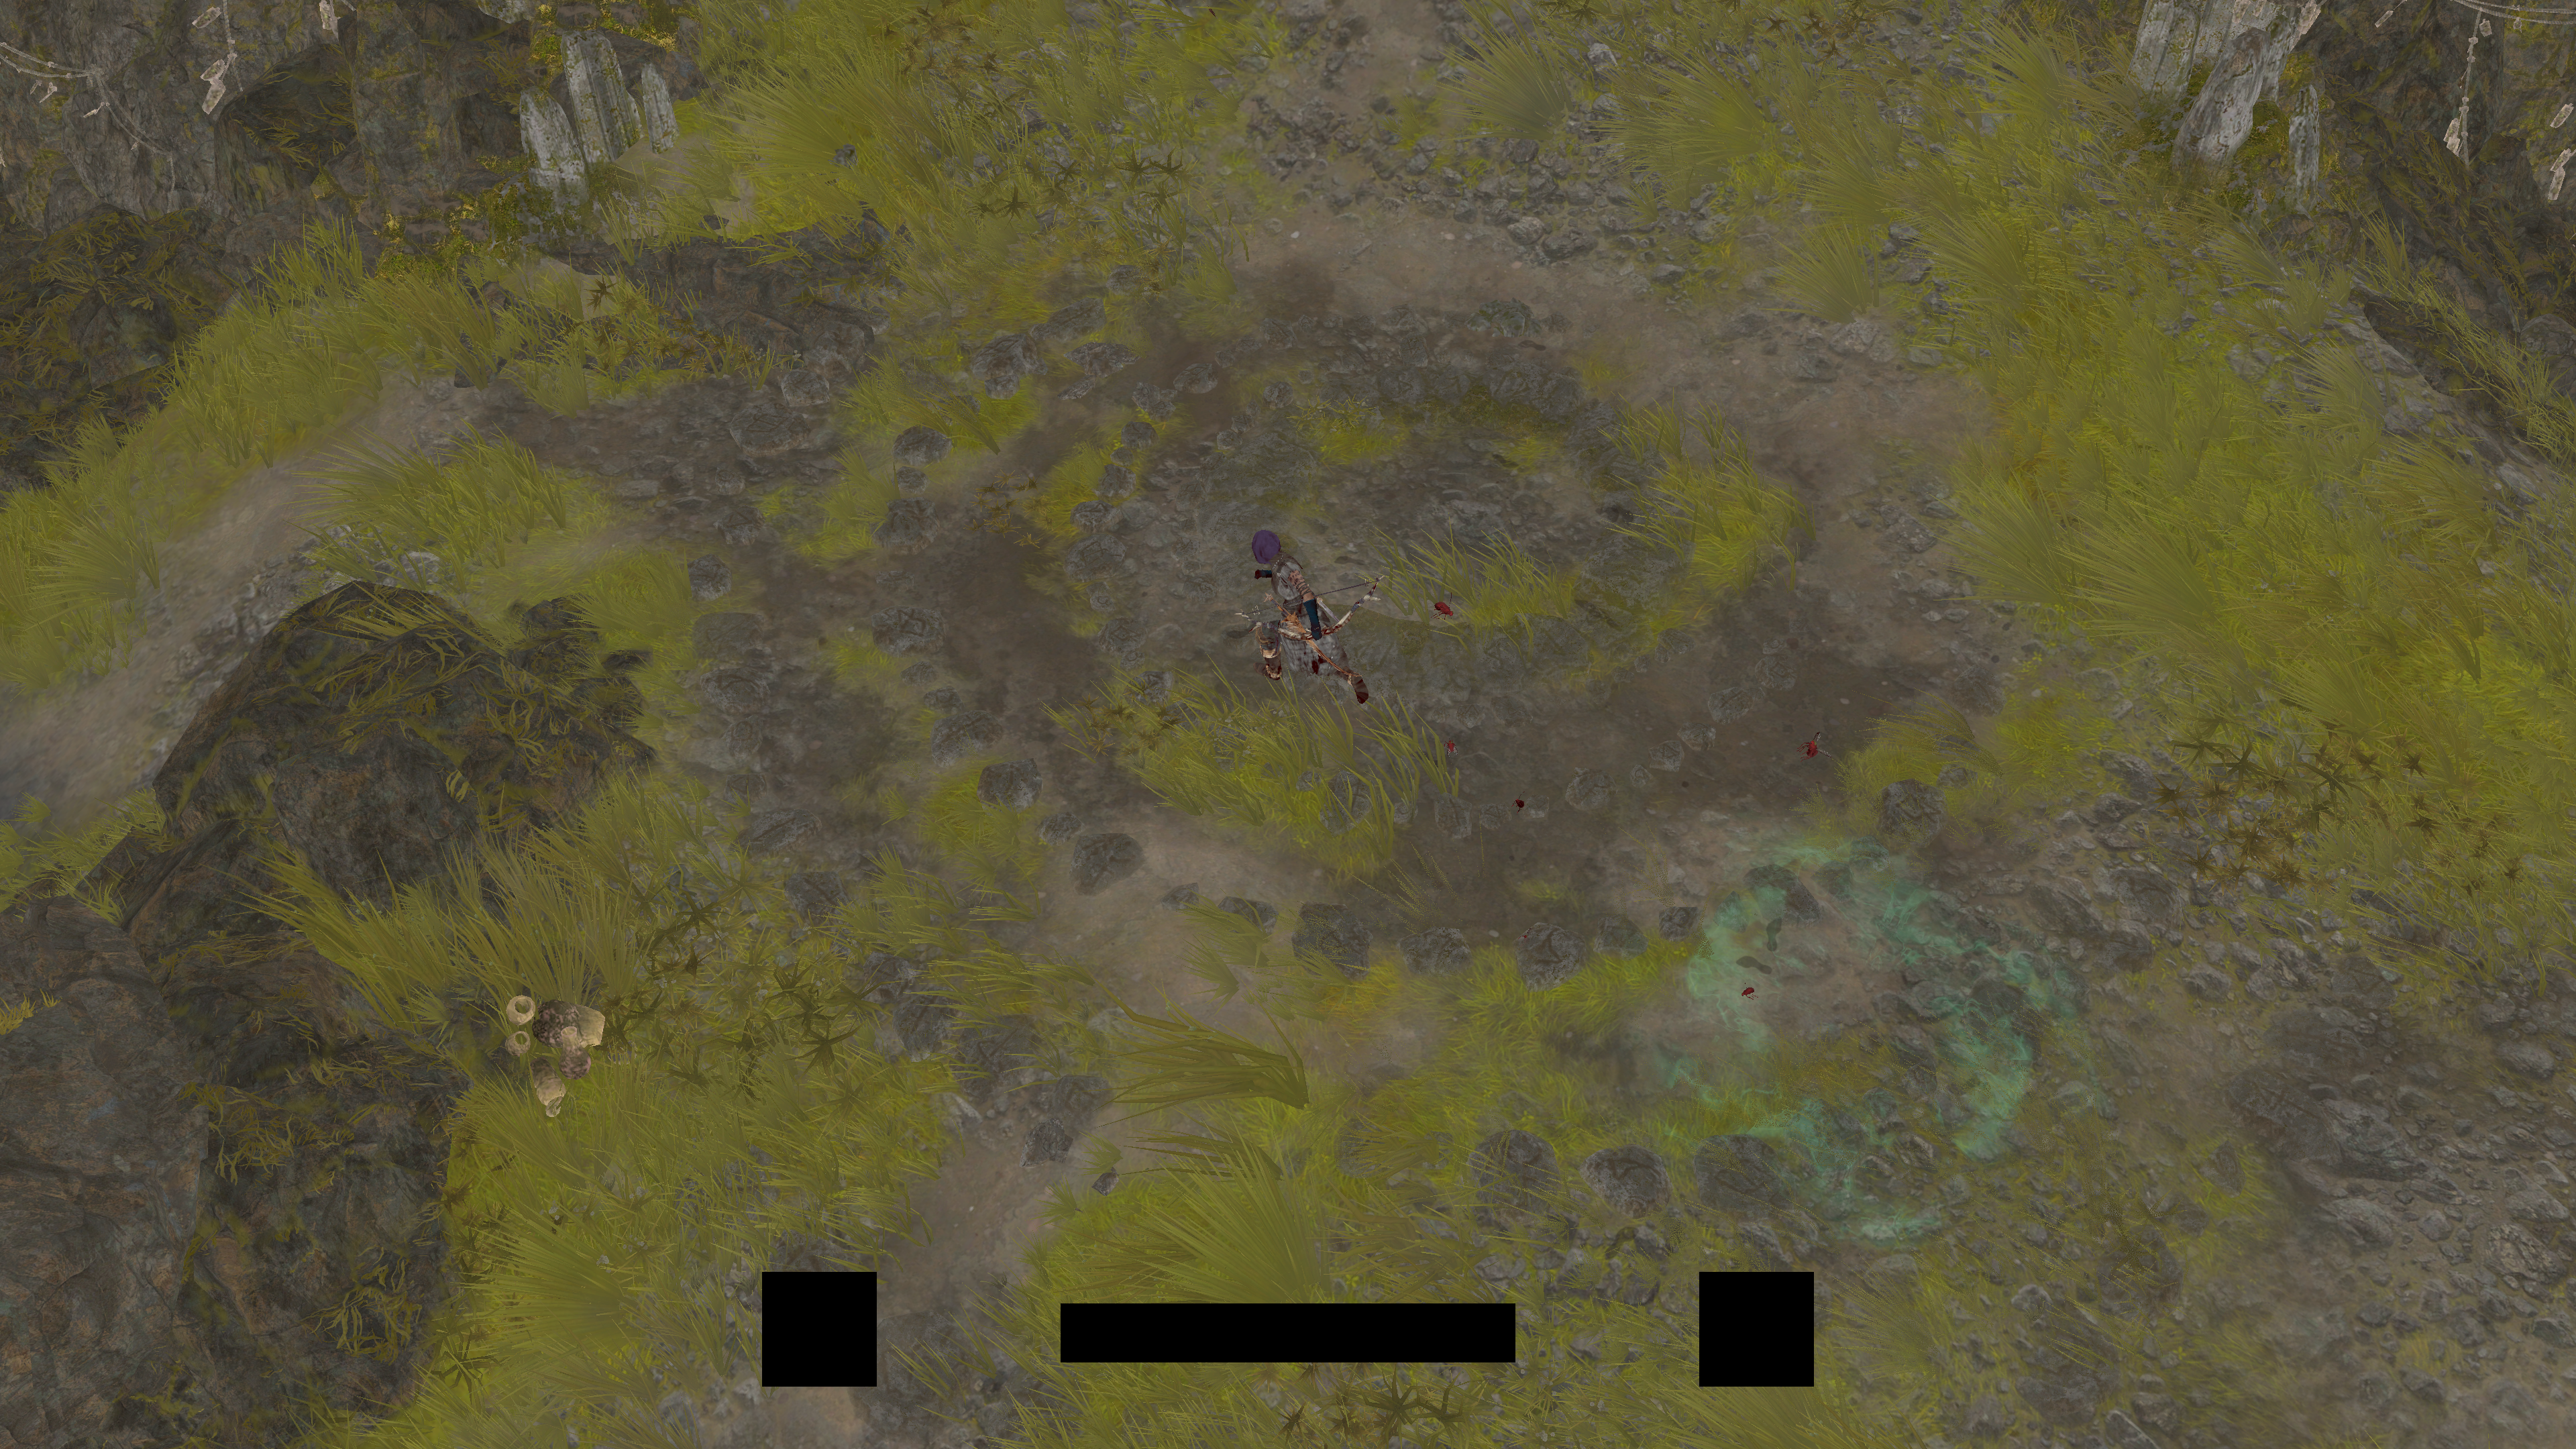
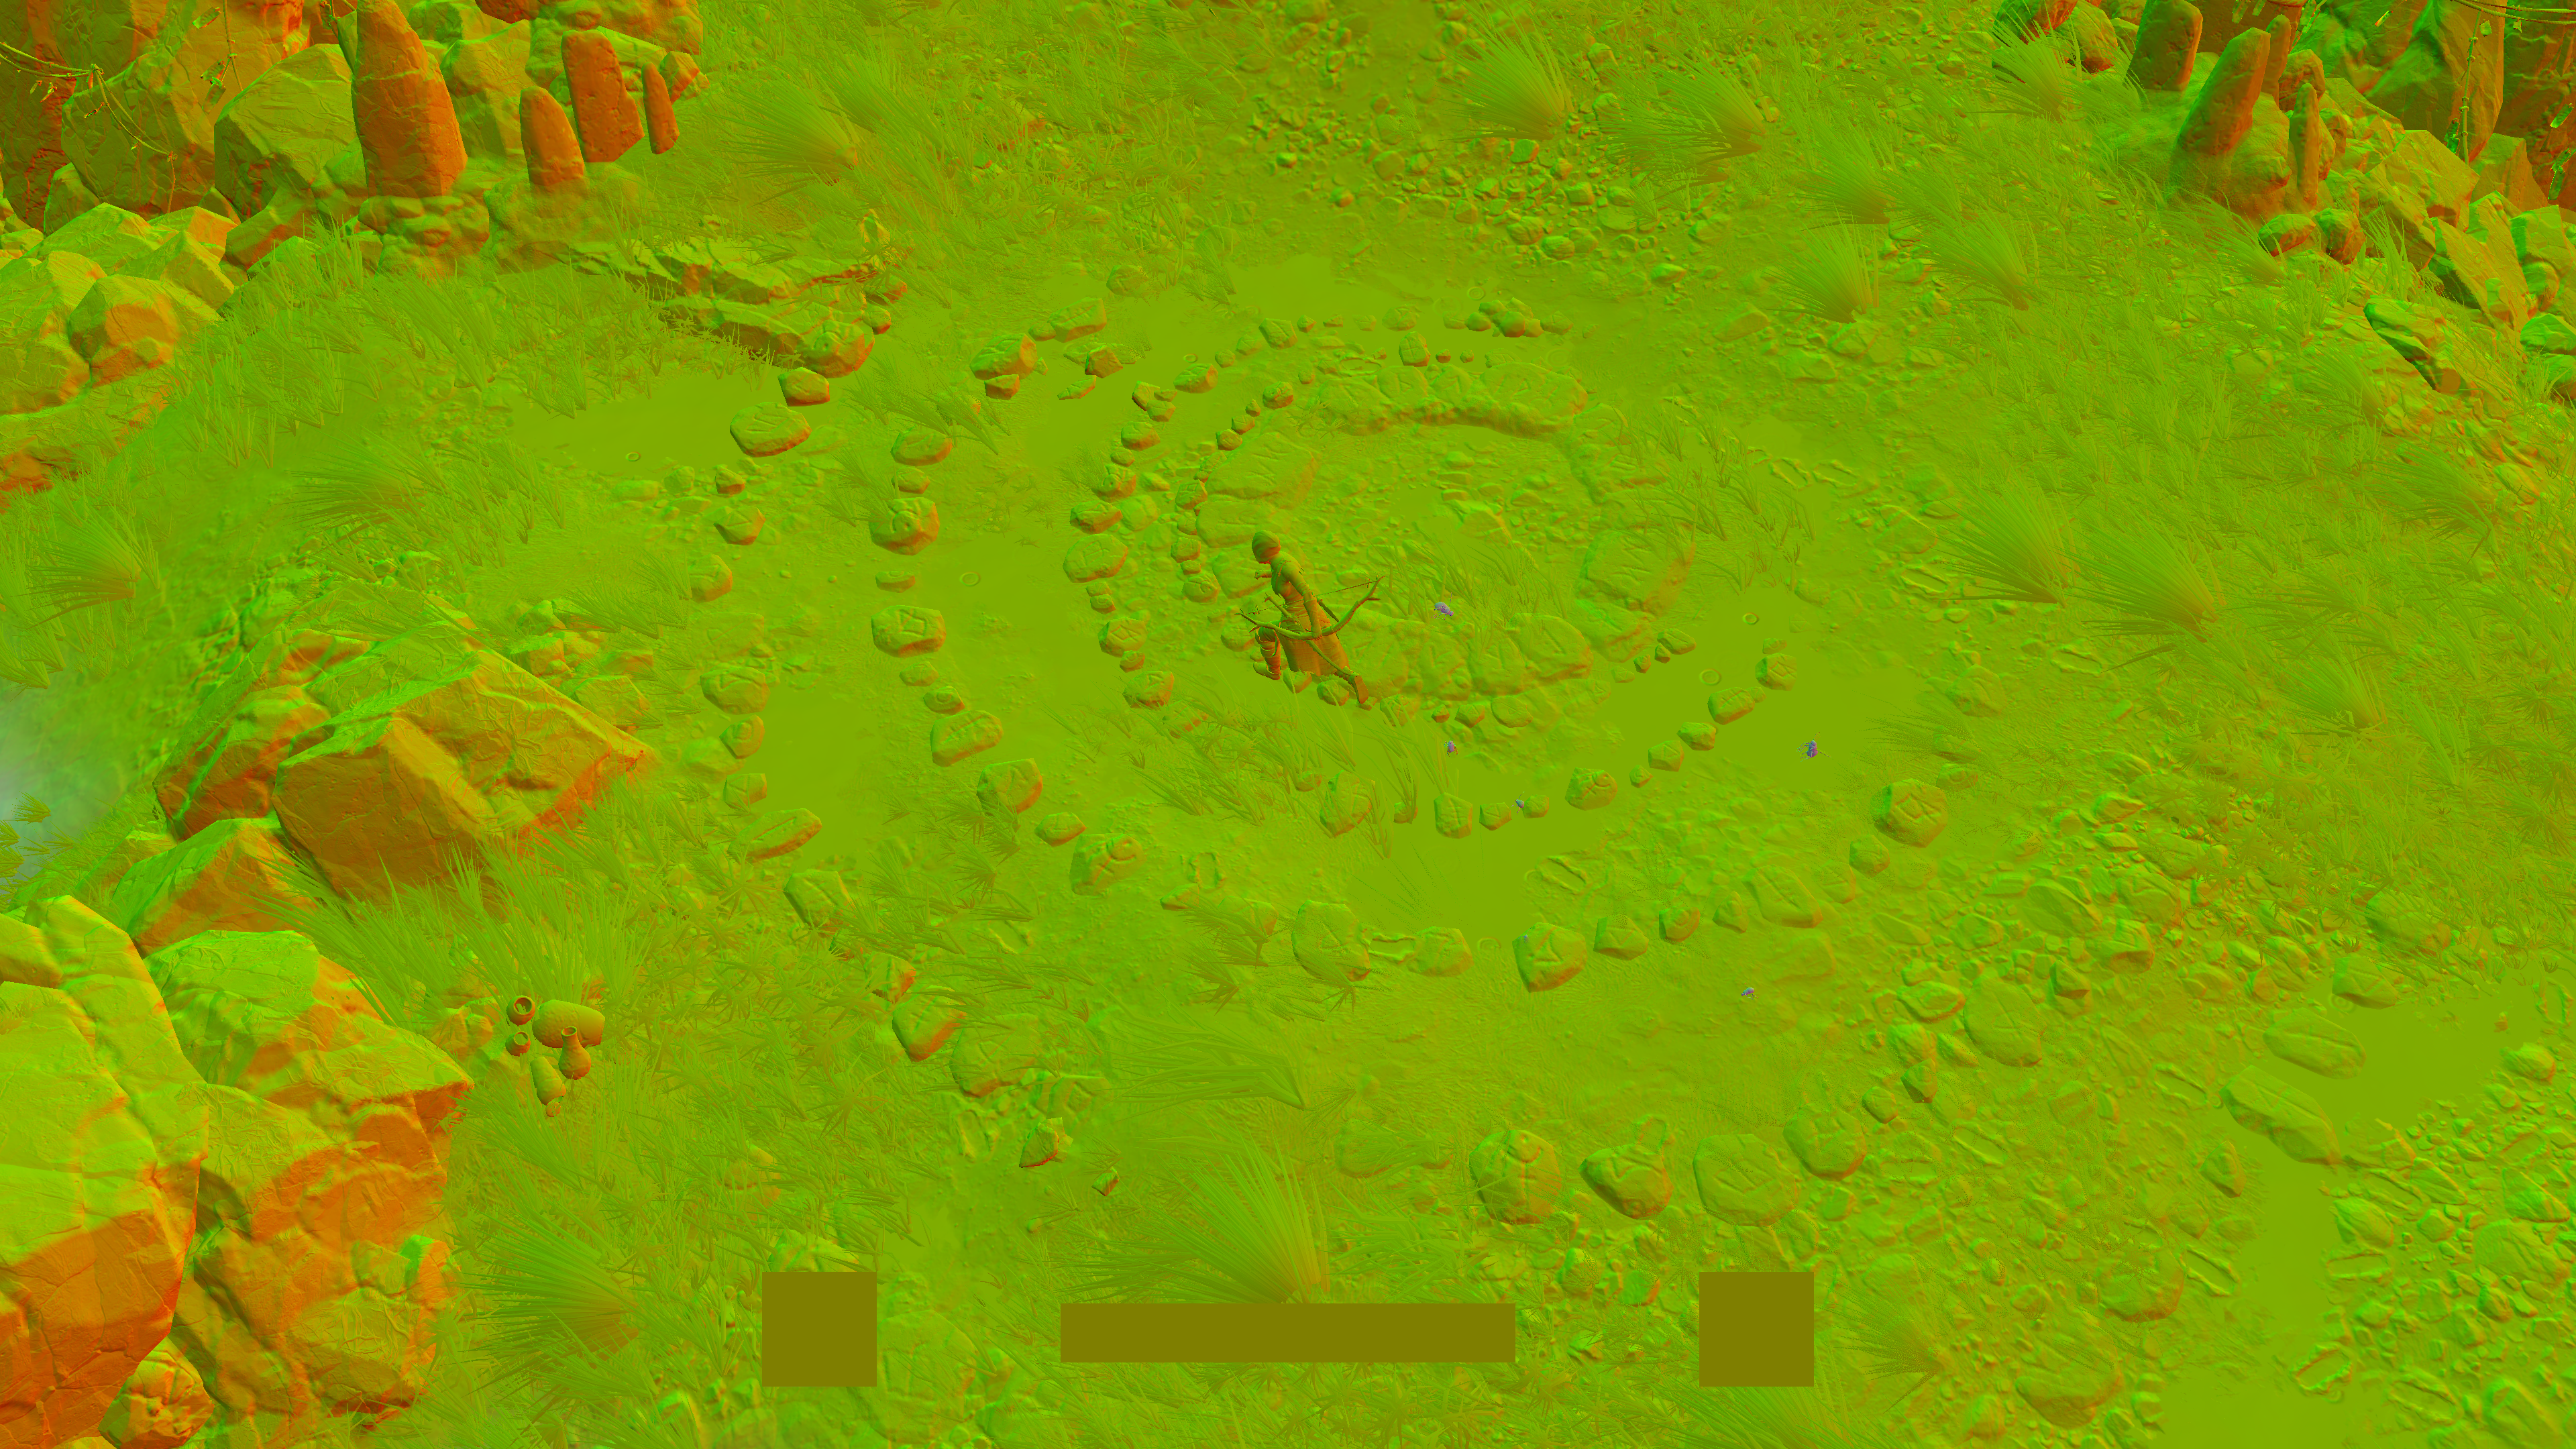
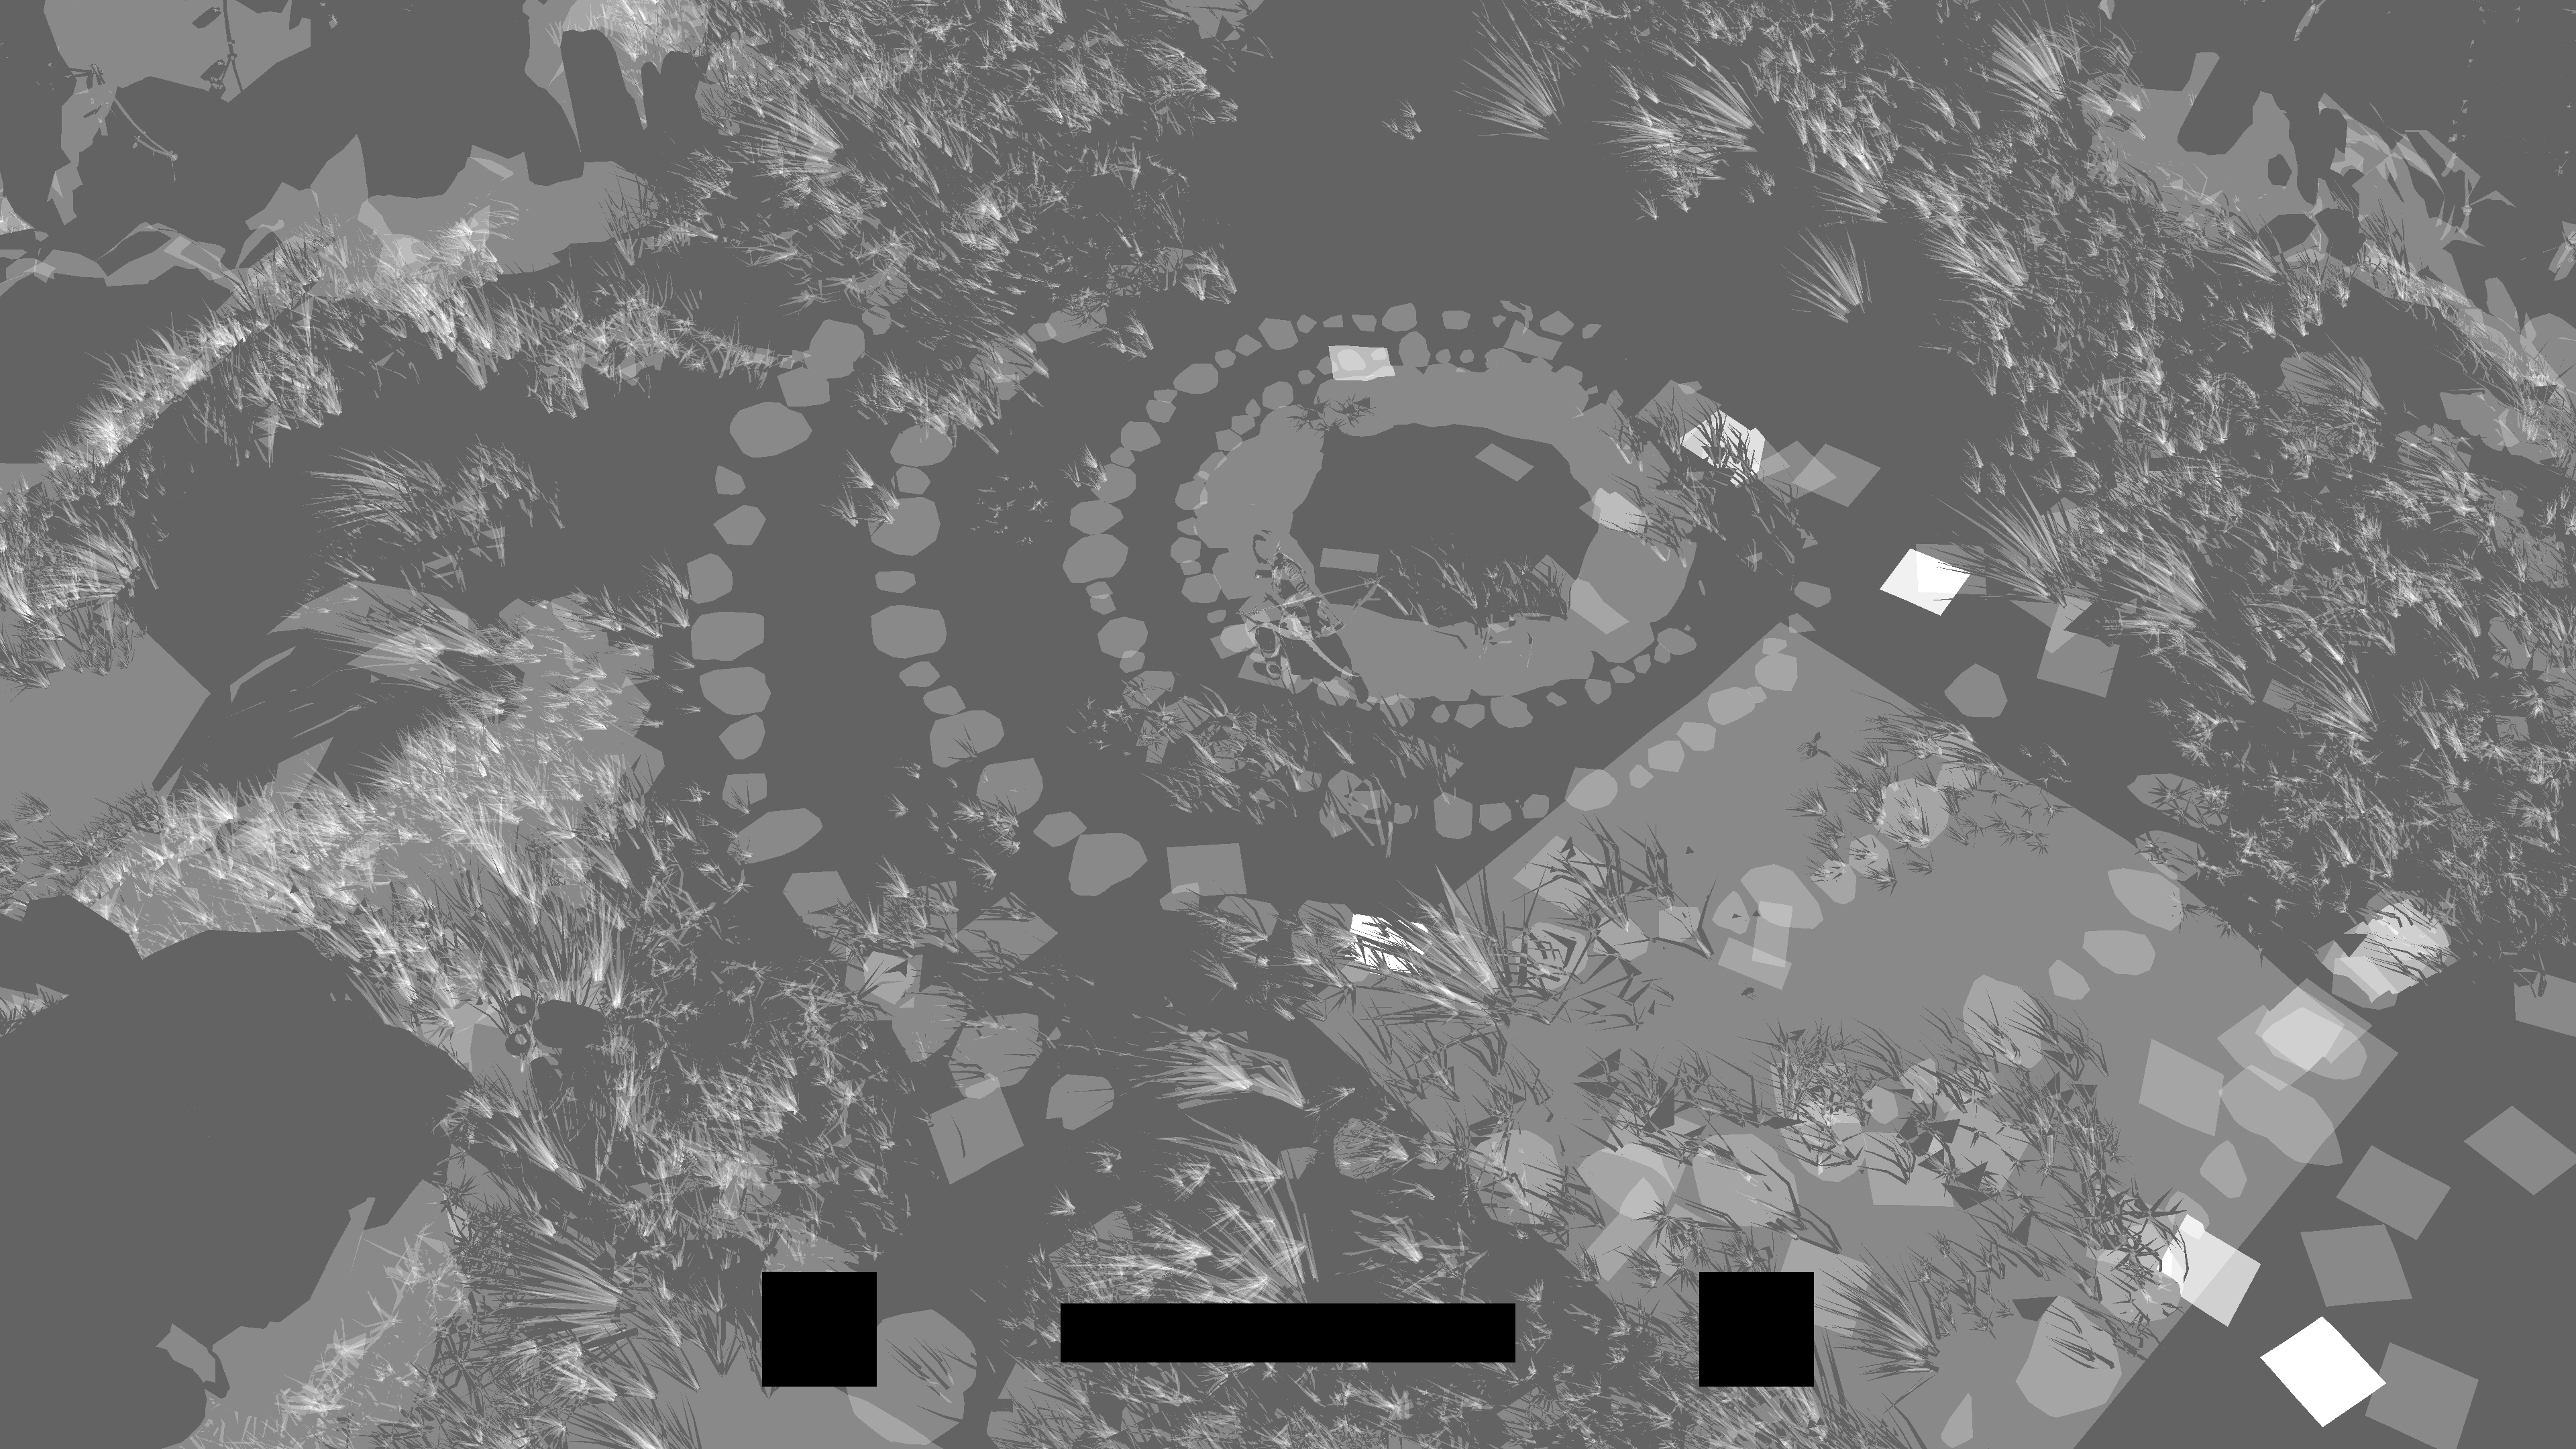
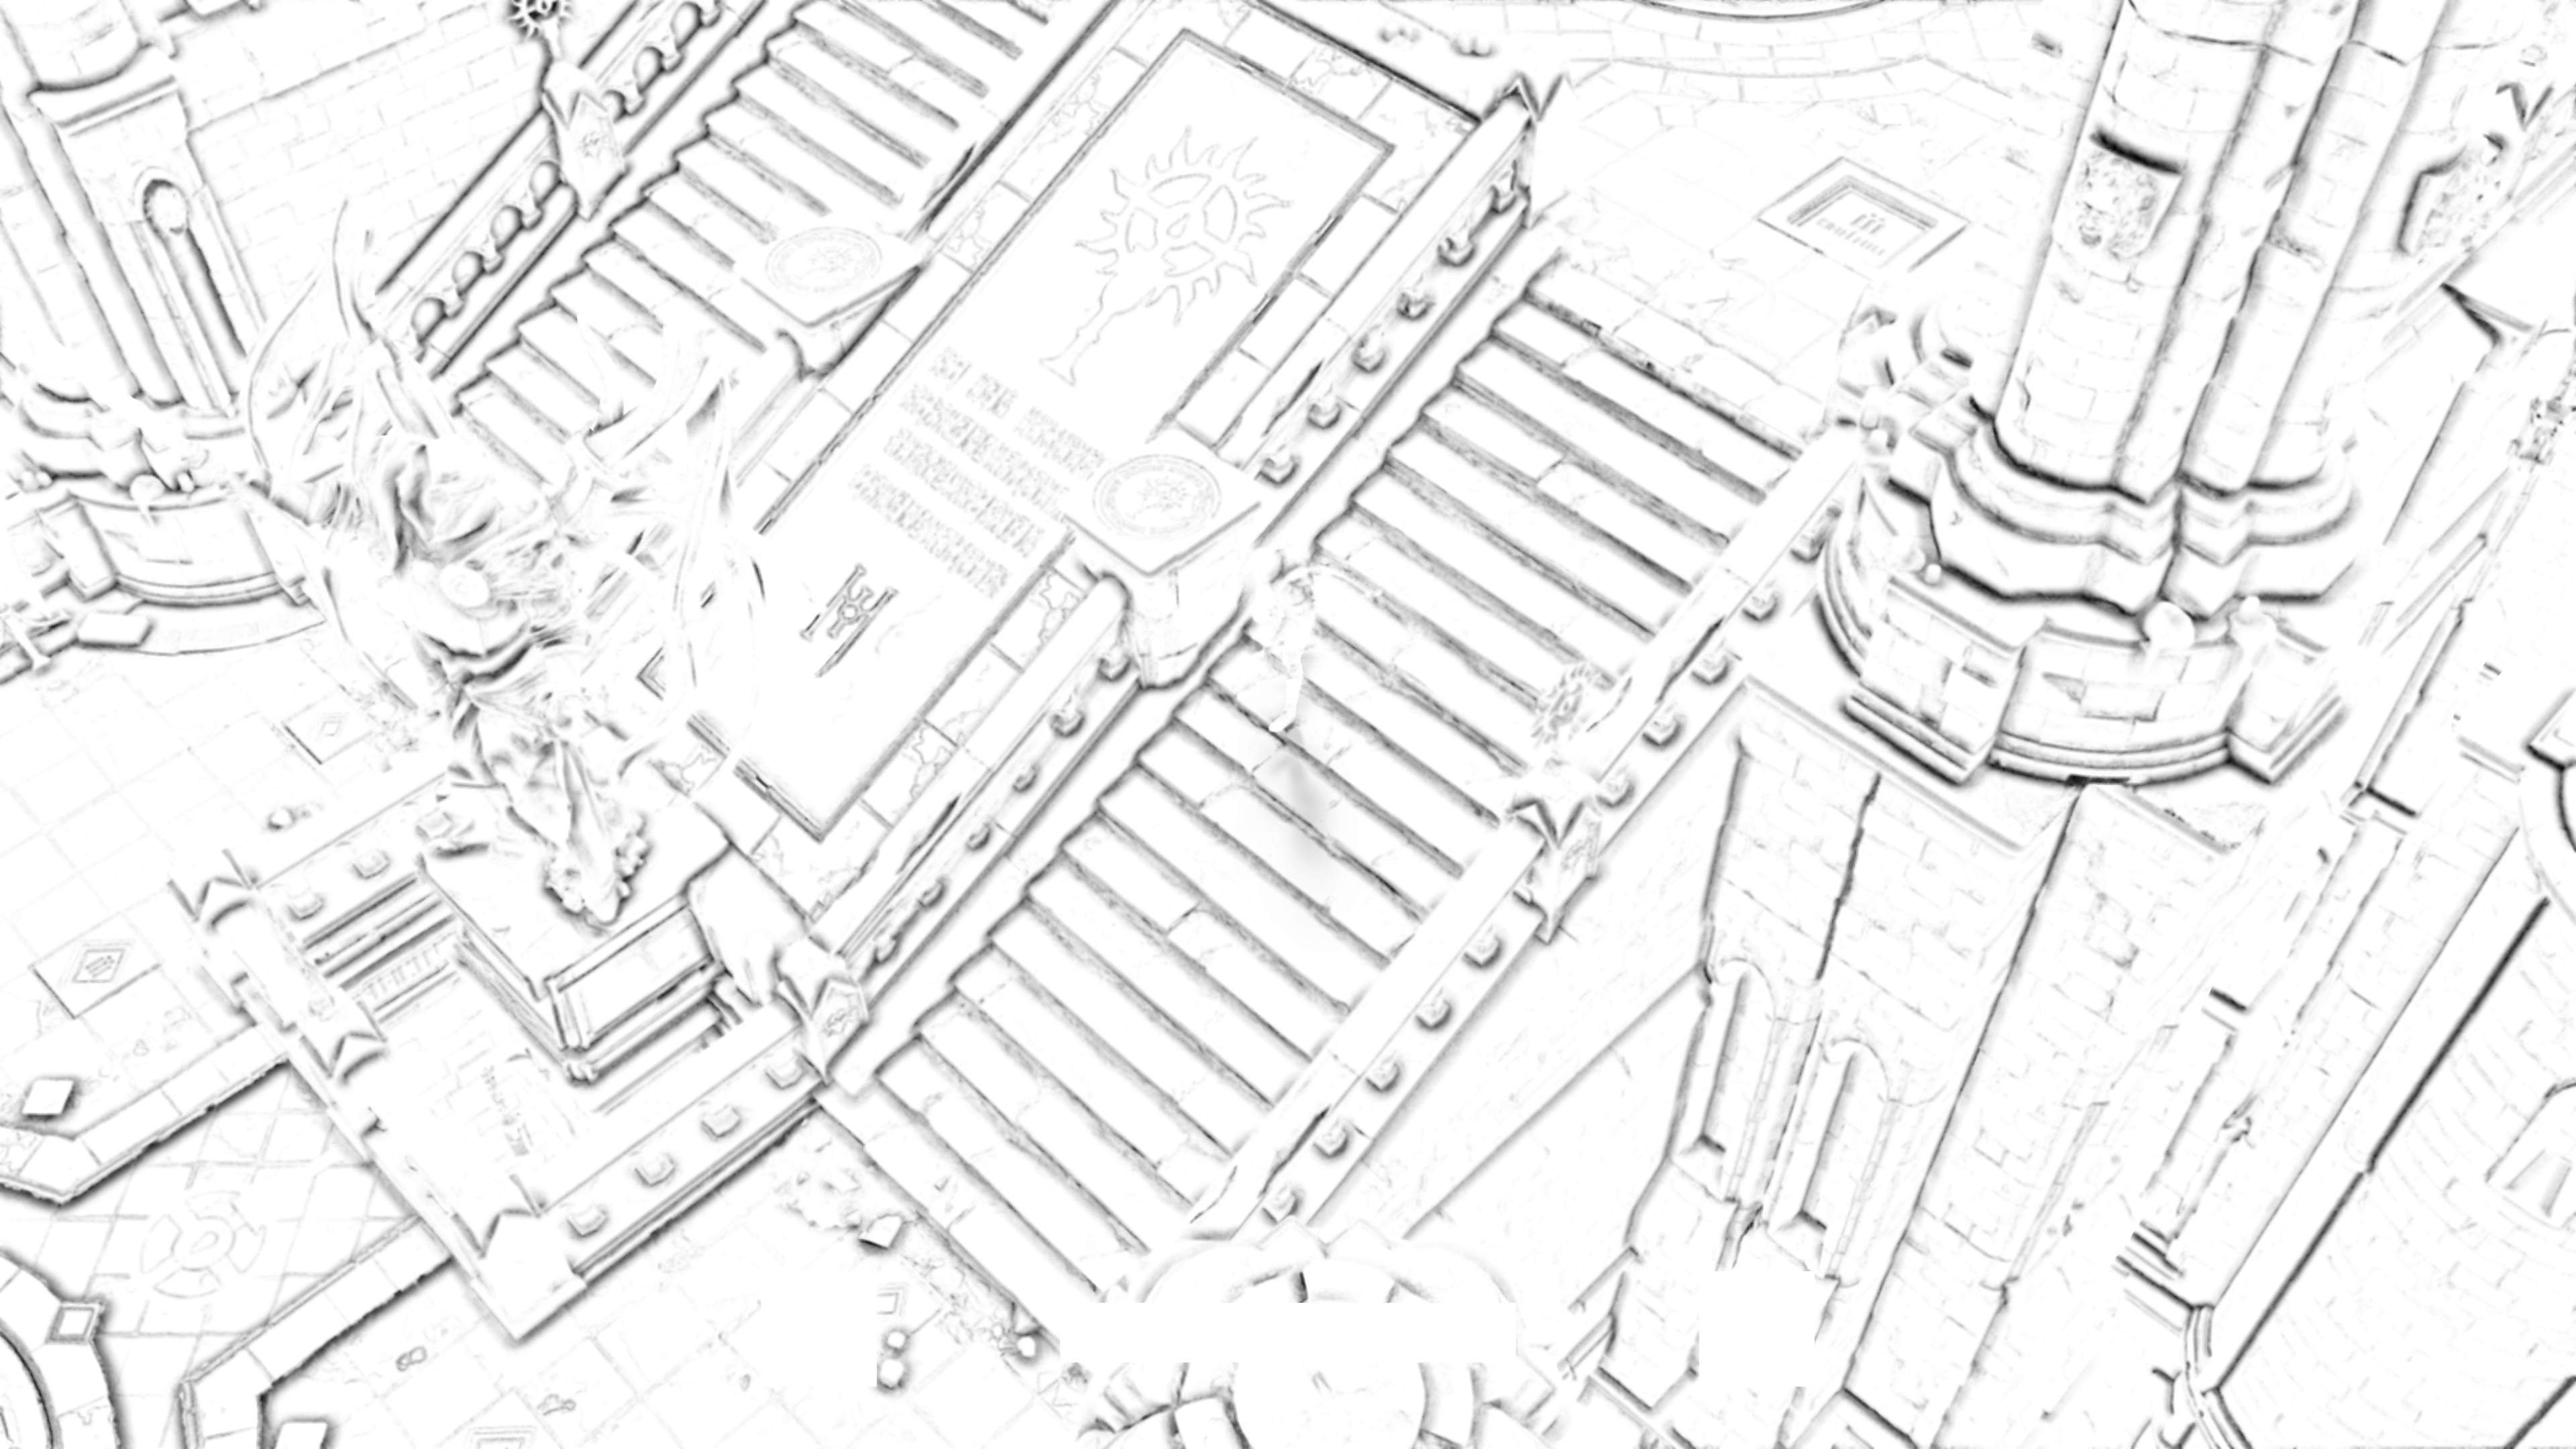
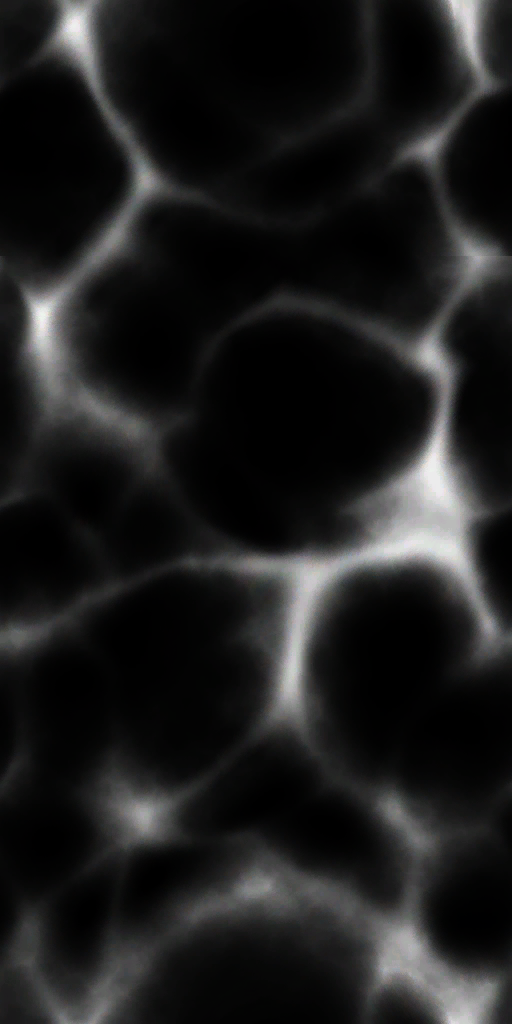
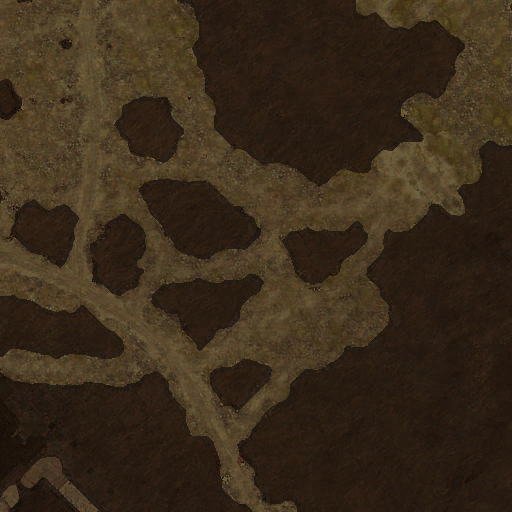
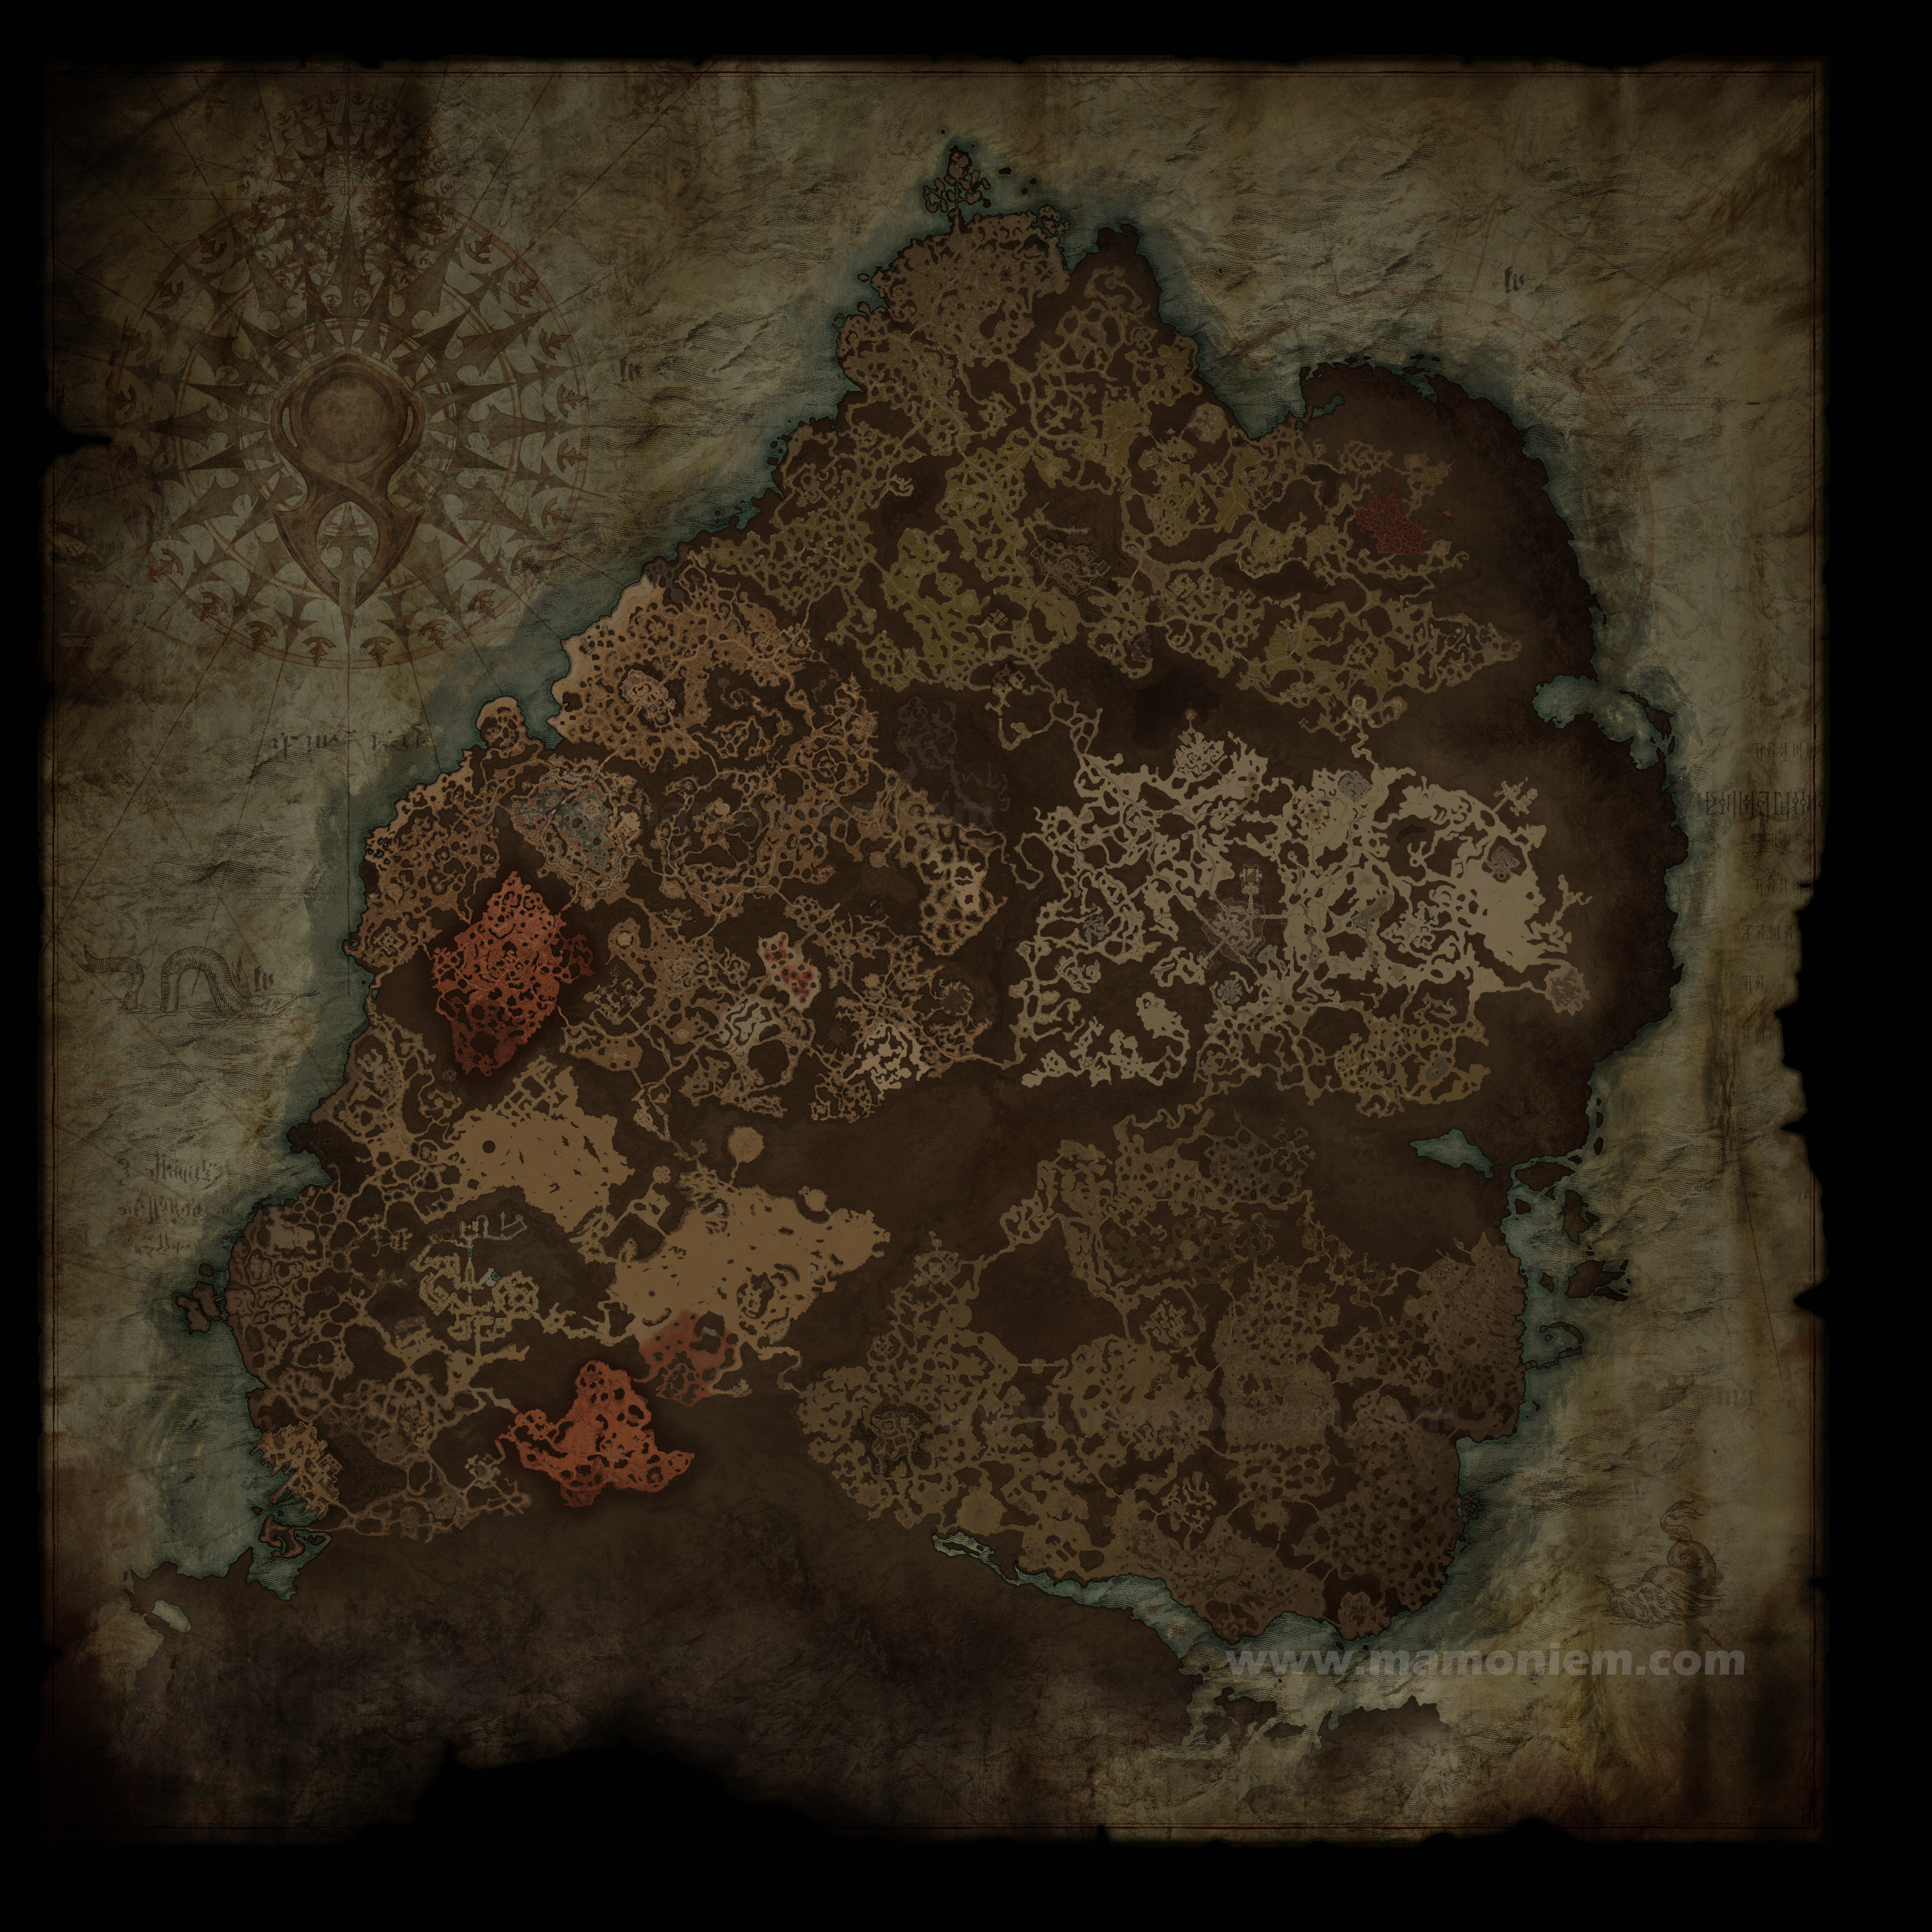
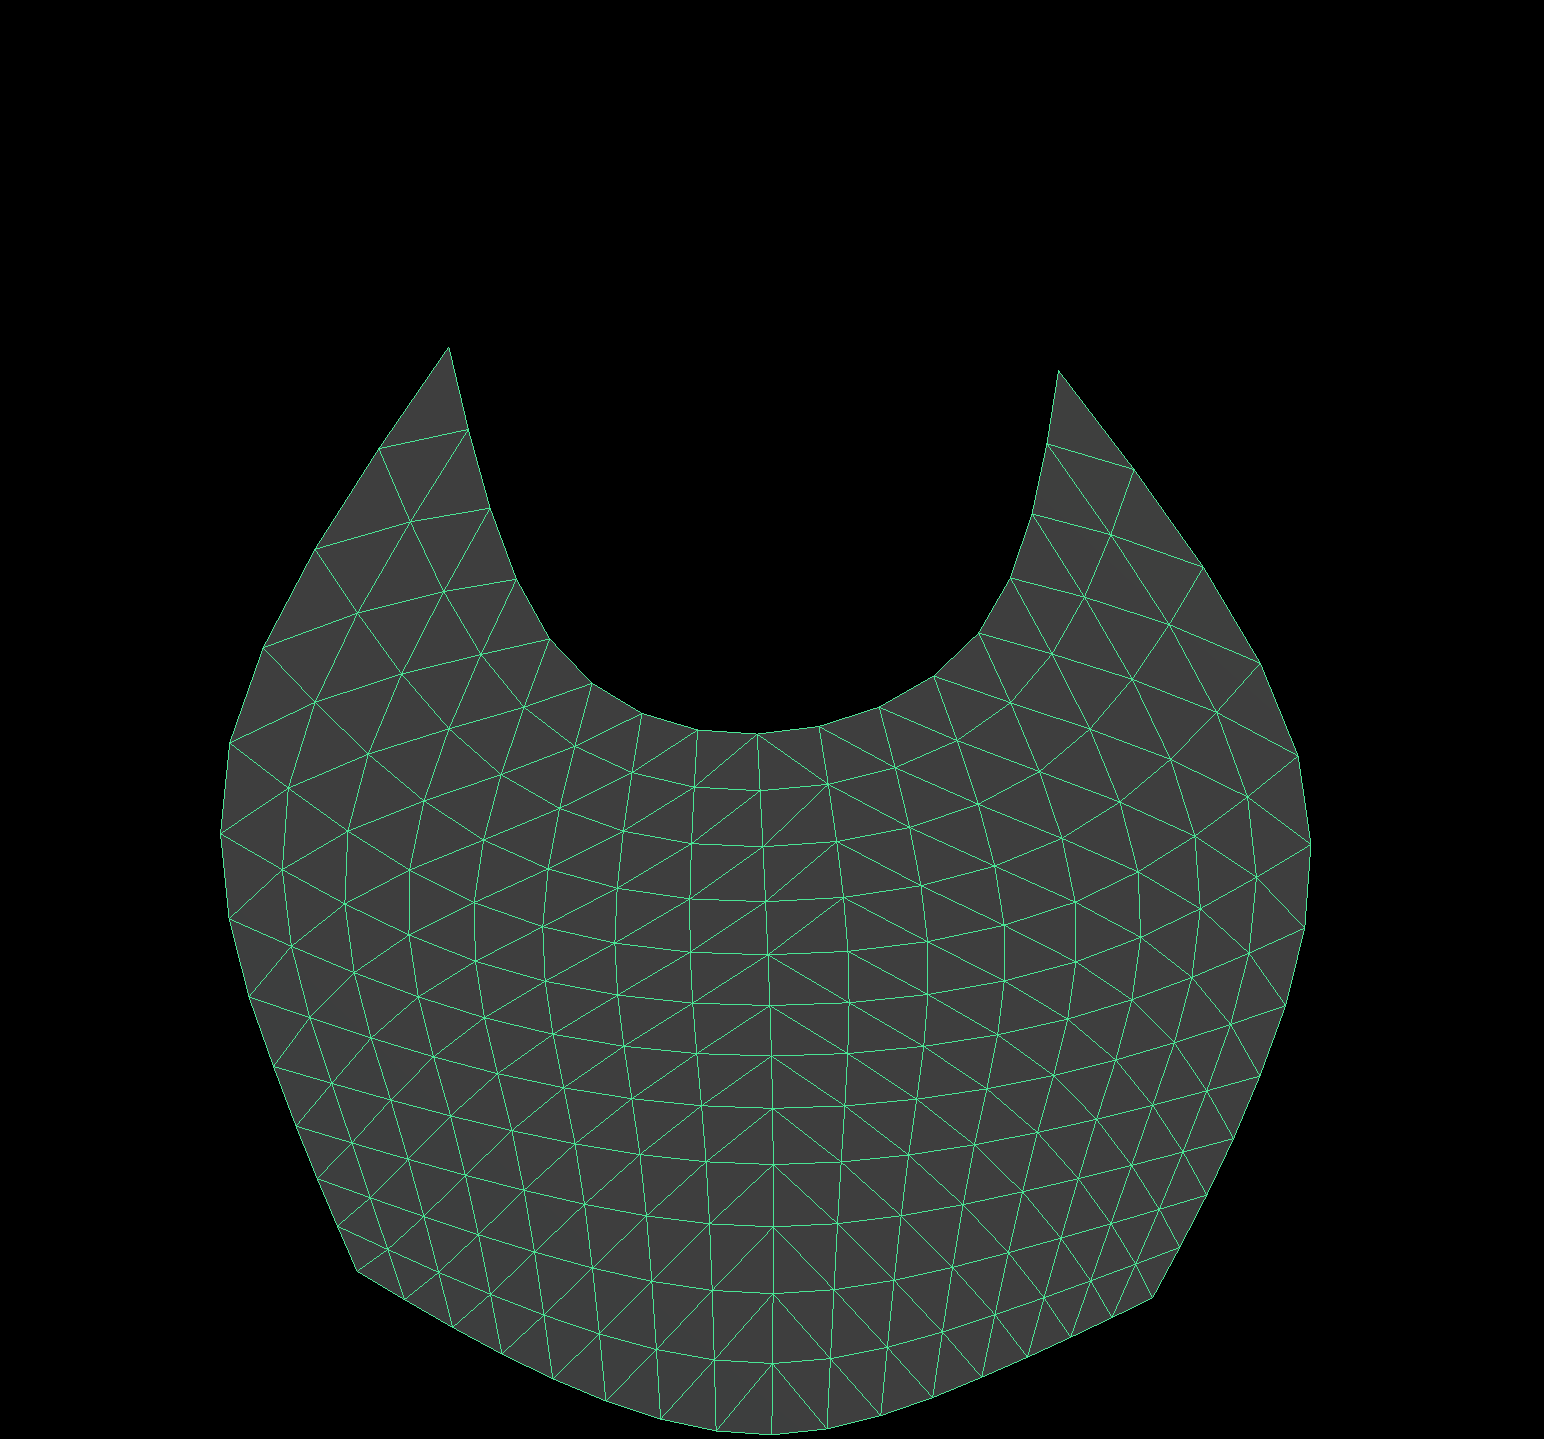
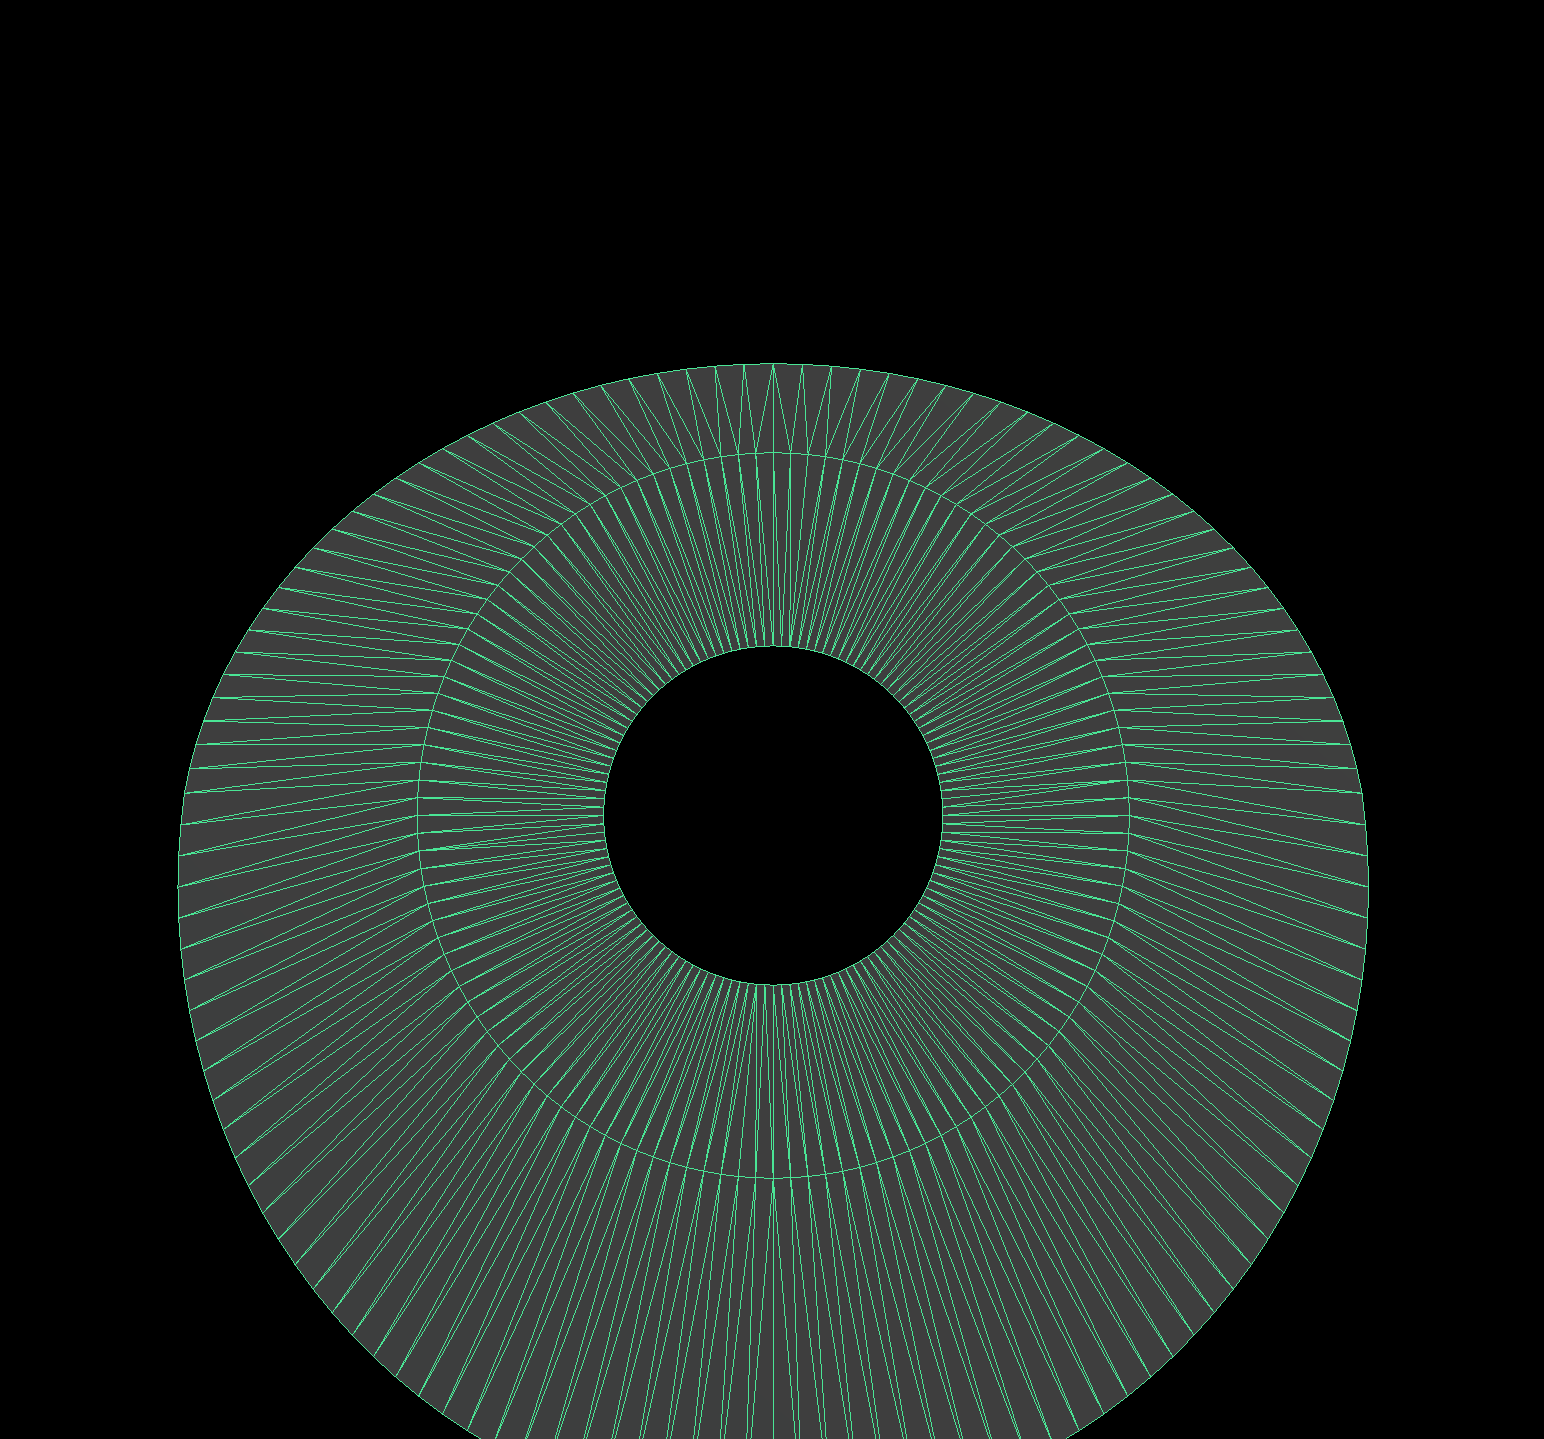
Minimap/Navmesh from Distance Fields
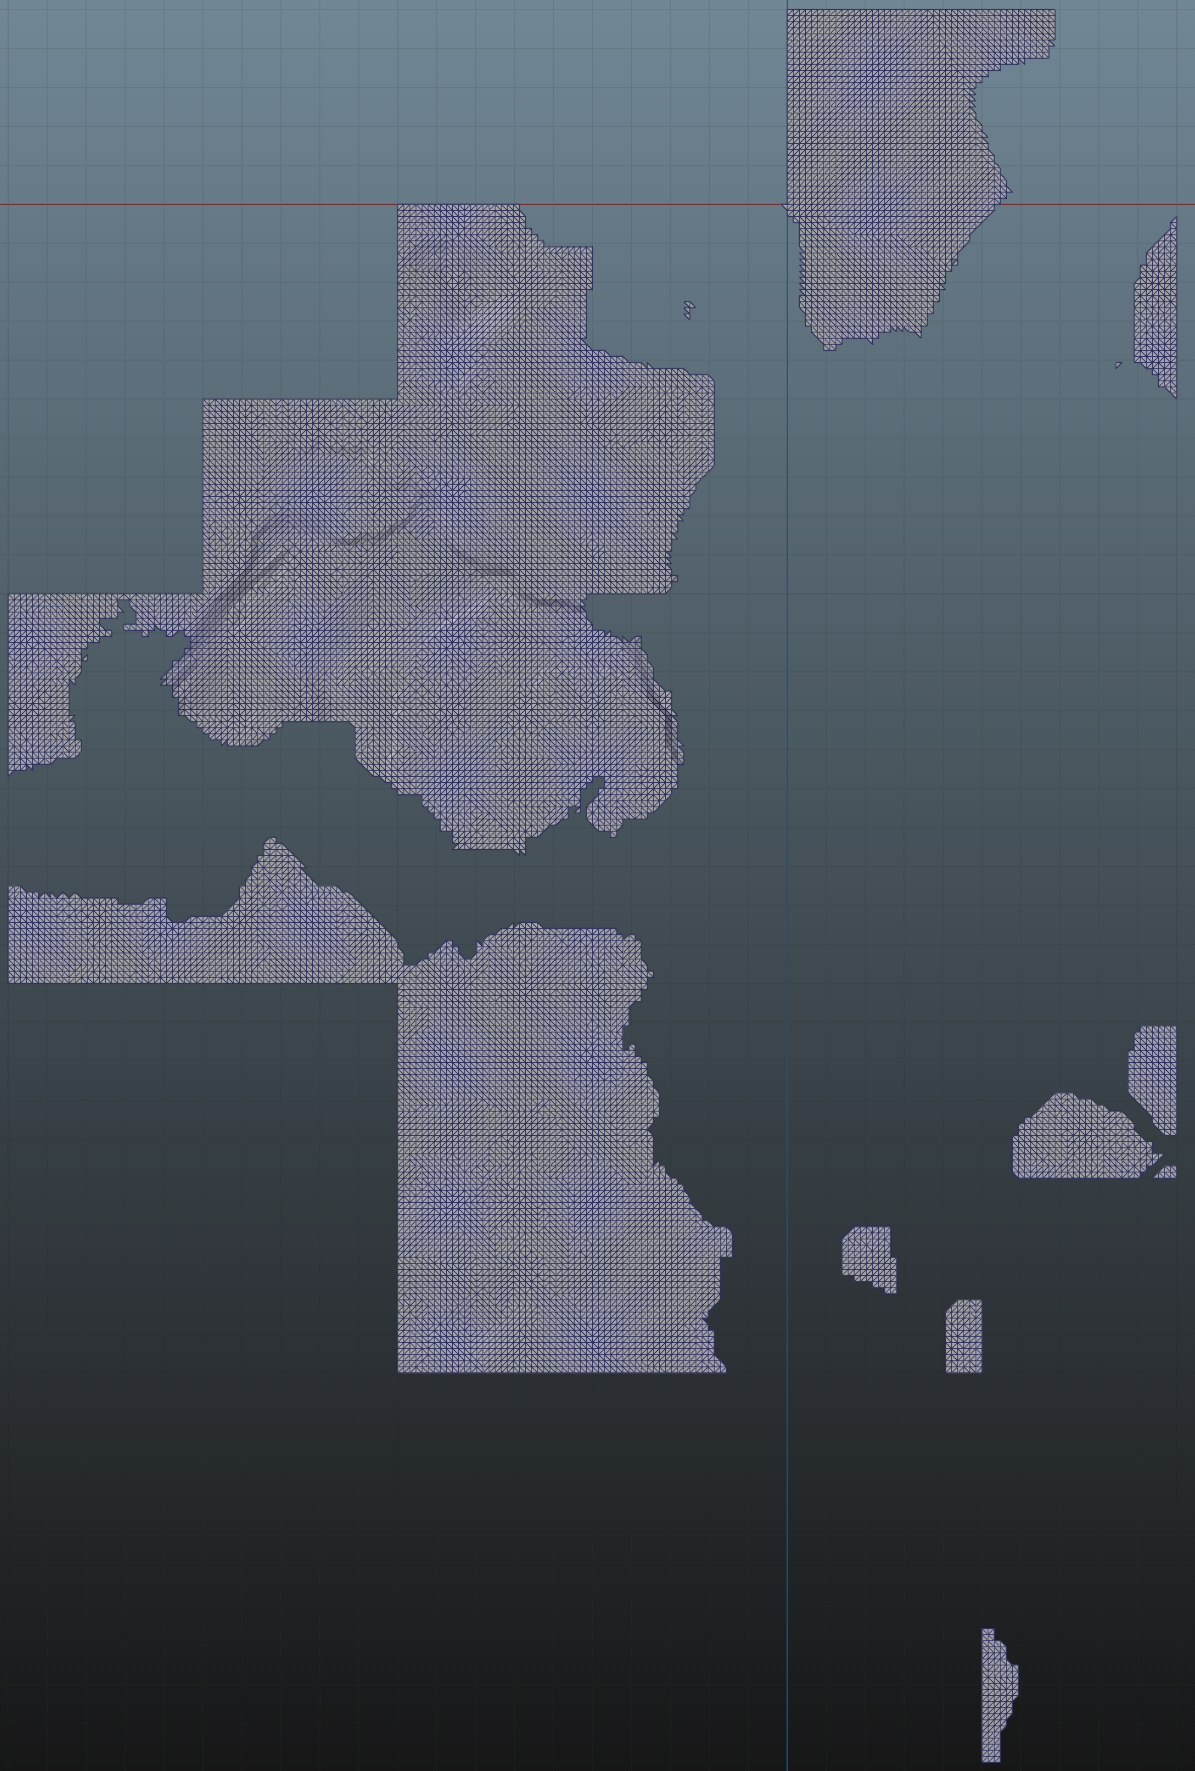
From artist authored (could be editor authored at cooking time, the point is, those are not generated at runtime) group of SDF images, in at least 4 sequential draw cmds (the count depends on the map size you exposing), the minimap tiles get drawn to a minimap rendertarget. It also seems that the output of those draw cmds are utilized for the navigation mesh as well. It is a top down view after all for large tiles surrounding the player. Here is an example with 4 tiles only


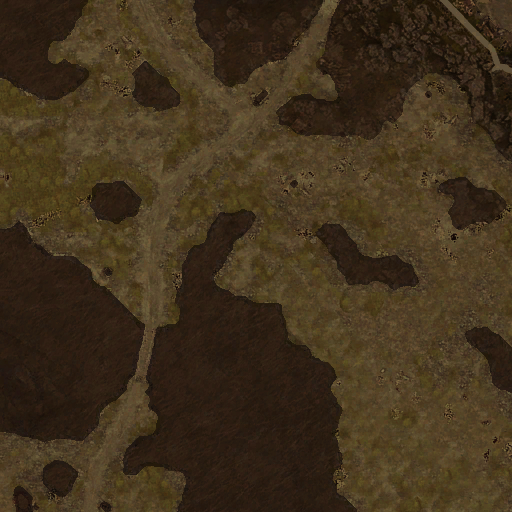
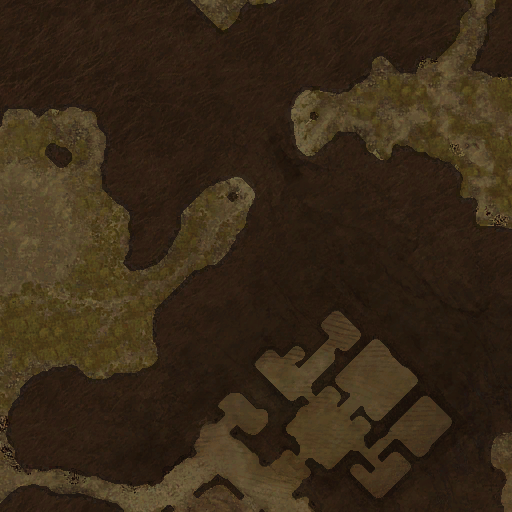
And here is a another example of a much larger loaded area, that required ~9 tiles around the player


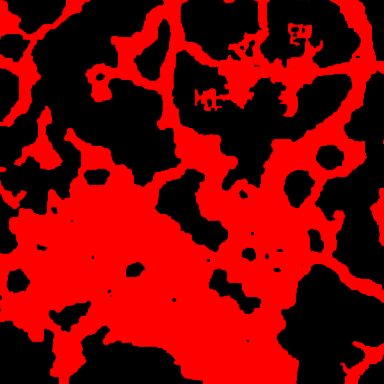

And to put that last example into perspective and what 9 tiles means…

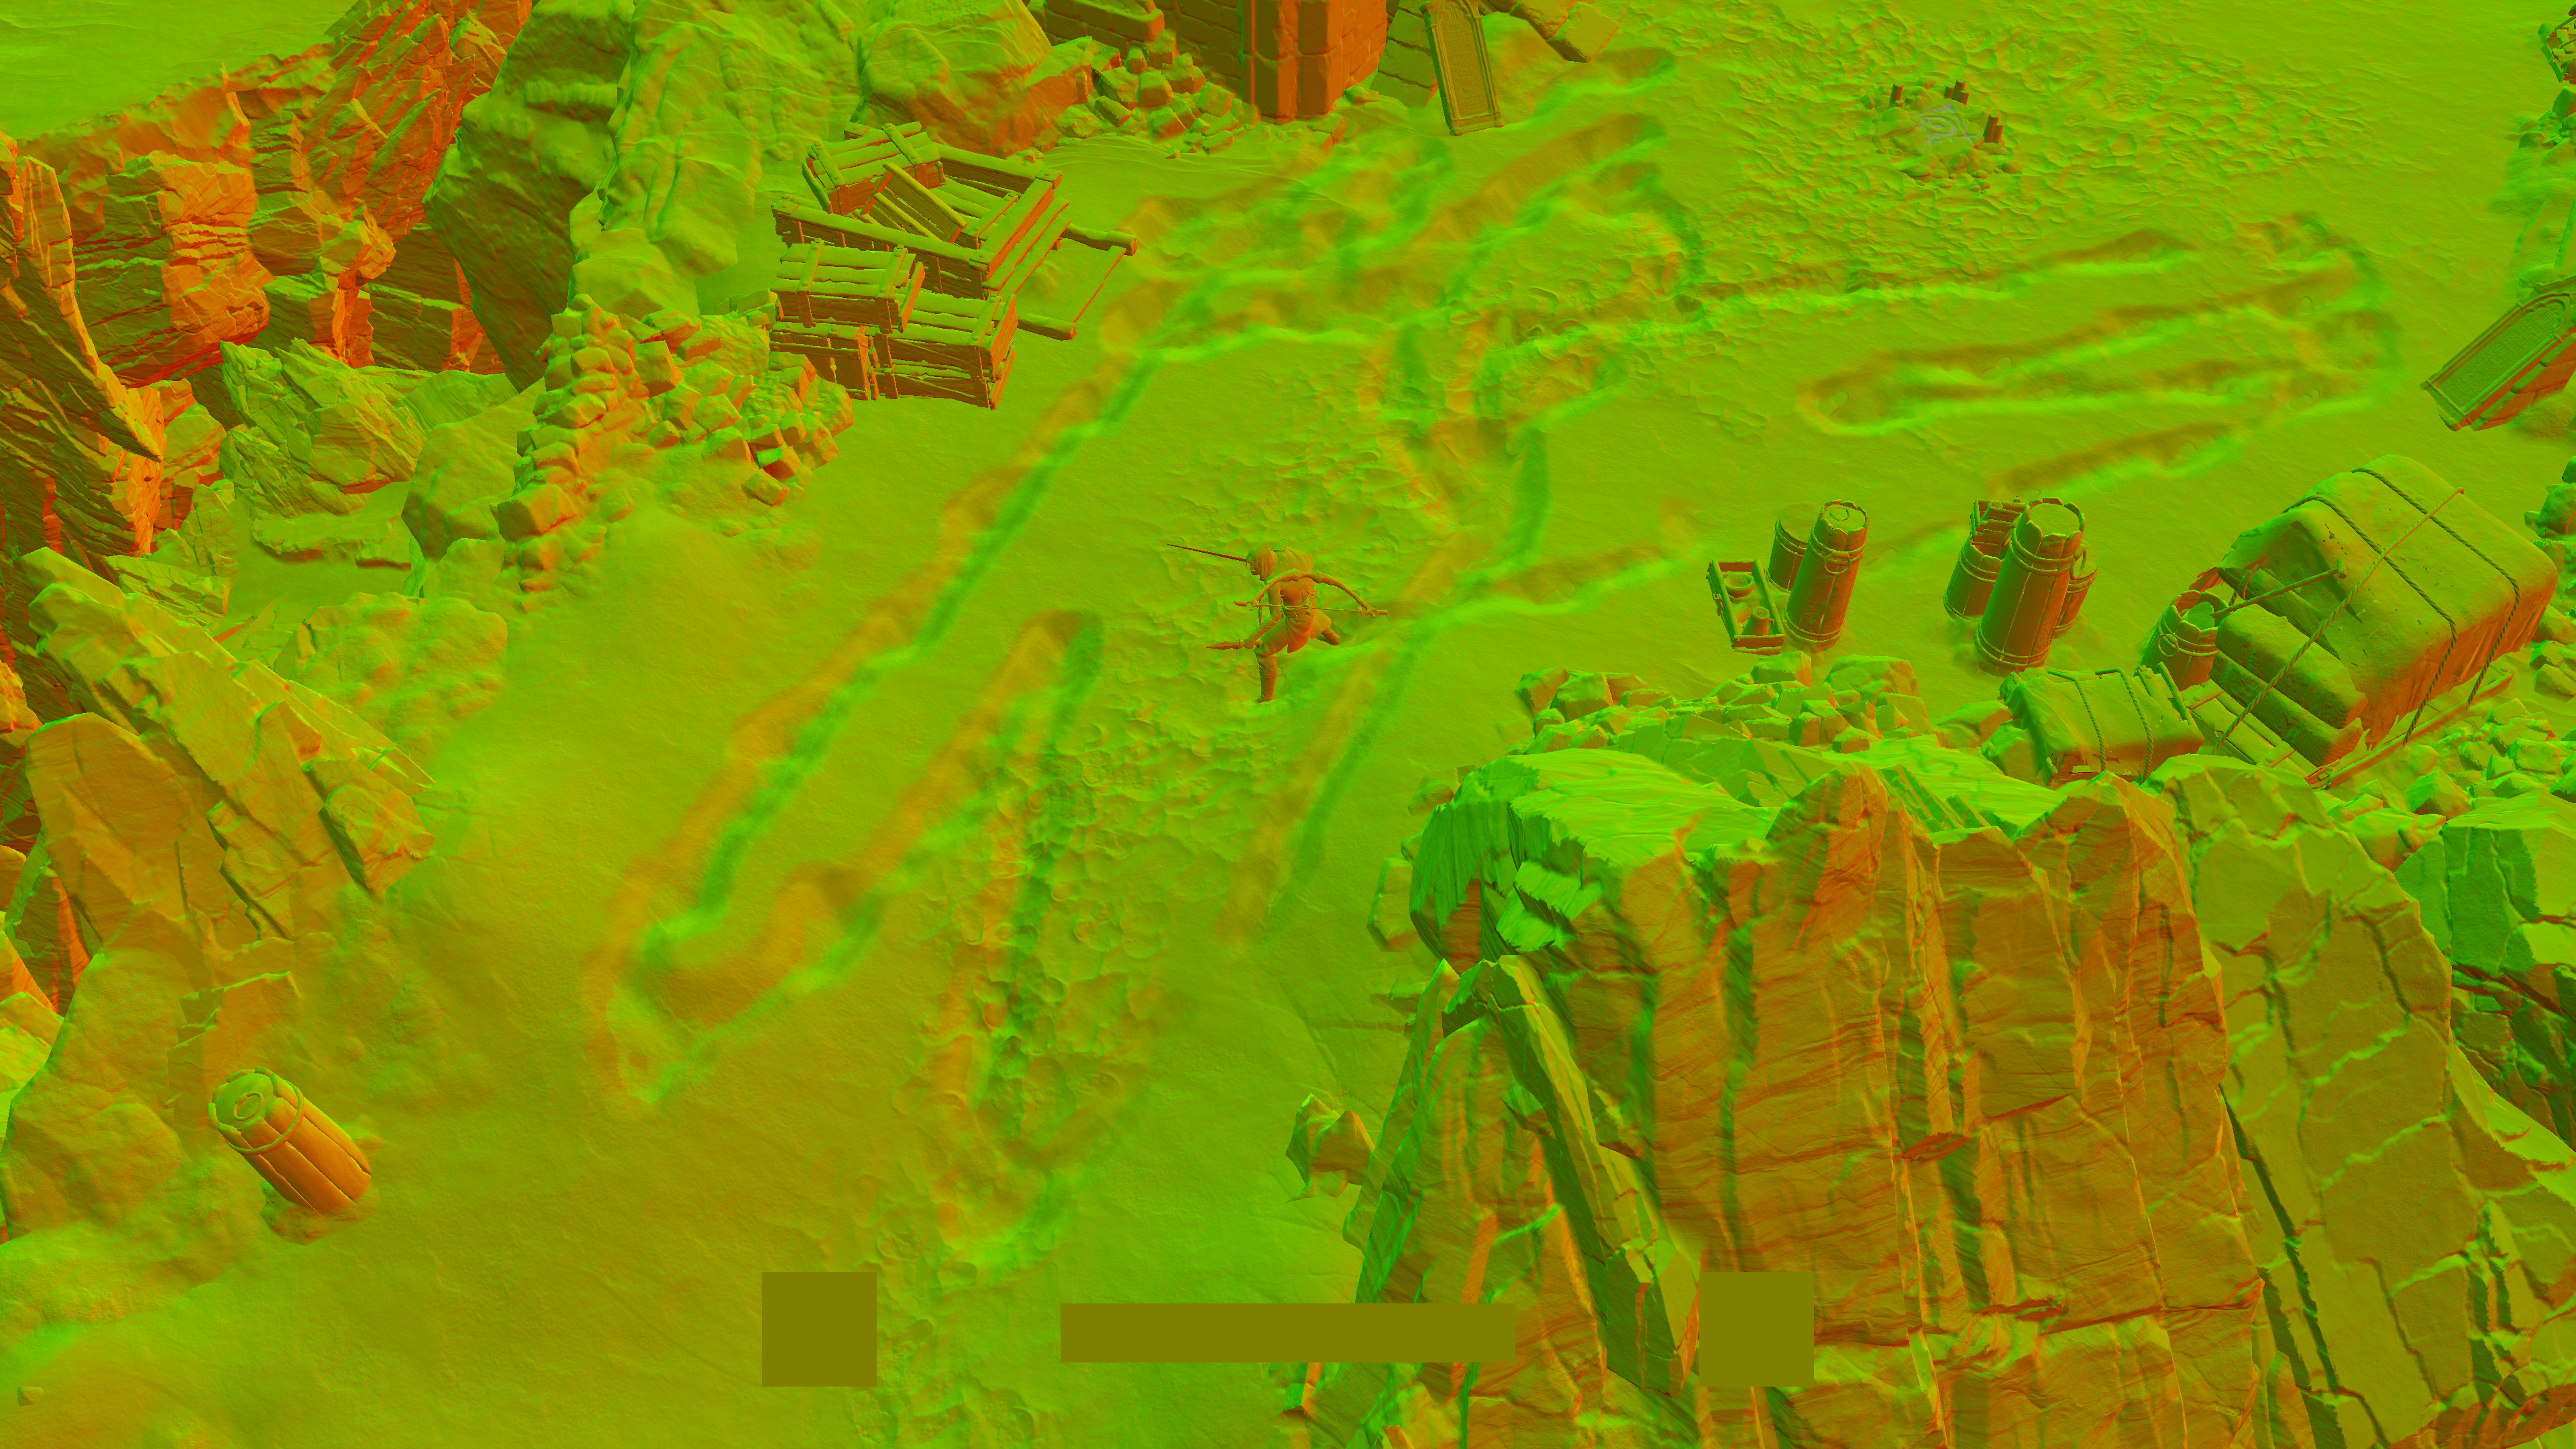
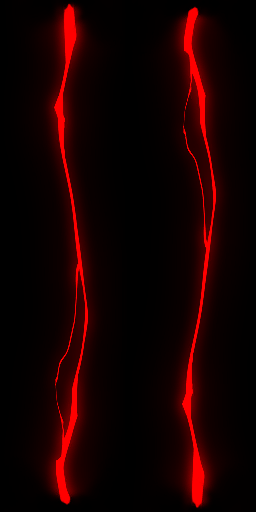
Terrain Stamper (Snow/Mud) [Not Always]
Same as what been done in water, but this time only for snow and/or when snow is exist in the level. Remember well the word “exist”!
The idea remain the same (we draw to RT, and later we use it to deform), except that the execution is different. Due to the snow nature, and the targeted result, drawing here not done via texture, and not done in the same water stamper render target. Drawing here done using “Capsule” shapes, and done to one of the terrain dedicated rendertargets. Let’s make a use of my short name “M” as we used to do on runtime CG snow…

You might be asking where the “M” that was drawn into the rendertarget?
Well, due to the fact of R16_UNORM format, and because the depth of the walking path is not that deep, it is hard to see. So the texture needed a little boost for value to be able to see it in a PNG image here.

Now the snow stamper part of the terrain been drawn to the terrain base rendertarget, but it doesn’t ending here, there is some blurring treatment will be applied very shortly to that rendertarget, but the rendertarget is still needed first to keep drawing other things to it (that are not stamper related) before doing a couple of blur passes.
Now, at the start of this section, i said remember the word “exist”. Because this effect seems to happen and process as long as there is snow exist, it doesn’t have to be gameplay, it can be during cinematic, and you don’t have to see the snow in the view…it doesn’t even have to be ever seen. A good example for that is at the start of one of the early cinematics, here is how this rendertarget progress through the cinematic sequence. My theory is that, the strokes of very straight lines, are possibly caused by character teleporting from spawn point to where their cinematic animation is taking place.


All in all, stampers here are for general trails or paths, but single footsteps (for snow or mud) are not drawn to this rendertarget, it get applied directly later when this stampers get used at the “Stamping” step below.
Terrain Base
Within this step, a base heigh for the terrain mesh from the minimap get applied. It takes place for multiple tiles one after another, and for that it used yet another artist authored (or edtior/engine authored beforehand) tile heigh textures (usually 2 for all the tiles) and a flat tile mesh.


And to better see the impact, there is a single tile, before & after the heights applied.

Blurring Terrain Rendertarget
And then, that rendertarget get into couple of blurring steps (Horizontal, then Vertical), in order to finally have the rendertarget ready to be used later during the terrain GBuffer drawing step.


The double blurring helps in adding “volume” to the thin paths which helps lates when deforming the terrain. Now it is ready to be used. Here is once again all steps next to each other, with another example for same area but with double M[s]


Stampers & Stamping Note
Yet this is only the “Stamper” step, below there is a mention for the “Stamping” step itself, where the rendertargets prepared here (Water, Snow, Mud or something else) get used to deform & modify the surfaces.
Water/Wetness Stamper [Not Always]
At very early point of the frame, the stamping rendertargets (some would call it stampers) are get prepared when needed and where it make sense. It is not only used for water deformations, but shortly in couple of steps there is some sort of continuation to what done here.
When there is water surface, and there is interaction with it, the water stamper rendertarget get drawn to in additive way based on the postion, direction and velocity of the target object.


A group of alpha and distortion textures used for that purpose, those are selected and stamped based on the previously mentioned metrices (Postion, Velocity and Direction) of the movement of the target element (at this case the player, but could be NPC or AI at another cases)


Of course this takes place in a form of sequence of DrawIndexedInstanced that goes bottom to top, and ever call is kinda dimming the previous one/s. Here are two views, one for every call independently, and one for the real progression of the rendertarget.


The final goal is to use this stamper during the GBuffer-ing to deform only the normals of the surface in the GBuffer, and no other contributions to any of the other Gbuffer elements. Here are how this rendertarget looks finally in the frame.
Stampers & Stamping Note
Yet this is only the “Stamper” step, below there is a mention for the “Stamping” step itself, where the rendertargets prepared here (Water, Snow, Mud or something else) get used to deform & modify the surfaces.
This step (and it’s rendertarget) is not 100% dedicated to “water surfaces” only. But it is more about terrain wetness if i would call it. As later on, you will observe that water is drawn as part of the terrain (in fact it is considered terrain). So to reduce confusion, i did not want to name this section “Terrain Stamaper 2” or something similar, and this is why i called it Water/Wetness. Anyways, when there is no water surfaces, and there is rain, this step and it’s stamper rendertarget, is used to draw raindrops ripples, and then used the same way later to deform the normals of the surface in the GBuffer.


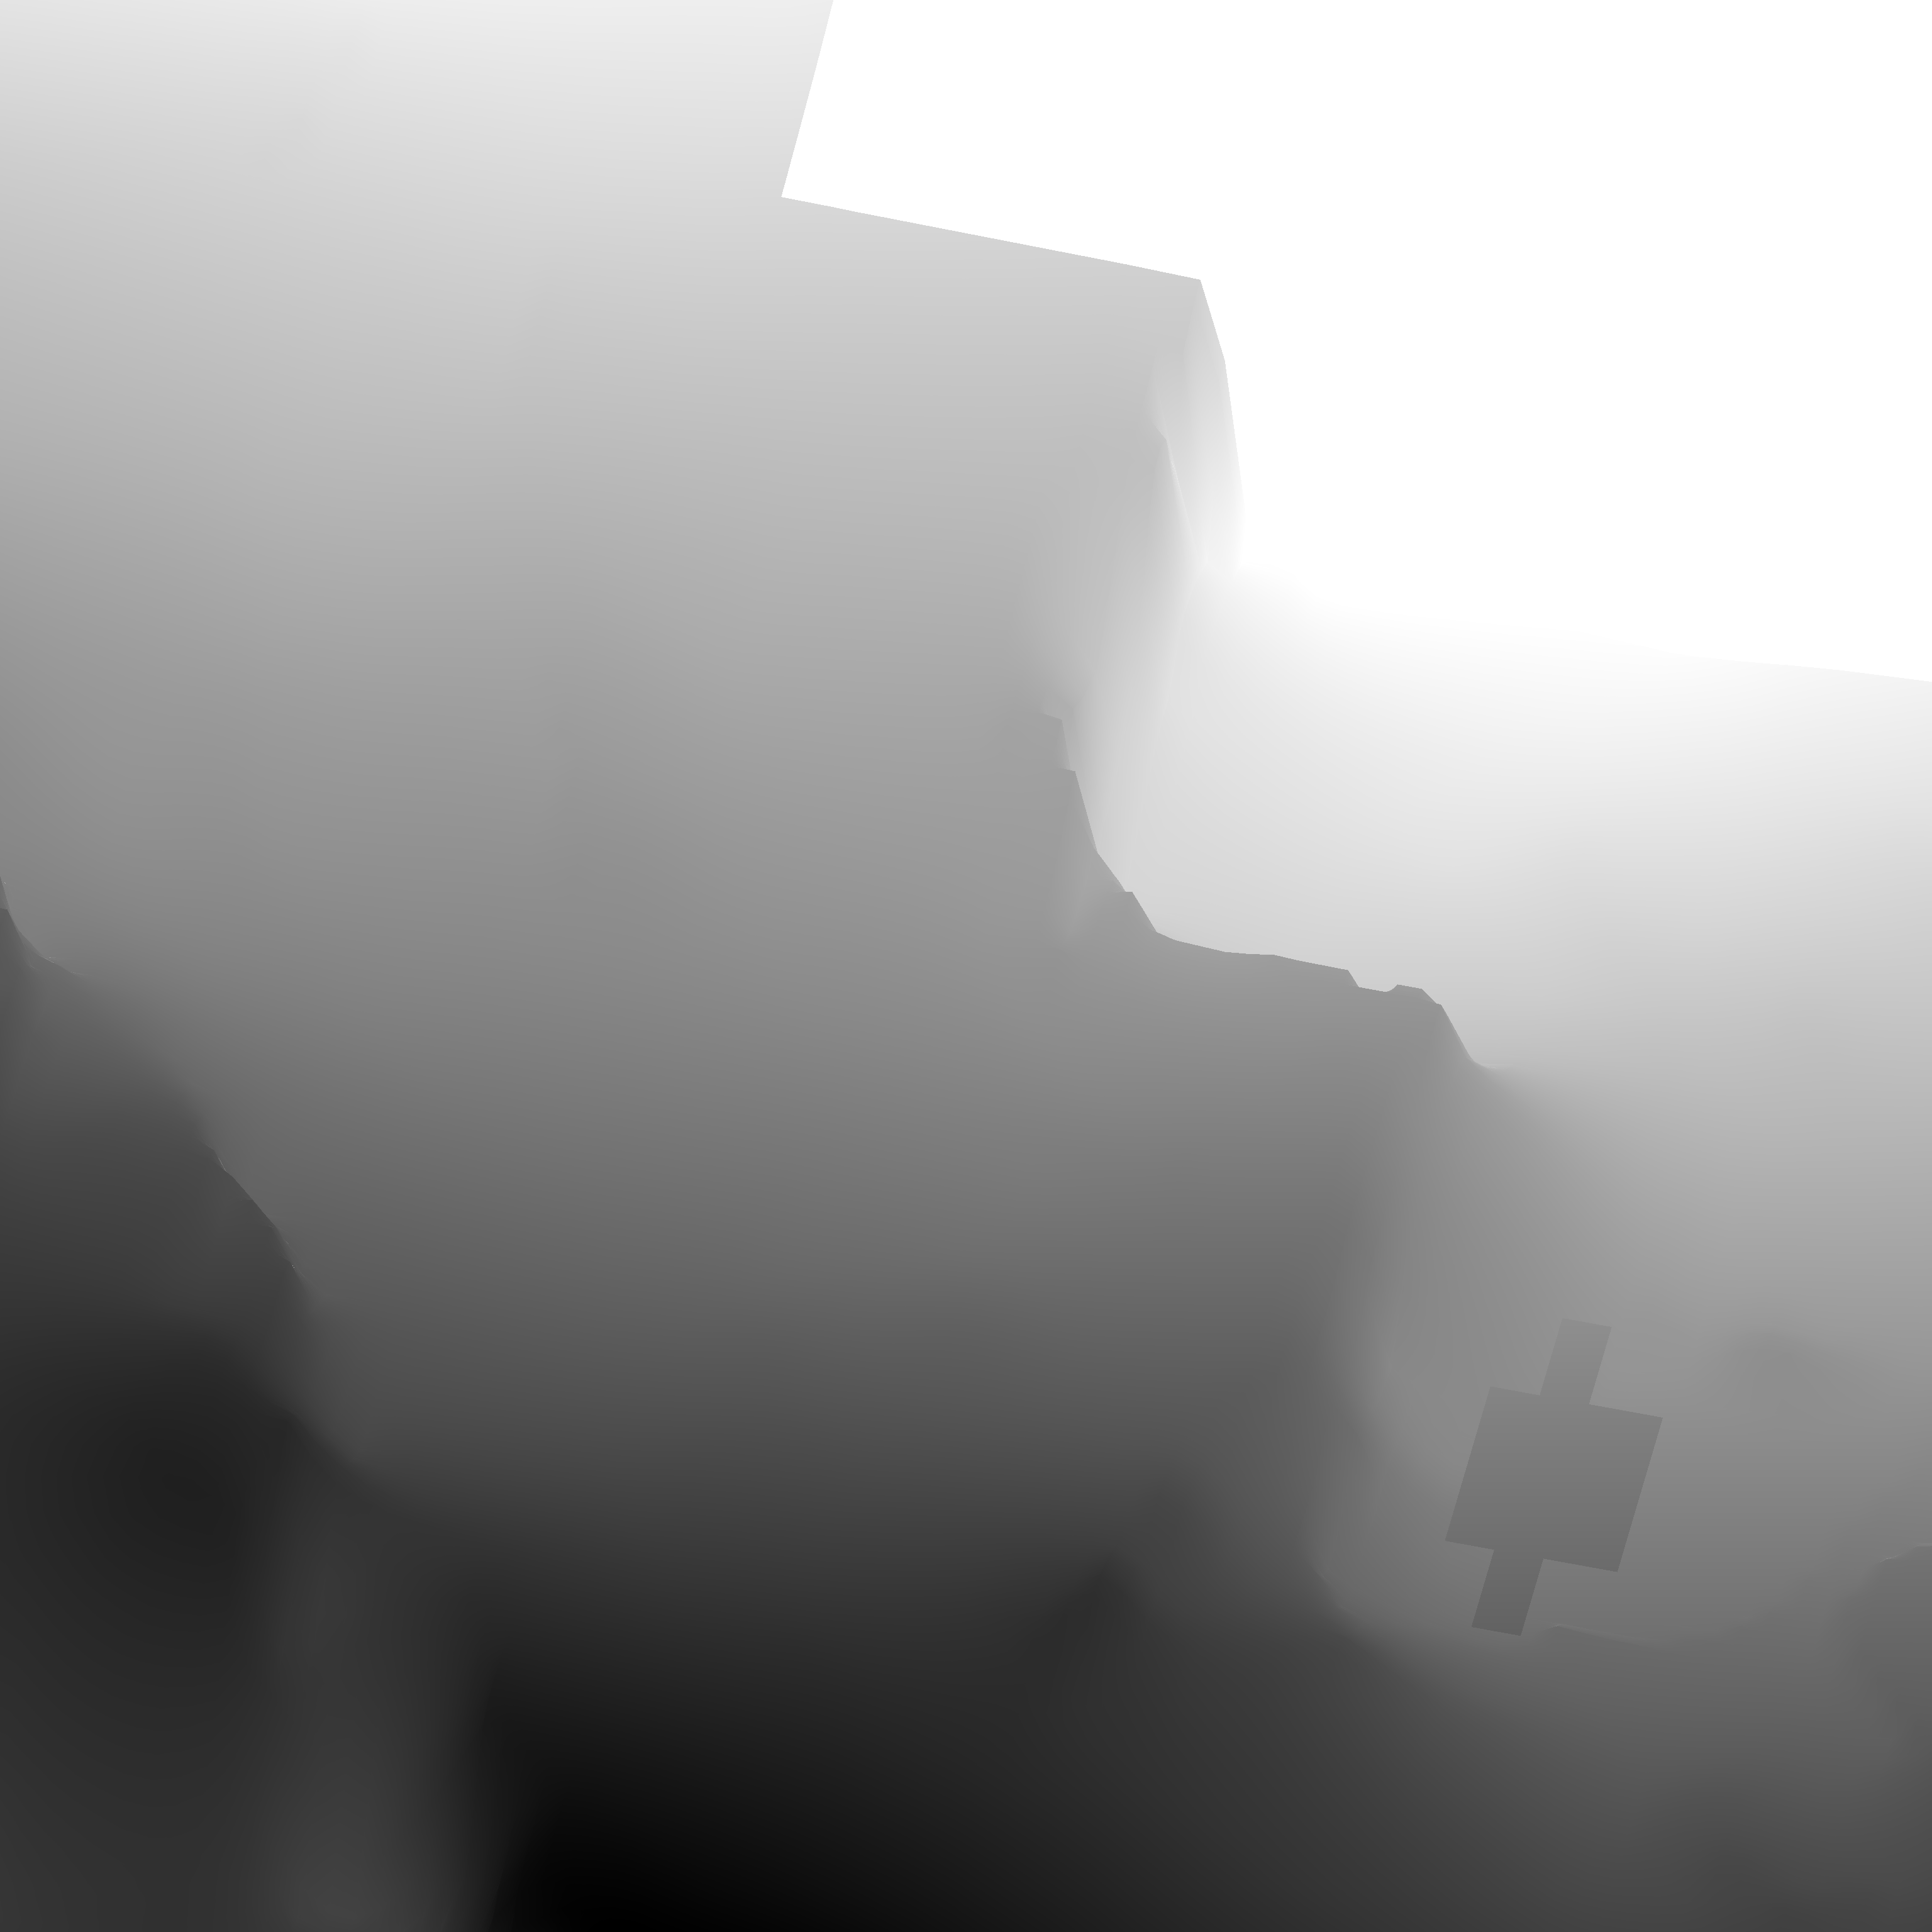
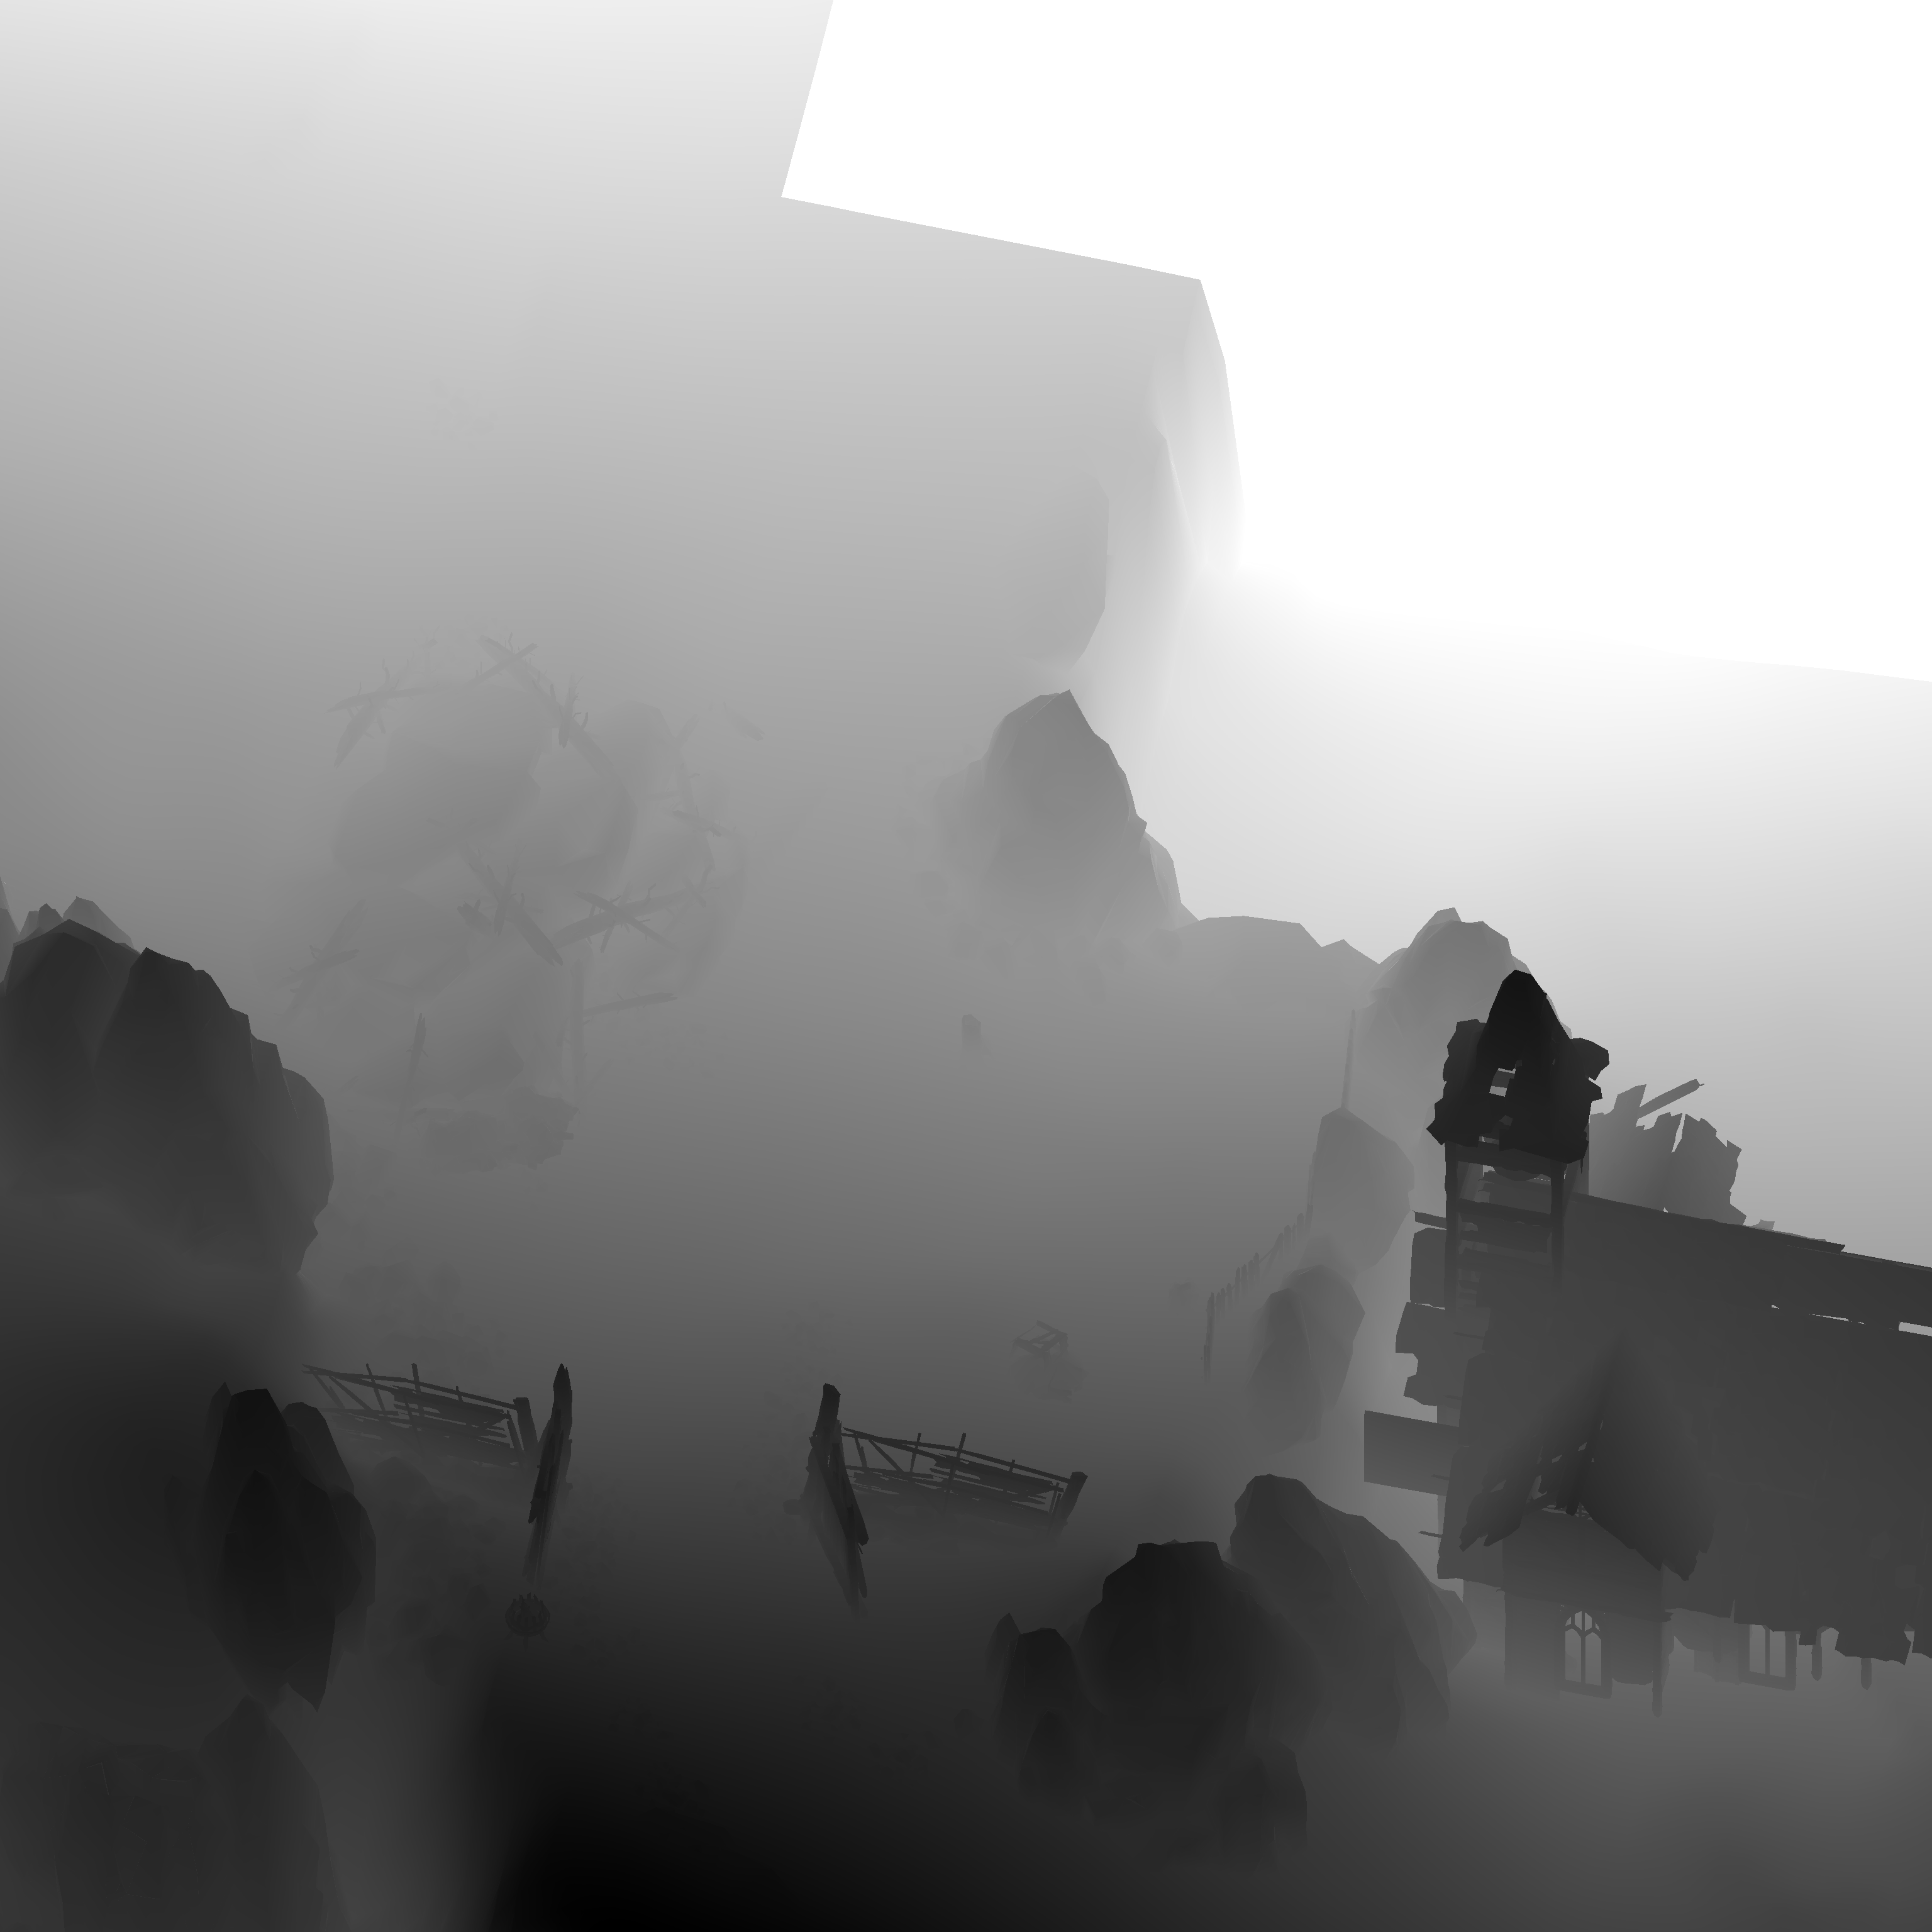
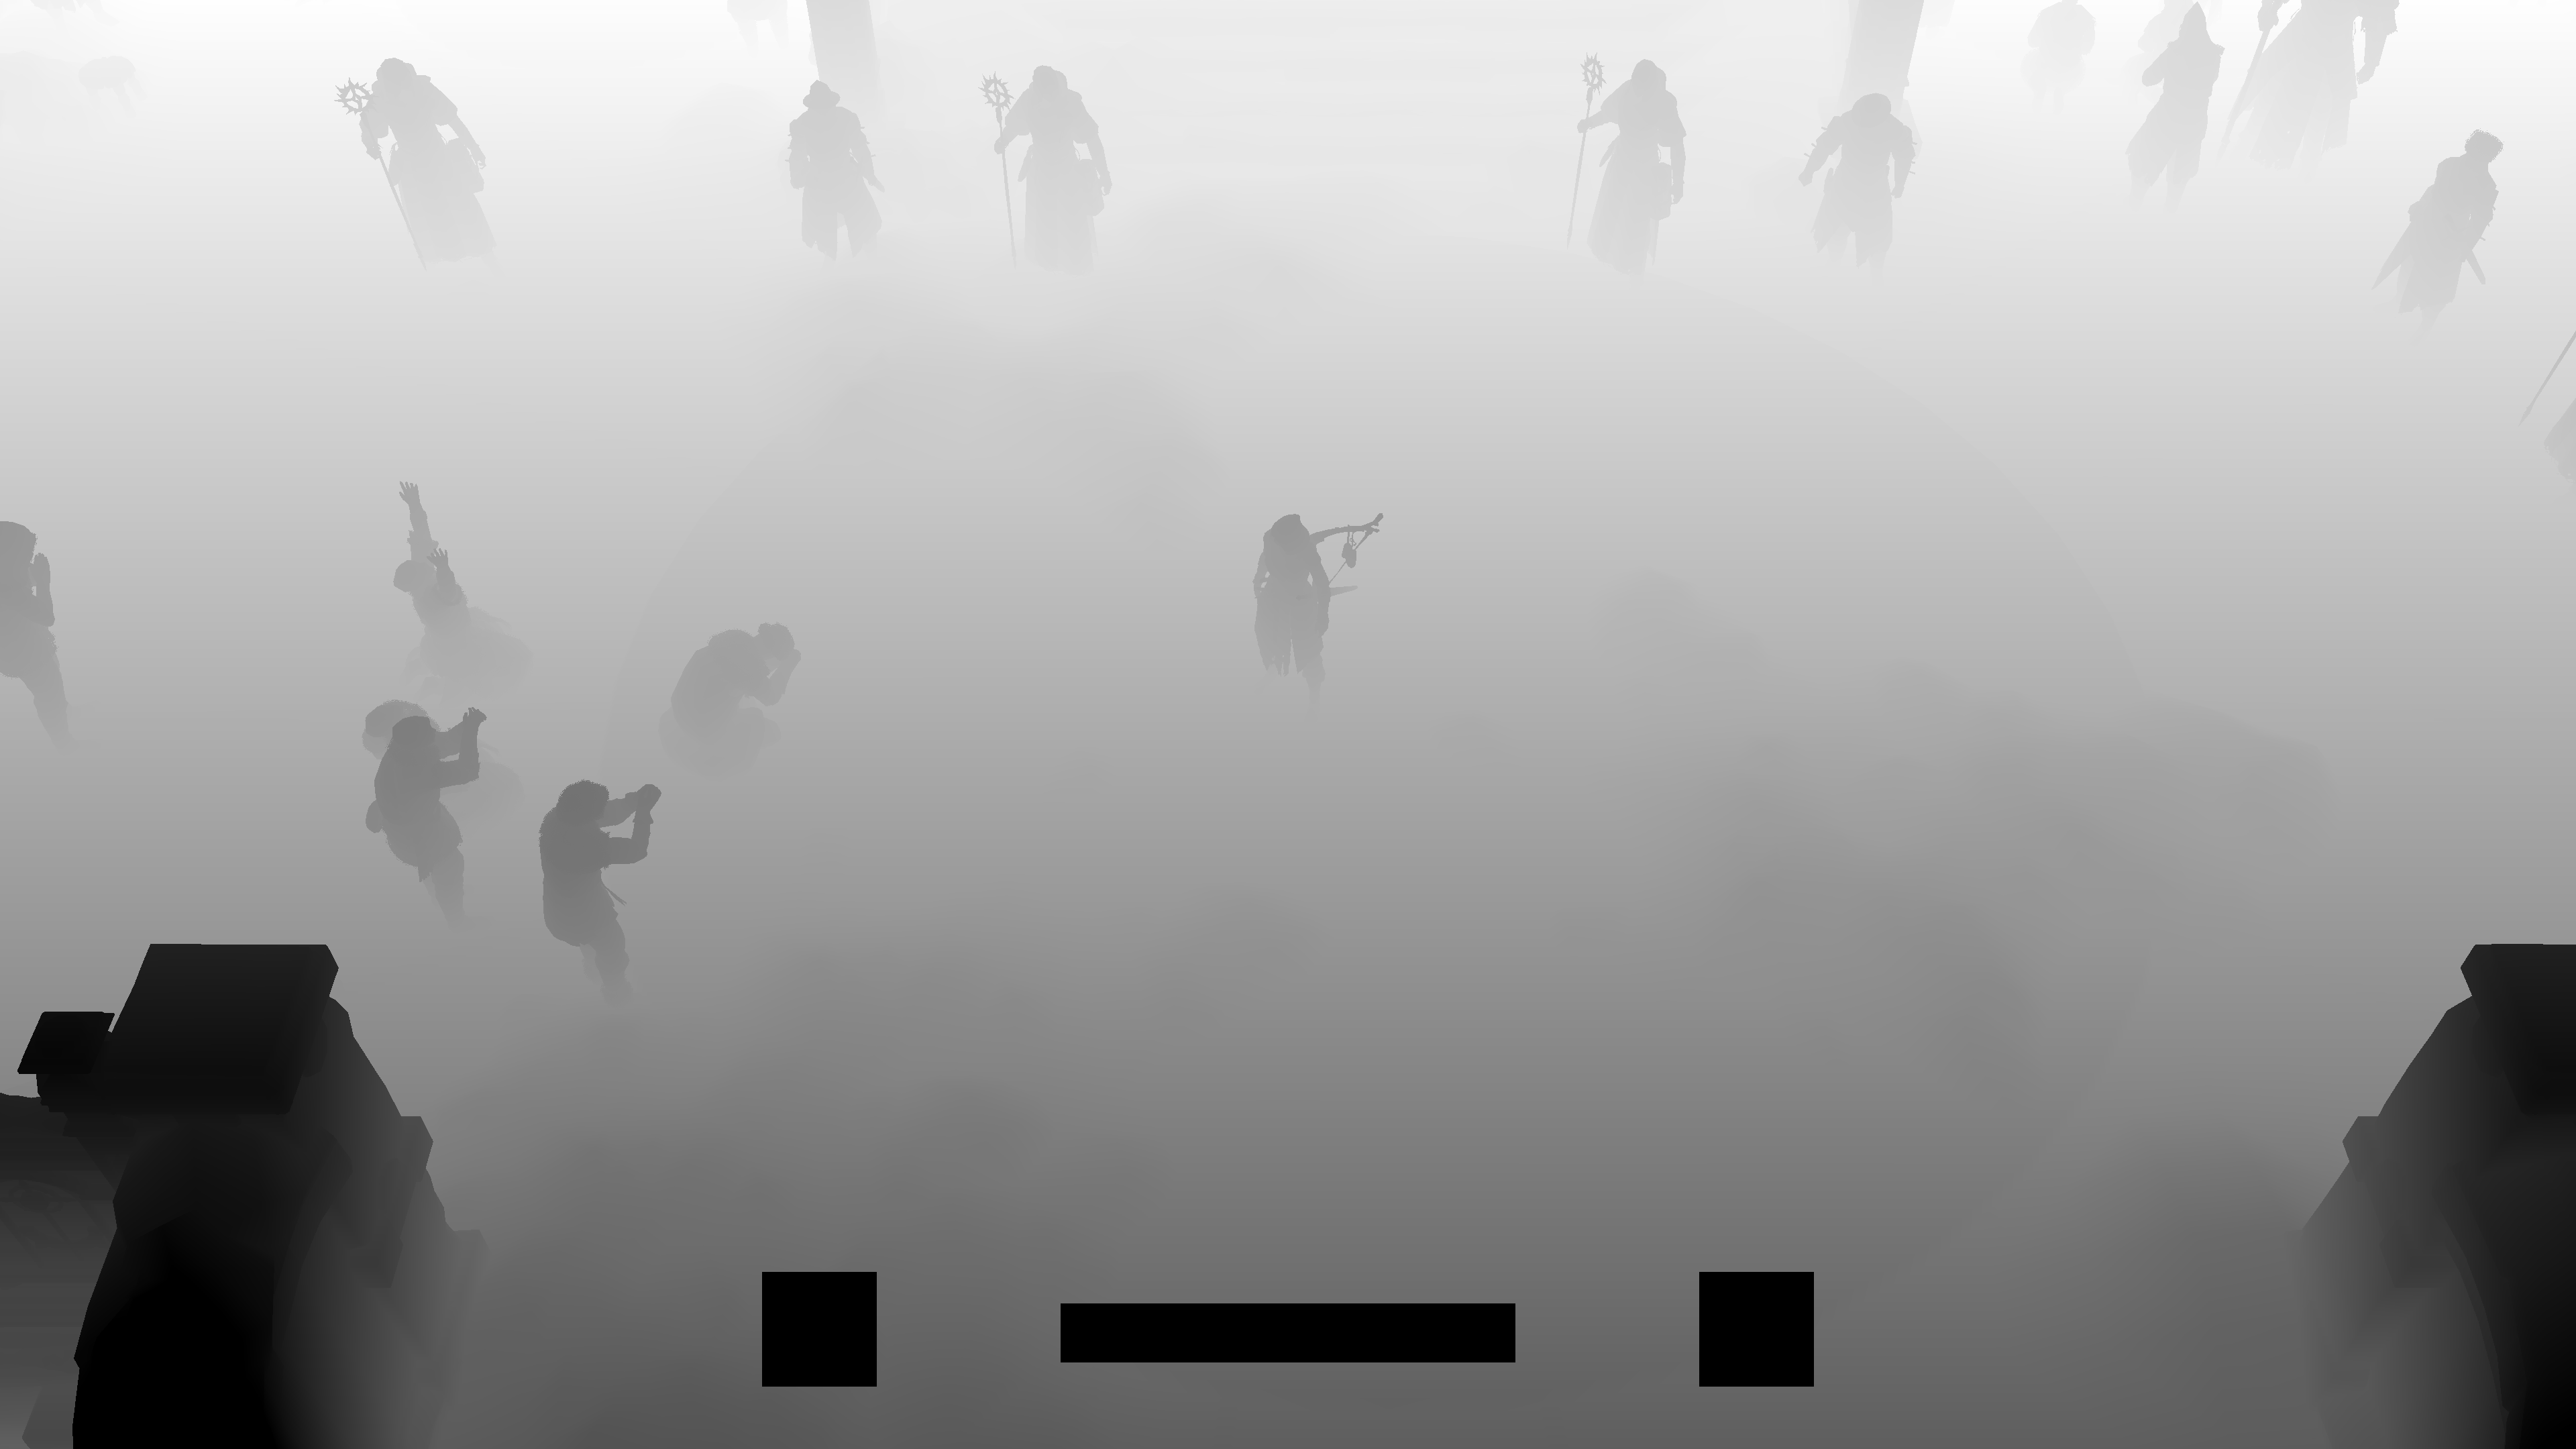
ZPrepass & Direct Shadows
Just as the name implies, nothing special here as far as i can tell. Footage of the outputs will be showcased later down in the article when they get used.
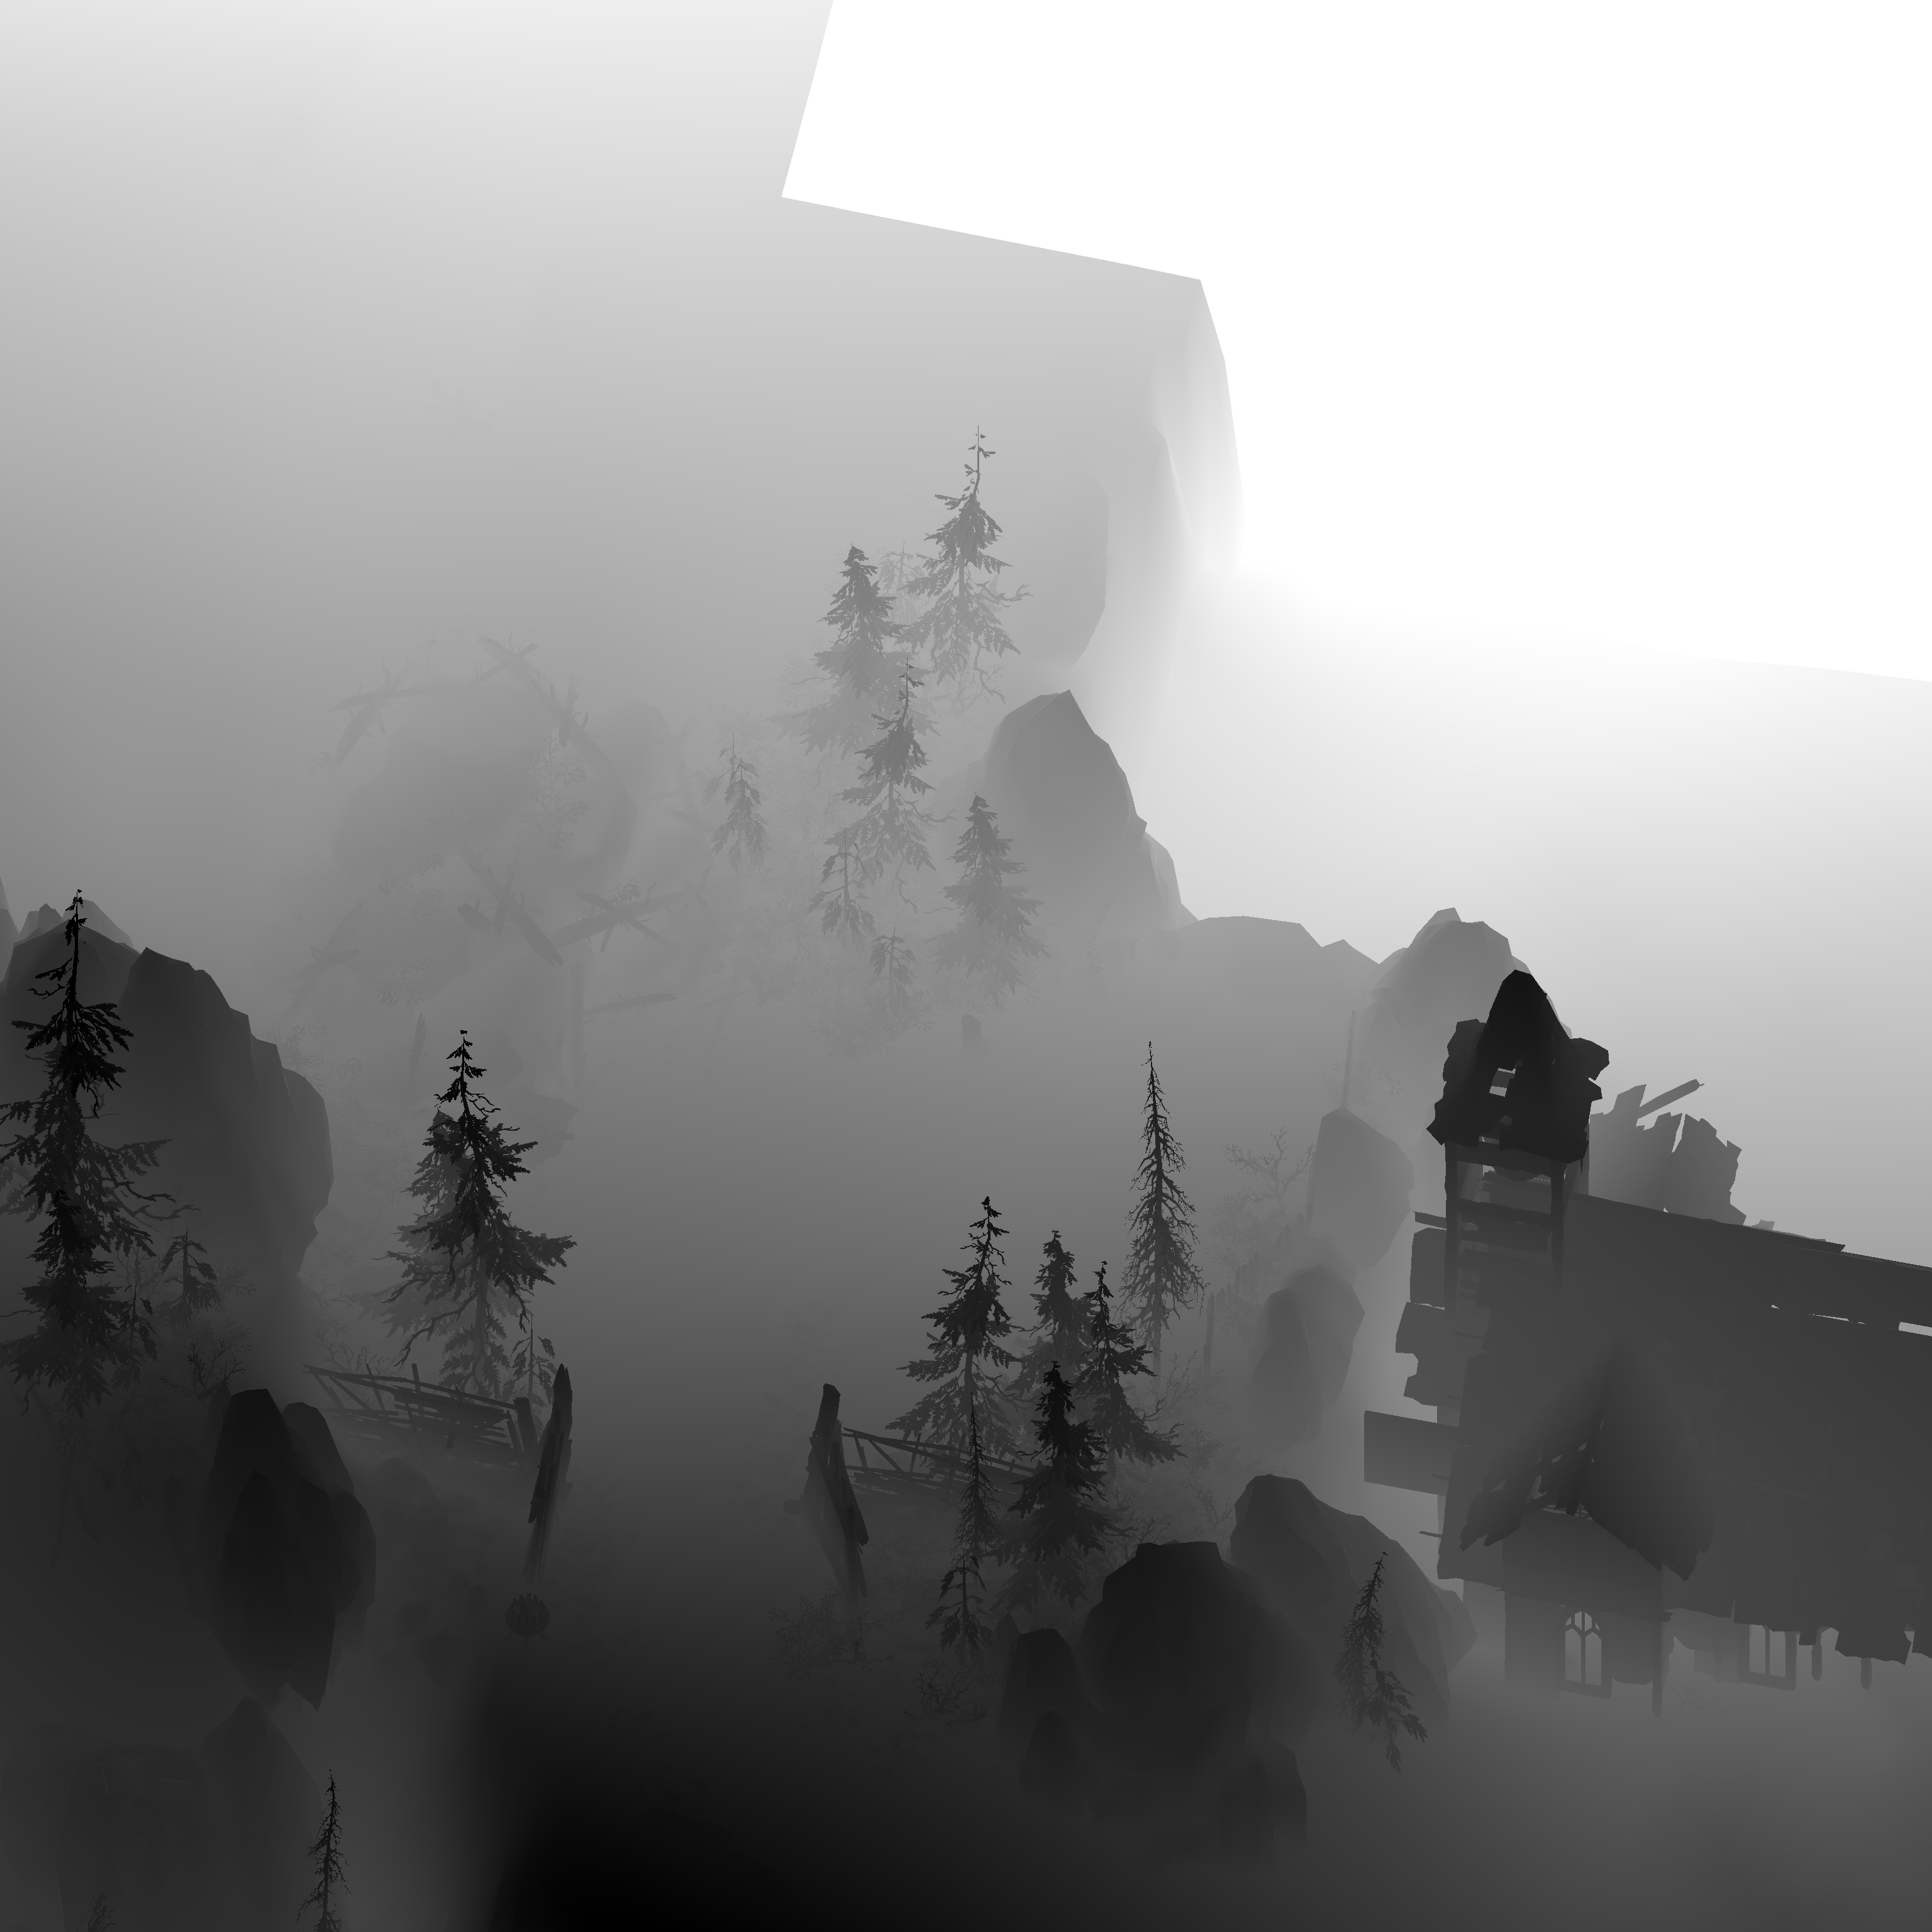

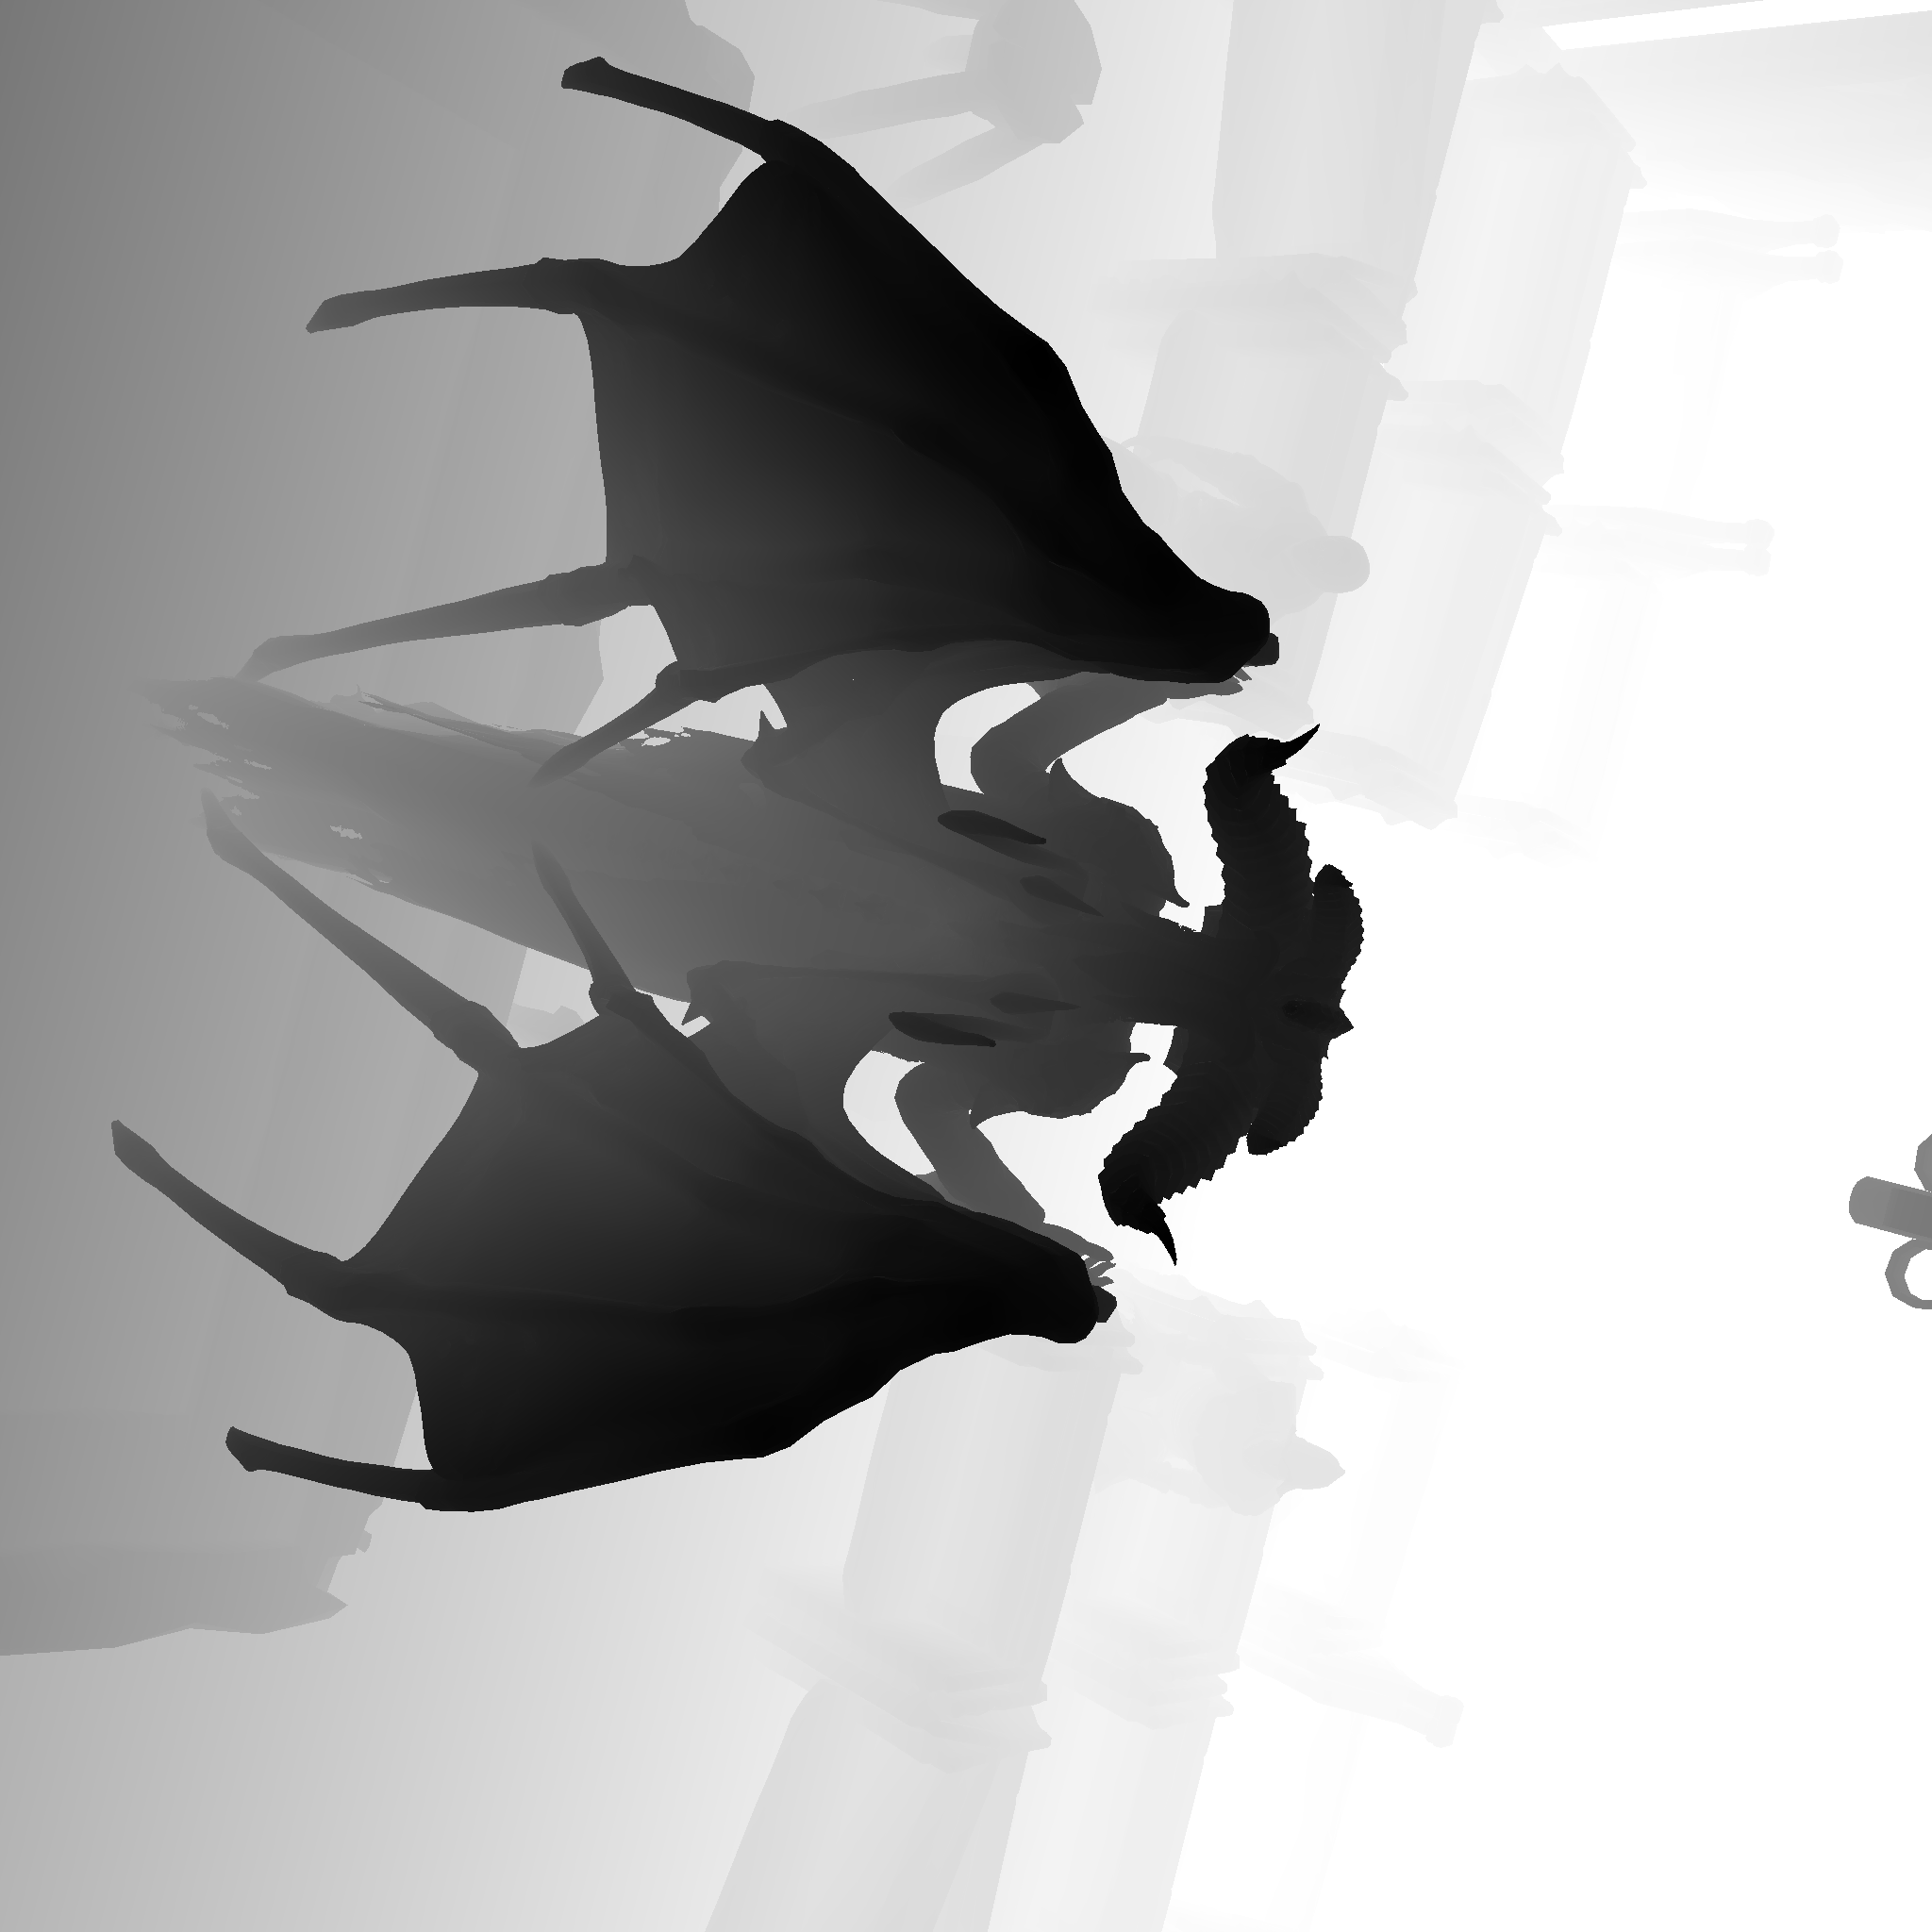
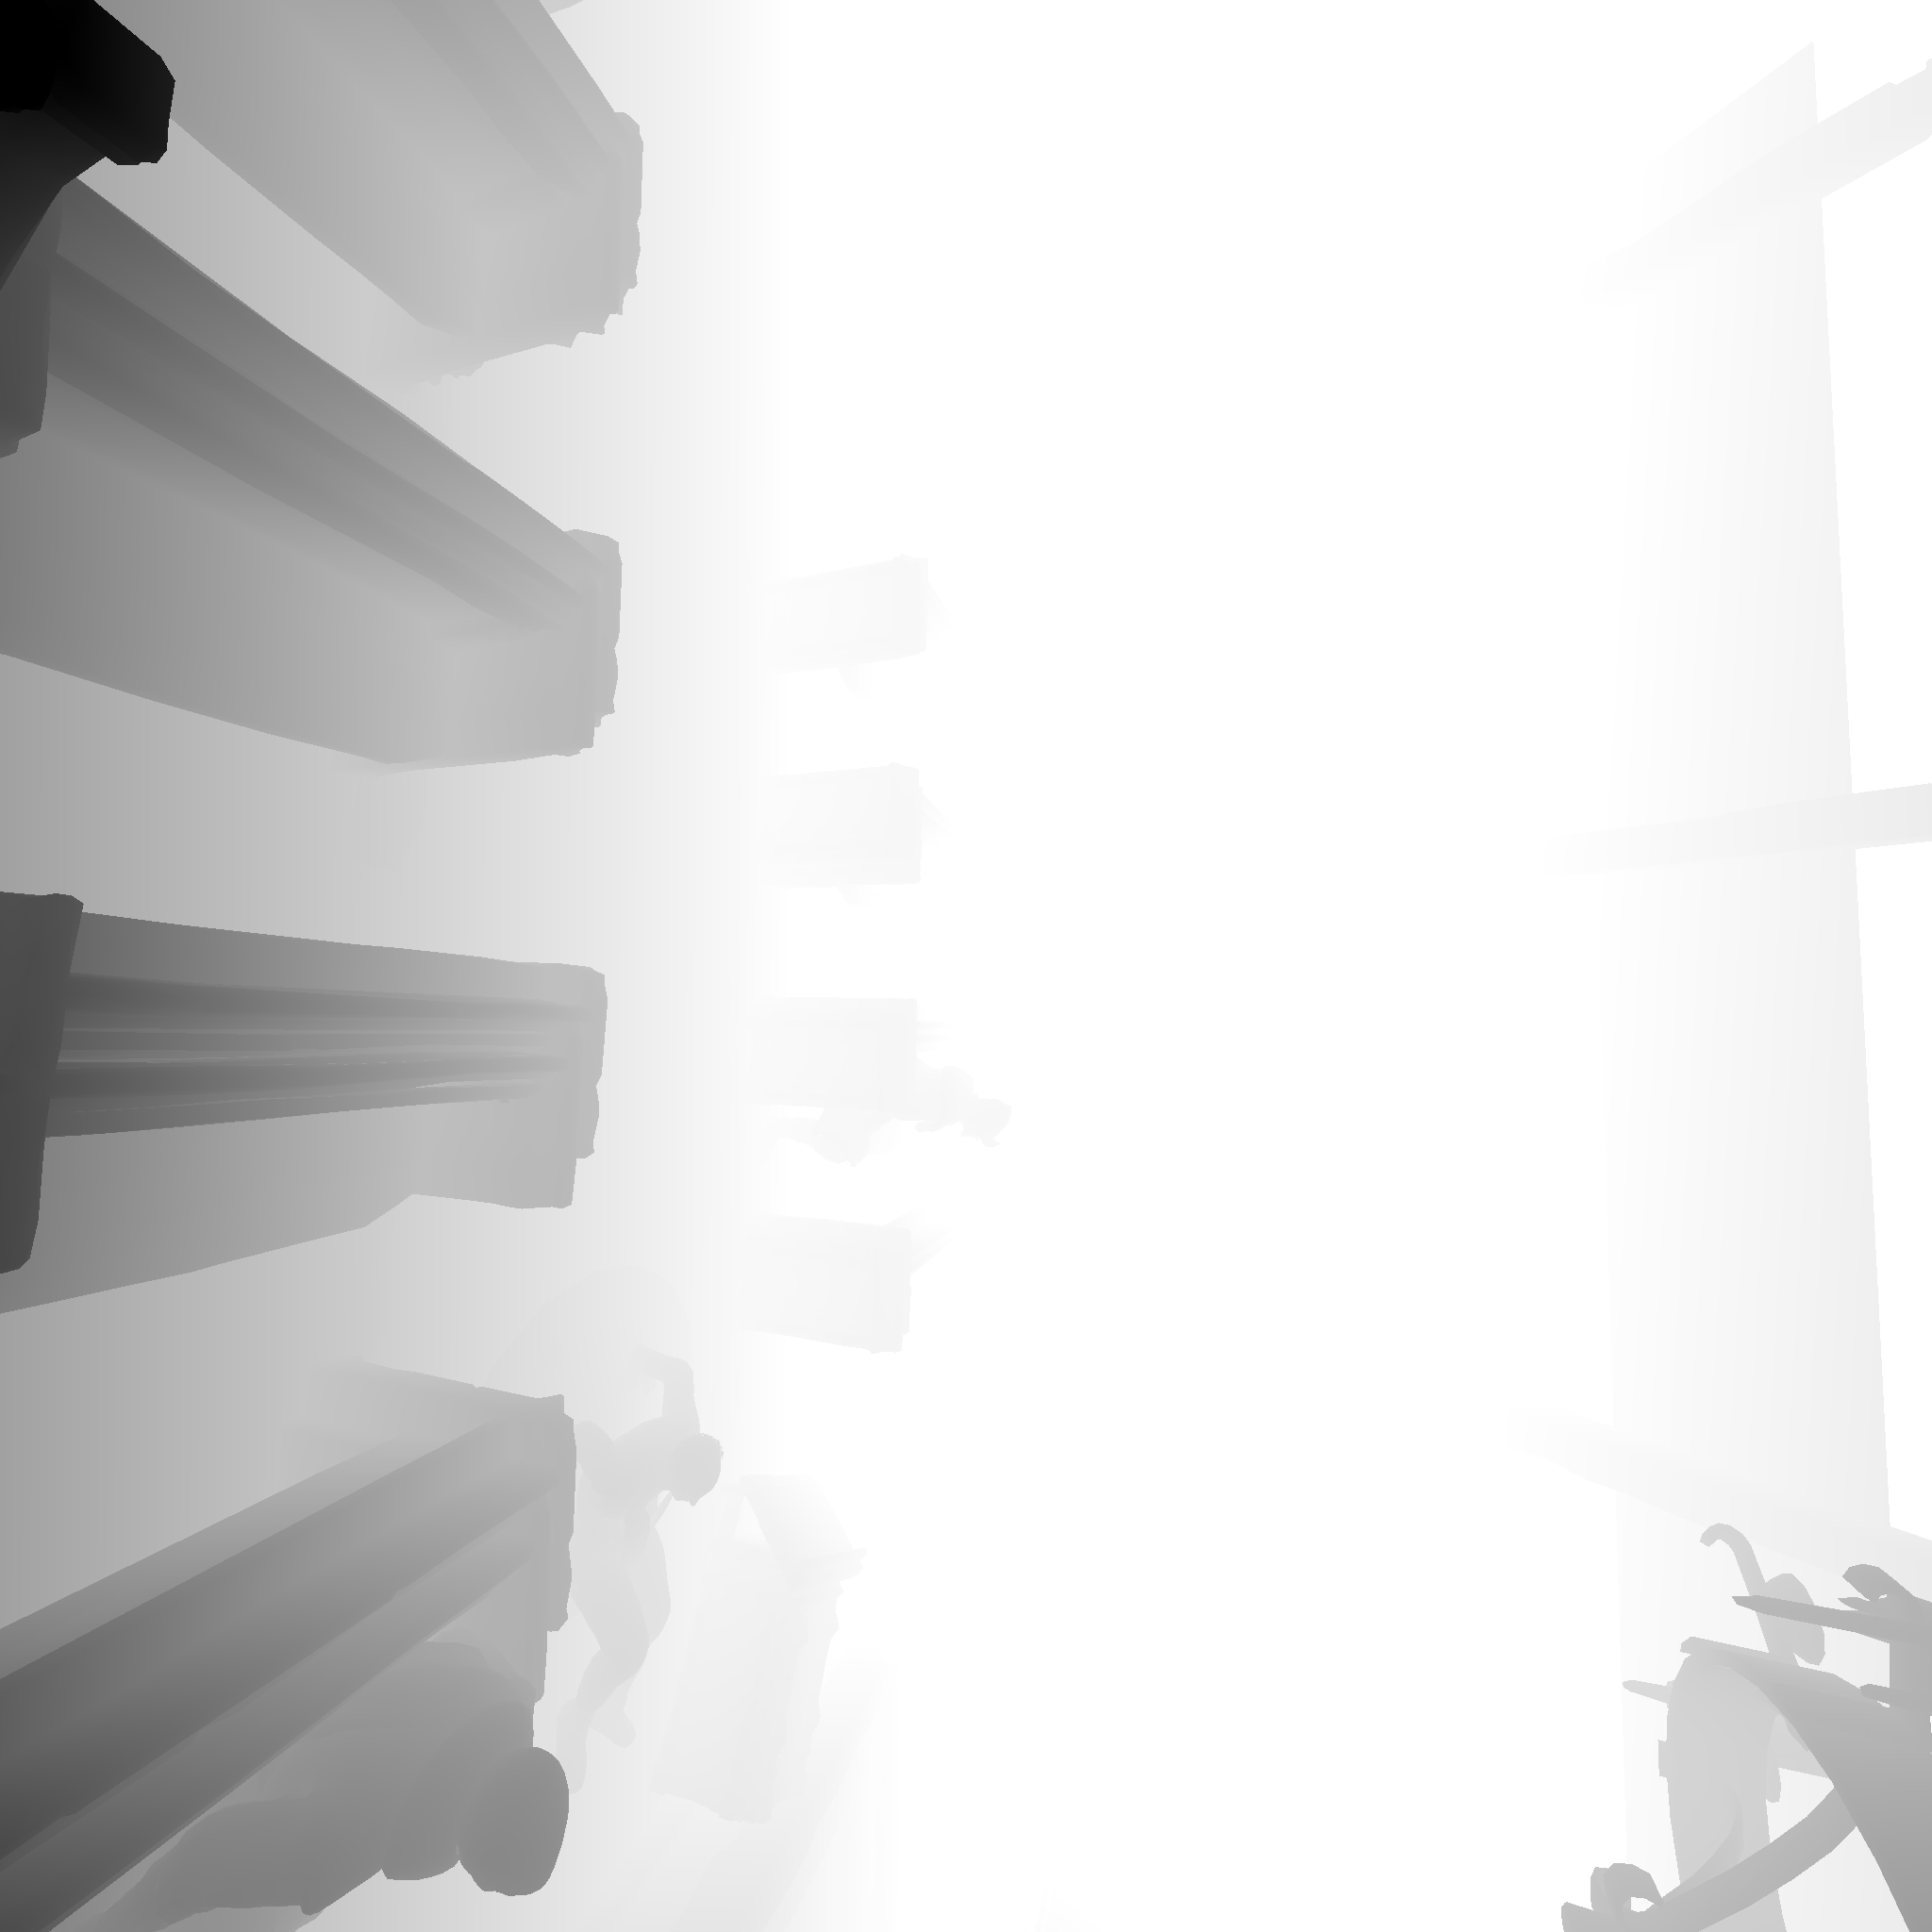

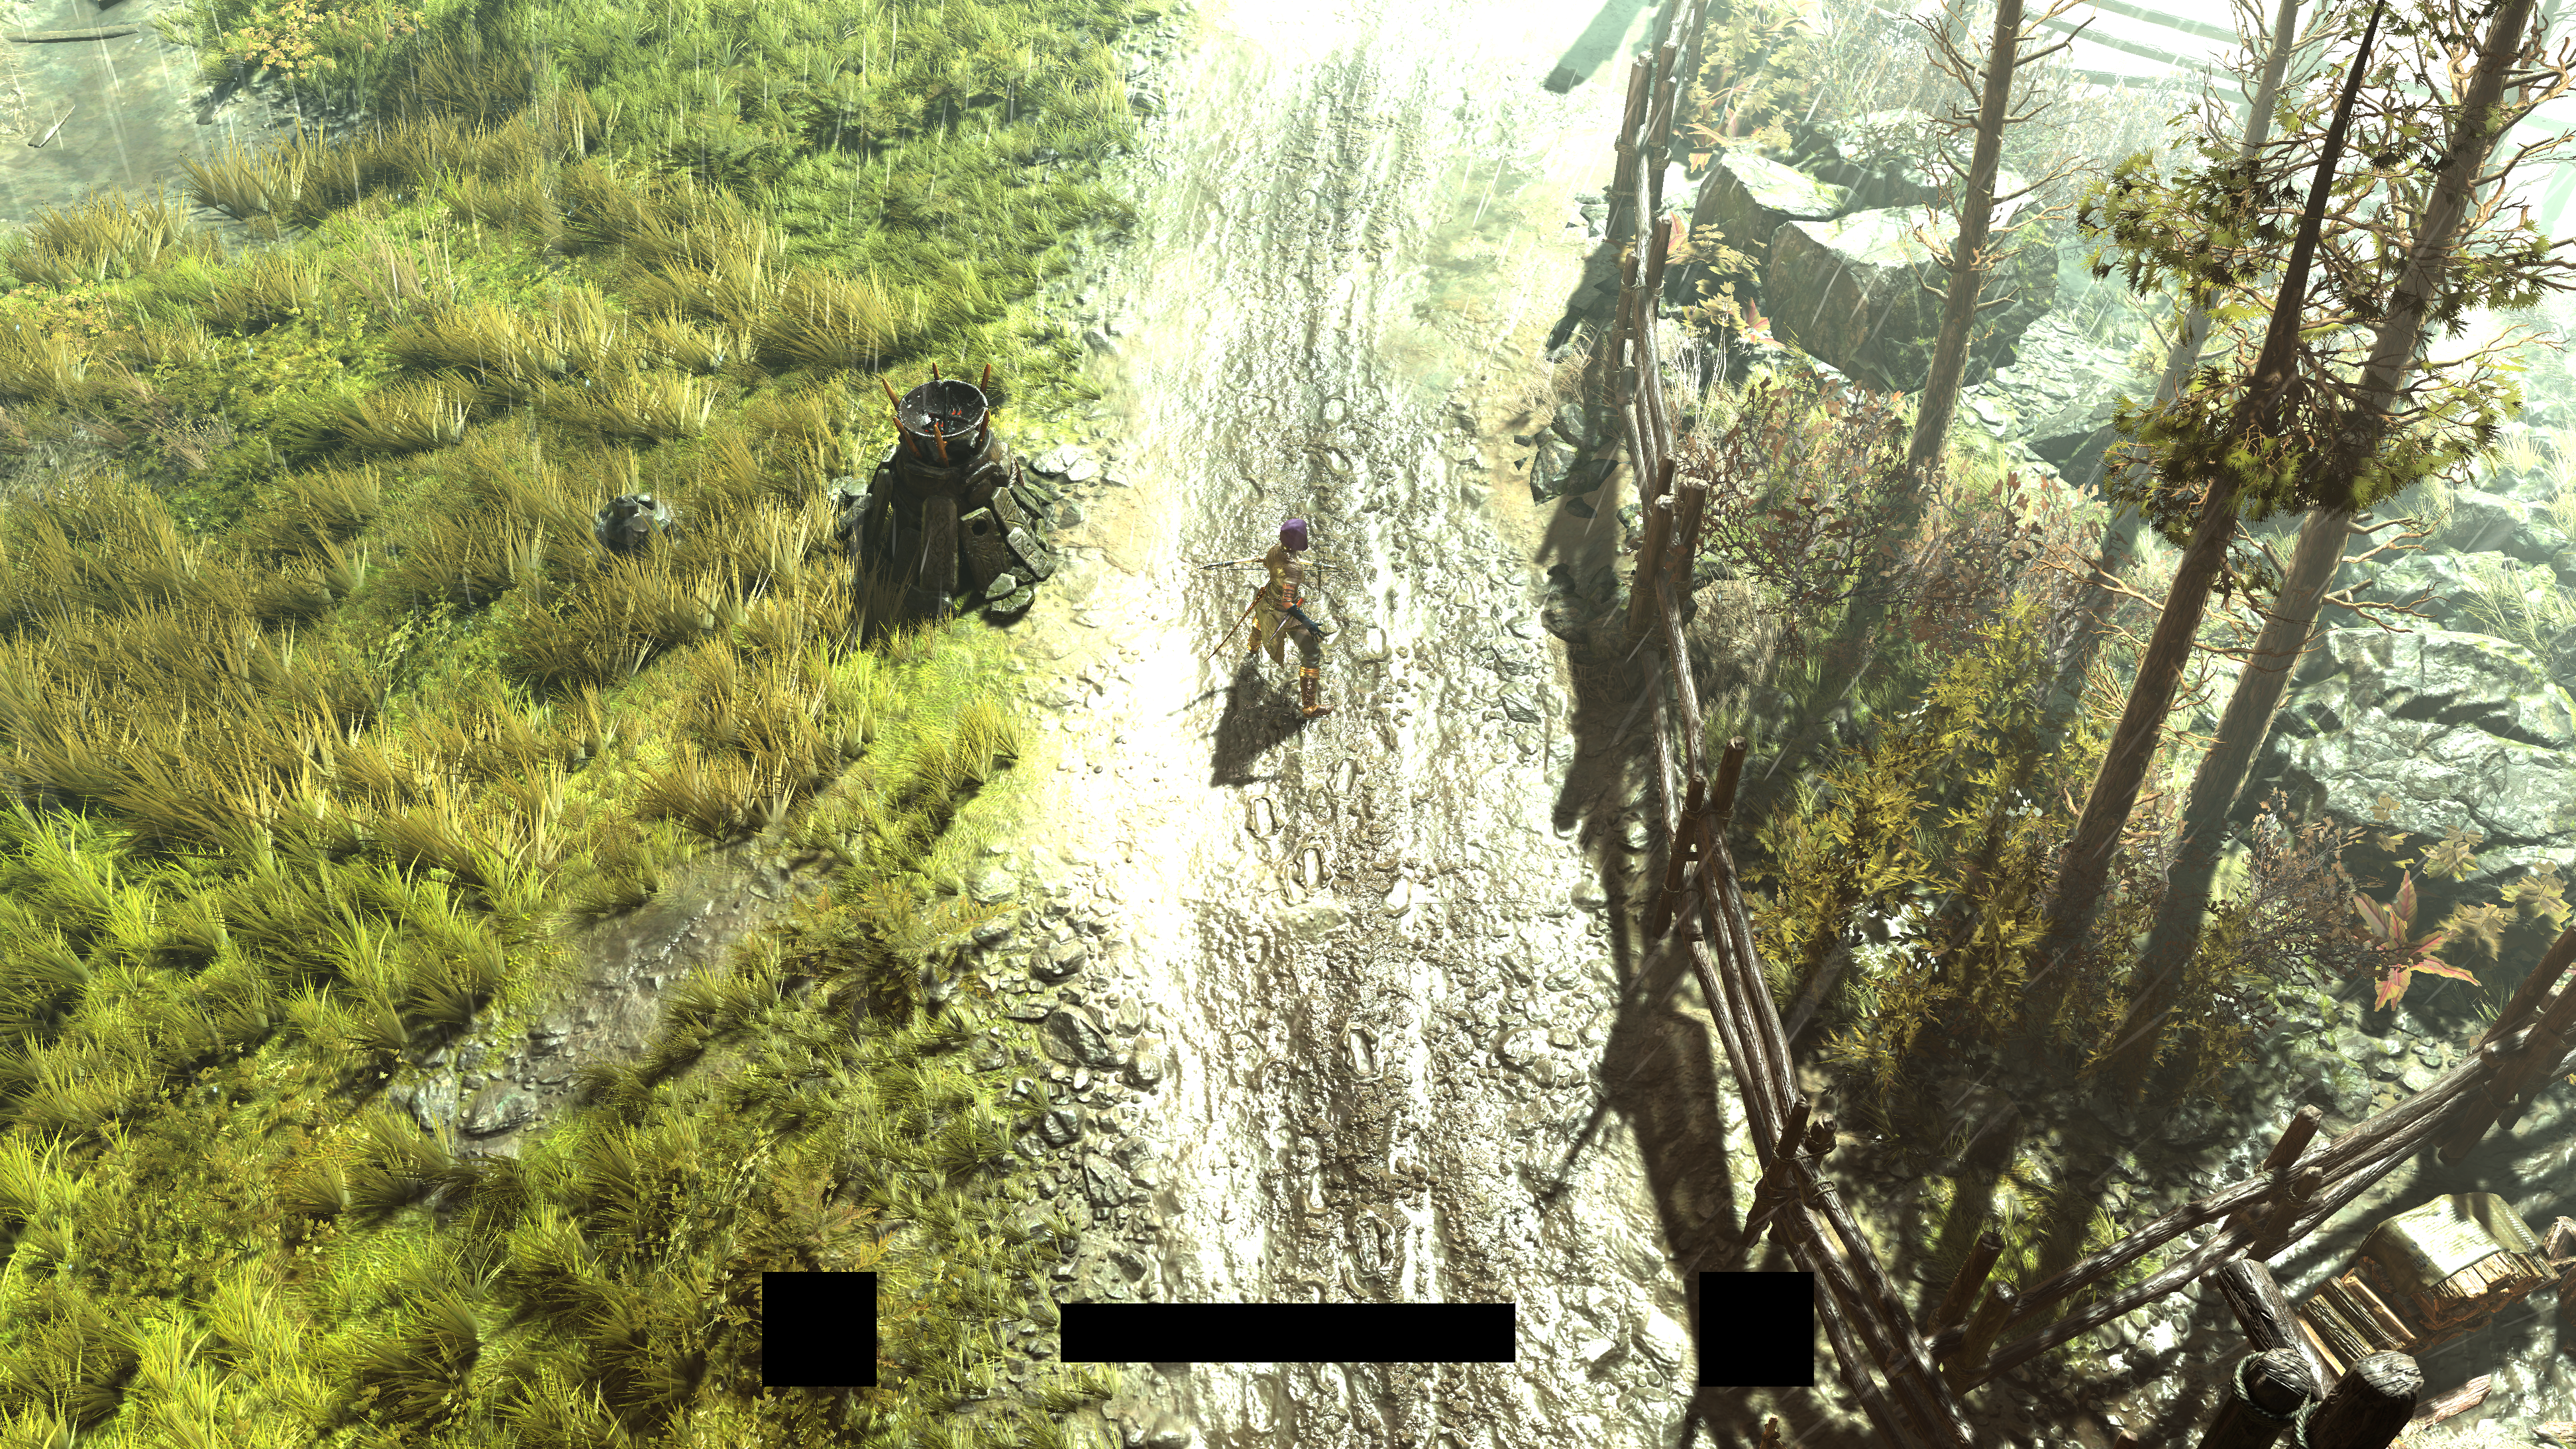
Drawing usually goes in a specific order, which is: Terrain, Dressing, Characters, then Foliage. Here are couple of them in different drawing stages

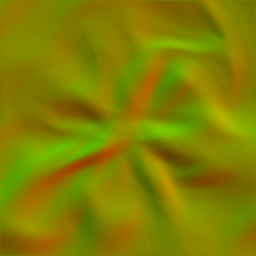
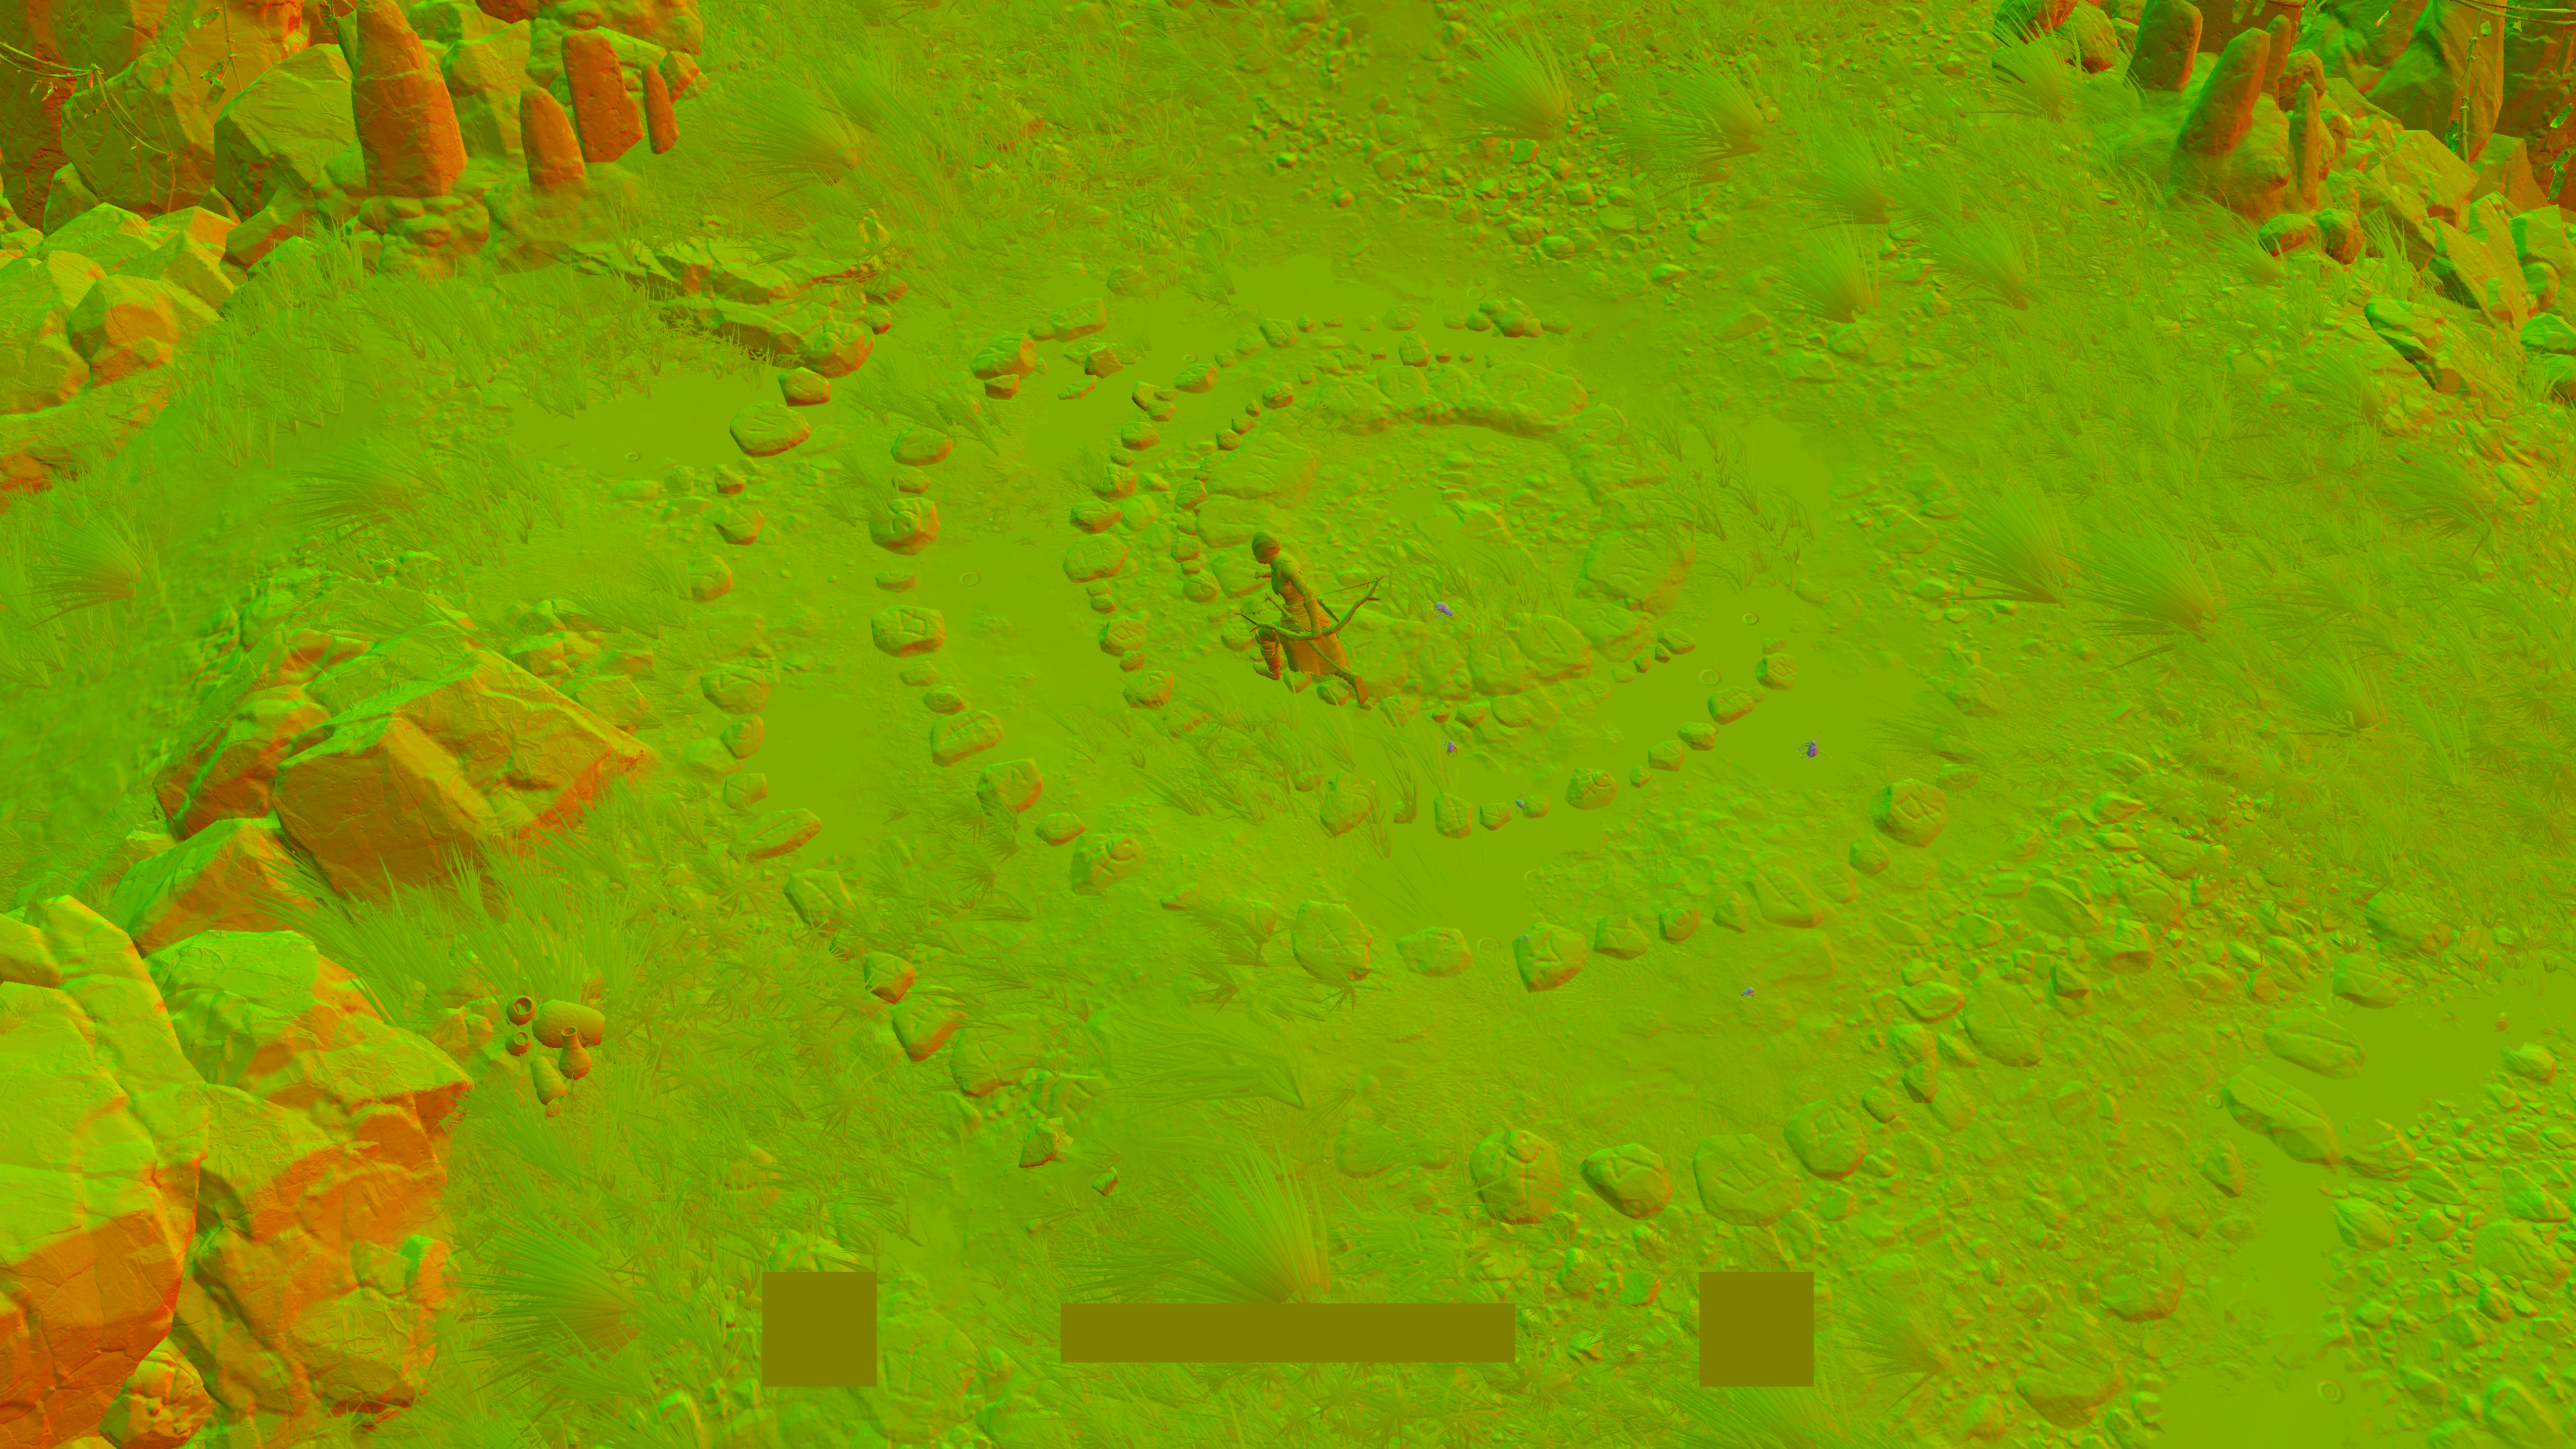
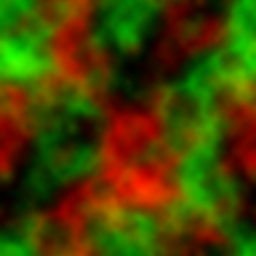
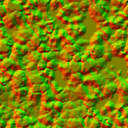
Force
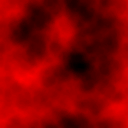
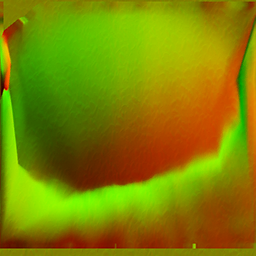
A rendertarget that holds some forces values, things like Advection, Wind, Divergence, Subtract, Pressure. Those are to be used lated for things like terrain fog inscattering (ground fog inscattering).

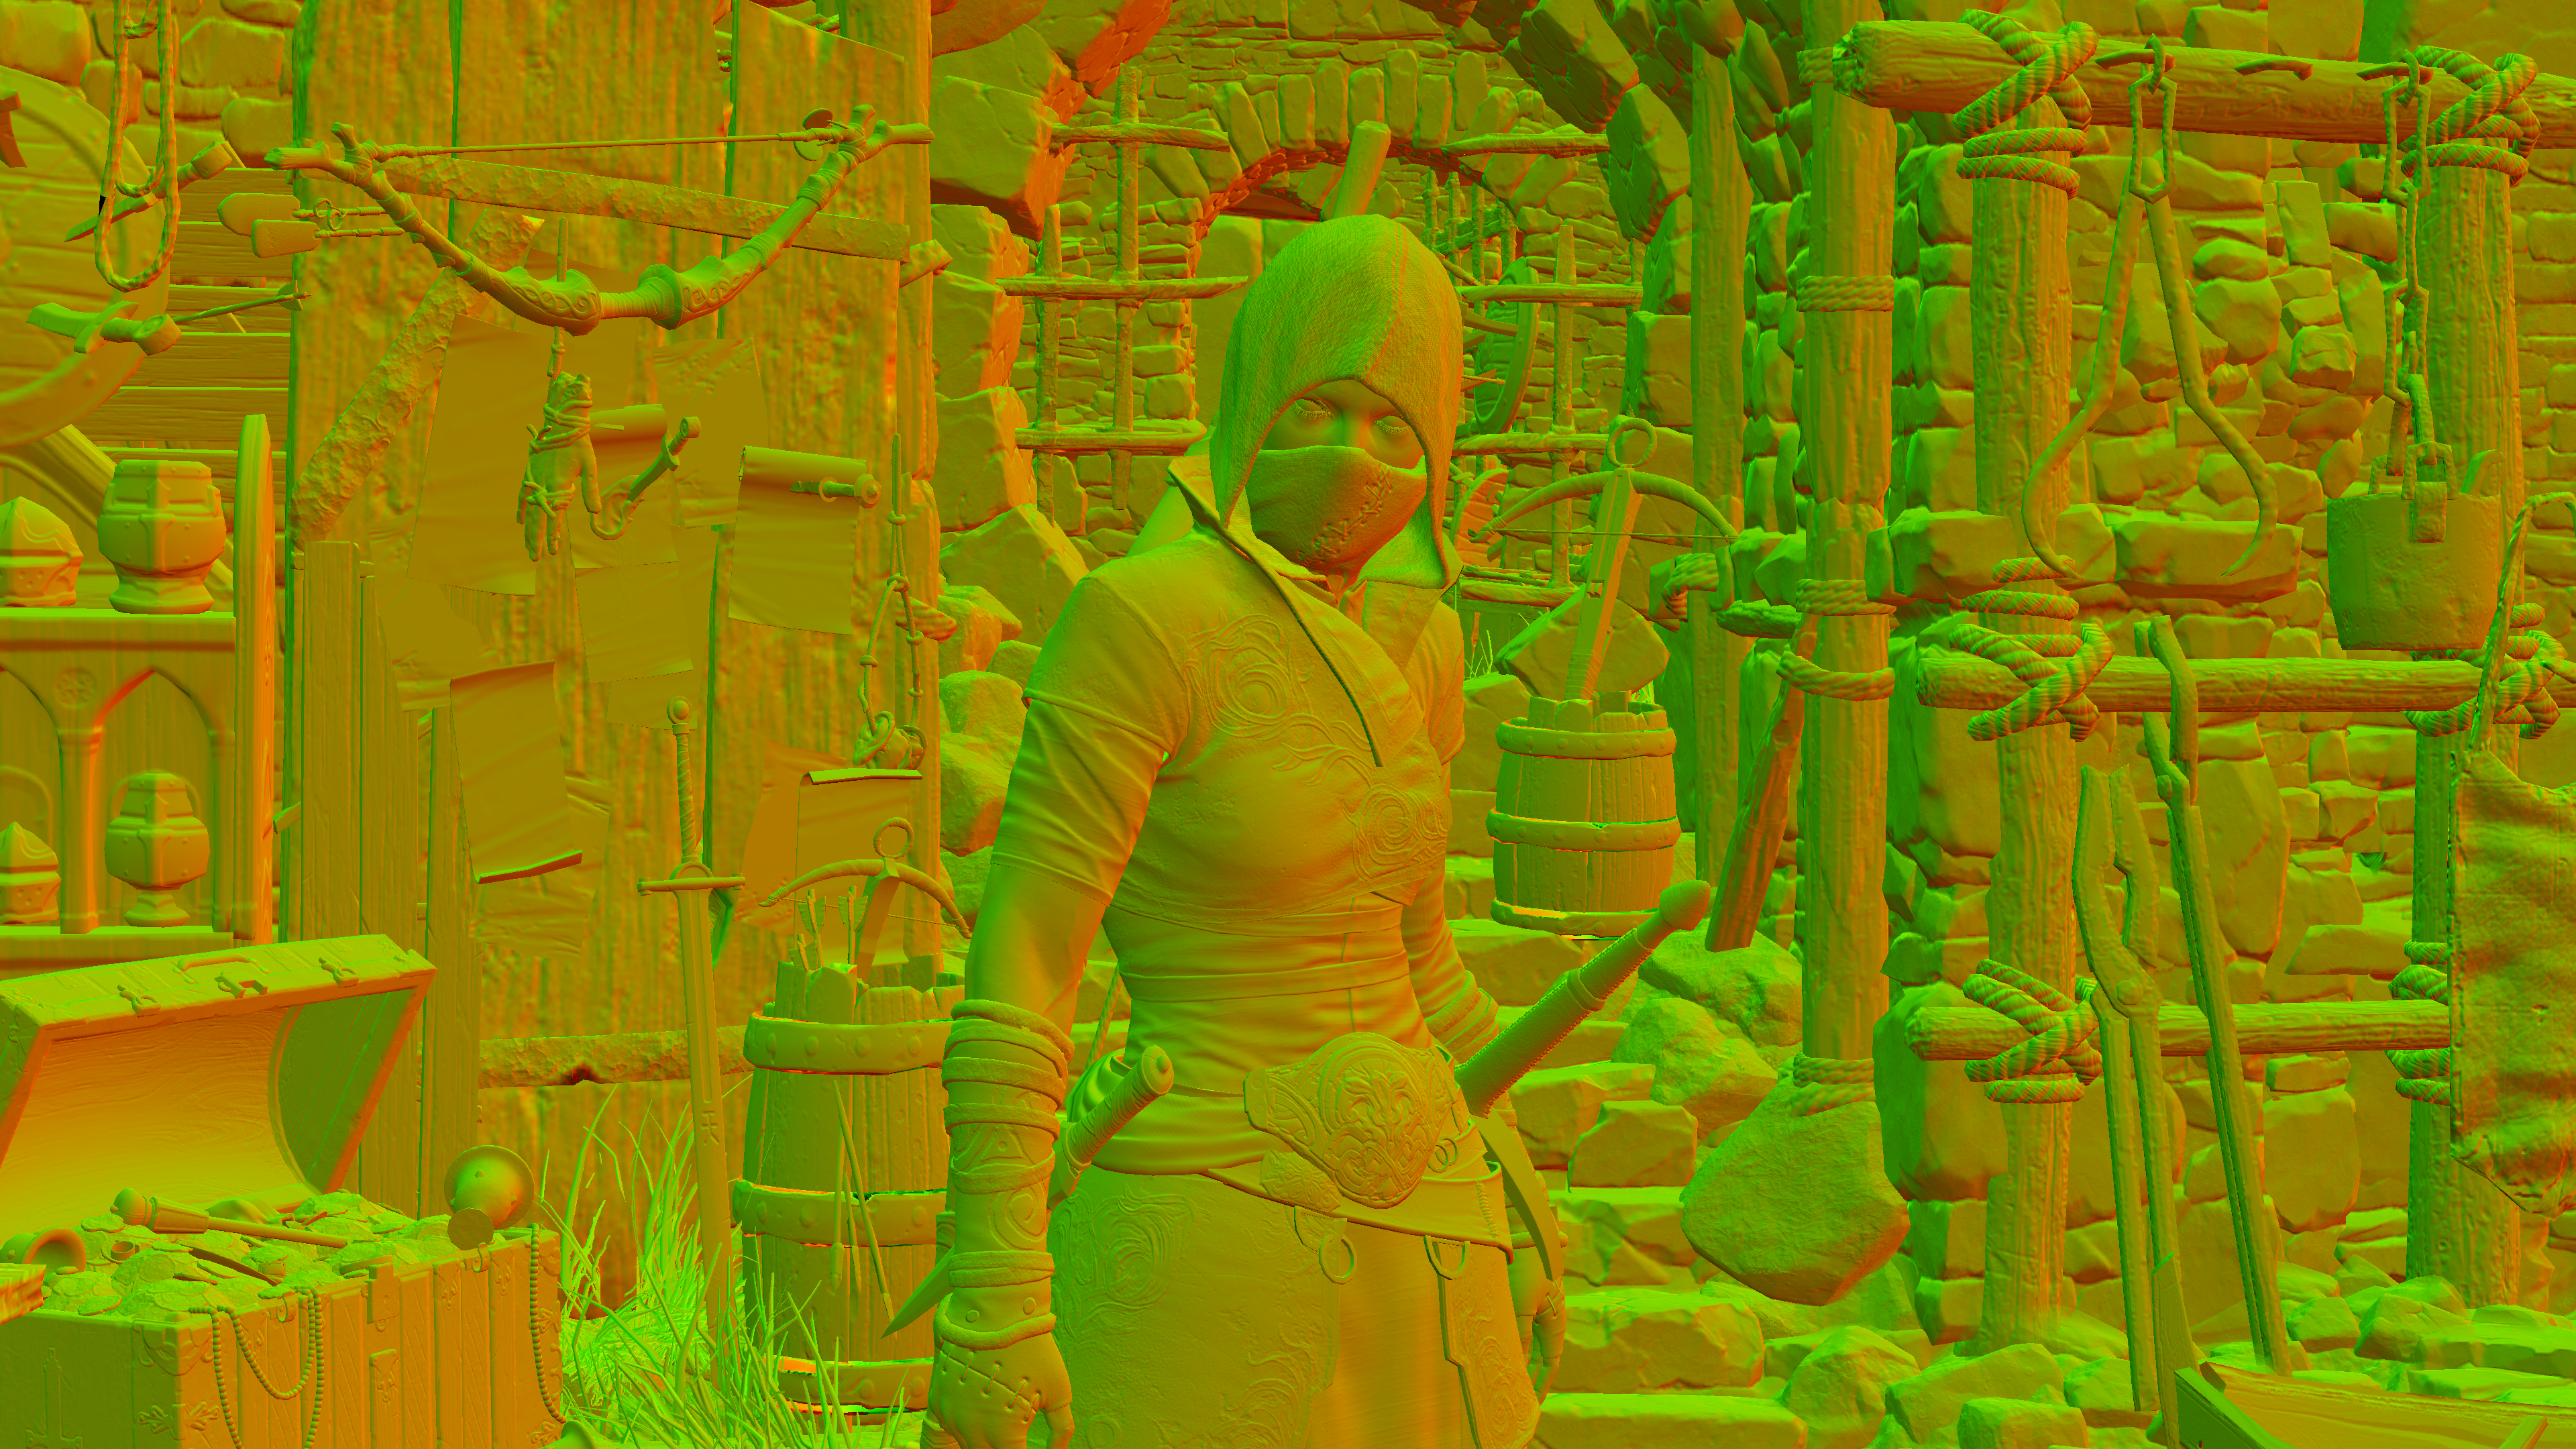
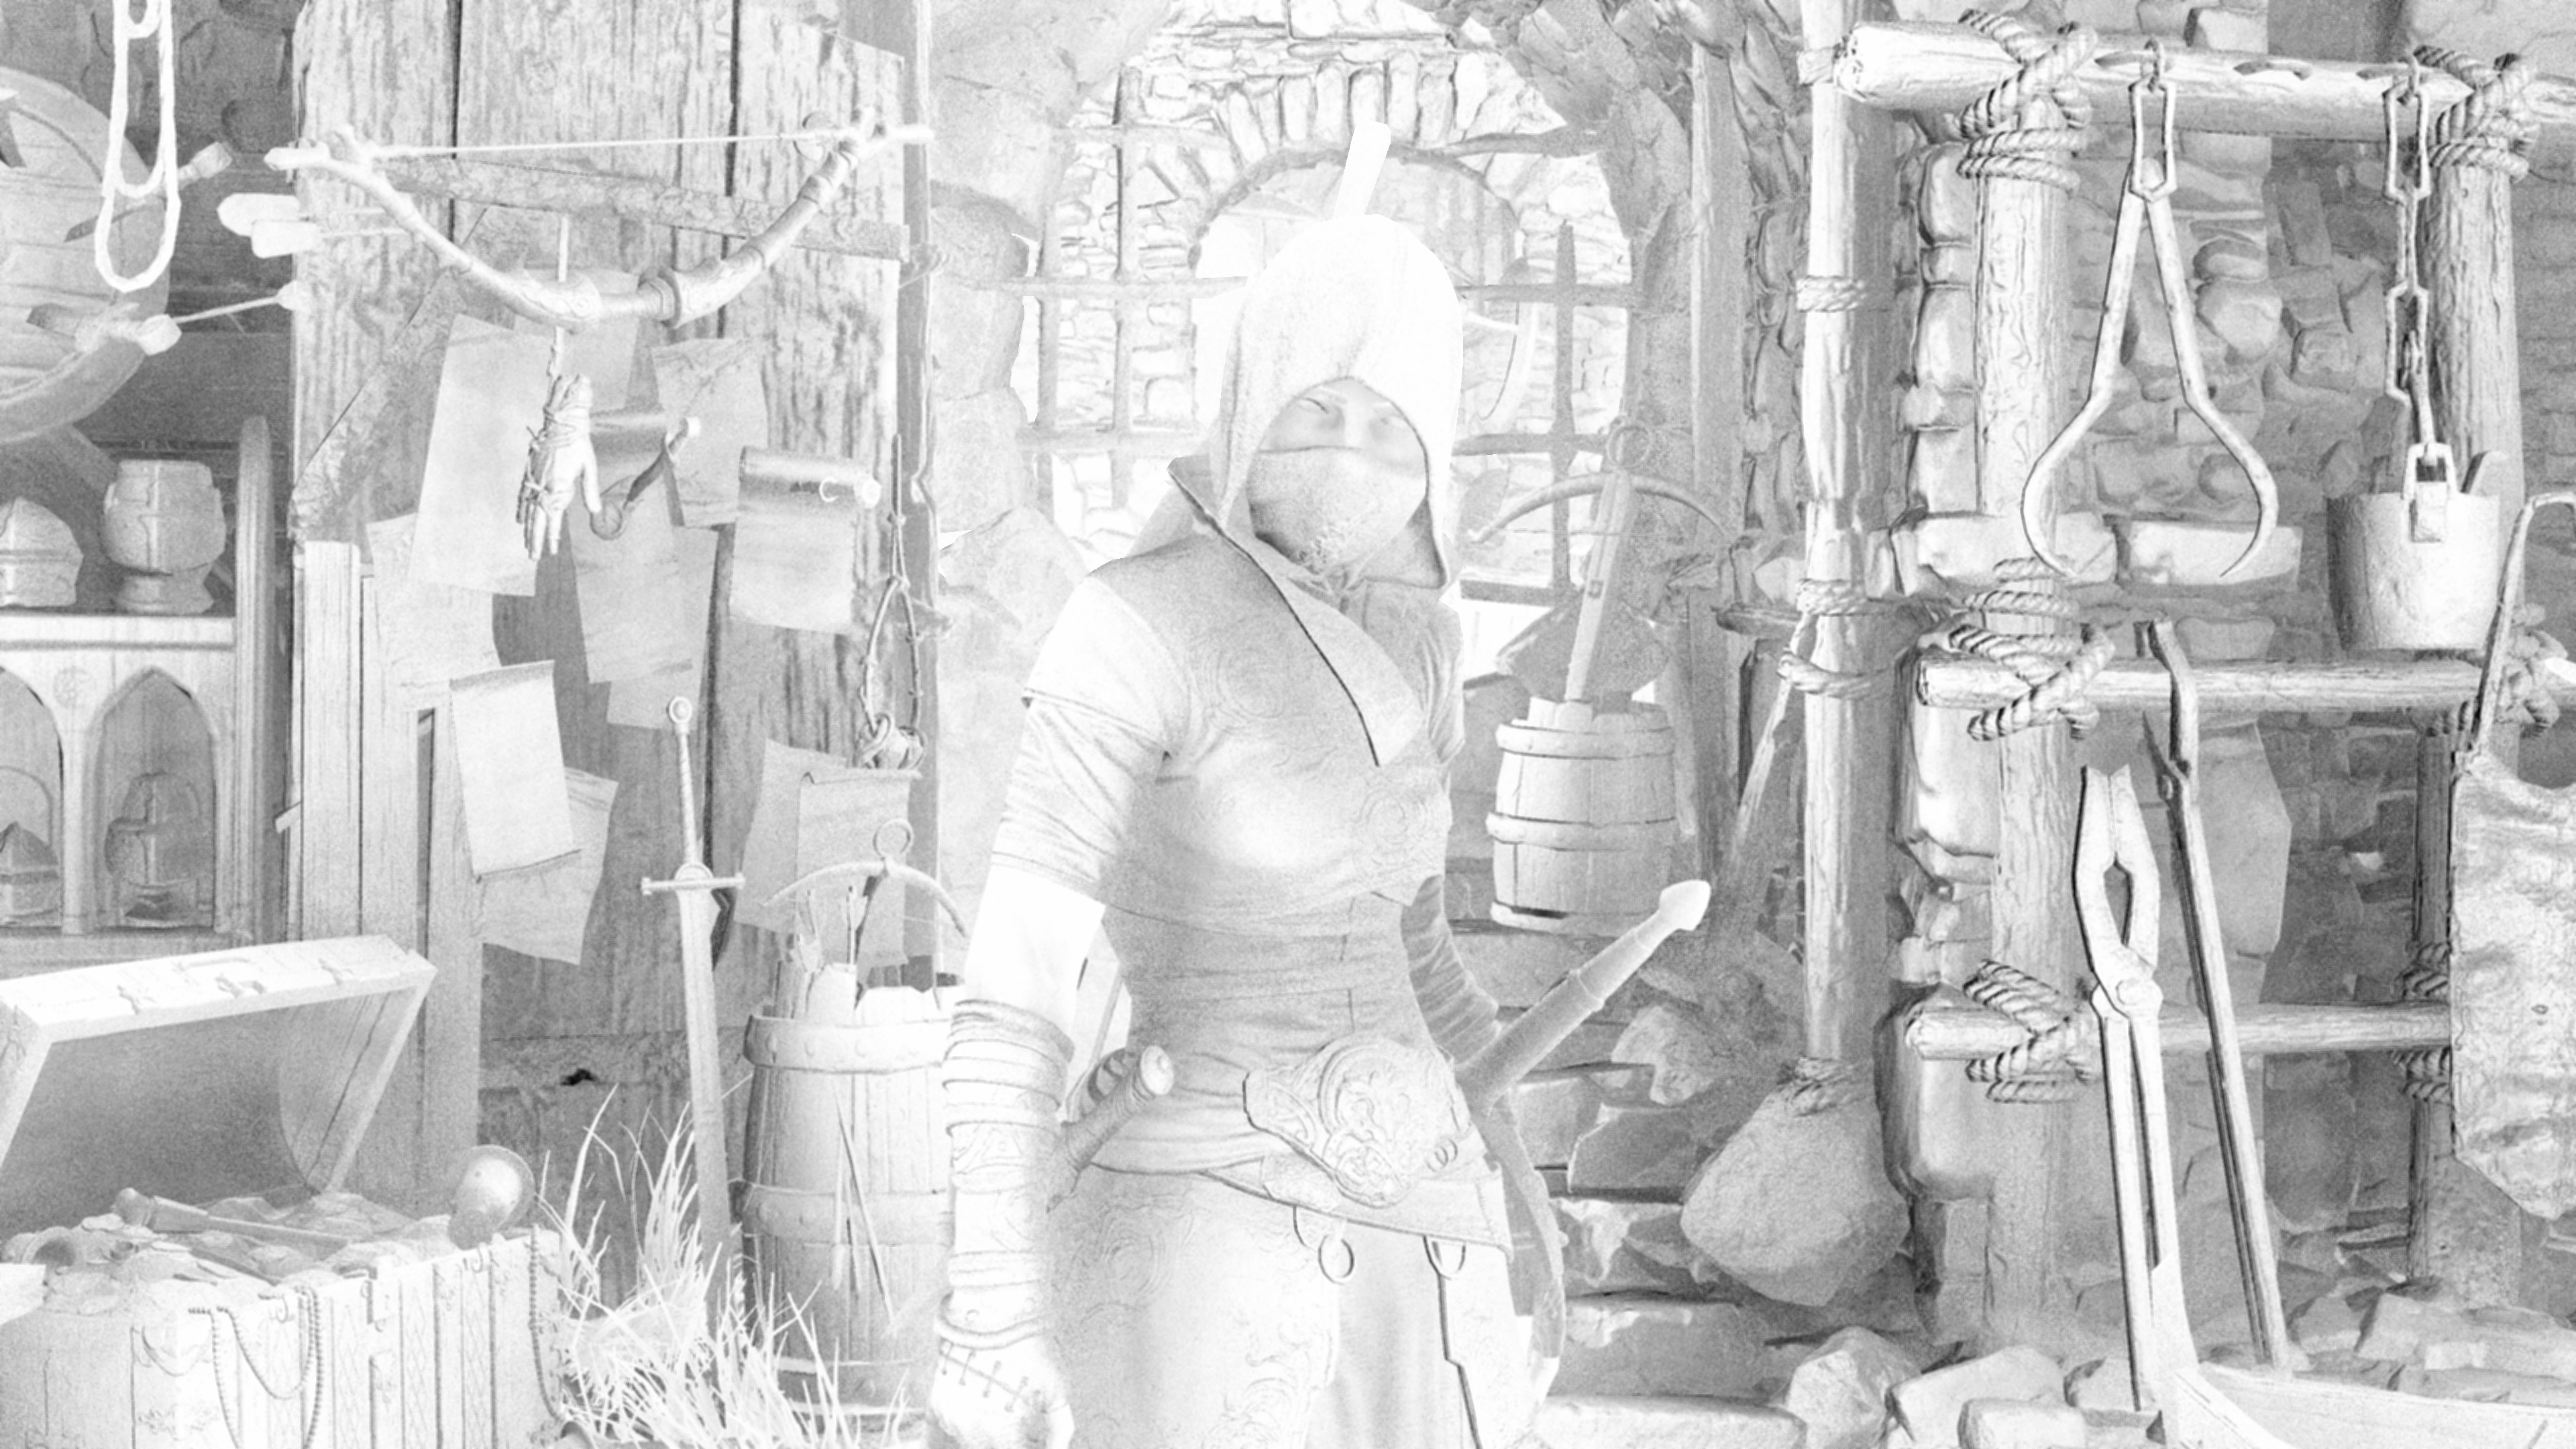
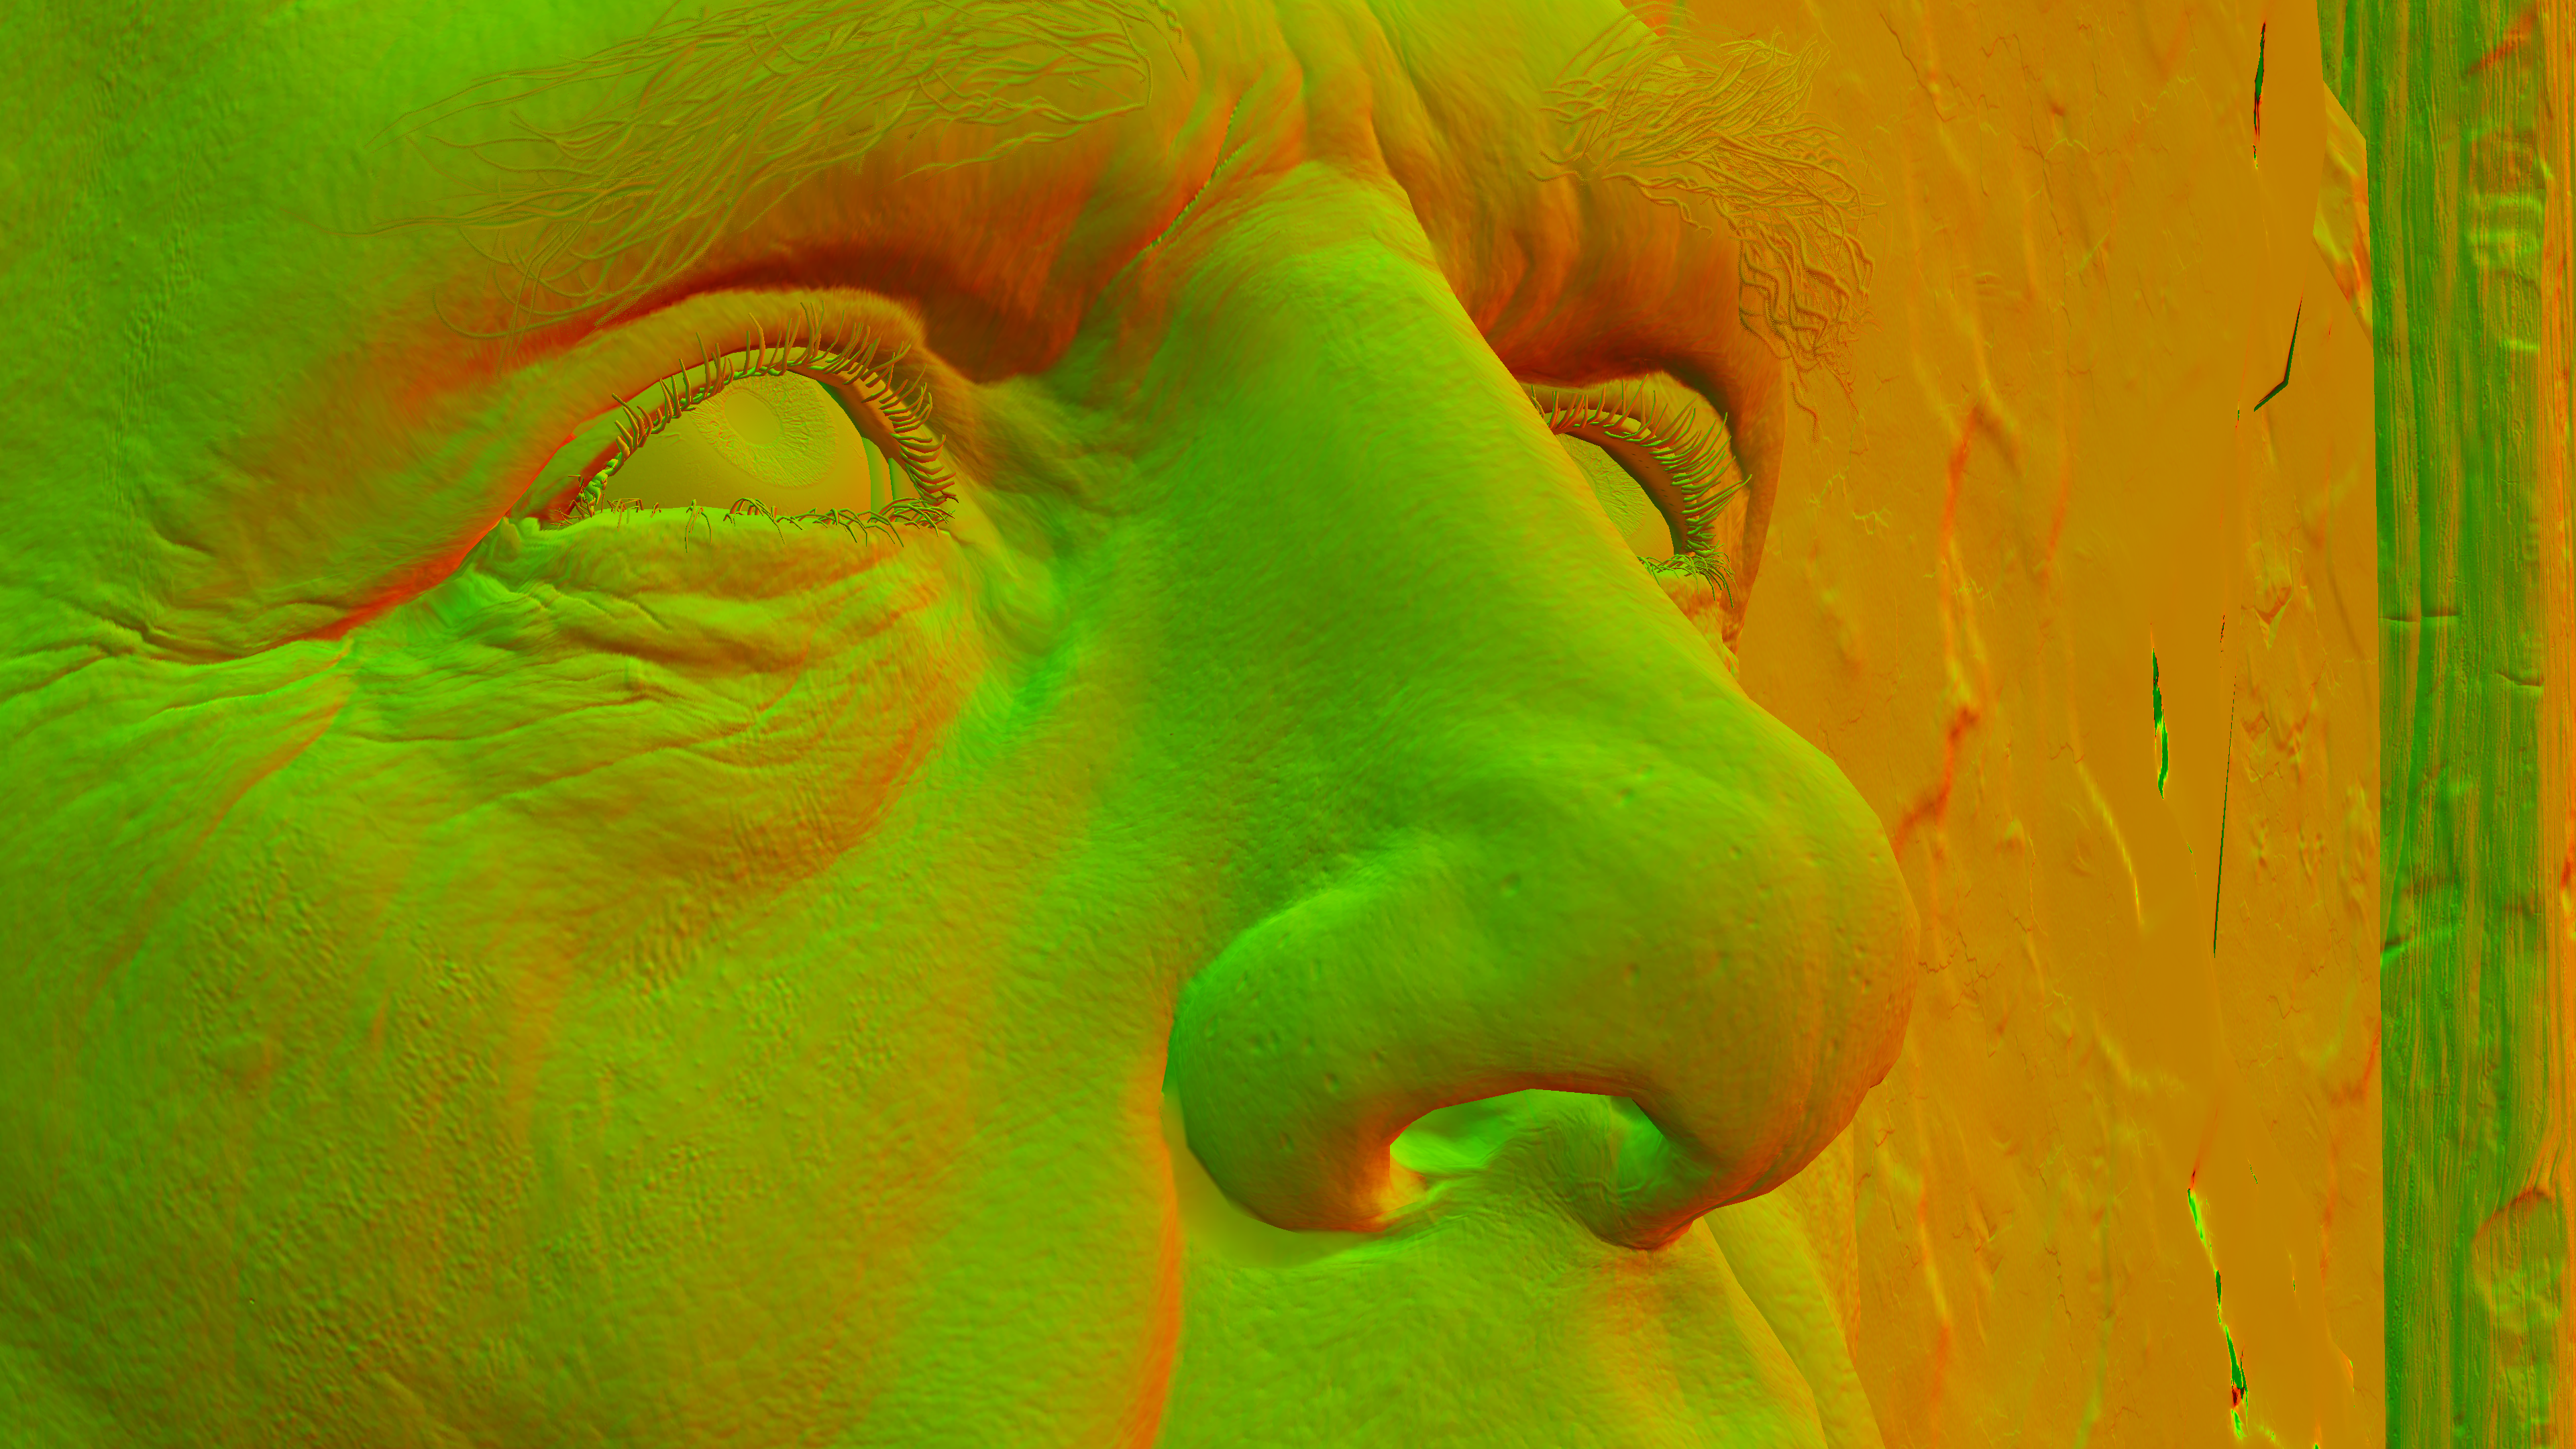
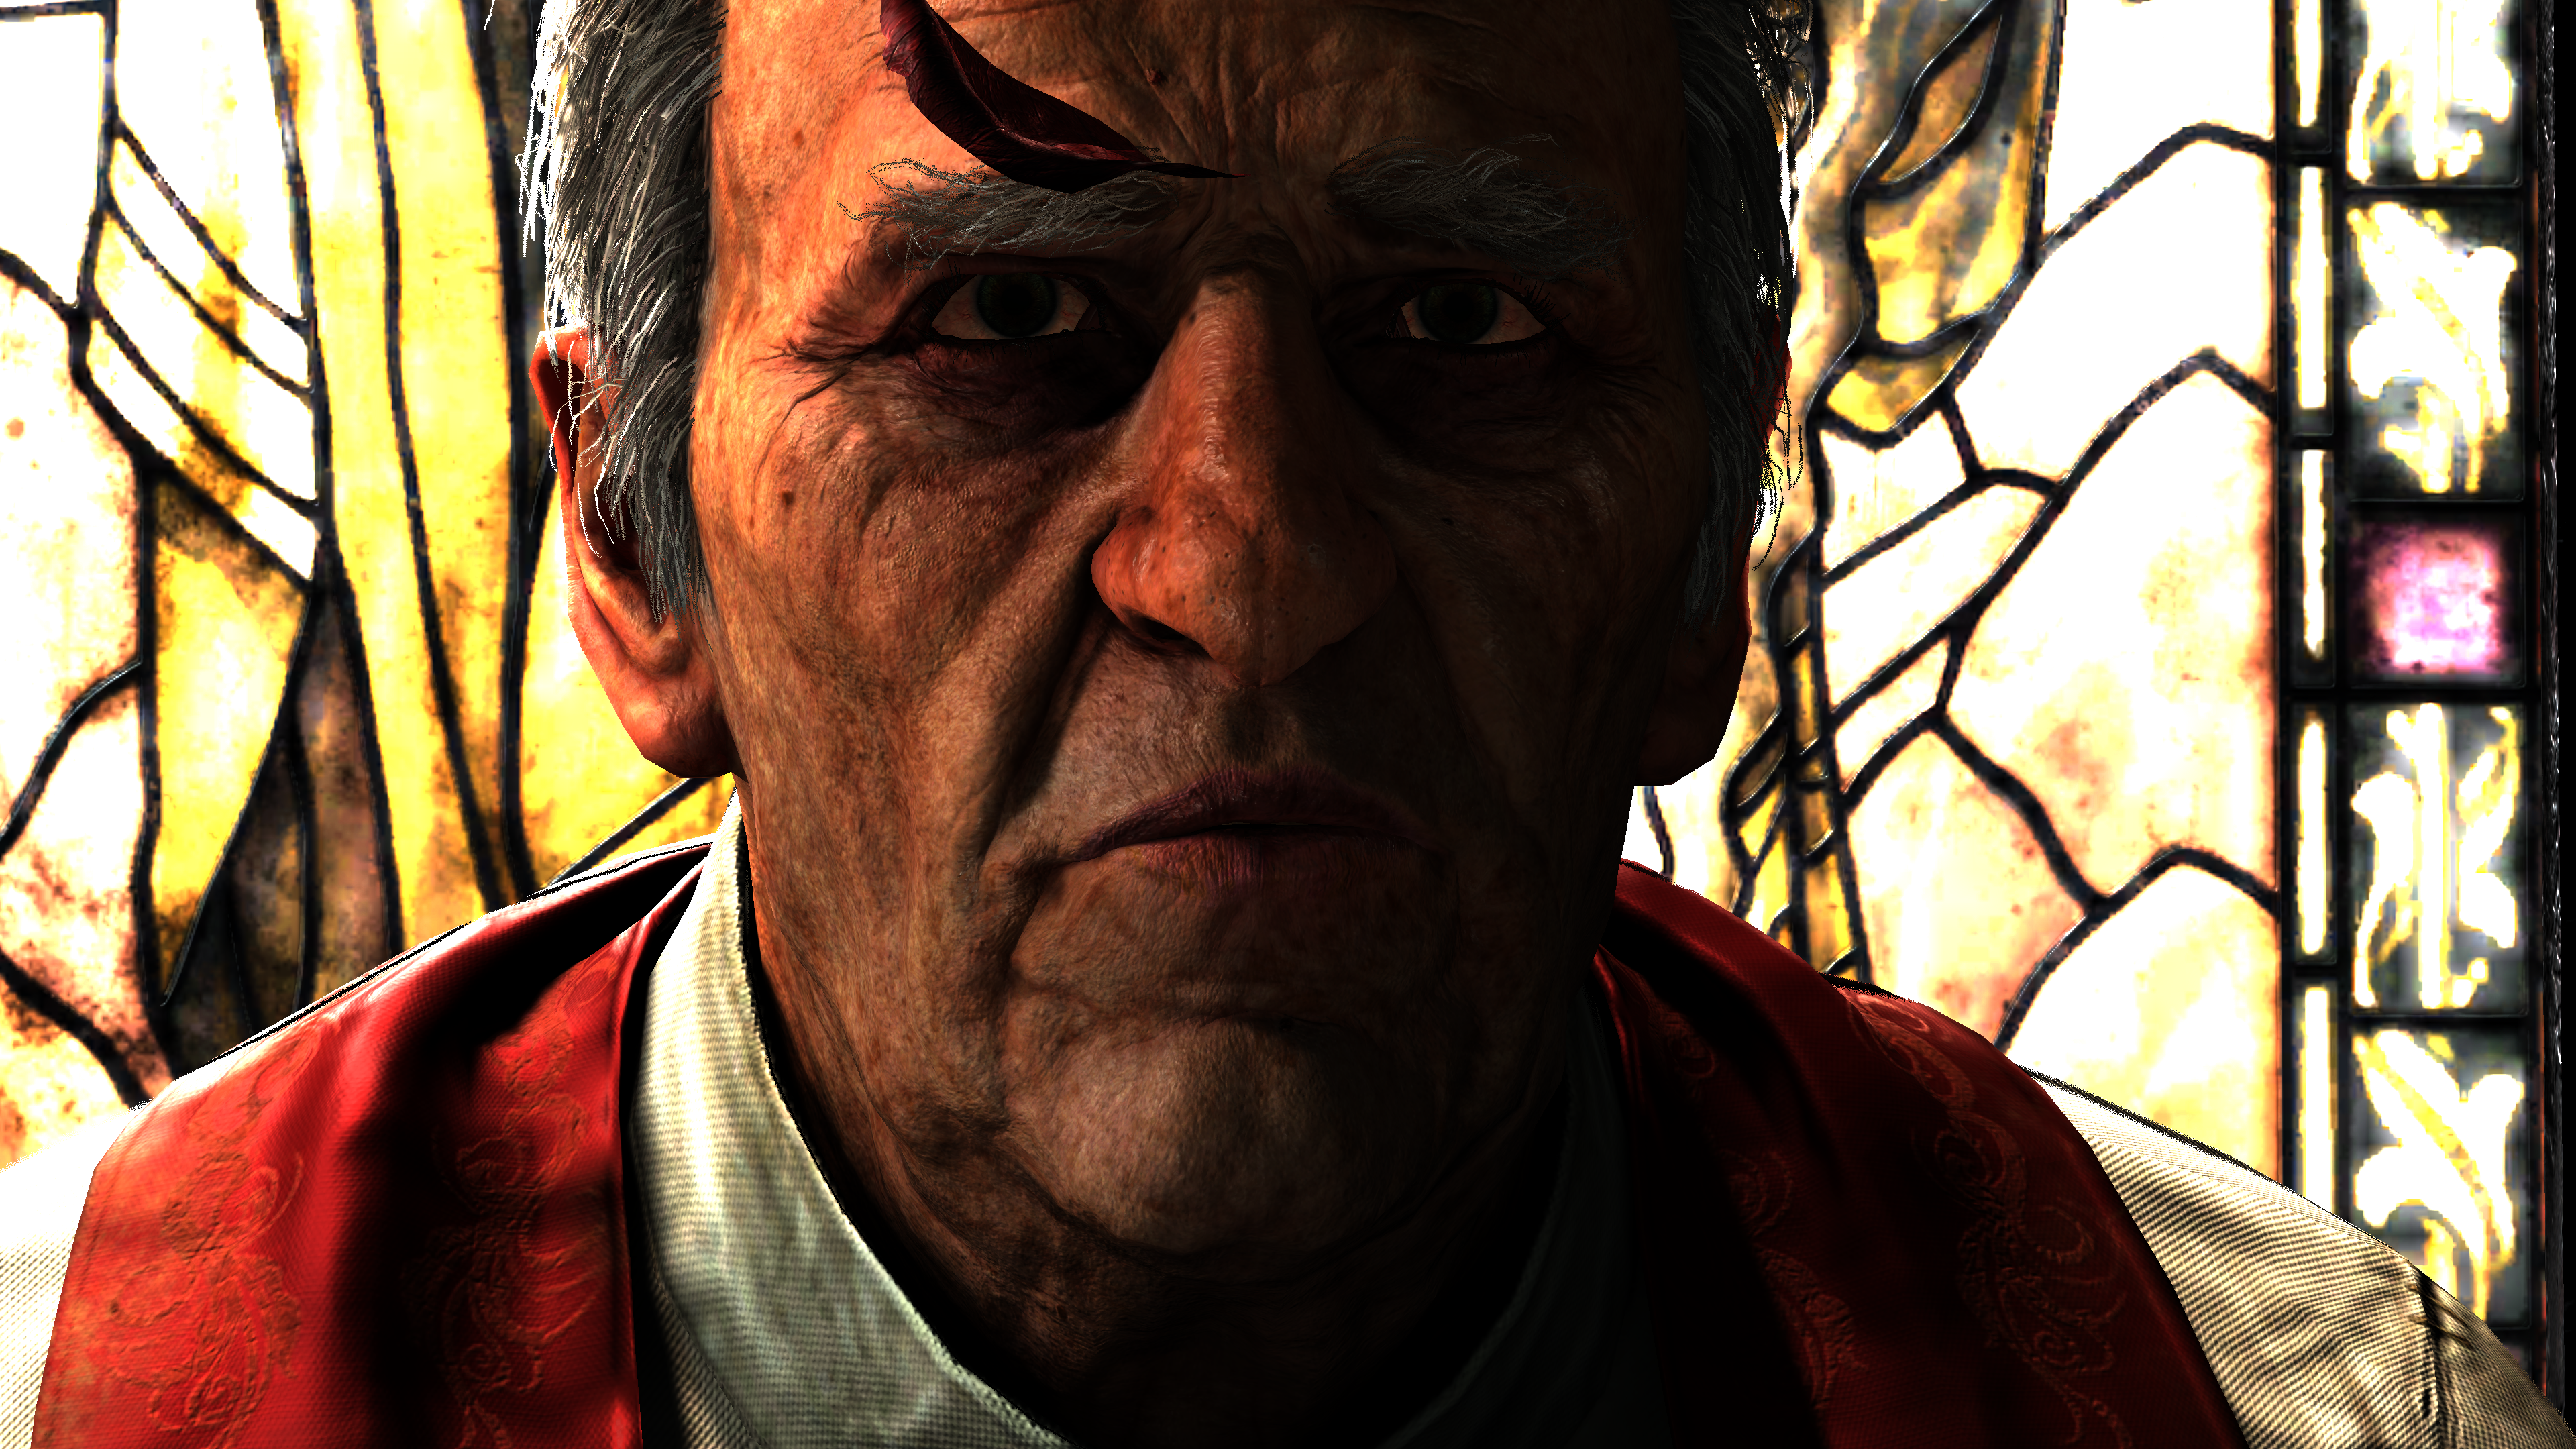
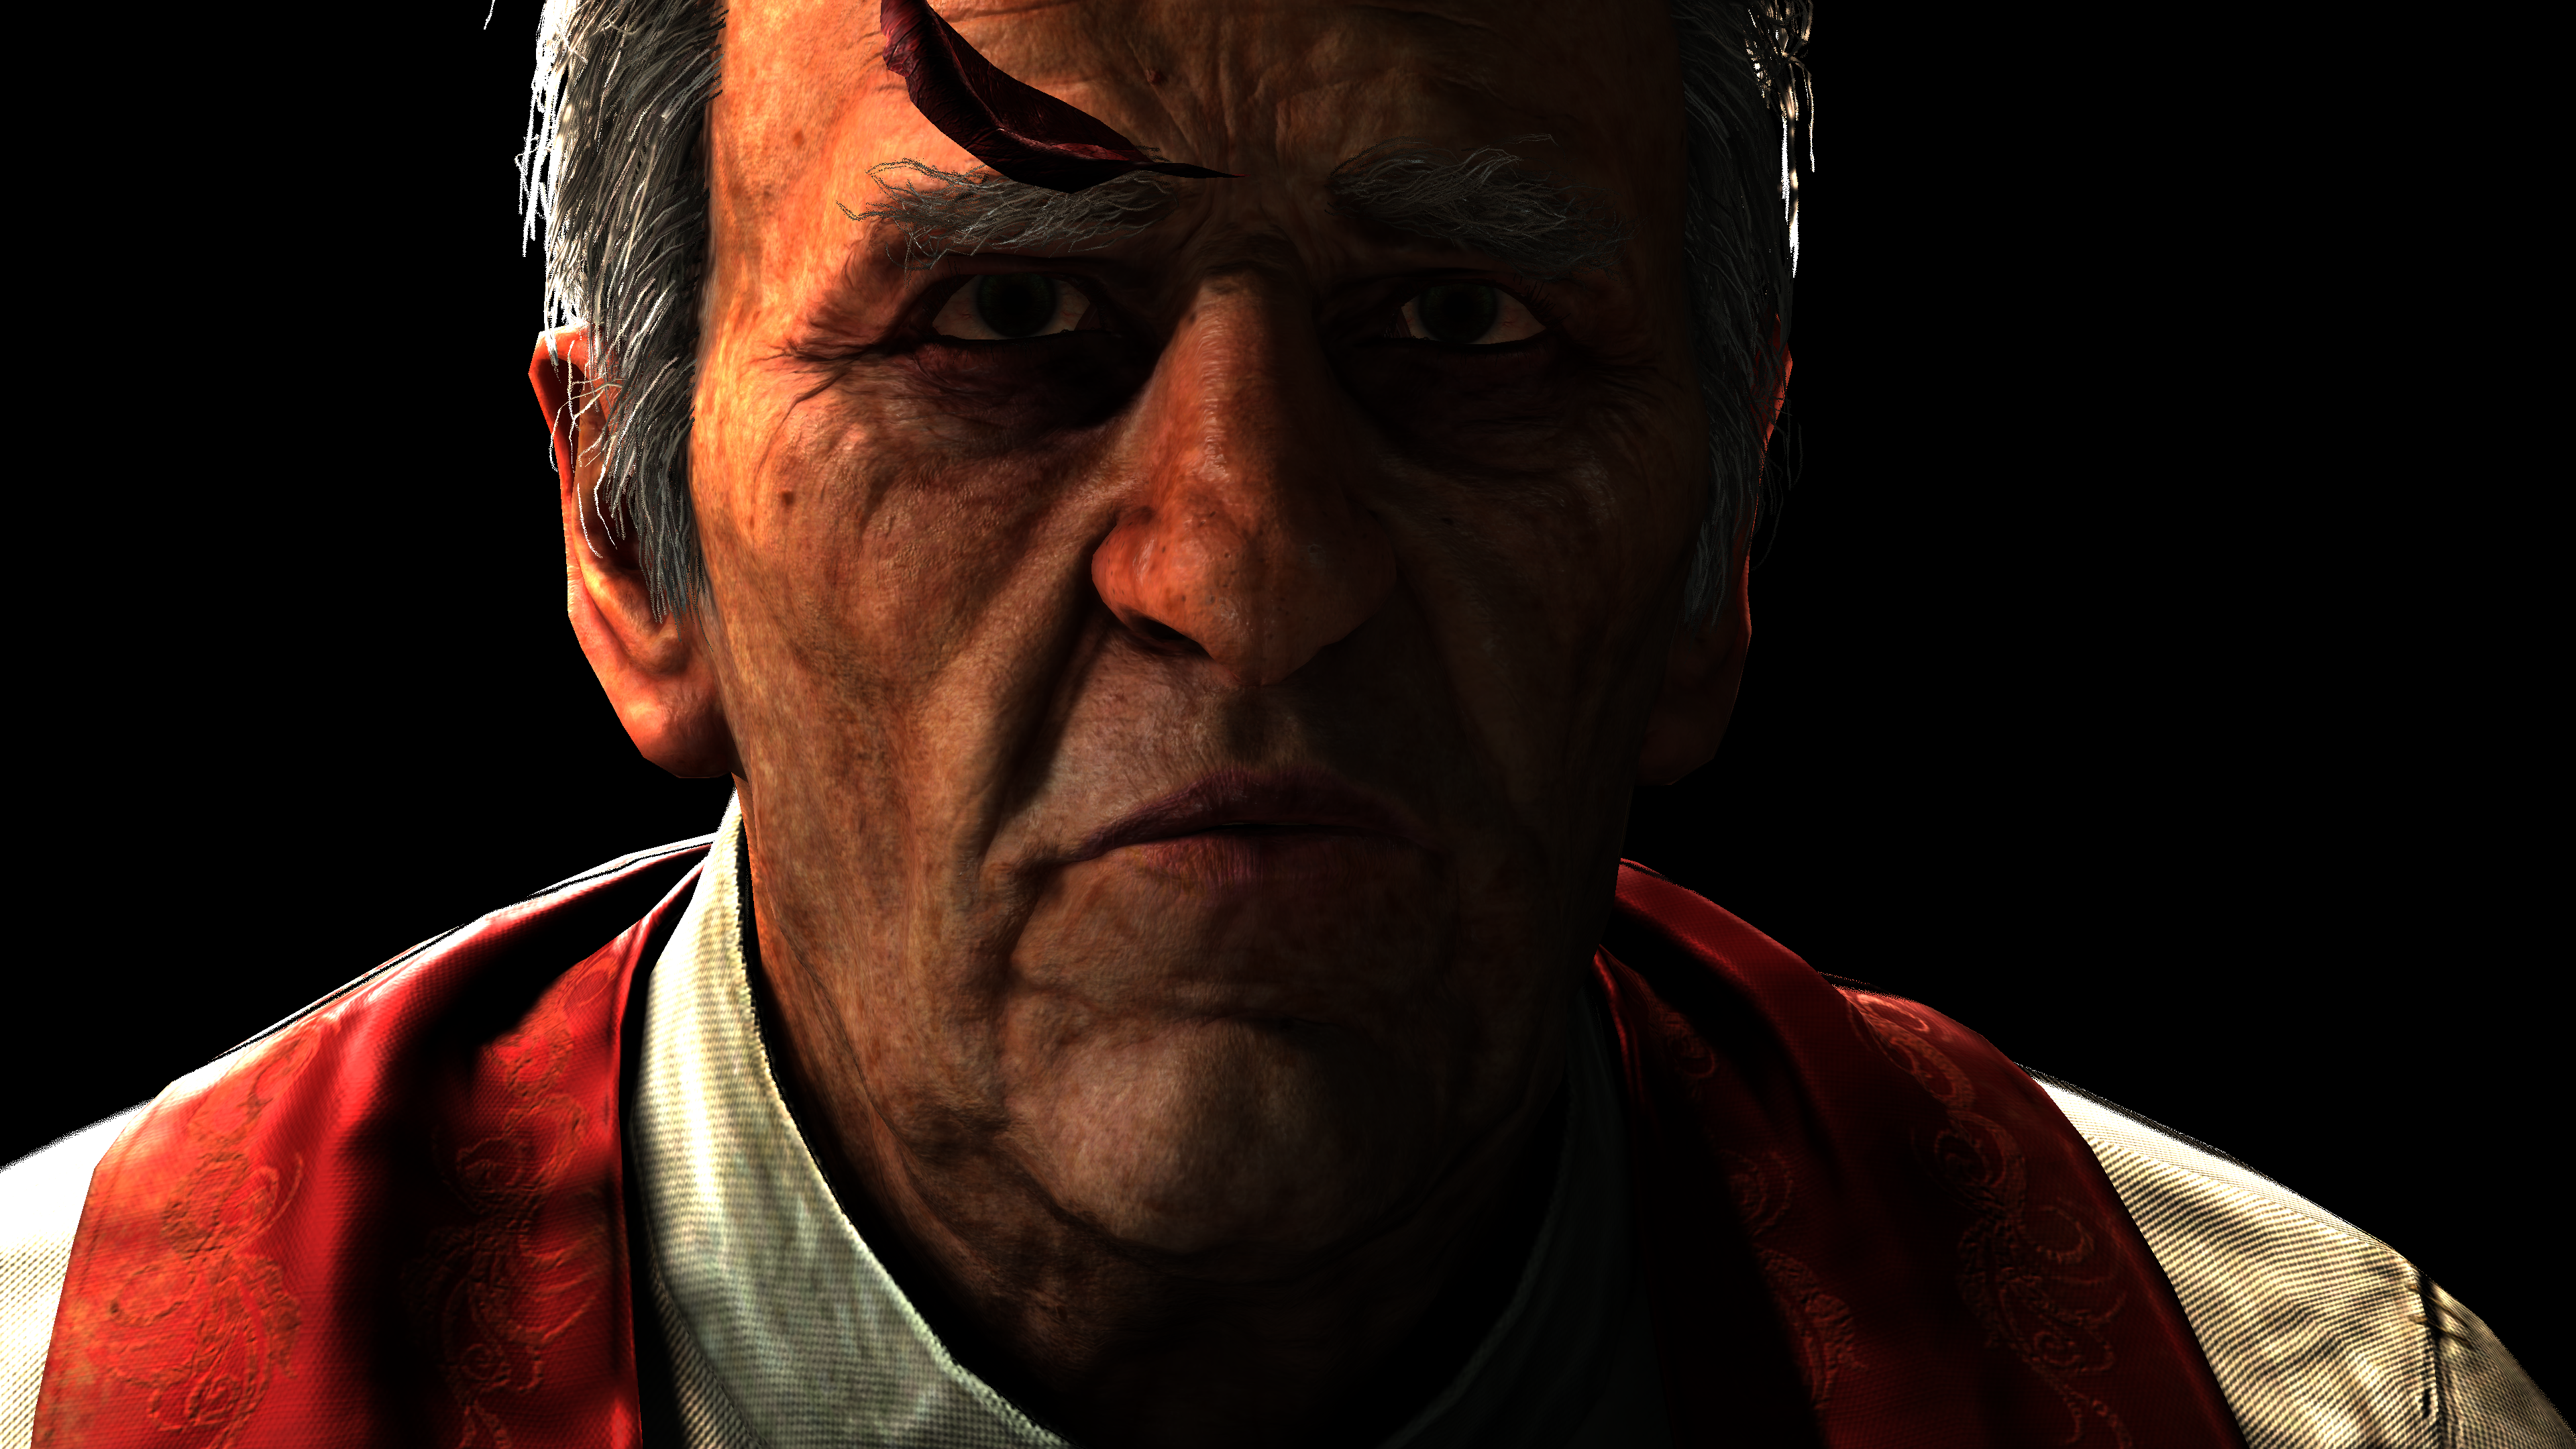
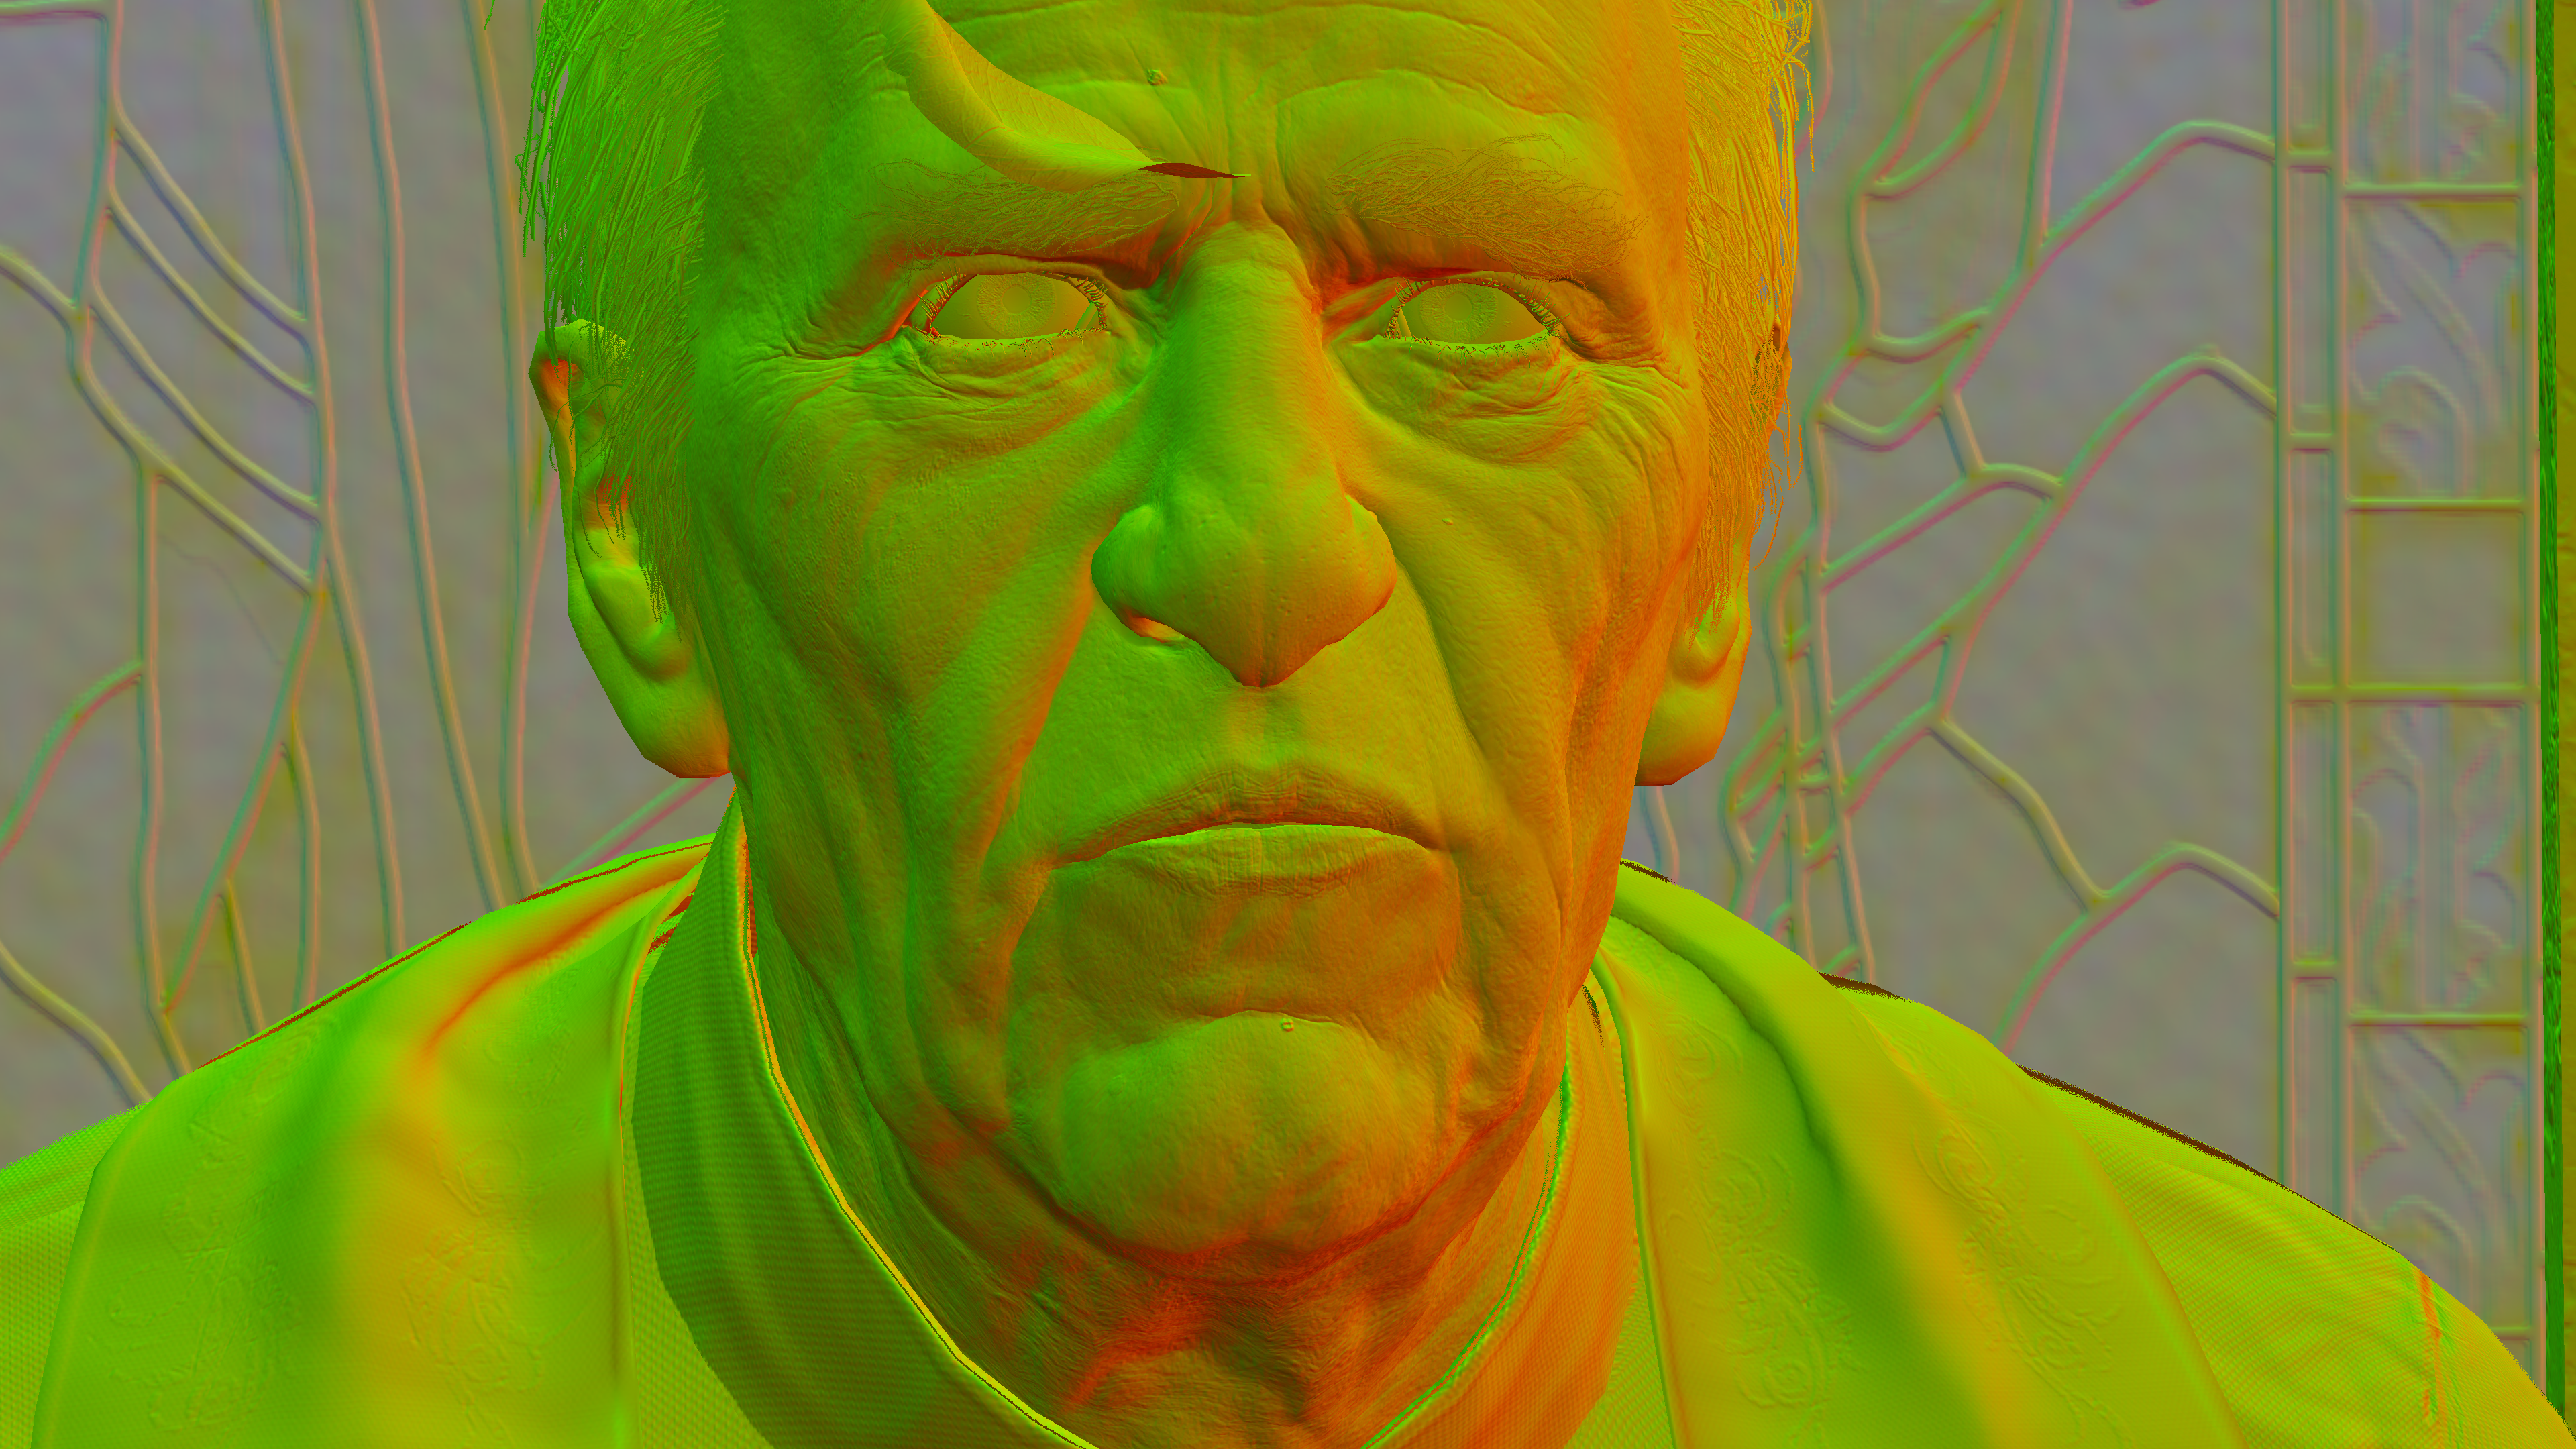
GBuffer
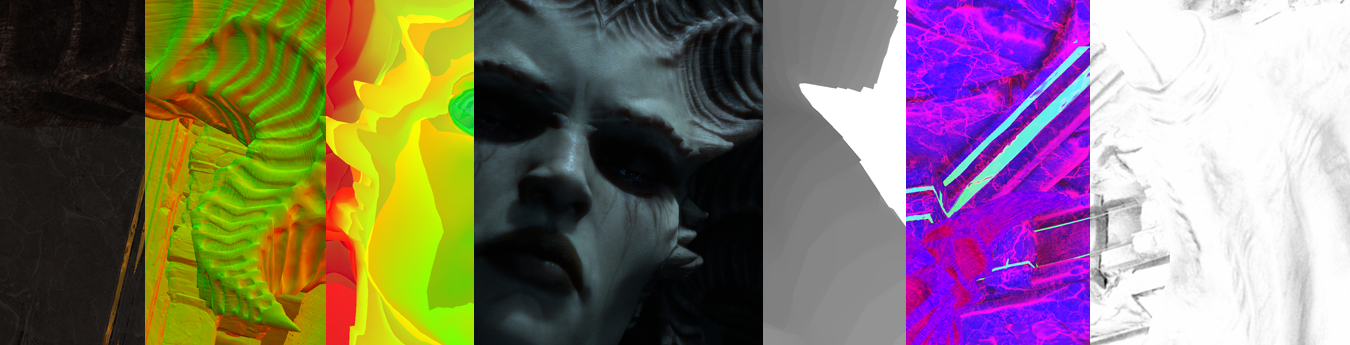
GBuffering starts by clear (CleanRendertargetView) for the entire GBuffer (normal, properties, diffuse,..etc.) rendertragets, and then in a very standard a sequence of DrawIndexedInstanced to draw in target resolution the full GBuffer Normals, Properties, Diffuse, positions, depth,..etc. And it never harm to store some emissive masks, hair masks, skin masks and other masks in the A channels for the best utilization.


And things are exact the same for gameplay, not differences to observe!


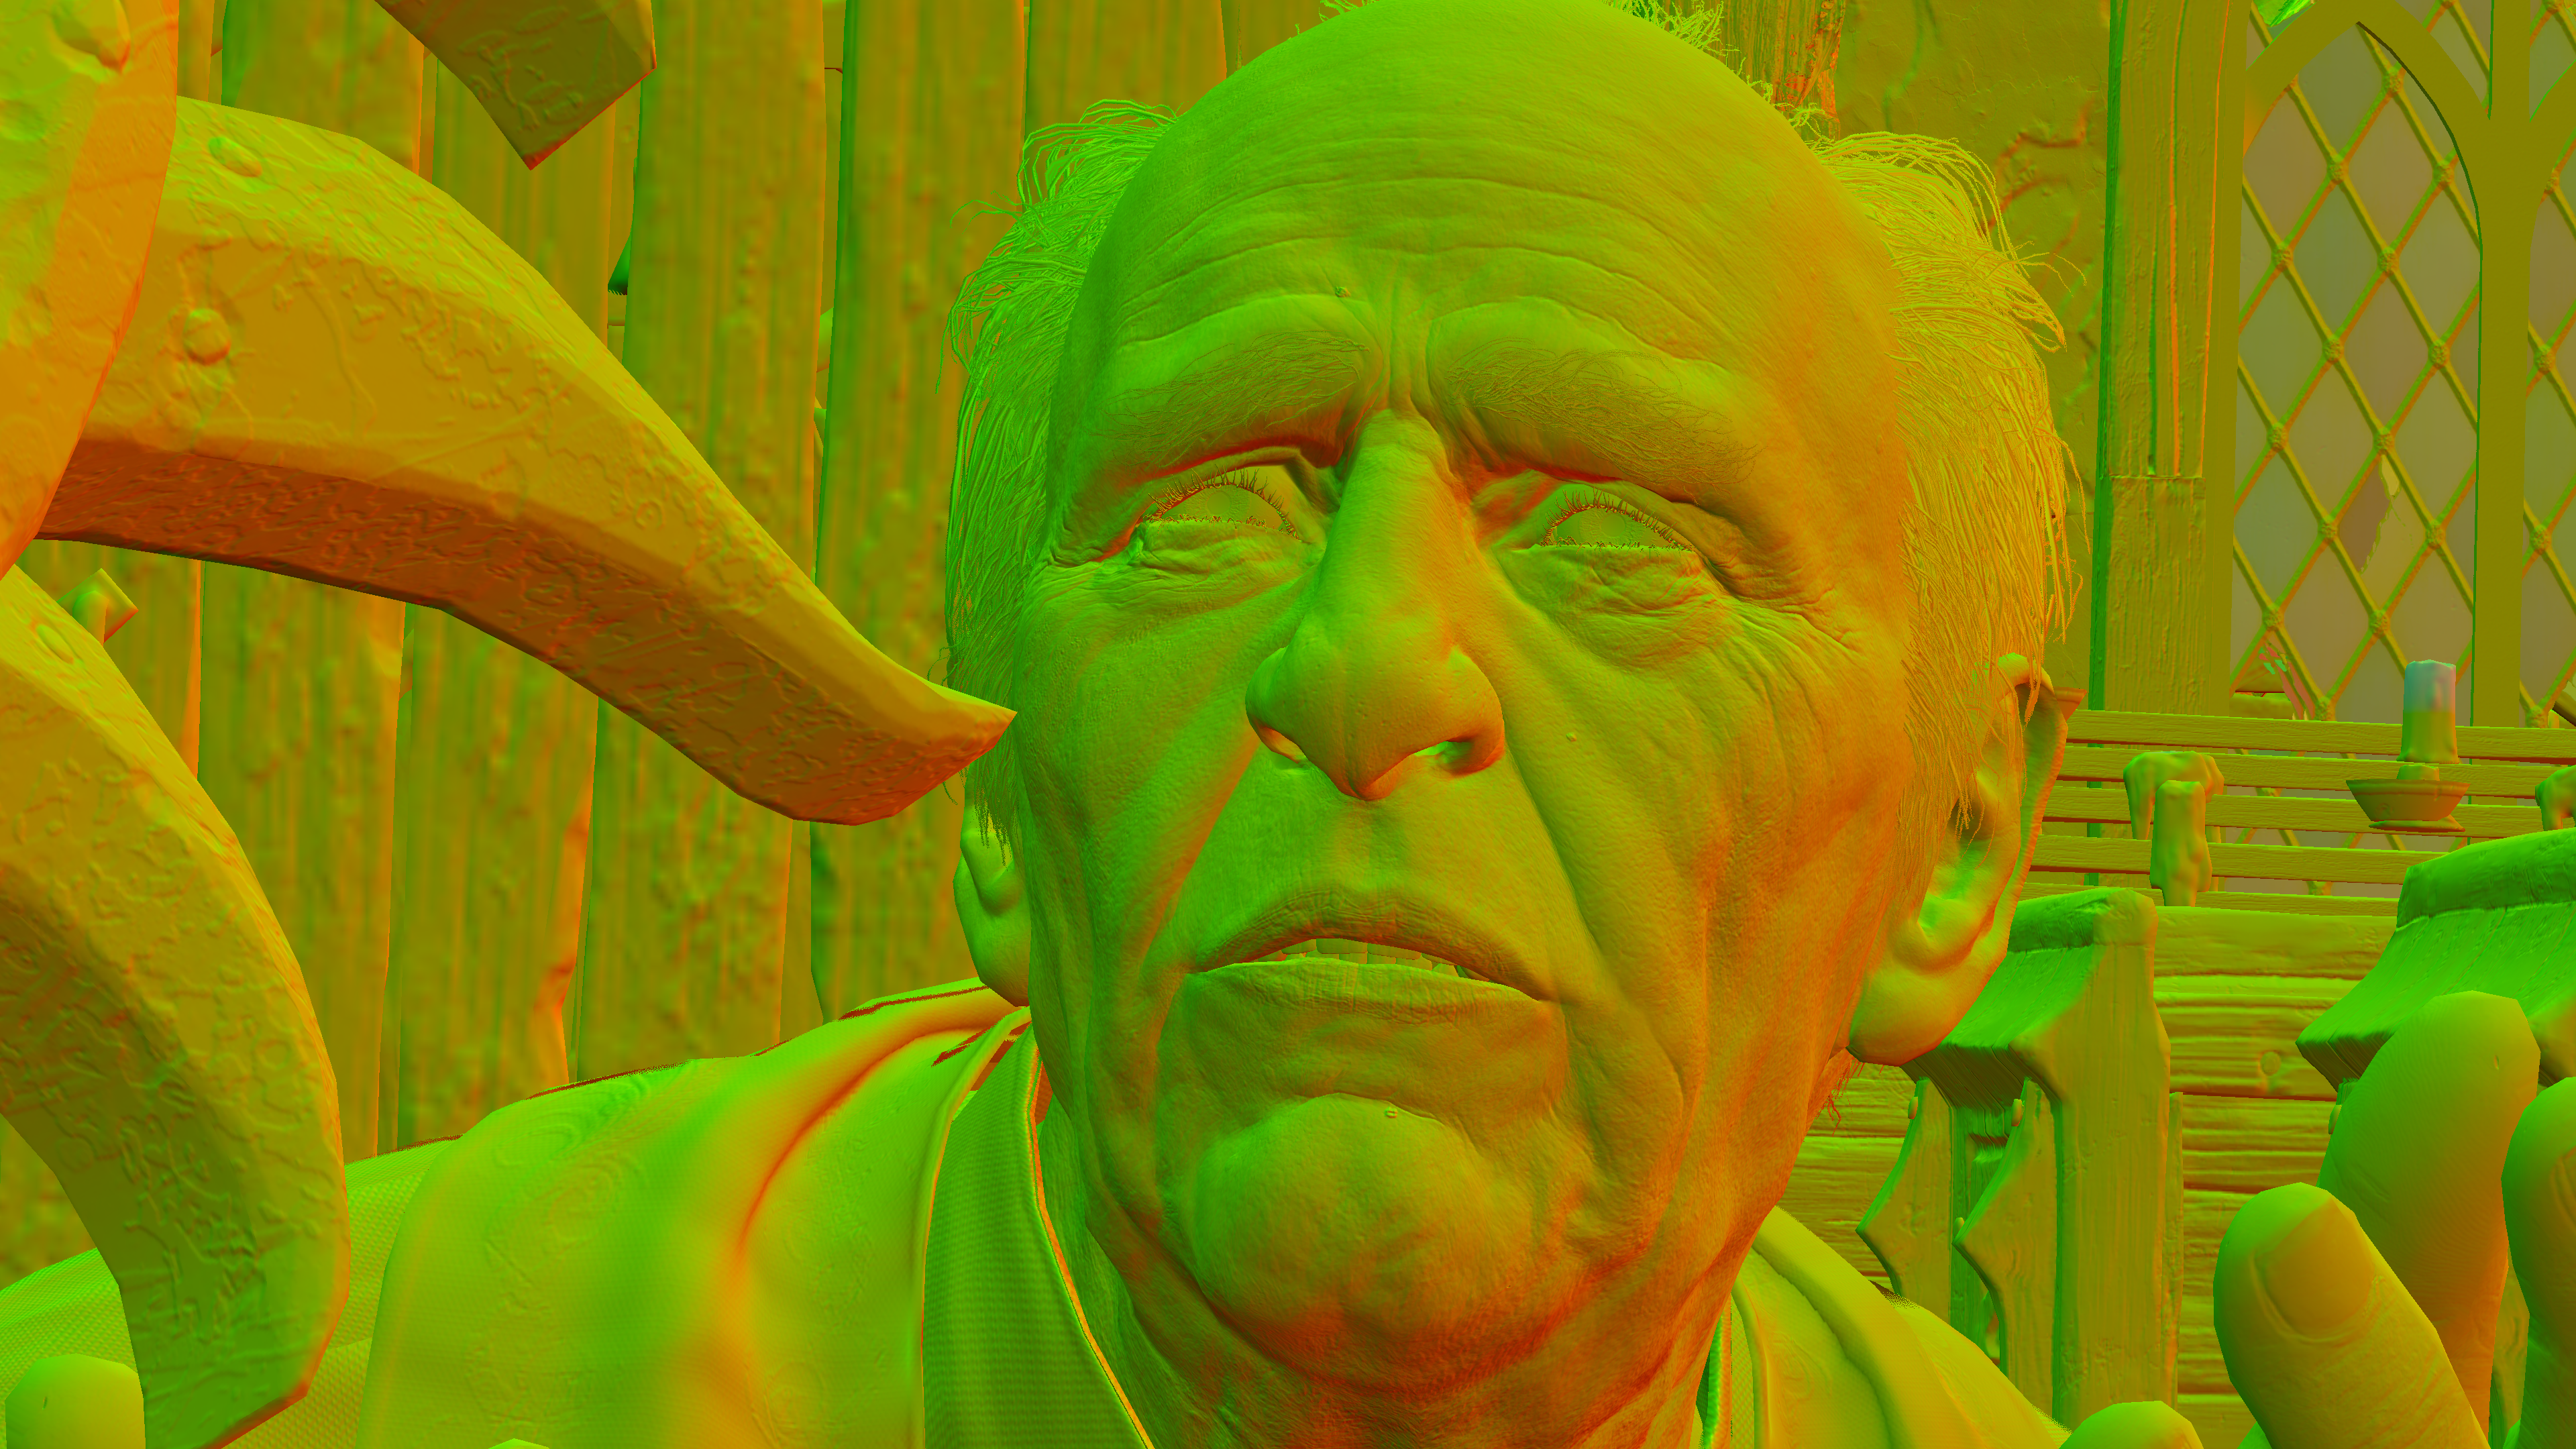
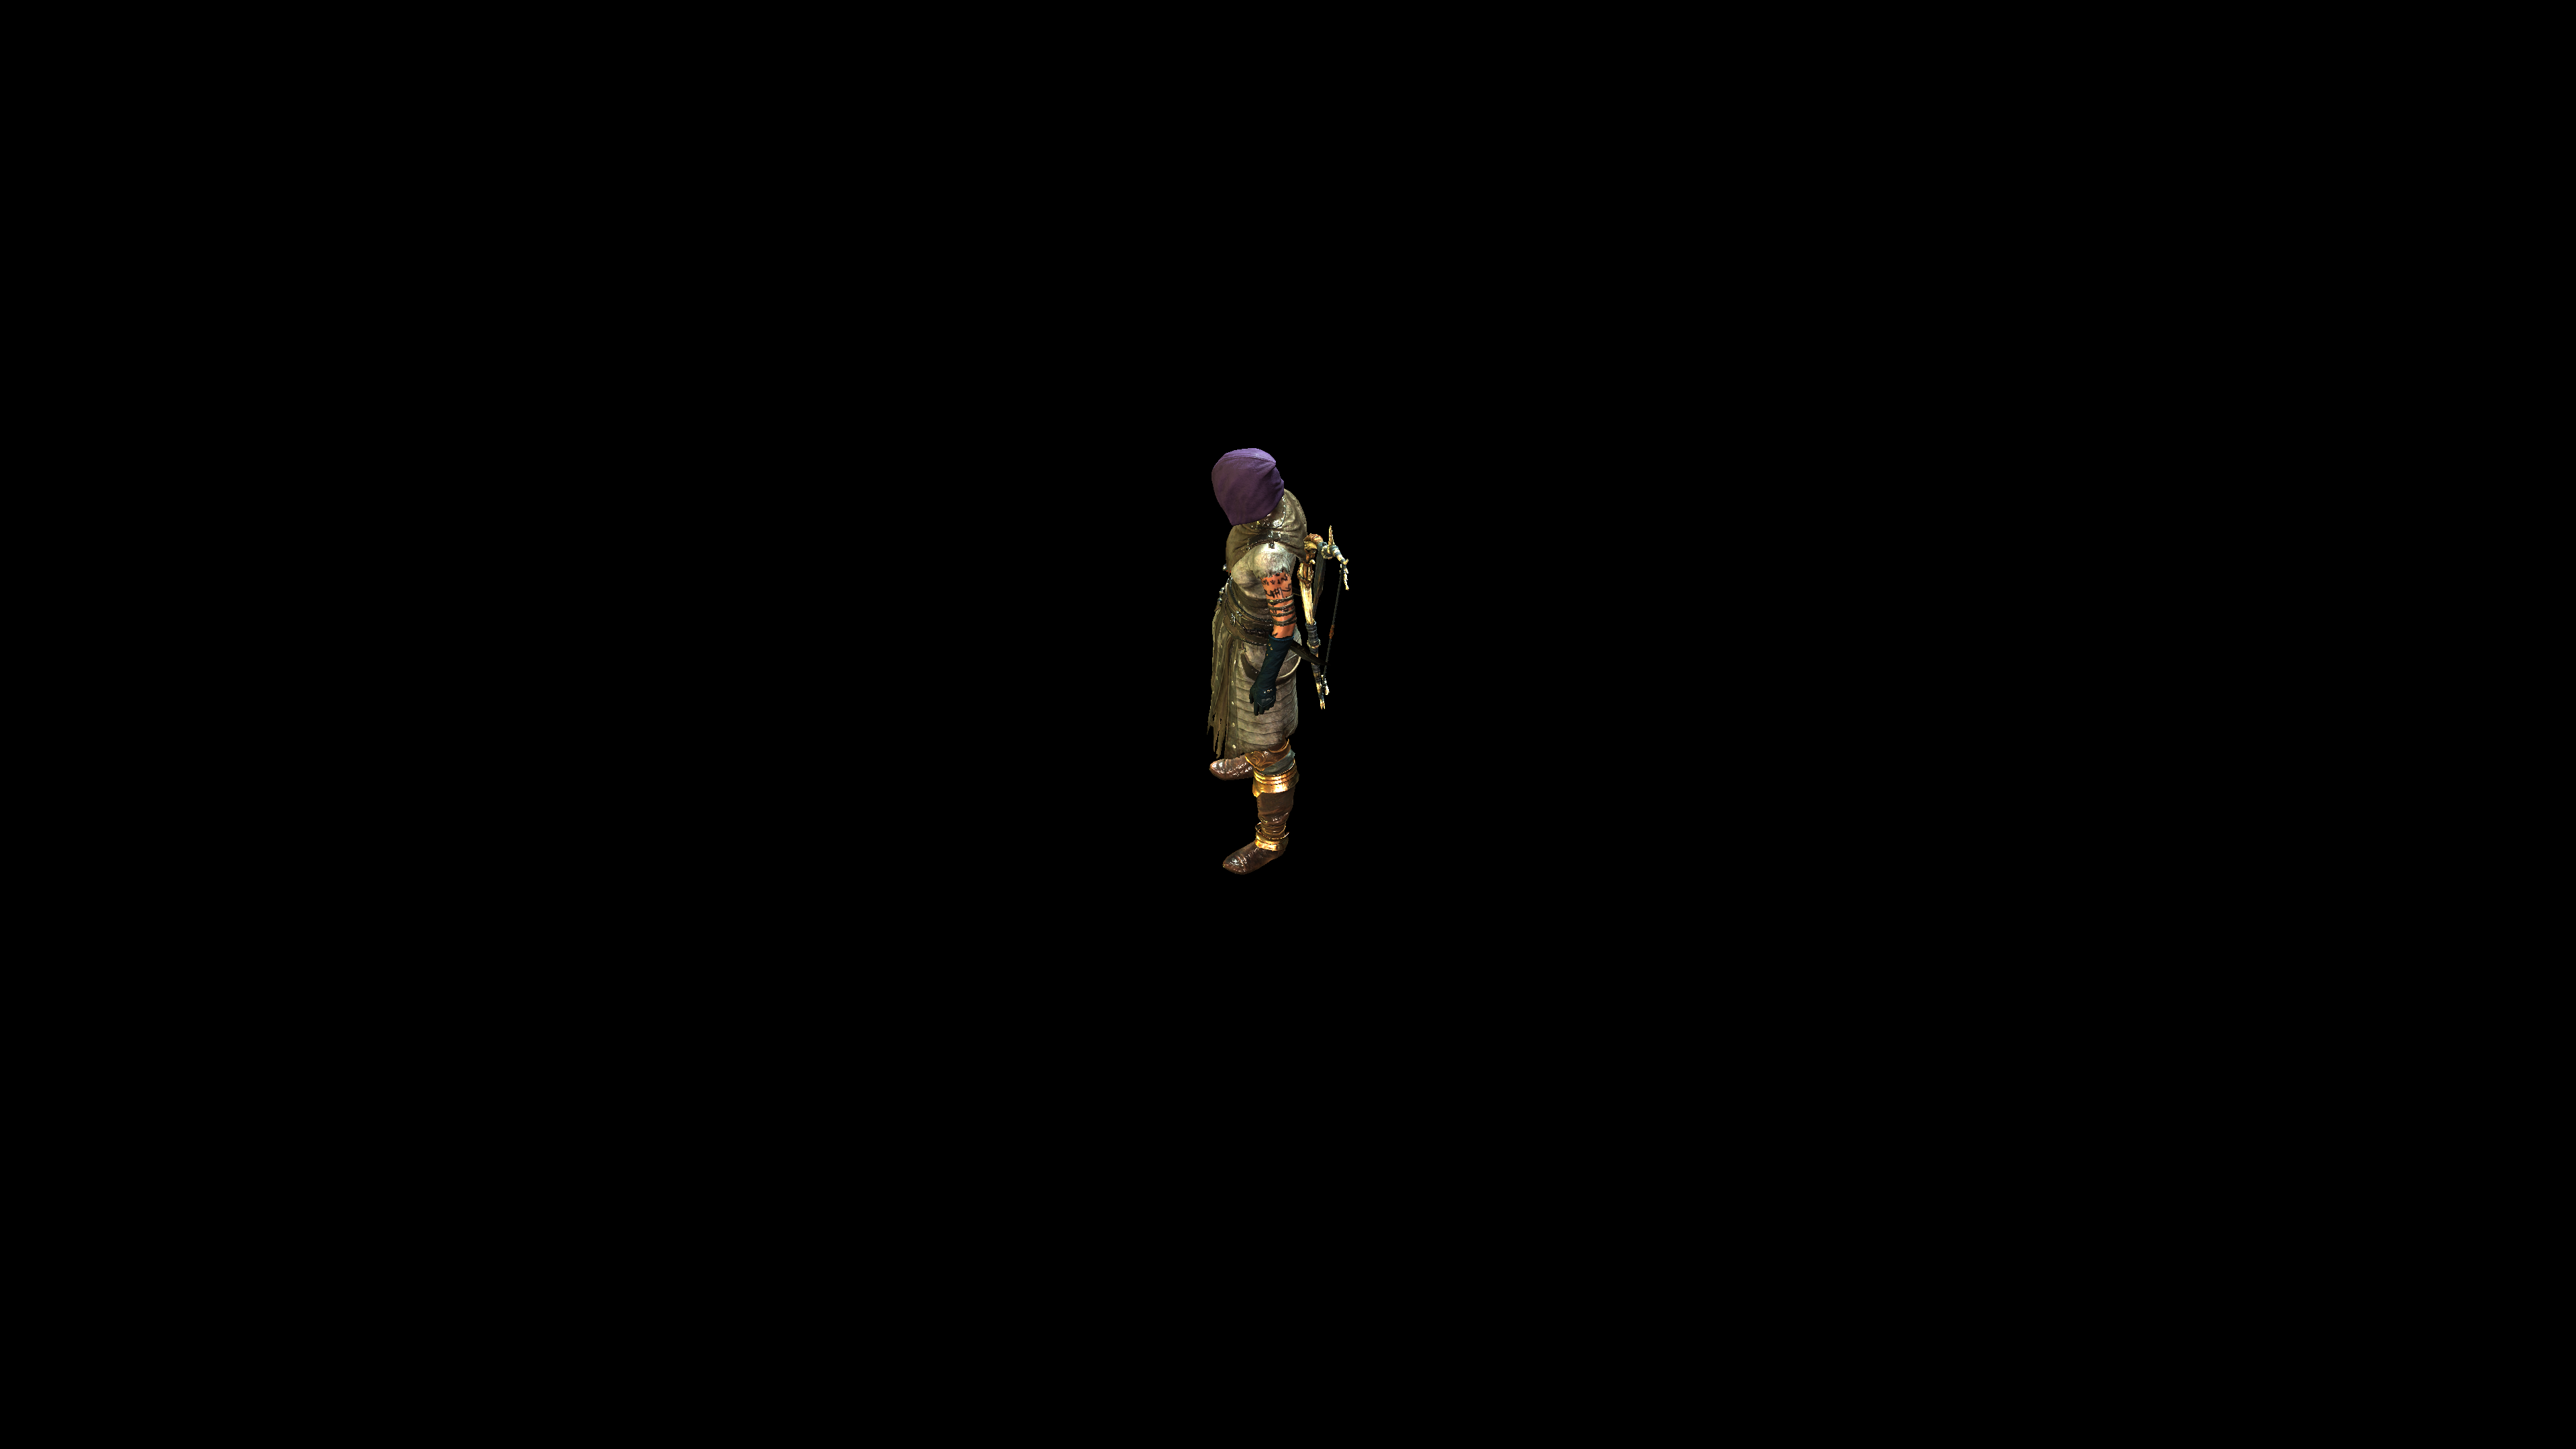
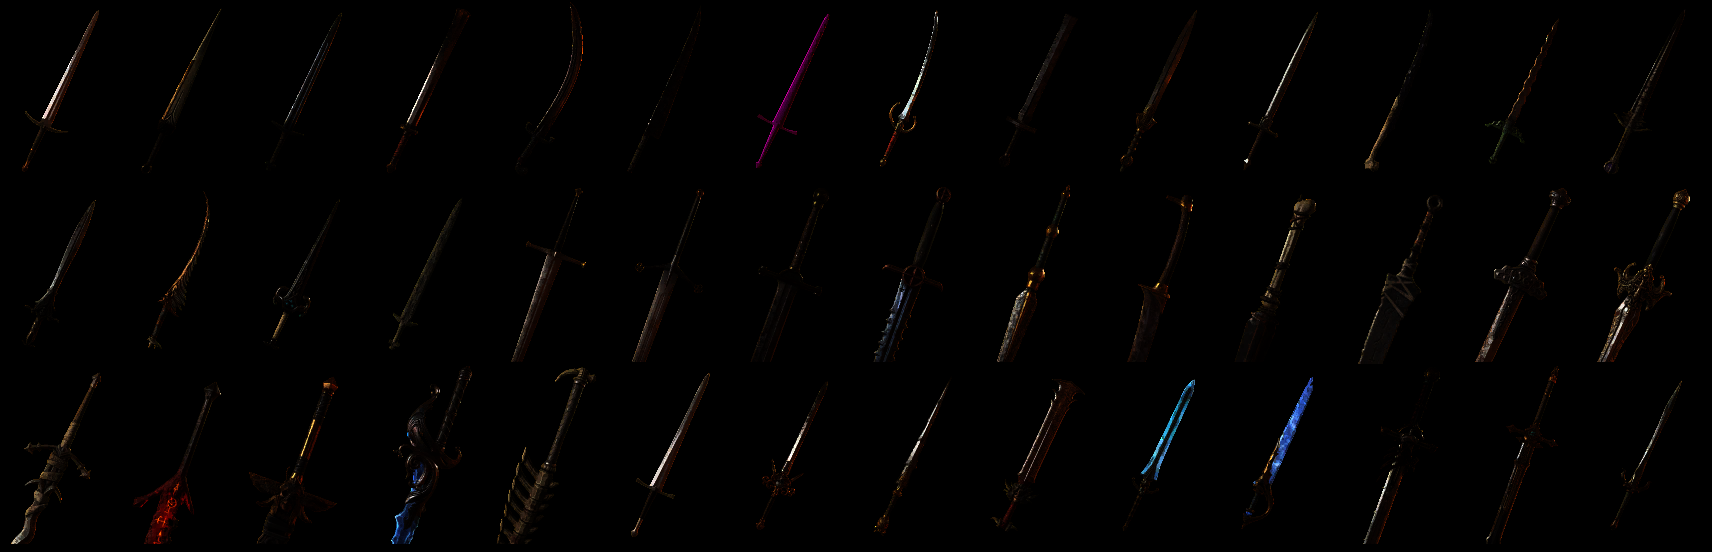
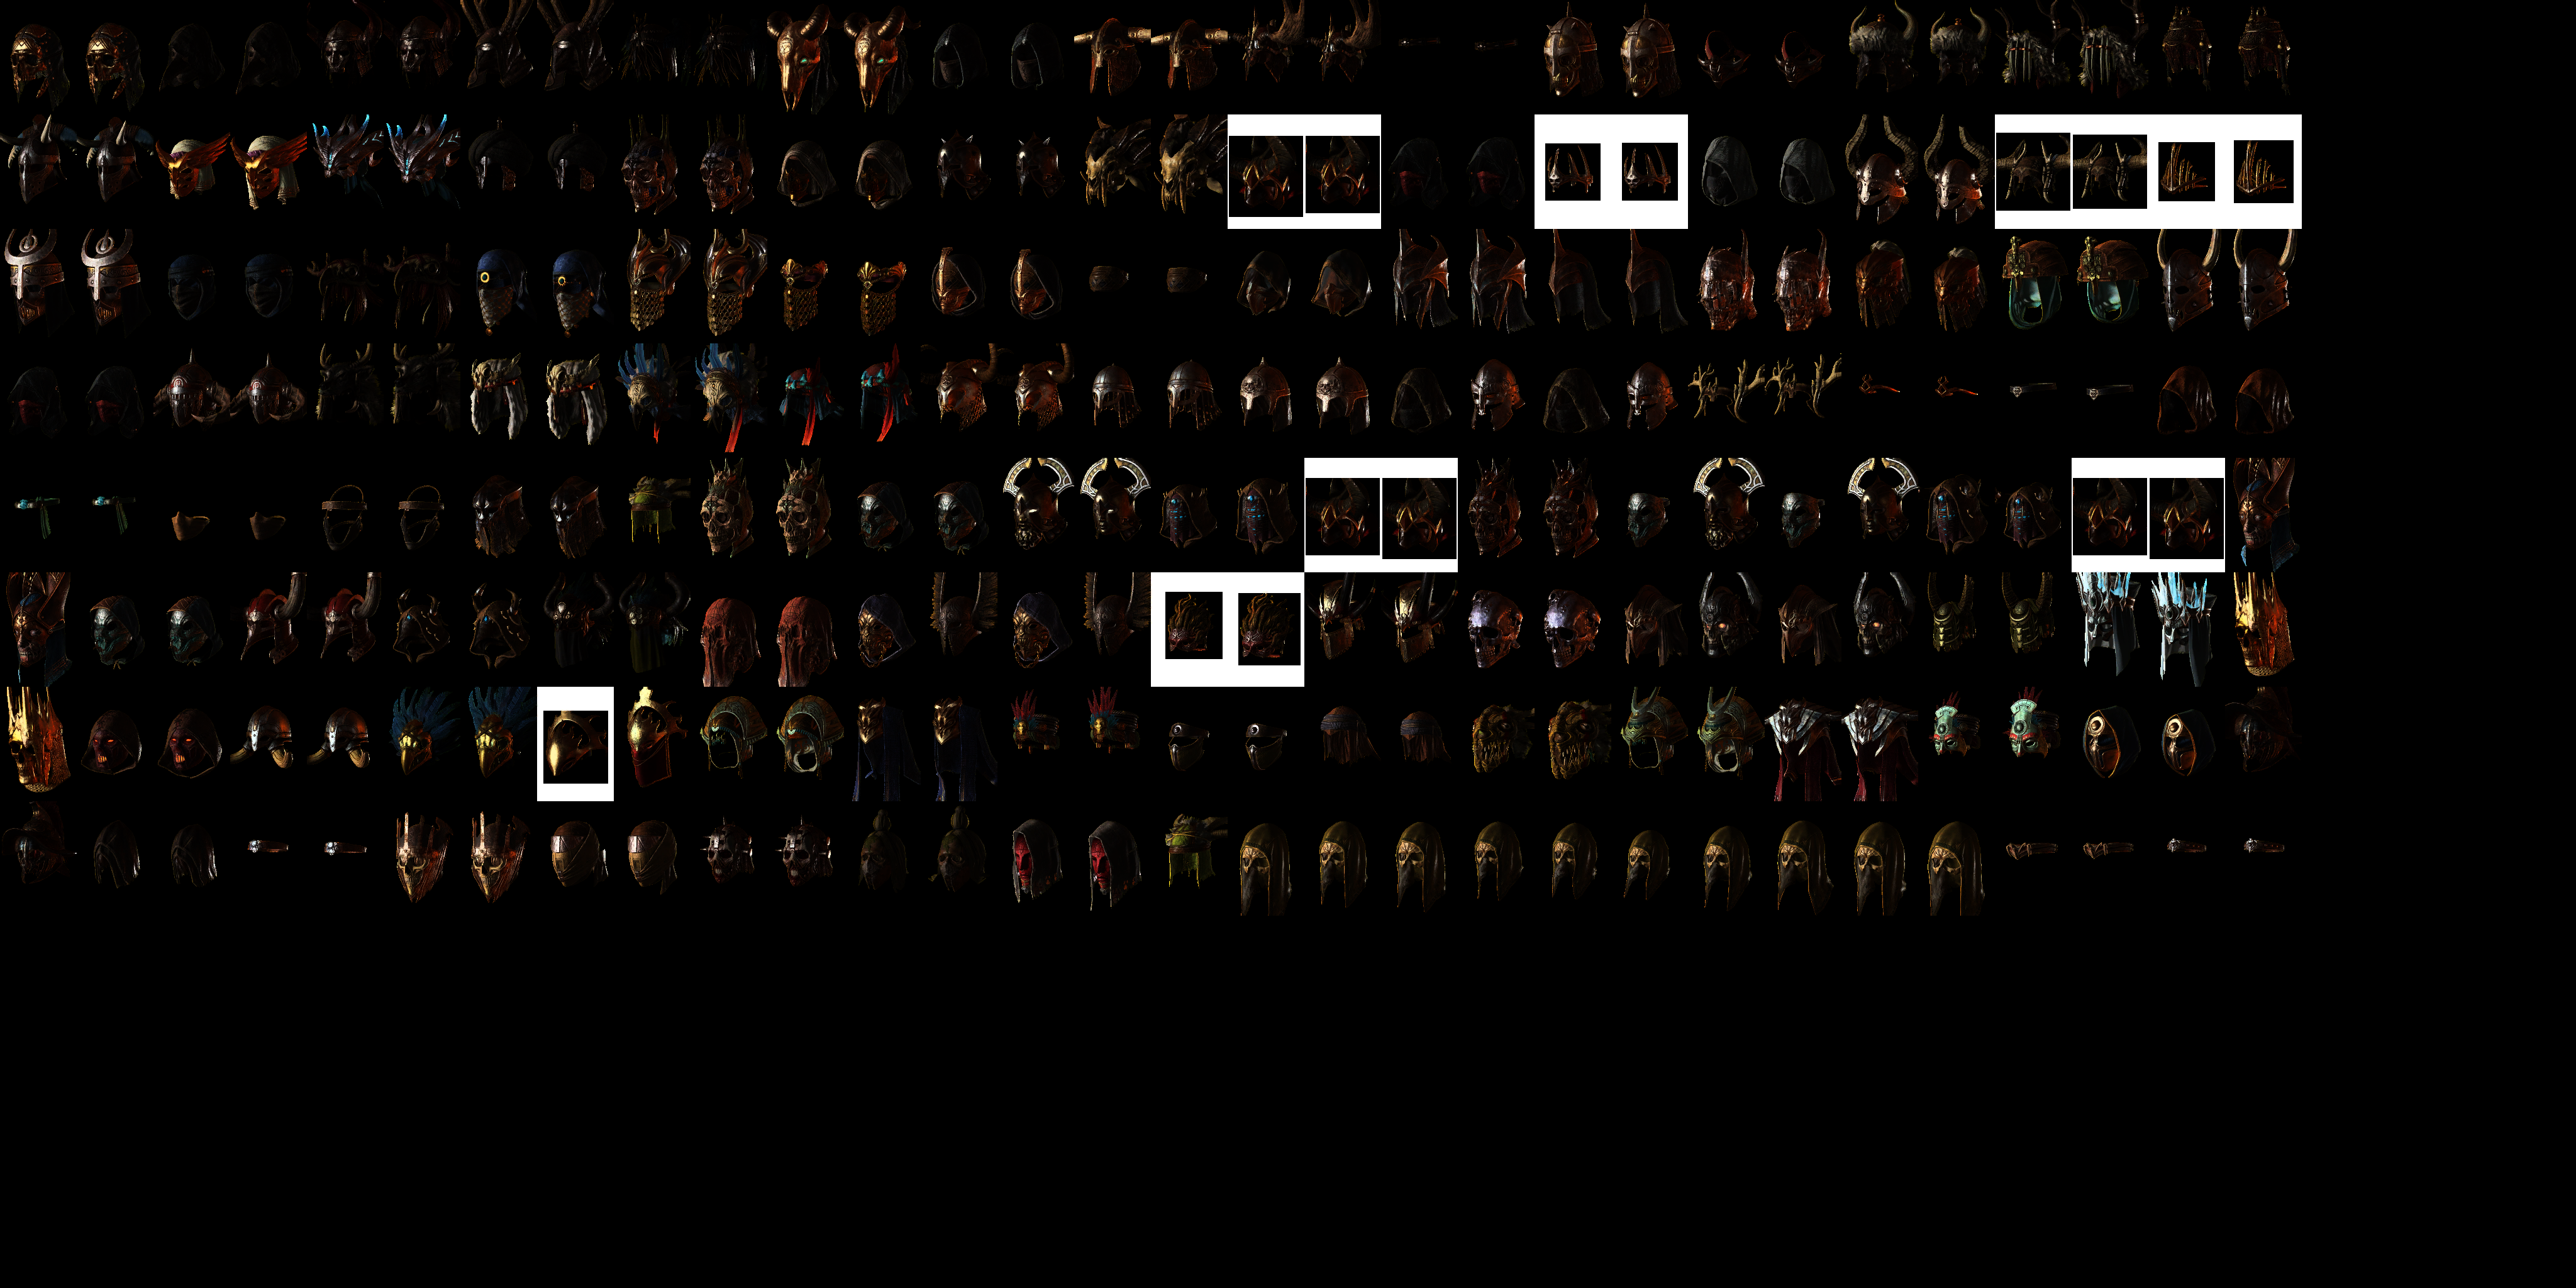
For such a purpose a mix of limited textures that vary from base color, to normals to metallic, roughness & AO or Emissive, just the standards for PBR! Here are some of the used textures to draw the heads in the first frame.
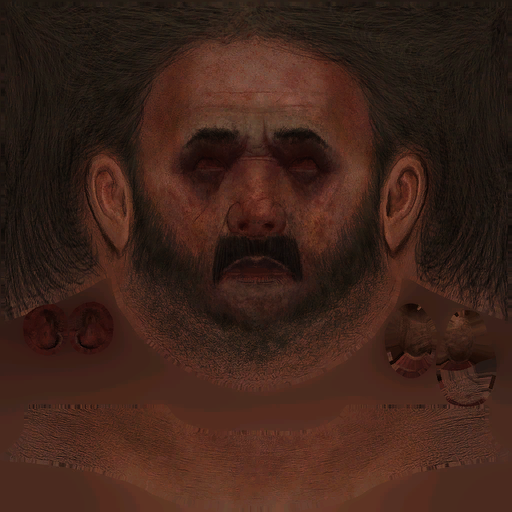
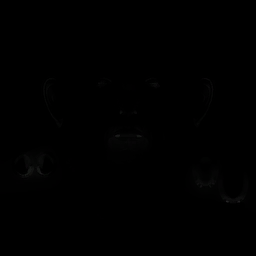
It’s just all normal & expected. The only thing to praise here, that they did not waste any channels, despite the fact that you might observe that the A channels looks “pretty similar” in all the rendertargets of the GBuffer, but they serve different goals after all.
By the end, initiate the resource barriers, to start drawing to those in the next step
Terrain GBuffer
Wanted to leave this little section in that place, to indicate that GBuffering terrain comes later in the GBuffer, and it is not something done early. Most of the time, it is the last “meshes” to color their pixels in the GBuffer before moving forward to next steps.
Stamping
Using the stampers that was created very early in the frame, to stamp/draw to the GBuffer. Nothing very special here, it just works same way as decals, except that
- It does take place mostly for Normals rendertarget of the GBuffer.
- It doesn’t have to take place by the end of the GBuffering, i just listed it here by the end, but in reality, whenever a mesh draw to rendertarget, if it has stamper to apply, then Stamping happens.

Keep in mind, i can’t show a “Before & After” here, as a “Before” will not even contain the mesh.
Stamping takes place for a mesh, at the same drawcall issued for it into the GBuffer
Decals
Decals in Diablo 4 are mostly GBuffer decals, there are other type called “Material Decals” that we might discuss below. But regarding the GBuffer decals, they’re mostly planes or cubes to project the decals to the GBuffer, we’ve seen this a lot before.


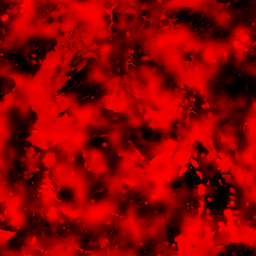
And because it can’t be decaling without some blood! Here are some progressive decaling,..
SSAO
Nothing very fancy about the SSAO, it super straight forward, and it takes place in few distinctive steps that you might recall similarities from previous pretty frames articles (Death Stranding’s SSAO is very close for example).
1.Generate SSAO Target
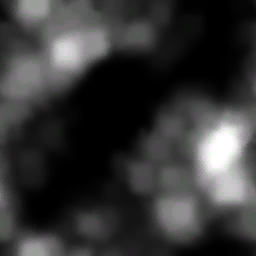
Very similar to the Death Stranding approach, the AO image (grainy) get generated from the given Normal and Linear Depth.

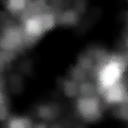
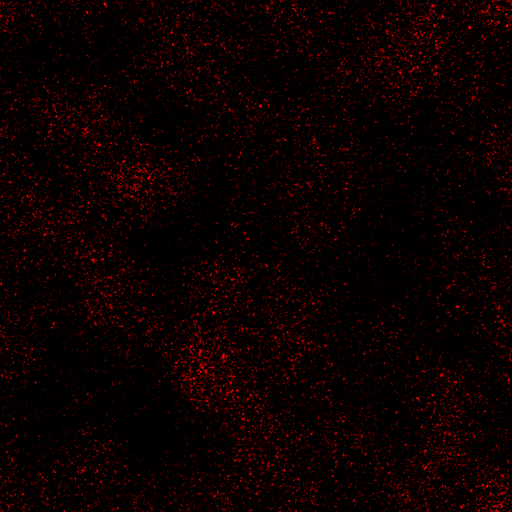
This happens with the help of a little general use noise texture 12*32 of the format BGRA8_UNORM, that is used (same one as far as i can tell) all the time, regardless it is gameplay frame or cinematic frame that is in the flight.
Of course the image above is linearly upscaled for the sake of the study and to show it’s details, but in reality it is in true size as this baby texture below

2.Blurring No.1
Using the generated AO image from the previous step + the depth, the game does a 1st blur phase.

3.Blurring No.2
Using the output of the 1st blur phase + the depth, the game does a 2nd blur phase.
4.TAA
Using the output of the 2nd blur phase + the depth, the game does what could seem to be a 3rd (and final) blur phase, but in fact it is more of a temporal anti-aliasing pass that is “only” for the SSAO image.

5.Player AO
It is done in two separate steps, but they’re very complementary for each other.
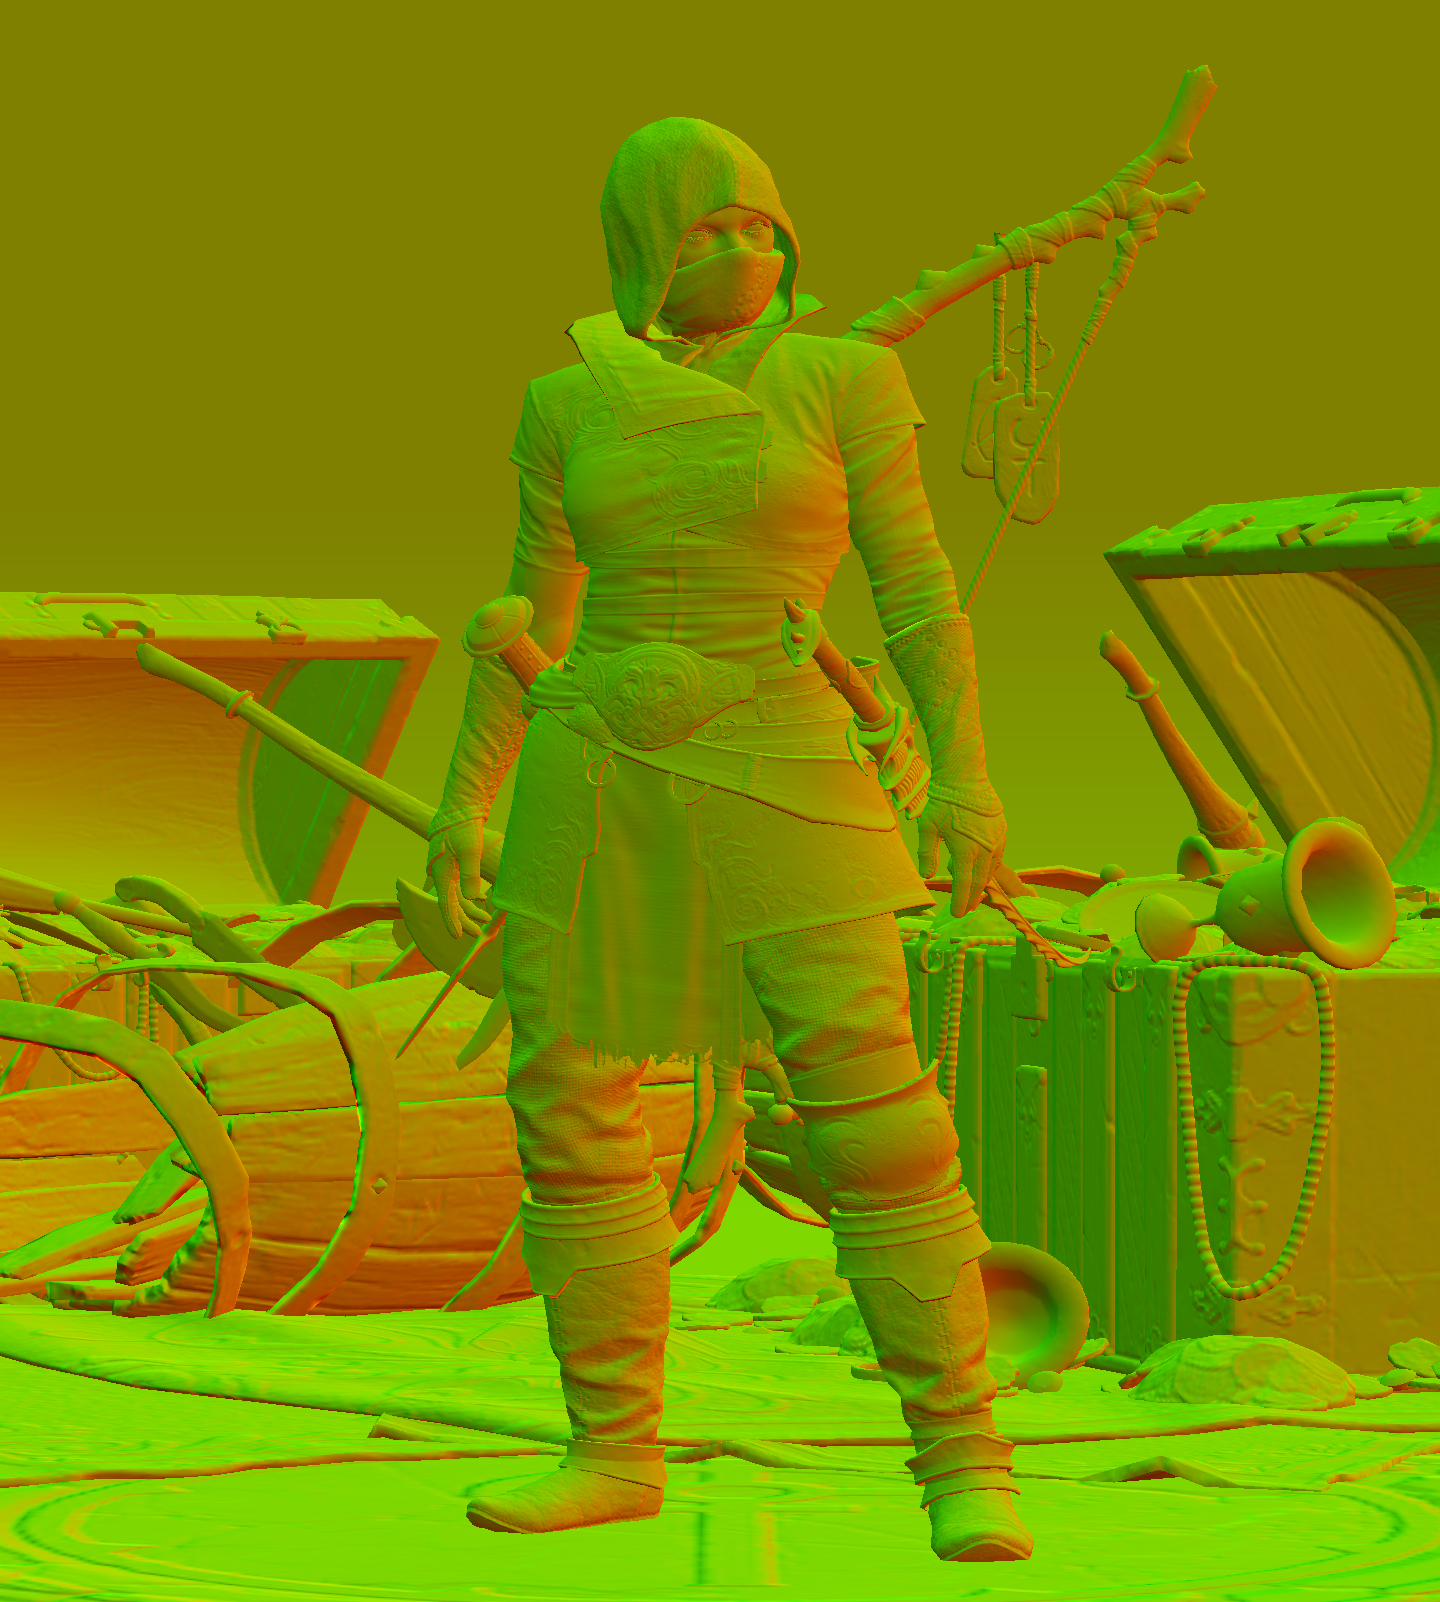
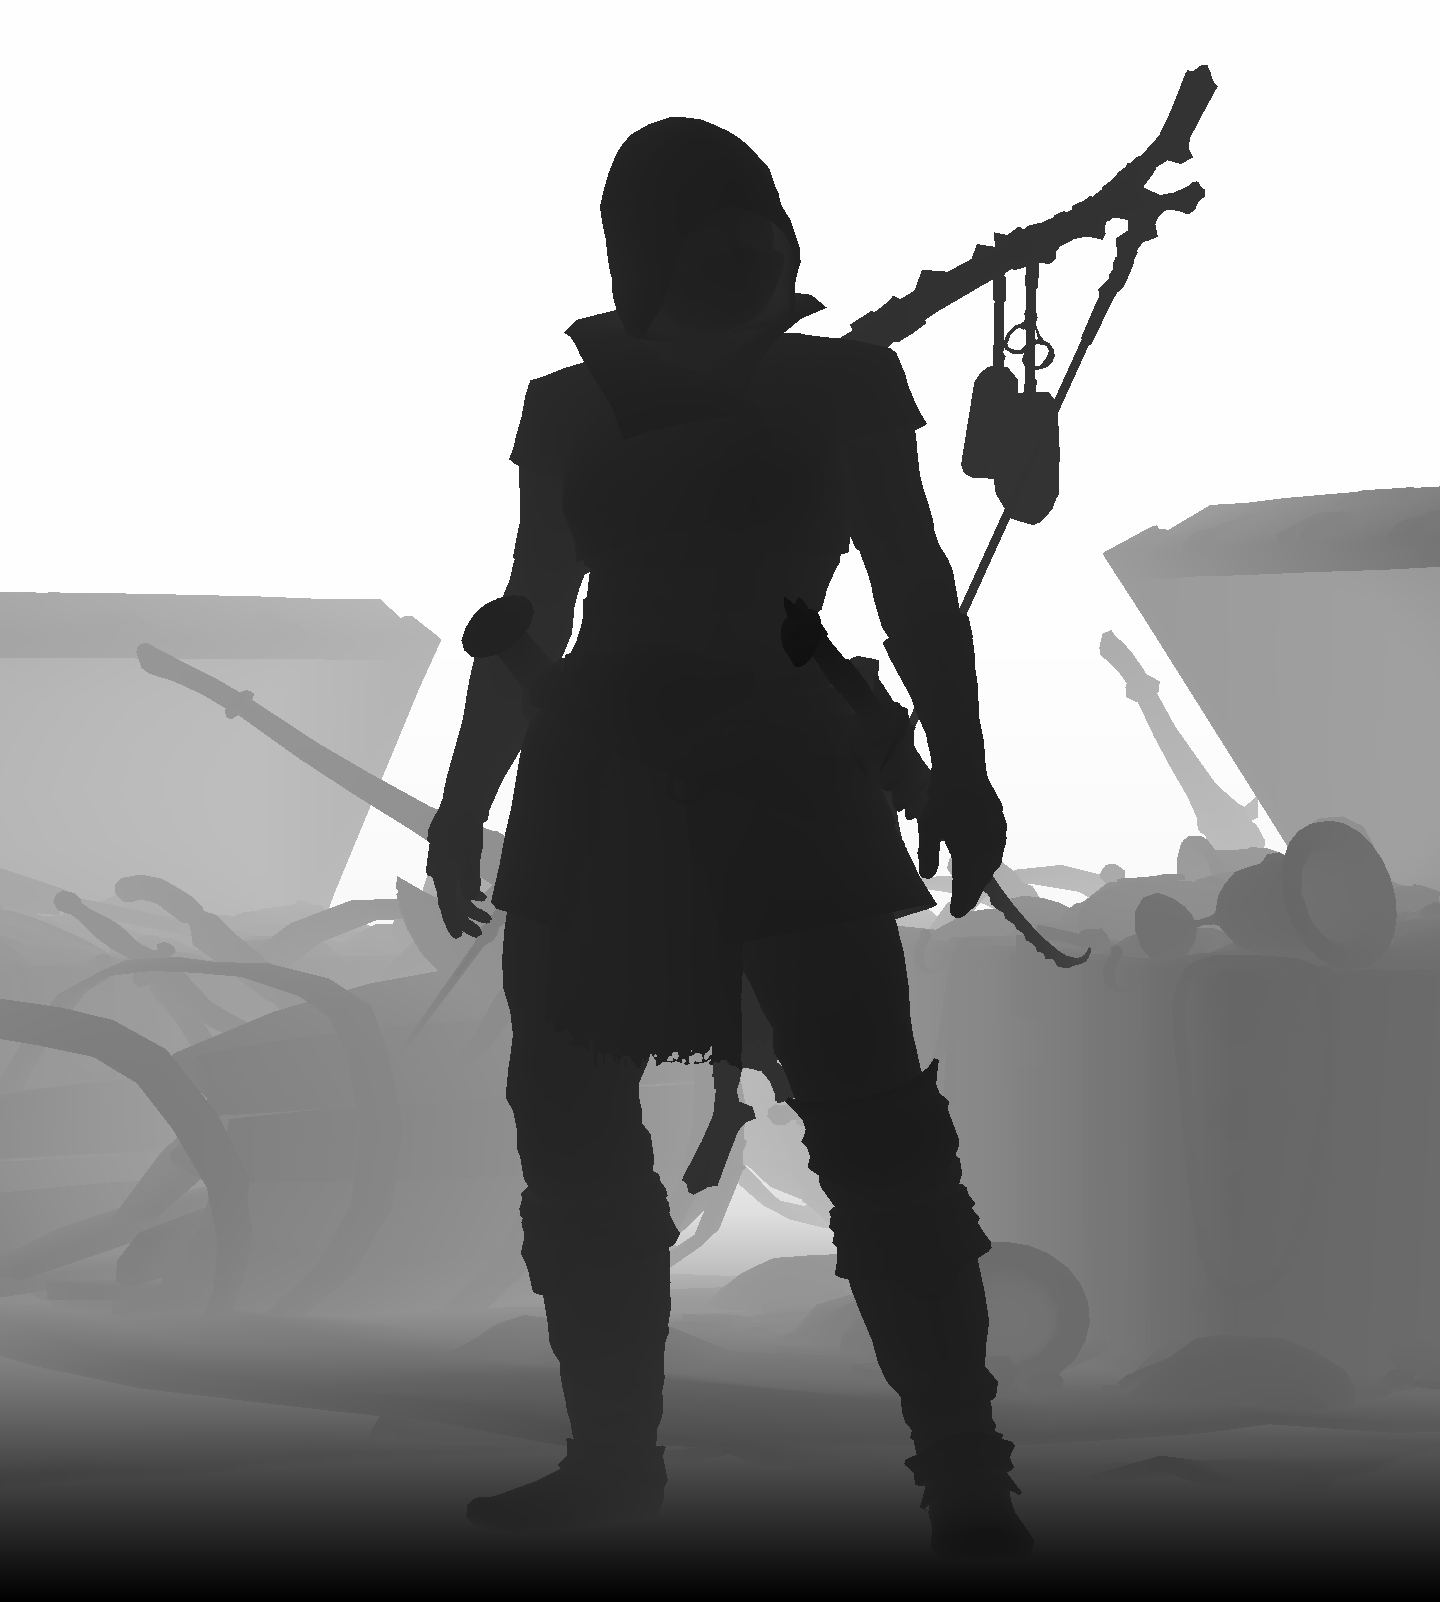
i.Project
At this last step, the AO image get some soft halo casted using a stretched cube (at the player’s heigh) and projecting AABB into stencil, in order to simulate some sort of fake dark shadow around the player feet so you don’t feel the character is “flying”. It is just quick way that works. It has settle effect, but you might not notice it in the final swapchain frame, but definitely feel it if missing!
ii.Occlude
The does occluding in a pixel shader based on that AABB from the previous step, so we don’t have dark halo covering the player itself.

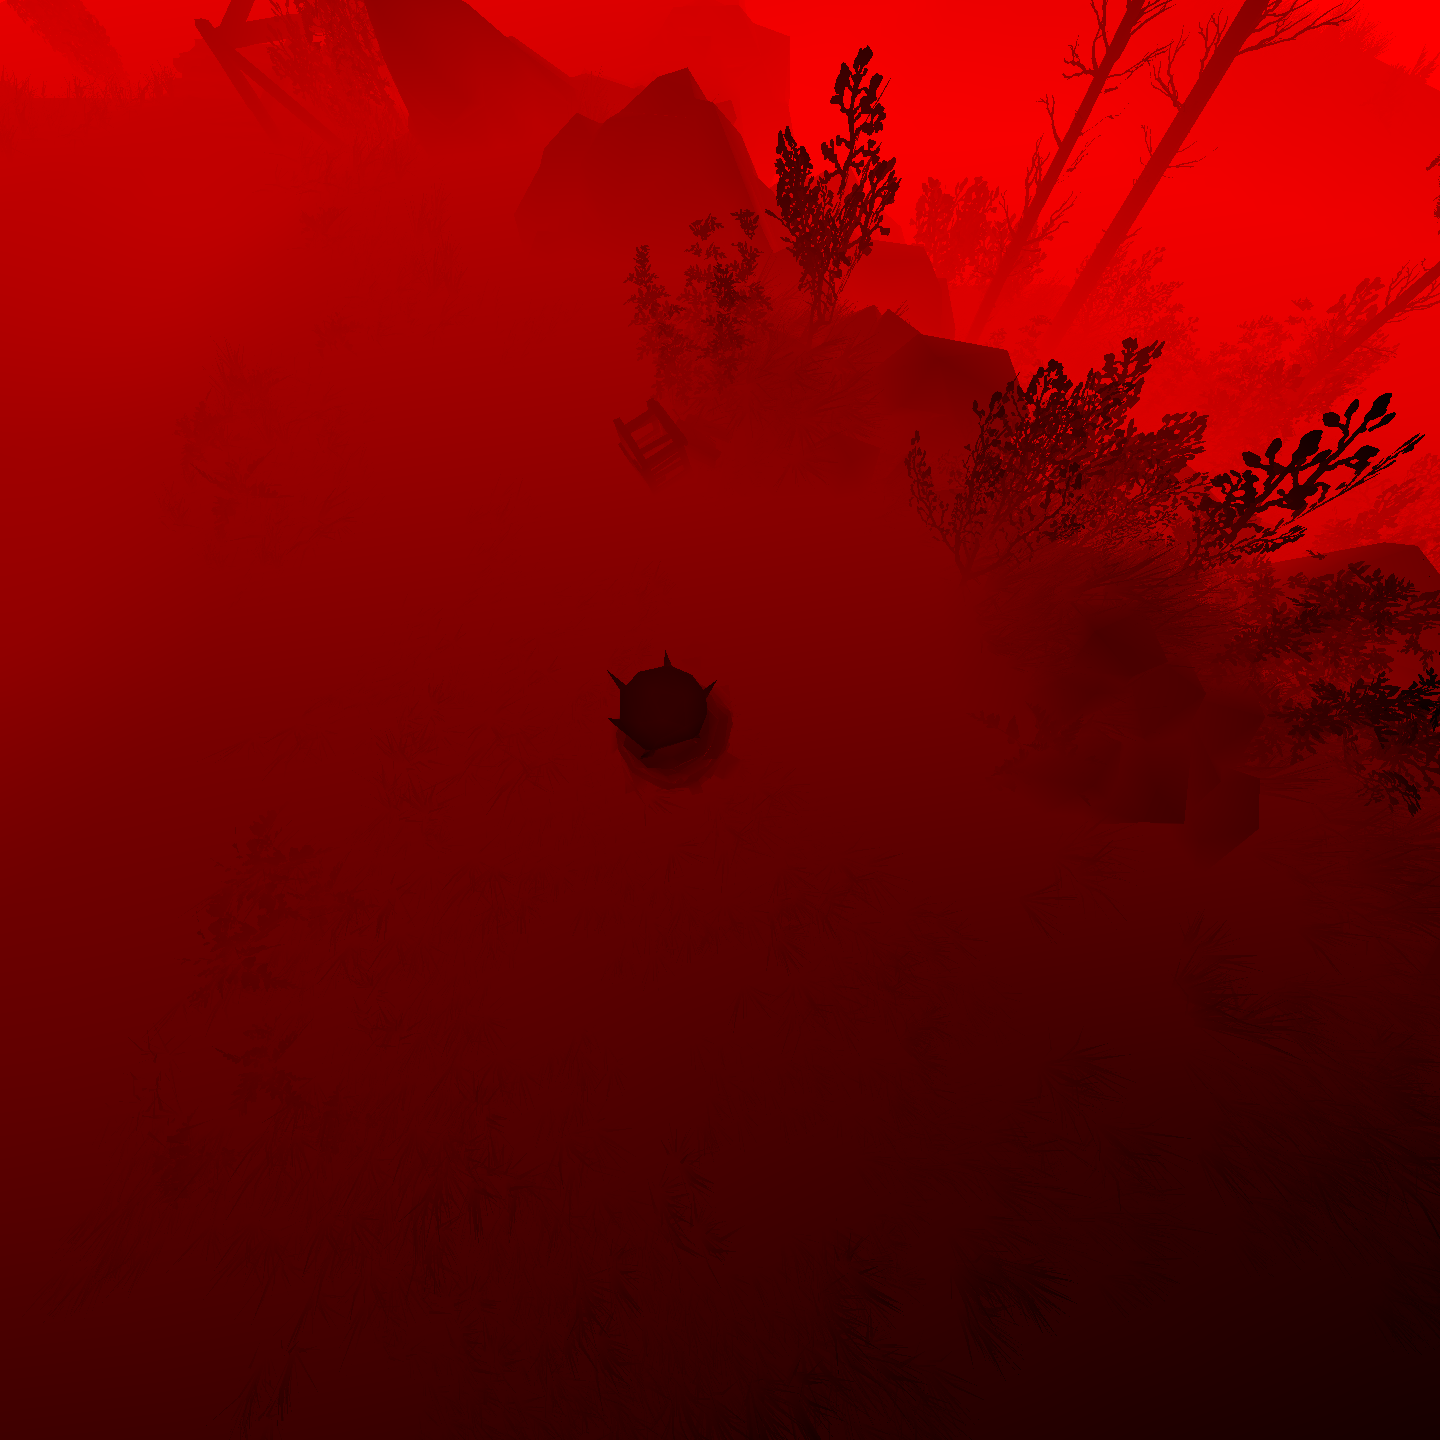
This last couple of steps for soft shadowing around the player might not be very visible in that close up (main menu) frame above, but it is very clear in any gameplay frames indeed. Take that one below as an exmaple.


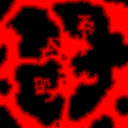
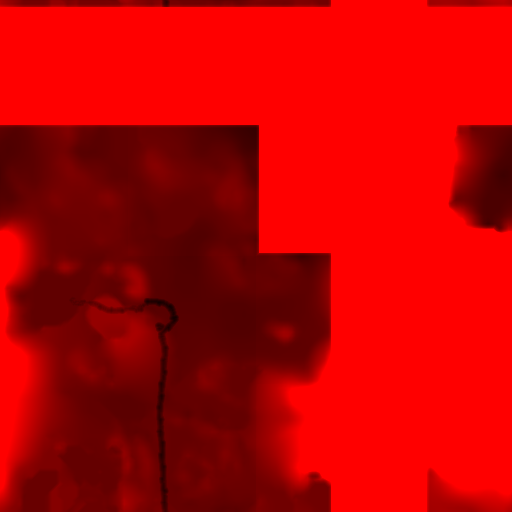
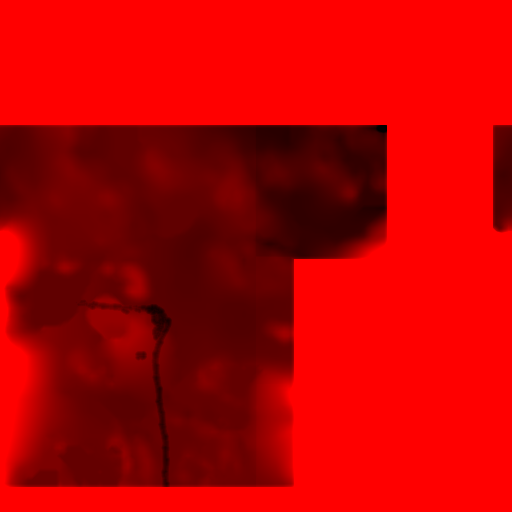
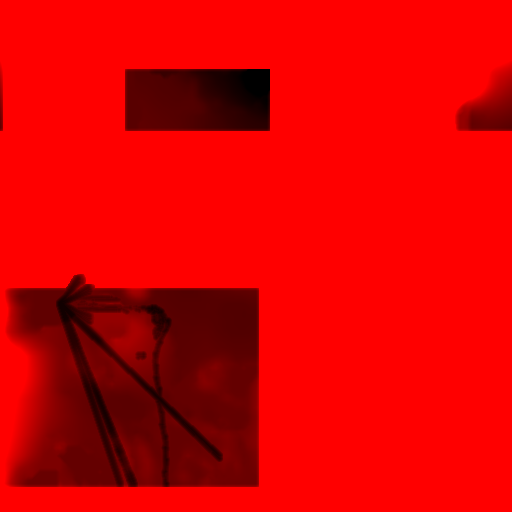
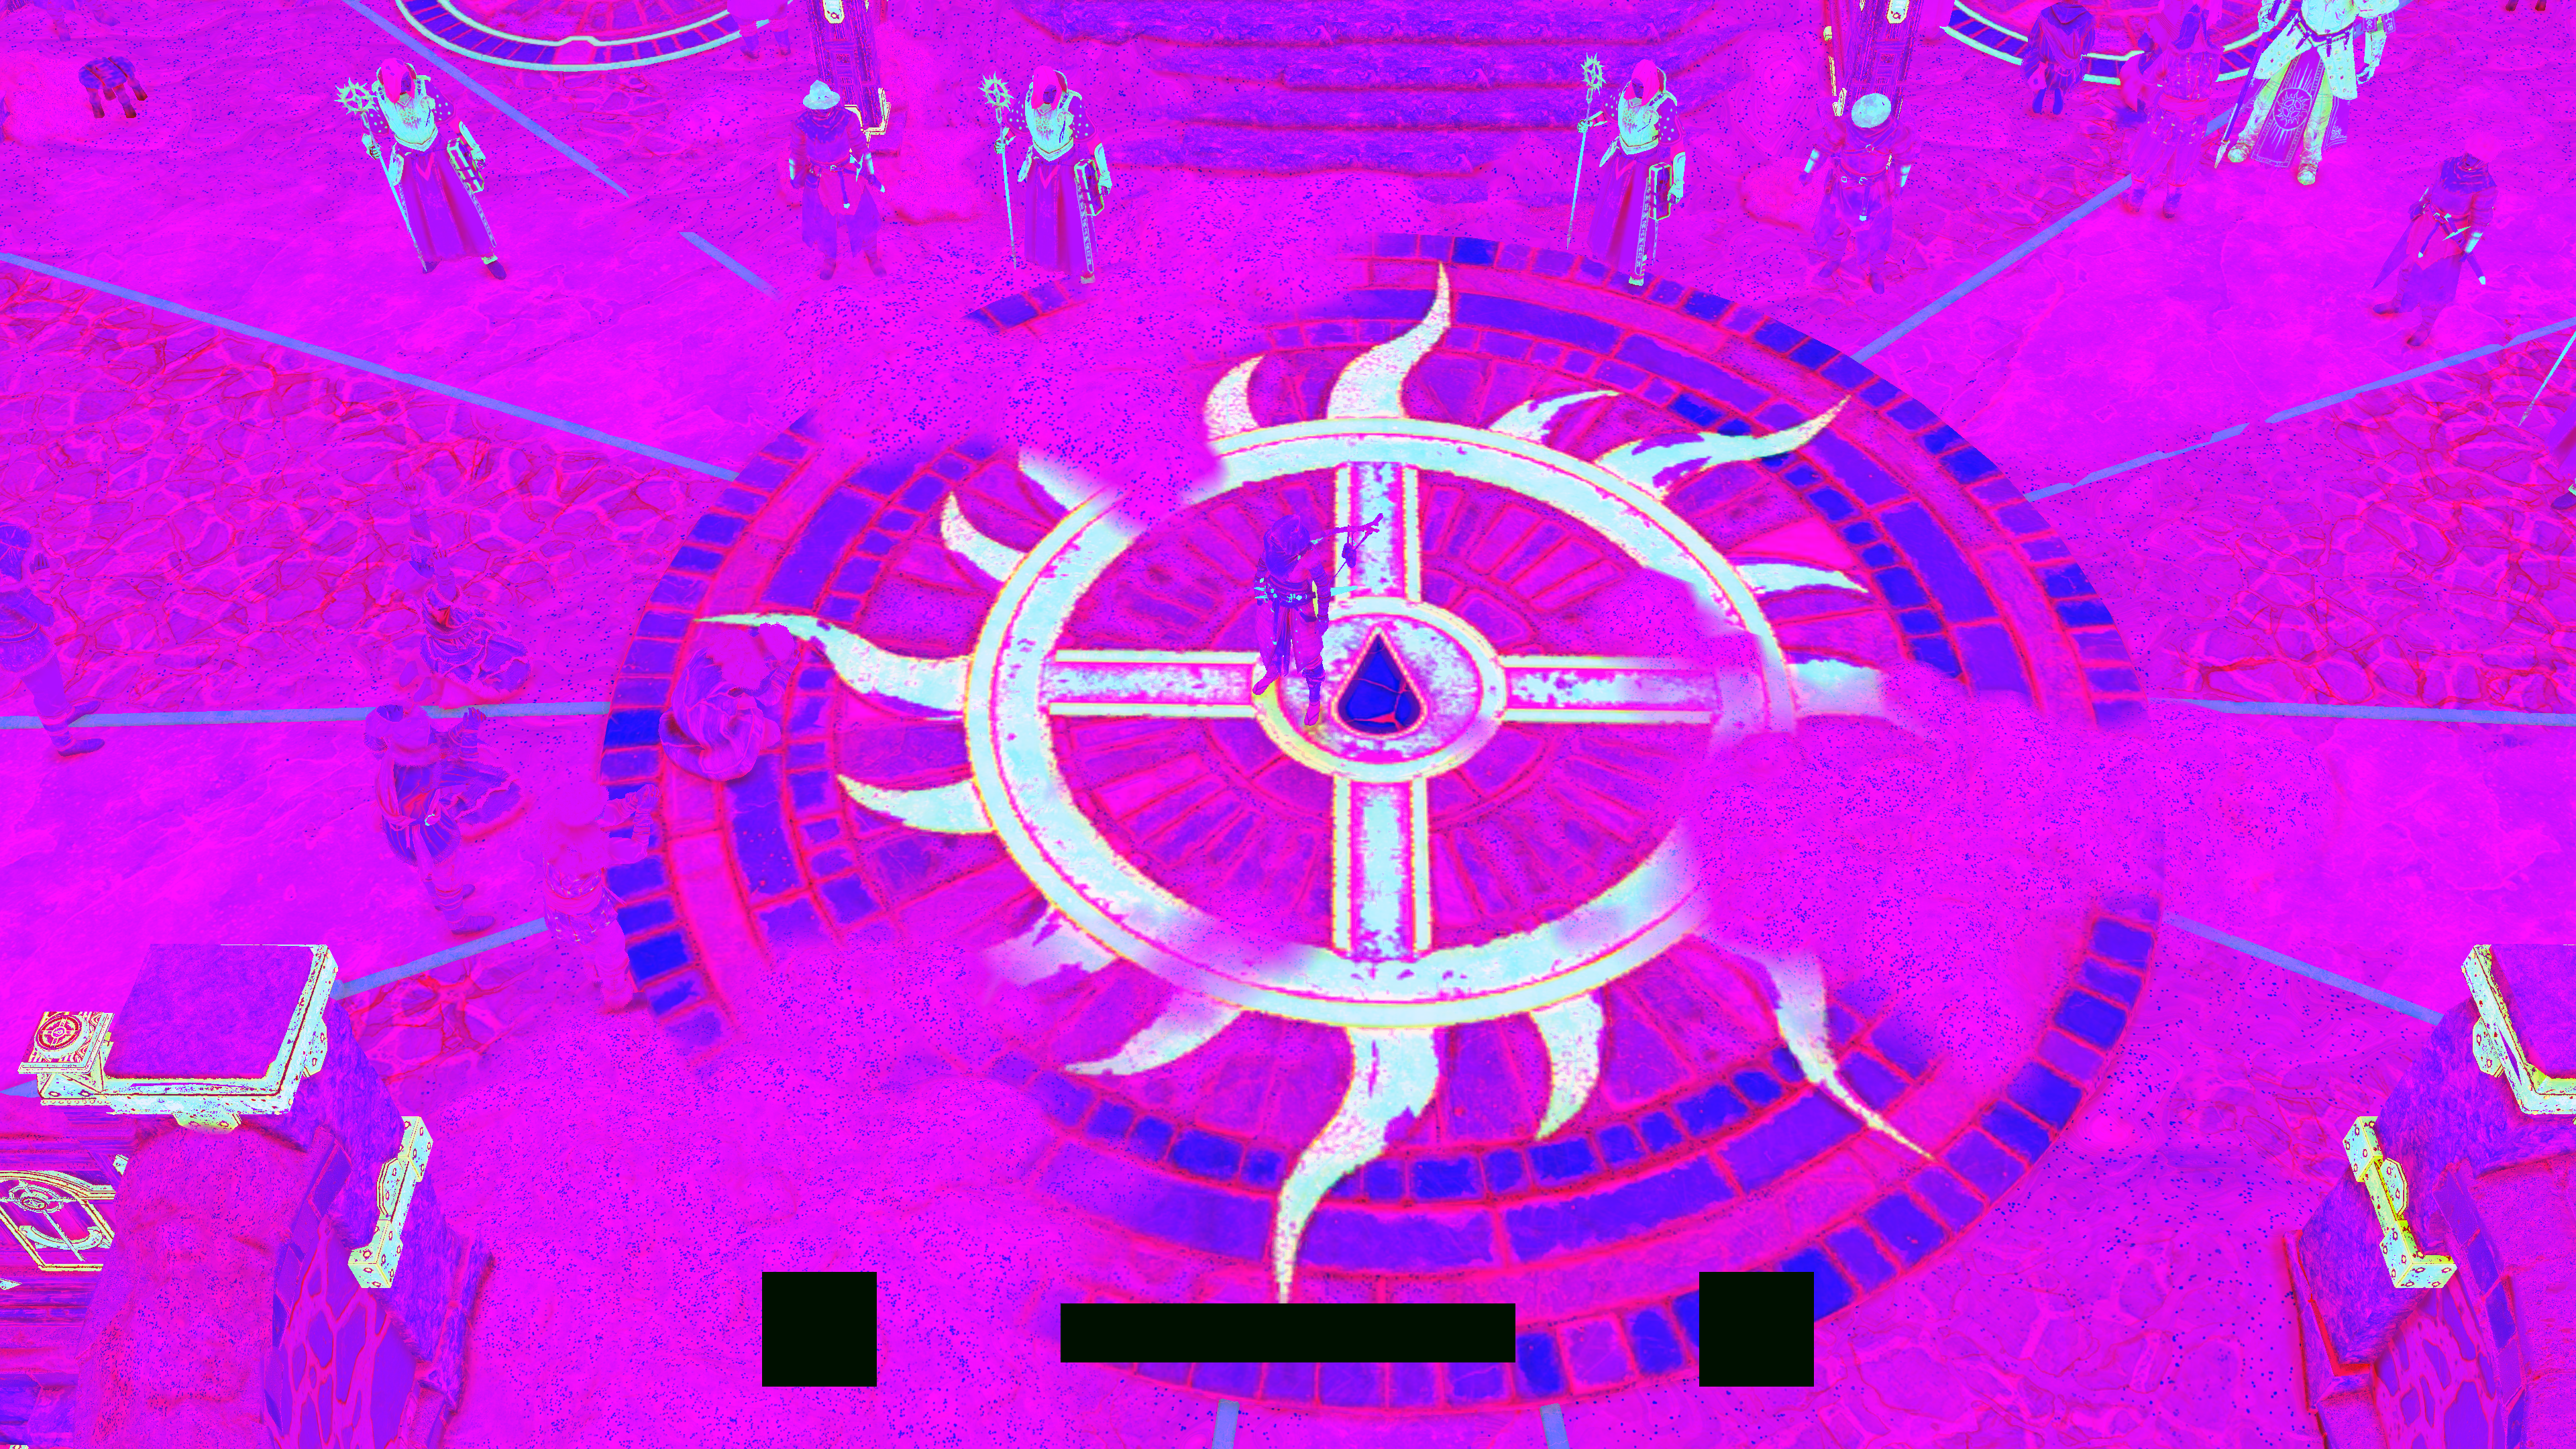
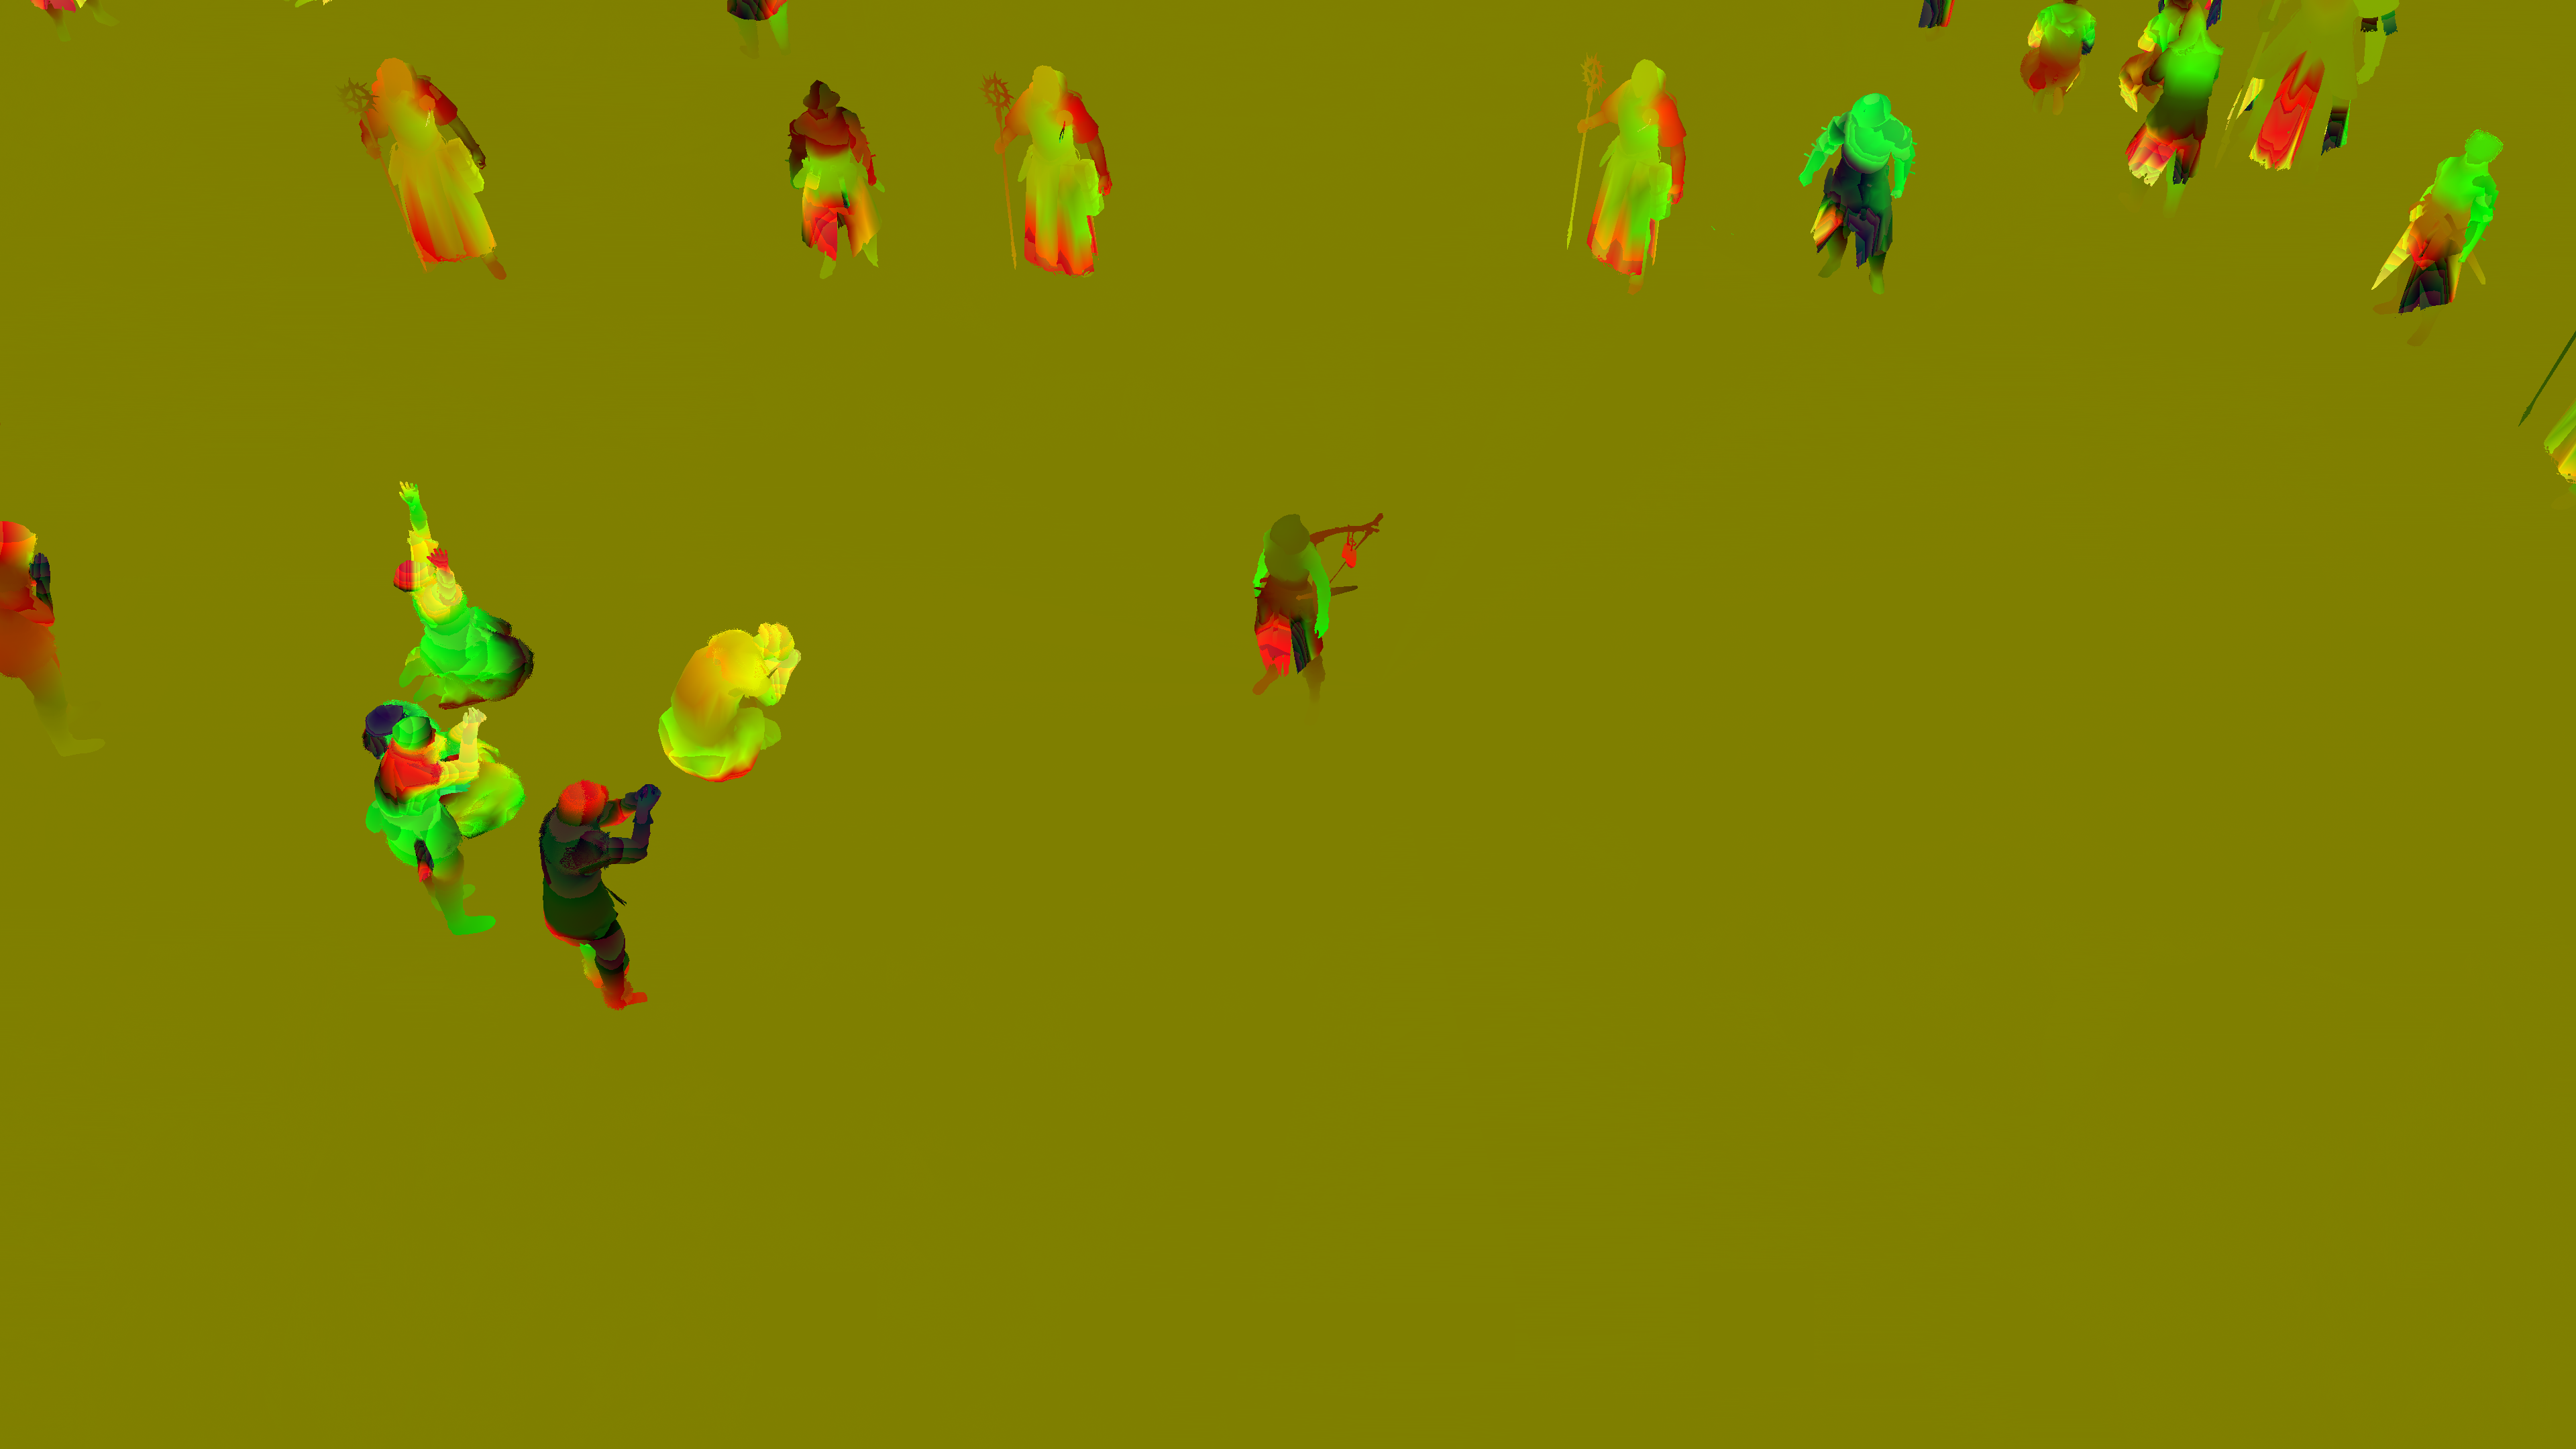
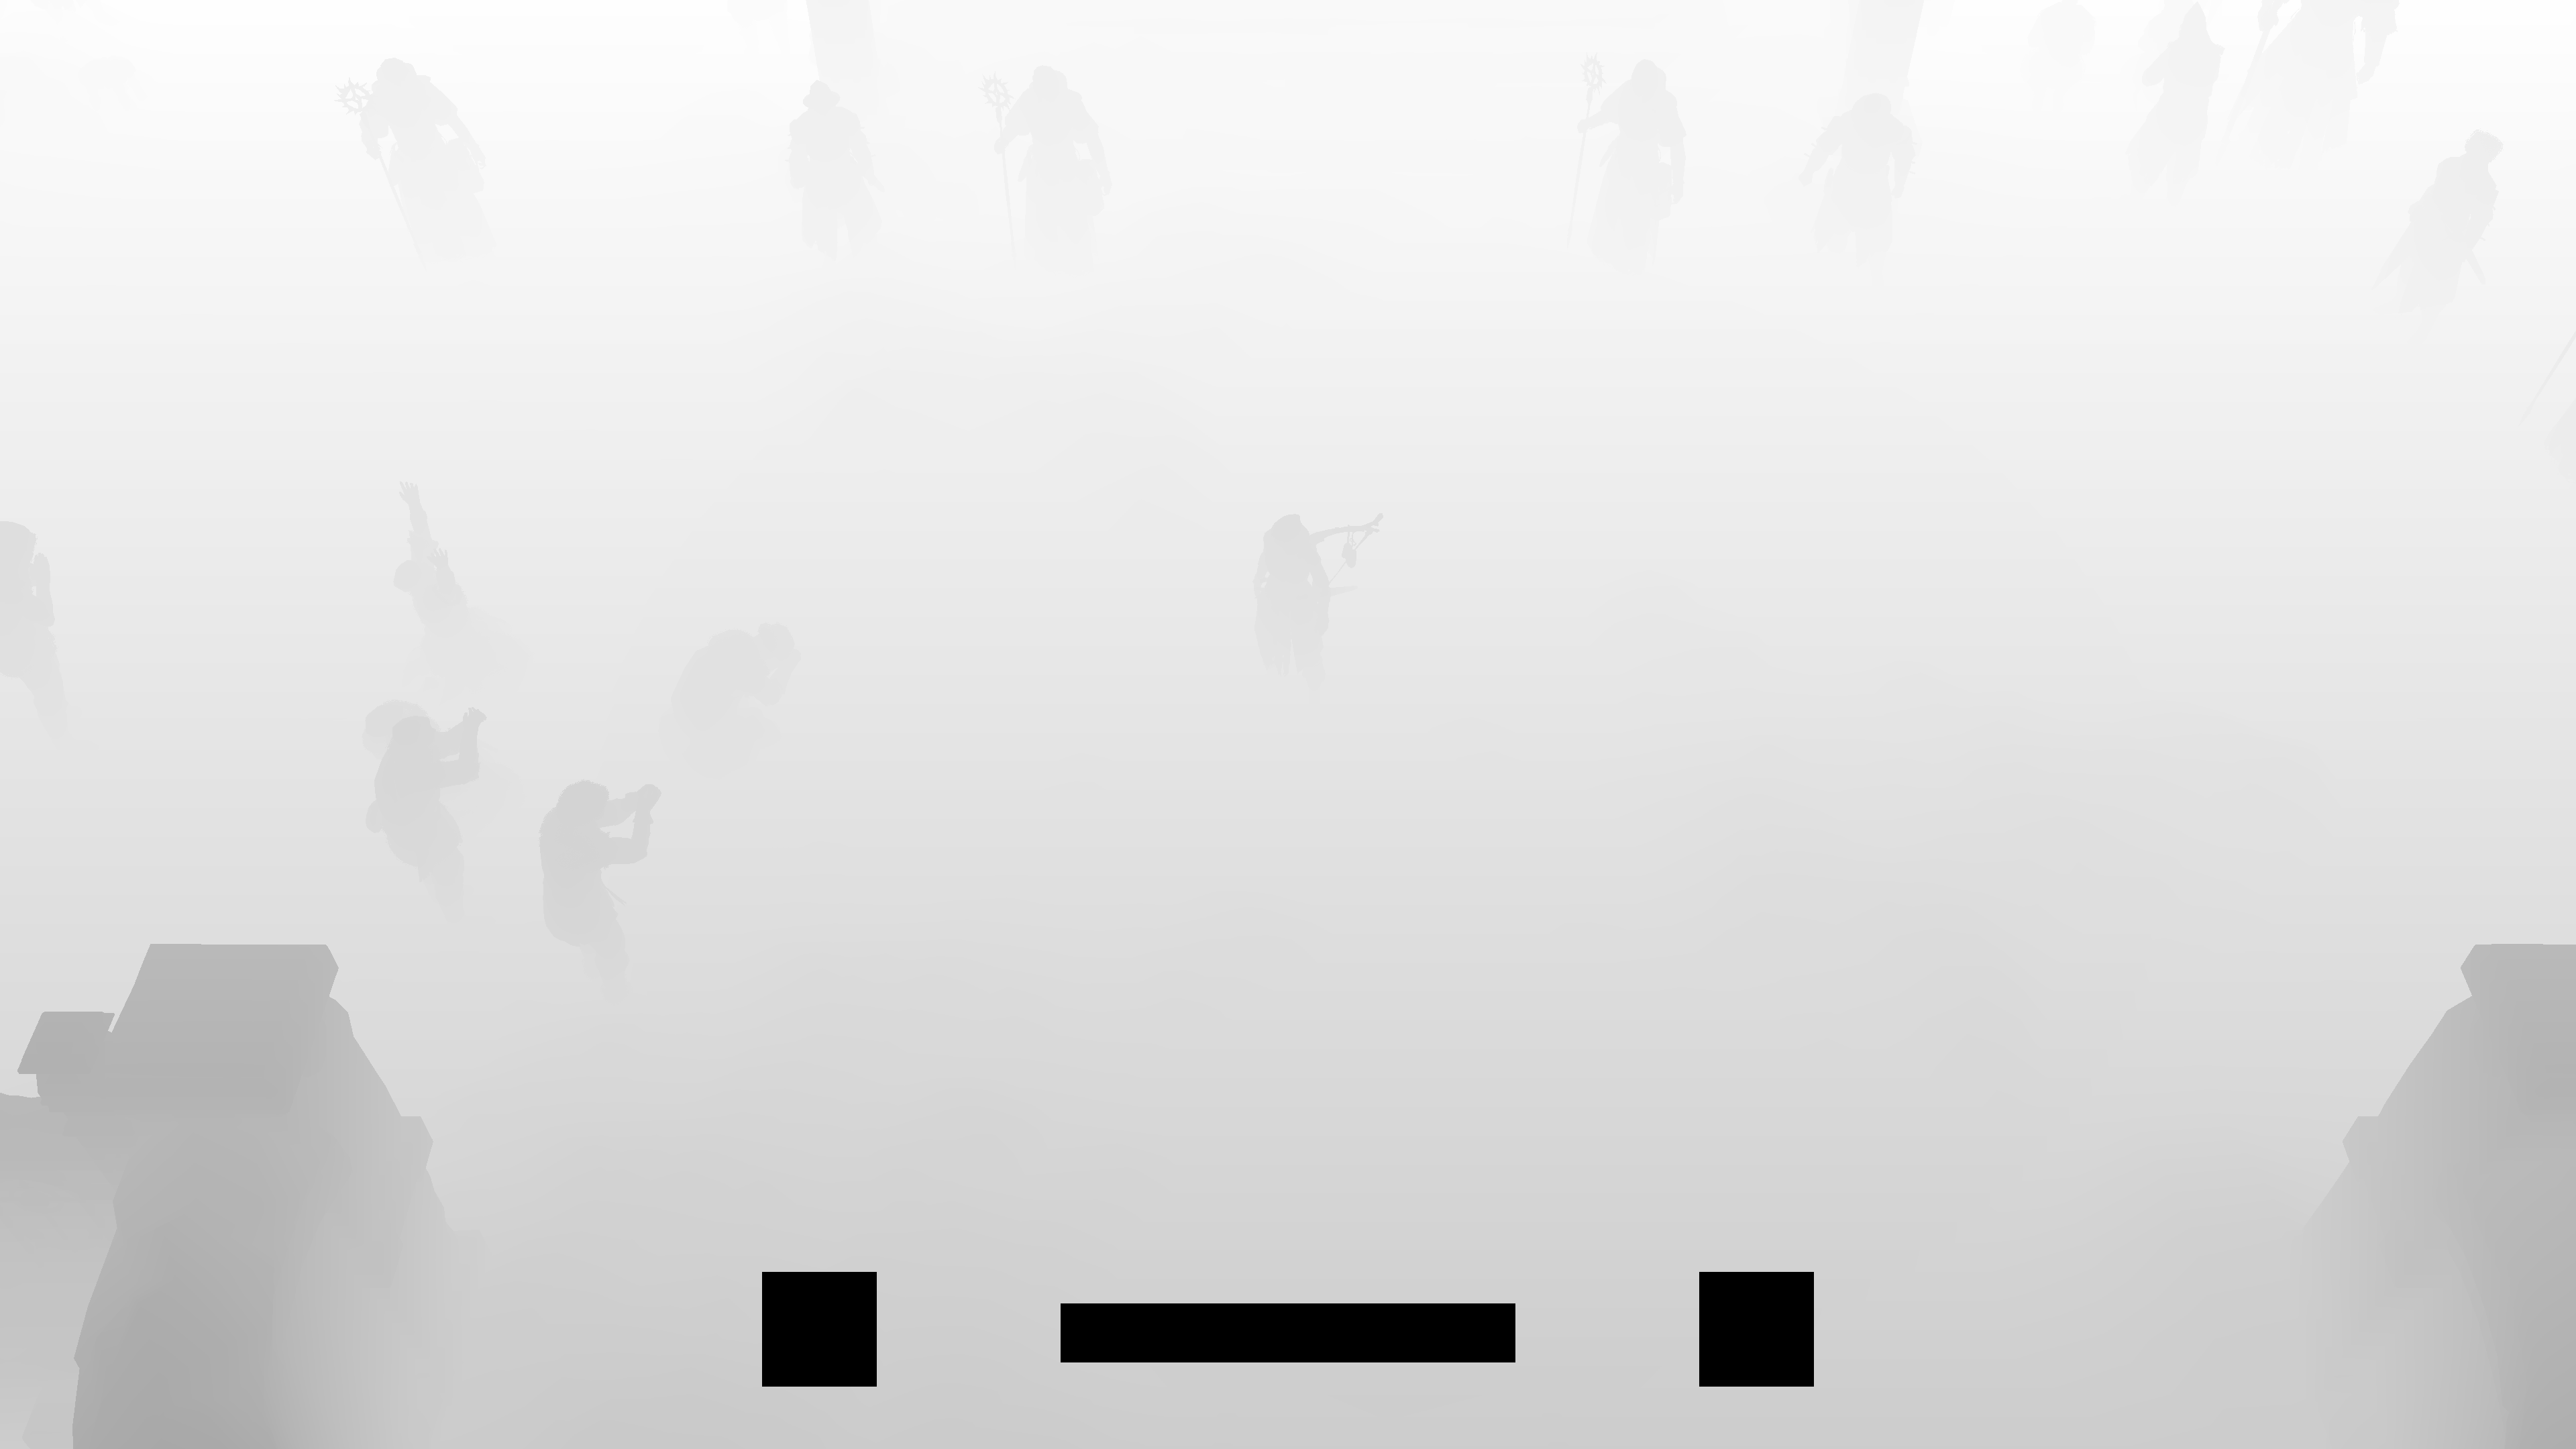
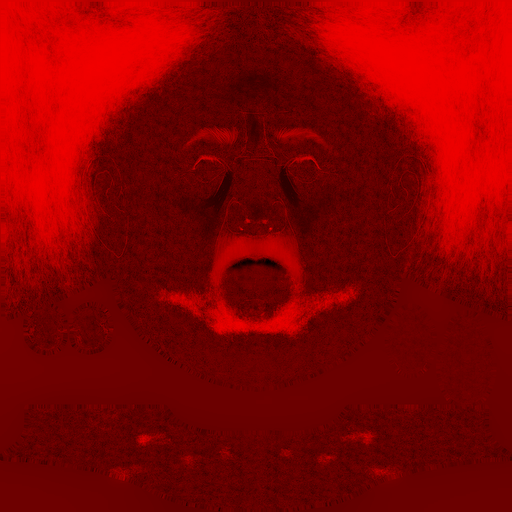
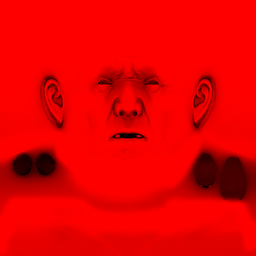
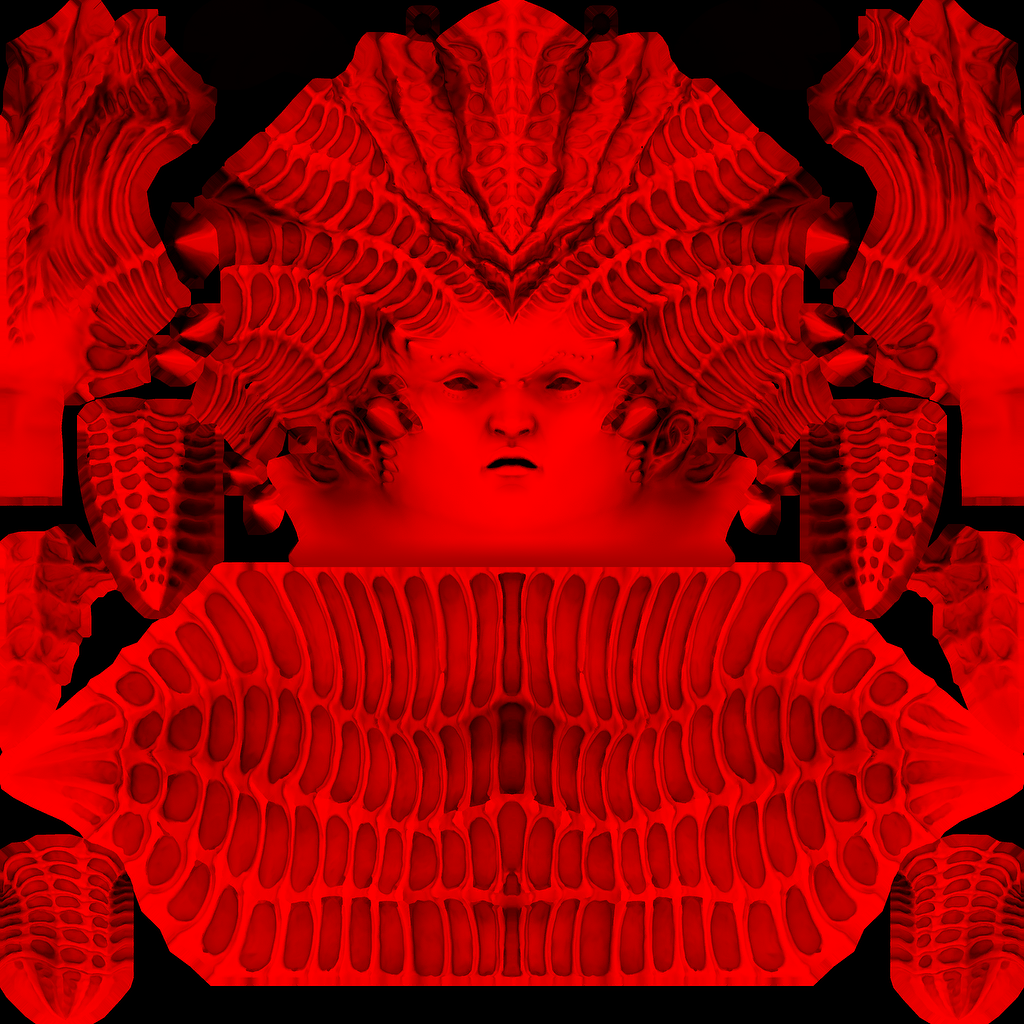
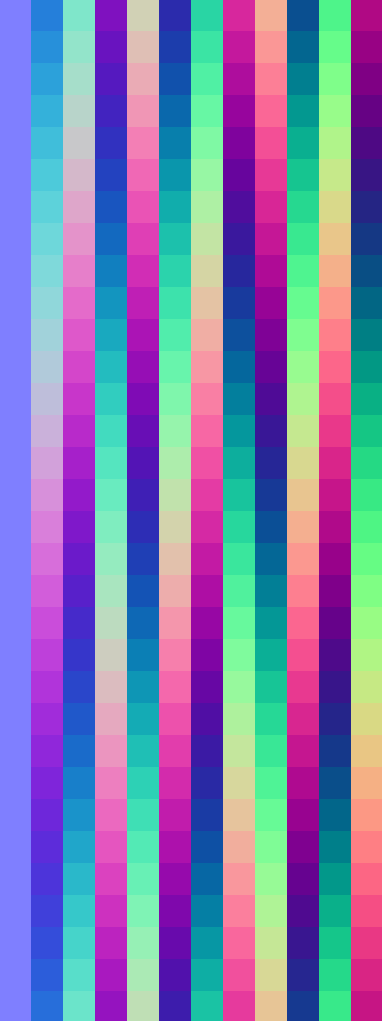
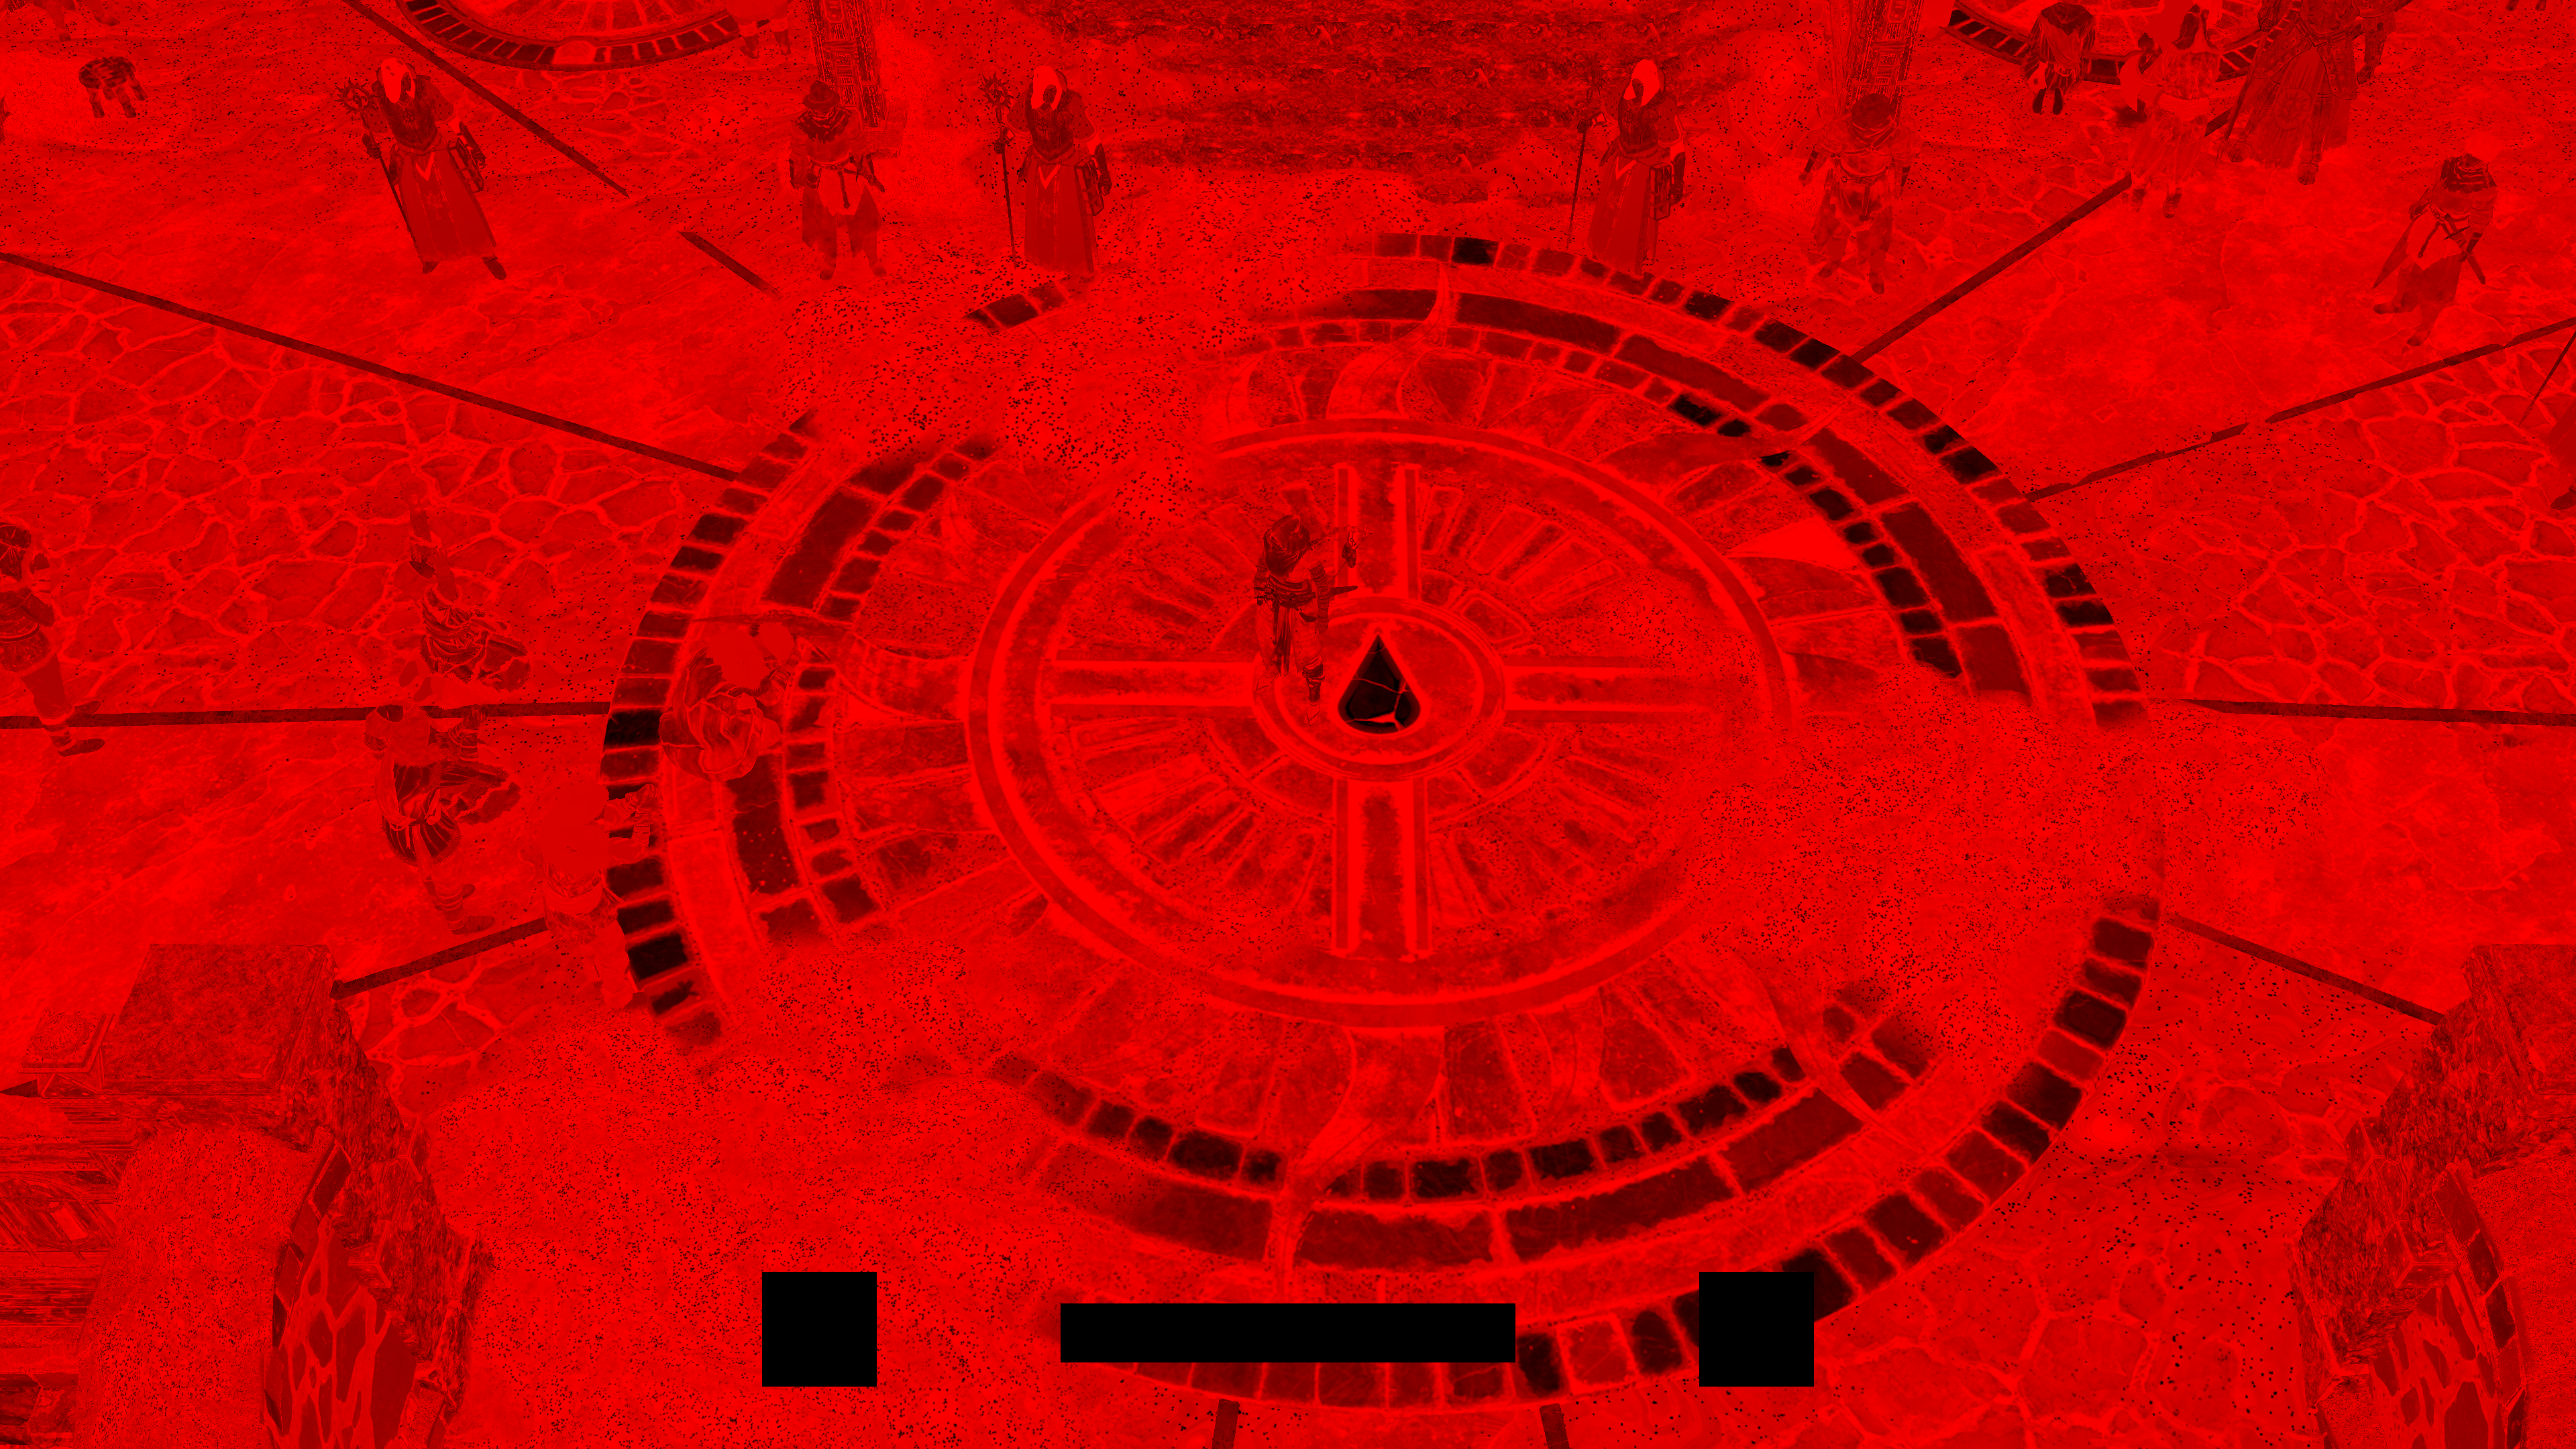
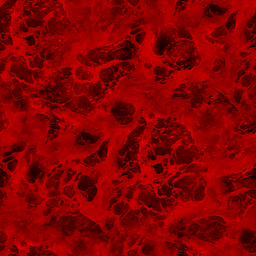
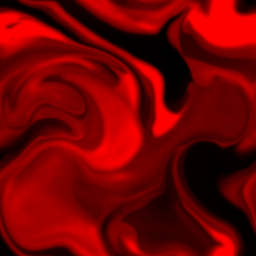
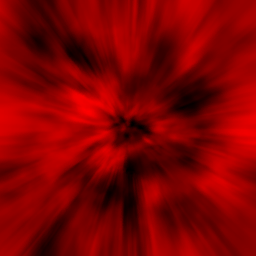
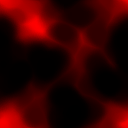
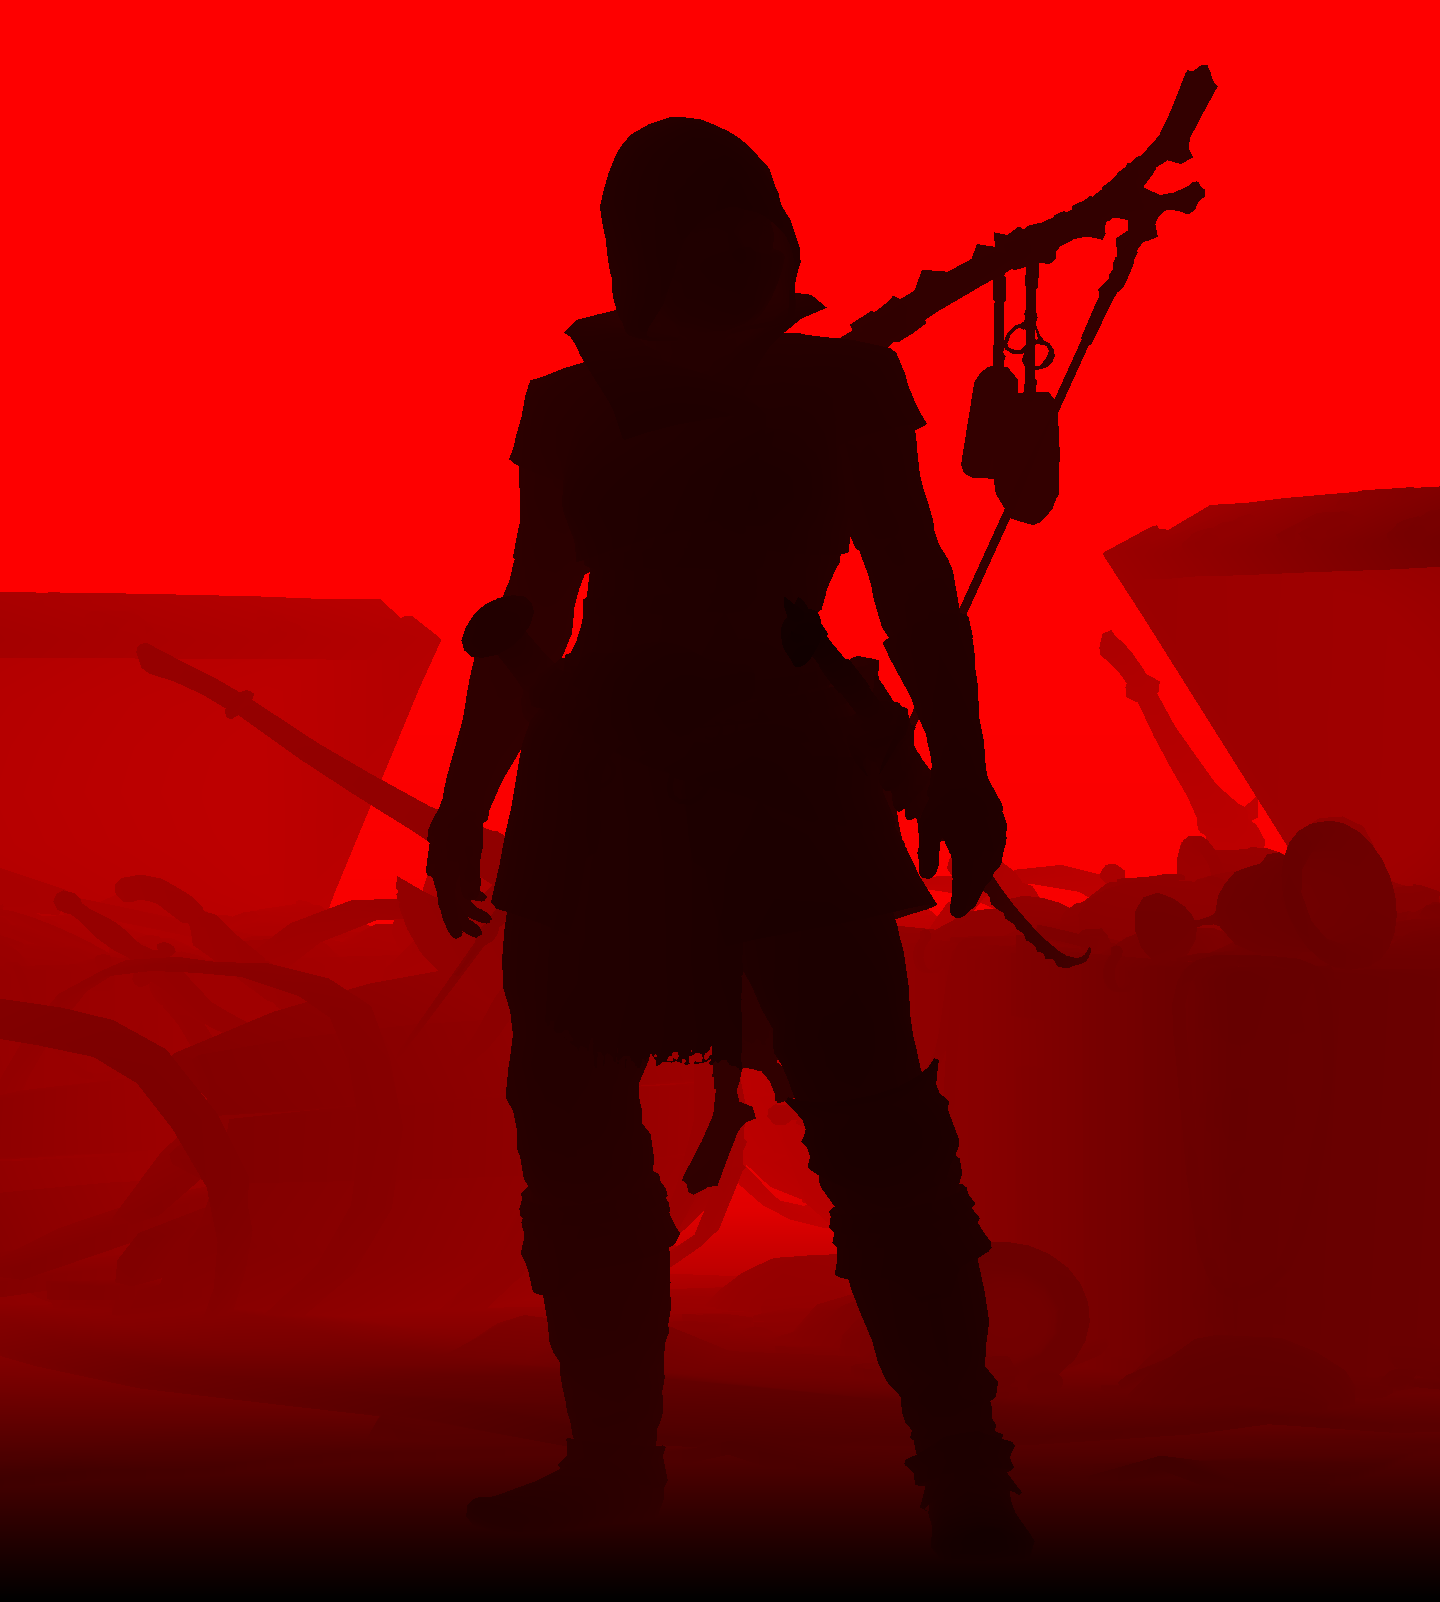
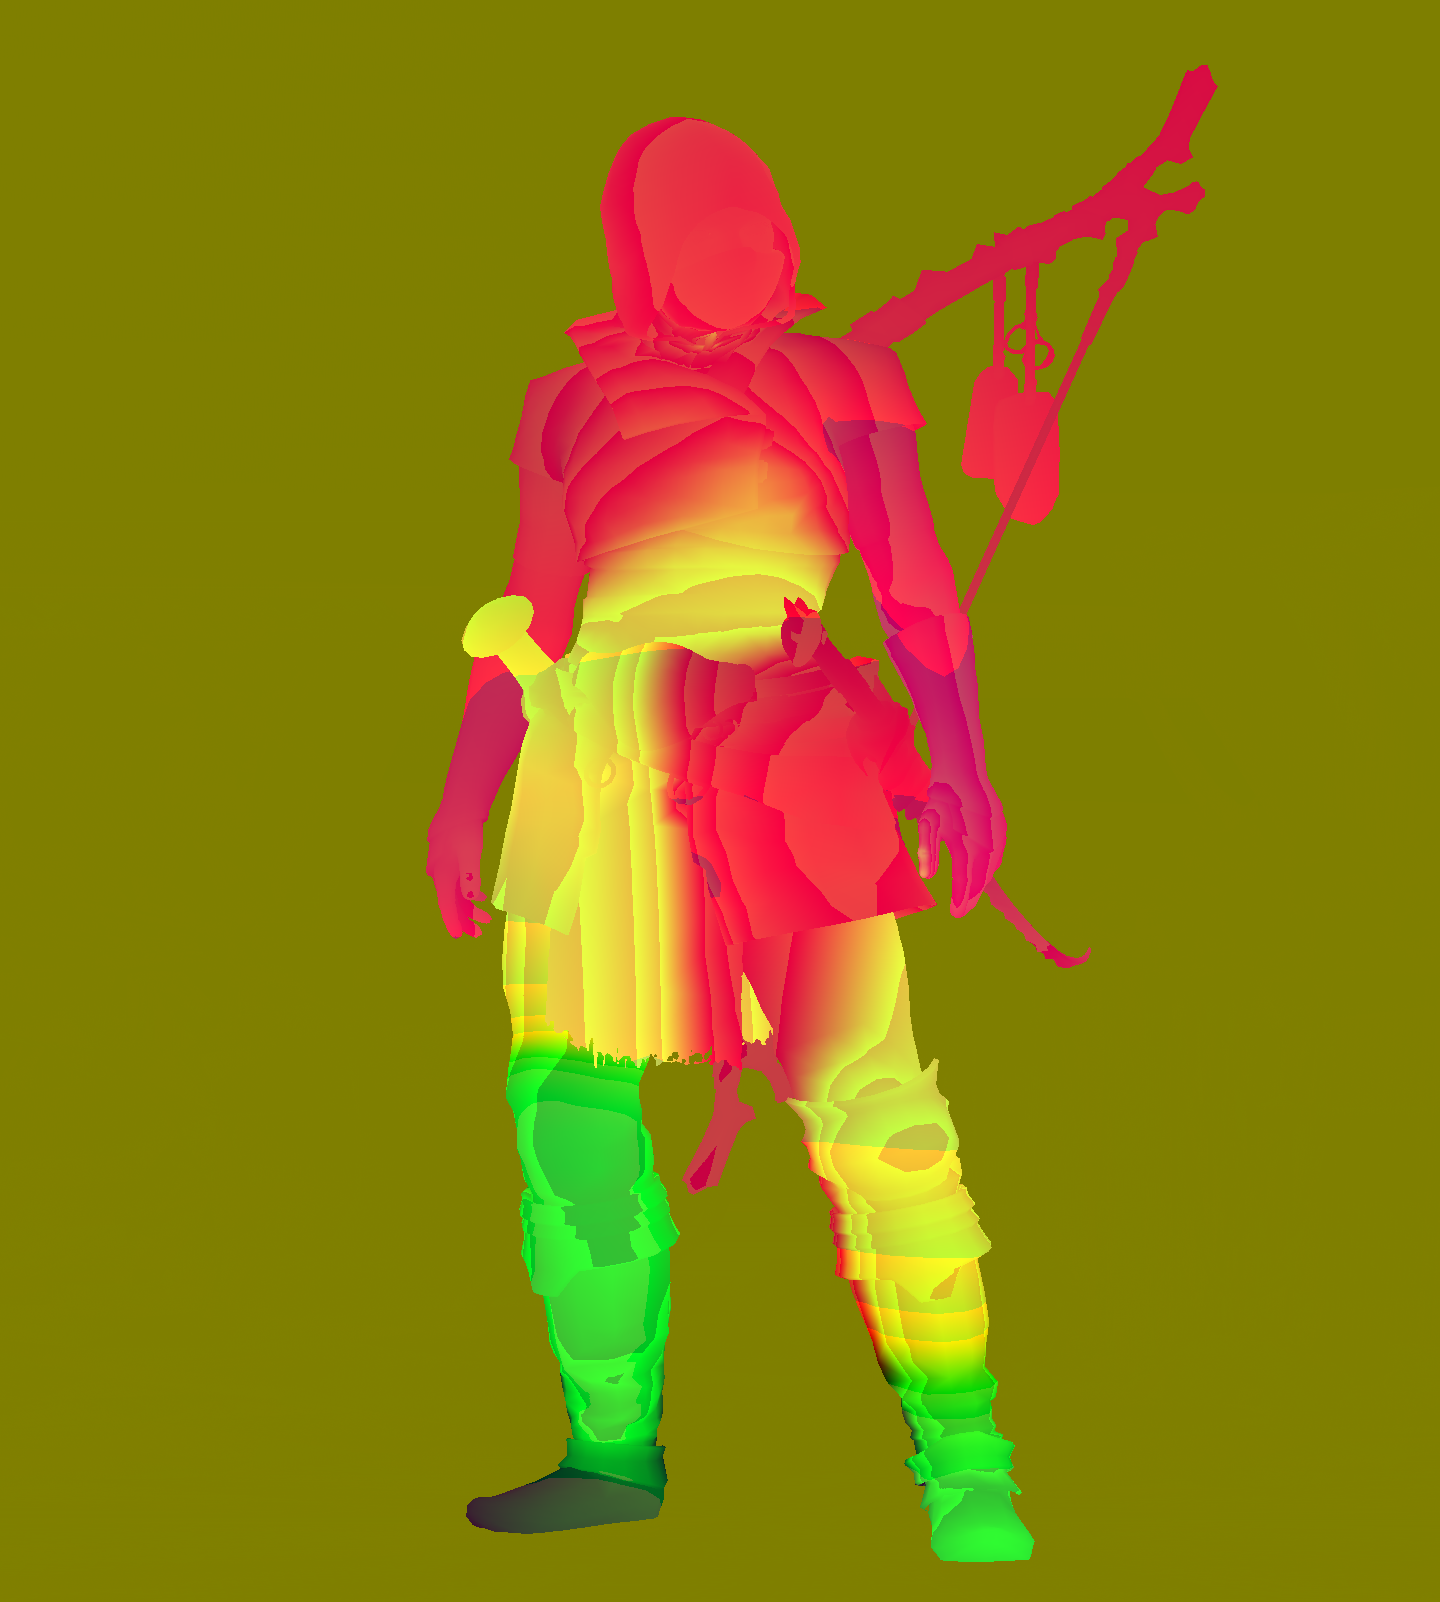
And of course, i put the images above in a nice form for the sake of the article, but in fact, they are looking red-ish from the fact of their format, feel free to burn you eyes below! 😵💫


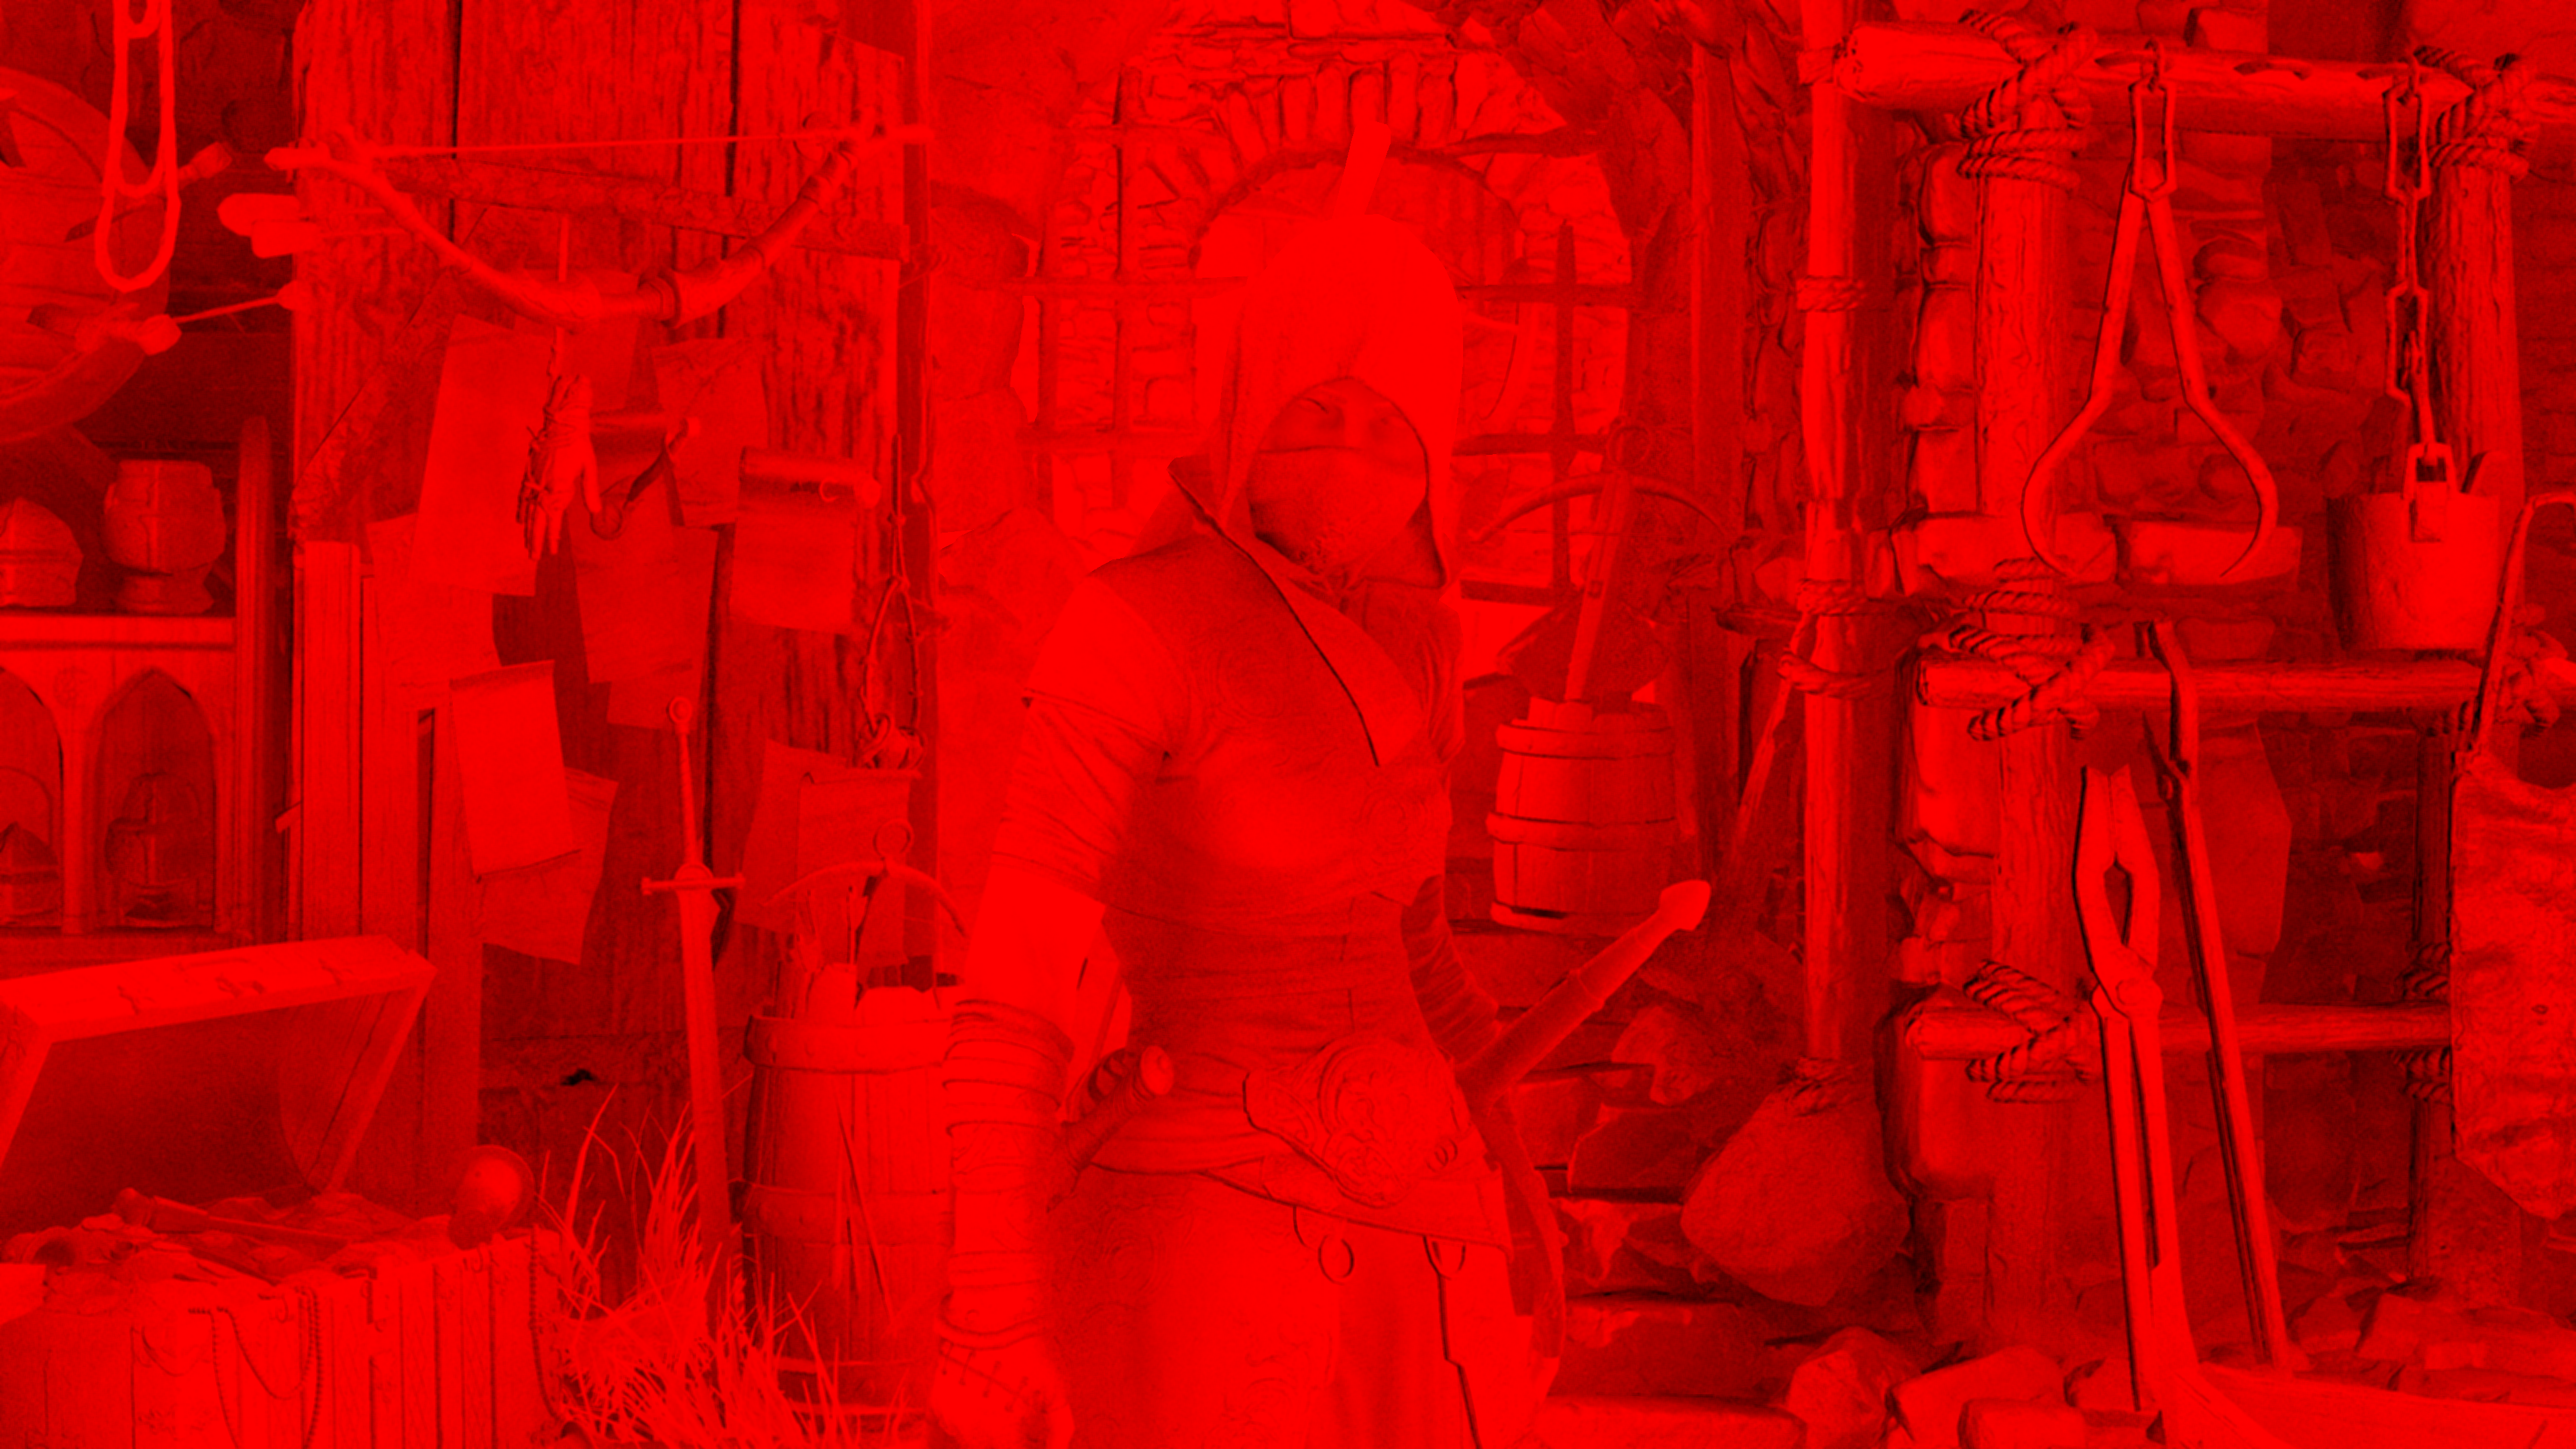

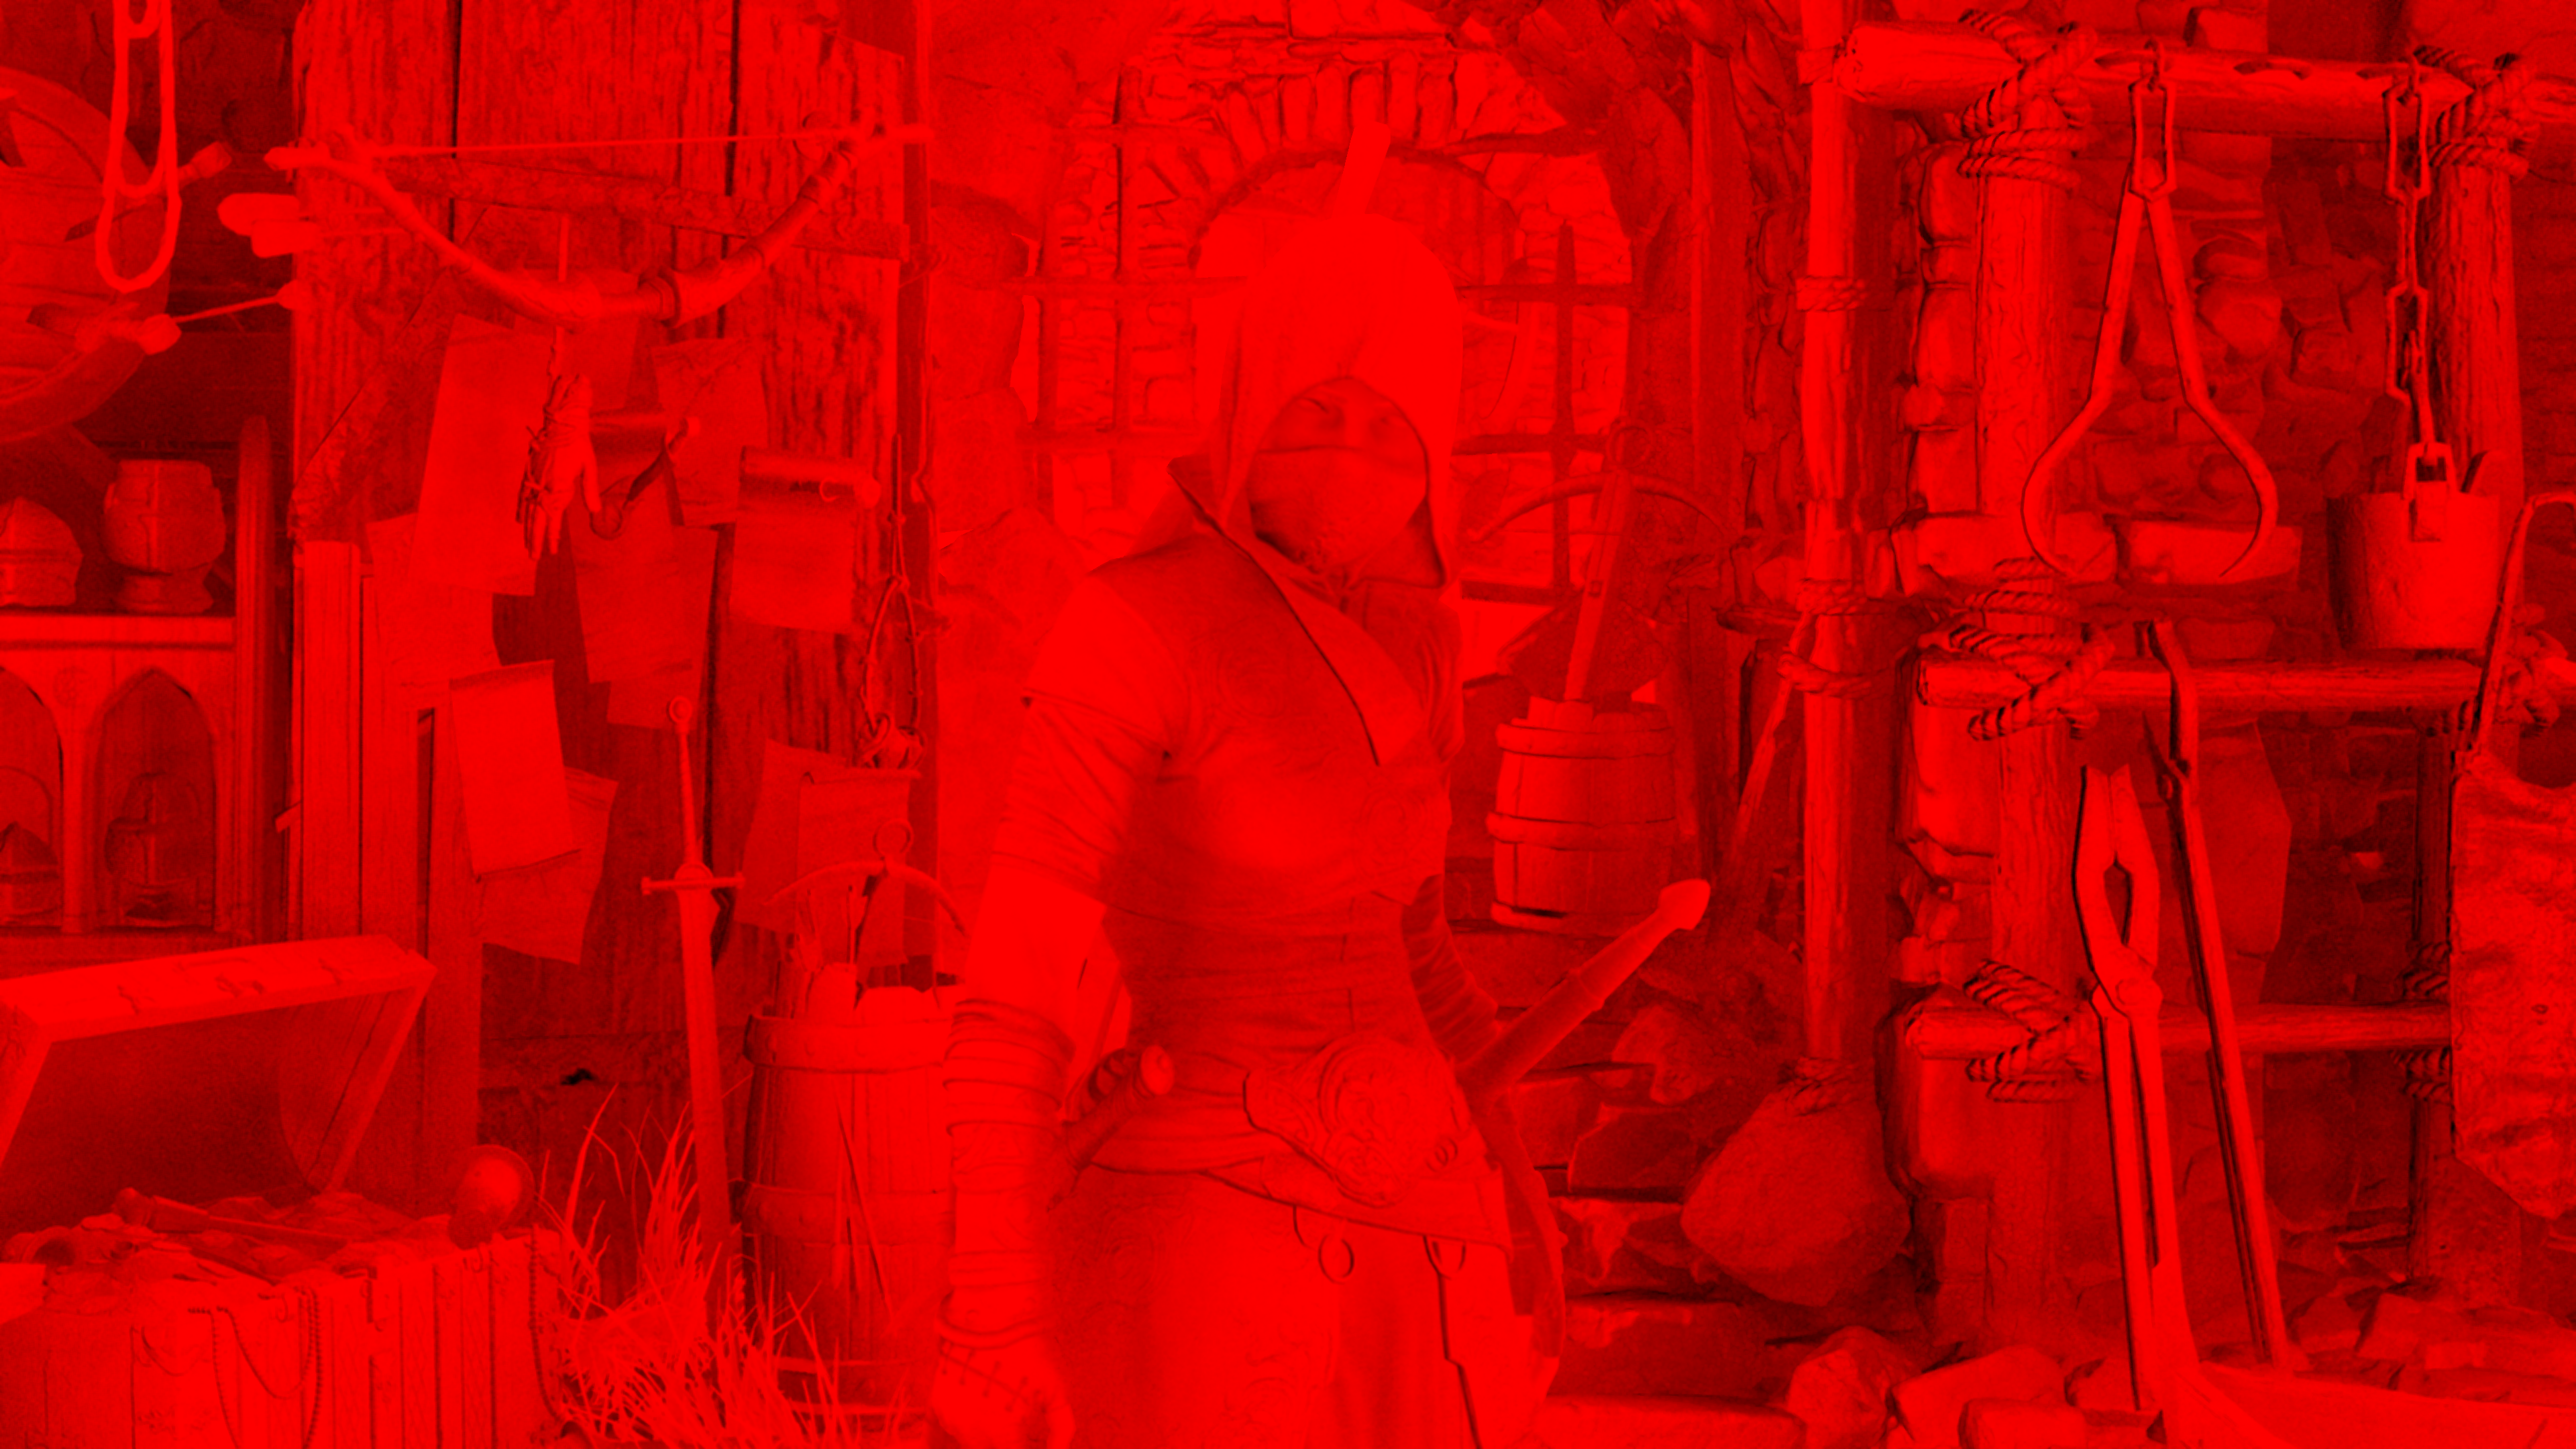
Few things to notice here:
- Everything here done at full resolution, so at my 4k case, all inputs and outputs are at 4k, this is a good area of improvement for SSAO, if you can recall, at Death Stranding for example, the inputs such as Normals were downscaled at first, and the entire SSAO process done at 1/2 resolution and even the final output still at 1/2 of the target resolution.
- The blurring process seem to be done at both axis at the same time, not at one axis at a time. Not 100% sure, but keep looking through the SSAO images is little eye burning!
- The last step (the AABB projection stencil) is totally absent from the cinematics.
Here are some more examples for some final AO images side by side with the swapchain, their full steps breakdown is in the folded toggles below


Example 2

Example 3


Example 4


Example 5


Example 6


More AO!!!
If it is your first time to read in my breakdown, and you feel that SSAO sold the entire AO, you can jump in depth in multiple types of AO that was all discussed in the Resident Evil article (comparing the process of HBAO+, SSAO, CACAO for the exact same frame)
6.Composite
Now the SSAO image is ready & beauty, it’s the time to put it in use. A barrier set to the properties map, and then the final outcome of the SSAO get composited to the B channel of the properties map, which is not empty or anything and already have some baked AO in there that came from the AO textures applied to the geometry as part of PBR-ing. So basically:
– R => Roughness
– G => Metallic
– B => AO.
– A => Mask (used for SSS, hair, fur and such)


Swapcahin here are just for reference
For full view of all the channels of the final properties map, you can check the fold below
Properties map Channels breakdown


And for comparison between the in B channel (baked AO) and the final B channel (Baked + SSAO) of the properties map, you can check the fold below
B Channel history, from(Baked AO) to (Baked + SSAO)

Top row, in B channel (Baked AO)
Bottom row, final B channel (Baked AO + SSAO)
Depth Re-Format
It’s is not 100% clear if it is part of the SSAO process or a totally individual process, but by the end of the SSAO, the depth get transferred from linear depth format (R24_UNORM_X8_TYPELESS) to a more common depth format (D24_UNORM_S8_UINT).
VSM [Not Always]
This is a step that was lil hard to capture, as it is not something that you can easily see in every frame (as it seems). In this step, basically in a full pass, a sequence of calls issued to render VSM in a form of cubemap faces from the shadowmap cubemap (with a format changing), and then downsample that new VSM stored in each face into the a mip chain. The output of this step is needed shortly in the Lighting in order to do the point soft shadow VSM.
Drawing starts at the size of 512*512 and end up at 4*4. So 6 draws (for each face) for 8 times (mips count) with total of 48 sequential DrawIndexedInstanced calls.
This is one of the very few examples of cubemap capture & downsampling that i was able to capture.
This is the input used (shadowmap)

In Shadowmap – 512*512 – R32_FLOAT
And those are the output mips every few steps of downsampling faces.


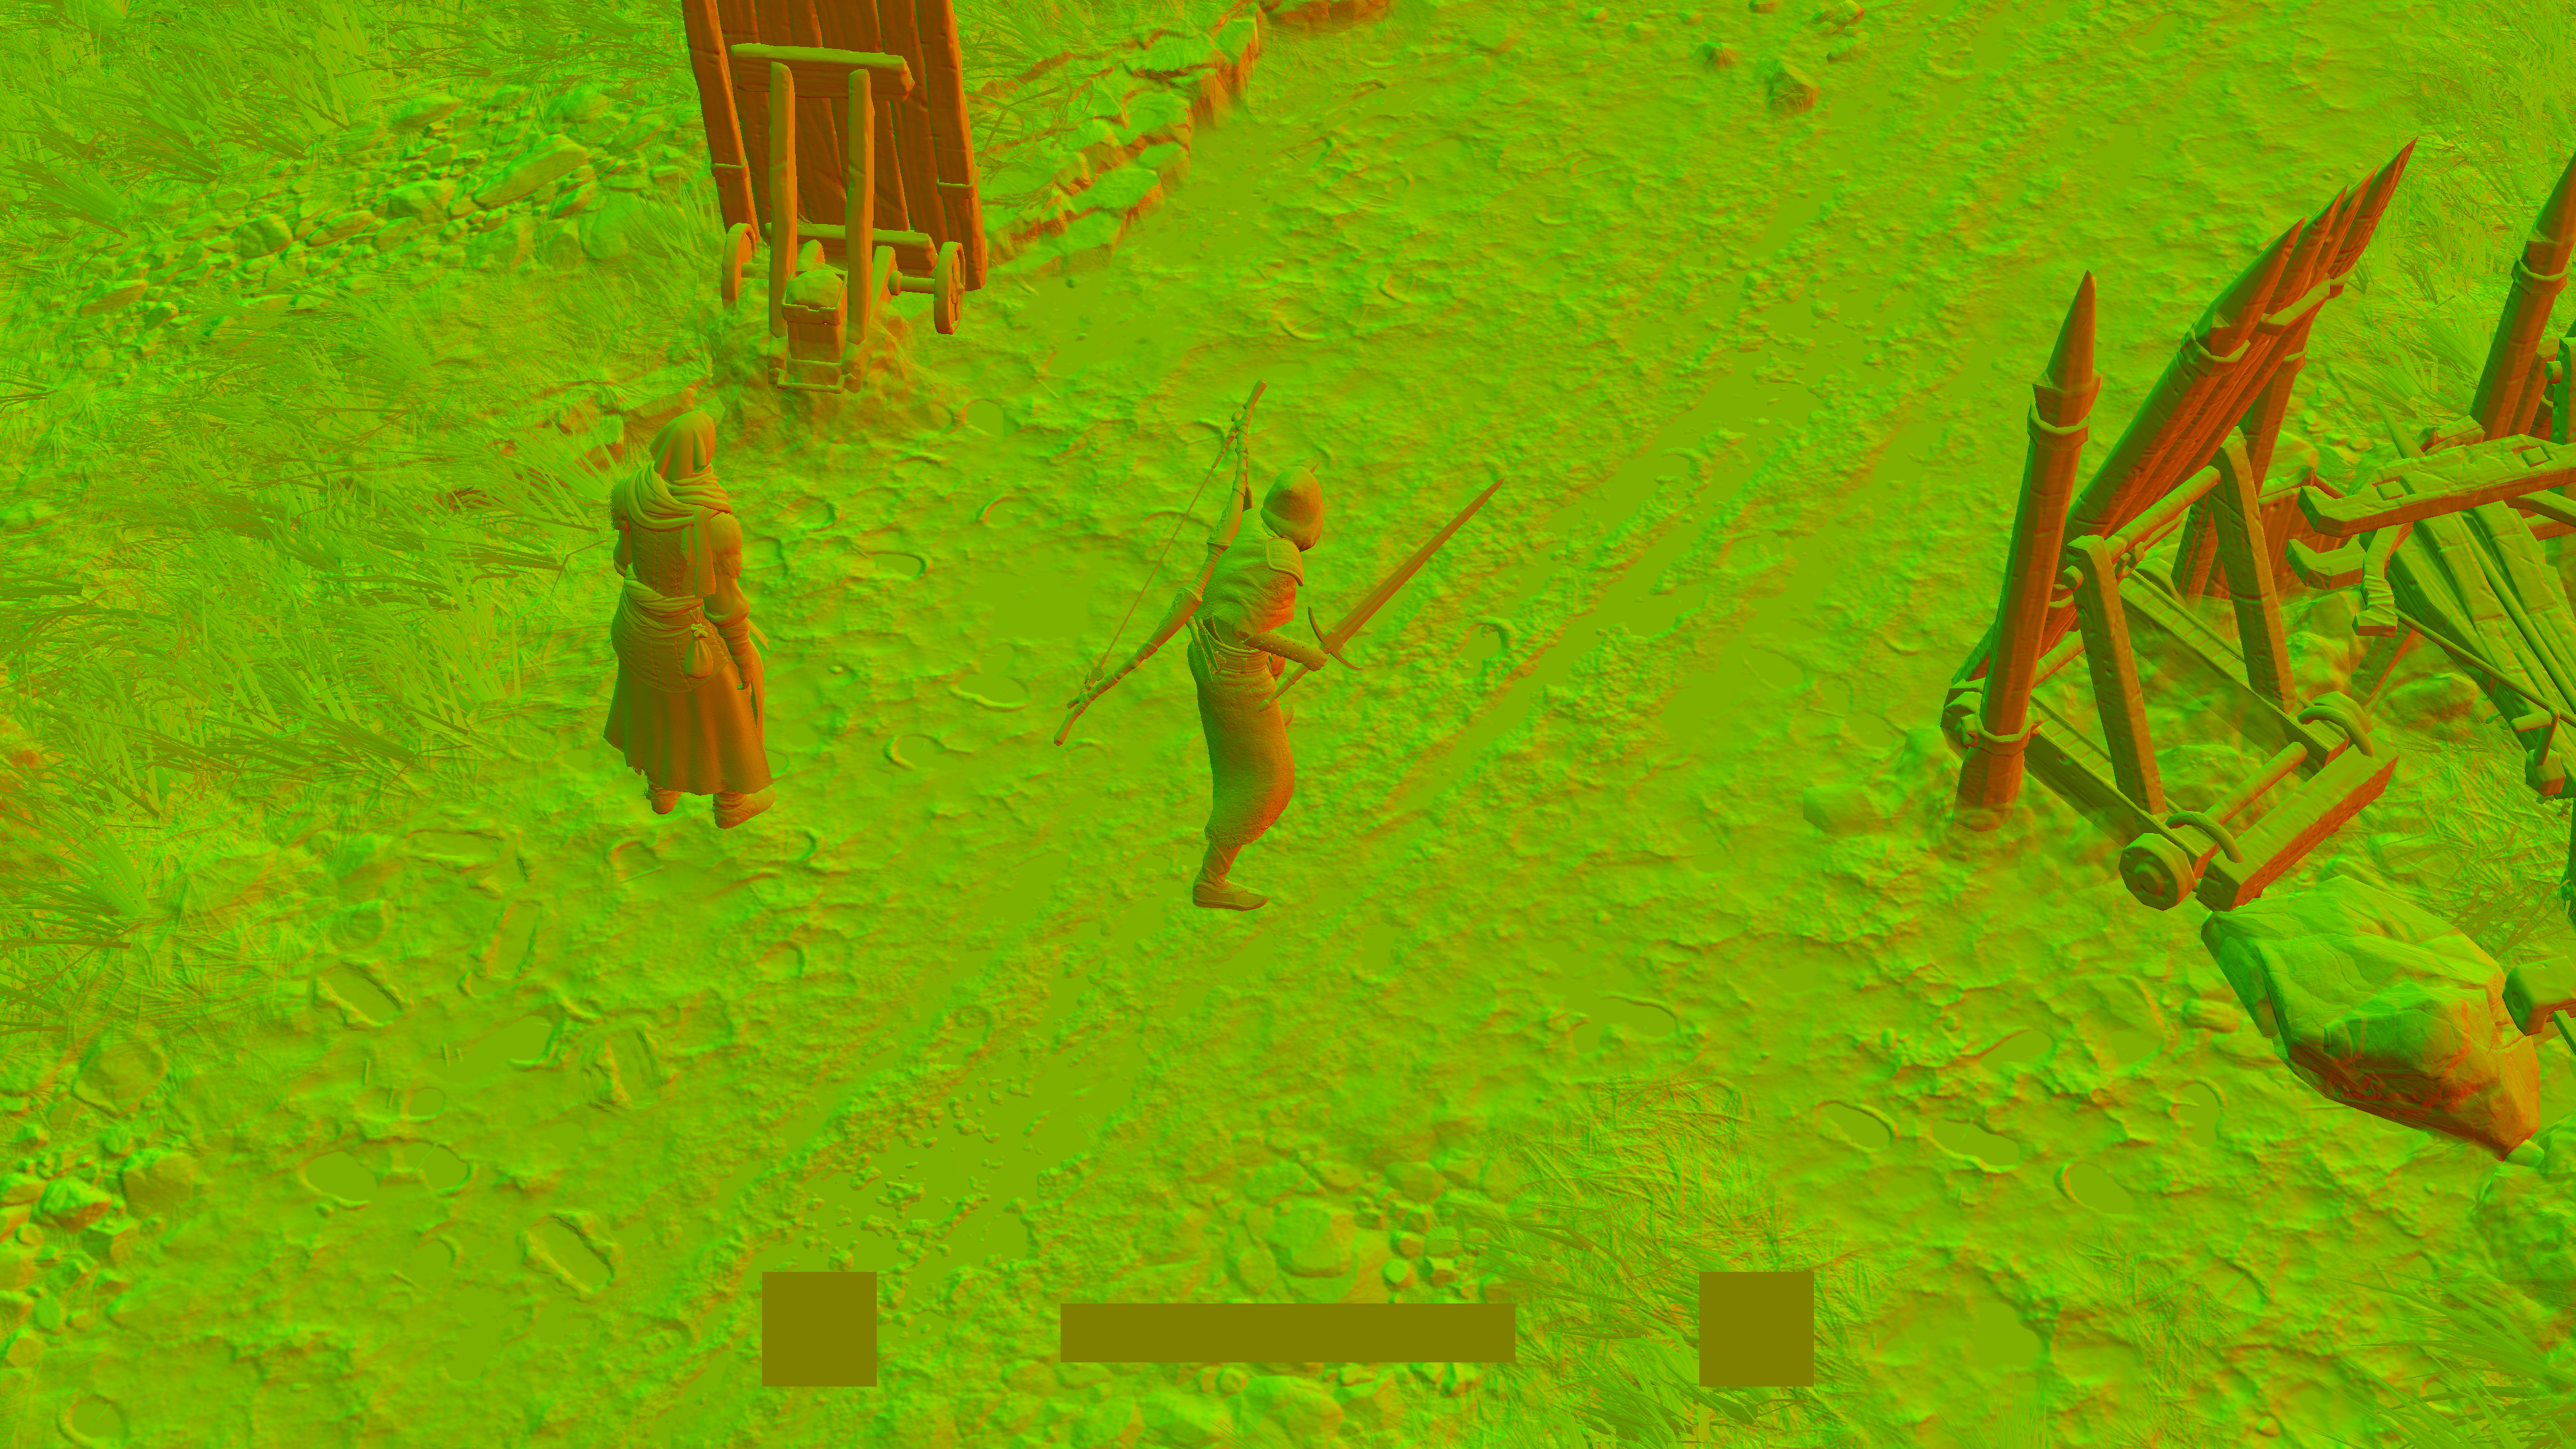
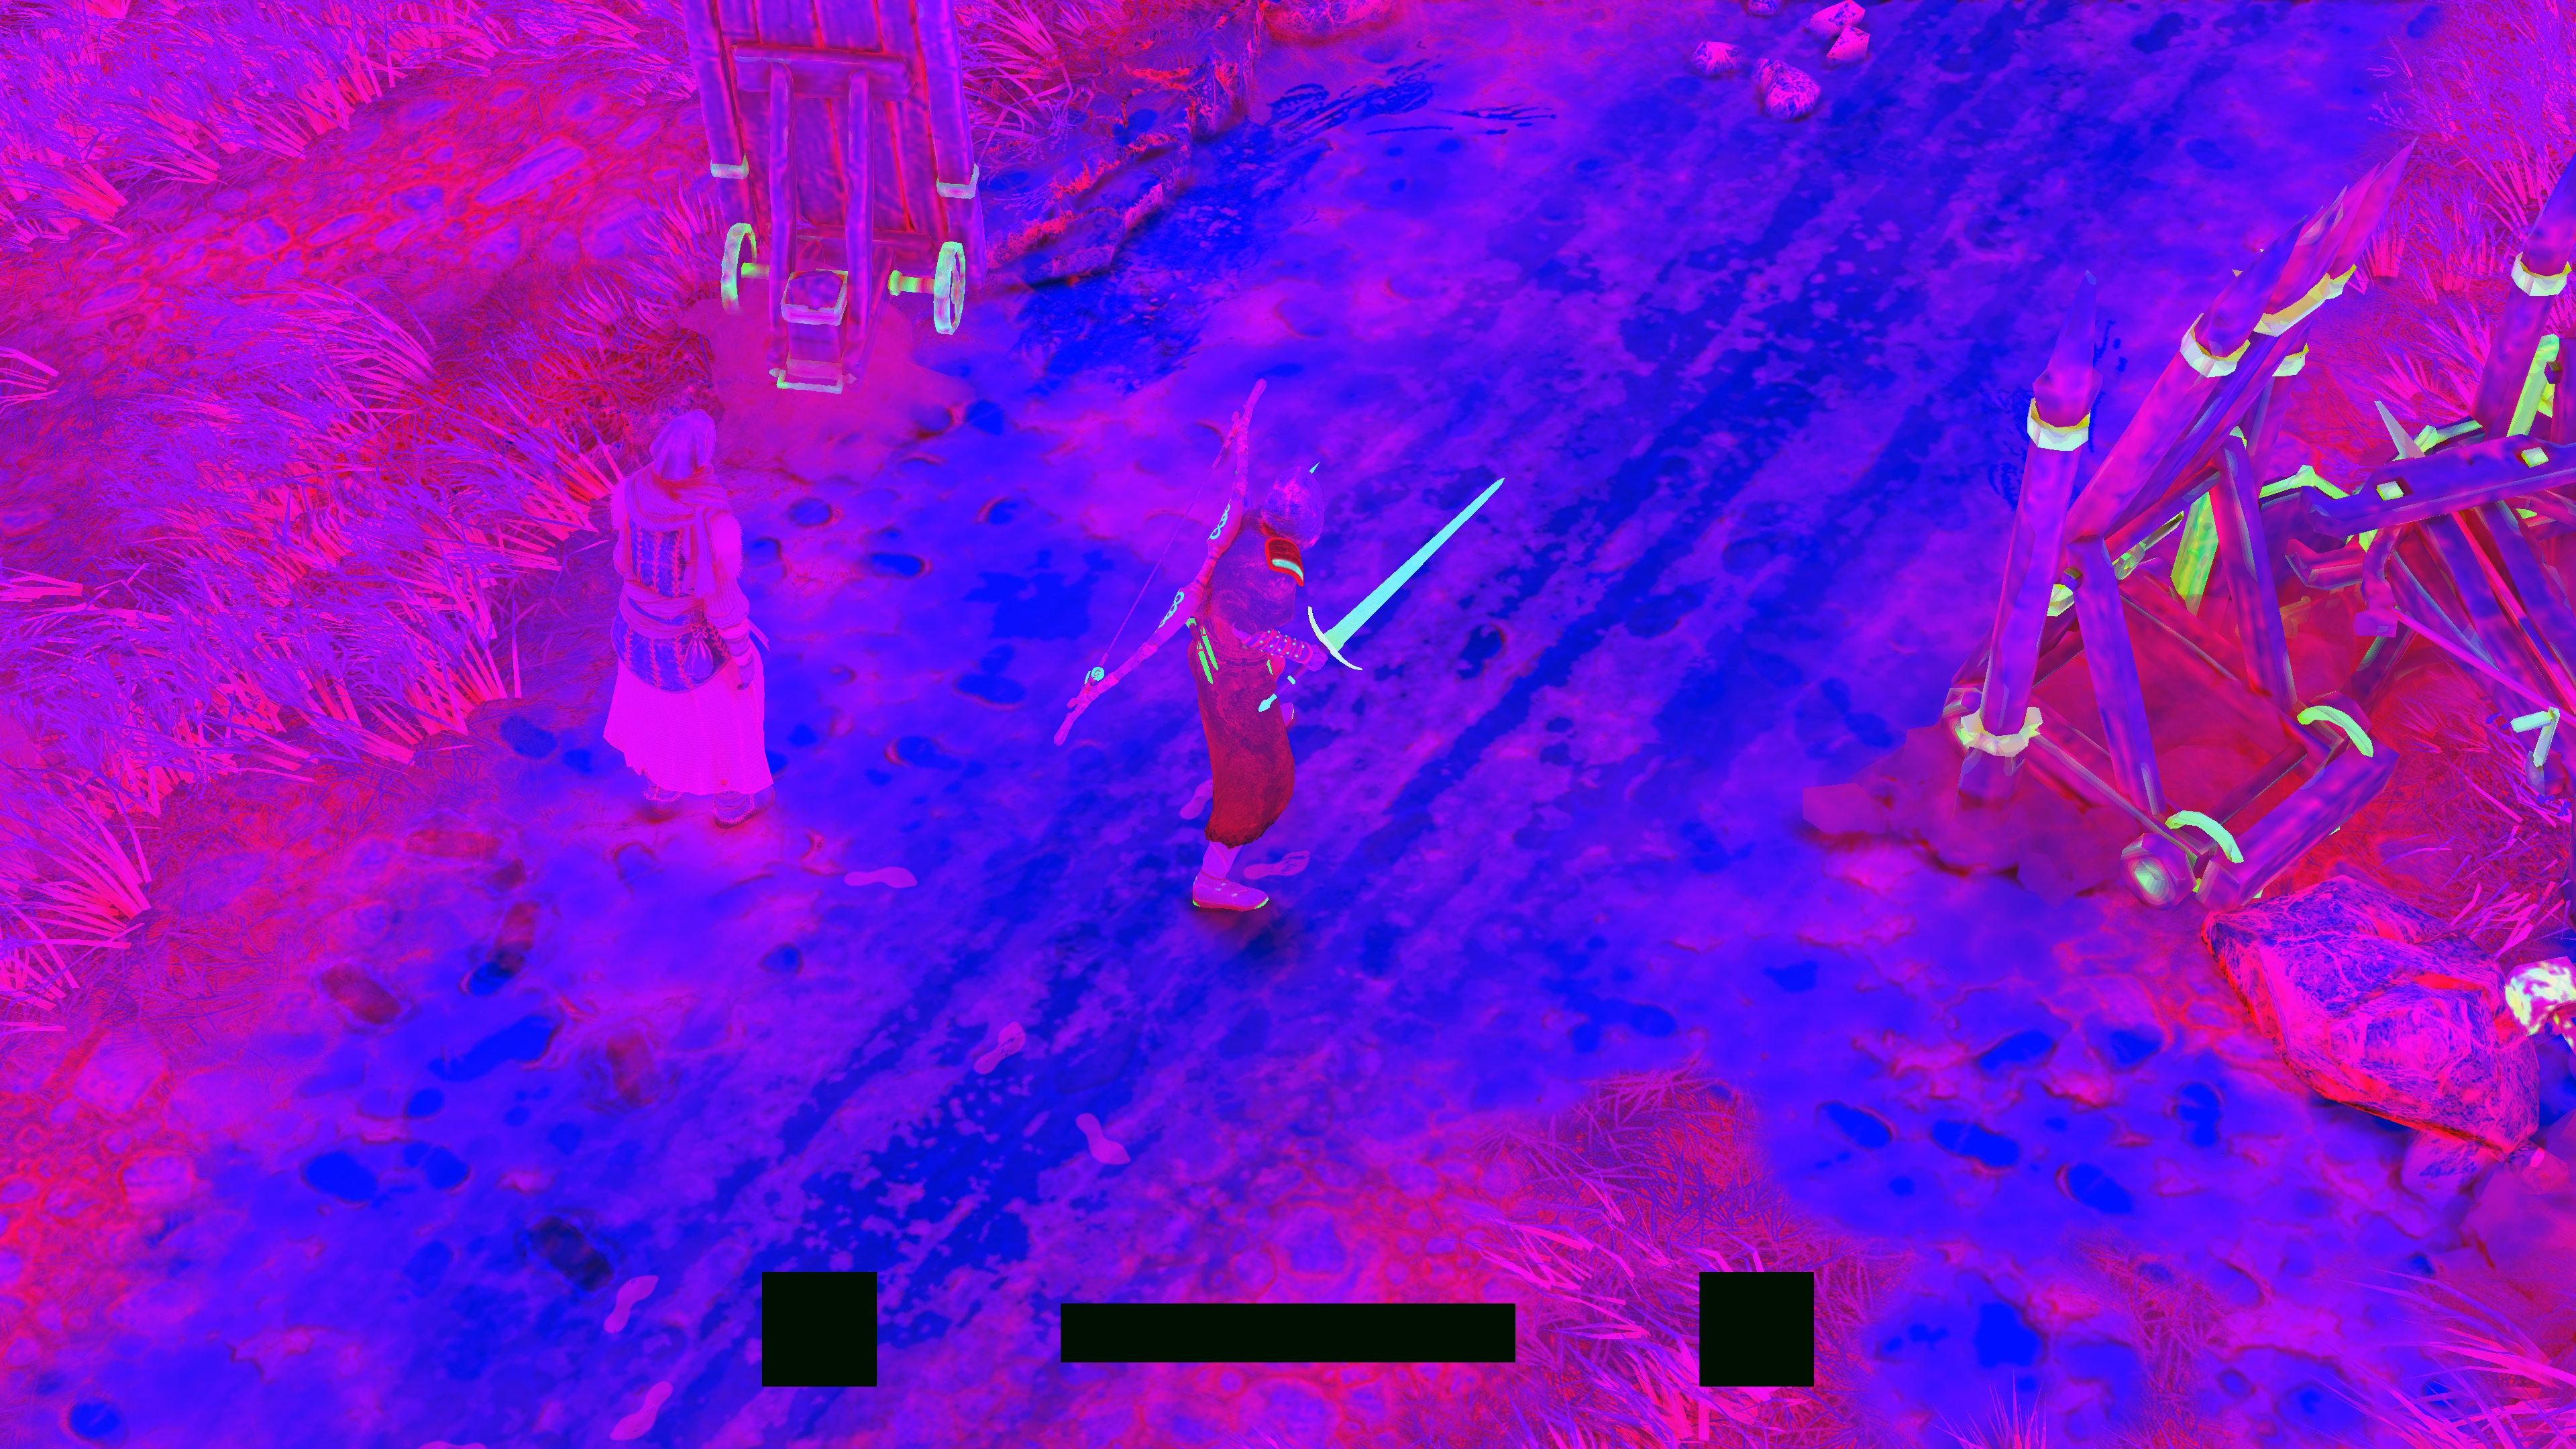
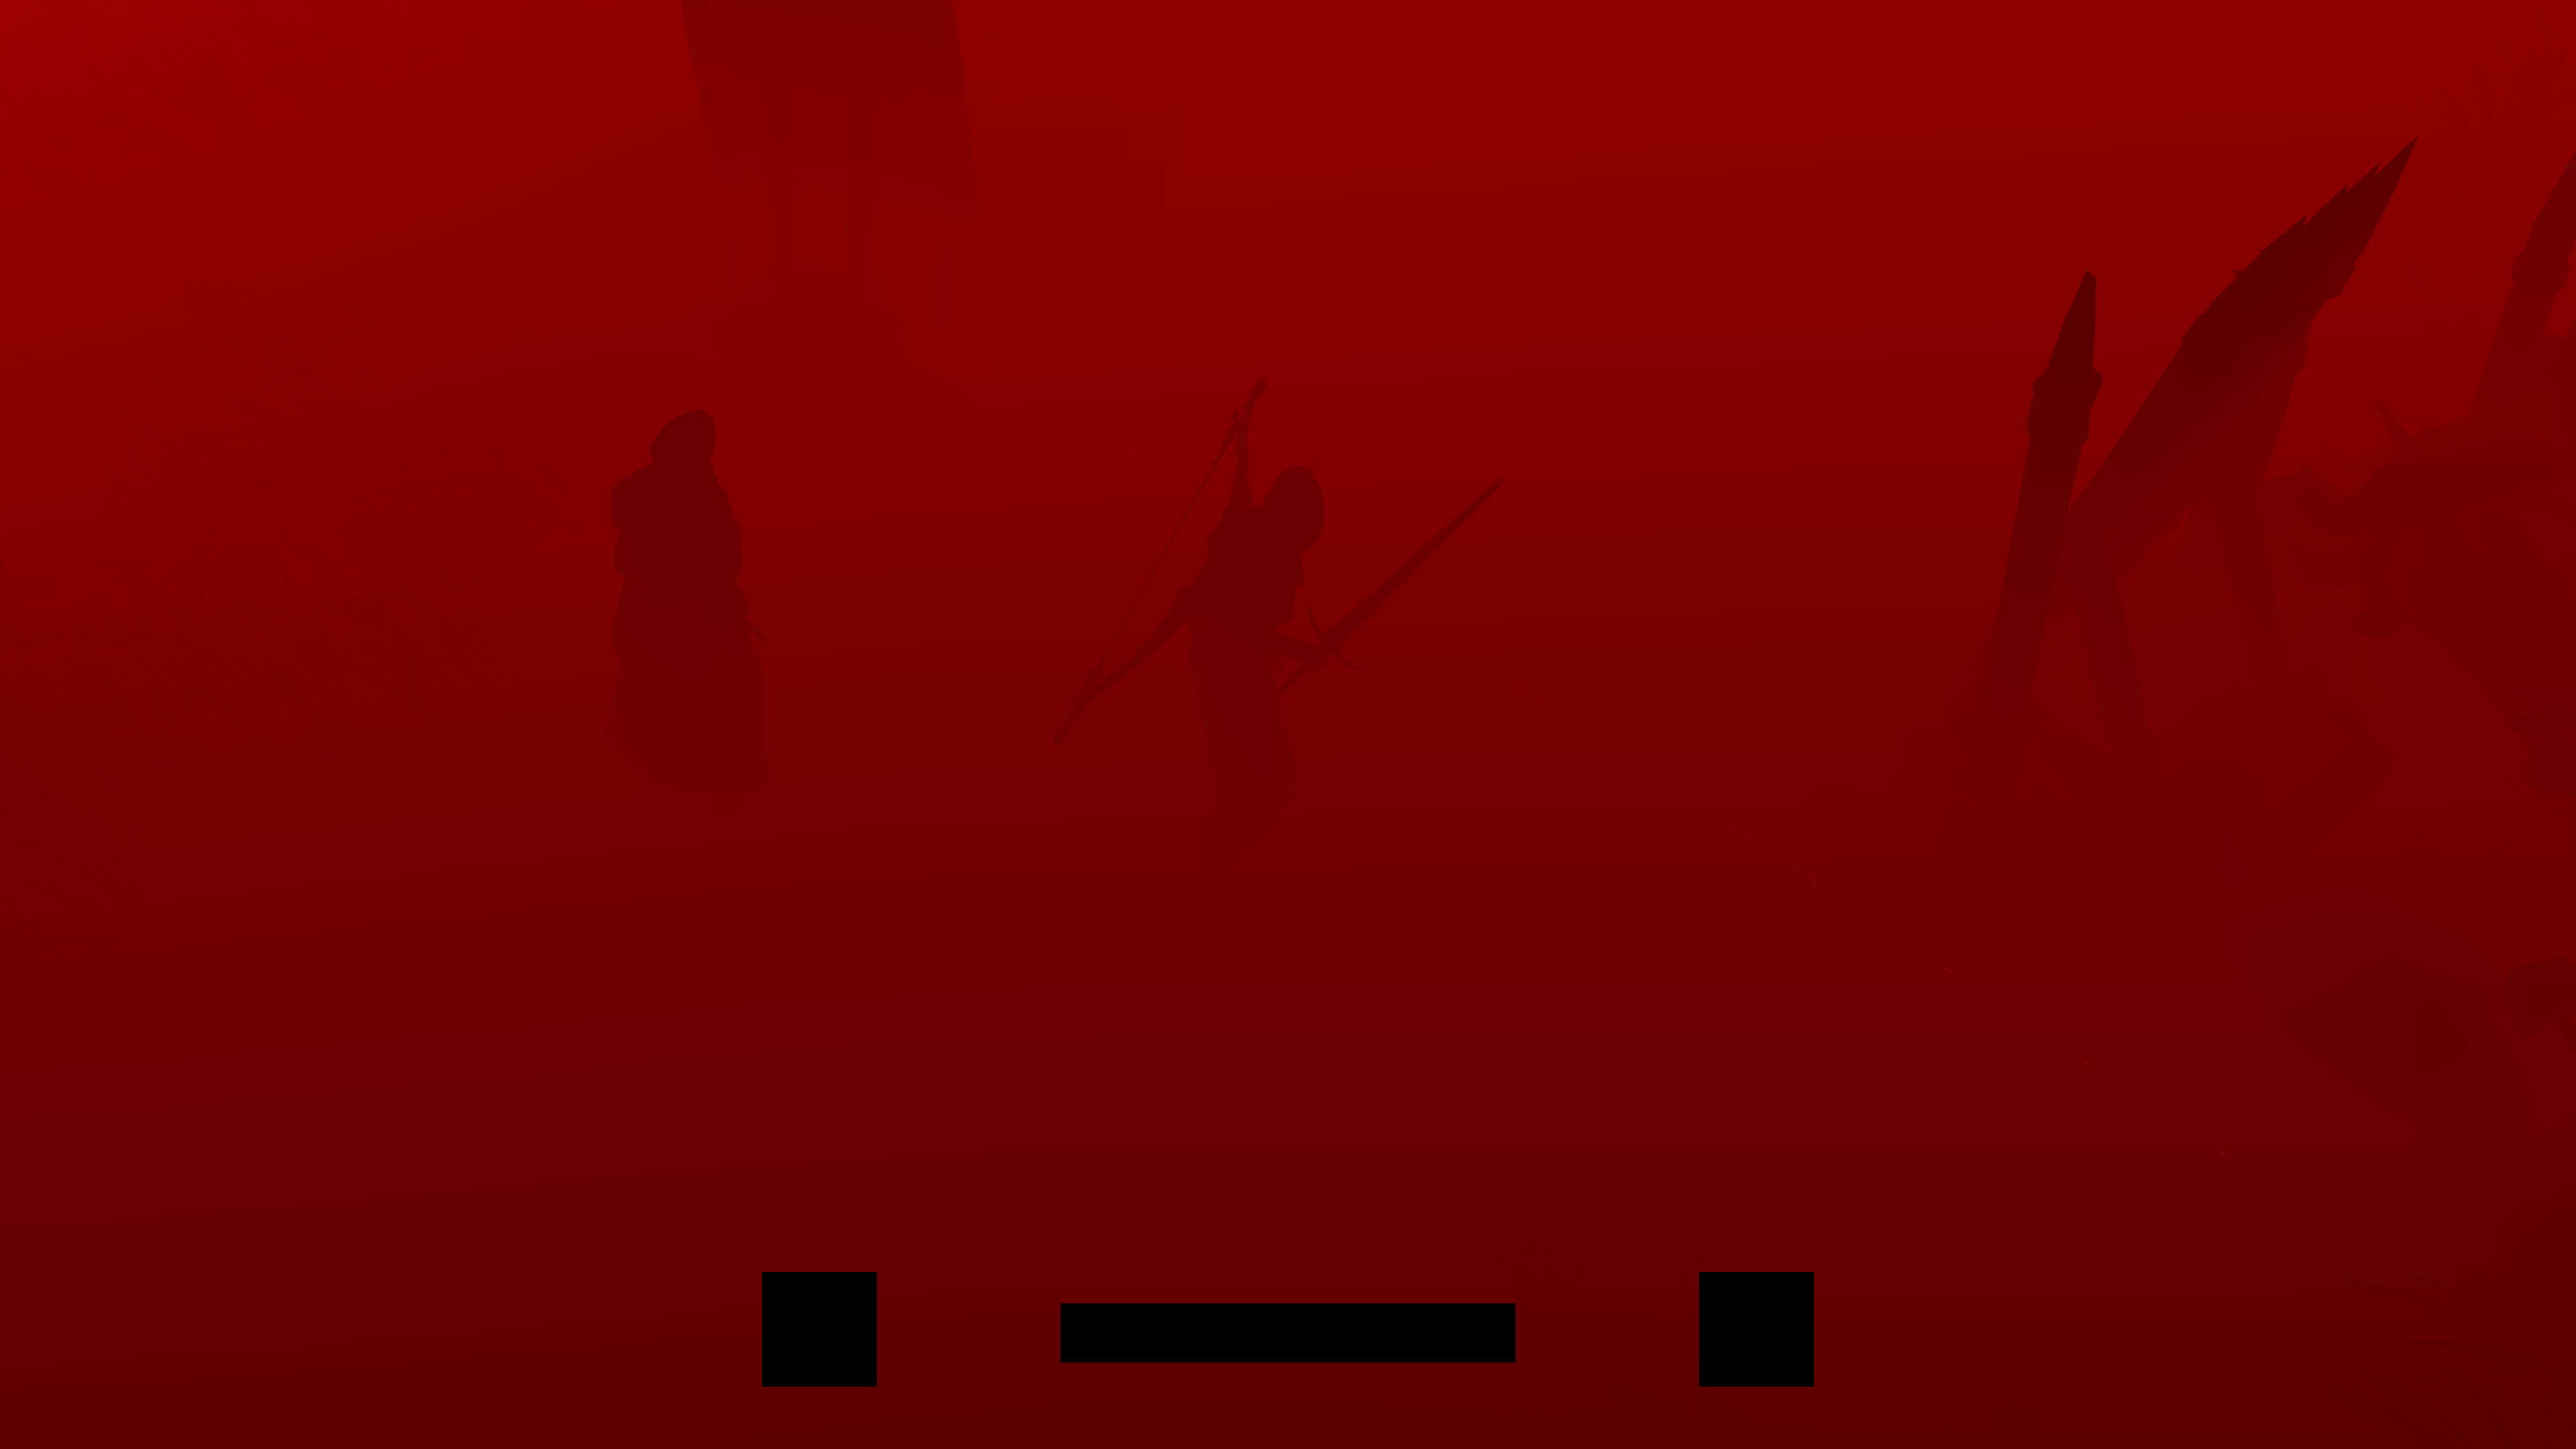
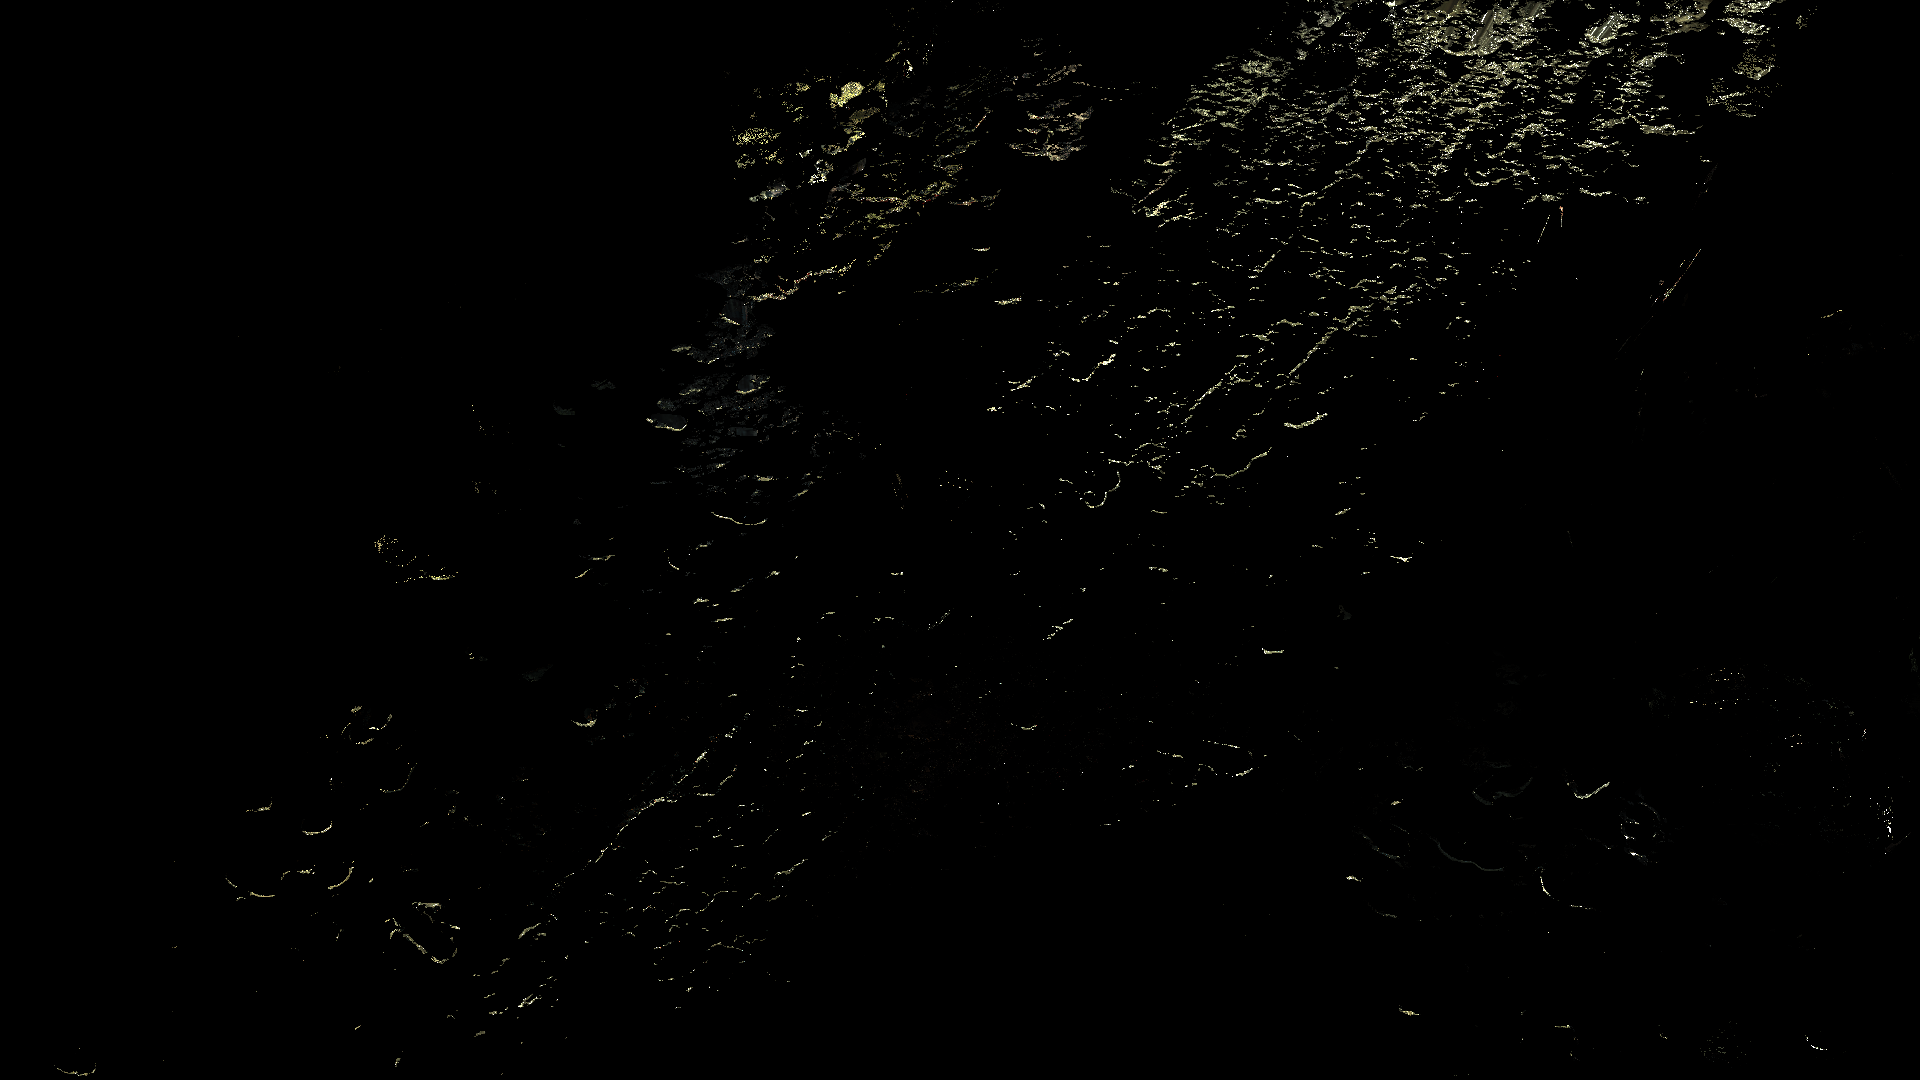
Lighting
Lighting in Diablo 4 is deferred (i assume you know by now 😏 we’ve GBuffer) and it is done mostly via the magic of GBuffer light sources, which are most of the time are between Spot or Point lights. Of course it has other lights like directional lights, and in fact, some cases there are 2 directional lights.
Here all the steps in order of execution, inputs followed by the output of each step
1.IBL Probe


2.IBL Irradiance


3.Emissive
Remember when mentioned that “Emissive” stored in the A channel during GBuffering…

4.Directional Cascades

5.GBuffer Lights

So ignoring all the inputs, and to put them all in a timeline & because progressive images are better than words at many cases, here are the summary of the lighting steps in a tidy way. Keep in mind, everything is done in the frame format (RGBA16_FLOAT) and in the target resolution (3840*2160).
Steps are consistent between cinematics & gameplay, what i’ve noticed to differ most of the time was the light sources count & their types.
Anyways, we will be re-visiting lighting again by the end of the article (at the Engine General Notes), to cover a very unique lighting case that i liked!
SSR
This game has a lot of puddles, blood, wetness, rivers & metal objects, and reflections needed to stand out, as you have over 50% of any frame most of the time needed to reflect something in a way or another. And despite the simplicity of the SSR used here, but it did great job!
1.SSR Image
At first, with all the information we need is in hand already in the GBuffer (world positions, normals, surface properties), a SSR frag shader runs to calculate reflected colors (and their amount) for the pixels that should be reflective based on the GBuffer’s roughness & metallic. The output is the base we need for the SSR image, and it is in 1/2 resolution.


2.Temporal AA
Then using the output from the previous step as an input for a TAA pass
3.Blur Horizontal
Then the output of the TAA go into a first blurring pass, this one is Horizontal.
4.Blur Vertical
And then the Horizontally blurred SSR image goes into a second blurring pass, the Vertical one.
5.Upscale
The the SSR image run through a scaling up shader to fit with the resolution of the light stencil (IBL/Lighting) output from previous steps, which is usually same as the final target display resoltuion.
6.Composite Reflection
And finally composite it to the frame!
So, putting all next to each other in sequential steps…
And for clarity, another example that has more reflection on “larger” surface…

Full inputs/outputs of the previous example


And even more larger surface…

Full inputs/outputs of the previous example


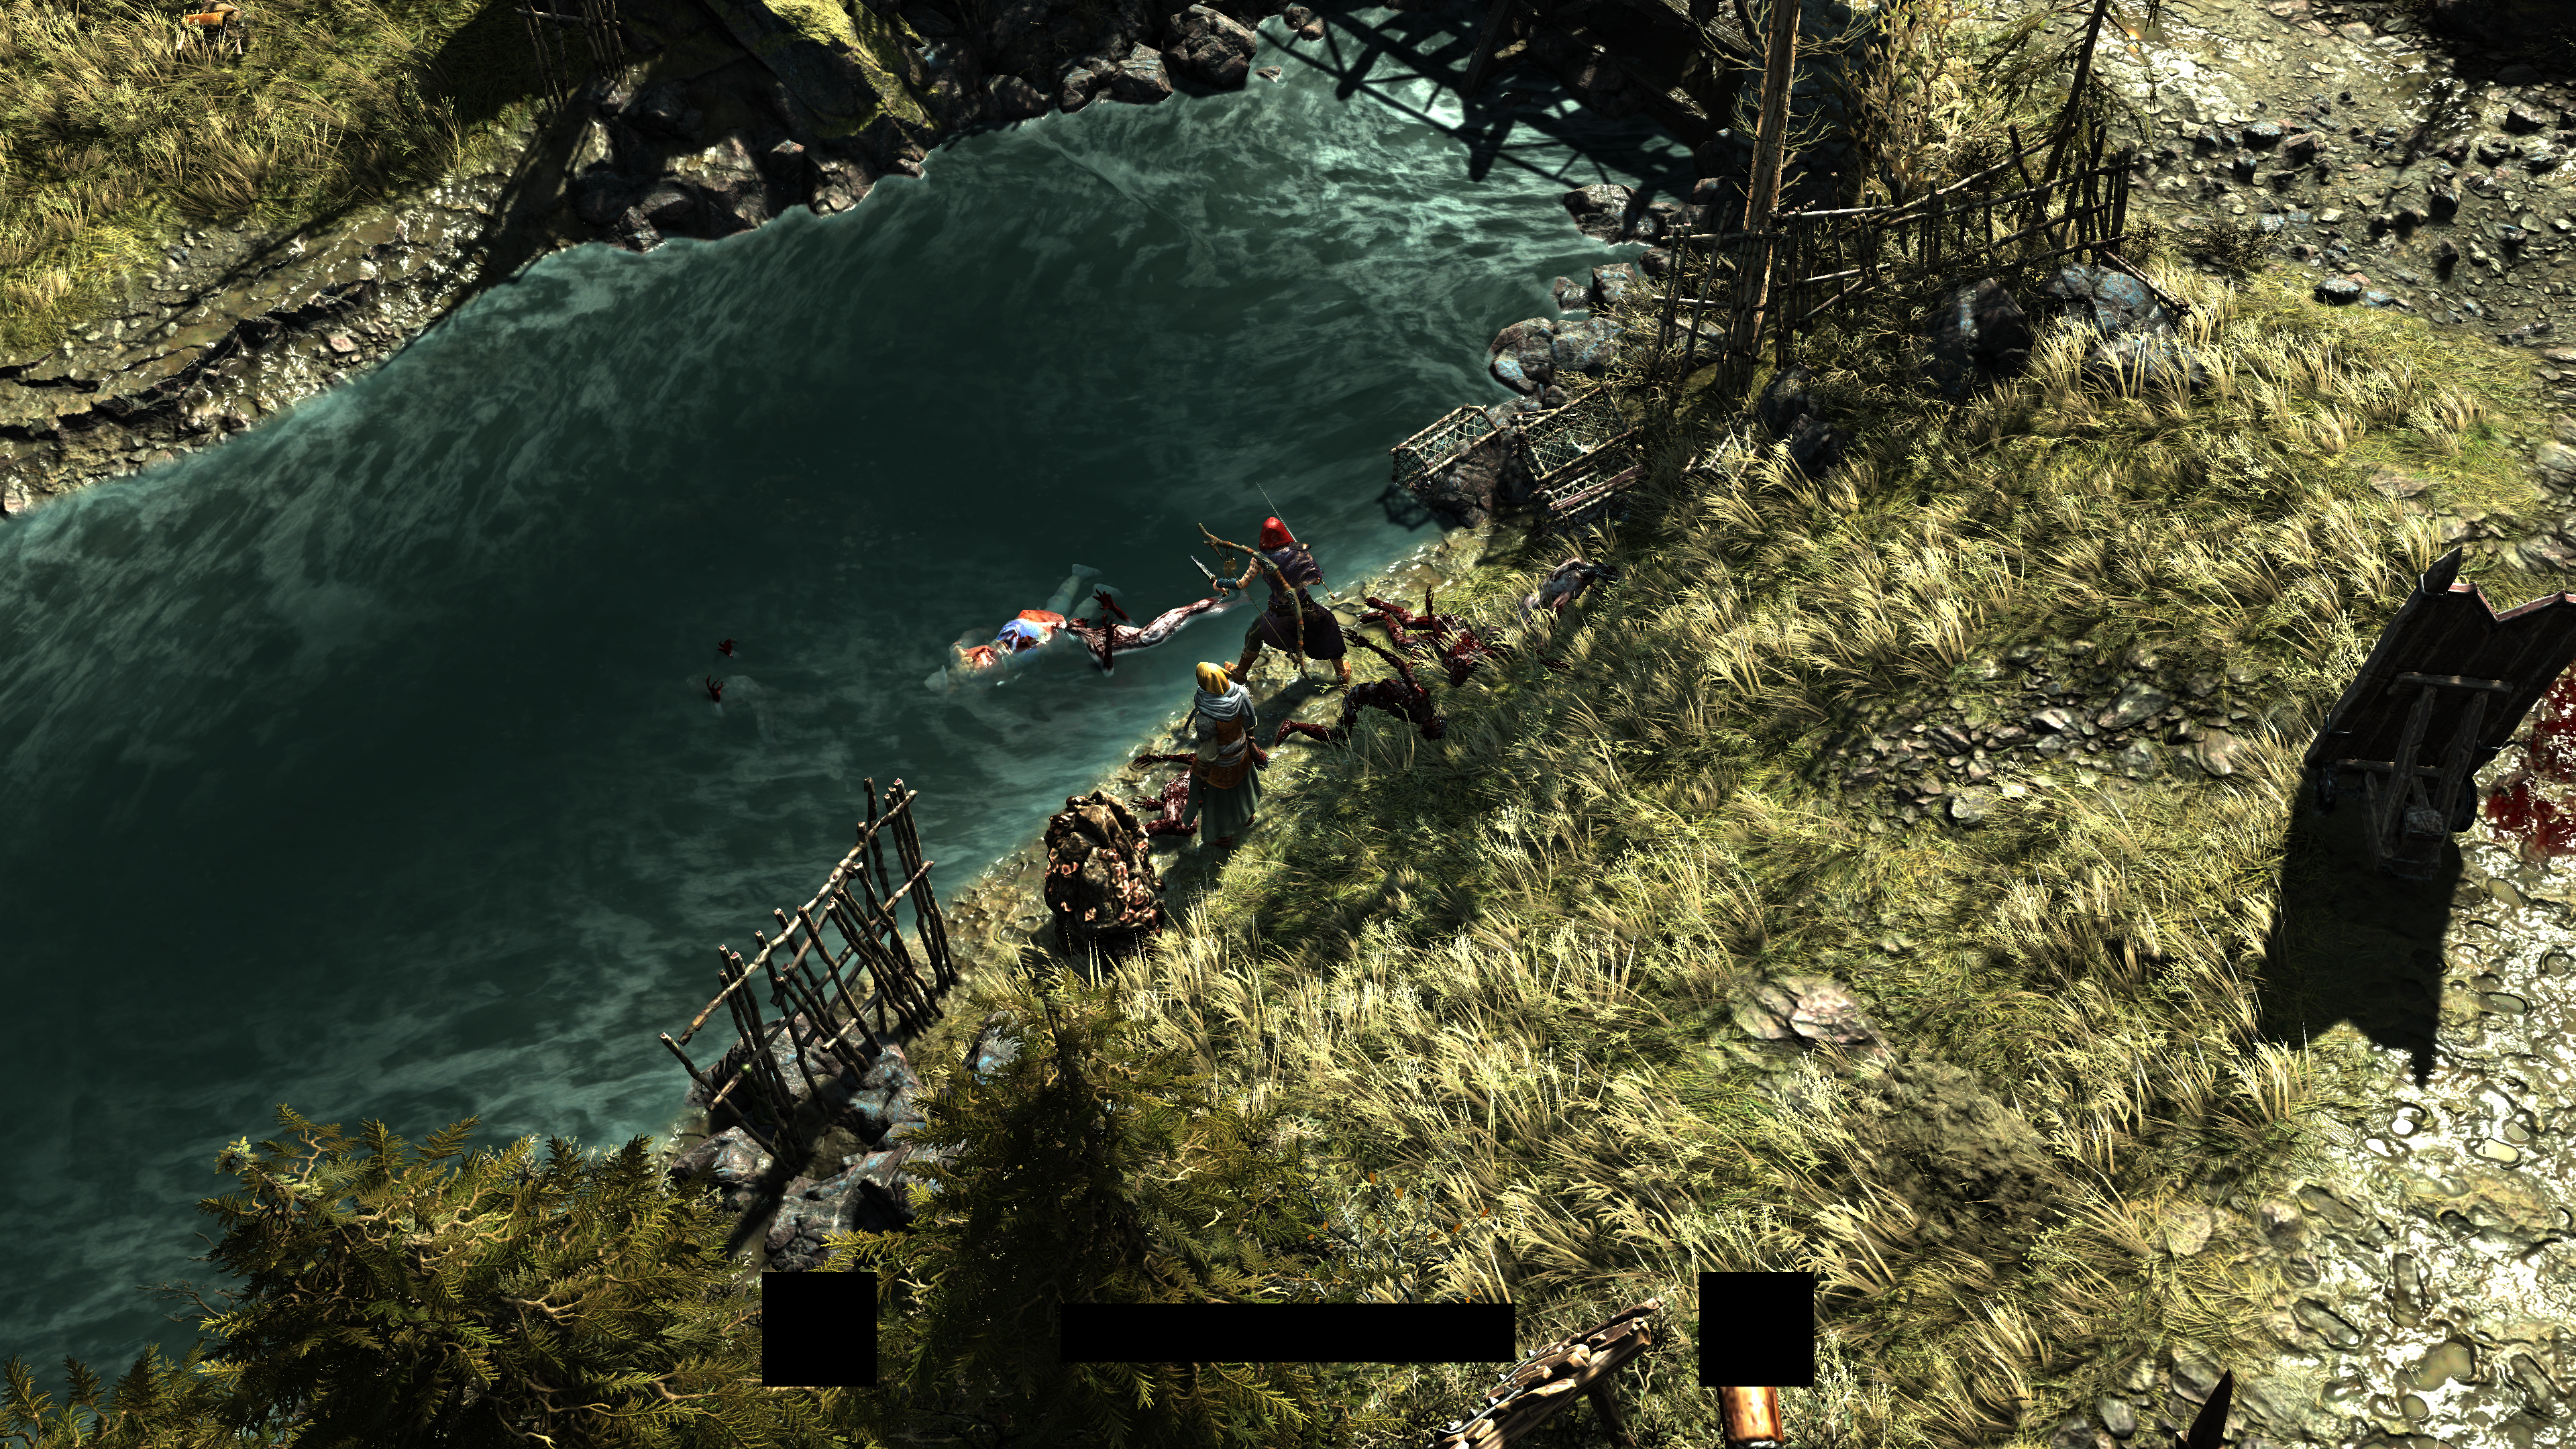
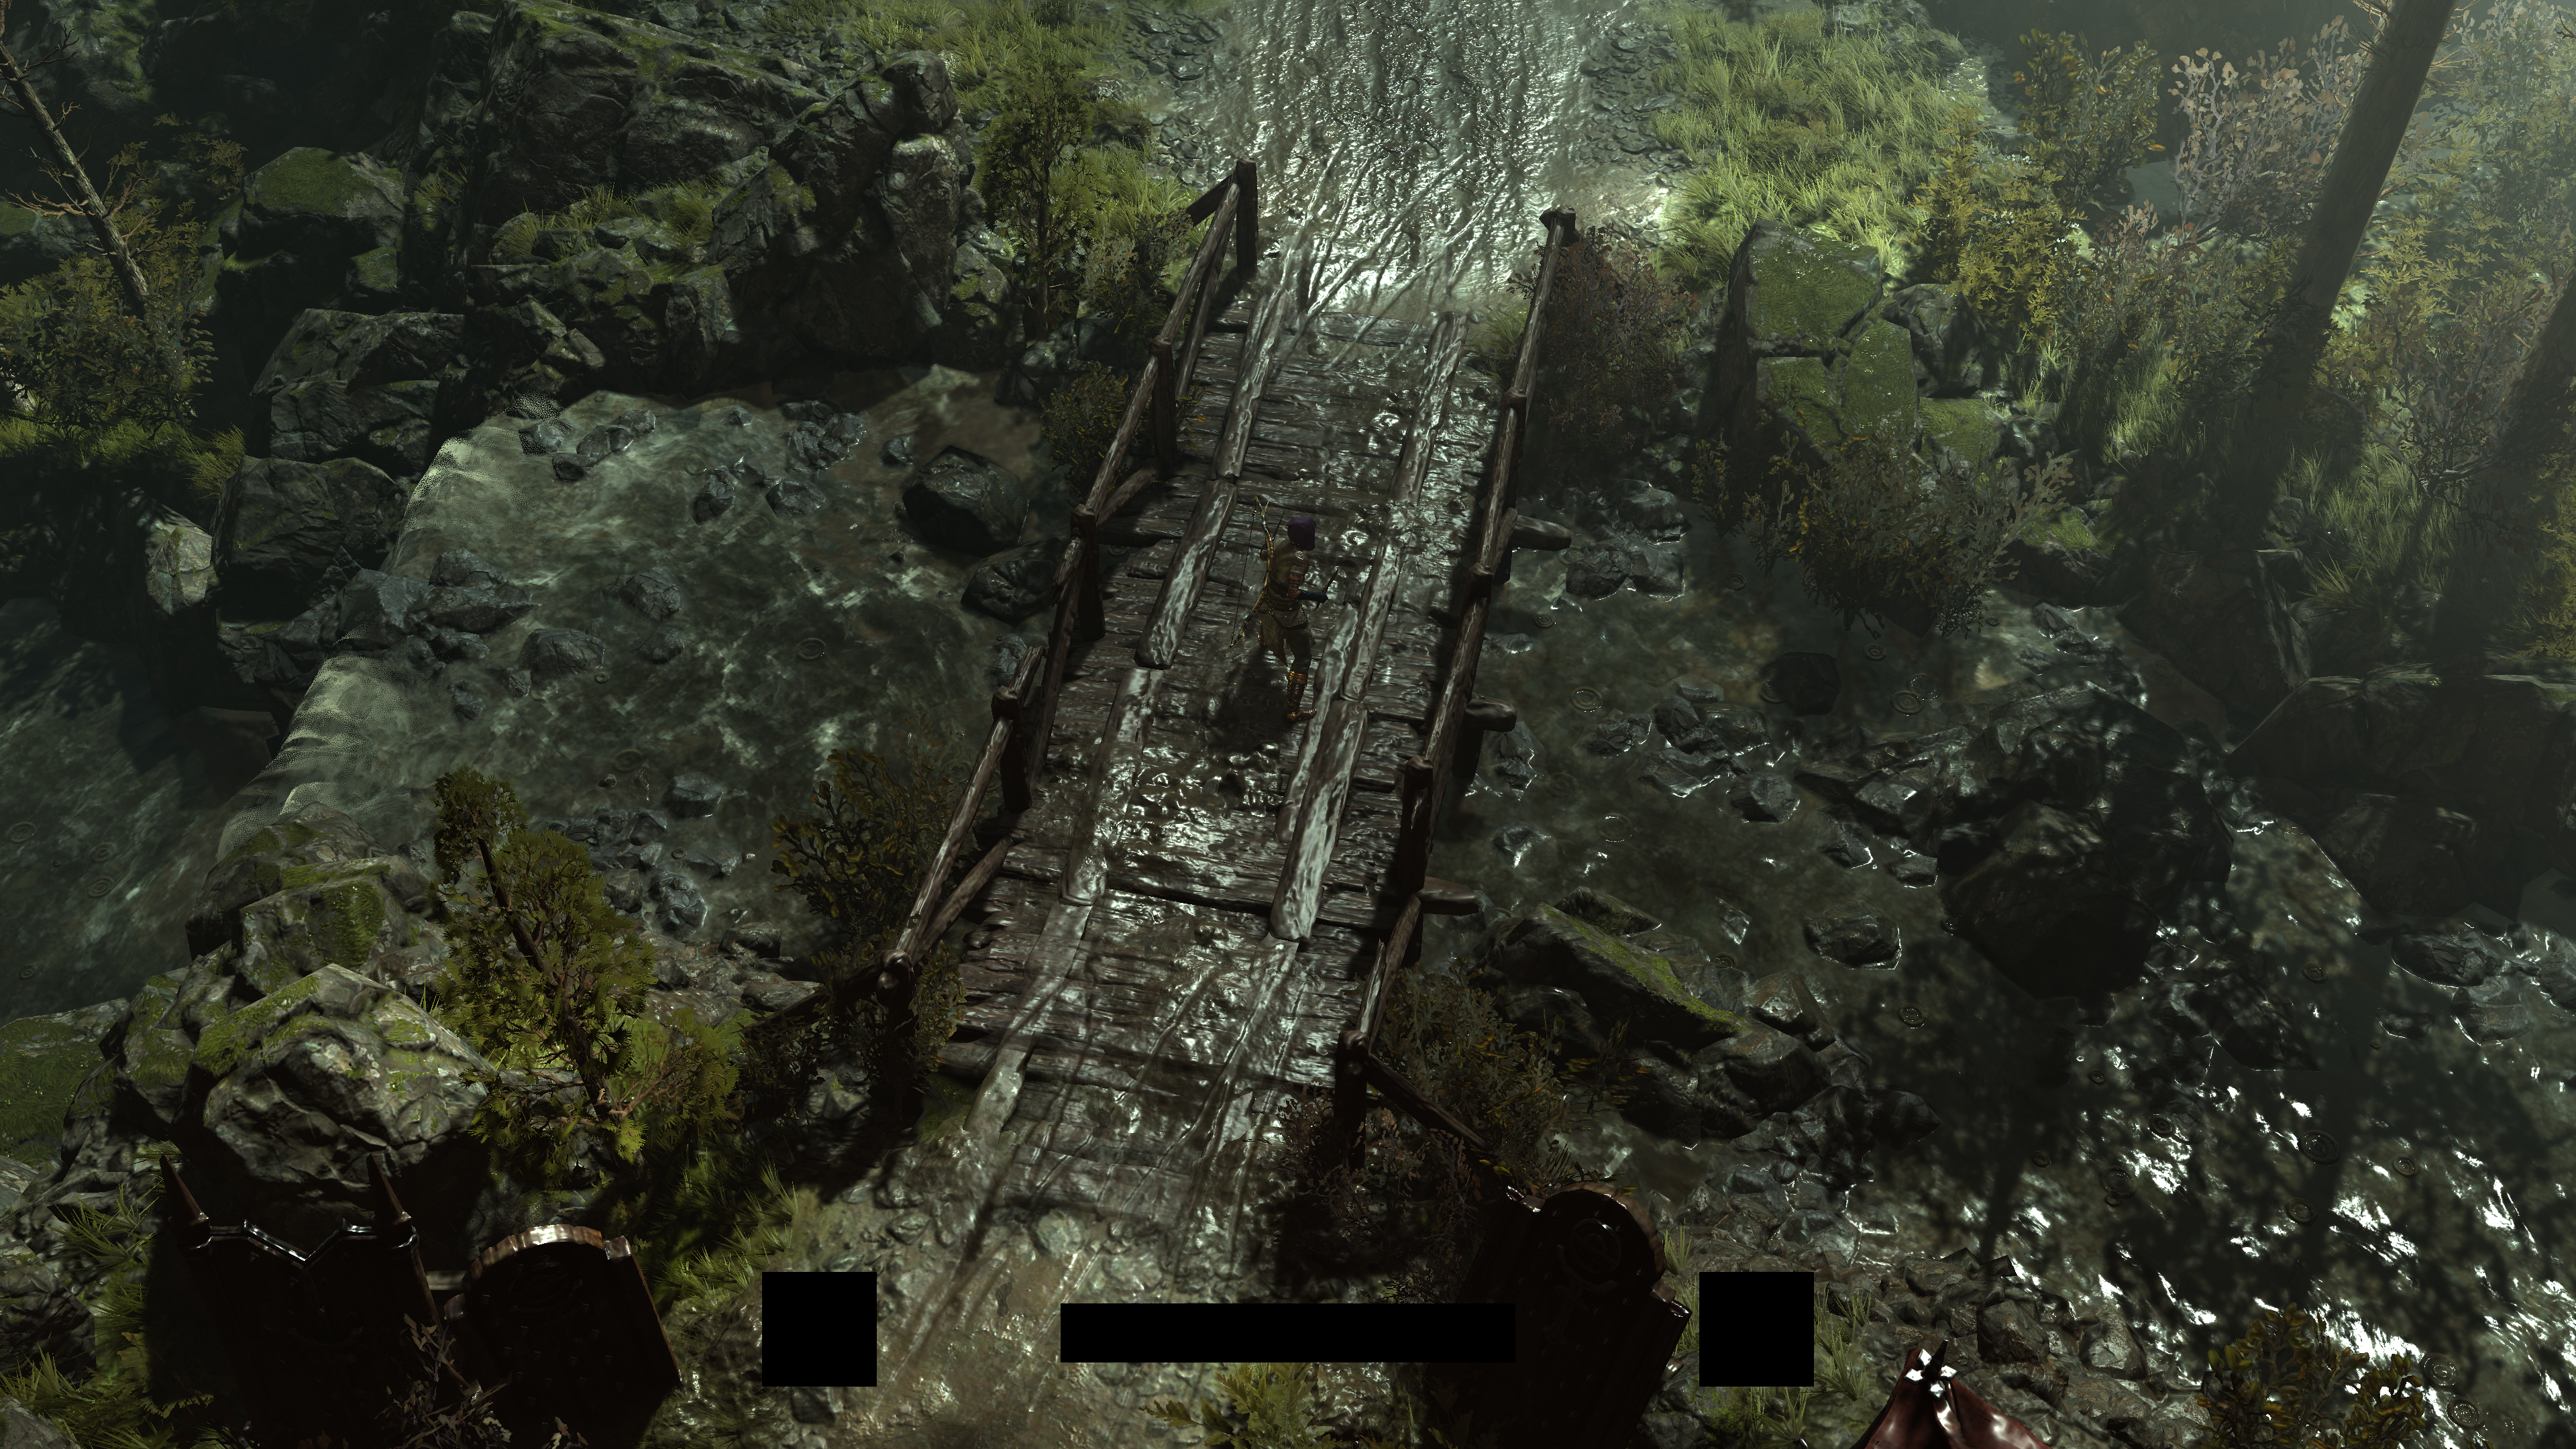
At this previous example, you can easily see at the top of the frame the reflection of the large boulder on the river surface. You can spot many things like this across the game, in fact once (unfortunately i was not hooking or capturing) i was able to see the player and the sword & cloth reflection in a a large puddle, like the ladder in the puddle of the following example..

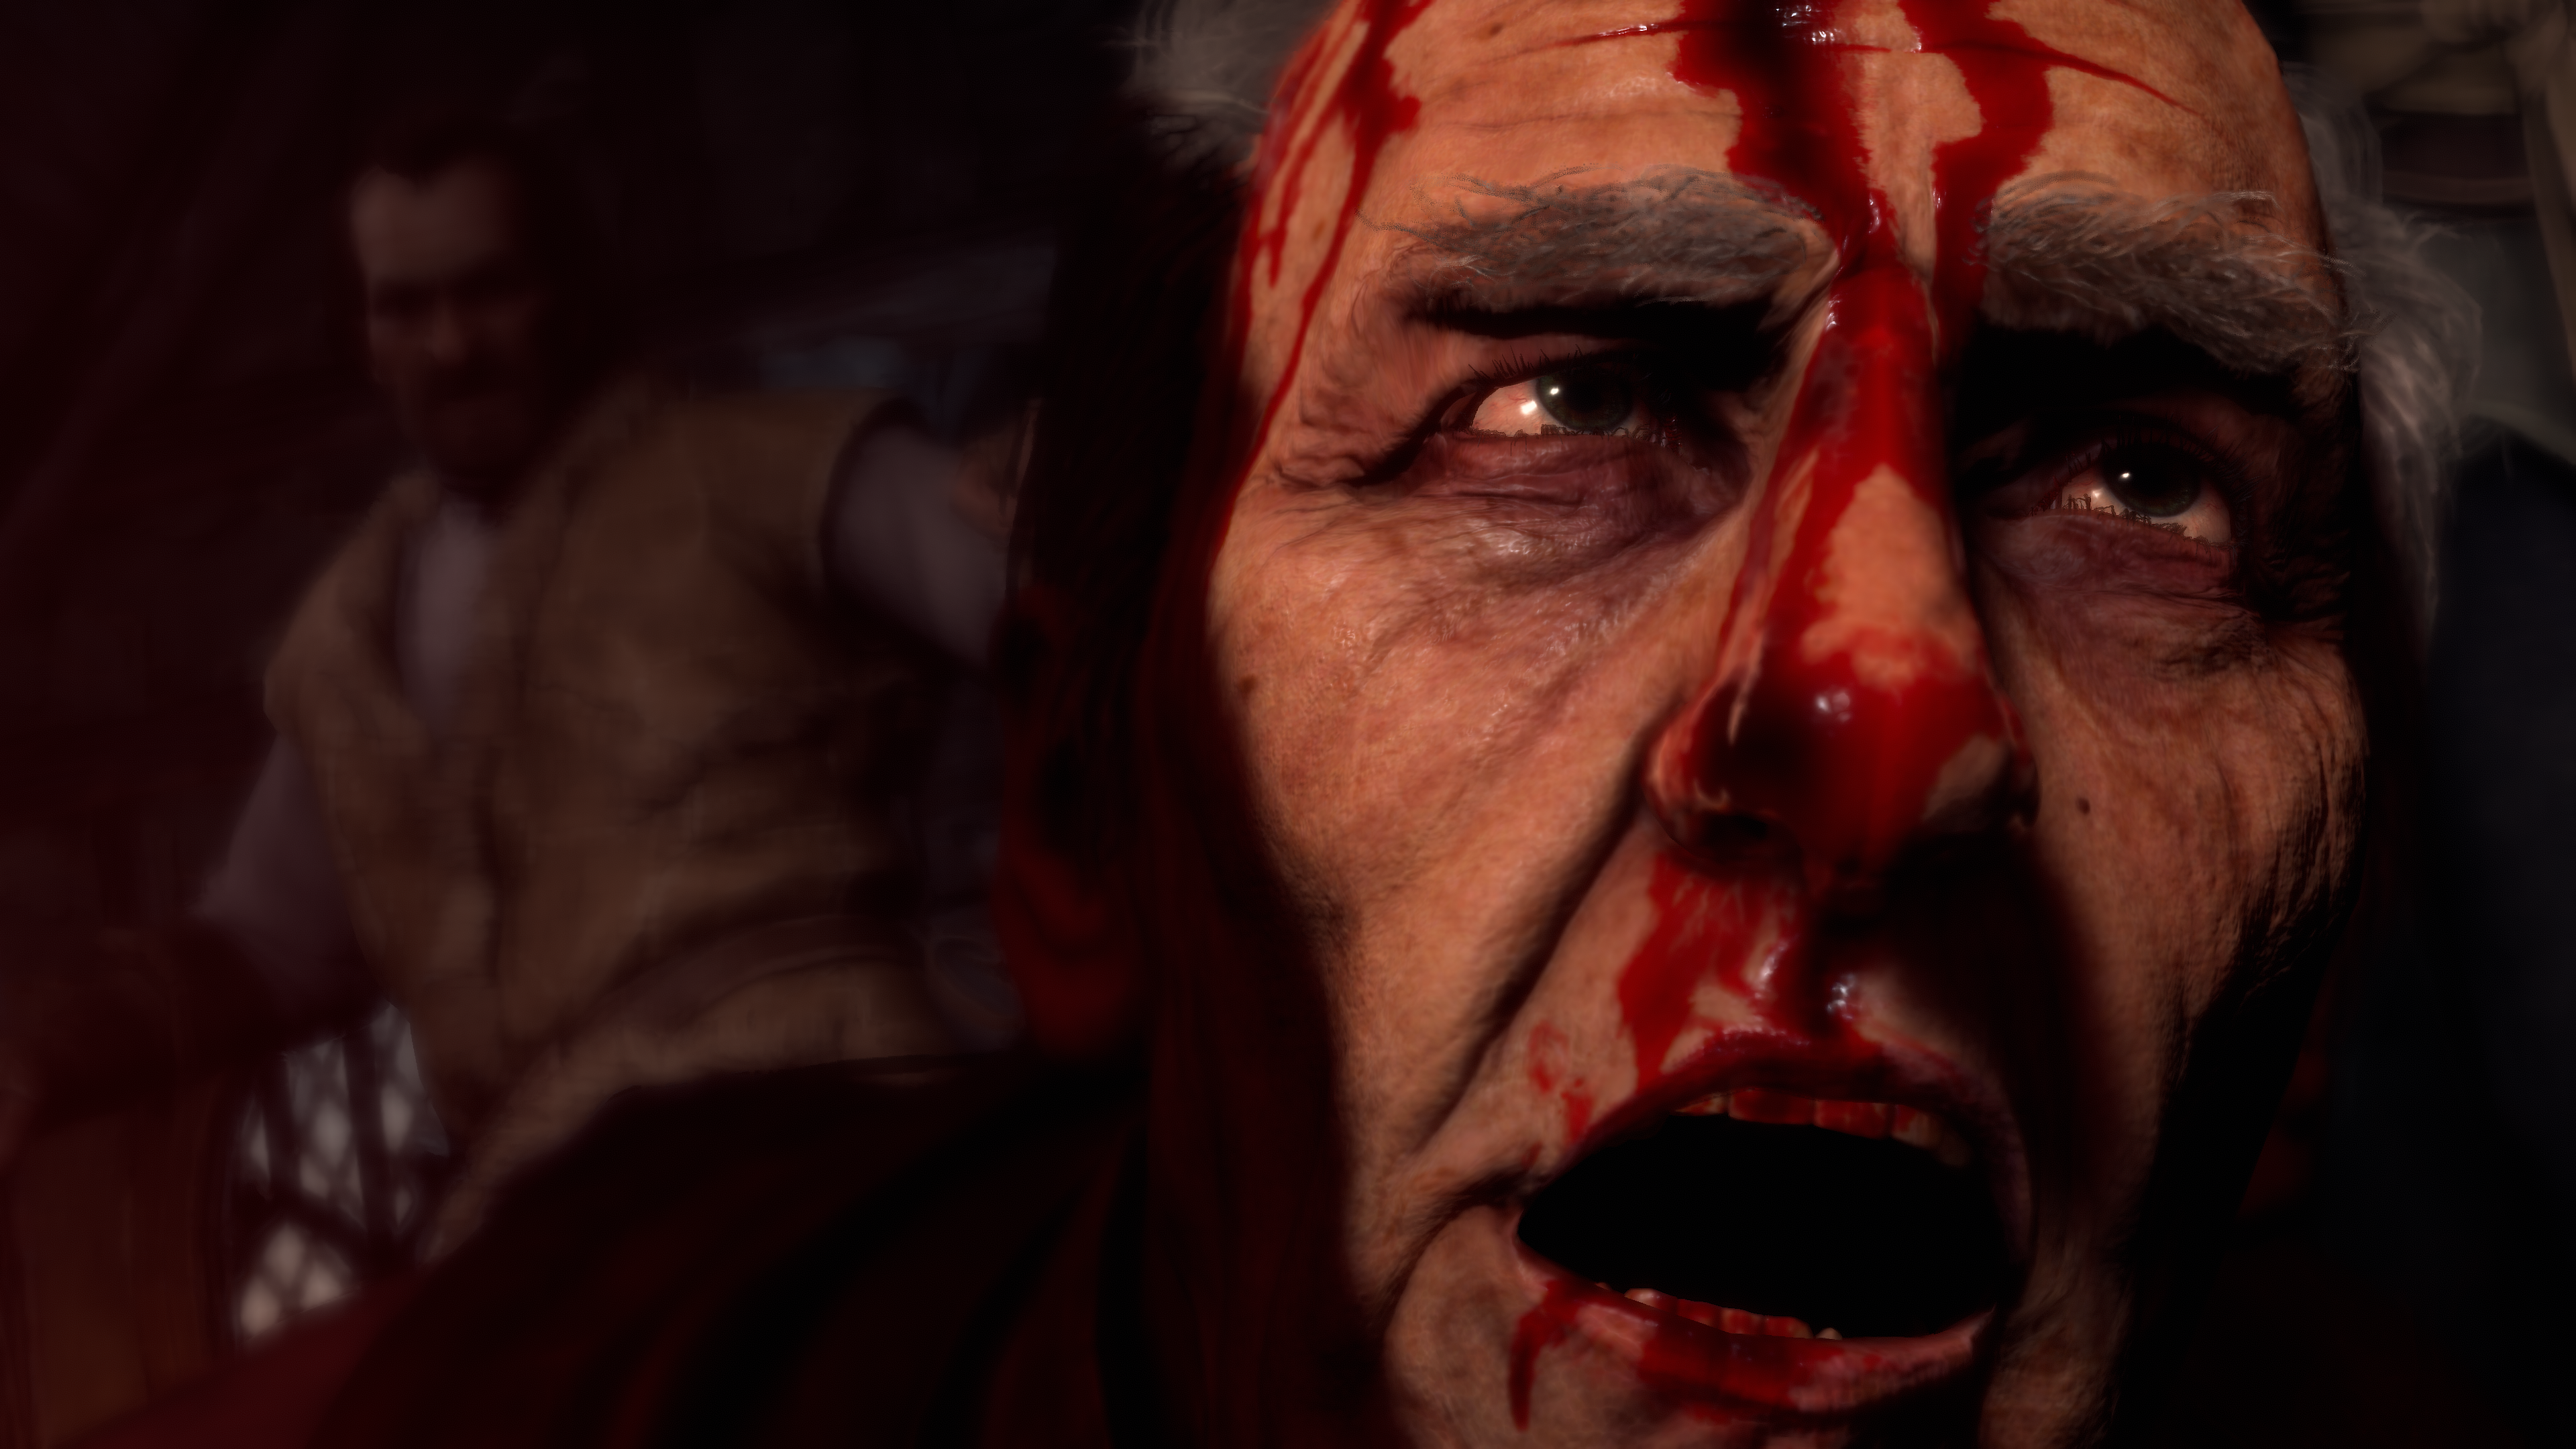
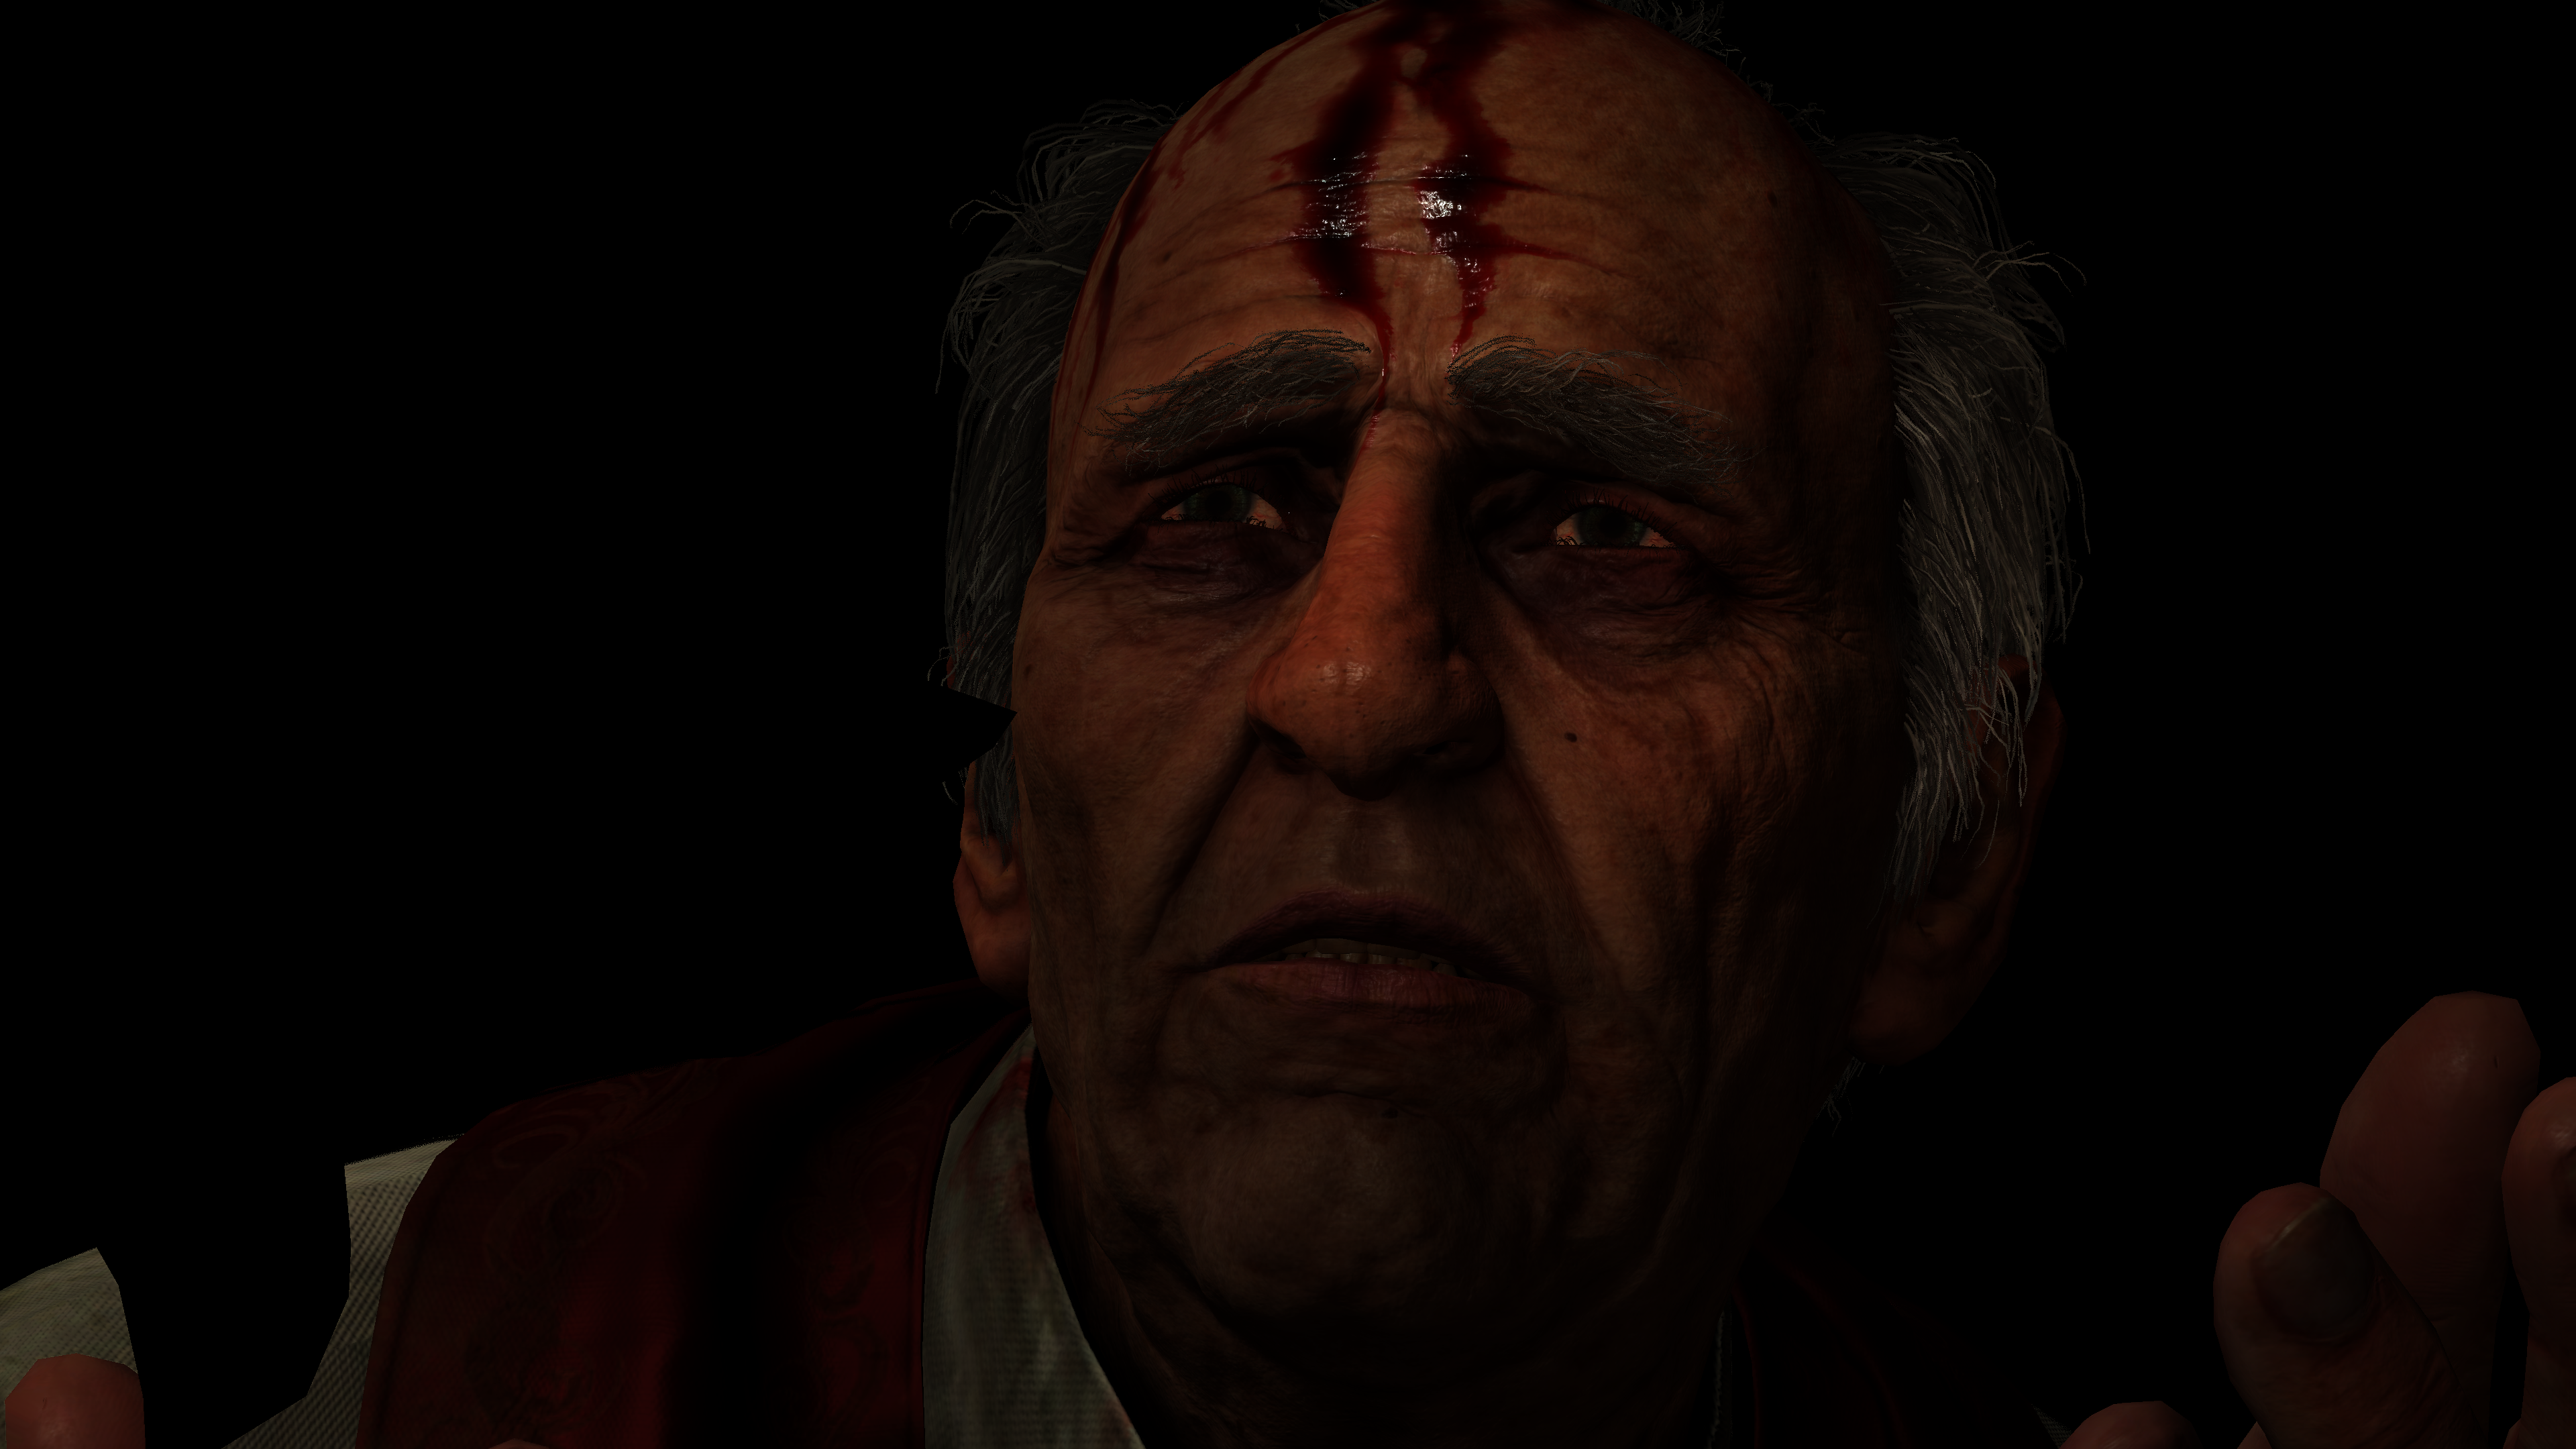
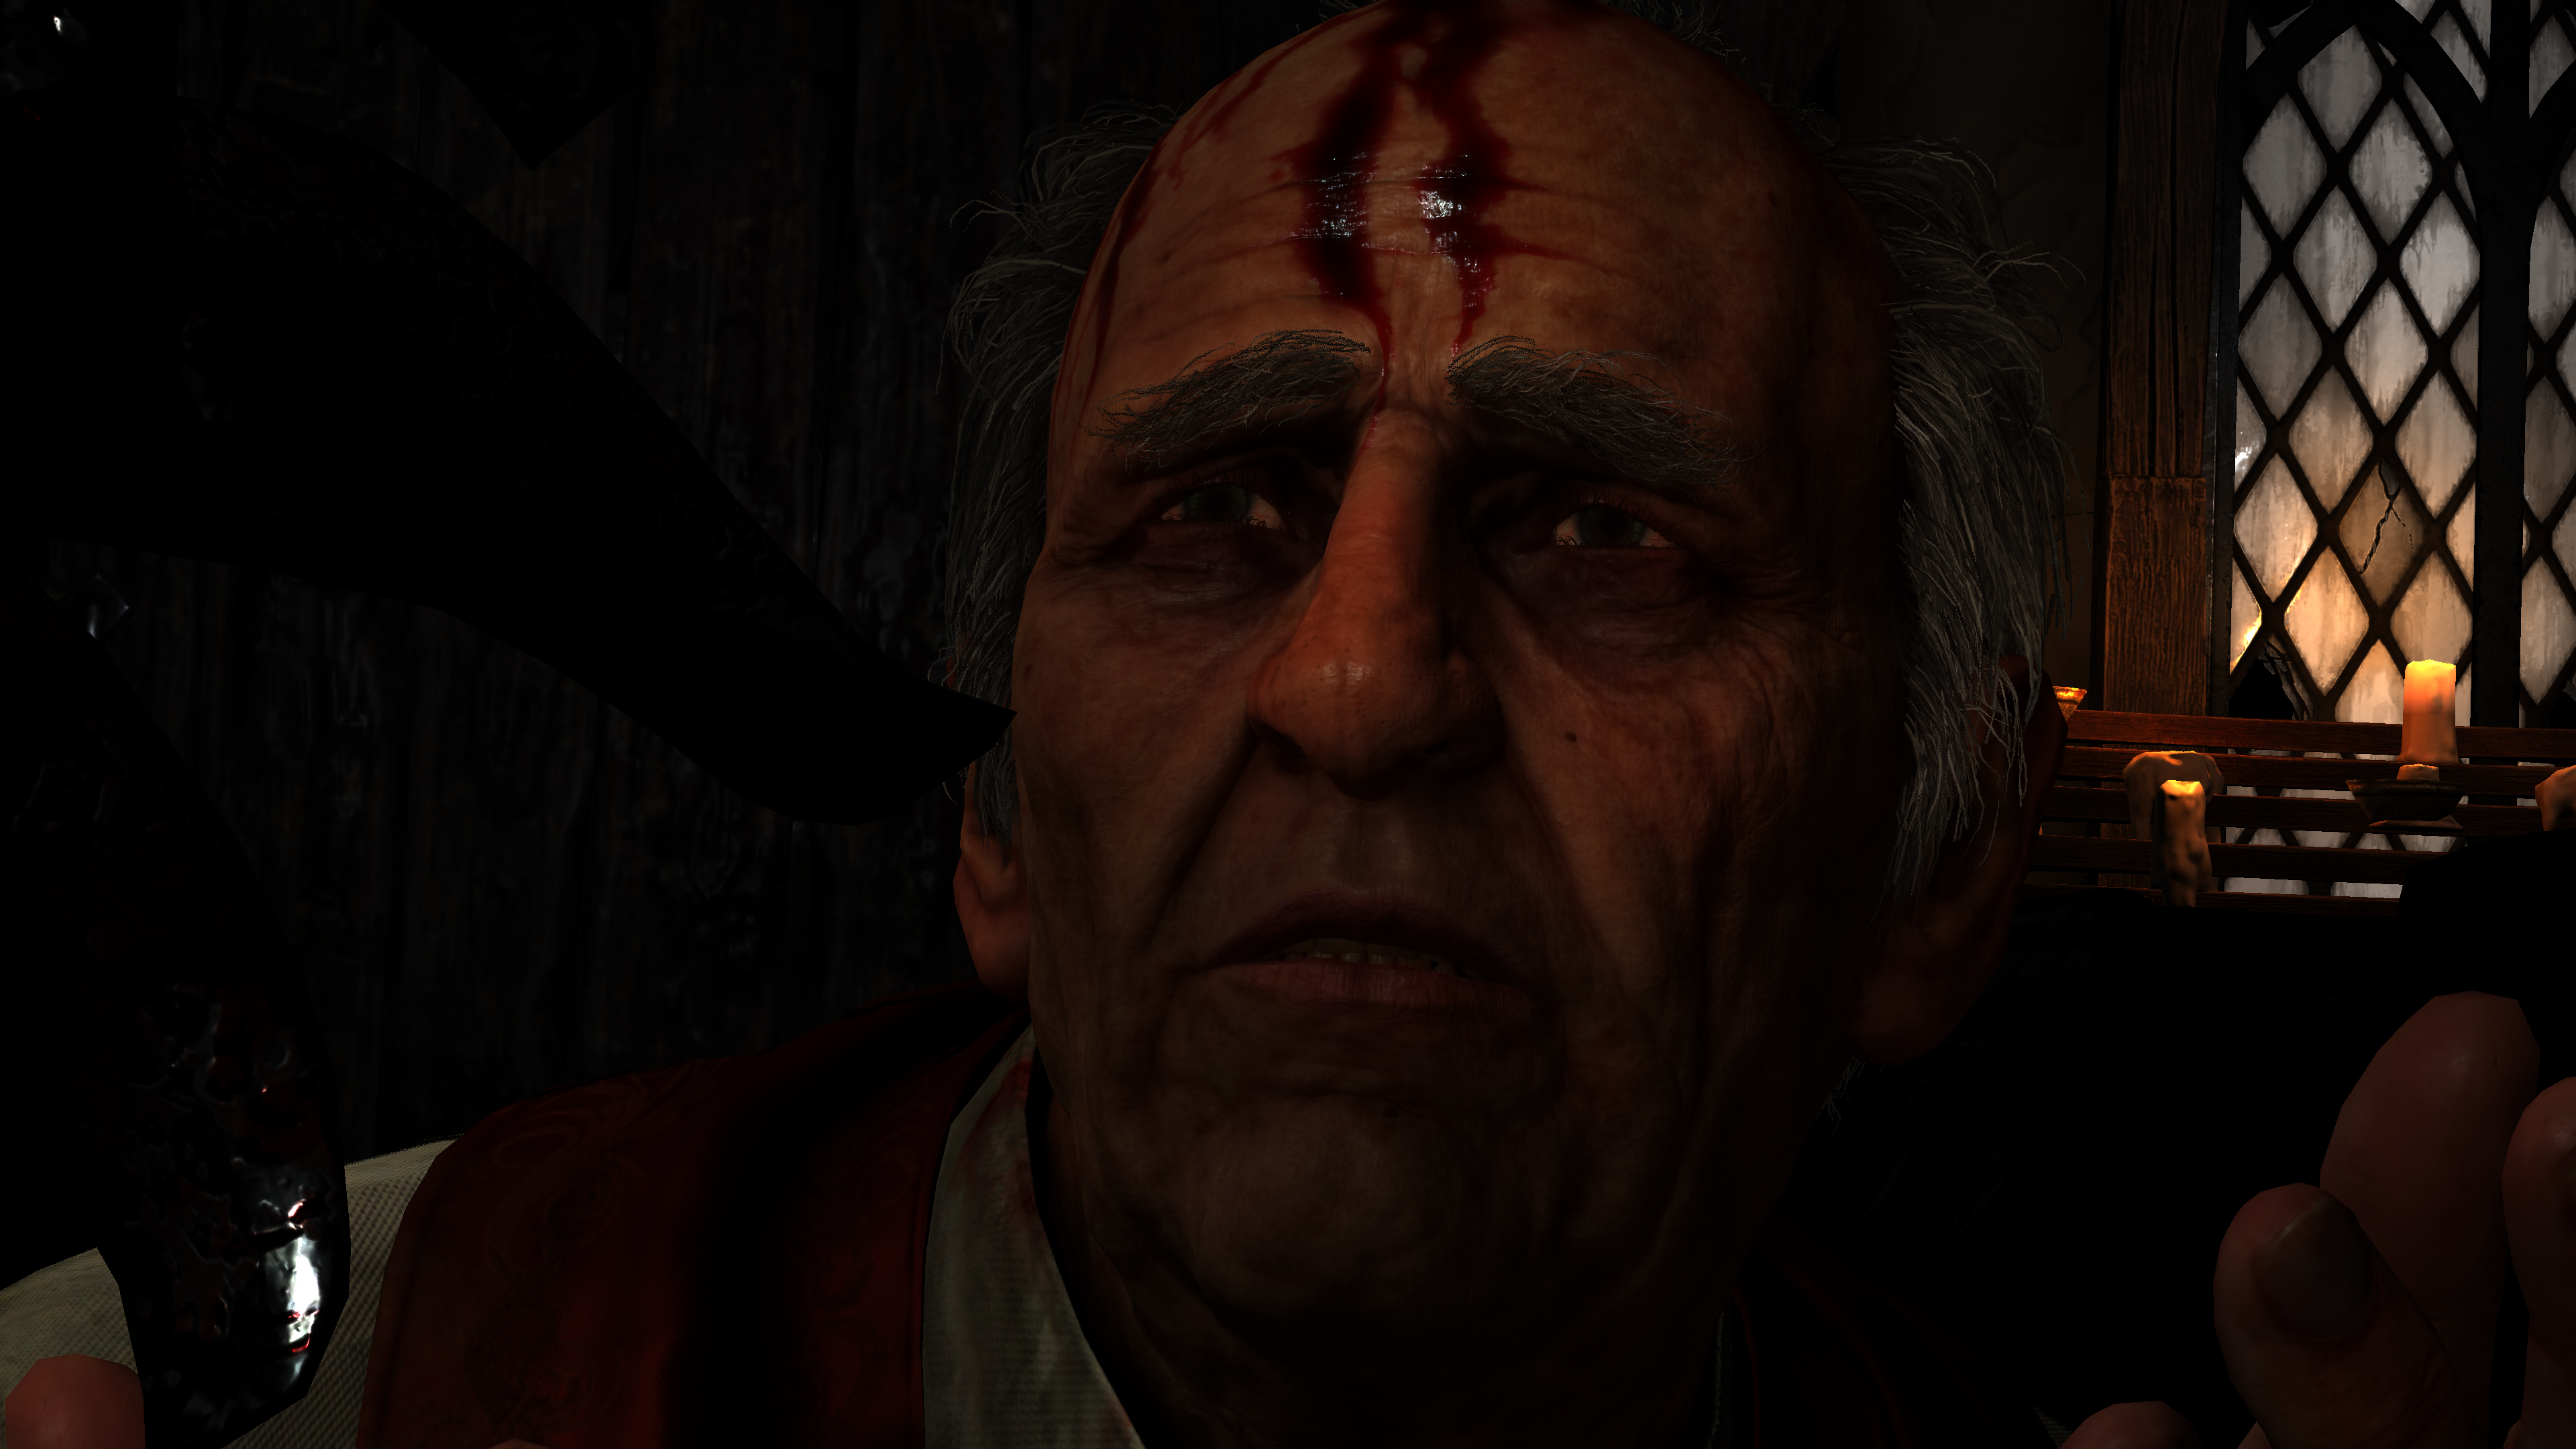
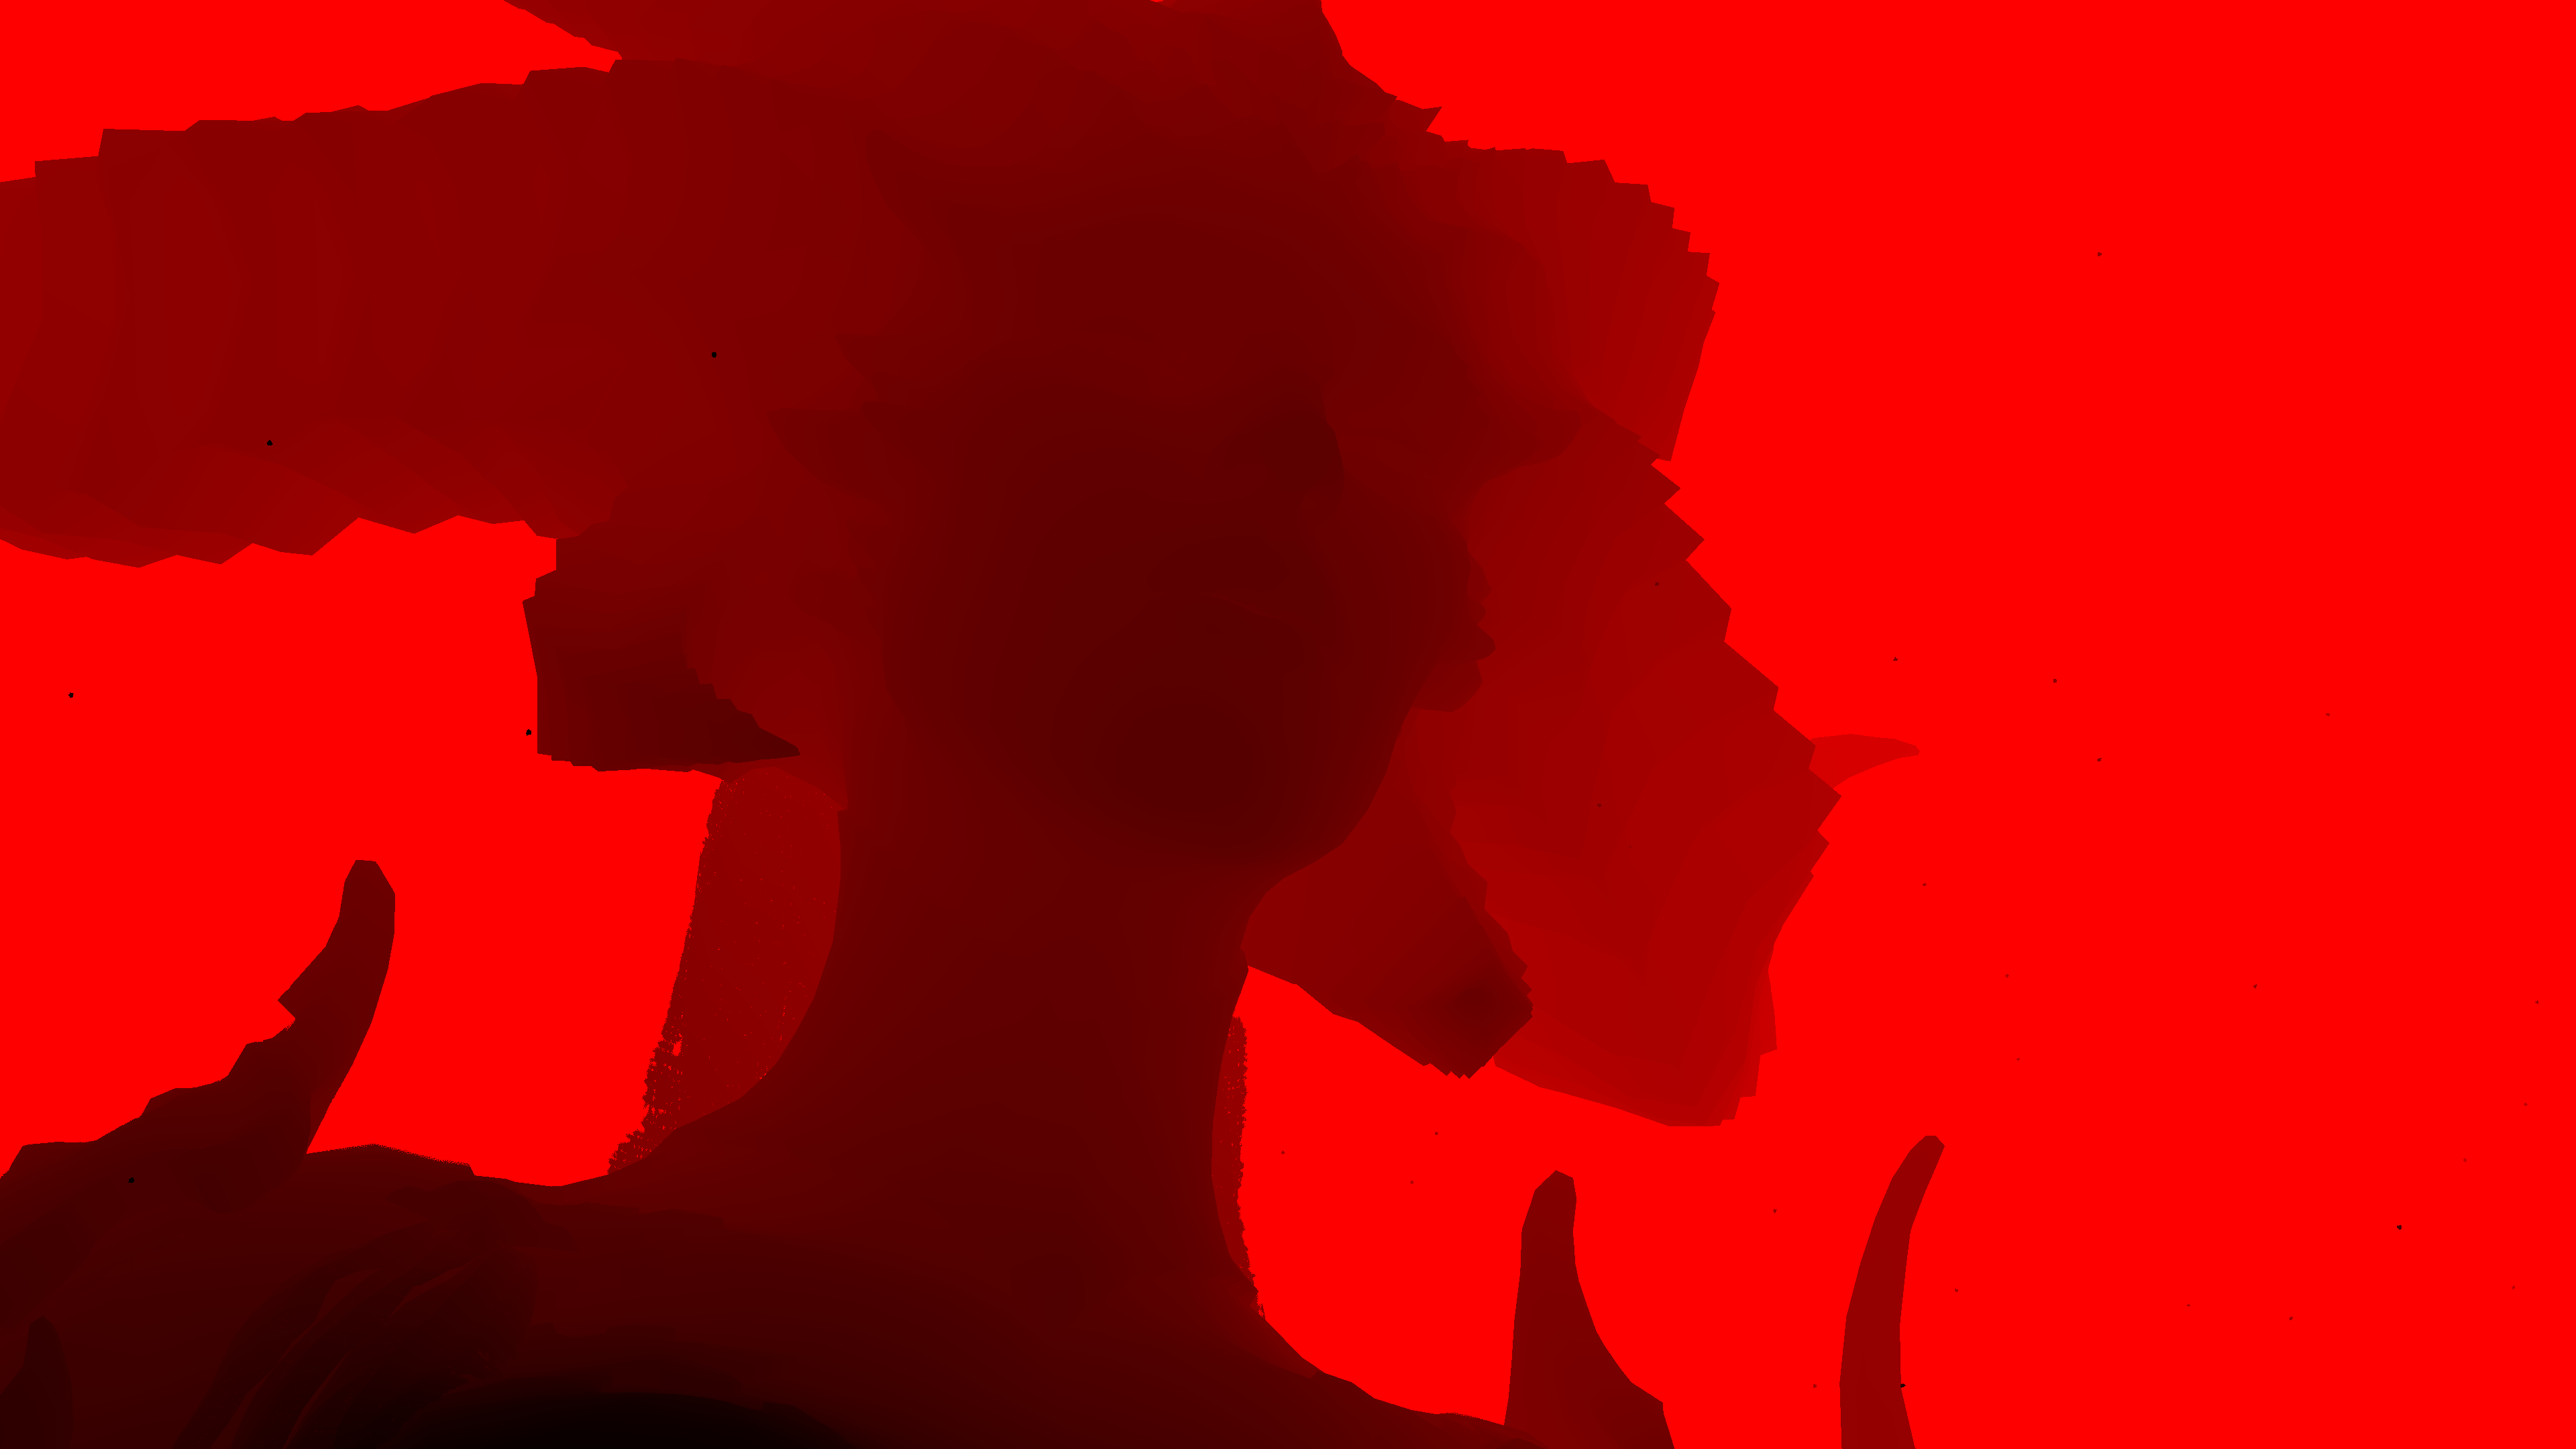
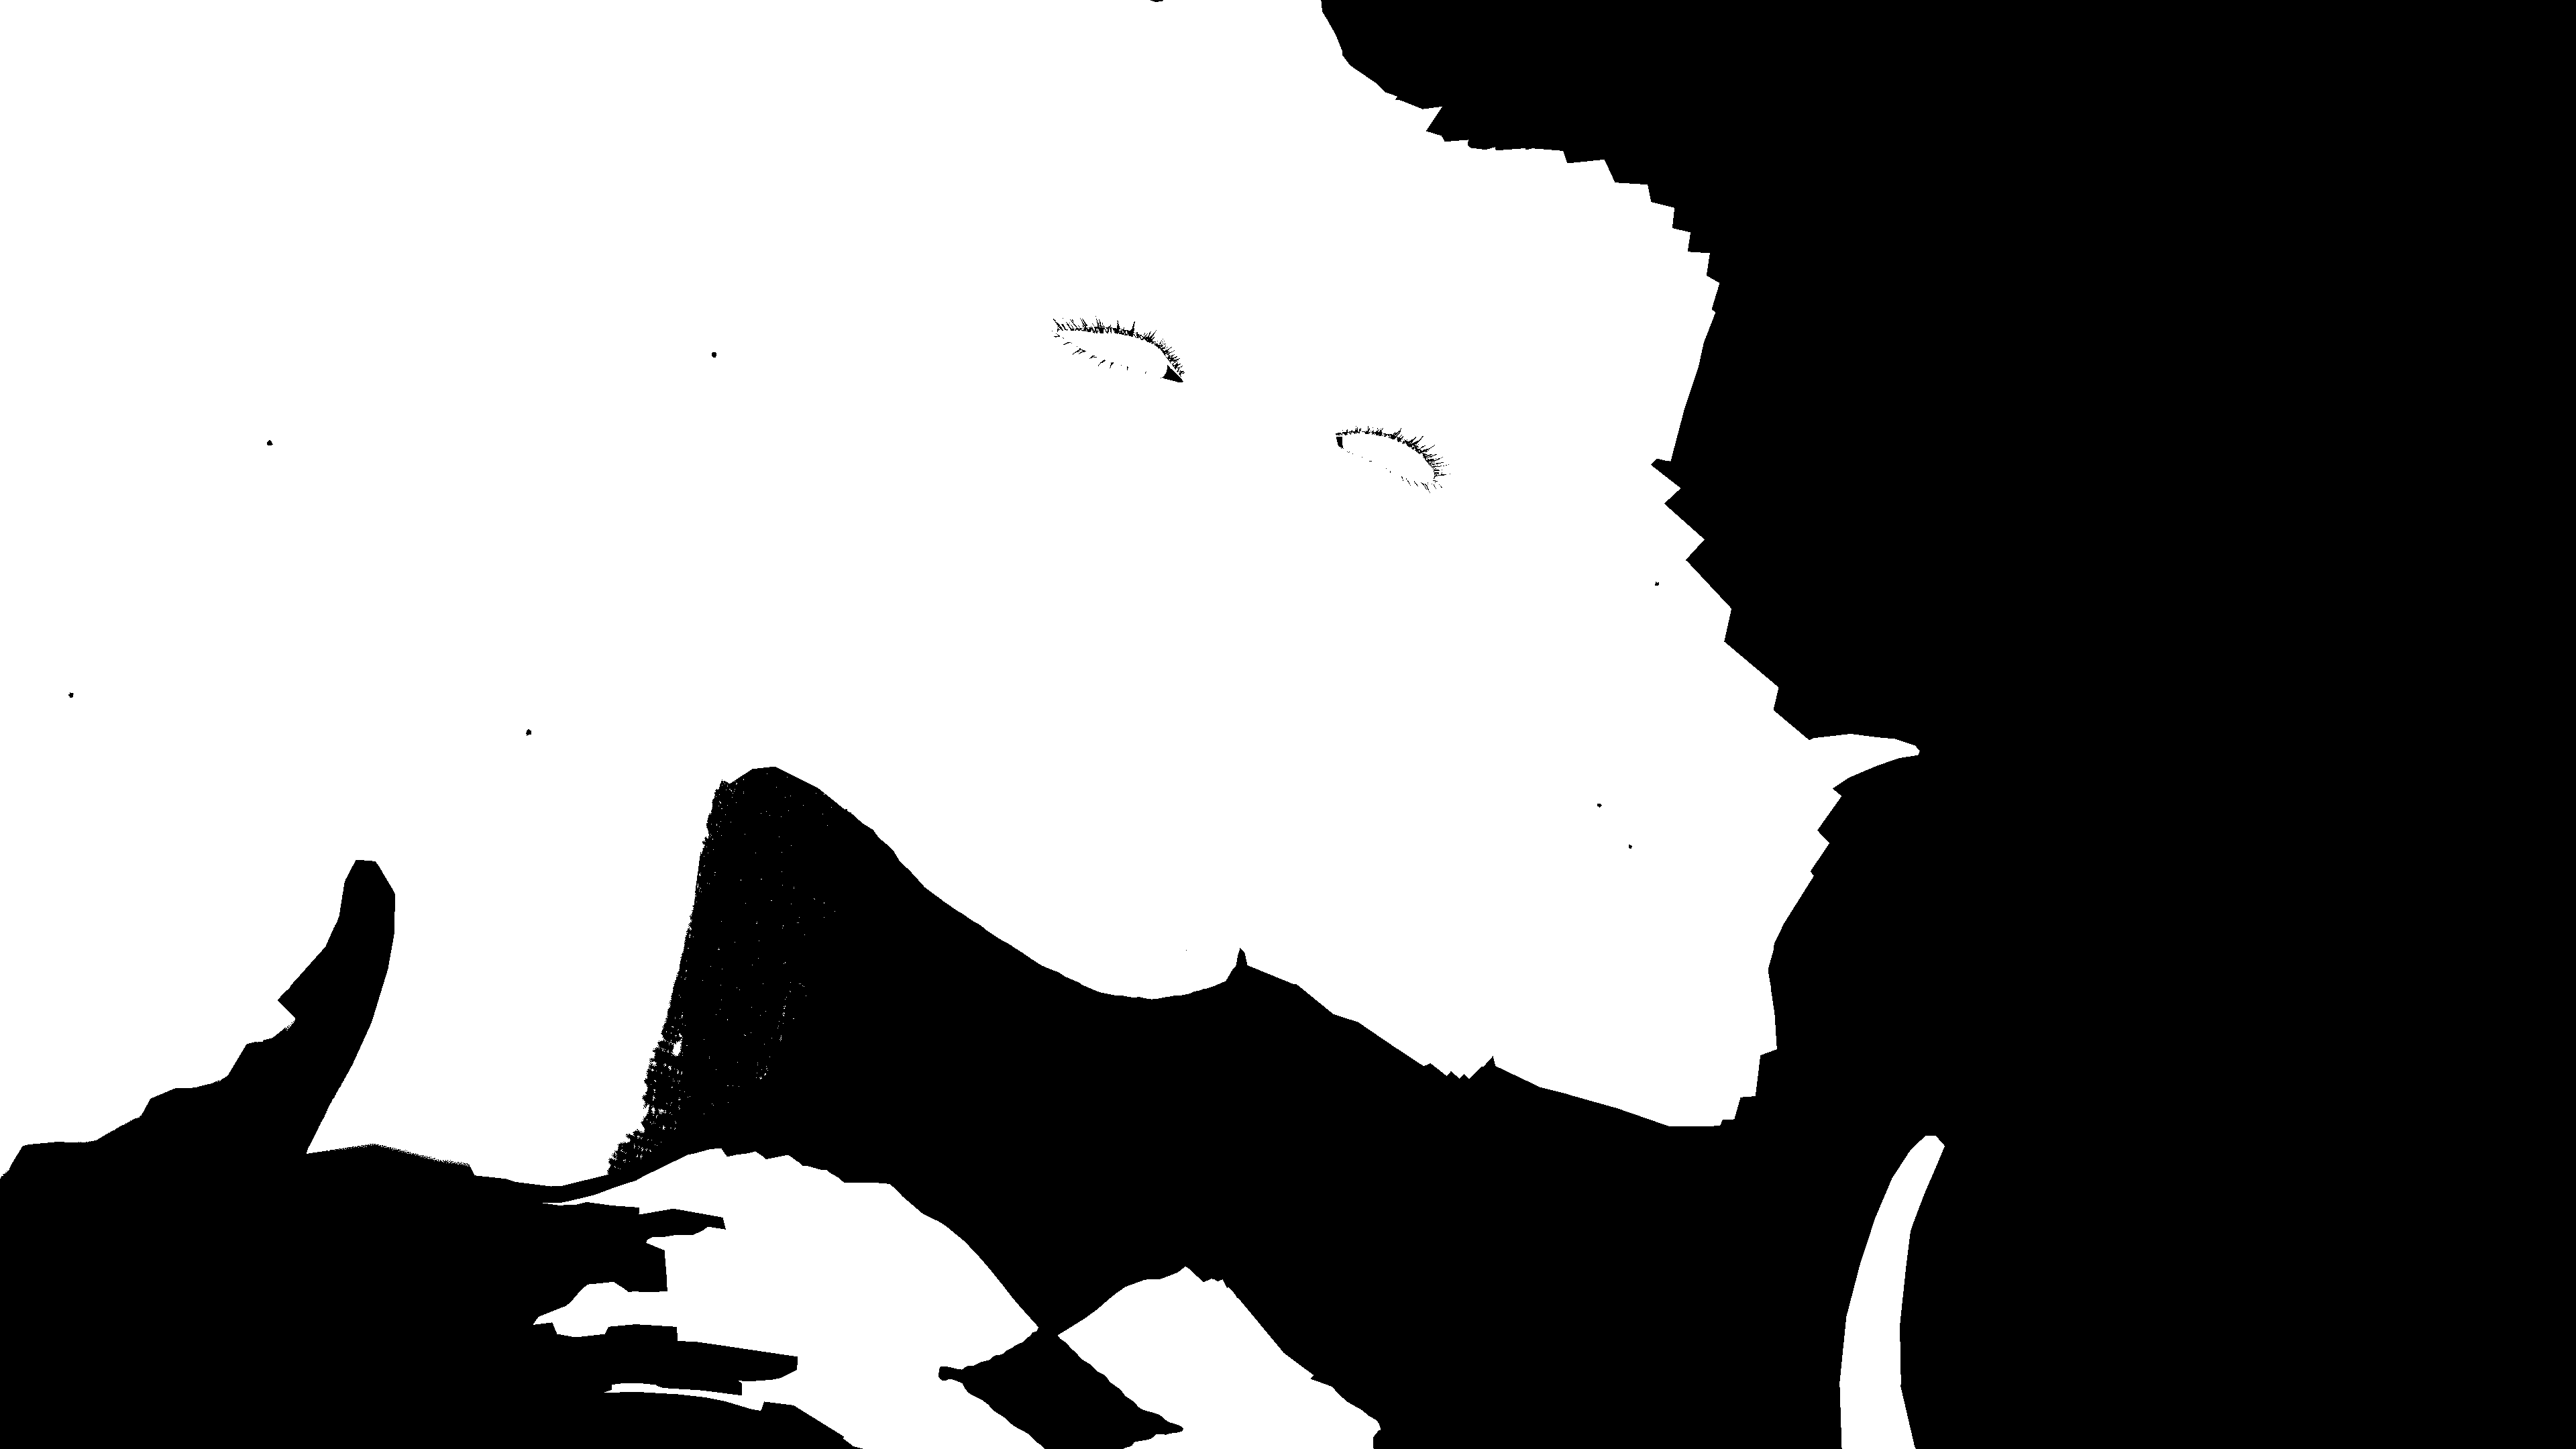
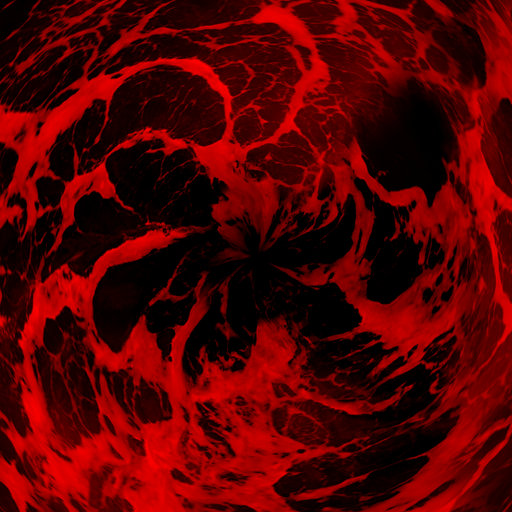
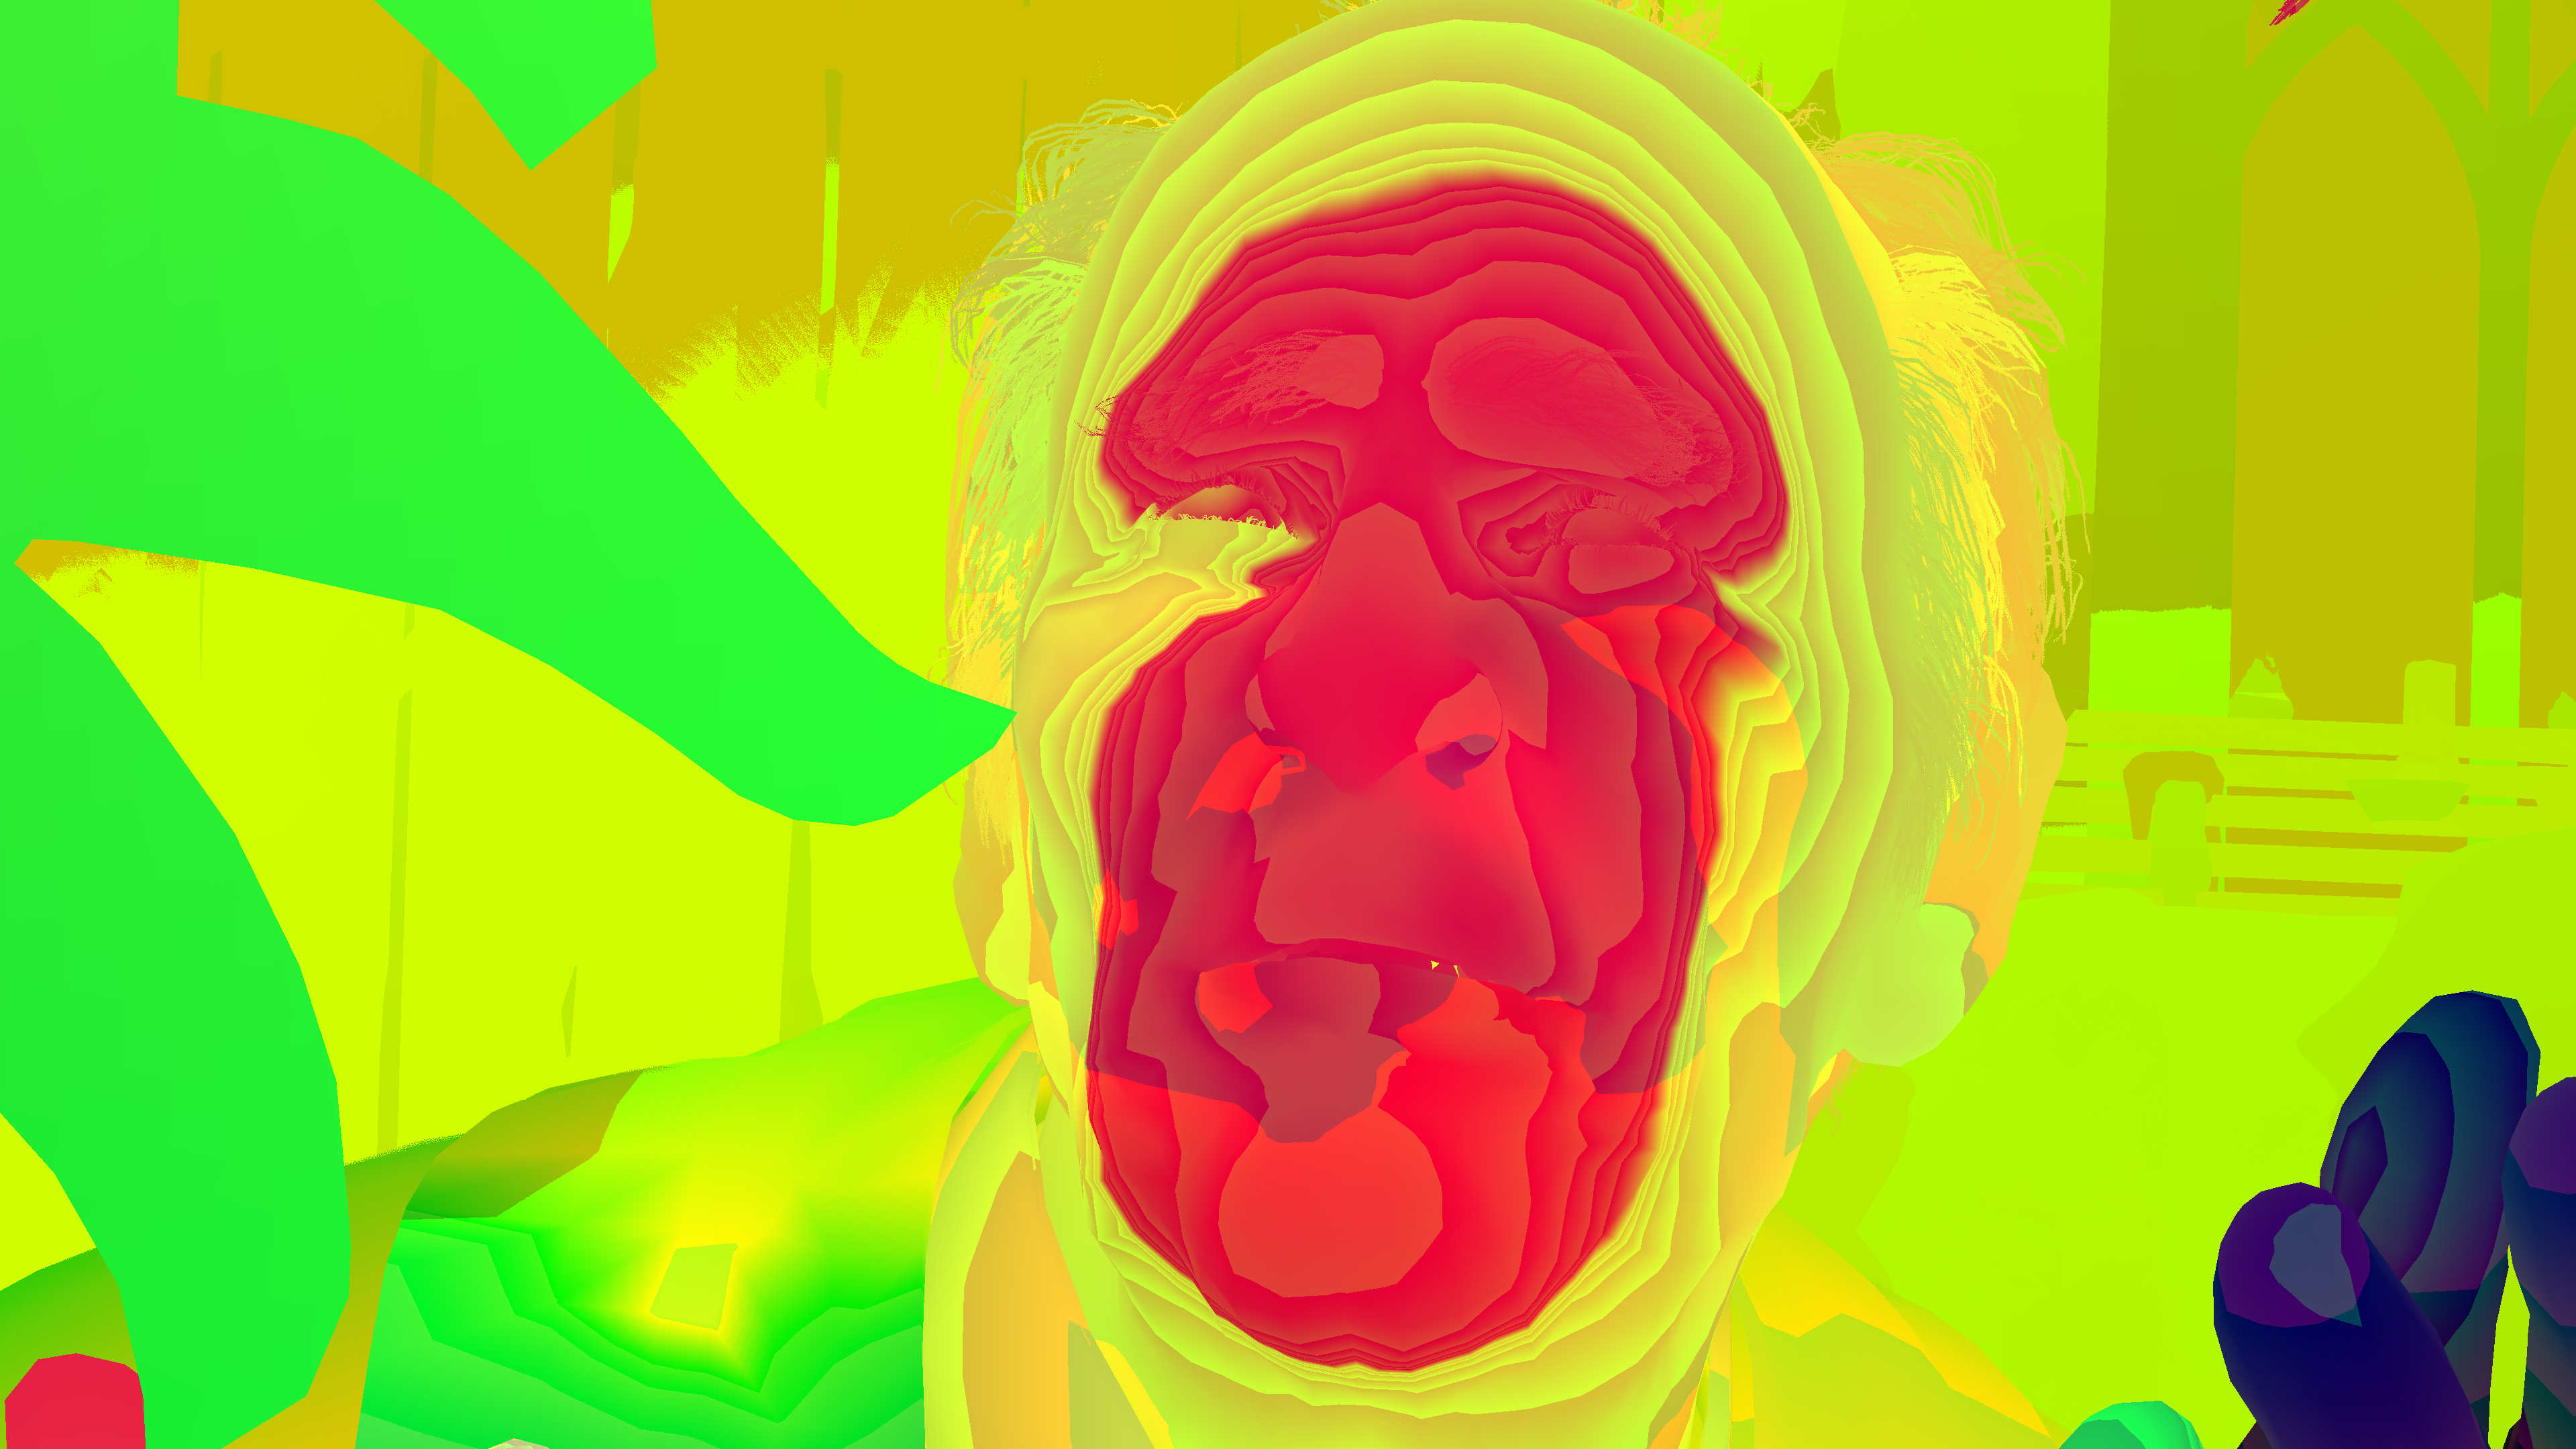
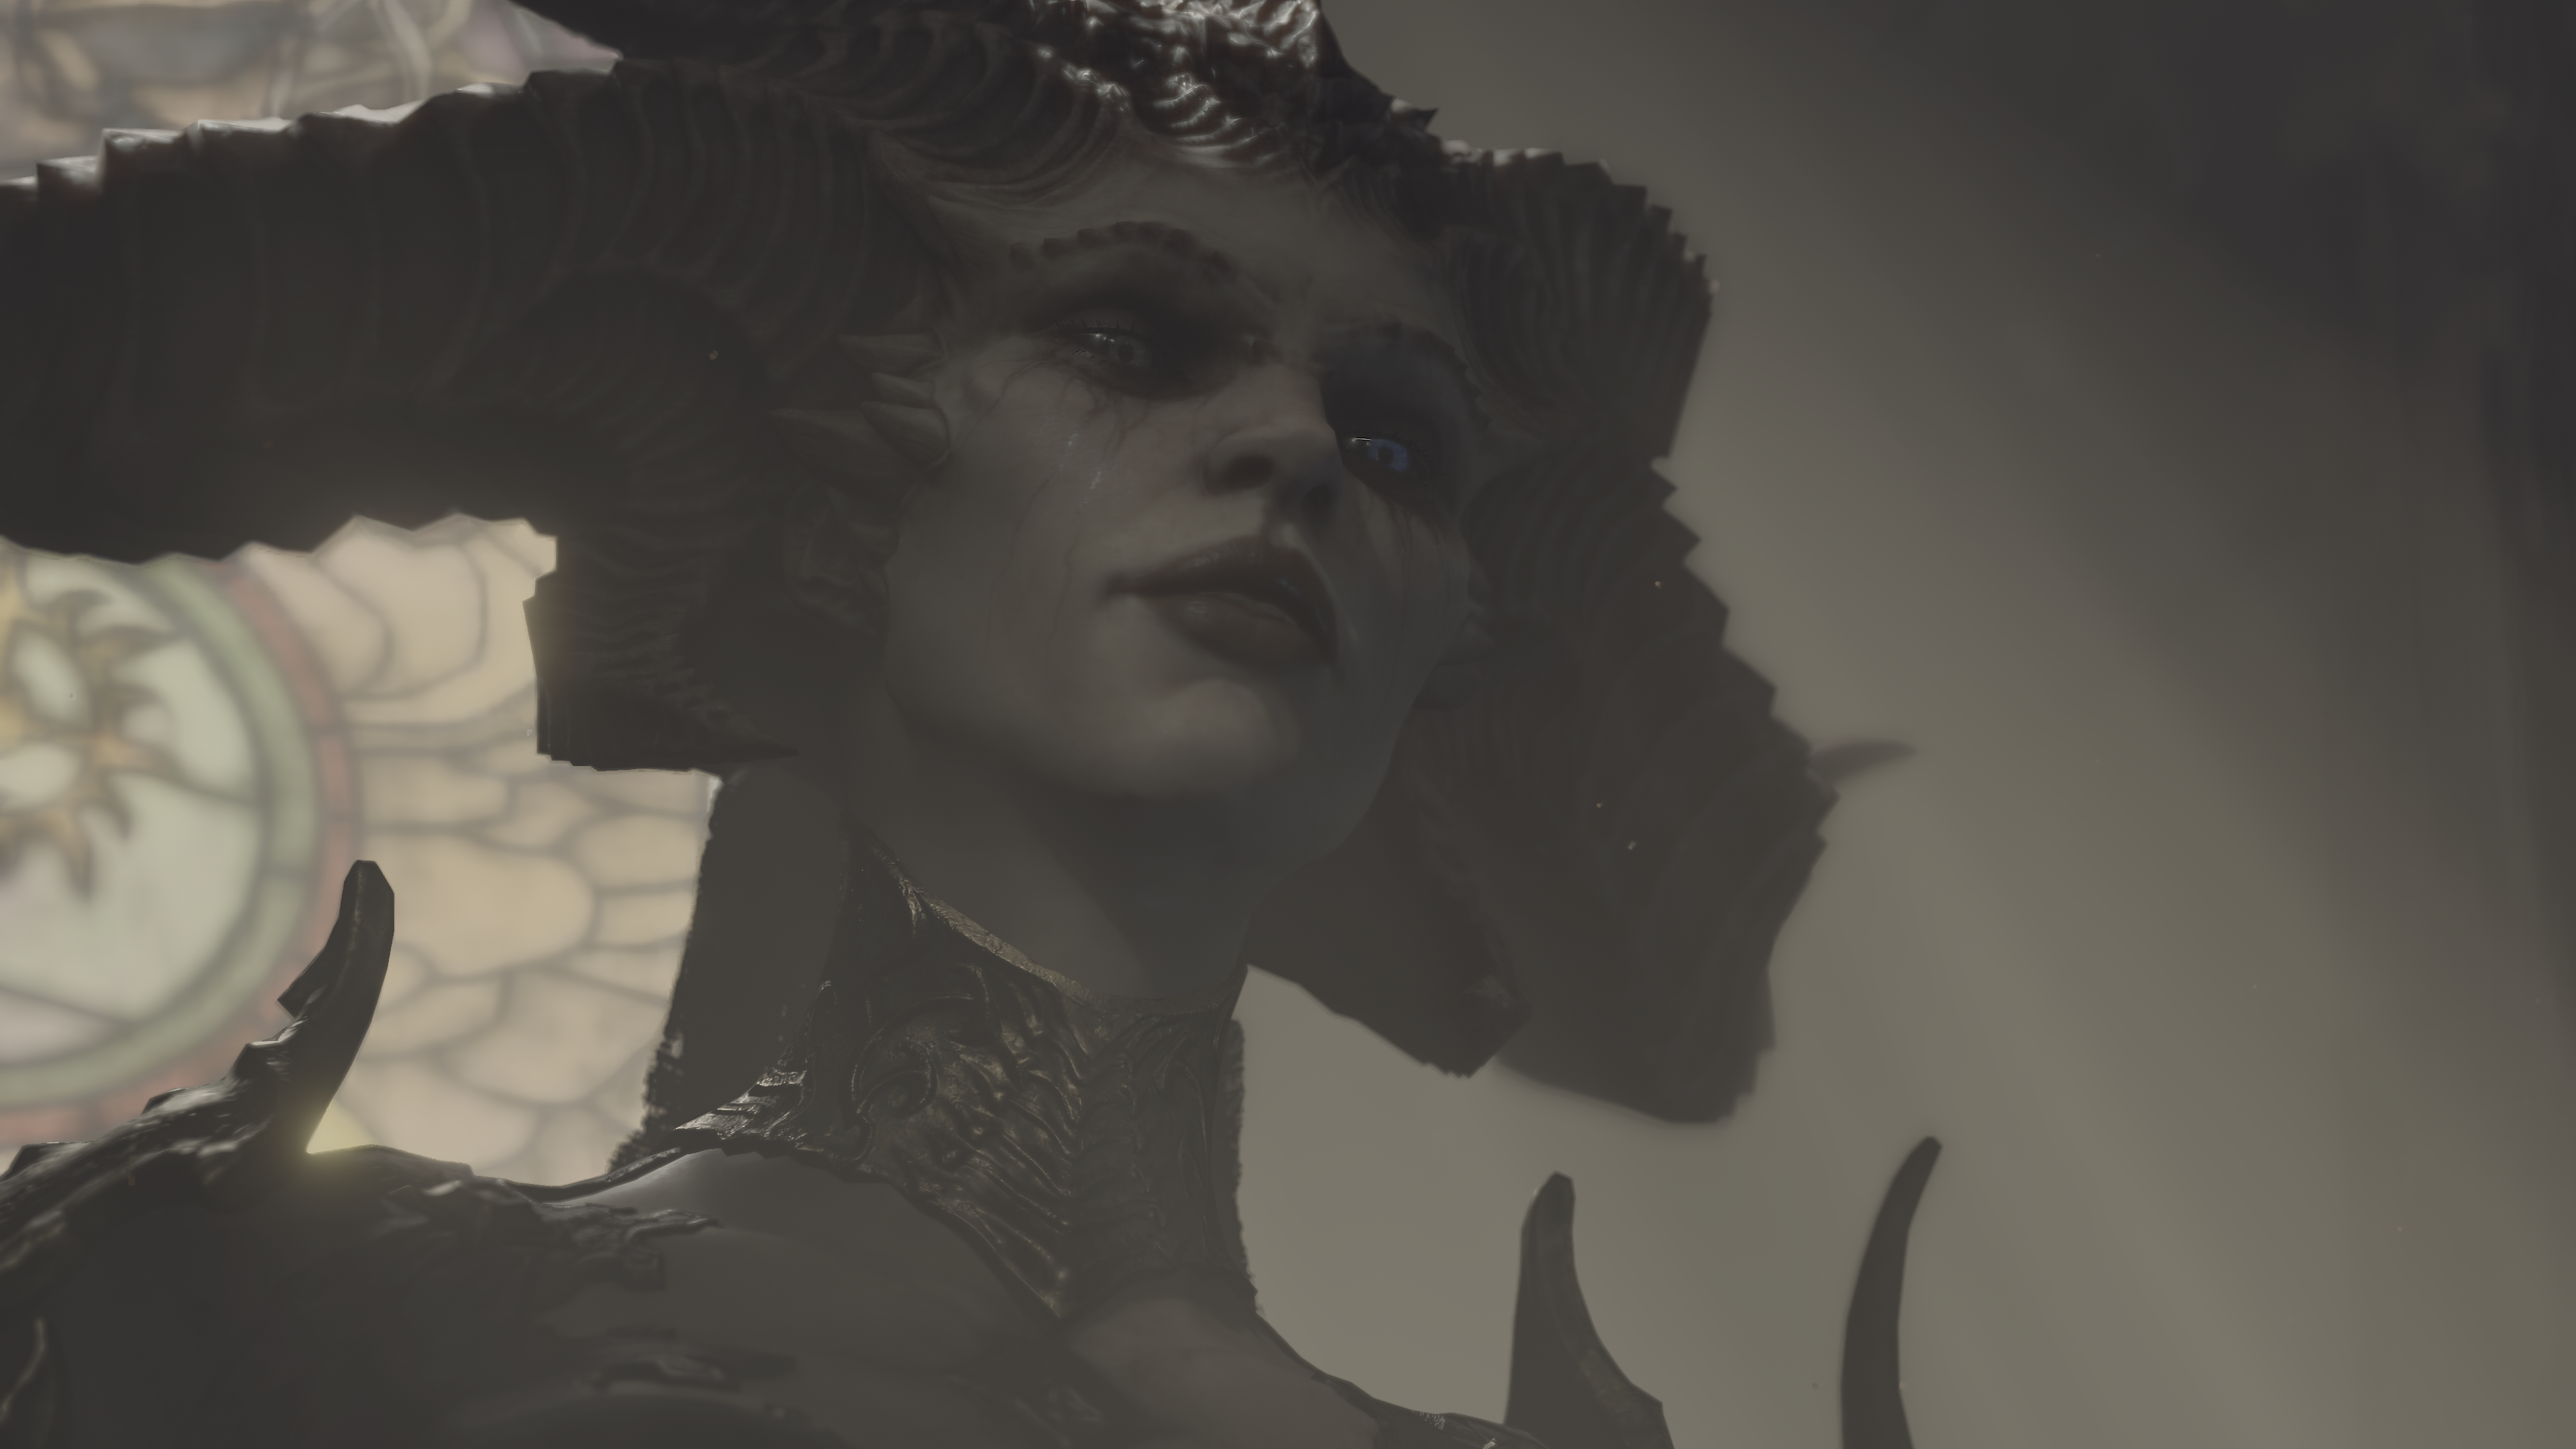
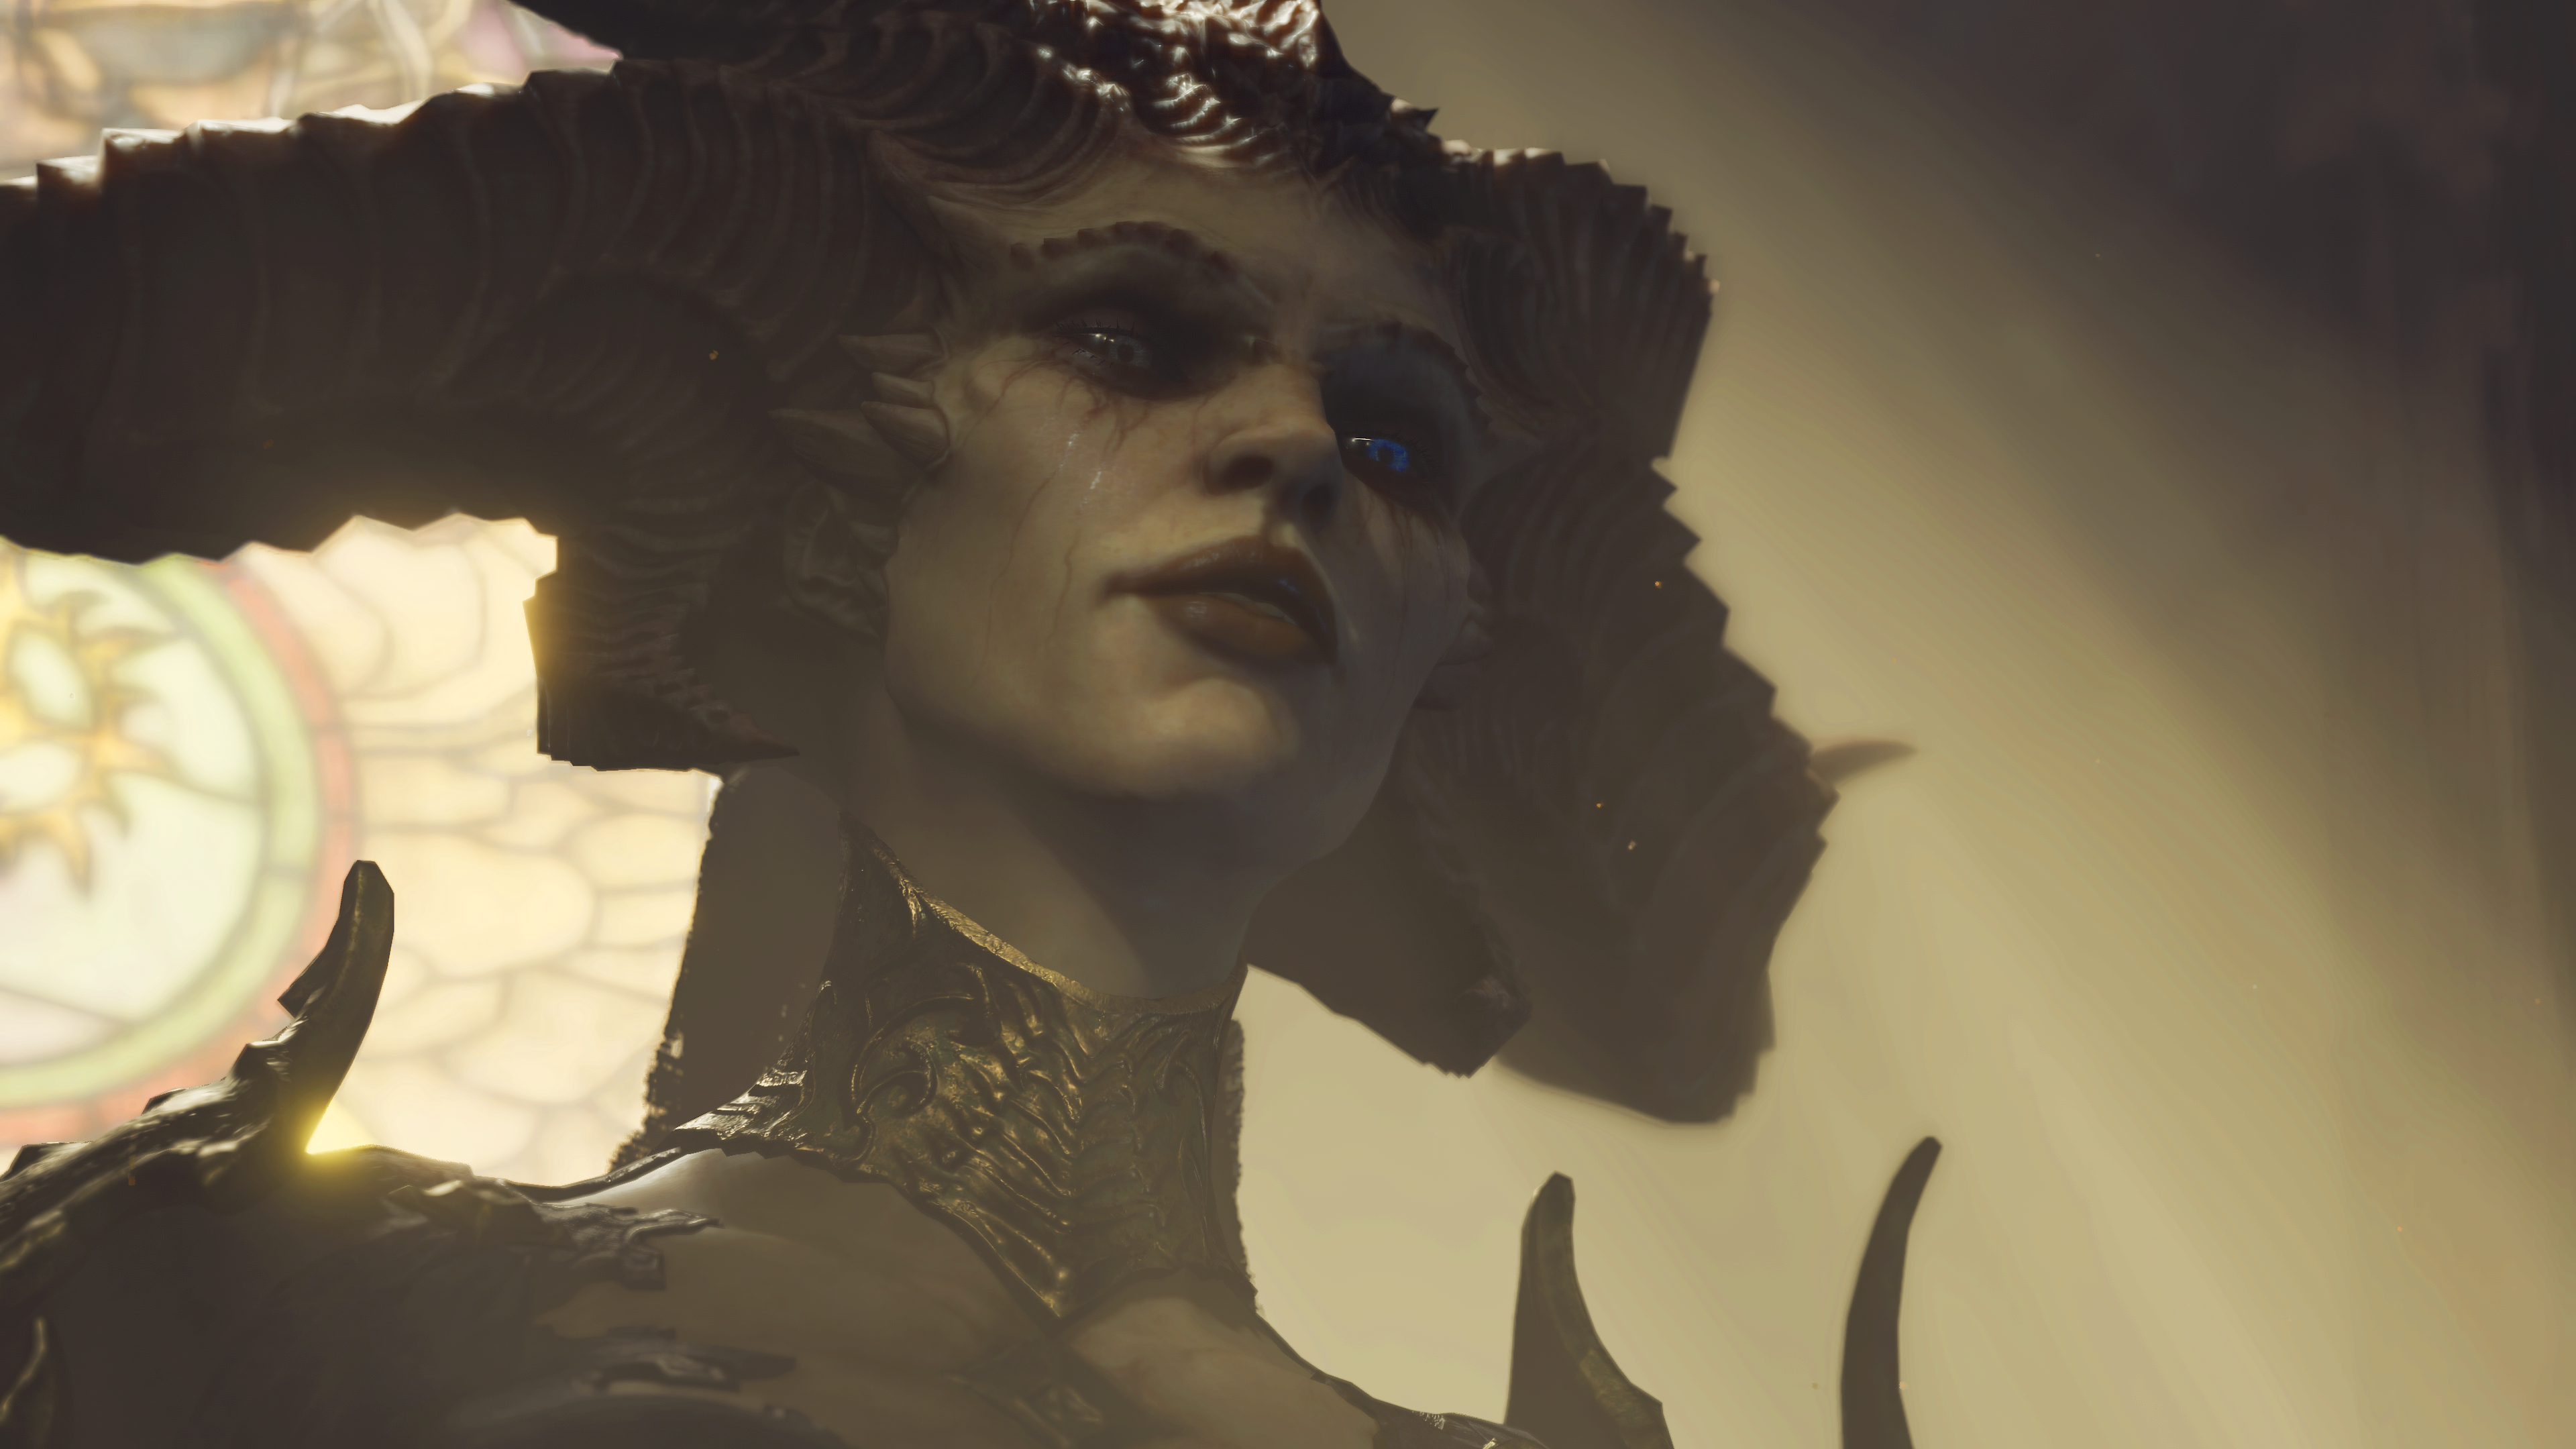
SSS
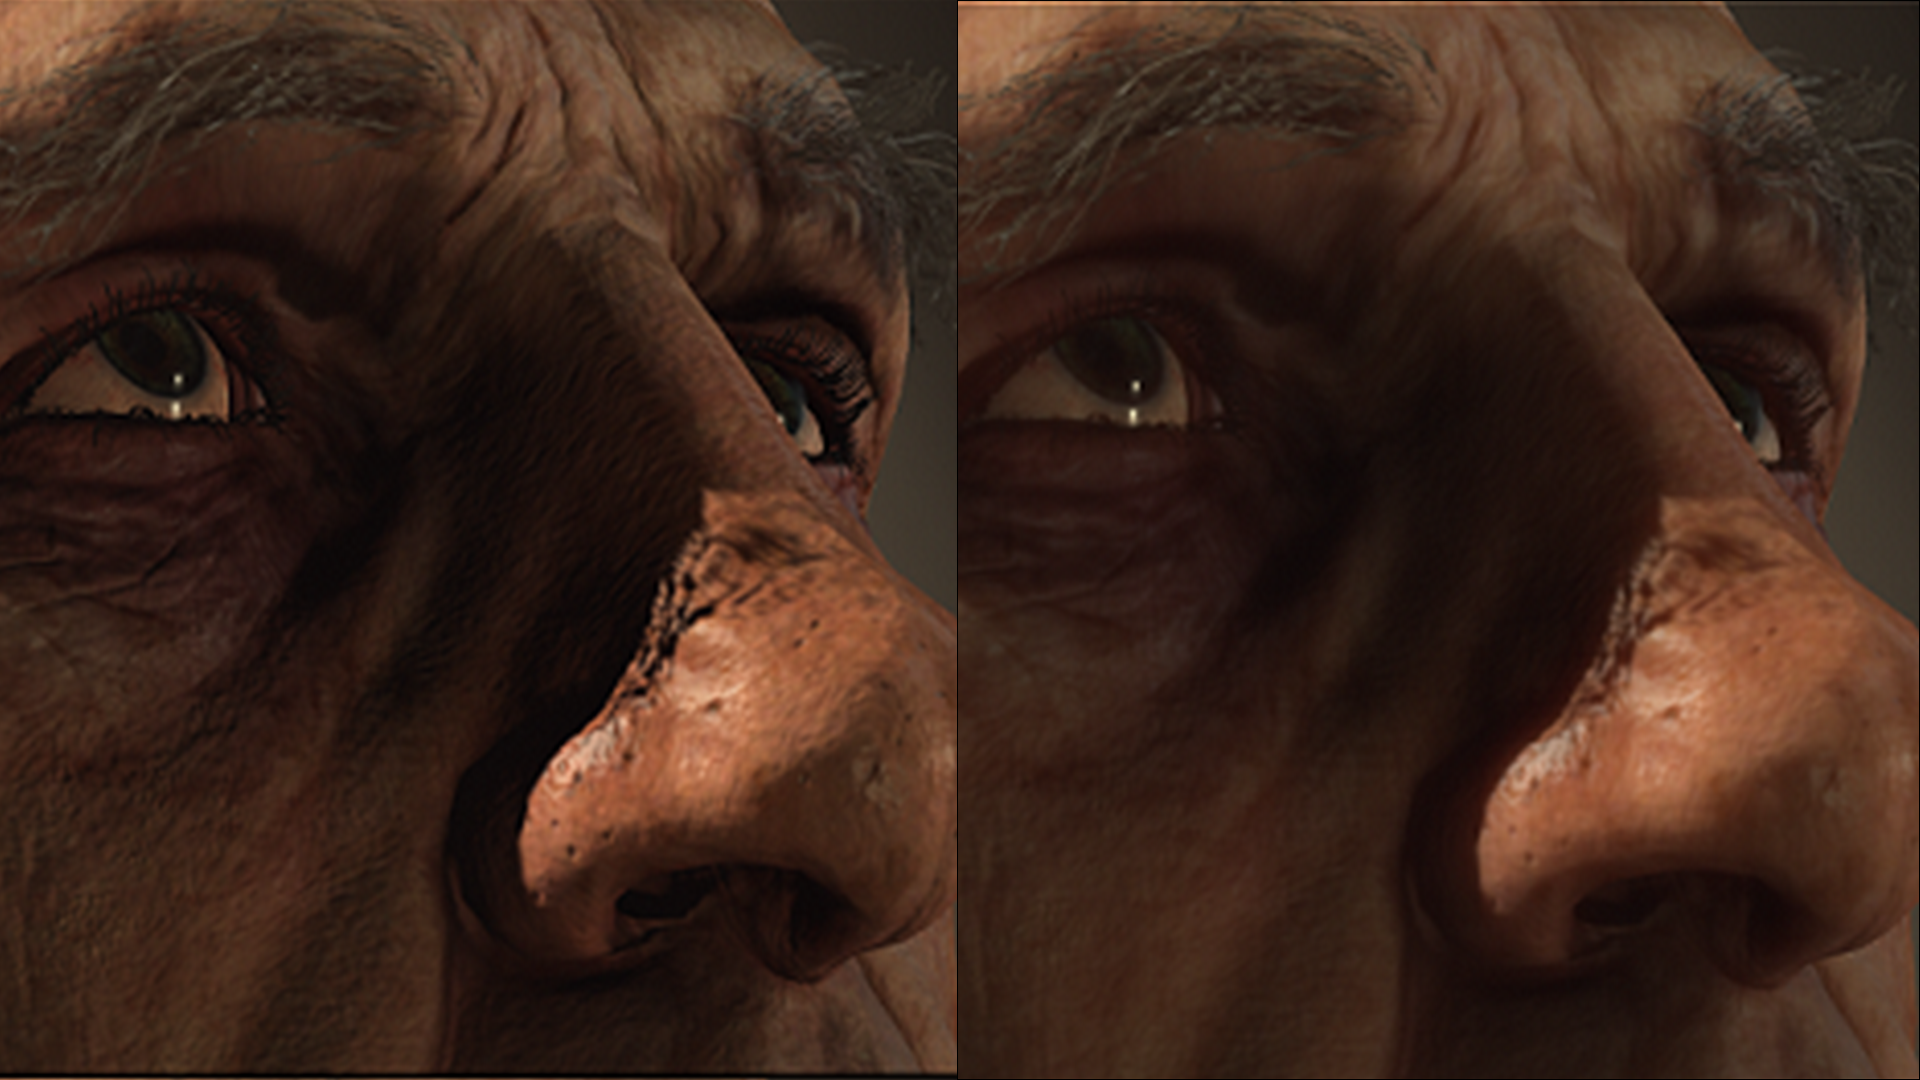
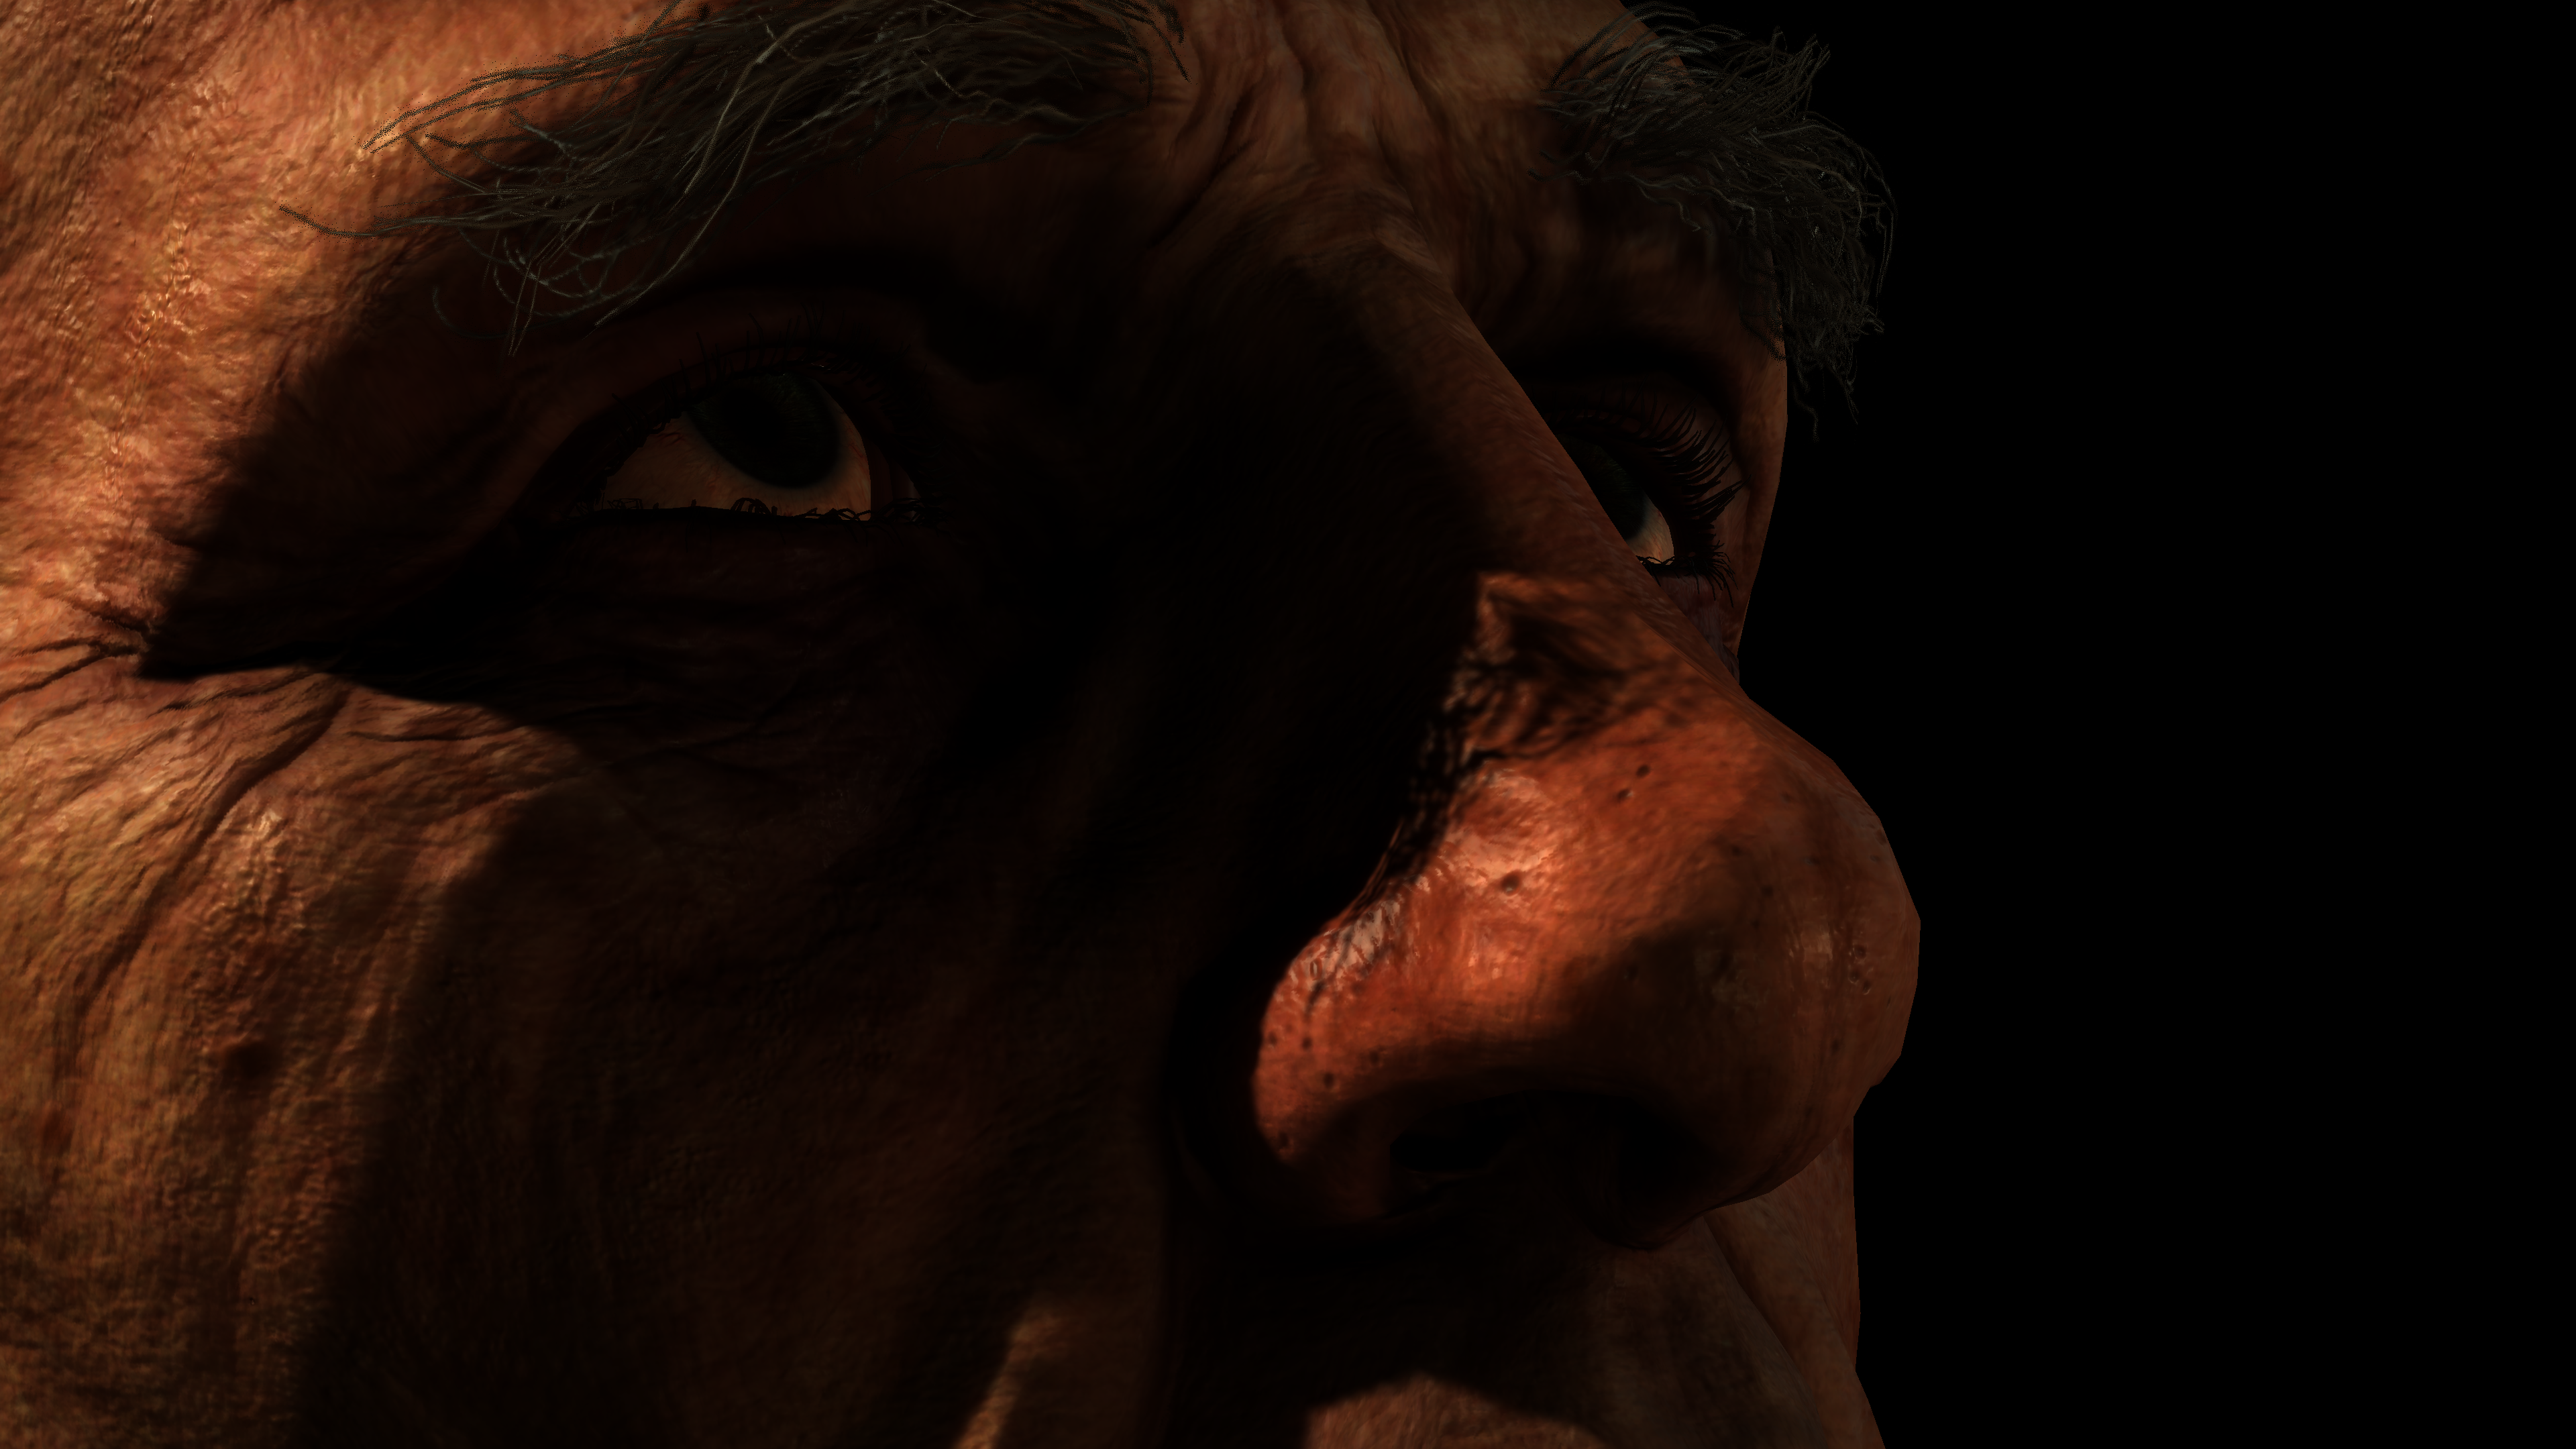
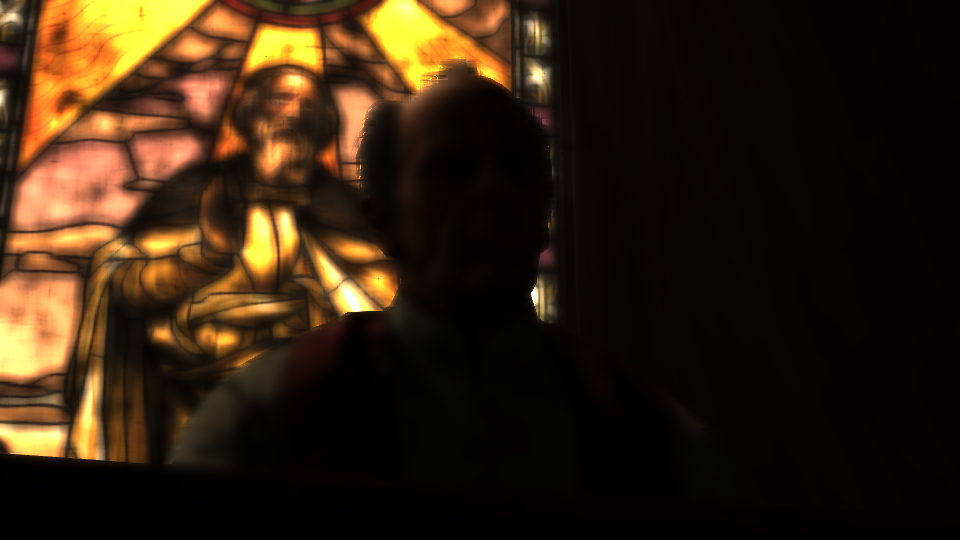
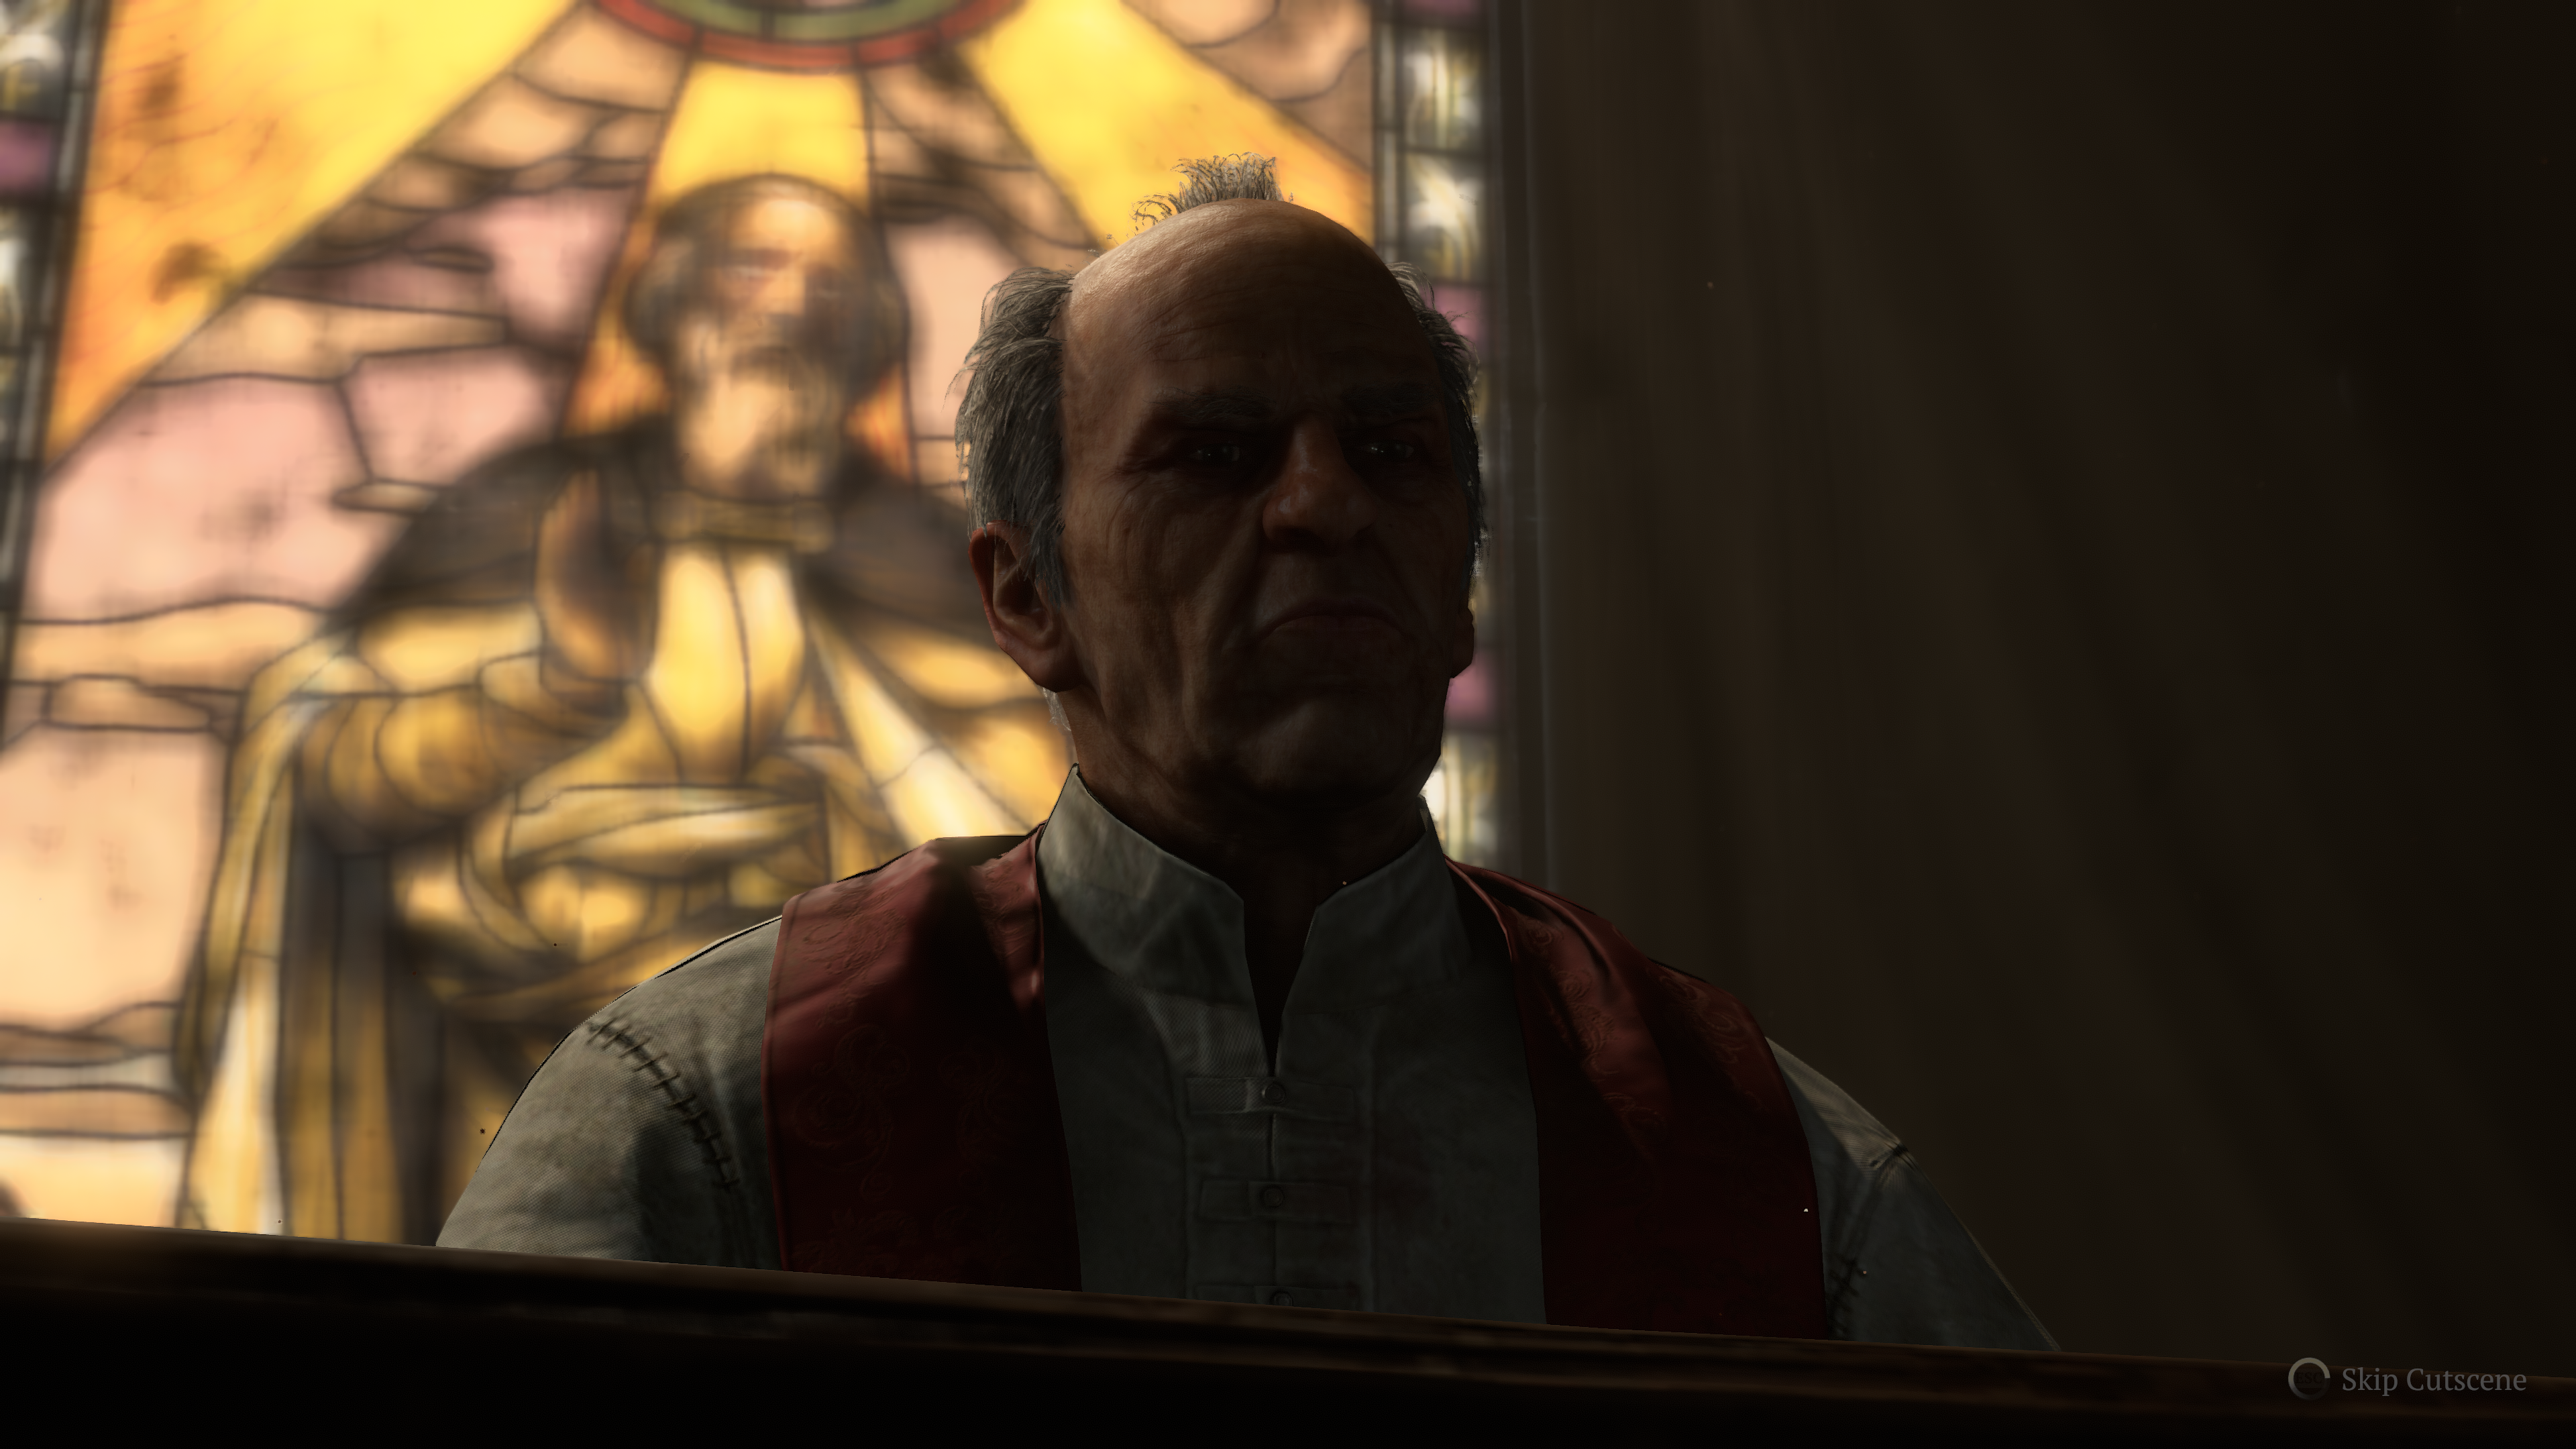
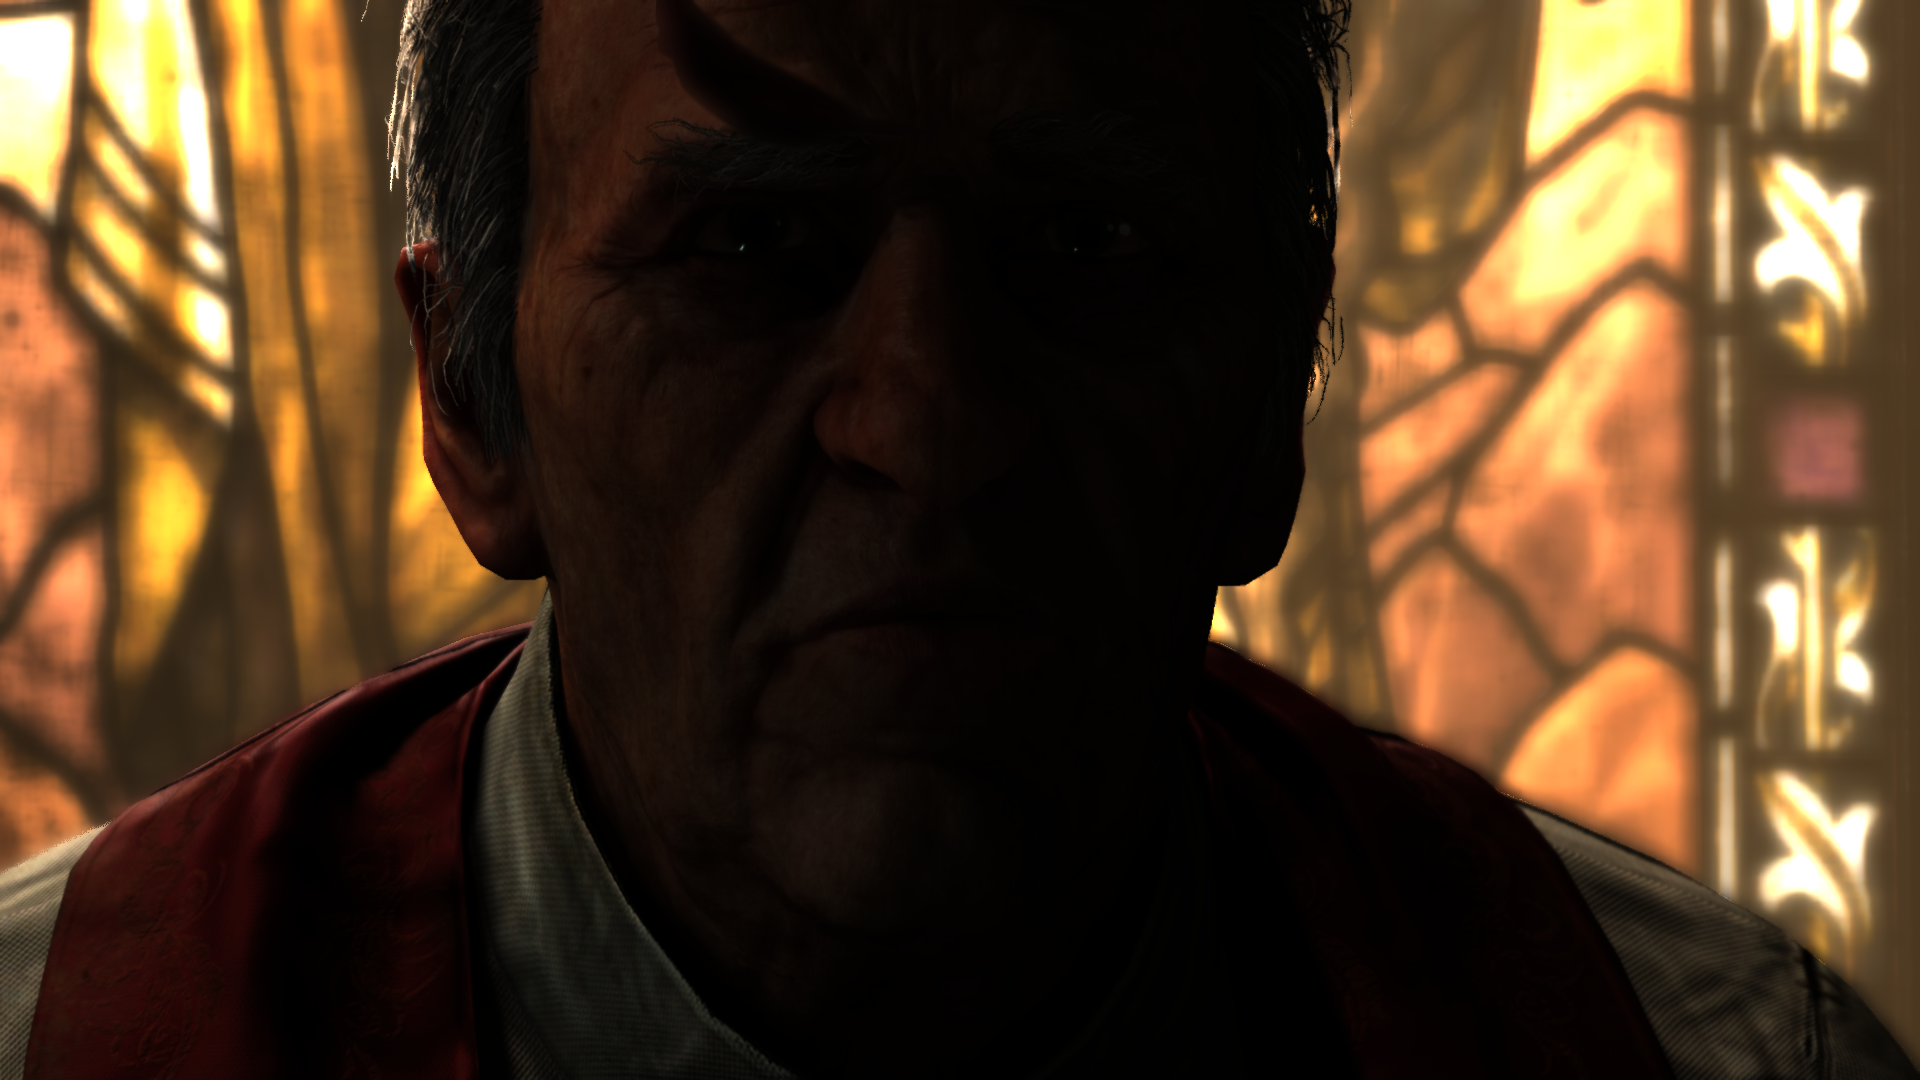
SSS (or Subsurface Scattering for short 😅) is exist in Diablo 4, but mostly as a cinematic effect though. The method used seems to be a very simple depth & mask based method, close to the one in the GPU Gems. So don’t put very high hopes or expect some deep scattering or diffusion approximations/profiles or geo curvature or such, despite the fact that the team’s interview at Blizzard’s blog was praising the SSS in the game as one of the graphics selling points, but i don’t think it is that super impressive.
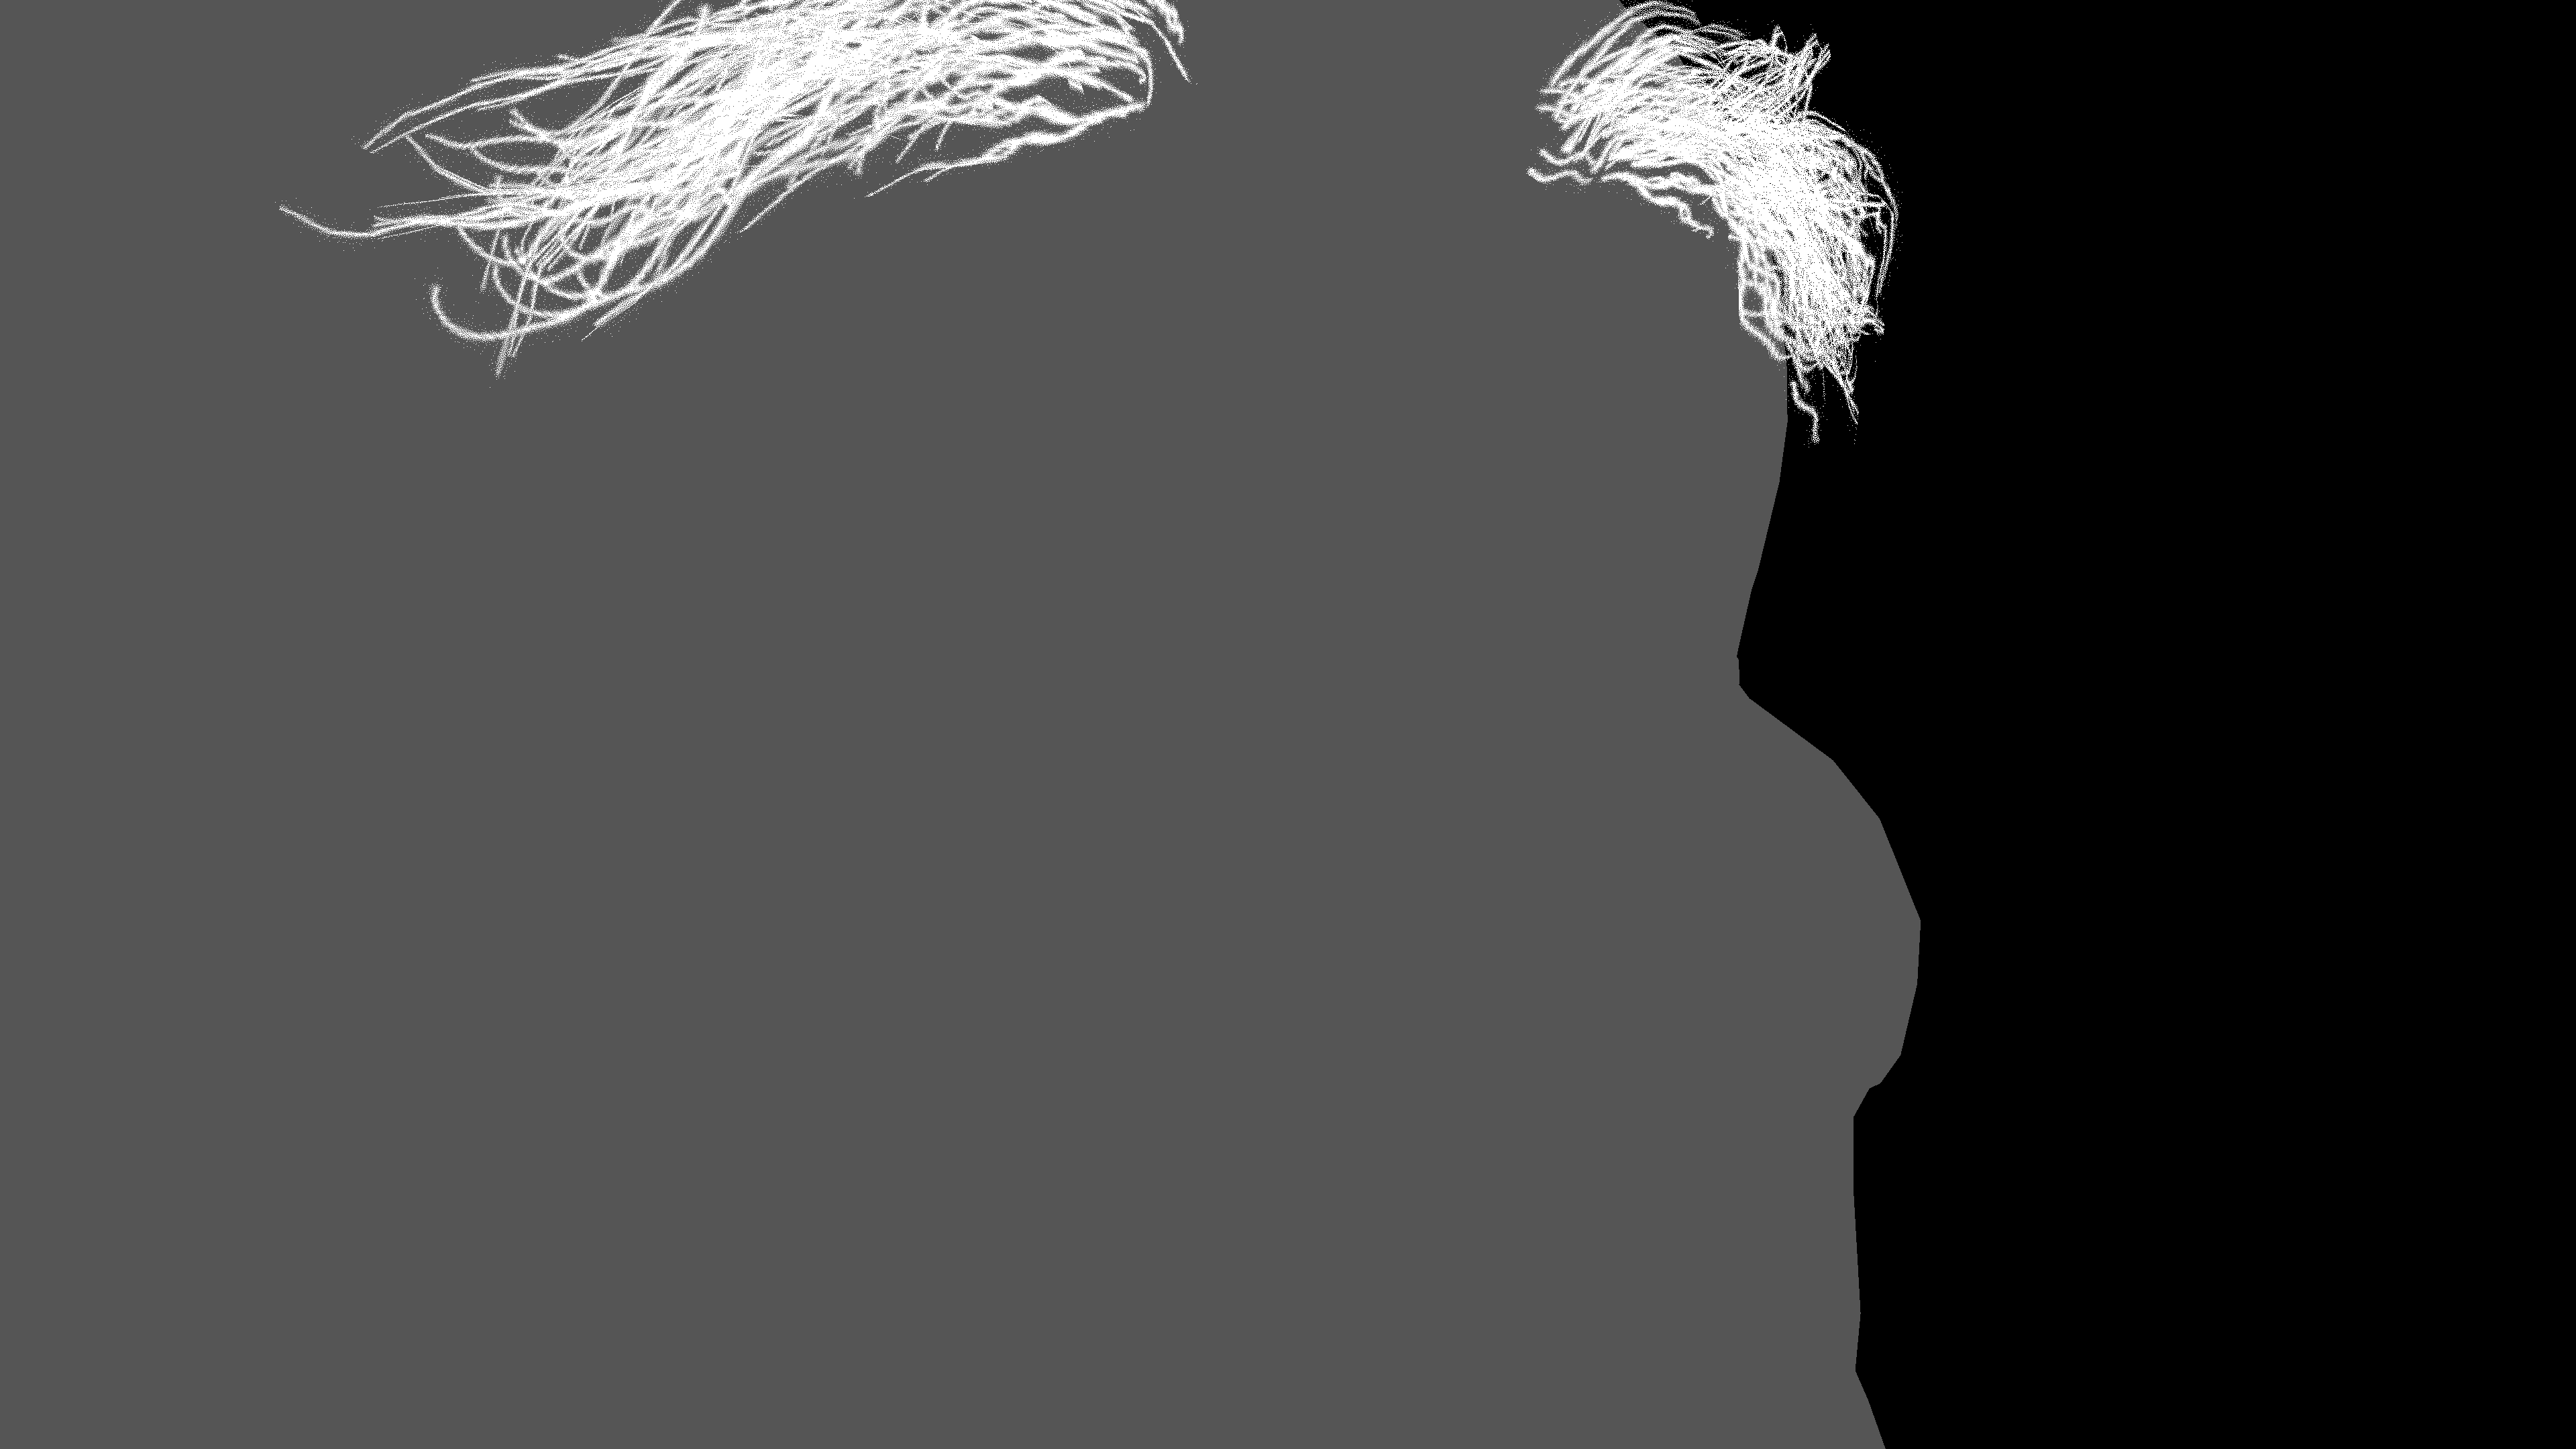
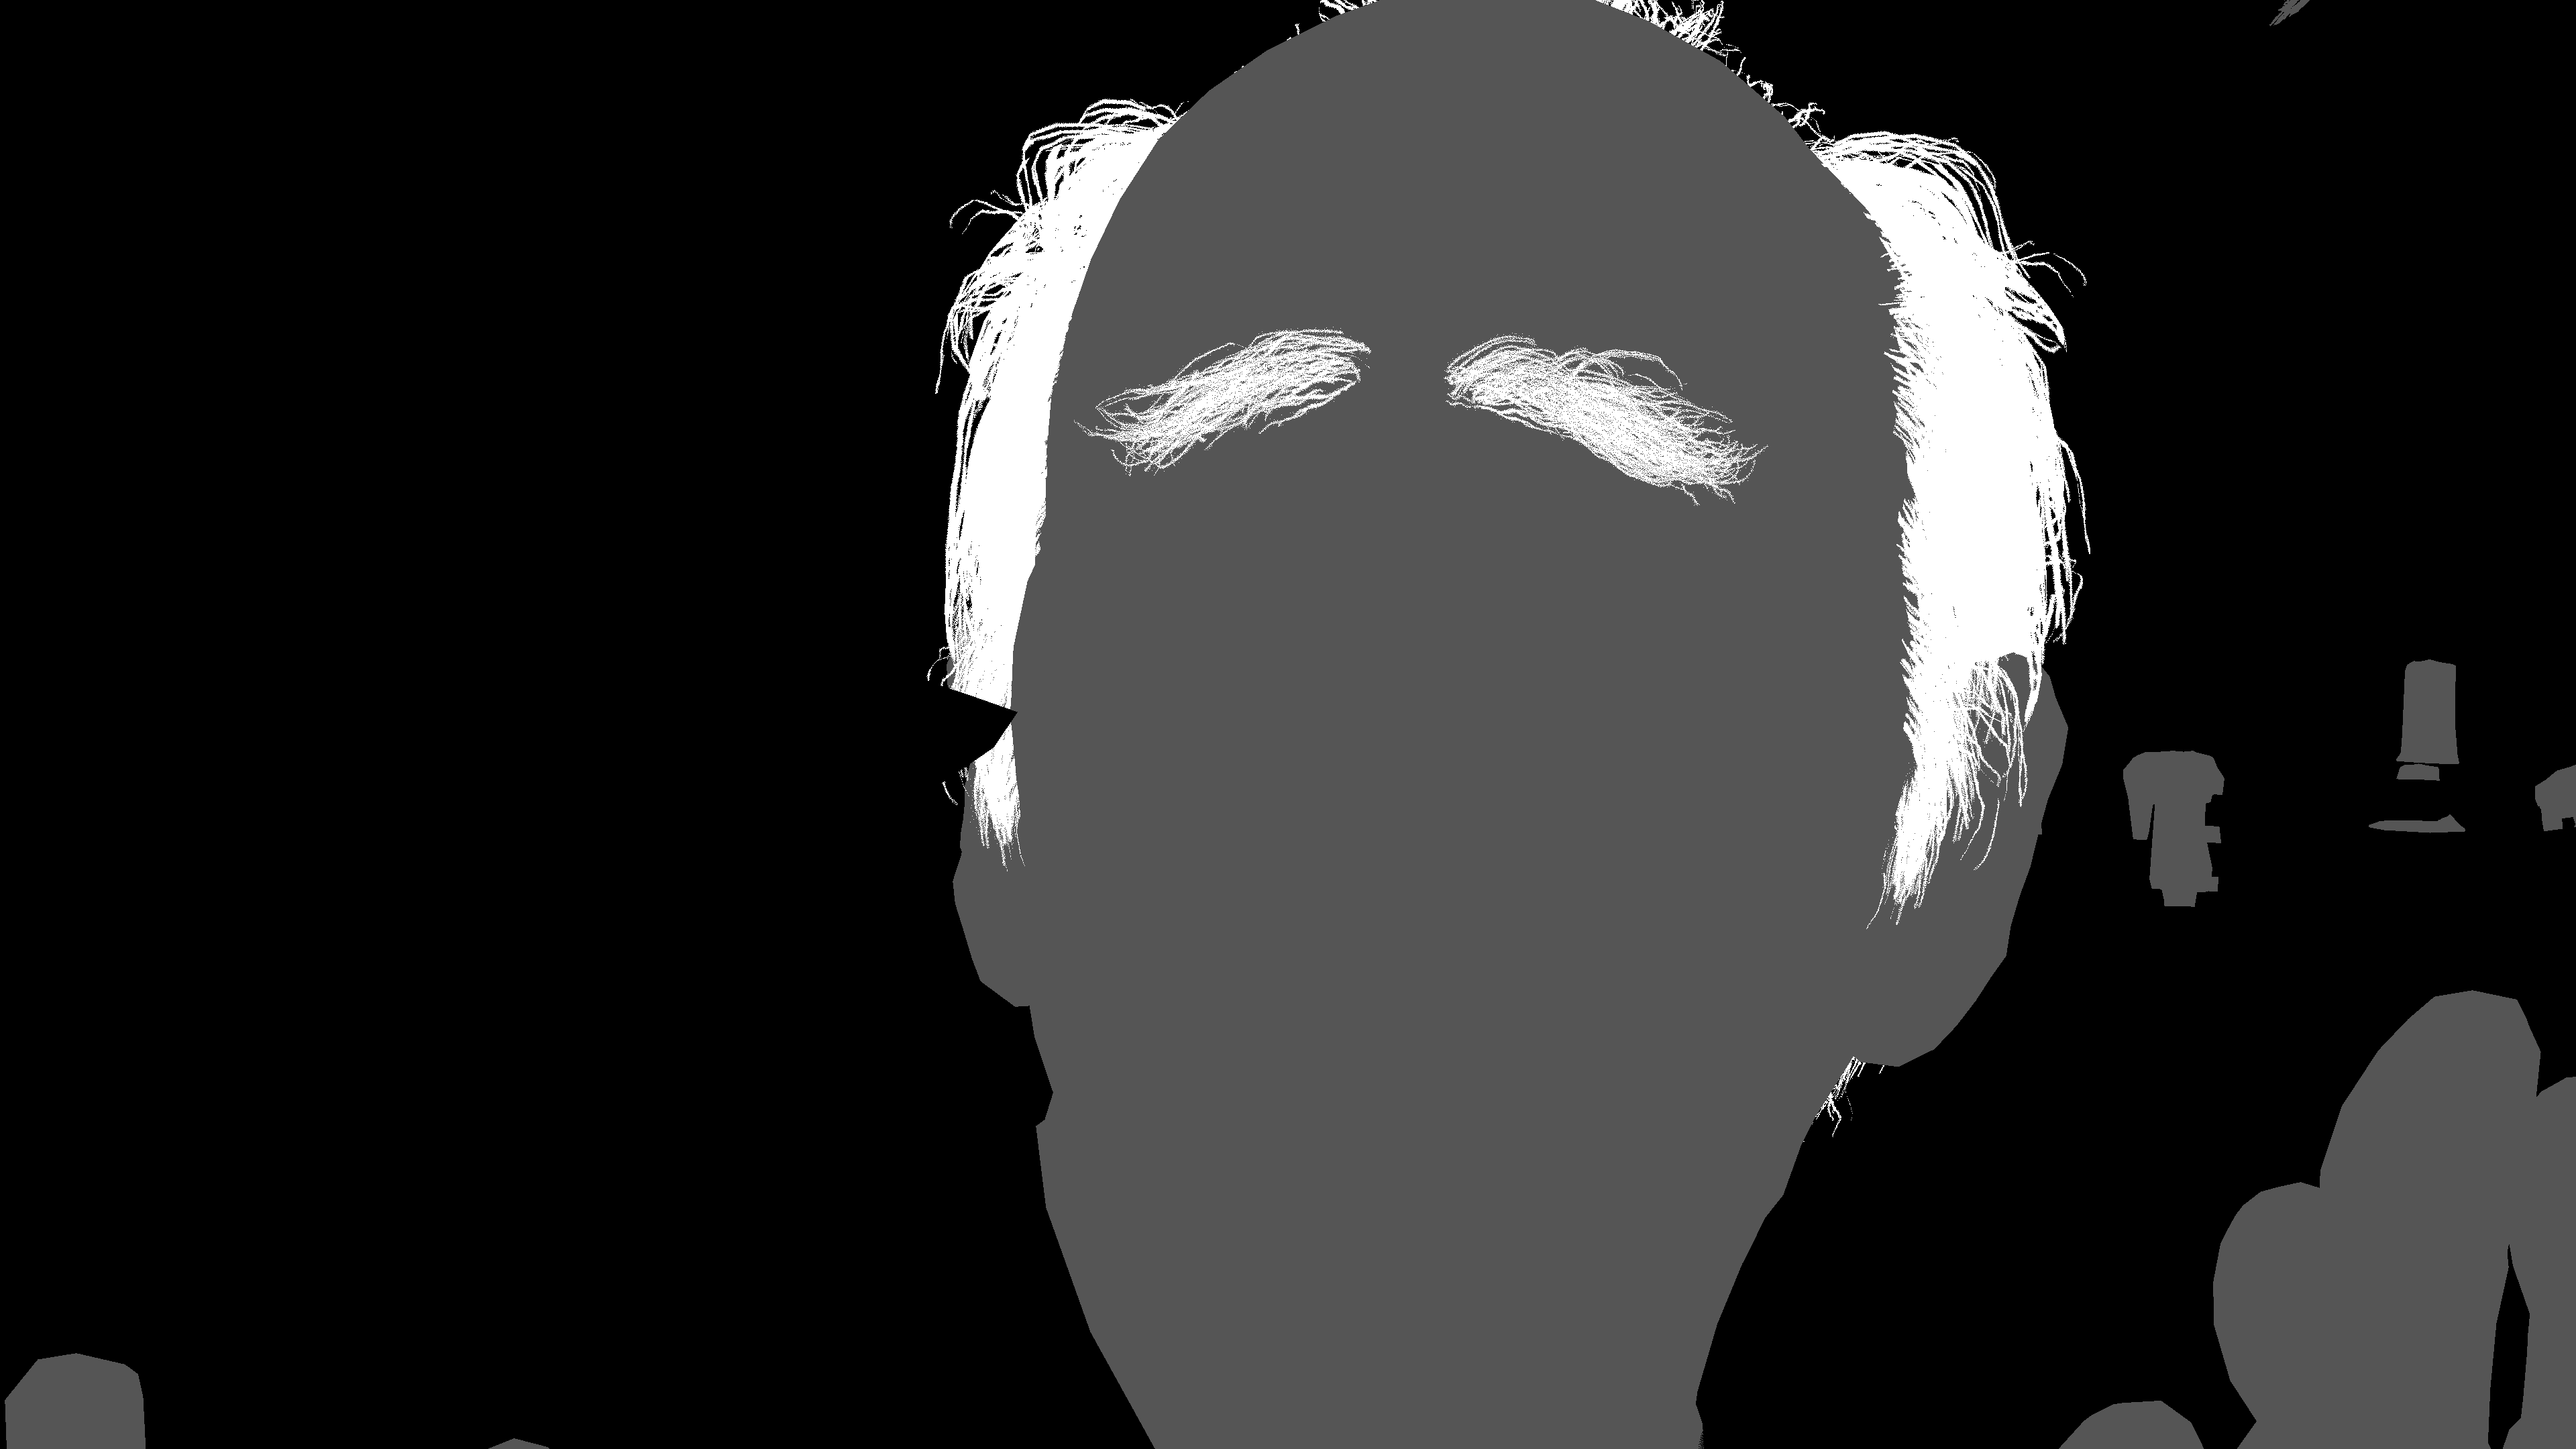
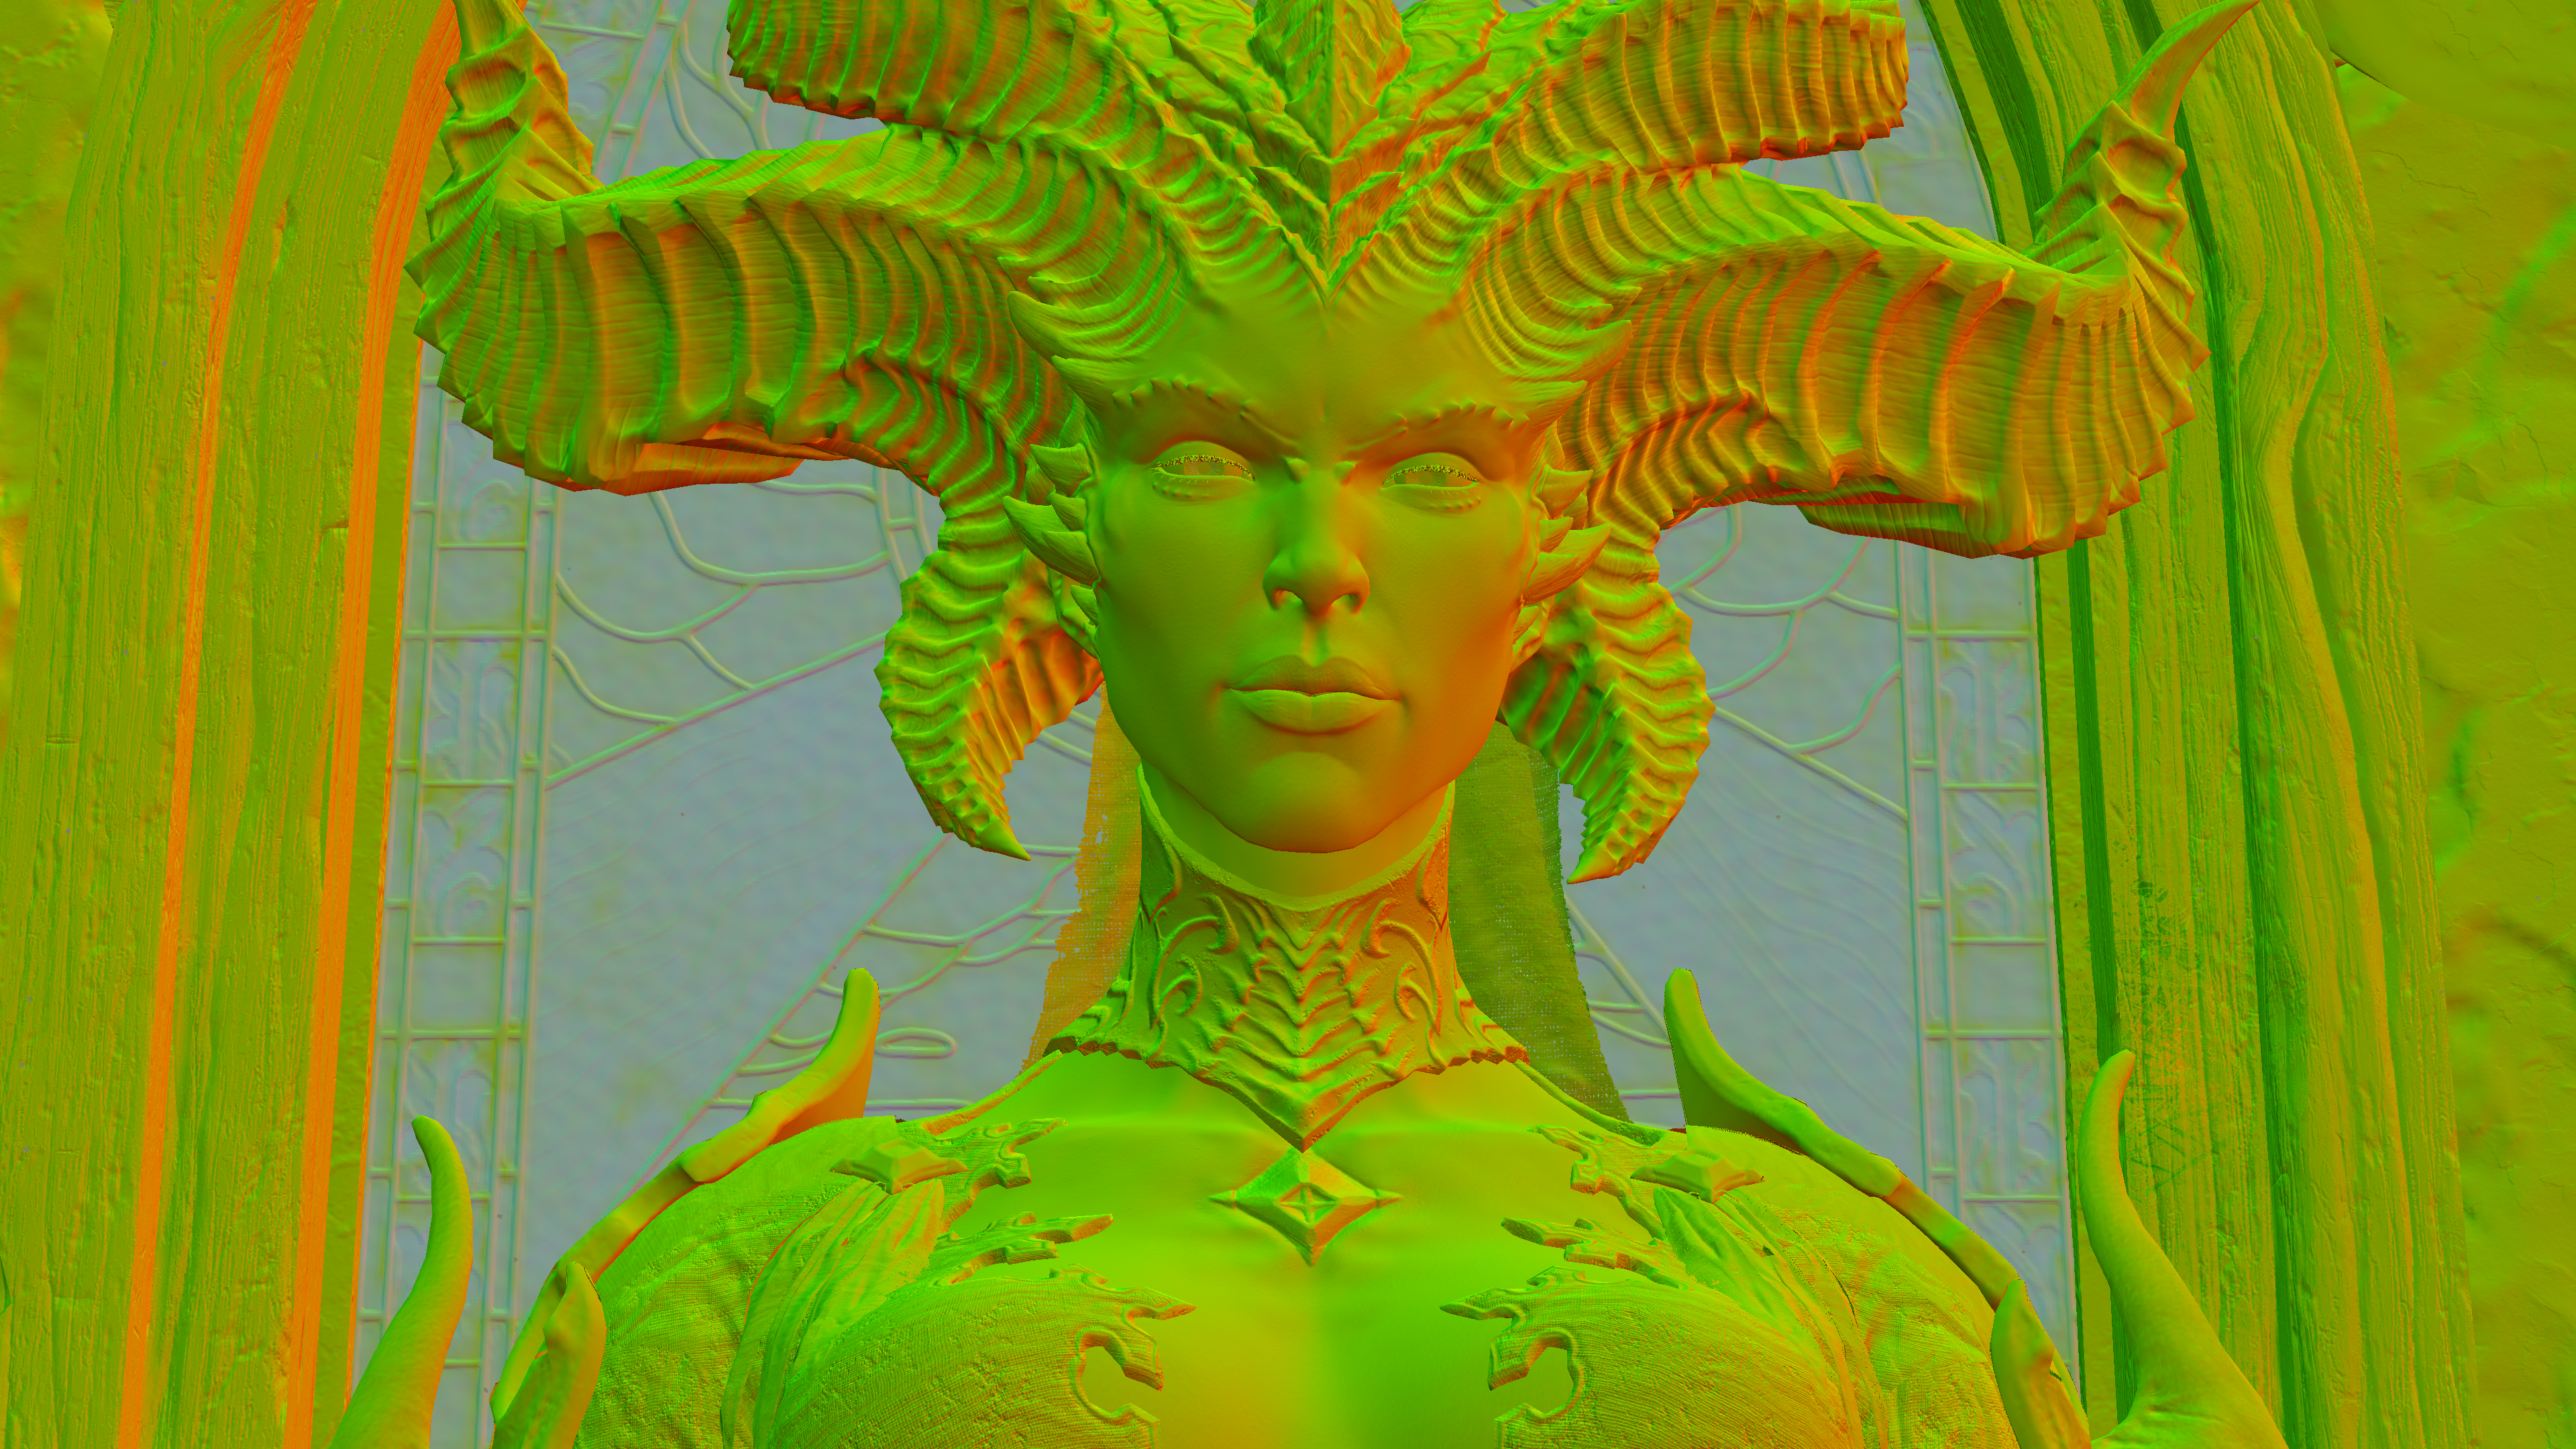
The method is basically just a couple of SSS blurring passes, one after another, the output from the first pass is passed to the 2nd one. Same set of inputs (Normal, Mask and Depth) are used for both passes. The SSS/Hair mask is stored in the A channel of the GBuffer’s Normals rendertarget.
Let’s first use the same example that was showcases in the Blizzard’s article, as there are few points to discuss in there!
1.First Blur
Given the Normals and the SSS/Hair mask stored in it’s alpha channel + the current frame output from SSR + Depth, an SSS blurring shader does it’s job.


1.Second Blur
Taking the output of the previous step, and use it as input frame for an exact similar call
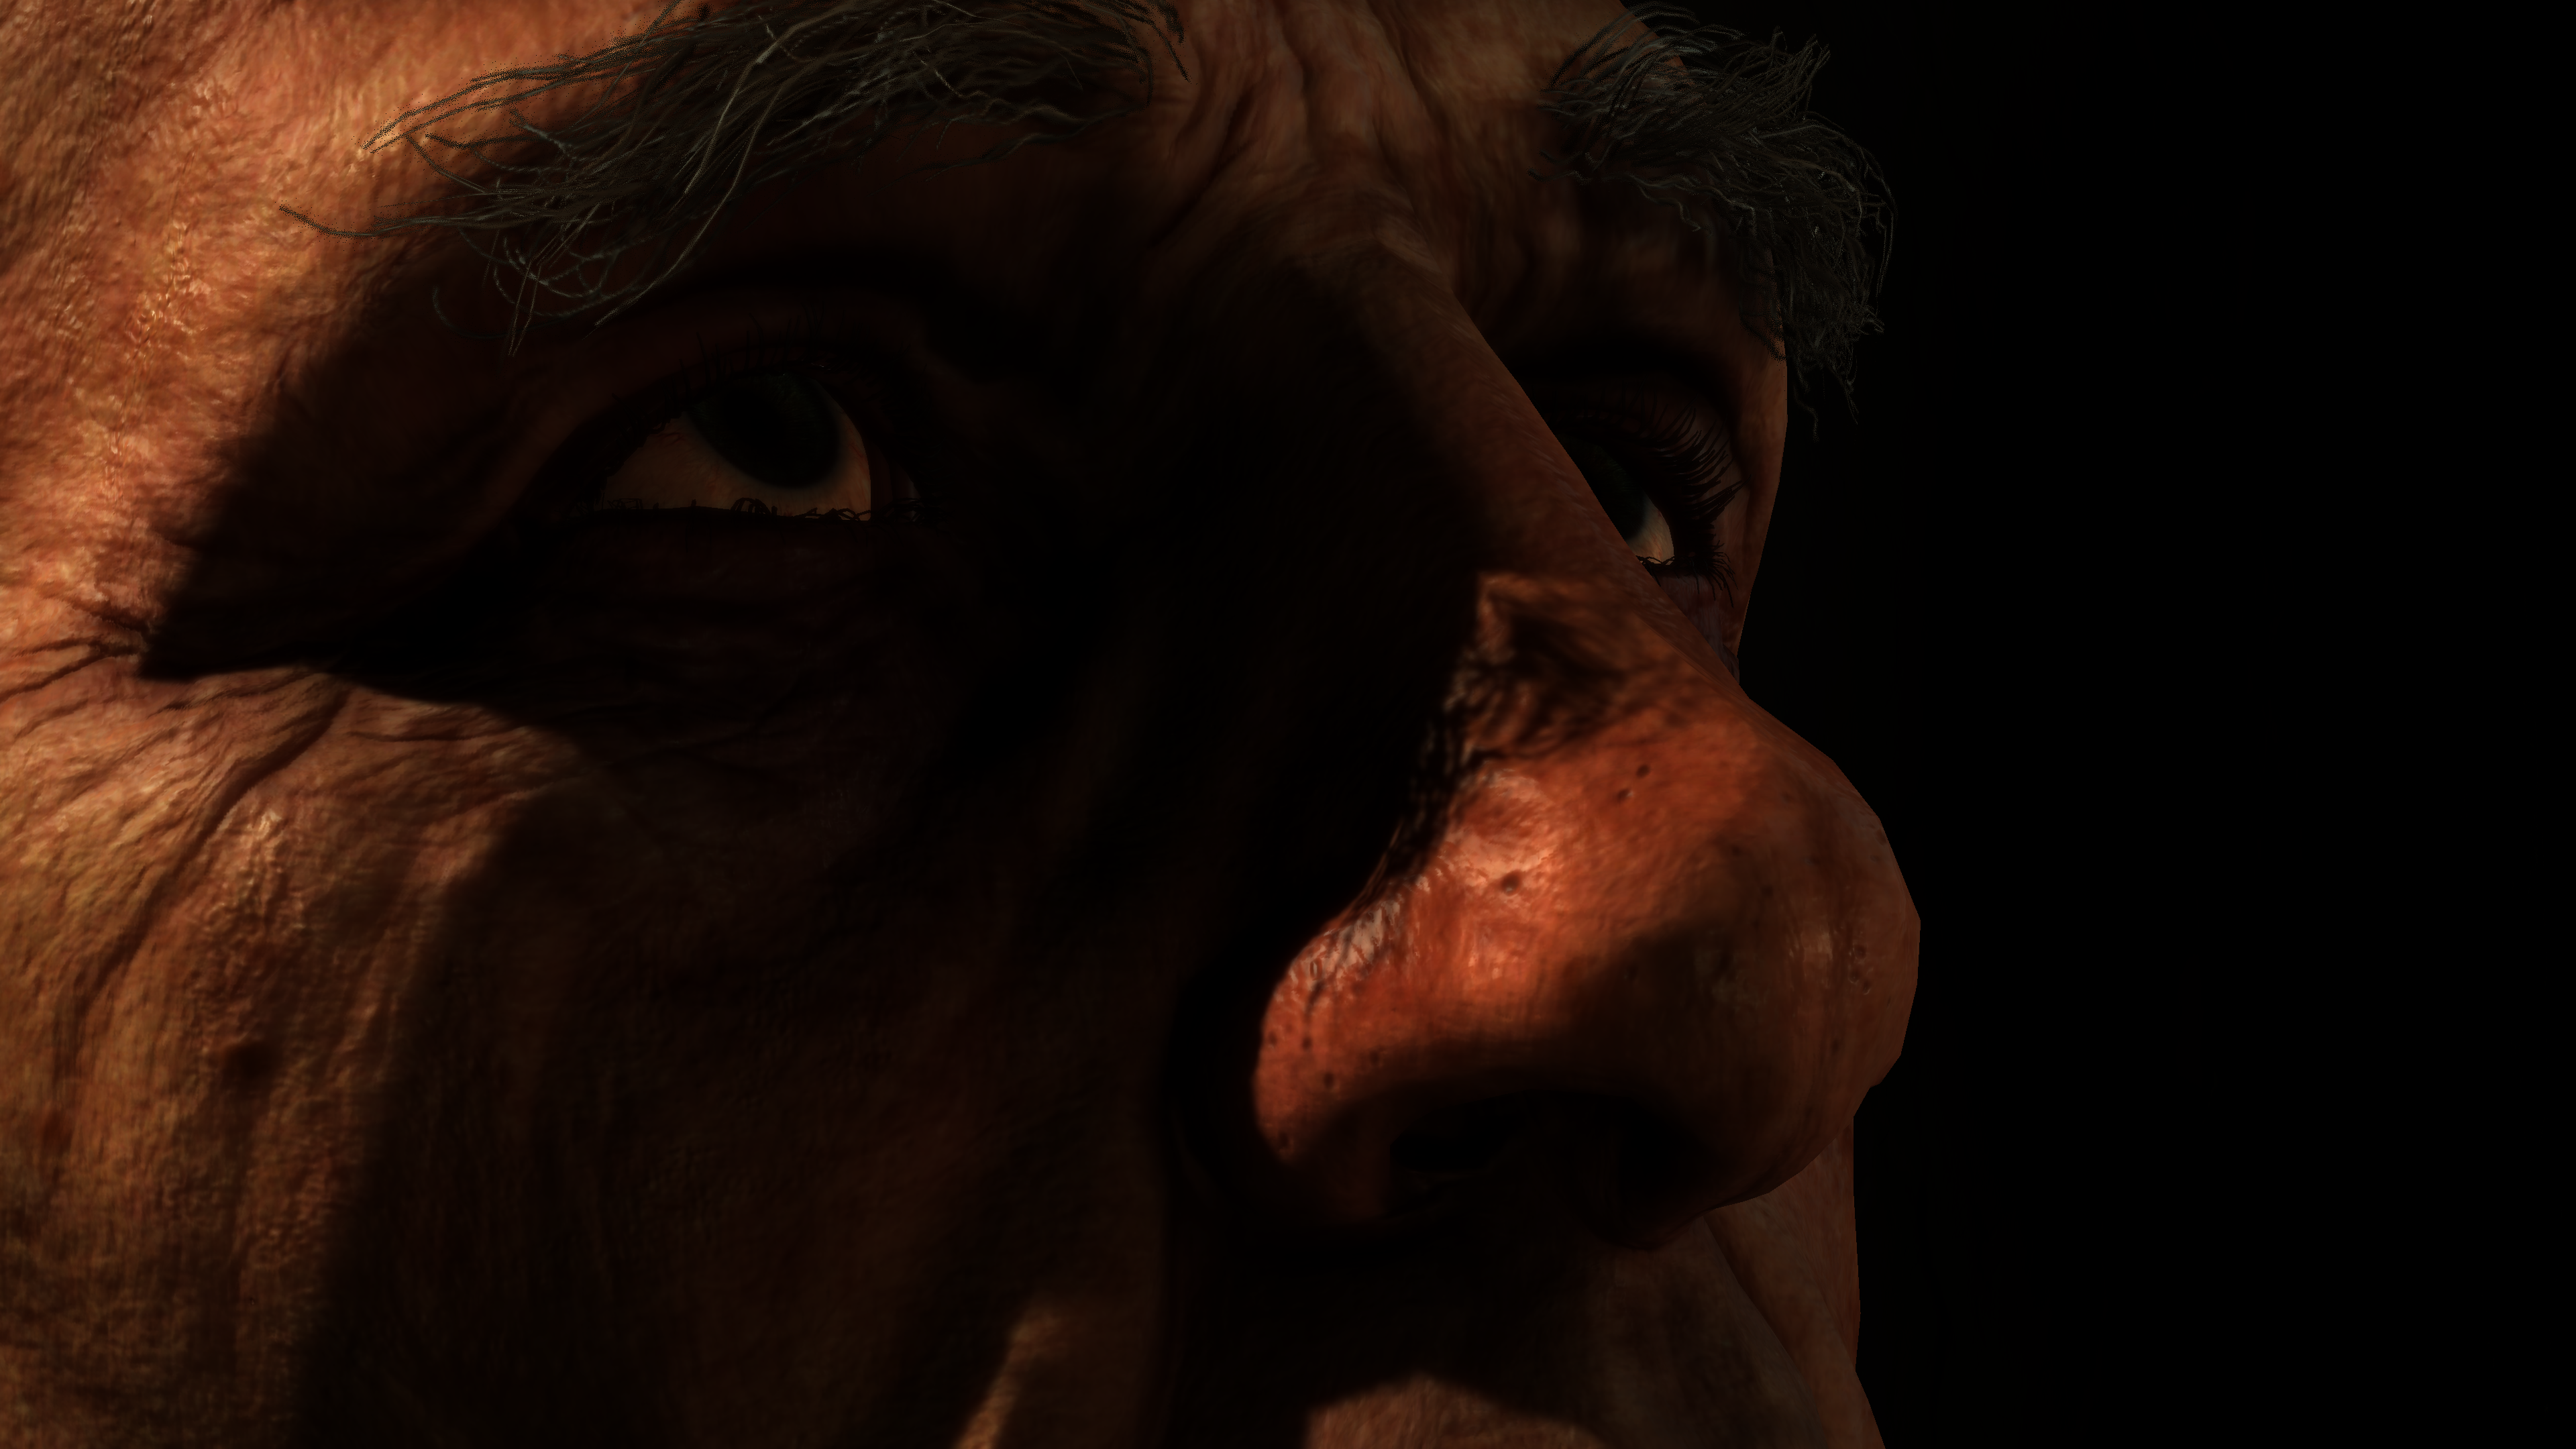
So, all outputs together for easier comparison would be
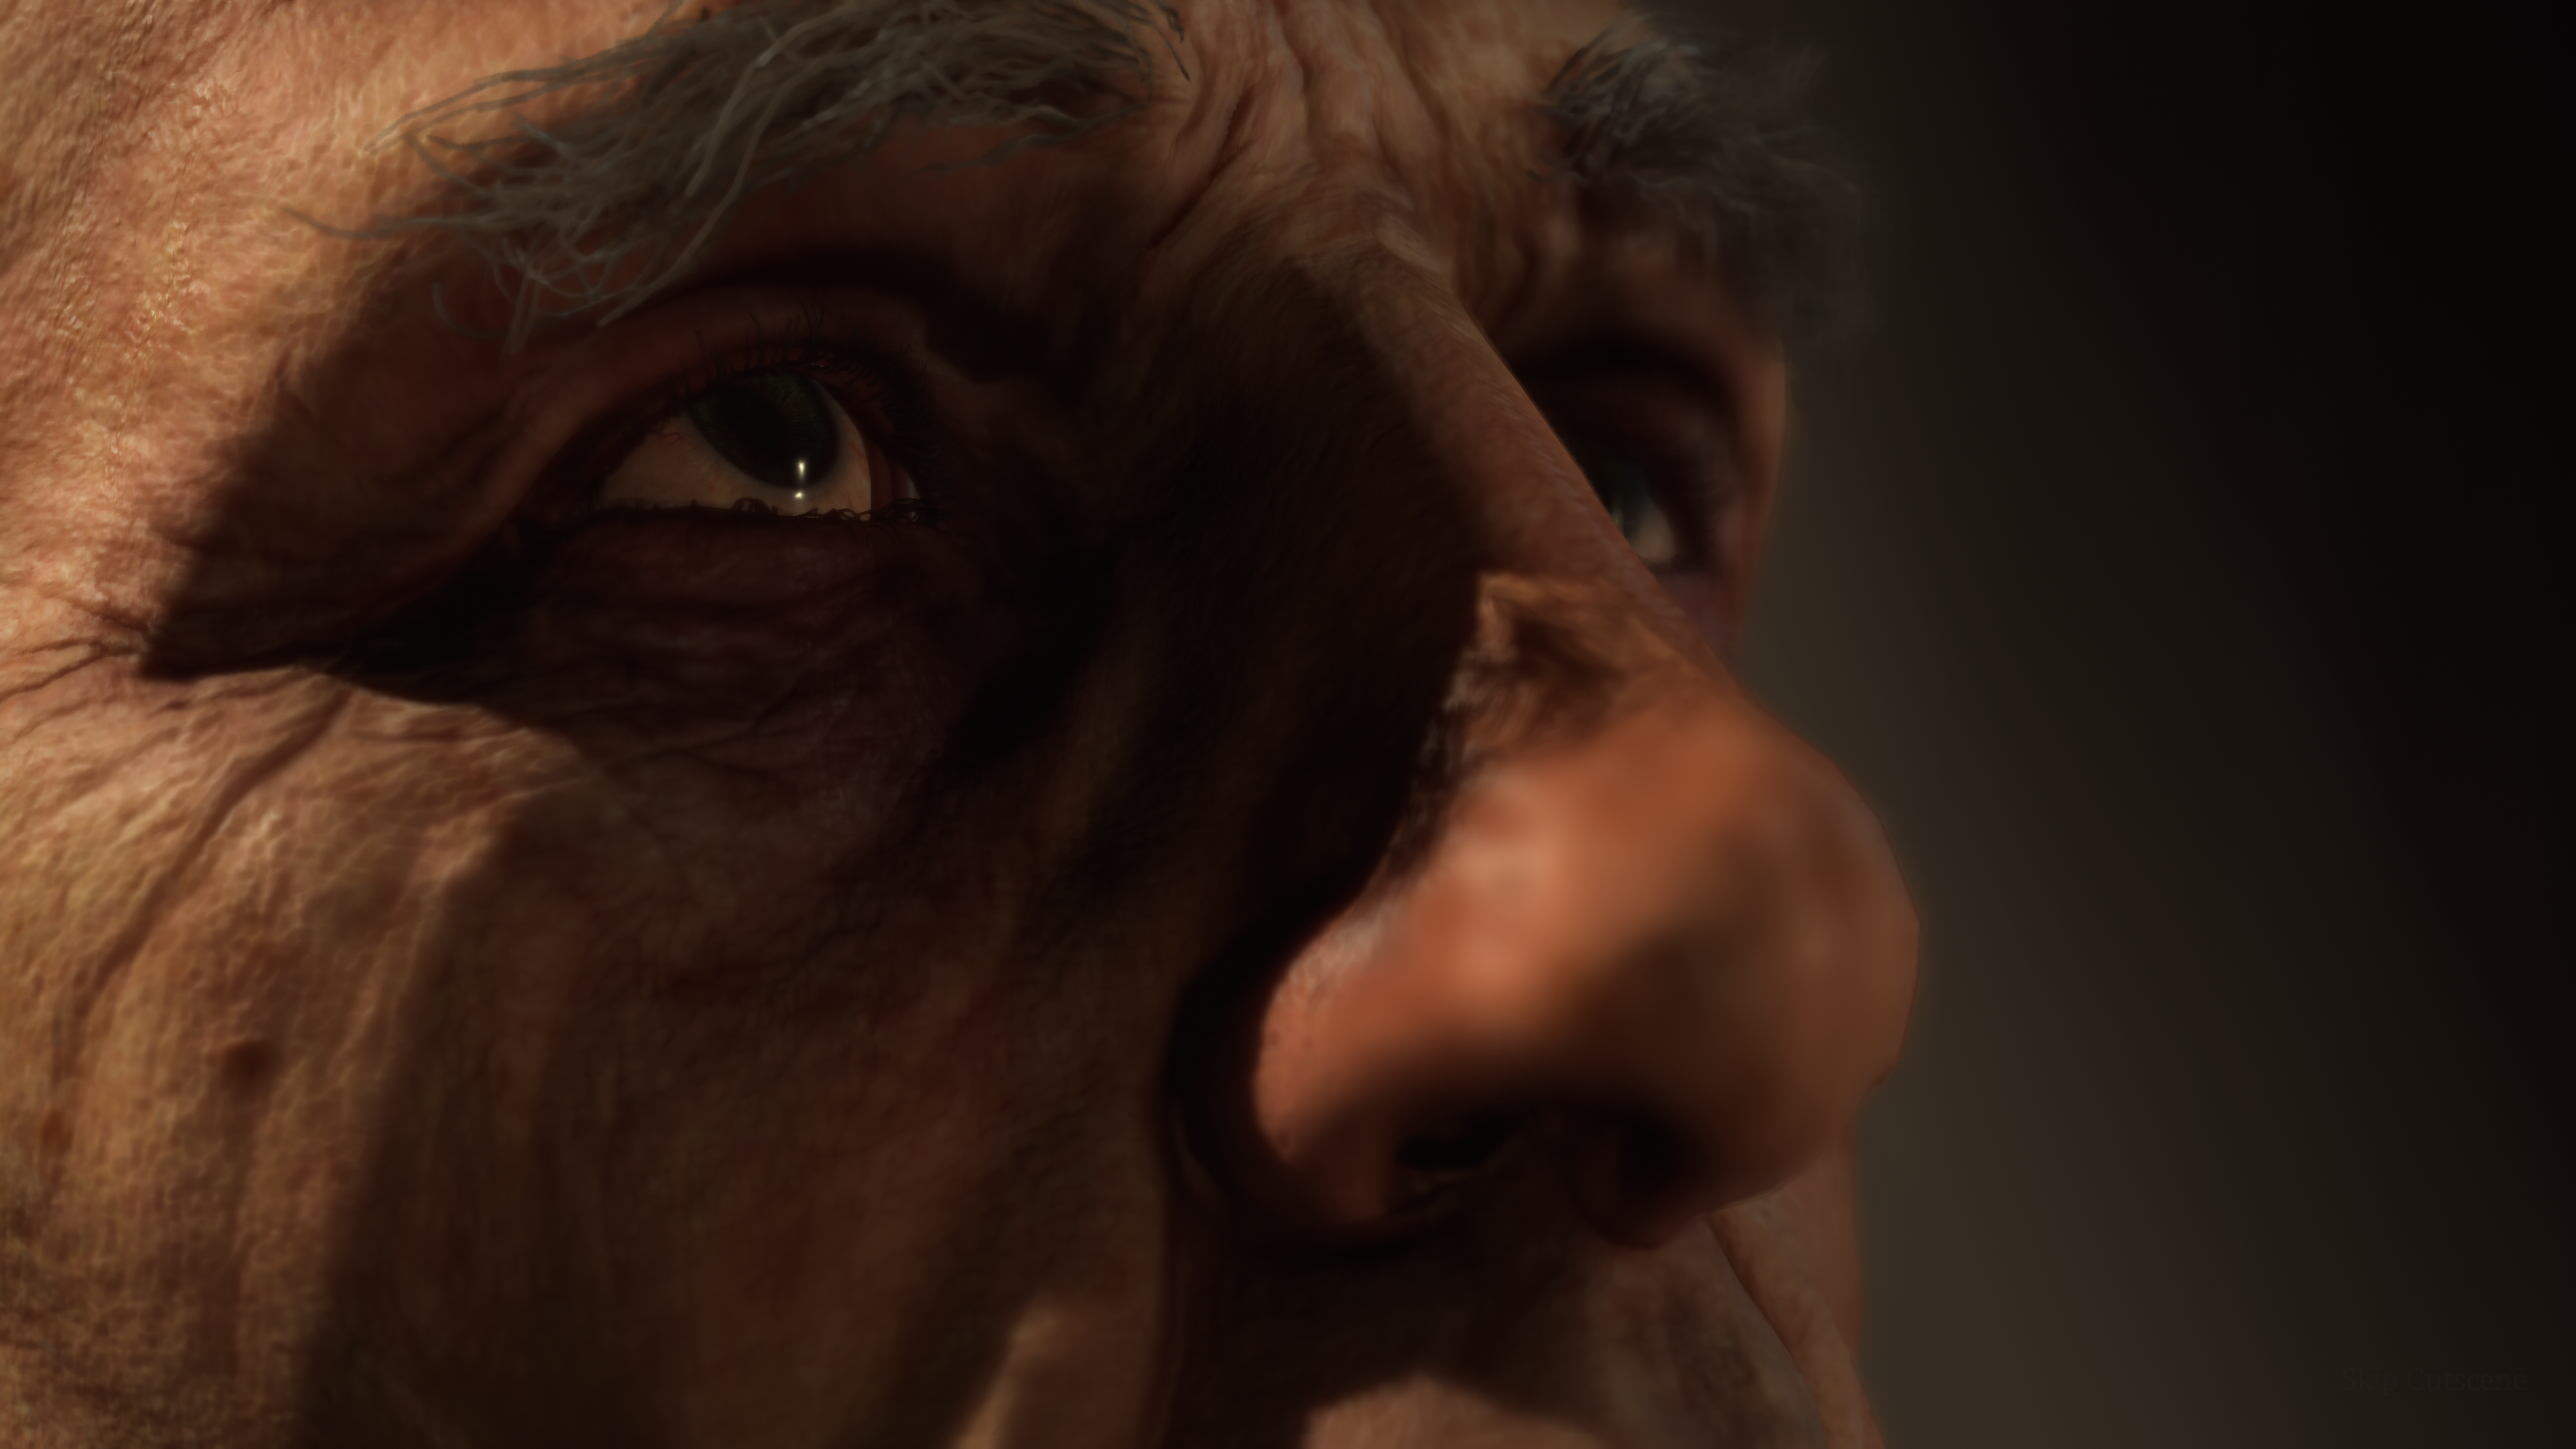
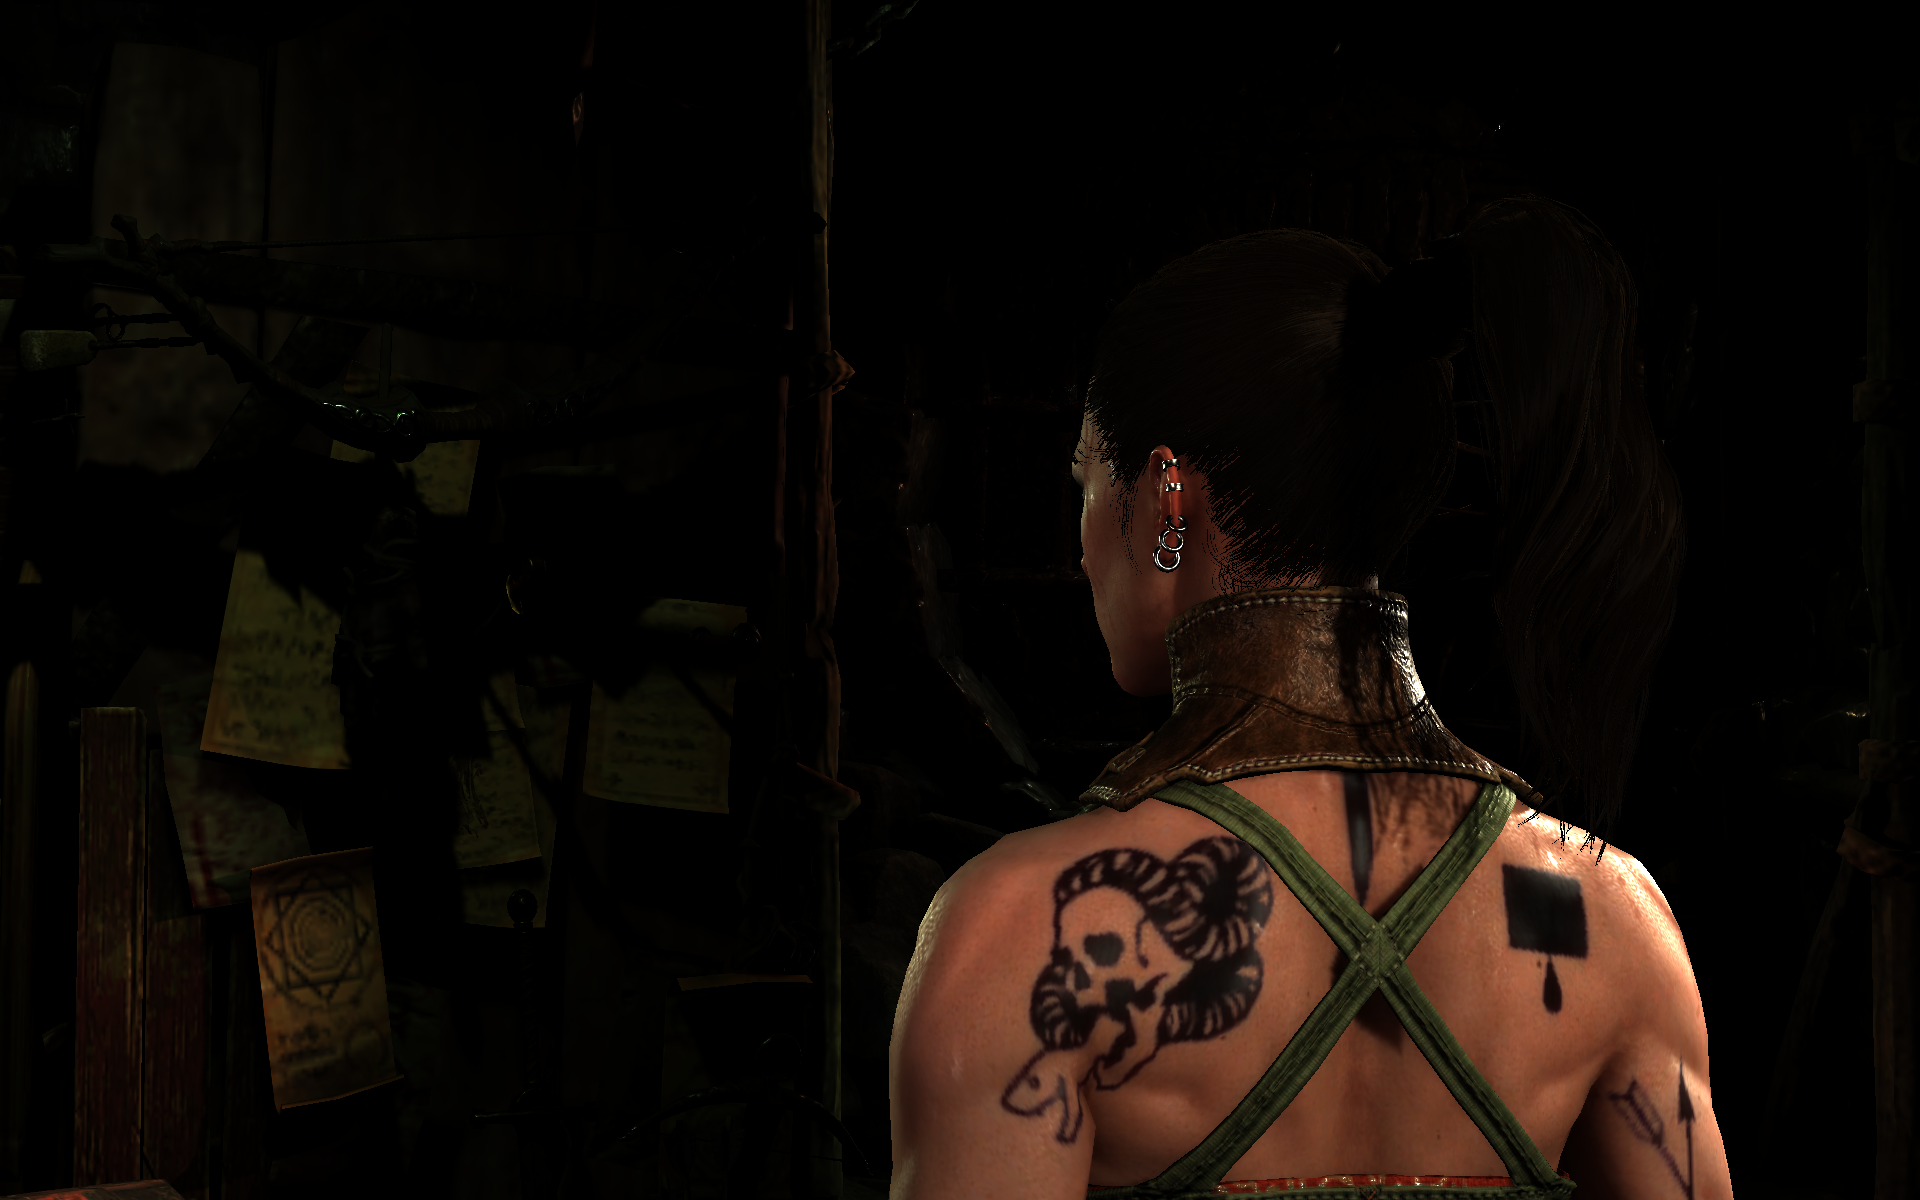
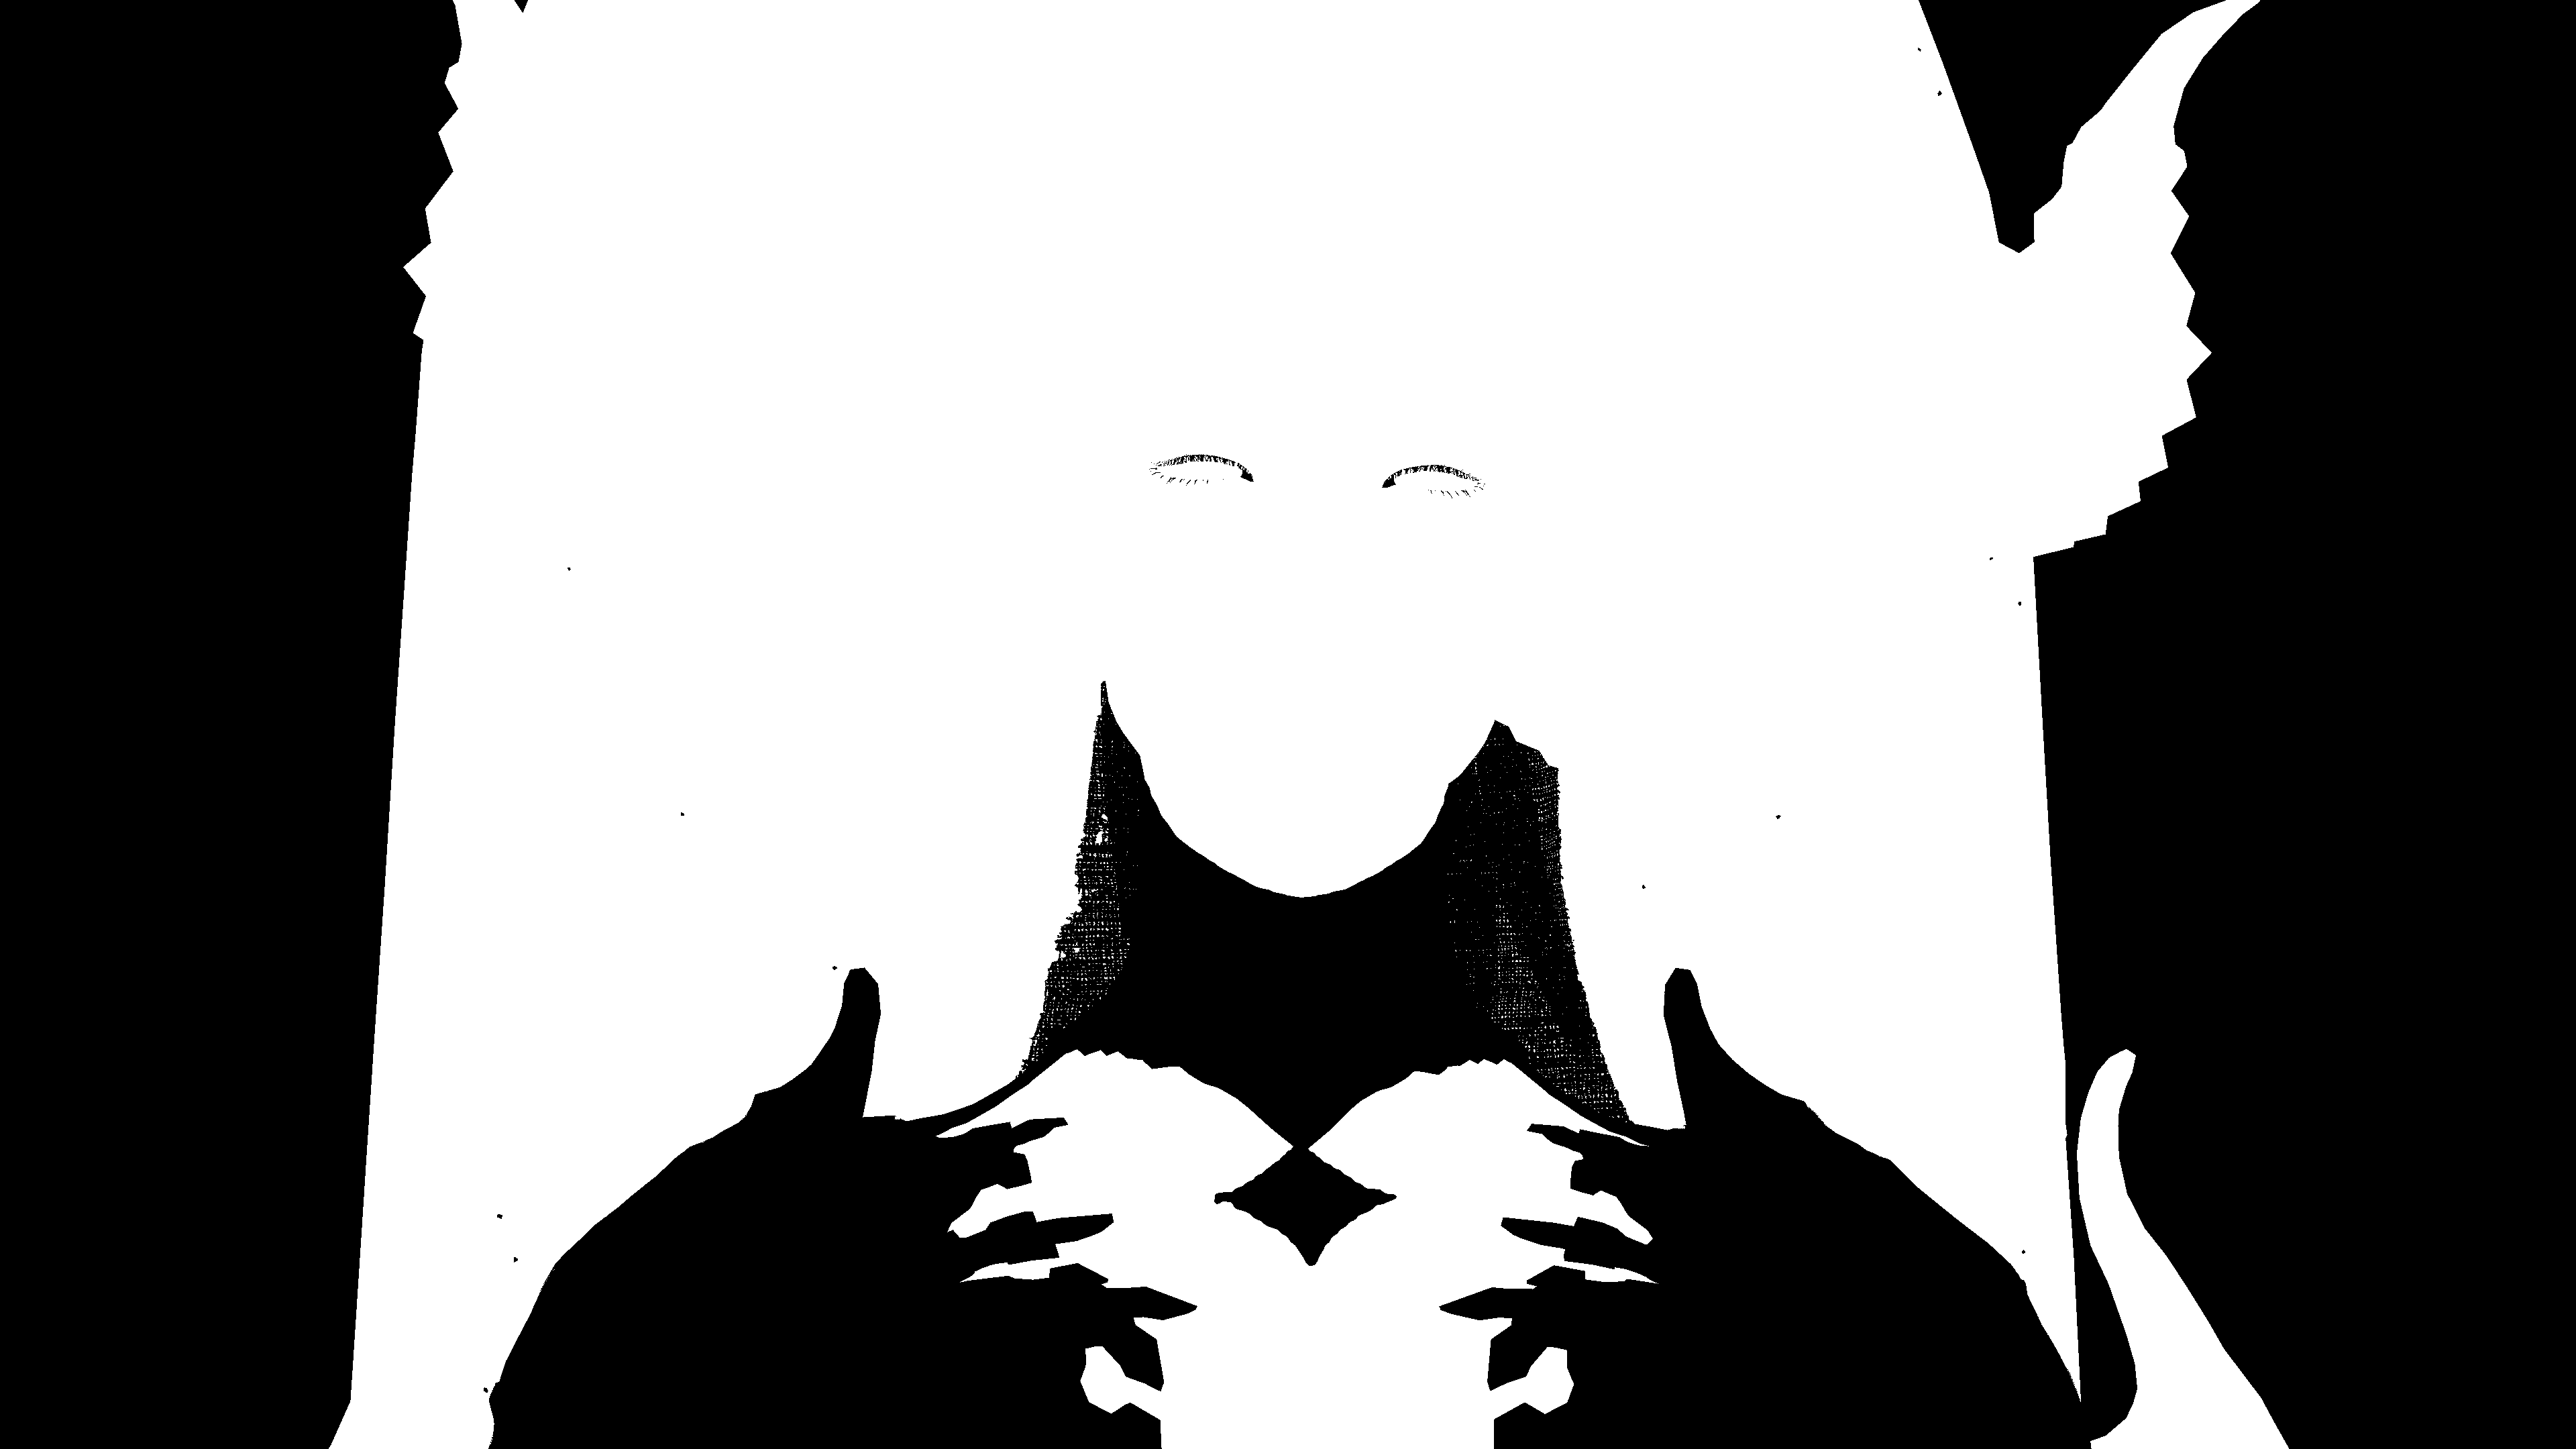
Now, what makes this techinque is not standing out is many things, but most importantly is the “masking” method used. As you can see from the mask, it just blocky masking the entire head or geometry at once, there is no details, and this is expected since there isn’t some sort of multiple colors or geo curvature utilized. So if you look closer you can observe that the eye itself got SSS smoothing as well! Or even more visible with a frame with blood on the face, or a frame with tattoos, you will be able to see that easier between the different steps, as you would see that the blood and tattoos get smoother/blurred as well. And where this works perfectly for Tattoos as by their nature Tattoos are not sharp always, they quickly get smooth edges due to the ink absorption in skin over the time, it is not convincing with blood as they’re an “outer layer” that is not part of the skin.


Full inputs/outputs of the previous 2 examples


The second issue, still due to the fact of not being really a detailed simulation to SSS, there will be absence for the famous SSS effect, most notably seen in ears when hit by strong light from the behind.


Full inputs/outputs of the previous example


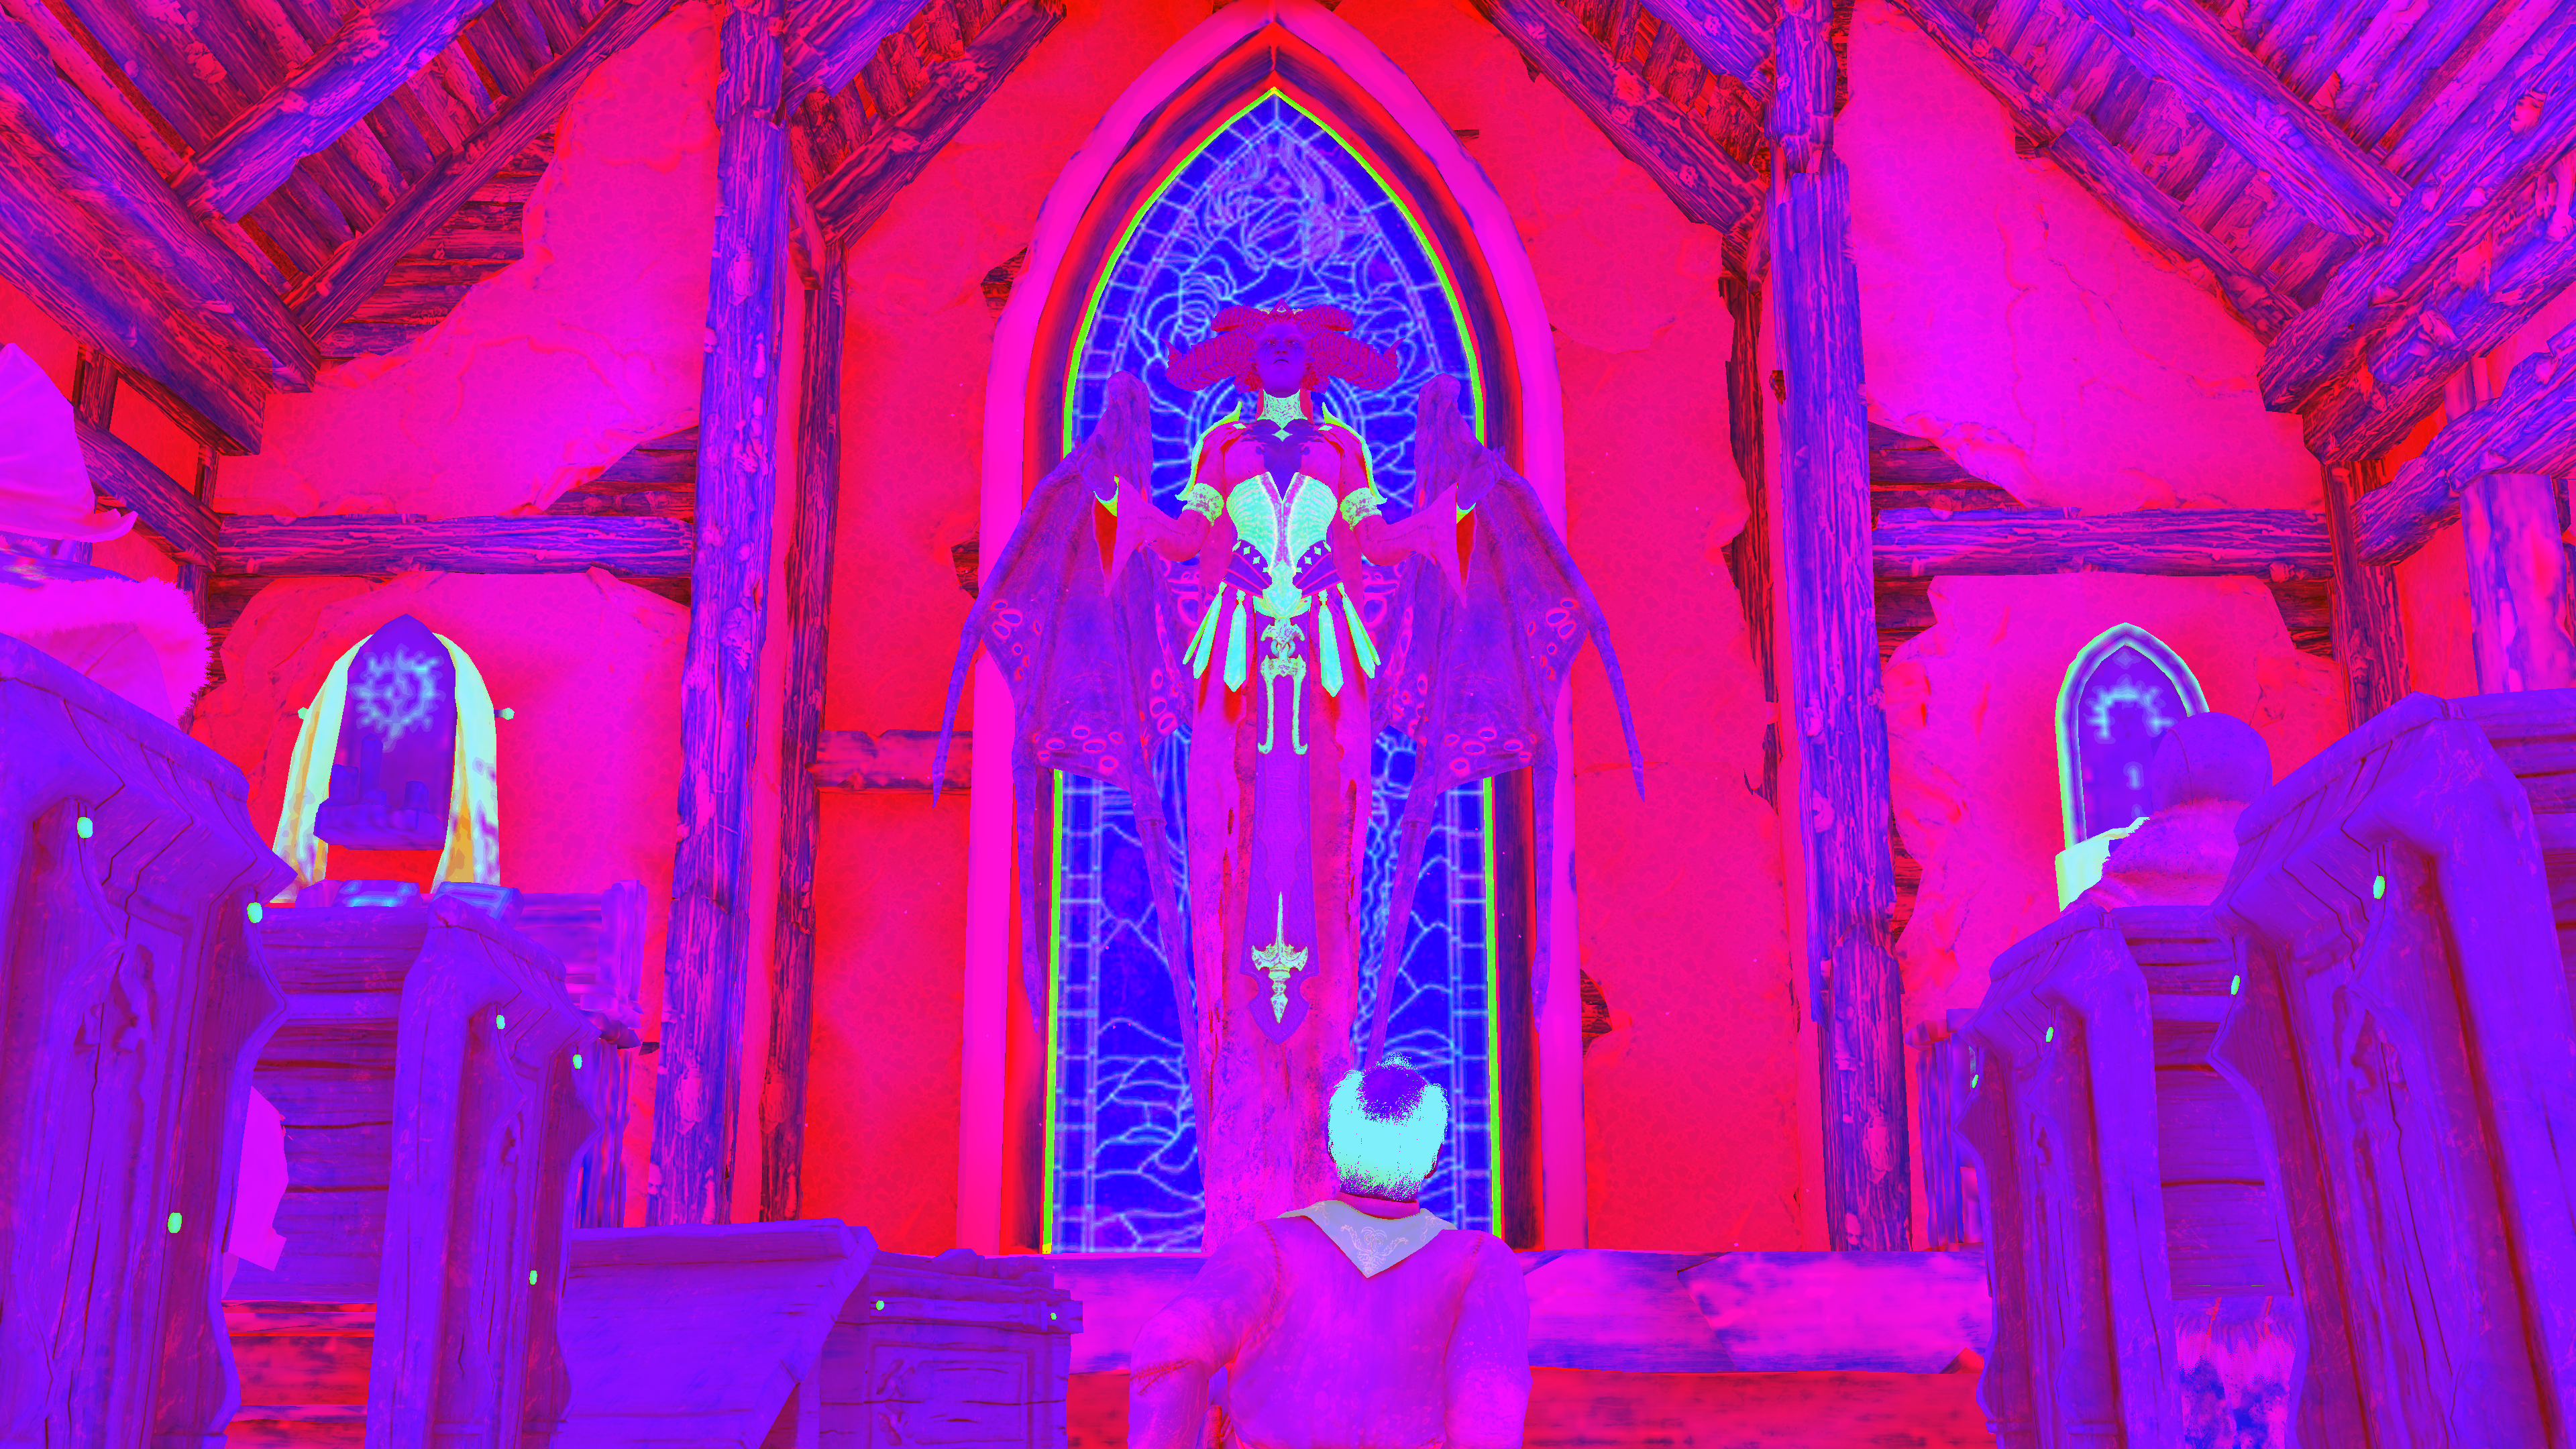
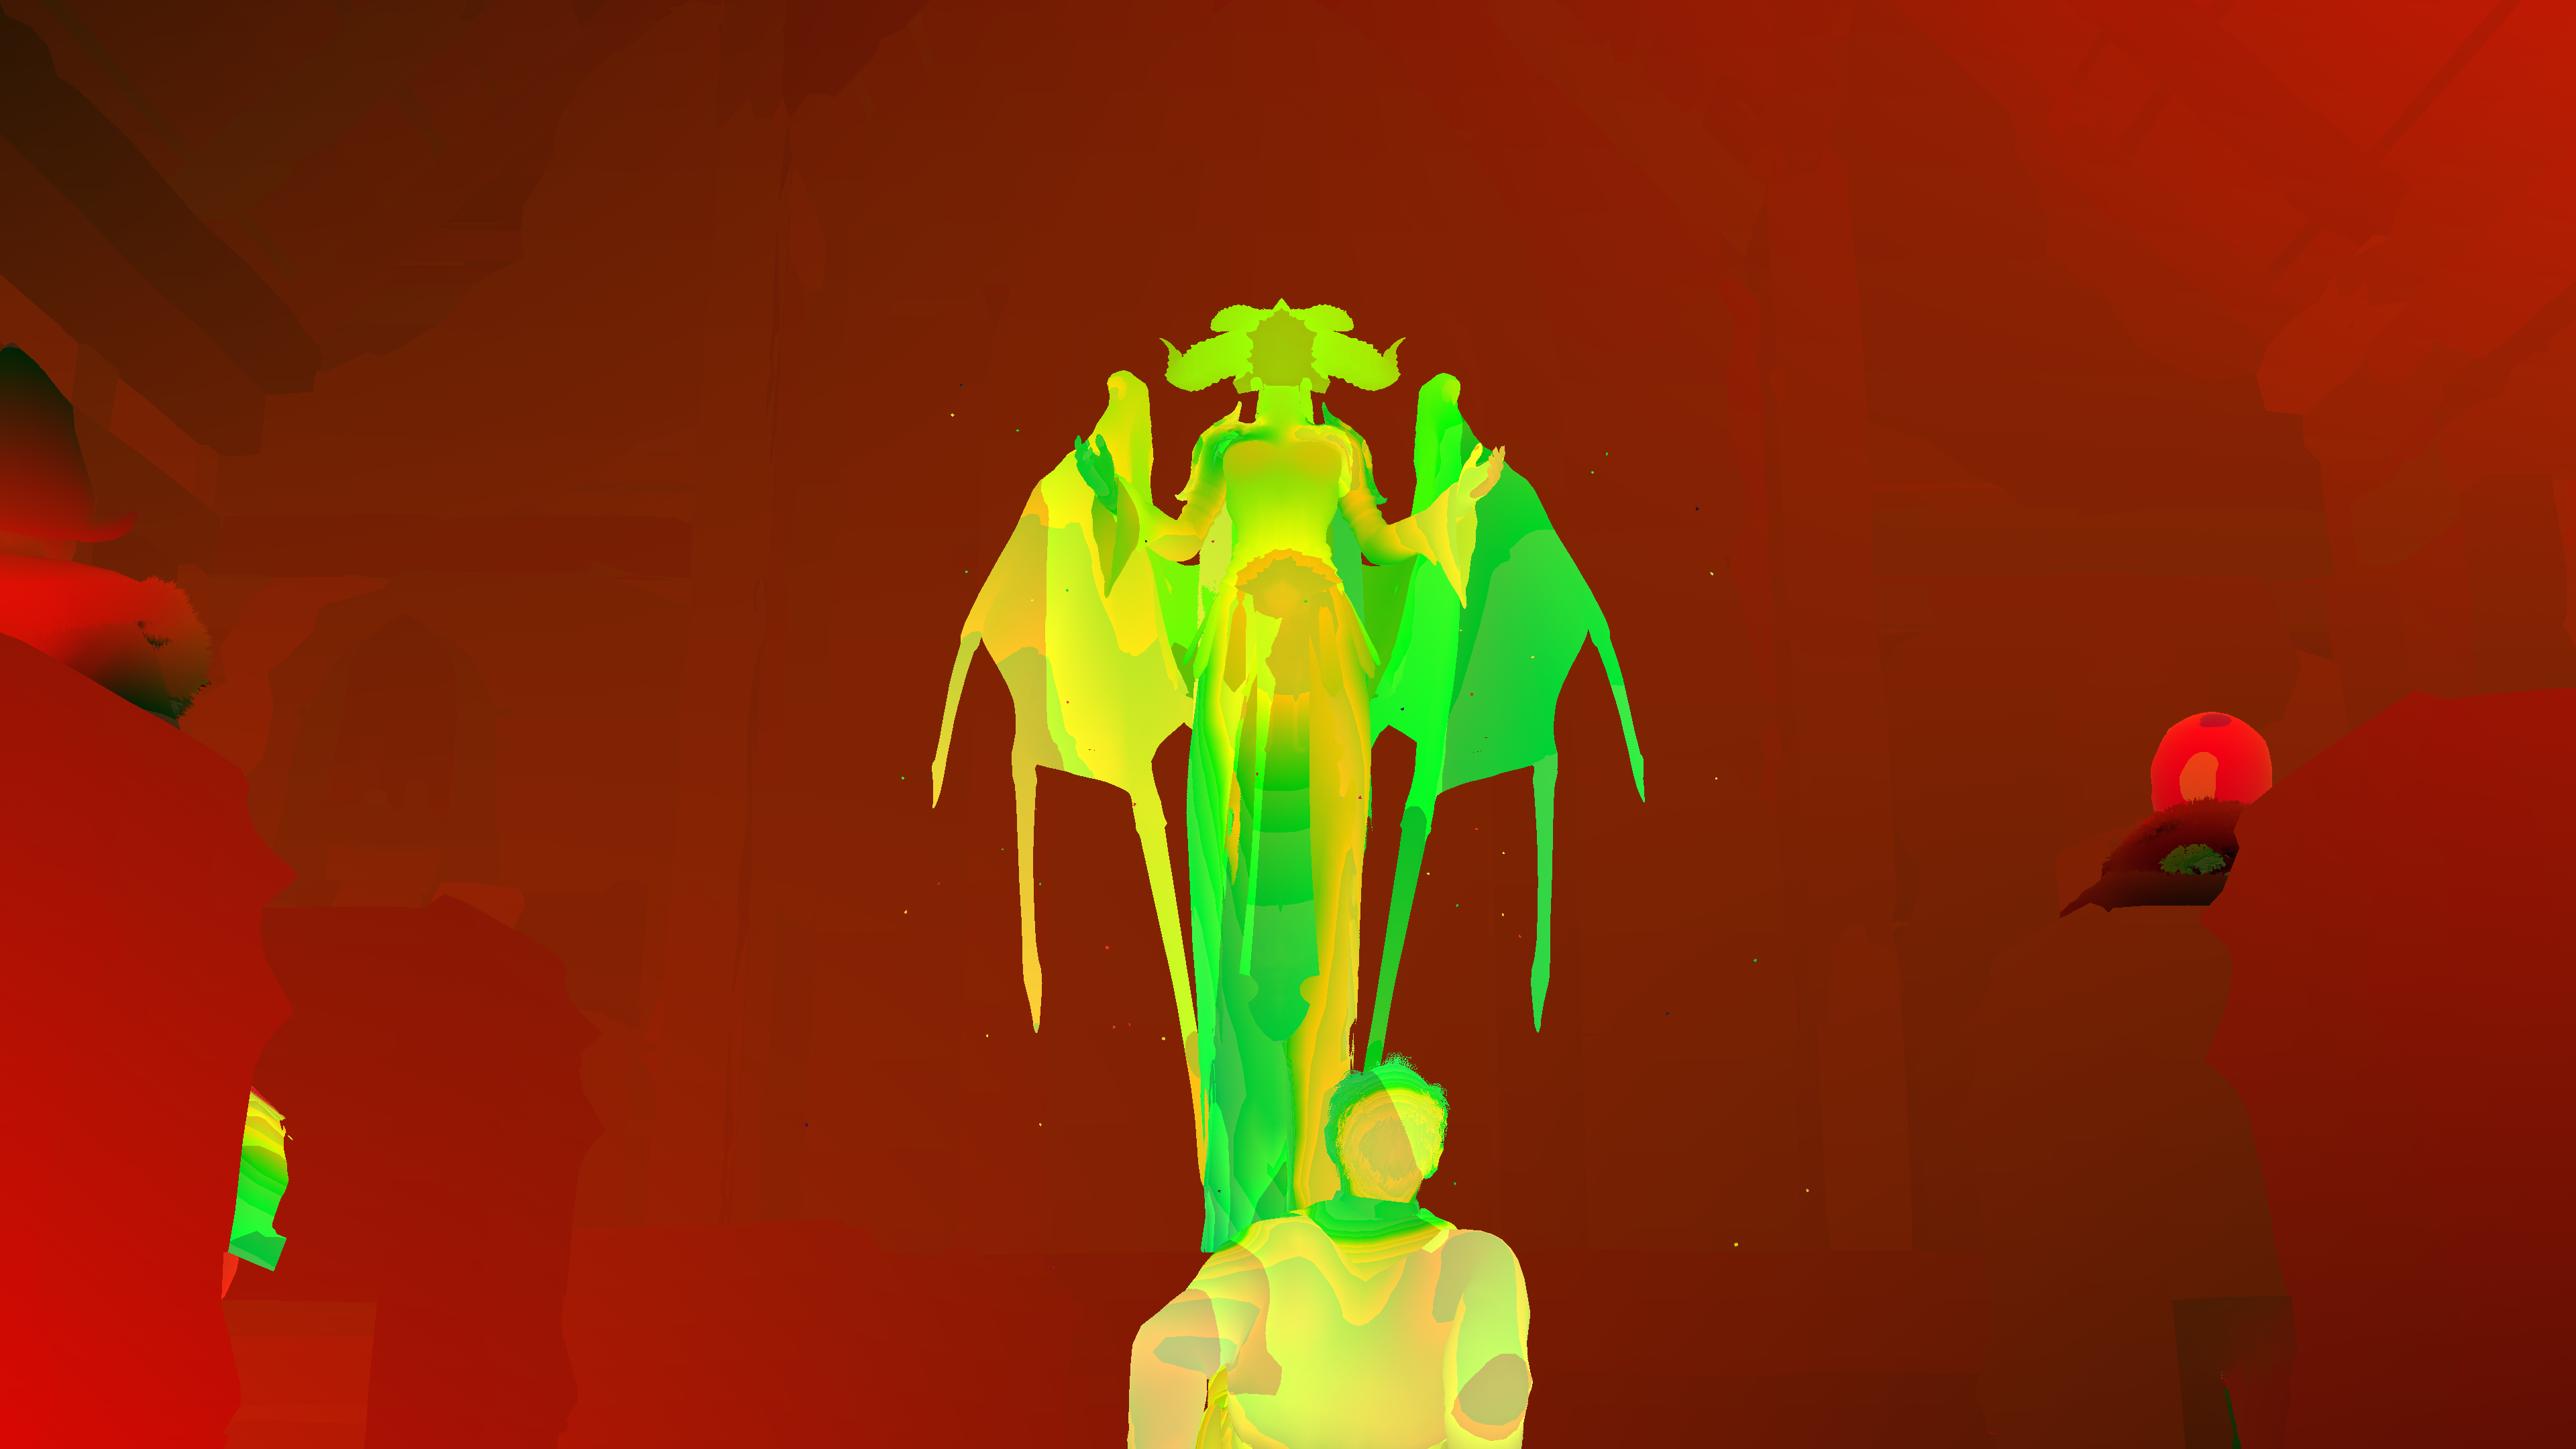
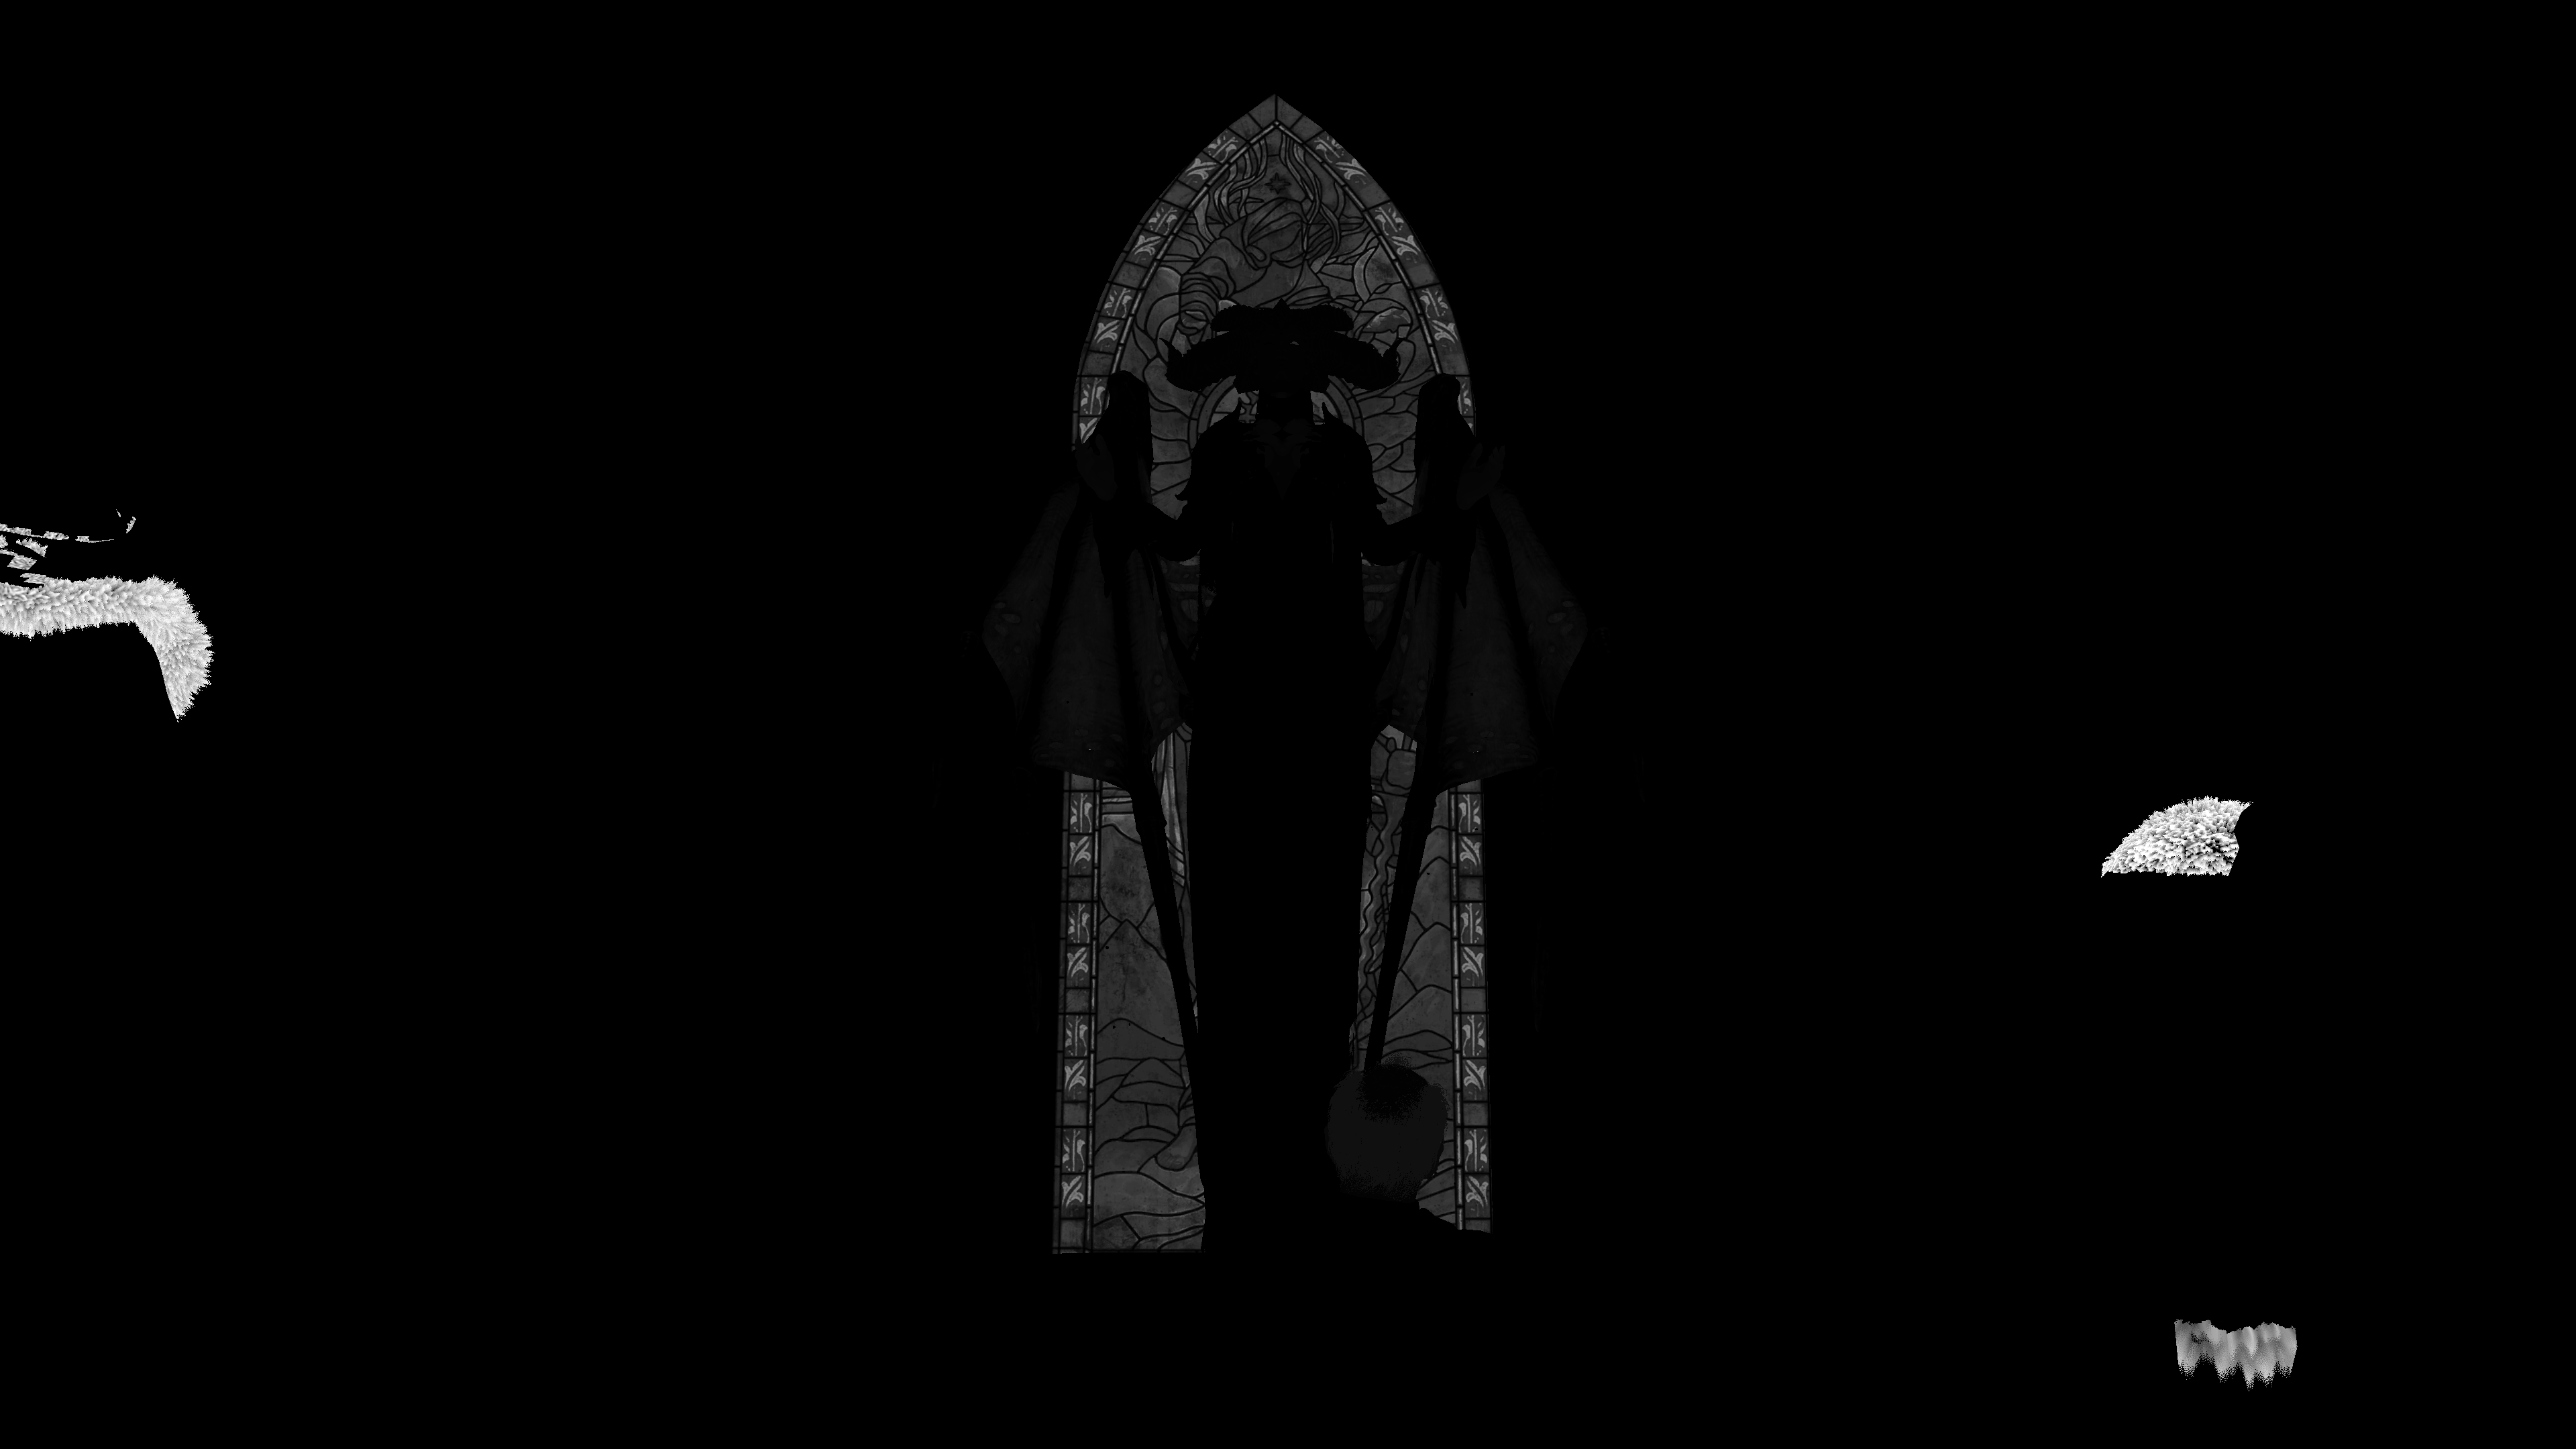
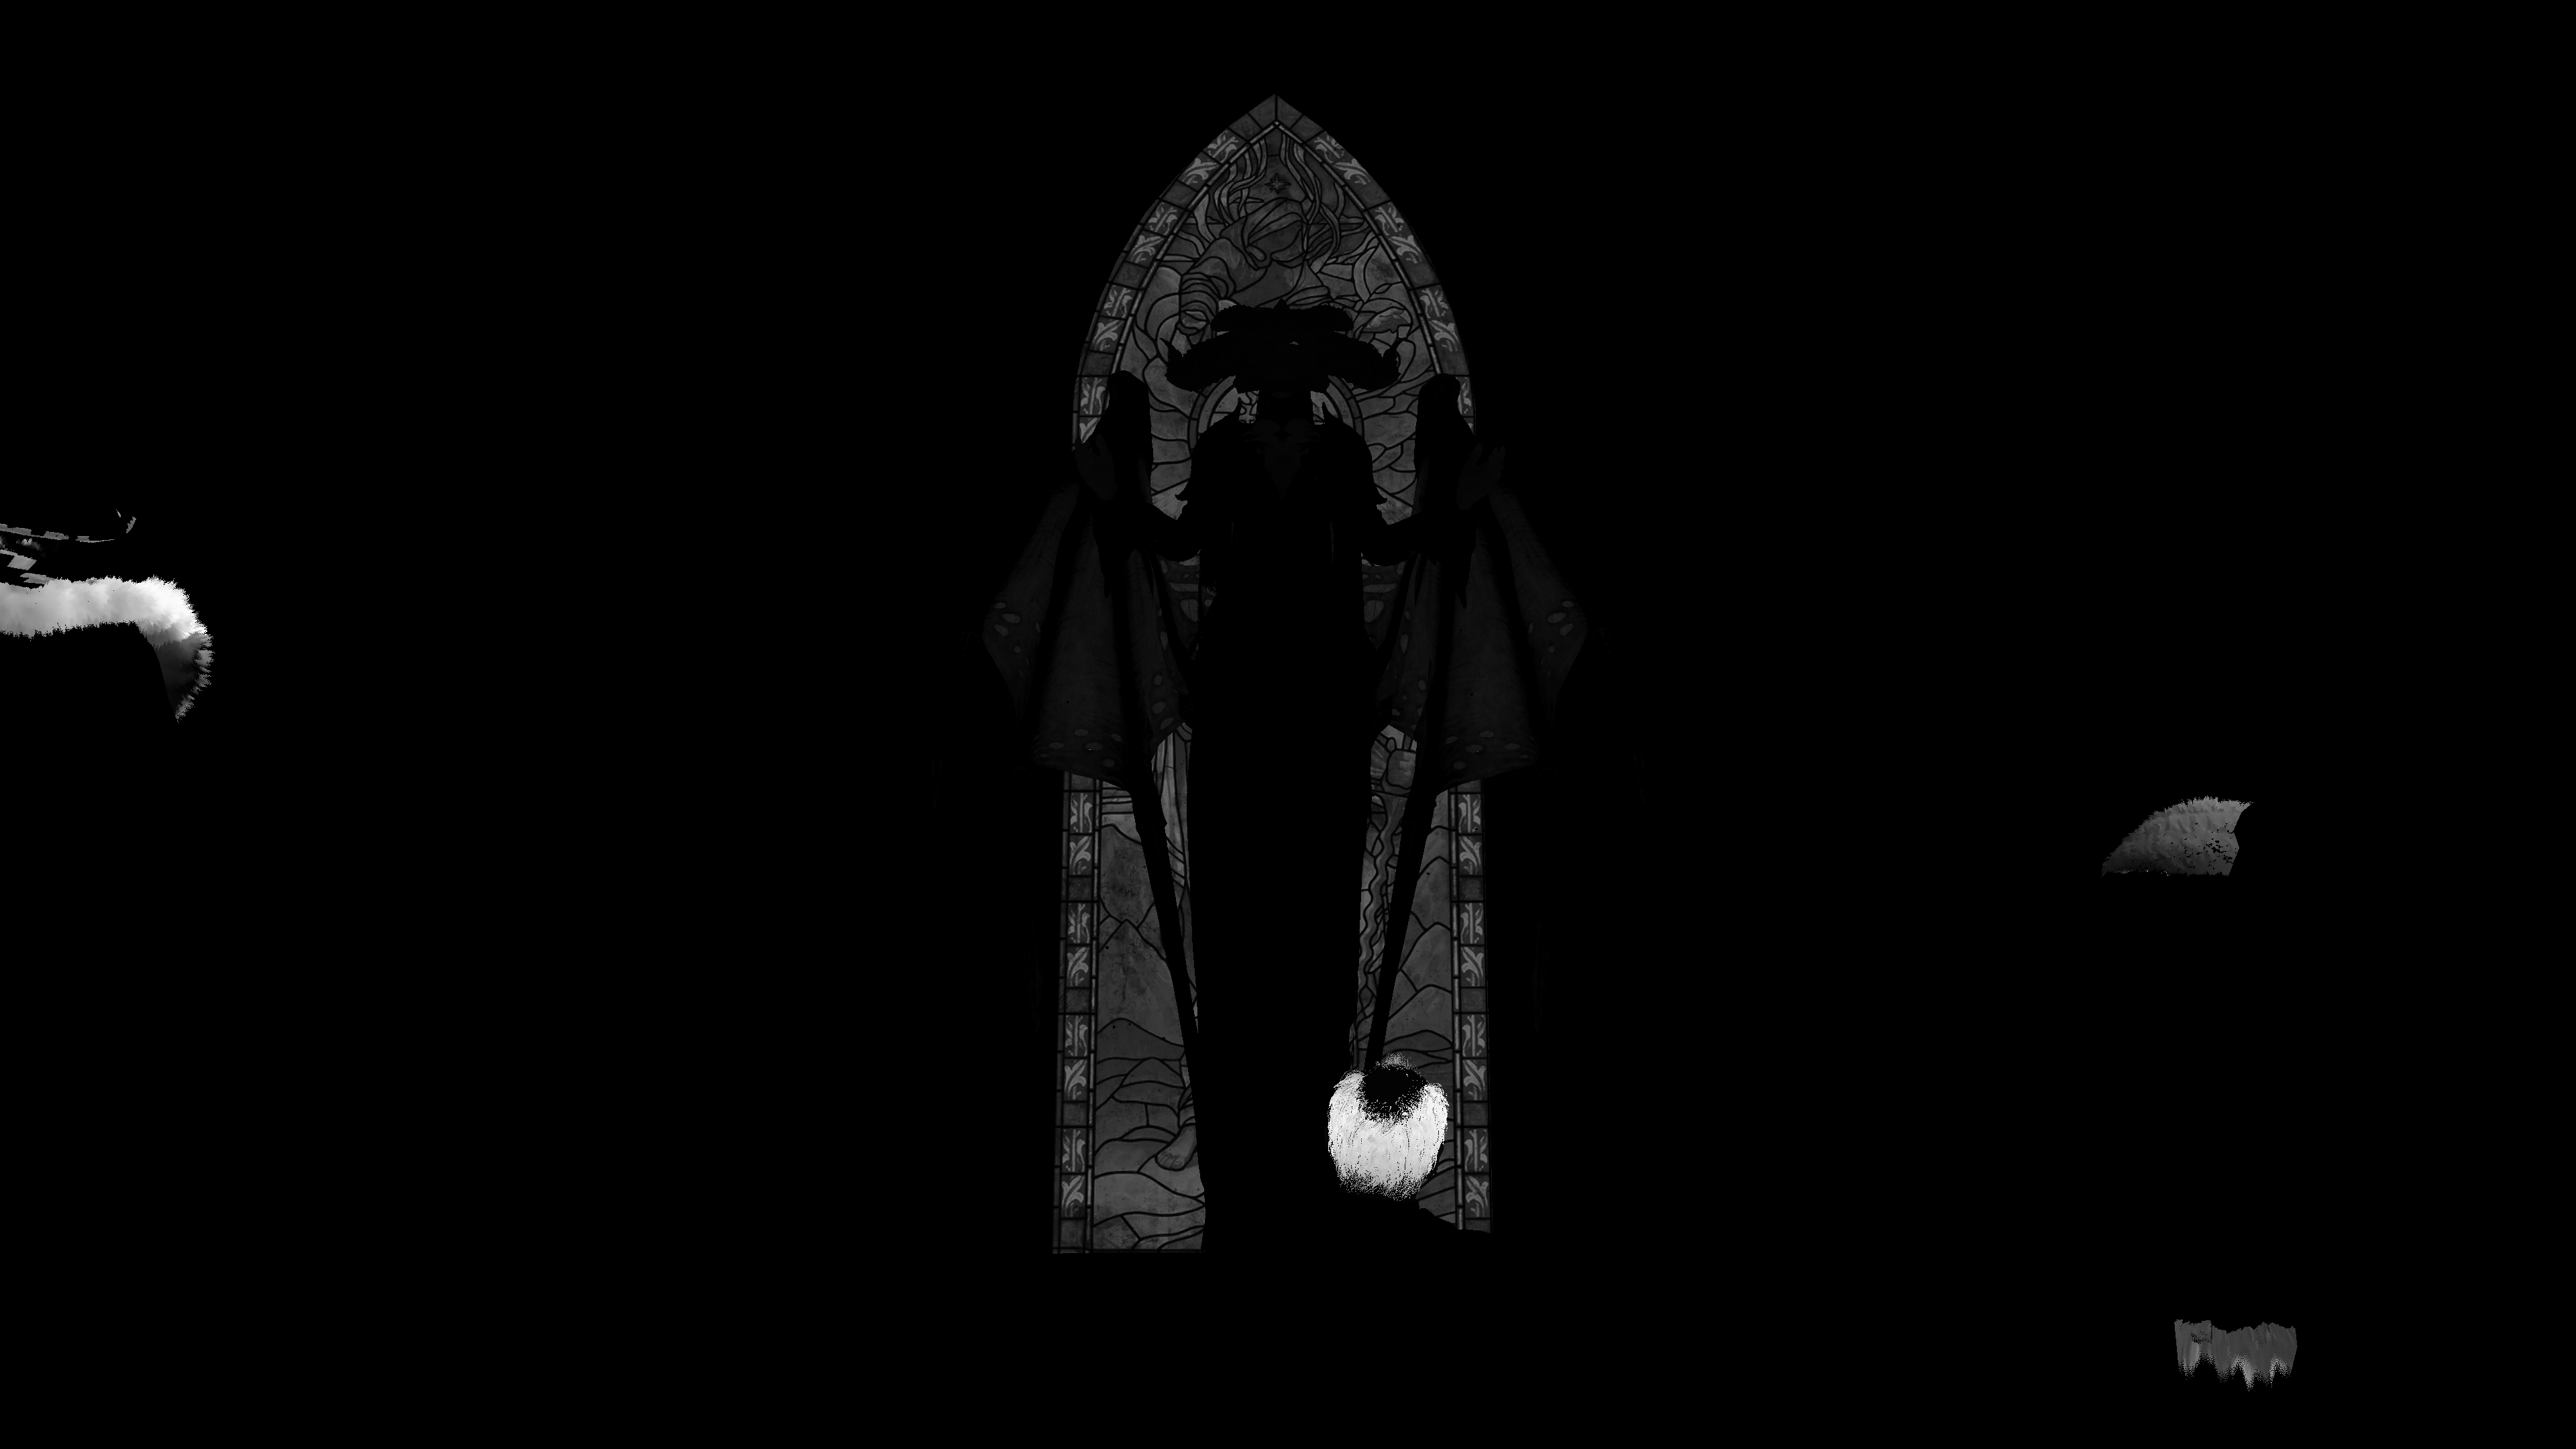
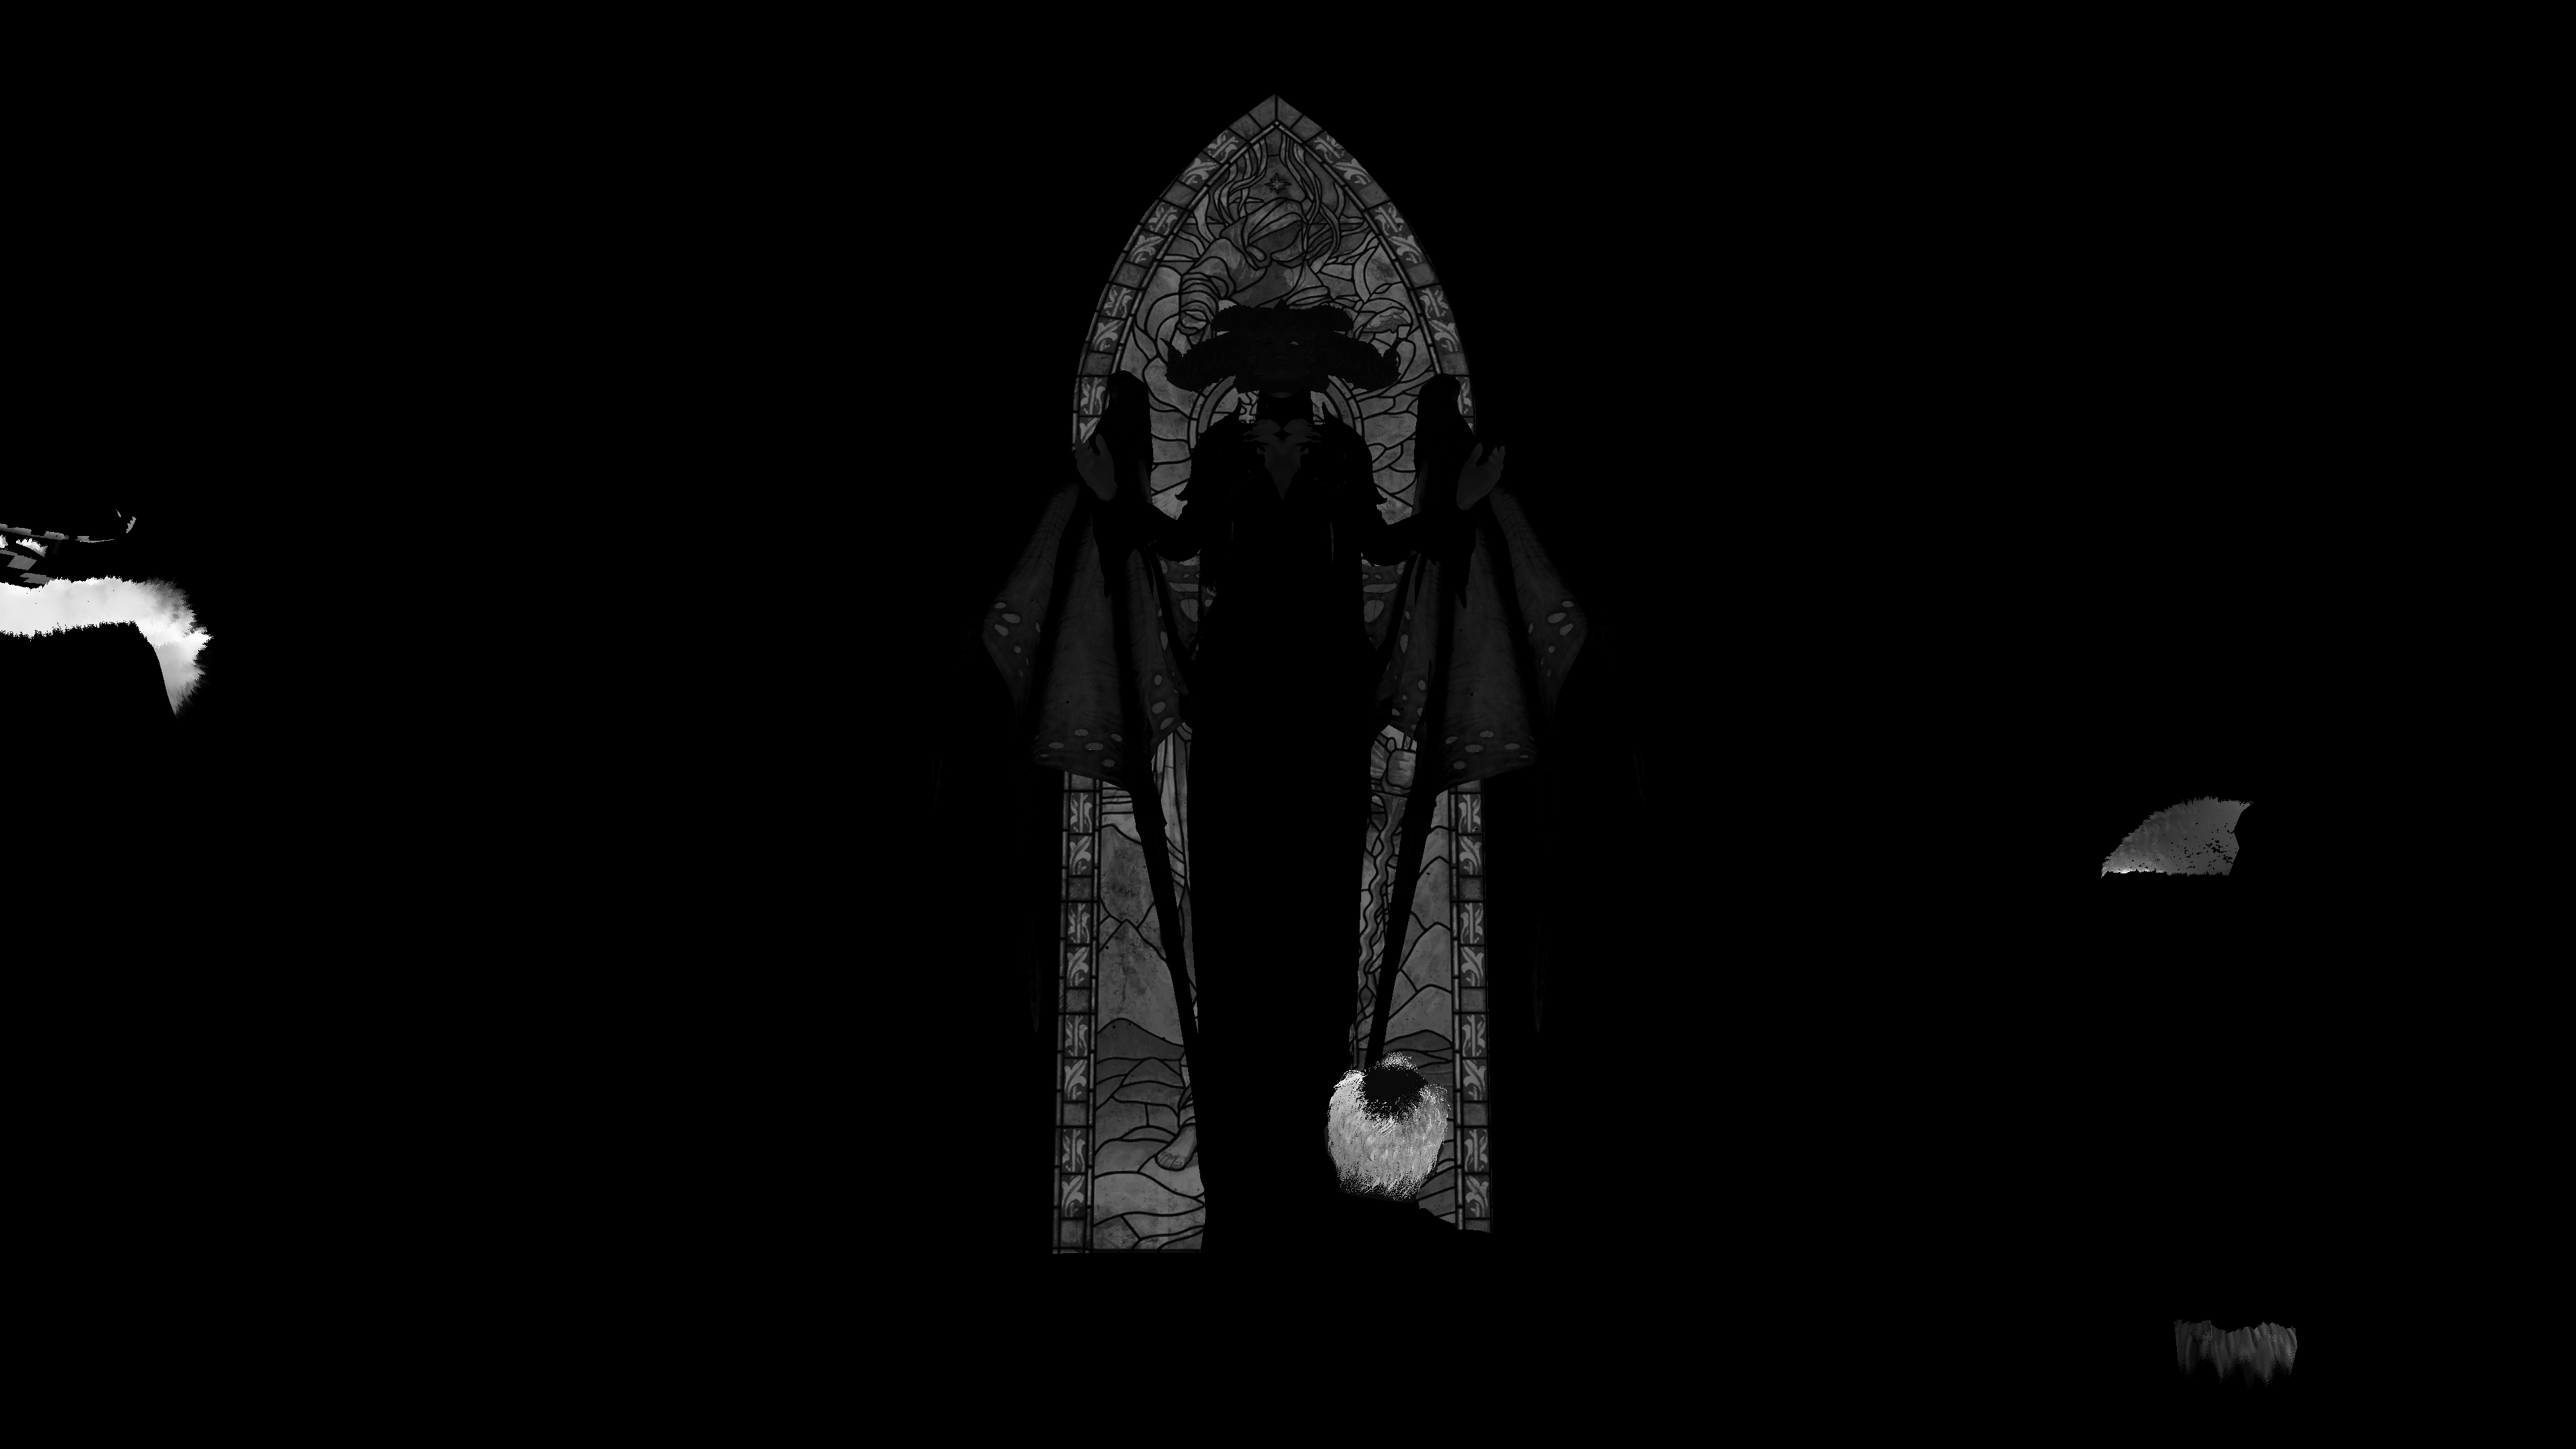
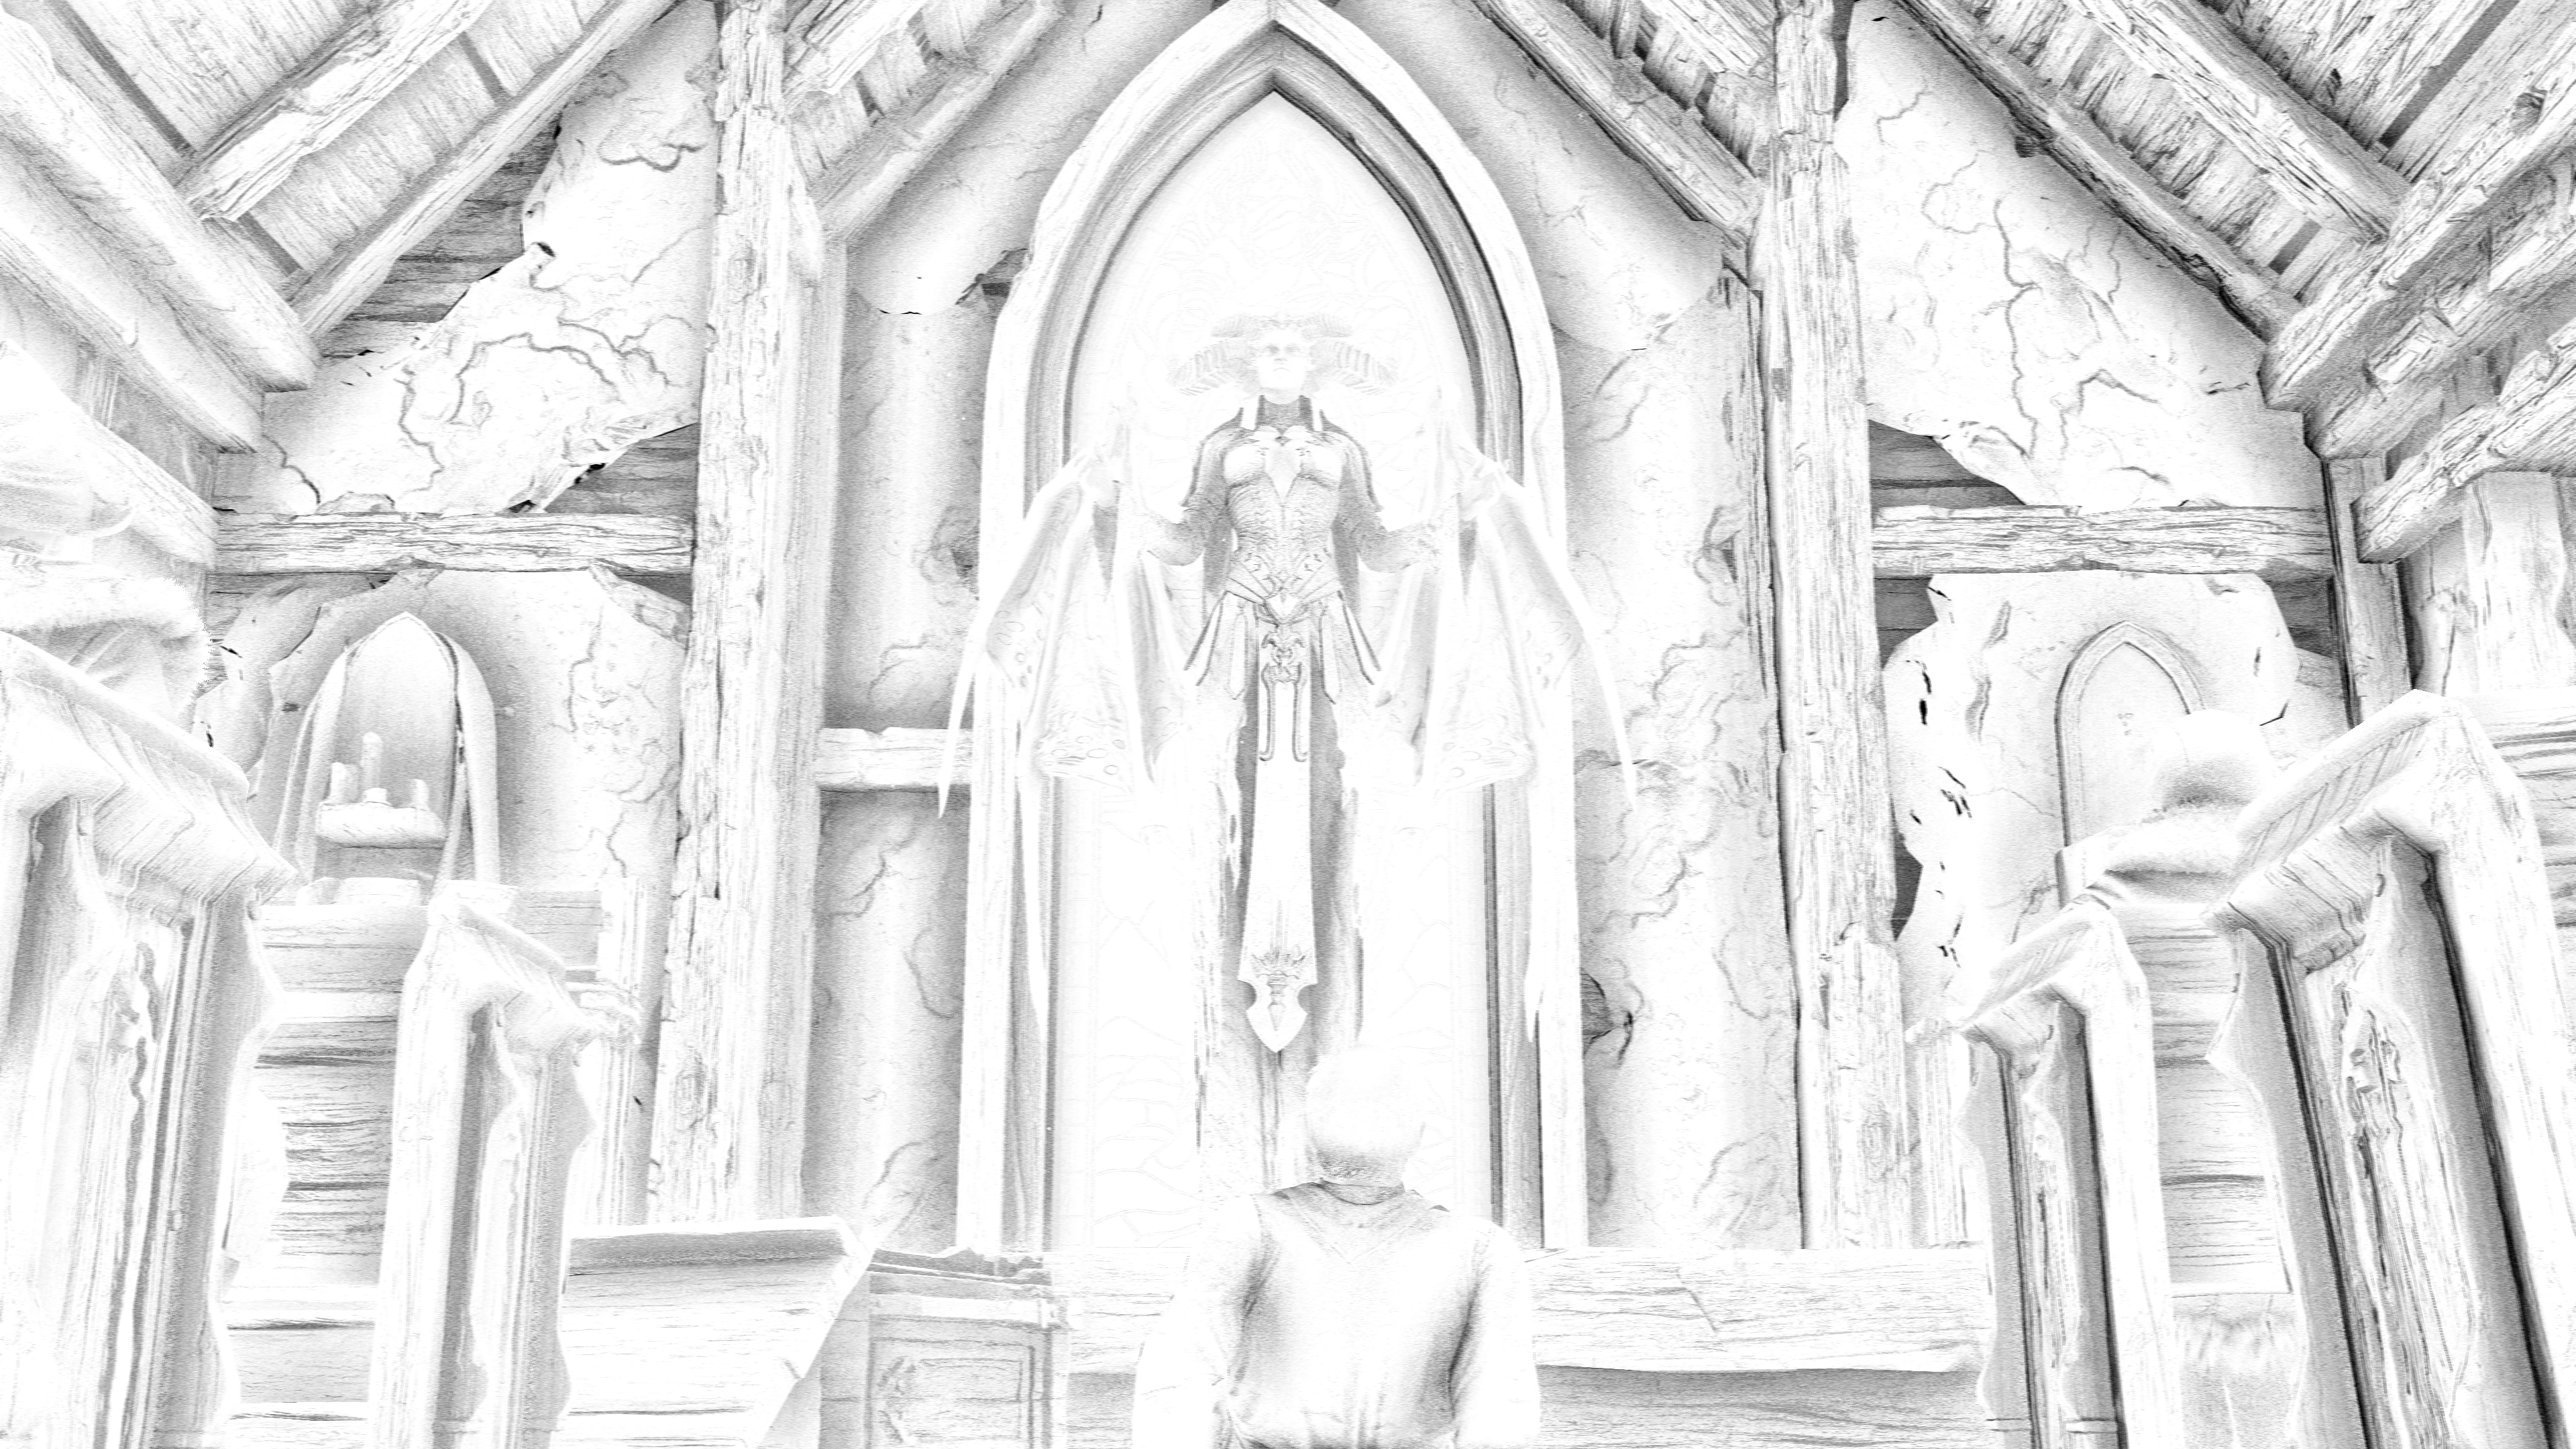
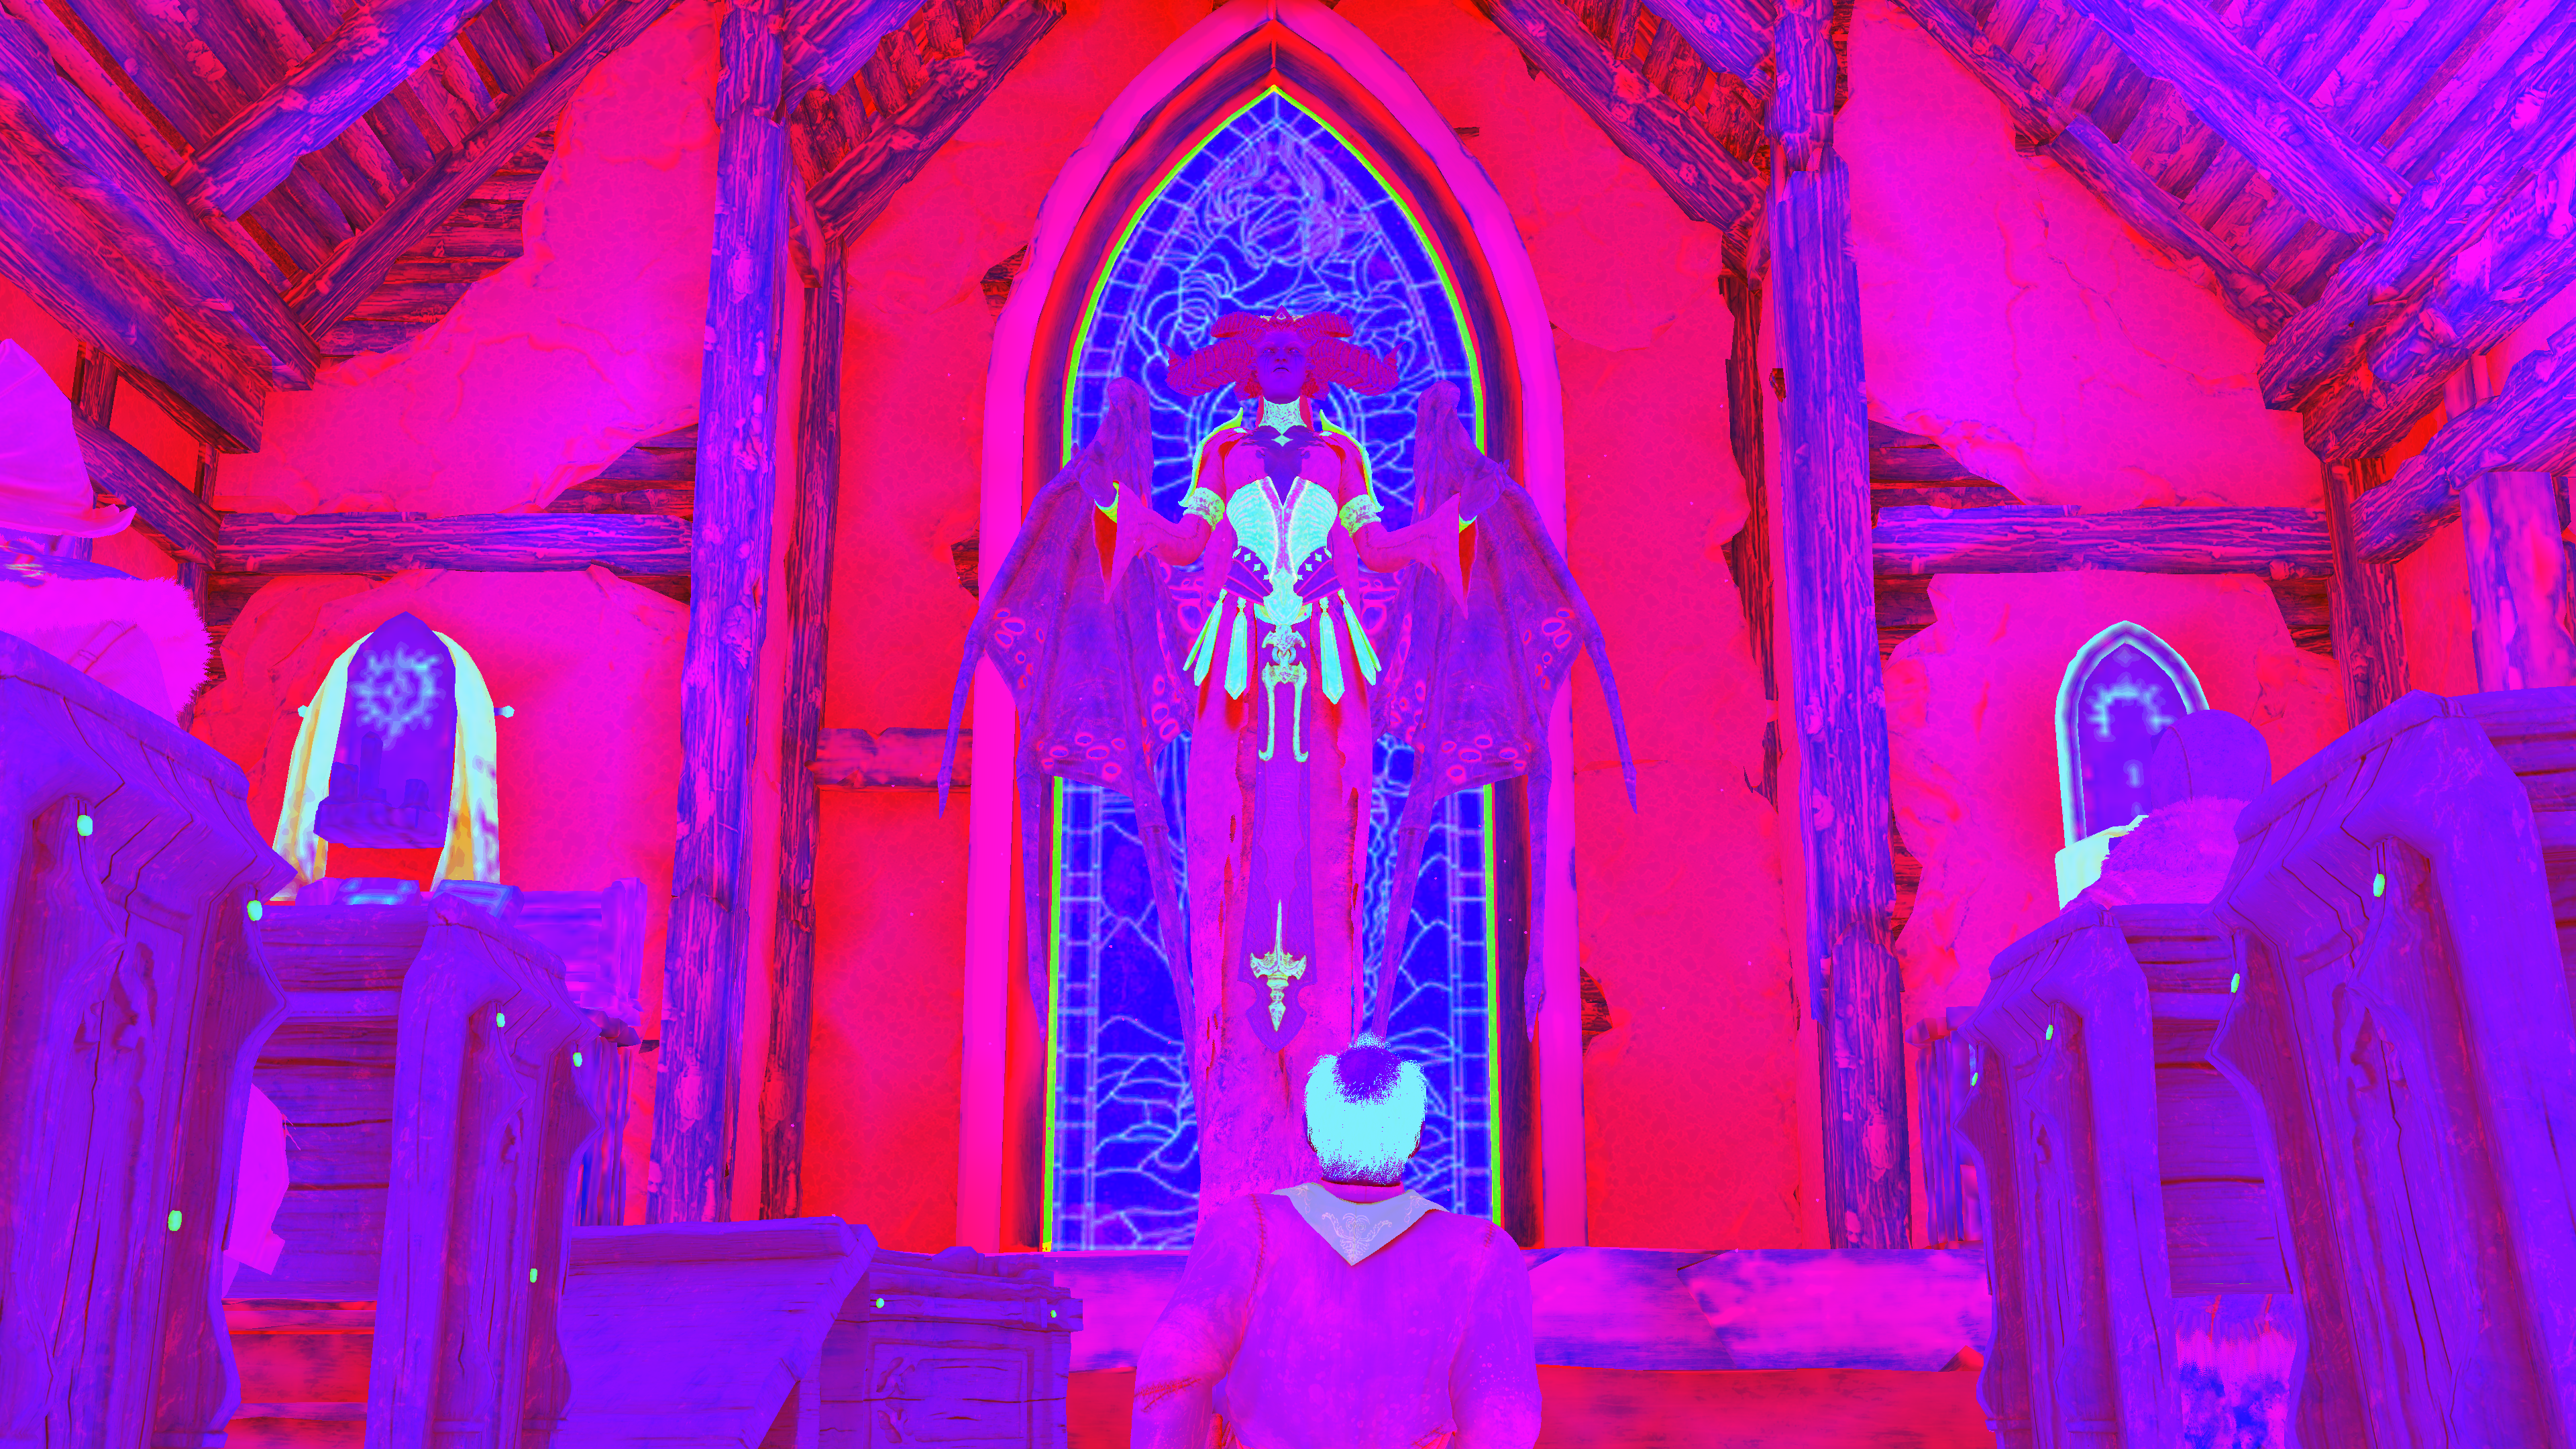
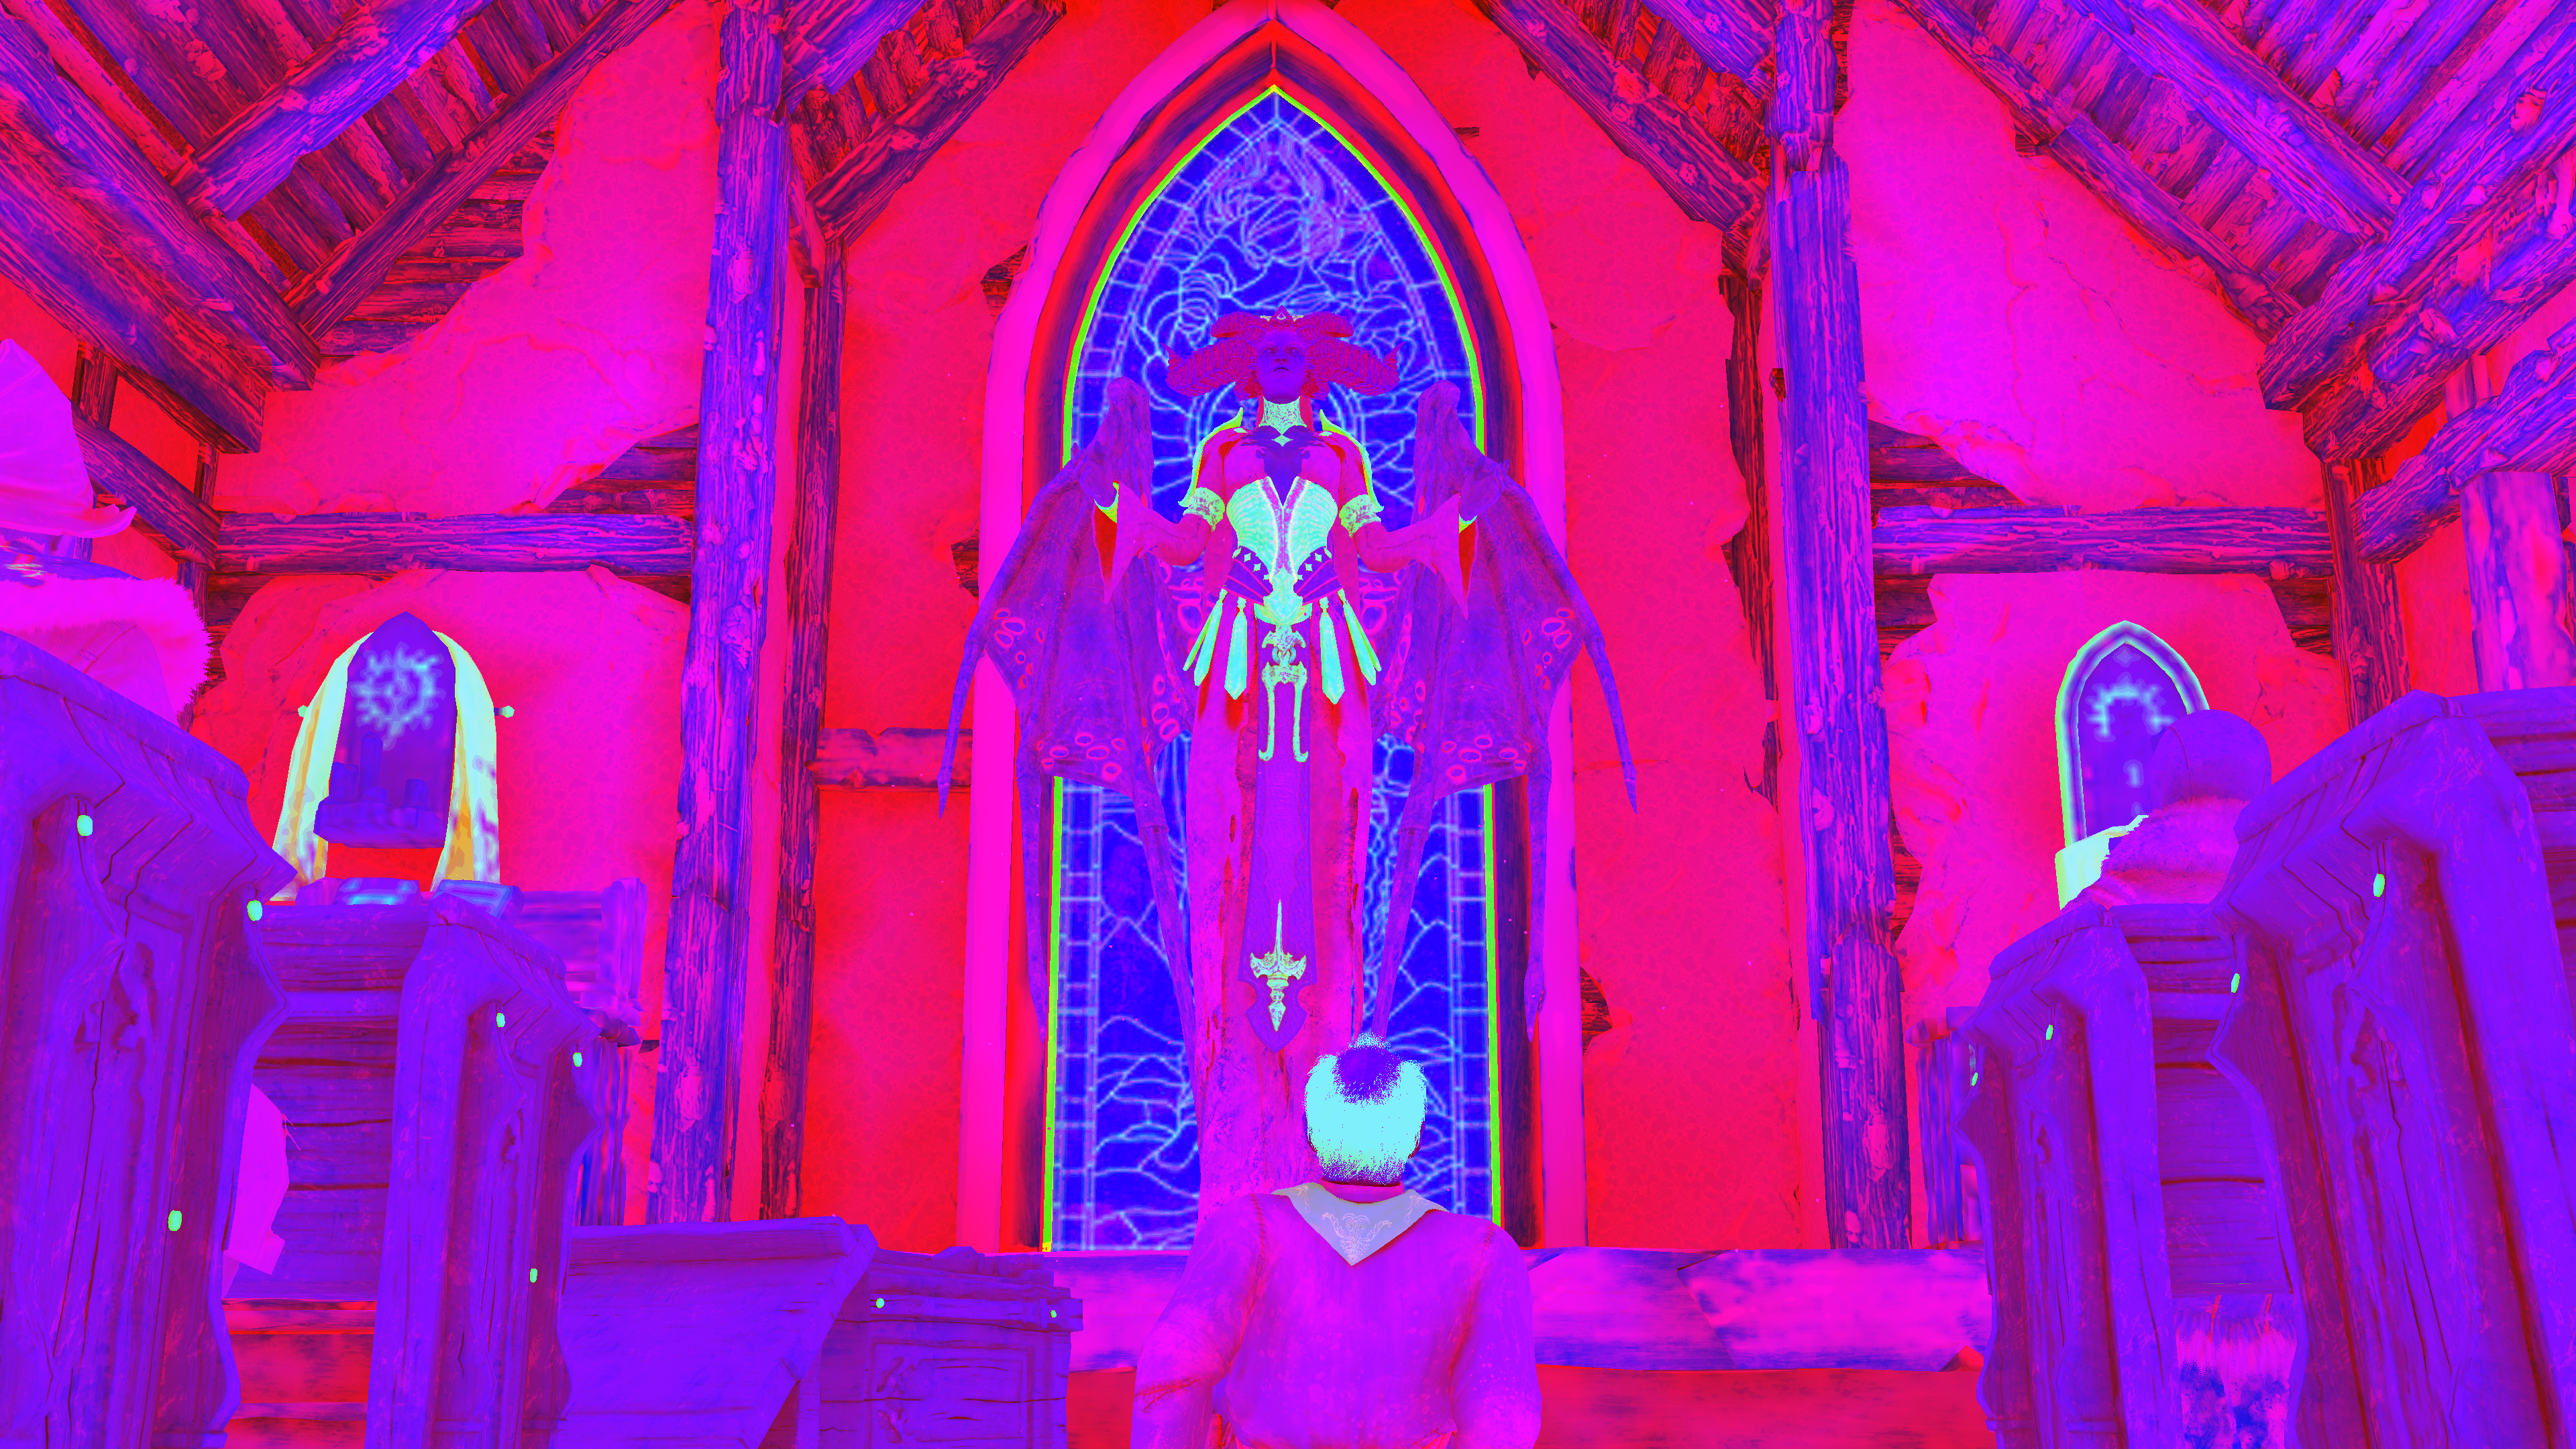
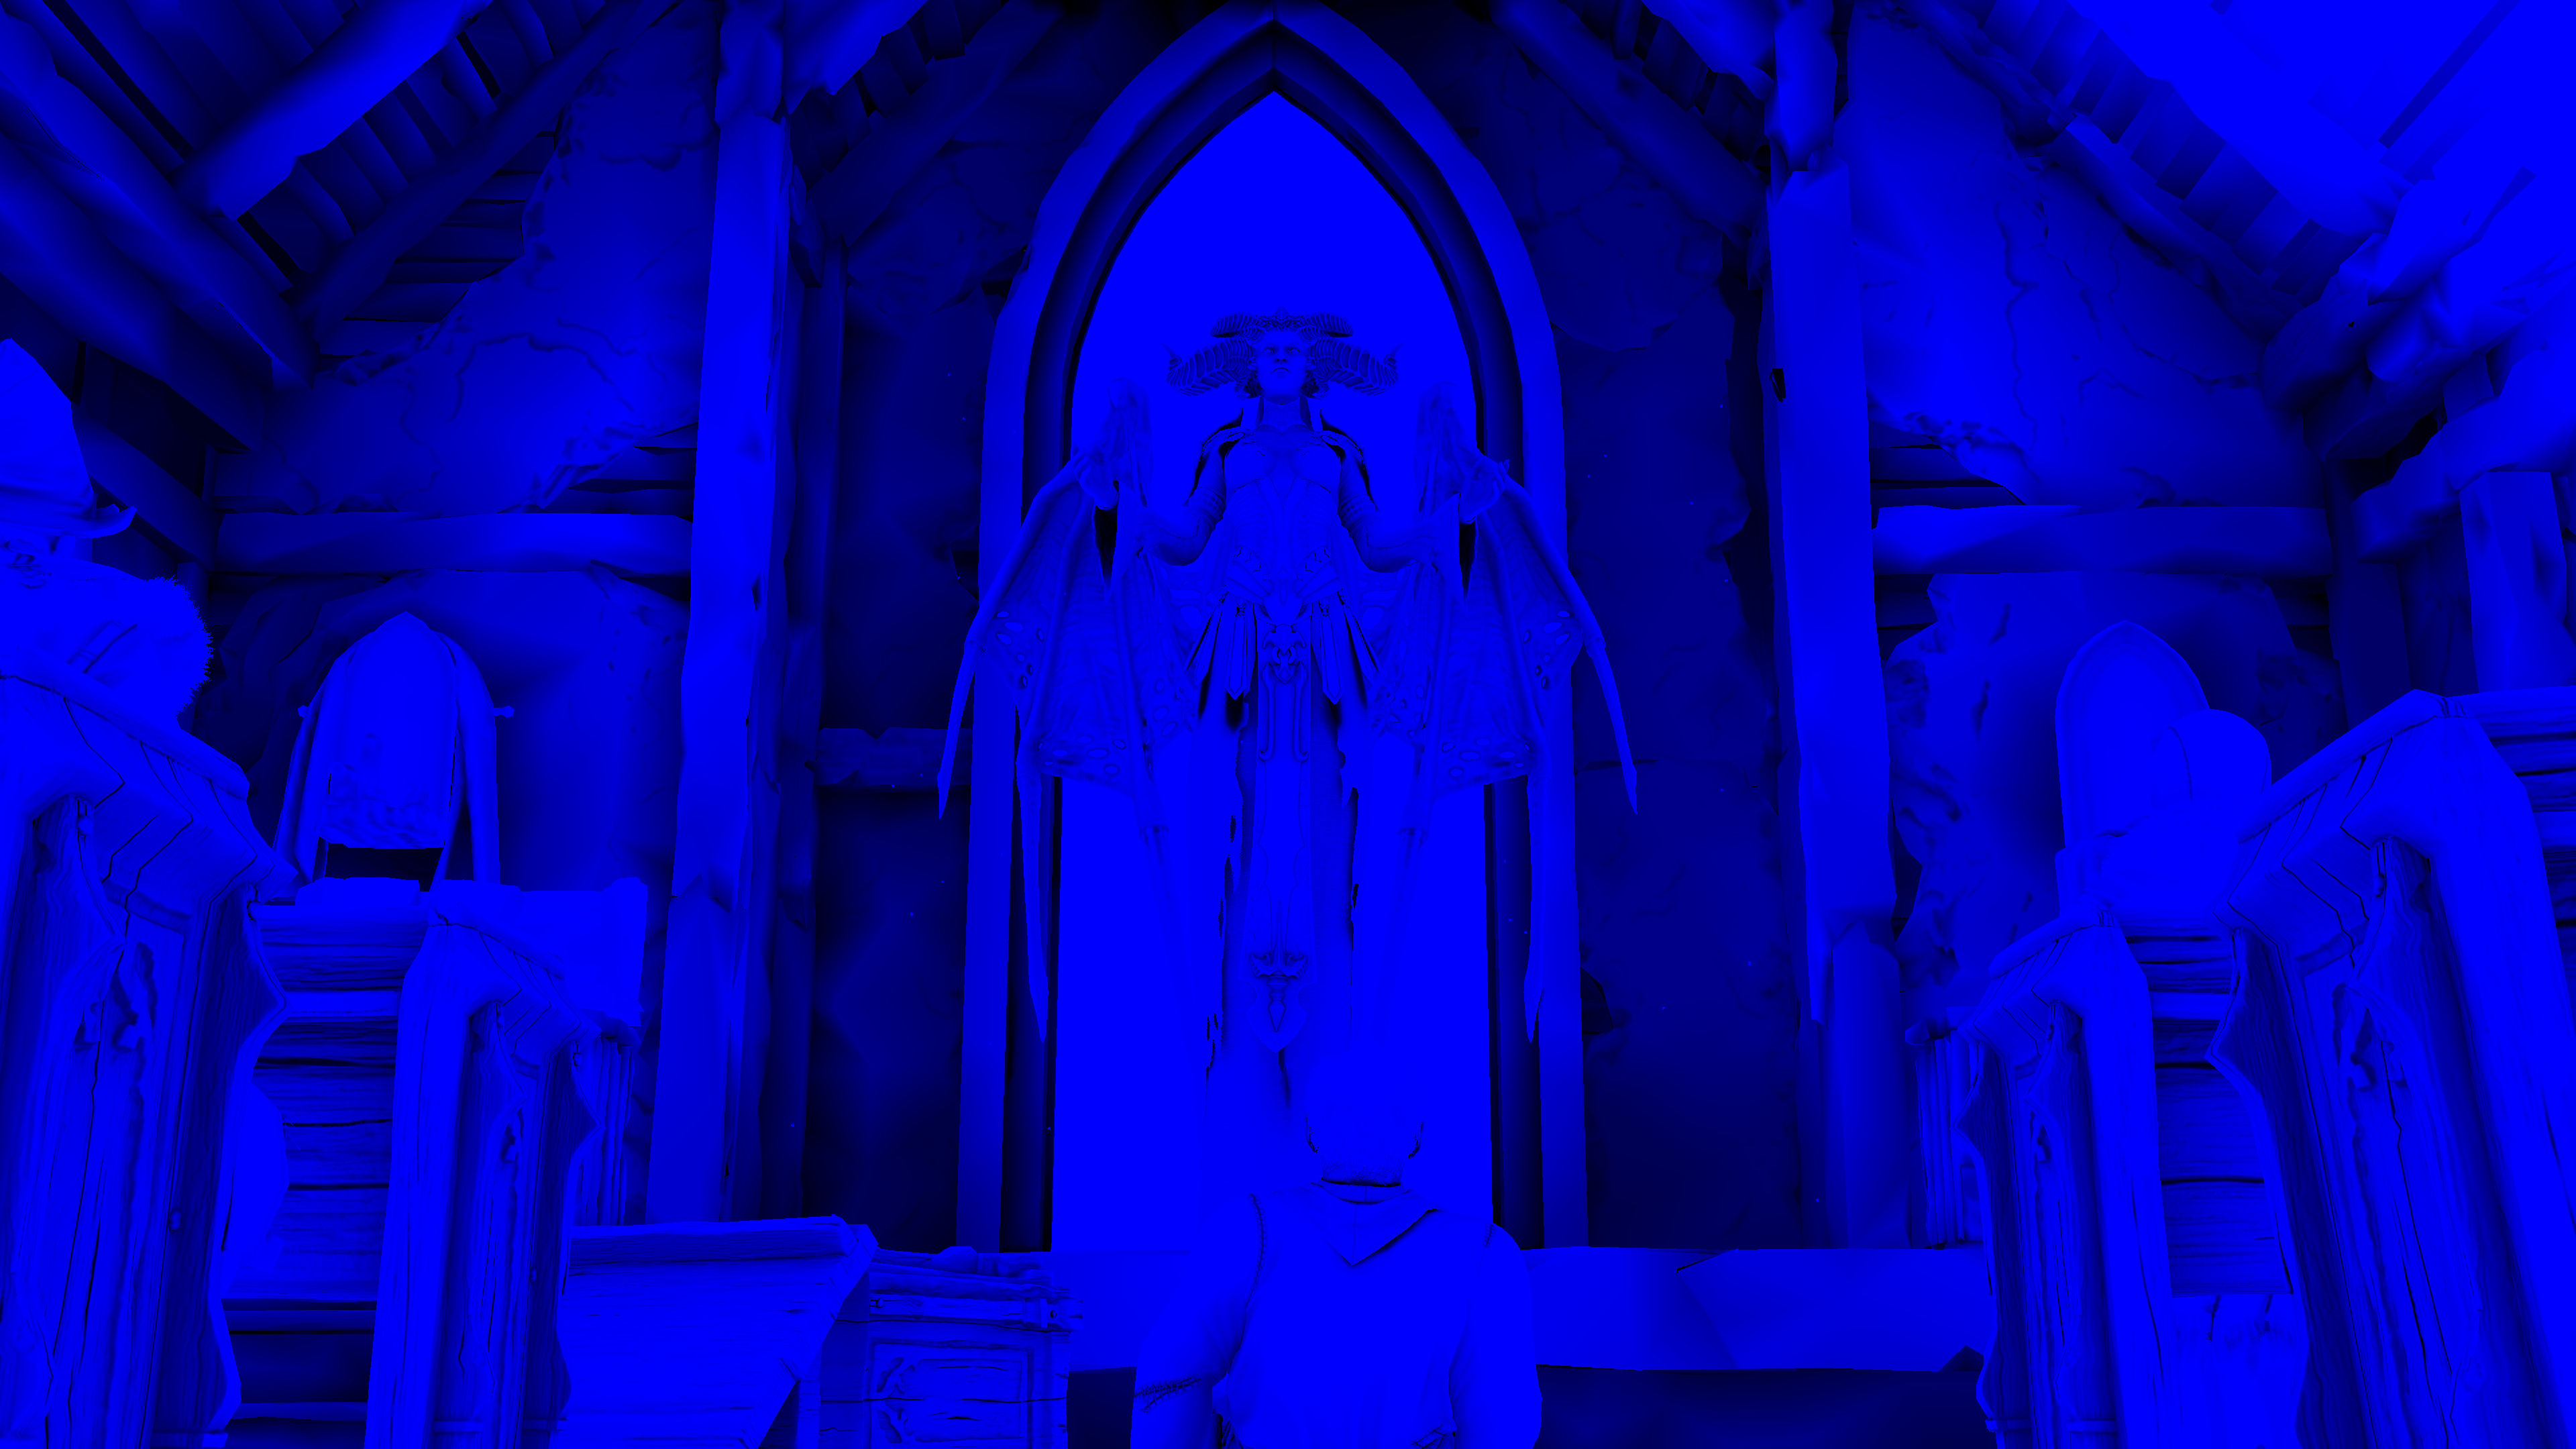
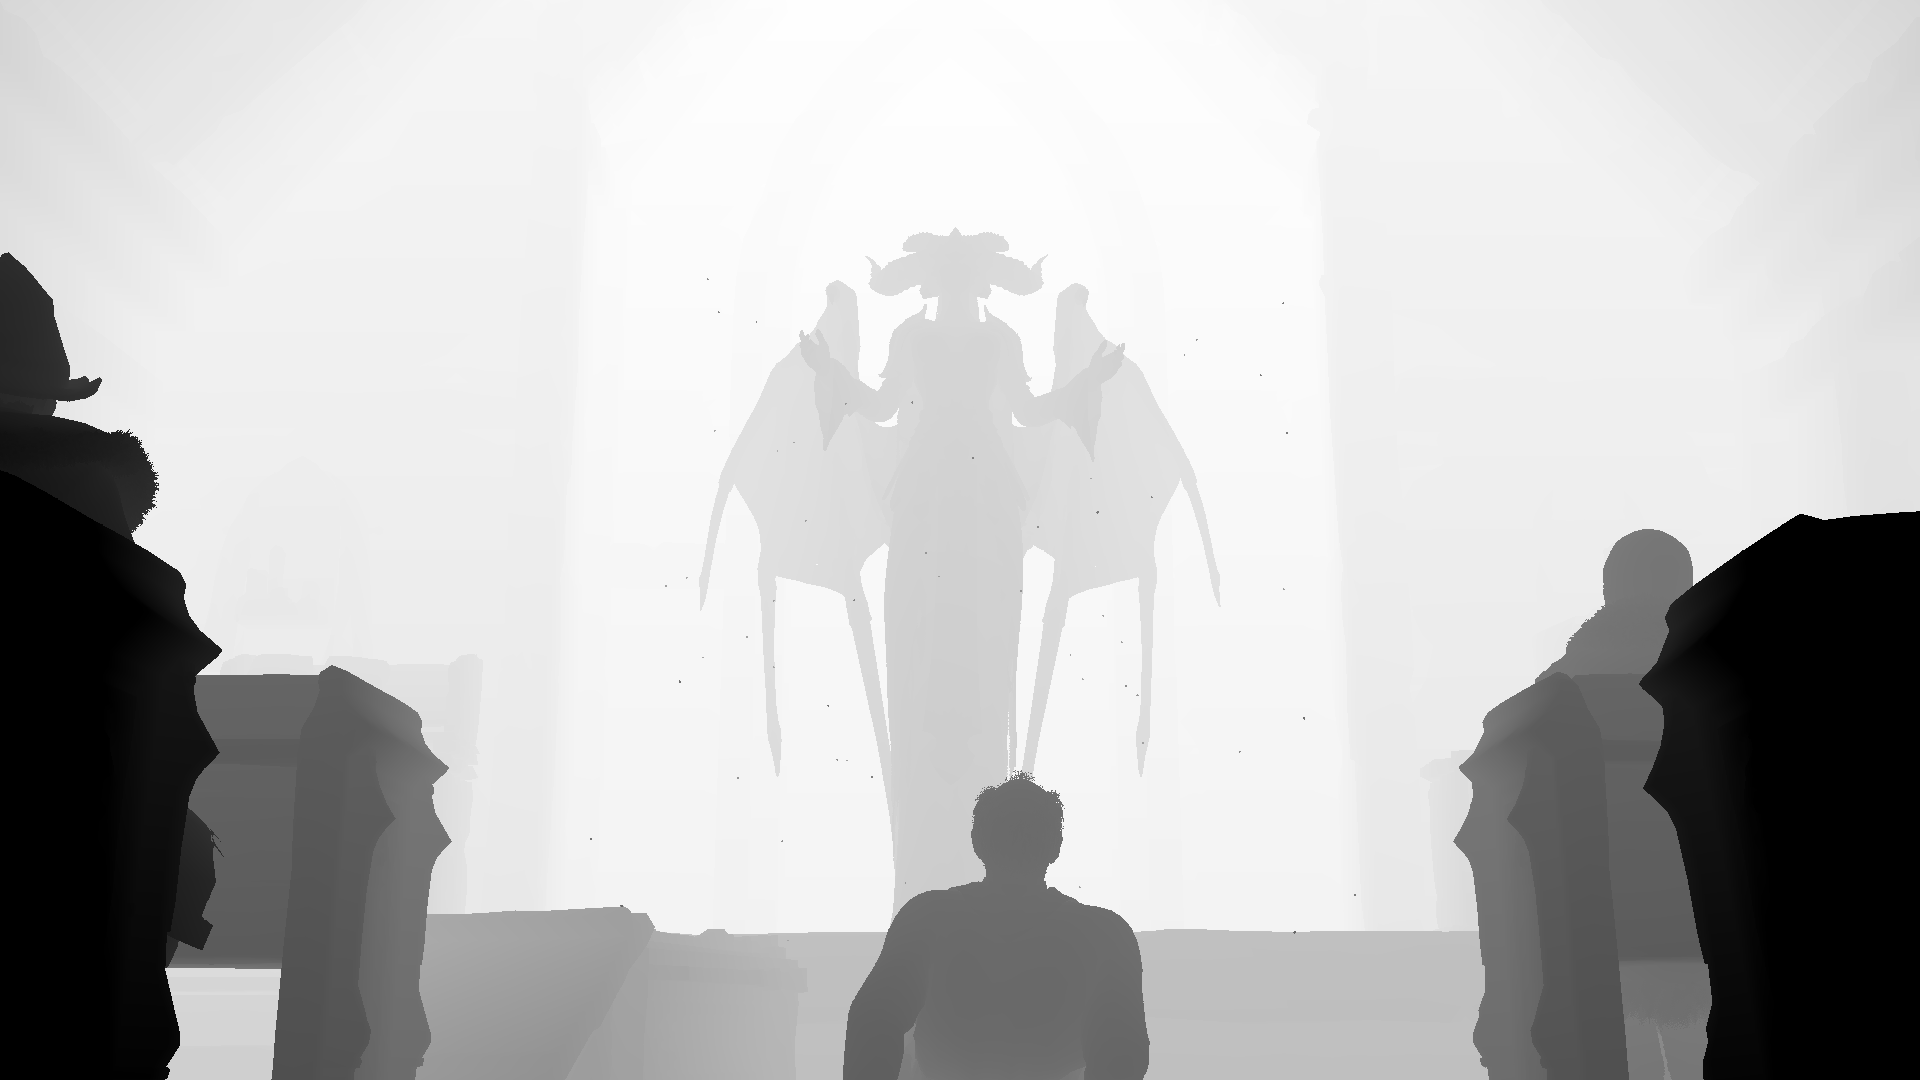
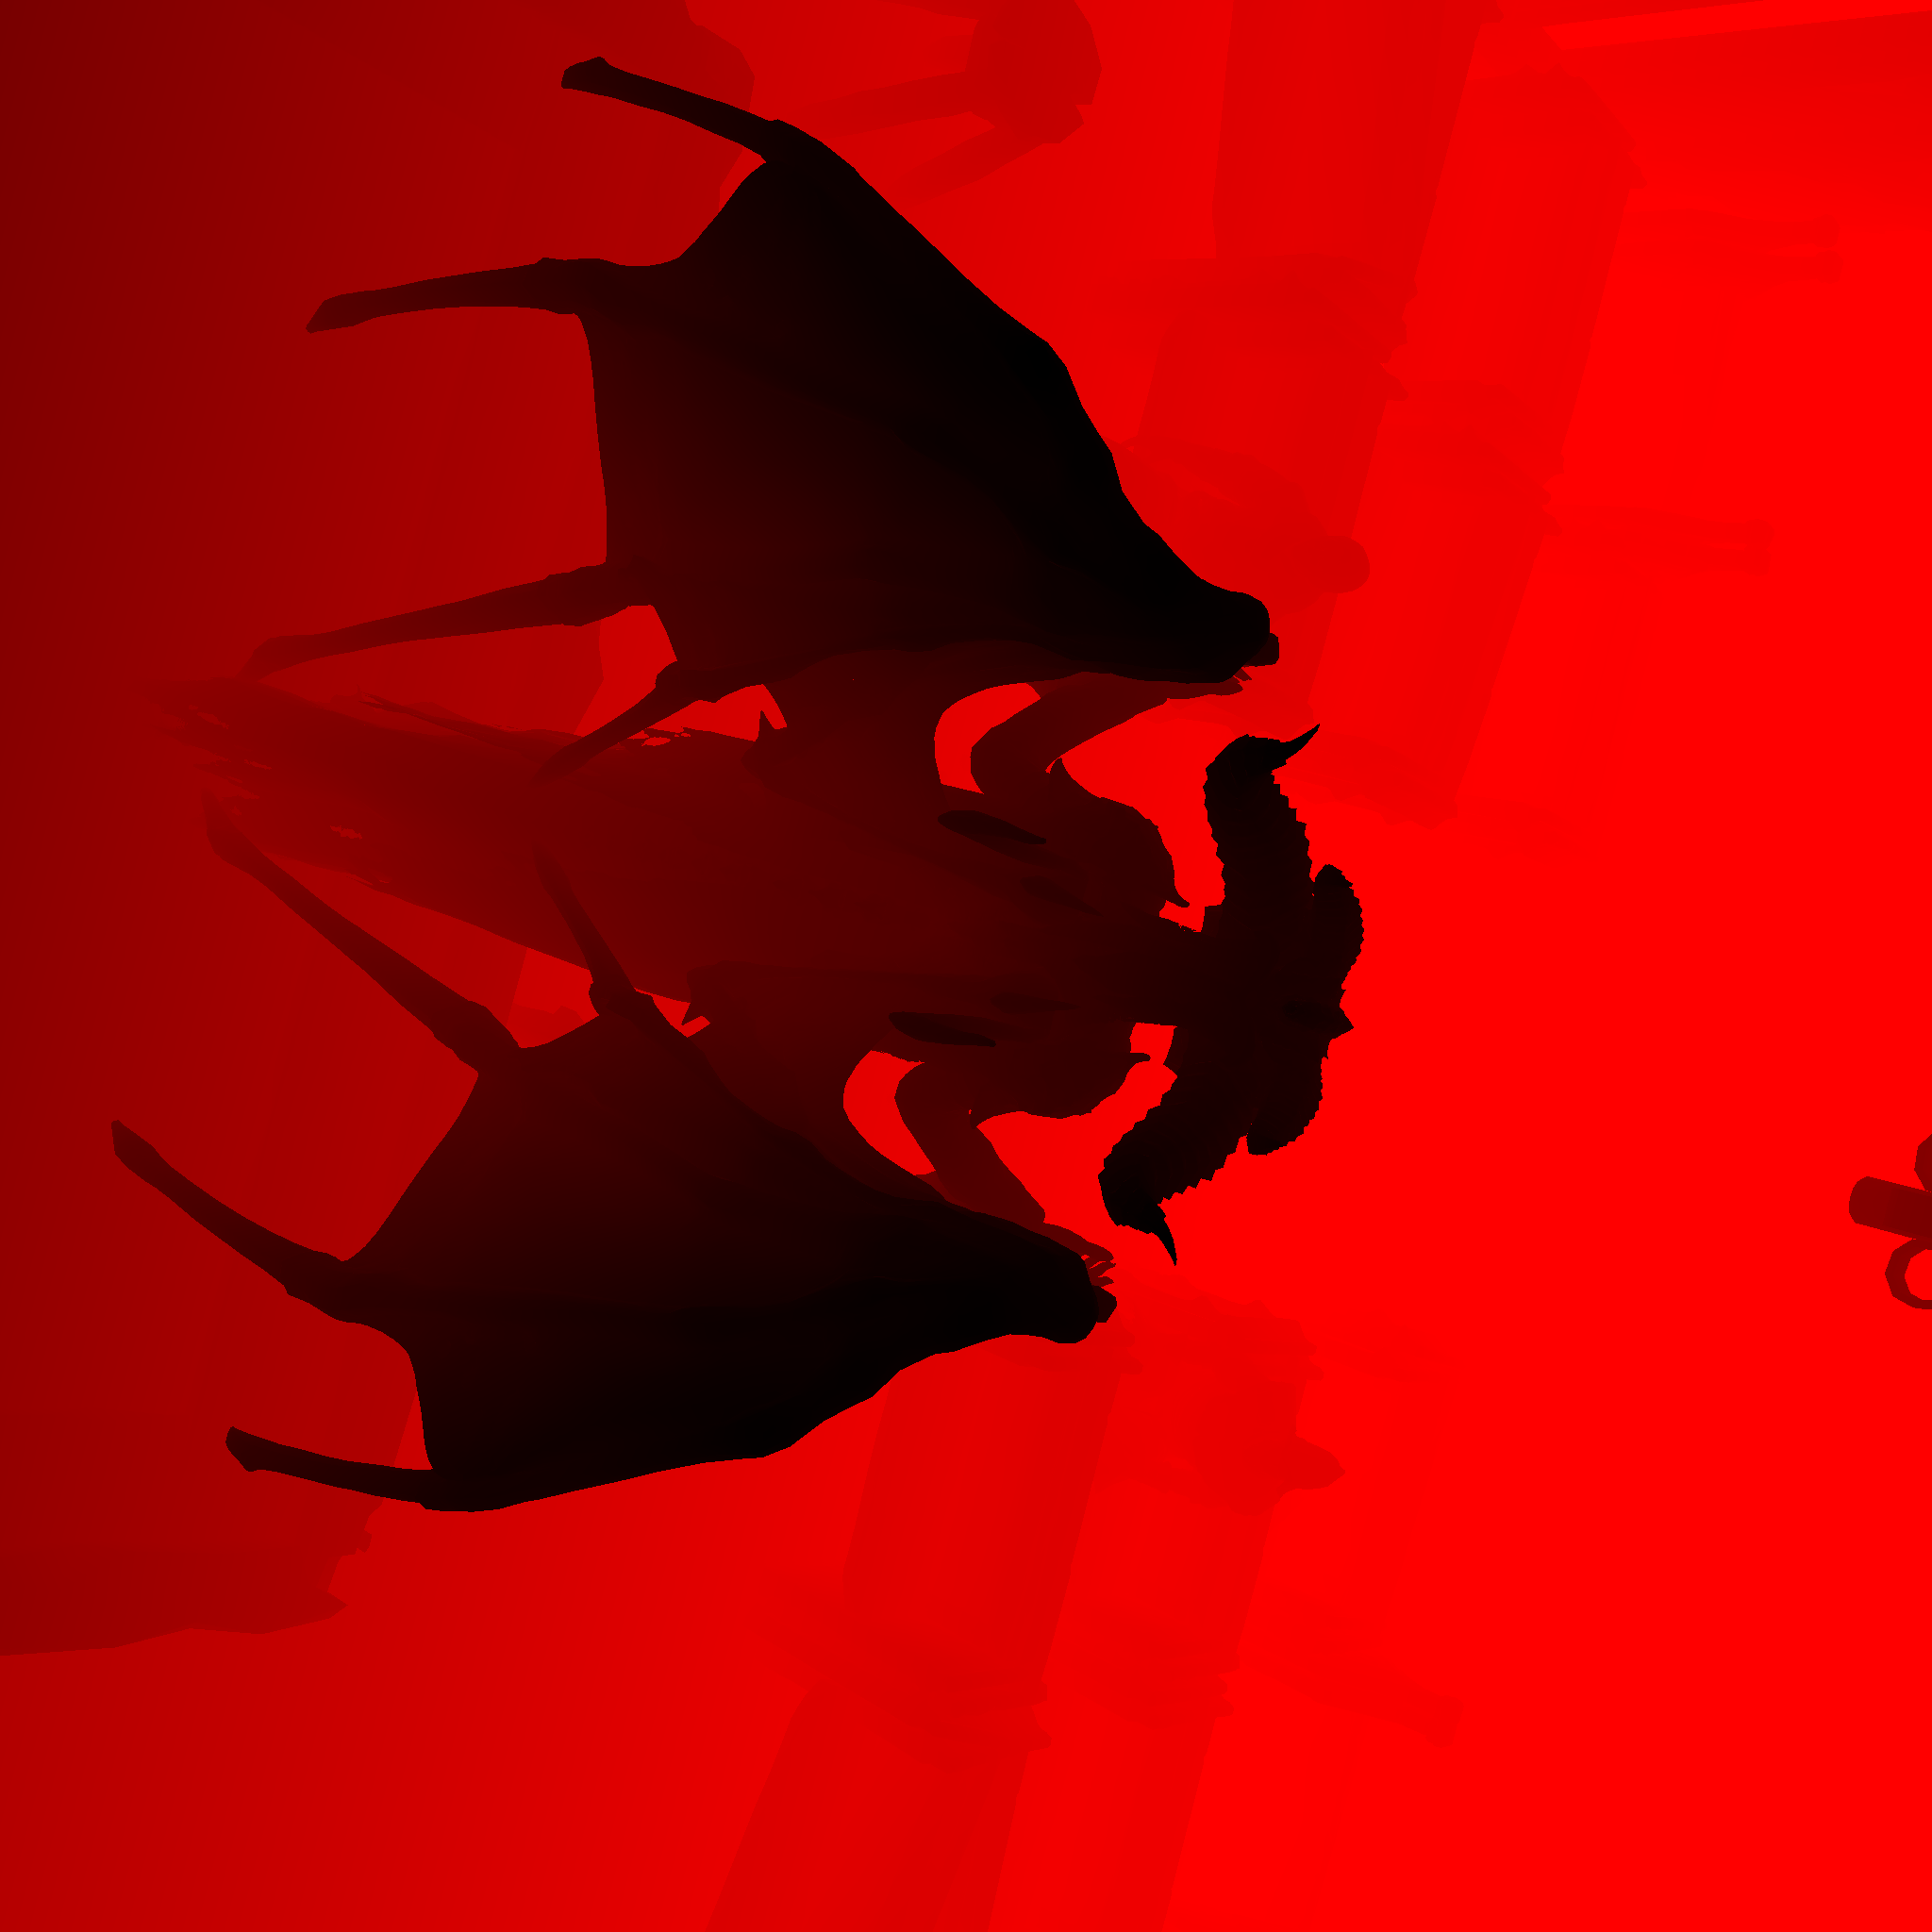
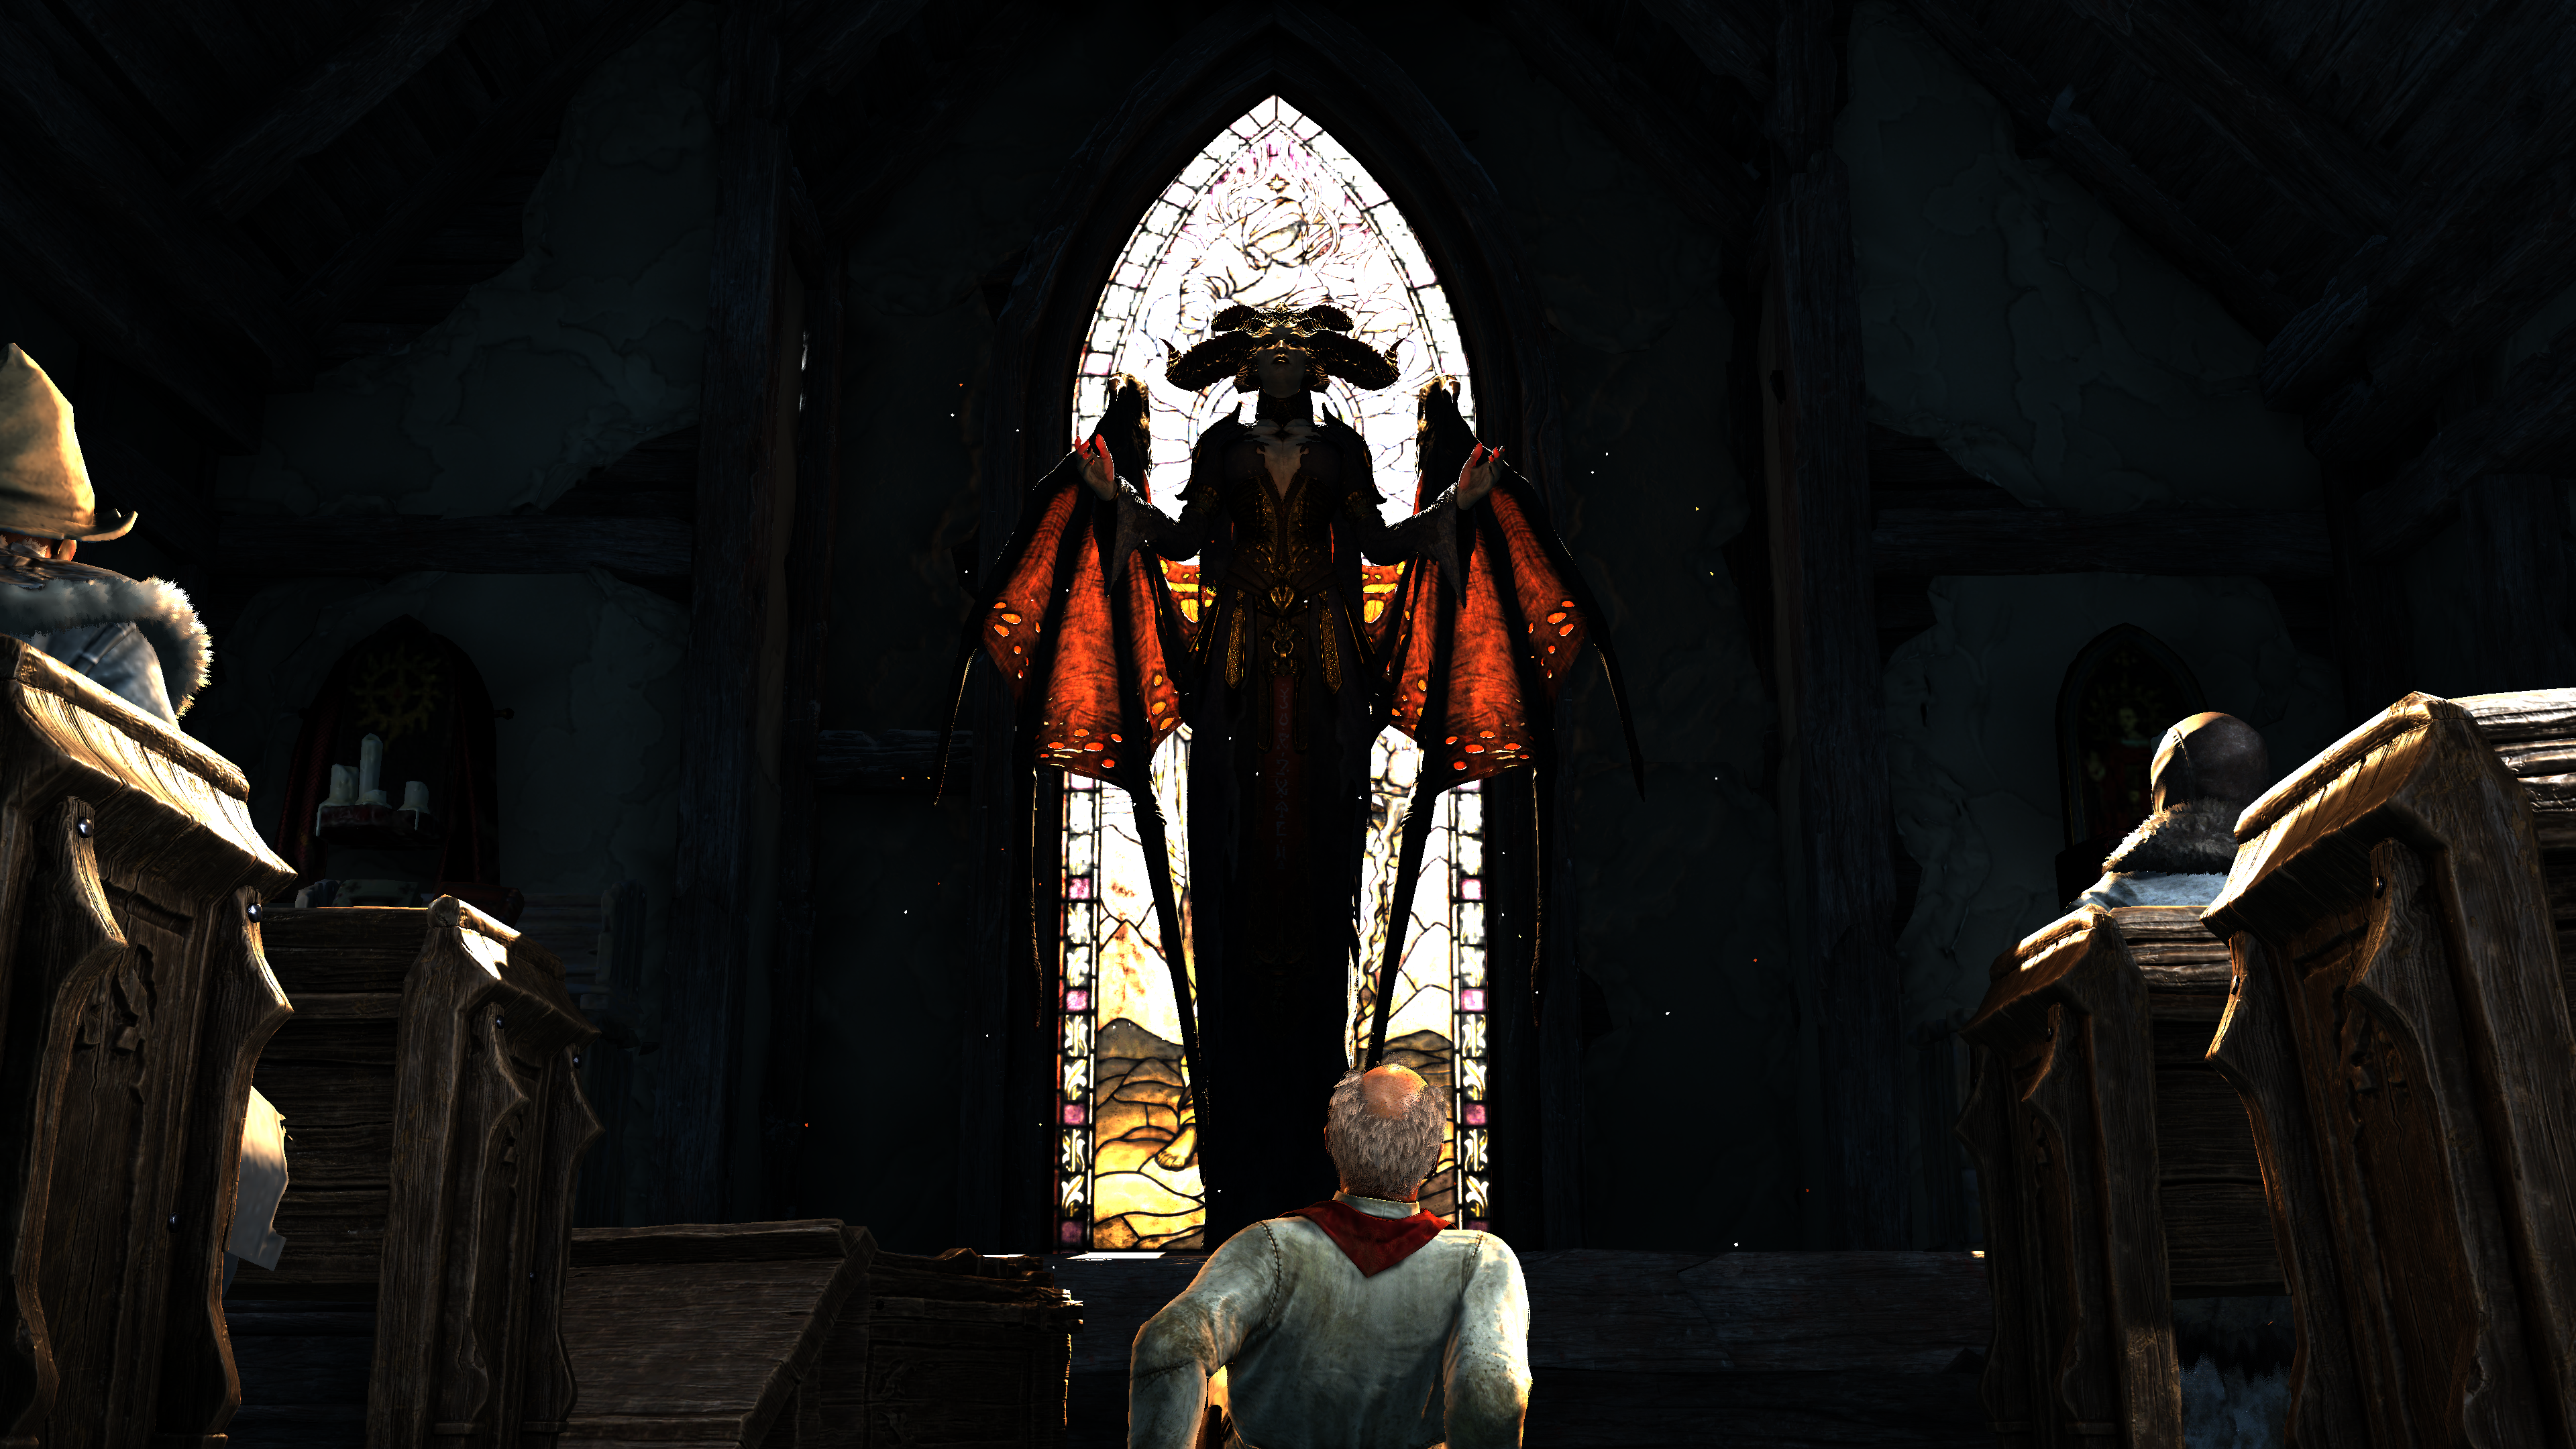
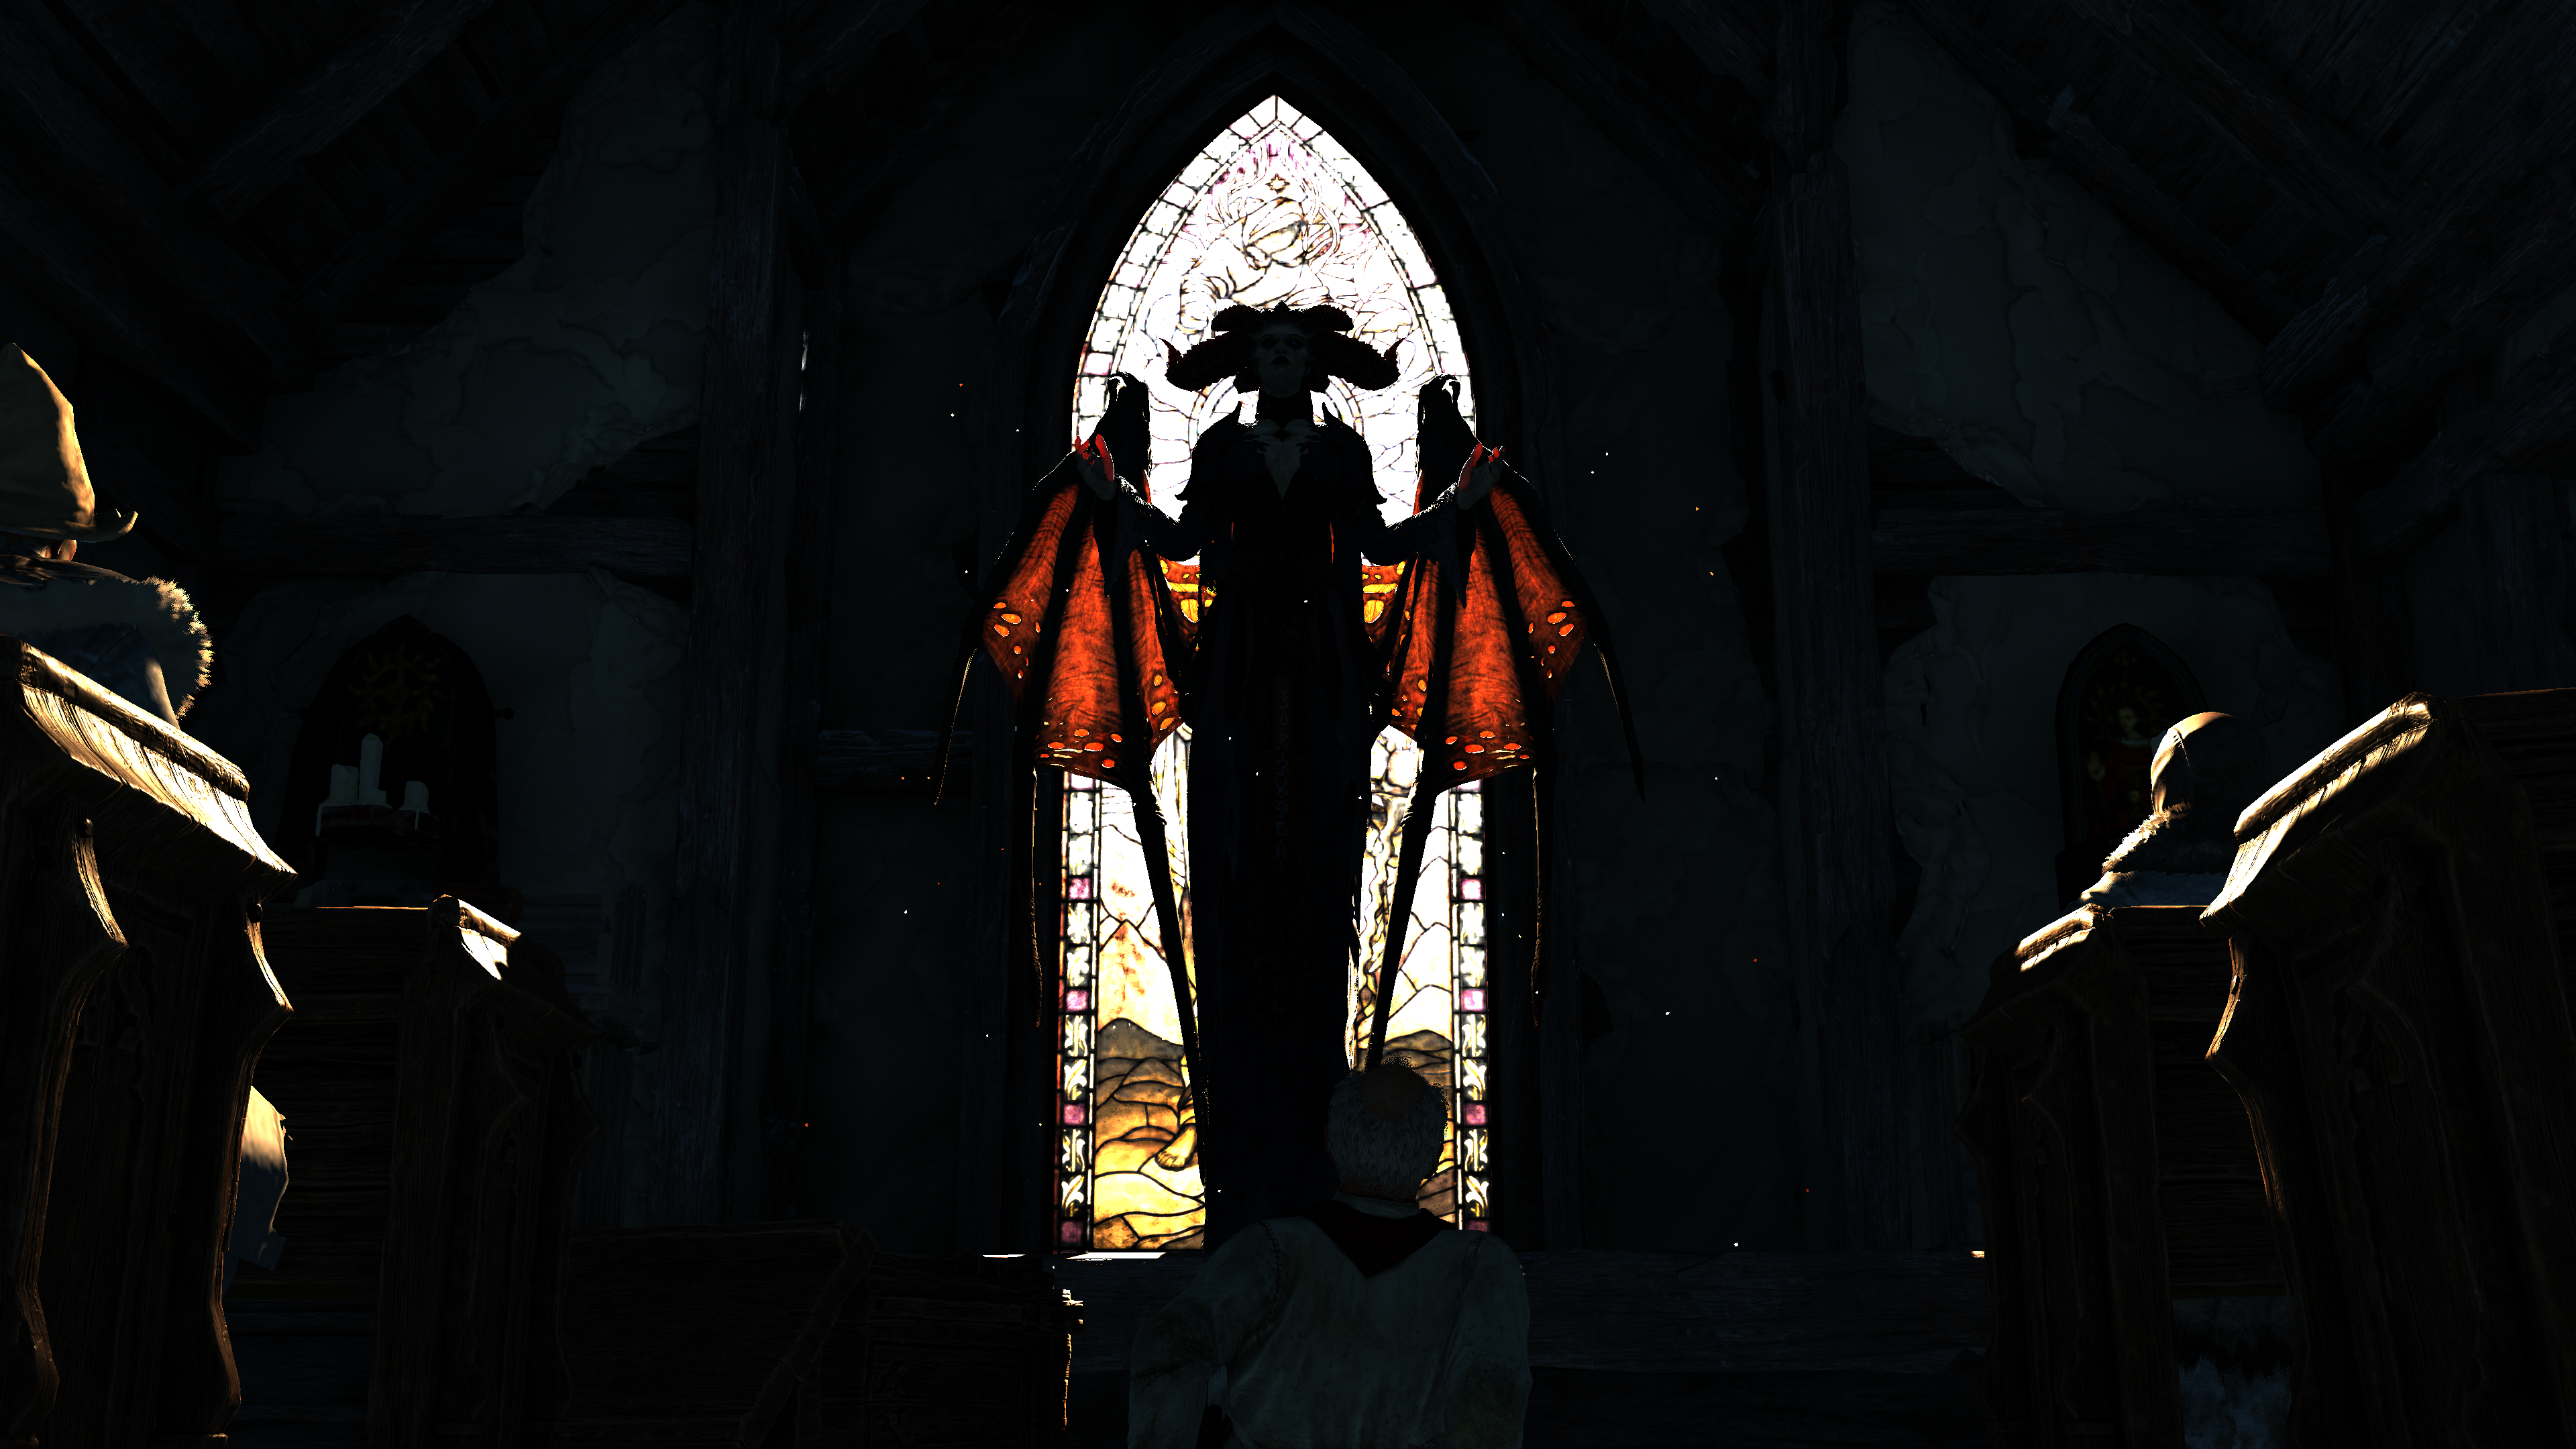
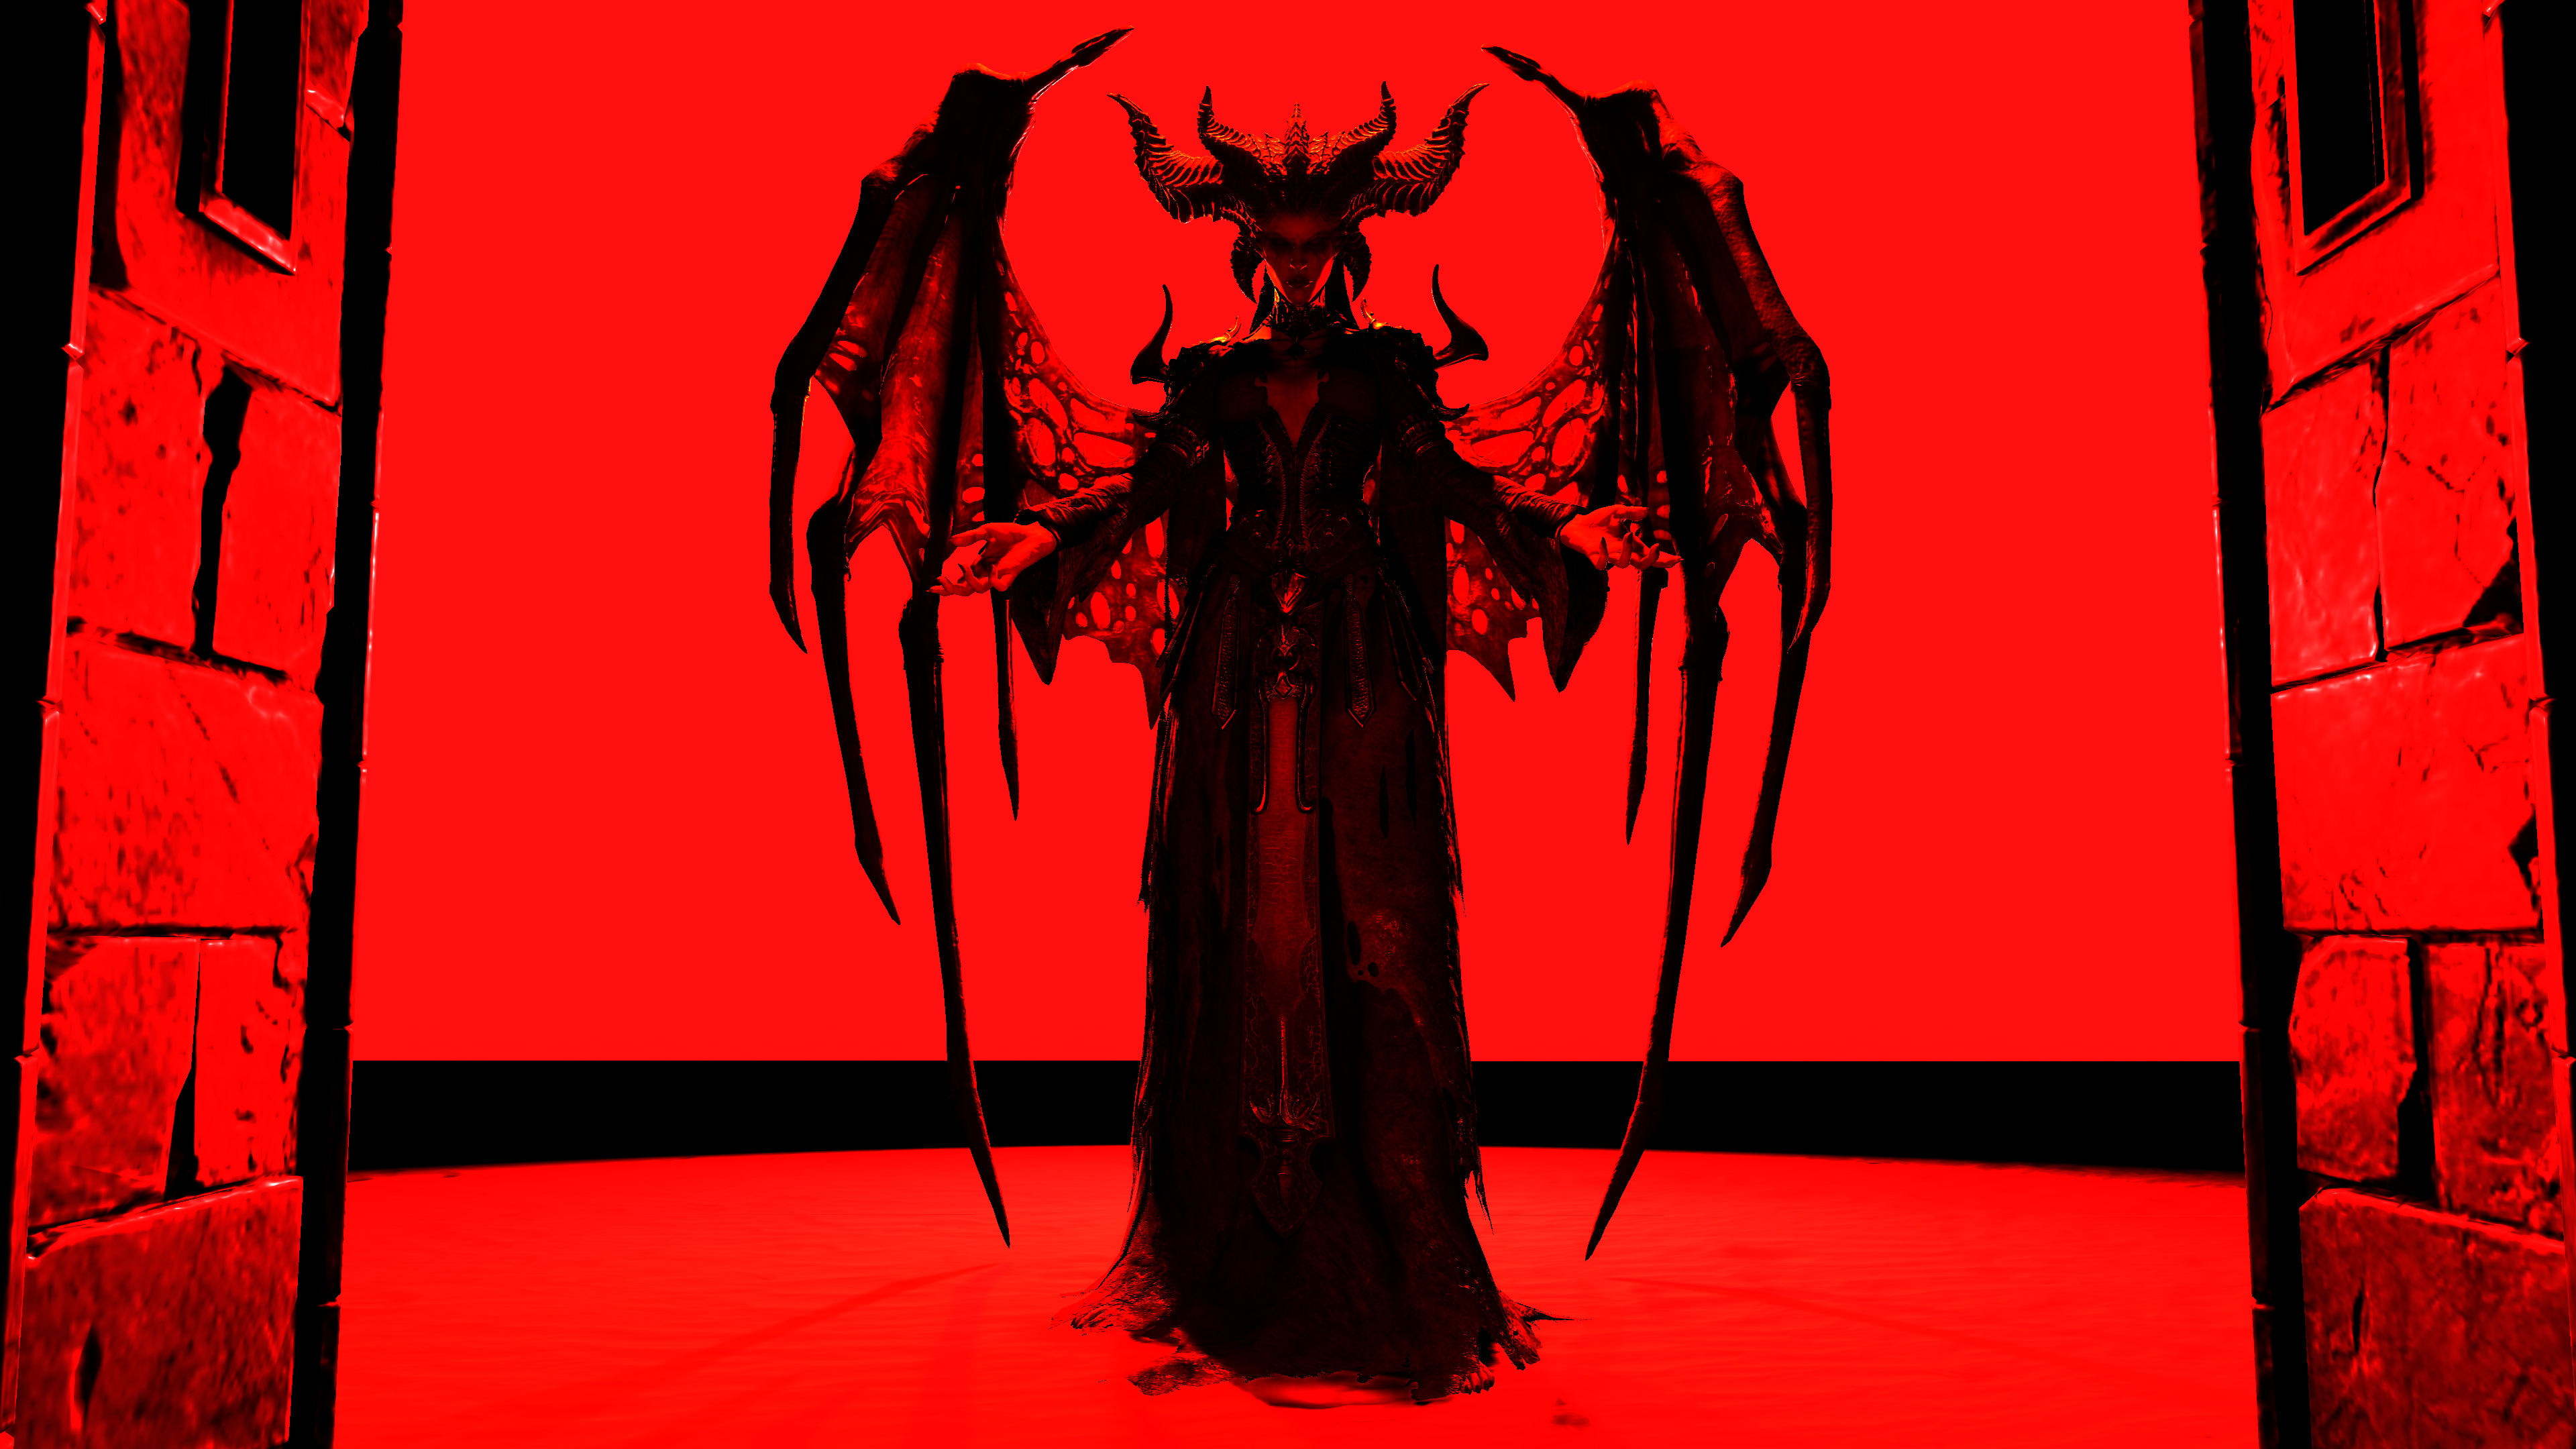
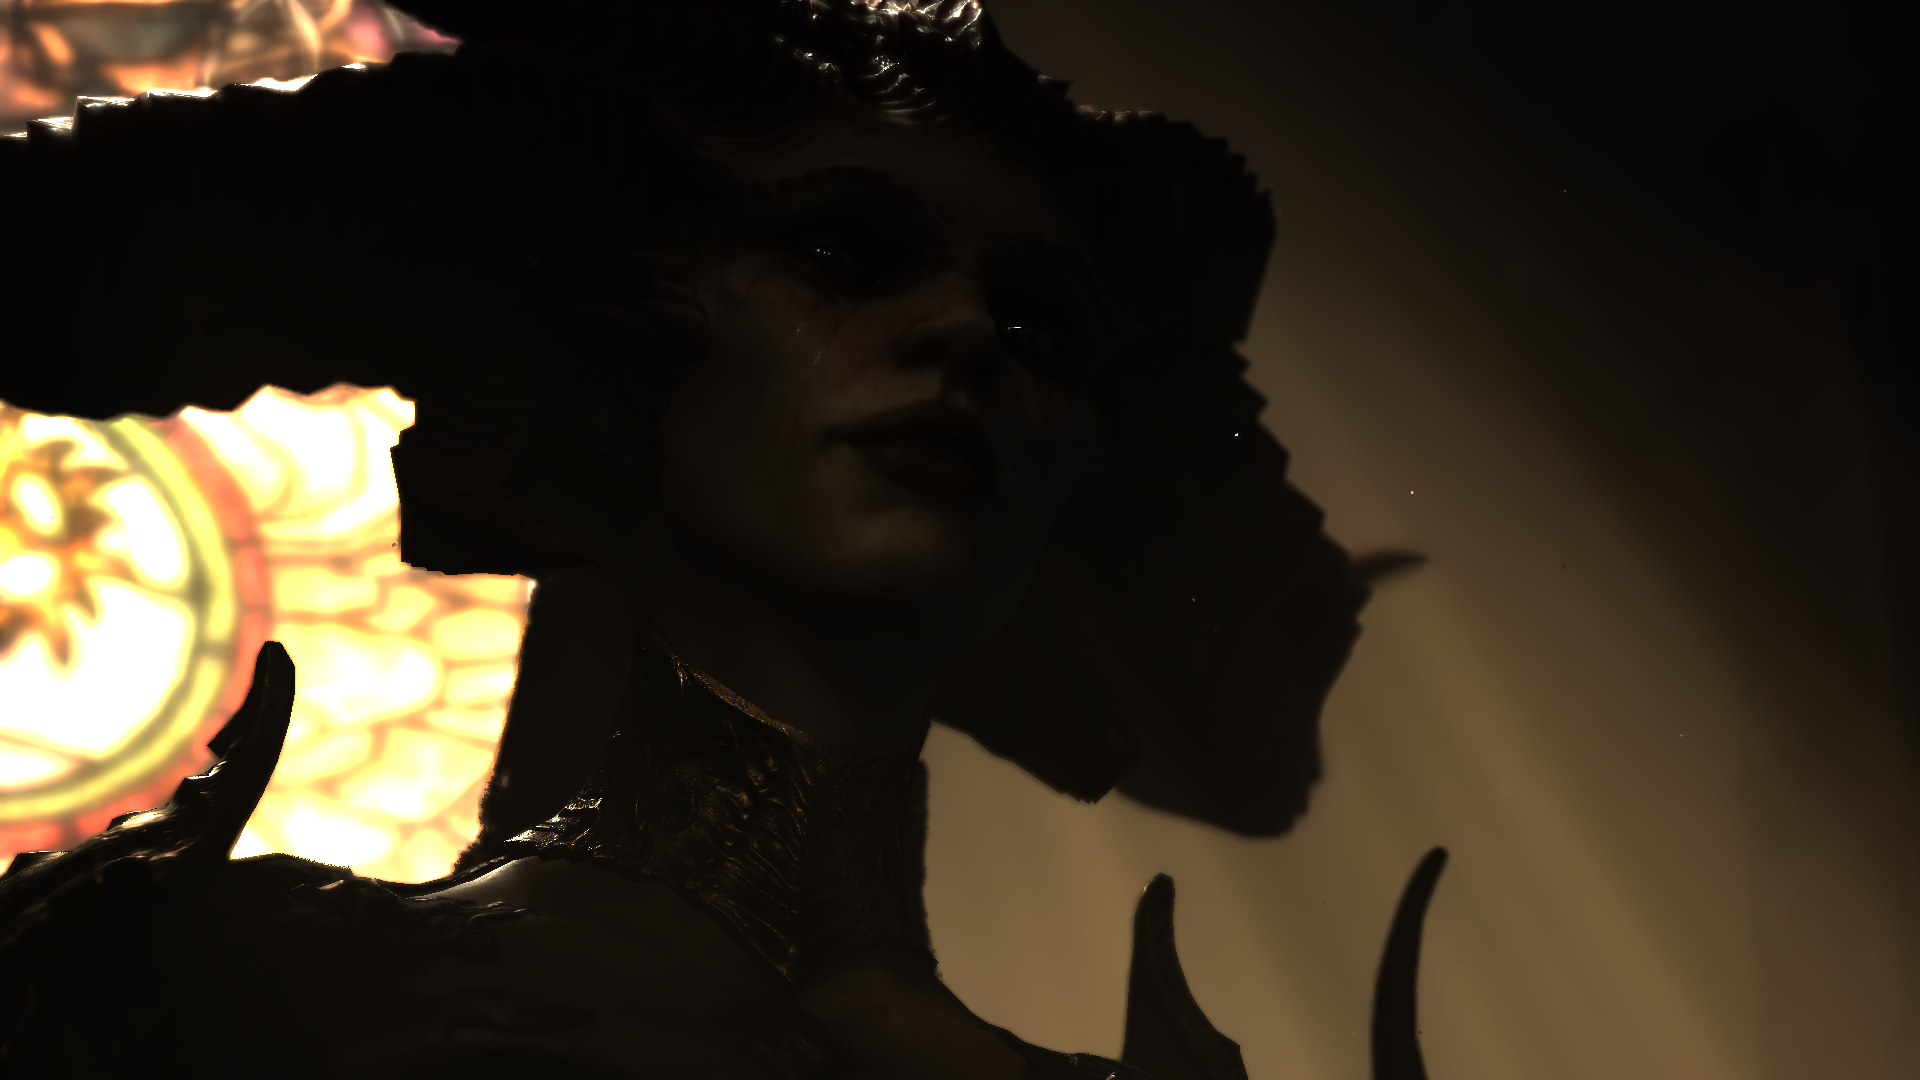
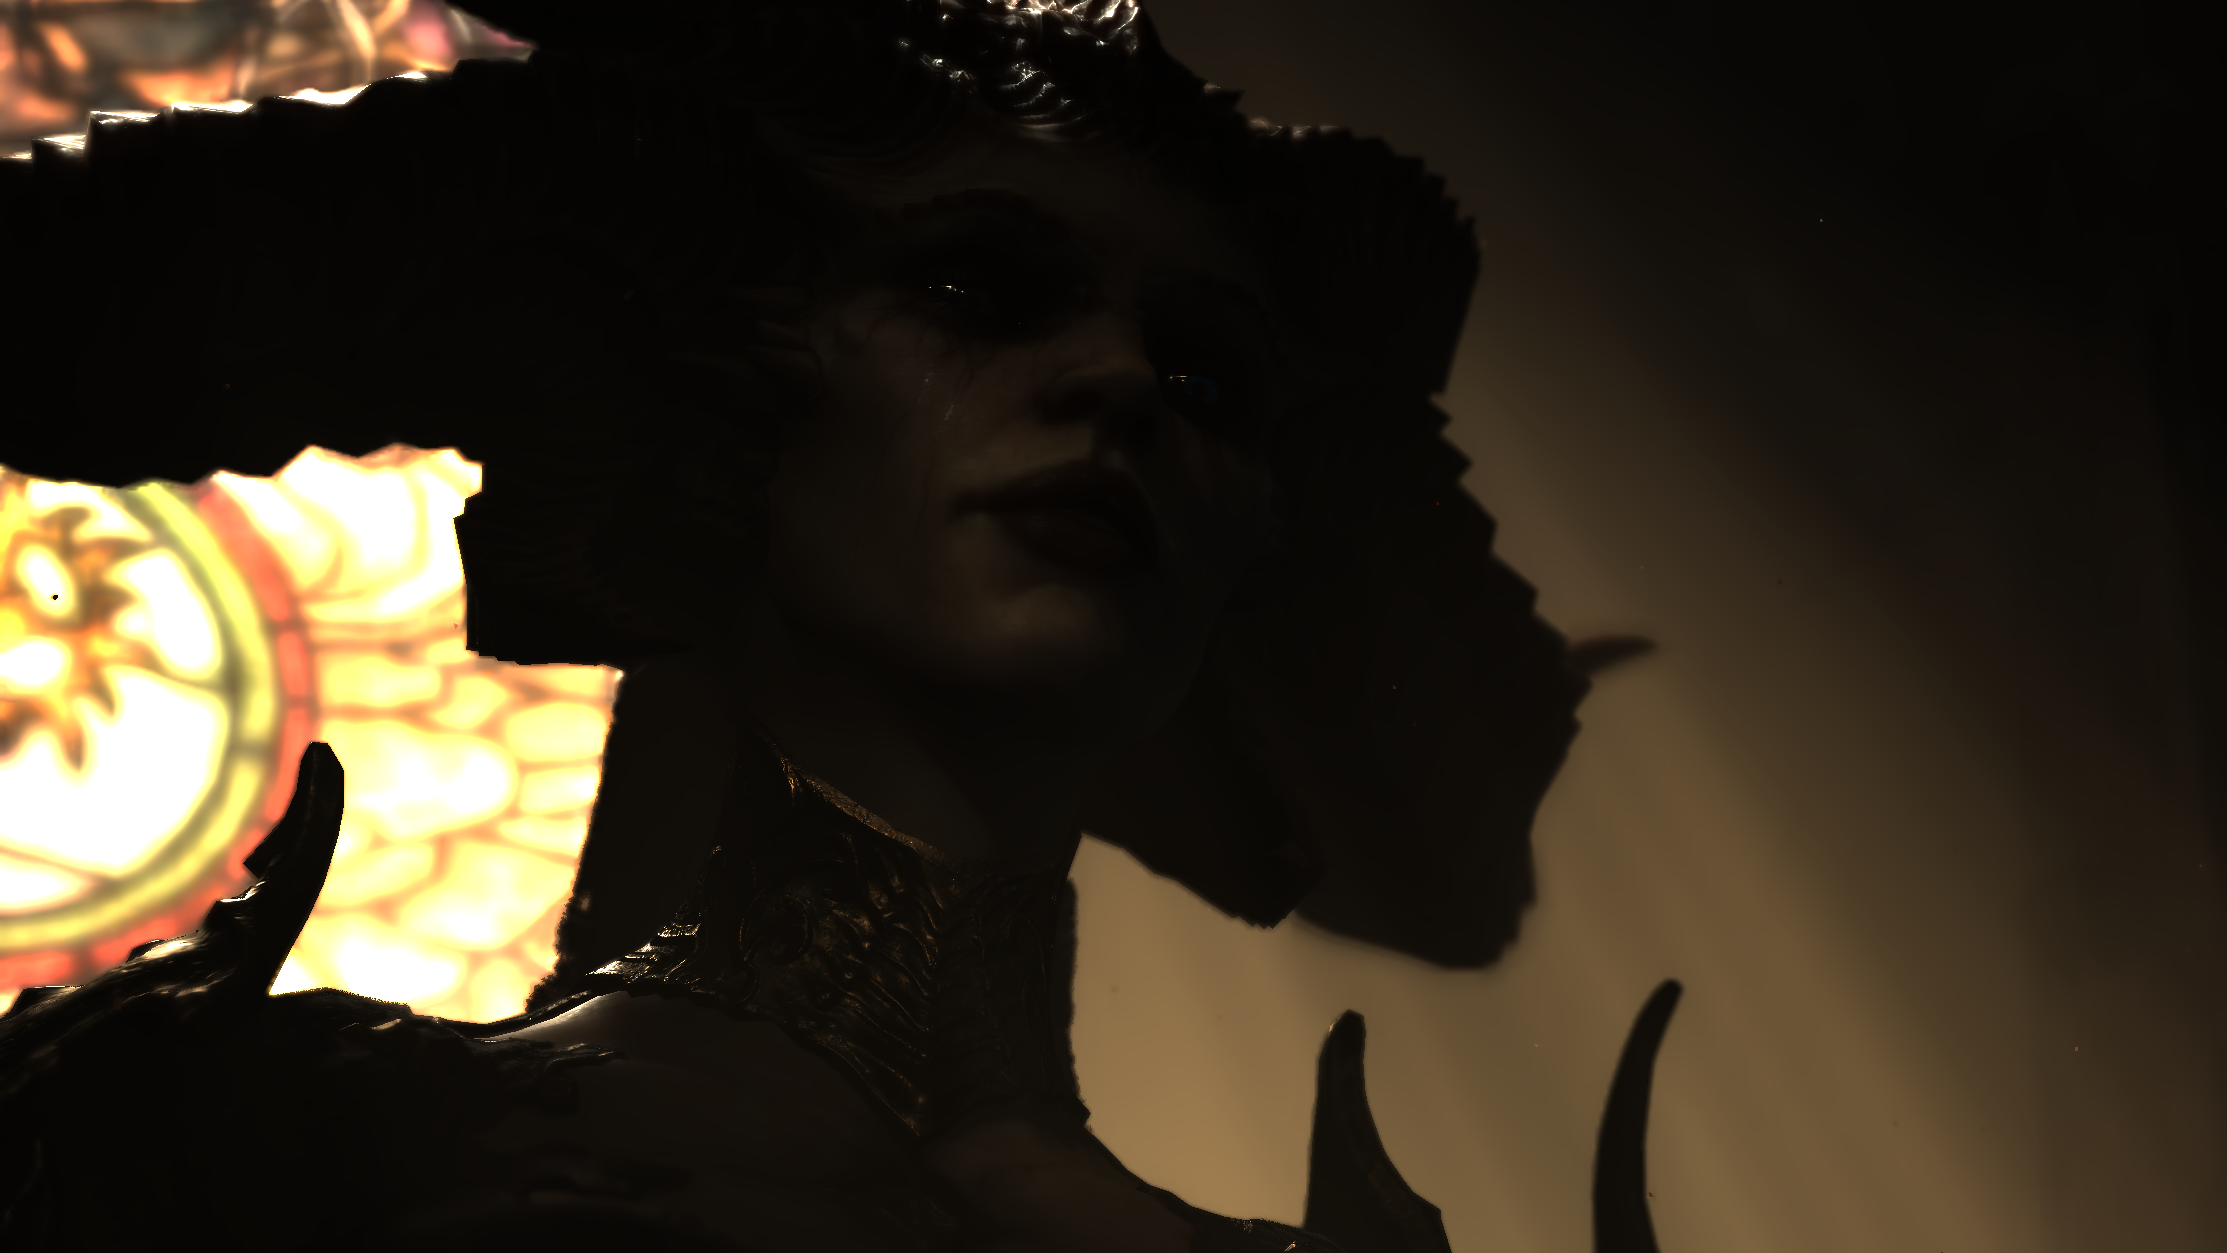
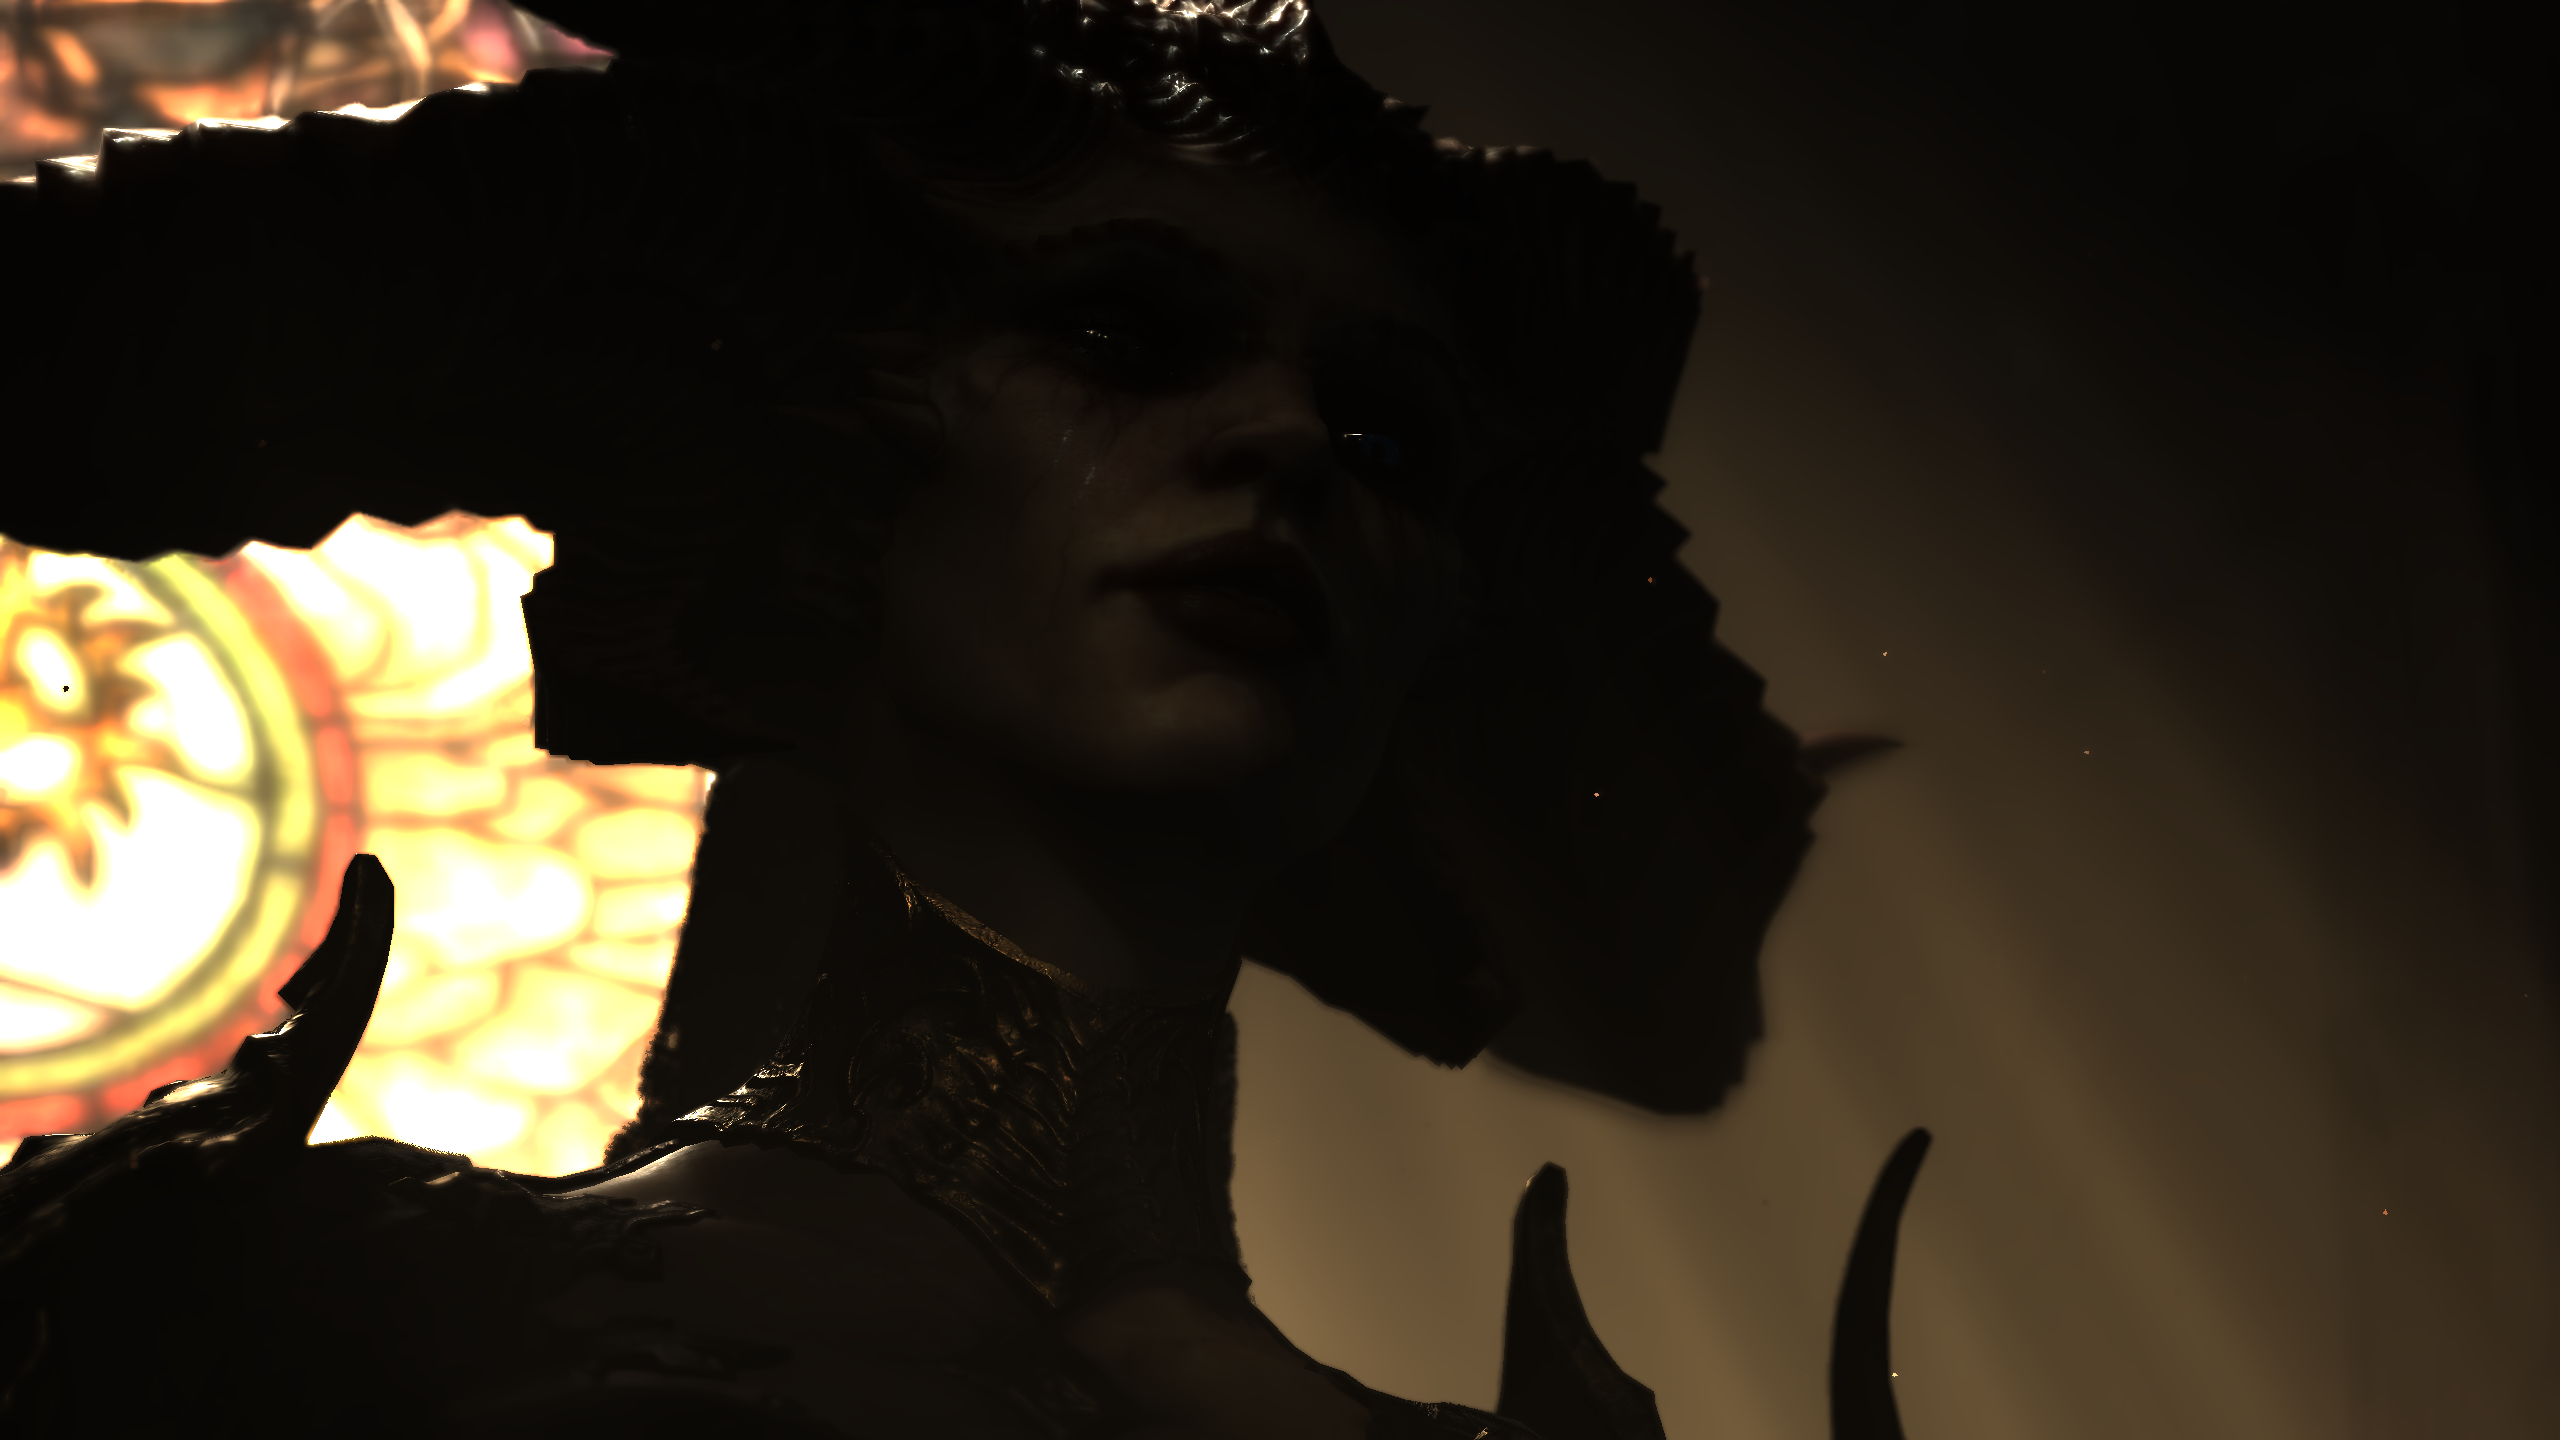
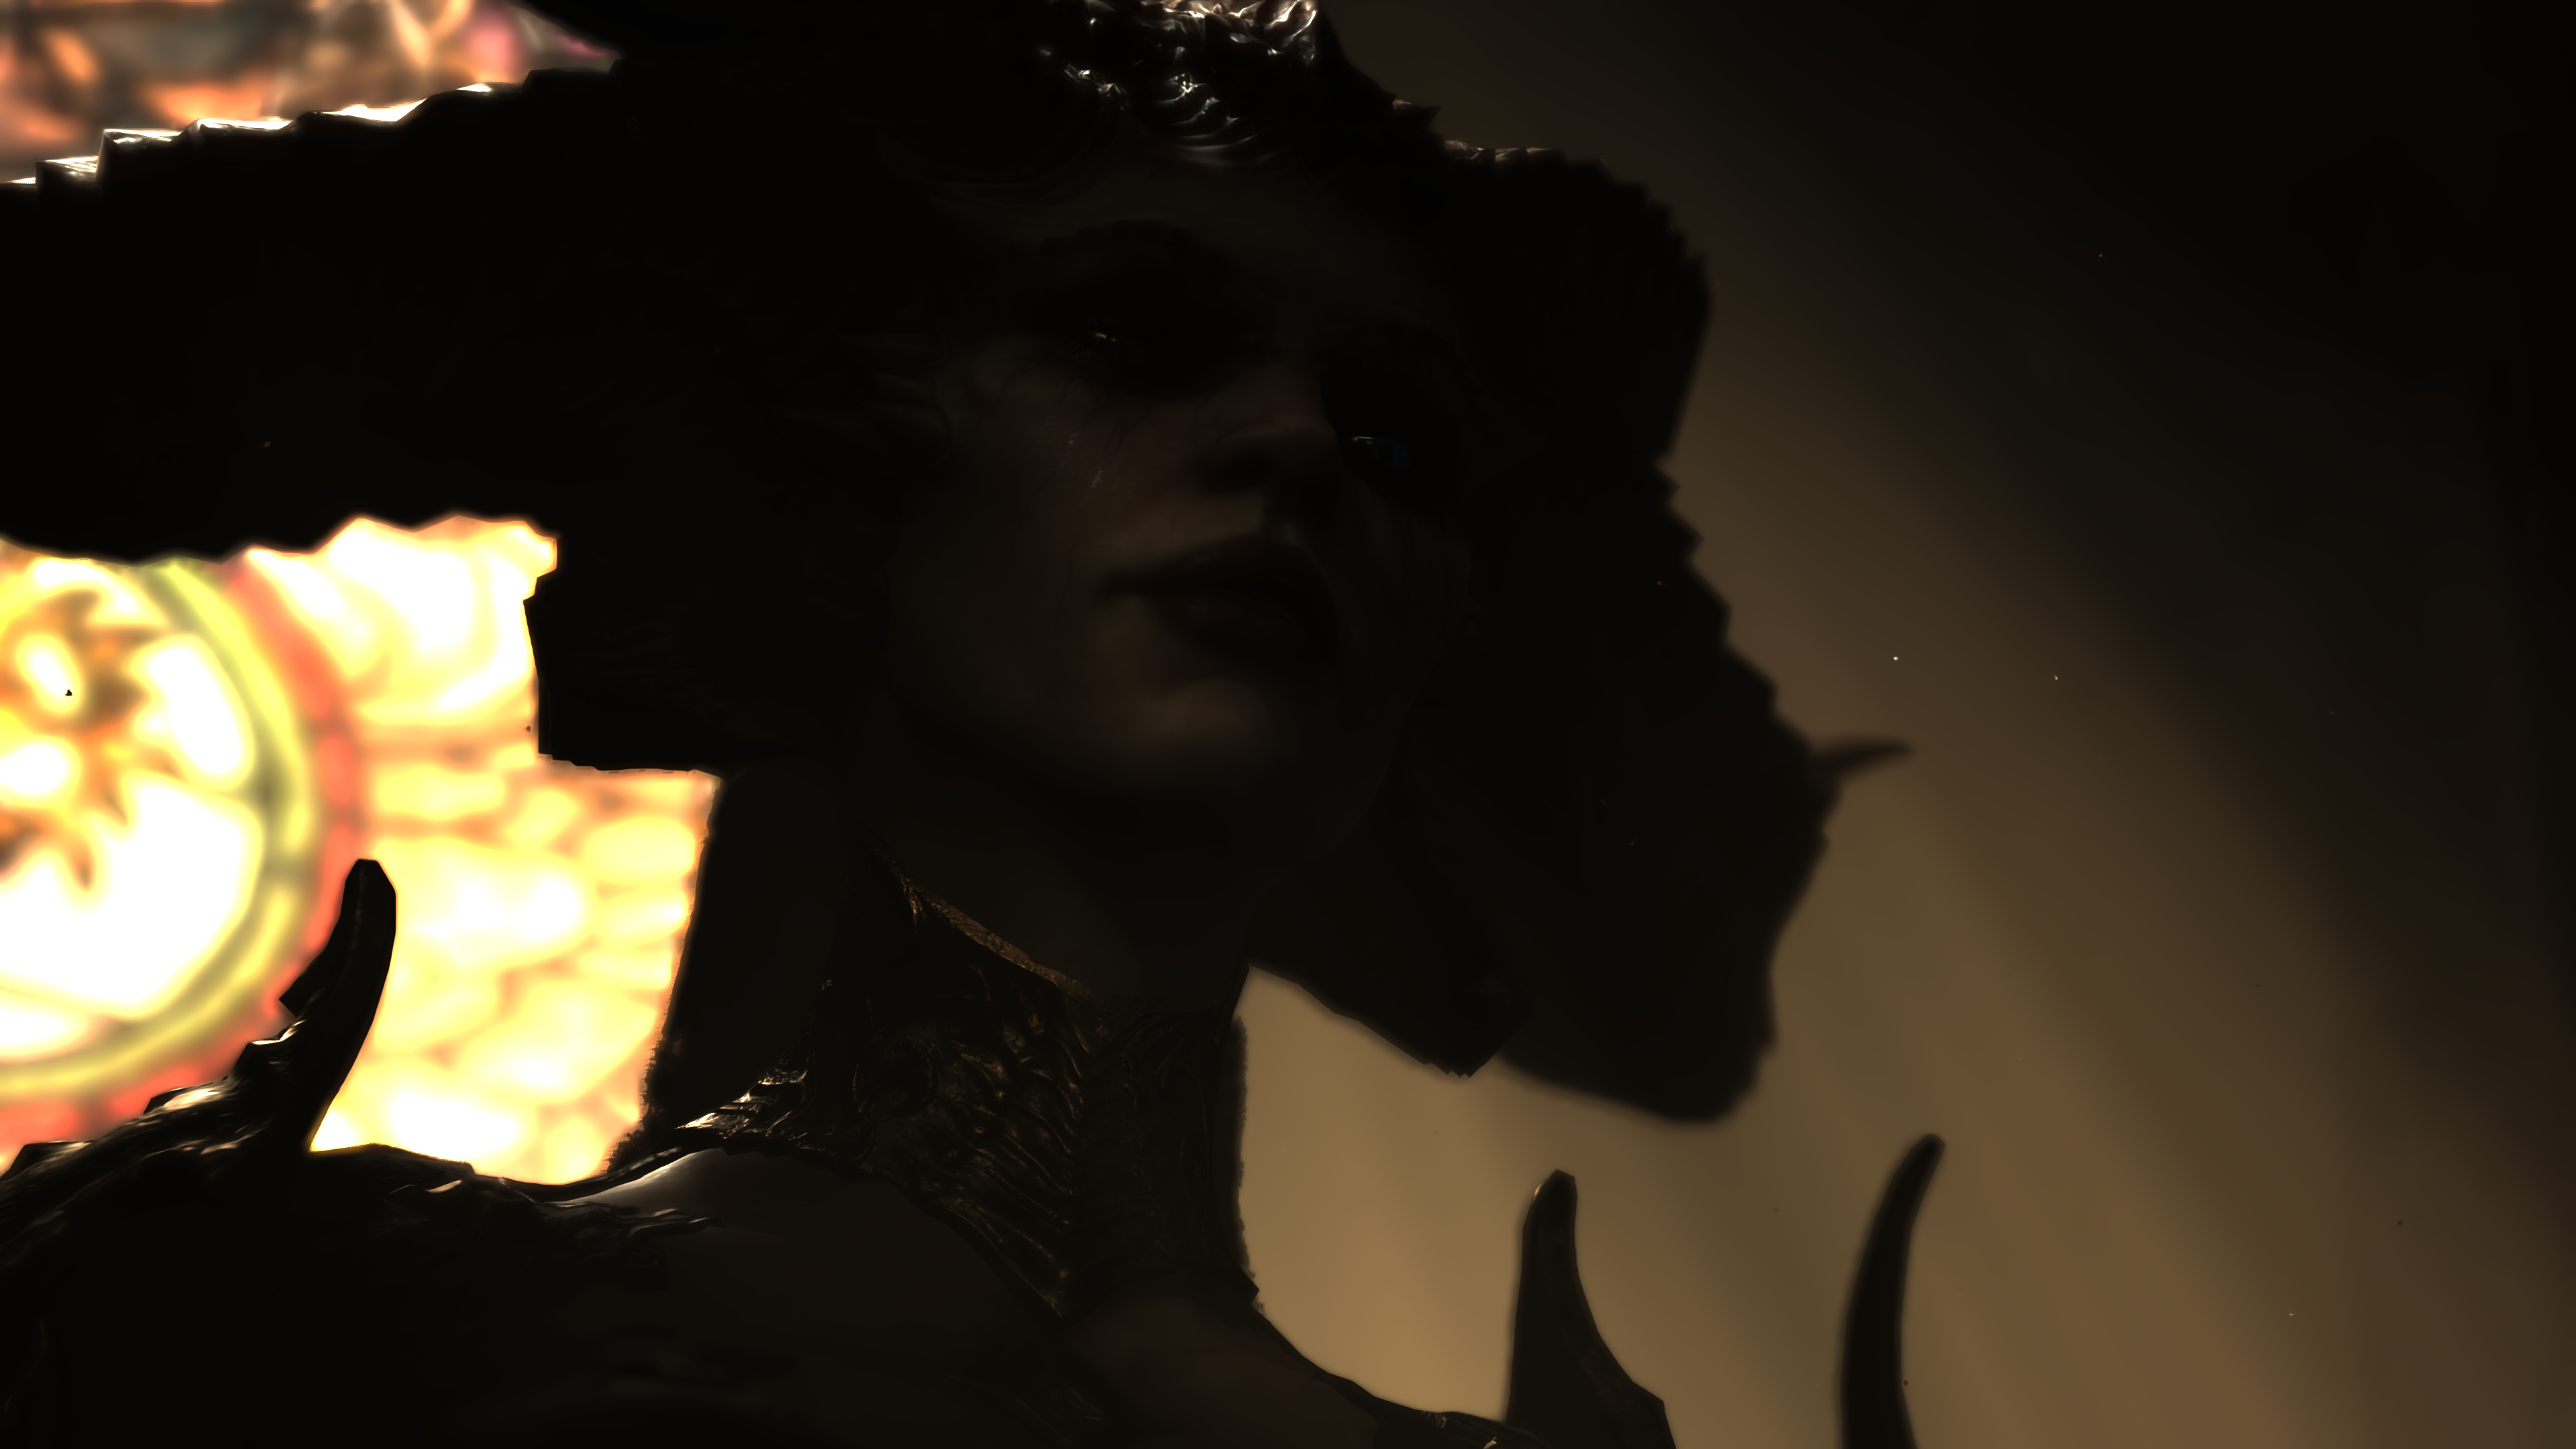
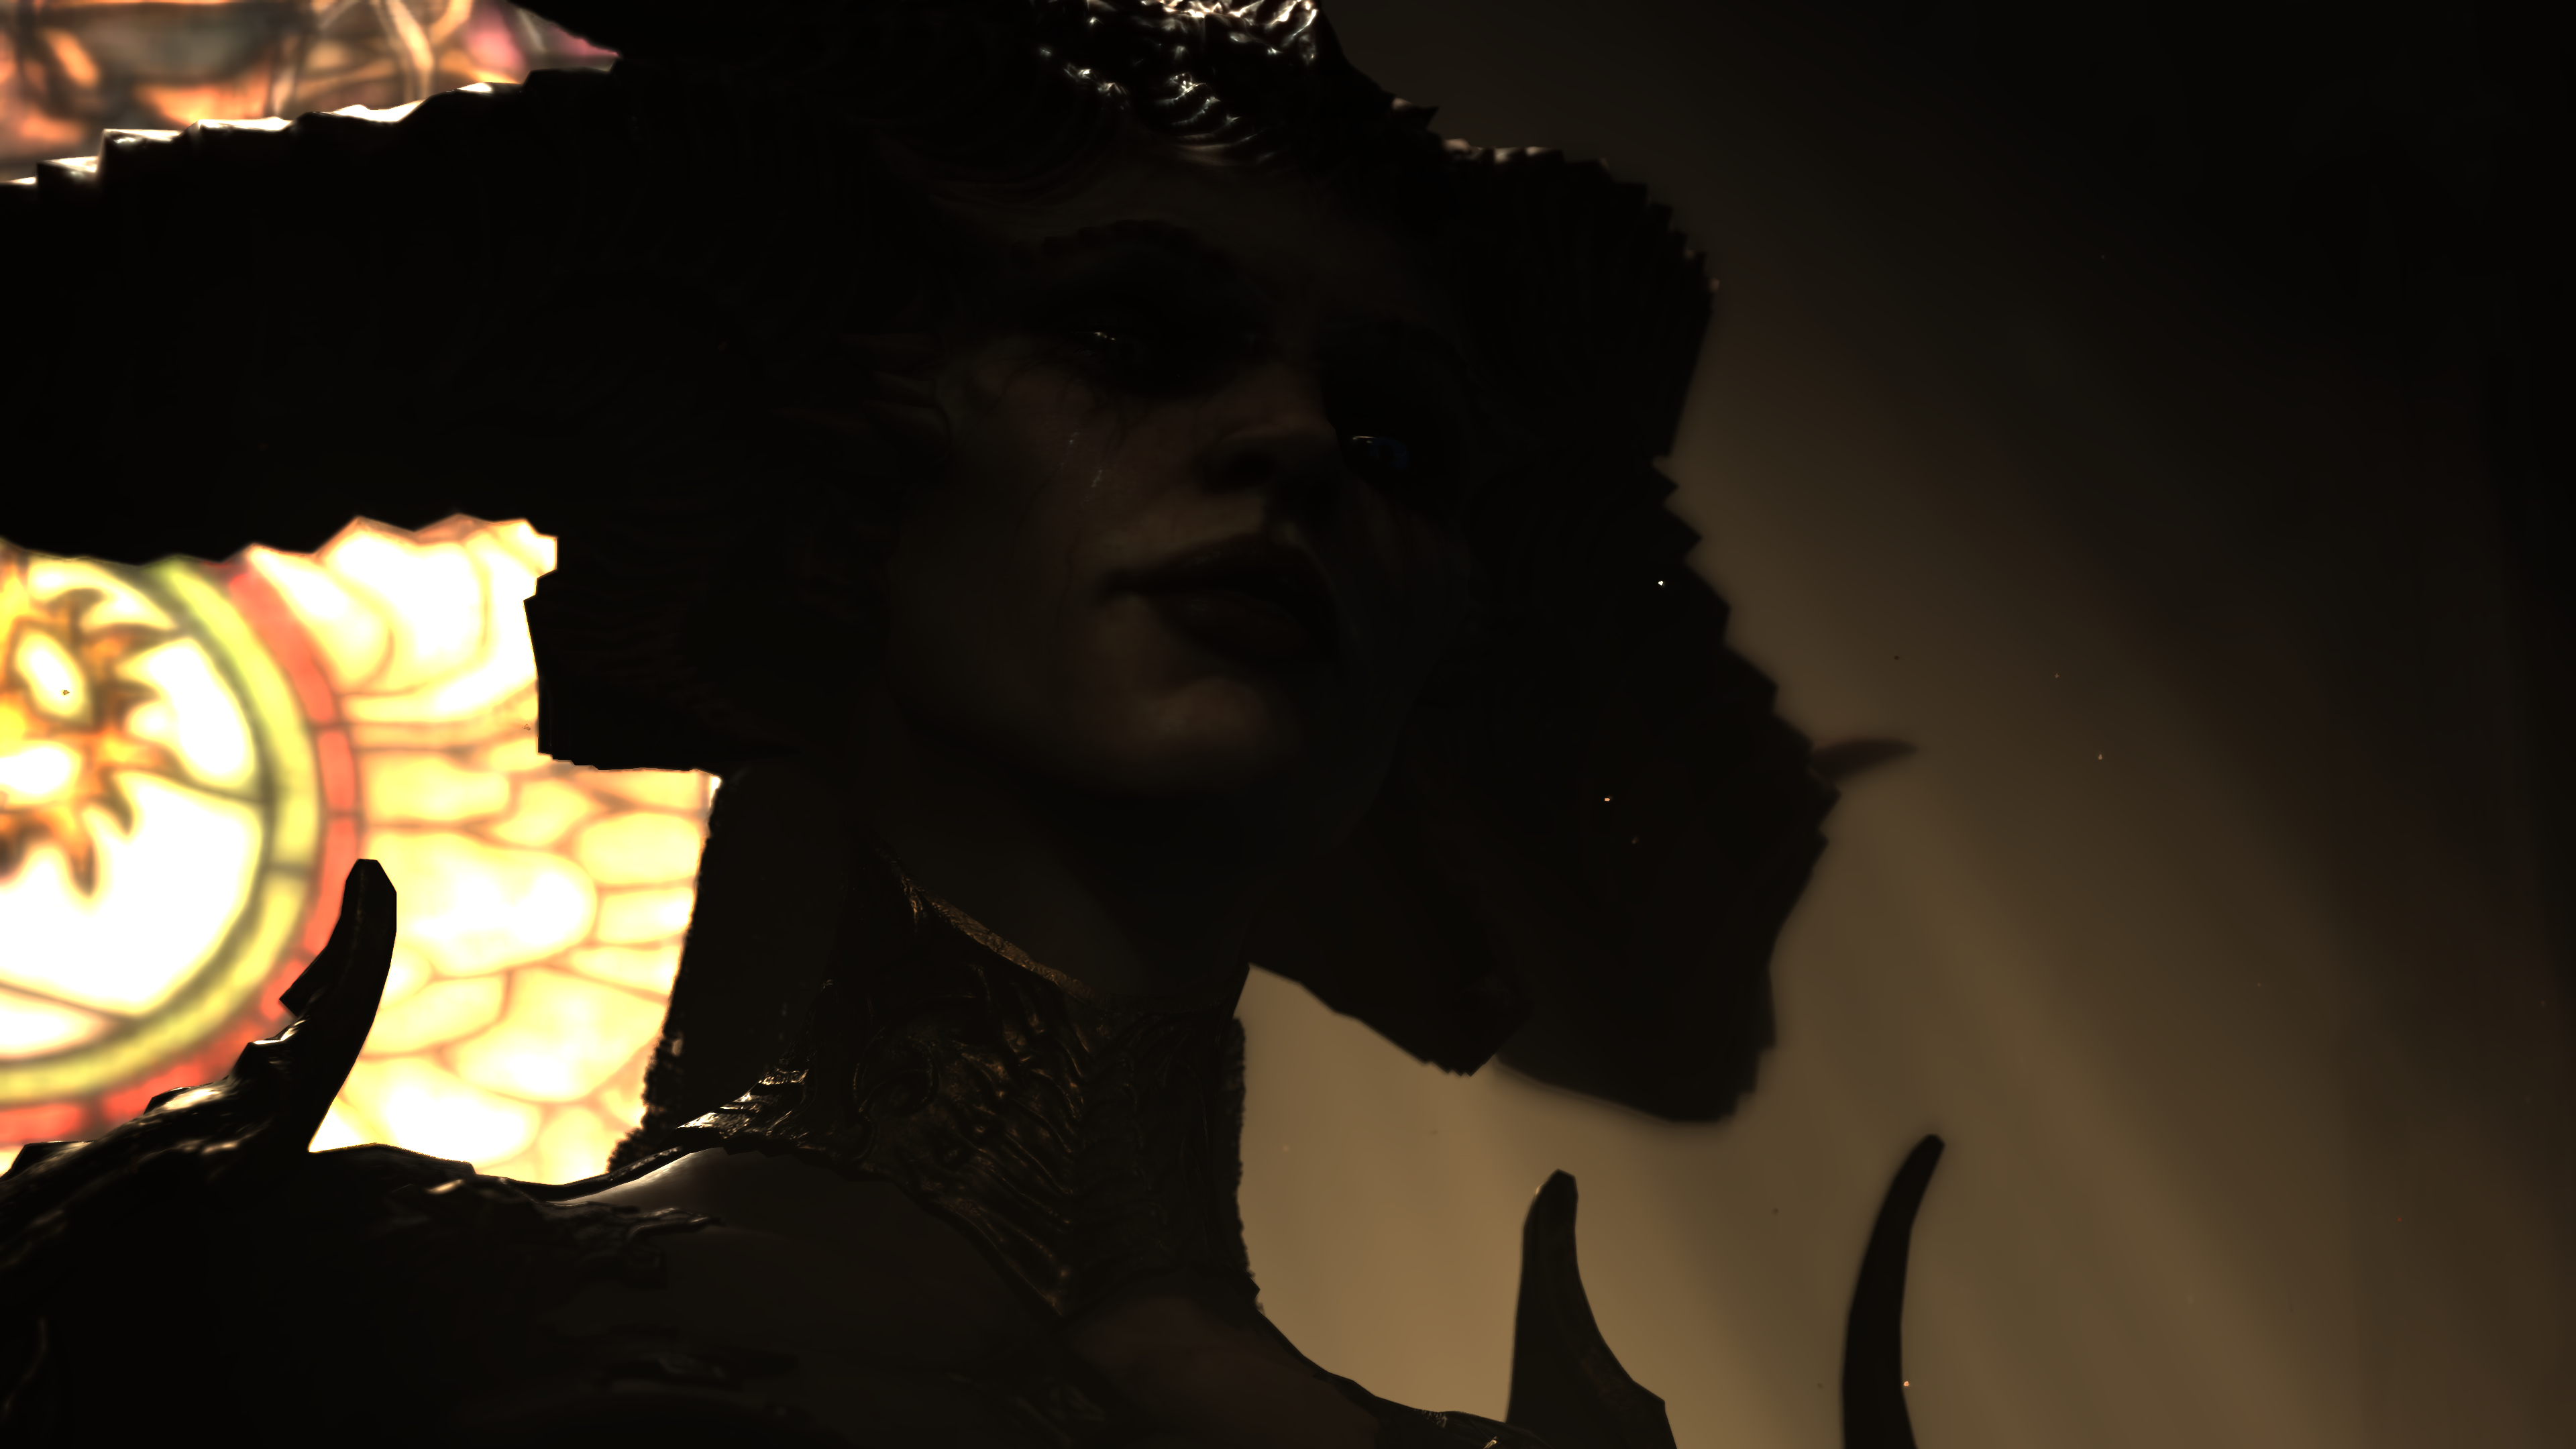
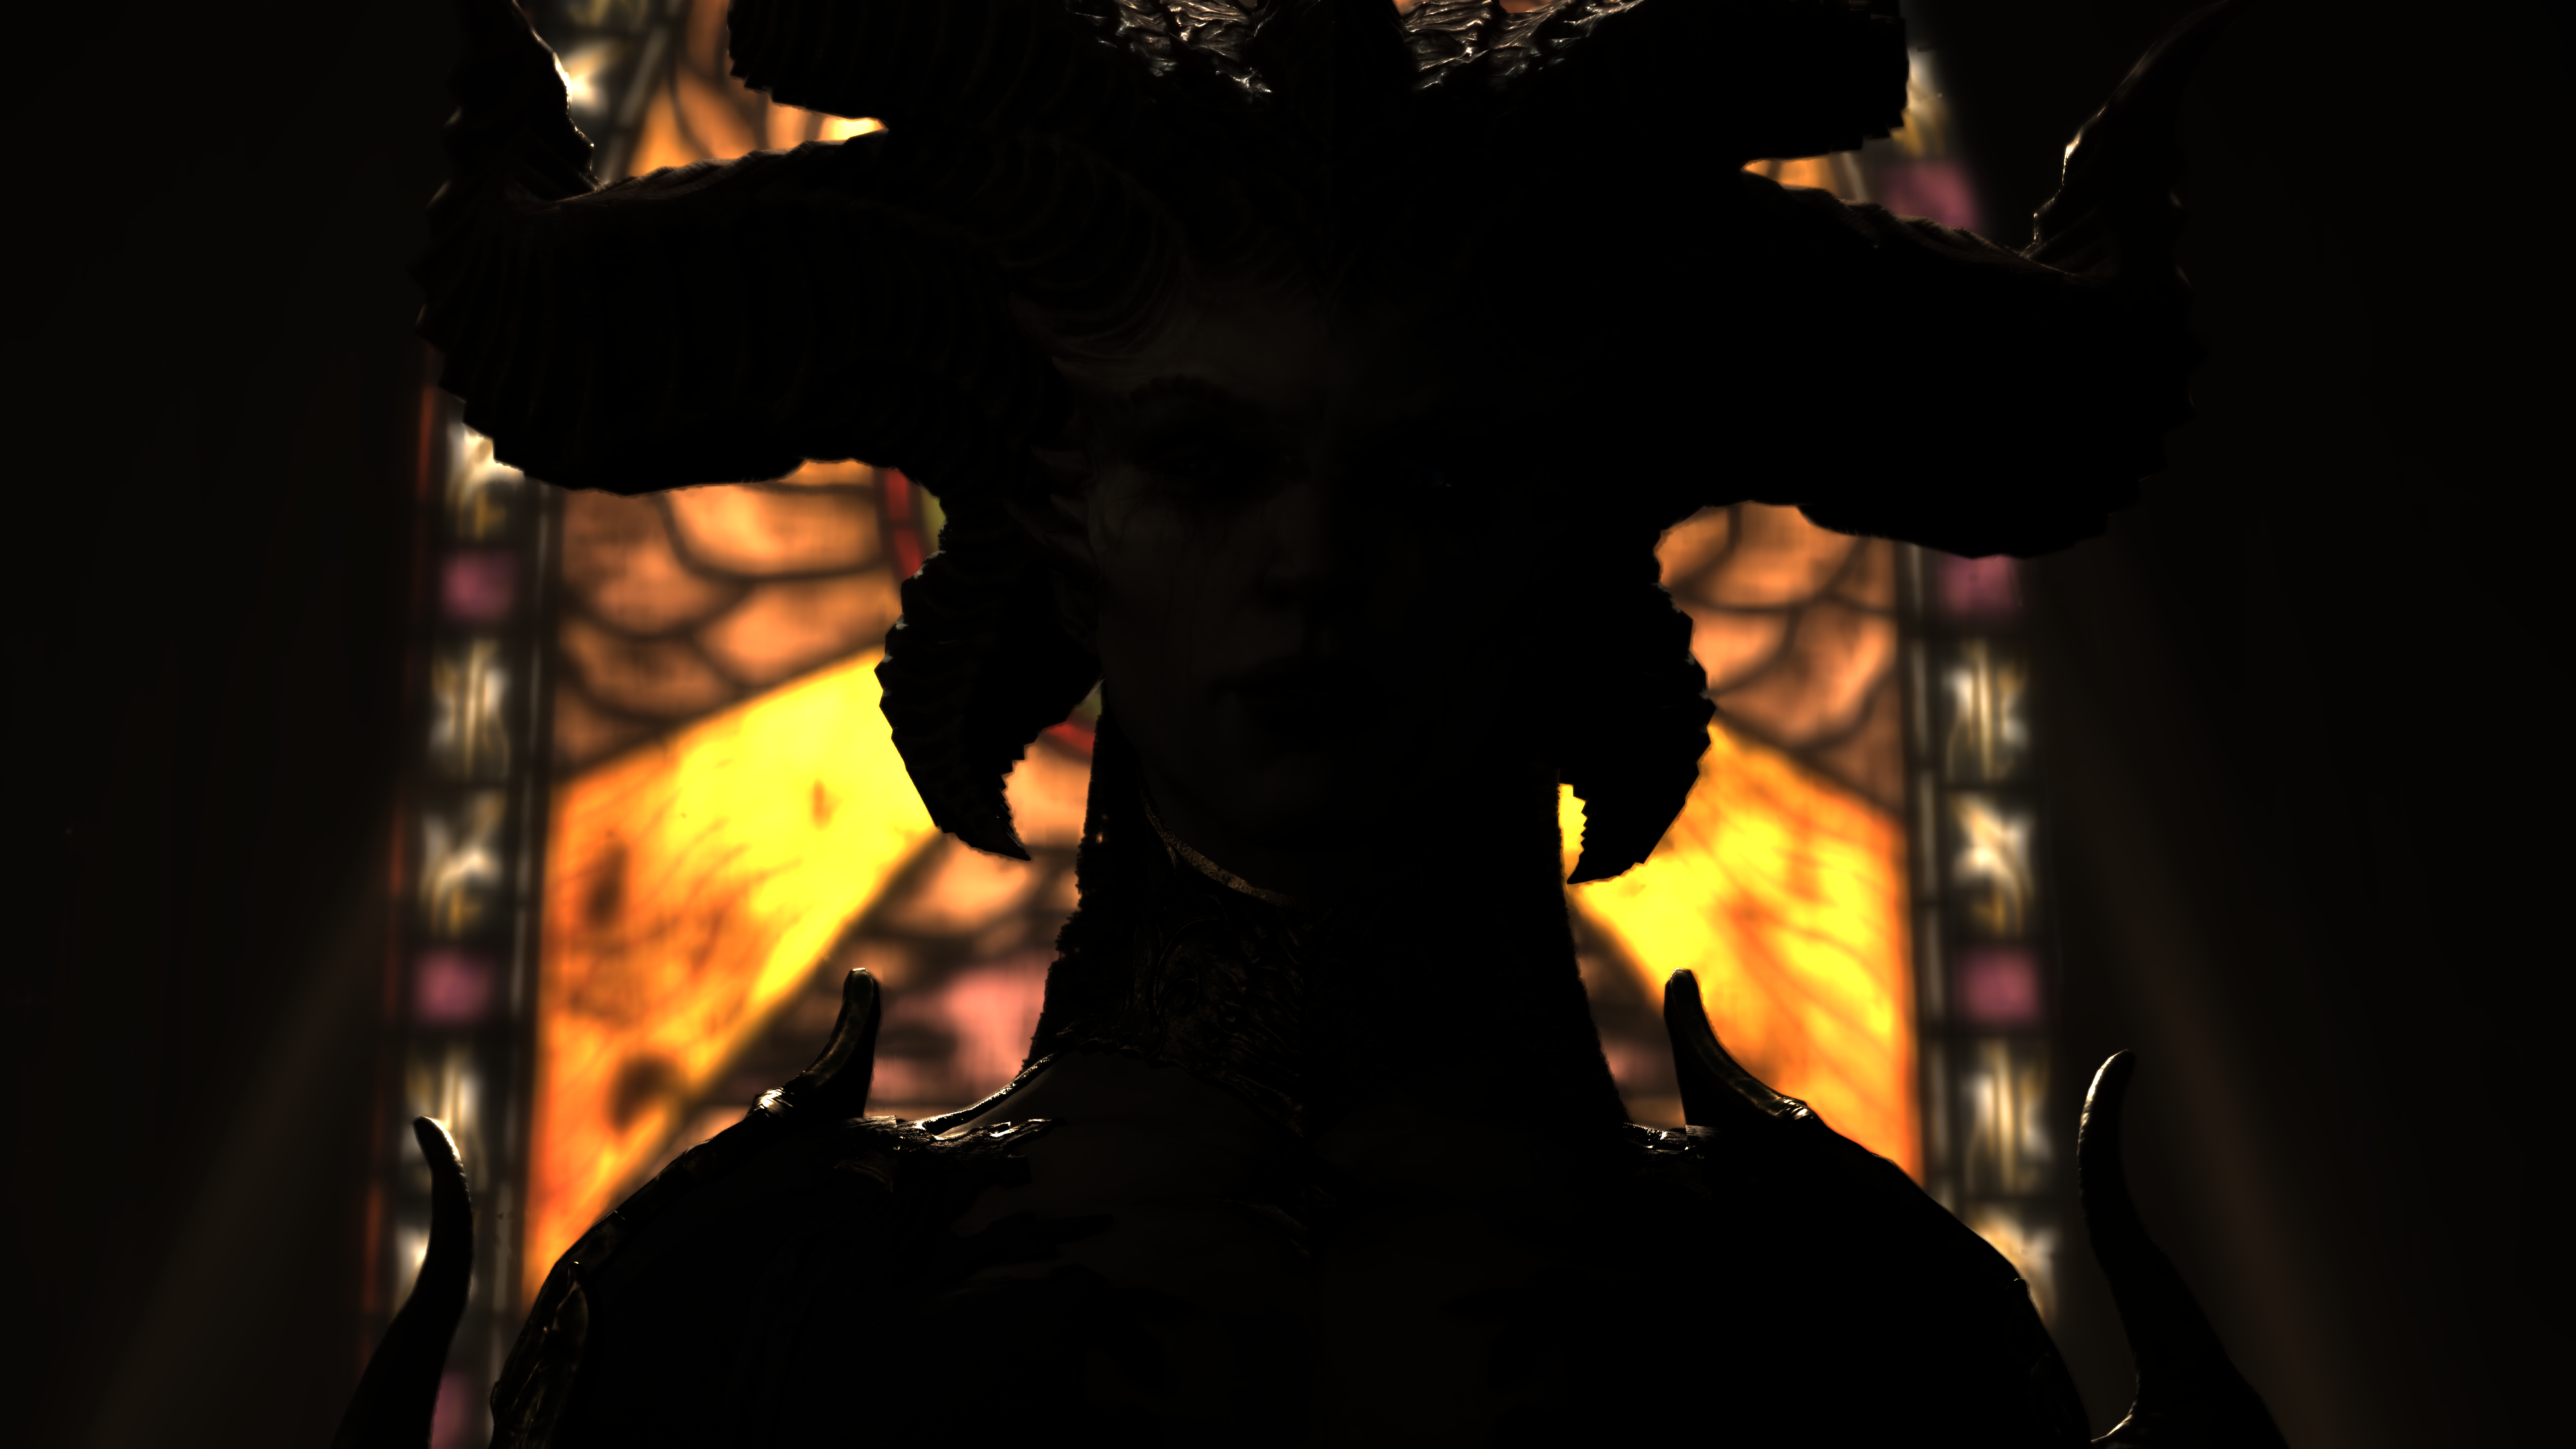
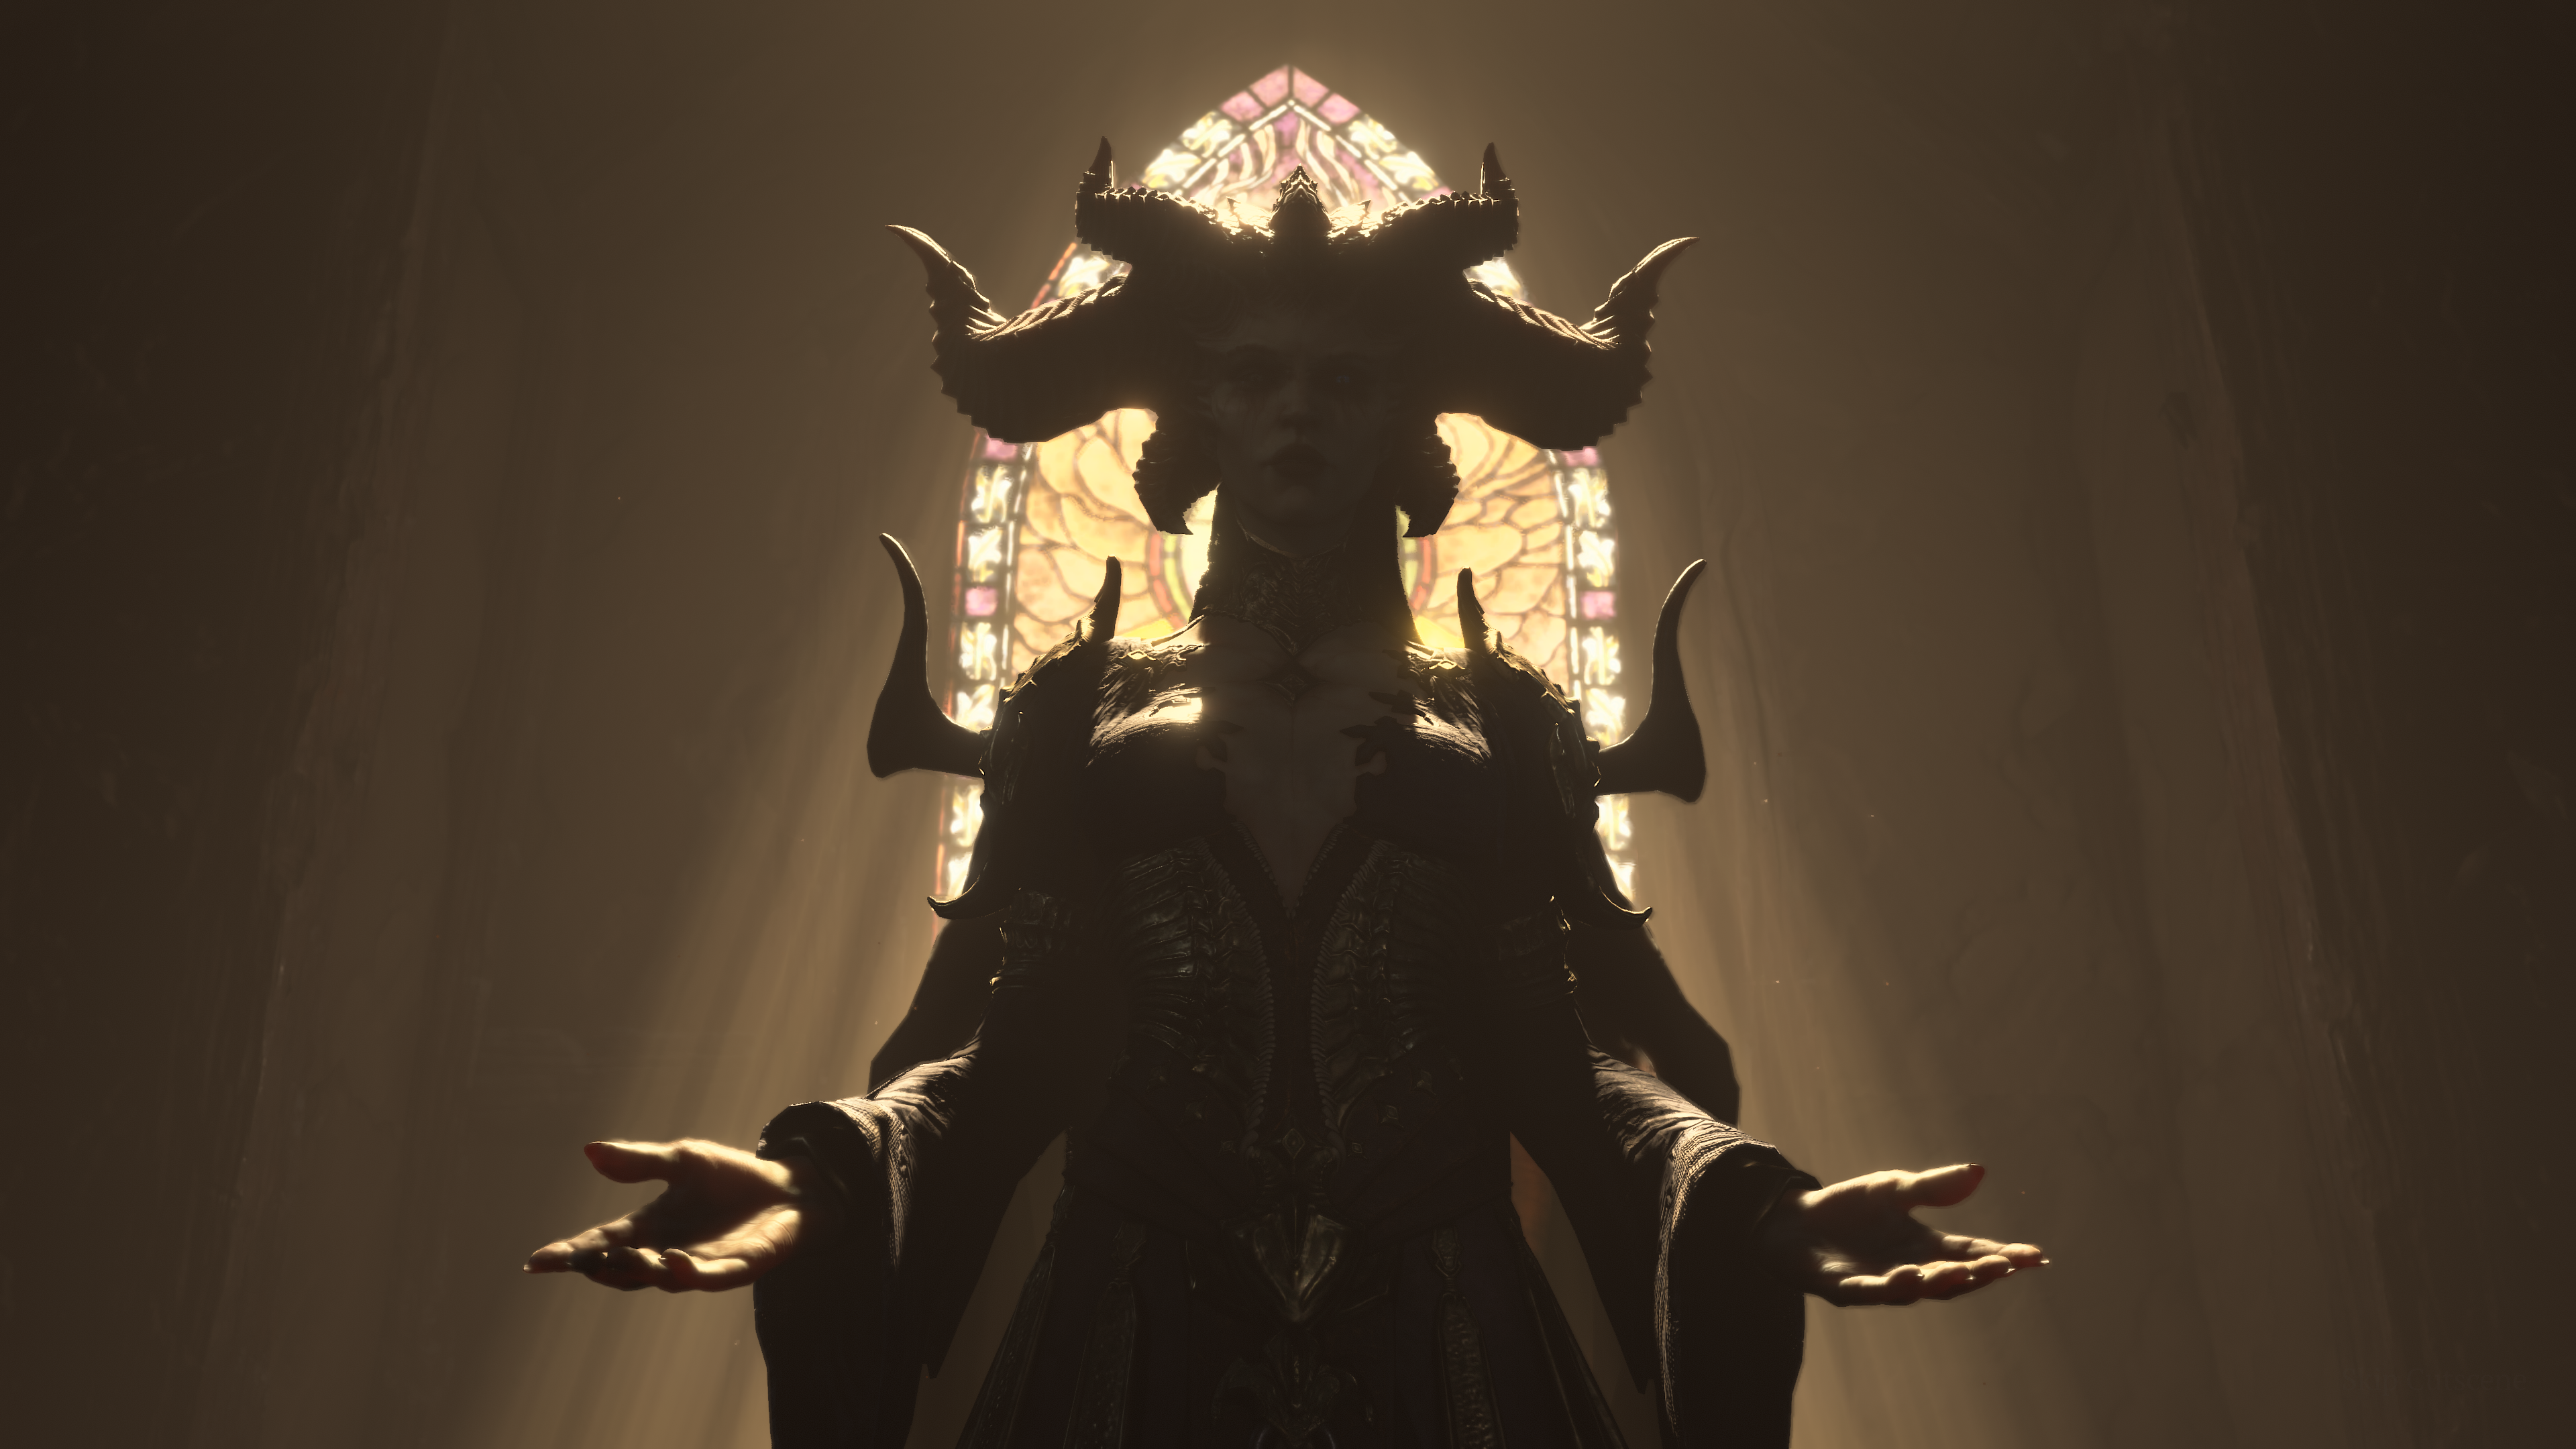
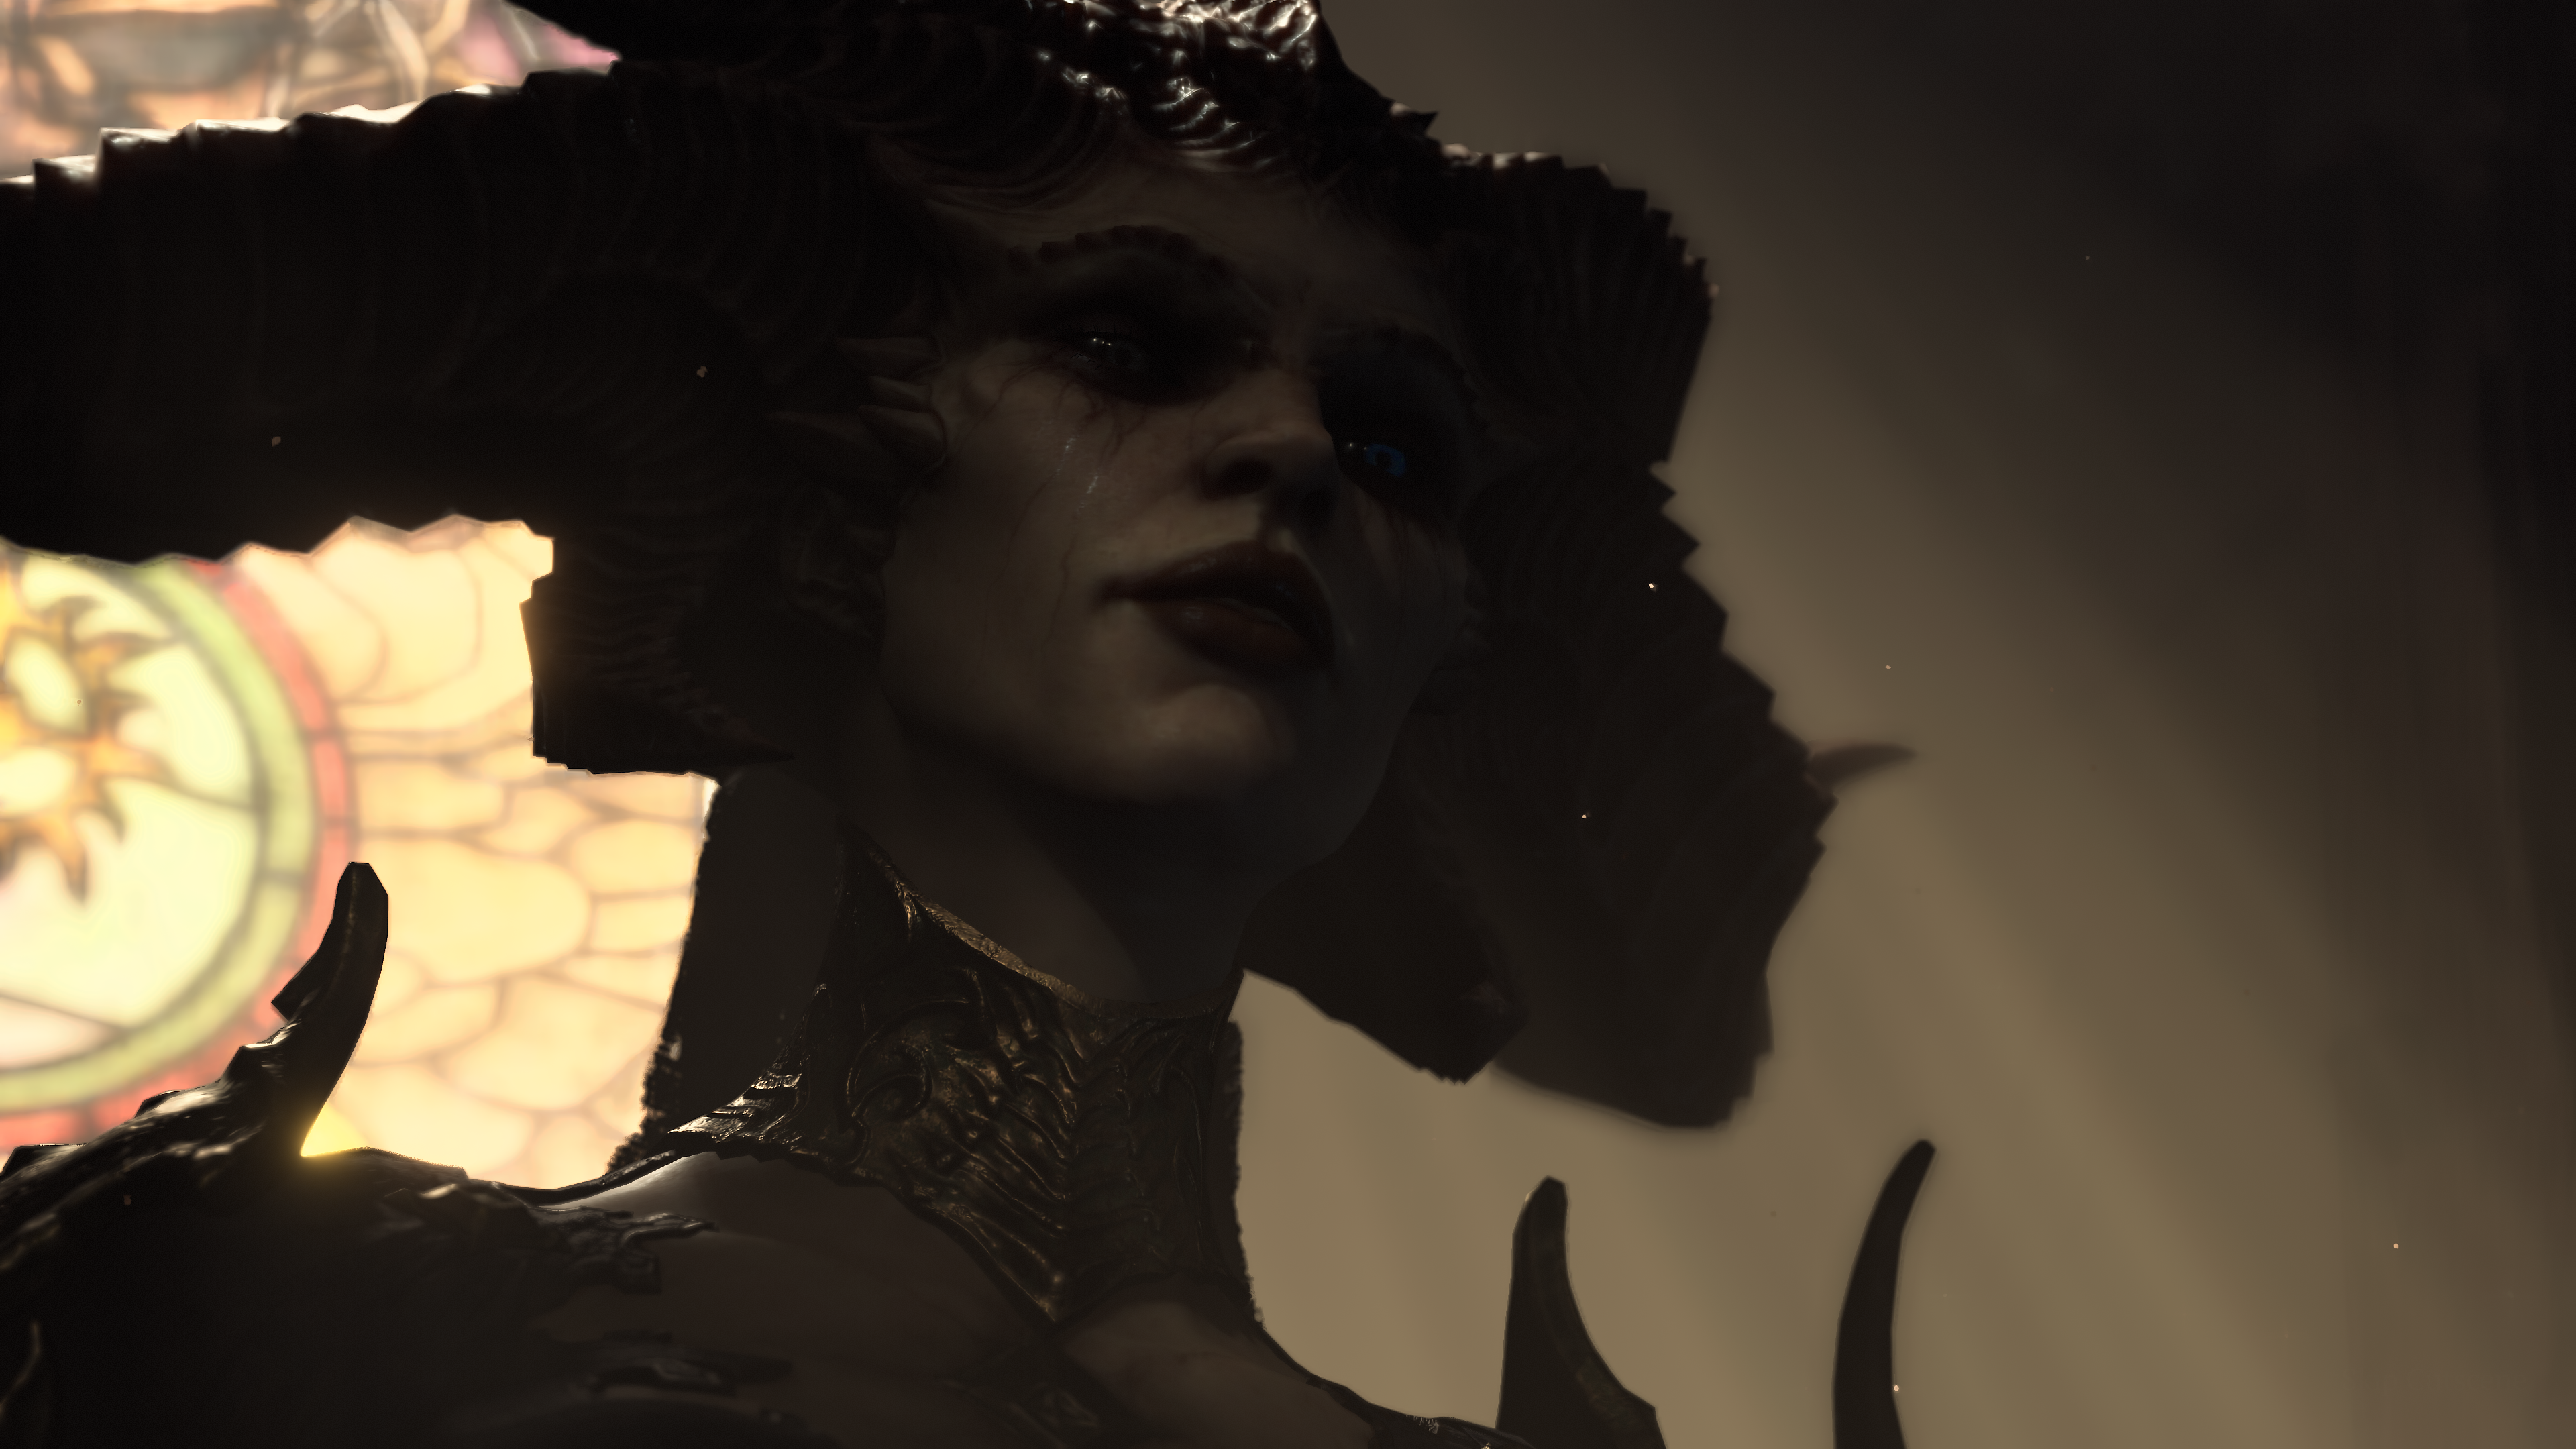
And if you still not believe it, here is another extreme frame, where there are Lilith’s wings that “look” like SSS surface, but in fact, the feel was already in there from the GBuffer diffuse shading even before it go into the SSS pass.


Full inputs/outputs of the previous example

So, does it look or work like real SSS? No
Does it add anything? Yup, obsoletely, the settle effect it add to smoothing the skin is a good first step.
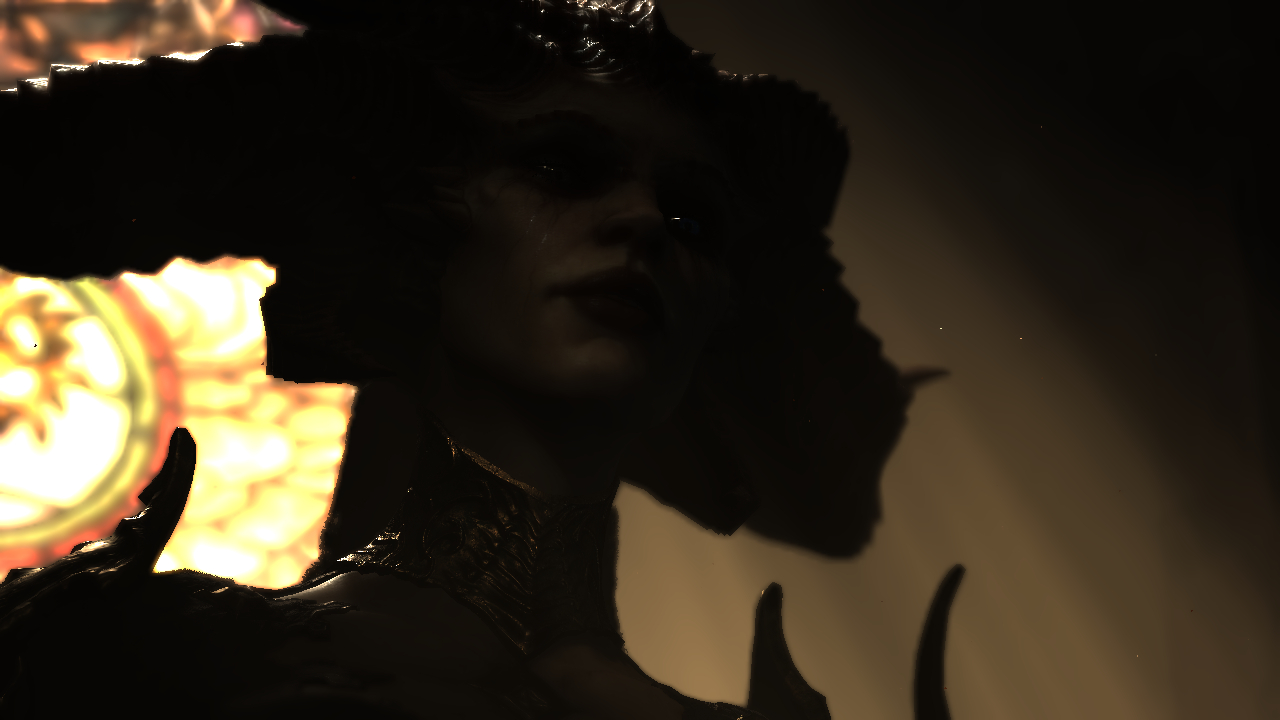
Here are couple of more examples for Lilith, as i was not expecting her to have that effect applied to the horns!
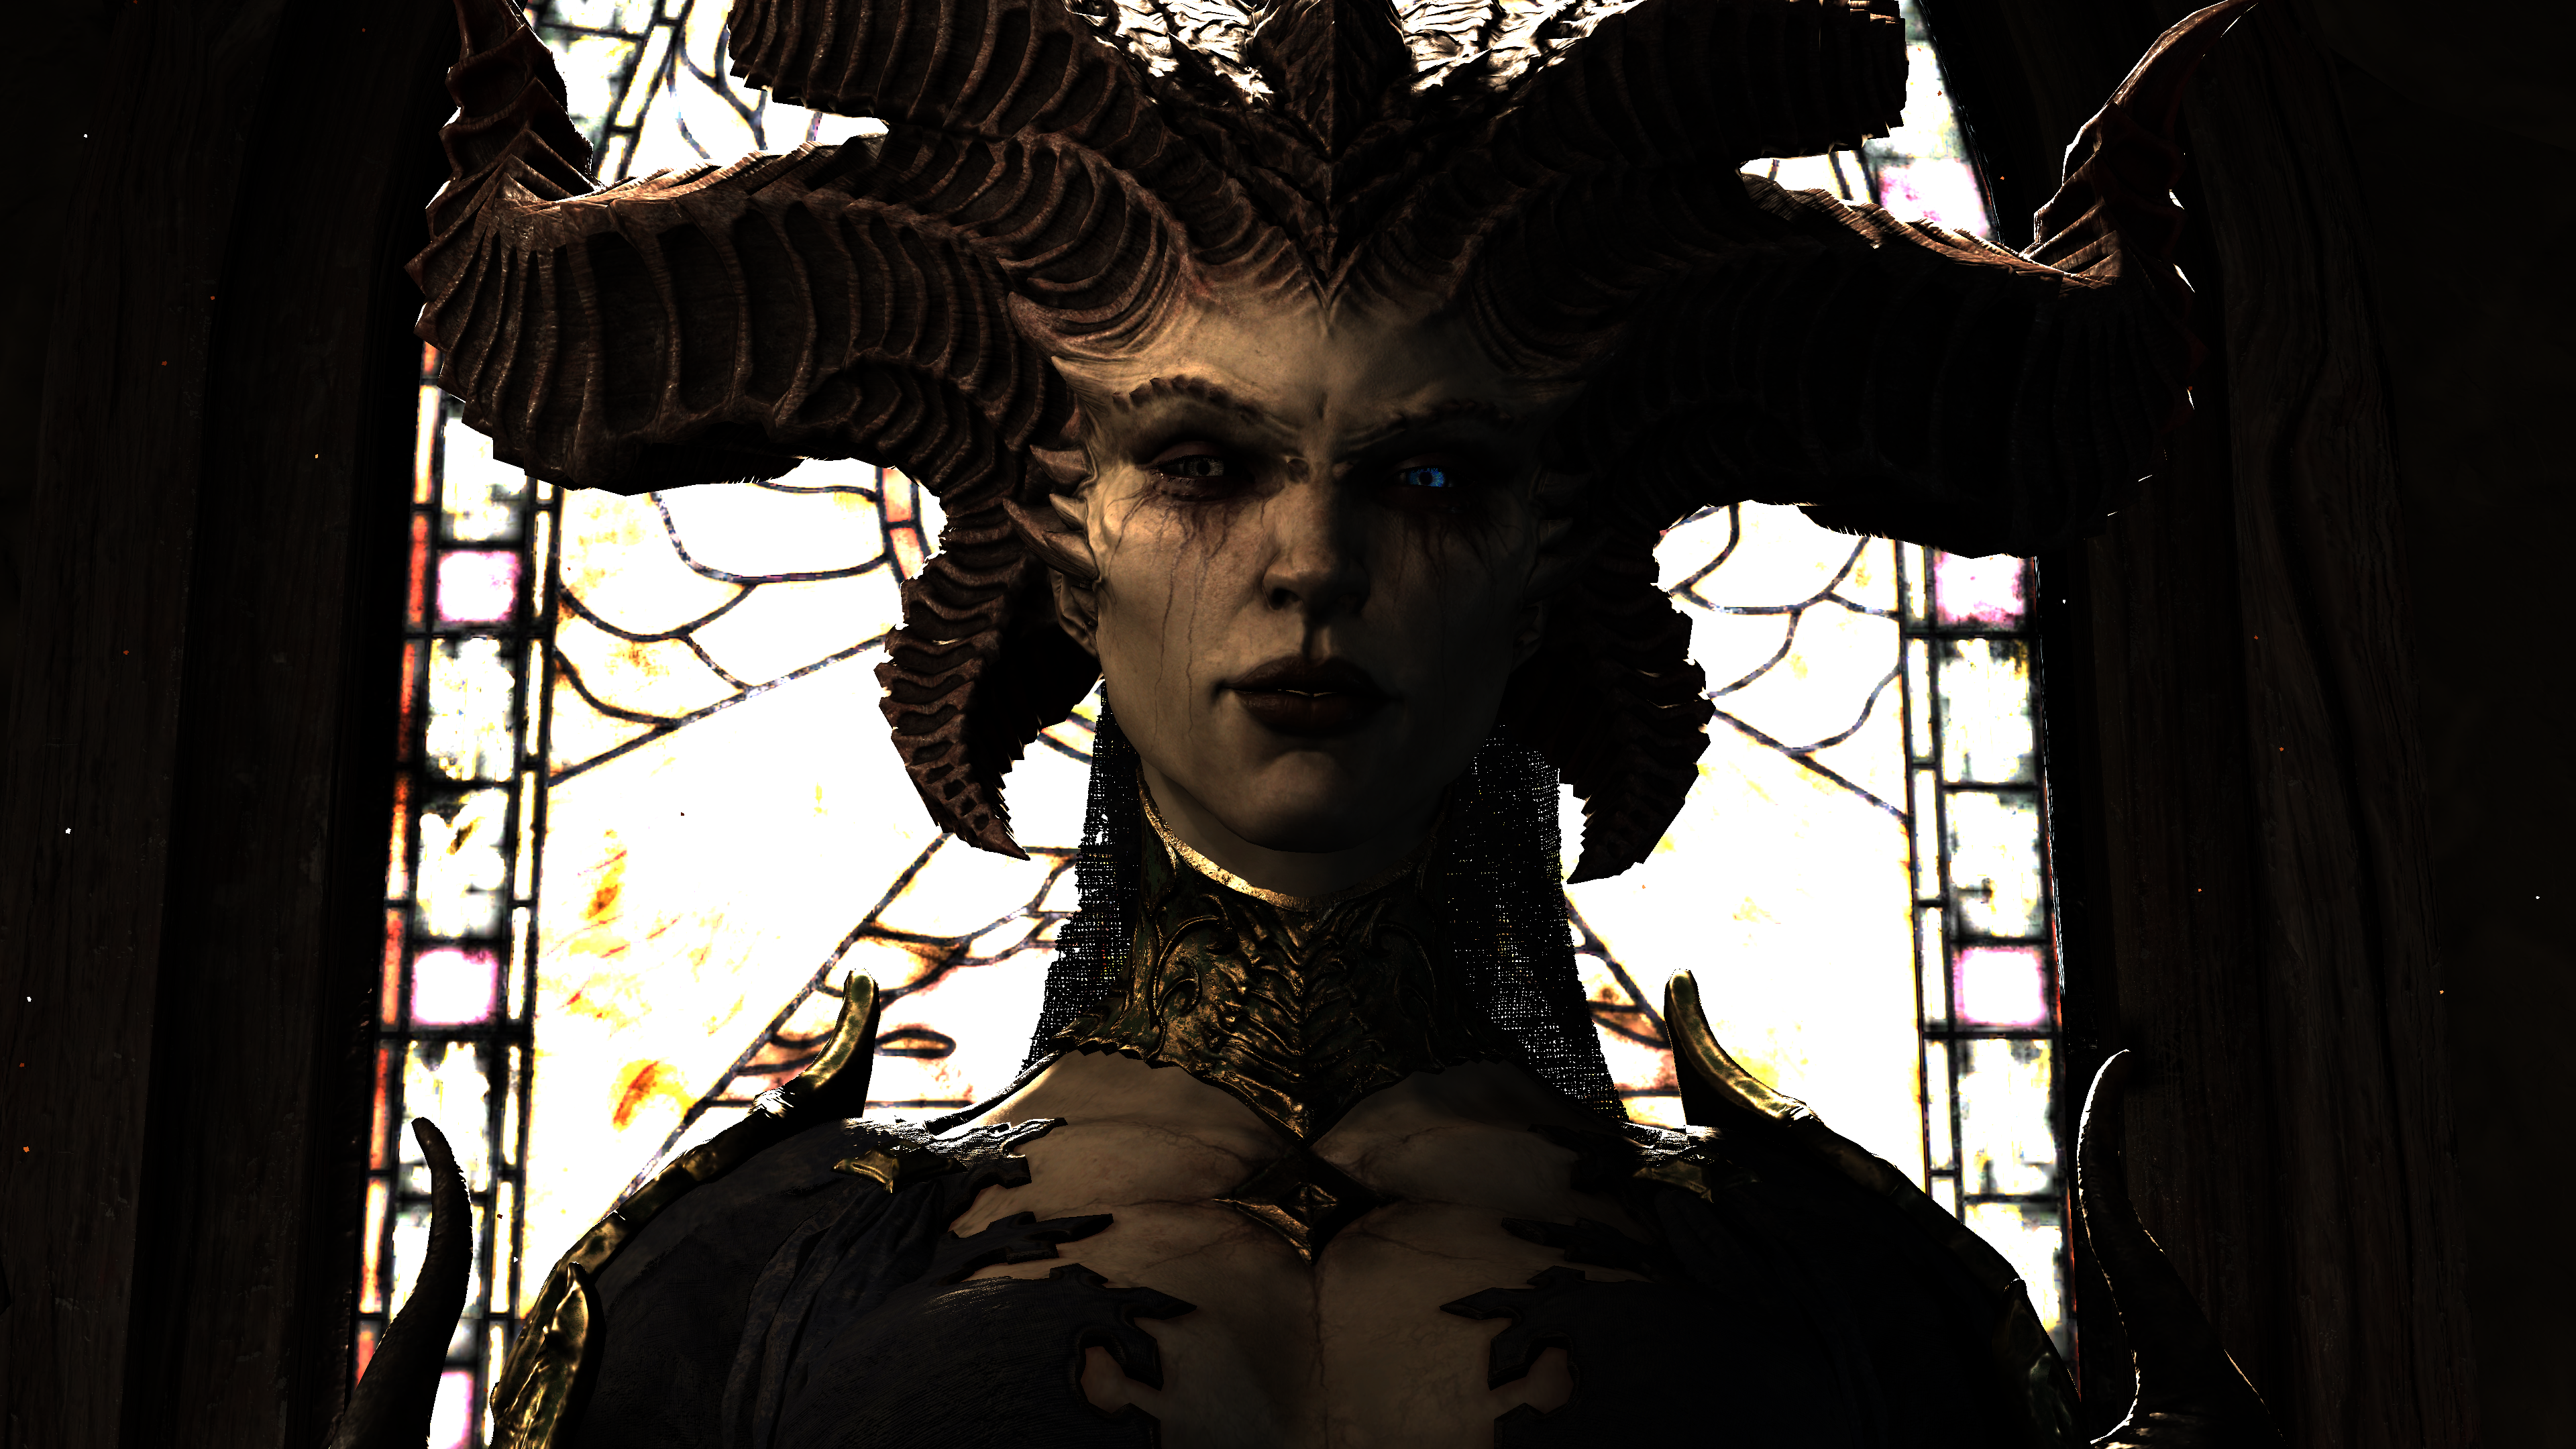
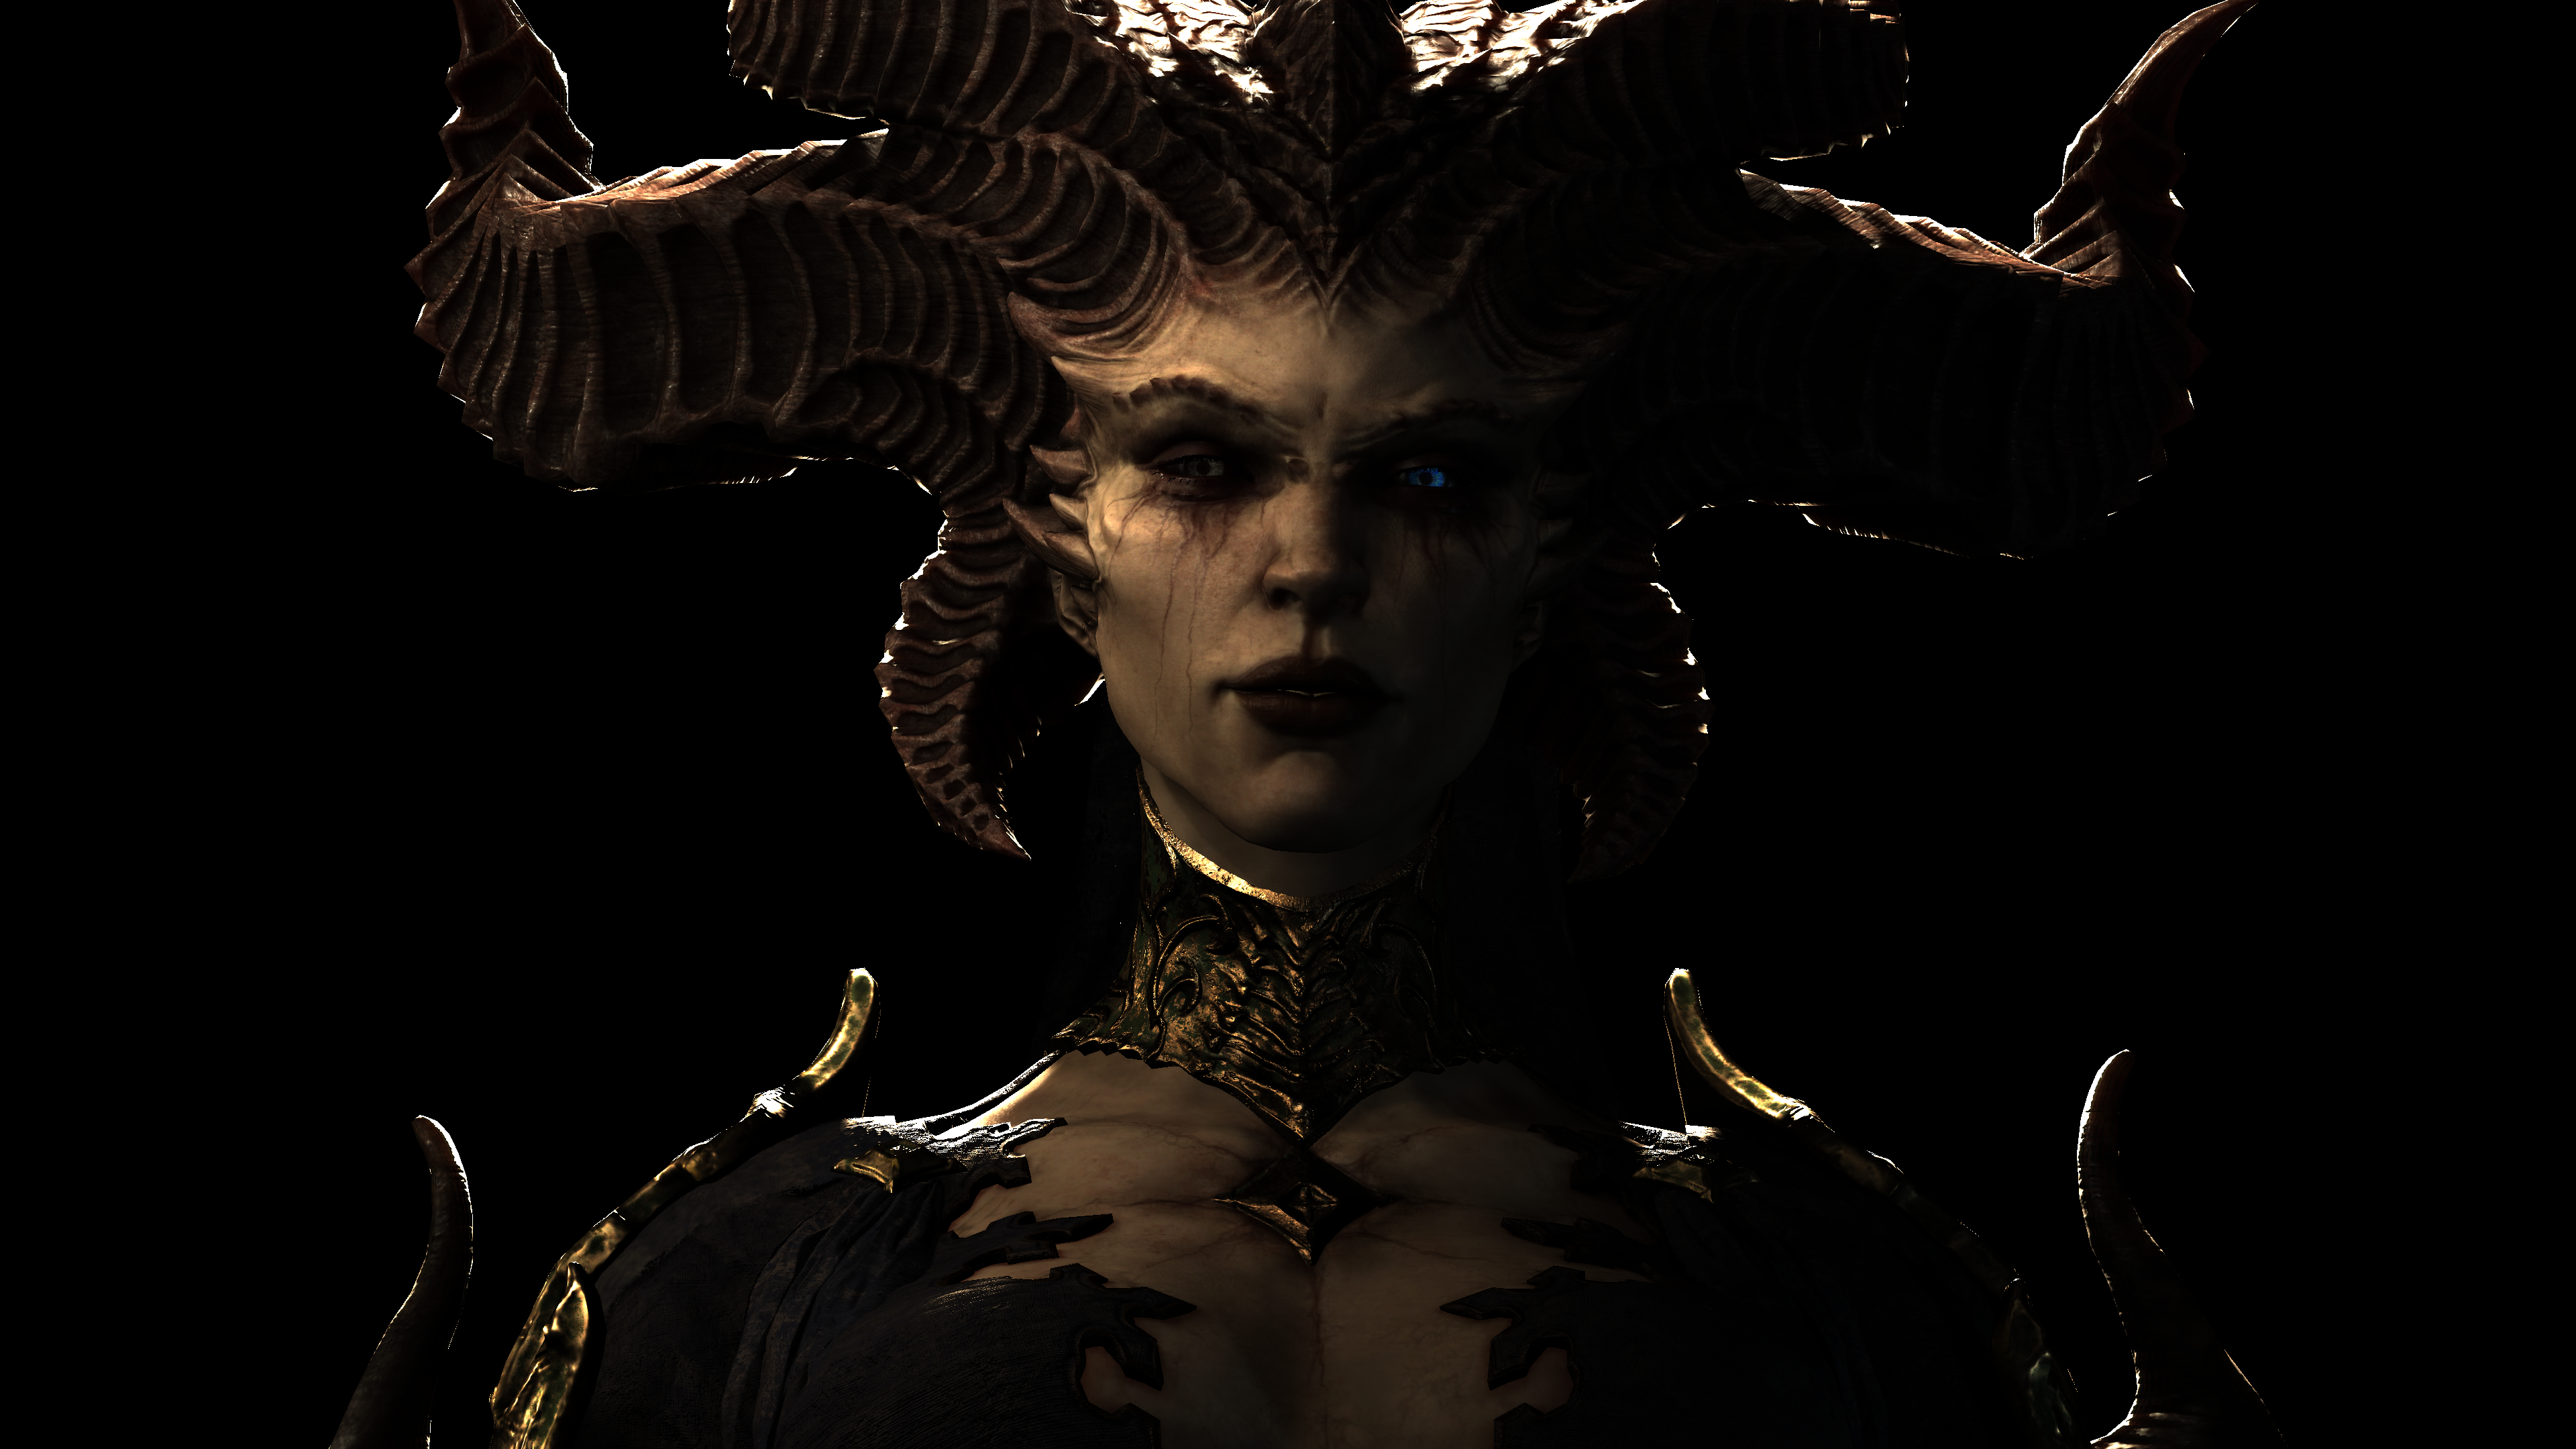

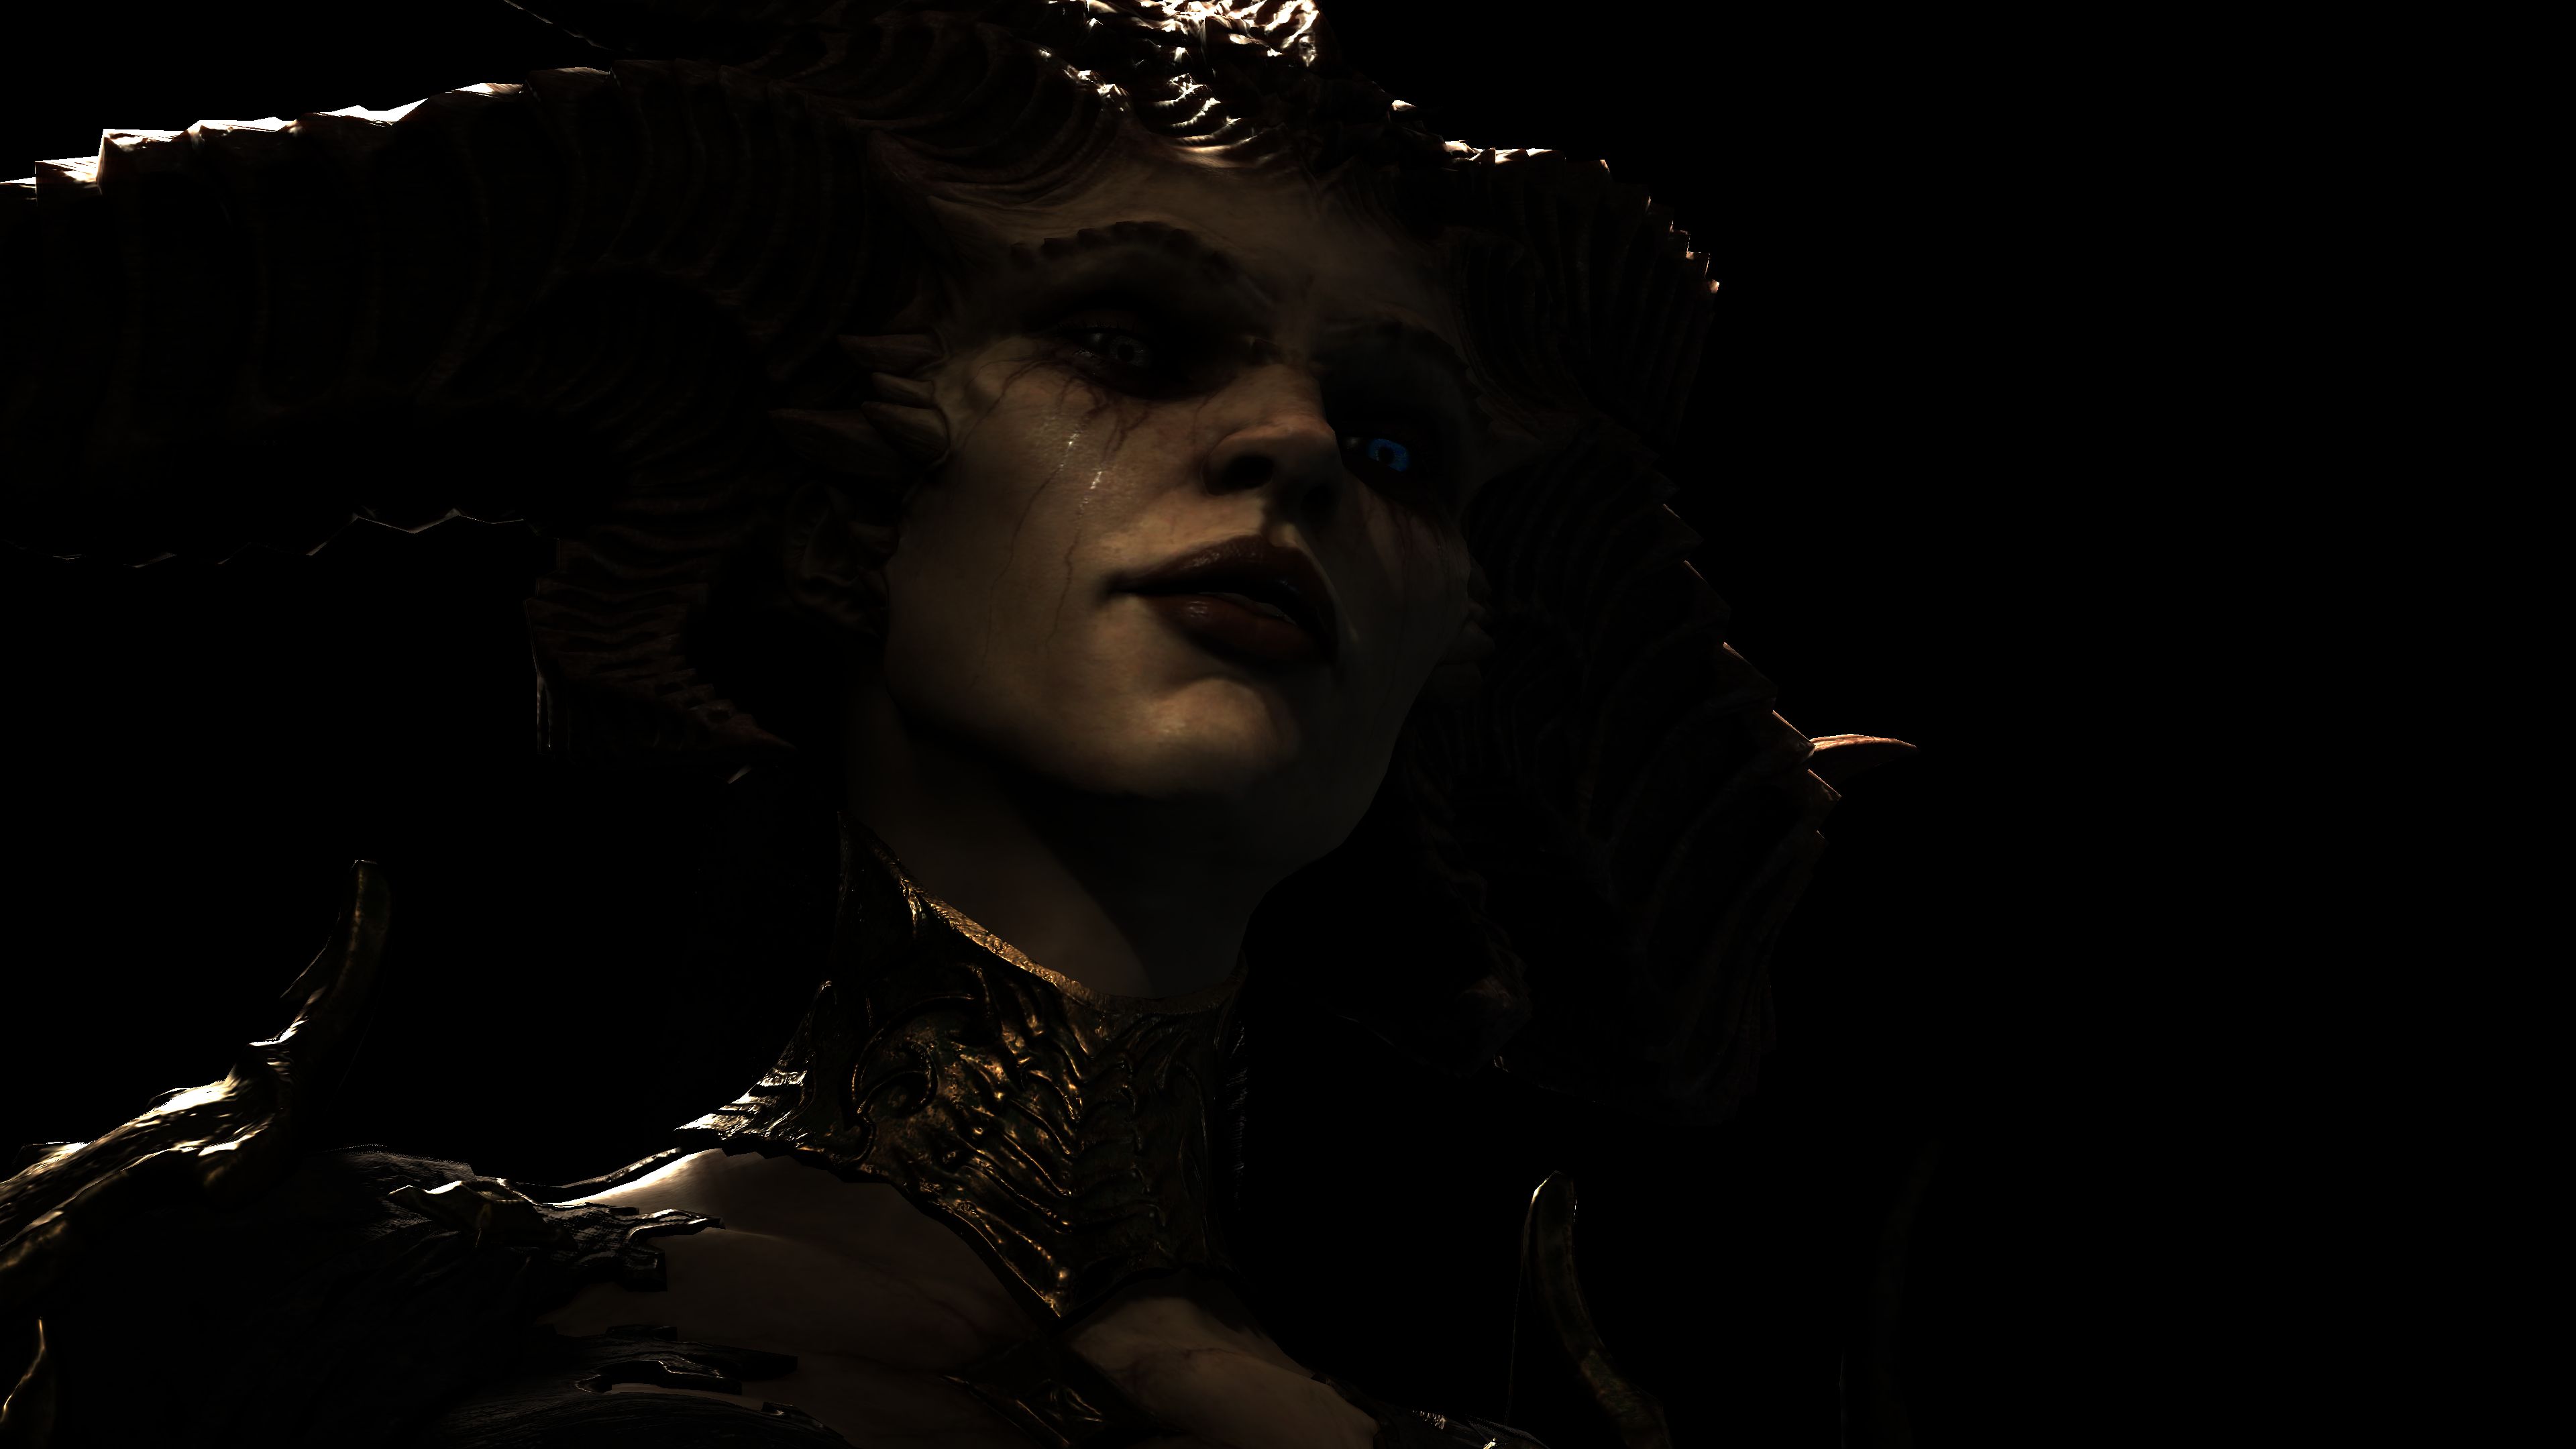

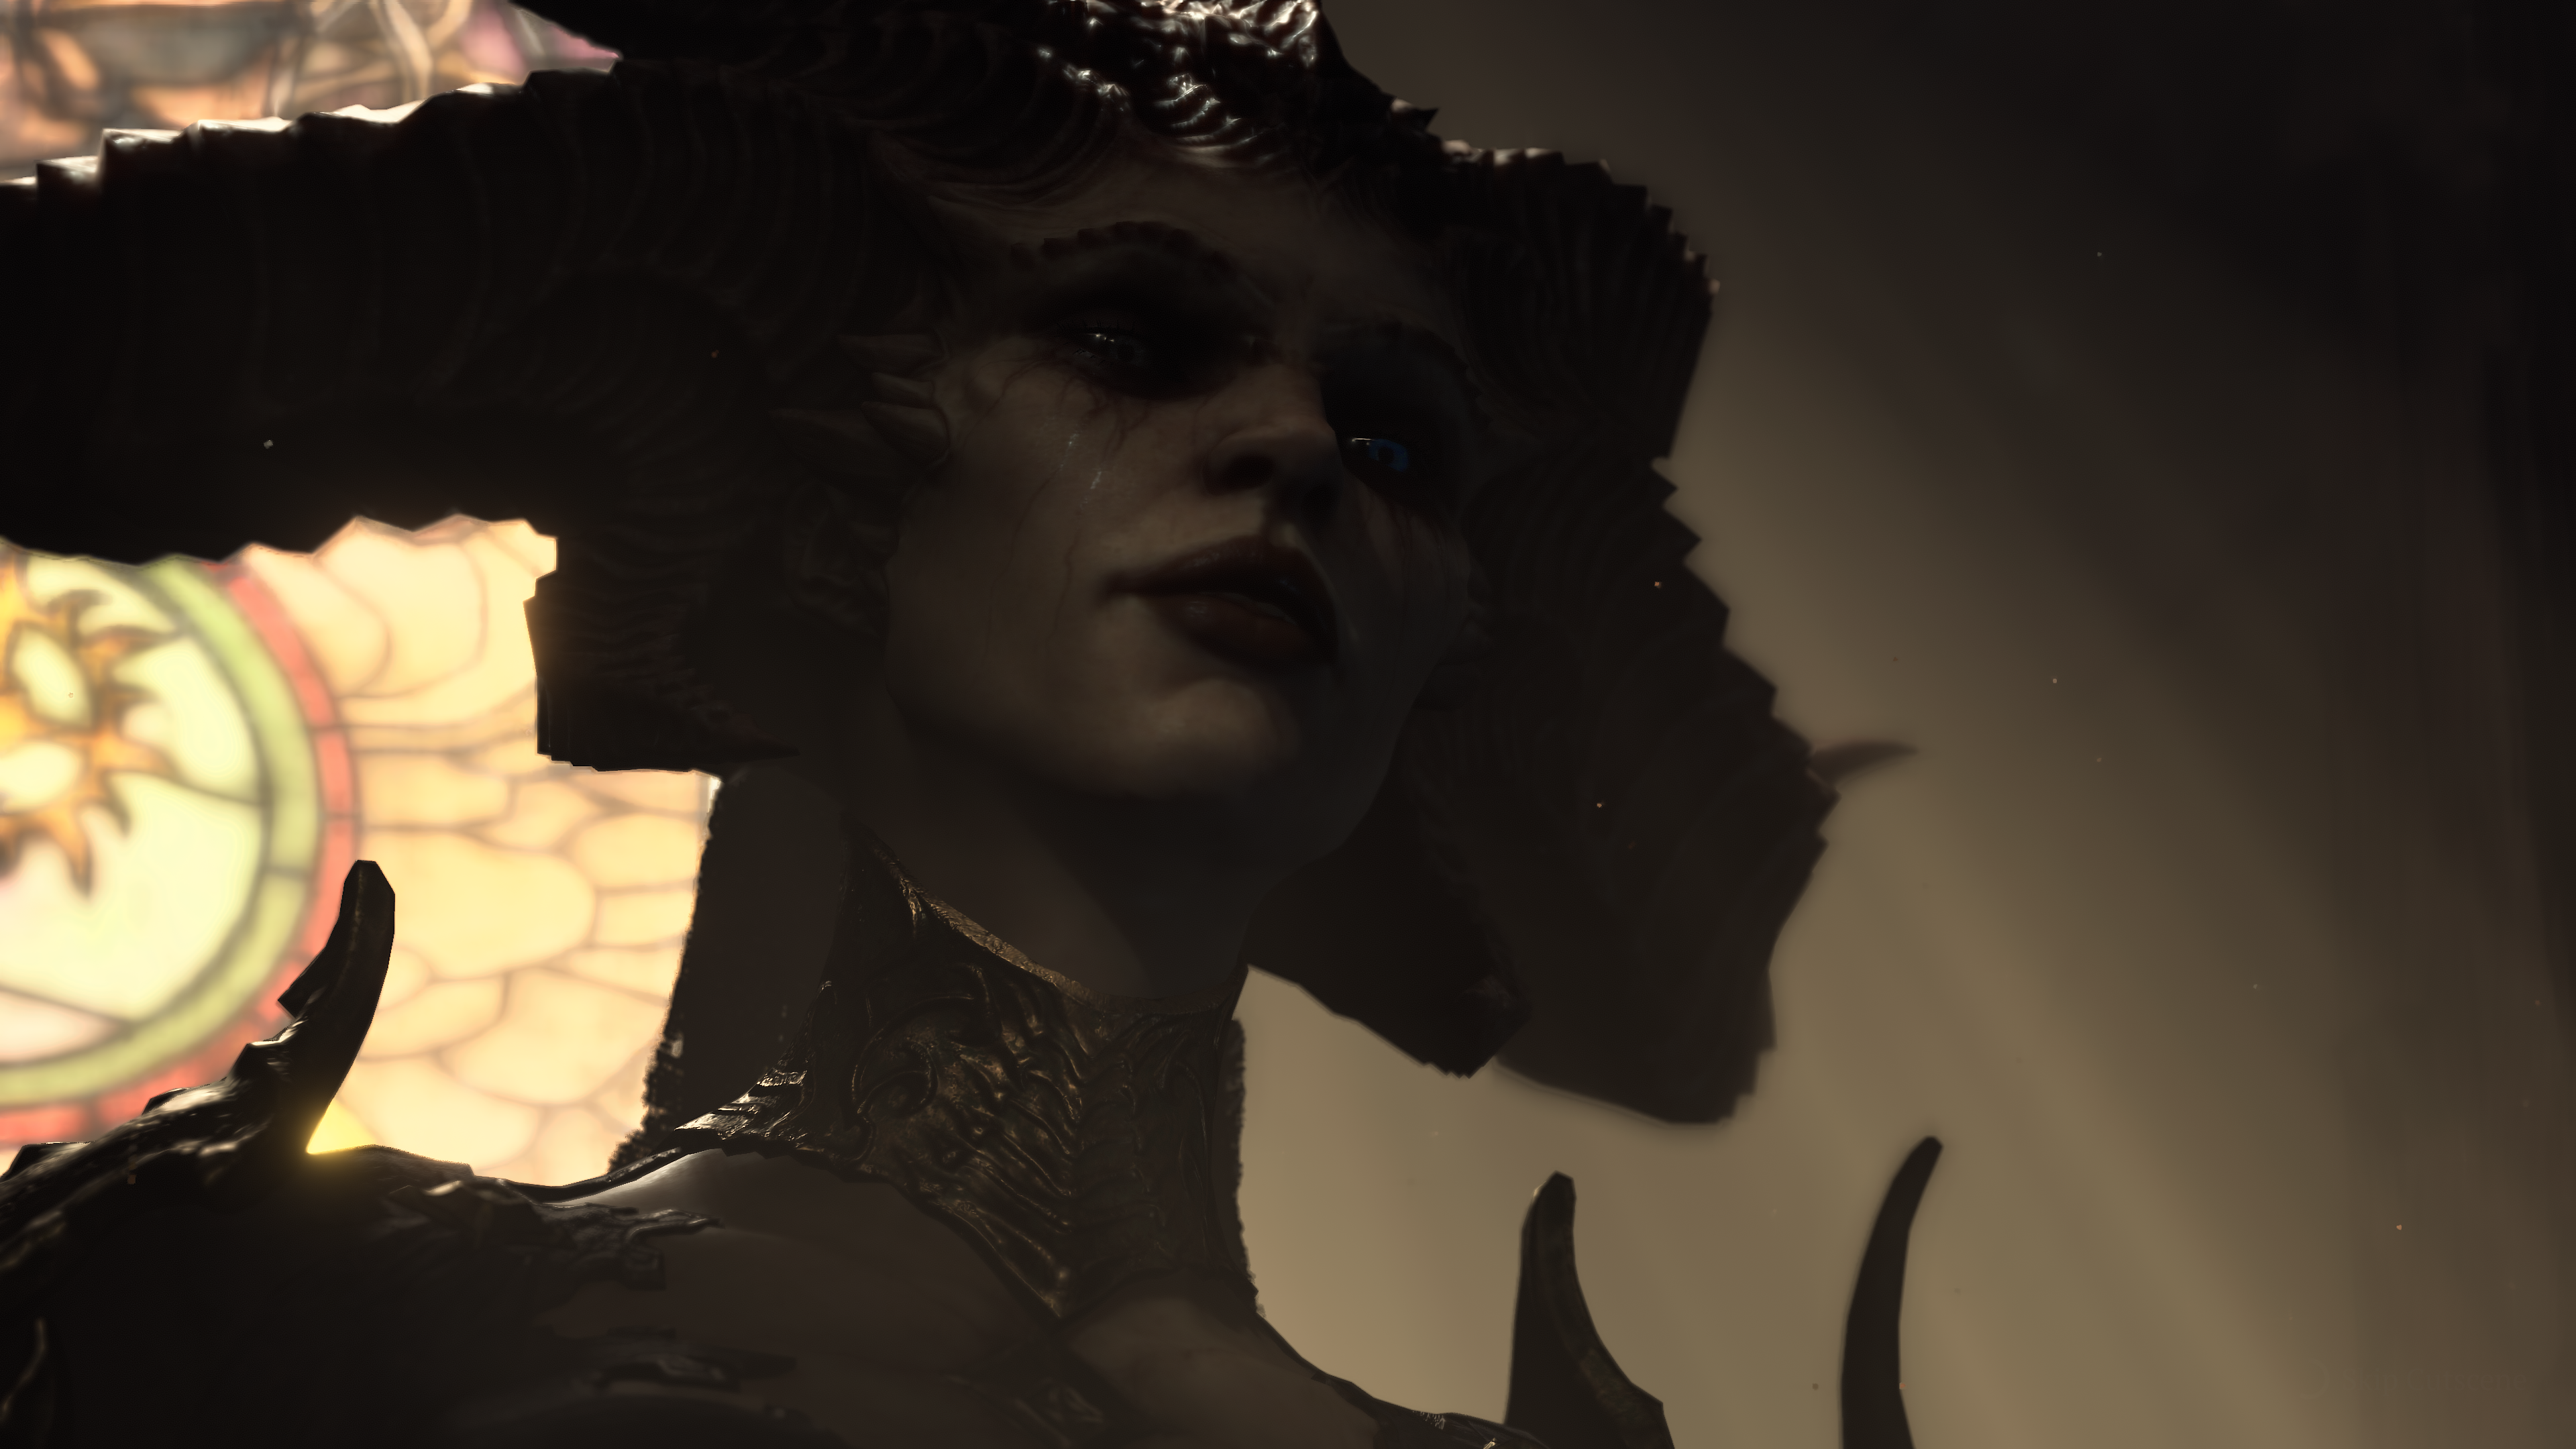
Full inputs/outputs of the previous 2 examples


And as i said earlier, the effect is “mostly” a cinematic effect. And i said “mostly” because it is little confusing, it has zero contribution, masks are almost empty in the gameplay frames (except from the hair), even though the SSS still get applied, and the two blurring steps!


Depth in the top example is not really empty, the png just can’t capture the details as is
Anyways, it is not 100% selling SSS (at least to me)🤔, but it definitely contributes in boosting the quality of the final footage in a way!
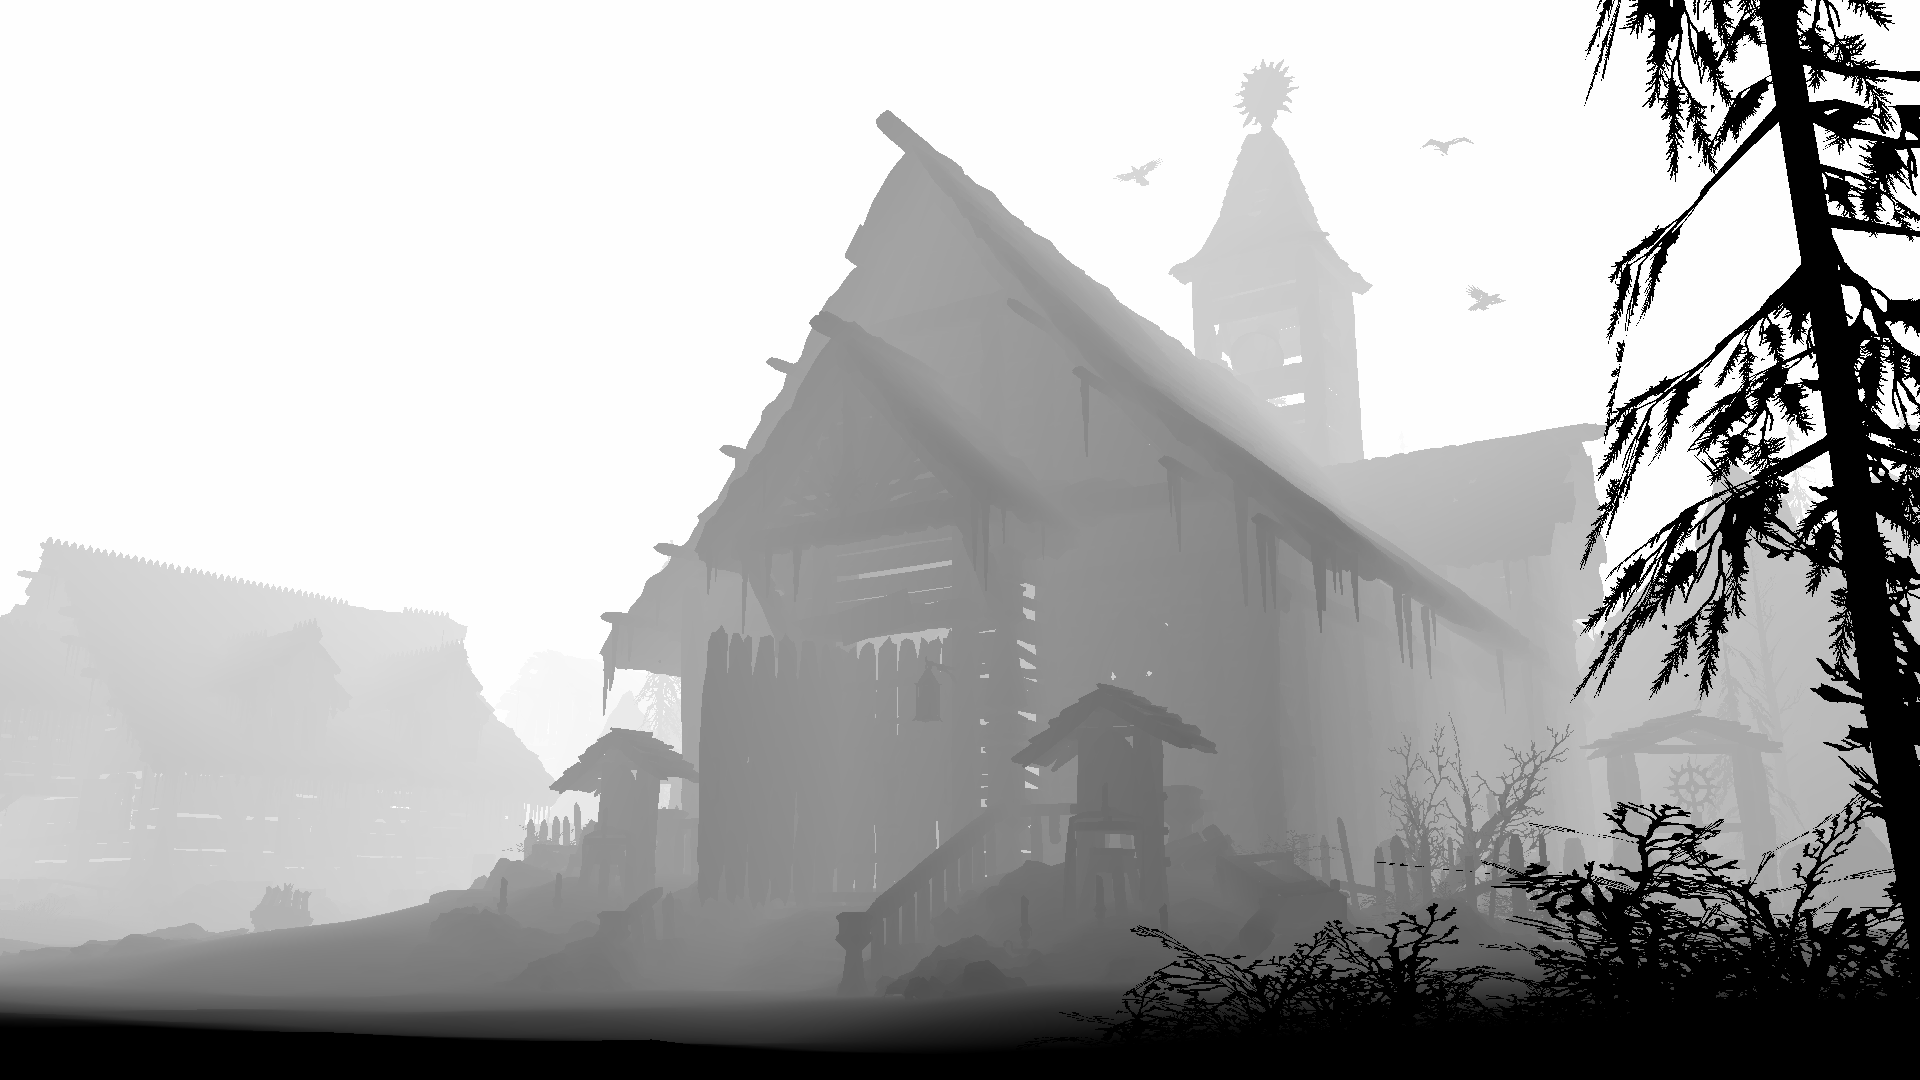
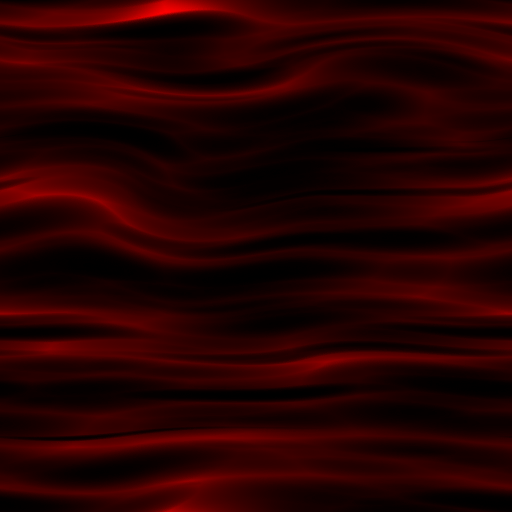
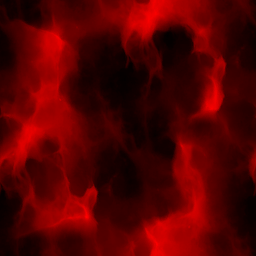
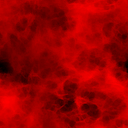
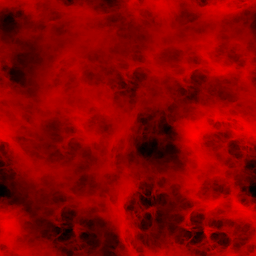
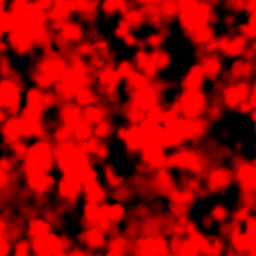
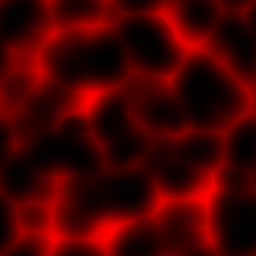
Fog
Diablo 4 got fog that is taking place in gameplay as well as cinematics. It is volumetric, it is simple and it is beautiful touch to the game!
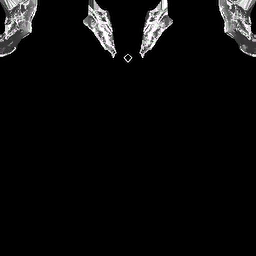
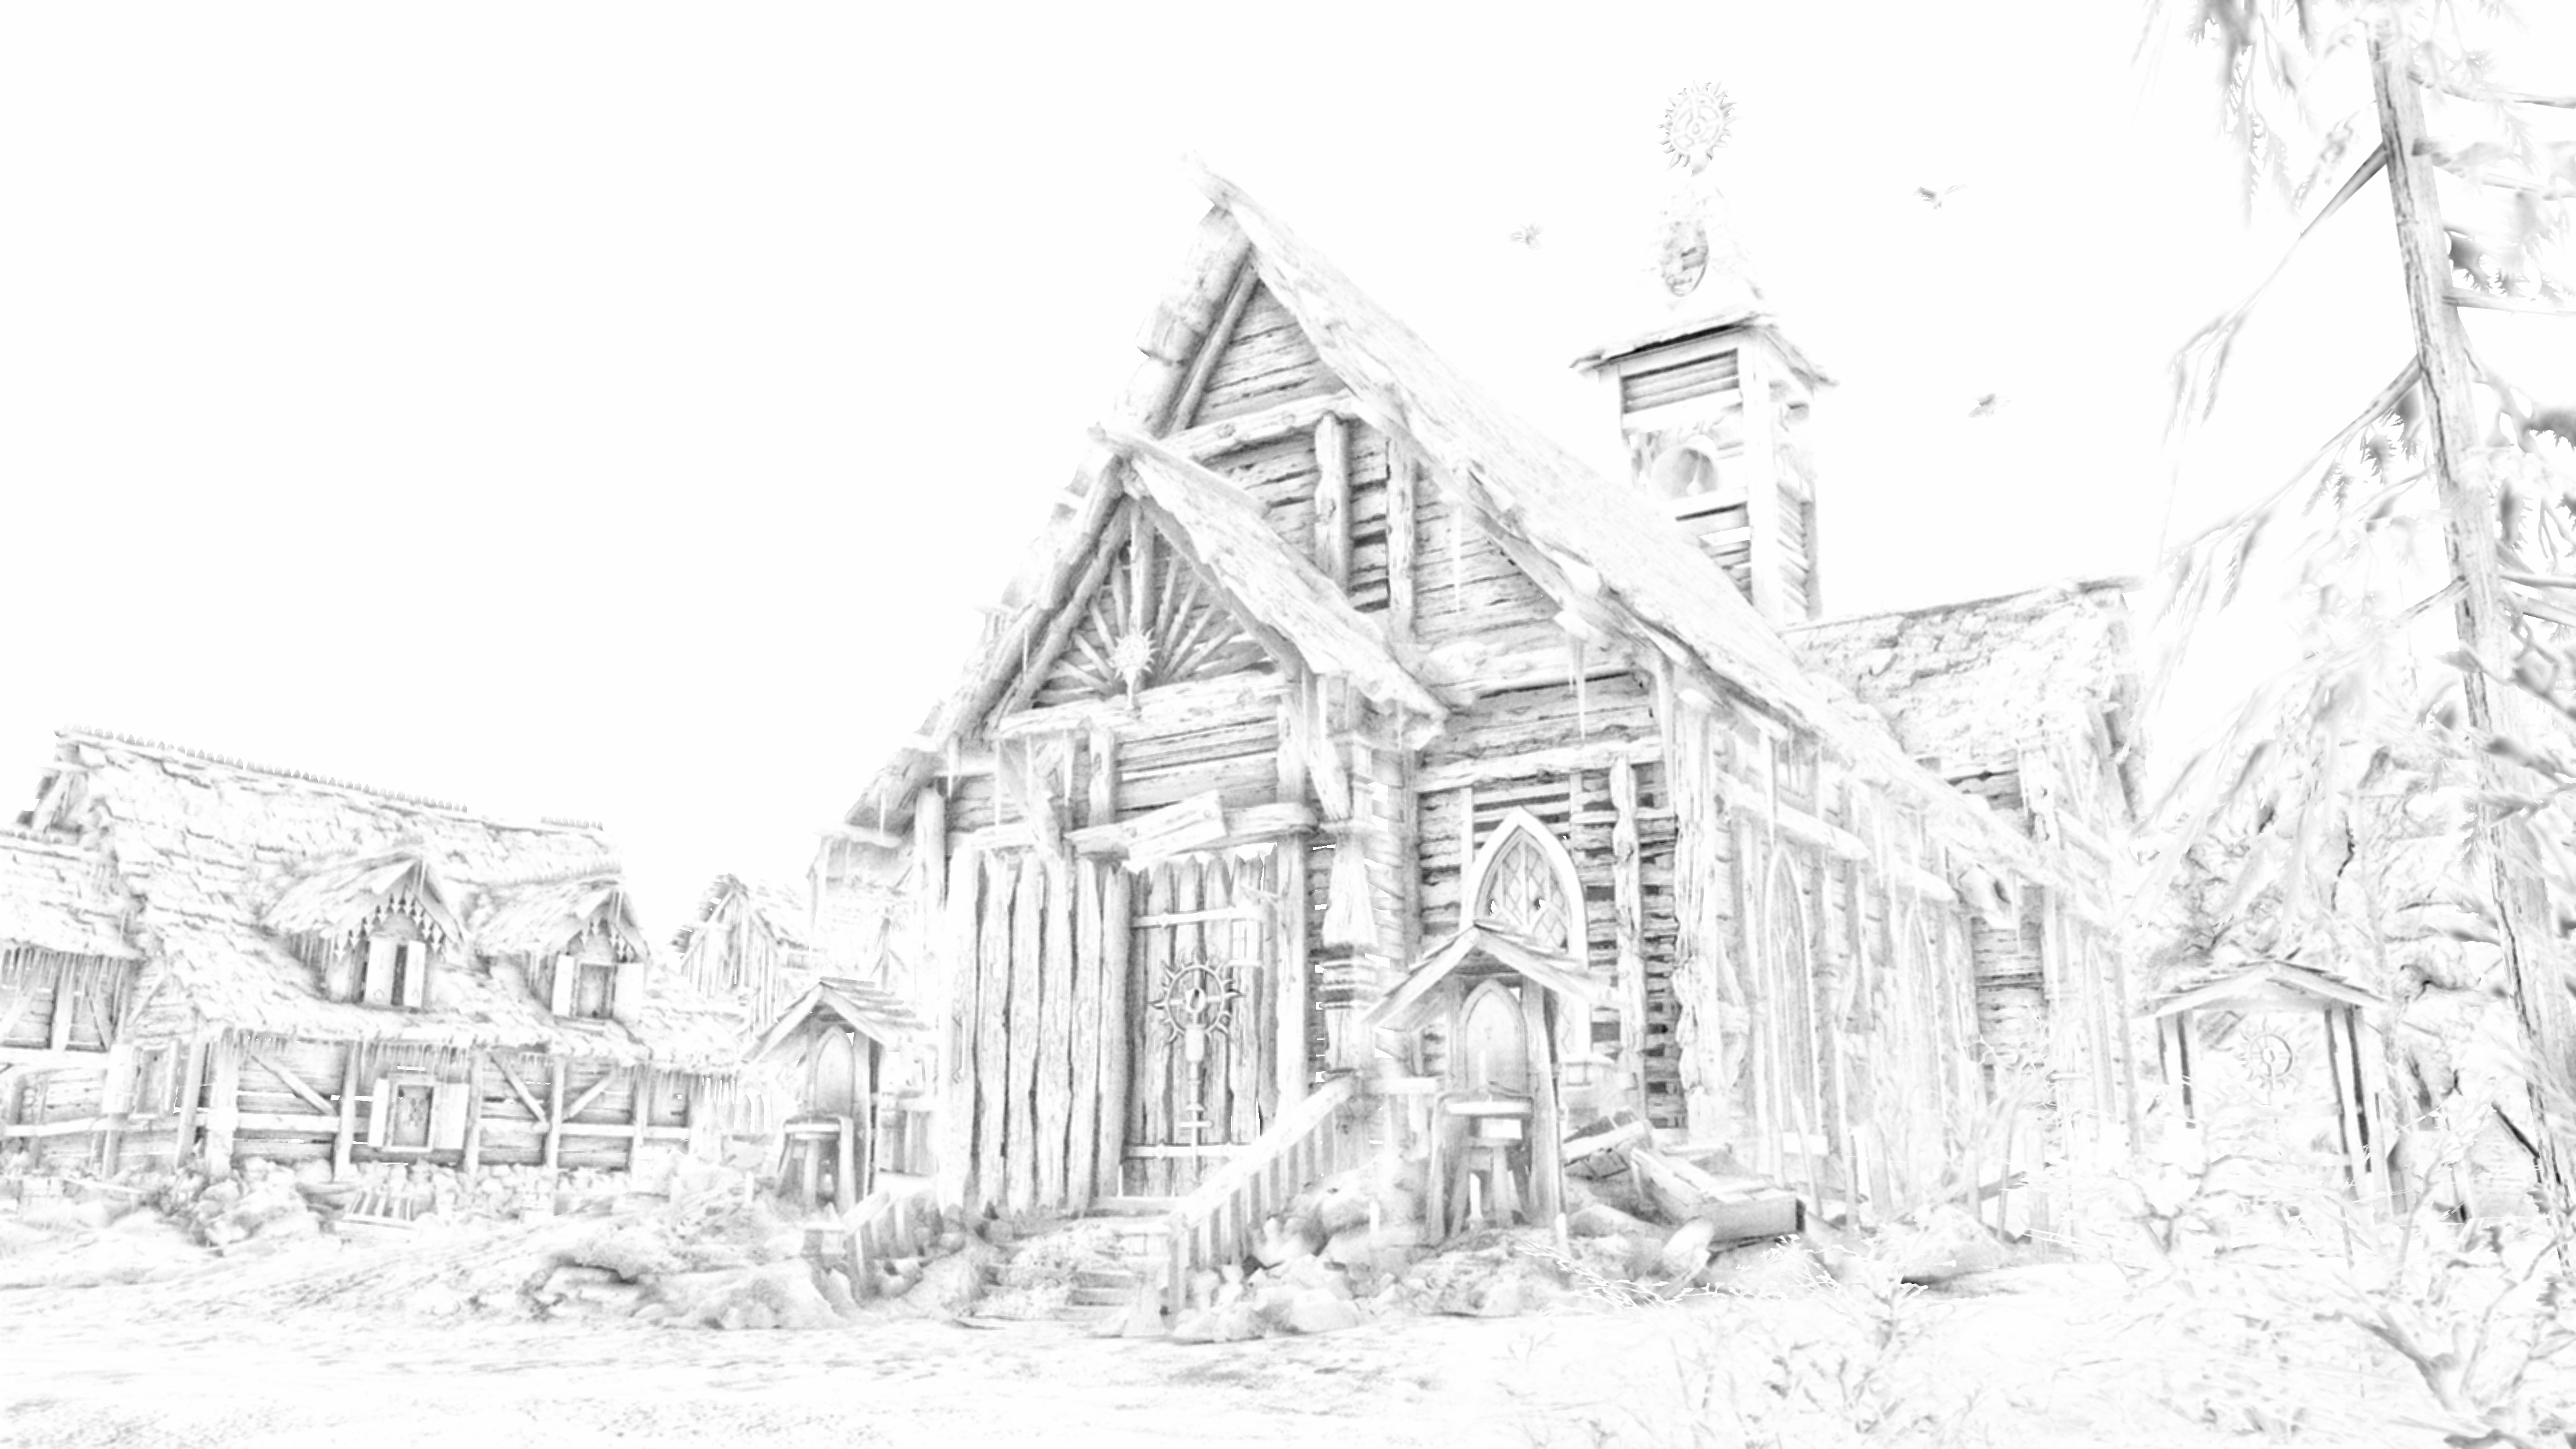
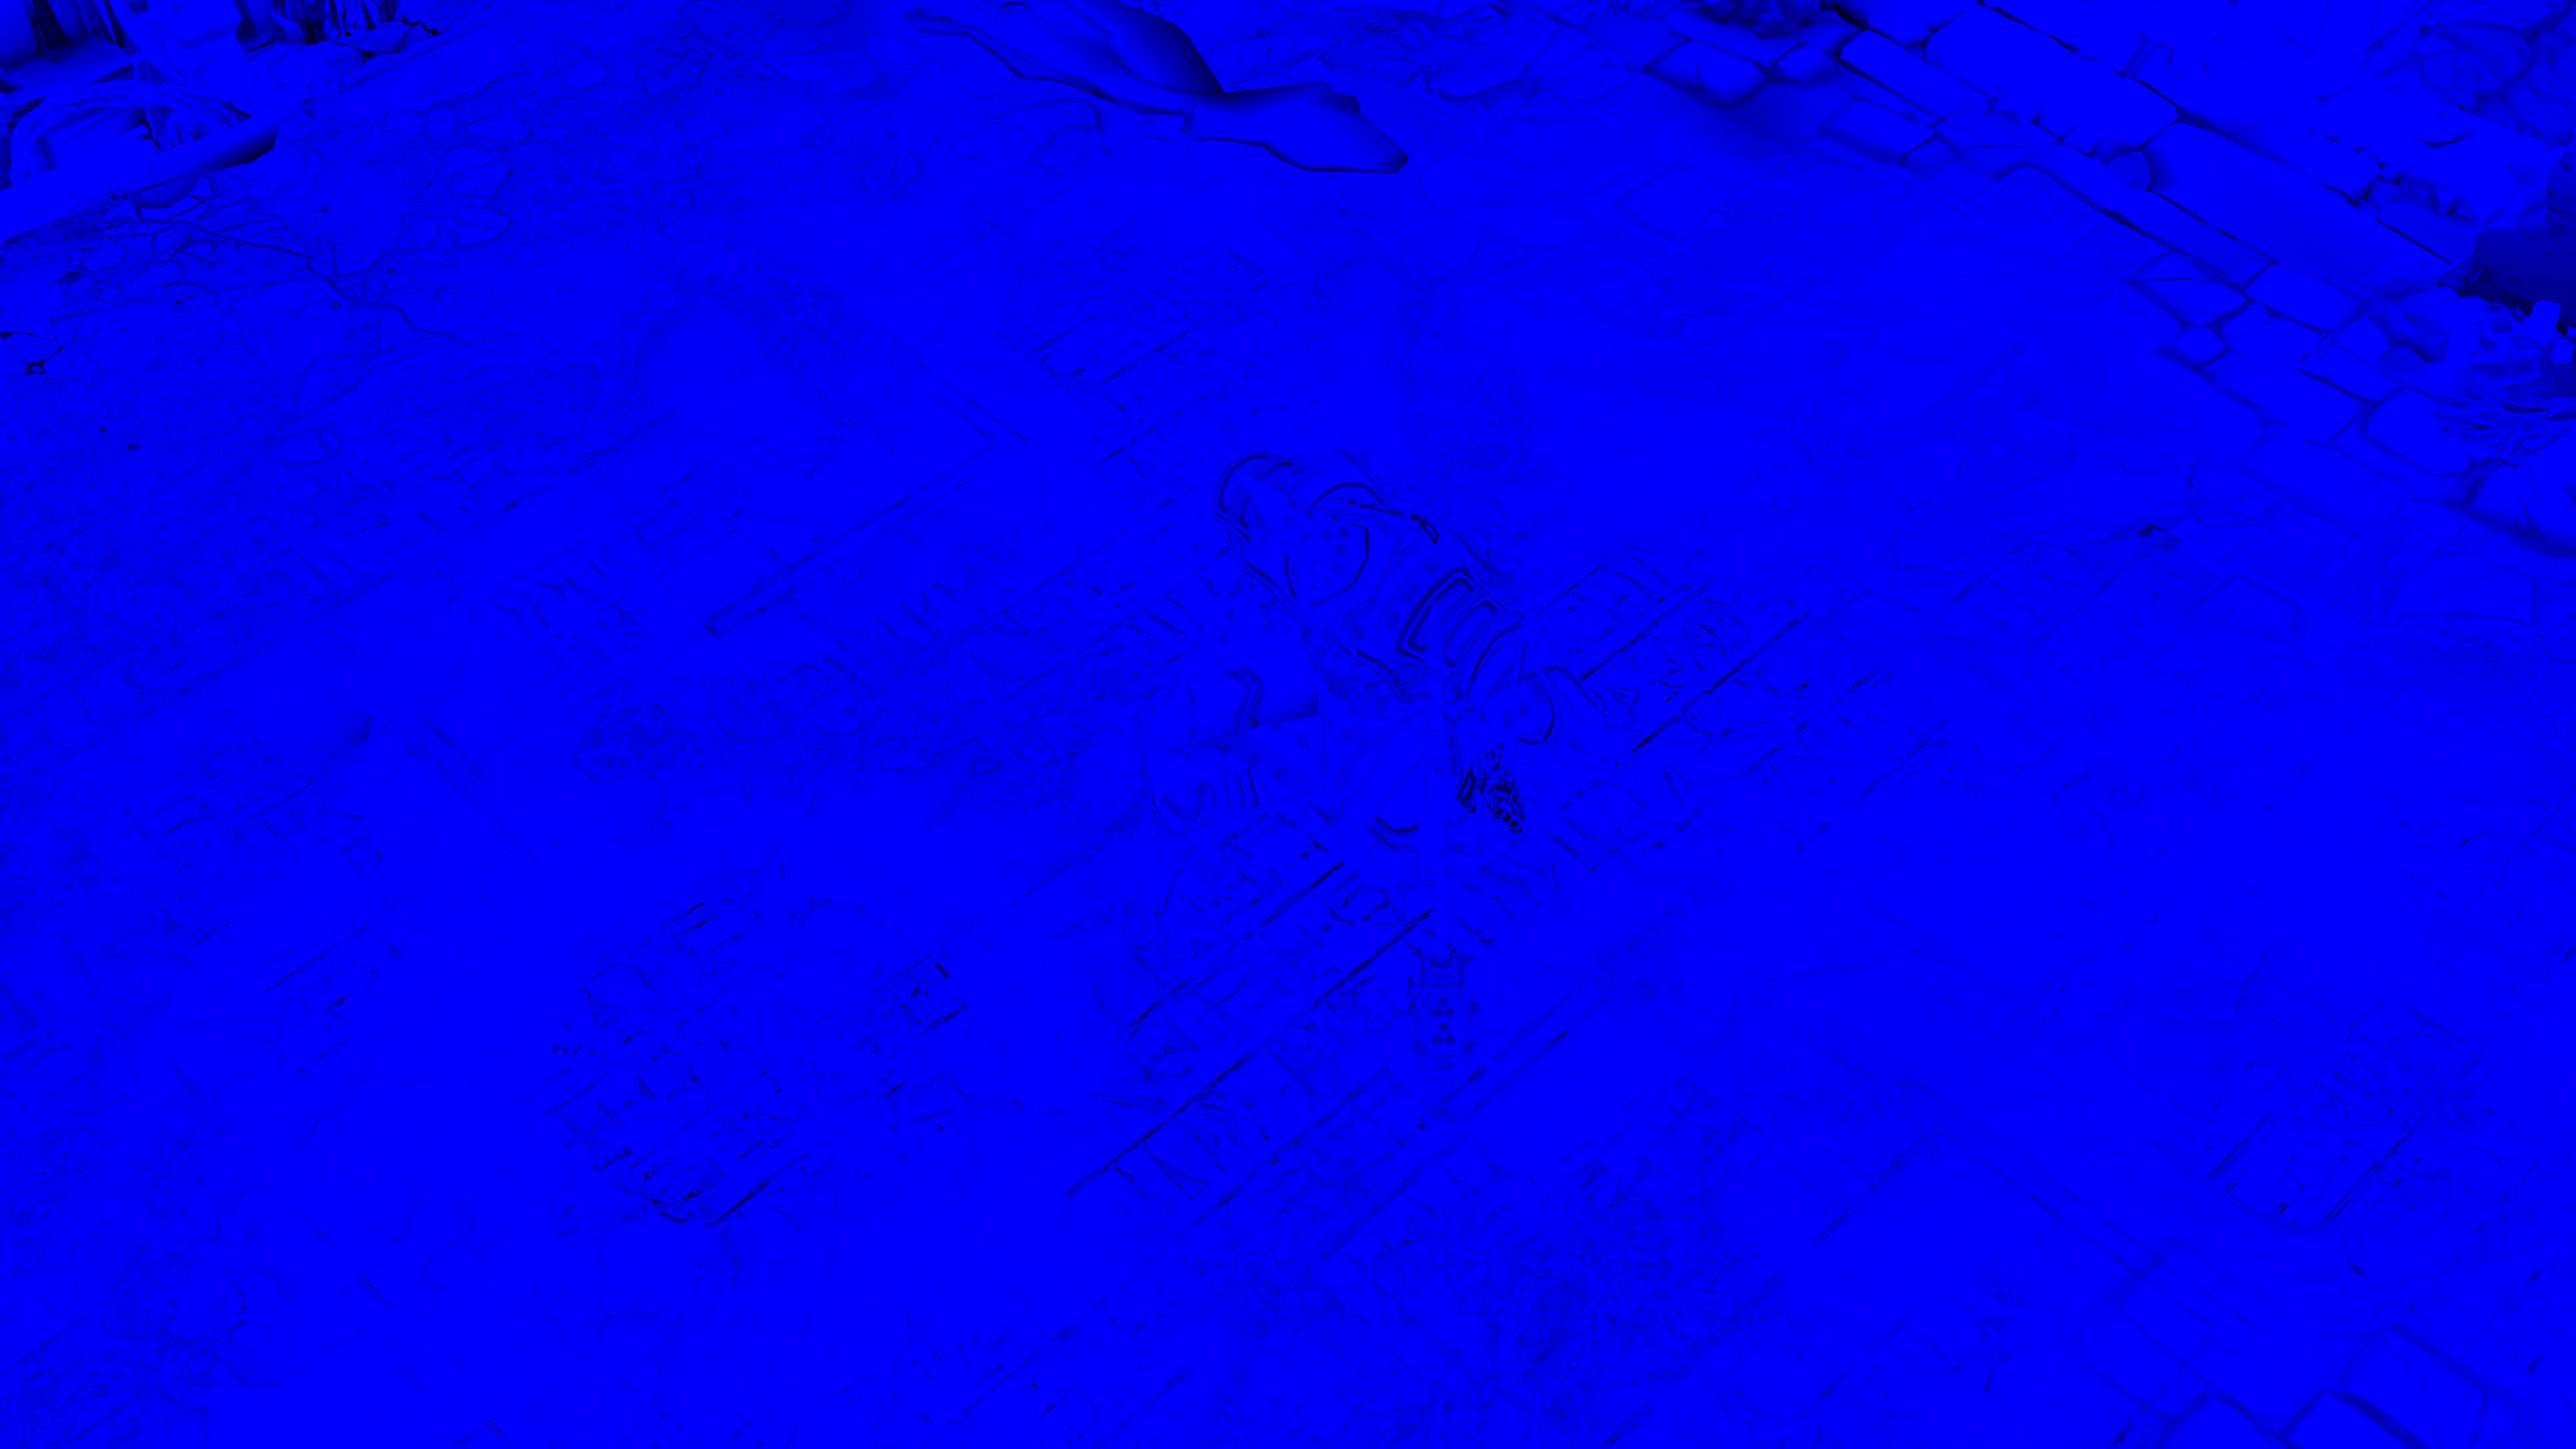
1.Ground Fog Inscattering
This step is not always there, or in another more accurate meaning, it doesn’t output anything, but it executes. It is only outputs something meaningful where there is ground fog around.
Using some rendertargets that stored some fog values during the terrain drawing based on the terrain heigh, alongside the terrain depth, shadowmaps, can come with an output for the ground fog. This is like a guide for where ground found would exist.


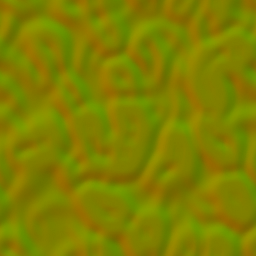
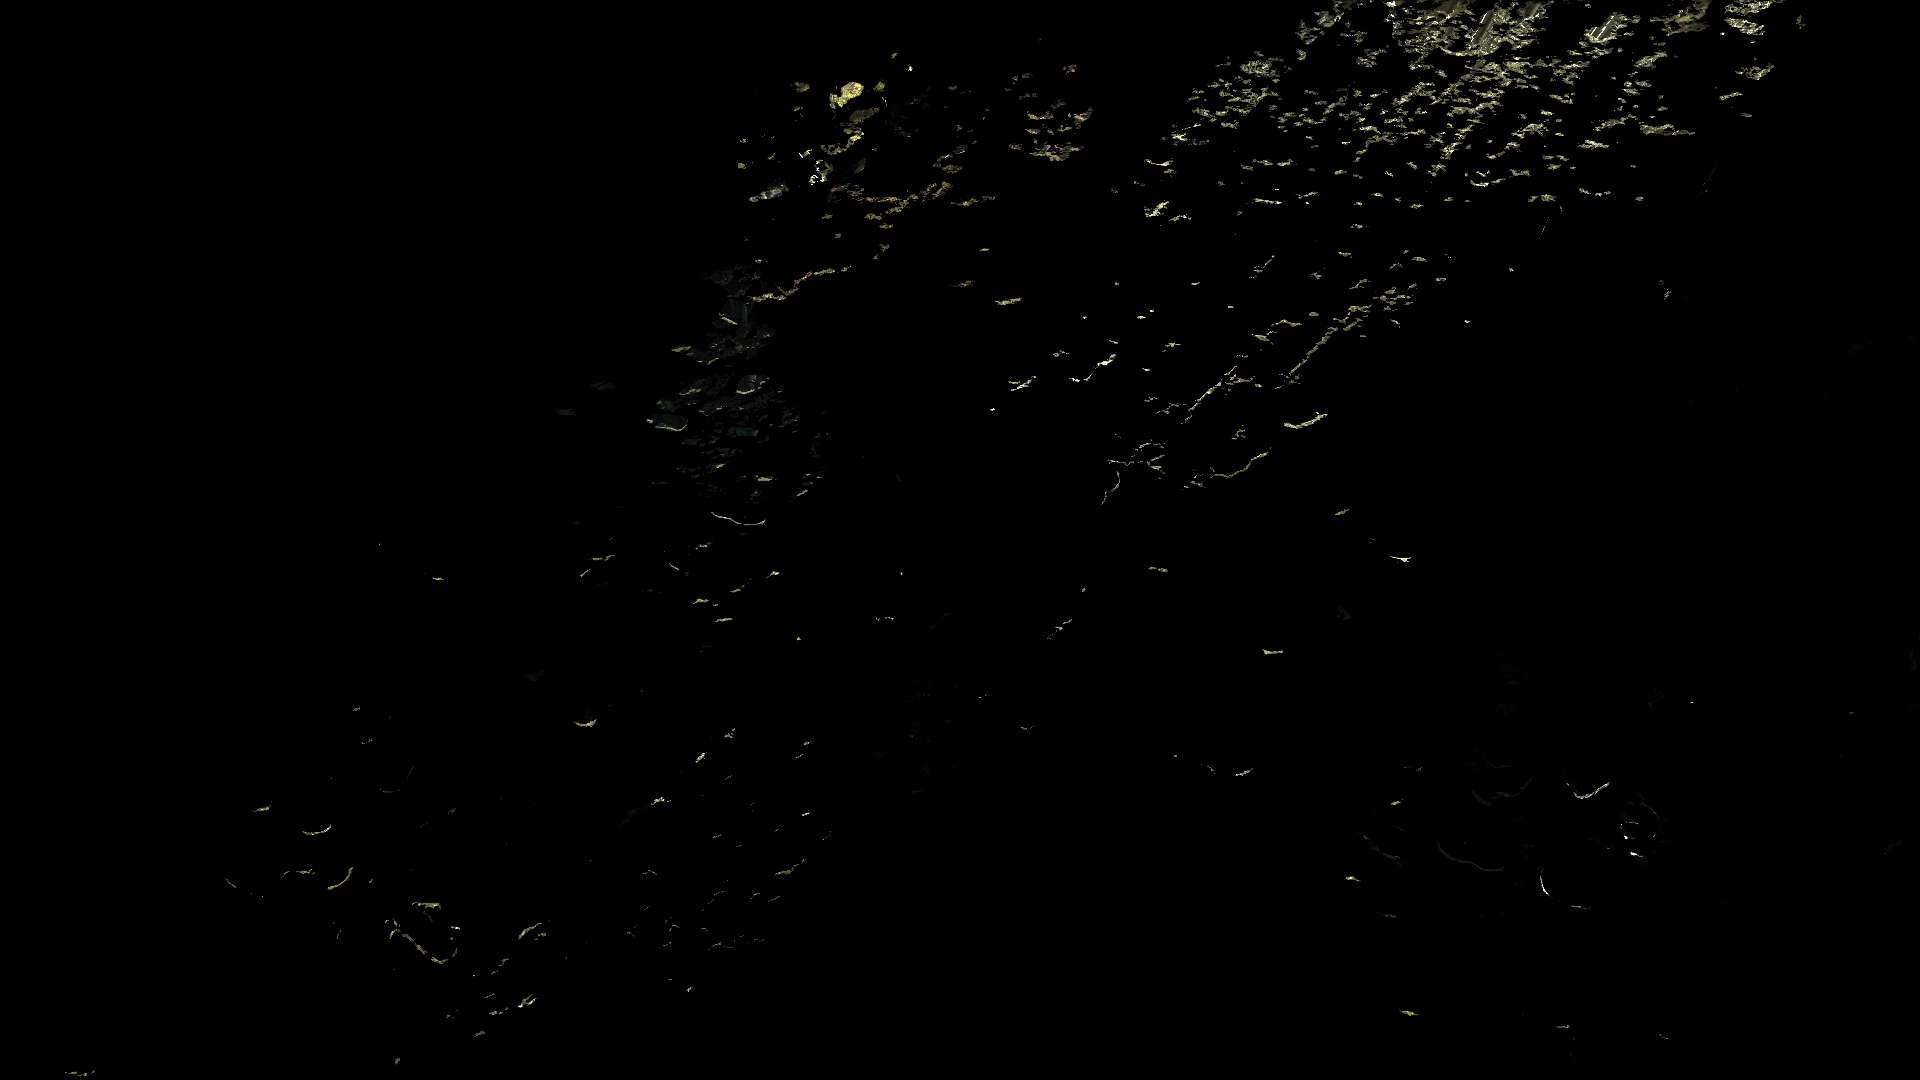
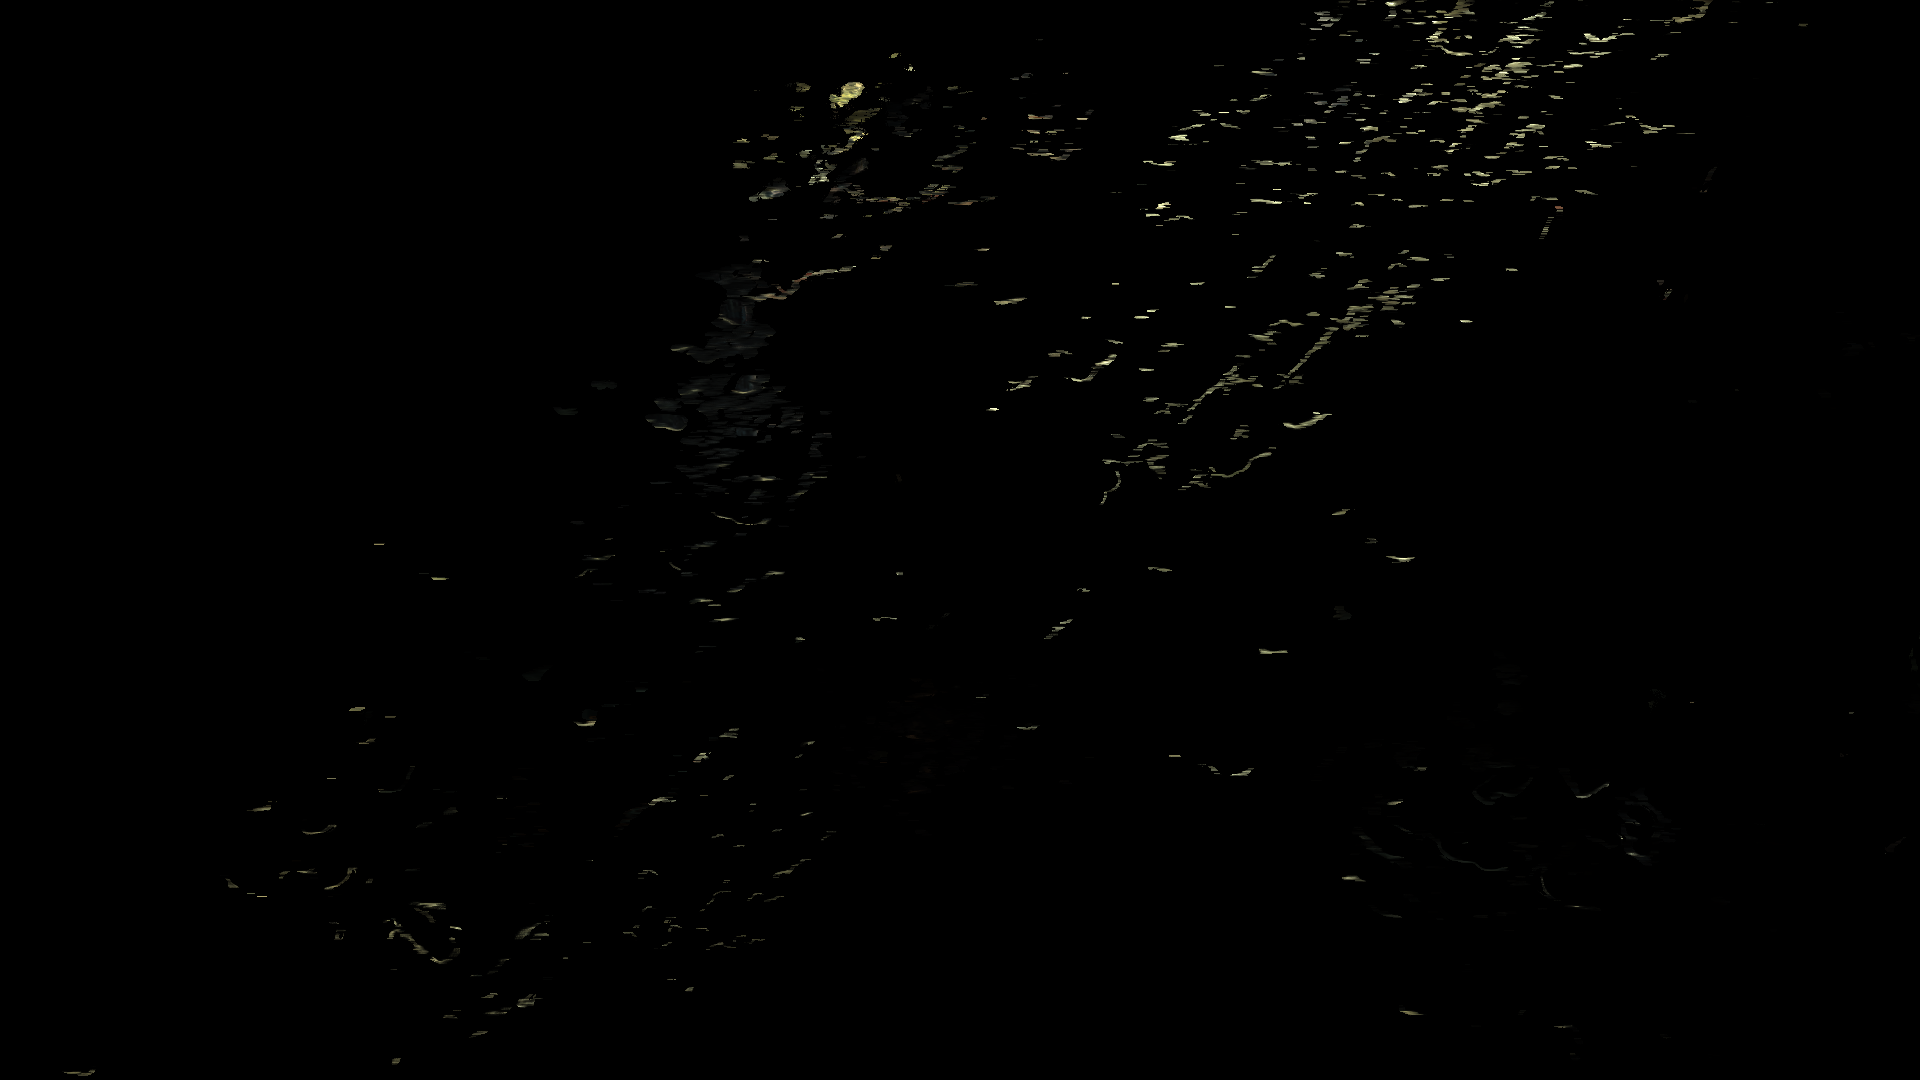
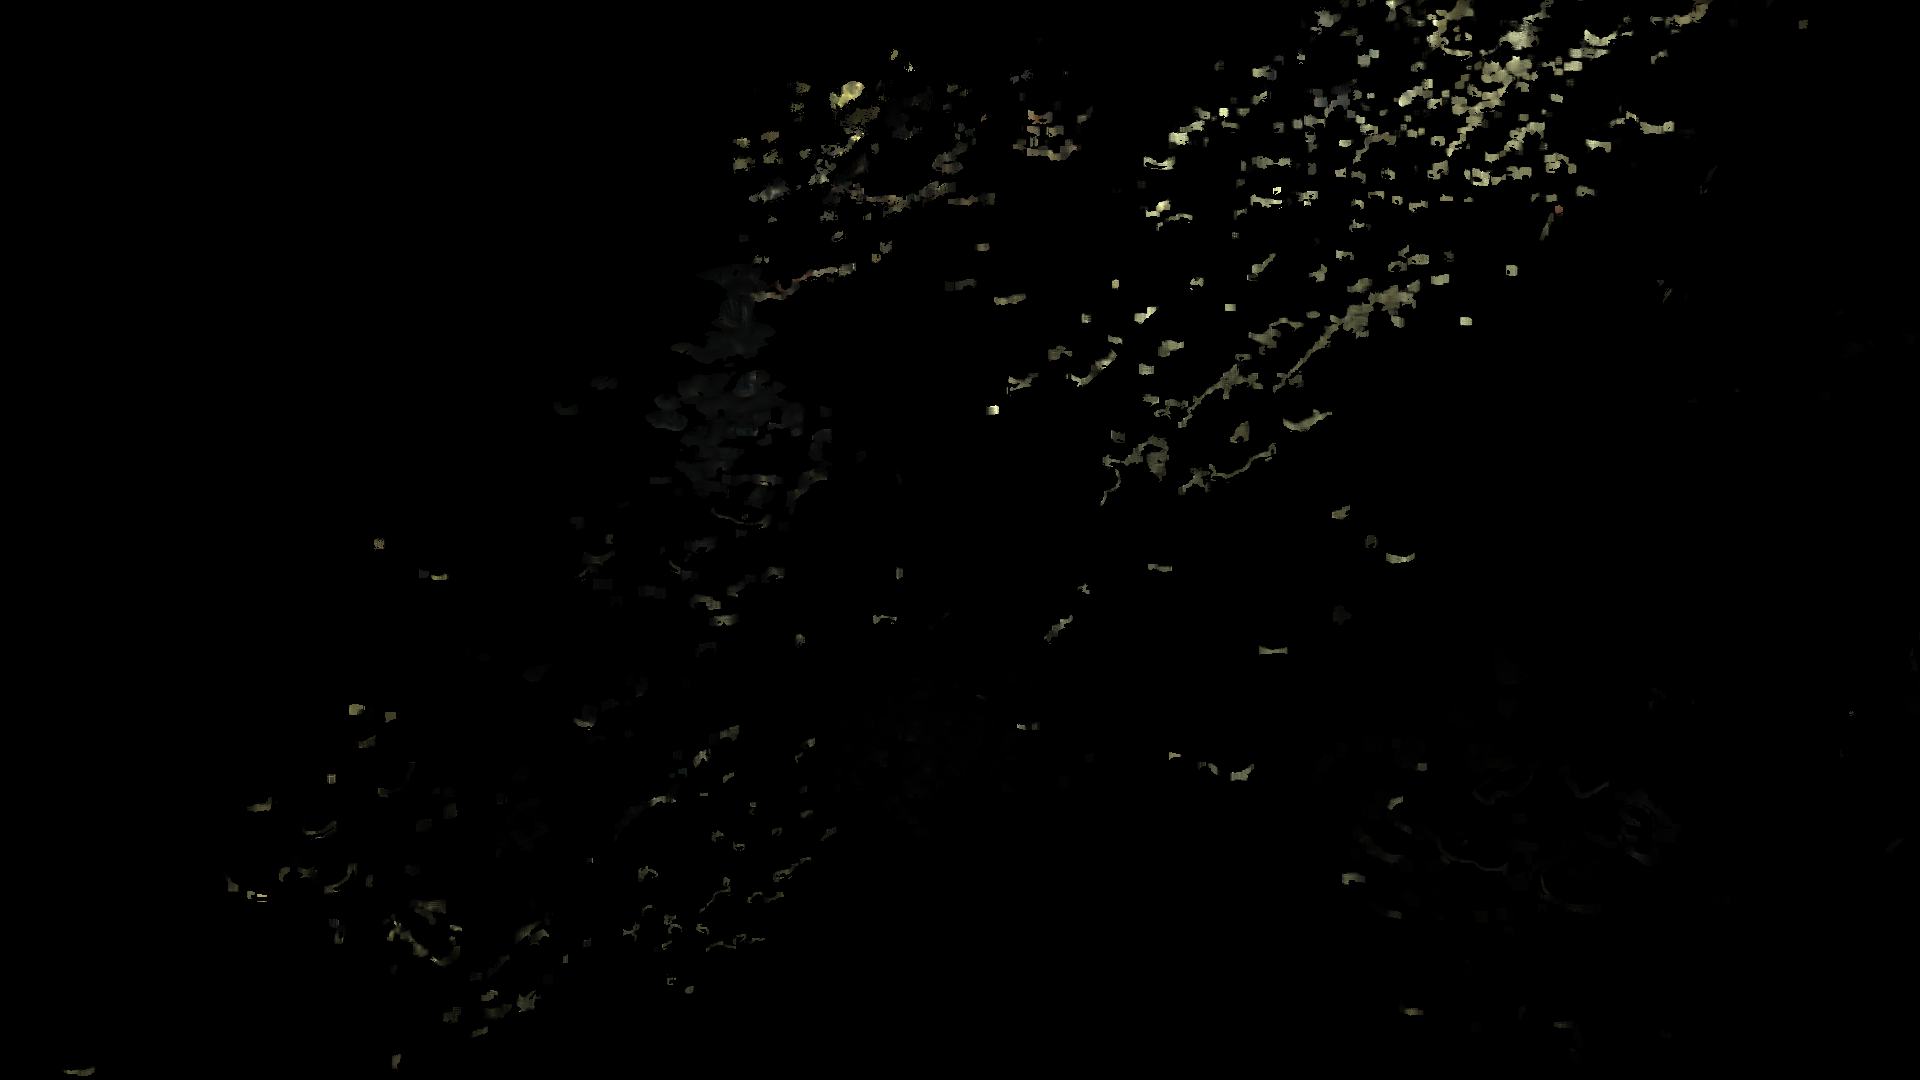
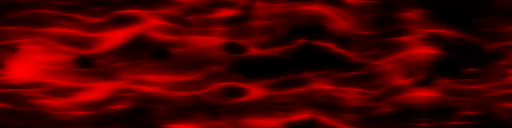
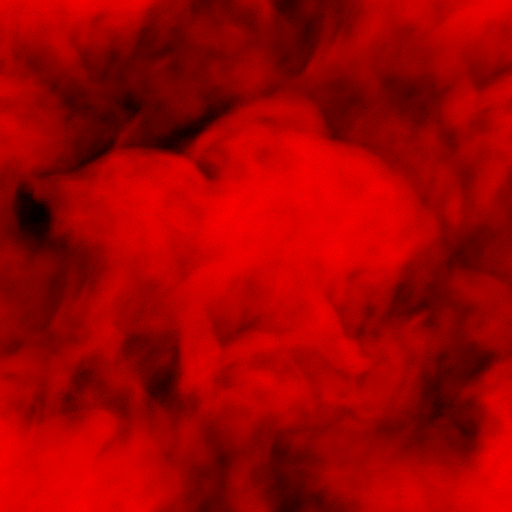
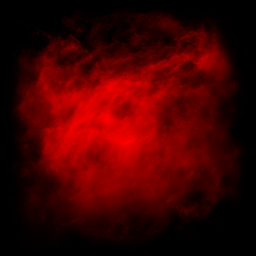
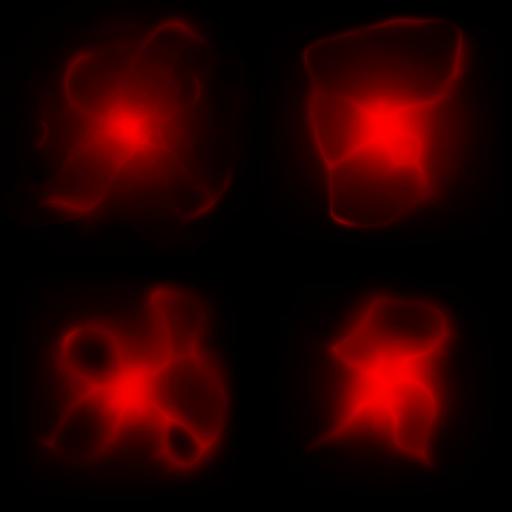
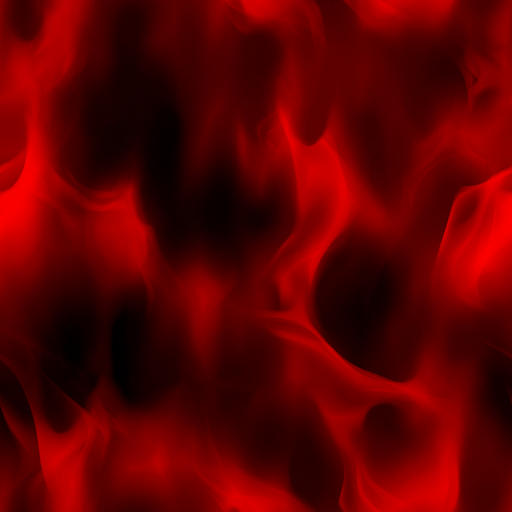
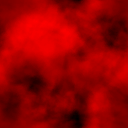
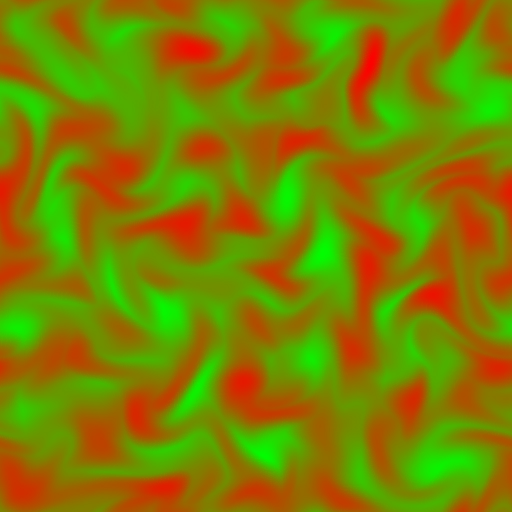
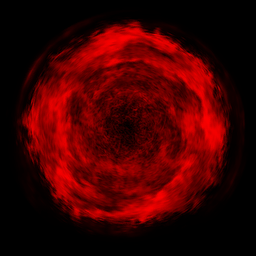
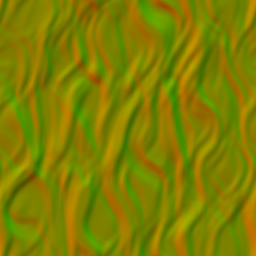
2.Fog Inscattering & Accumulate [Compute]
Not too much details here, just a compute that does inscattering across the defined volume. in order to come with a 3d texture that represents the fog inscattering across a given box.


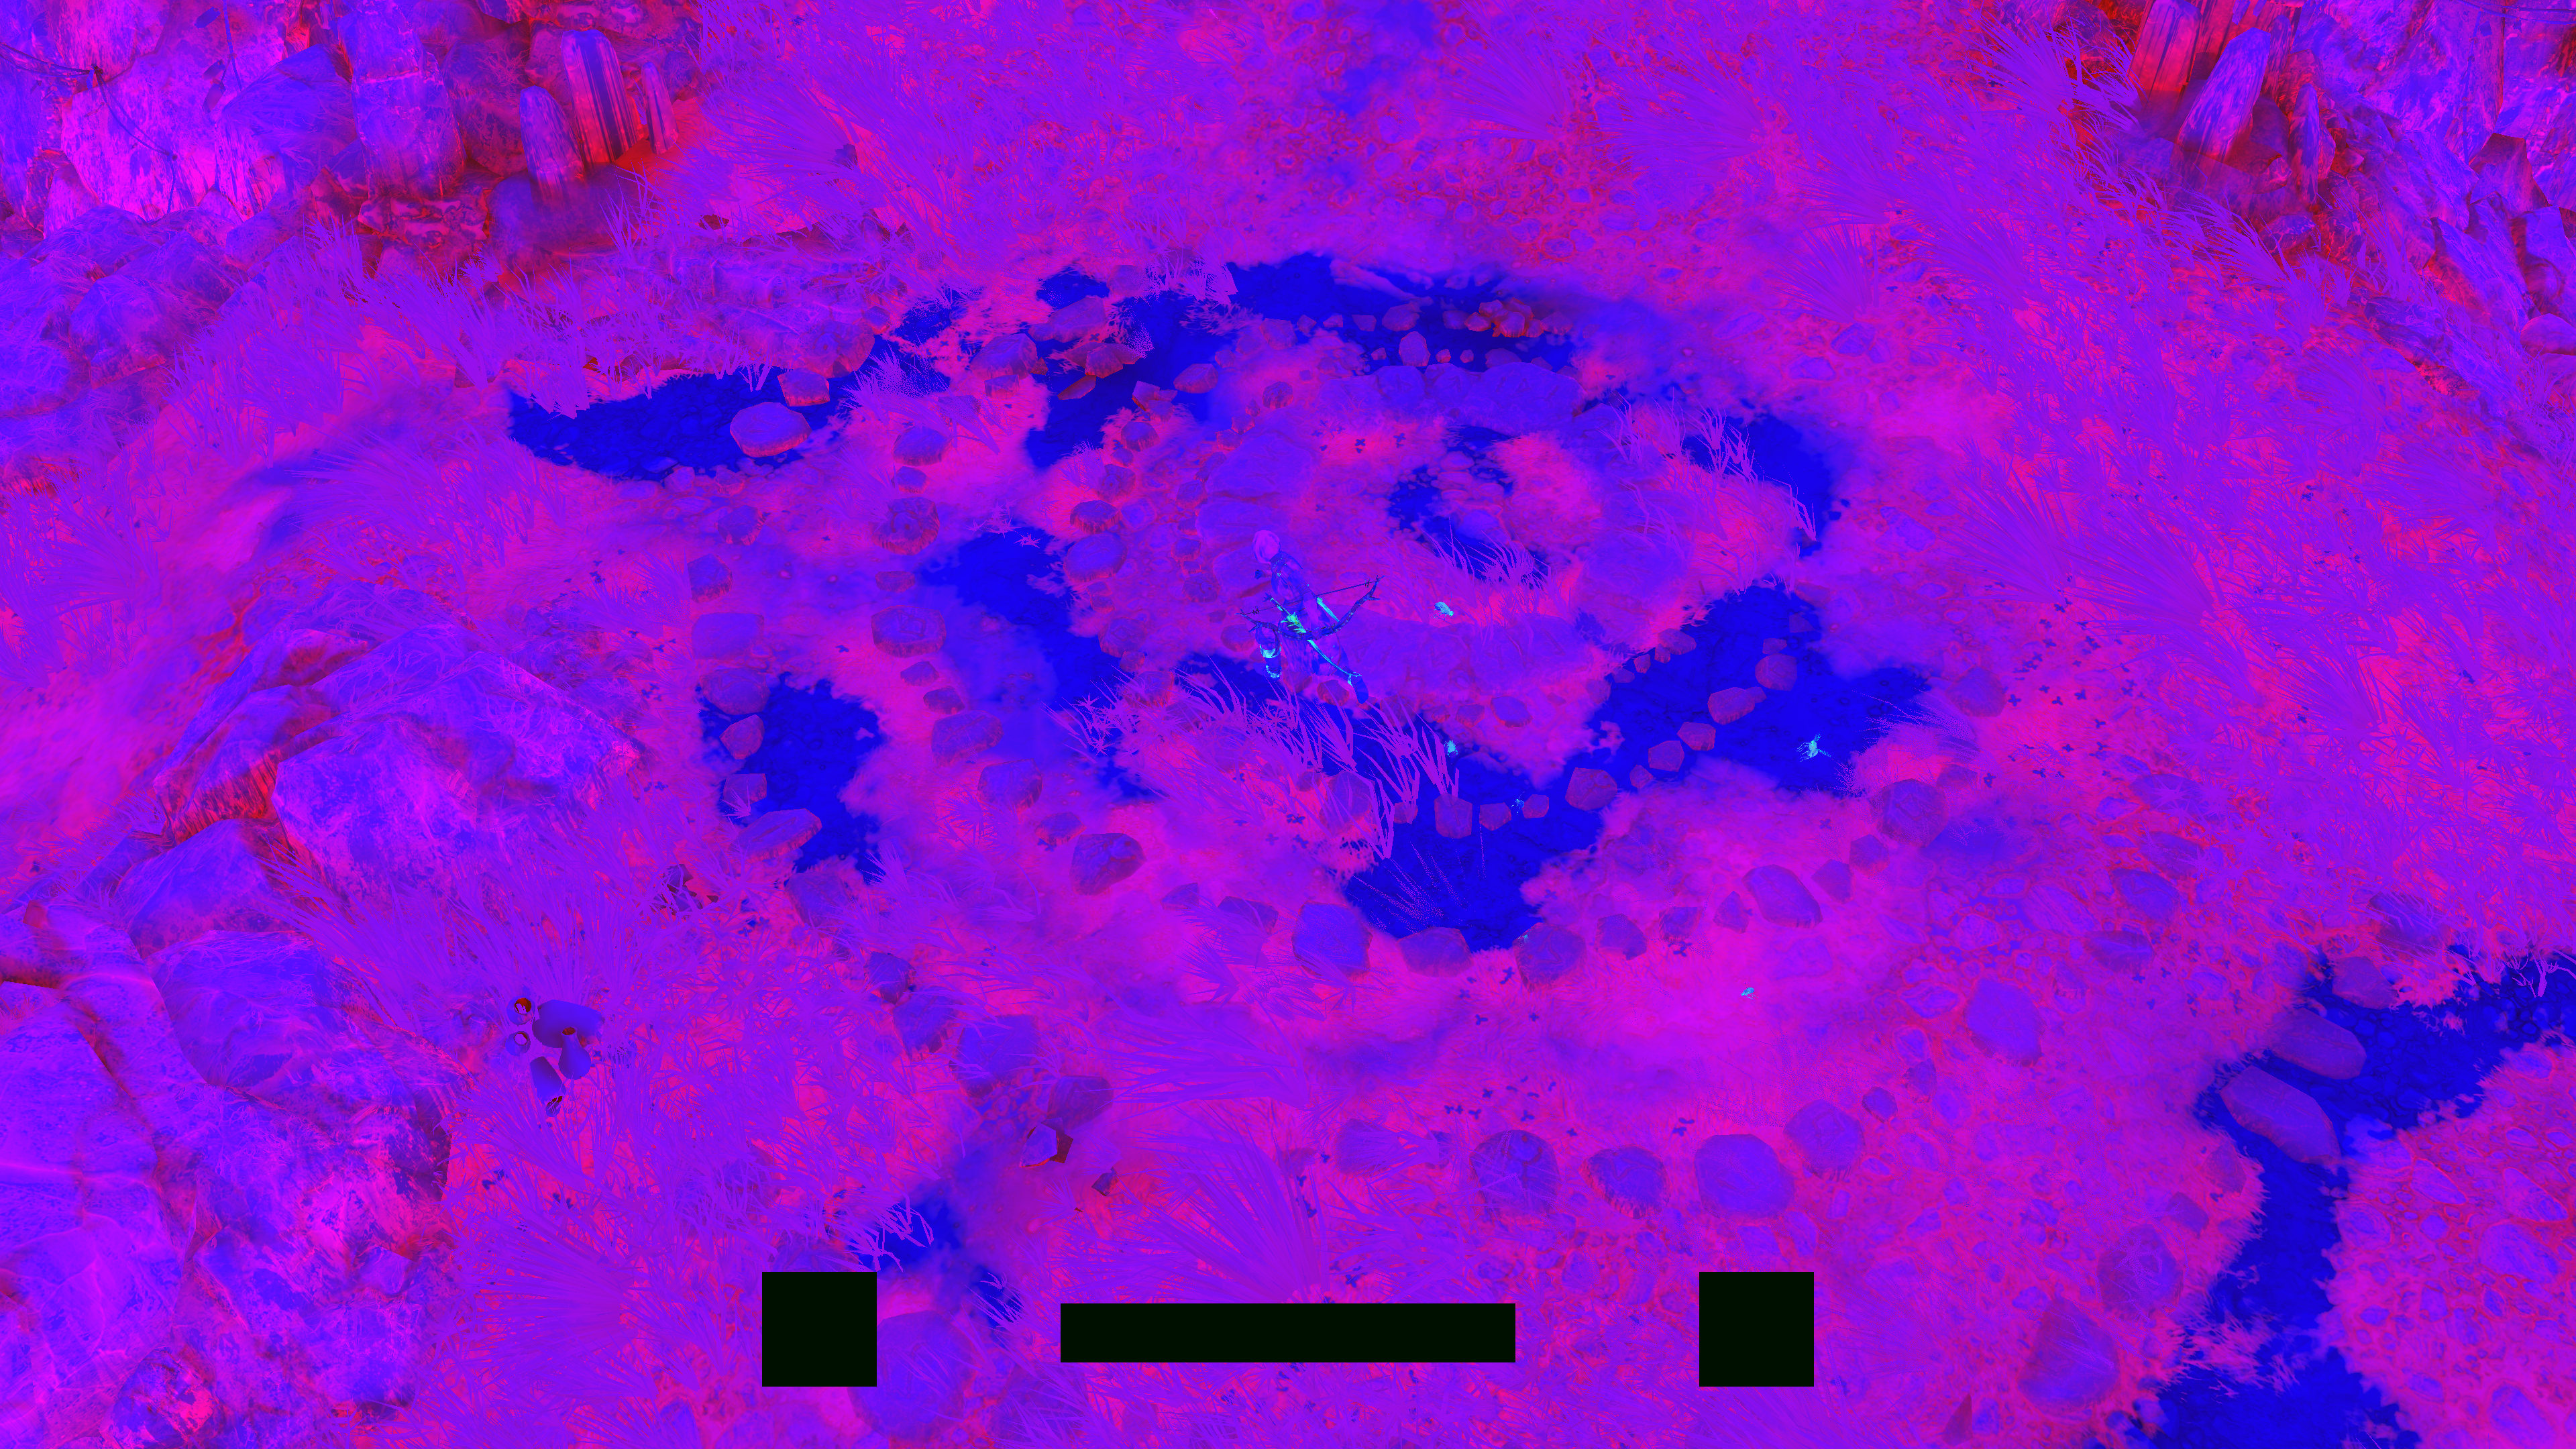
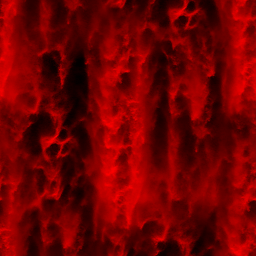
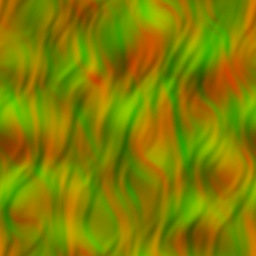
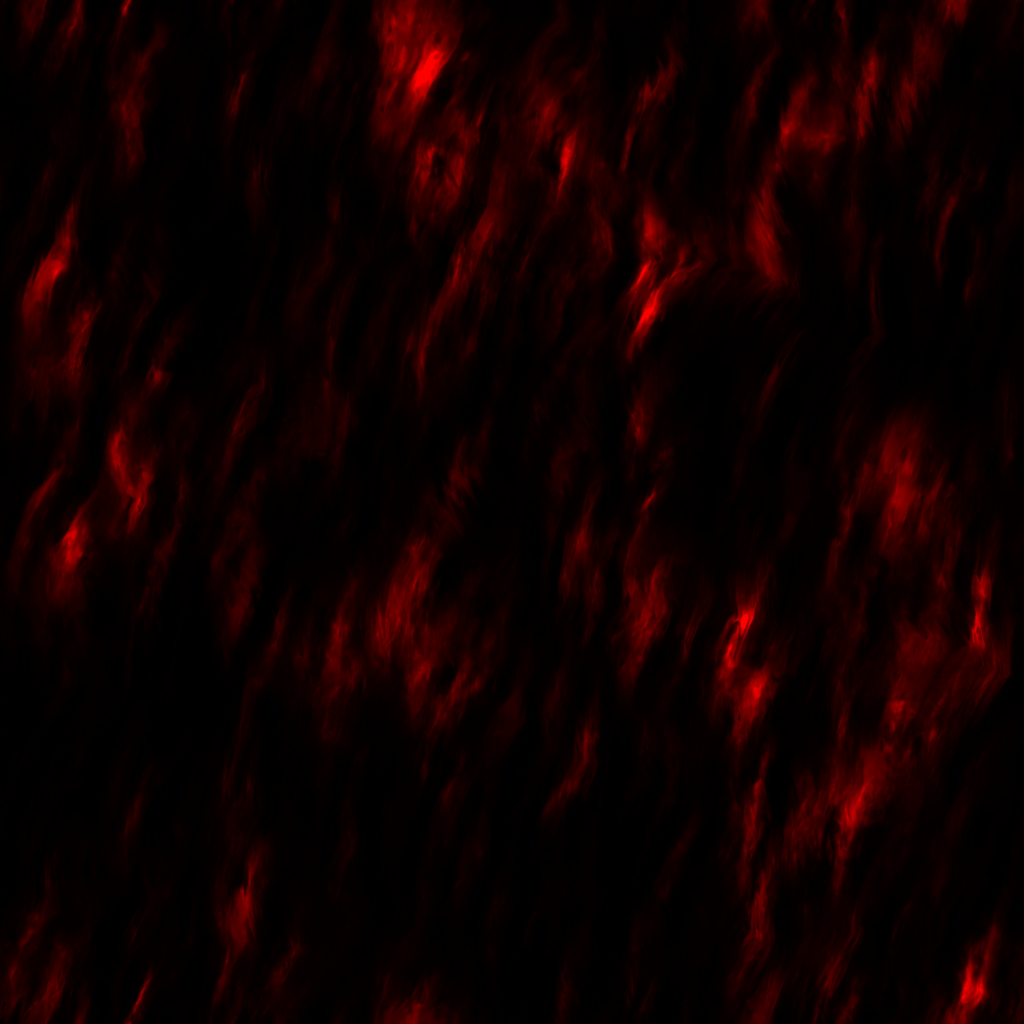
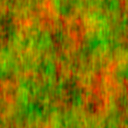
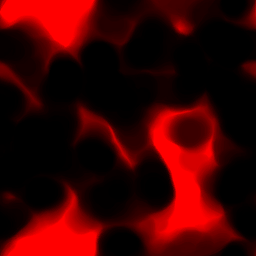
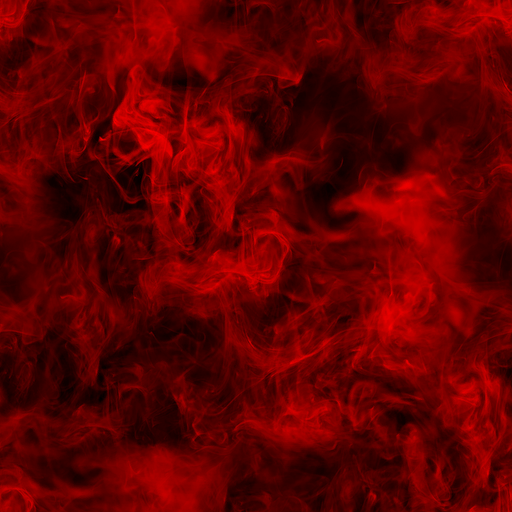
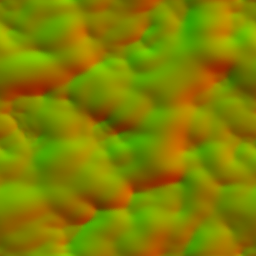
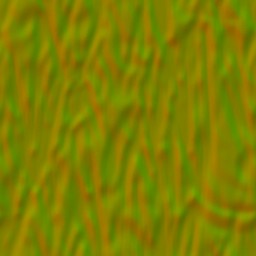
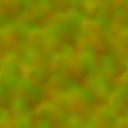
And sometimes, where it make sense, if there are forces stored in the forces texture, they are used as an input here to affect/impact the inscattering in the volume texture.
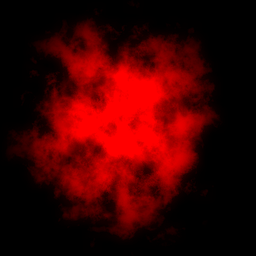
Example of force texture, but it is not belonging
to any of the frames discussed here
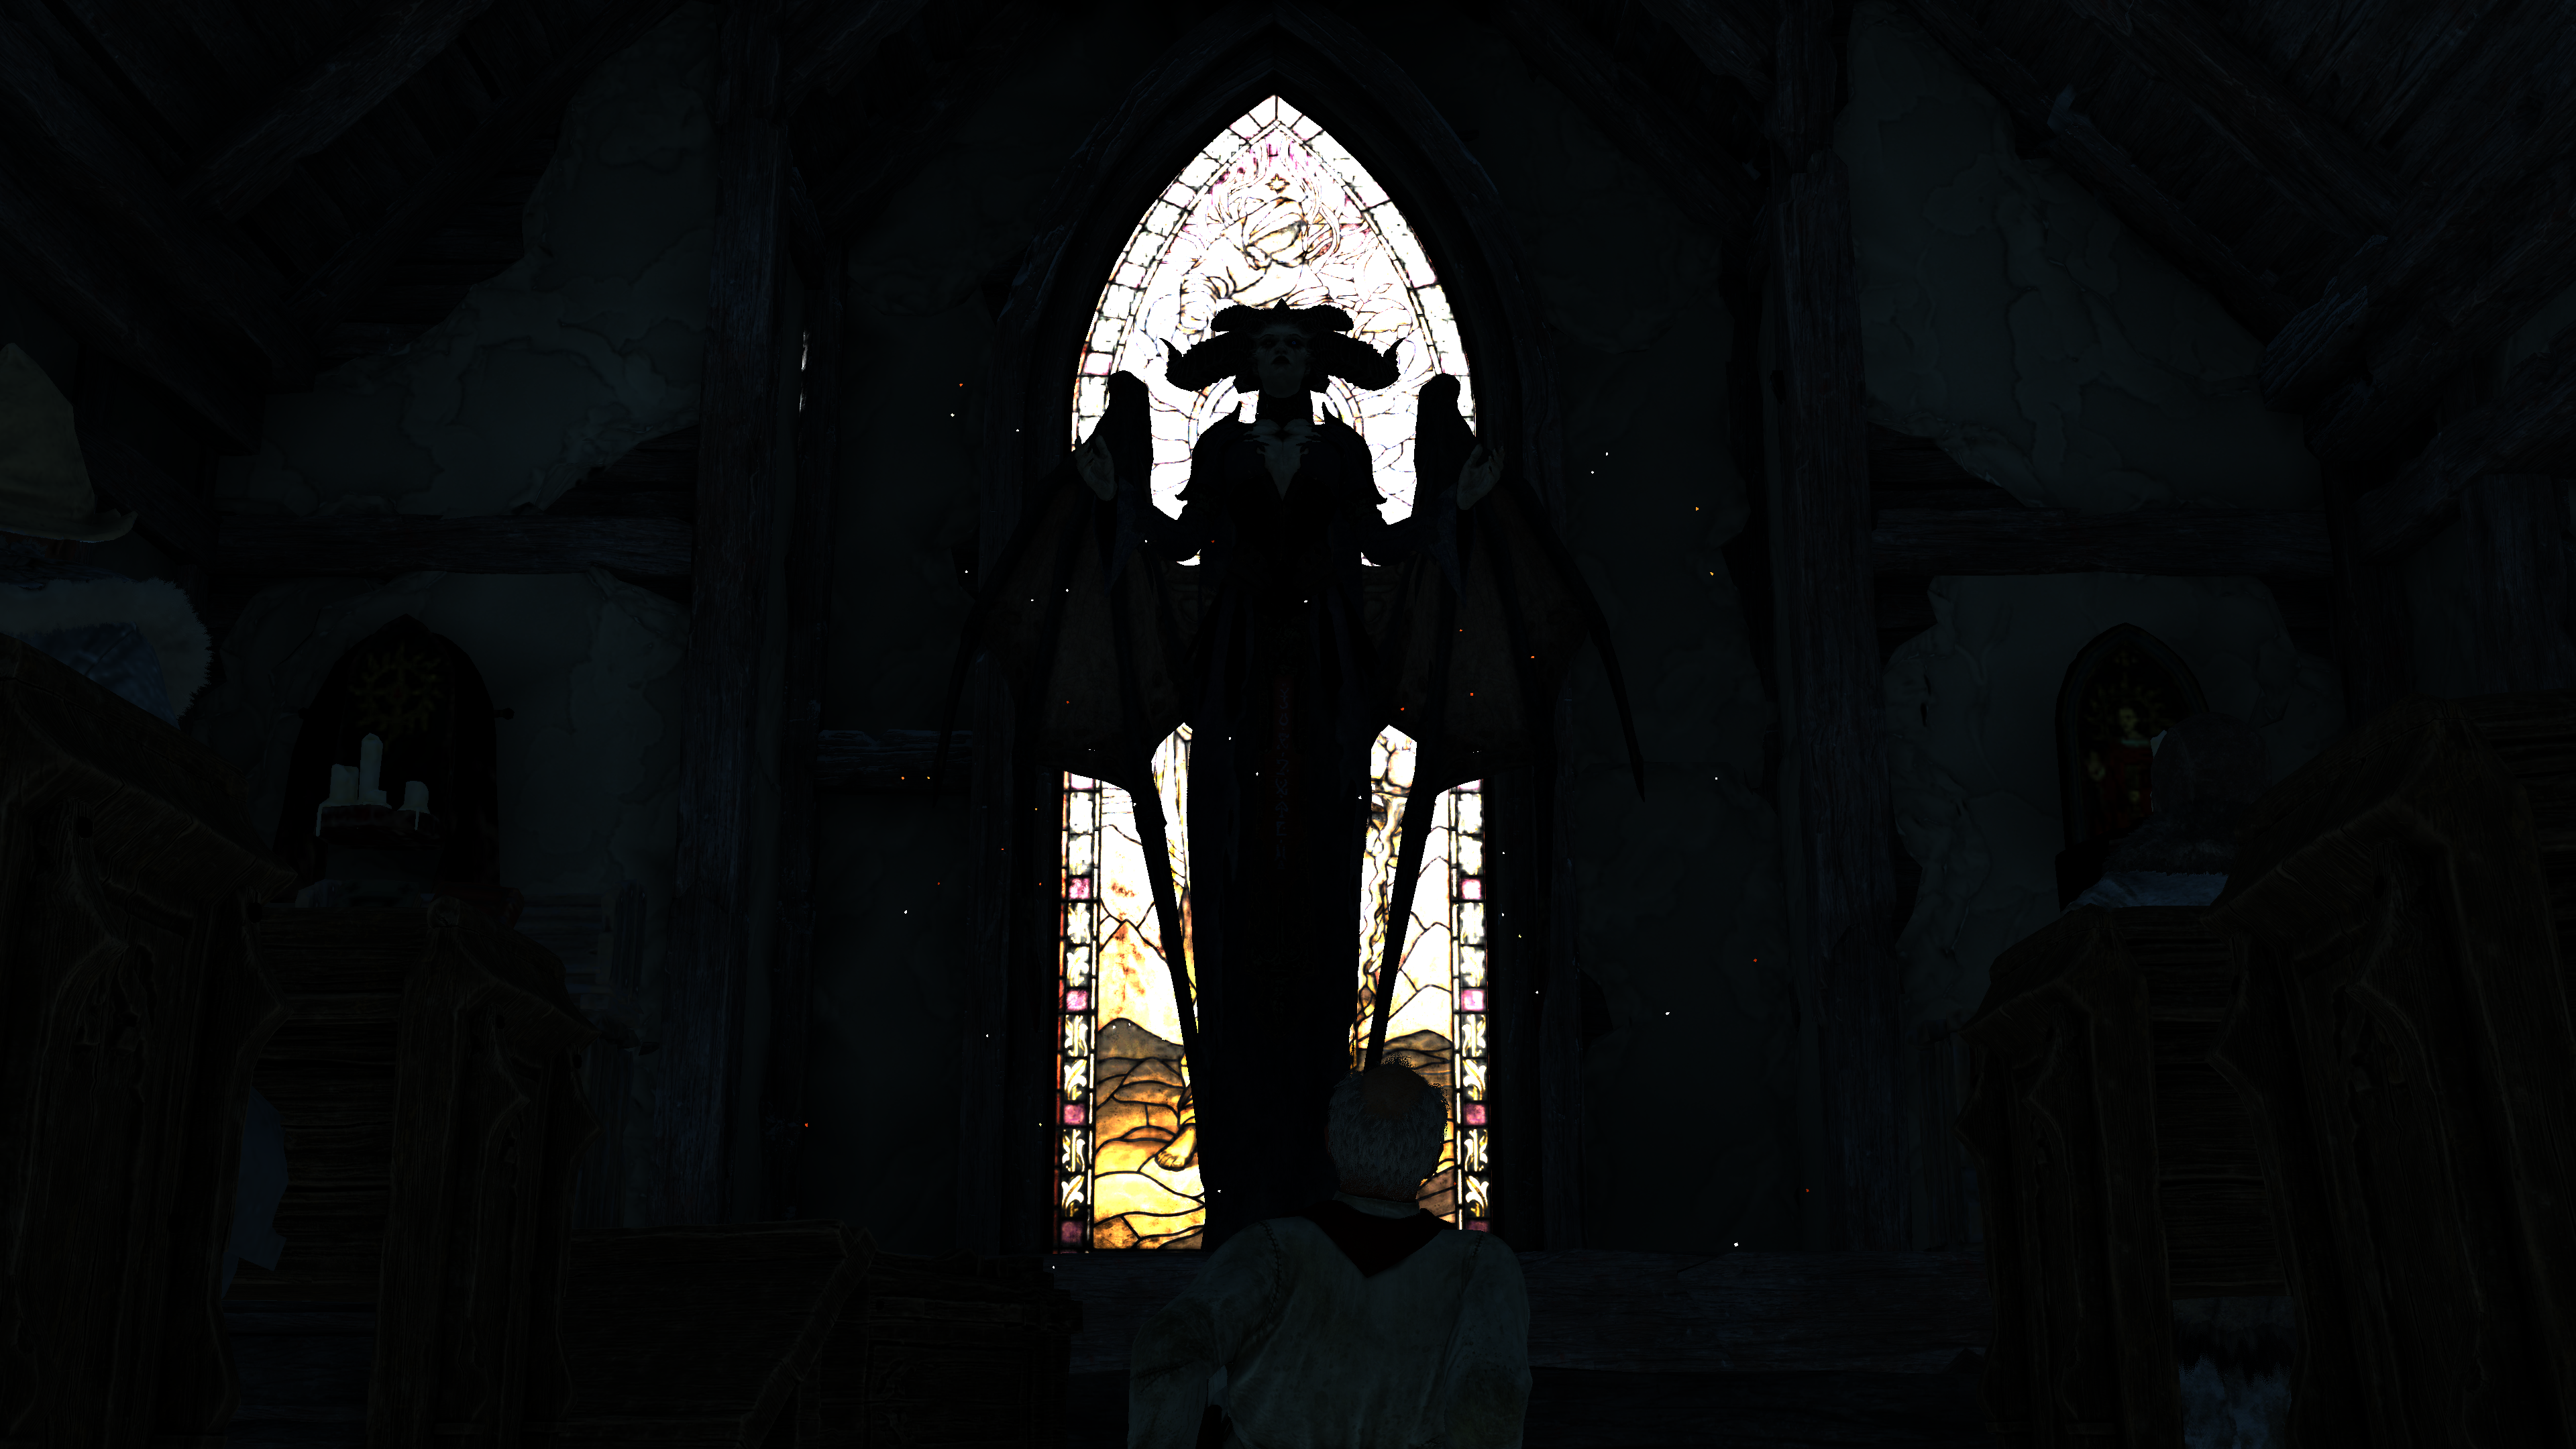
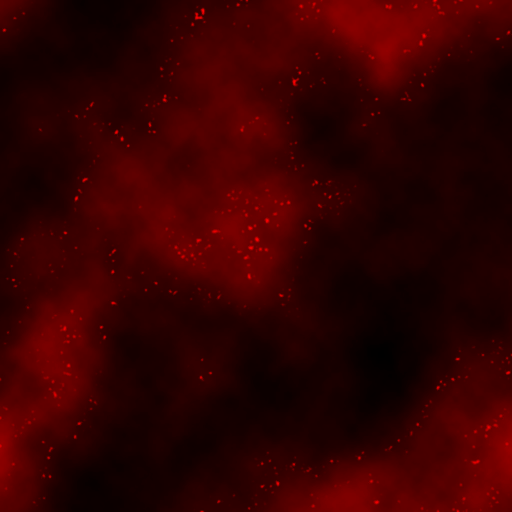
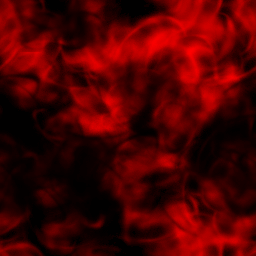
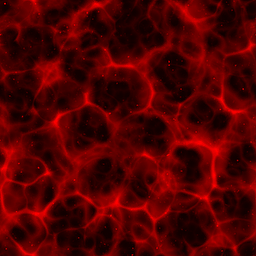
3.Composite
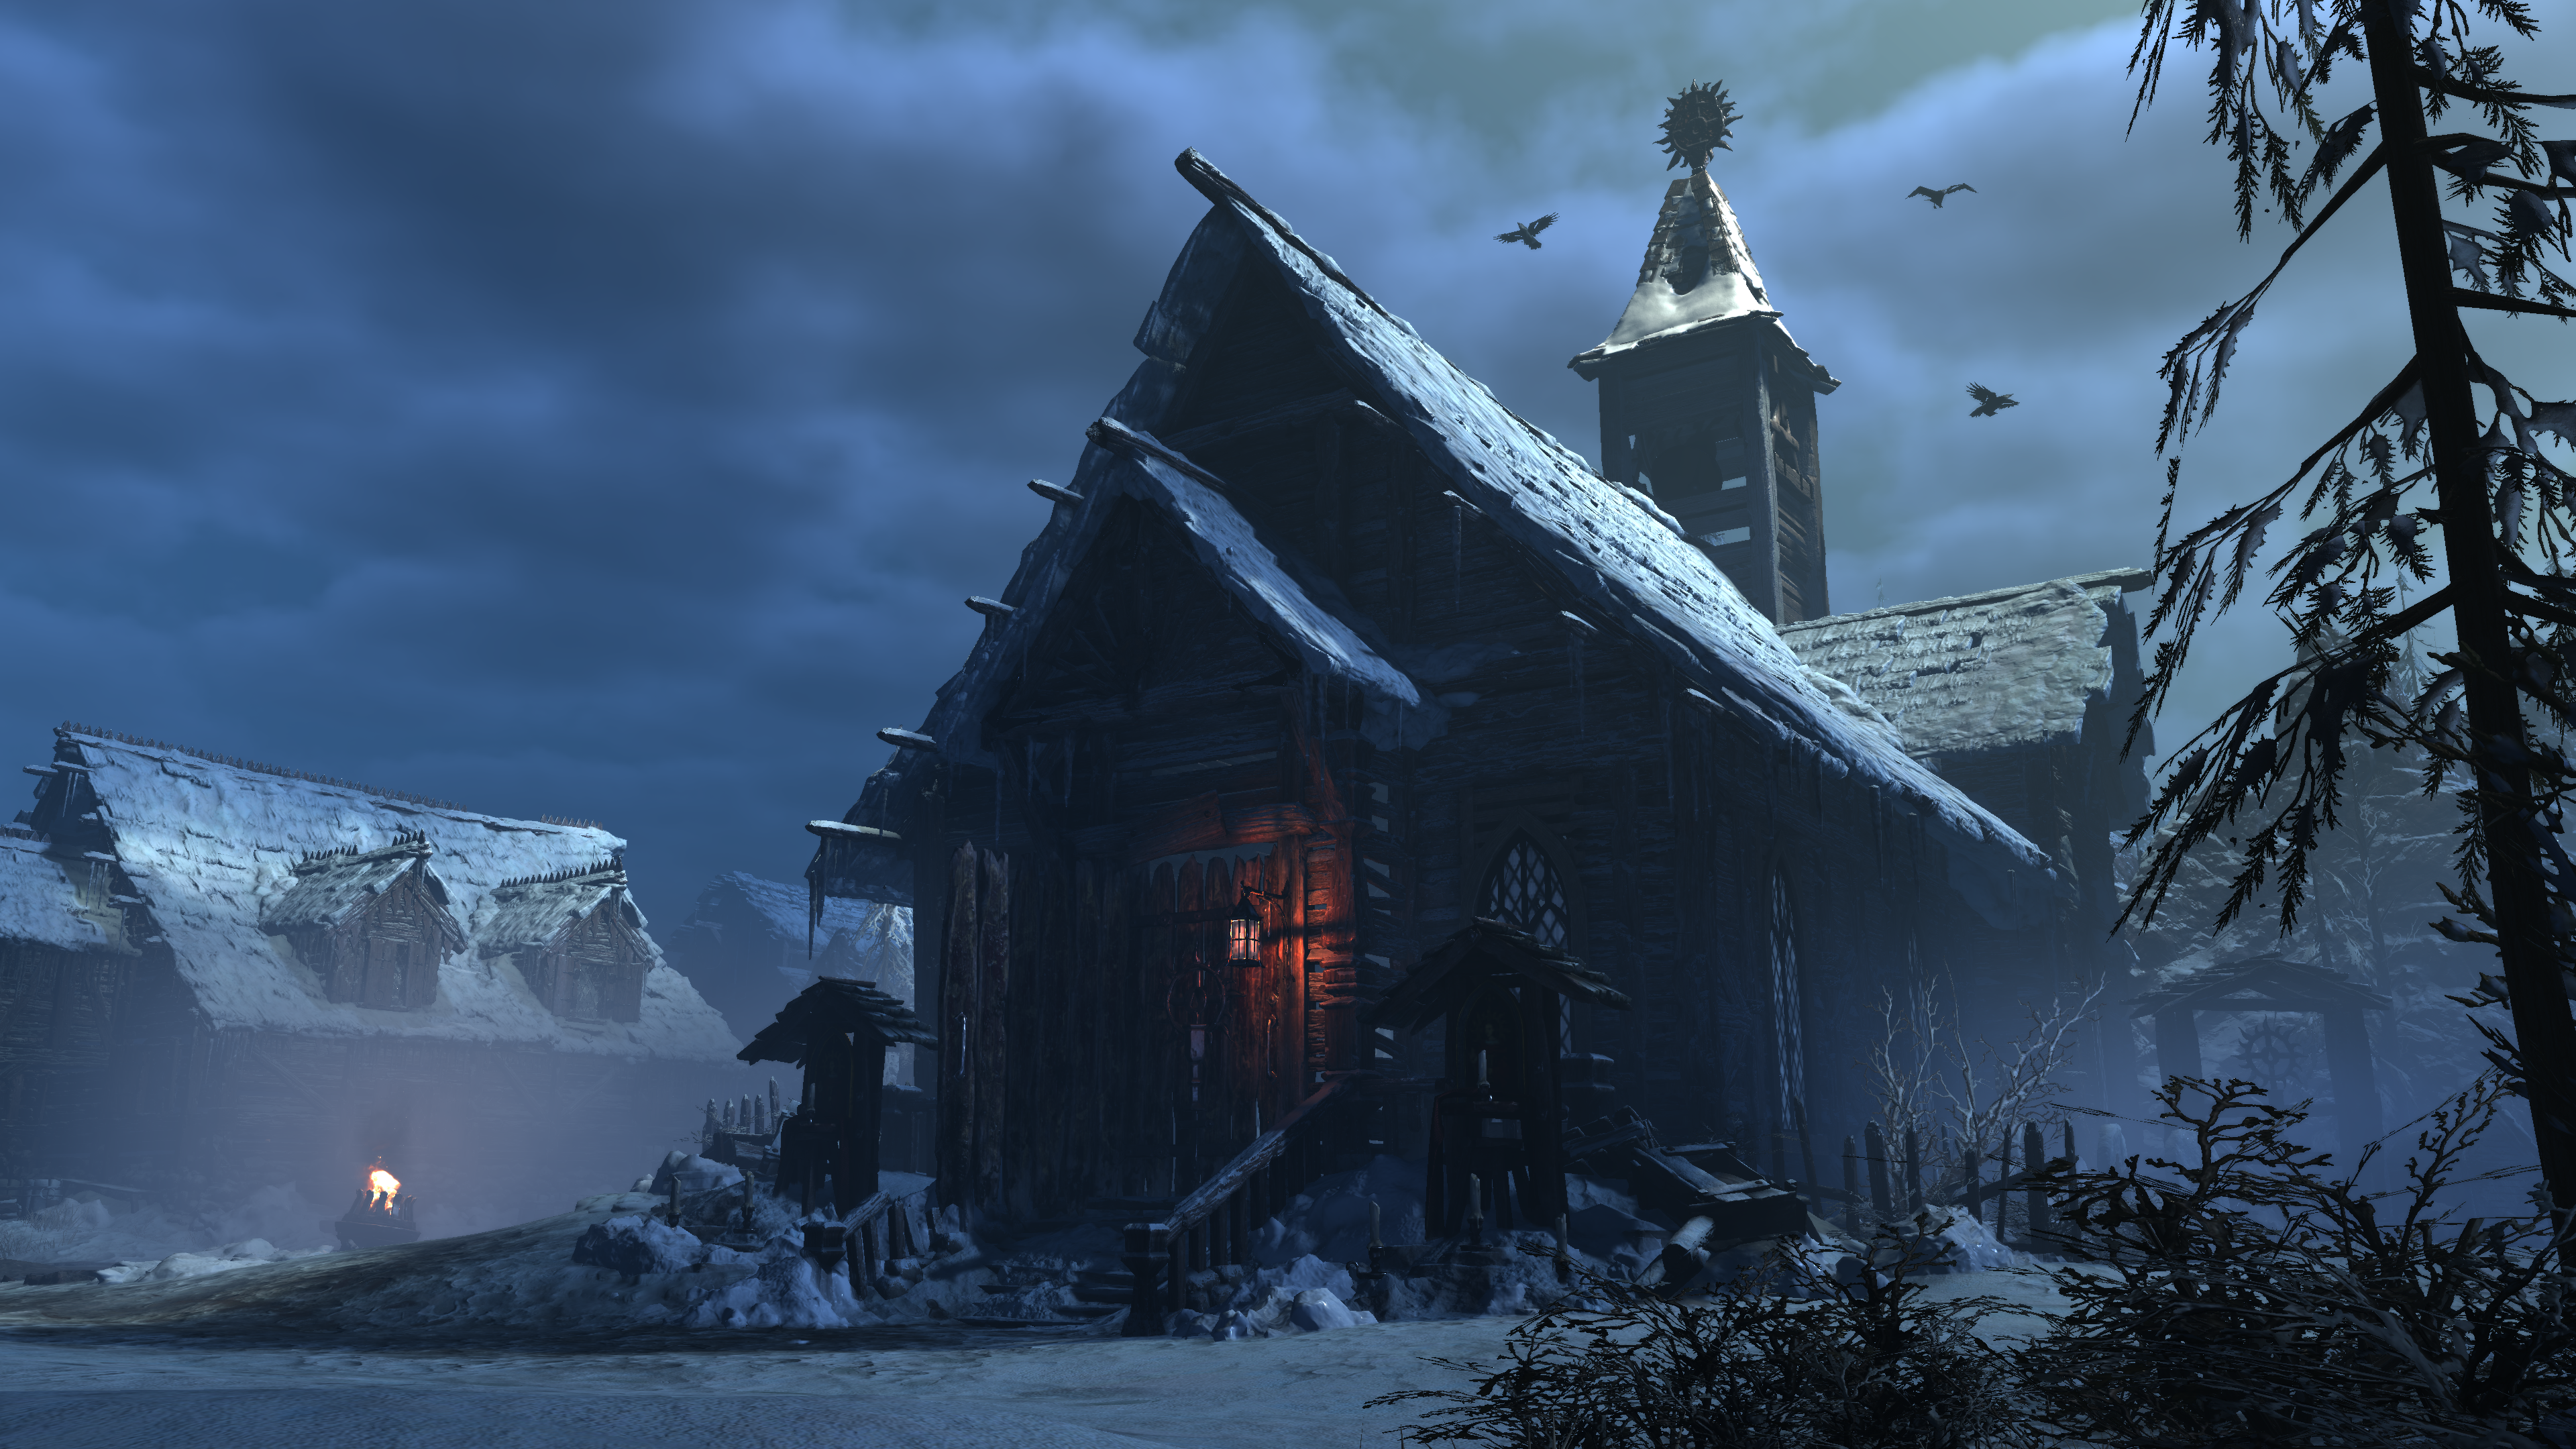
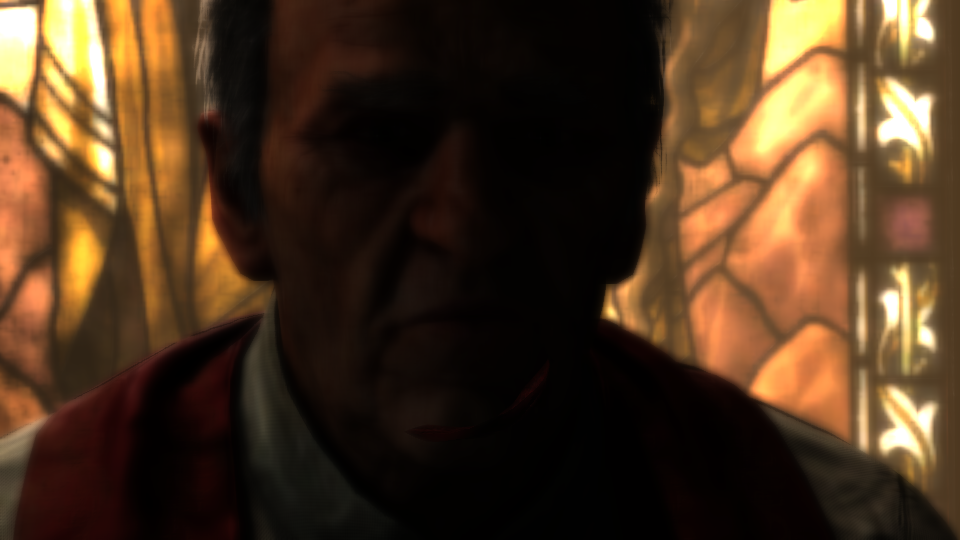
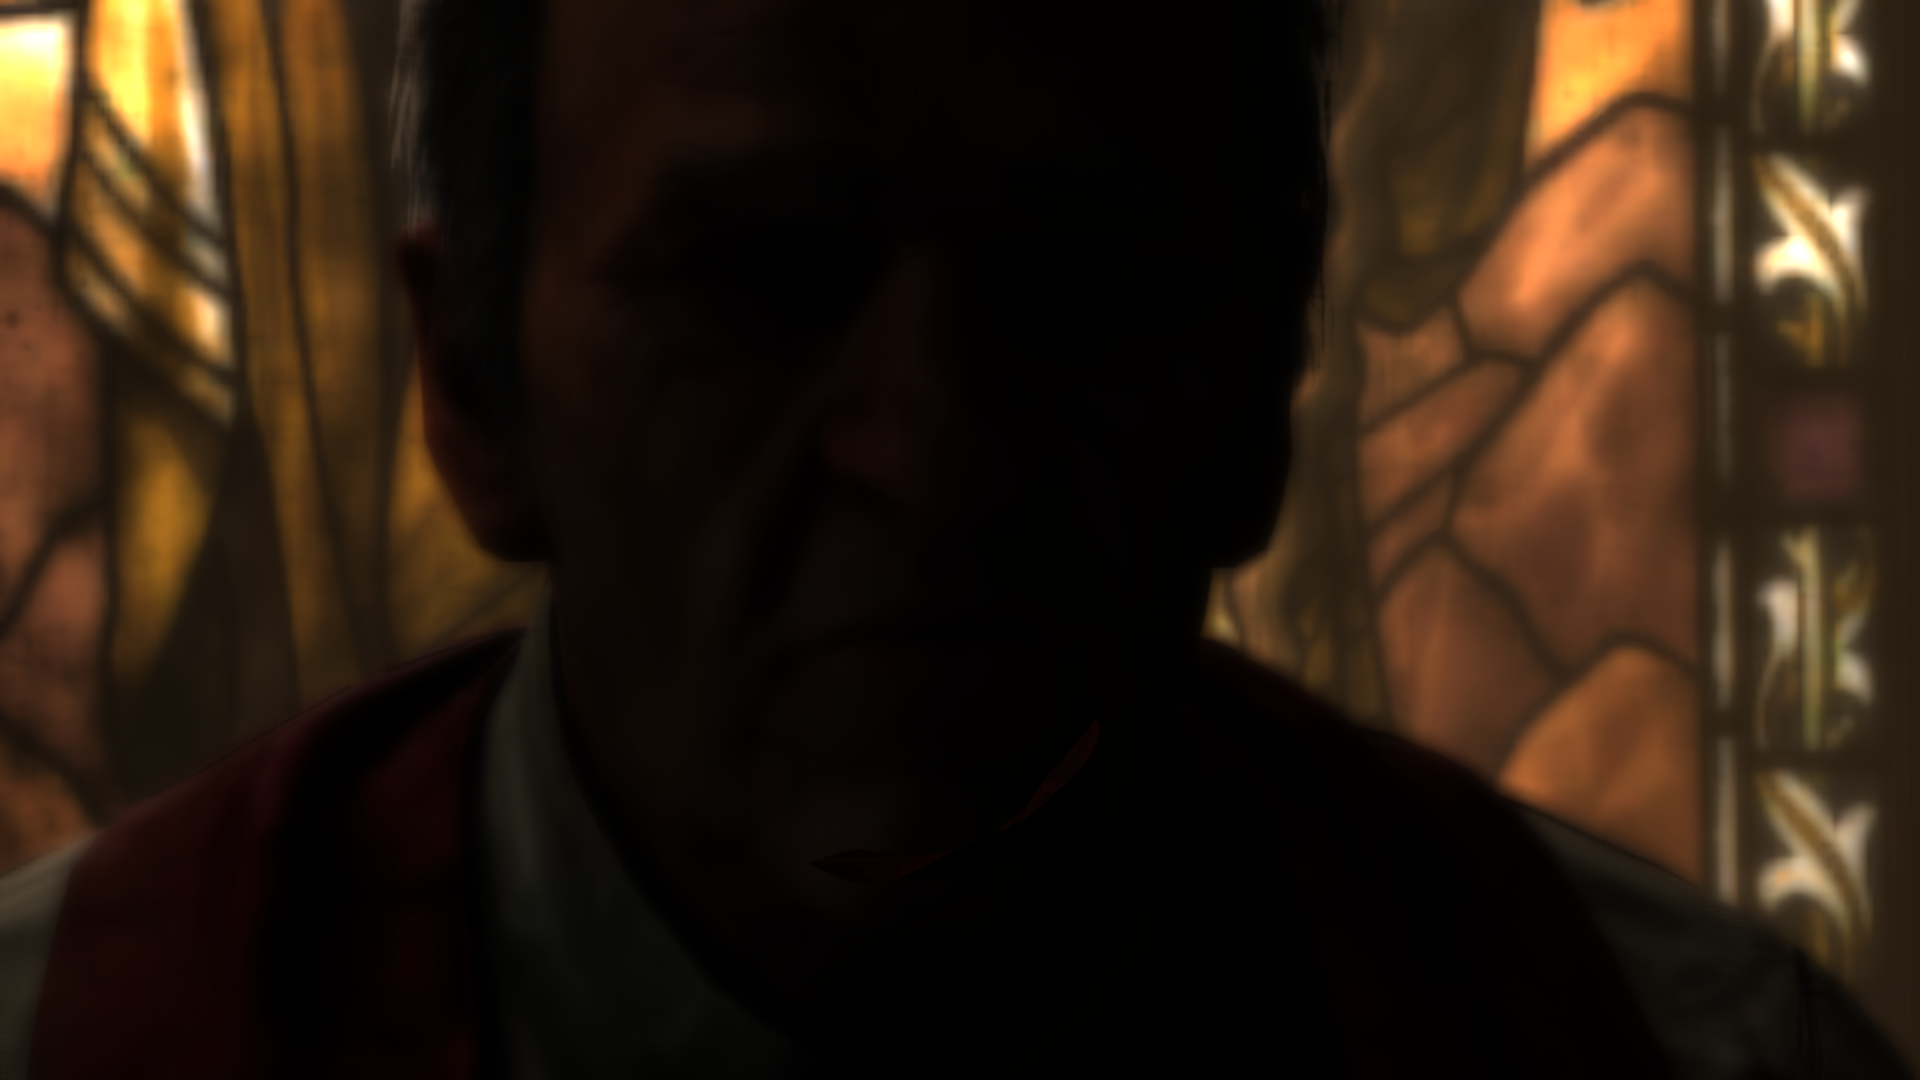
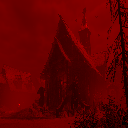
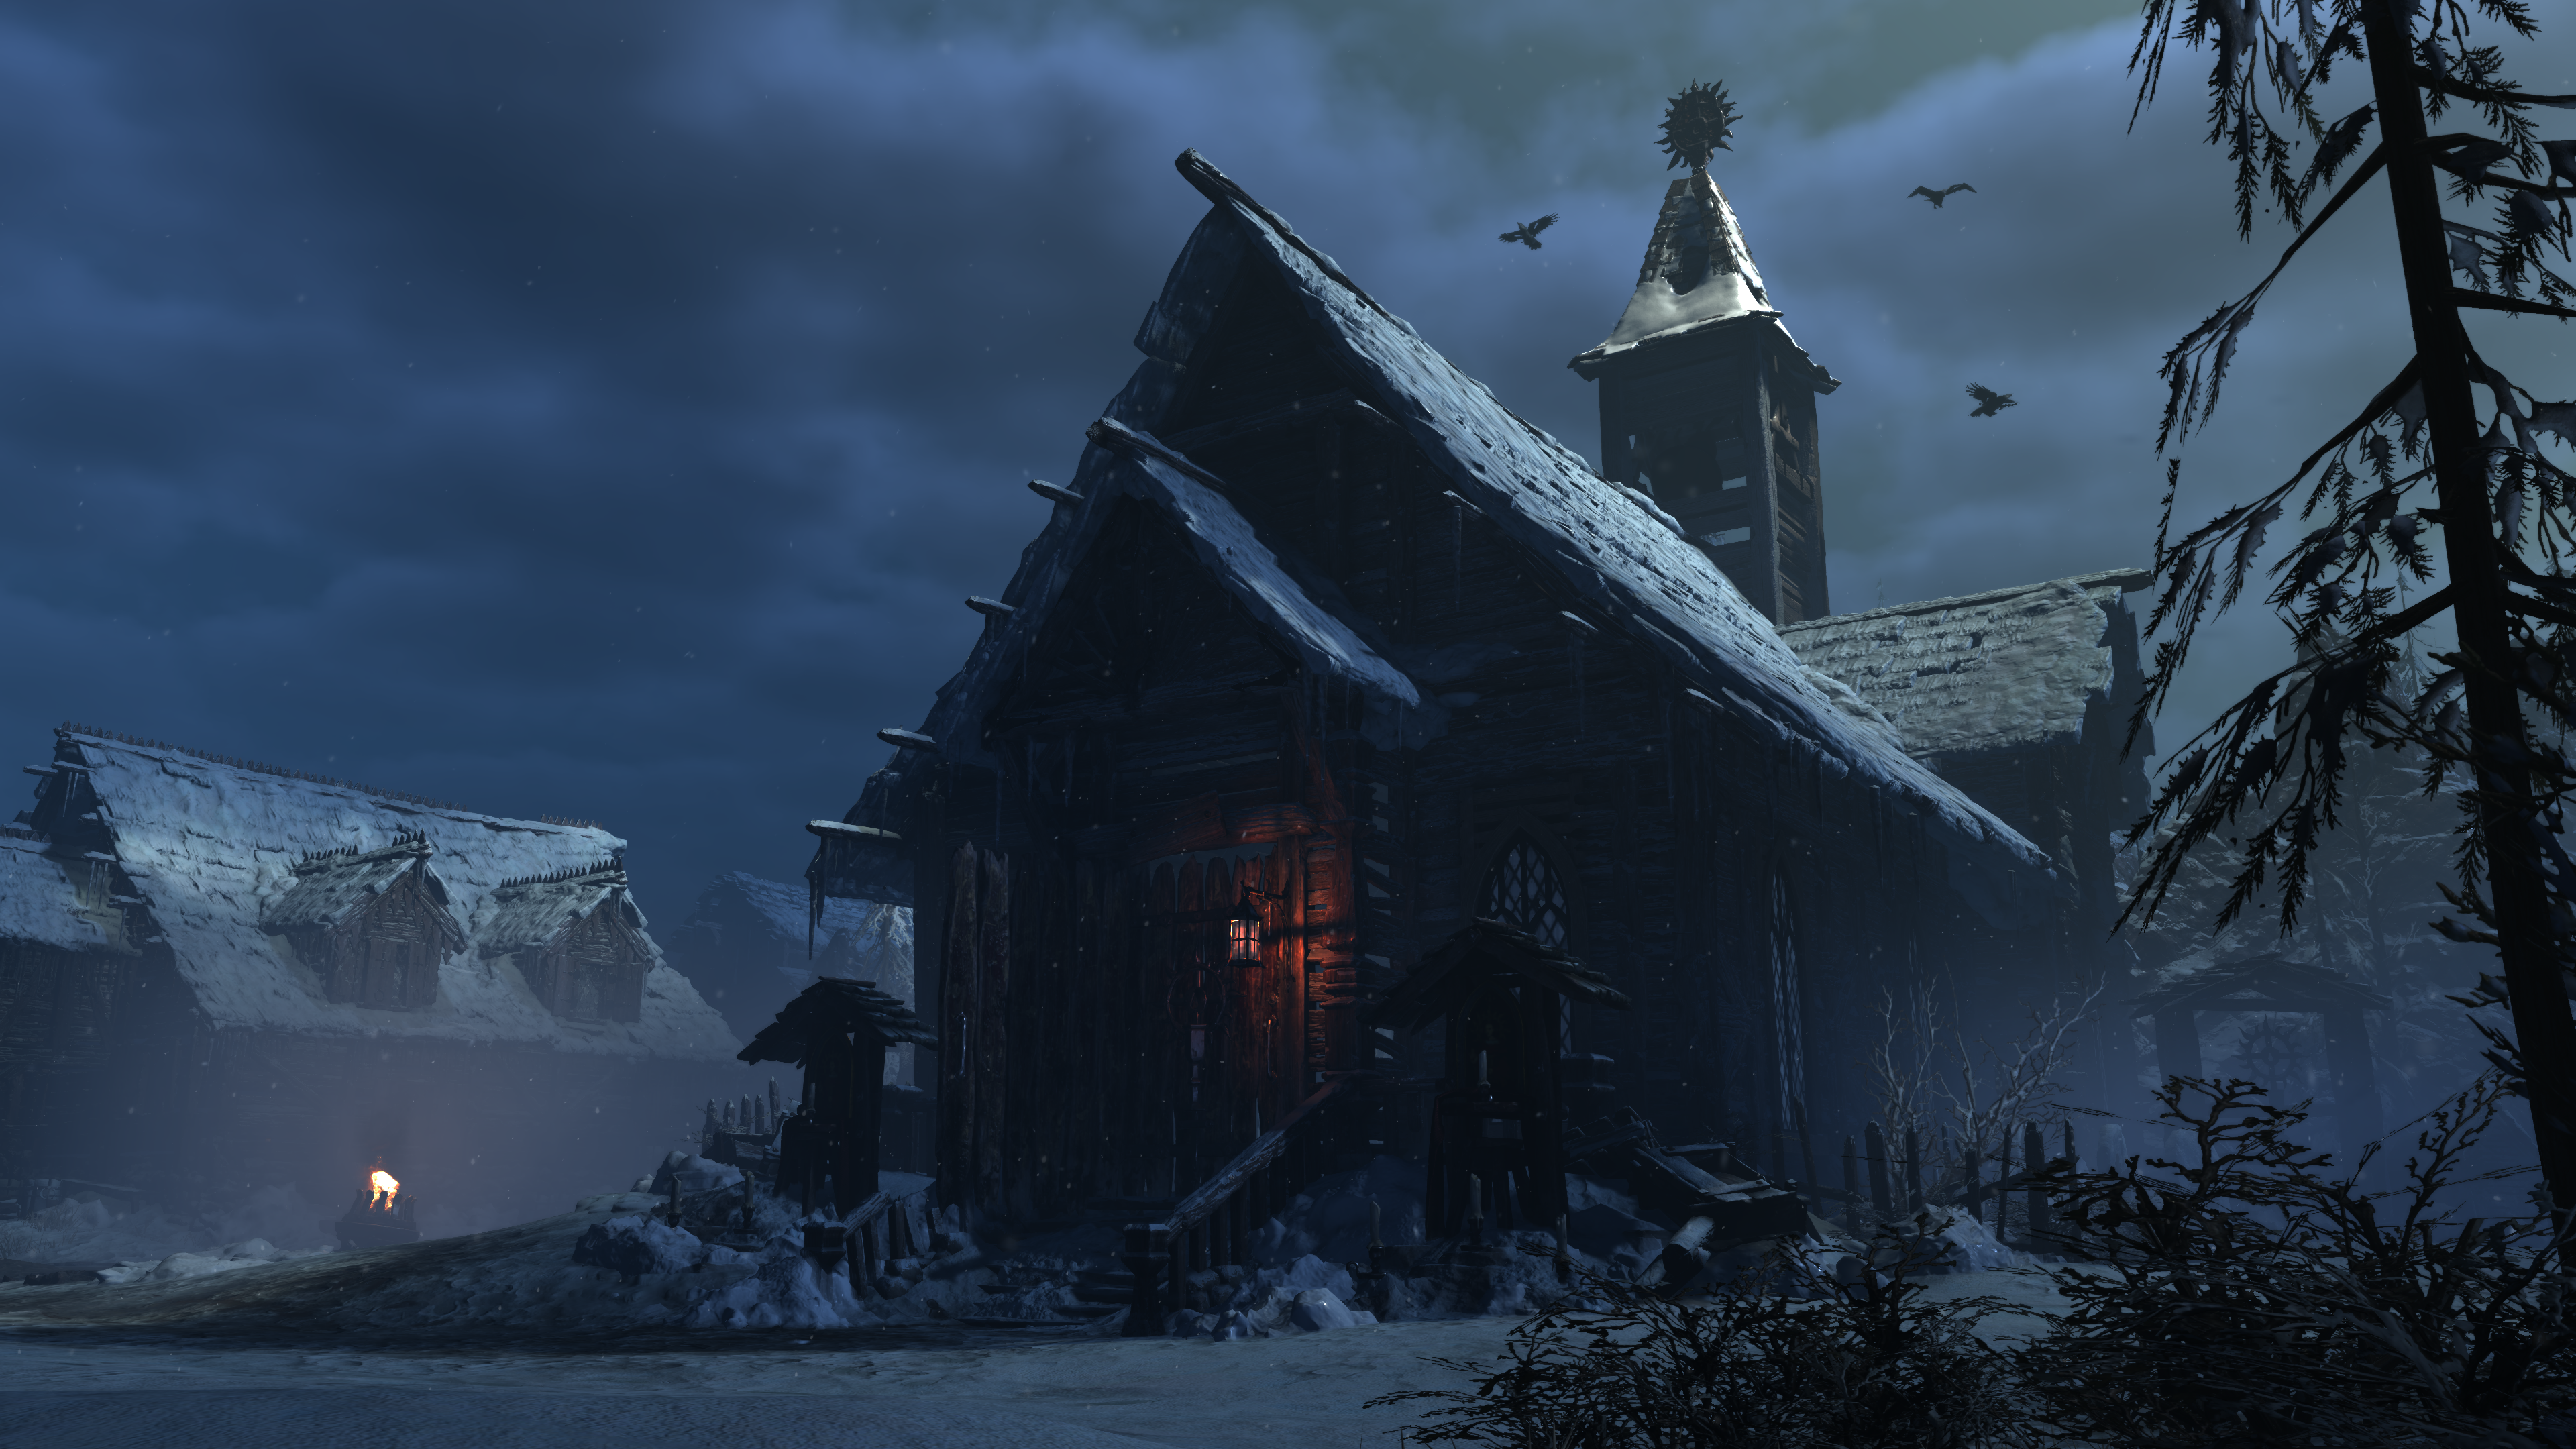
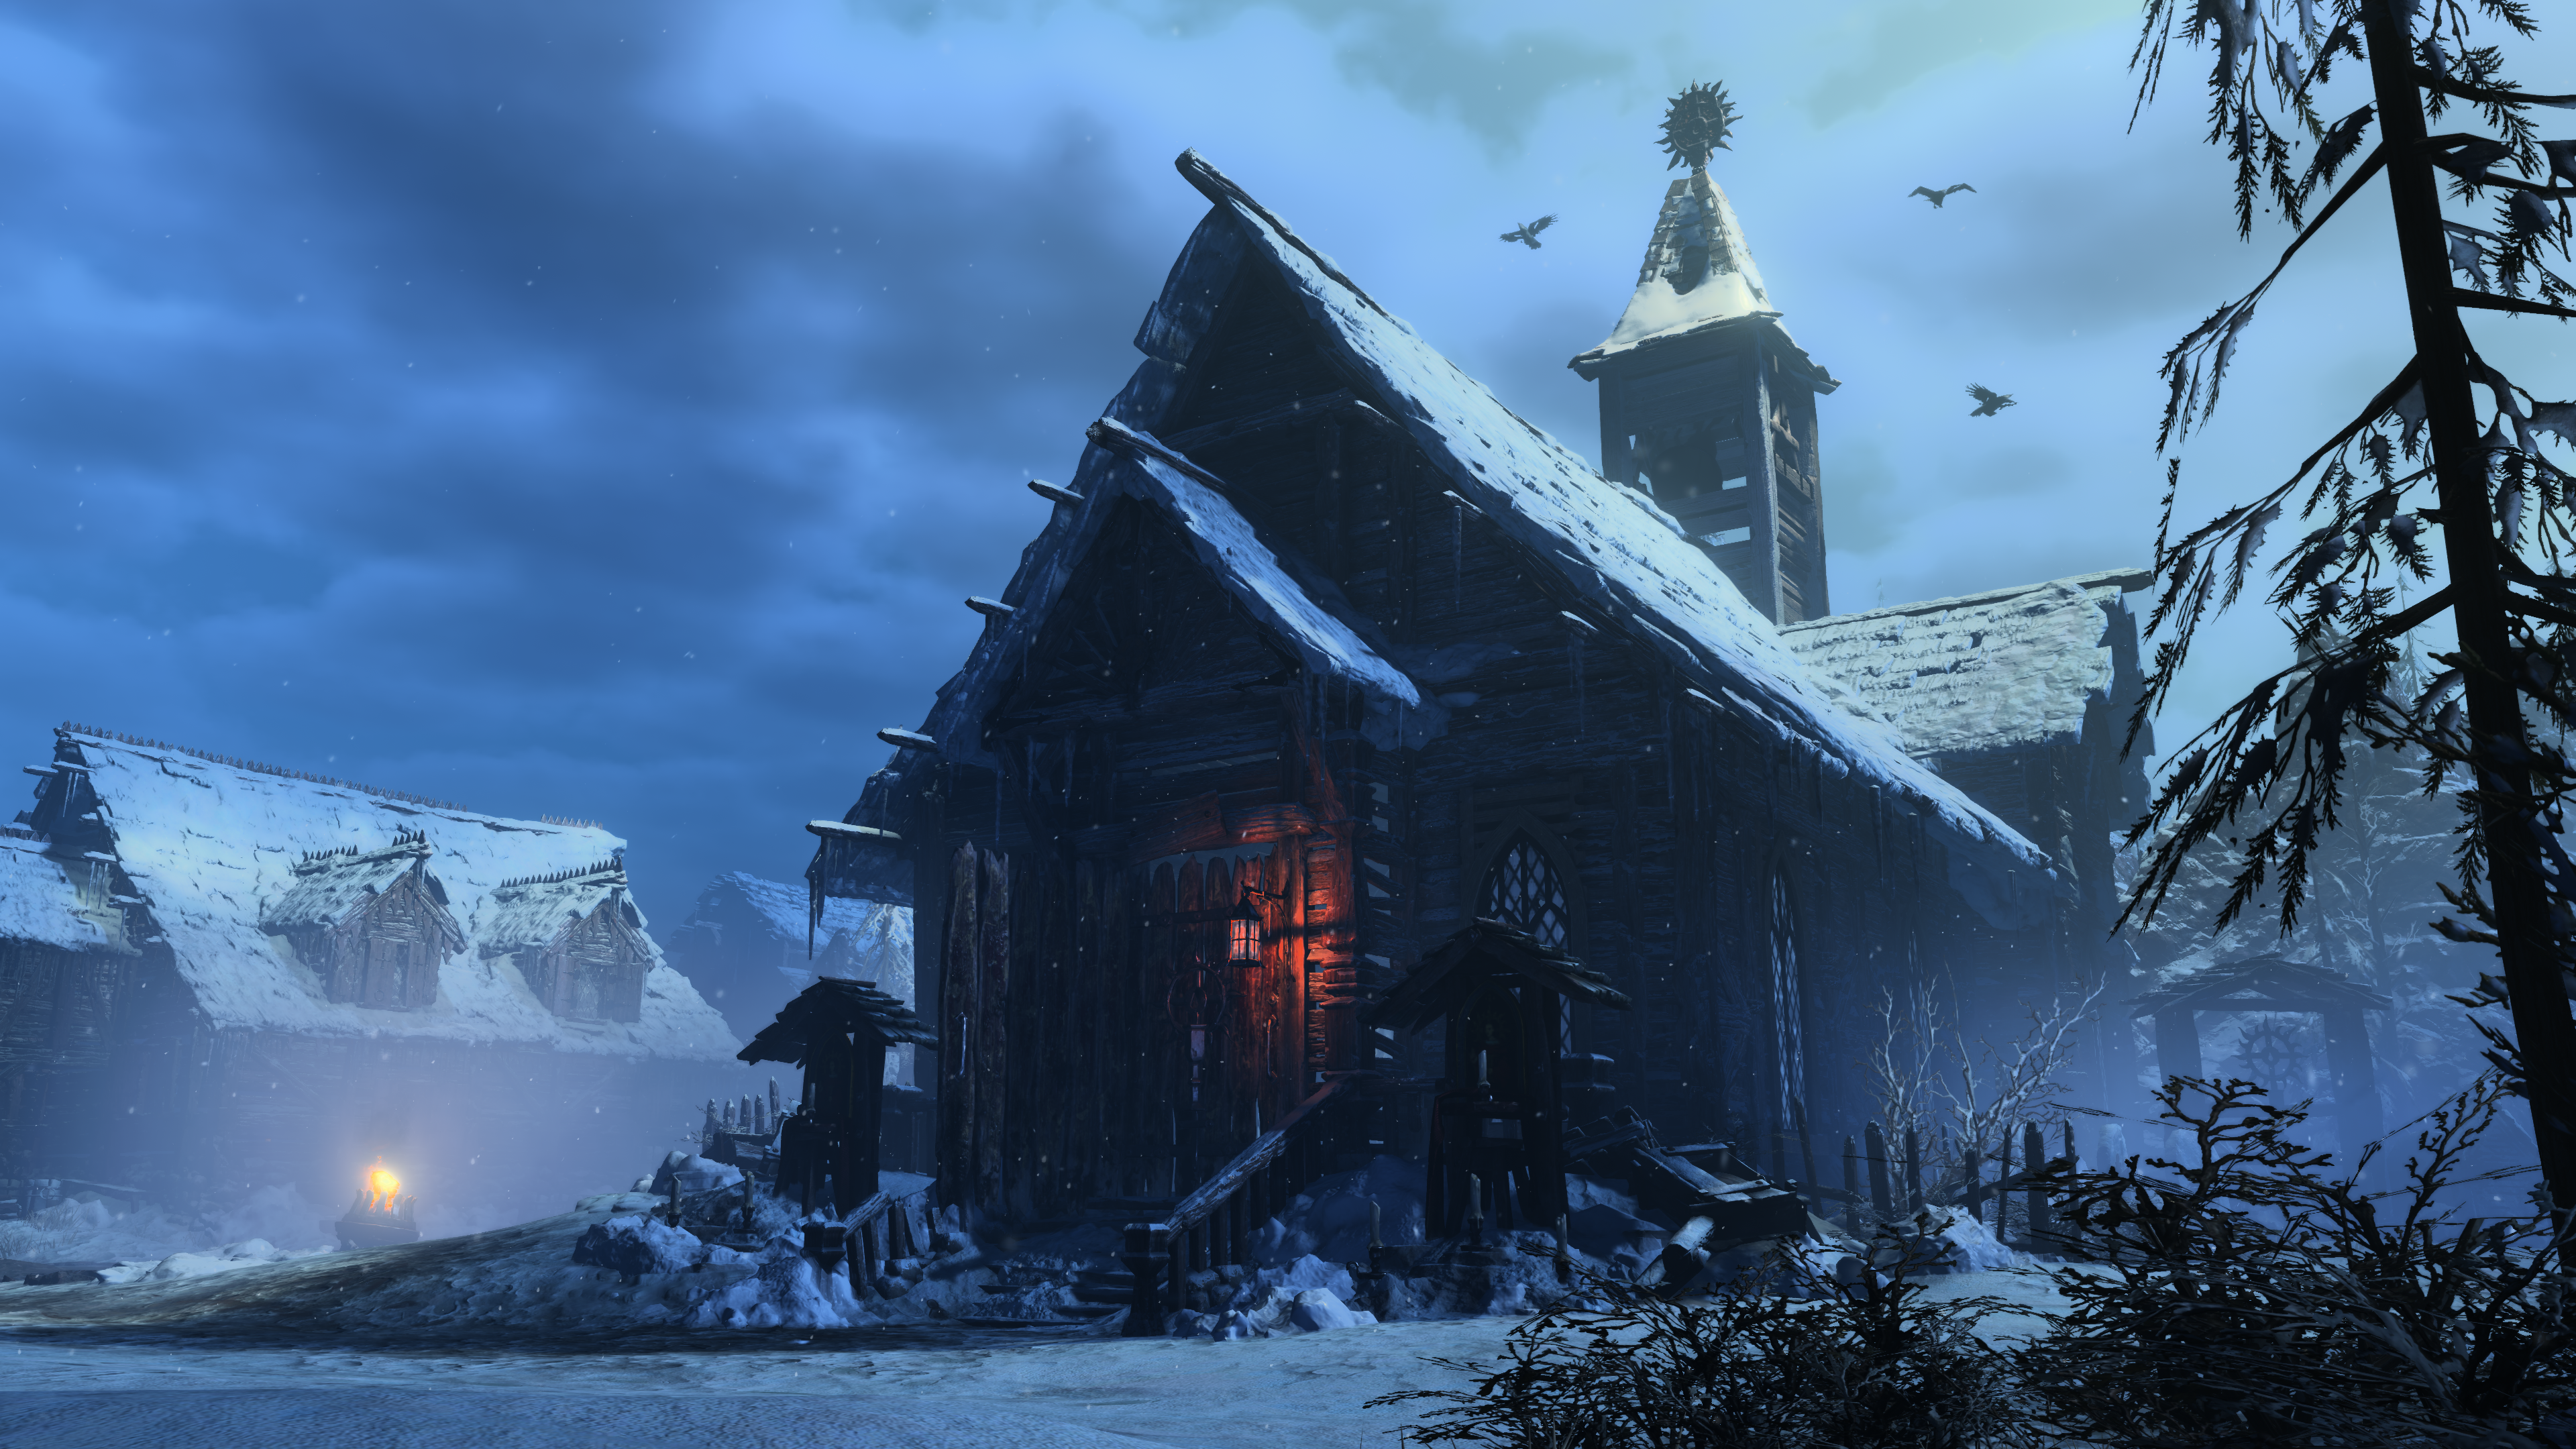
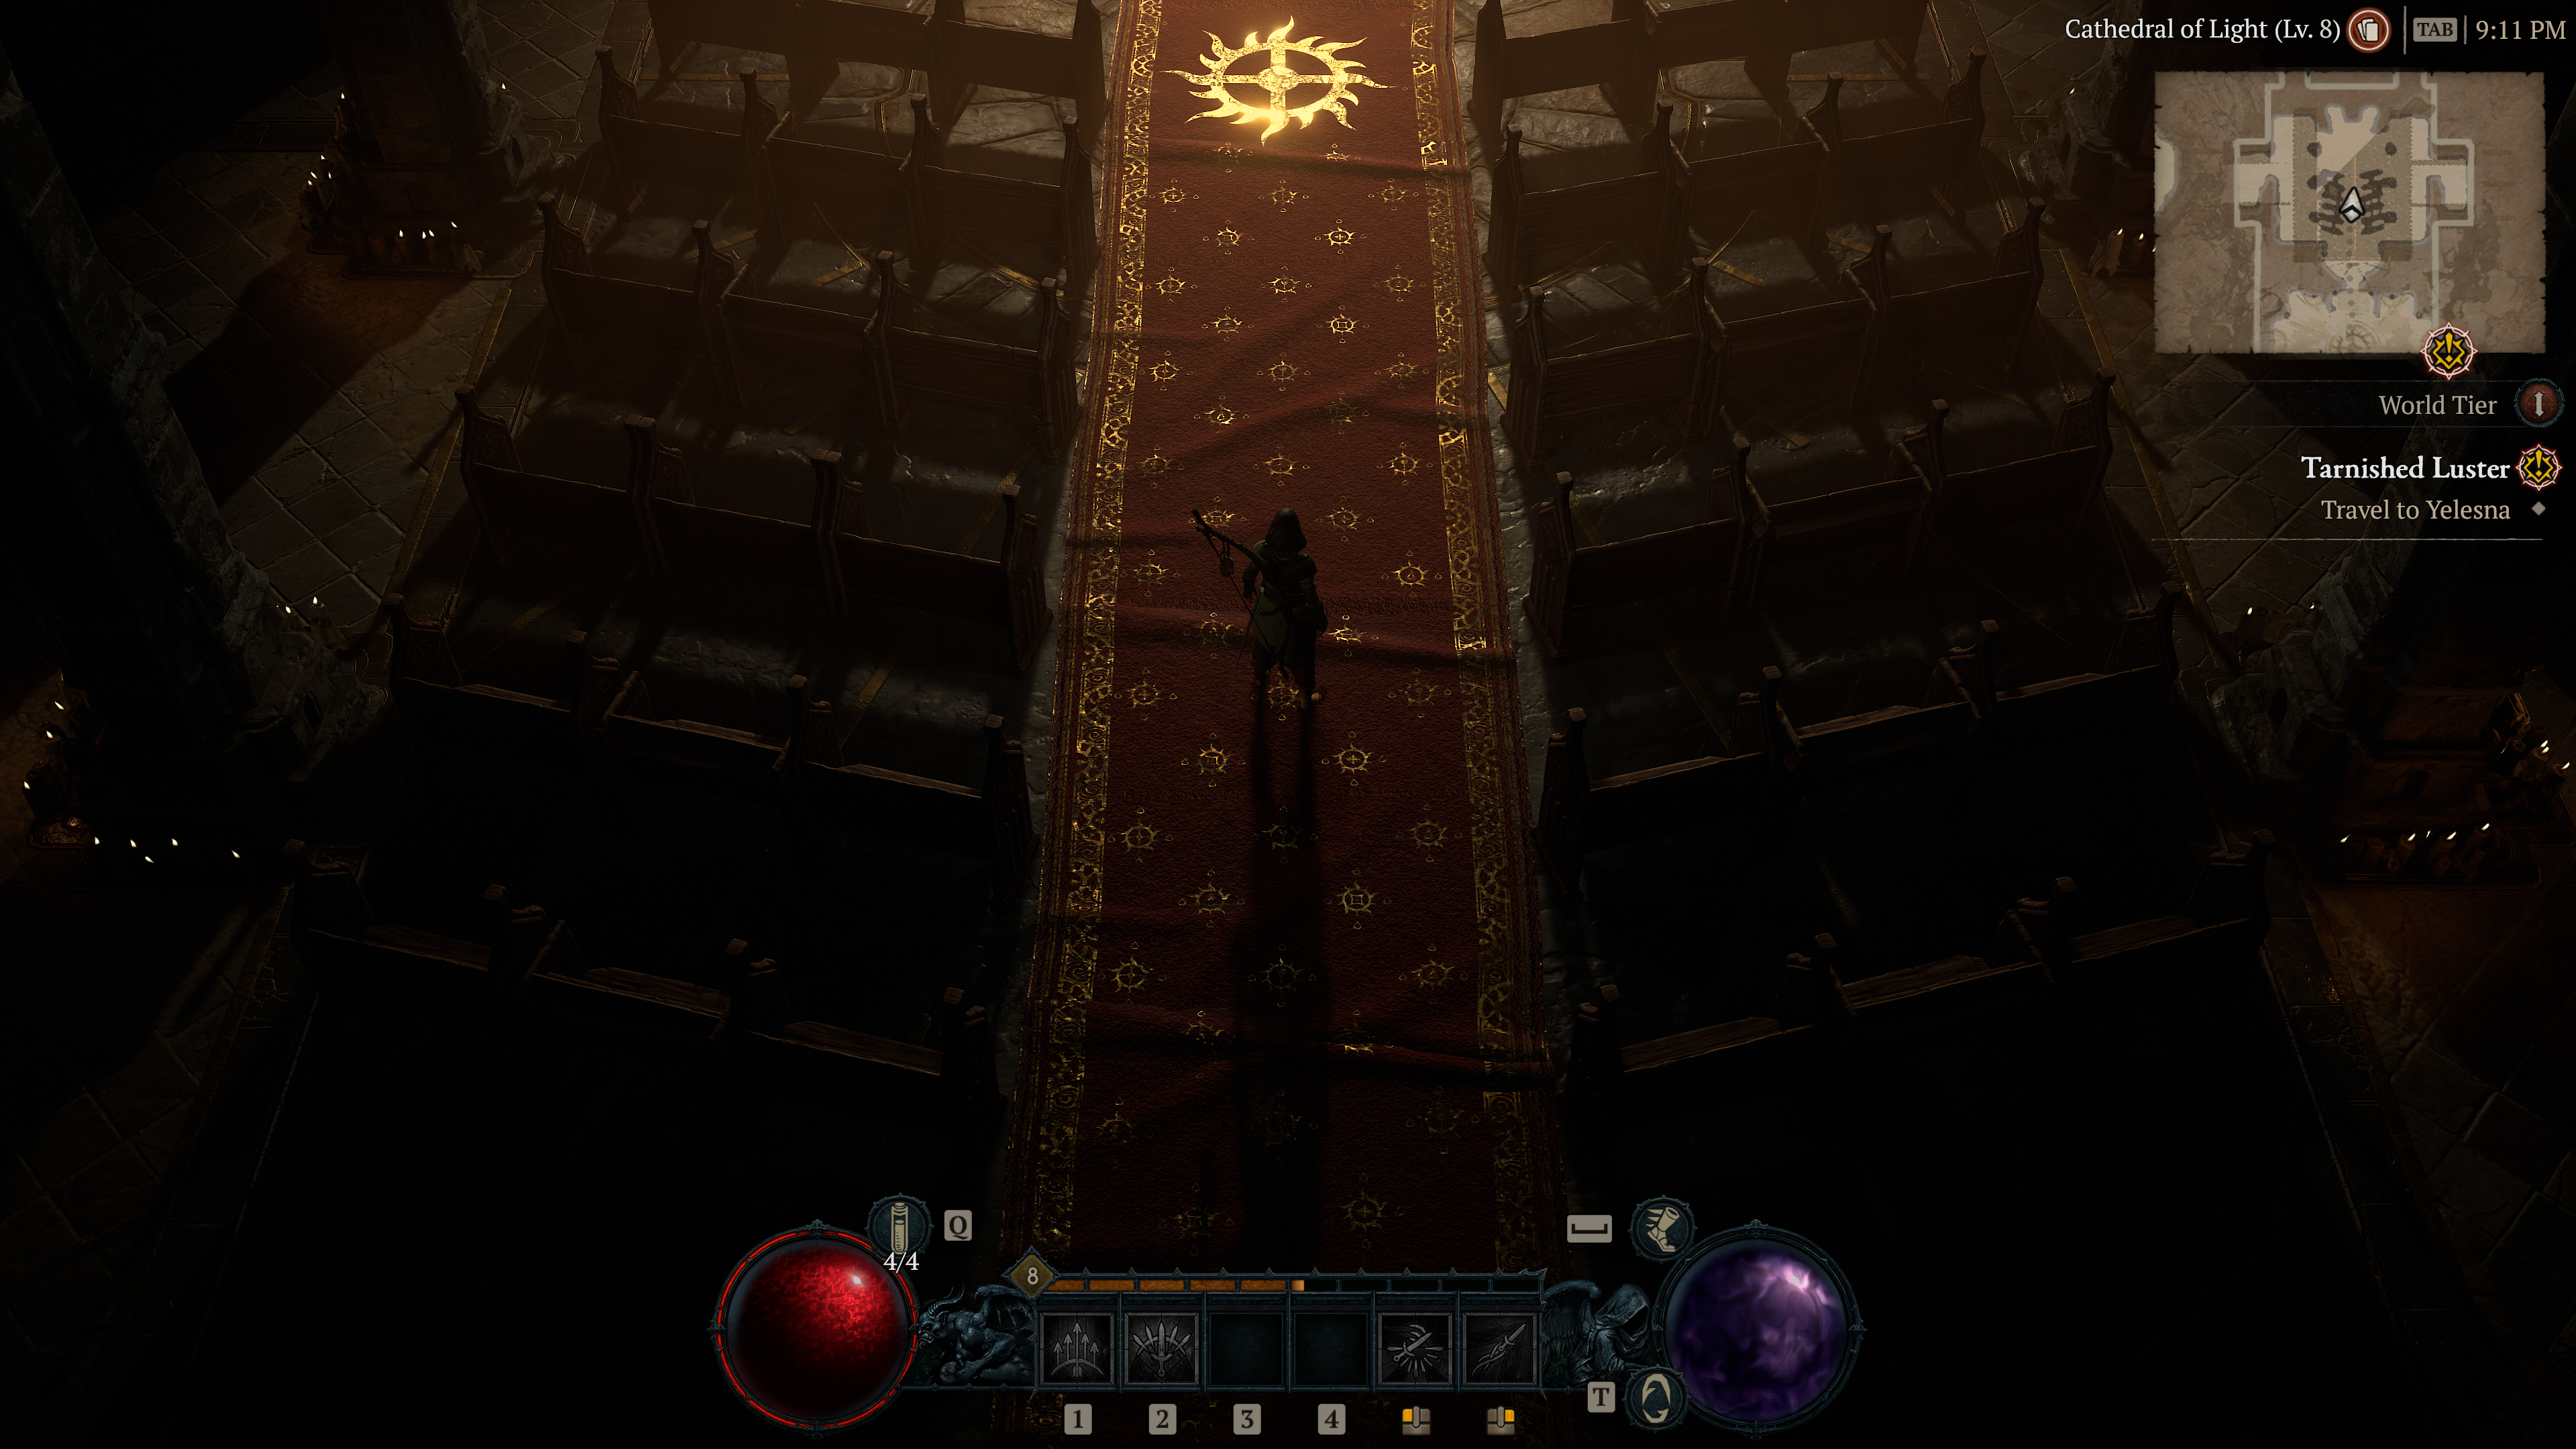
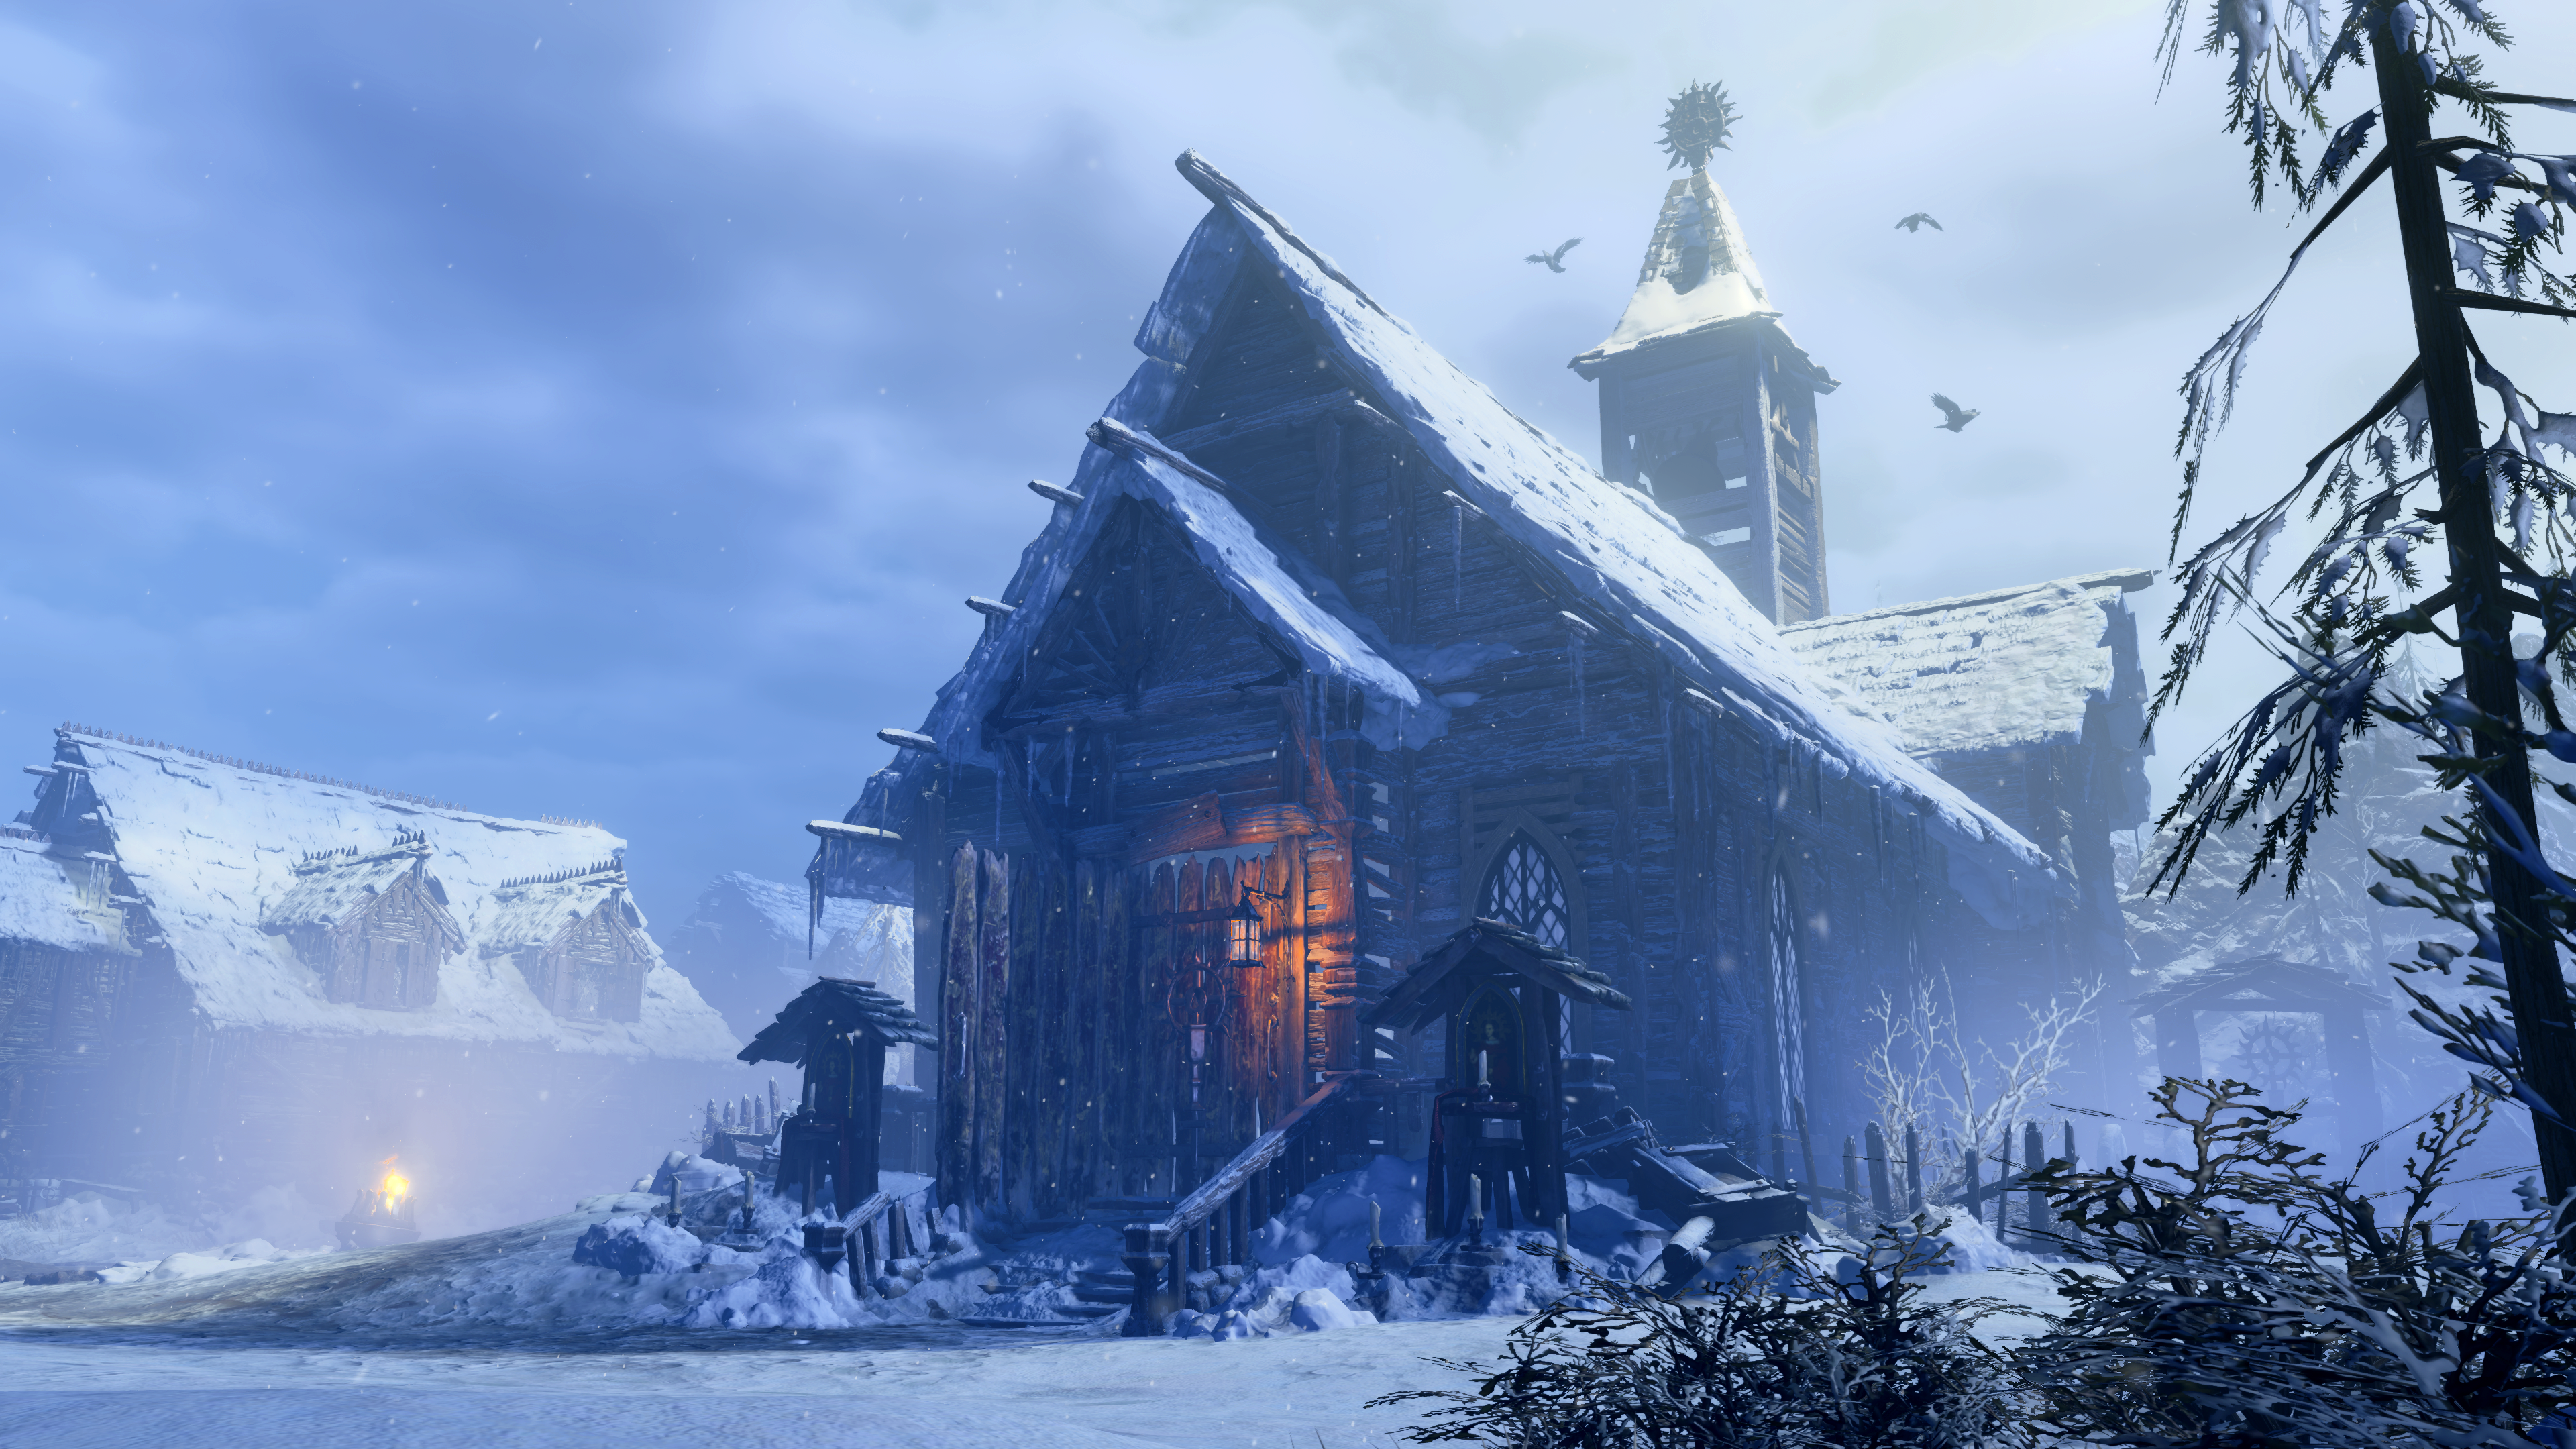
Then the output of the Ground fog as well as the fog volume (and accumulate) is used to get composited into the current frame. just keep in mind, when there is no ground fog (like the church frame above) the ground fog inscattering rendertarget is solid black.

Here are some more examples for variations of volumetric fog.


Last thing, don’t get things mixed between volumetric fog and particles. There are particles that are too pretty and too much detailed, enough to a degree that you can think for a glance that the scene is impacted by volumetric fog. Just like that frame!


Forward Pass
Just a forward pass for transparent/translucent geo, nothing fancy about it. For example those water meshes

And as any other shading step, it needs some resources to control the lighting/shading/reflection and transparency.


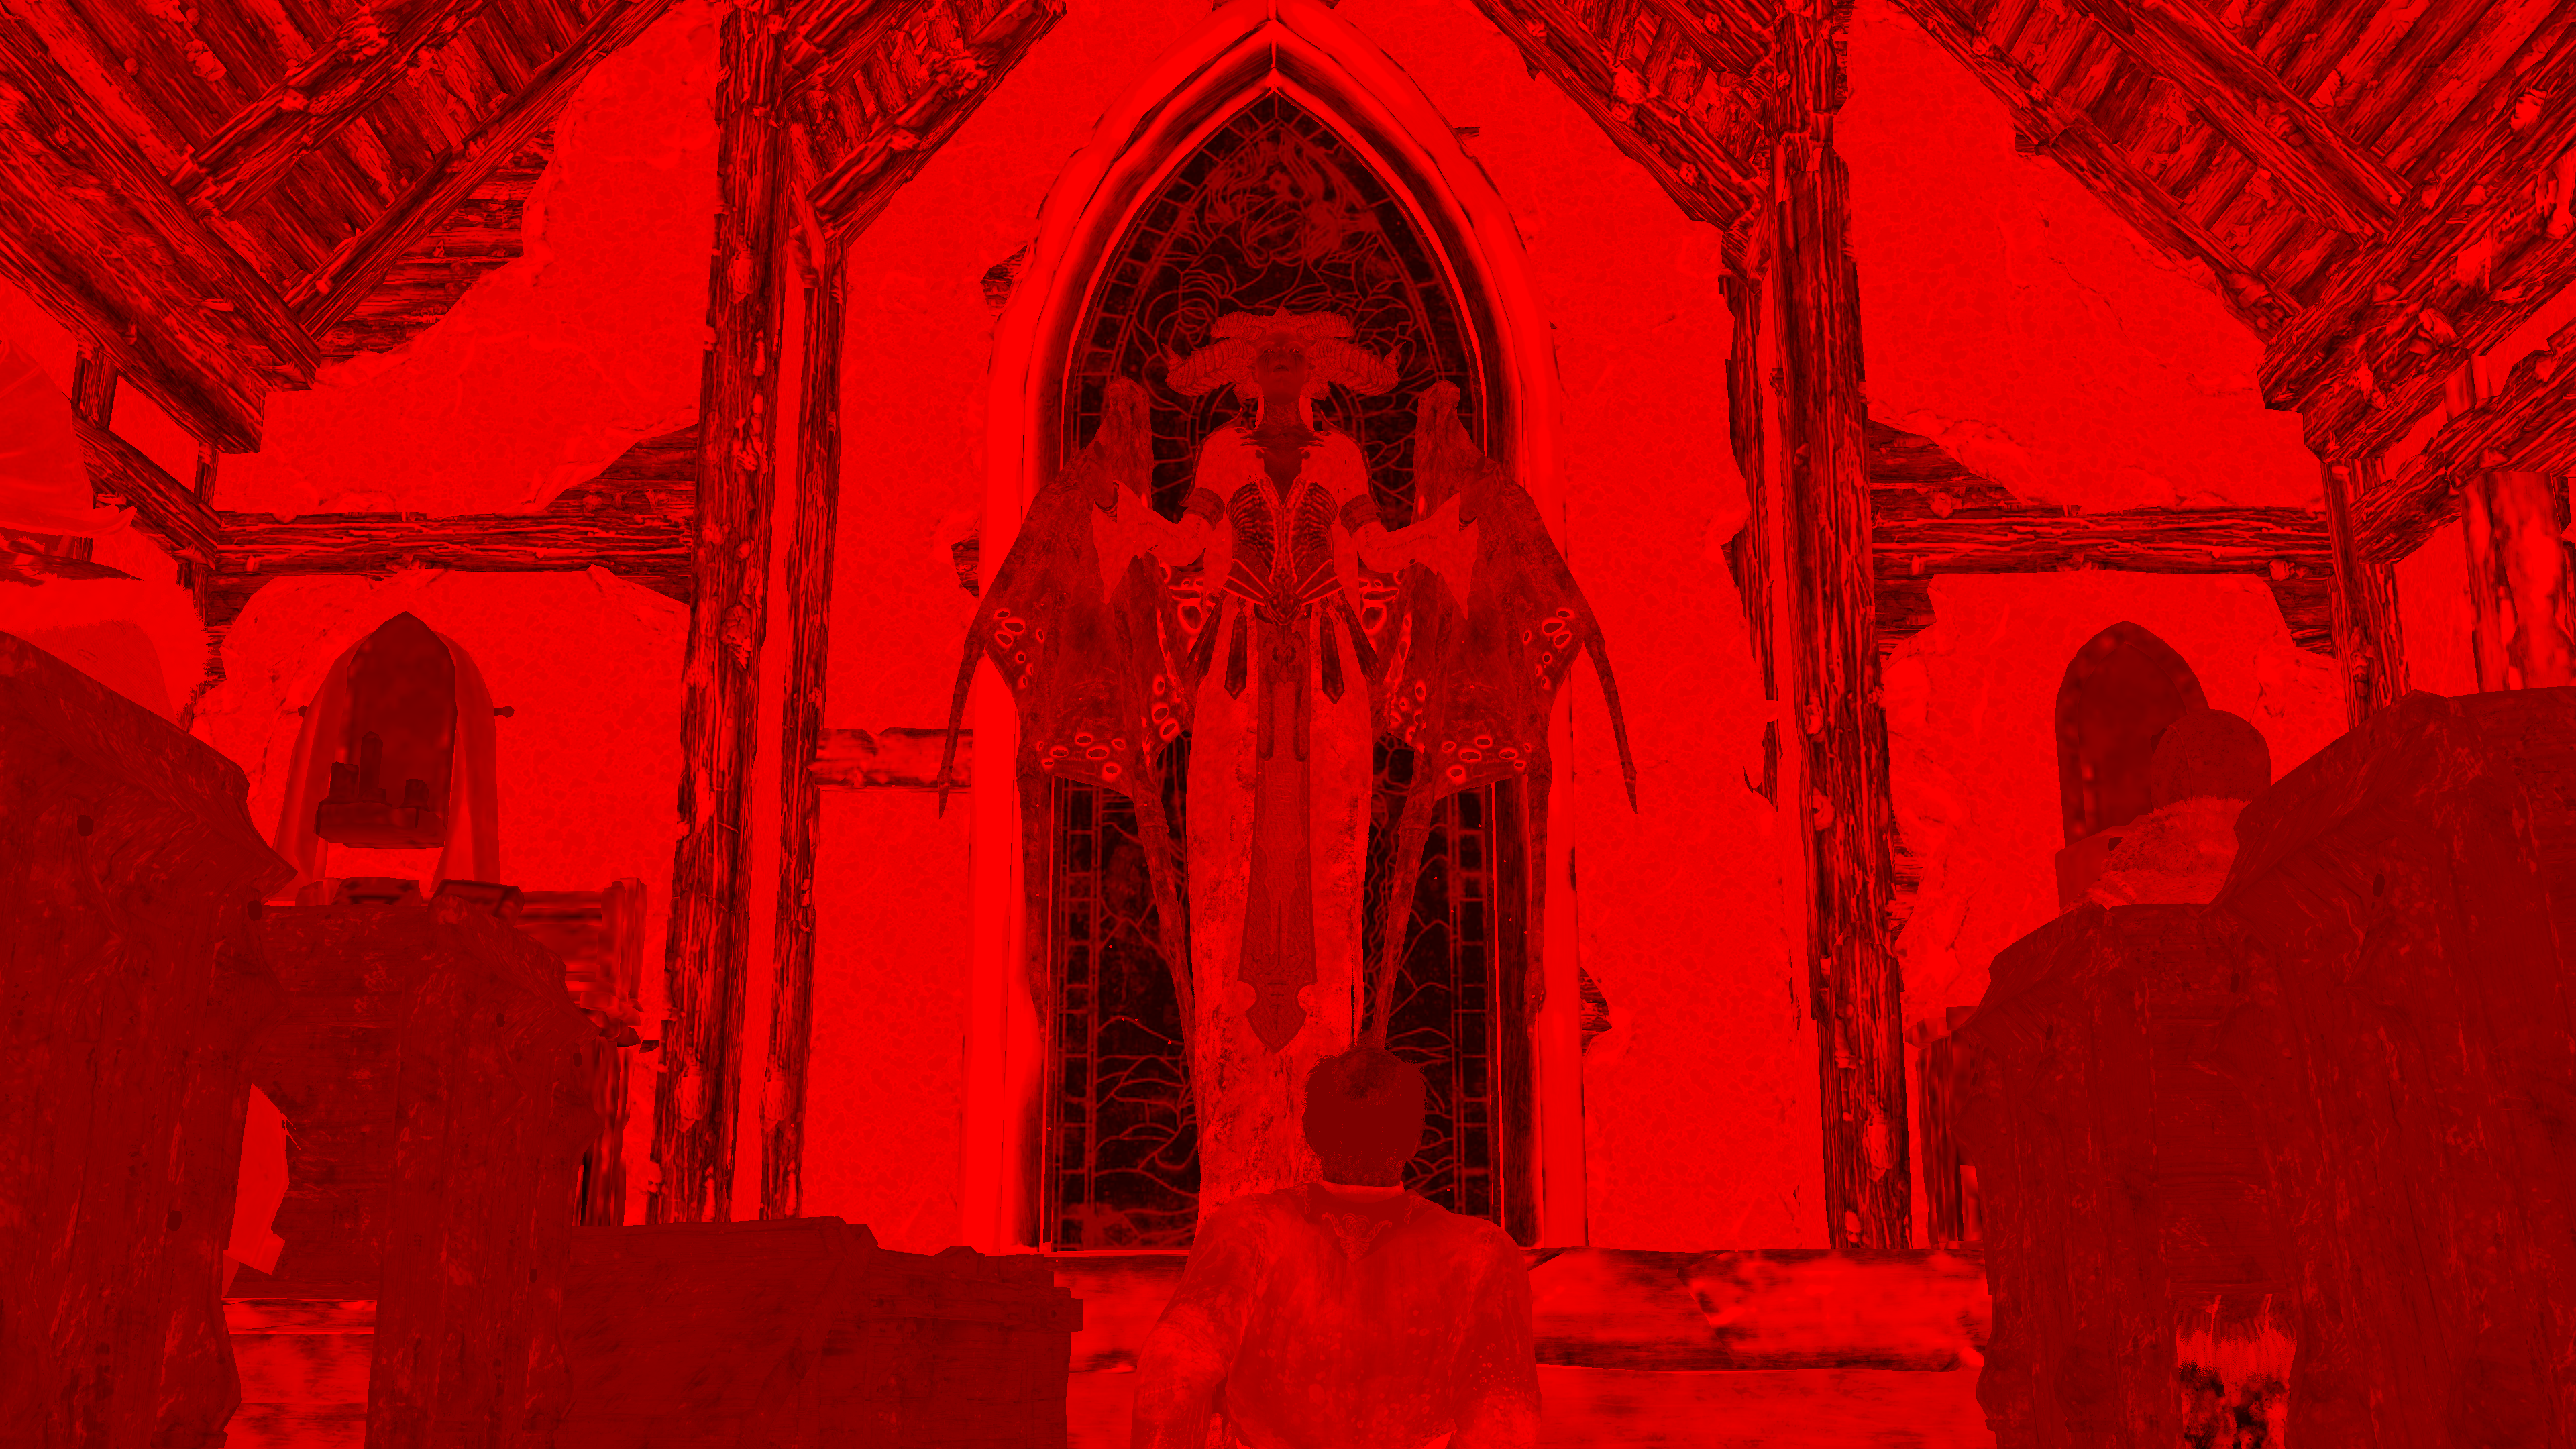
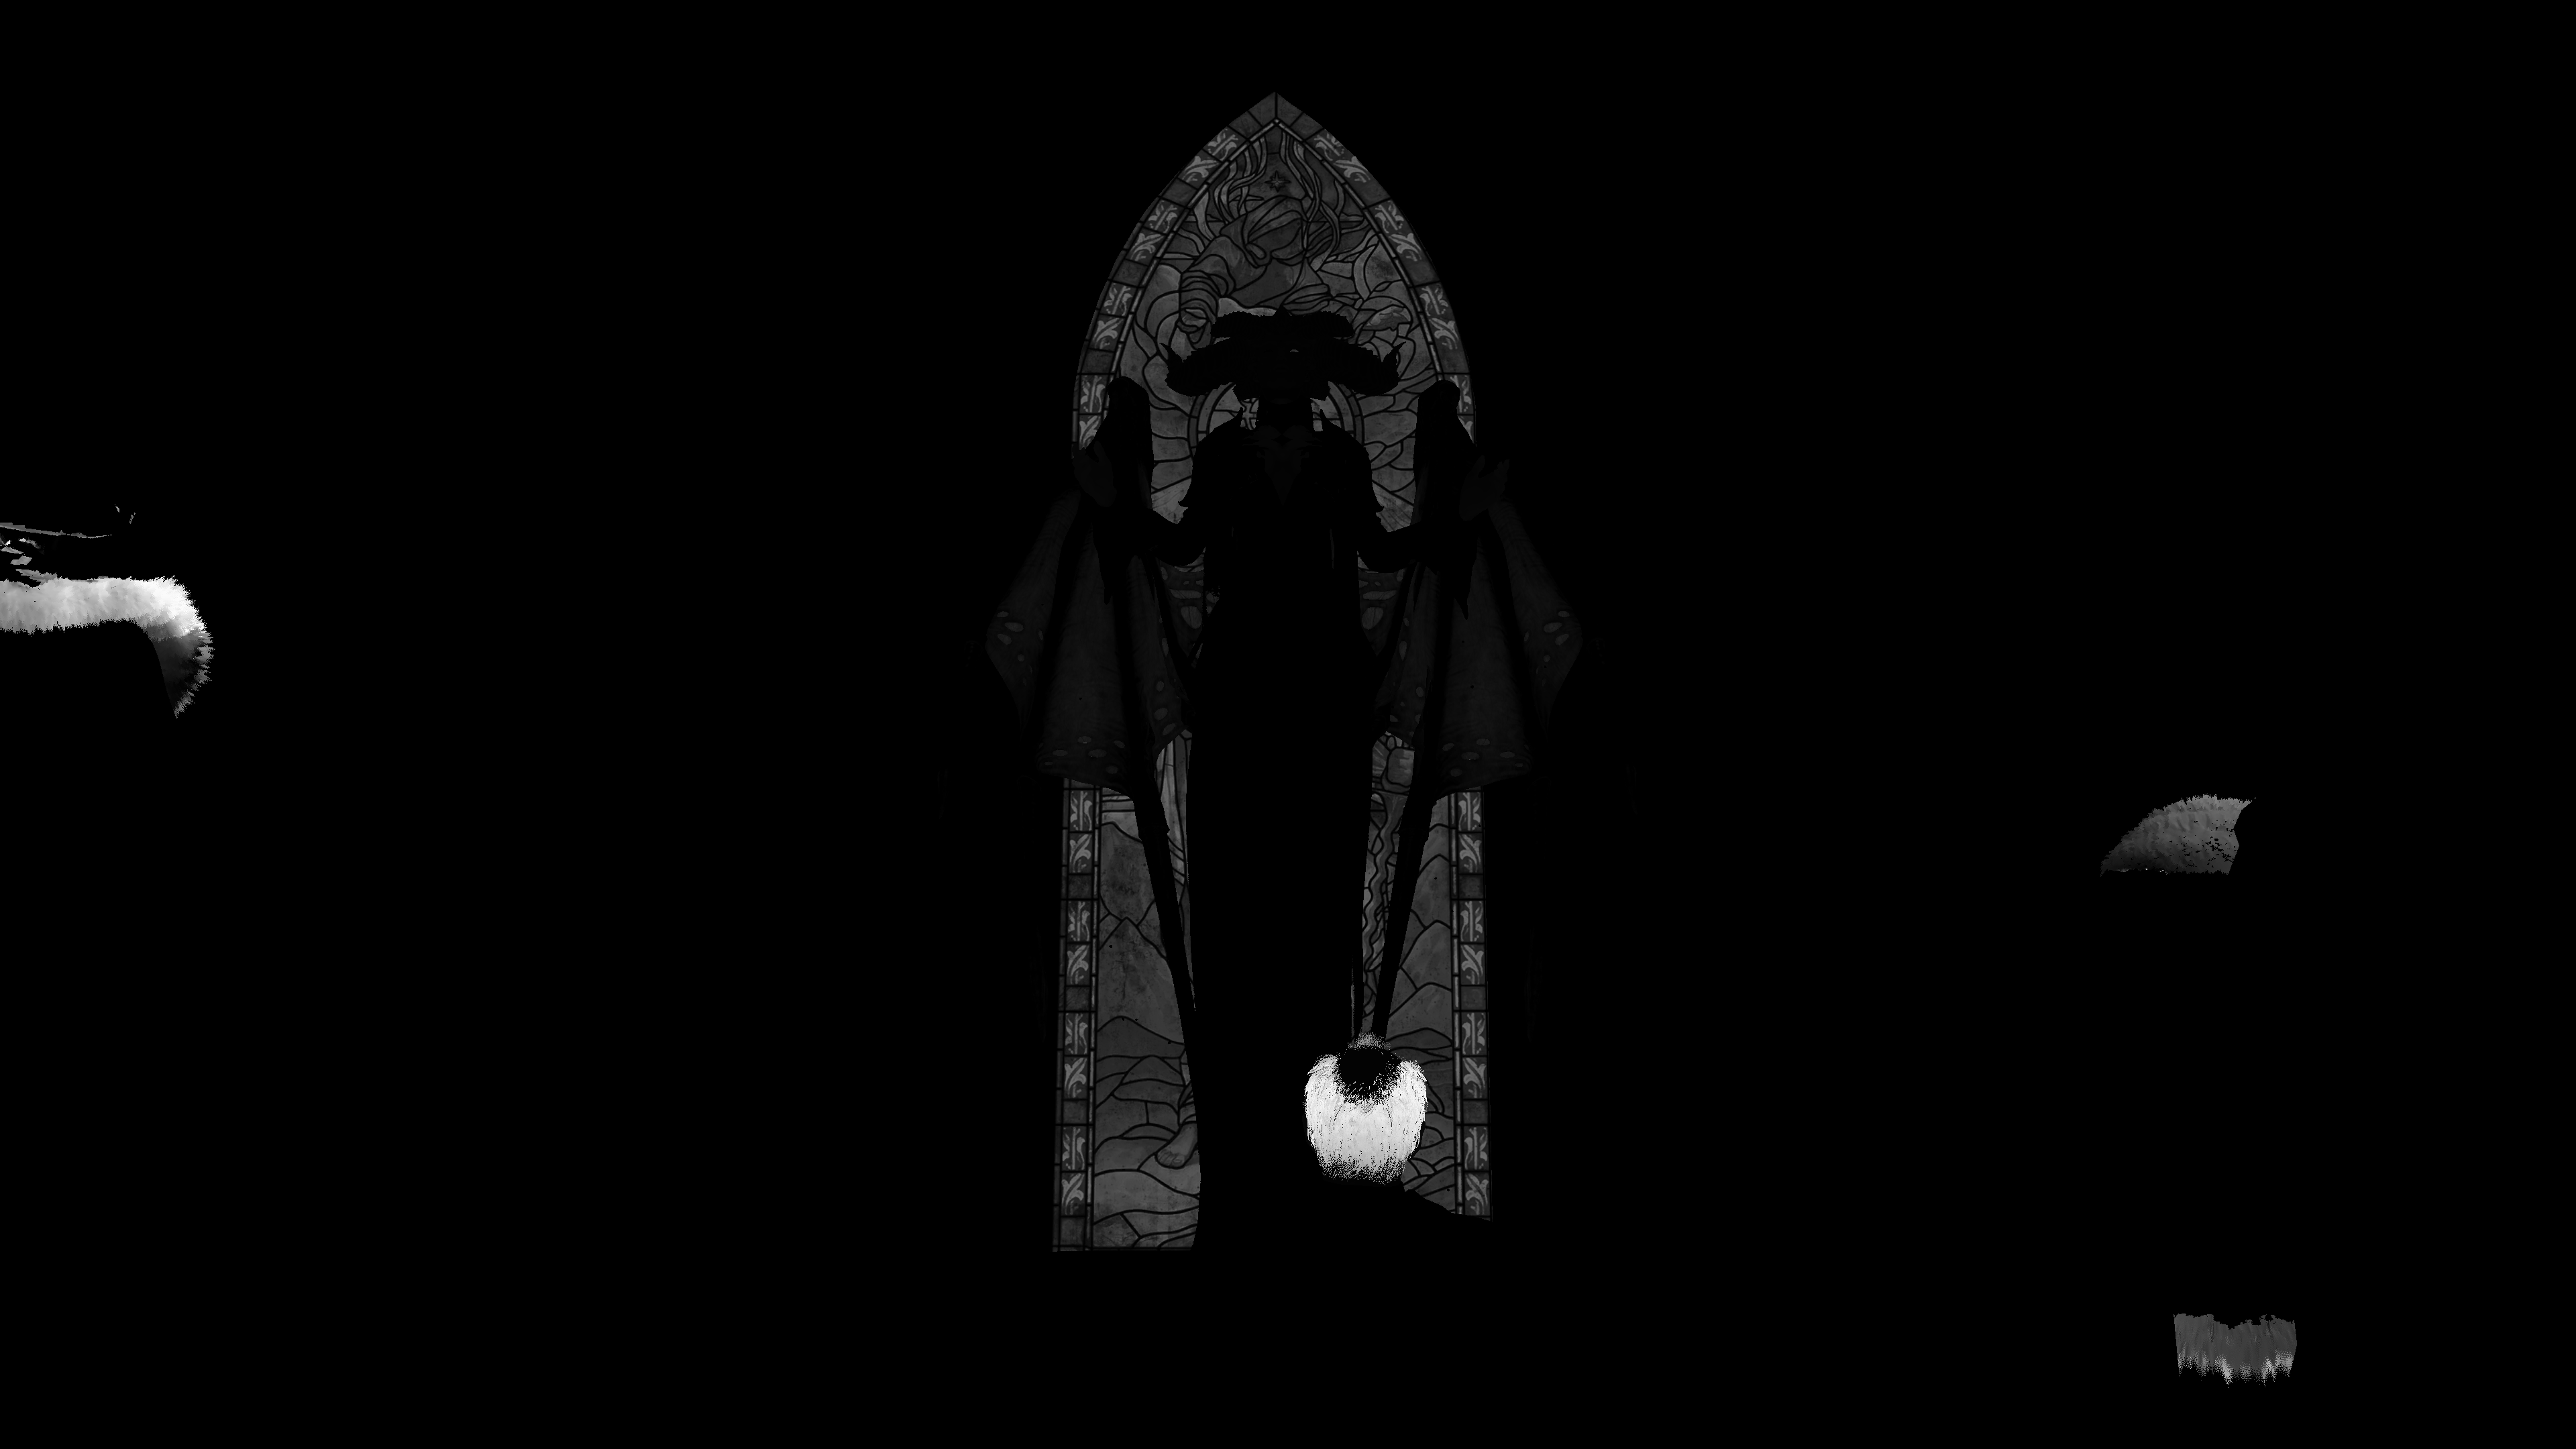
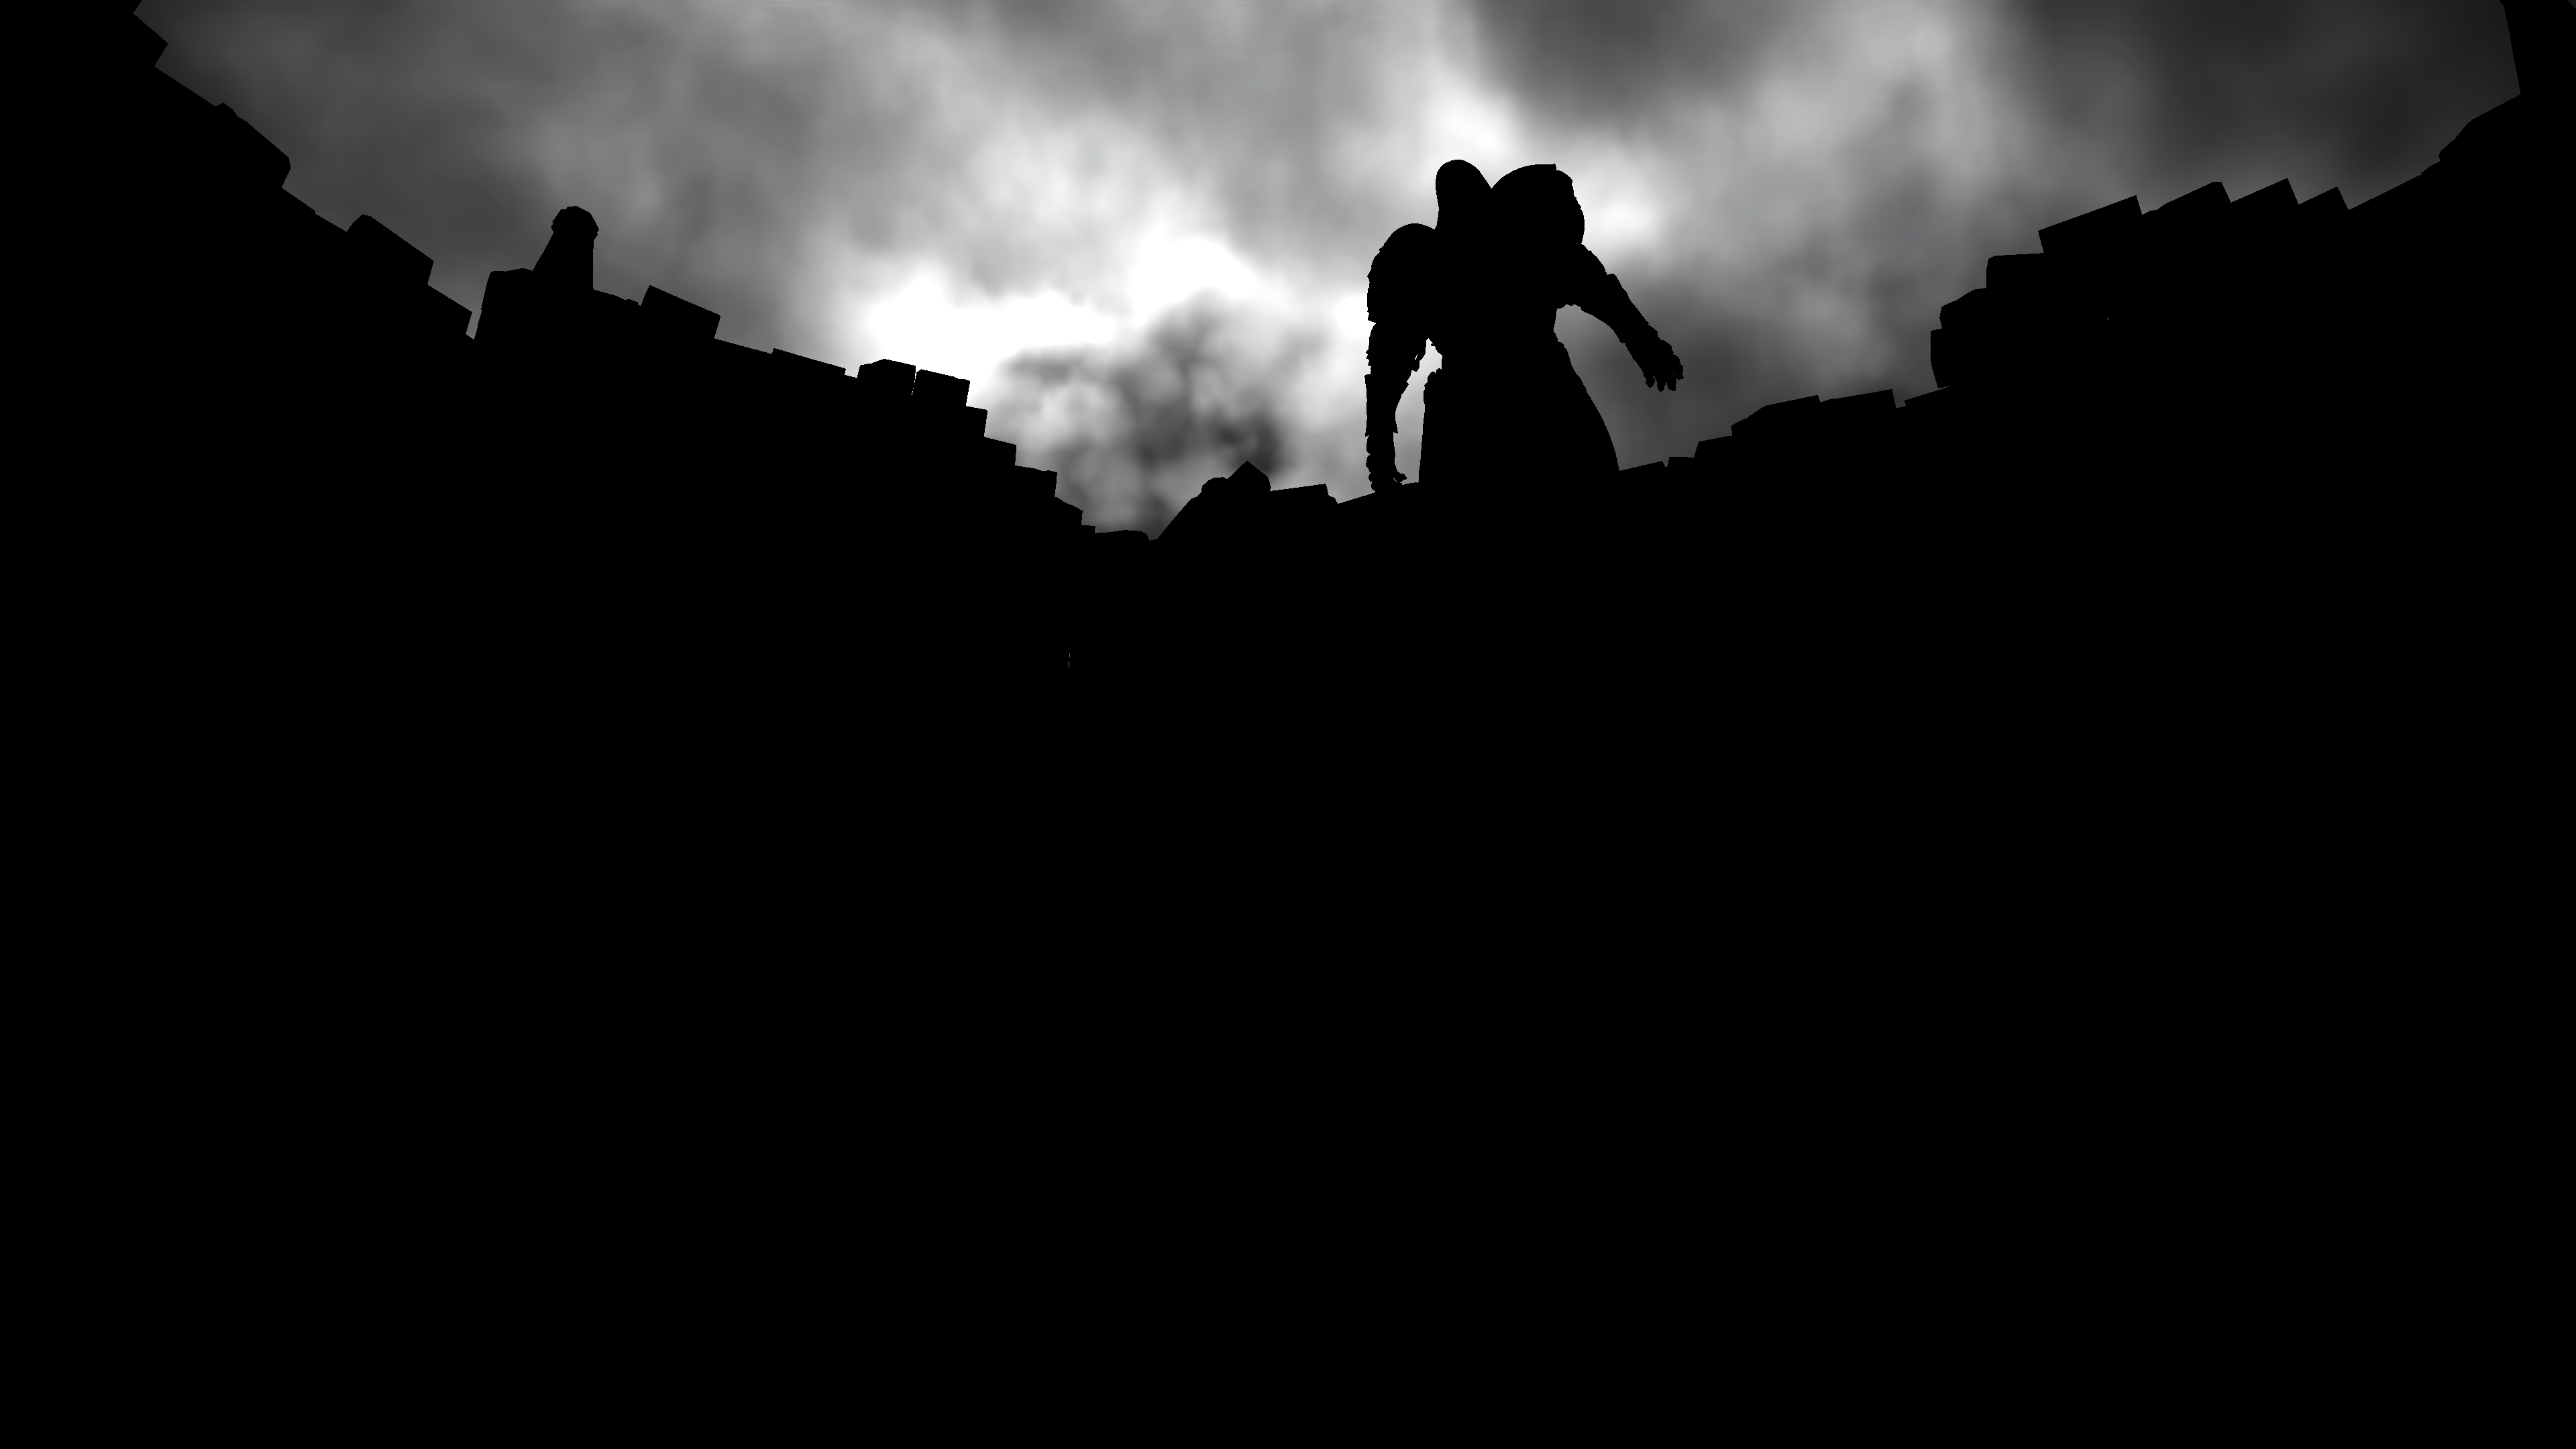
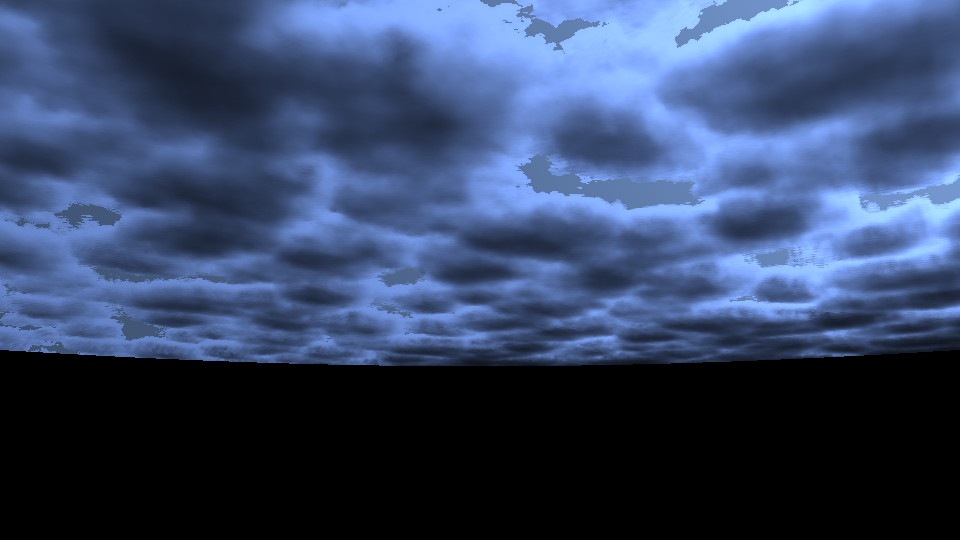
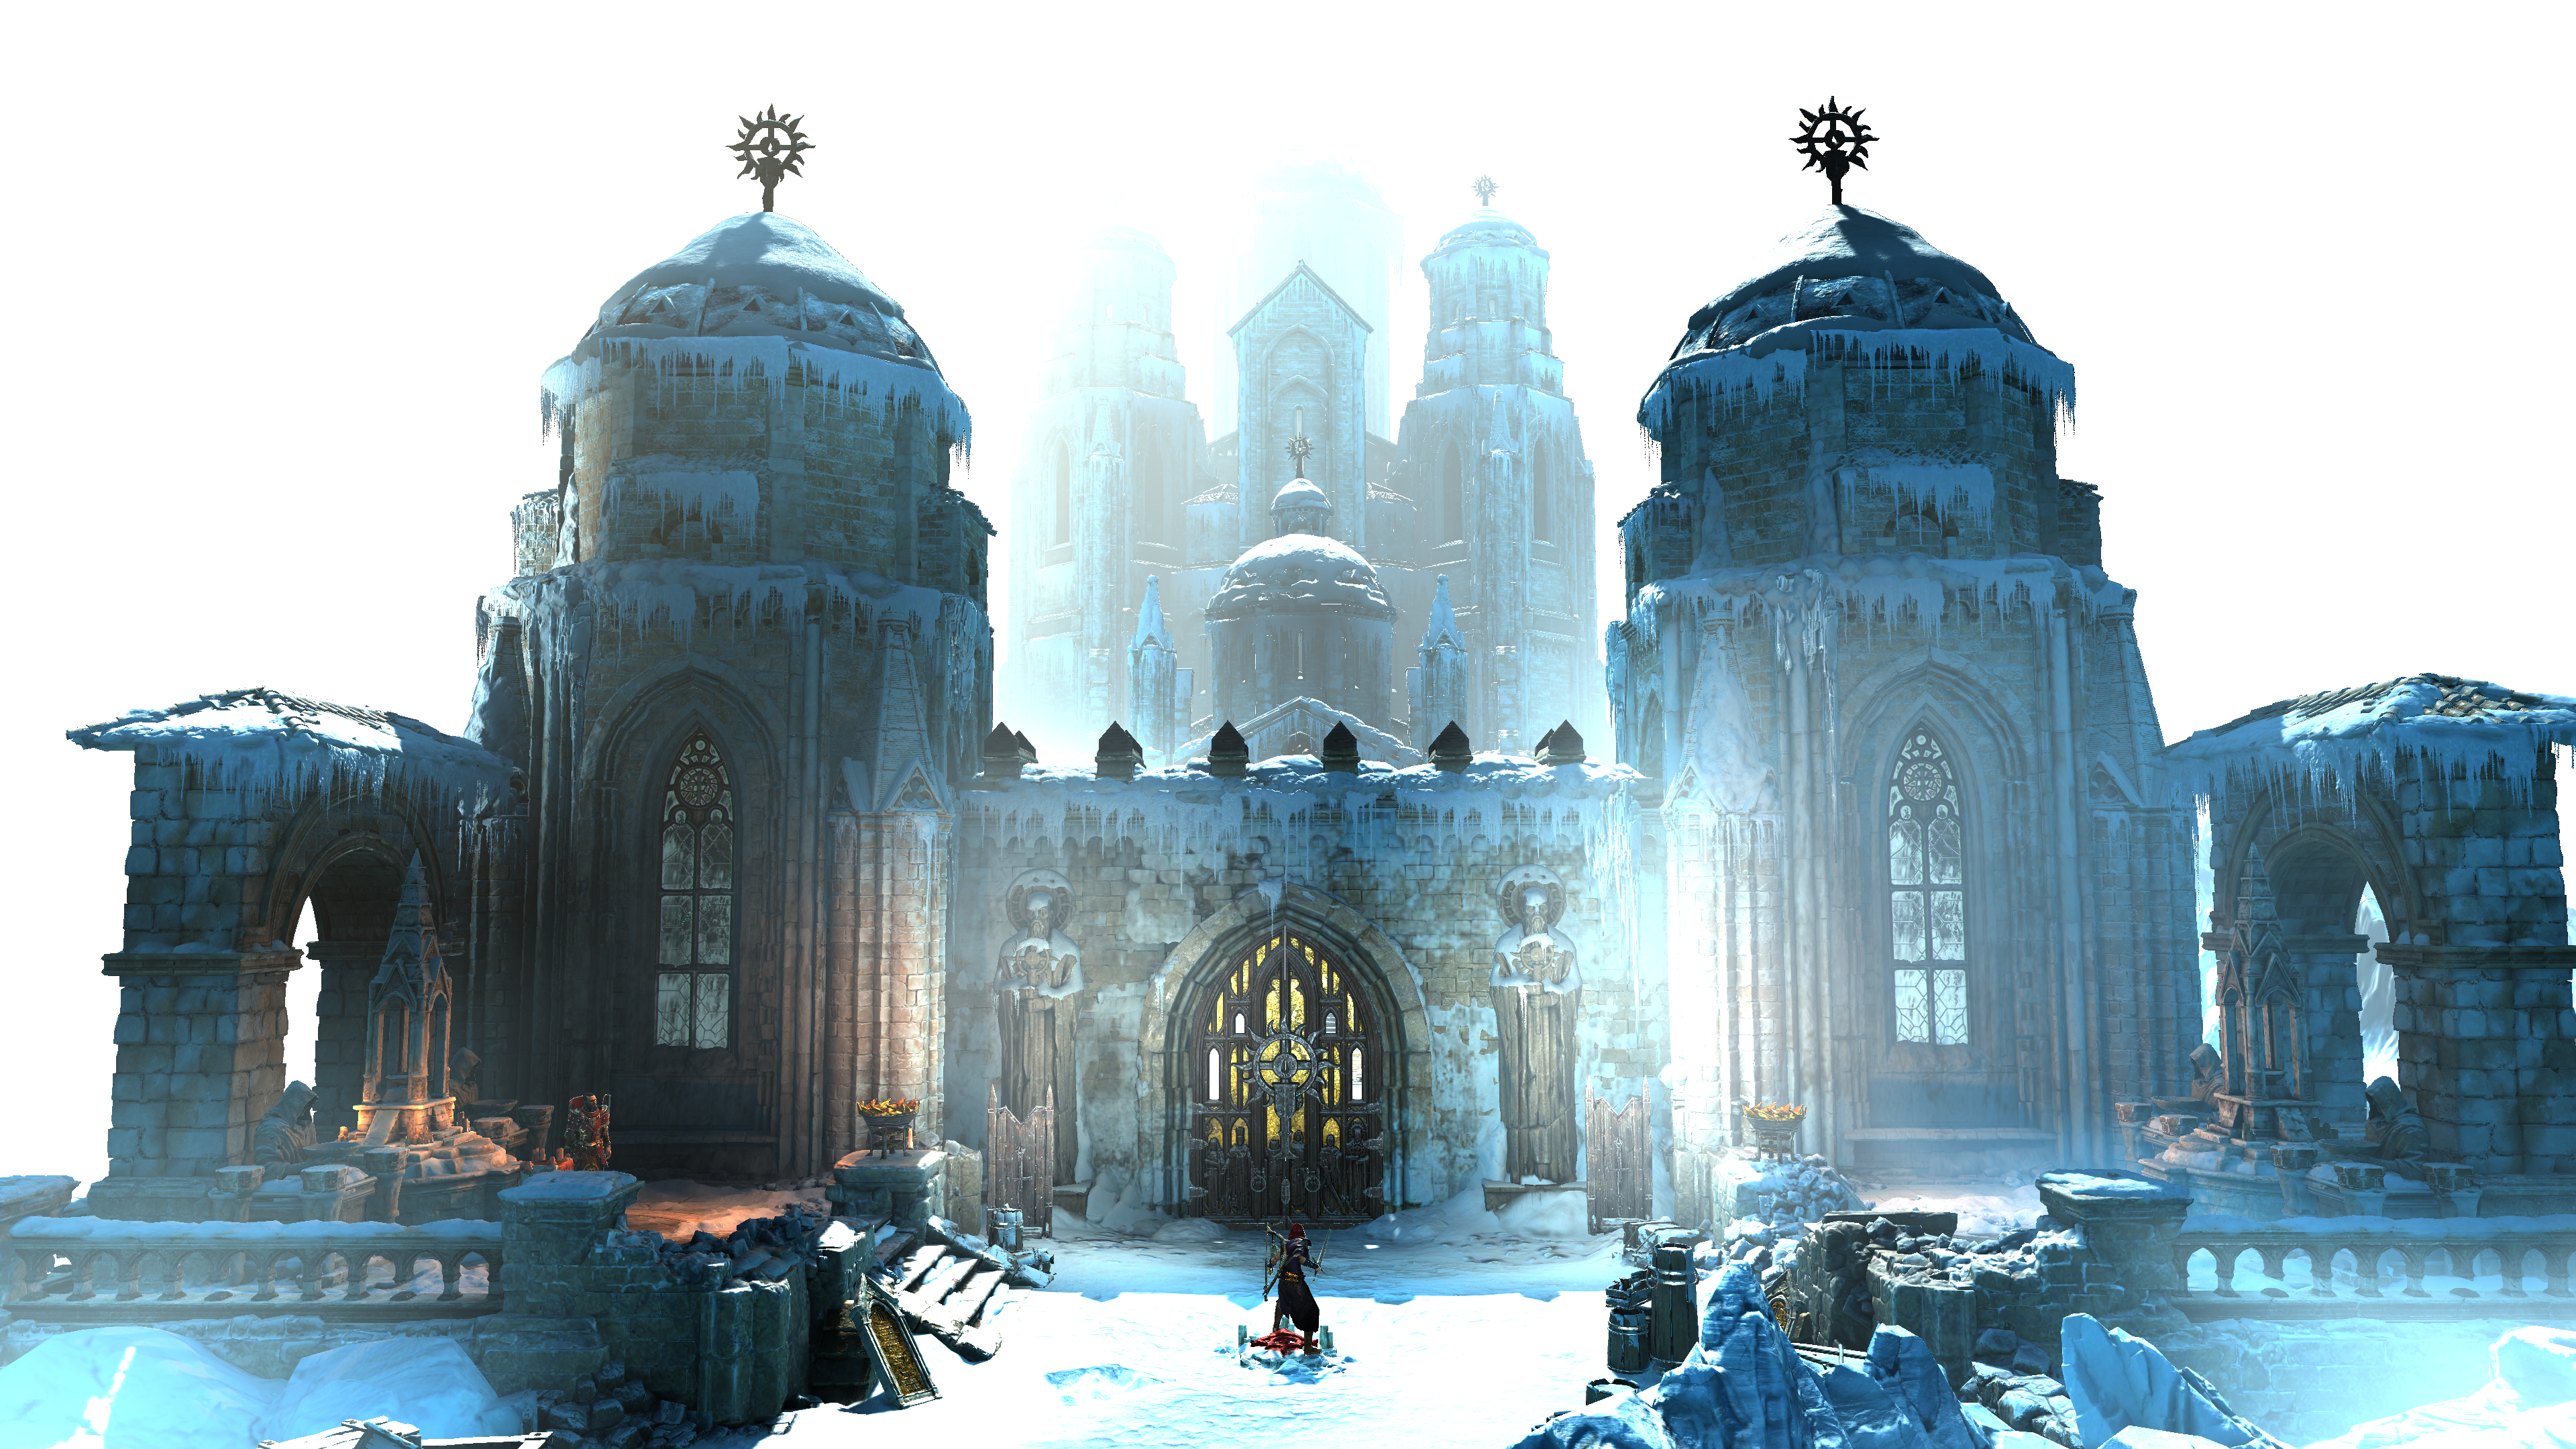
Skybox
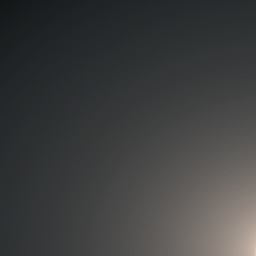
Nothing very fancy at this step. It’s just a nice round sphere drawn in a very very large scale as a skybox. It is worth mentioning that, you can see it’s contribution during cutscenes easily, but during gameplay, and due to the nature of the top-down view, it’s is hard-to-impossible to see the skybox, but sometimes you can observe some shading that is caused by it.
Also the sky will output a mask of it’s coverage, this is needed in the next step. That mask will mostly be solid black at the case of gameplay (aka top-down camera that doesn’t see any part of the sky).


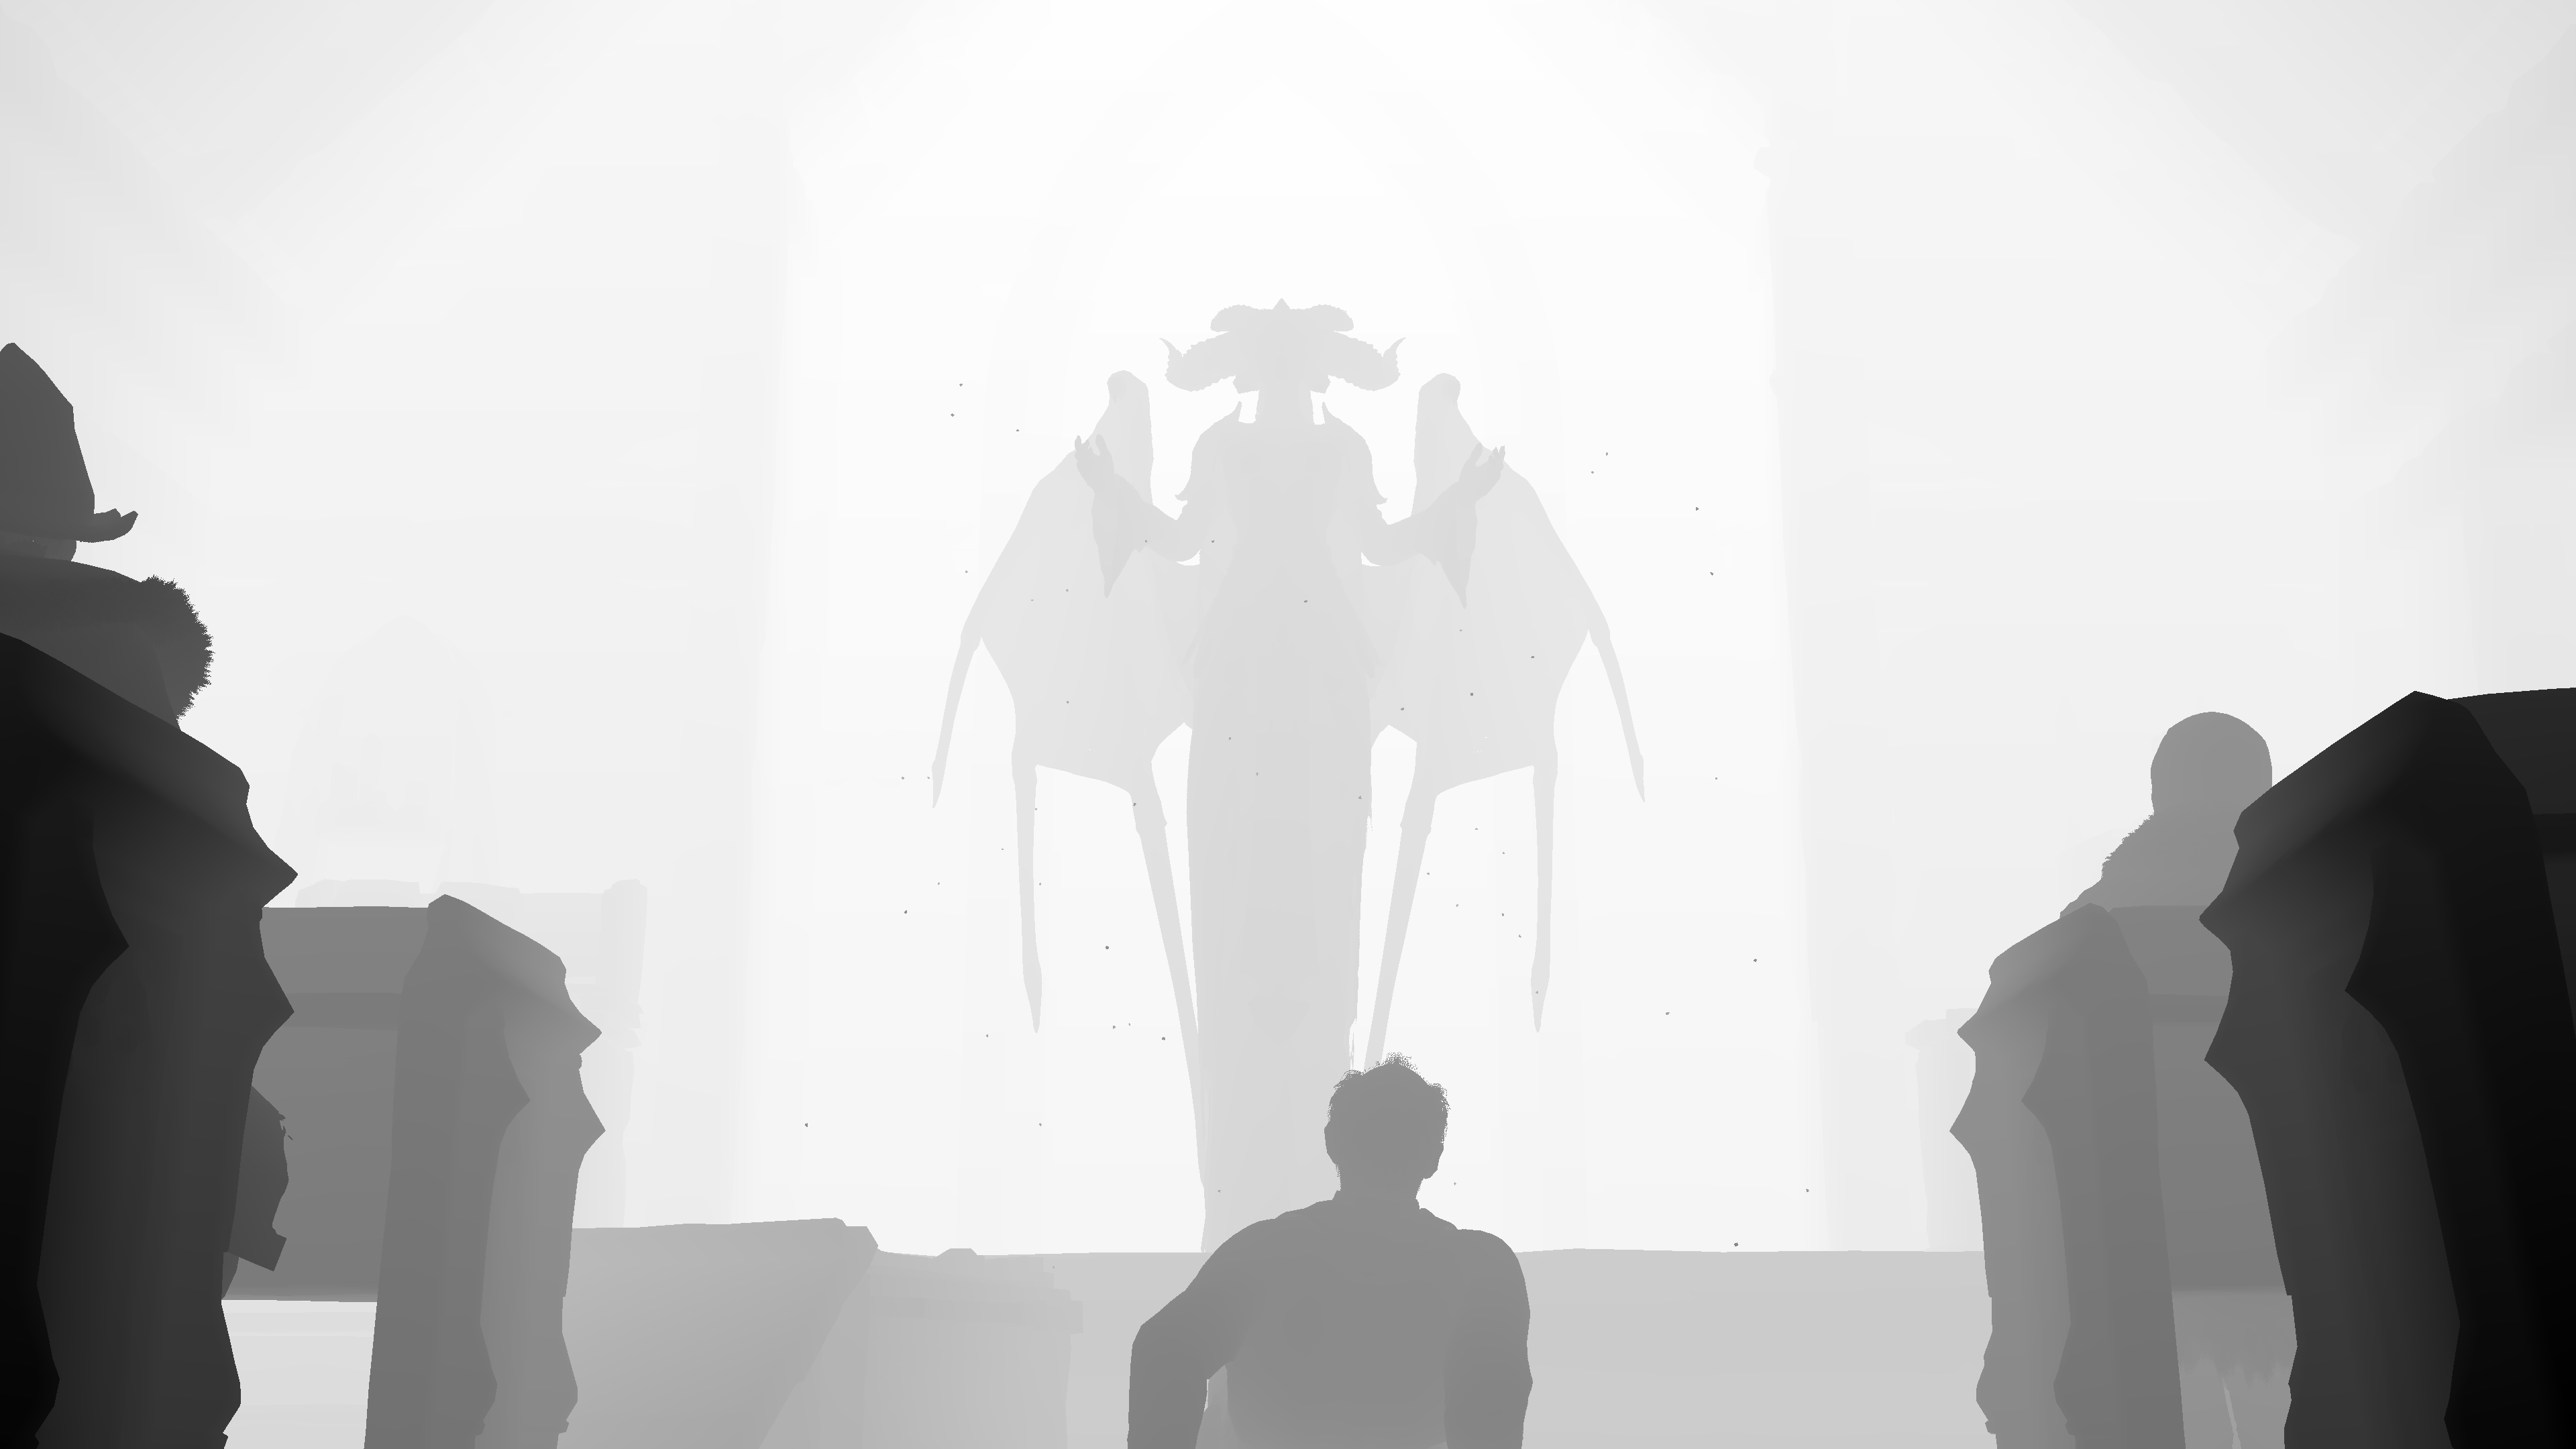
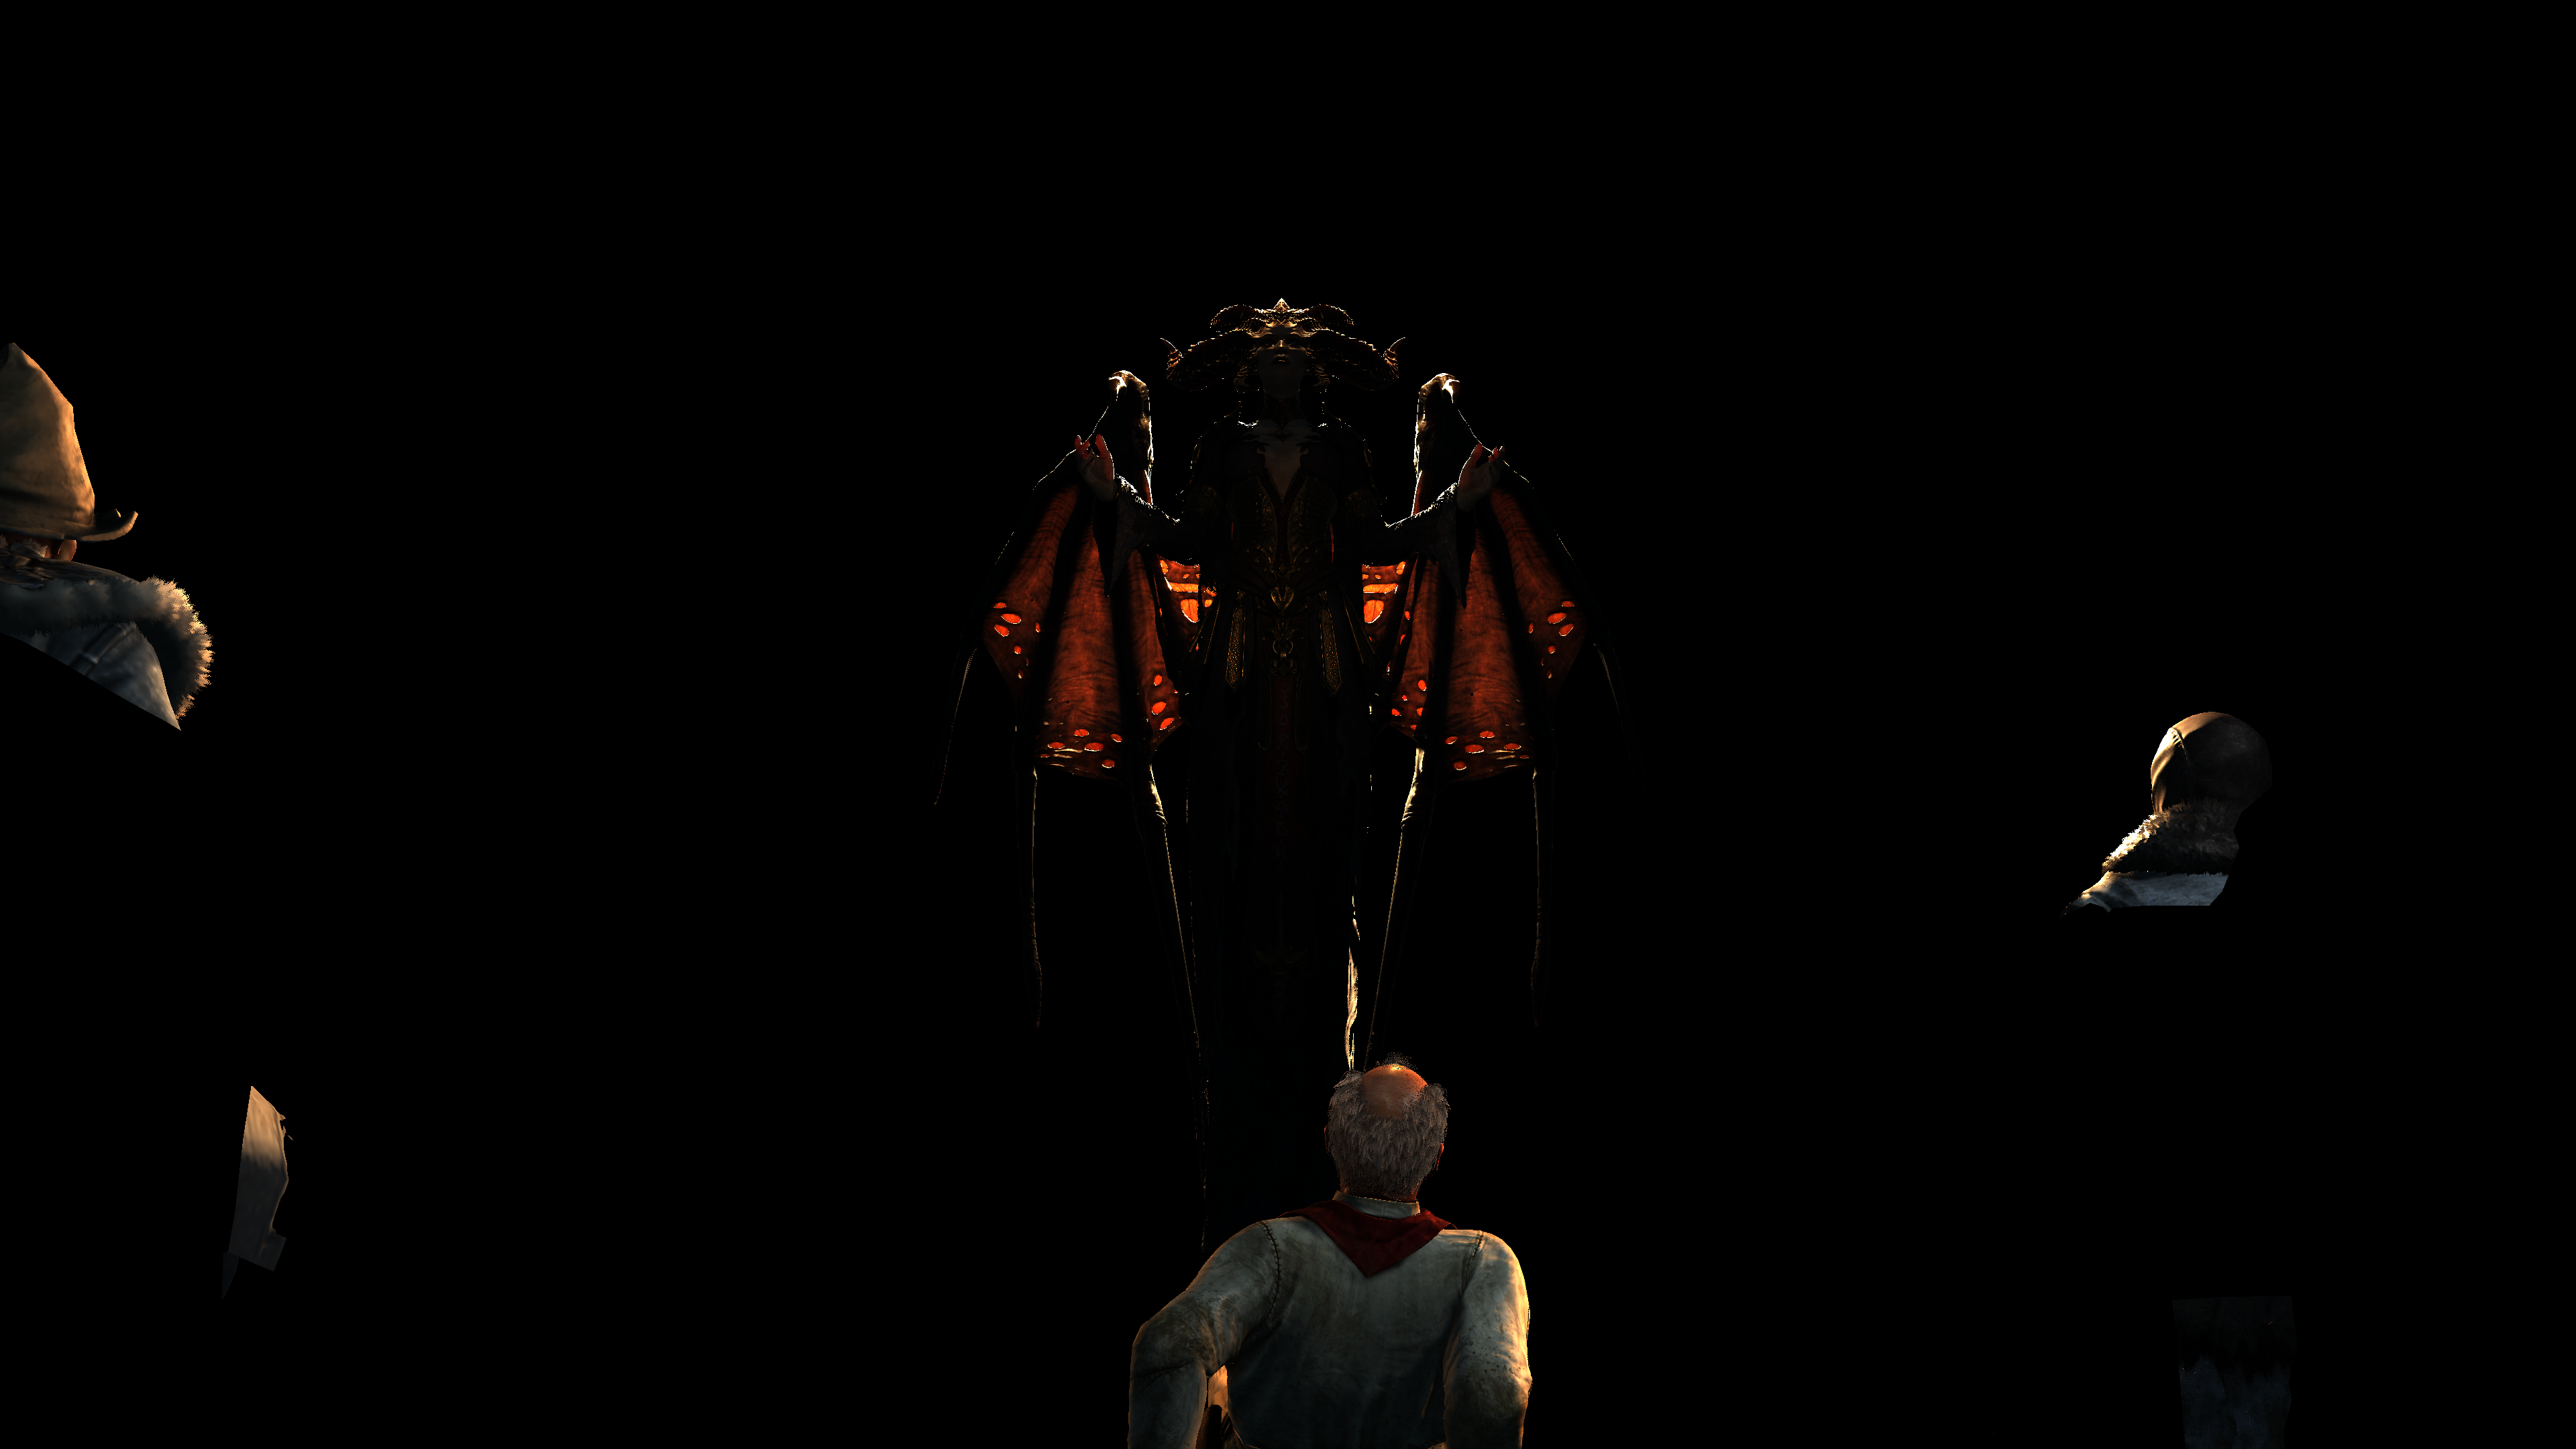
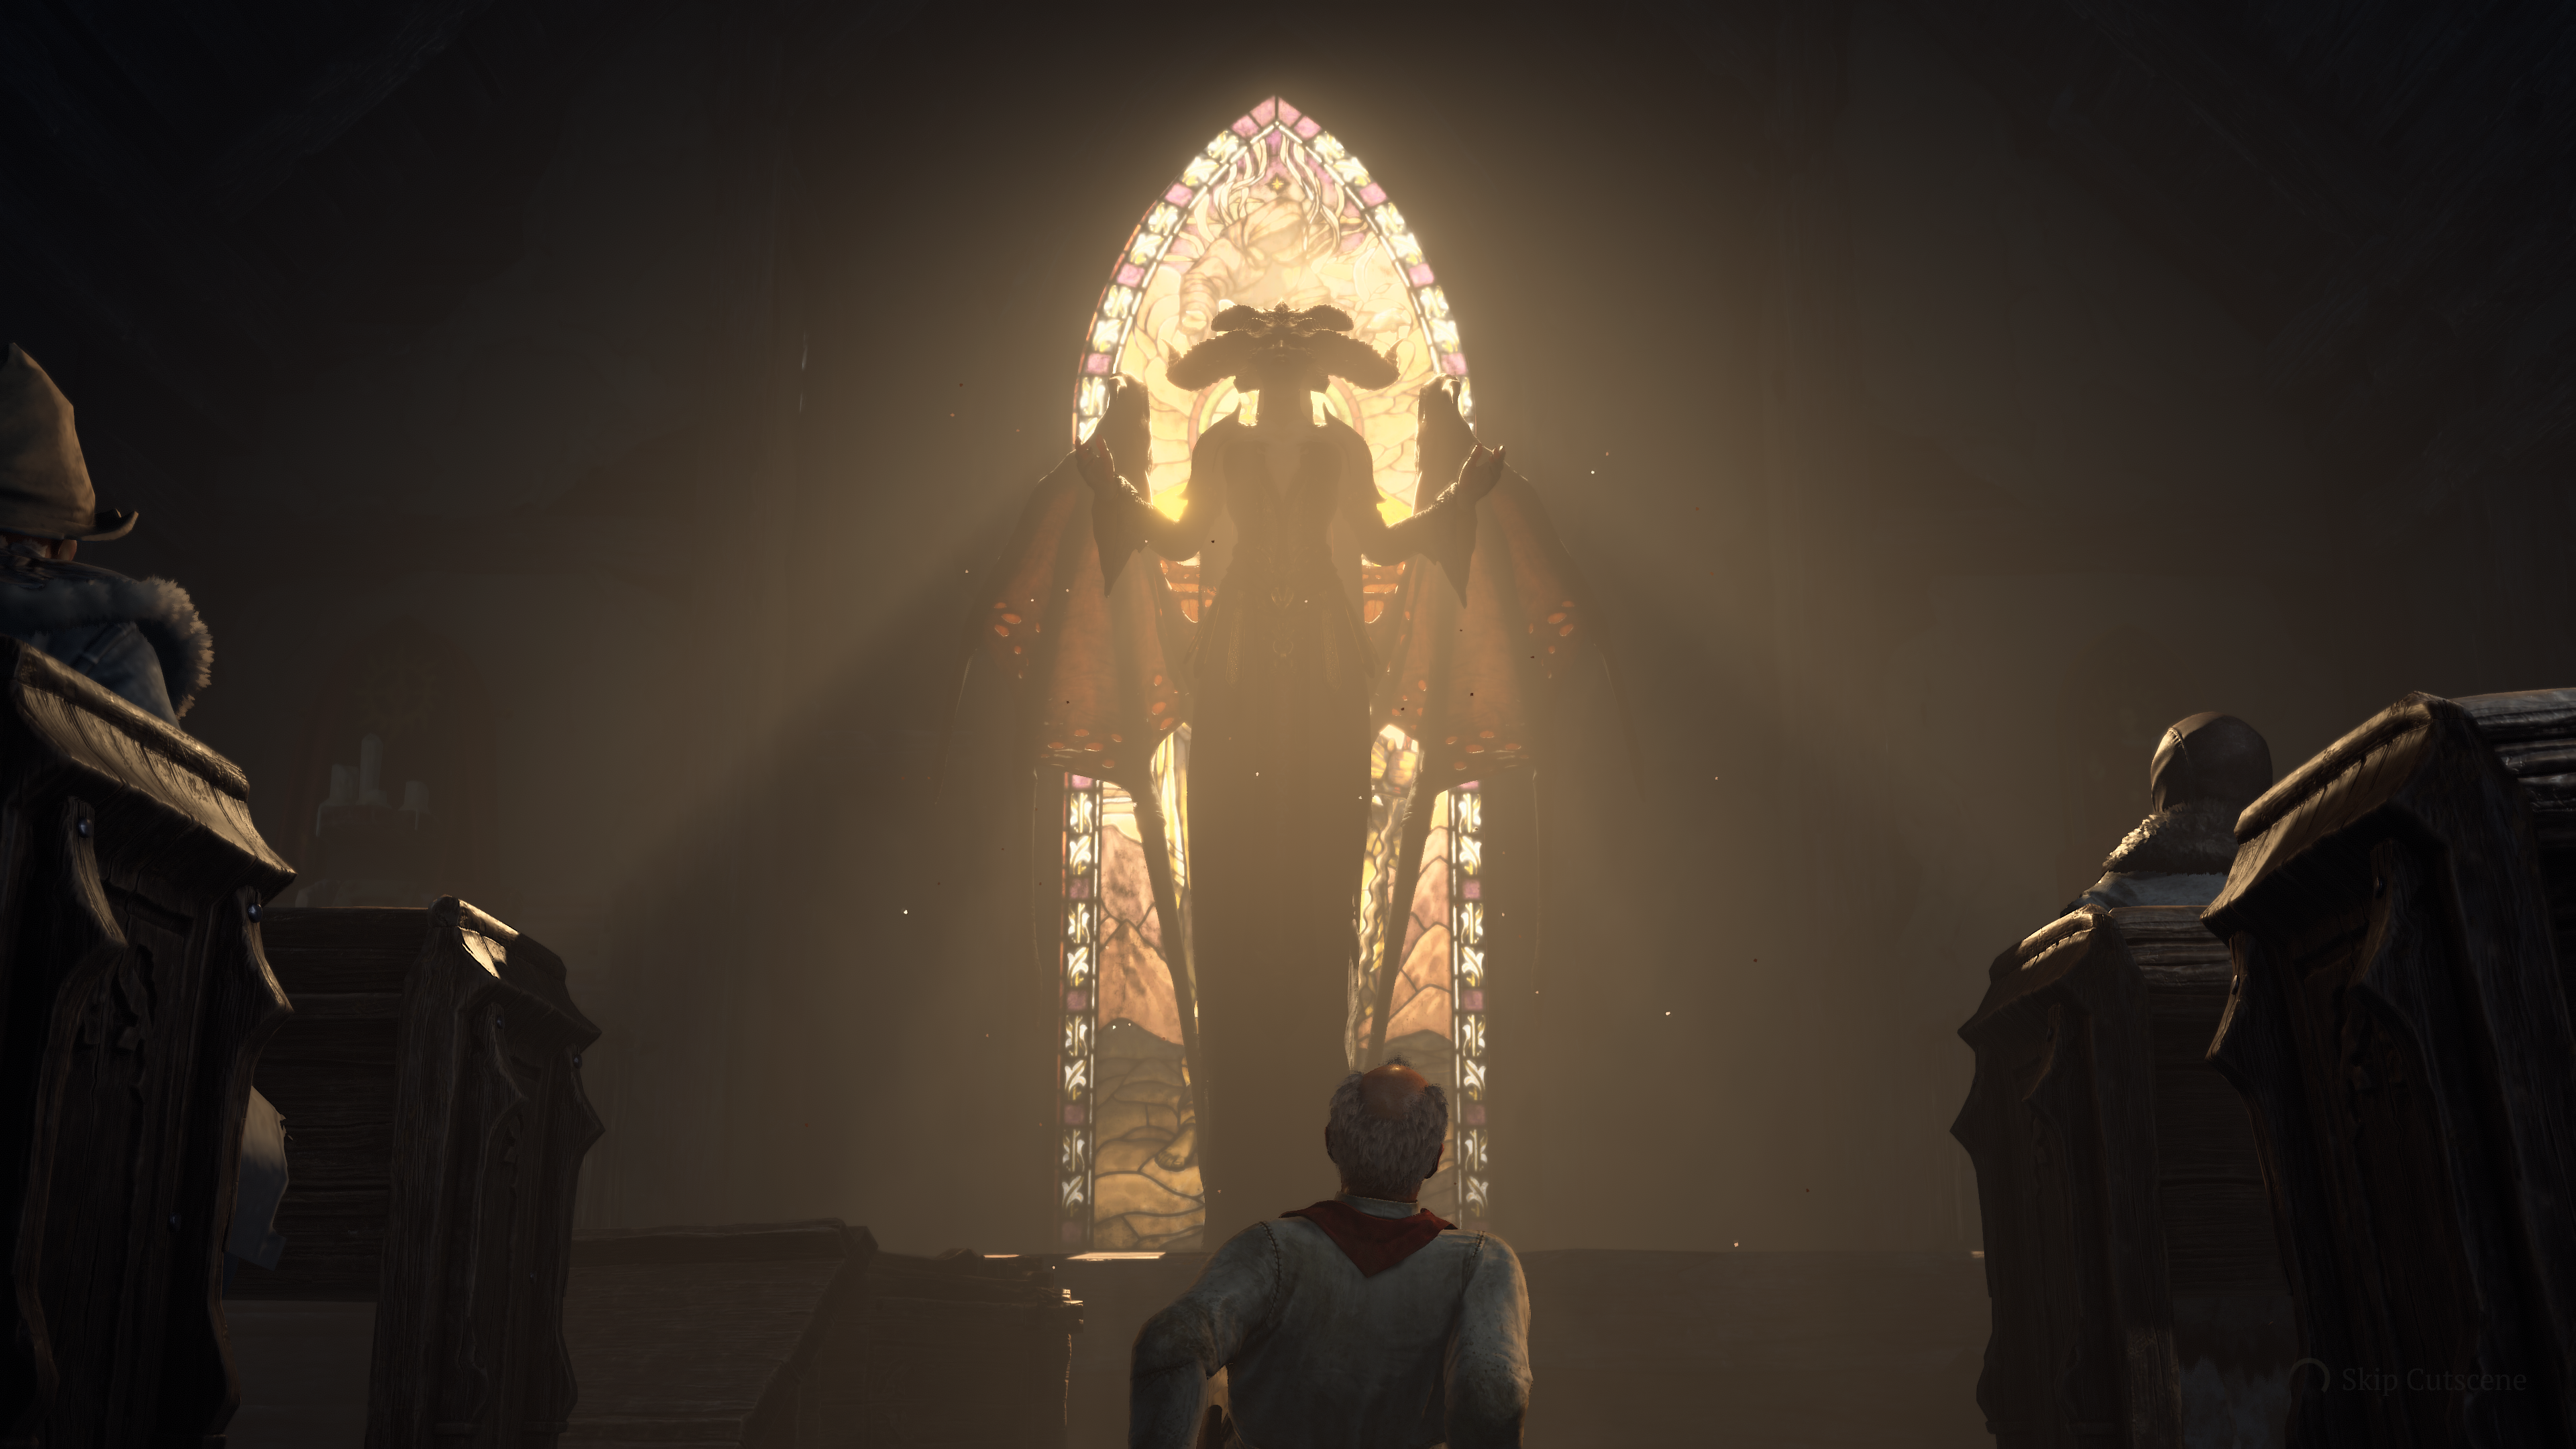
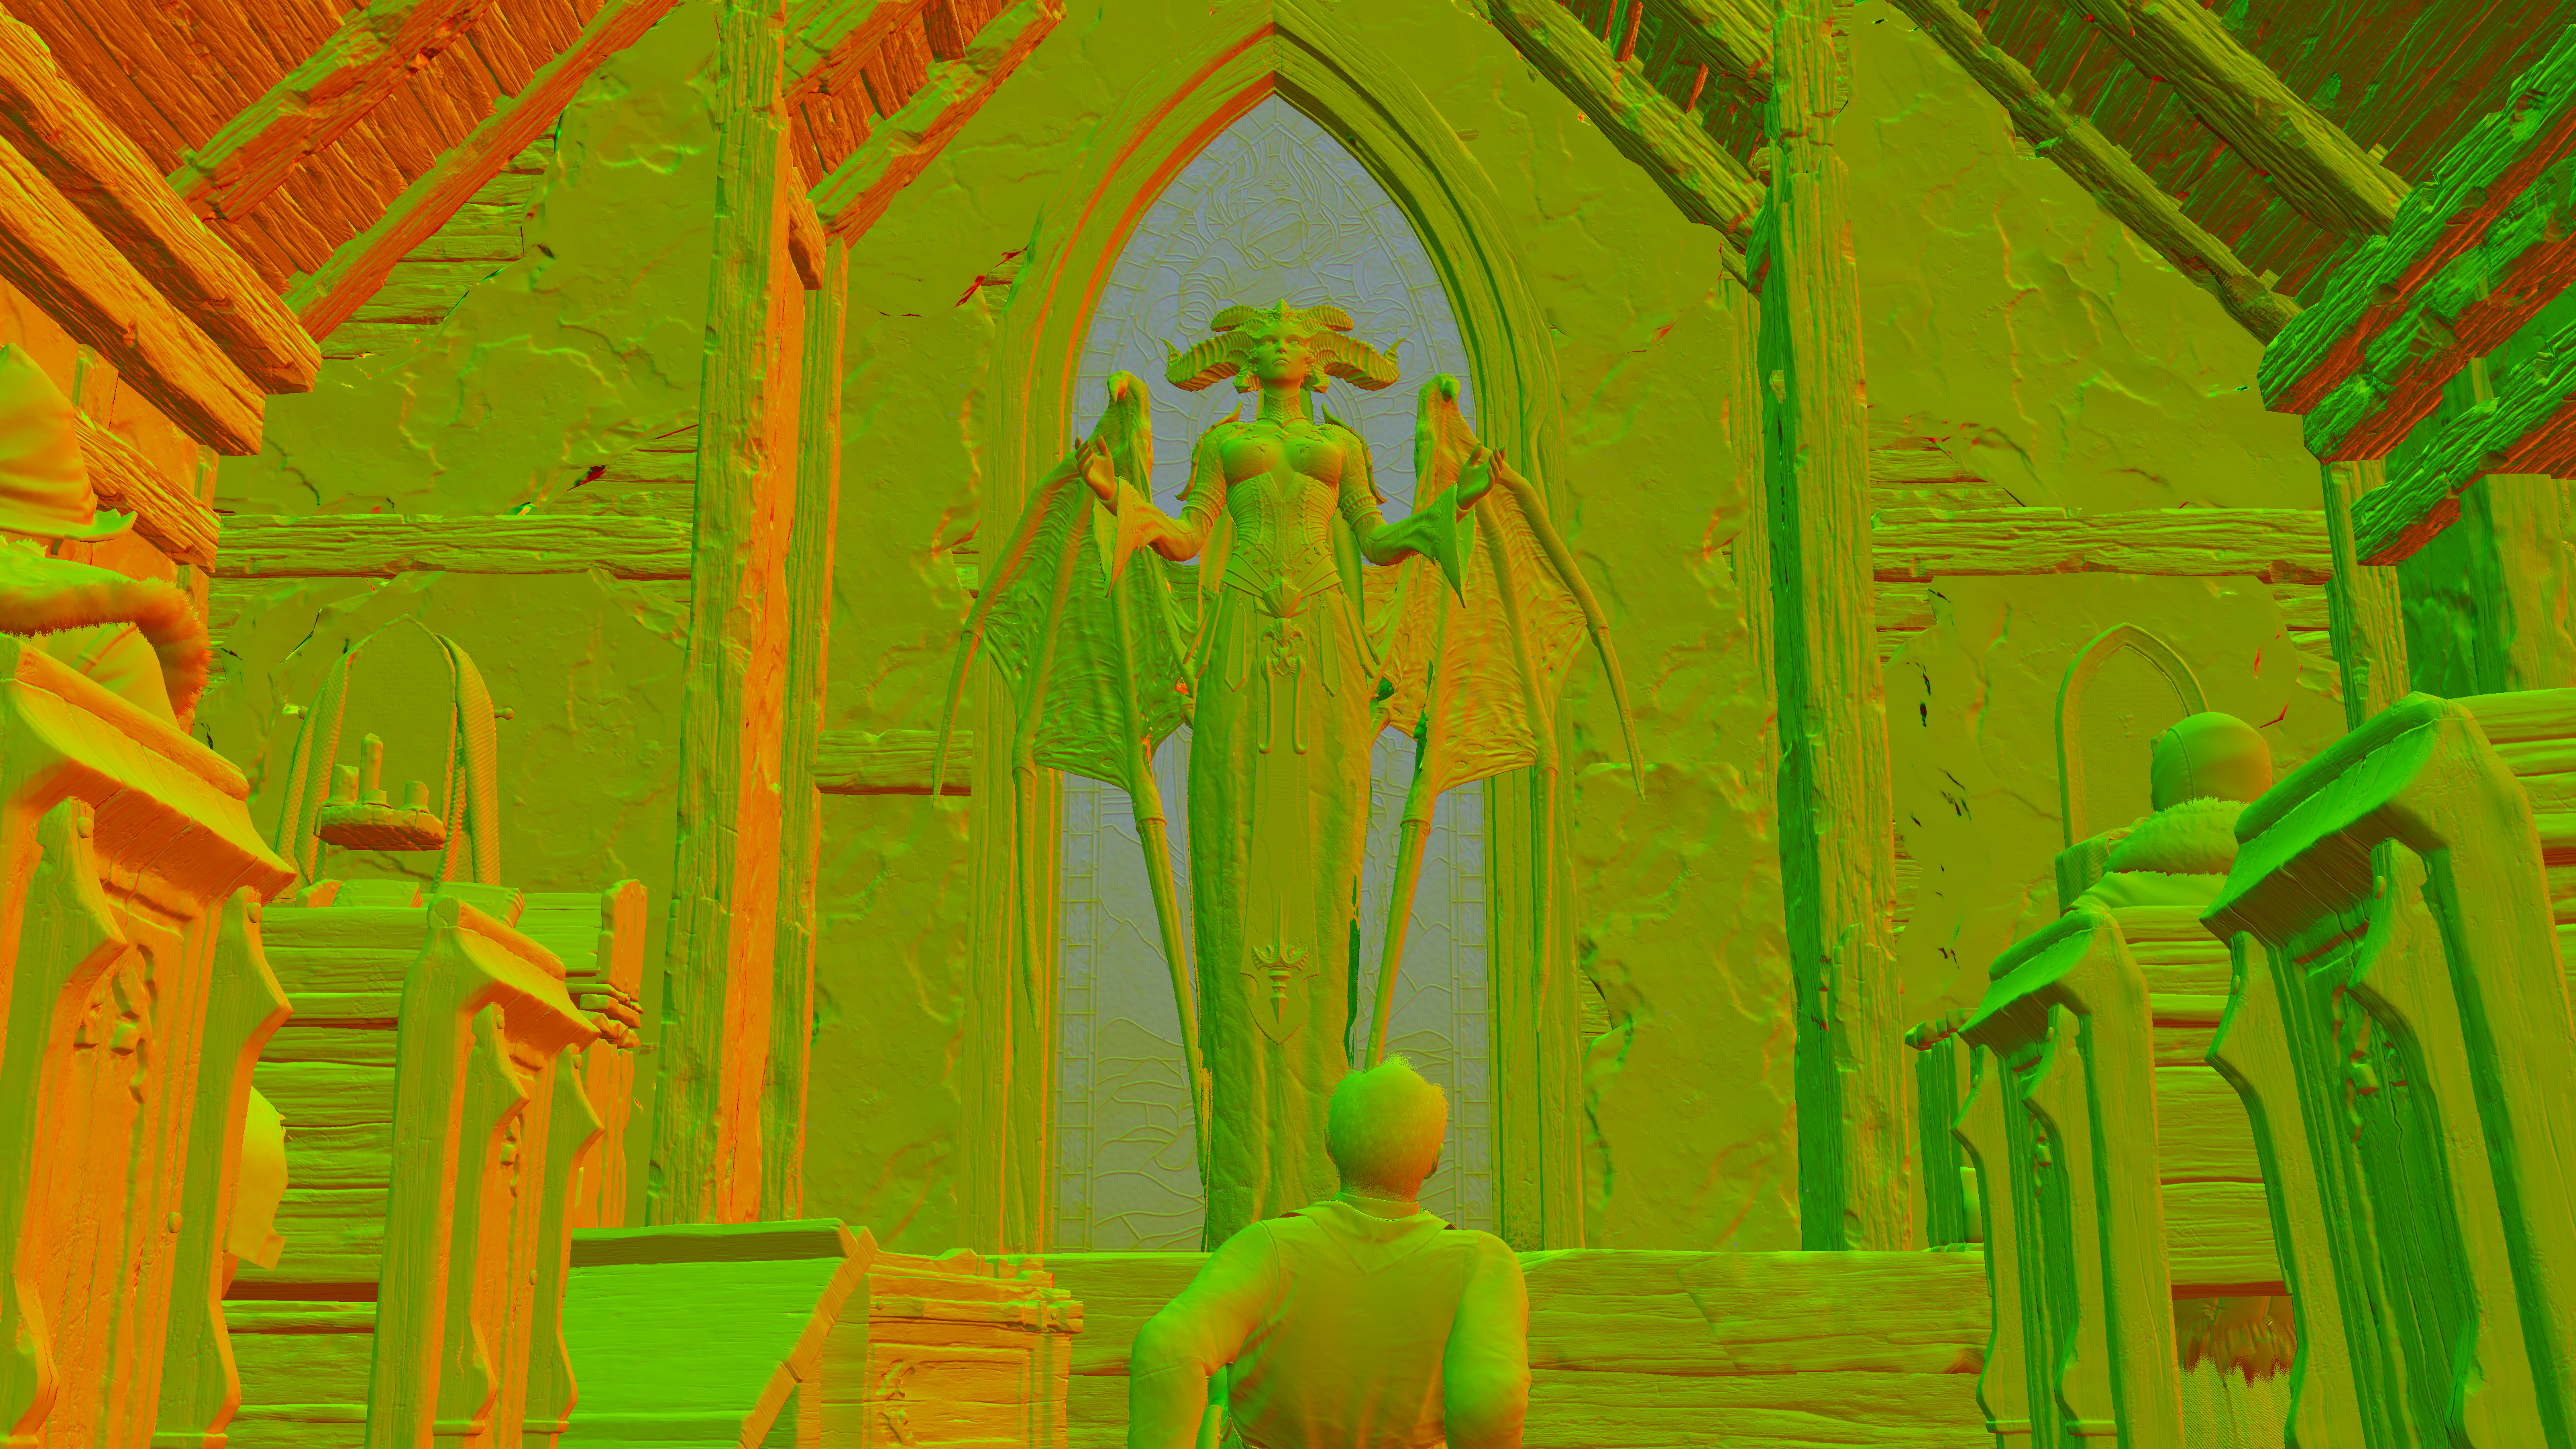
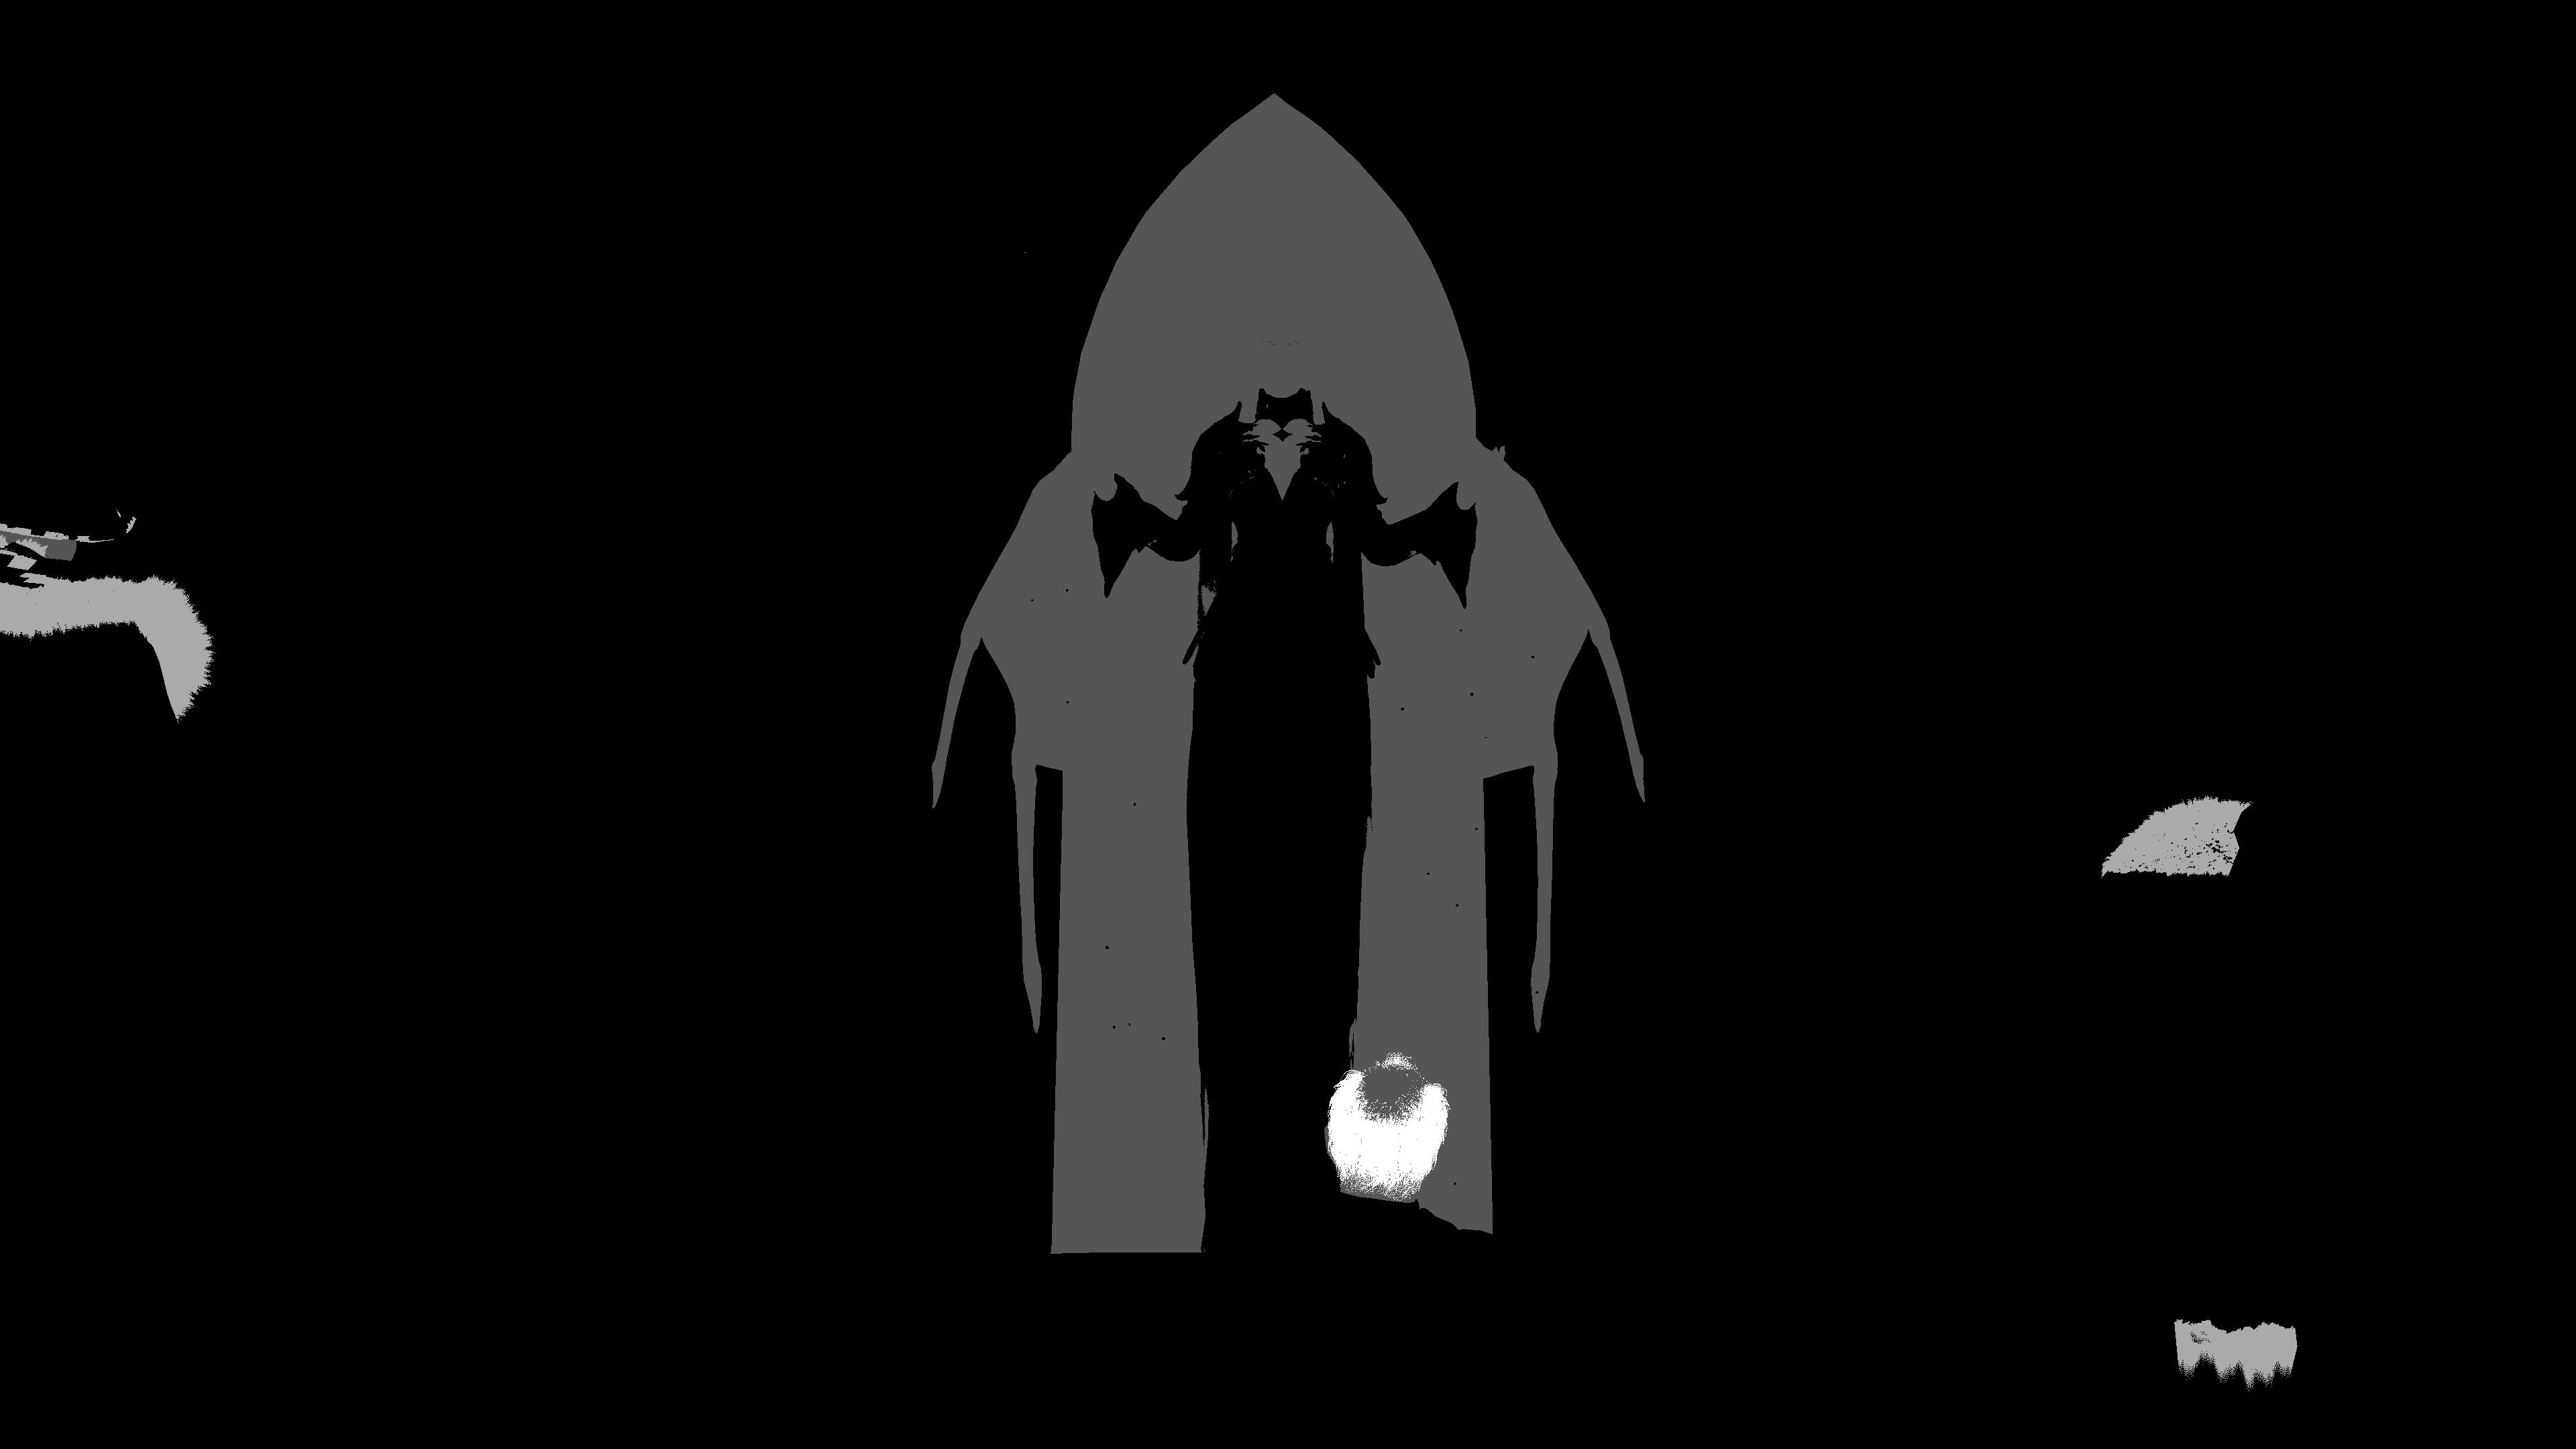
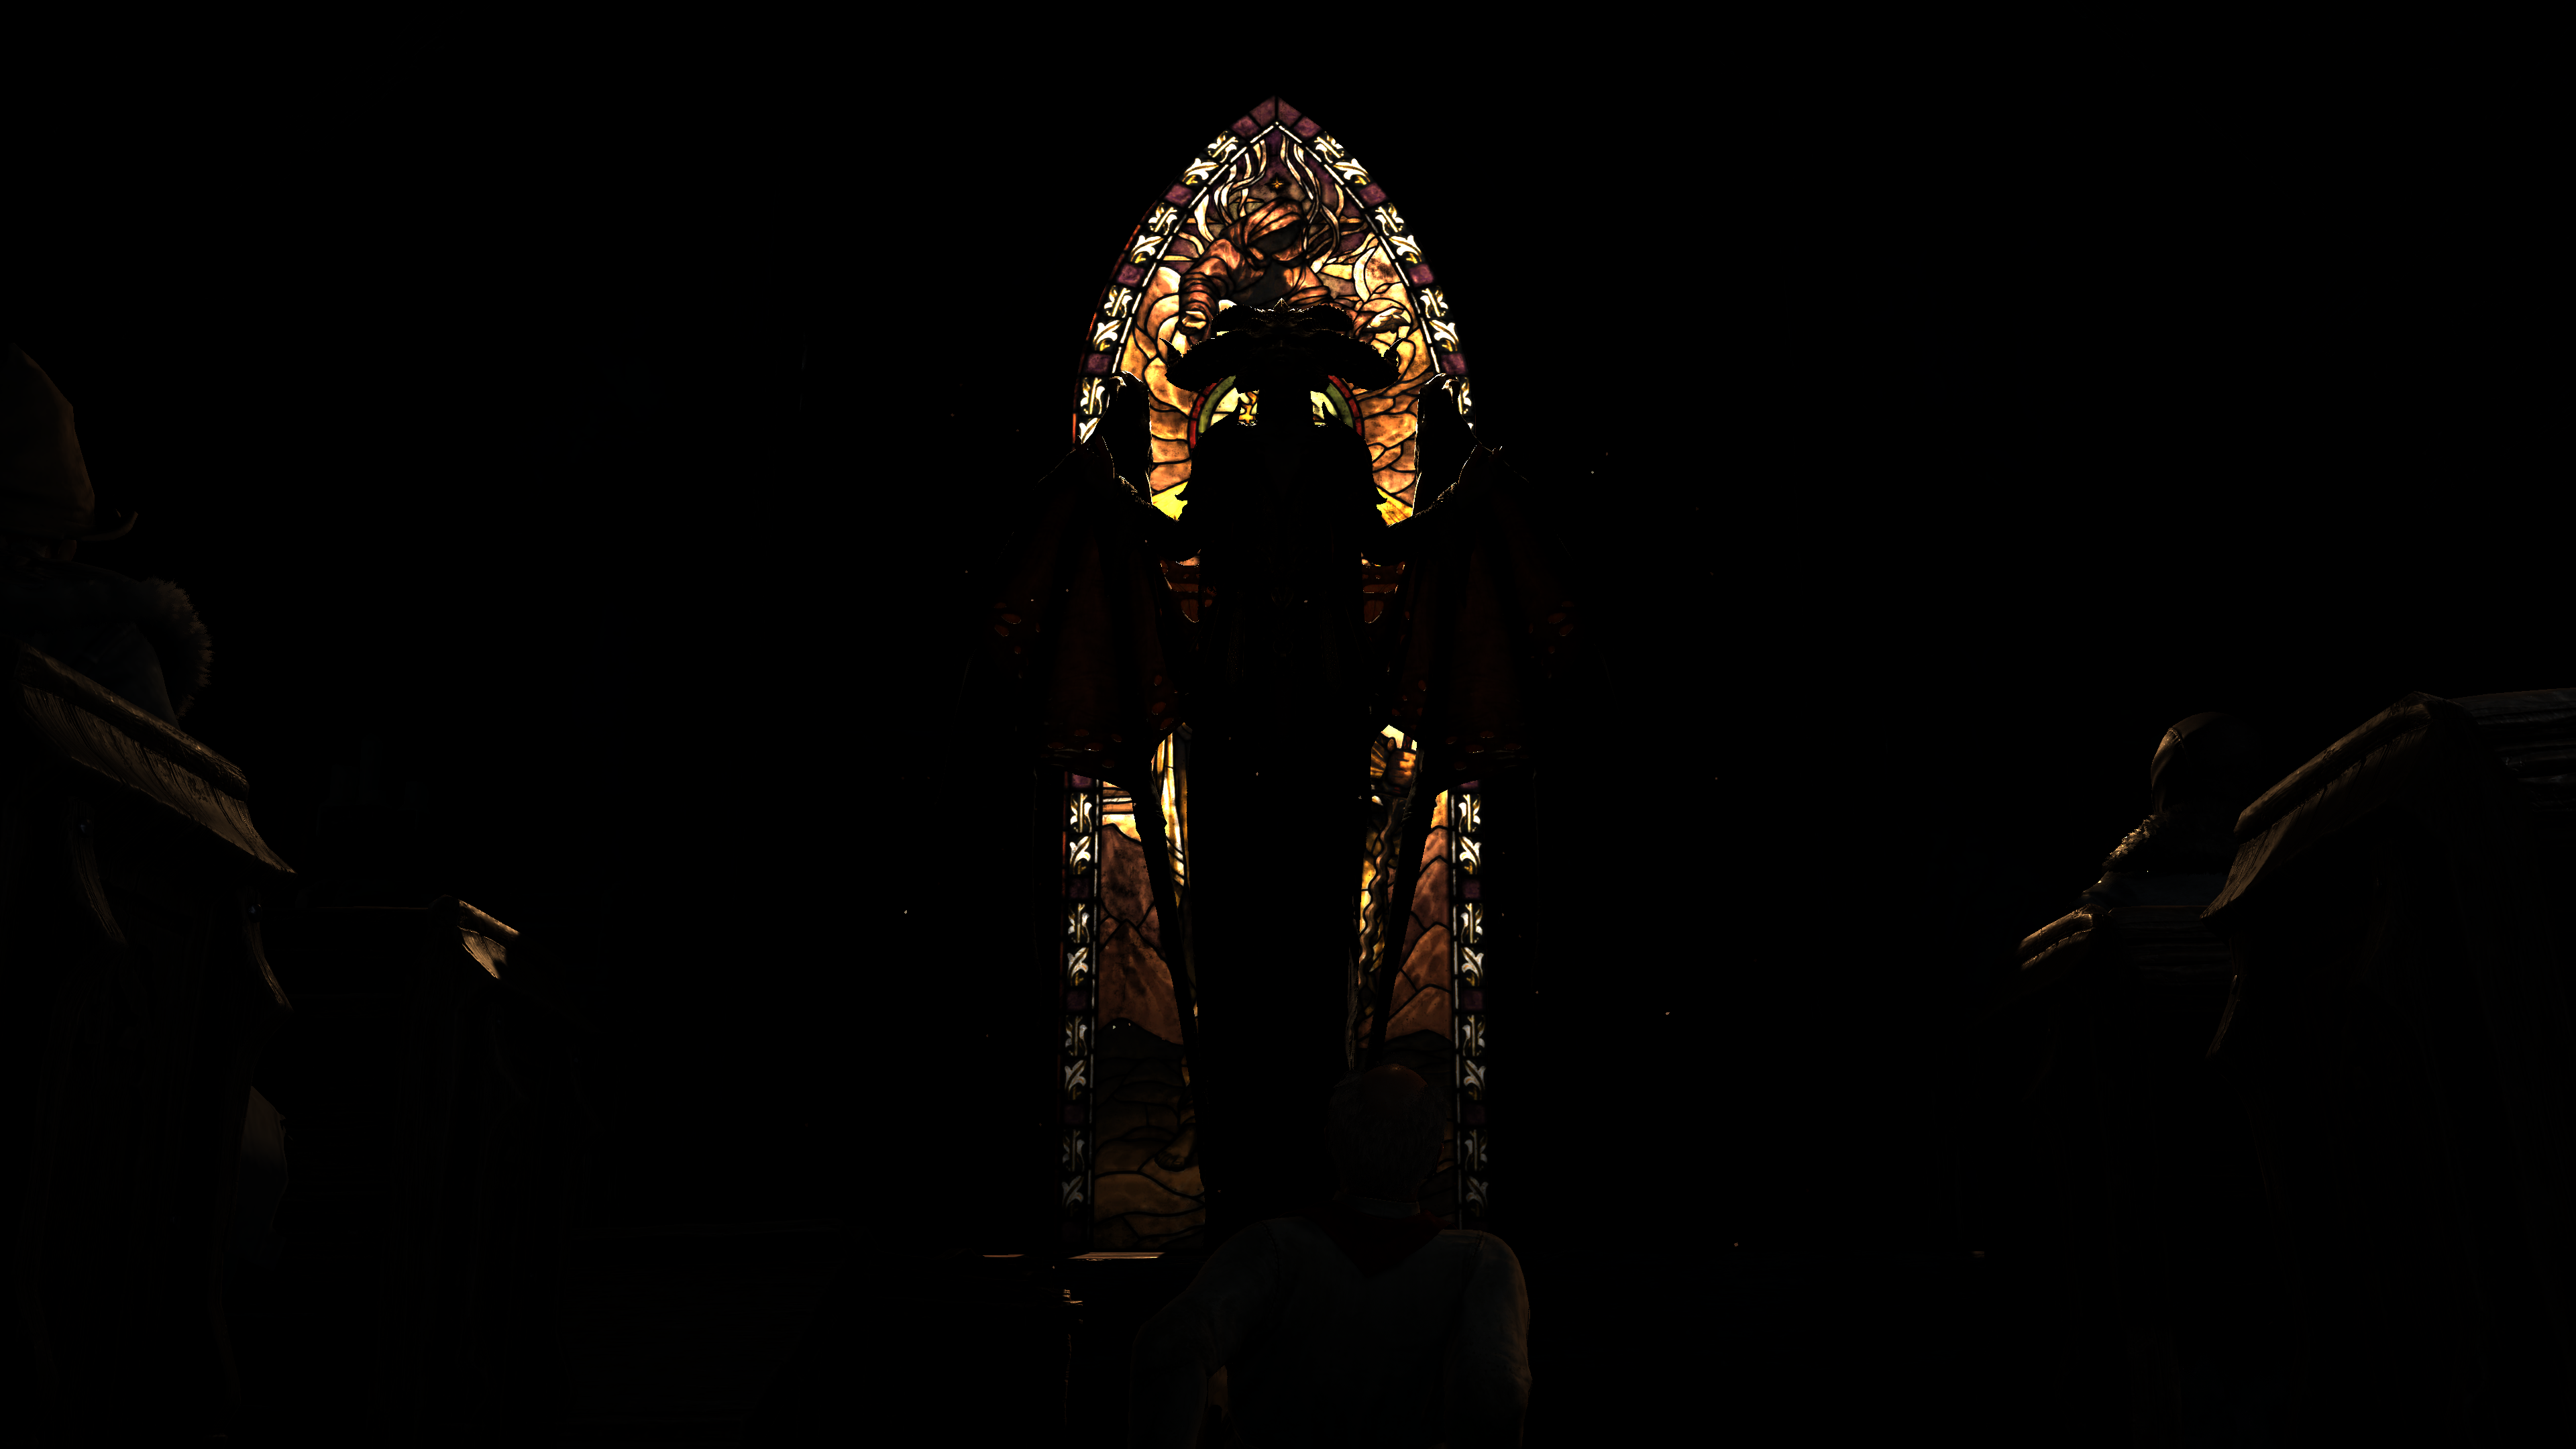
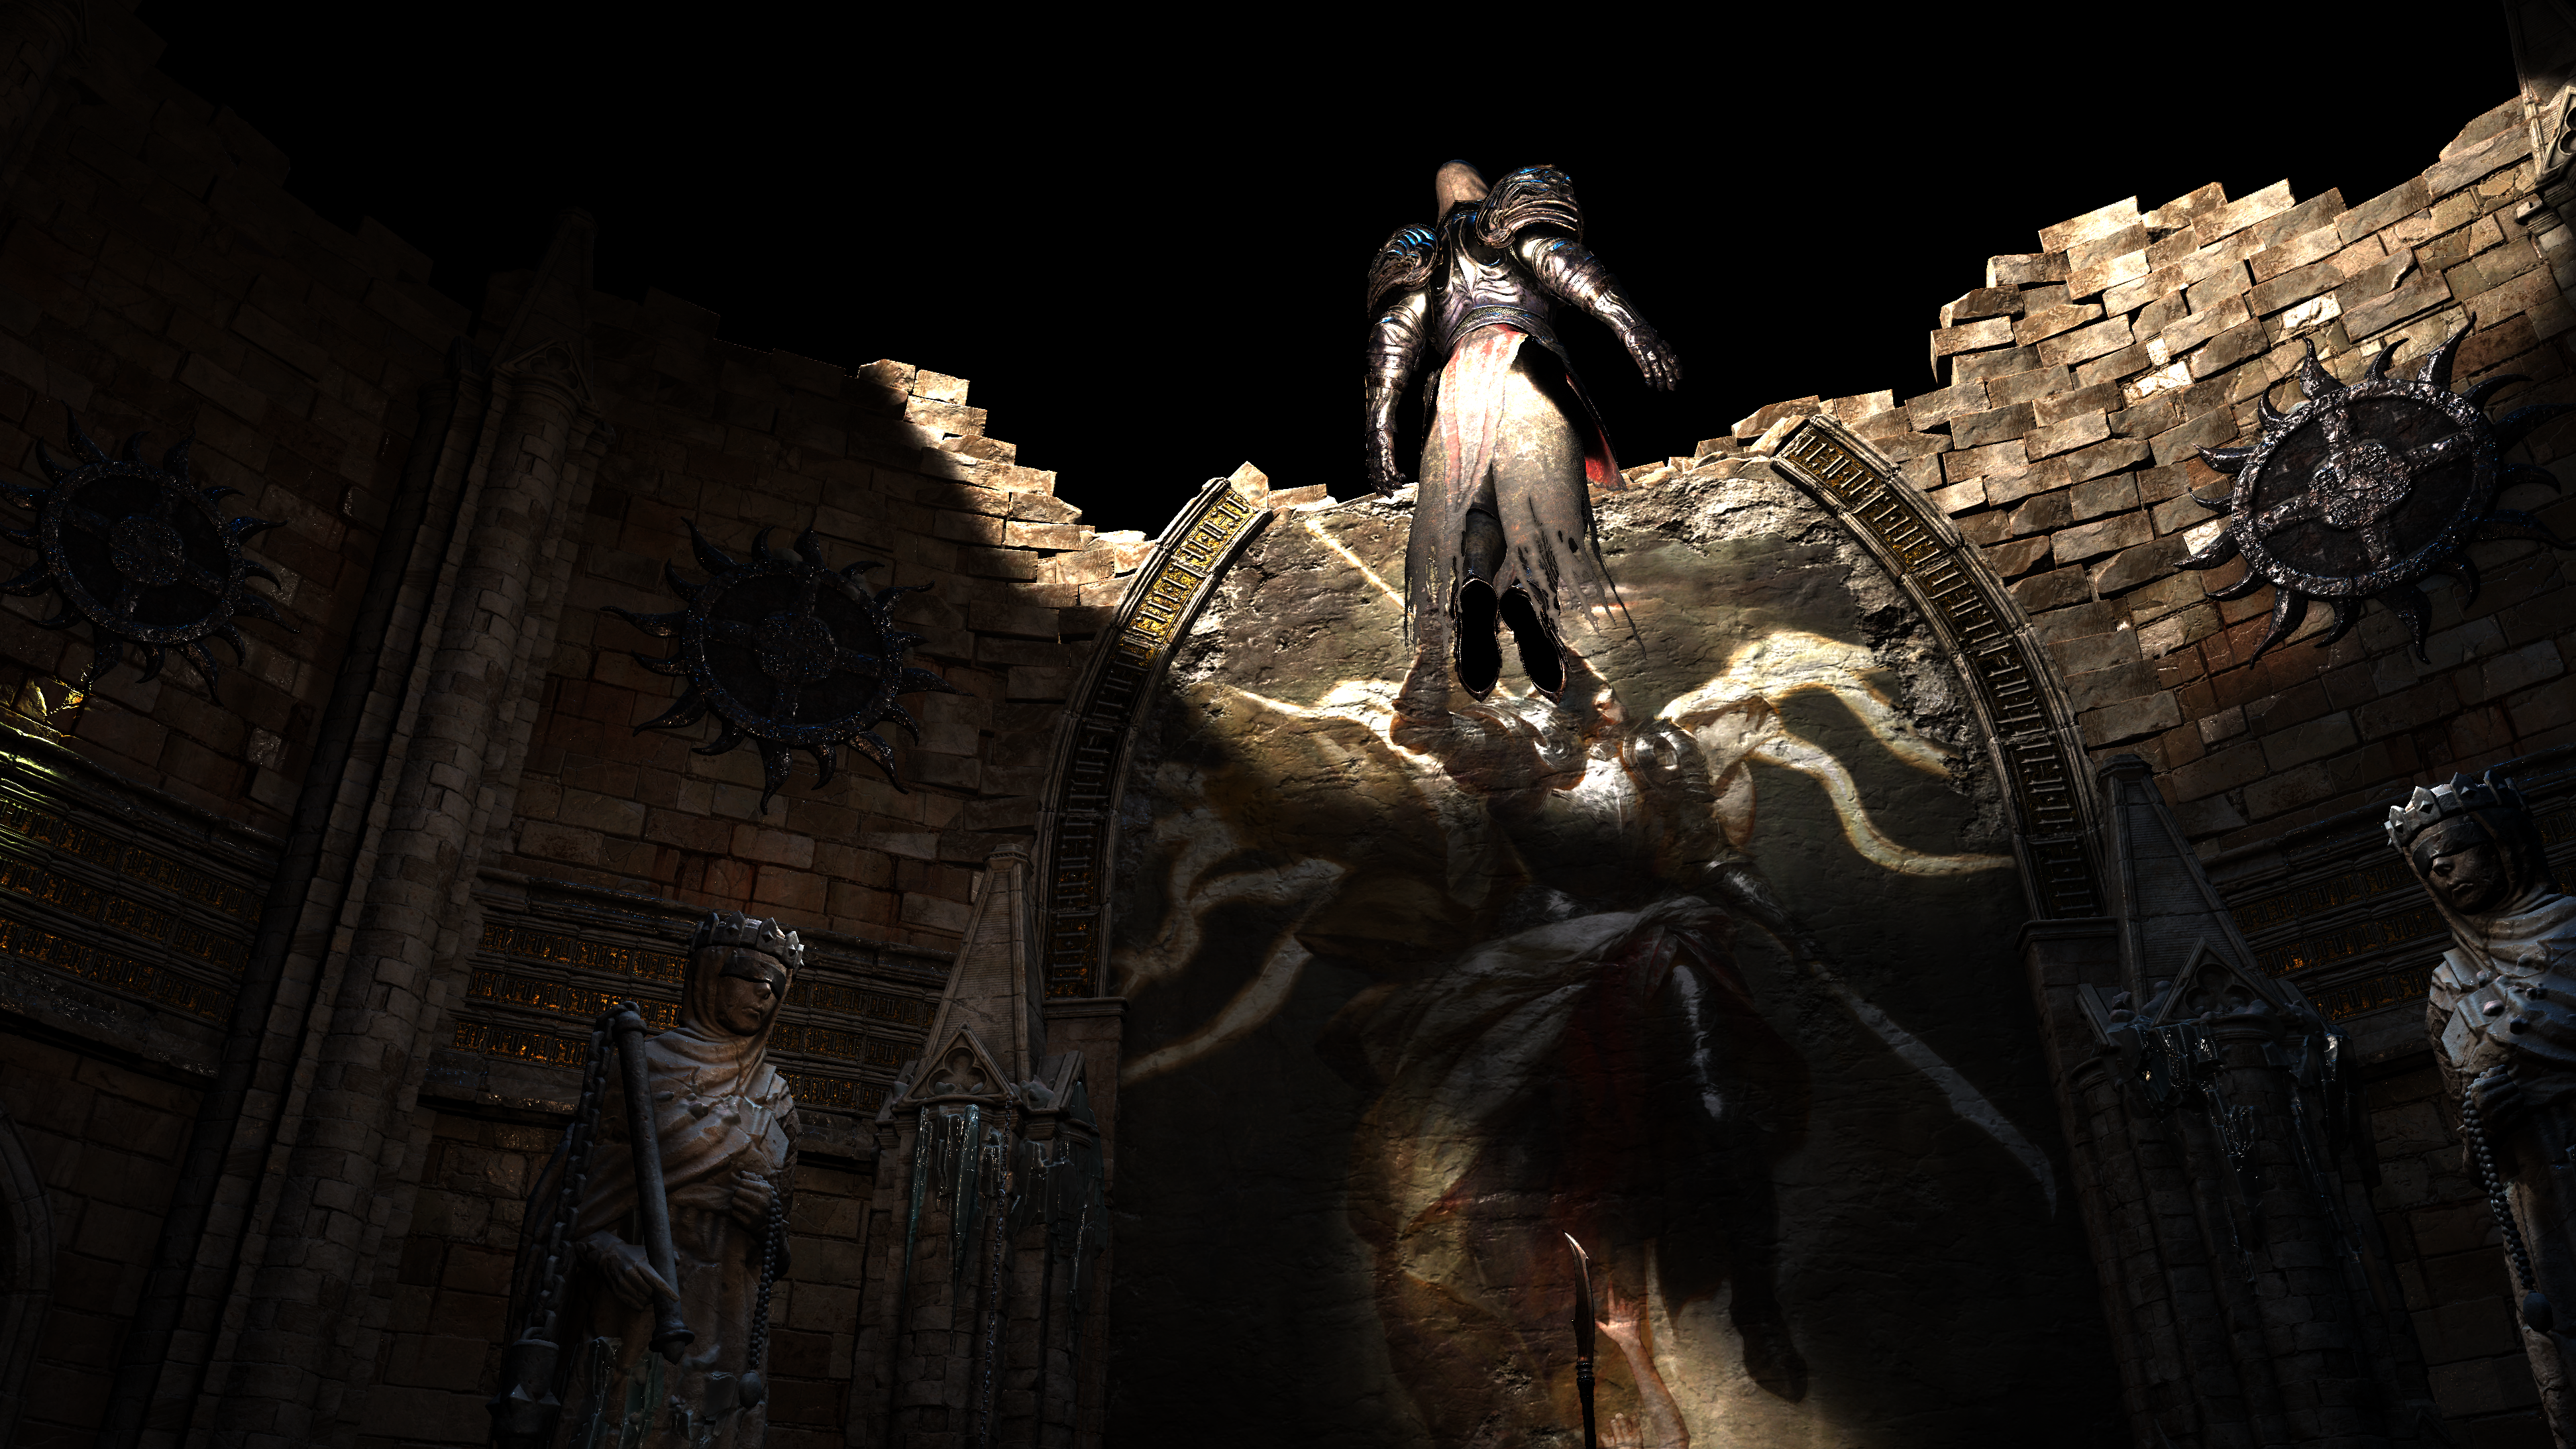
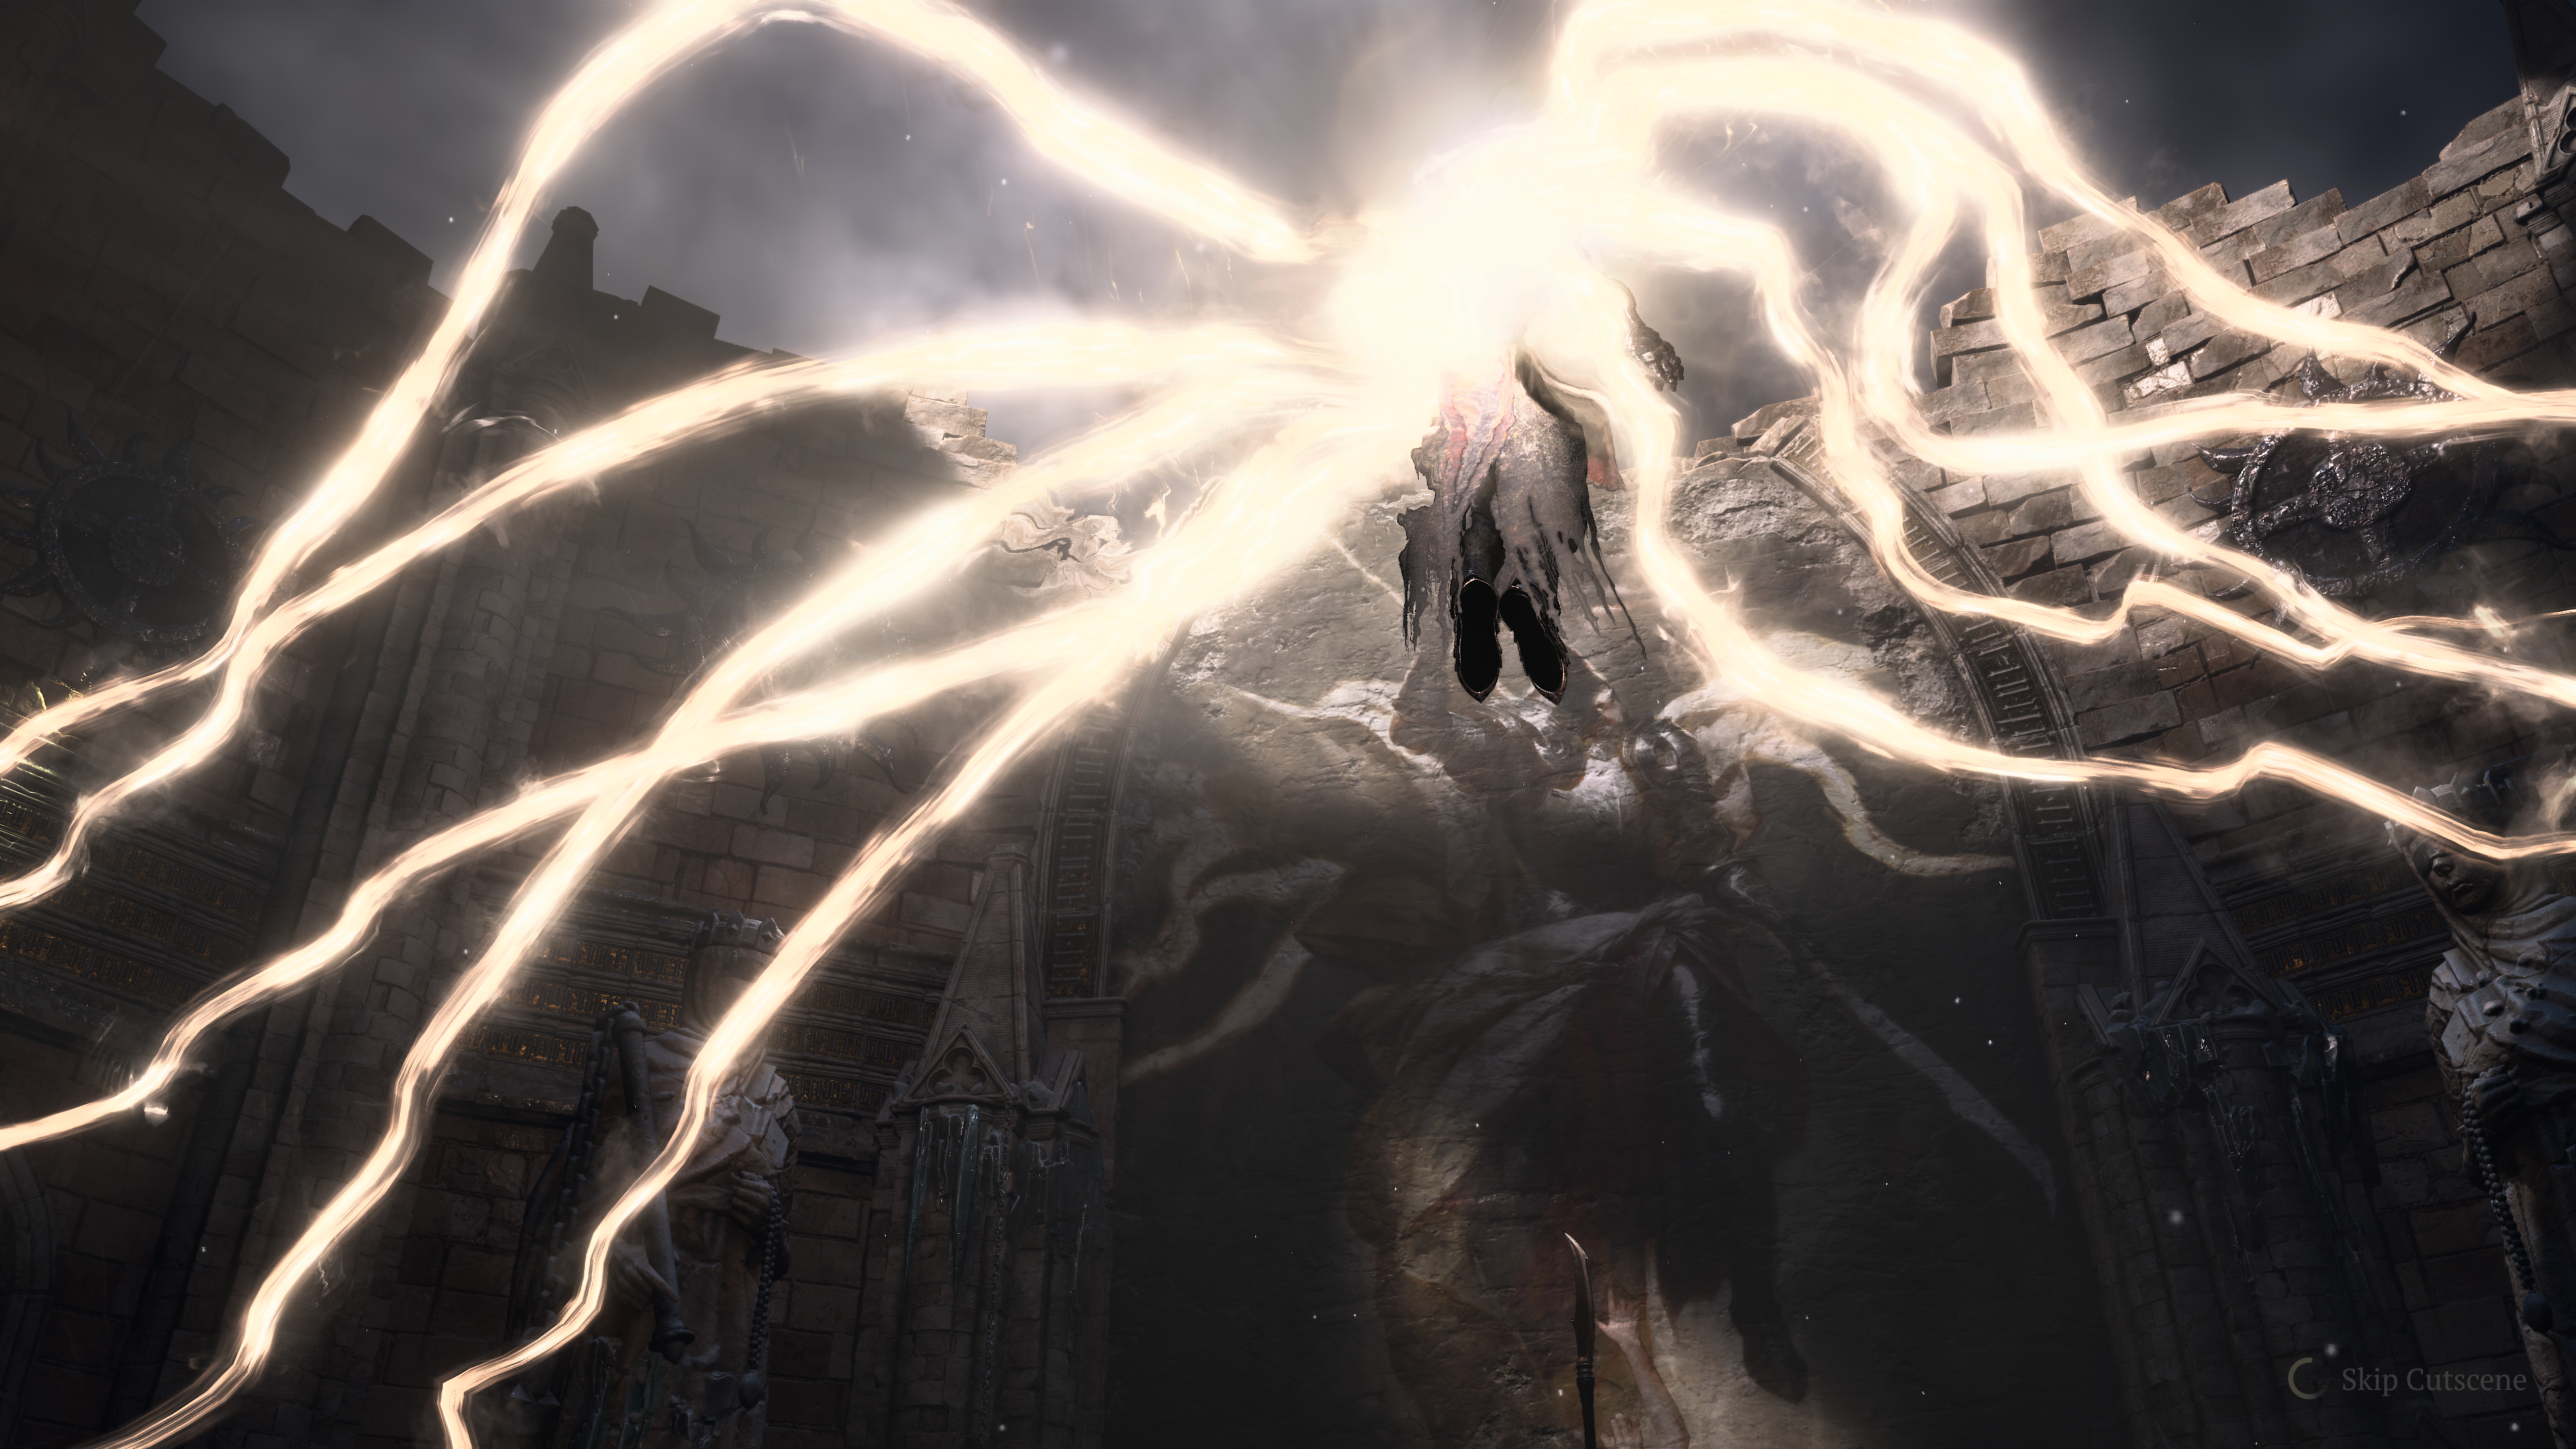
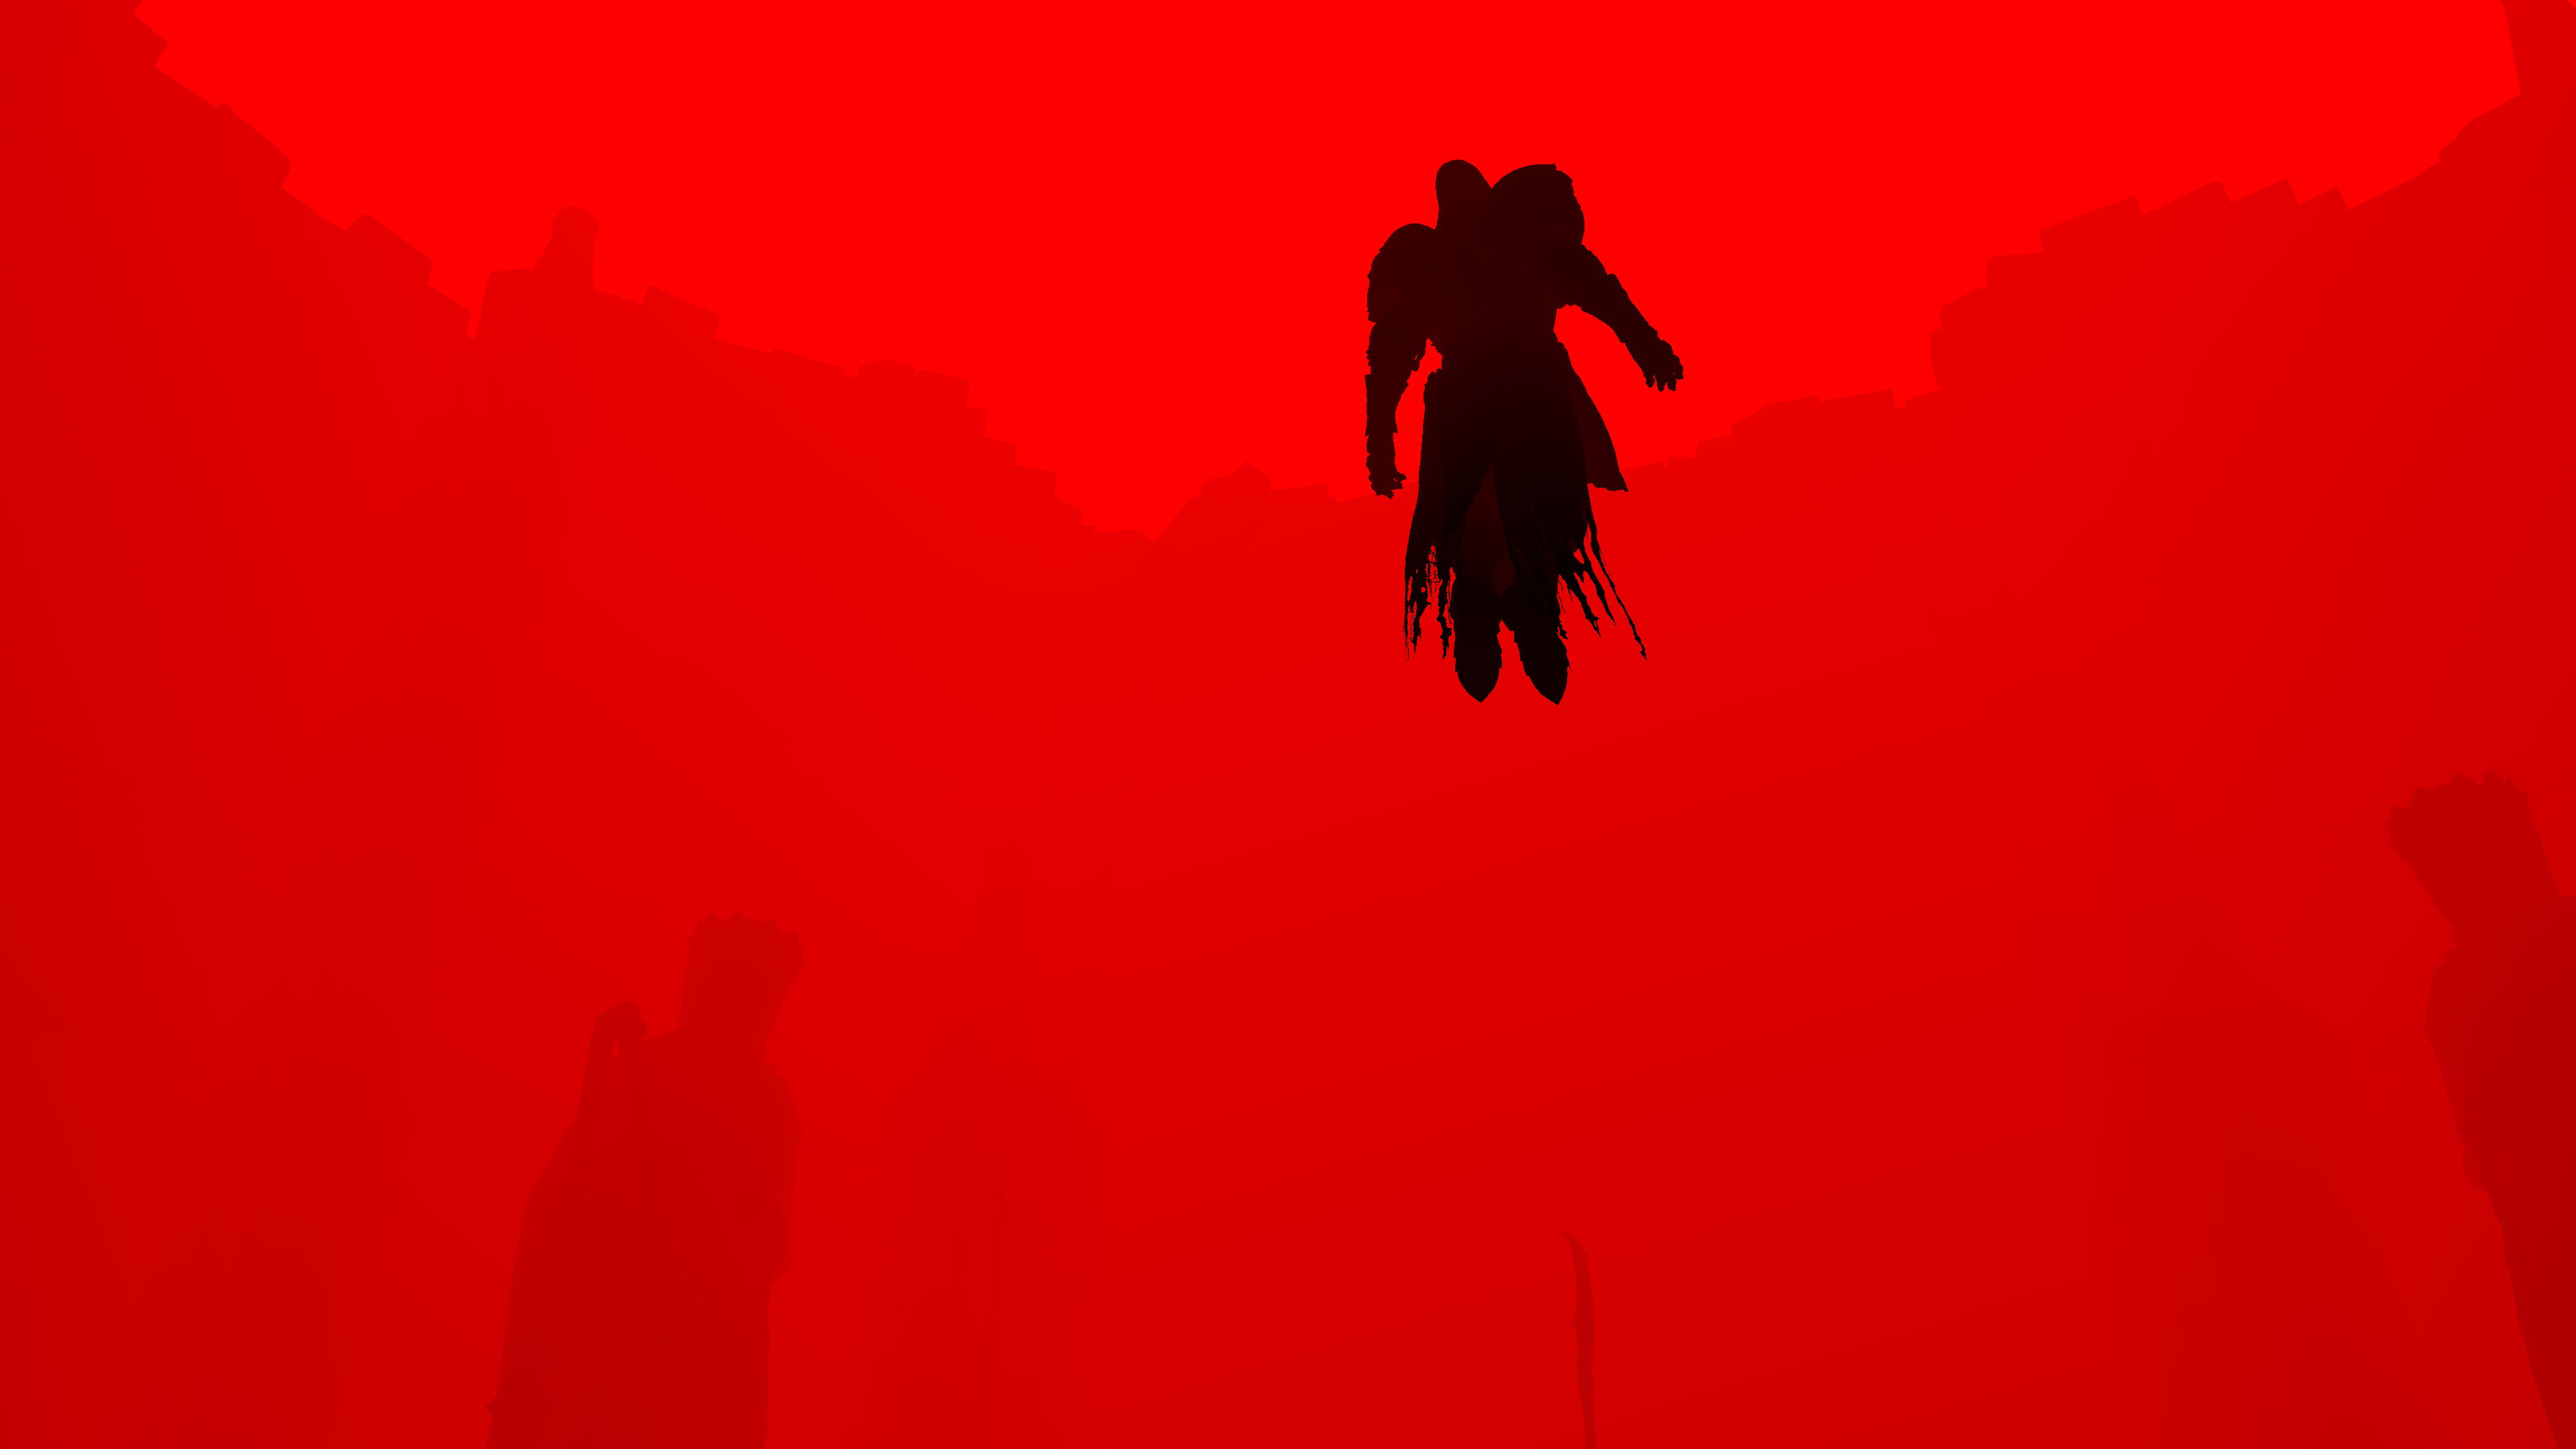
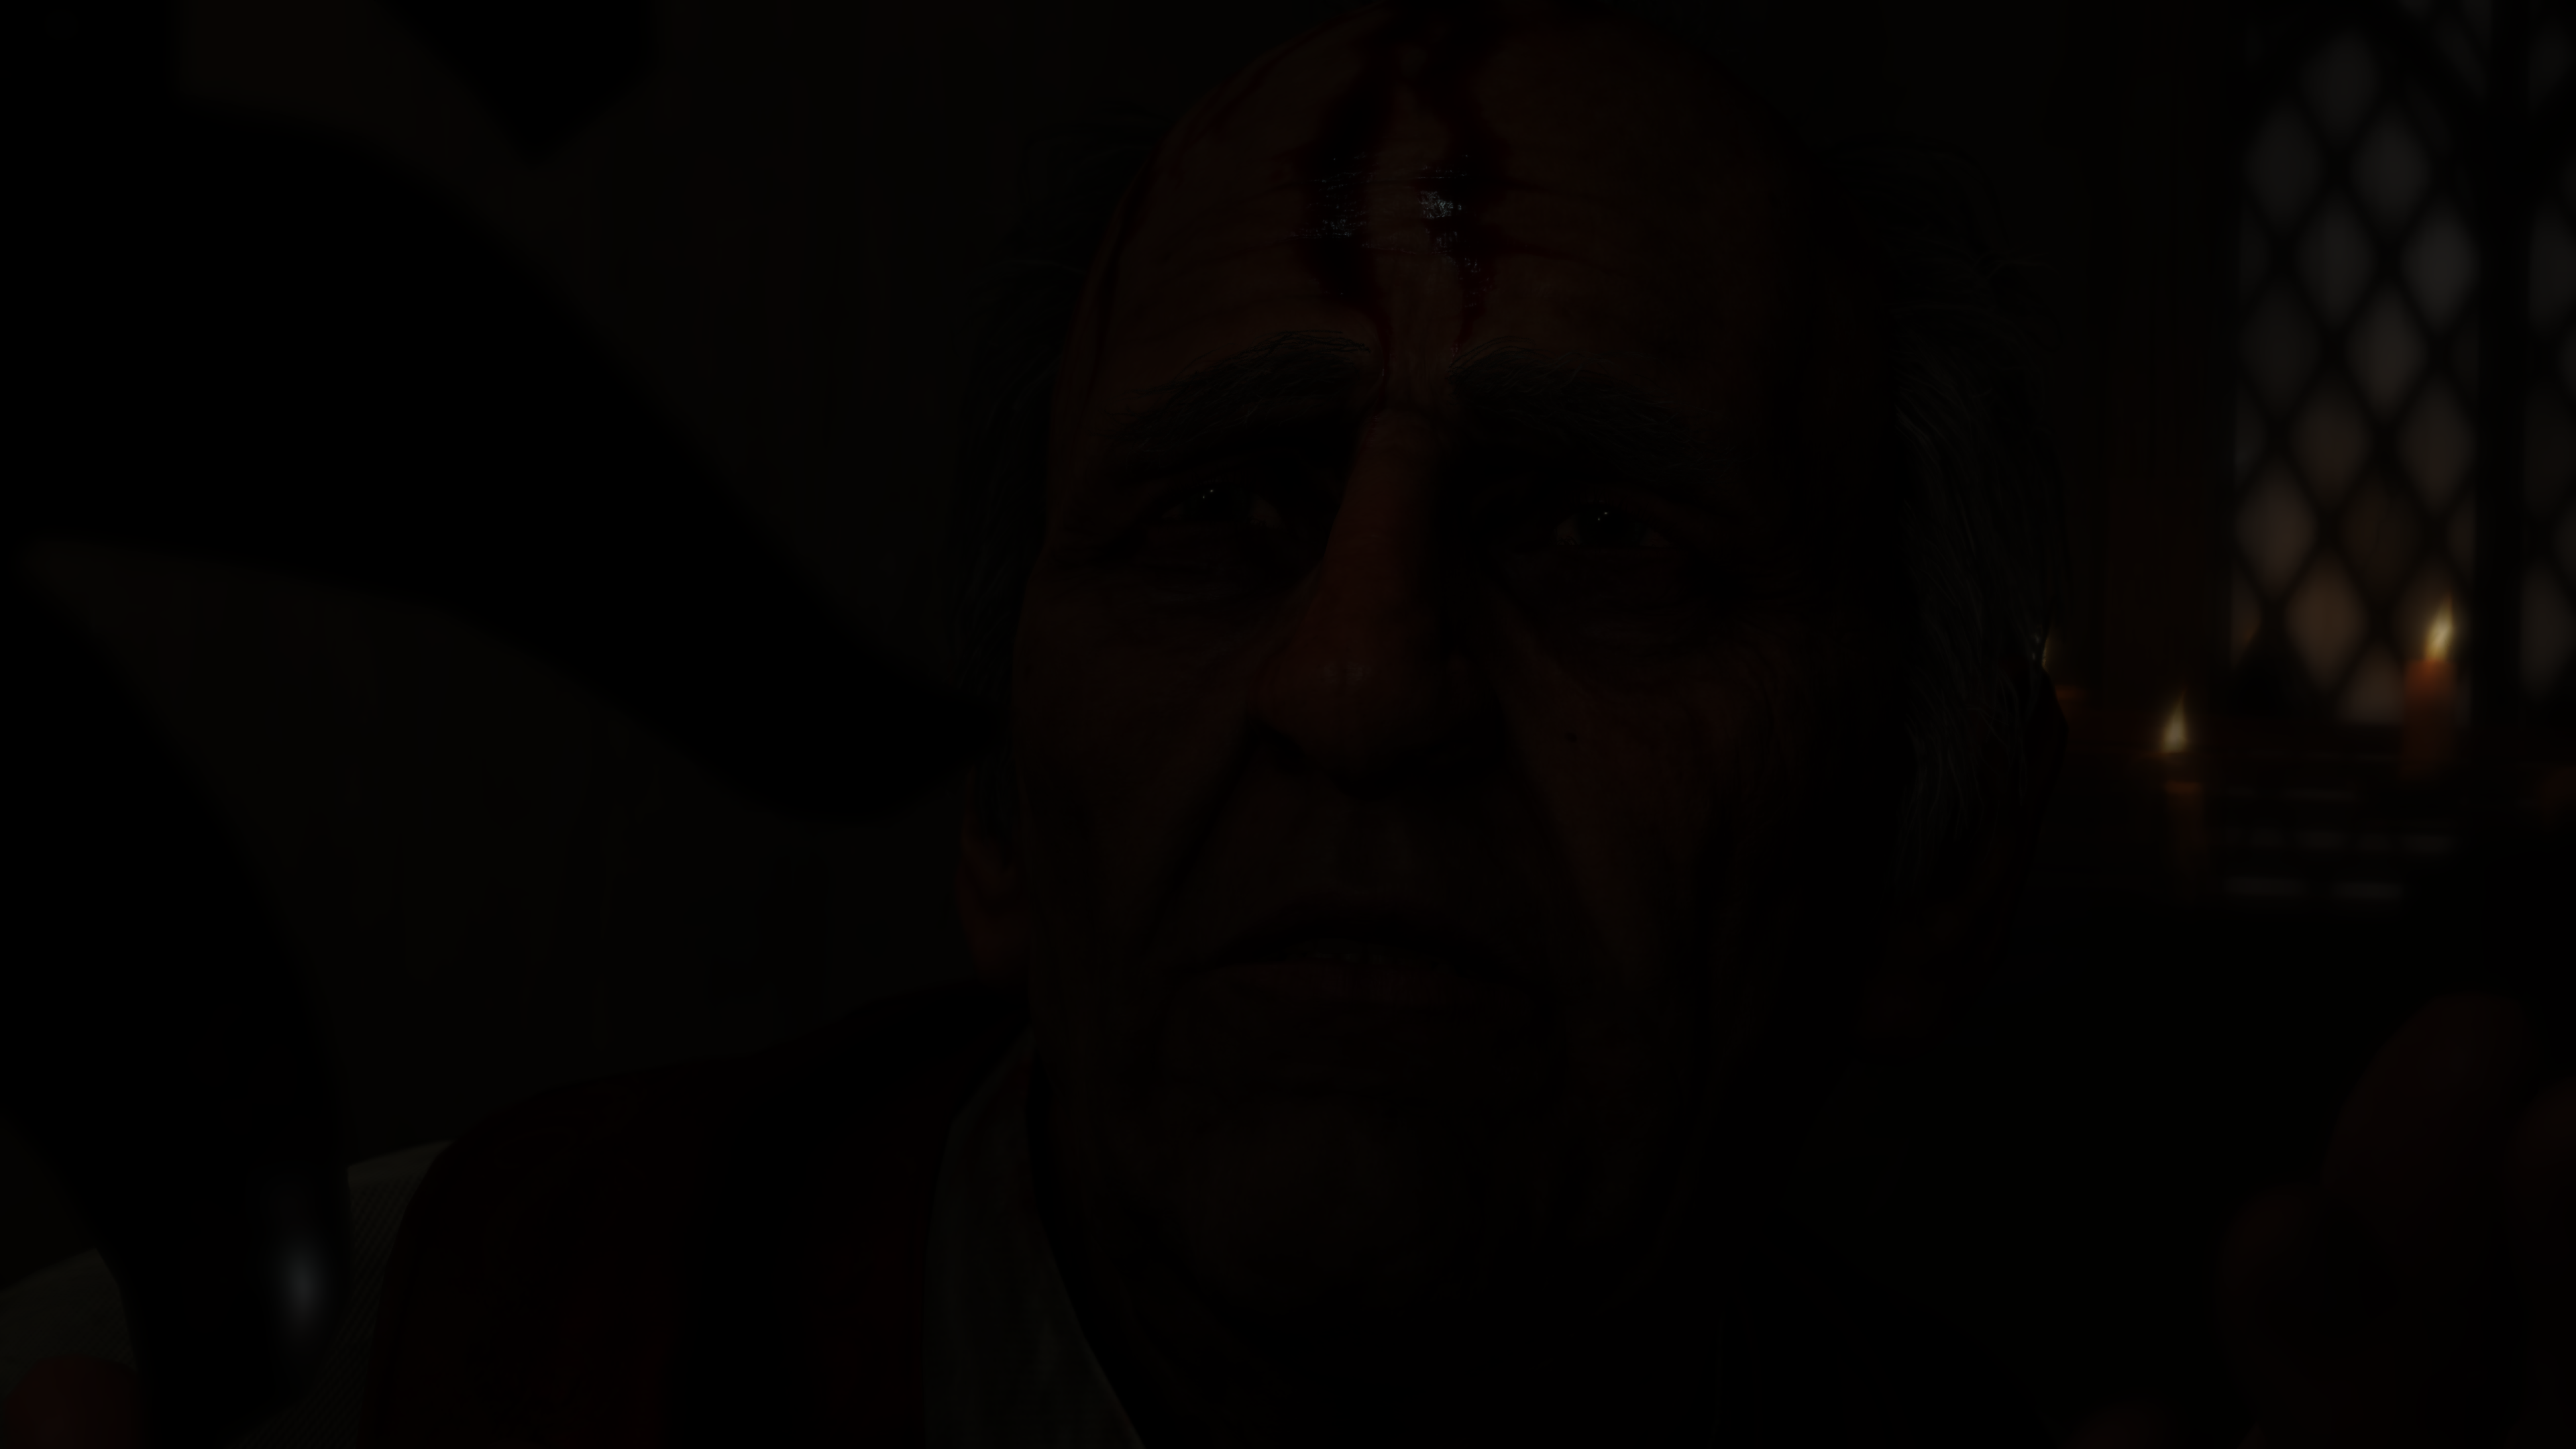
And of course, that skybox is dependent on the view angle like any other skybox and not lazily fixed drawn as some games would do (specially when not visible during gameplay), i choose that Inarius frame because it is almost the opposite of the view angle used most likely during the entire gameplay.


Forgive me calling it skybox while it is not really a box…but you know how the habit goes!
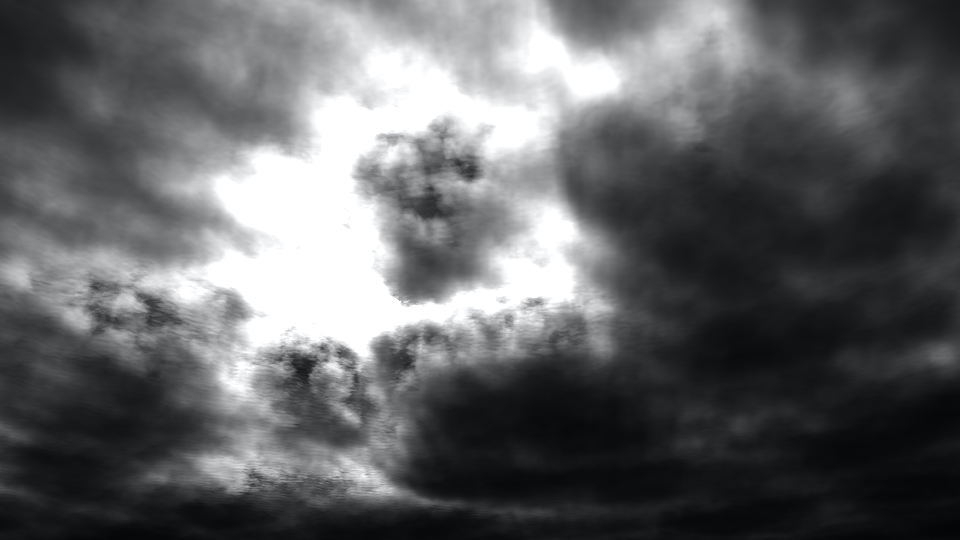
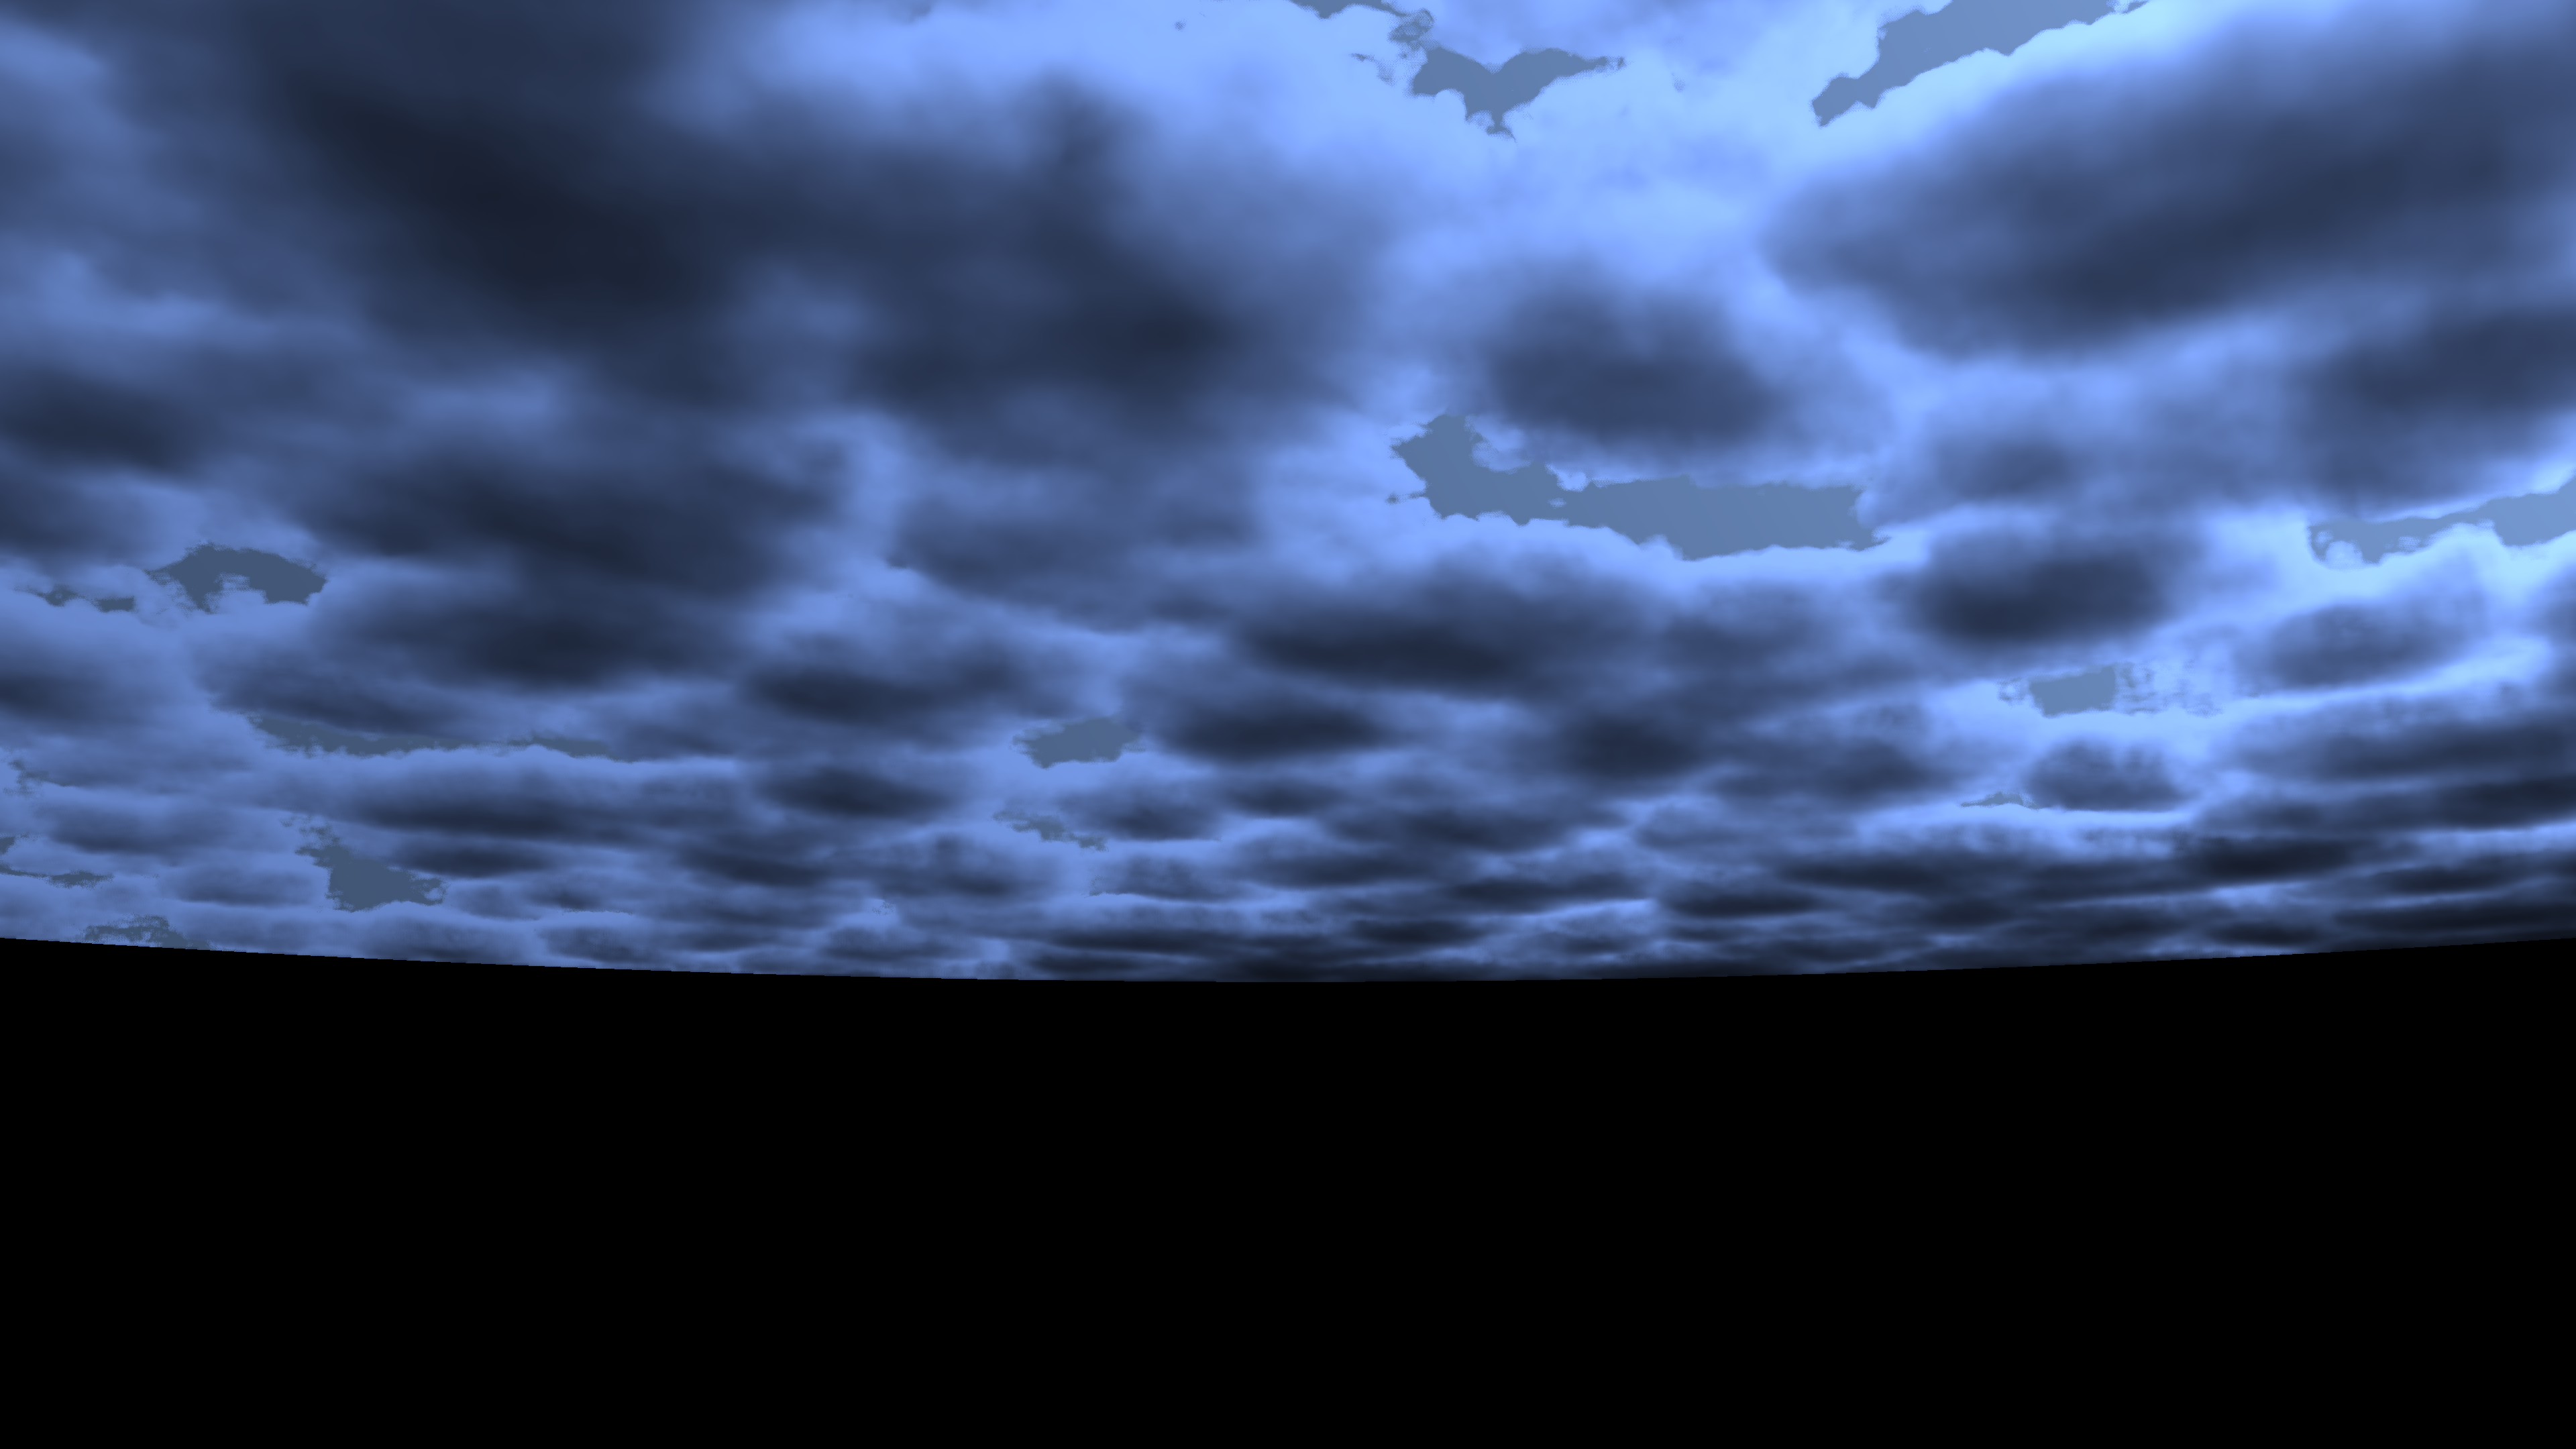
Volumetric Clouds [Not Always]
As it seem this step is taking place in cinematics only. Despite the fact that the skybox draw happens regardless cinematic or gameplay, but the clouds is not. And it make sense to reach this assumption even before seeing it in the frame data, as first, there is zero chance to see clouds/sky during gameplay. And second, the mask is already solid black during gameplay frames.
Clouds is done via raymarching fully in the fragment shaders in few distinctive steps explained below.
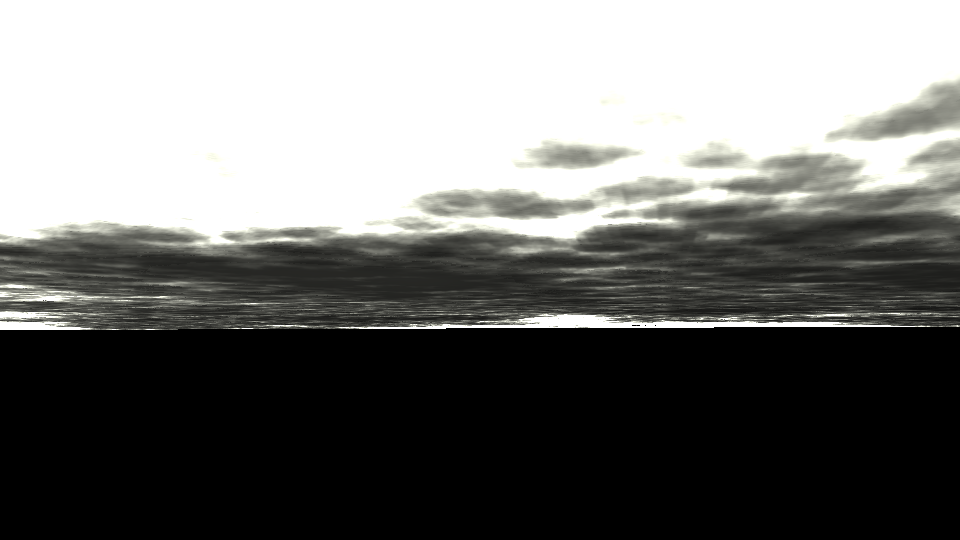
1.Raymarch & Integrate
But the general idea is rendering the clouds to an offscreen buffer (quad) at 1/4 of the target resolution (960*540 at our case) at this first step. This is done by the help of some cloud textures as well as volume textures (3d textures) that seem to be authored by artists, and not generated earlier at runtime or anything.


2.Temporal Reprojection (Motion Vectors)
Then at this step we update a fraction of the pixels per frame and drawing the remaining pixels by temporal reprojection based on the previous clouds buffers from the previous frame, so we can go back up again to full resolution (3840*2160 at our case).
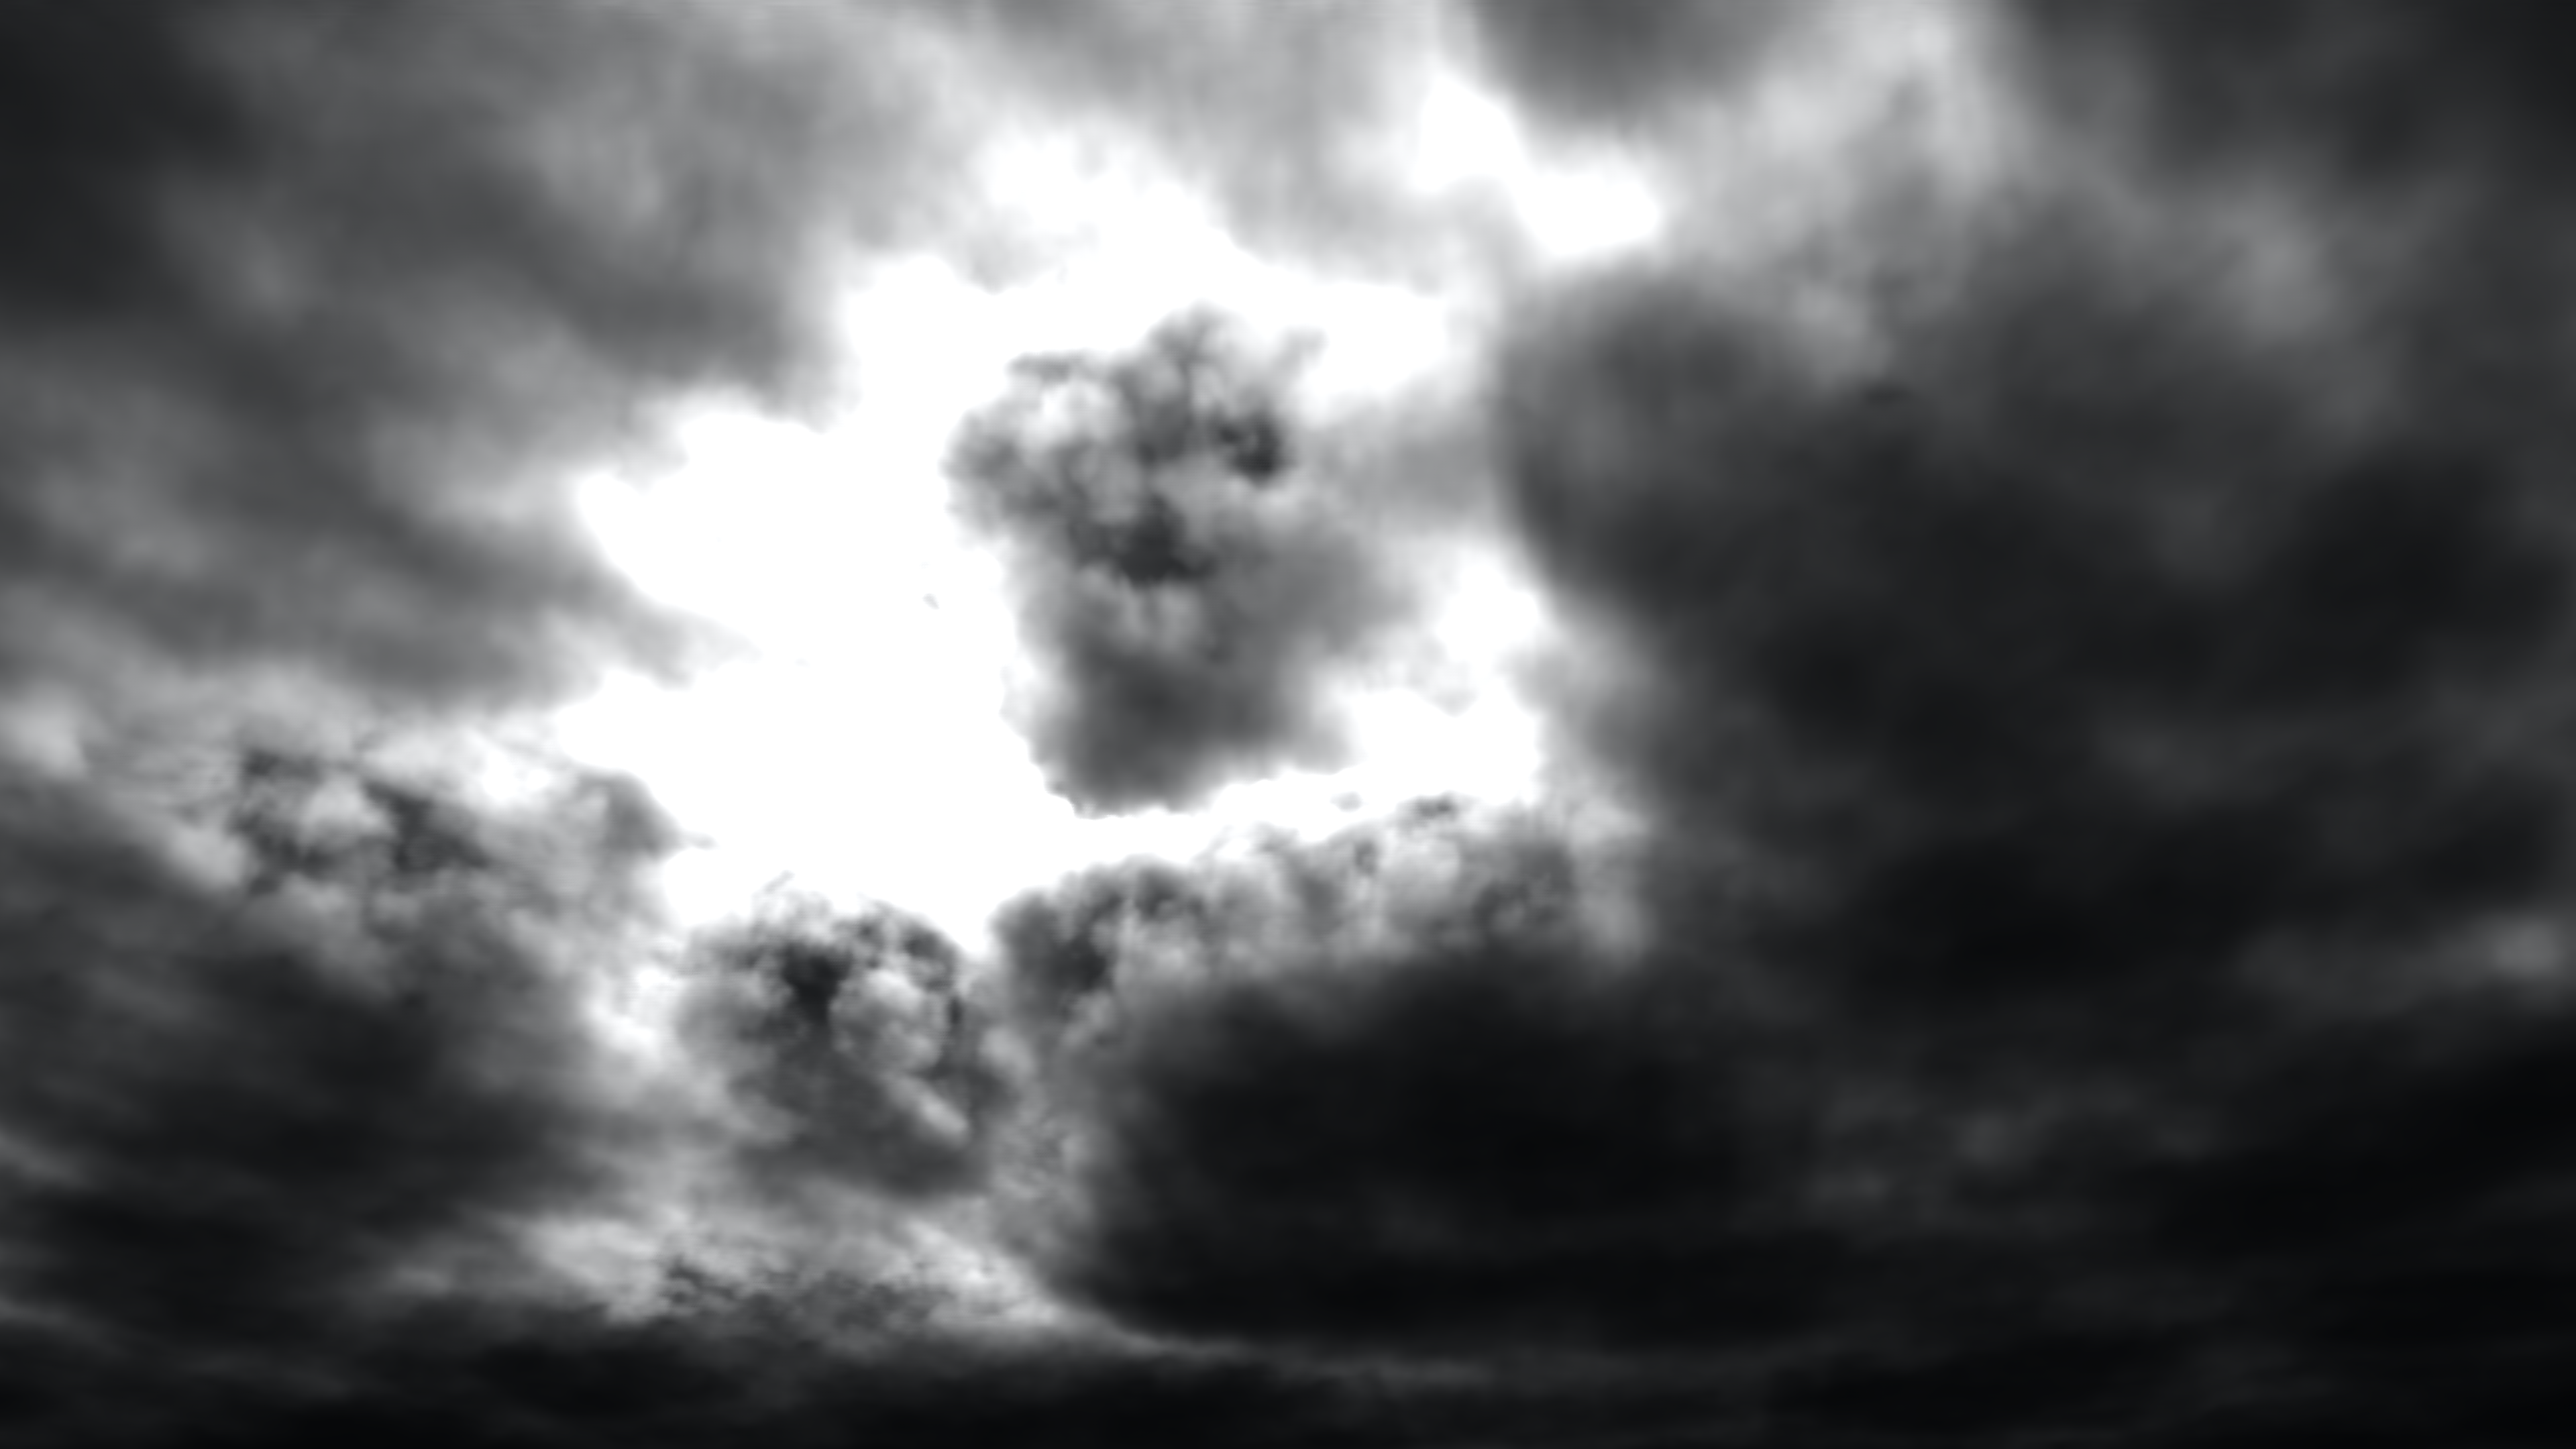

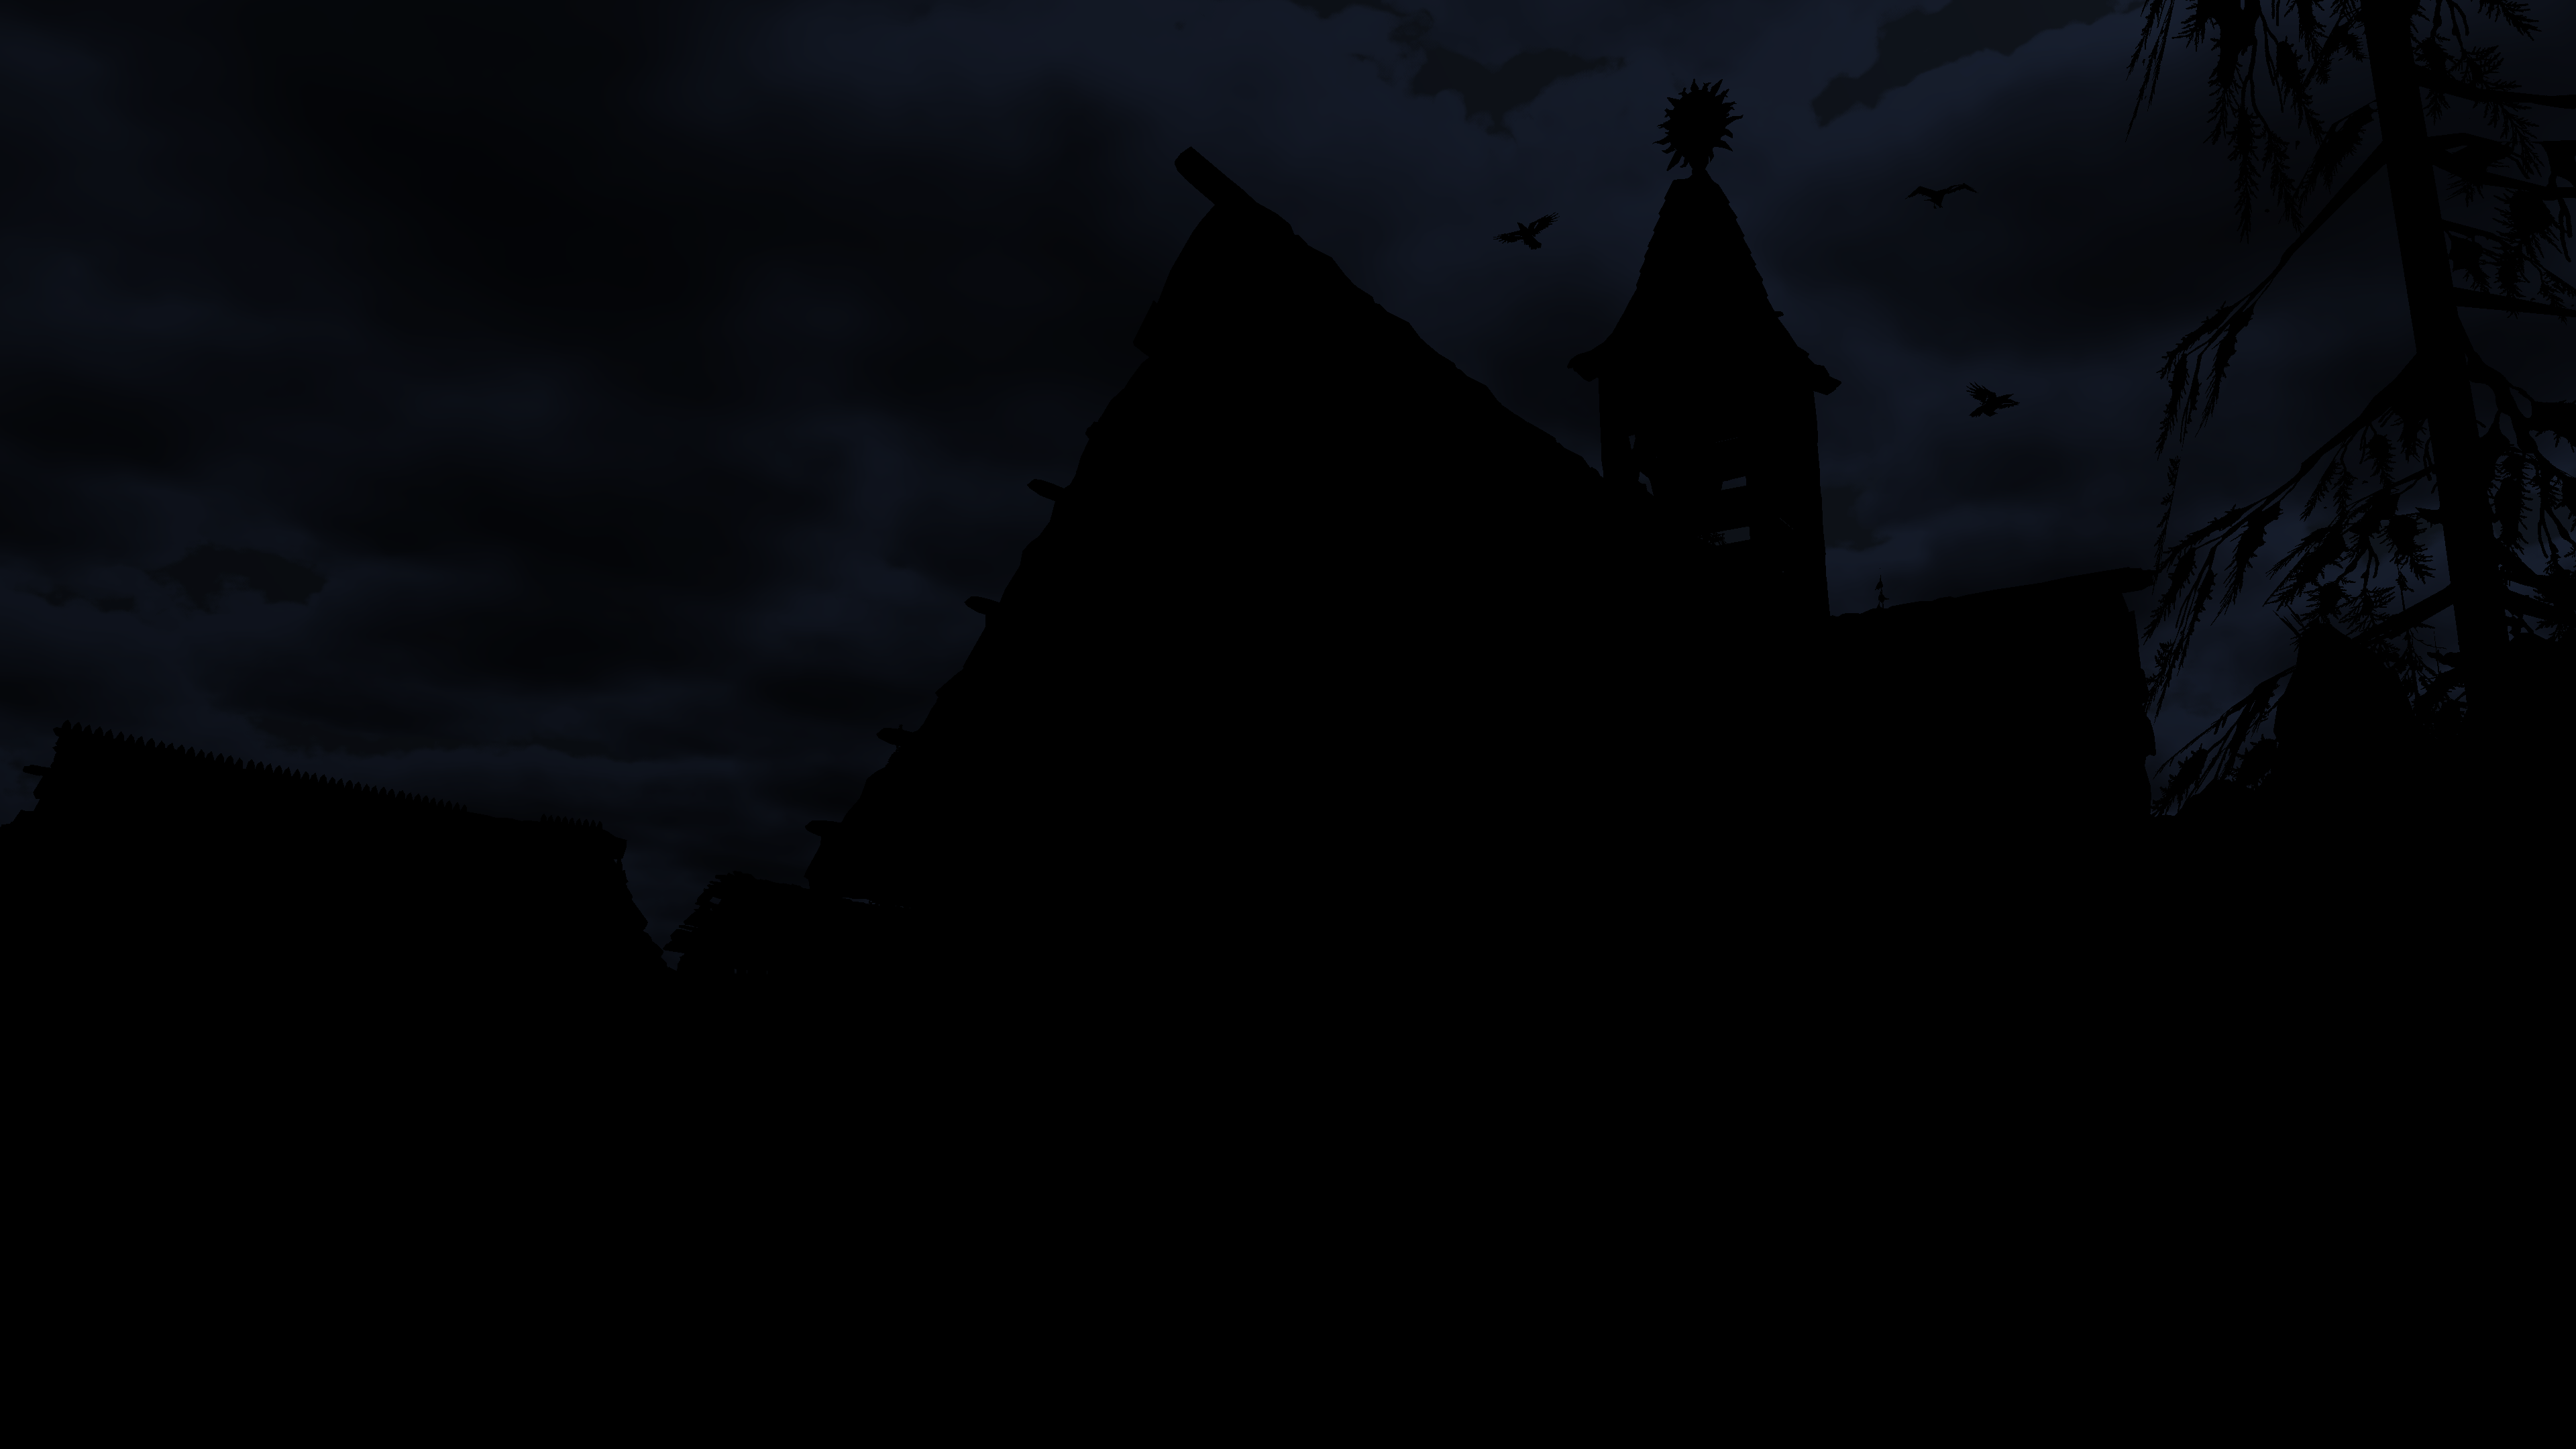
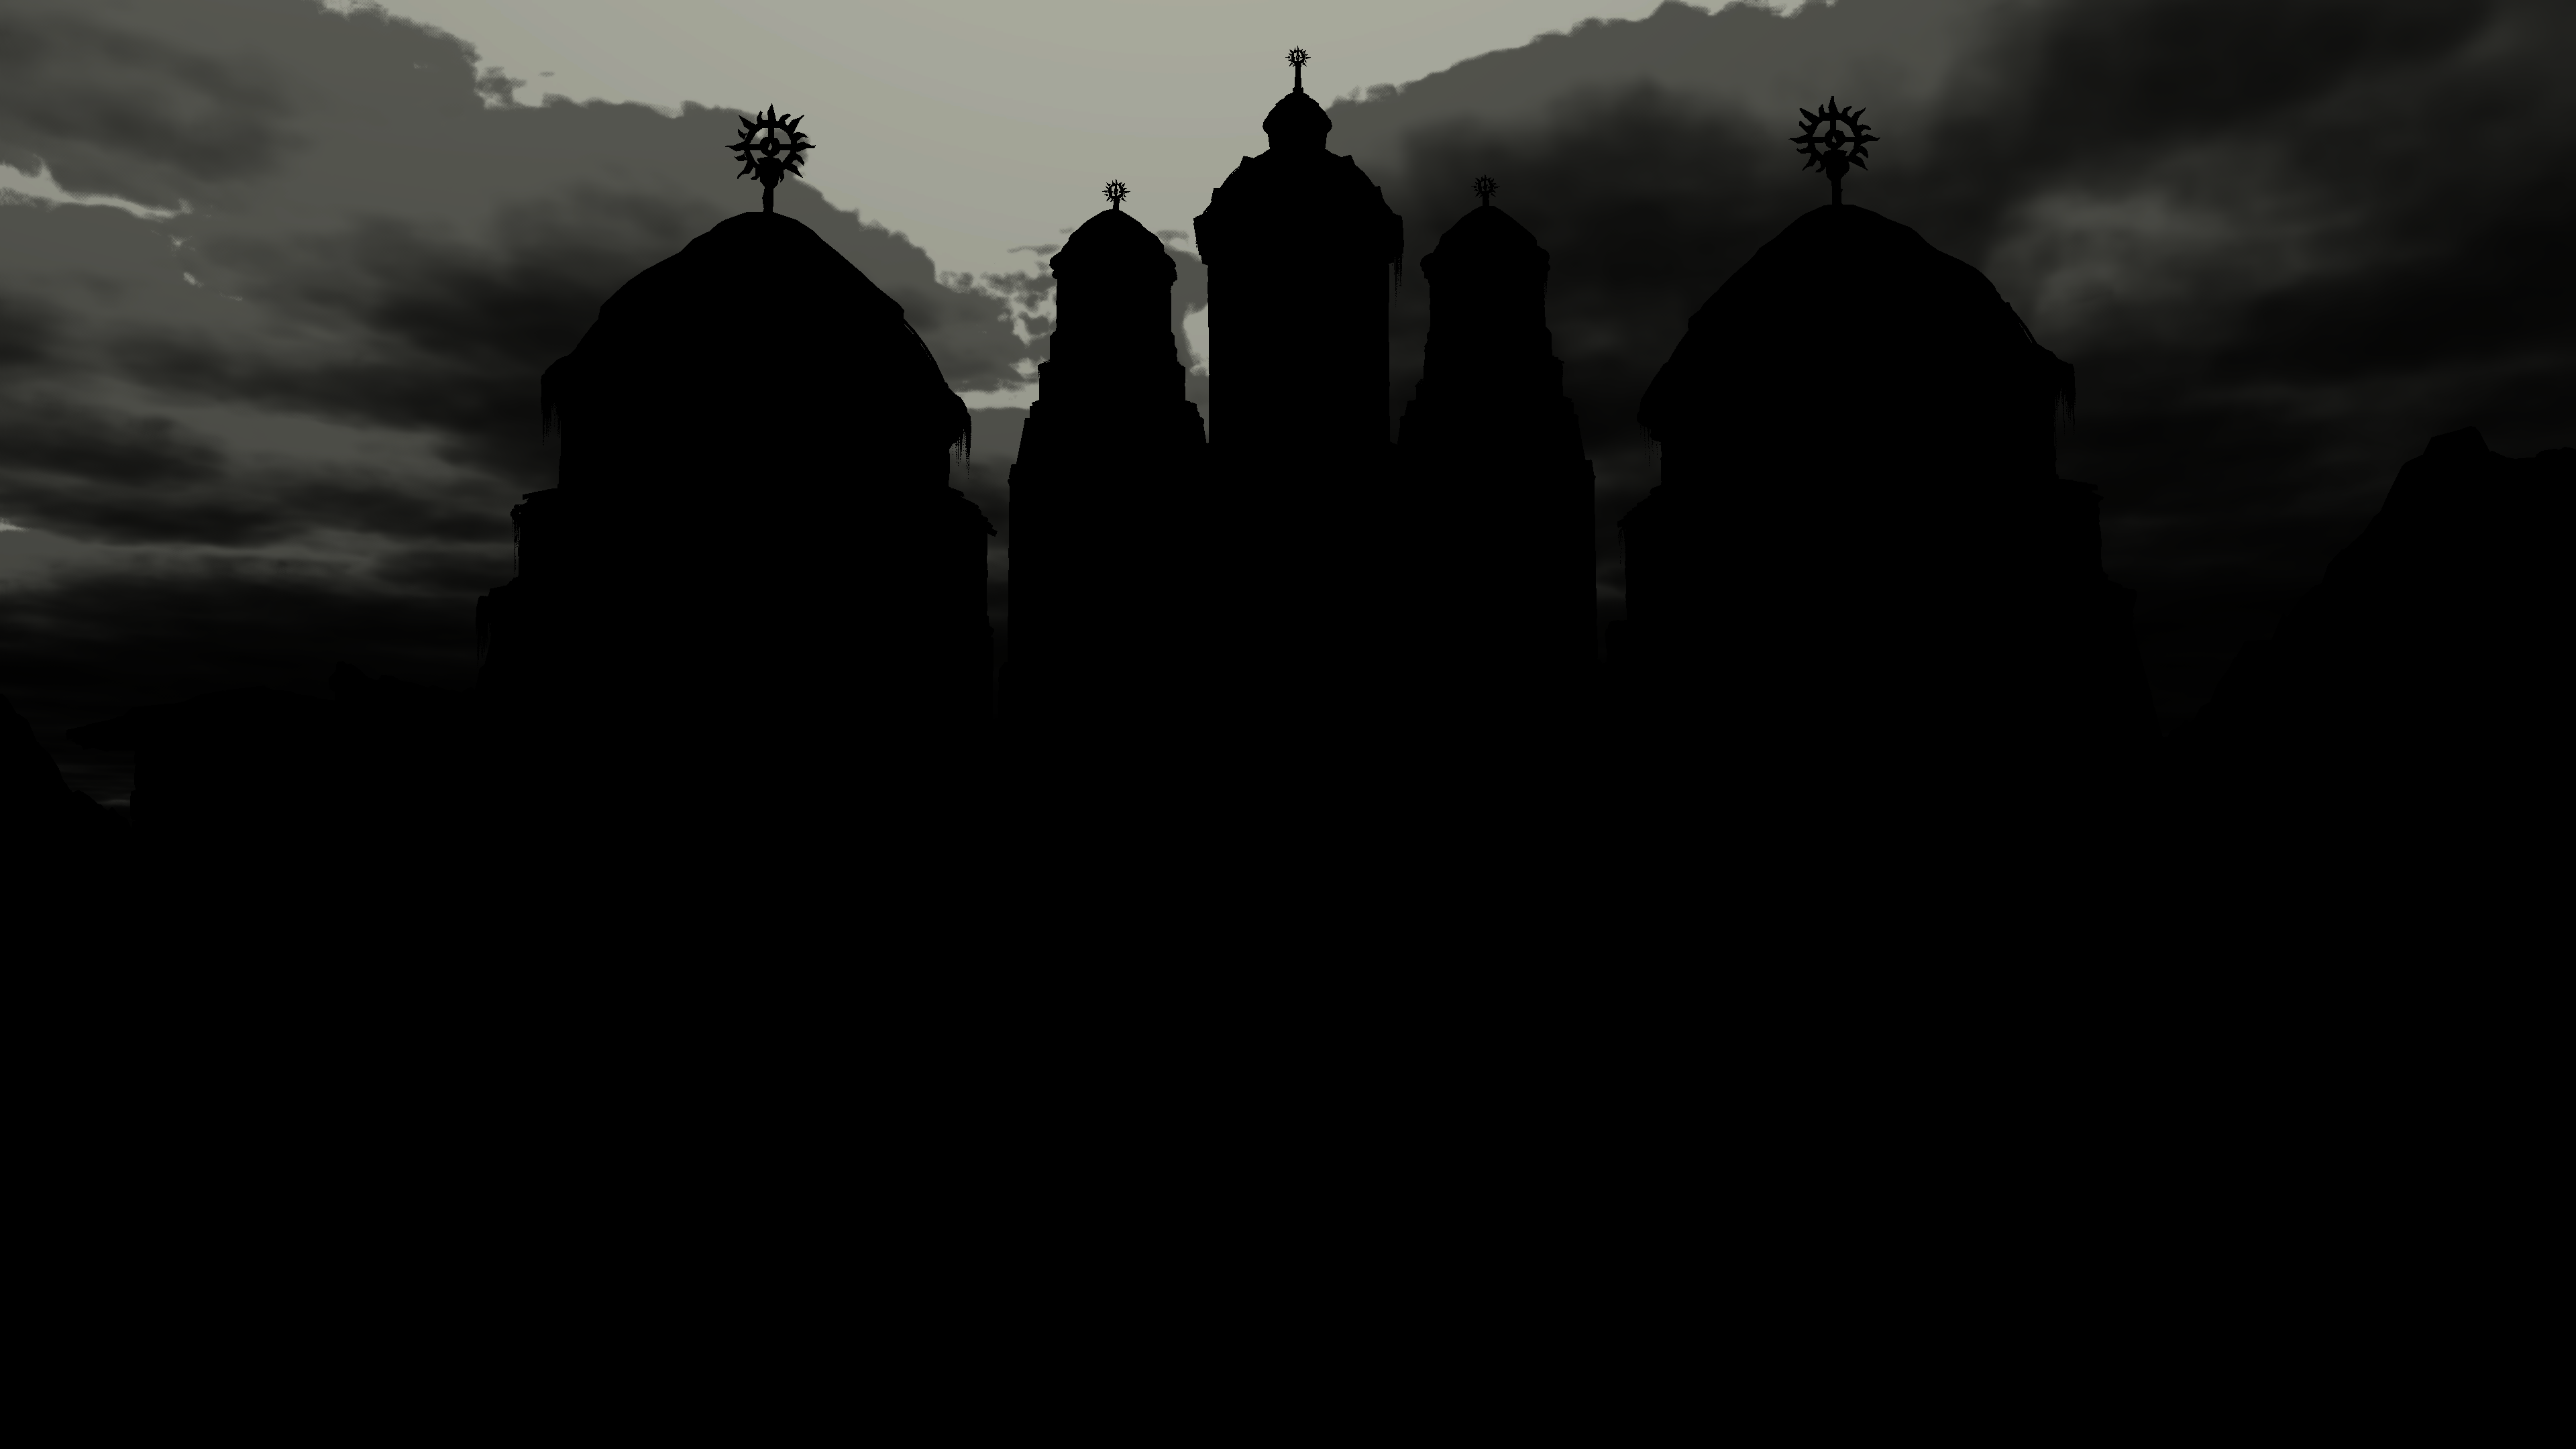
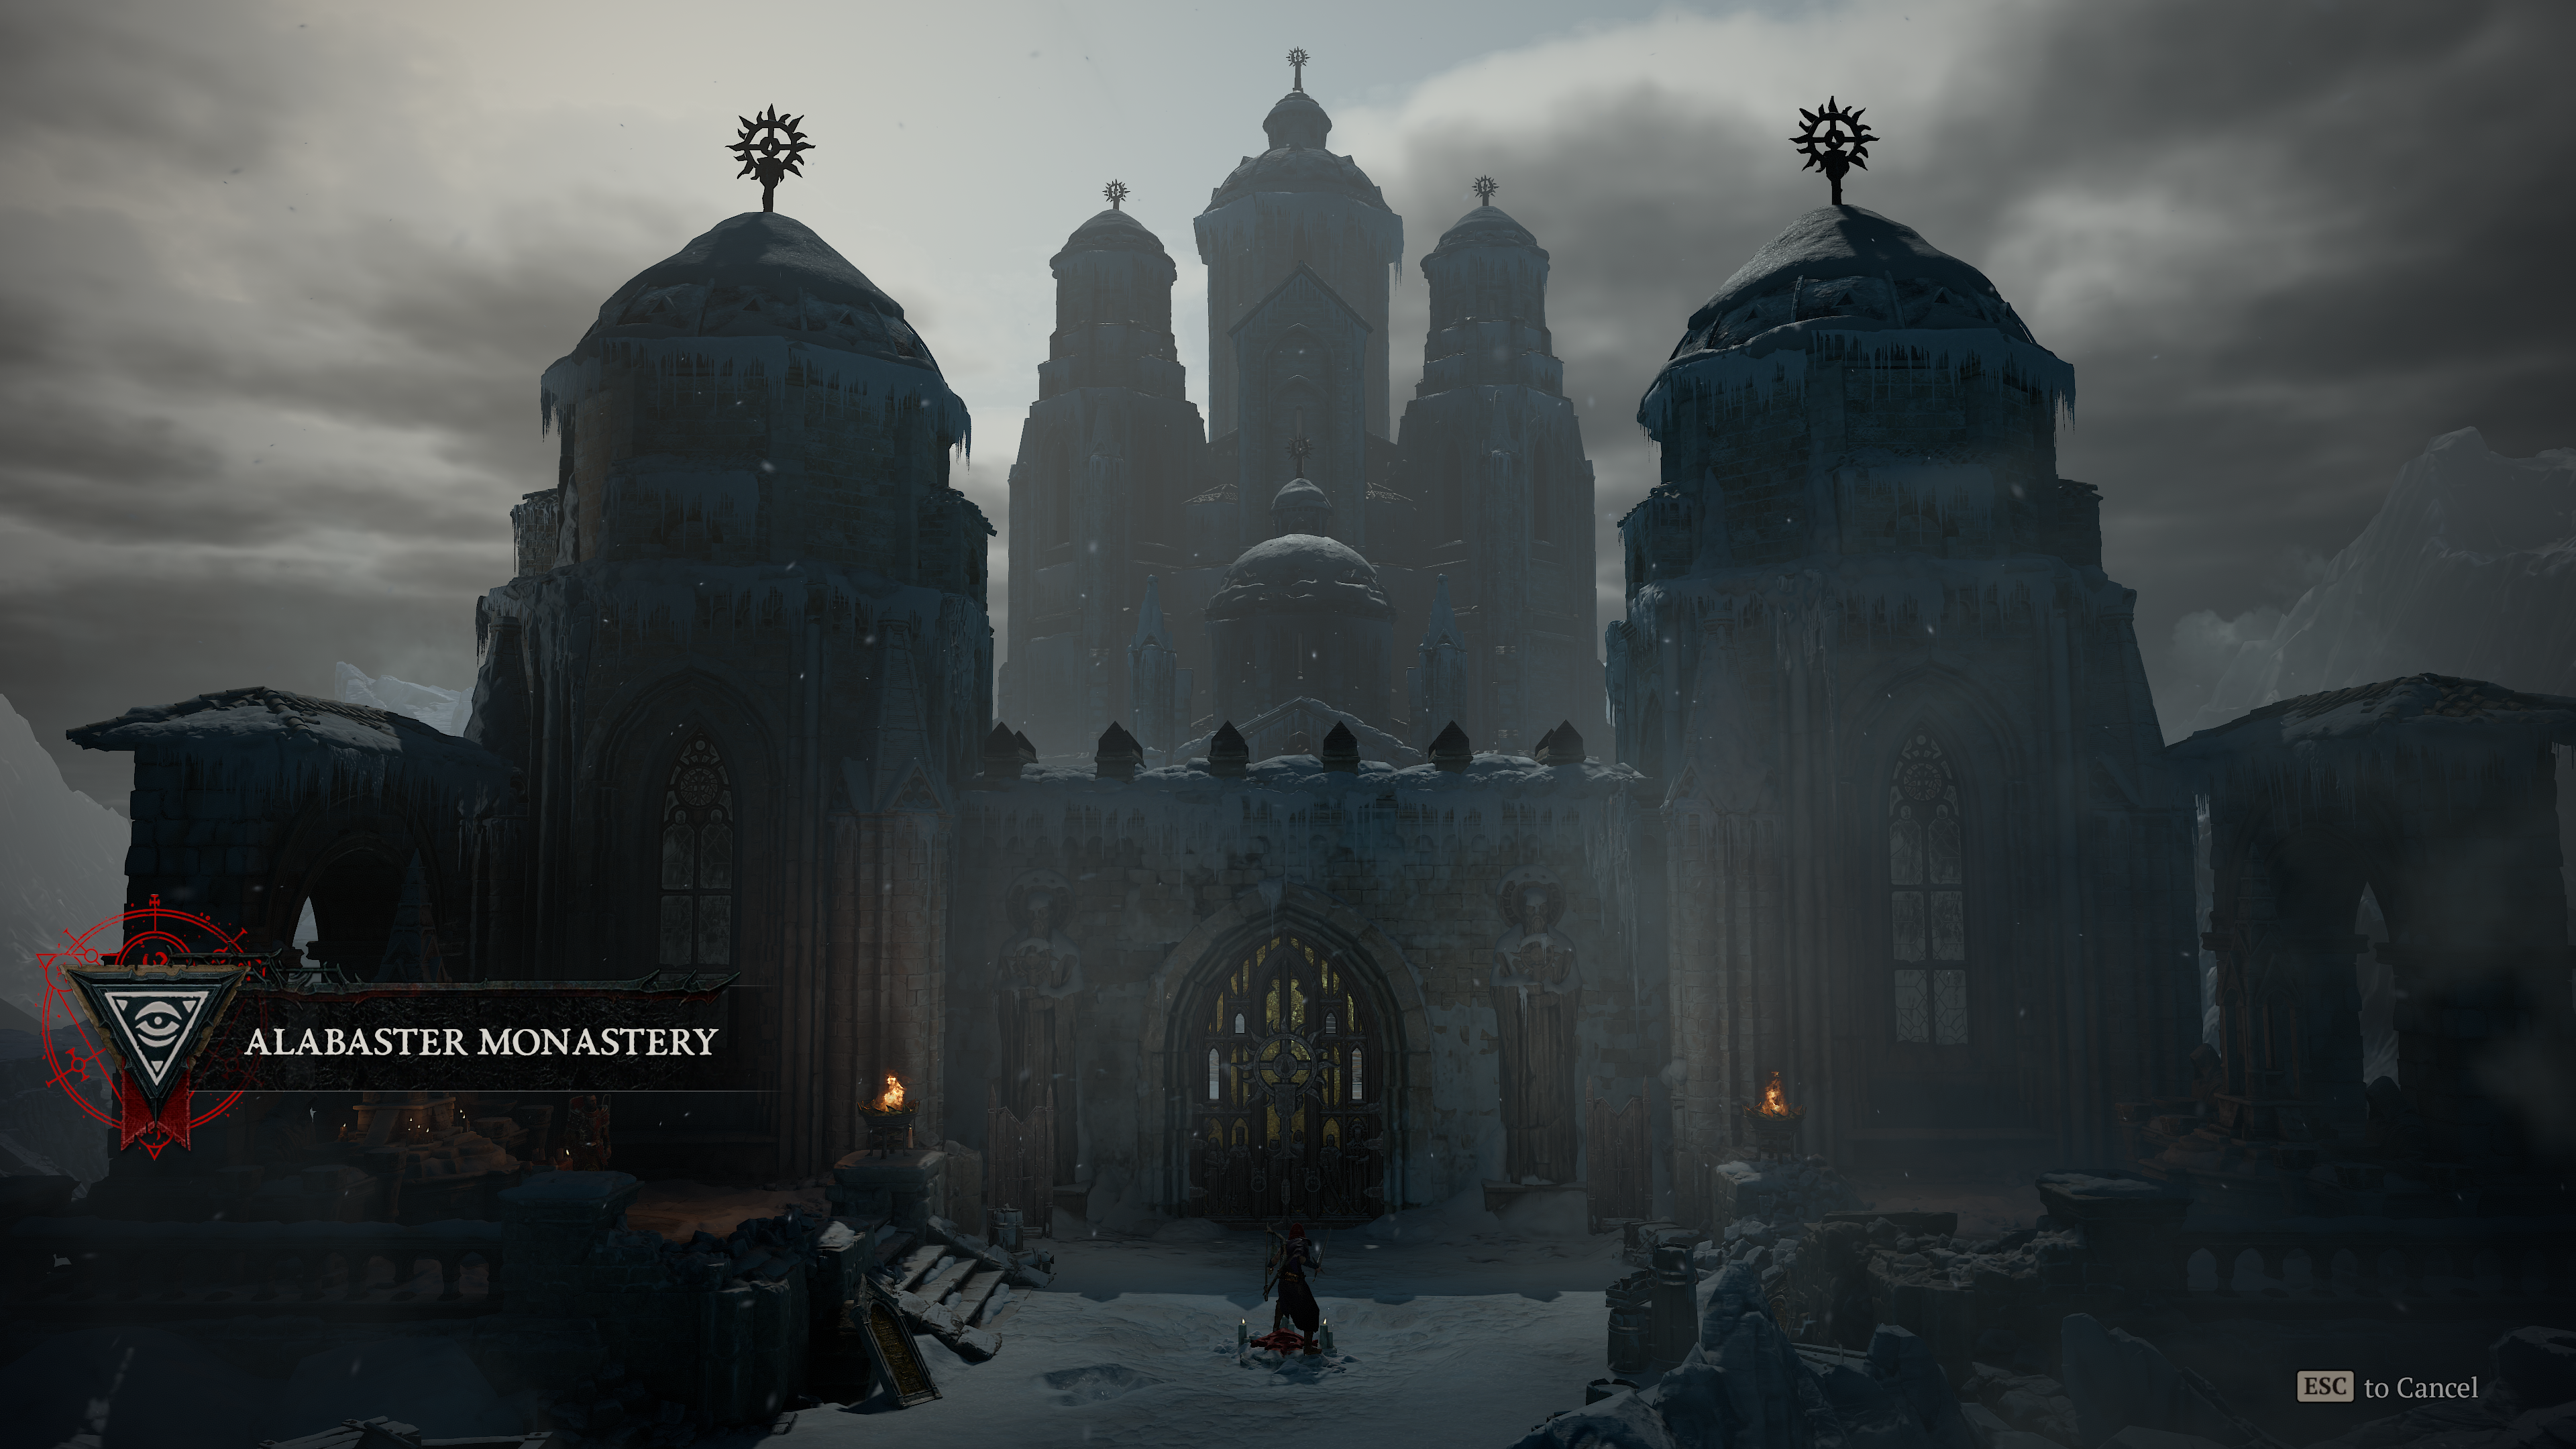
3.Composite
Finally composite the clouds image to the the frame using the mask. And then update the mask as it is needed later for the bloom, to be specific, during the bright pass (the first bloom step) in order to build the bloom image base.

So putting it all together, and perhaps with another cloudy examples


I’ll leave some detailed readings related to that used technique within the references section by the end of this post. It’s not only explaining the technique, theories and ideas or optimizations, but also showing some shader code.
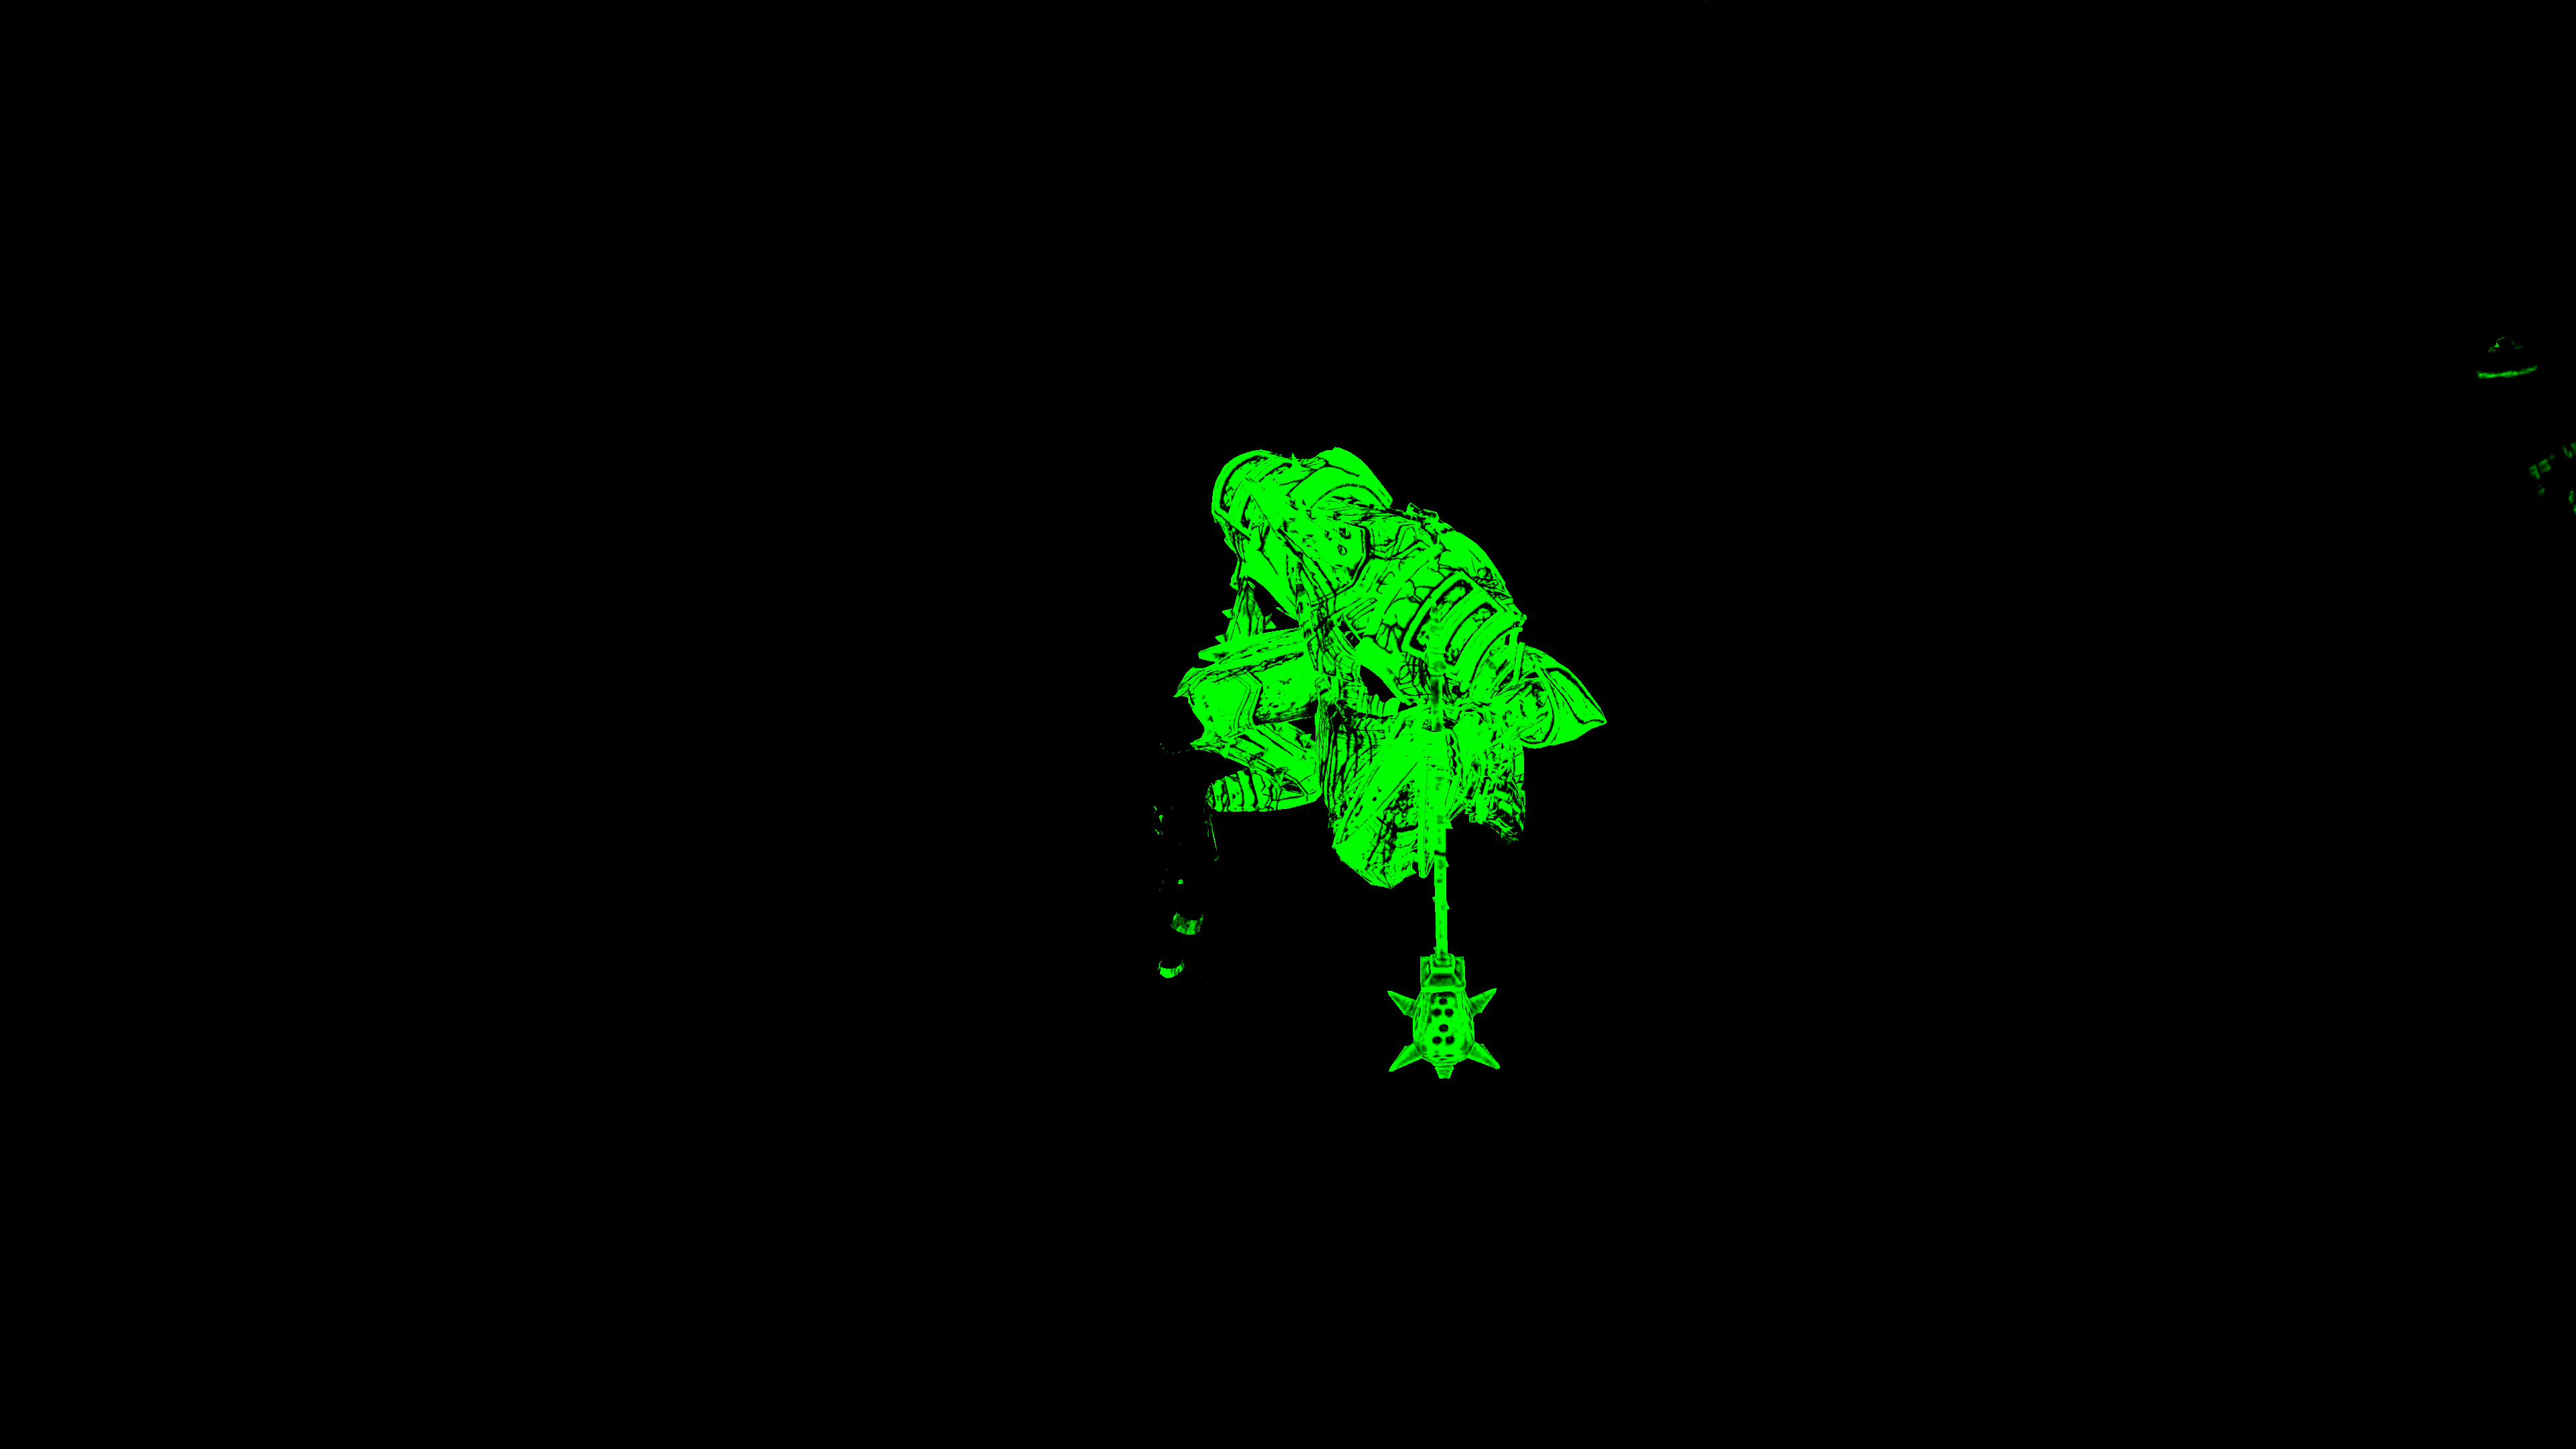
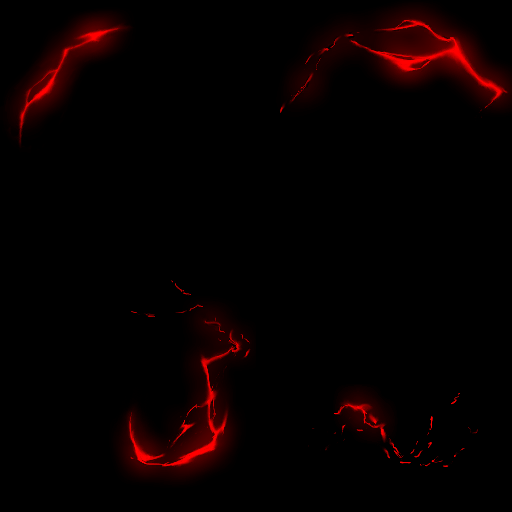
Early Particles (Billboard)
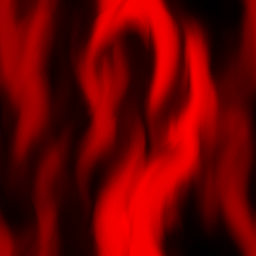
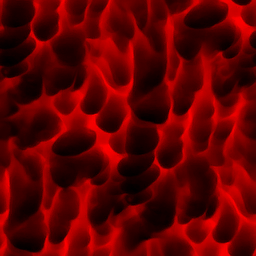
With cloud in there, frame is almost ready to post process, except it is still missing one vital part of any 3d footage.. The particles systems. At this point, a pass that takes as long as the amount of particles across the view frustum. Anything that billboards, is done here. So it is not only about small particles, but also things like candle flames, smoke, dust, lens flare
And i believe it is more beautiful seeing each particle patches drawing, from small particles, to flares, to ribbons to smoke..near 21 different draws, almost each is patching a whole lot at once.


In order to achieve such details for every step, there is a good respectful amount of vfx textures used for that (Noise[s], Color Gradient[s], UVDistortions[s], Mask[s], Ramp[s],…). i always get requests from vfx artists to elaborate more and to put some more details about particle systems & the uses textures, so there you go, all what been used to achieve this result above (almost, except couple or so that was solid colors).


And of course things are not different for gameplay. Of course sometimes during this step (specially in gameplay, and heavily in combat), there are decals particles. Or you can call it just decals that are part of the particles system, they’re just working as any other decals getting projected into surface using a box shape as projection volume, except they are neither a part of the level design as hand placed, nor part of the gbuffer decals at draw time. Let’s put it that way “Decal Particles”!
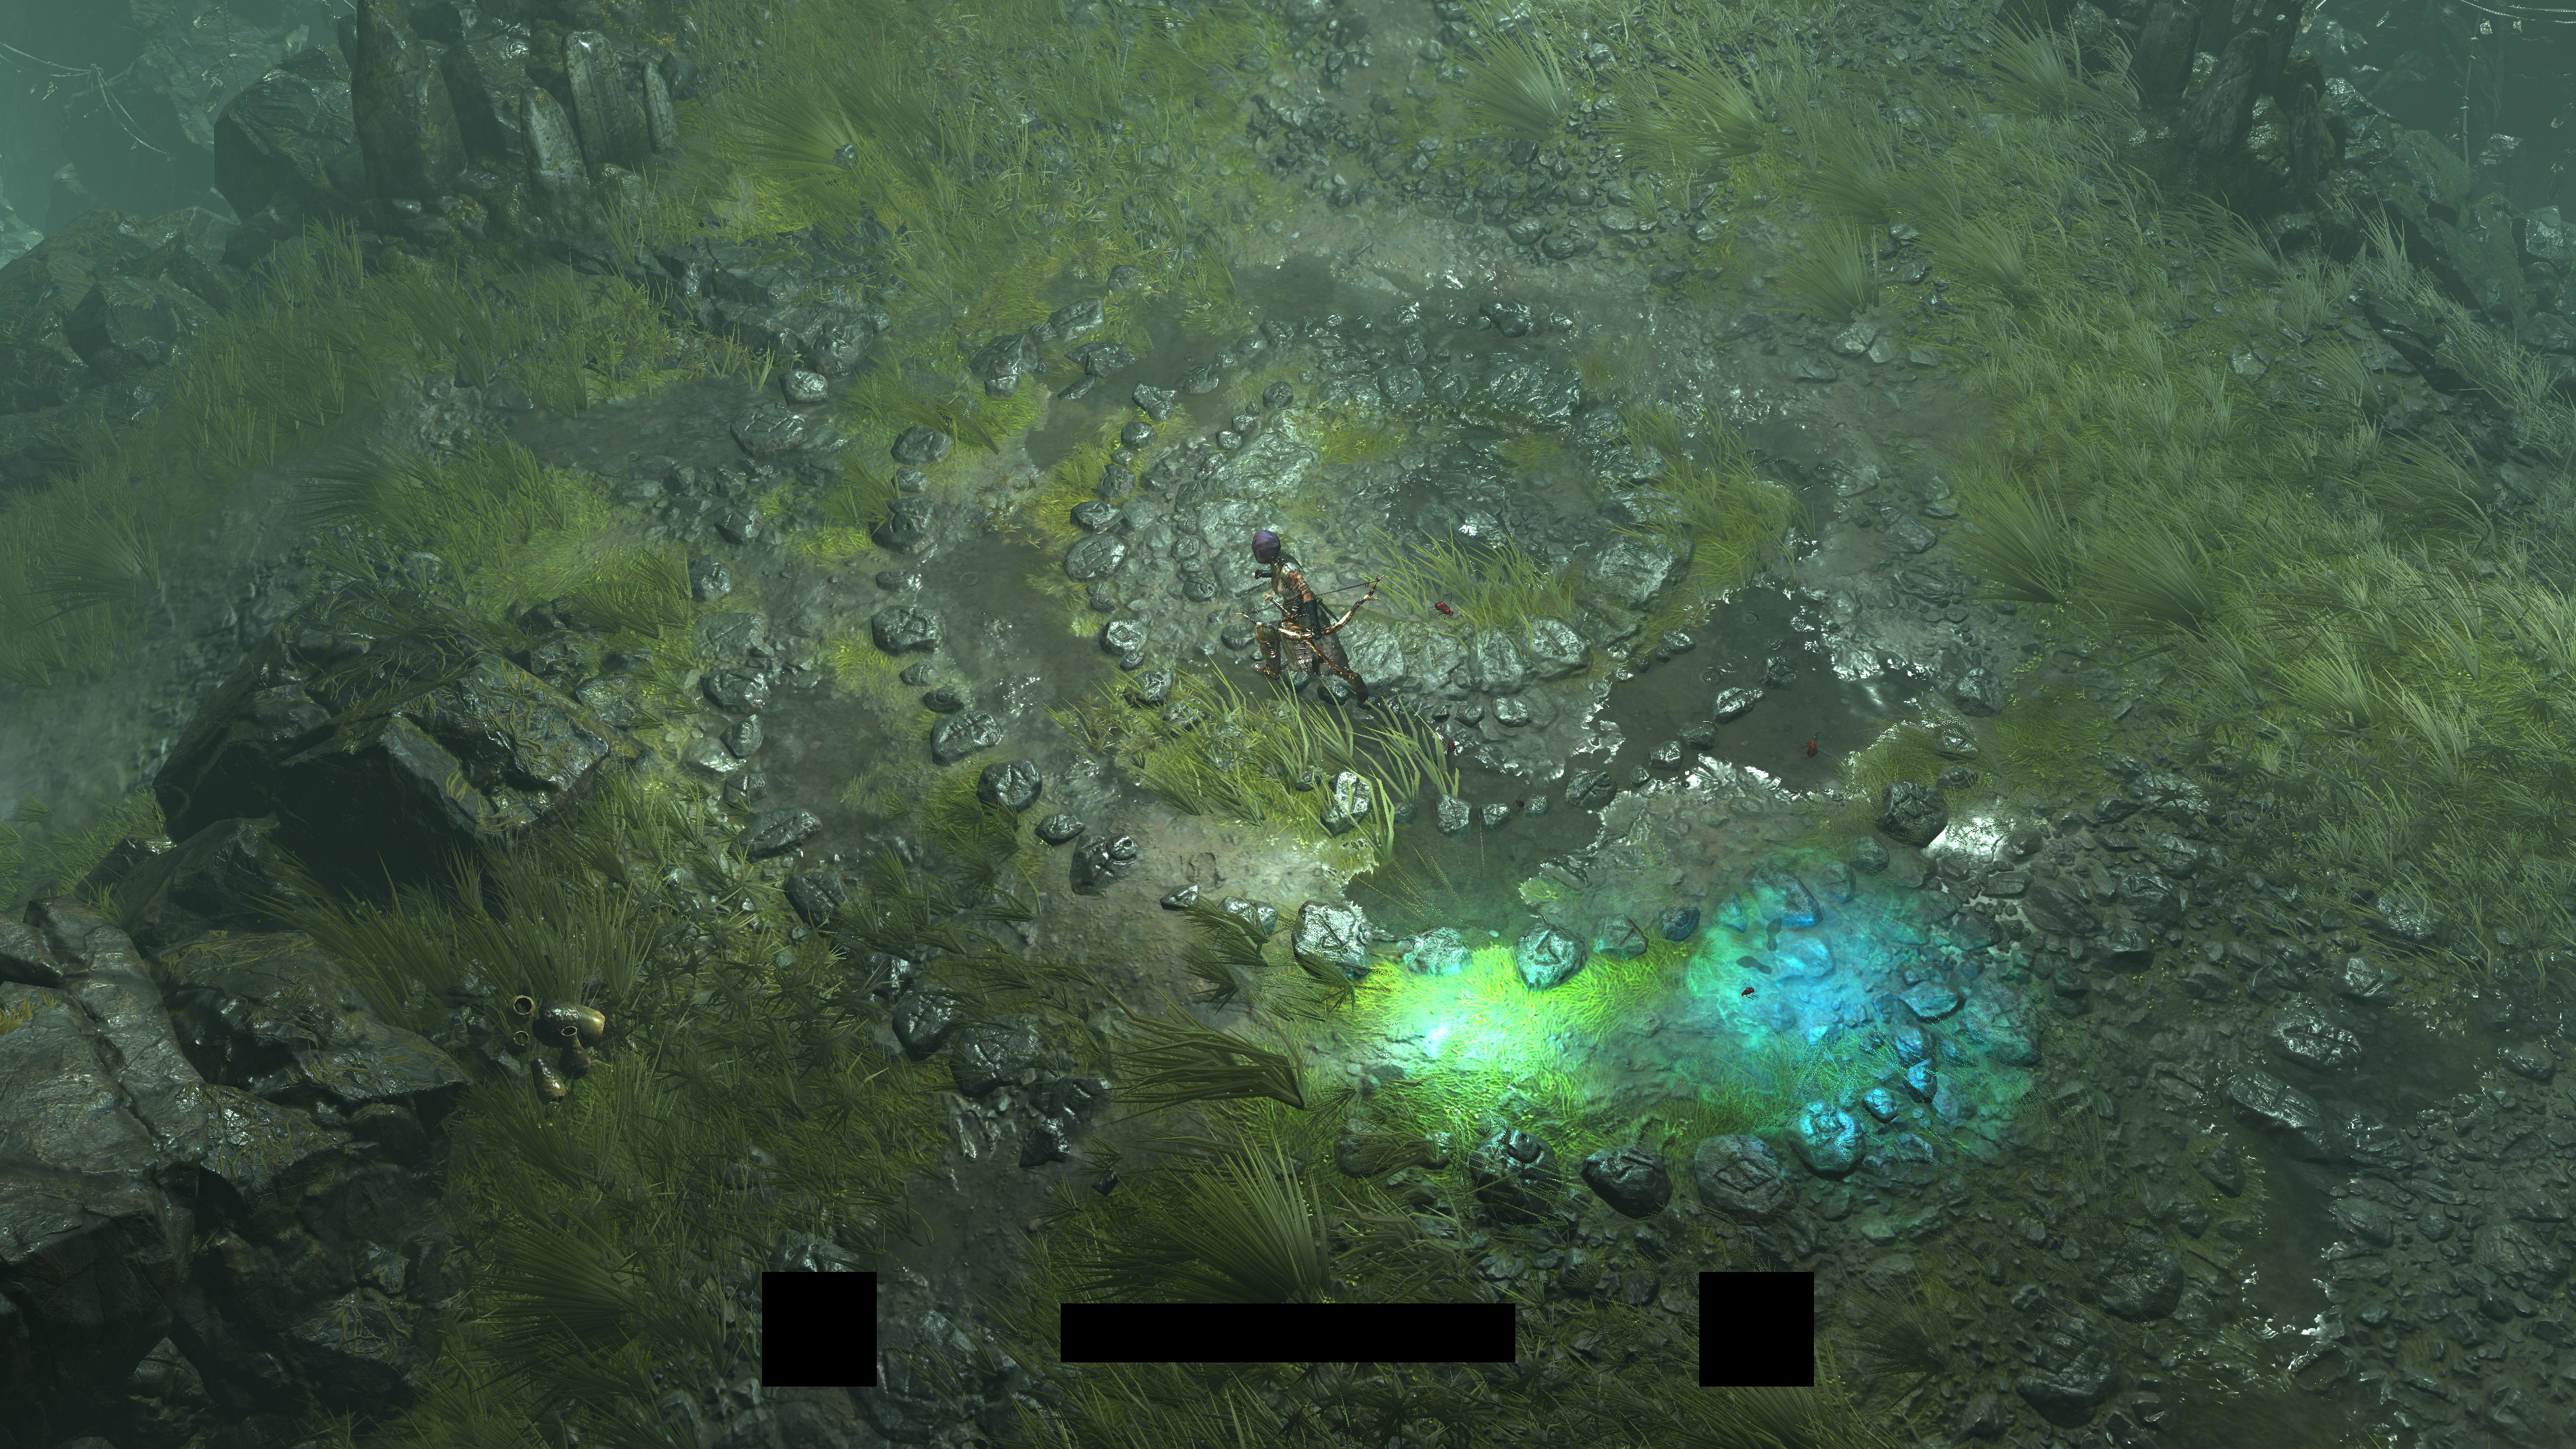
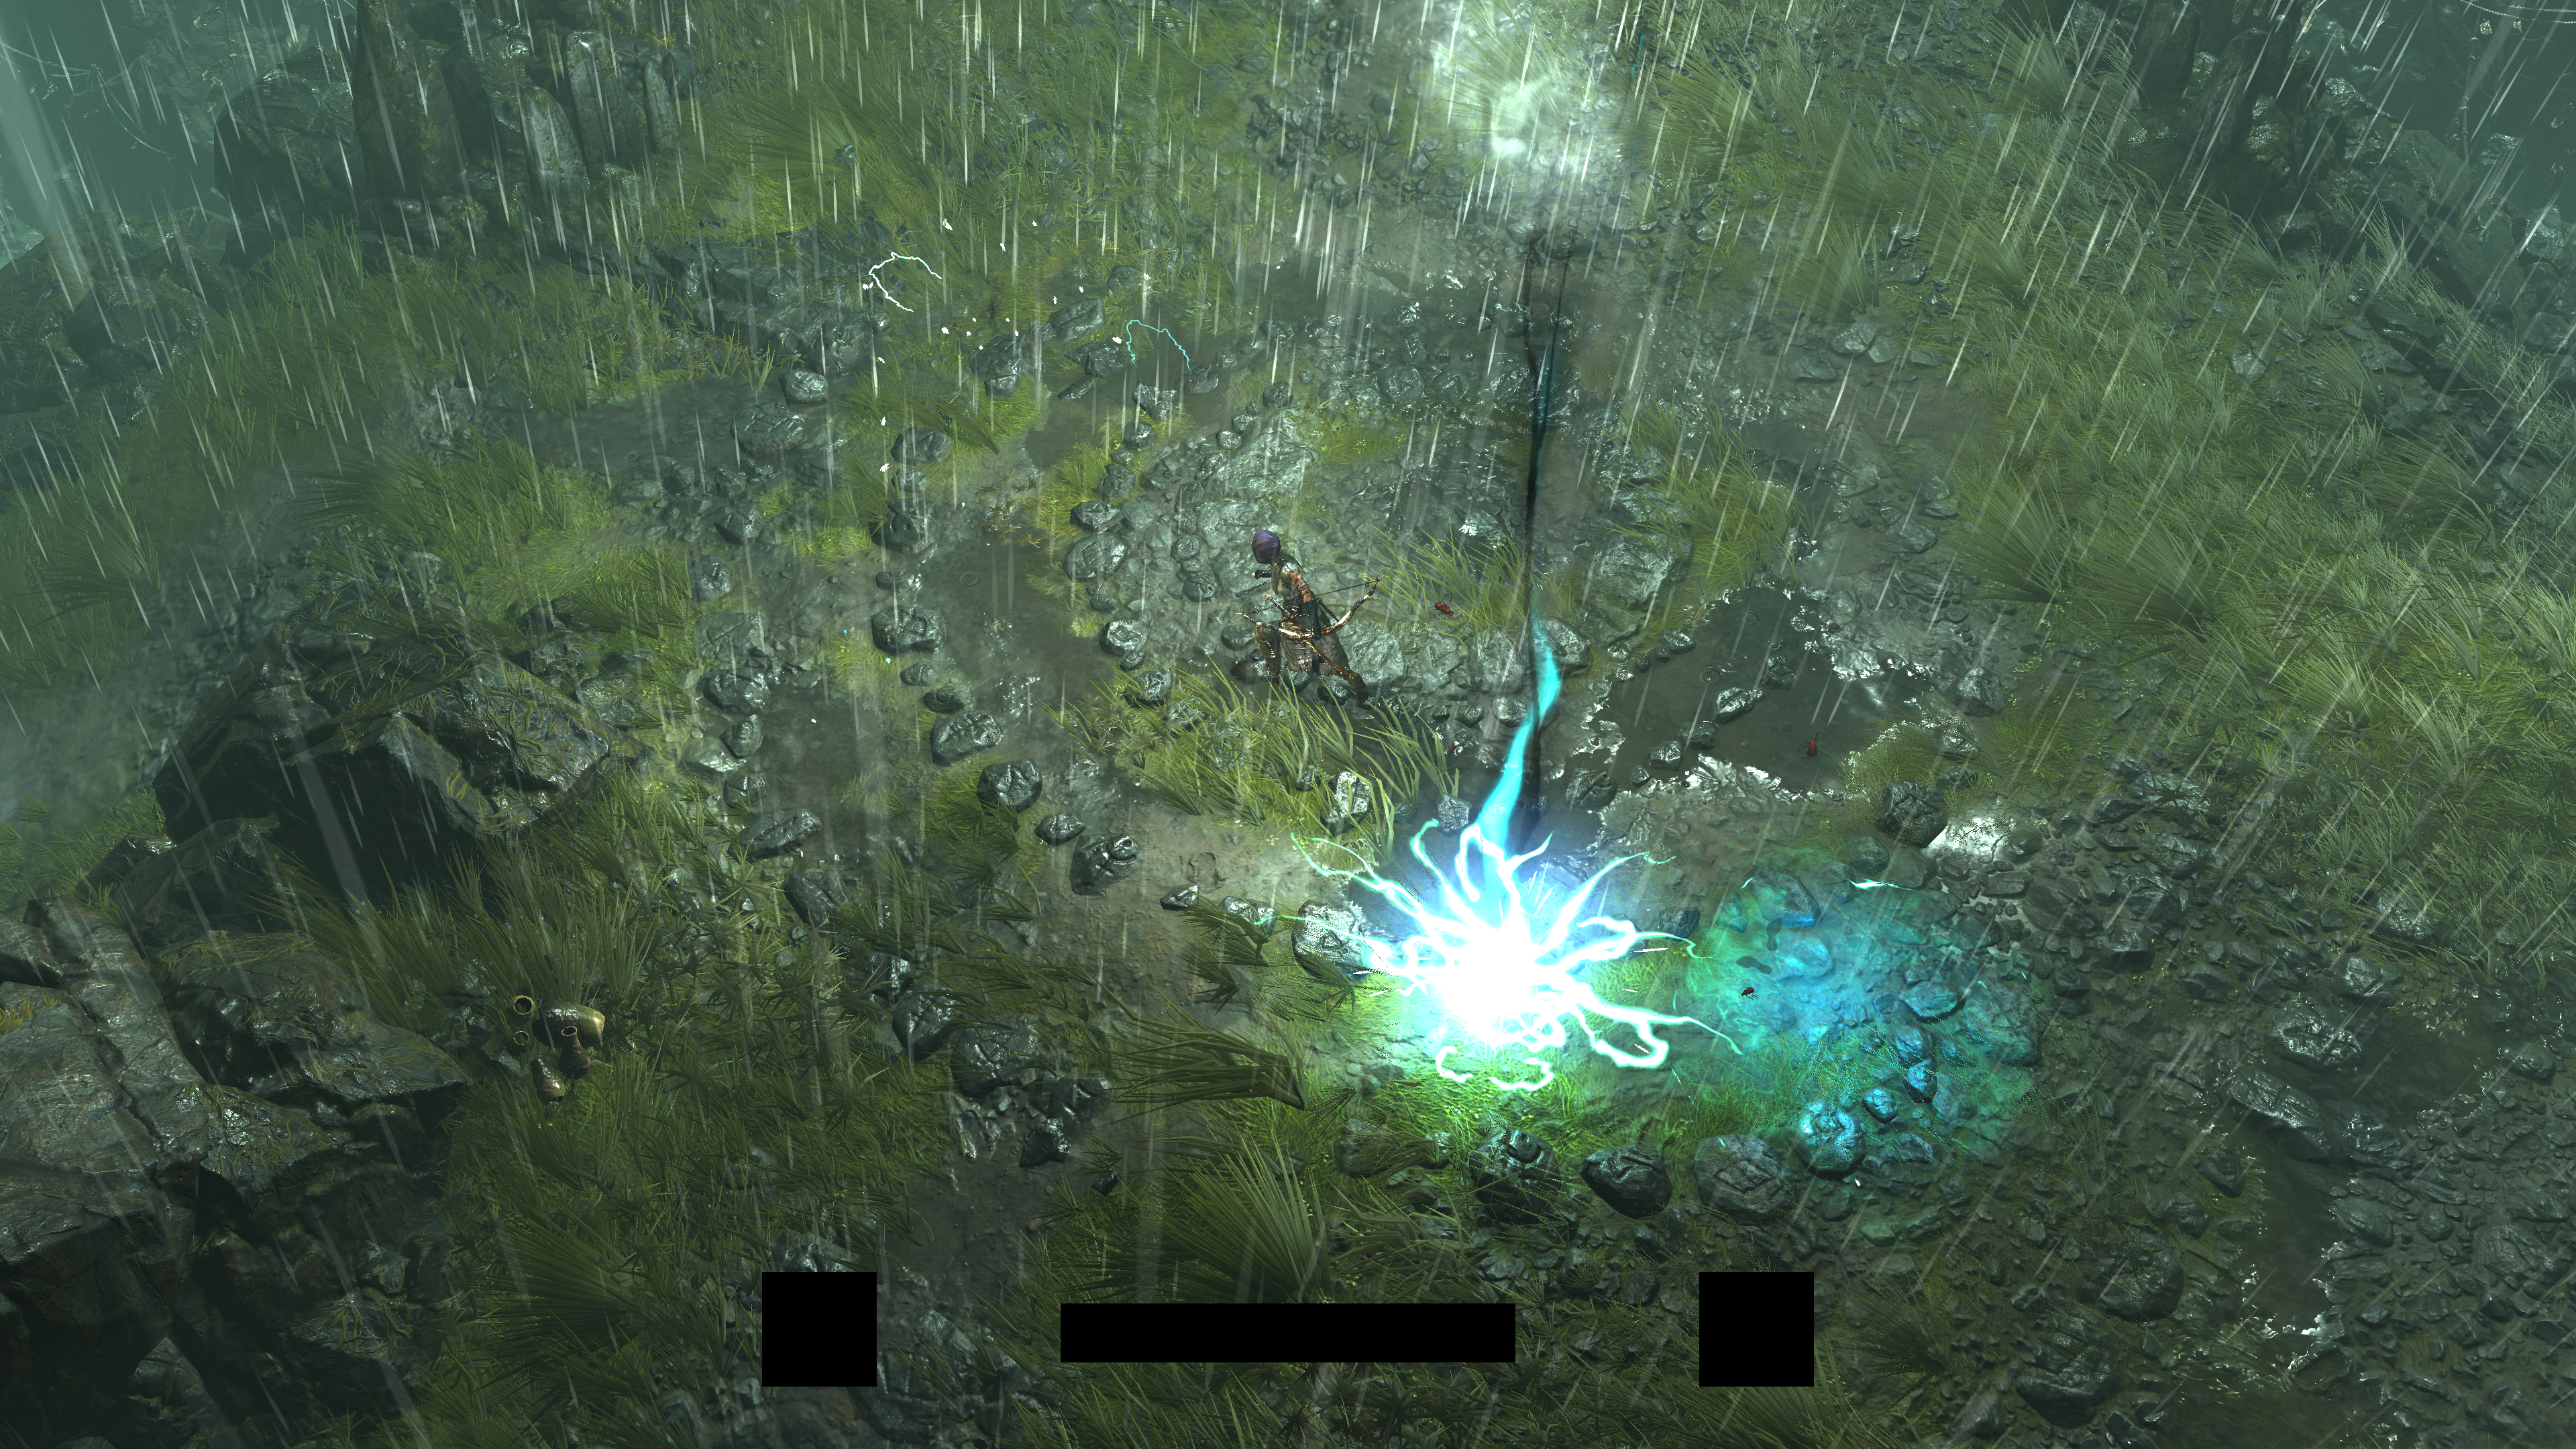
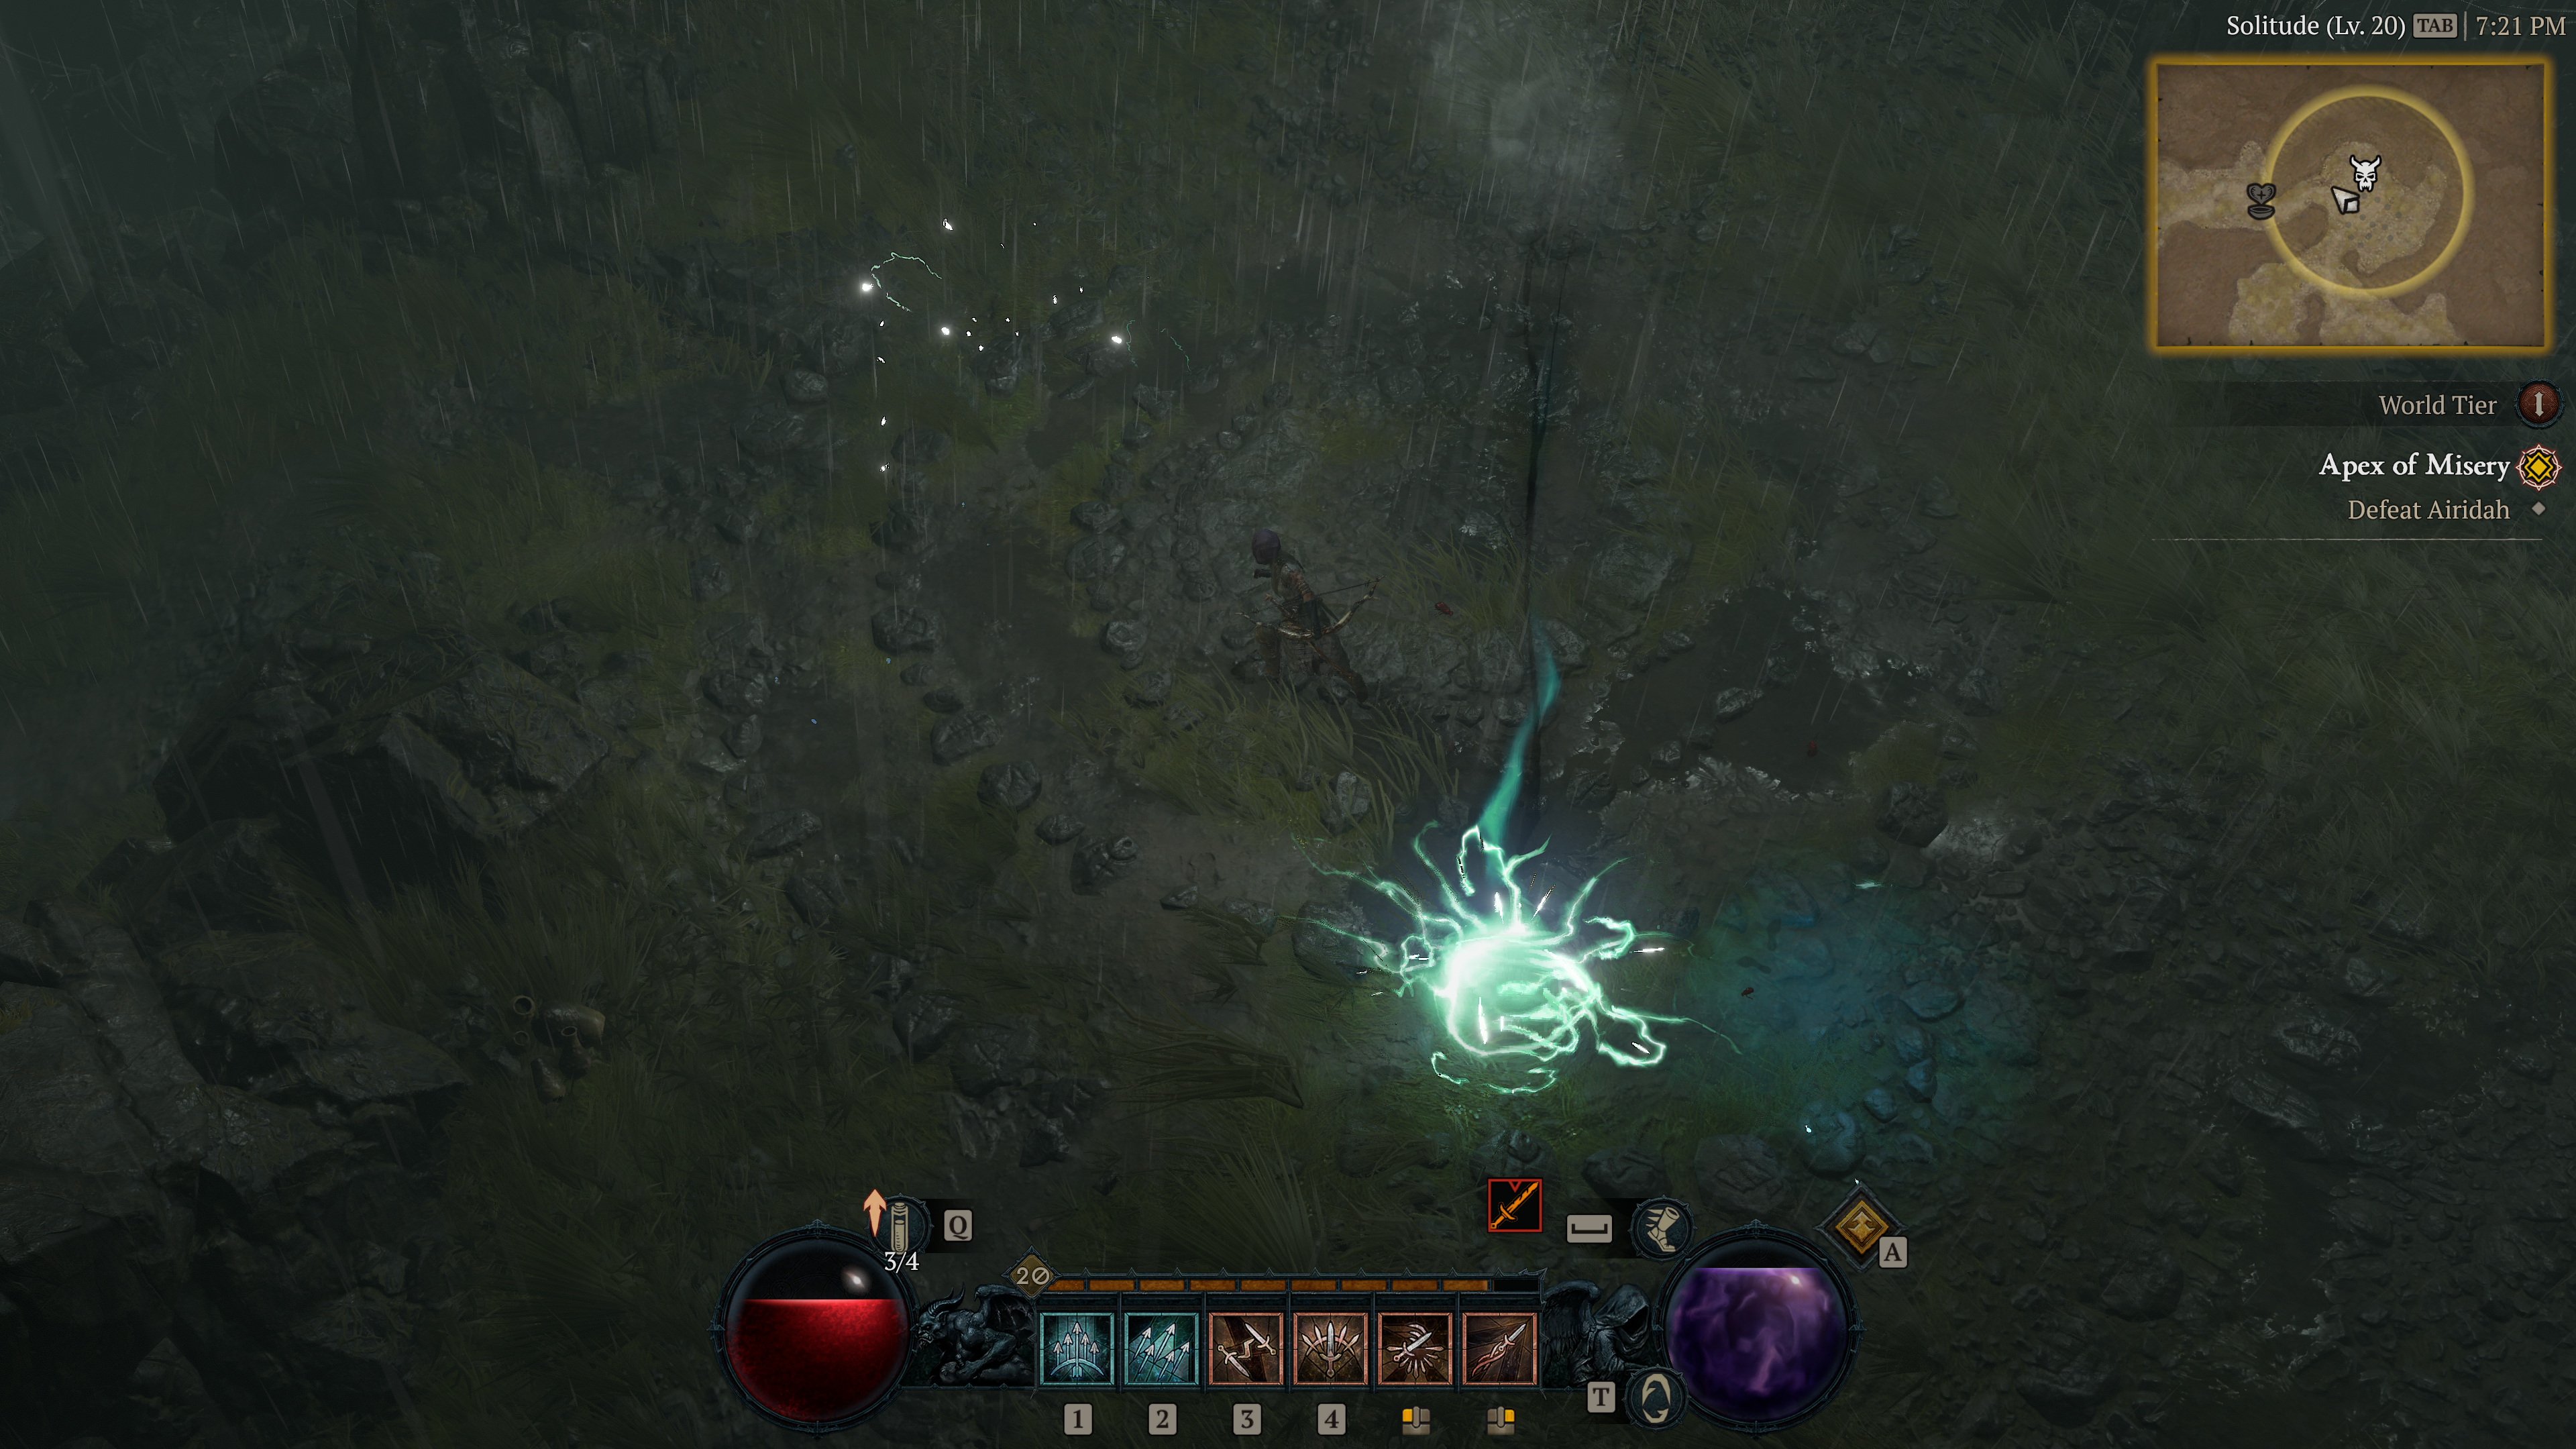
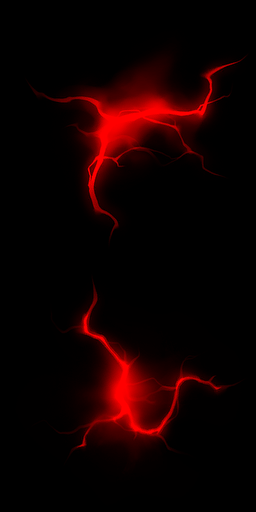
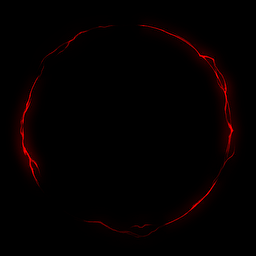
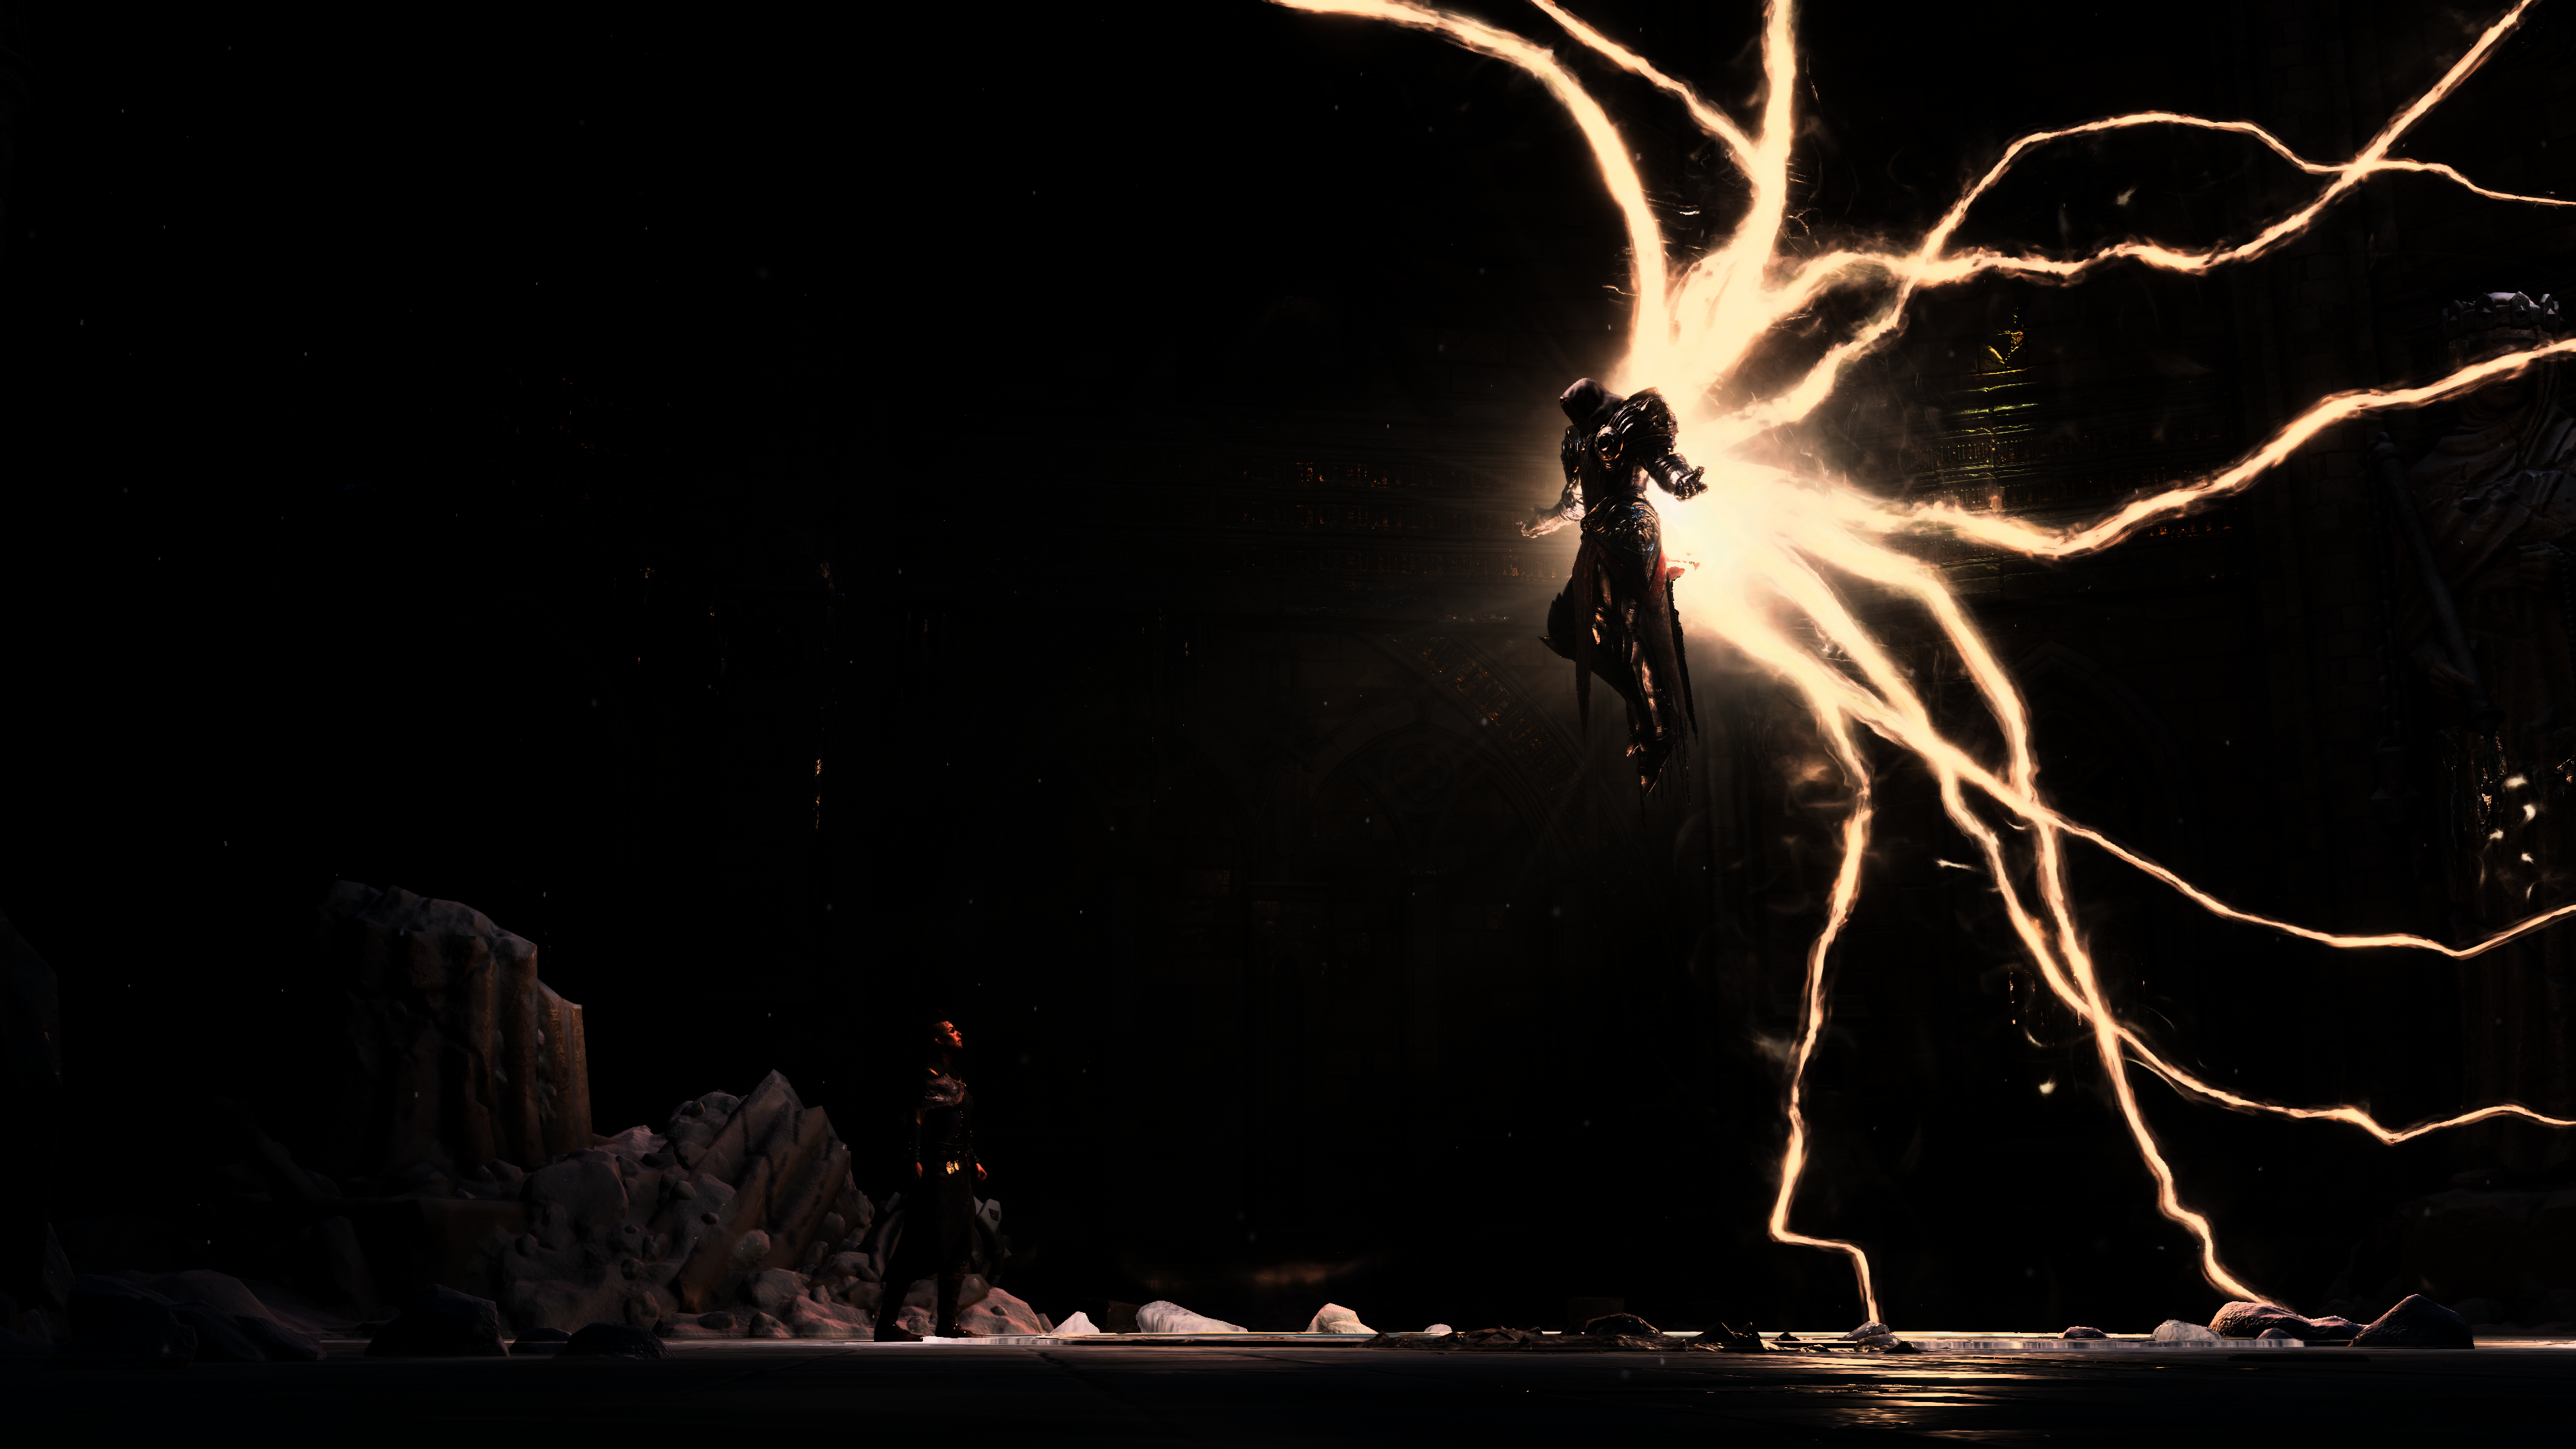
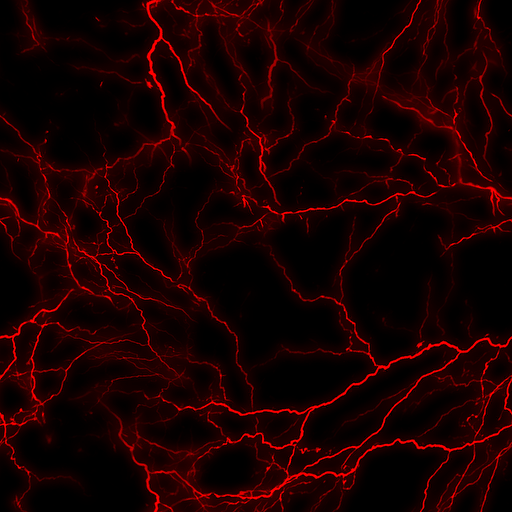
Those decals are everywhere across the game world, one of the very obvious examples of this type of particle decals, is like the big lightning bolt hit the ground in that gameplay frame from the Aridah boss fight. Not to mention, that pretty much all feet steps in there are decals that. You can observe all those in detailed draw steps.


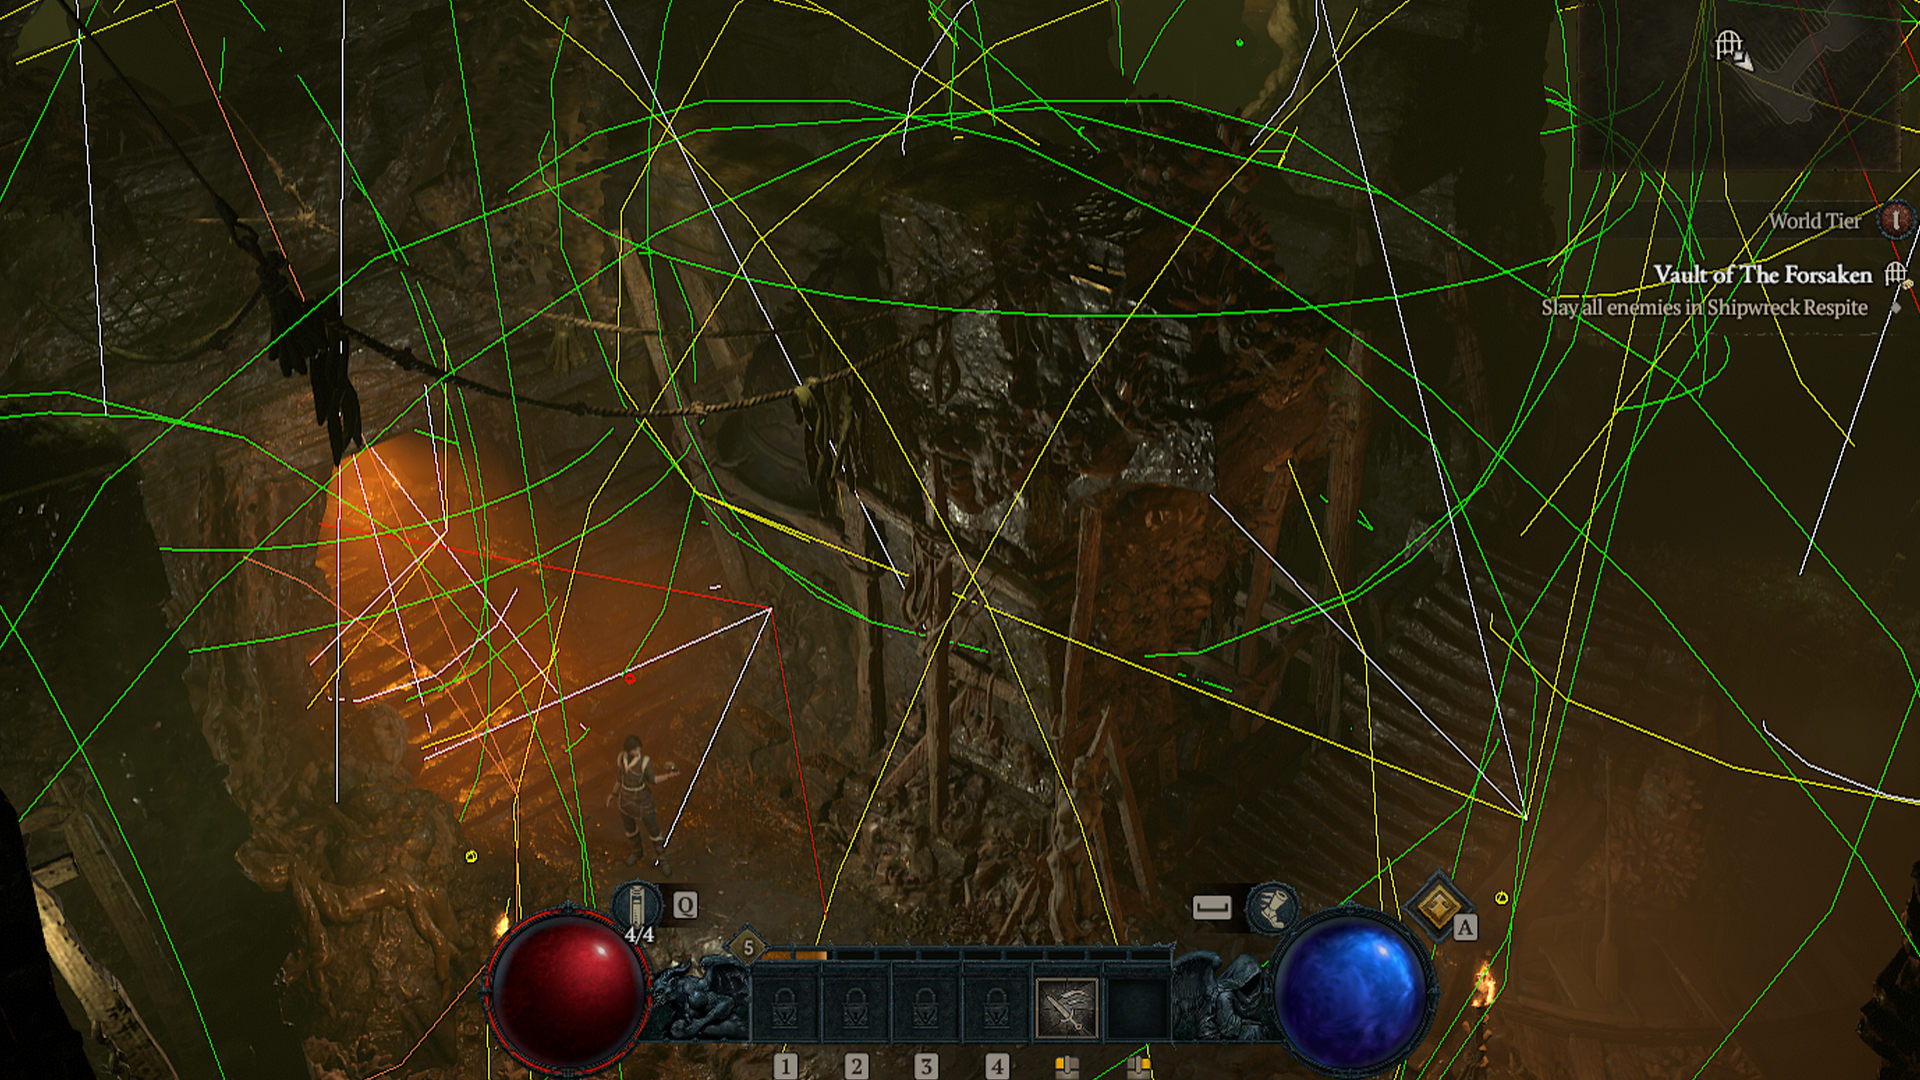
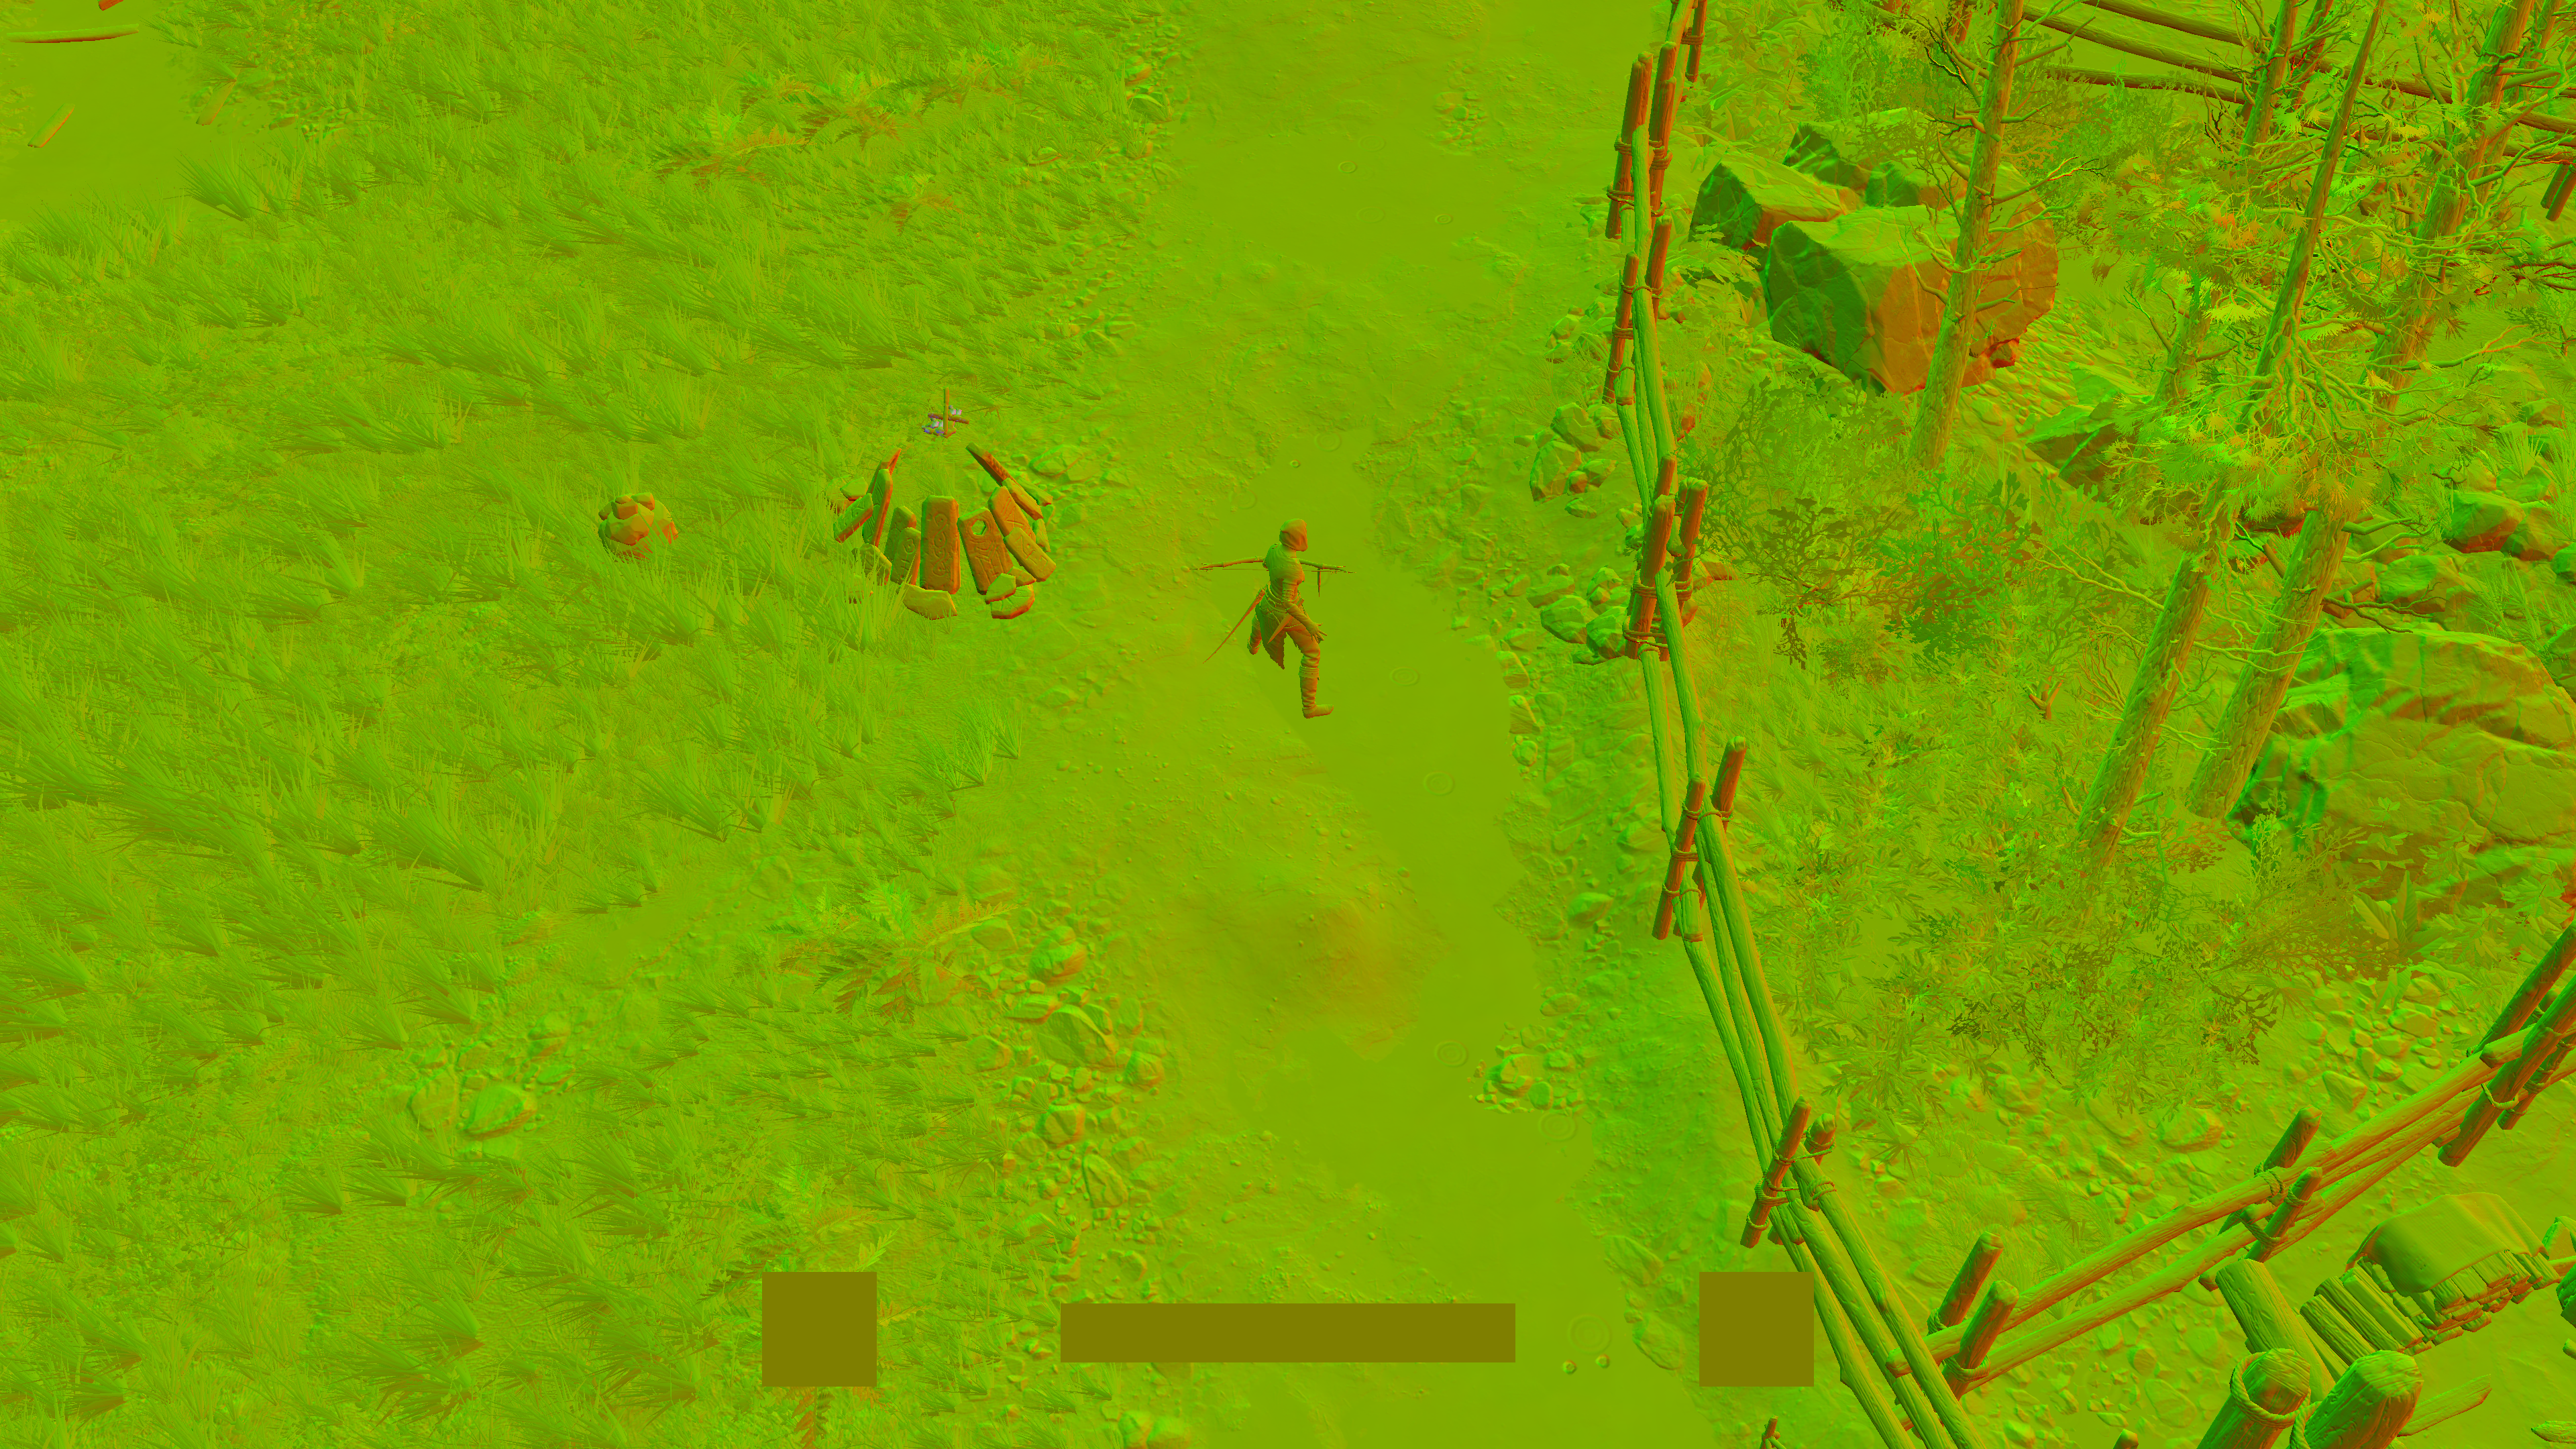
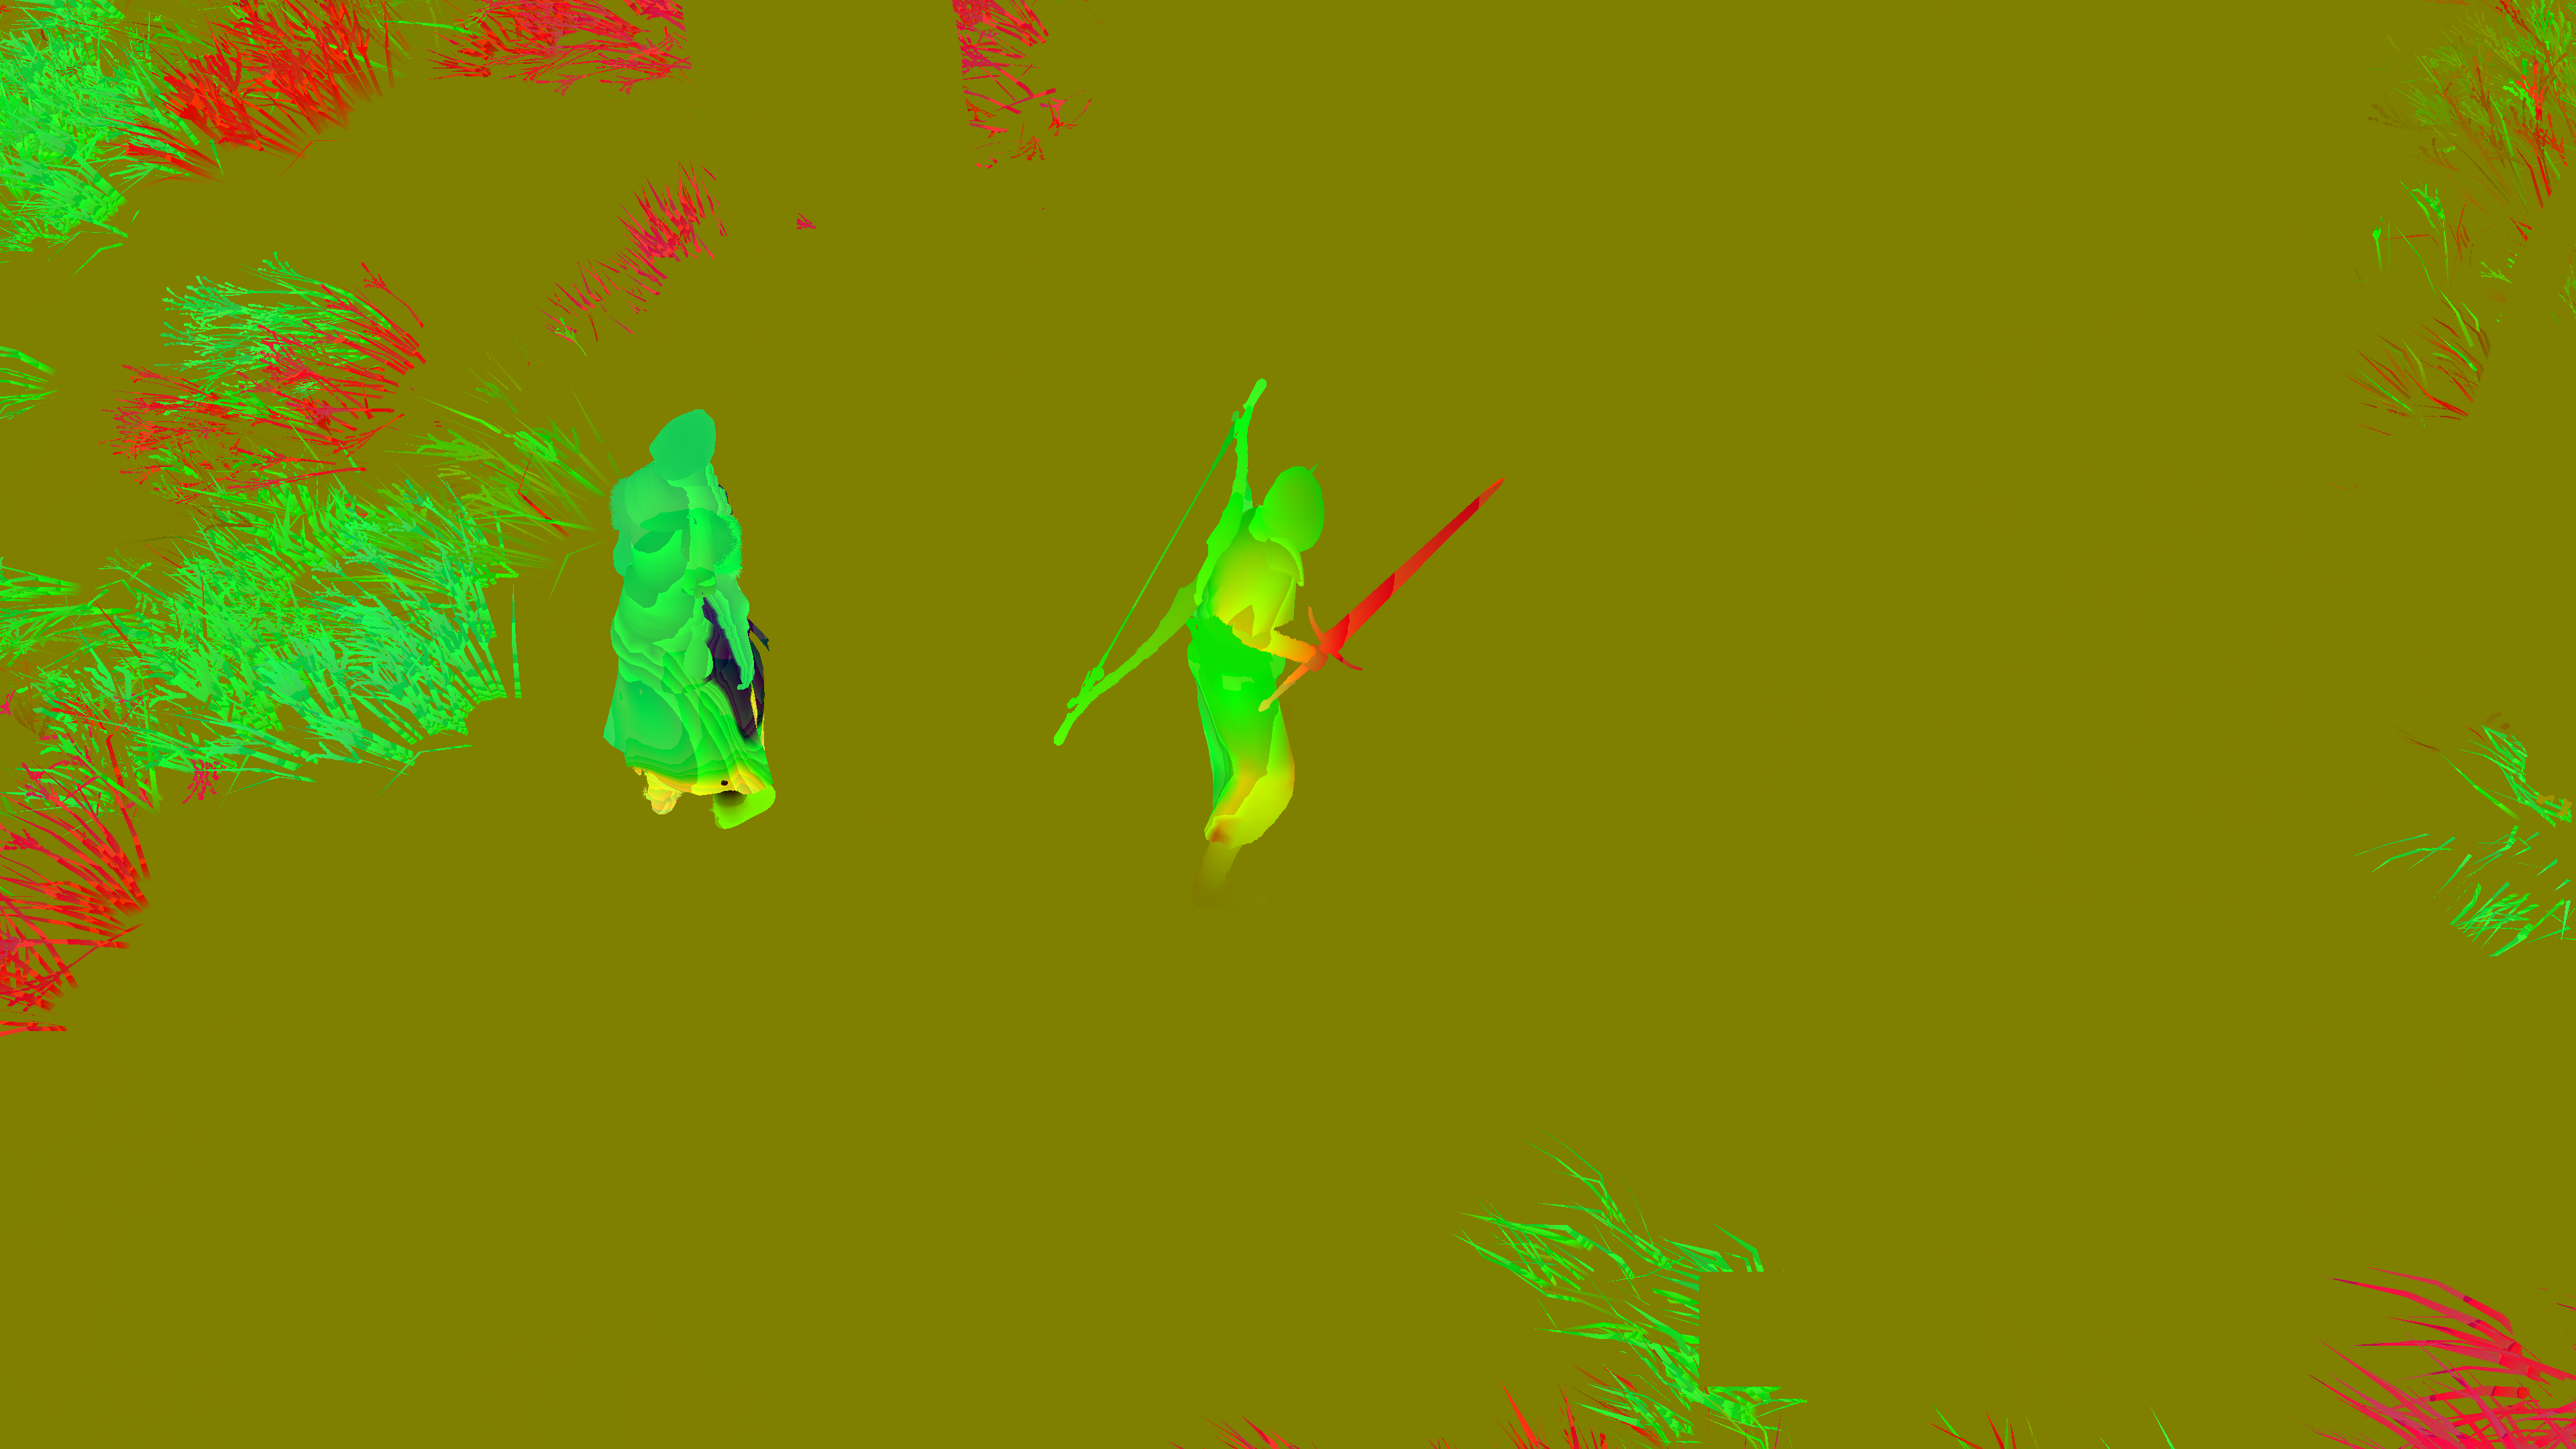
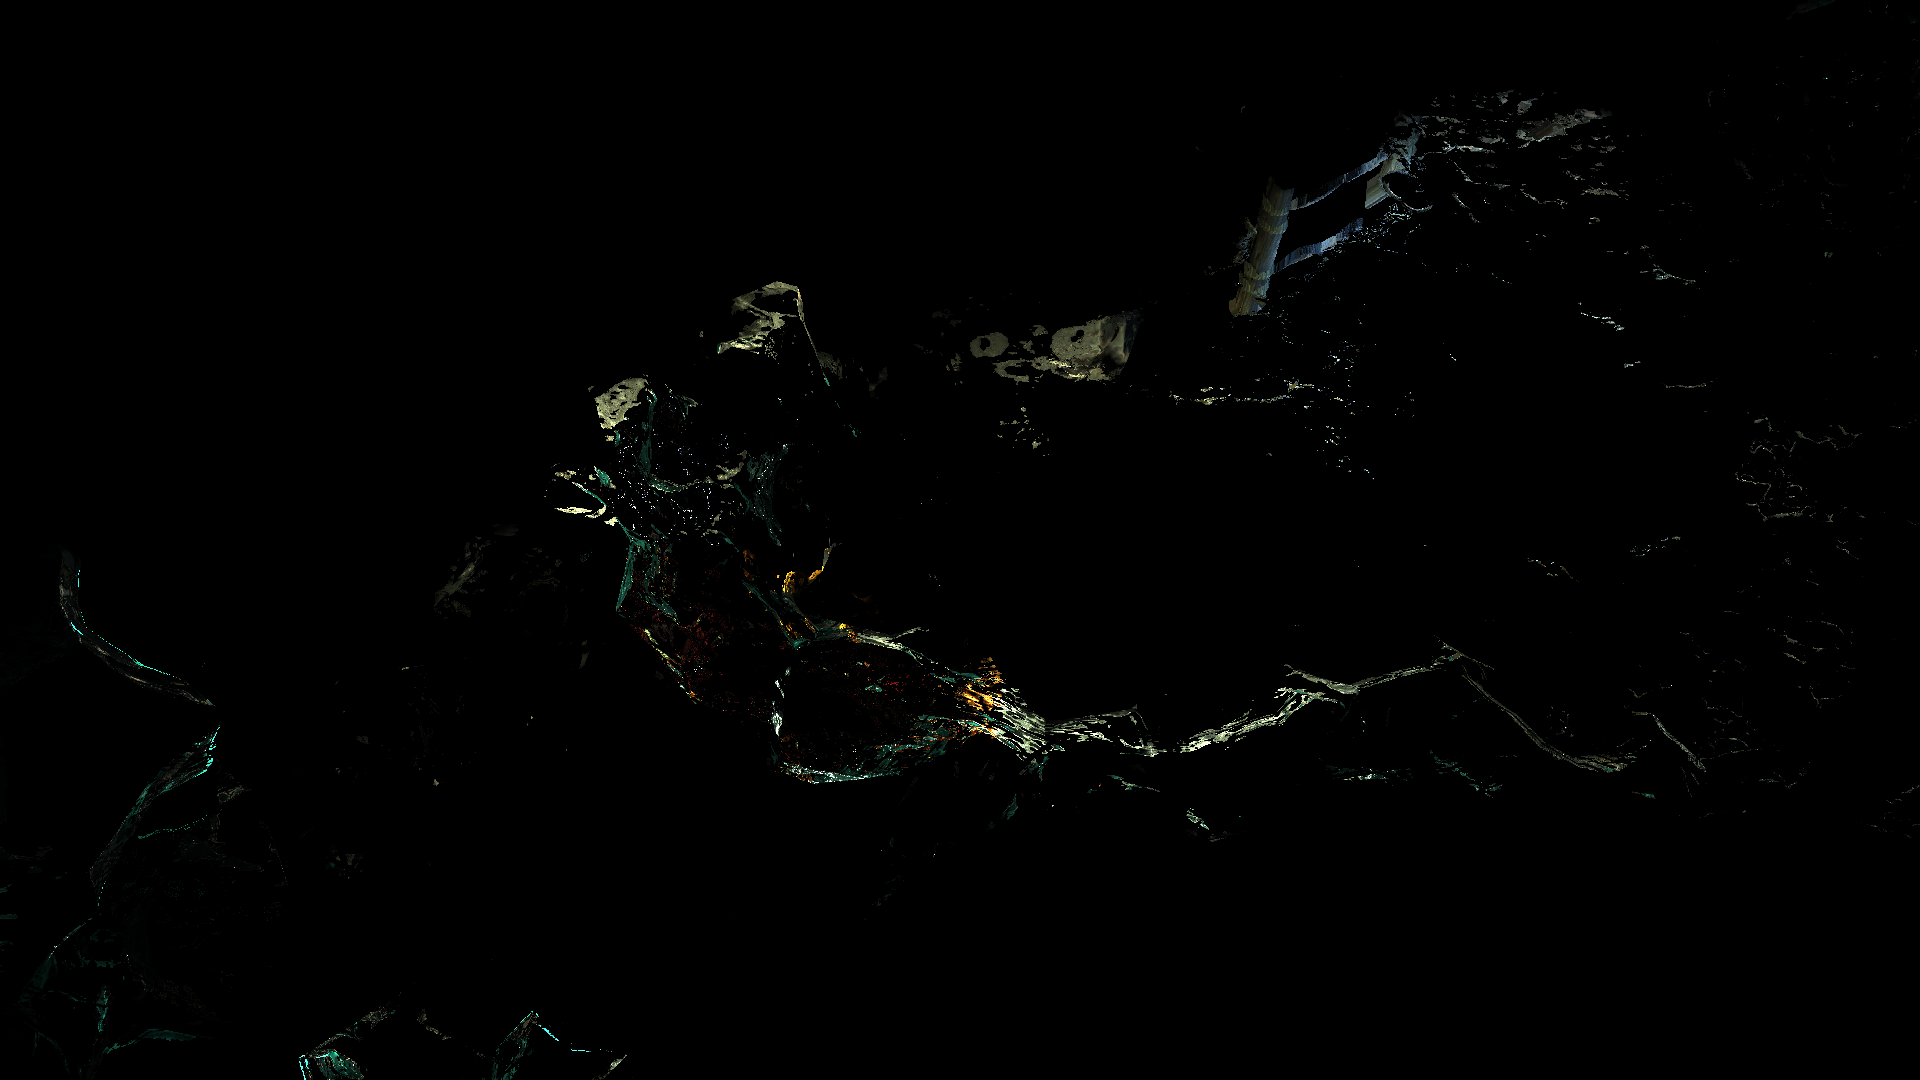
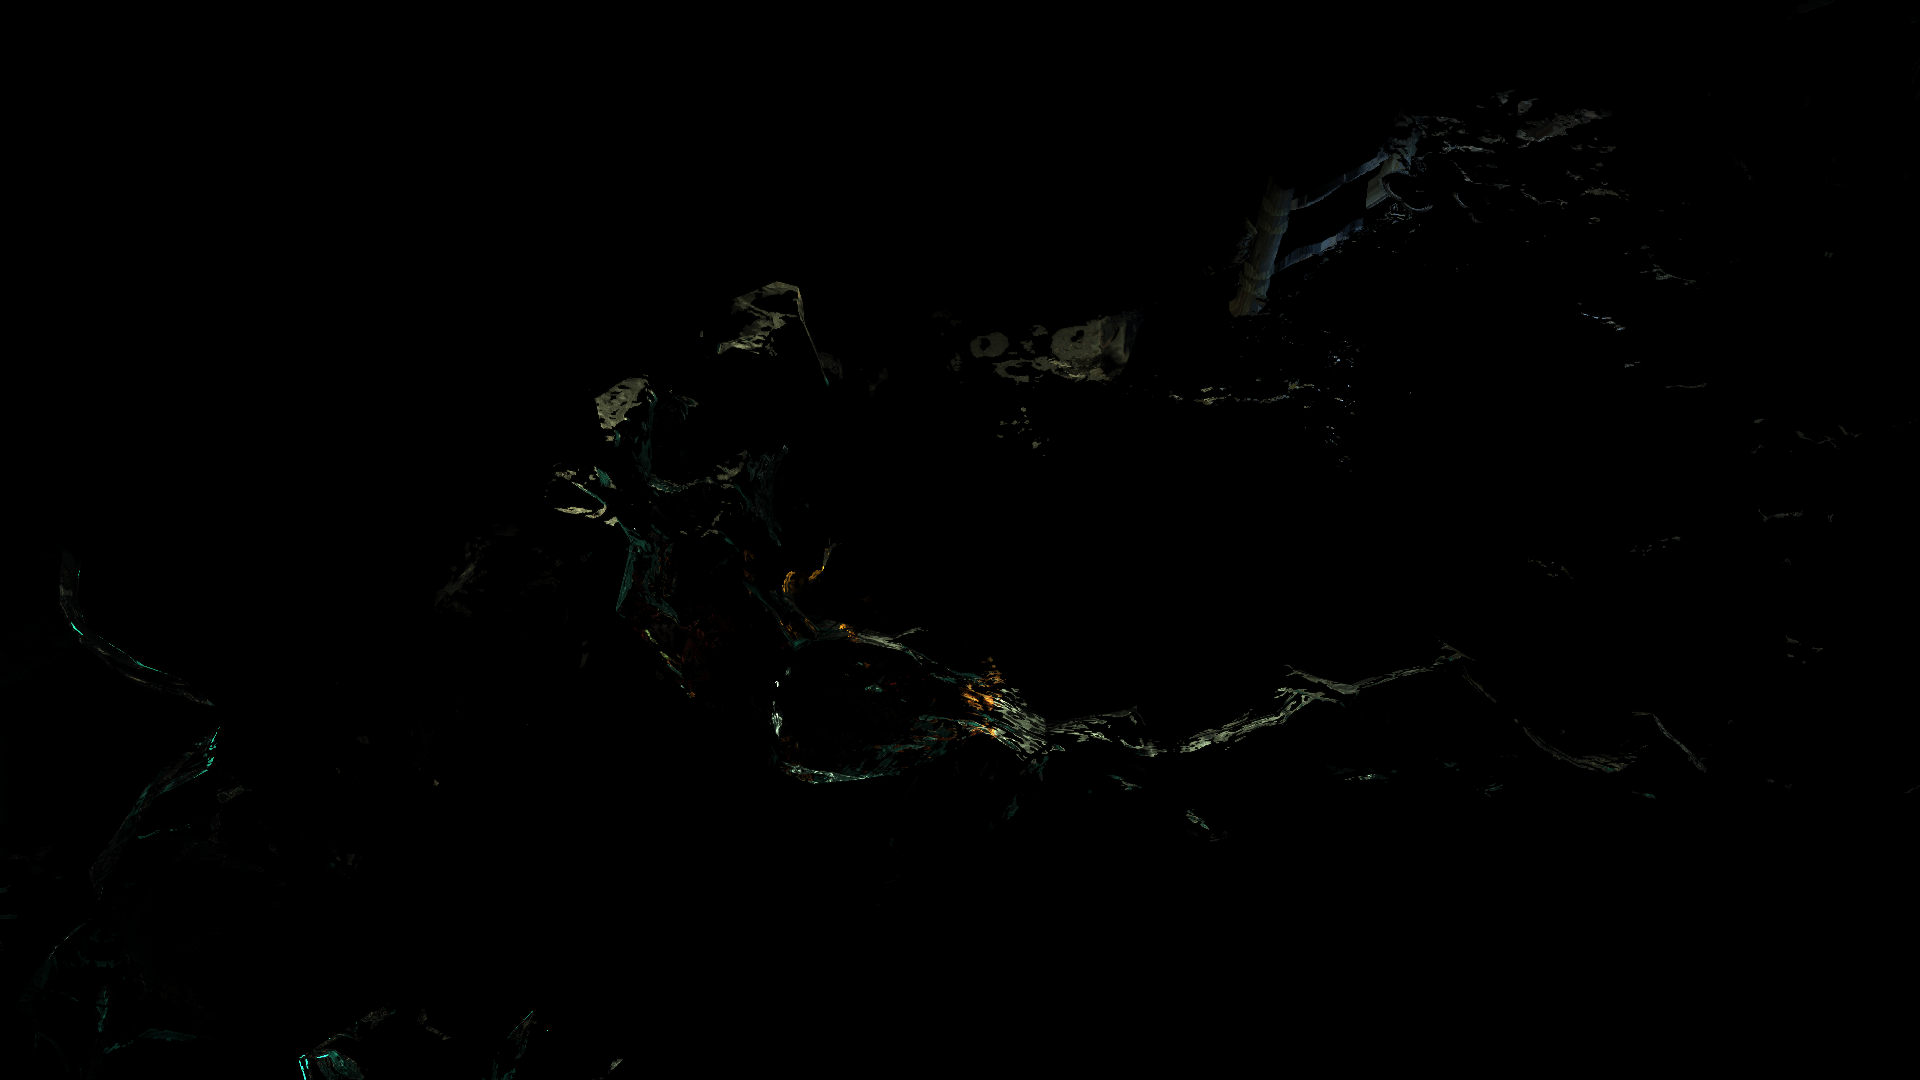
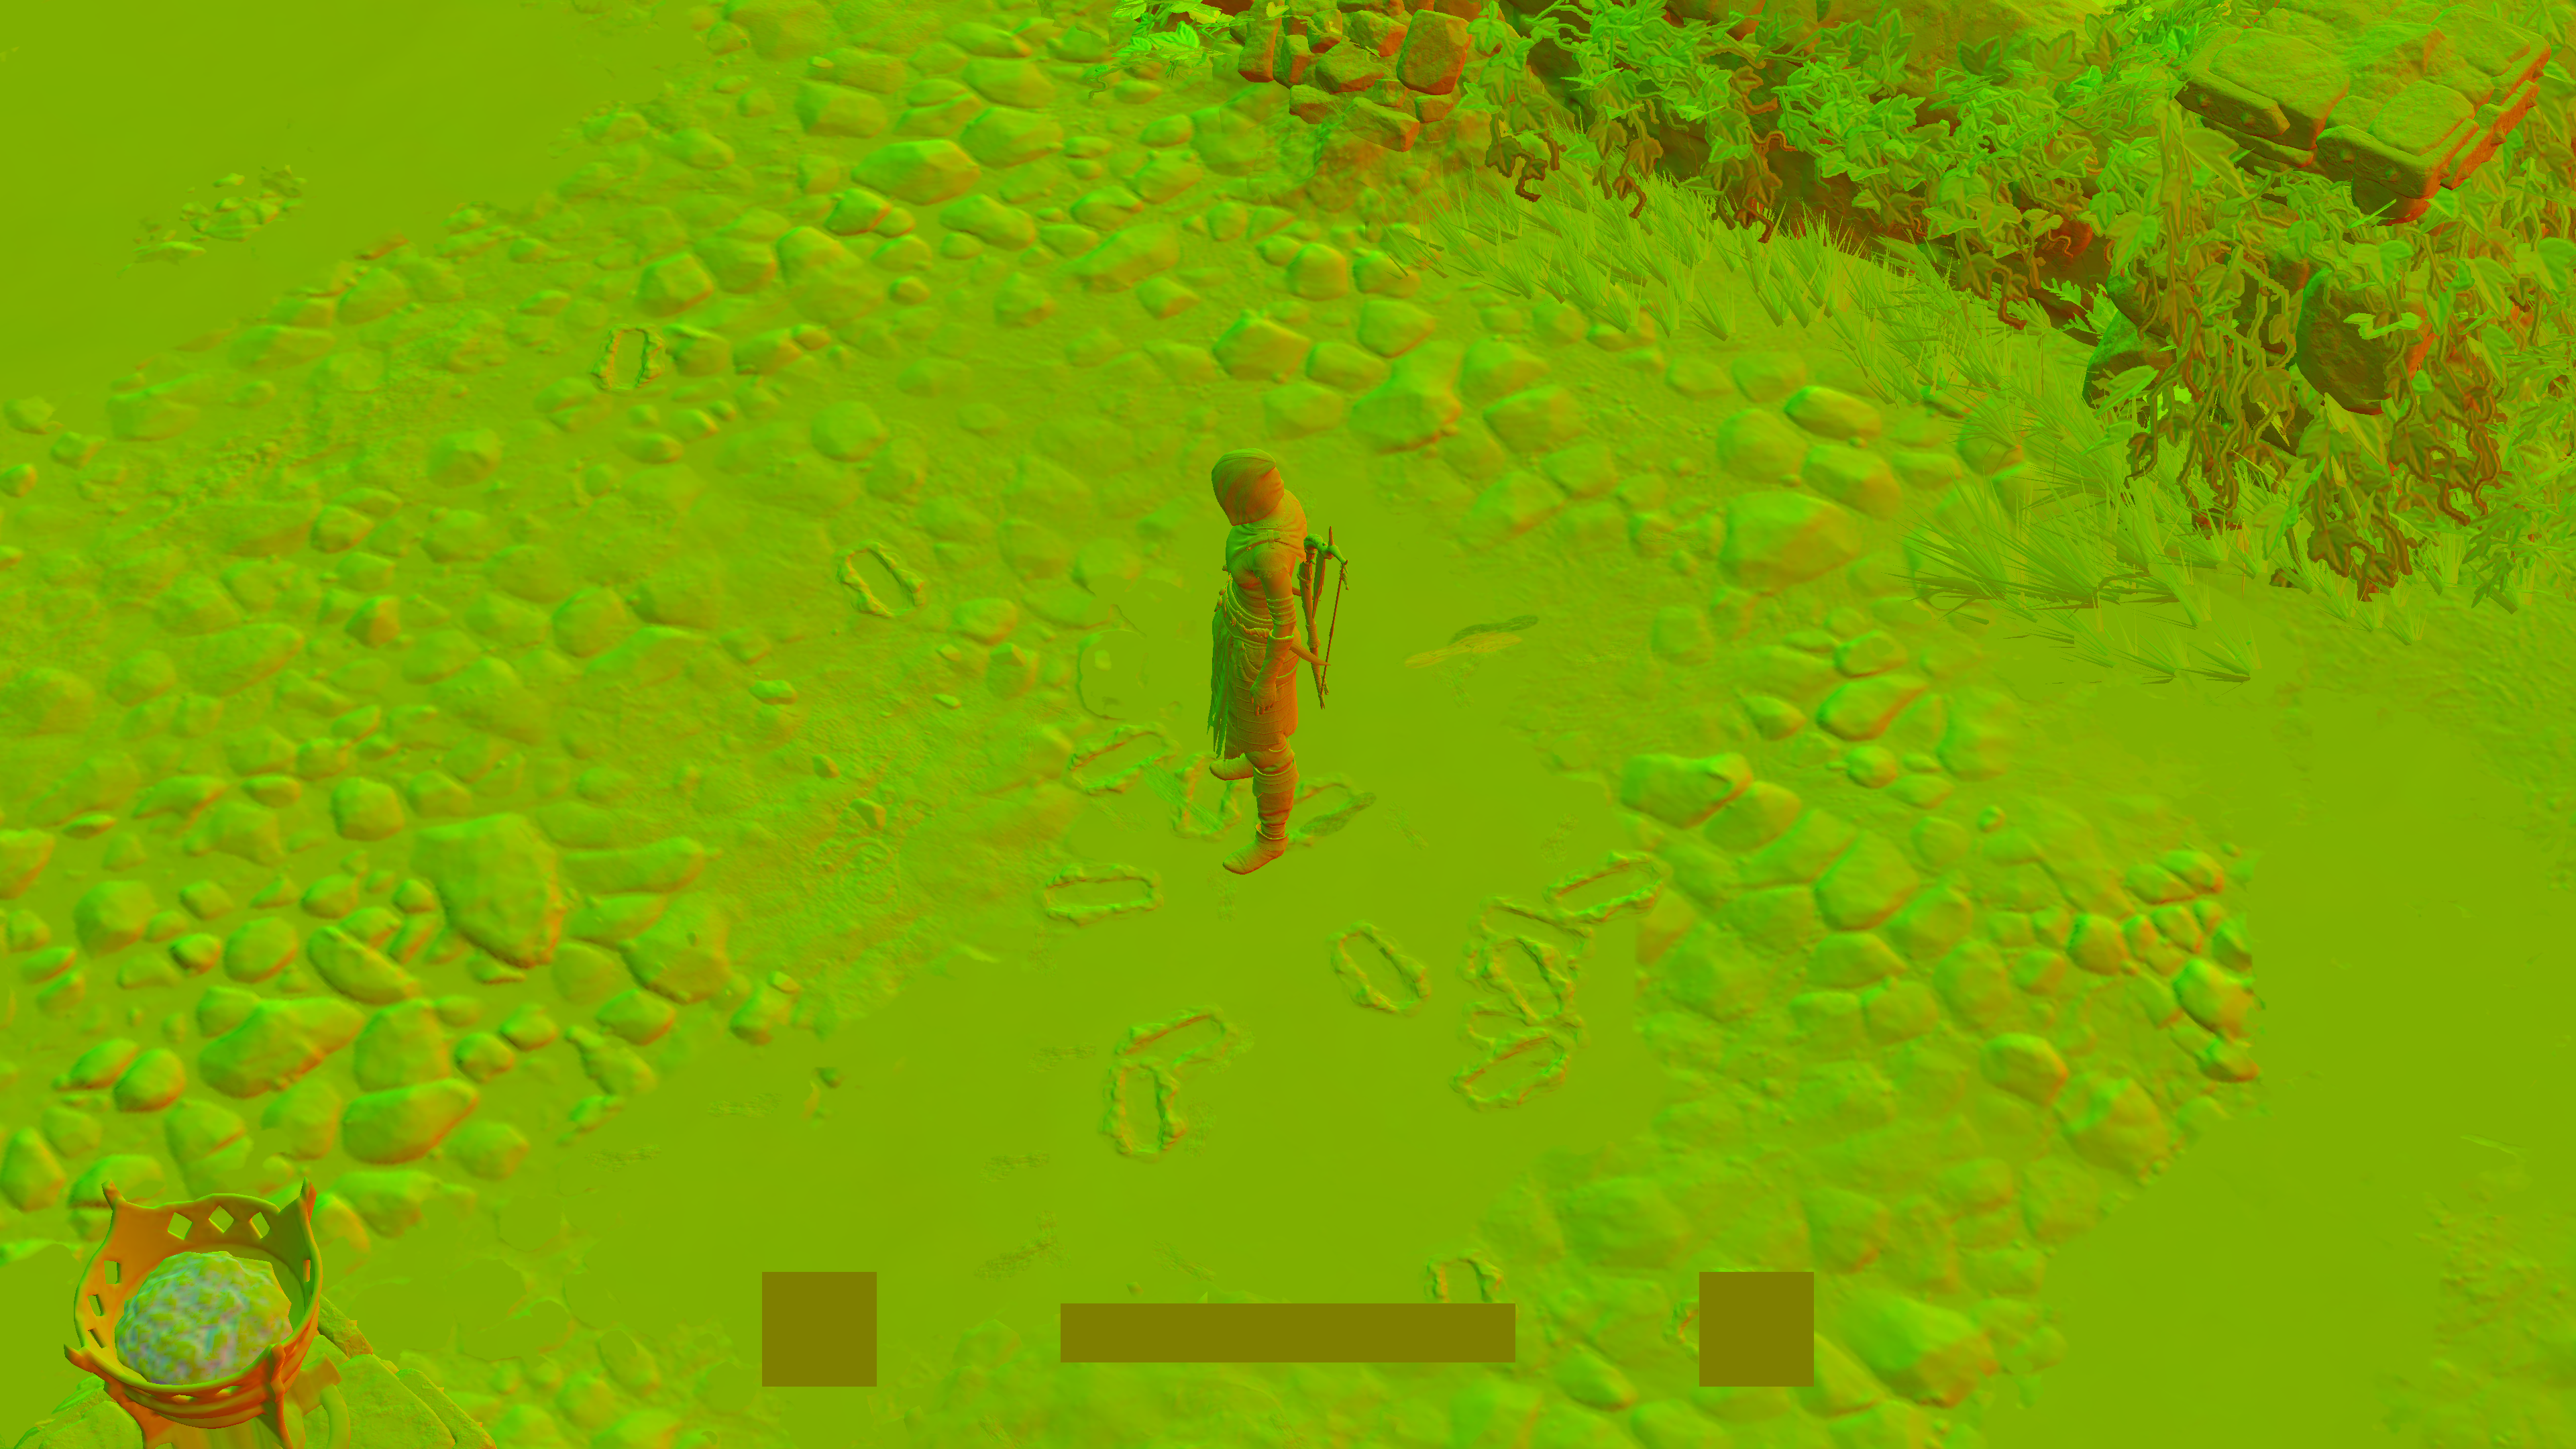
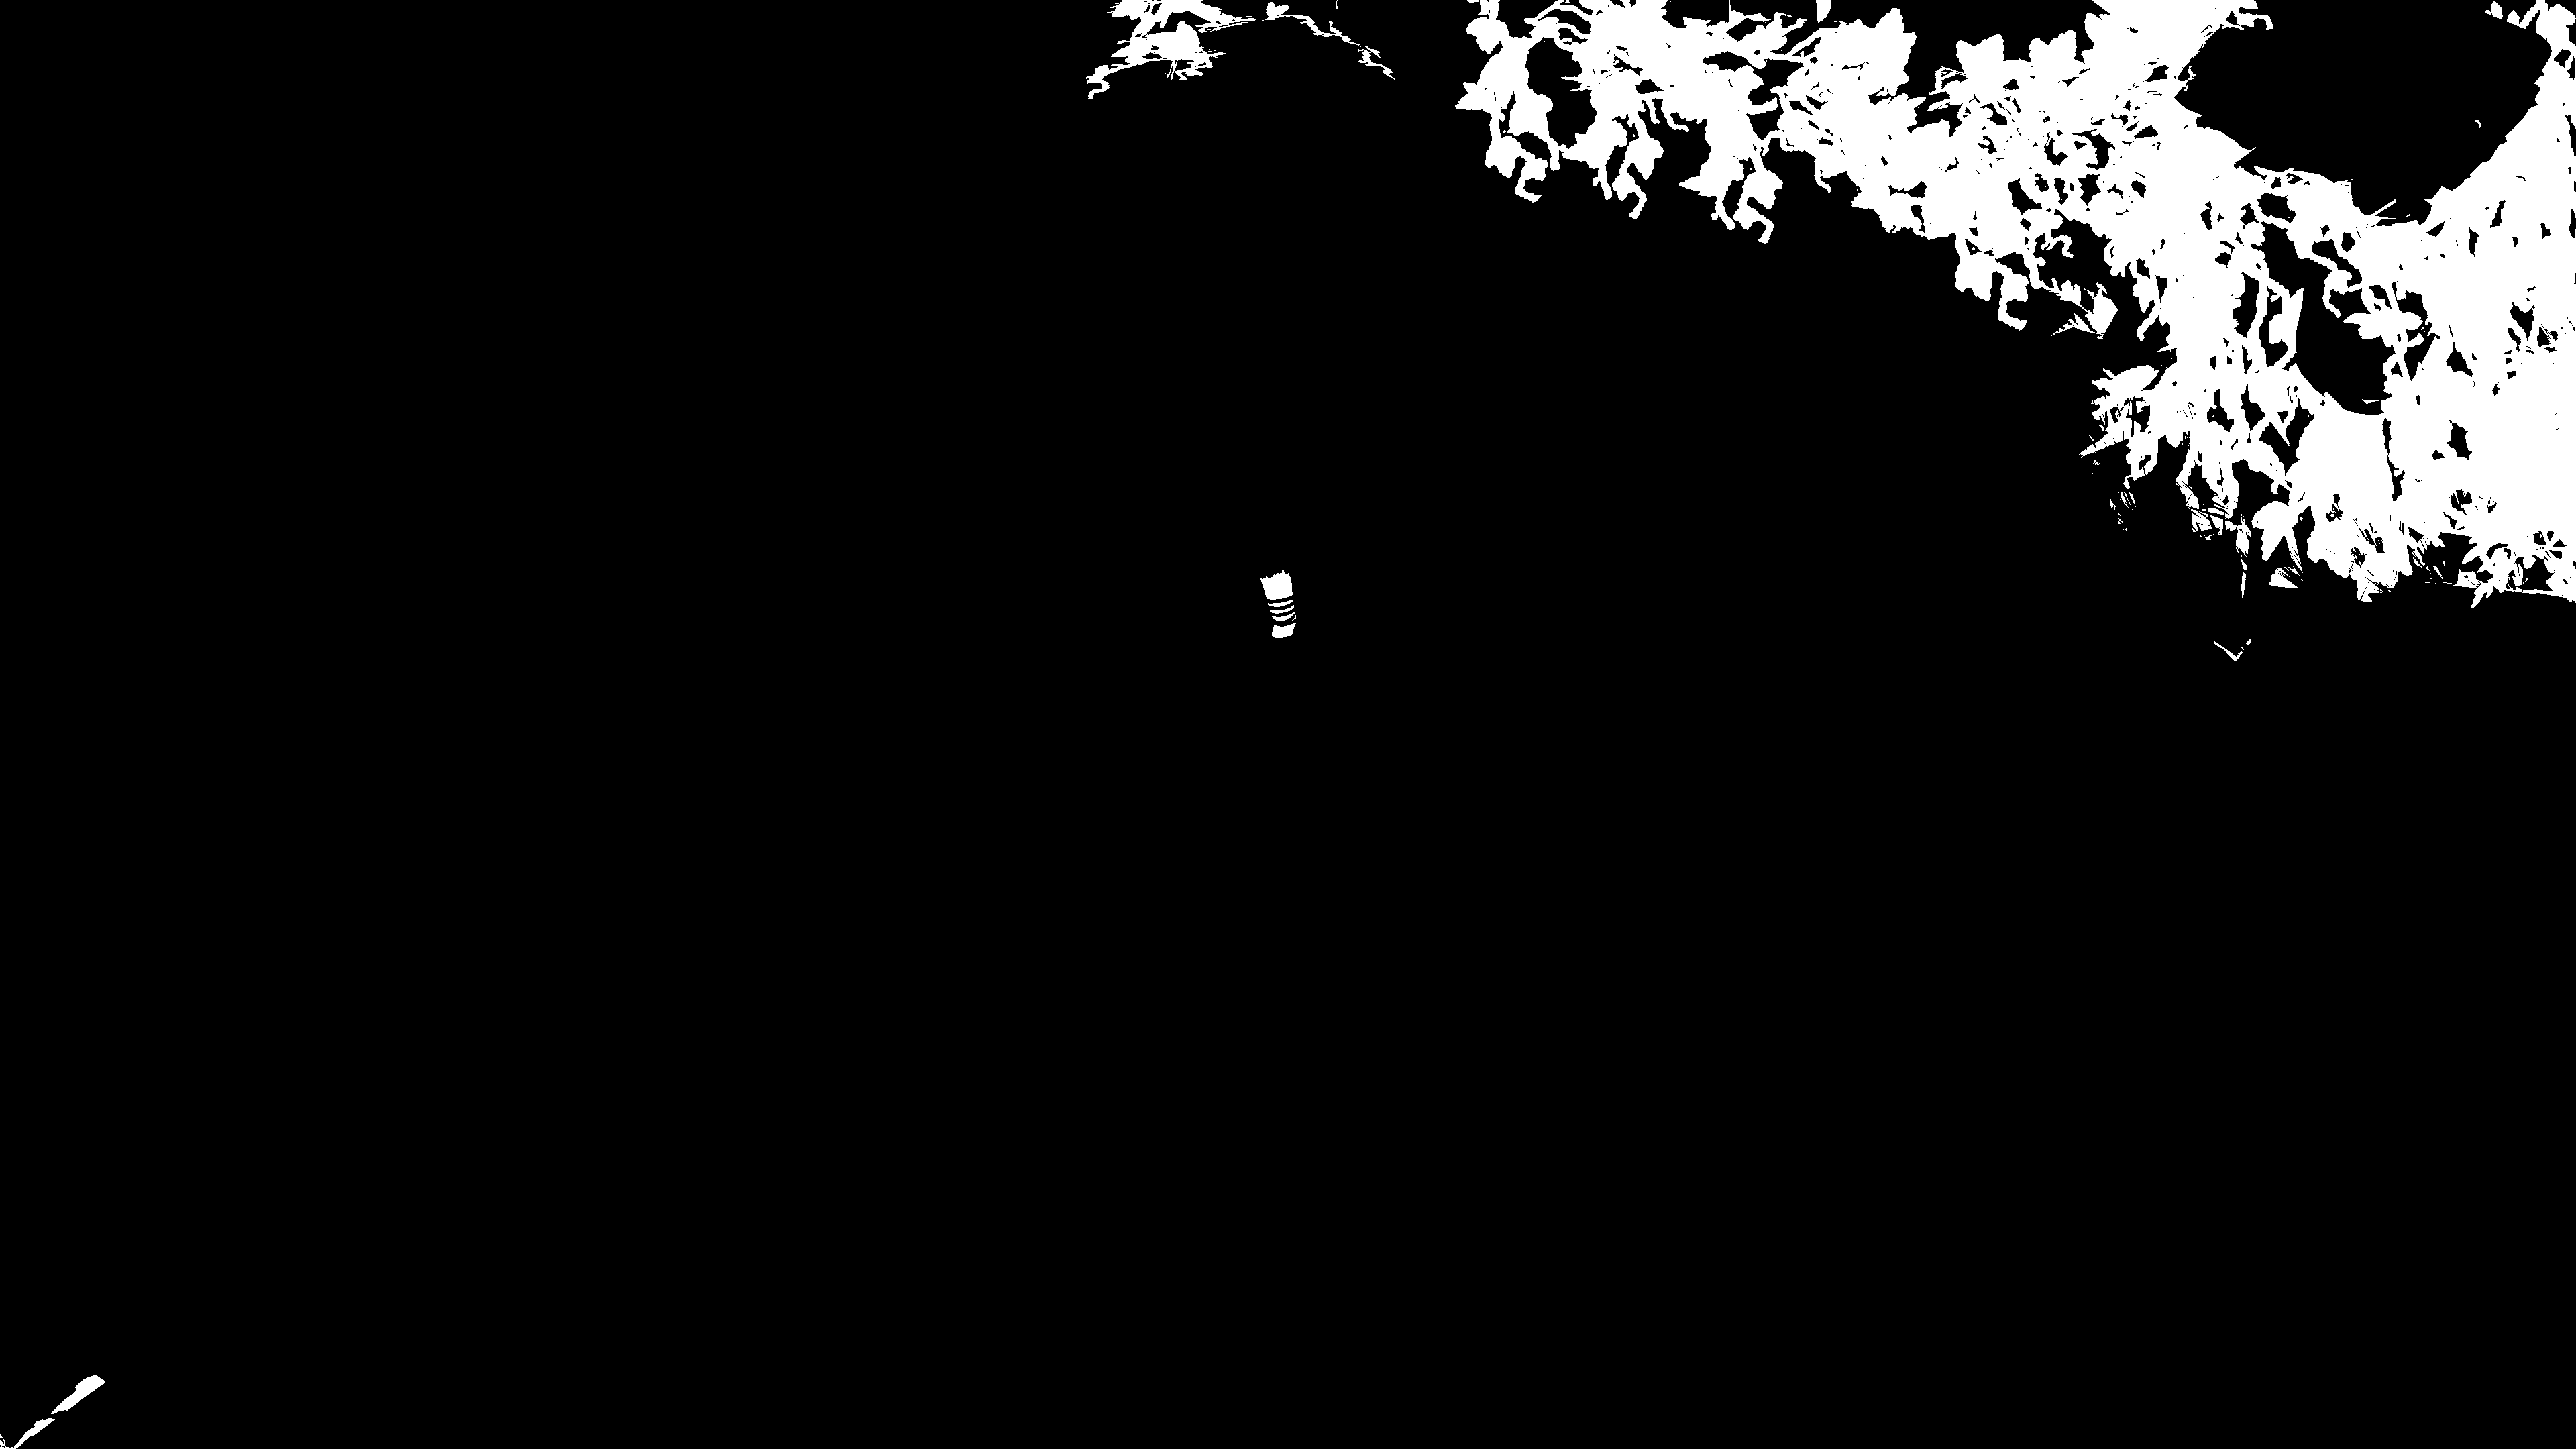
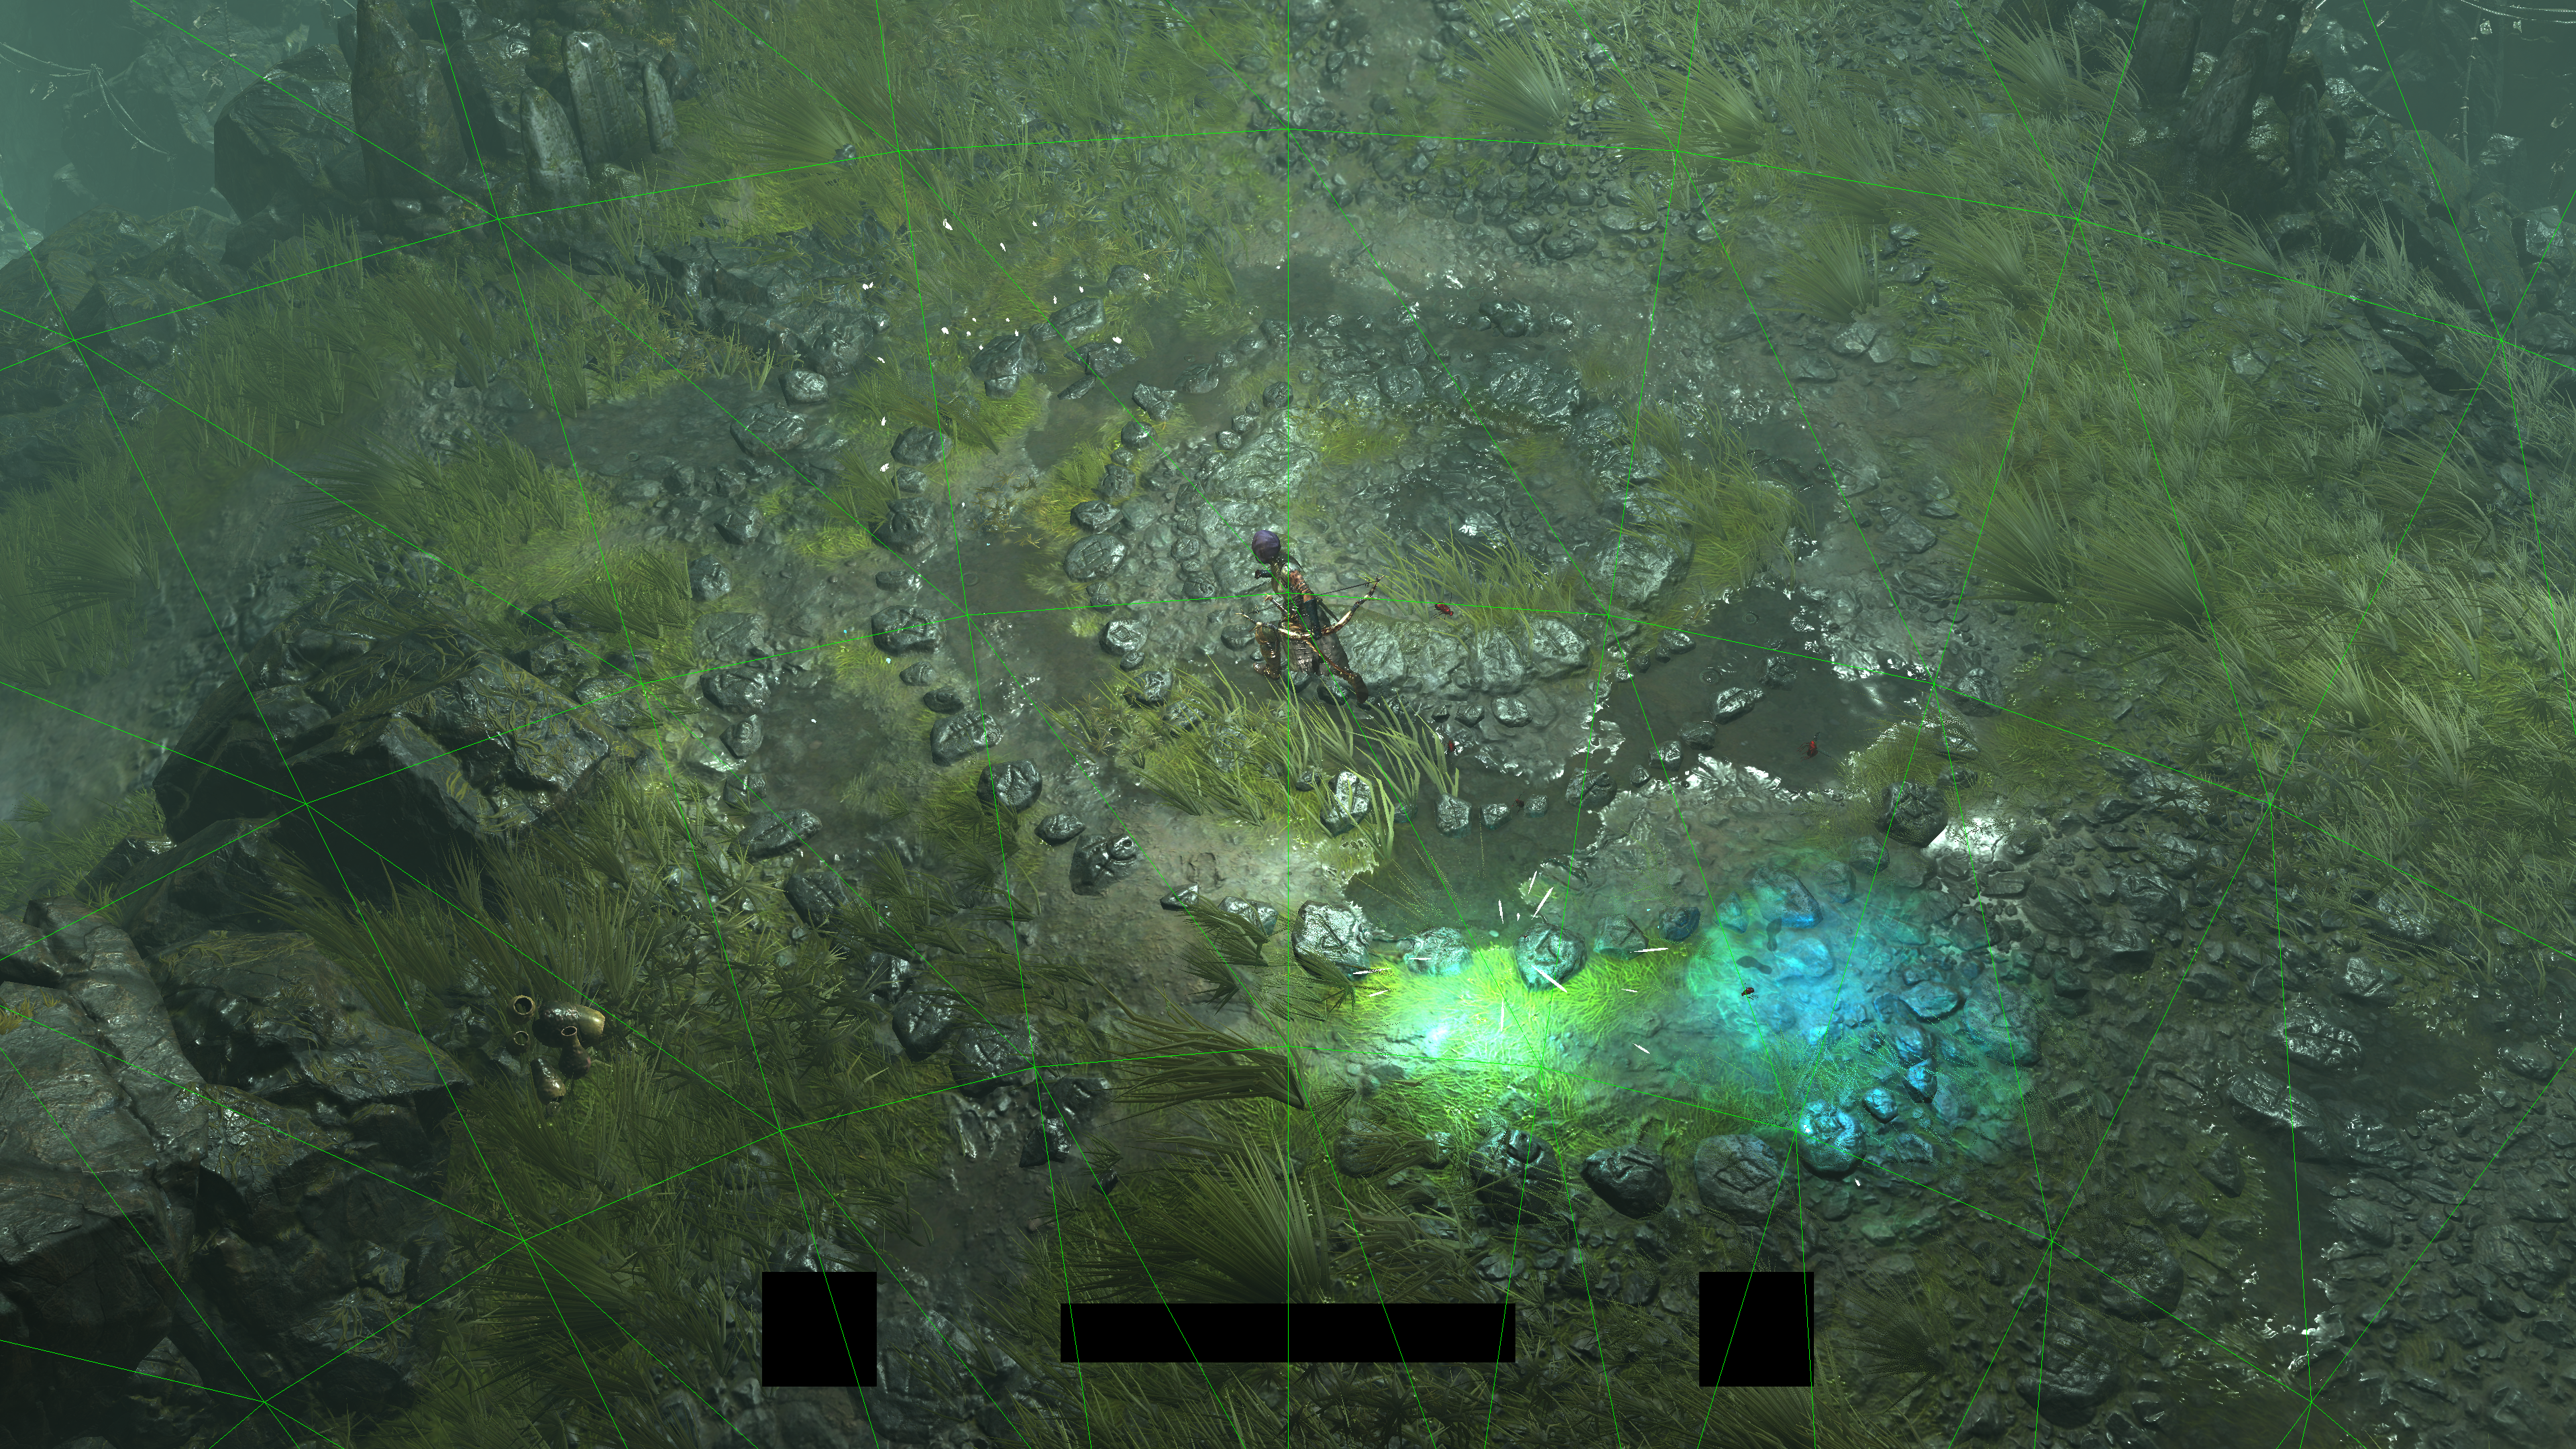
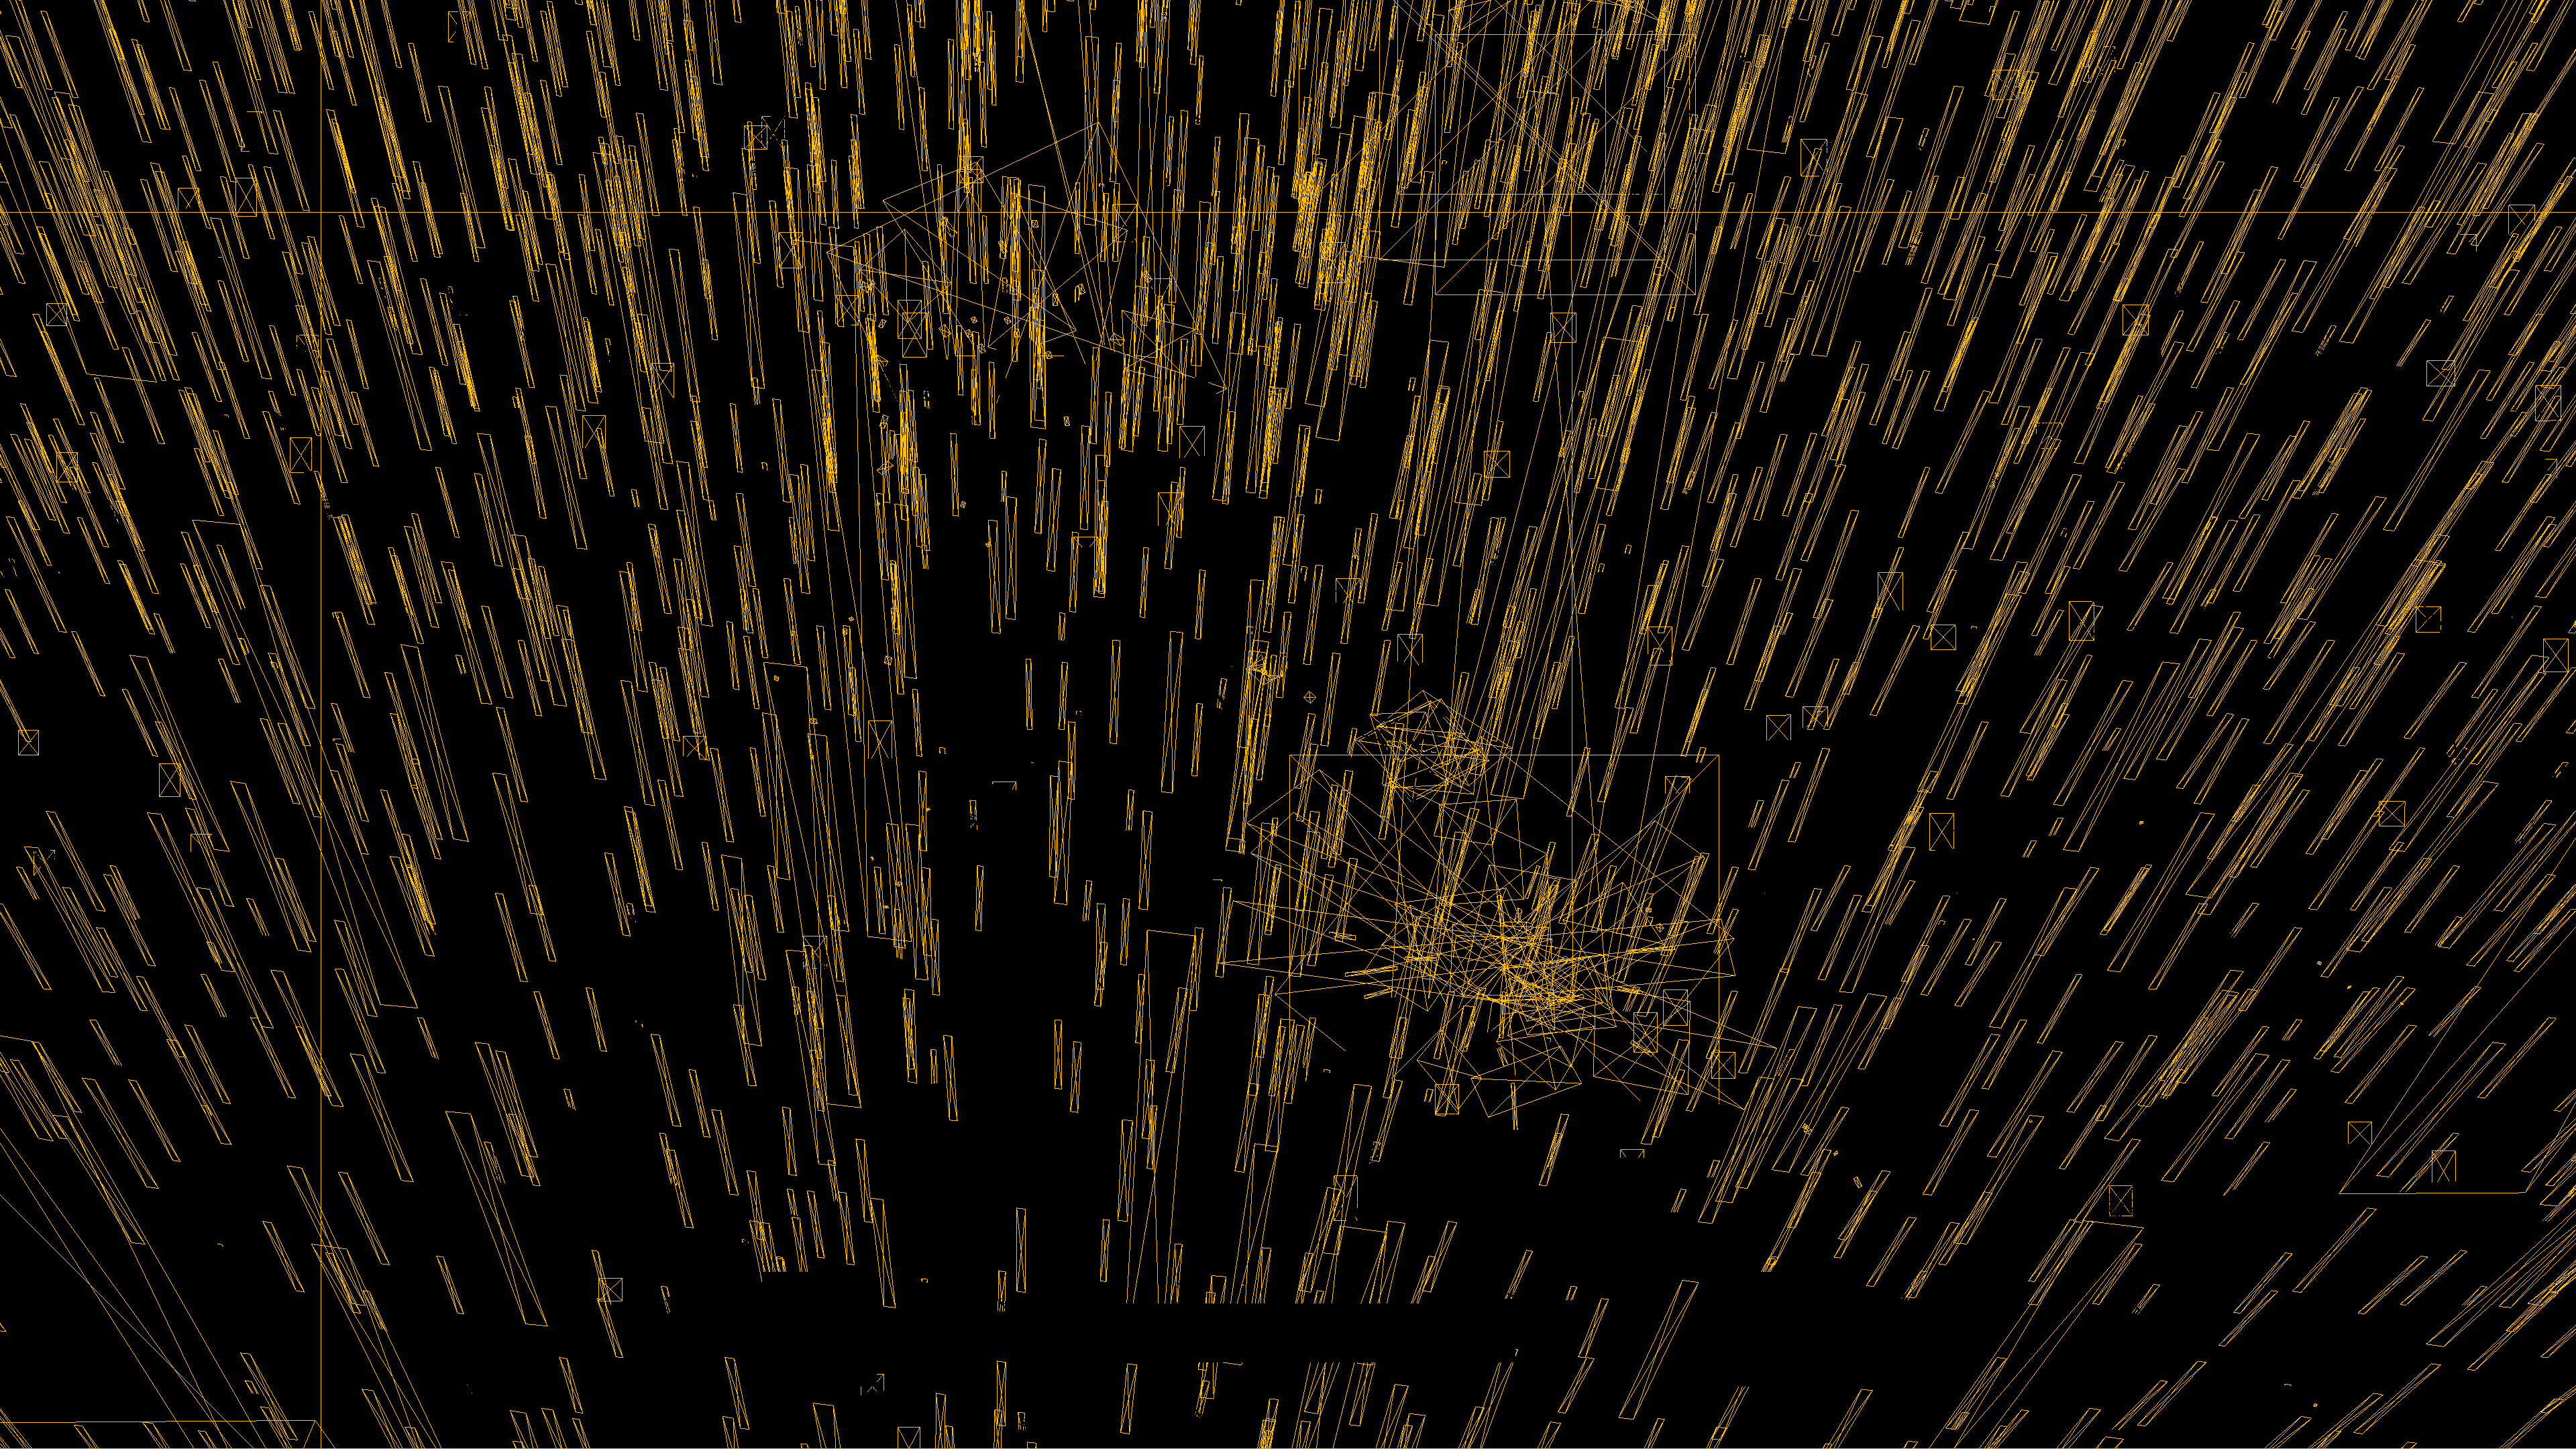
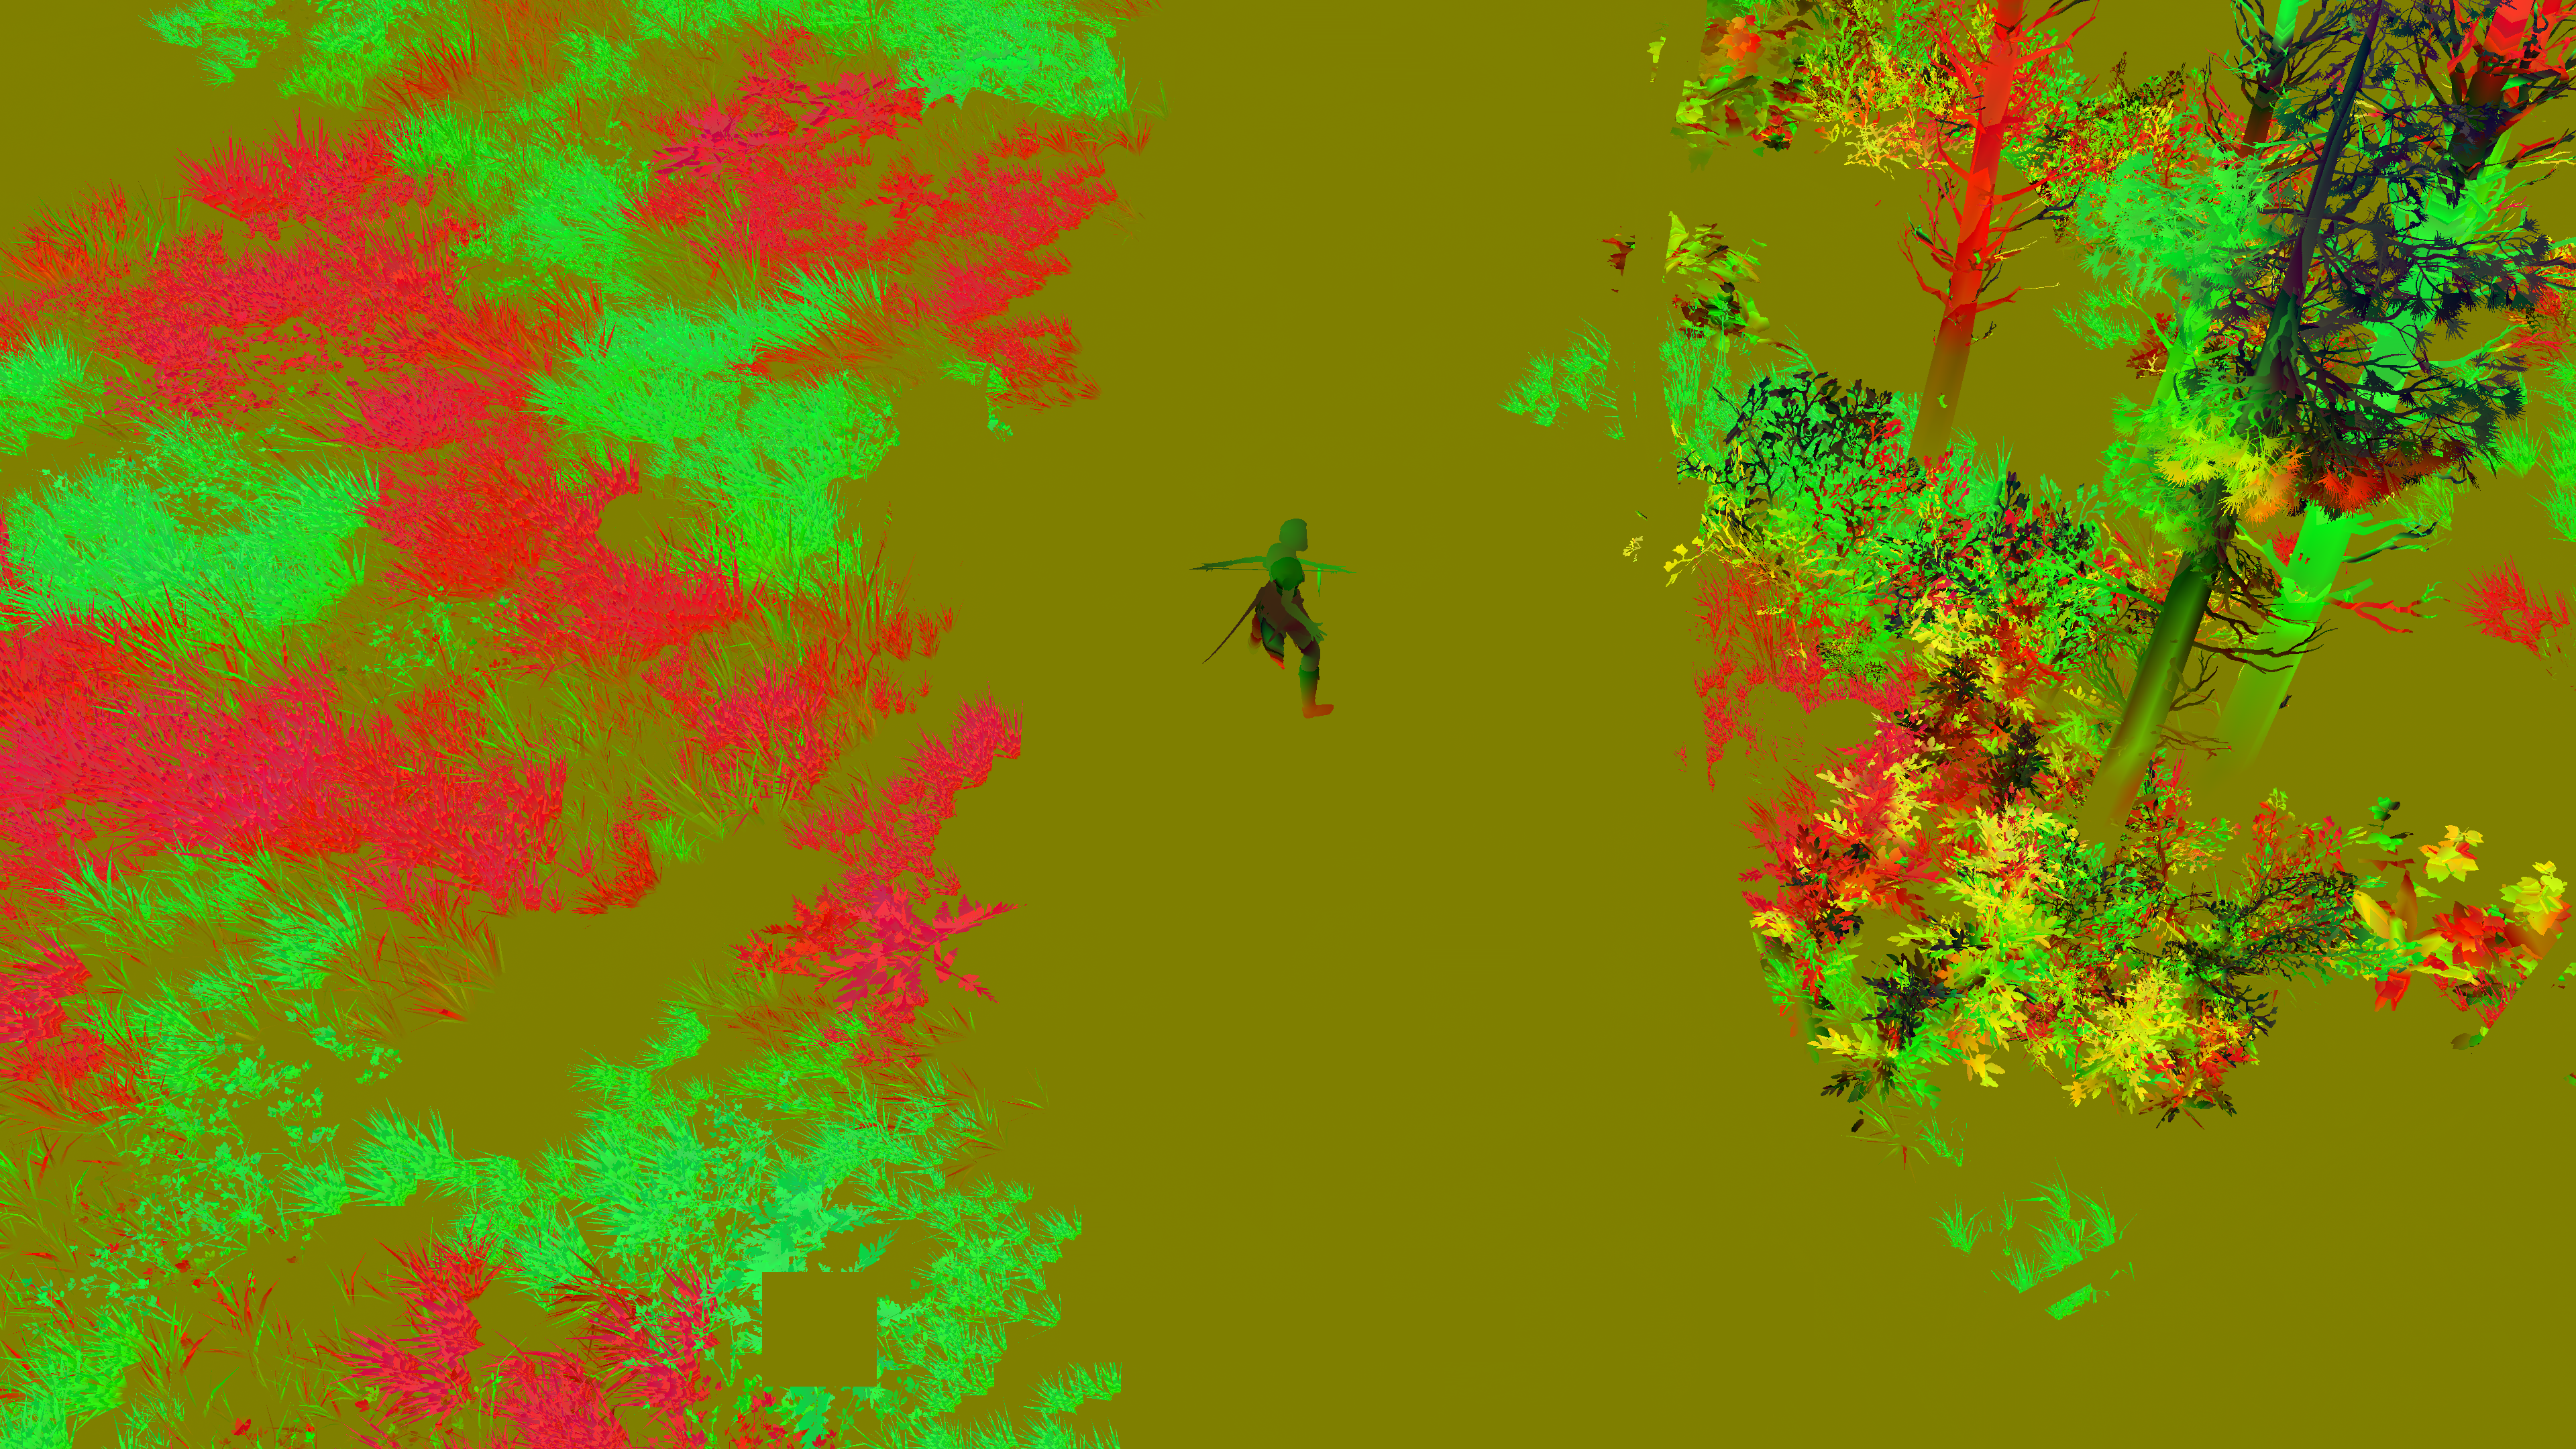
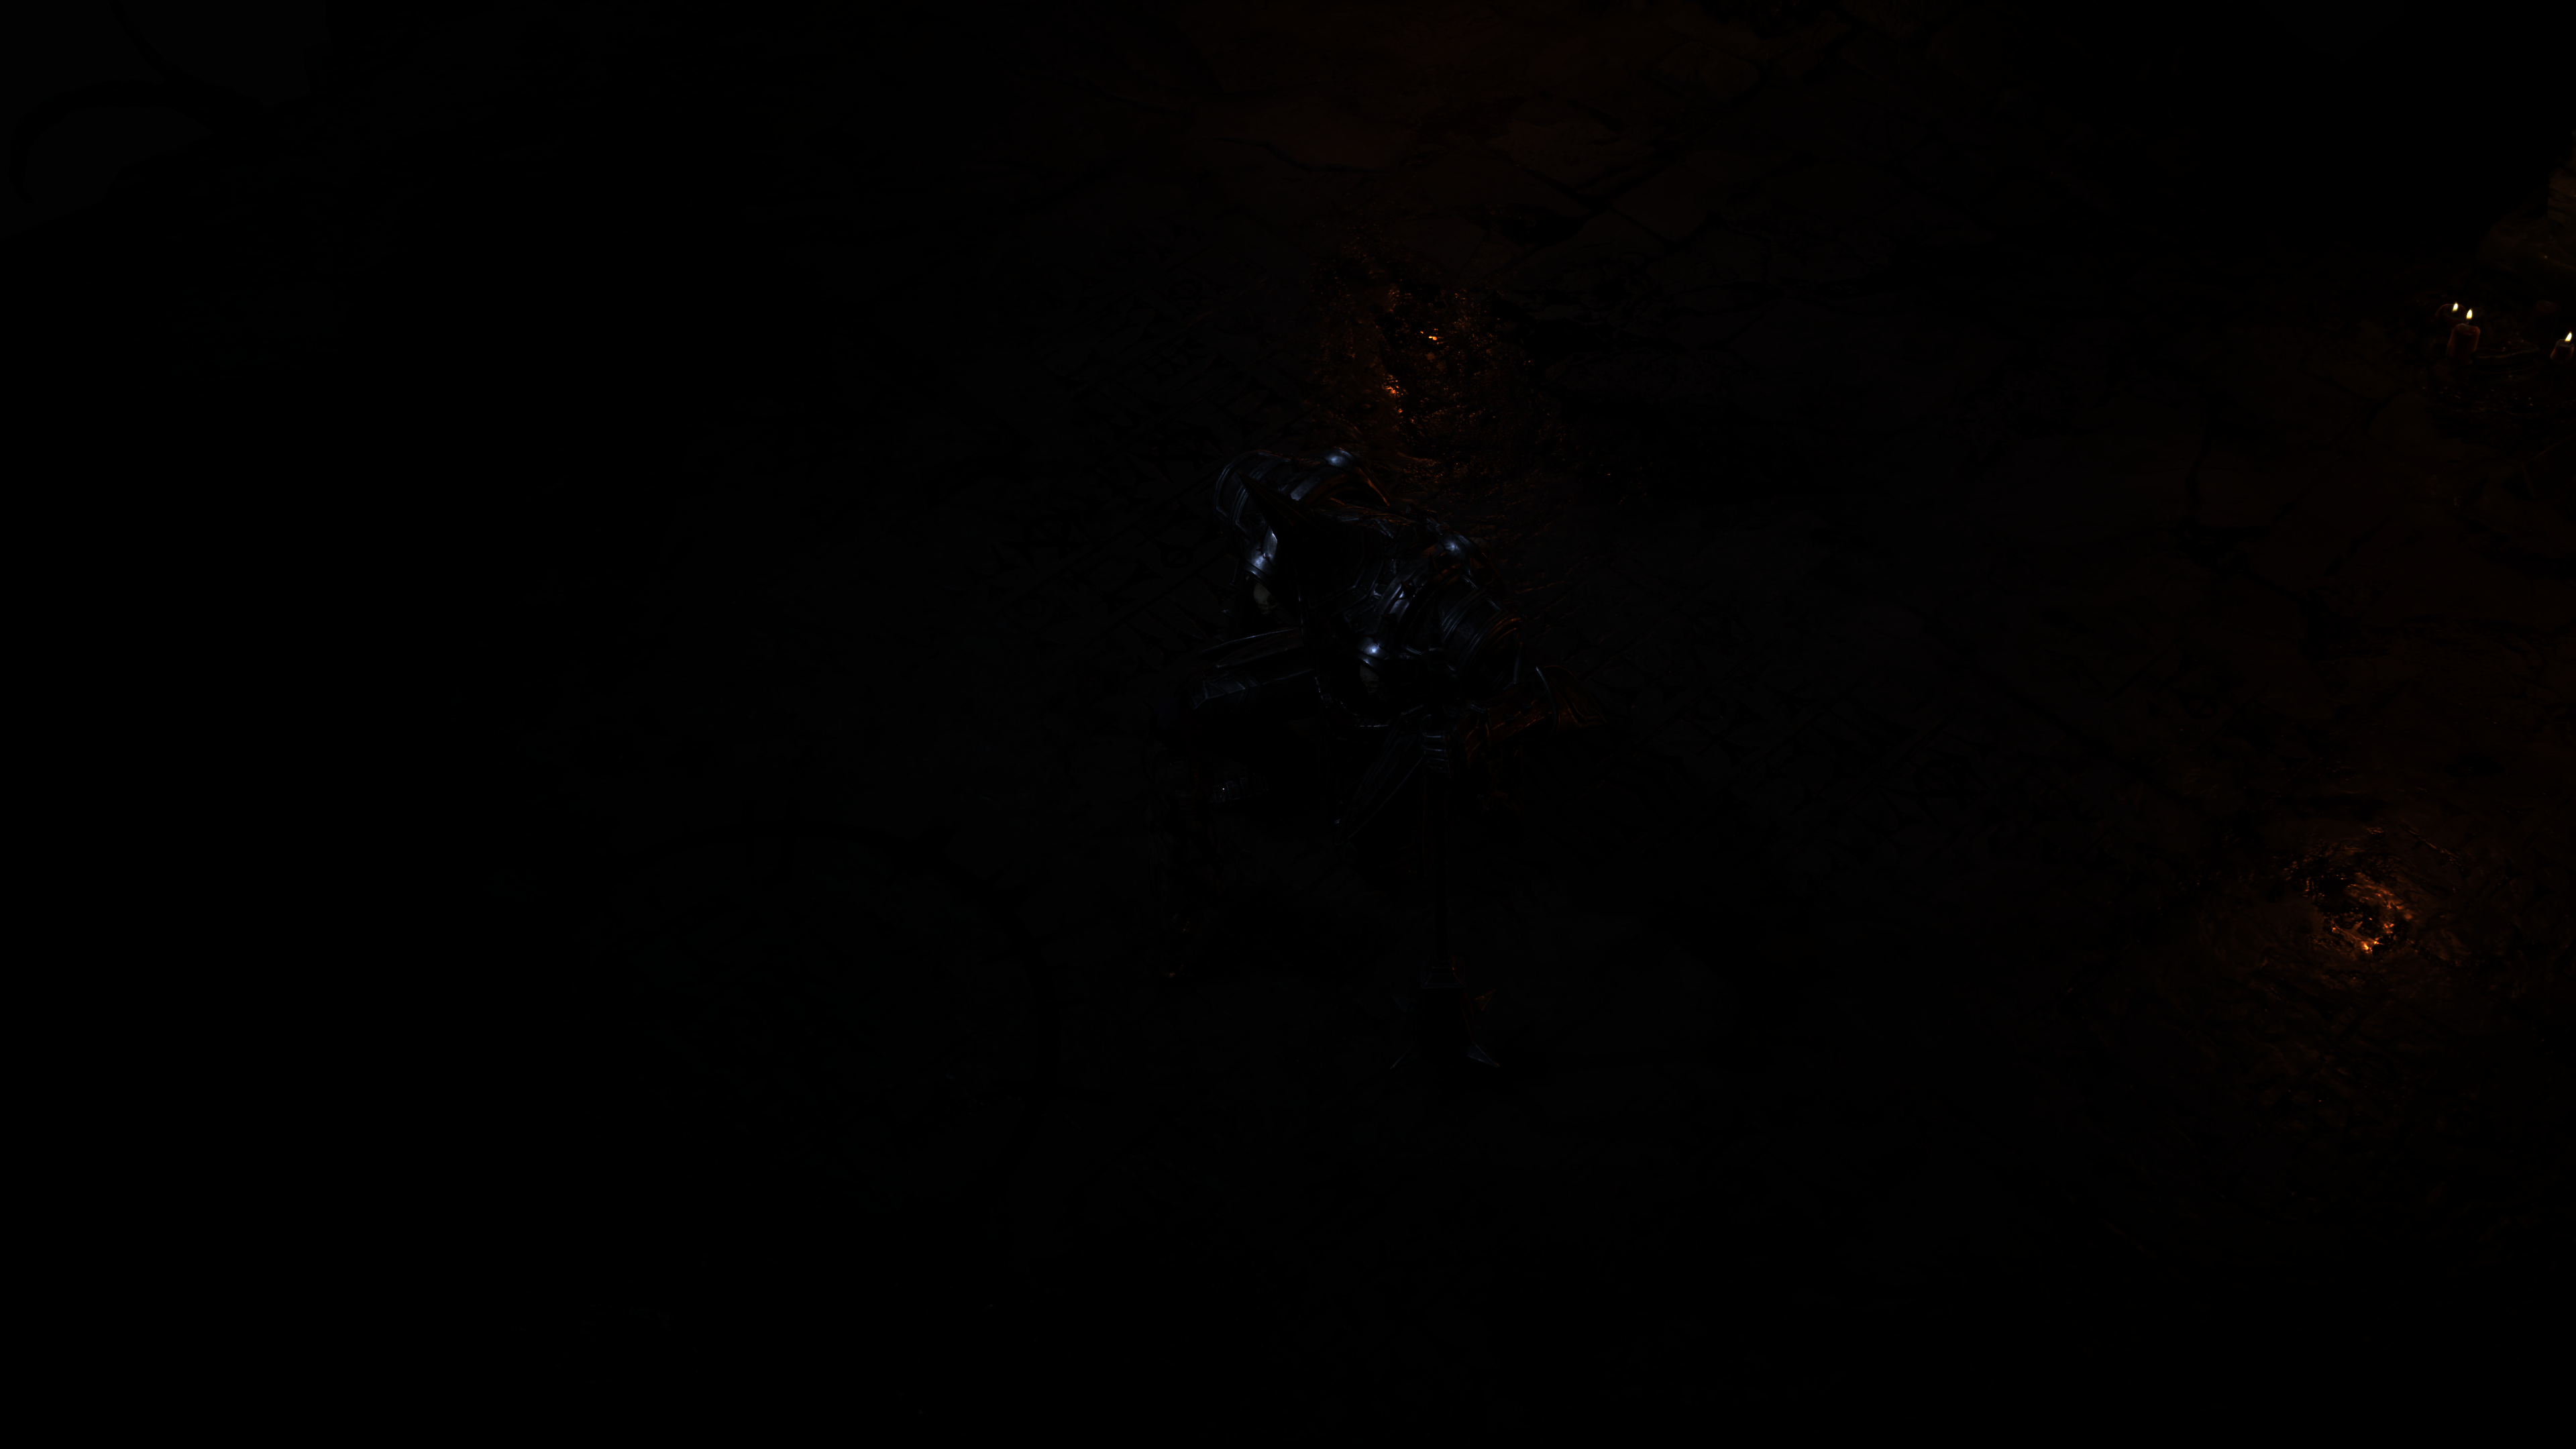
when it is pitch black, there are things that are still drawing, but very very lite to a degree that it is not visible in the normal color range of the gif/video, this is why i like to include the wireframe viewmode!
First things not FIRST!!!
Not really sure if you’ve have noticed by now, but the rain ripples on the ground comes before the rain itself 😅 Even before the first particle to draw, you can see ripples on the ground & on the puddles. This makes sense according to the game’s choices, as ripples are stamped during the GBuffering using the wetness stamper texture that was generated at the start of the frame, but particles are done later (now) in the frame’s life. But anyways, after all, it doesn’t matter what comes first, as long as it will all make sense at the final backbuffer that will be presented. It’s just good little thing to observe, and to chuckle about it 🙃
Look at this huge amount of patch draws for “only” effects in that frame!
i need so bad to capture that lighting effect, if you played this level you know that it happens quite often, most of the time over 5 instances, but i needed only one instance to show how complicated the scene is w single instance of the lightening effect. It was really hard to capture during a combat, but i was able to get the capture! i didn’t want to lose the bossfight due to the gpu long stall during the 4k capture! Anywyas, for such frame, here are most of the fancy vfx artsy magic used


And for the sake of further eye candy, here are some few more examples of the particles phase.


Totally Not Important Flare/Glare Note
Lens Flare or Glare effect does not have it’s own step in this pipeline. Flare[s] are not something you see easily in this game anyways due to the dark tone most of the time. But when existed, it is just simulated using particles, such as the candles in the frame below.

Not all candles in darkness have glare though! Many of them not including the effect!
DoF [Not Always]
Depth of Field in Diablo 4 is one of those things that you can consider it was made with labels “Nice to Have” and “Make it get the job done”. i say that not to ignore any efforts made by the friends at Blizzard, but as you’ll see it doesn’t seem to be a very carved DoF implementation or anything special. No cinematic, no bokeh, no diaphragm, nothing…Just isolate layers (near, far, mid) and blur. And at the same time the results can speaks for itself as one of the least pretty DoF you would see in a AAA game due to medium to high percentage of depth discontinuity artifacts exists every time DoF on the screen. I’ll leave some detailed readings related to that used technique within the references section by the end of this post.
DoF in Diablo 4 goes as follow
1.Downsample
At first, using the current frame & it’s depth to downsample at 1/4th of the target resolution to a new rendertarget. The depth is utilized to fill a mask in the A channel of that downsampled rendertarget.


2.Large Blur
Then a set of couple of blur takes place, those are done with very large value, and done at both axis. This is also blurring the mask, not only the downsampled DoF image.
i.Blur Horizontally
At first, blur horizontally.


ii.Blur Vertically
Then blur vertically.

3.Near CoC
Now using the output of both blurring steps, and the original downsampled frame (so called DoF frame) to measure the differences and create the Near CoC (and it’s mask).


Hmmm, the mask is black? Let’s look at this later below!
4.Small Blur
Then doing a pass for quick small blur to the Near CoC, as this would be utilized as the “things” near to the camera. You might not notice a difference in the images below, but remeber, from the previous step the mask was solid black, so it make sense.

Basically nothing at near to blur, yet everything need to be blurred is far (behind the character).
5.DoF in 1/2 Resolution
Now using the Near CoC (to blur near elements) and the Downsampled with Large Blur (to blur far elements) and the full size frame & it’s depth, we can generate the finally a frame with DoF applied to it.

6.Temporal AA
Yet the DoF frame is in 1/2 resolution, so it’s a good time to do a TAA pass to it, before scaling it up to the final resolution. This takes place with the help of the previous’ frame DoF 1/2 frame.


7.Combine
And just combine & scale to target resolution (4k at this case).

During all the steps, frame, it’s 1/4 or it’s 1/2 or CoC, they were all at the frame format, which is R16G16B16A16_FLOAT. So i didn’t want to spam typing it to every single image above.
So, all steps next to each other in a timeline would be something like that
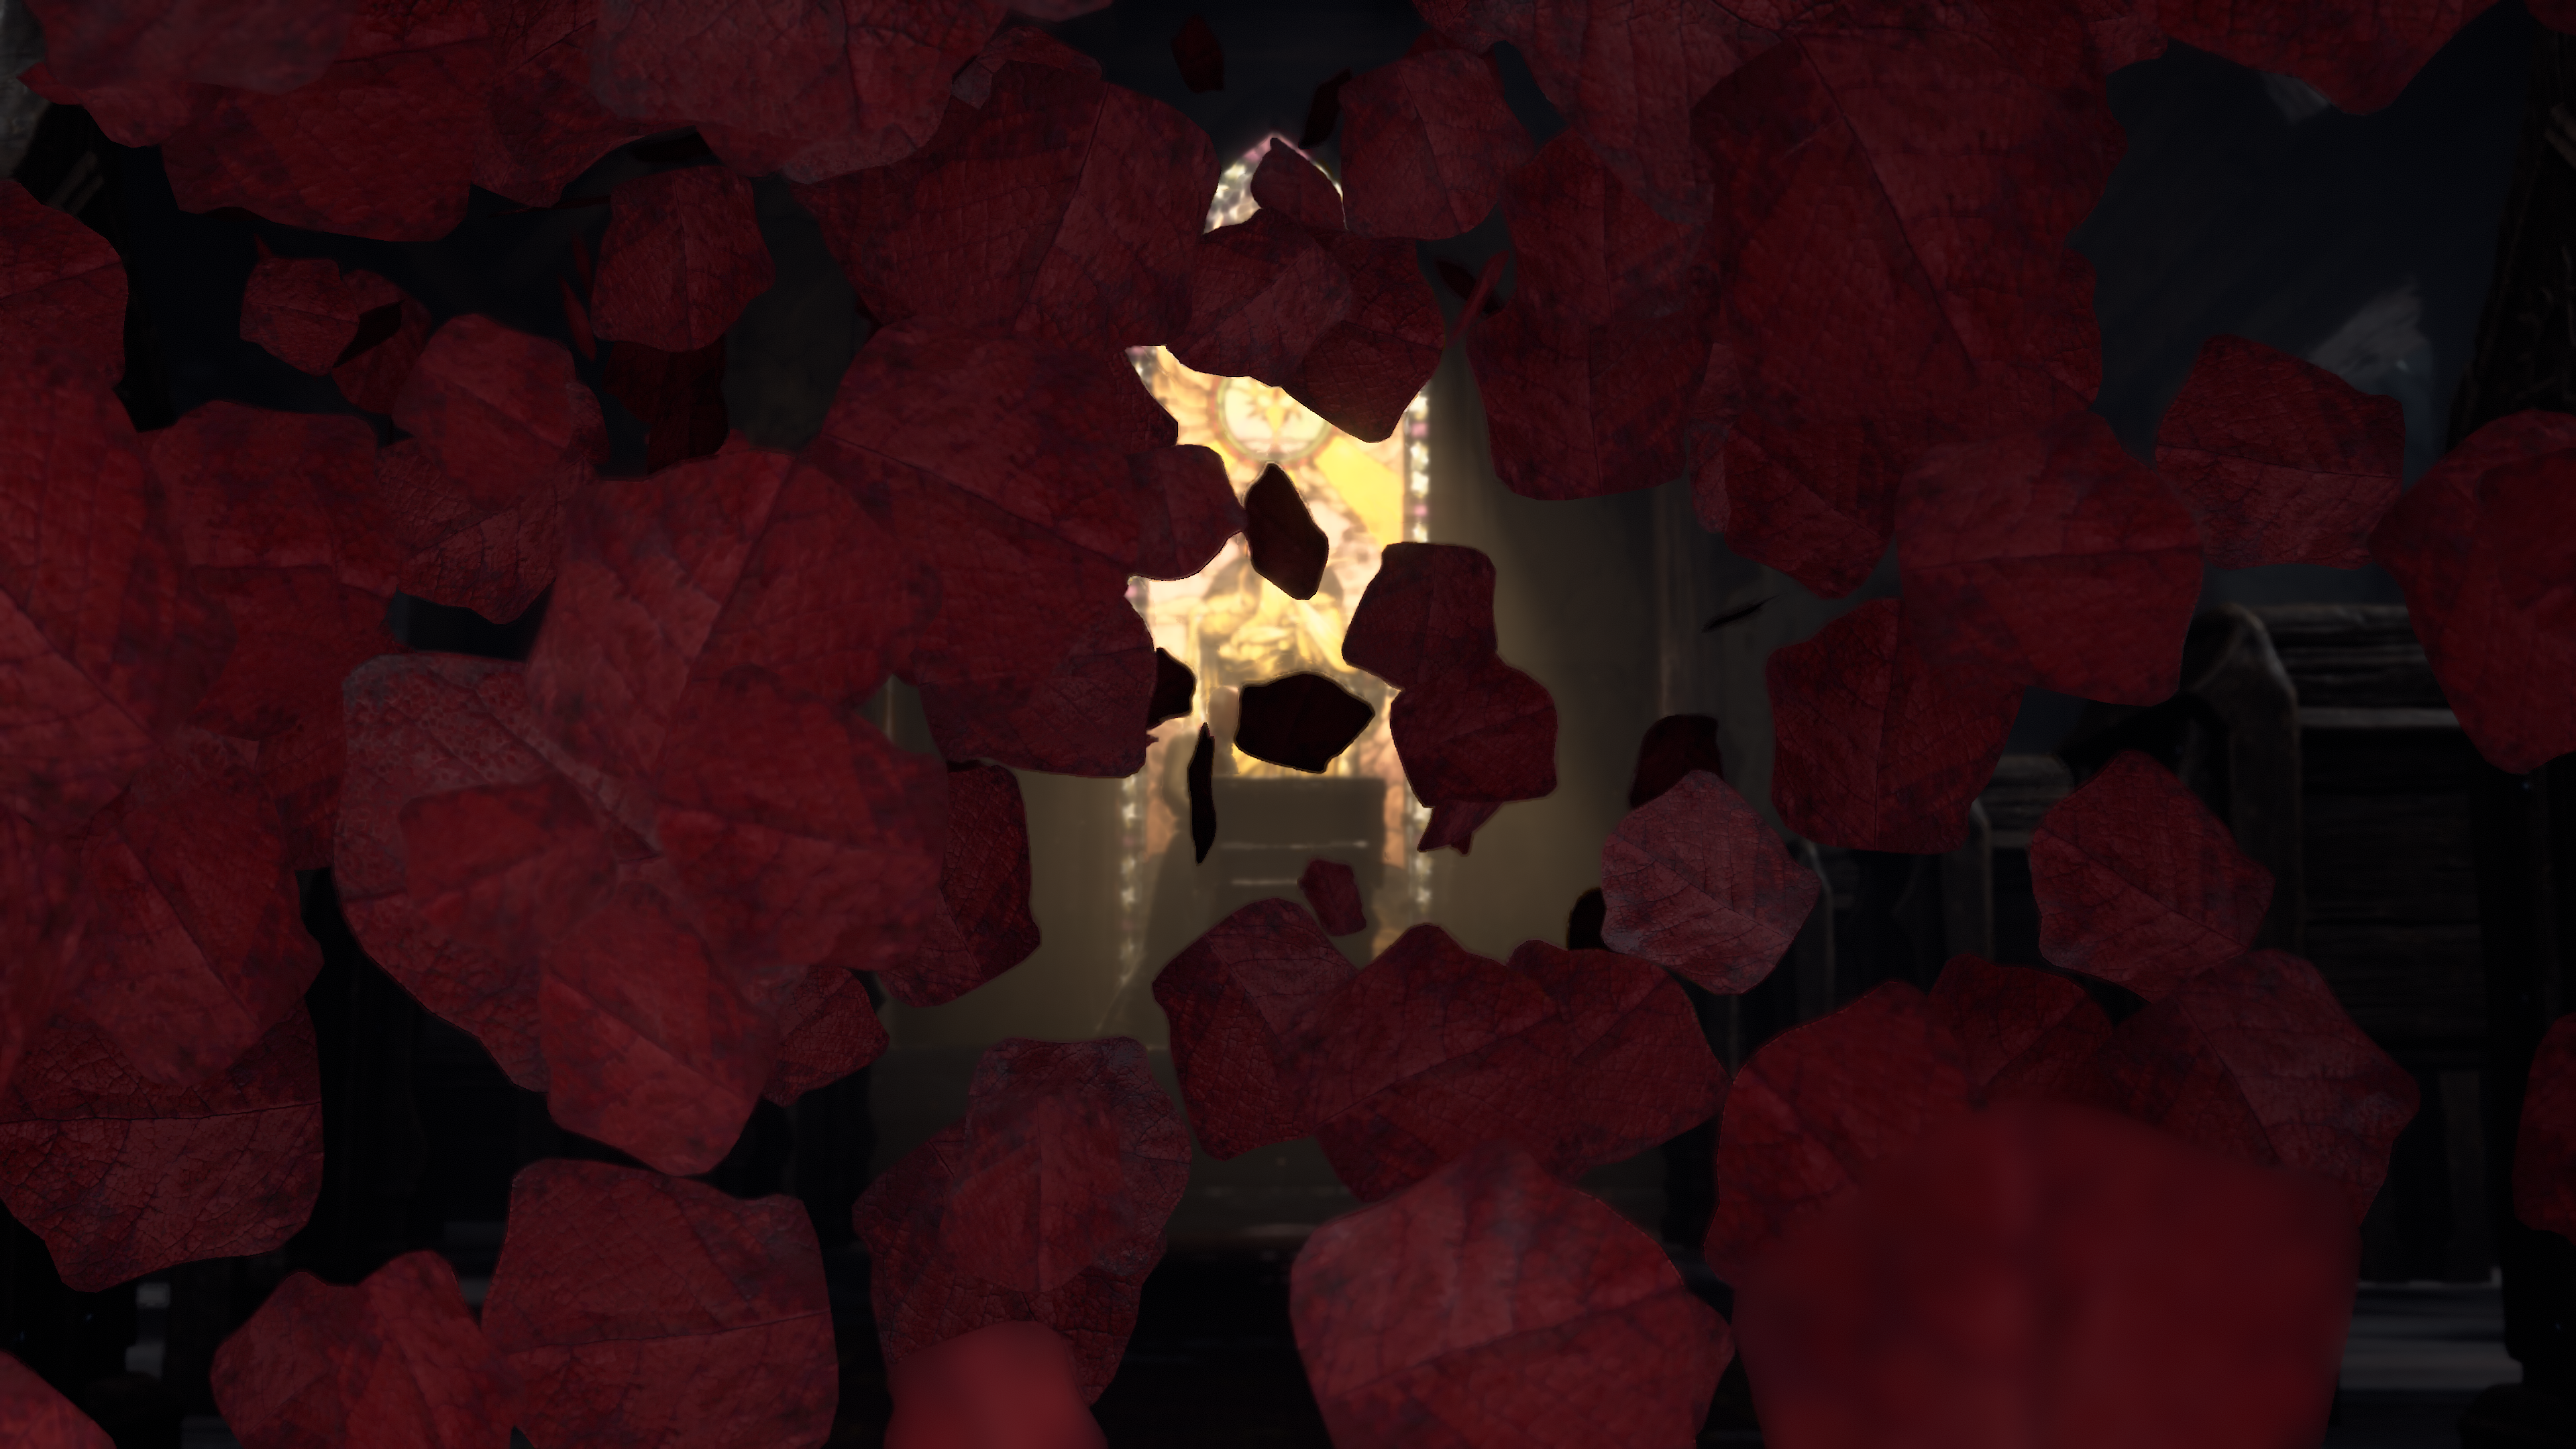
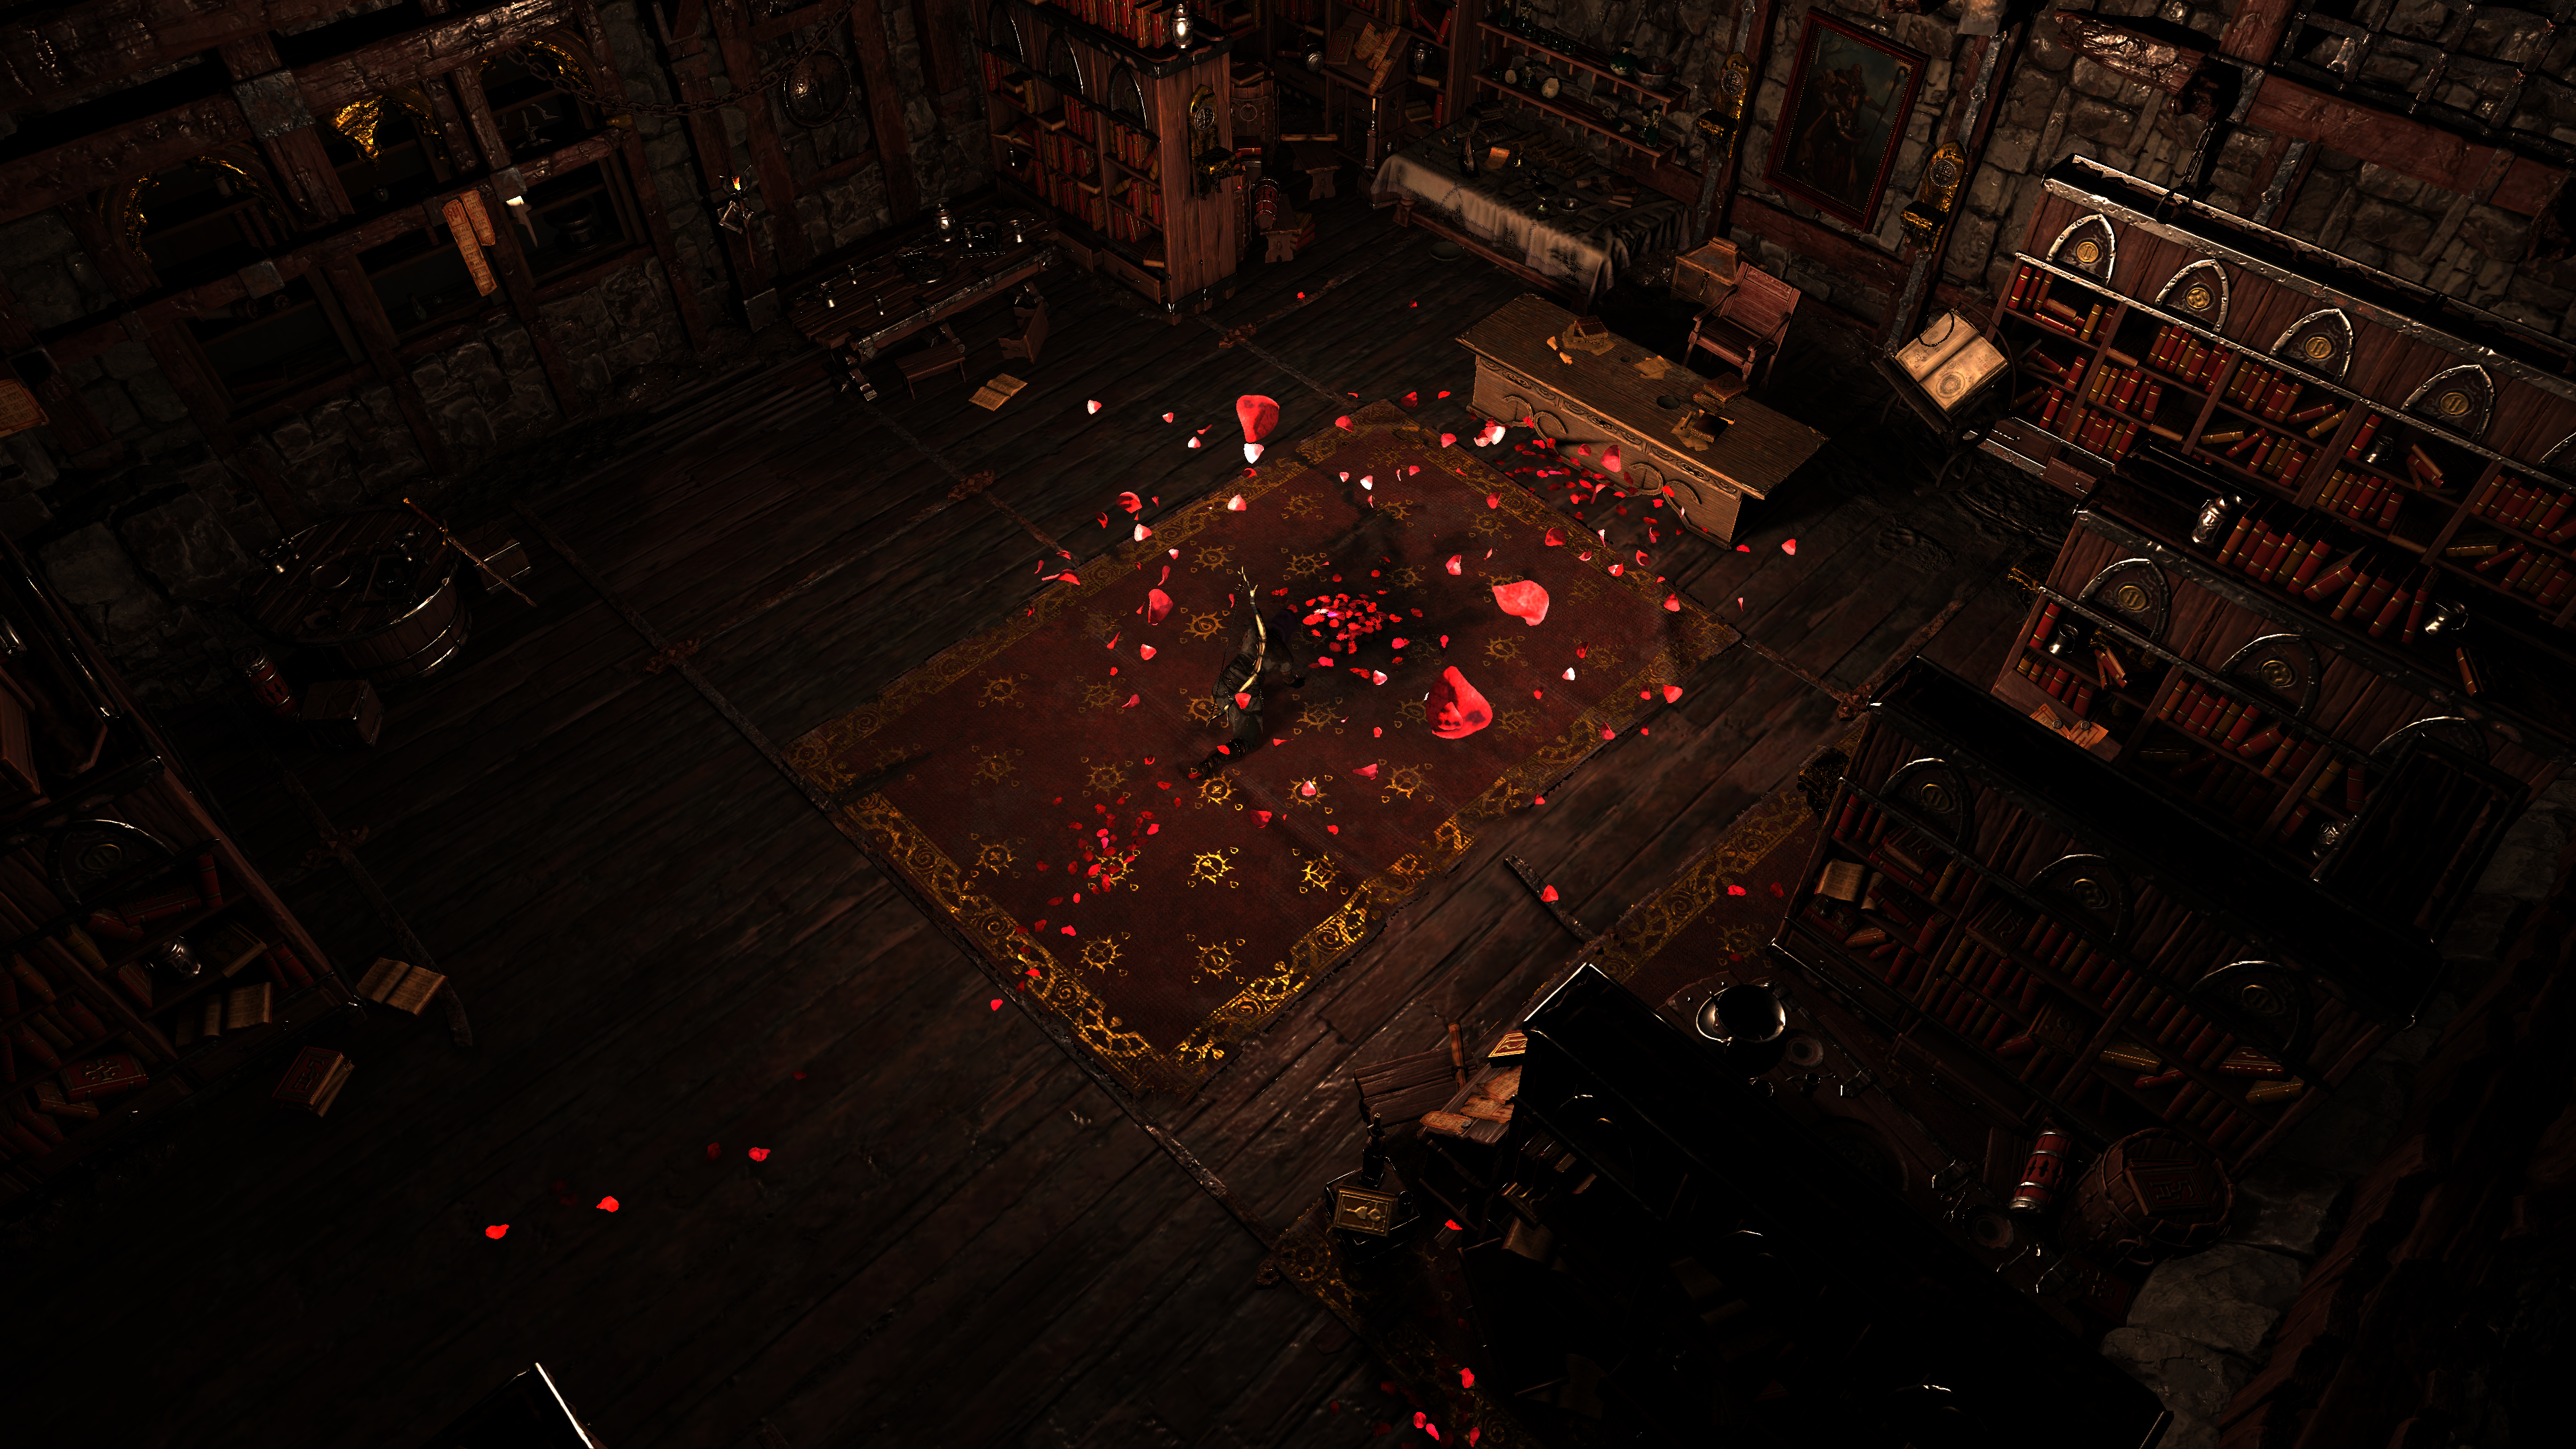
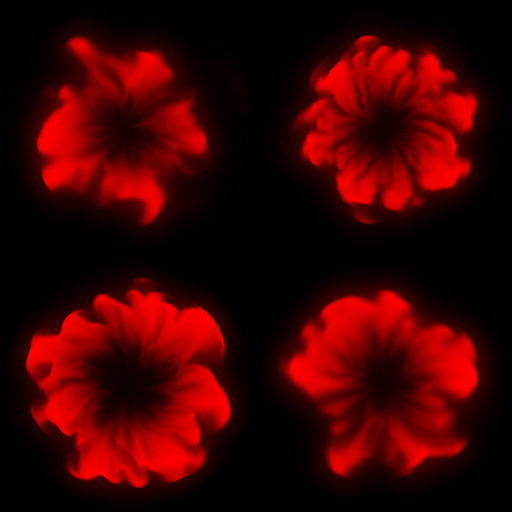
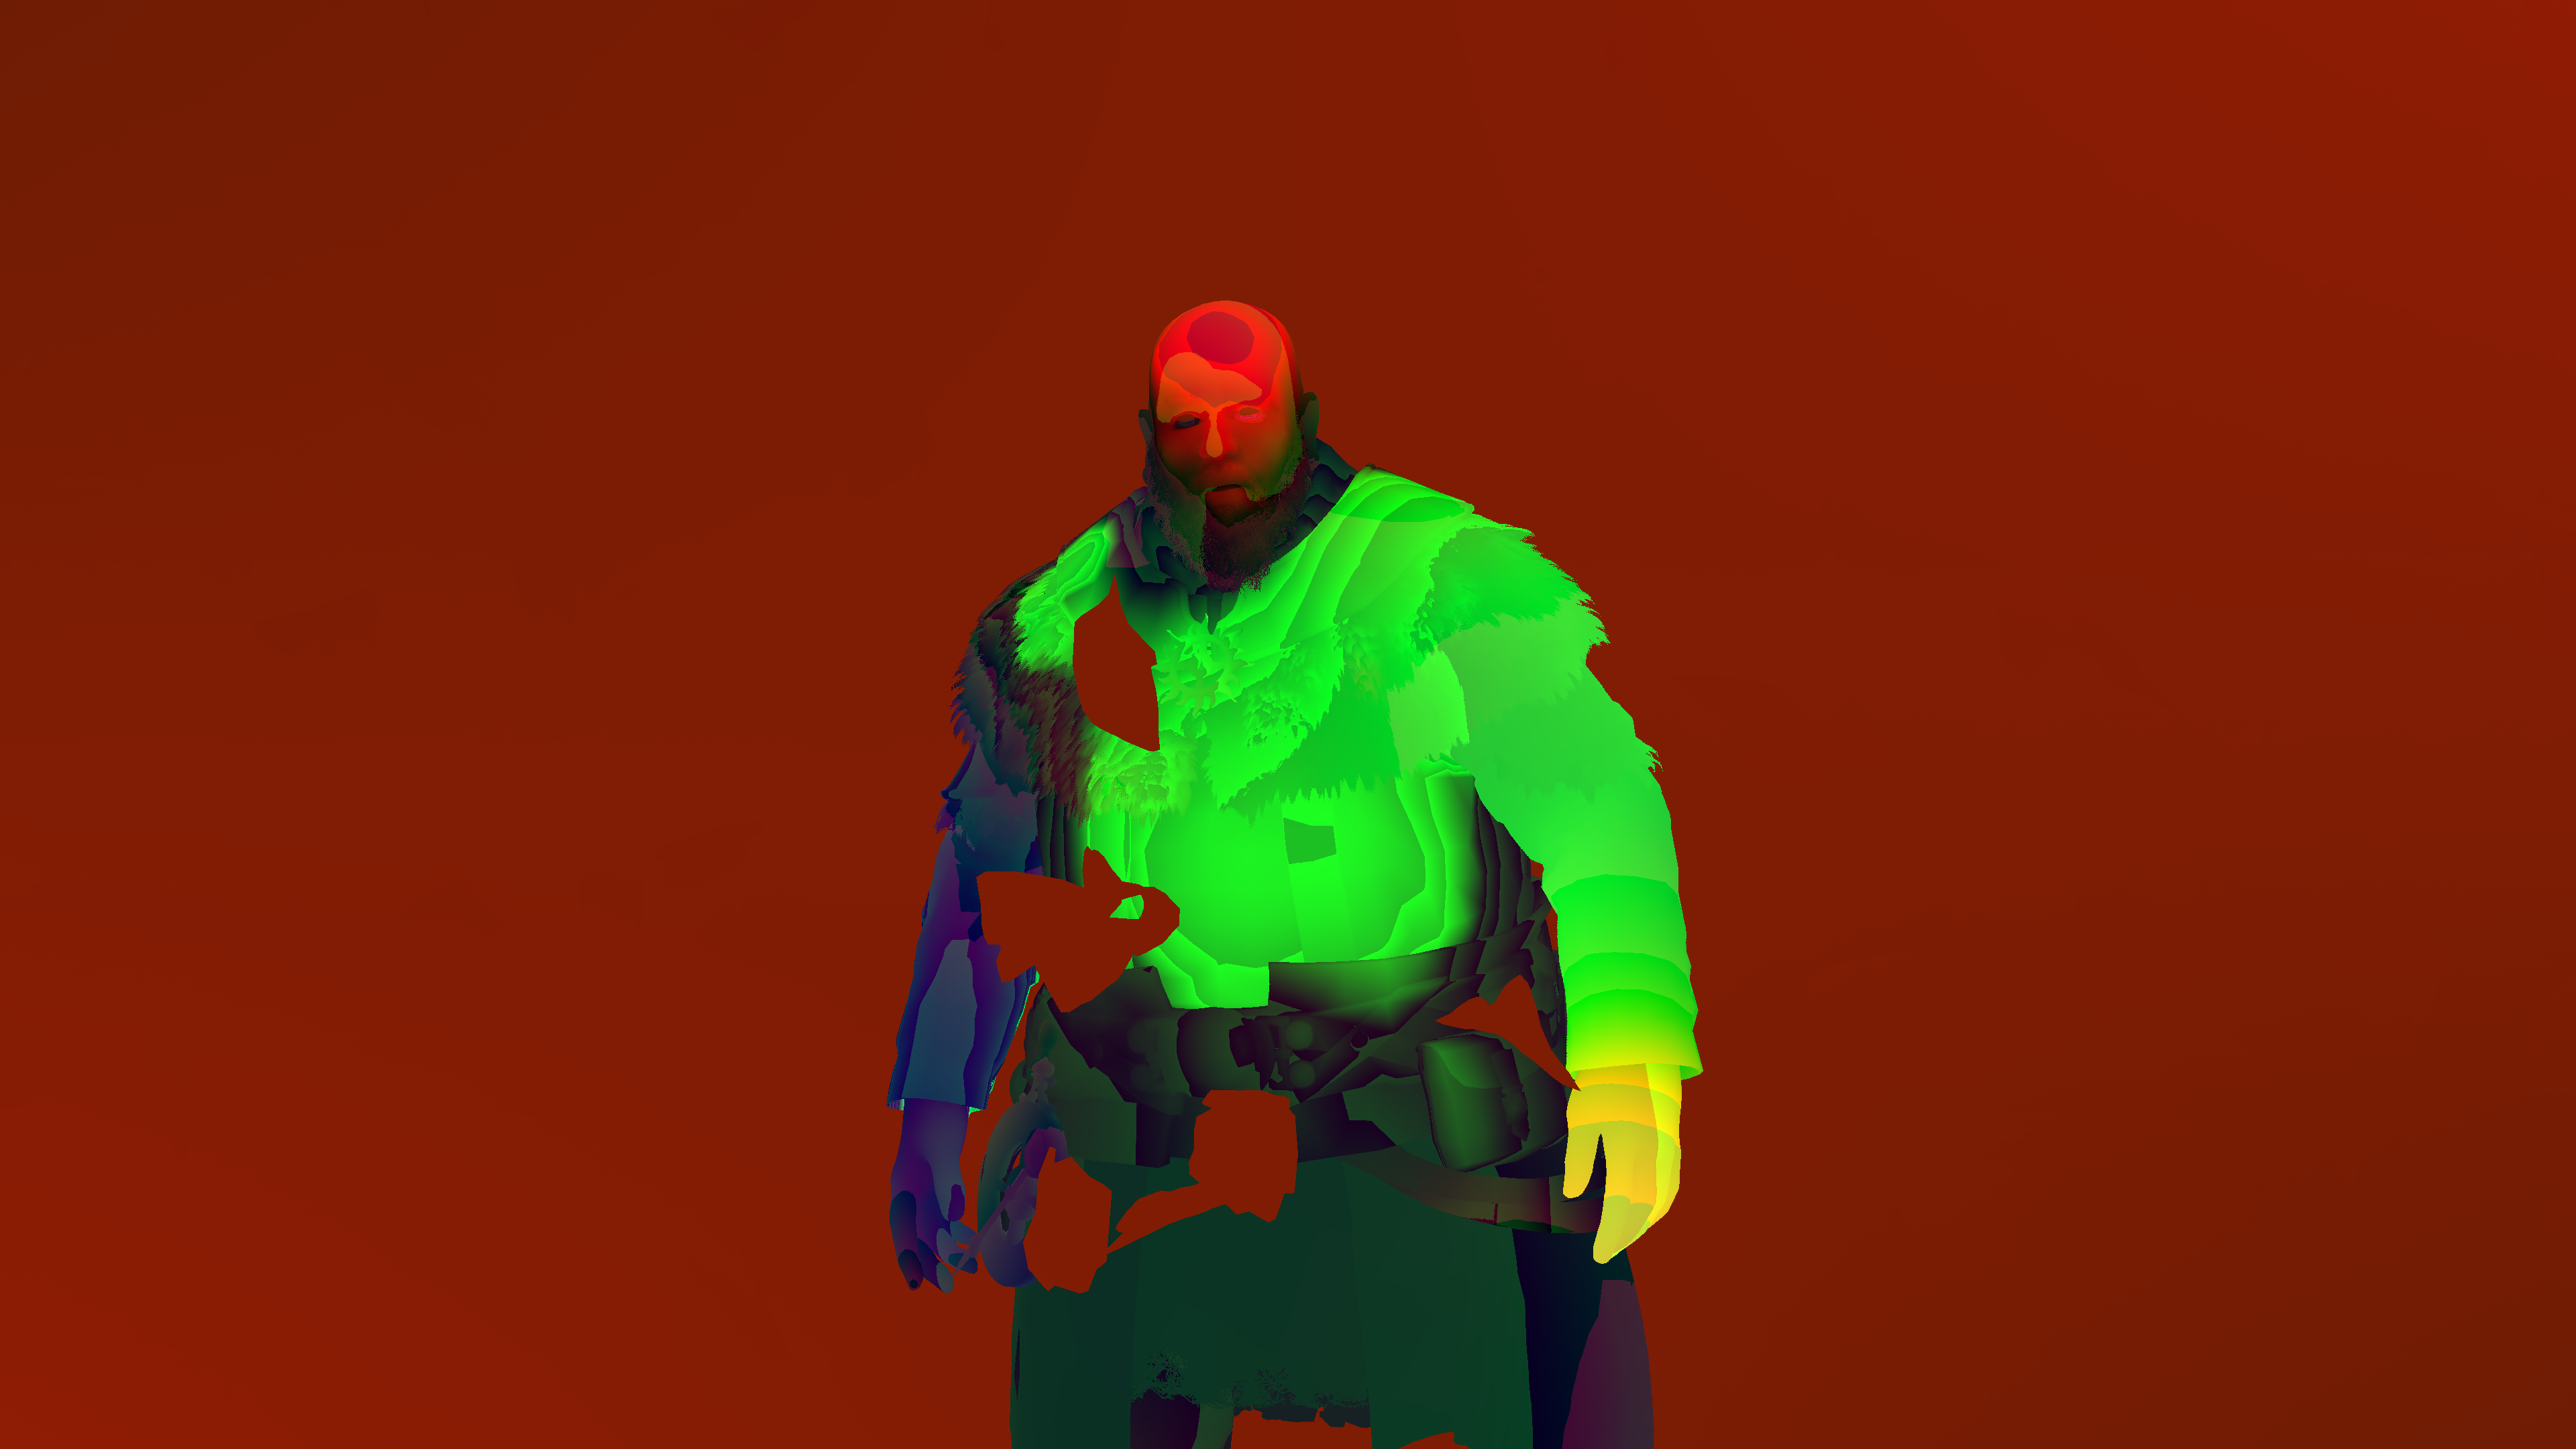
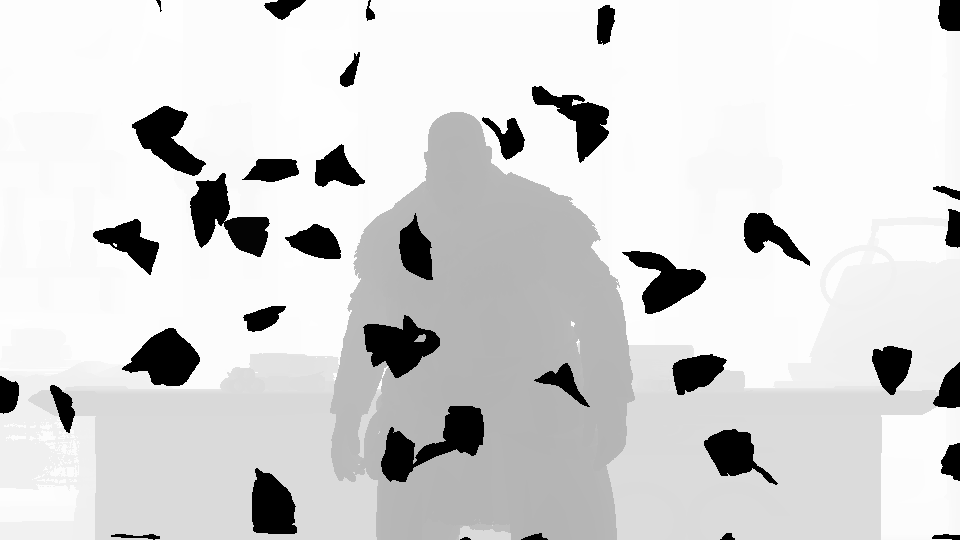
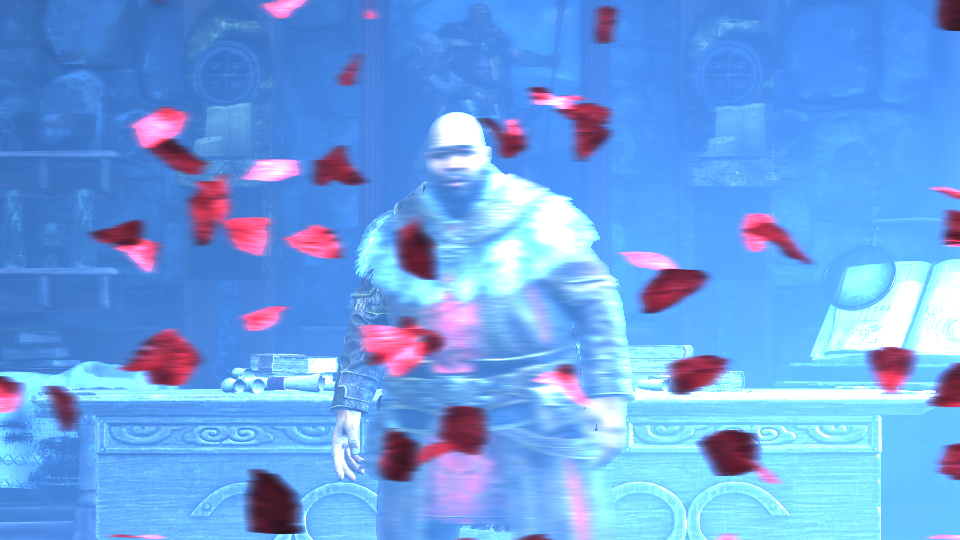
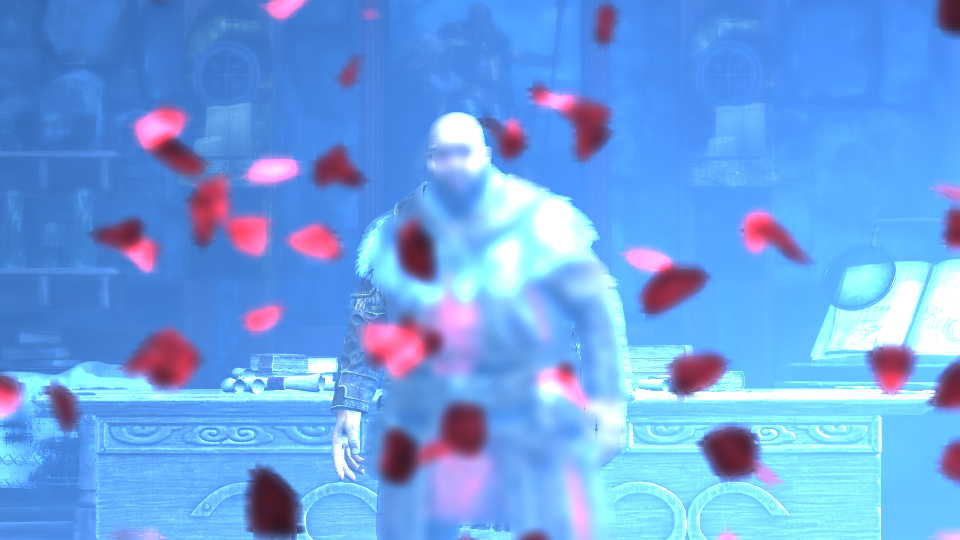
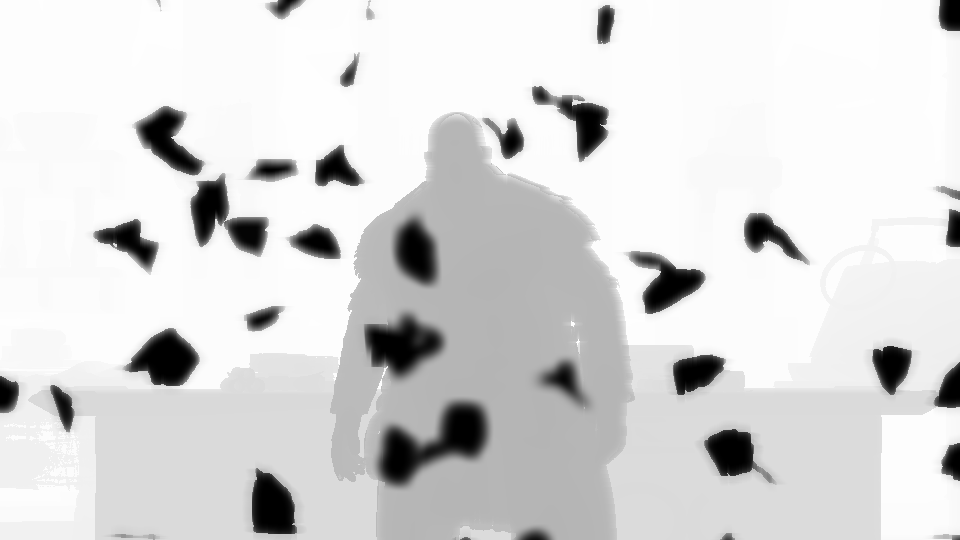
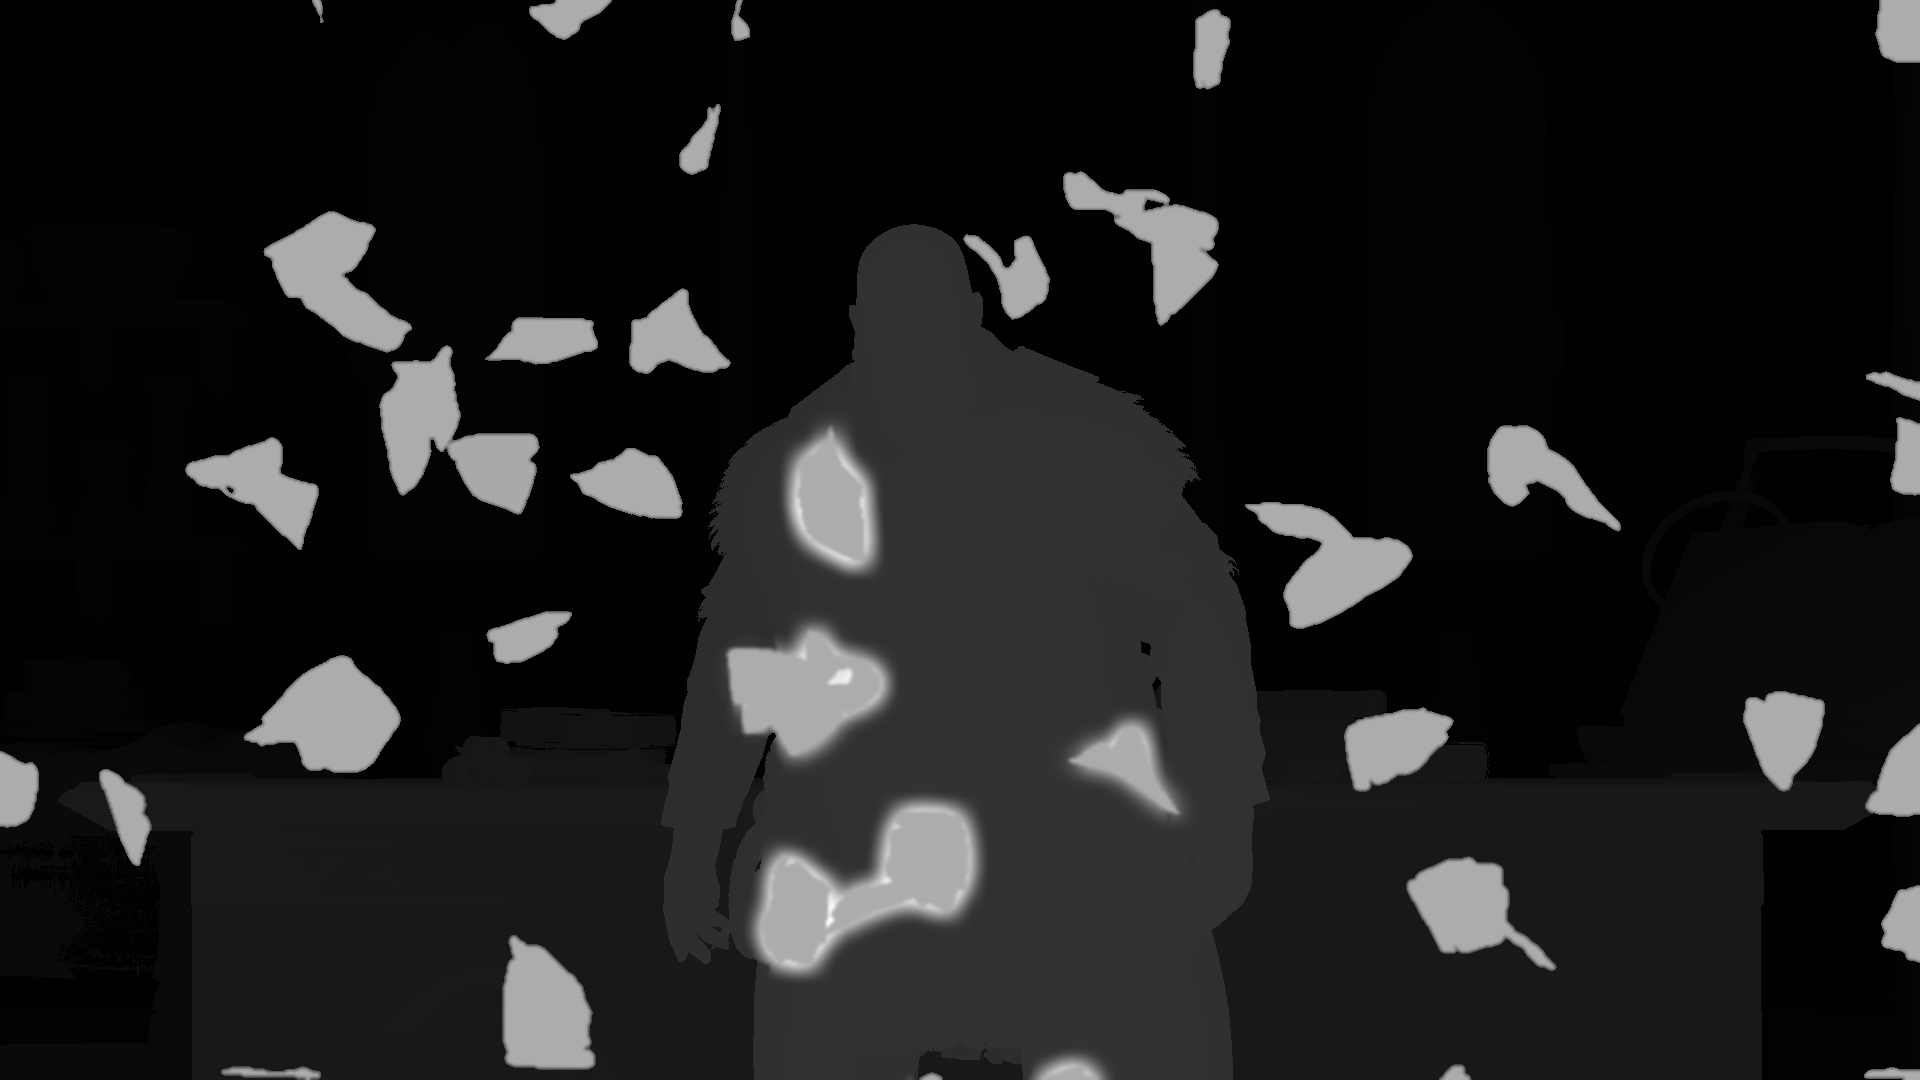
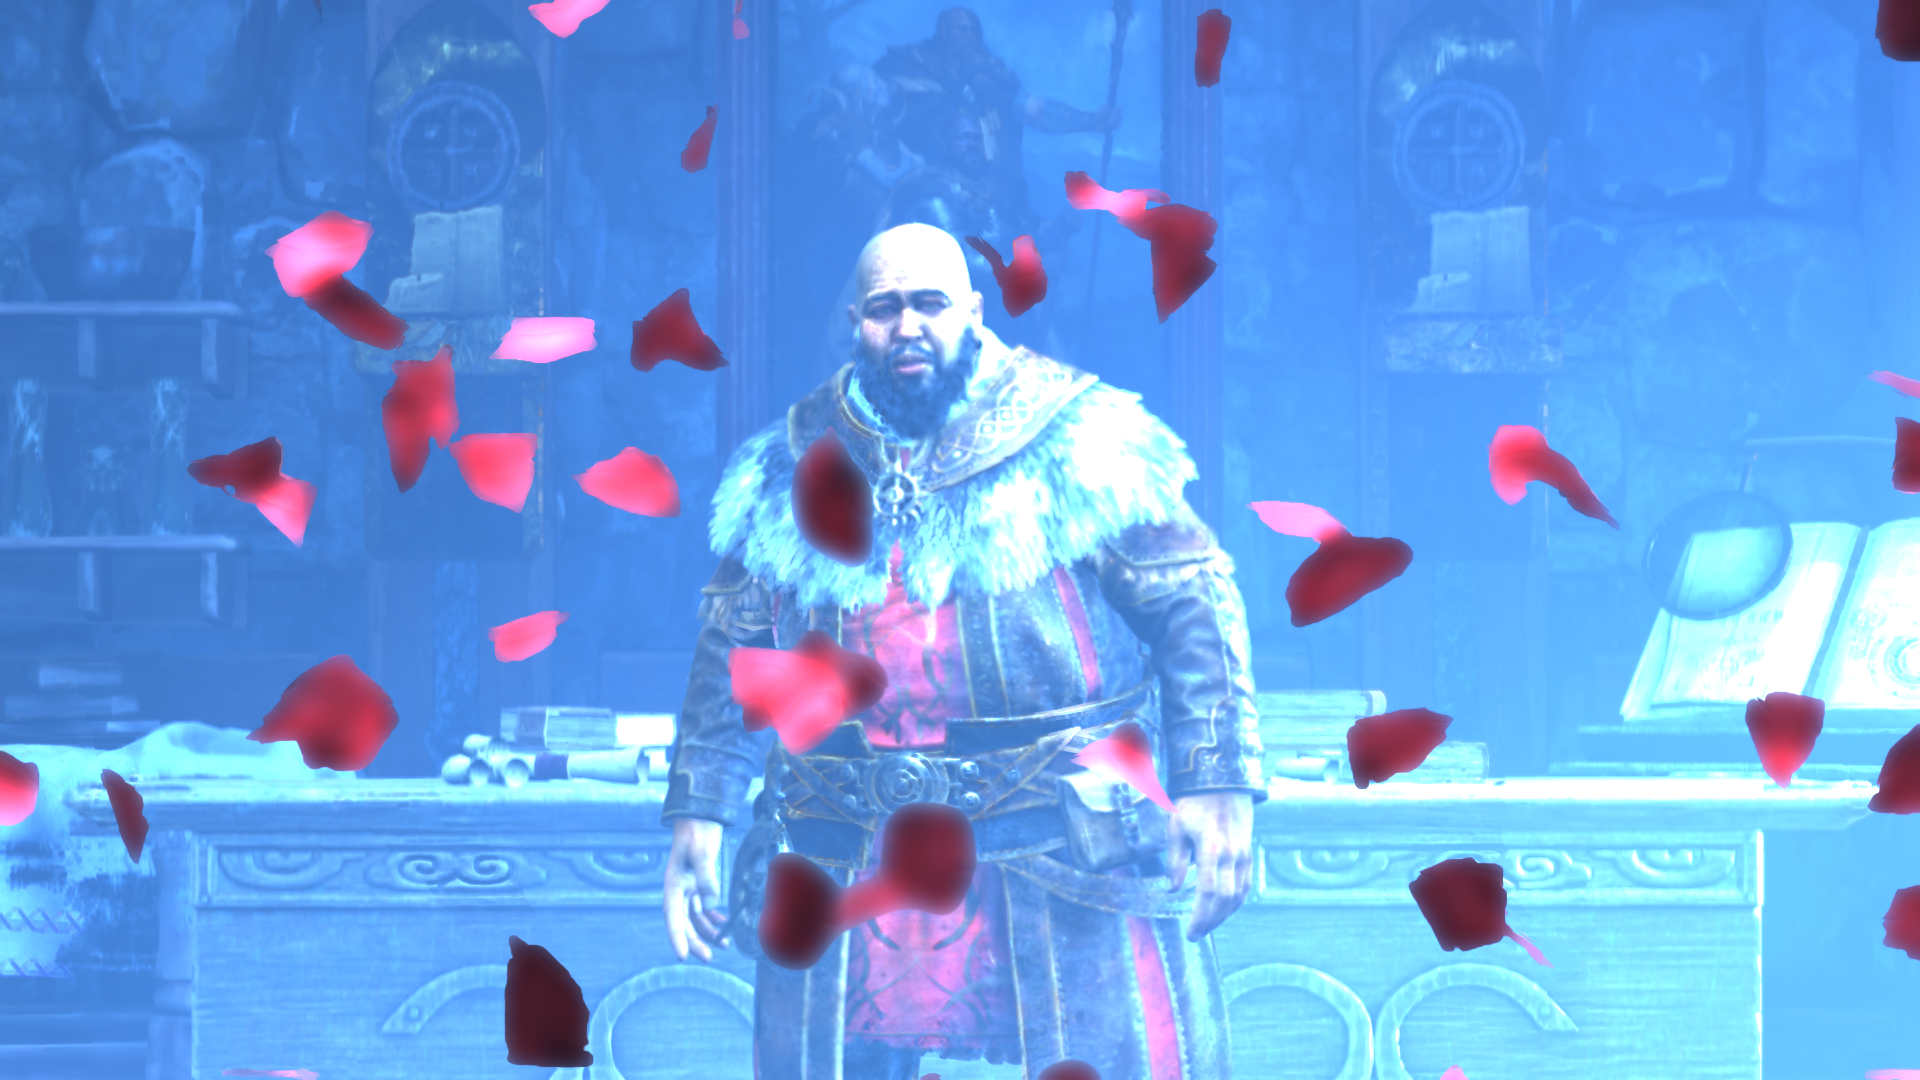
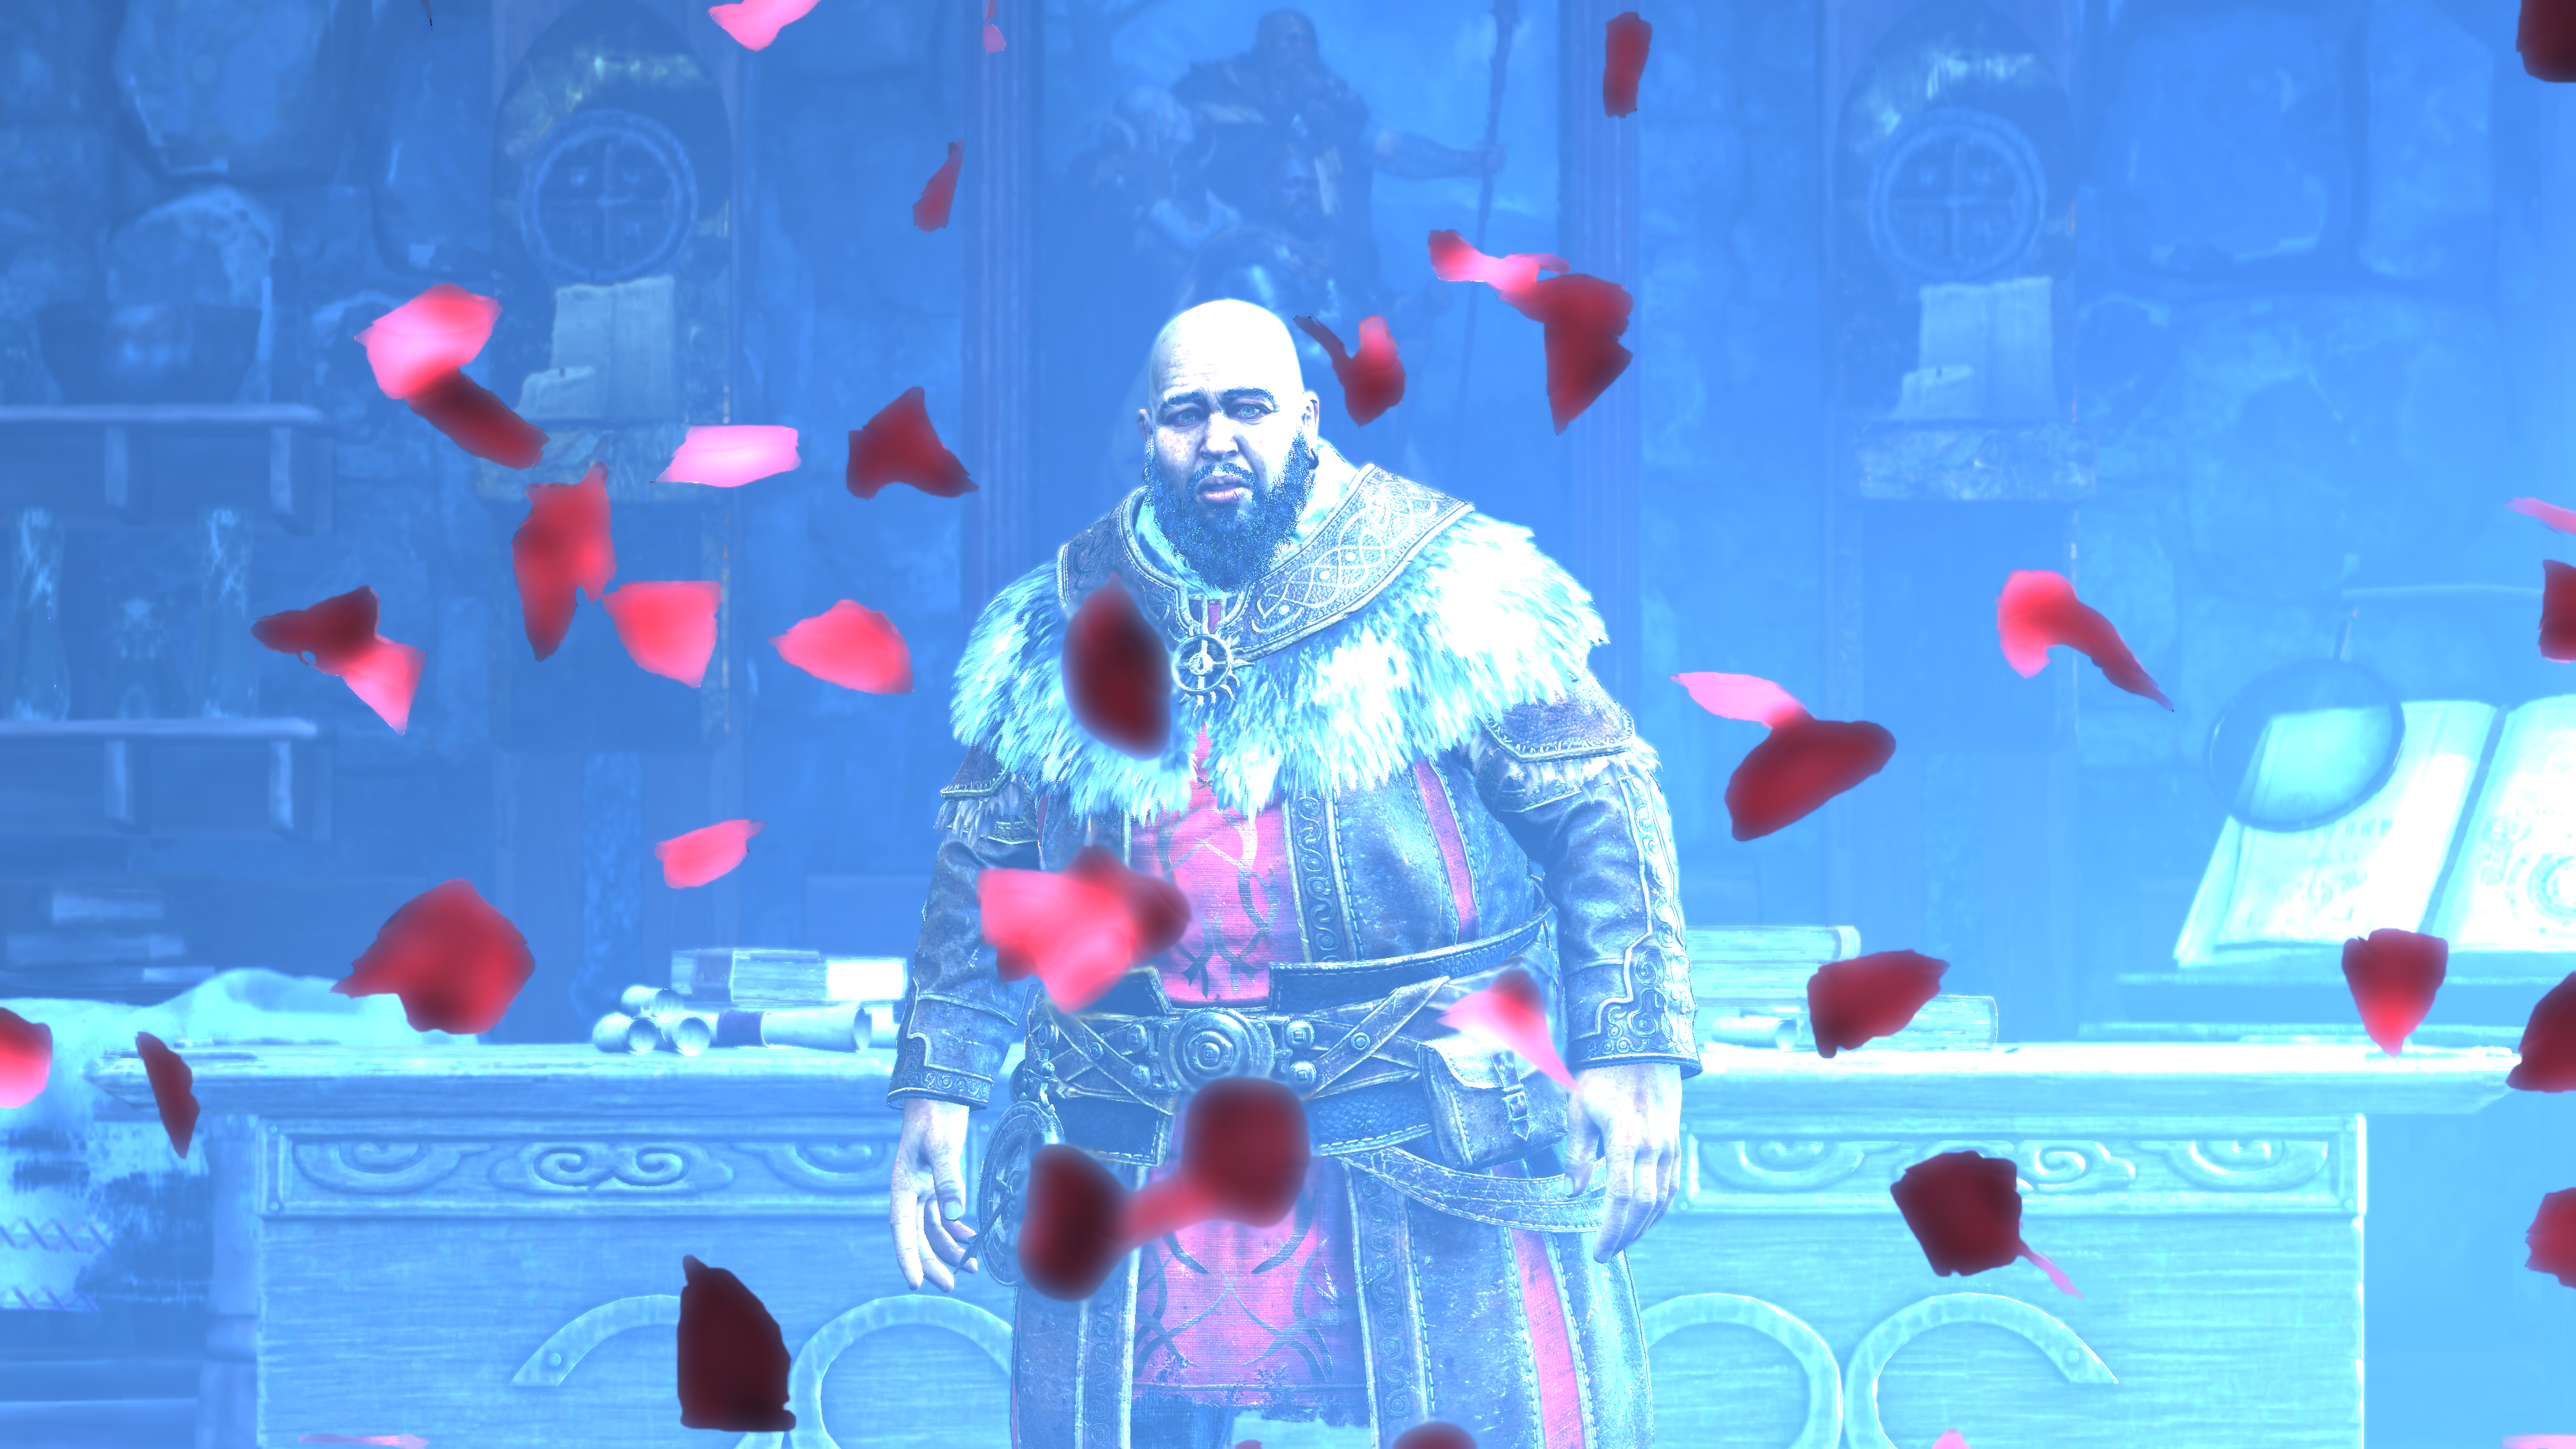
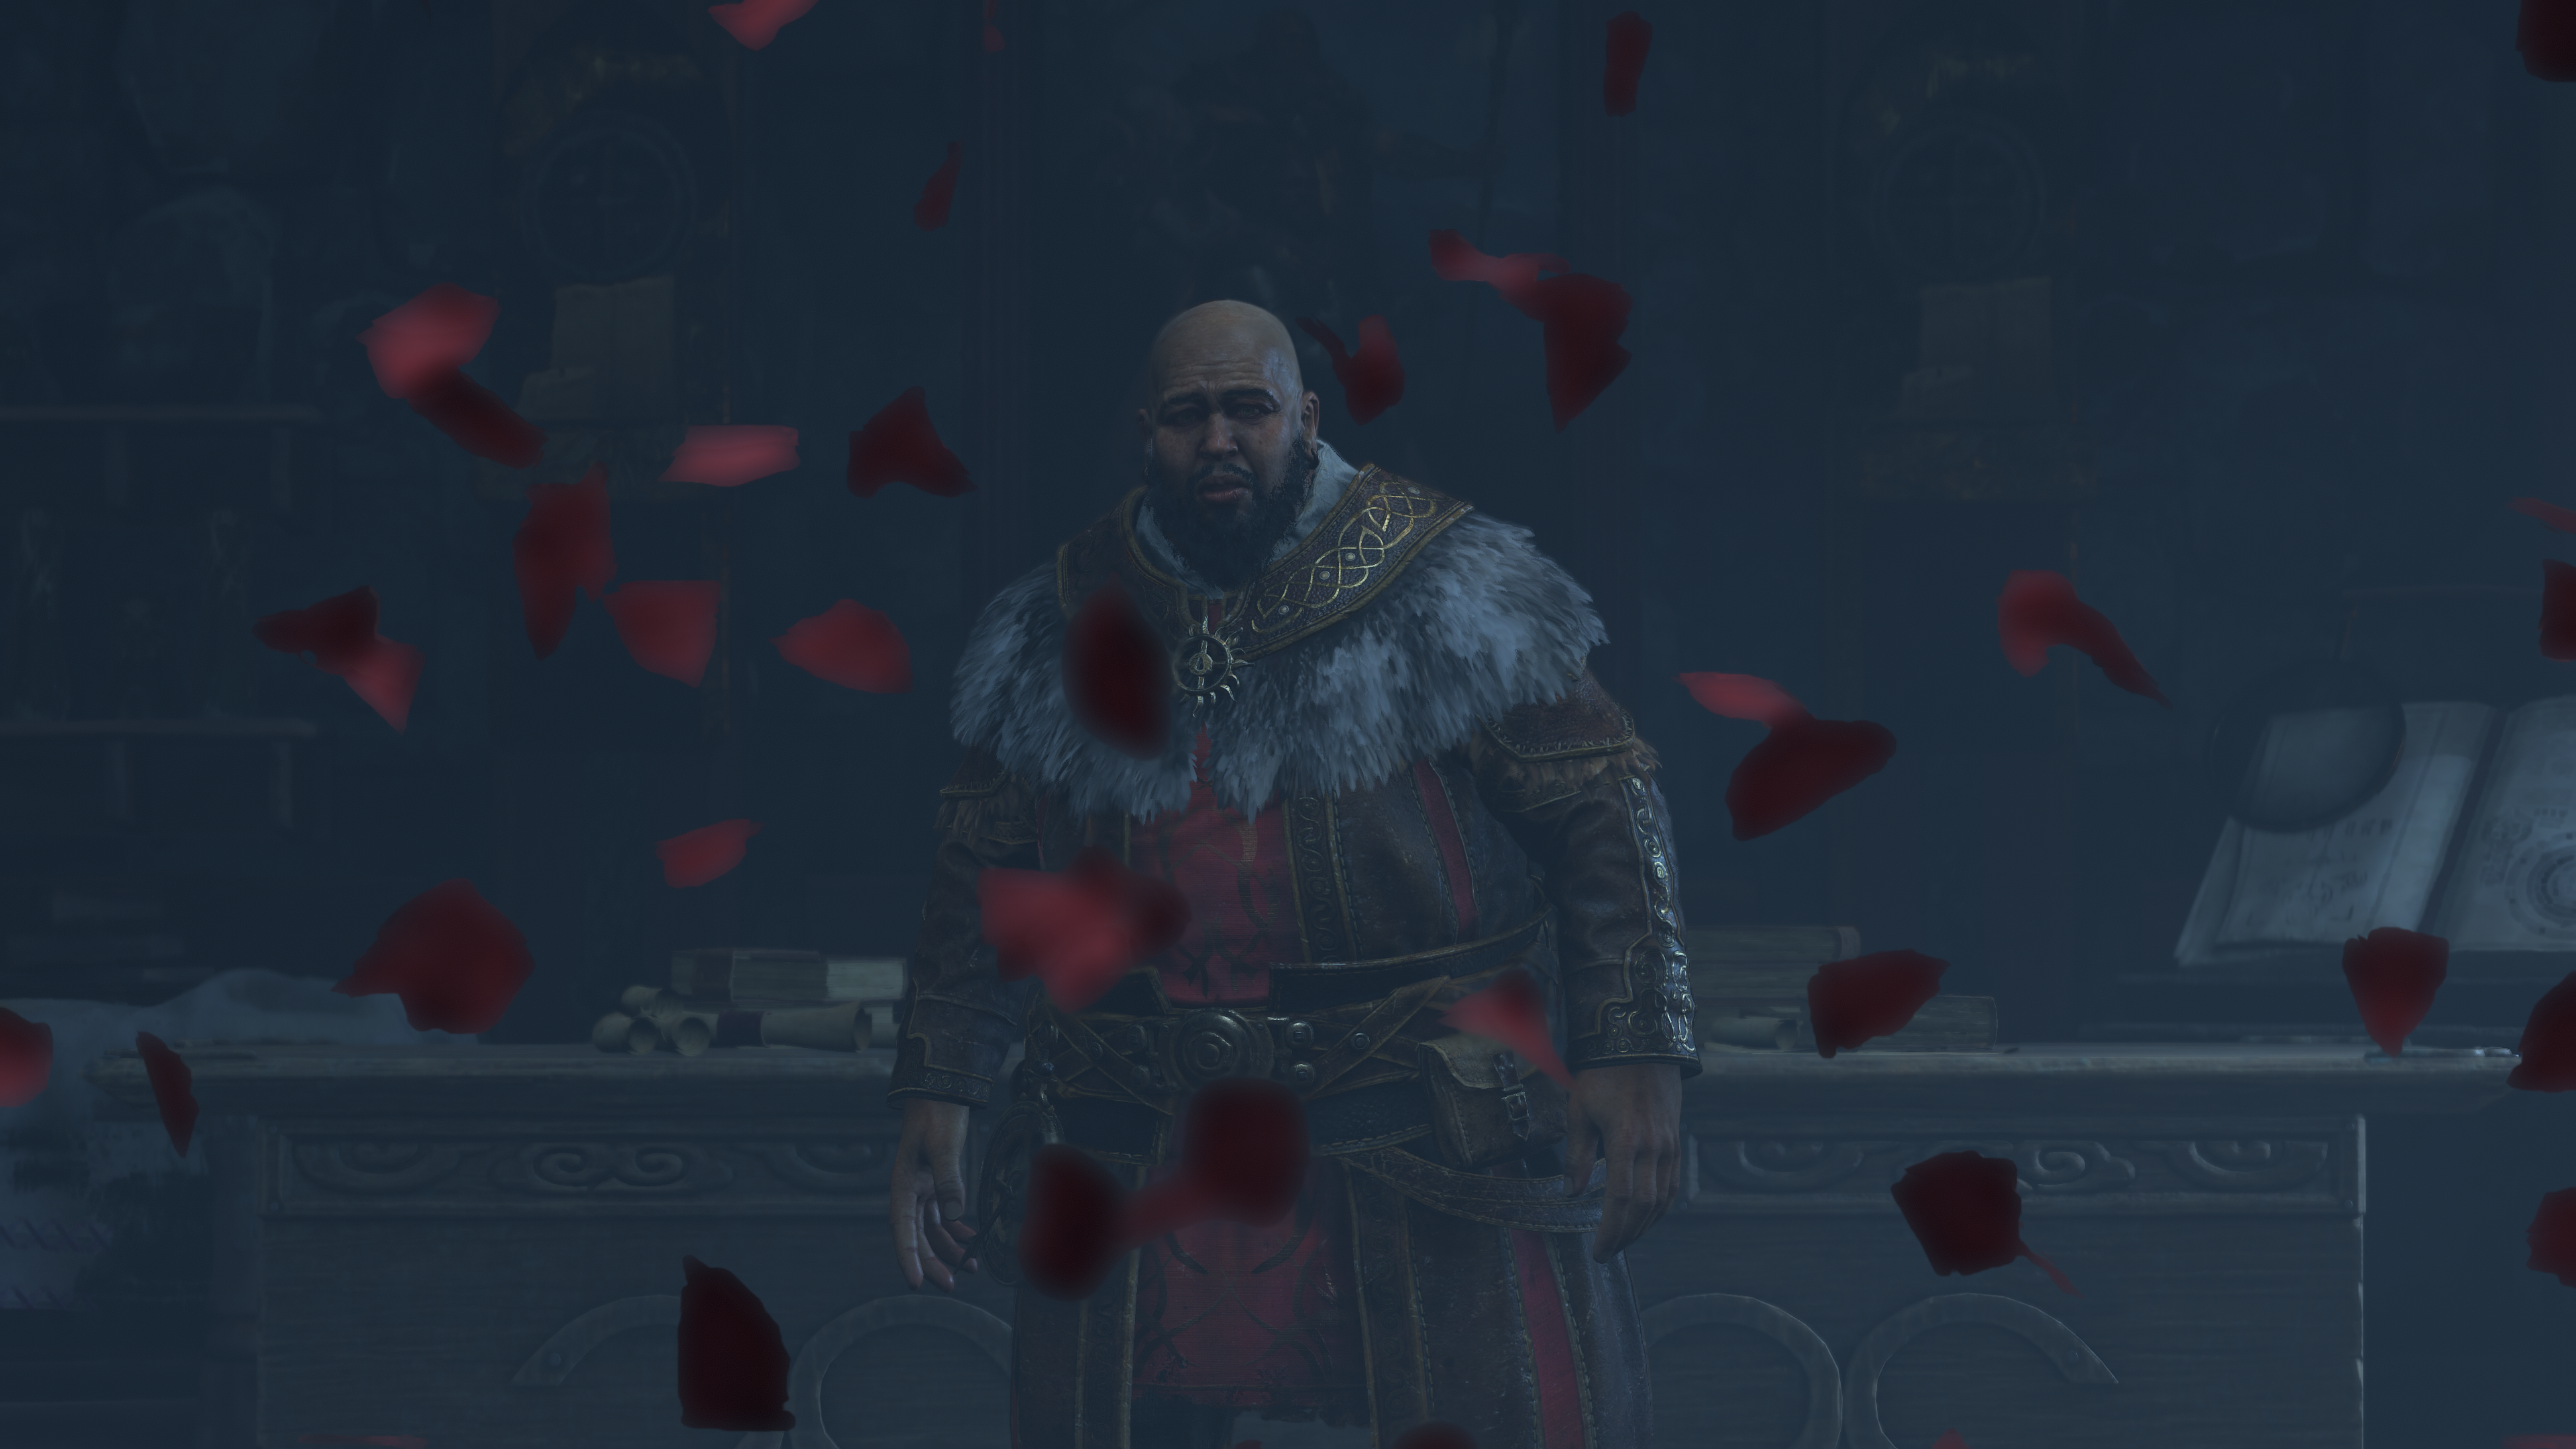
Now, you might’ve noticed that the CoC is kind not doing any favor to the DoF here, and you are right, but this is maybe because of my choice of the frame, as the character is far enough from the camera to result in solid black CoC mask as there is nothing near to shift focus. But i’ve later found a much better example to showcase DoF and CoC & focus shifting between different distances of objects. Below are two frames for almost the exact same moment, but with DoF shifting in focus between Middle and Near (more details are in the fold below).


Breakdown for the previous 2 example
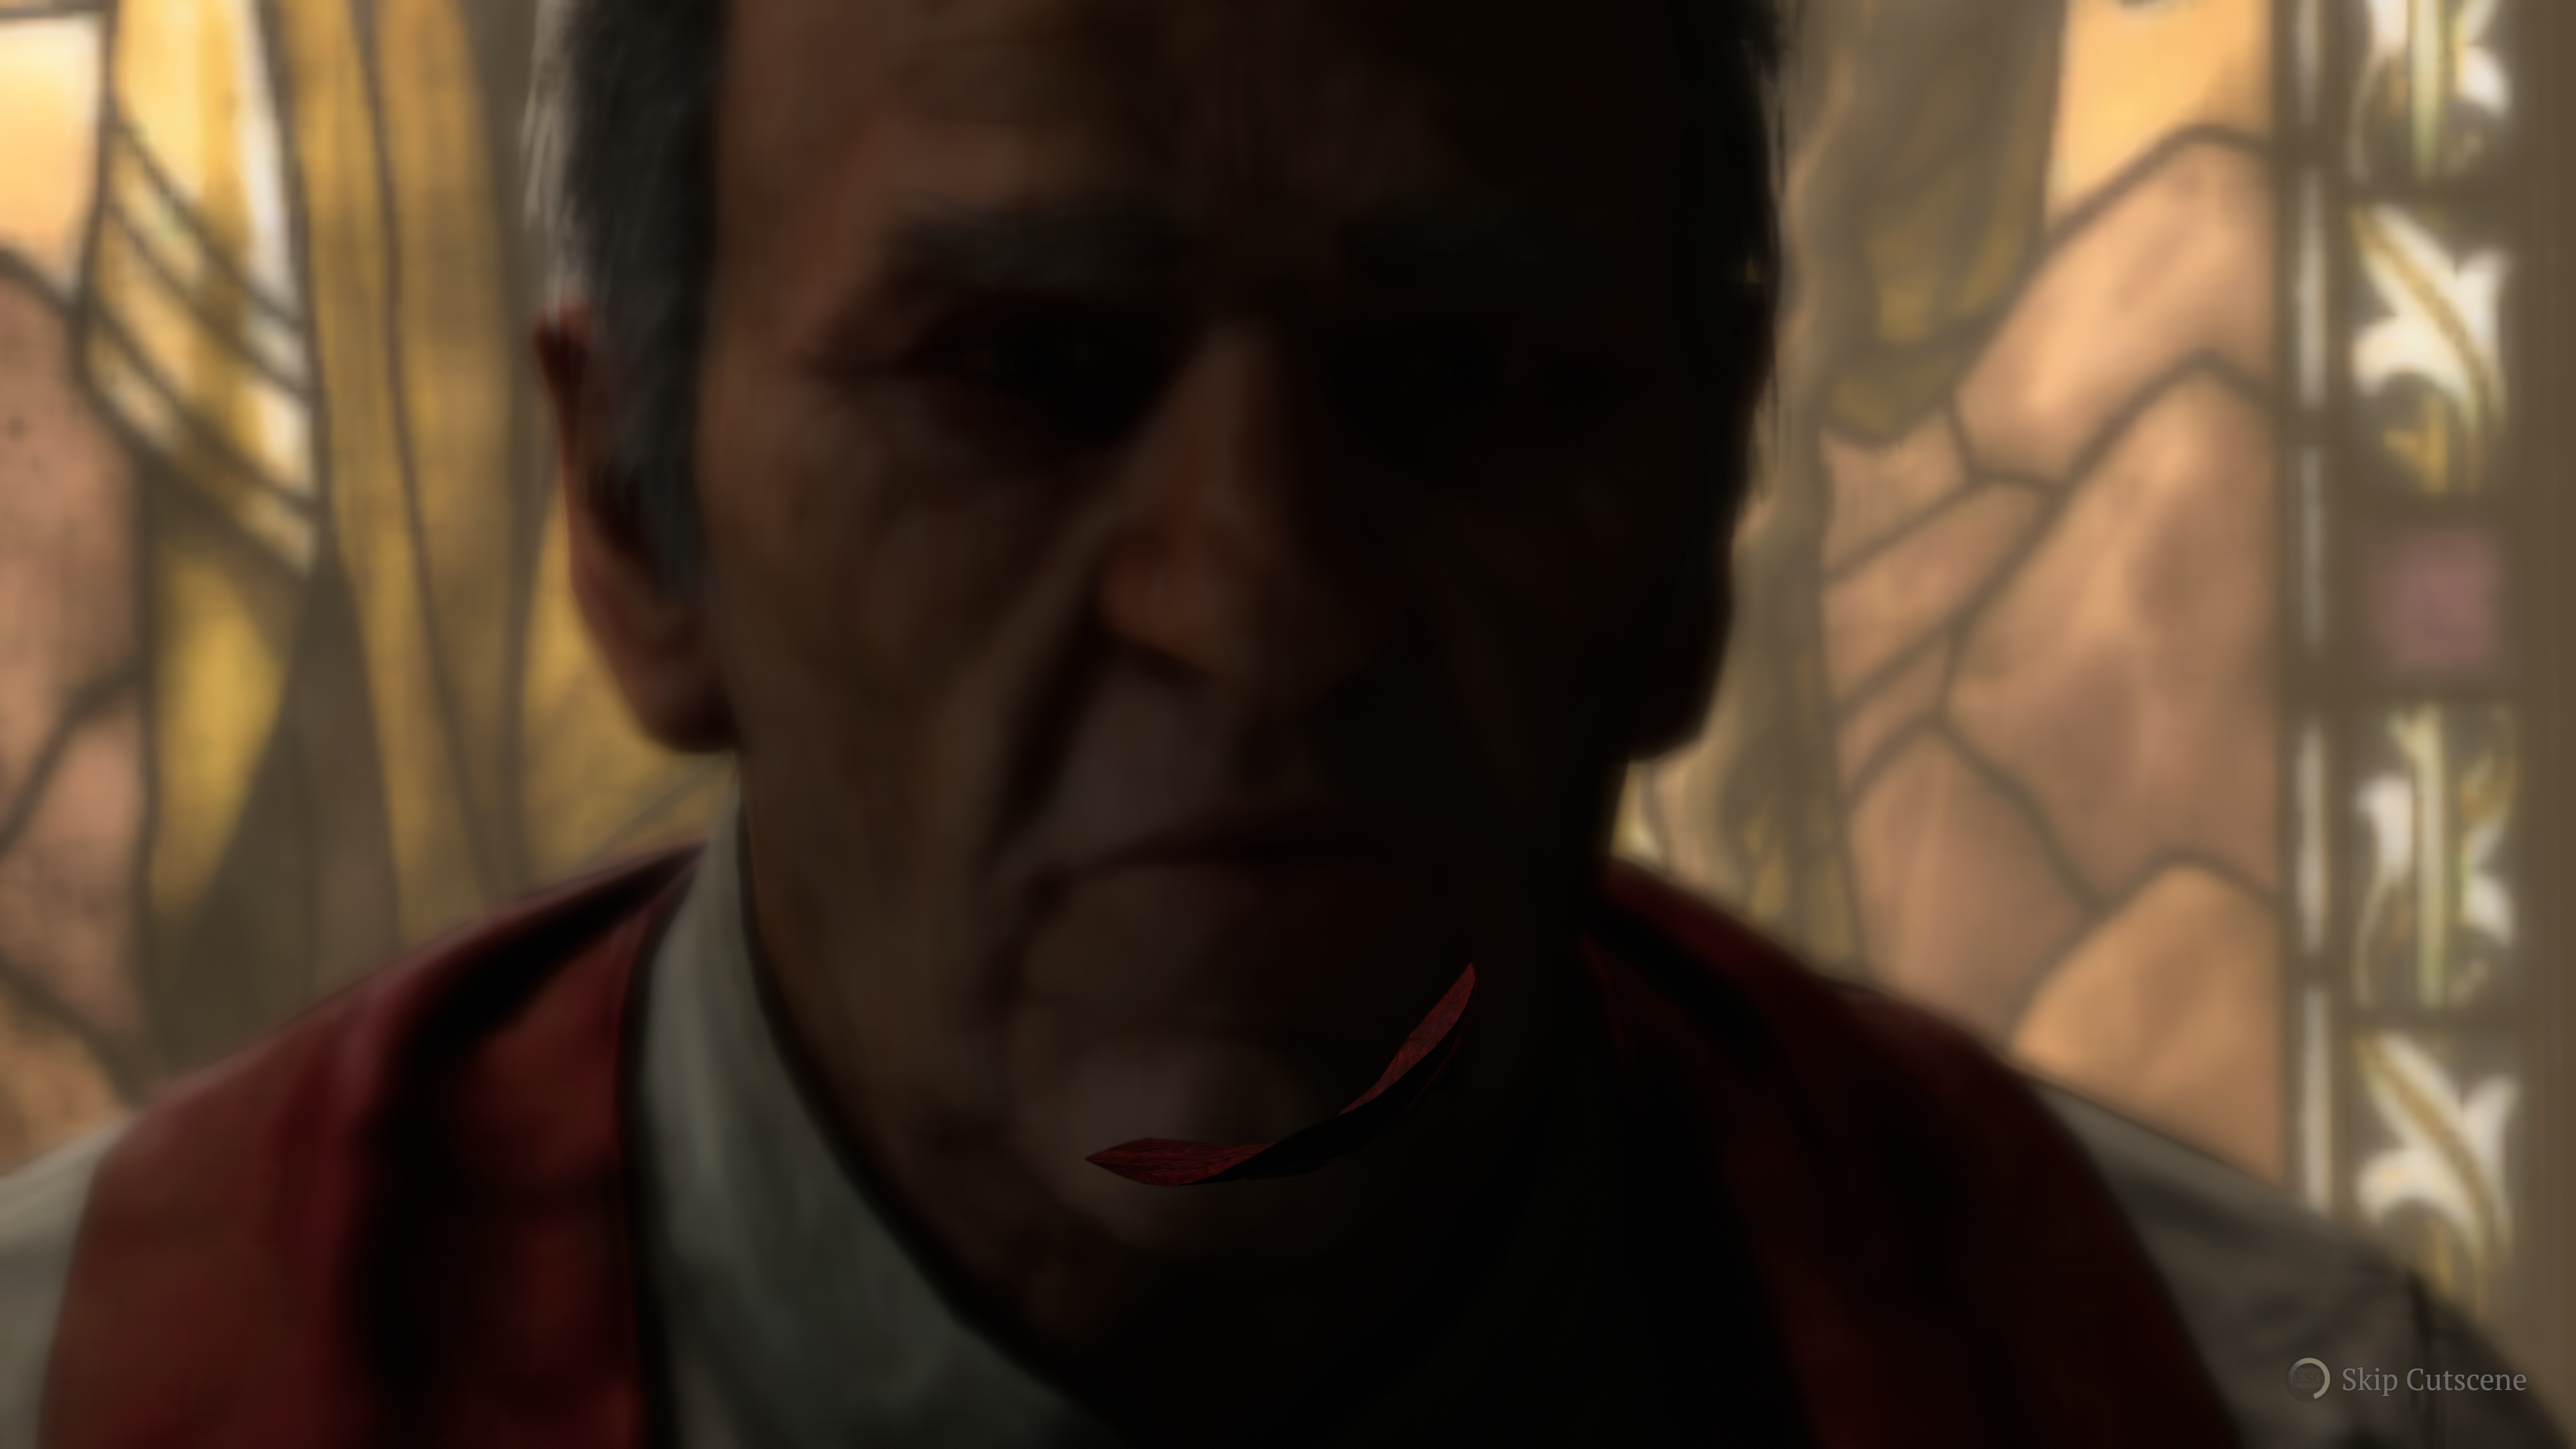
First Focus on the face (at middle ground)


Then focus on the petal (at near)


And of course, as mentioned at the start of the section, it is not always effect, which means it is not only absent visually from the gameplay, but no trace of any of the process steps that takes place during gameplay. So good optimization in there (others need to do that)!
With that said, it is worth mentioning that, sometimes DoF is utilized during some cinematics, but actually with super low value, that is too low to a degree that you can consider the effect is 100% absent, but it is not..so it cost for nothing 🫤

And one more last frame, where there were DoF that was crucial for the cinematic experience of the shot (and some artifacts never harm)…


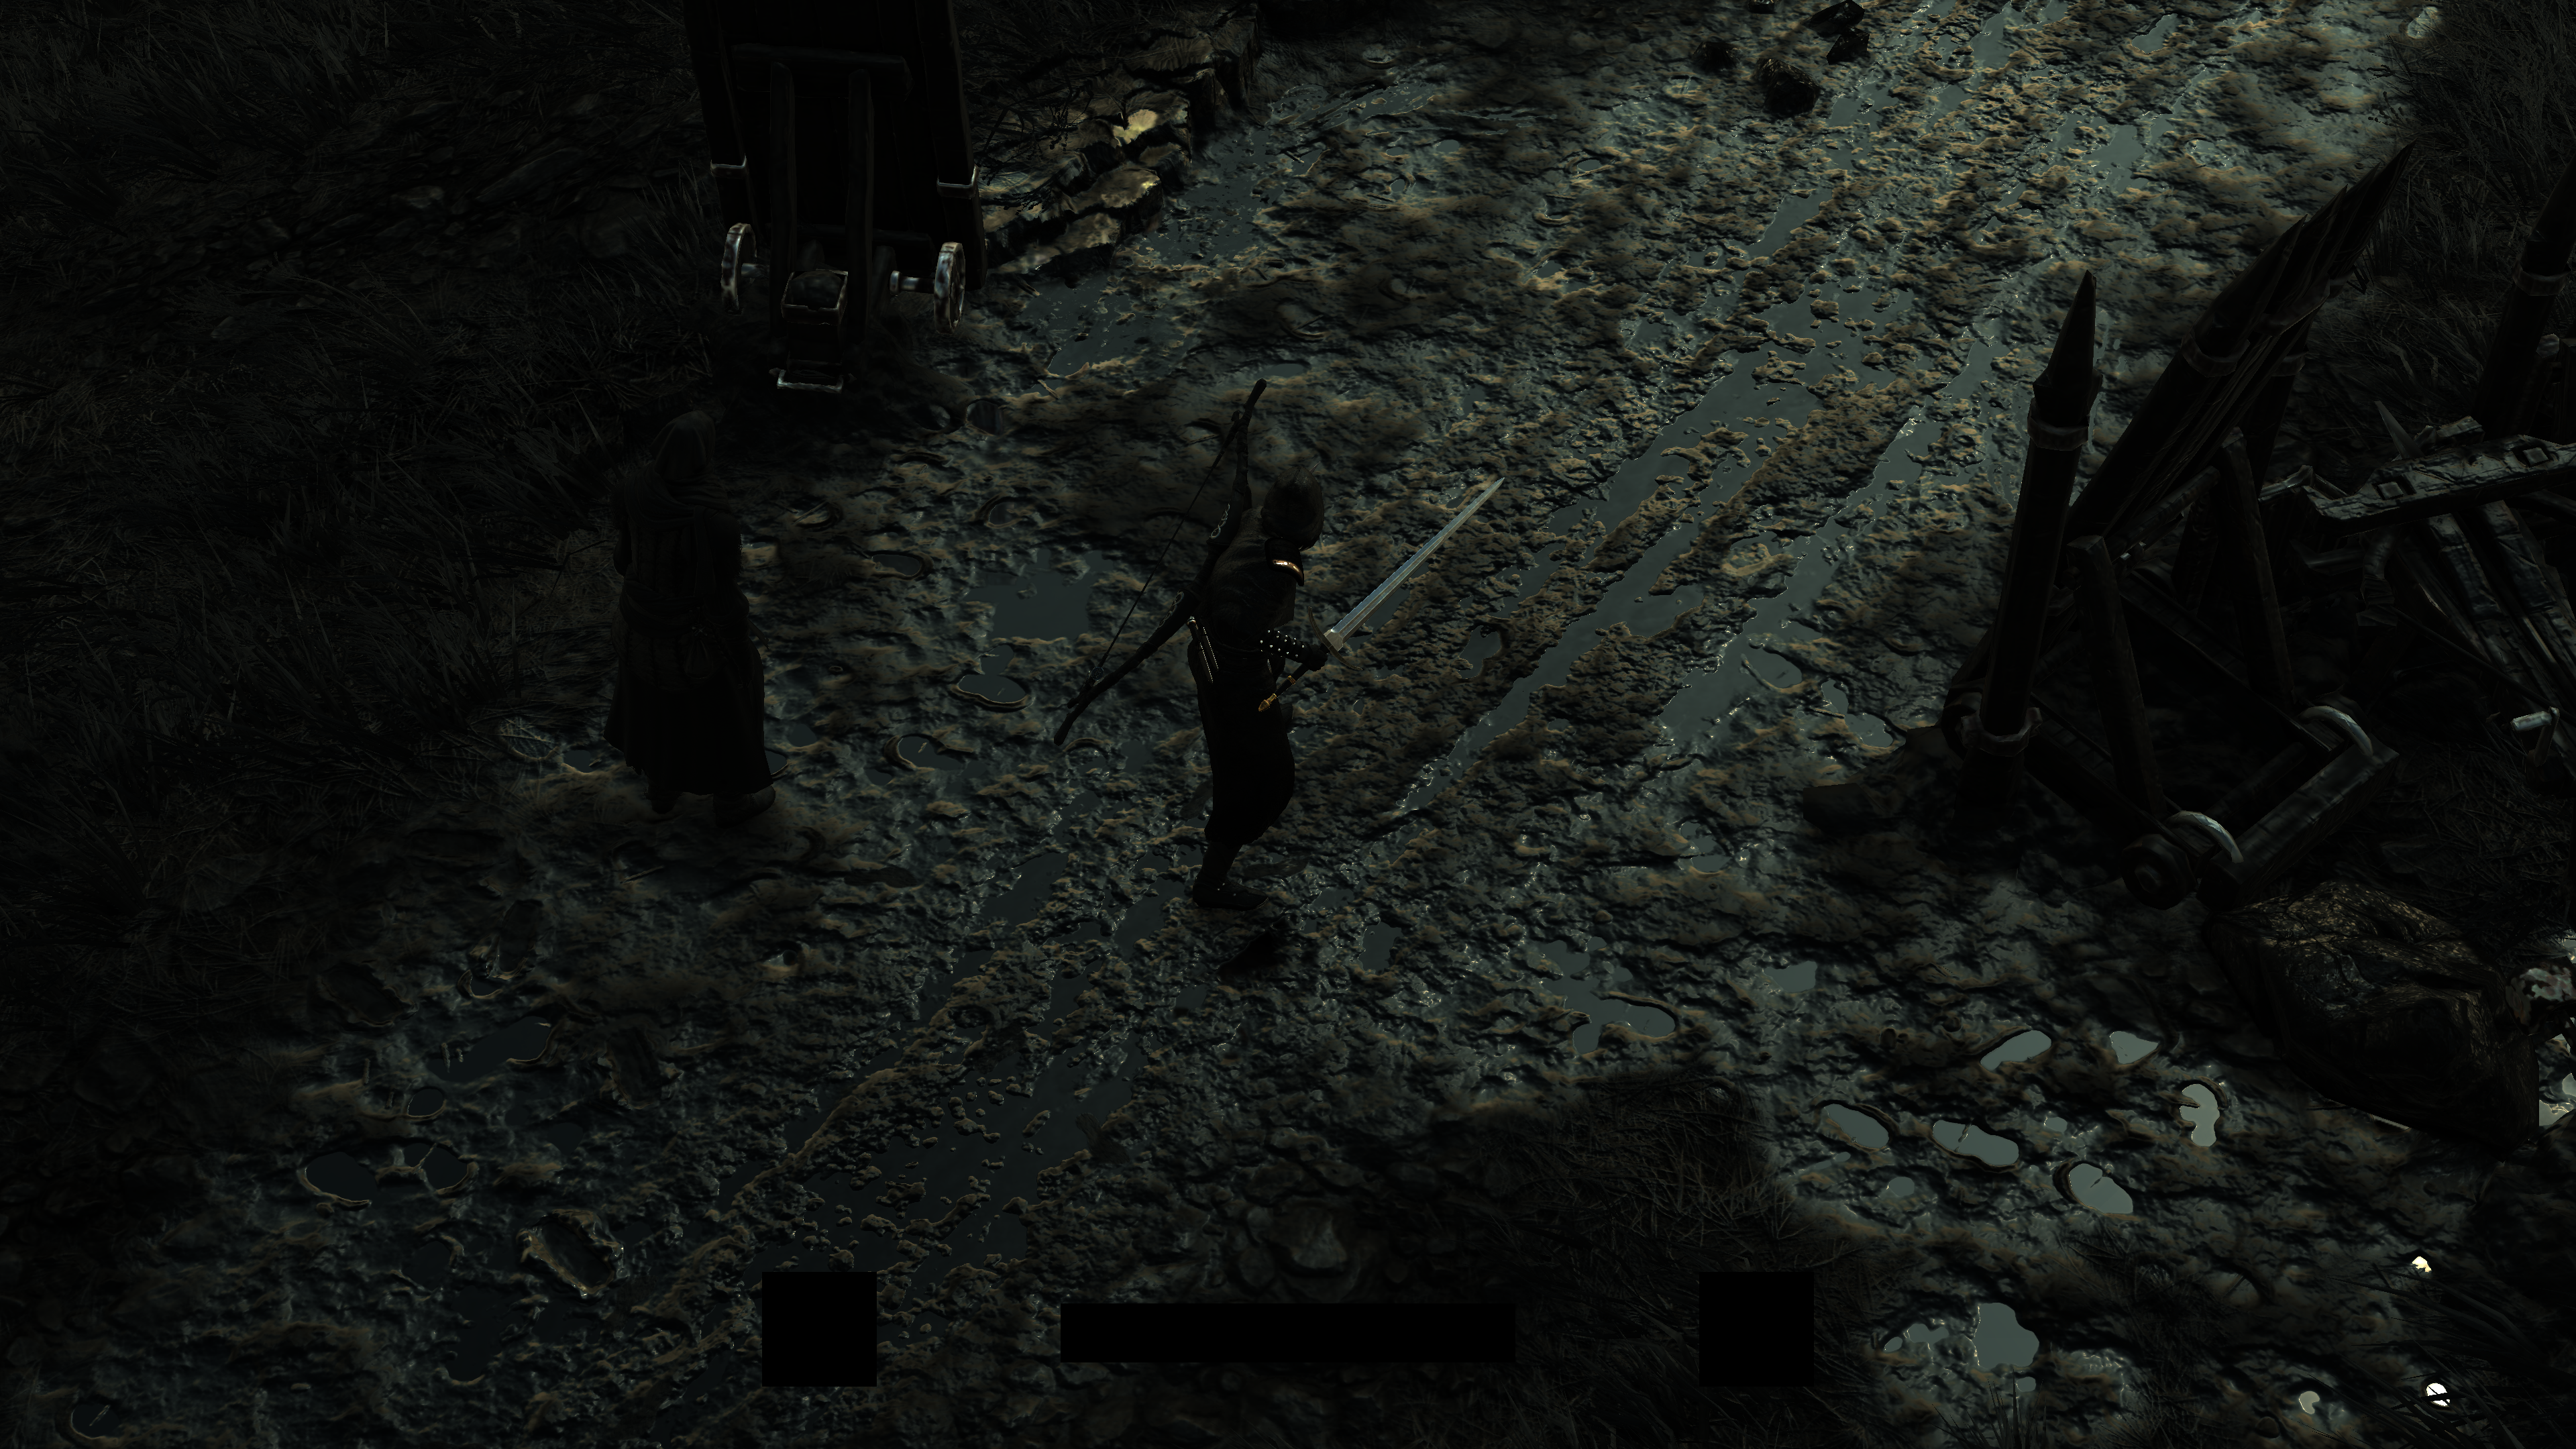
Late Particles (Forward)
Some more particles, mostly transparent like the distortion example below. sometimes little particles that are near enough to skip DoF or are on front of volumetric effects. But nothing special about their process, same process as the early particles, except they are done late because otherwise they wouldn’t achieve the desired visual trick/feel.


Or in action…

Distortion particles are using Distortion shader…i know it makes common sense, but just saying 😅
DLSS [Not Always]
So far, everything done is in the “internal resolution”, which is always equal to the target display resolution, unless some upscaling was enabled.
When DLSS is enabled, this is the time for it to take effect and scale up the internal resolution to the target resolution and fight it’s aliasing. Just right away after the DOF is done (remember DOF & everything before it, was done on the internal resolution), in order to out the full target resolution, which at my study was 380*2160.
And to be fair DLSS seems nice, all looked similar after upscaling, with some slight differences here & there and some flickering in some effects.
Diablo 4 provides several options for DLSS, but here are the internal rendered images for couple of examples just right before the get upscaled to full target resolution.


2nd row, Final upscaled


2nd row, Final upscaled
Anyways, i played with DLSS Off, and no other upscaling, i prefer to play in native…all the time!
AMD’s FSR
Unfortunately the FSR in Diablo 4 seem to be only enabled on AMD hardware by design! i knew this piece of info by coincidence anyways!

And unfortunately i never got hardware candy from AMD (i wouldn’t mind though🙃), so i was not able to check it at any of my setup variations which are all powered by NVIDIA RTX cards.
TAA [Not Always]
Just TAA!
Keep in mind, when custom upscaling like DLSS is enabled, this step is of course absent, and it vice versa.


All done in target resolution
Average Luminance
In preparation for the upcoming big final step (post processing) a standard Luminance Downsample 2×2 process in the frag shader tales place in order to average the scene’s luminance values to be used for tone mapping (& HDR) very soon.
1.Downsample Luminance
The idea is very simple, at first, the current frame is downsampled to a power of two single channel R16_F luminance image. Some implementations would do that to 512*512 others would do to higher (near to the original frame’s resolution, but not really necessarily). But here is is done to 128*128 right away, which i find it reasonable.
Even if the target resolution was different (4K or 1080p at my case), it still target 128*128 as the base size for the luminance image.
2.Downsample Average
Now that Lum go through sequence of downsamples by 1/2 till it reach the size of 2*2. Every time it is taking the previous output, and scale it down to new resource. The sampler used filters with D3D12_FILTER_MIN_MAG_LINEAR_MIP_POINT.


All are in R16_FLOAT
3.Auto Exposure
At the last step, one more downsample happens in addition to simple auto-exposure, so we end up with the target avg value for luminance.

It is worth mentioning that, some would do that previous sequence of downsampling in form of mips chain, and it works too. In fact, i’m more biased towards the mipmapping direction for my own work.
In the fold below are some samples from frames that will be discussed later in the post processing. So feel free if you’re interested to see their luminance average output/process, just in case you reason anything about the final swapchain output and the luminance average contribution.
Averaging Luminance more examples


Downsampling from 4k to 128*128 and then sequentially by 1/2 till it reach 1*1
Bloom
Yet another preparation step for the final big step (post processing). This is step is not fully blooming the image, it is more of a Bloom image prepare, which happens in few steps that we’ve investigated similar ones in previous articles, but this time let’s put it in a new different organized way
1.Bloom Bright Pass
At first we need to setup the bloom image, the current frame taken from it’s full target resolution, to half of that resolution, Not only that, but also it’s format get changed to the renderer’s official bloom-ing format RG11B10_FLOAT, and the alpha channel of the frame get applied to the output as a “bloom-ing mask”.


2.Bloom Down Sample
5 steps of scaling down by 1/2 the Bloom Image, format remains the same, nothing special applied. Just scale down & down & down….


3.Blurring (The Turning point)
When the renderer reaches the lowest target, it dos start in sampling back up the size, but in doing so, as you will see in the next step, it always need the previous step’s image to scale up. But at this unique link step between sampling down & up, the renderer will use the last steps’ outpus (60*33) as blooming image to sample up to (60*33) as well, which is not going to be the case in every sampling up step later. So it is not really sampling up, but it is still blooming. So you can consider it, the first real step in blooming/blurring the bloom image, at the same time the first sampling up step, but we can’t consider it fully a sampling up step as the size remains the same. So this is why i prefer to call it linking step or a turning point step,

4.Upsample Blur
Now go back up in resolution 5 steps again, till reaching the 1/2 or the target resolution, and this will be the final bloom image. But this time we also blur on the way up, not only changing sizes.
In order to do that, for every step, the renderer will be using the previous step’s output. So for example to output the 120*67 (here in step 4) the renderer will use the 120*67 we had earlier when we sampled down (in step 2) + the previous step output which is 60*33.
Another example, to result in the bloom image of the size 480*270, the renderer will use the 480*270 we got in step 2 + the 240*135 we just got in this step 4.


So, to put it all together in one big timeline for the entire blooming

And one more example, from an area that i liked, and it is very very bloom-y


And of course, it is the same exact process and set of steps during gameplay wherever the effect is needed (check the note below).


For a quick compare, you can just compare the Down 1 with the Up 5 (both are in 1080p, the former is the first entry in downscaling, where the later is the last output of upscaling & blooming and in fact it is the final Bloom image)
Blame not Bloom!
One of the things that i didn’t like, is that the Bloom is always there, and always taking effect. Even during gameplay areas where there is no bloom needed or even applied, you would still find that entire bloom sampling down & up and format swapping is taking place, and resulting in fully black rendertargets of all sizes. This is one thing to blame the renderer for if the game performance or memory utilization is going bad at some point!

An example of a gameplay frame where you would think it has bloom,
but bloom RTs were always solid black for that frame!
What sells the “feel” of bloom in that frame, is actually the volumetrics + particles + flare particles
(you’ll see that frame quite a few times in different sections of the article anyways)
Coming from an era where families own VHS camecorders that bloom anything you film, since then Bloom became naturally on top of my favorites! 🤩
Post Processing (Tonemapping + Sharpen)
Just right after the bloom, and using the bloom image as an input, the post processing kicks in. Post processing not using the bloom image only, but also it utilizes a noise texture, tone mapping luminance, as well as a LUT (lookup table) in order to apply bloom, color grading, tone mapping,…etc.. First step will result in a post processed image, but by the end of the post processing (a second step), sharpen applied and the format is changed to the presentation format (at least for SDR target).


It is not very clear at this point if the sharpen is a custom implementation of AMD’s CAS. i came to the CAS assumption from mining into the binaries of the game, and finding some traces in there that imply the integration of CAS (possibly as part of FSR integration).
And it is of course the exact same thing for gameplay frame


While LUT might “look” similar, it is usually the case of LUTs, the noise texture is the exact same one always used. Here are some more, keep in mid, based on a previous note, it is totally fine to have a fully black bloom image (not fine optimization wise, but Diablo’s pipeline wise is okay).


Post process in Diablo 4 is very simple, but very very good contributor to the final footage quality! So, last but not least for post processing, some ins & outs, just for the sake of the beauty of that game!


Tone Mapping Totally not important note!
You might have noticed that i did not add the tone mapping luminance as part of the inputs in the examples above, this is just because it is always 1*1 that look pretty similar, so no point in having it occupy space next to the rest of the inputs. Plus it was breaking my images layout for some reason.
HDR
HDR is one of those things that is taking the least effort to integrate into a rendering engine, but at the same time, it is one of those things that takes a lot of effort to put it right and make it quality changer for the game.
At first glance, the HDR for this game is fully broken, but this assumption is partly the mistake of the game, and partly mine! Usually when i enabled HDR in the windows settings, games would pickup, and hence present to me in HDR quality. And this is what i though with Diablo 4, i just enabled the HDR in display settings of Windows 11, and reloaded the game. Yes it would look vivid, but even Google chrome or Windows browser would look vivid once you enabled HDR in system settings!
But after taking the captures and analysis them, i found out at both cases (before & after HDR) the final presentation was done as BGRA8_UNORM_SRGB!!! Not only that, but there is almost zero difference in final quality! Not to mention at both cases the color range was 0-255!
So what’s going on?!!!
After some investigation, it turned out the game (at least on Windows) would require you to go to Graphics settings of the game, and enable HDR checkbox! This to me made no sense, as there is no user on the planet would invest 3 or 4 times the price of SDR monitor in buying a HDR monitor, and then enable it’s HDR capabilities in the system, just to play in SDR! Good recent example i played in HDR was Death Stranding, and i only had to enable it in the Windows display settings.
But once enable that option in the game’s Graphics settings…..
So, Just right after the last postprocessing applied and right before the game start drawing the UI & present, the format conversion takes place. This HDR step, now called HDR, but in fact it is a fixed step that is existed regardless we’re in HDR enabled or no. When HDR is enabled, the game will convert from RGBA16_FLOAT to RGB10A2_UNORM. As you might’ve noticed earlier that RGBA16_FLOAT is the format of choice that Diablo 4 used most of the time to draw and prepare the final image.
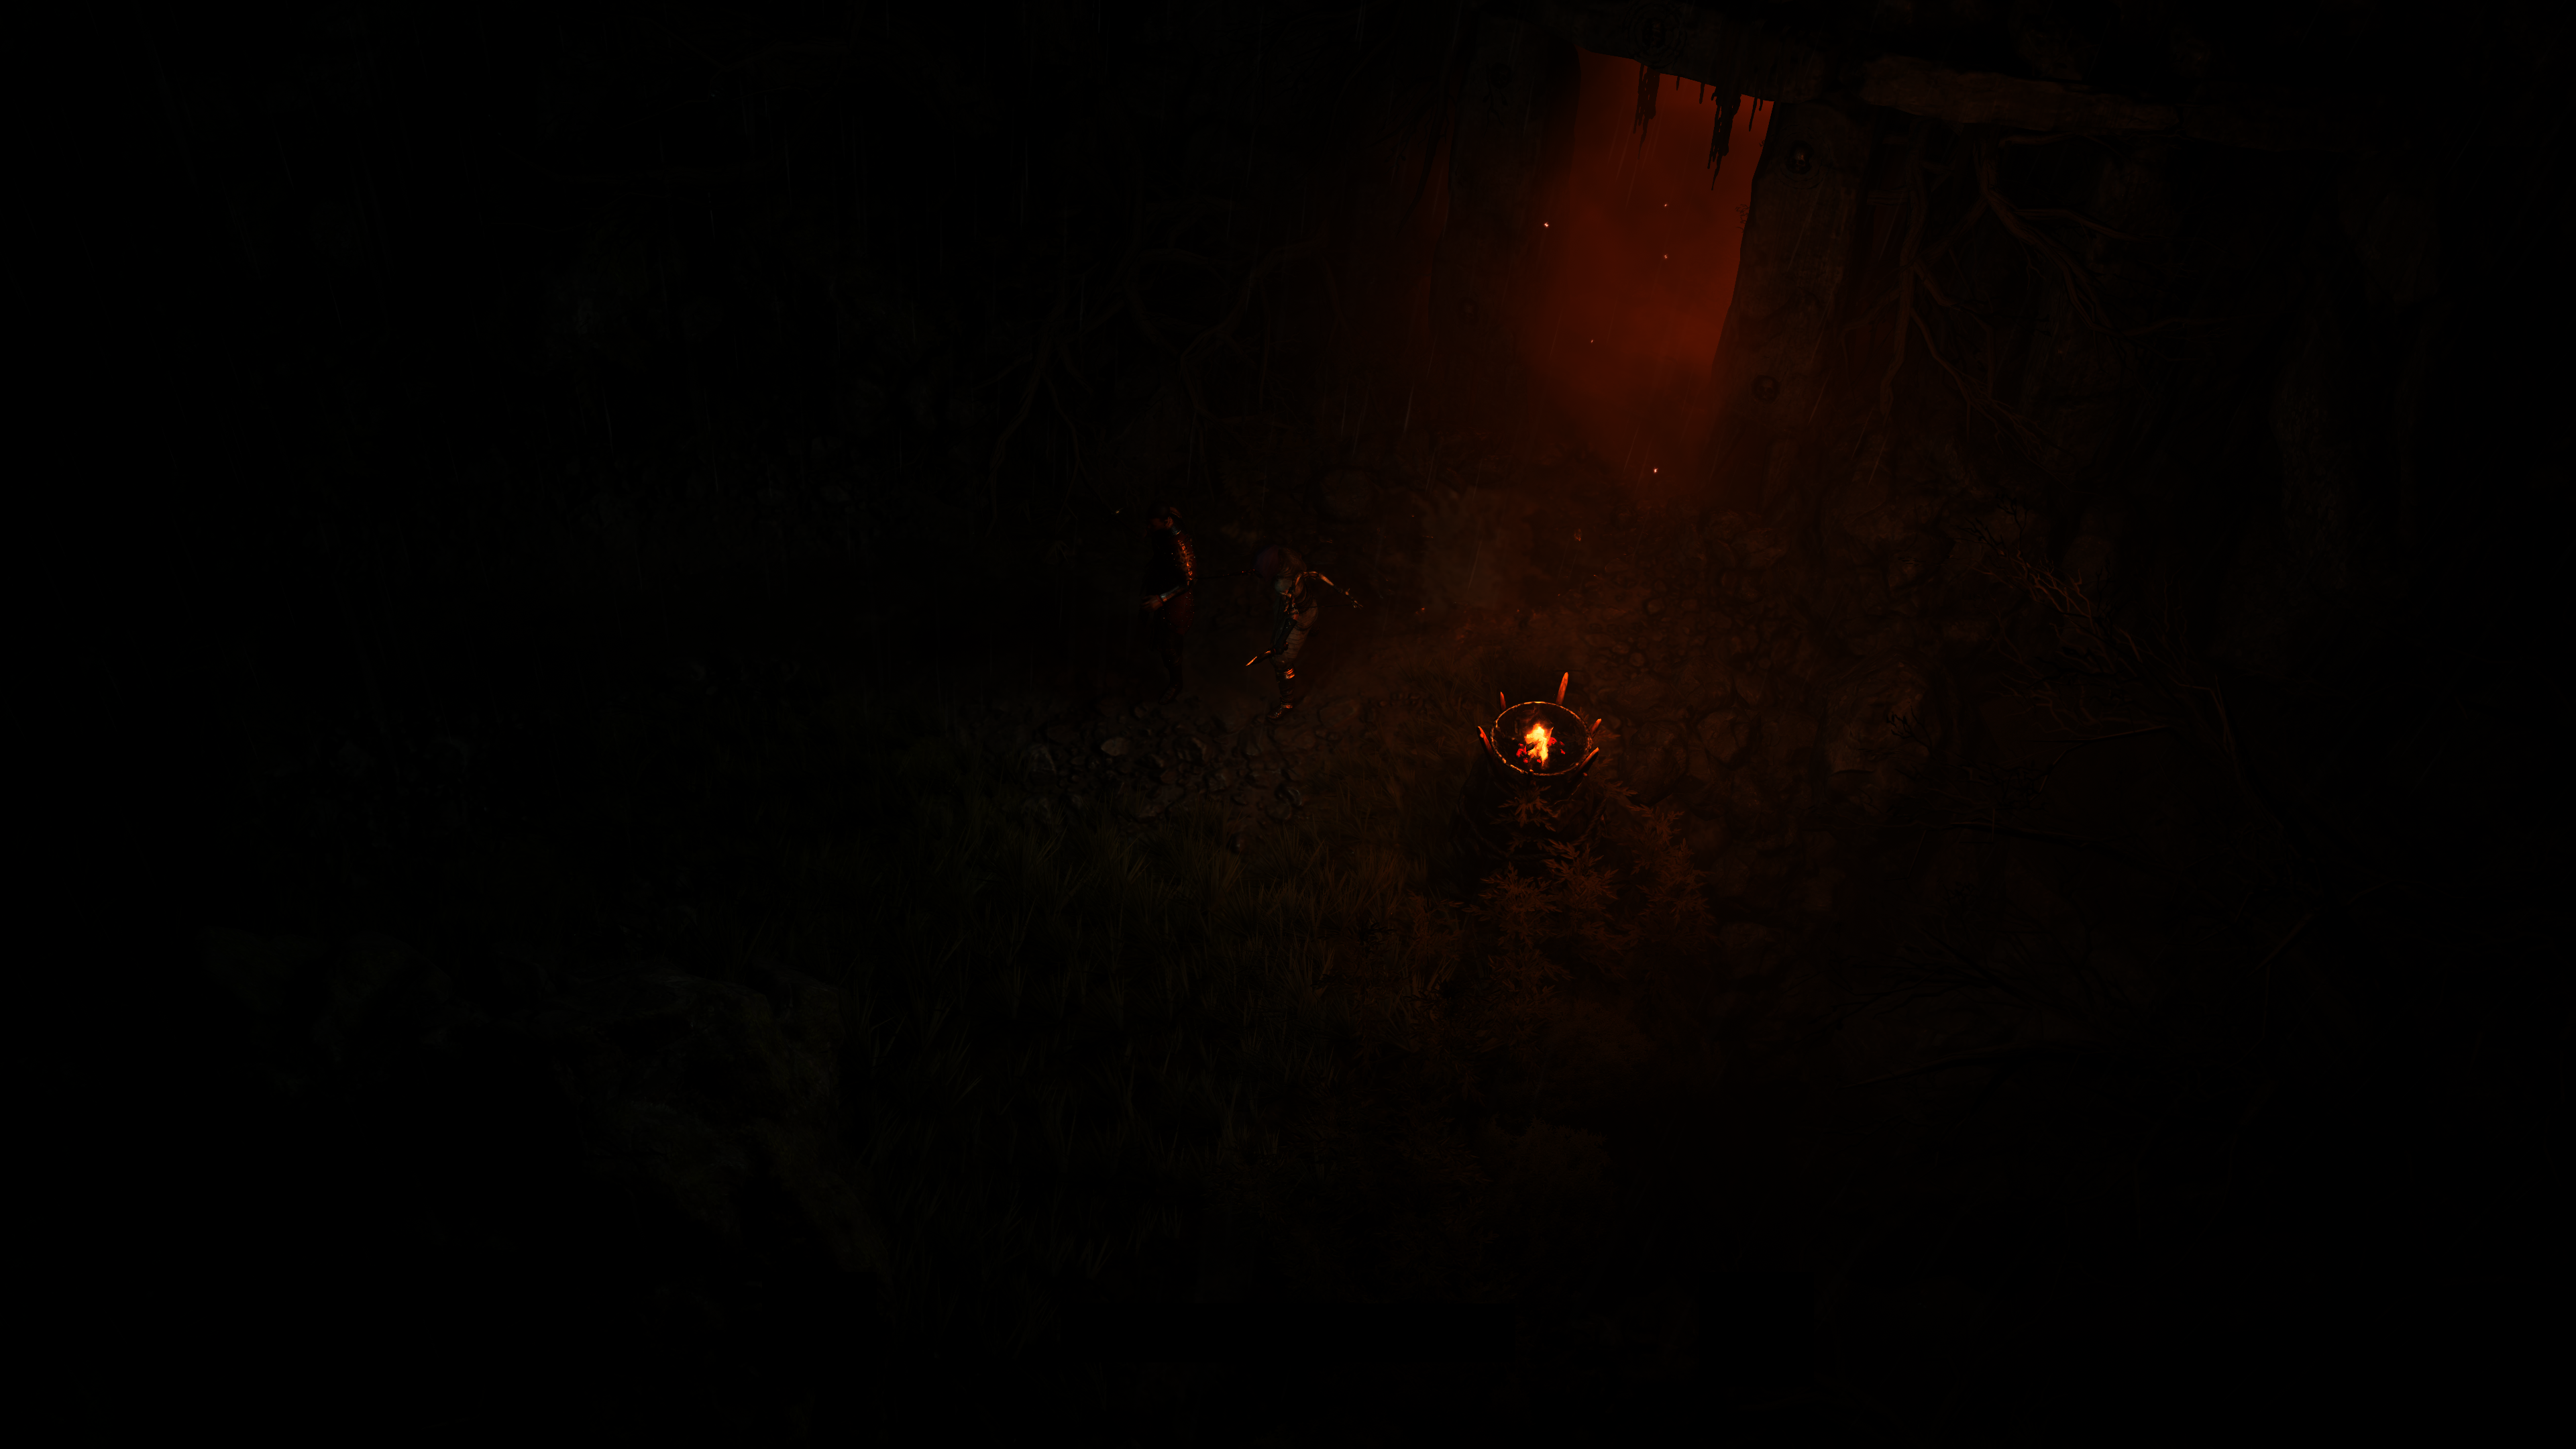

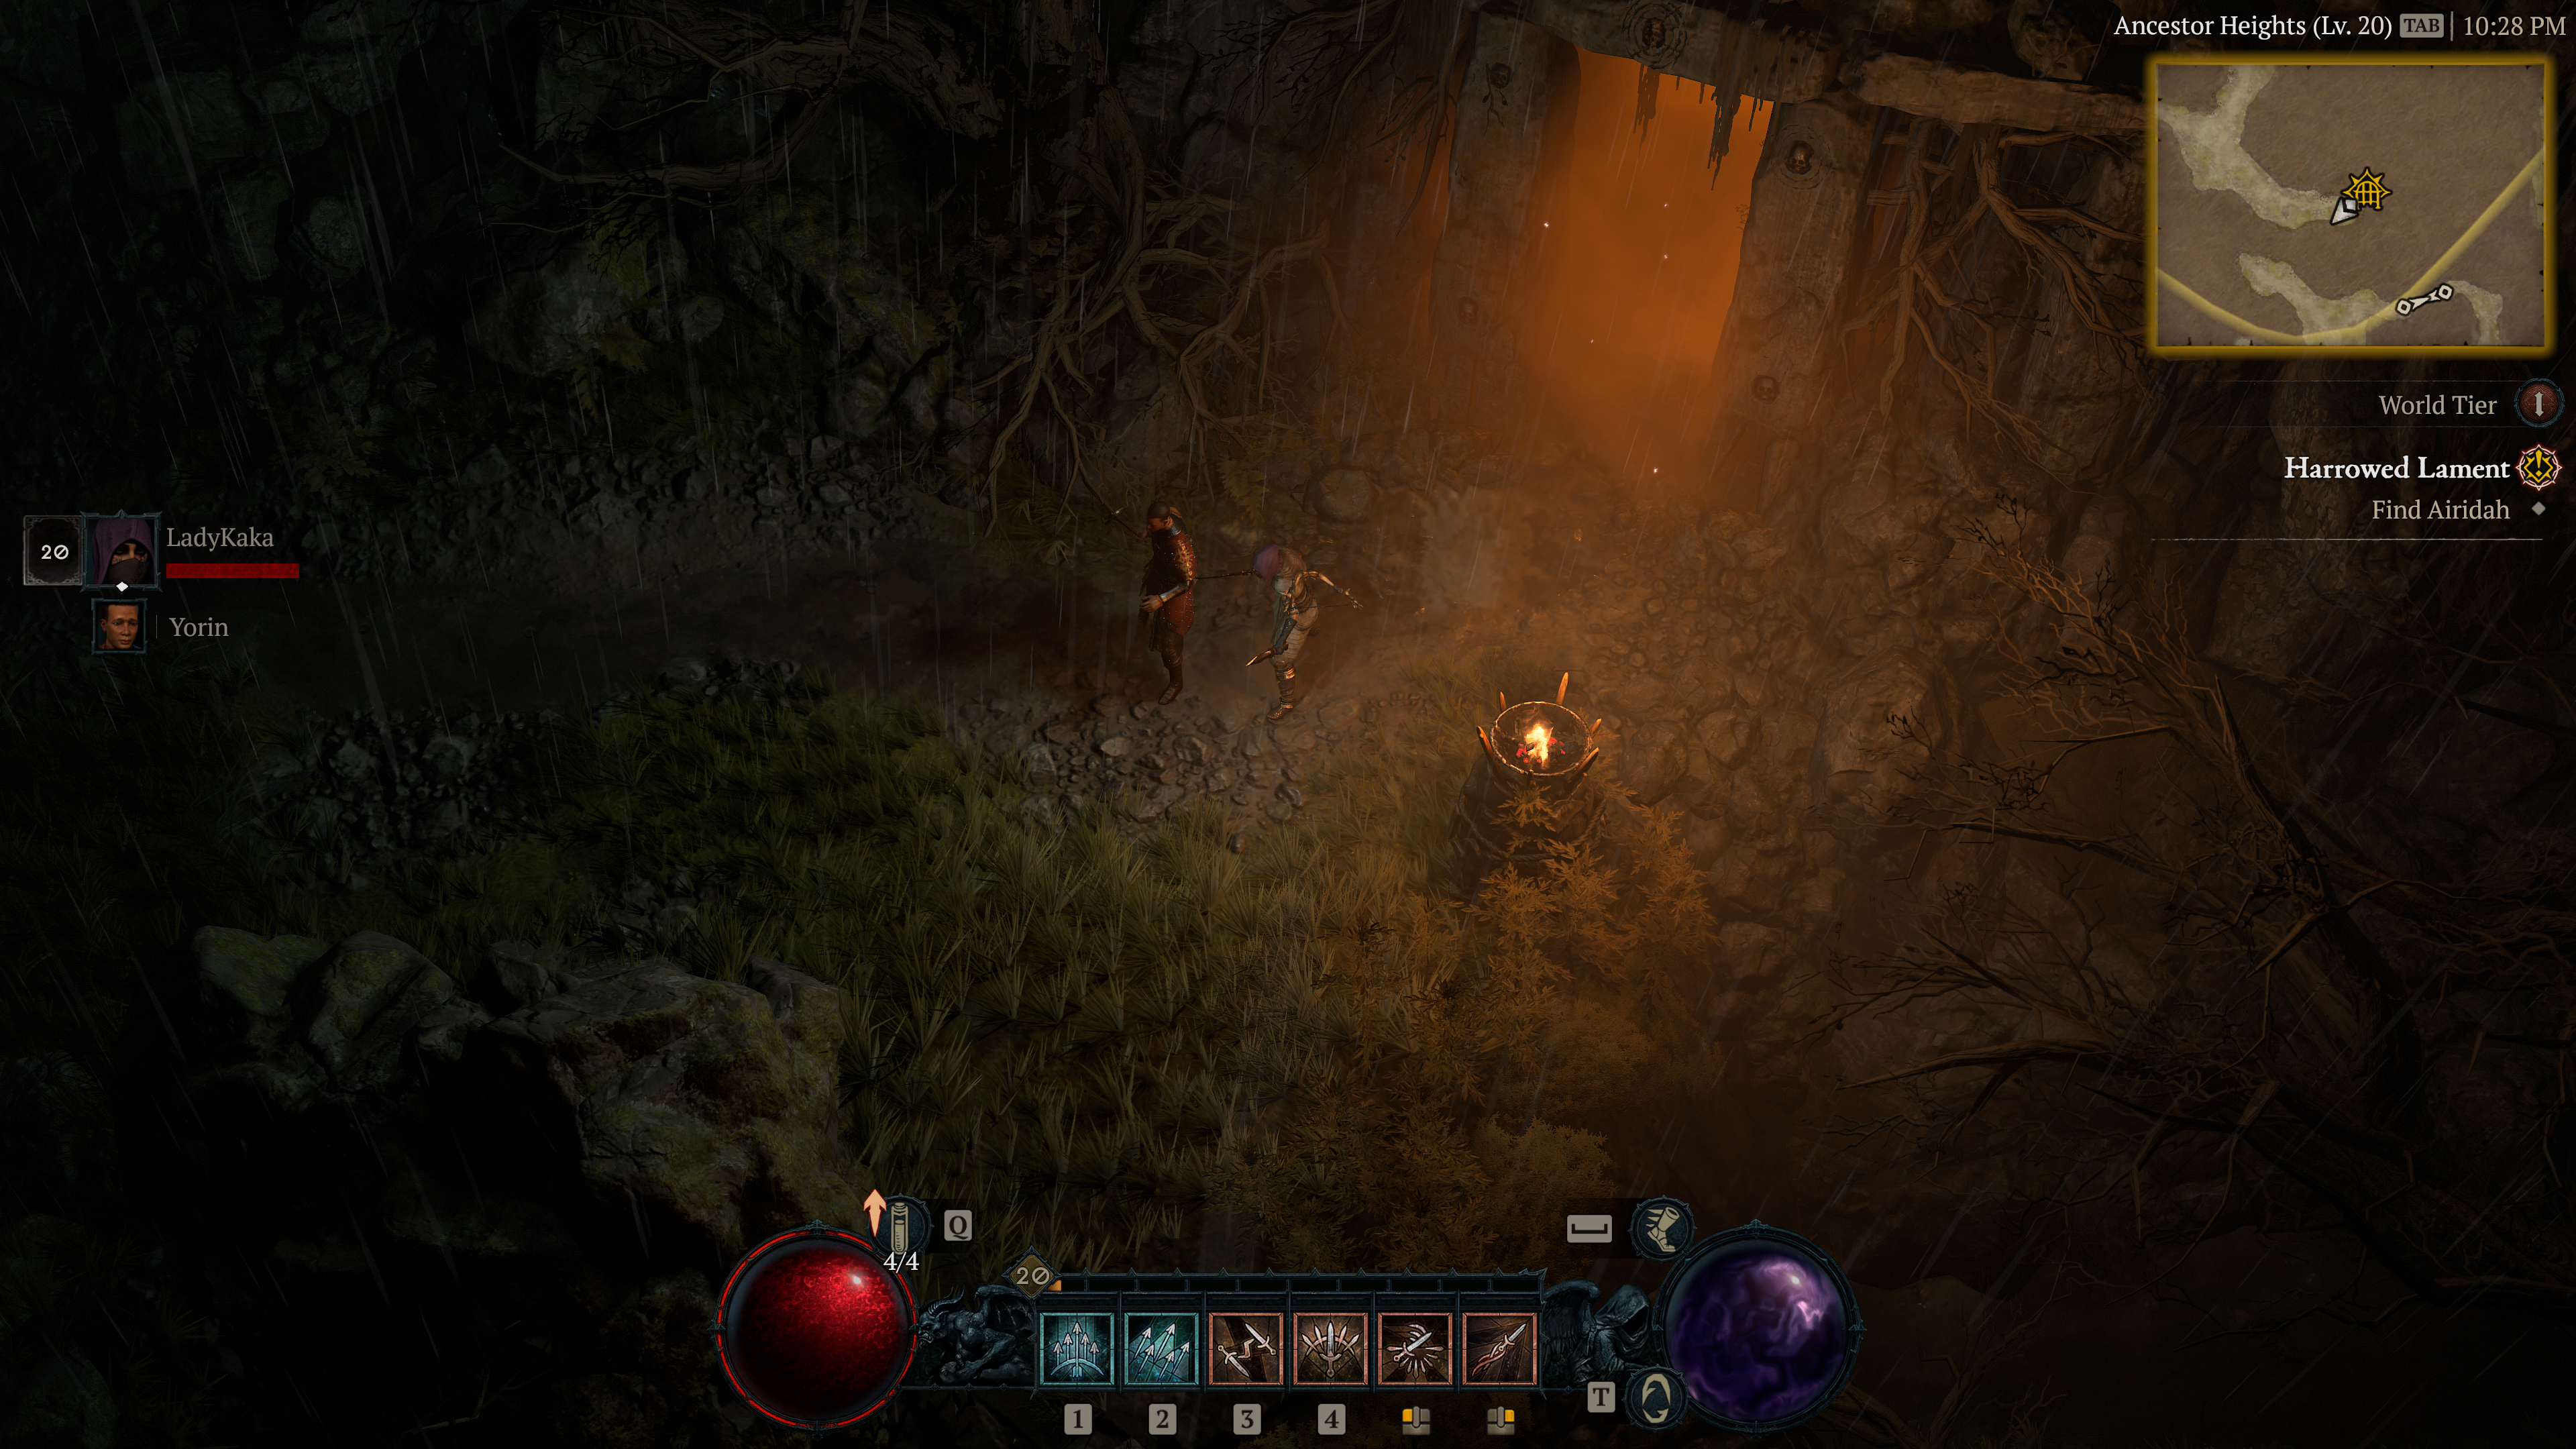
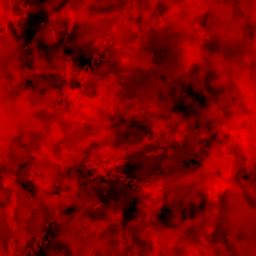
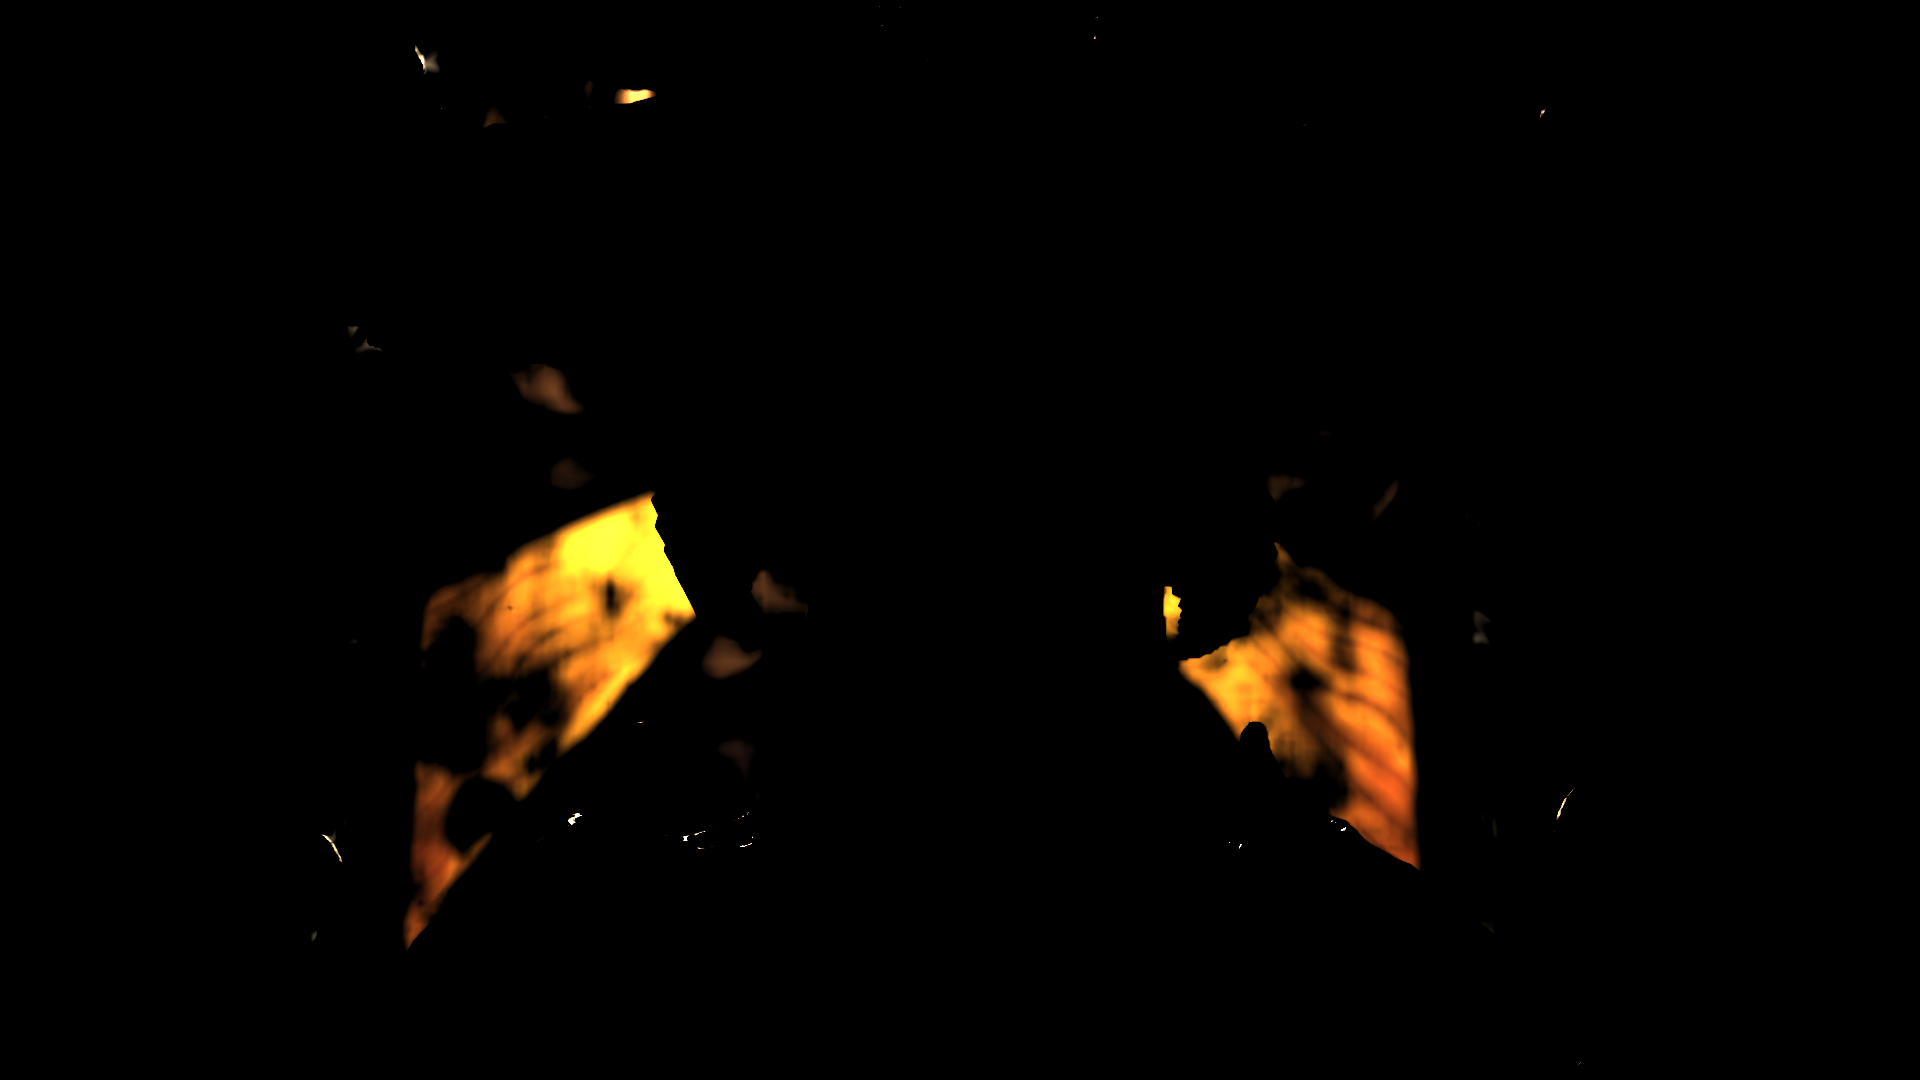
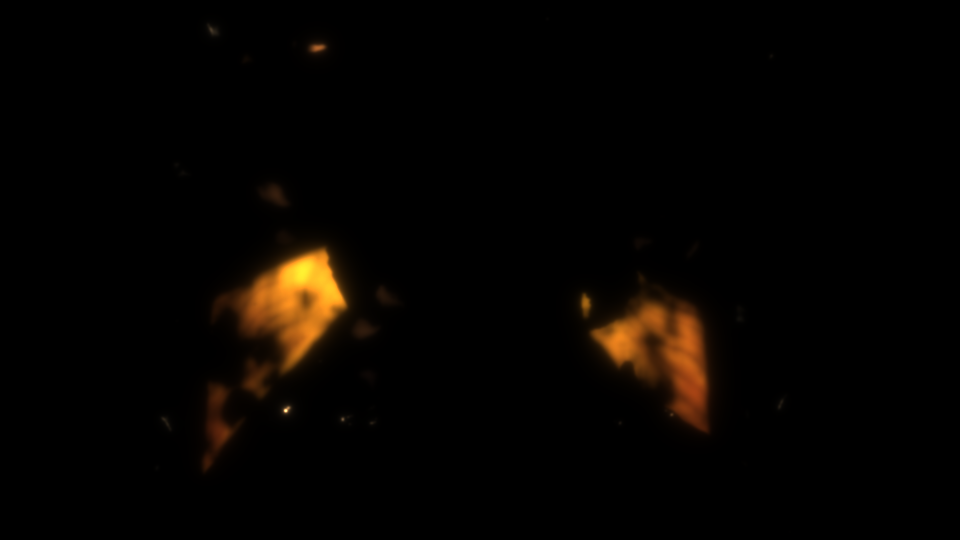
Don’t let the “washed out” image of HDR final output trick you, this is what happens when you try to store an HDR image as PNG! Or in another meaning, when you try to store a ~1024 range as 255. If i would “simulate” what i was actually seeing in my monitor with little boost to the stored PNG so it look like the full range, it was much more vivid than the SDR with HDR enabled in windows settings, and was also showing more details in dark areas, such as inside the fires.

And following that same 3 image format above (Off[SDR], On-255[HDR as SDR], On-Full range[HDR]), here are some more examples.
HDR Disabled Note
When HDR is disabled, this step (you can call it anything except HDR step,…maybe format swapping step) the image converted from the RGBA16_FLOAT to BGRA8_UNORM_SRGB for the UI draw and eventually presentation.
HDR Totally not important note!
You might notice that i always praise HDR quality but also most of my swapchain images along the article are in SDR, and this is true. i do like to play in HDR, since i tasted it first time, i can’t accept less! But i try to always do the frame captures for the entire articles in SDR as this is most likely where majority of the development happens, and also it is most of the case for majority of the players. Even at the “triplest” AAA company, they were not affording HDR monitors to every graphics programmer! Heck! not even for art directors!!!
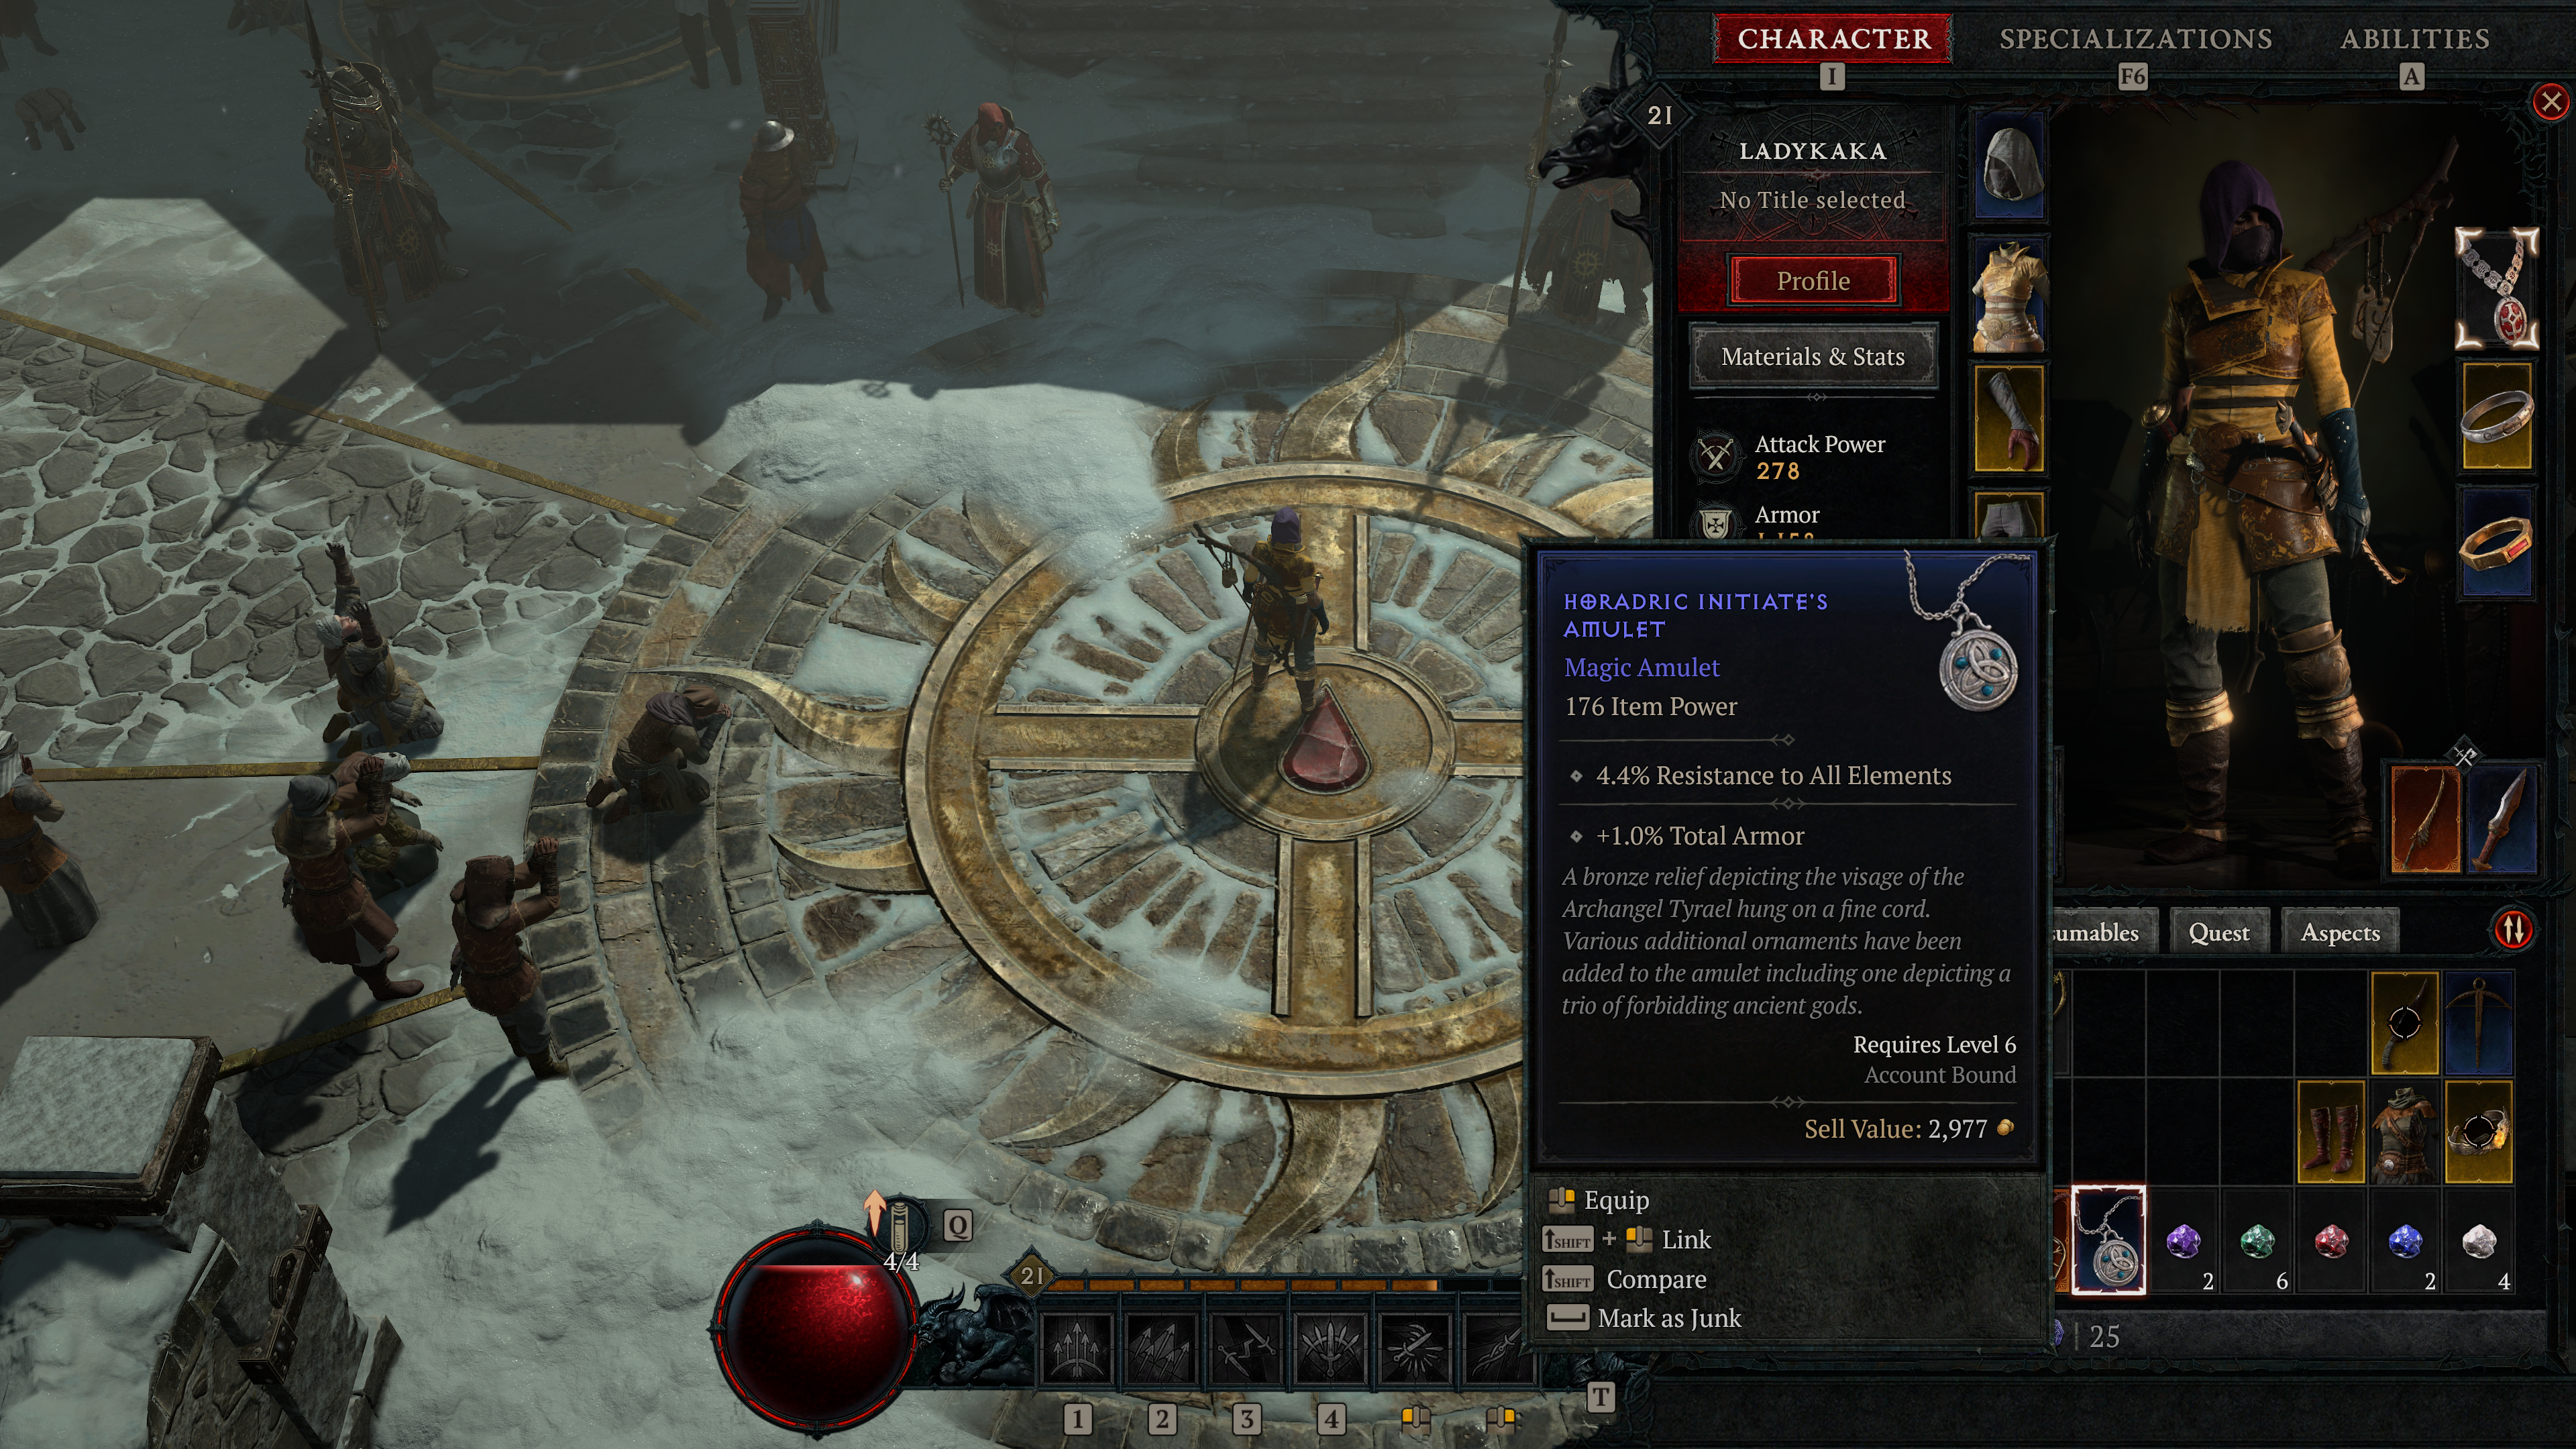
UI
Diablo 4 got UI…just like any other game… except Limbo! but it’s much more complicated than other games. All in all, drawing is done to the frame right away not to a dedicated UI rendertarget (regardless HDR or not), which is a good practice that i do, like & praise all the time!
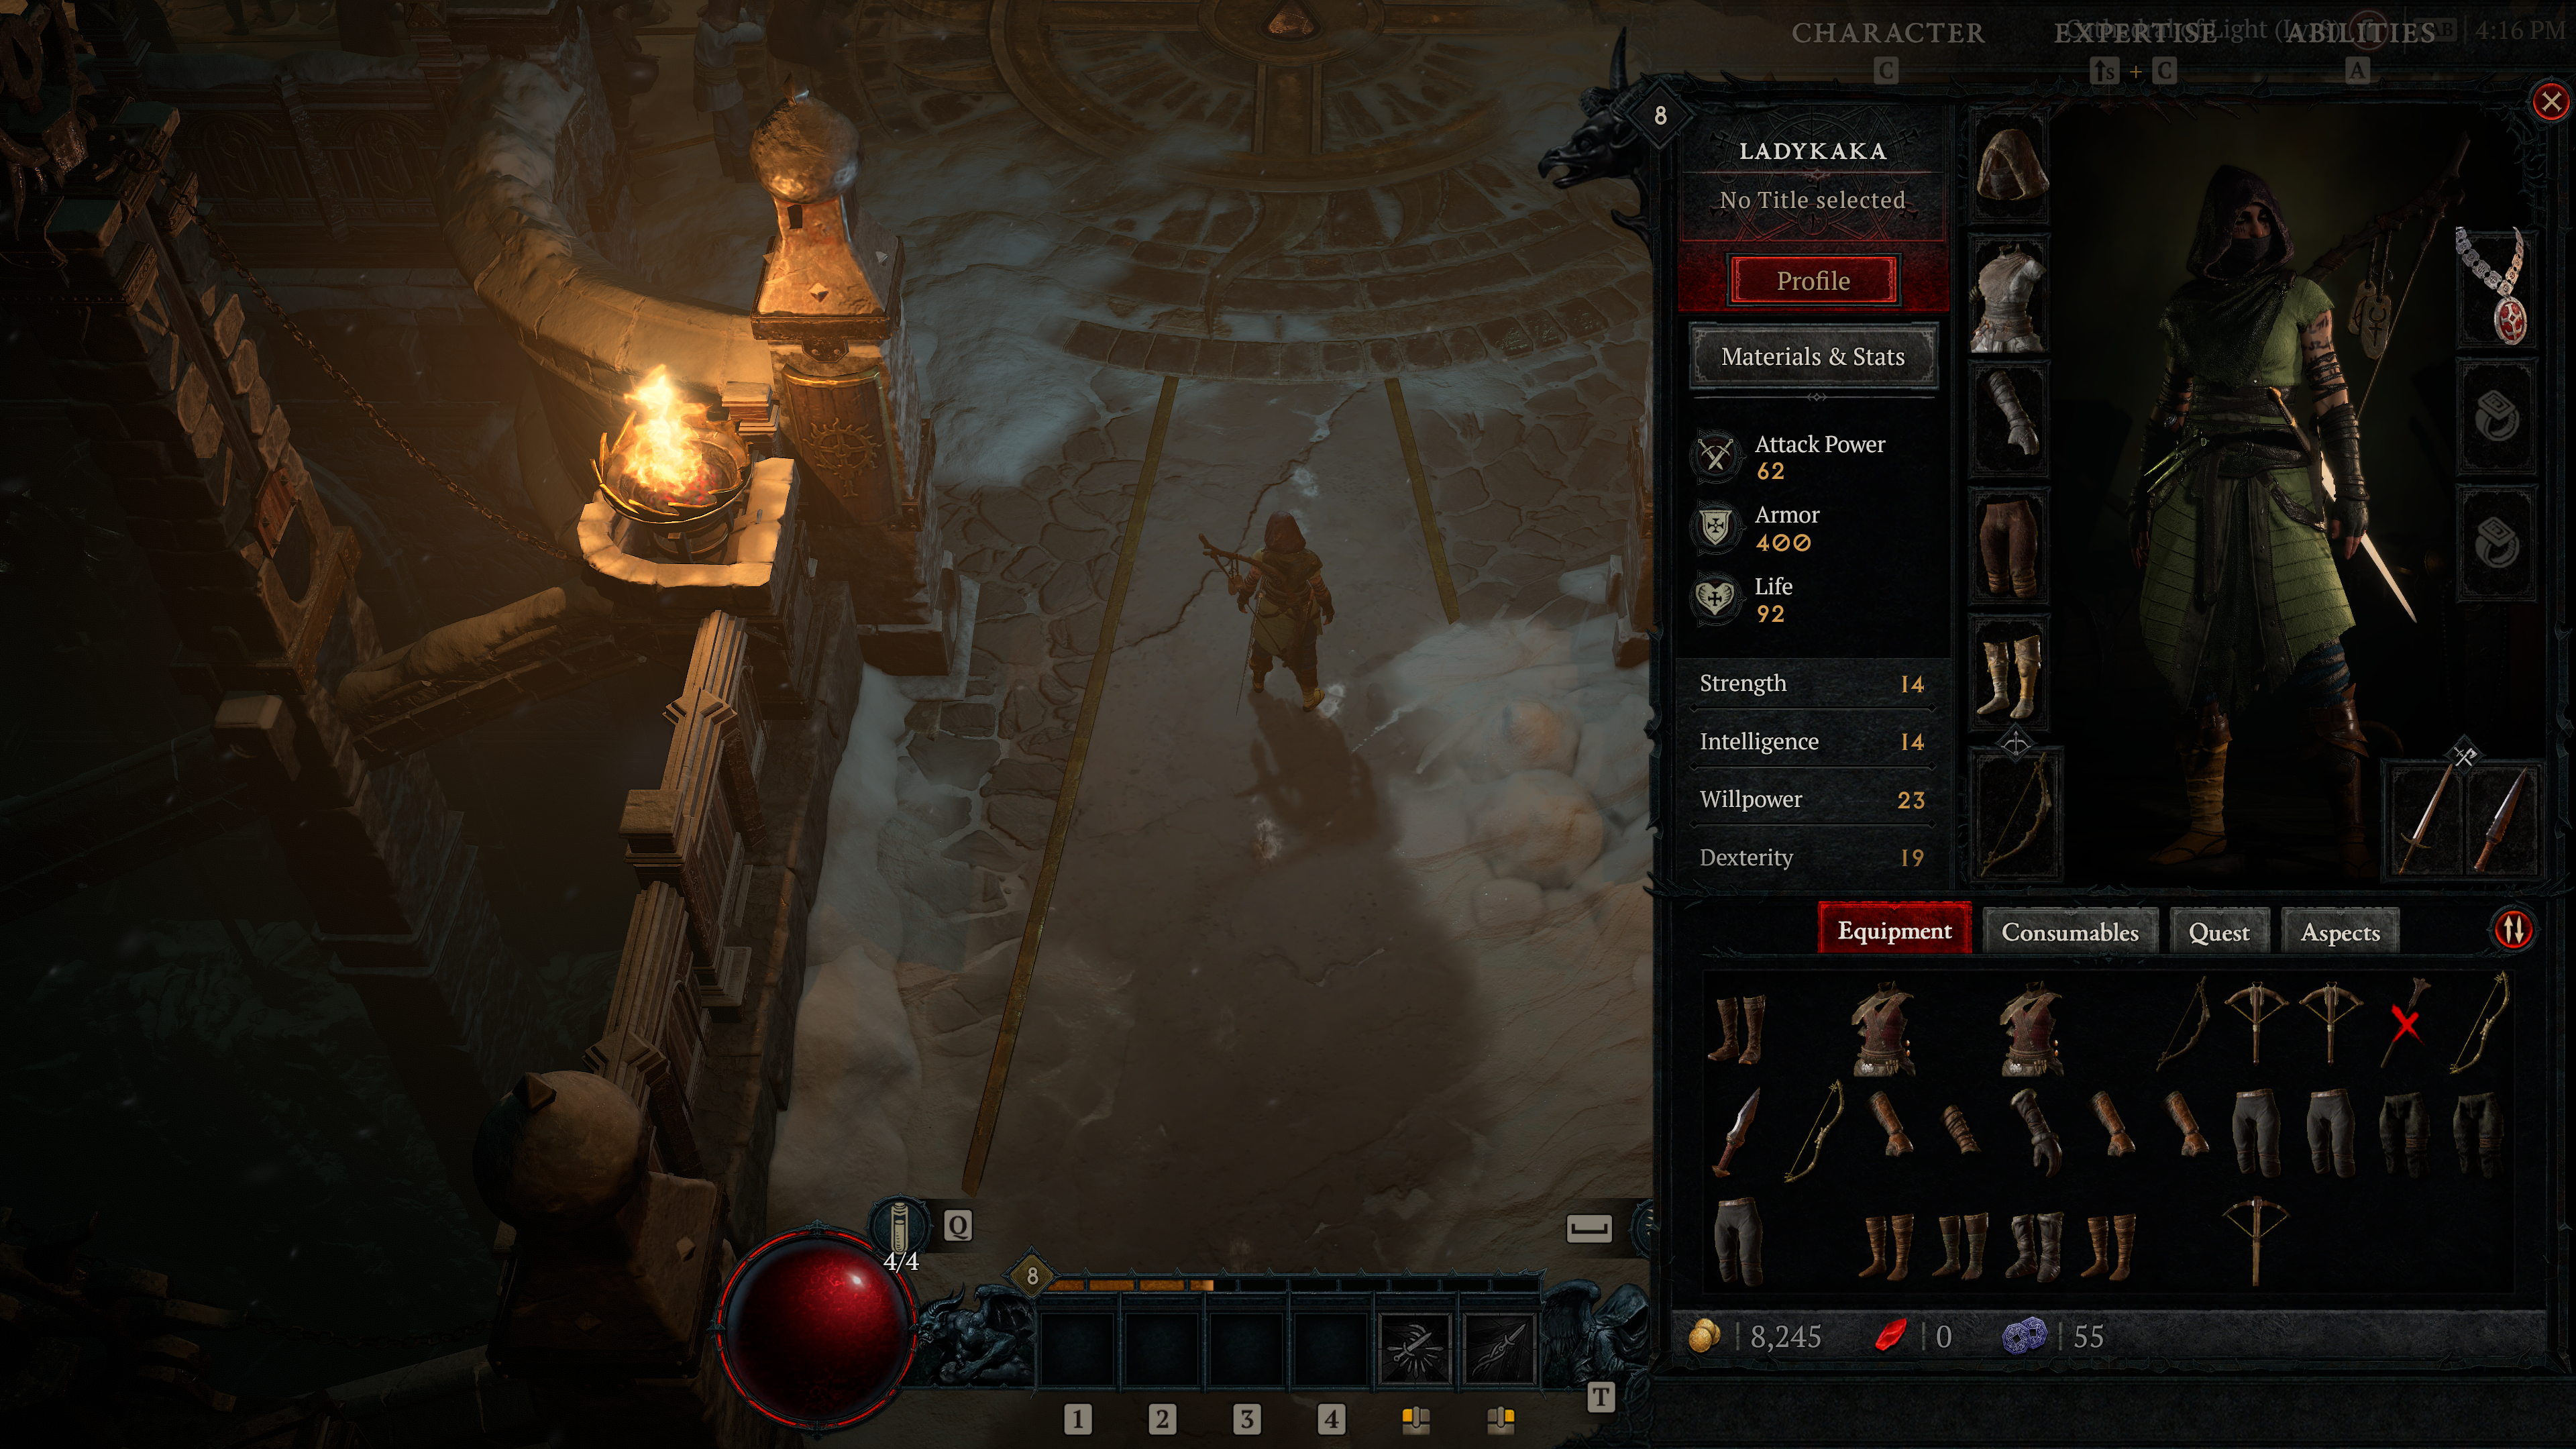
Game UI
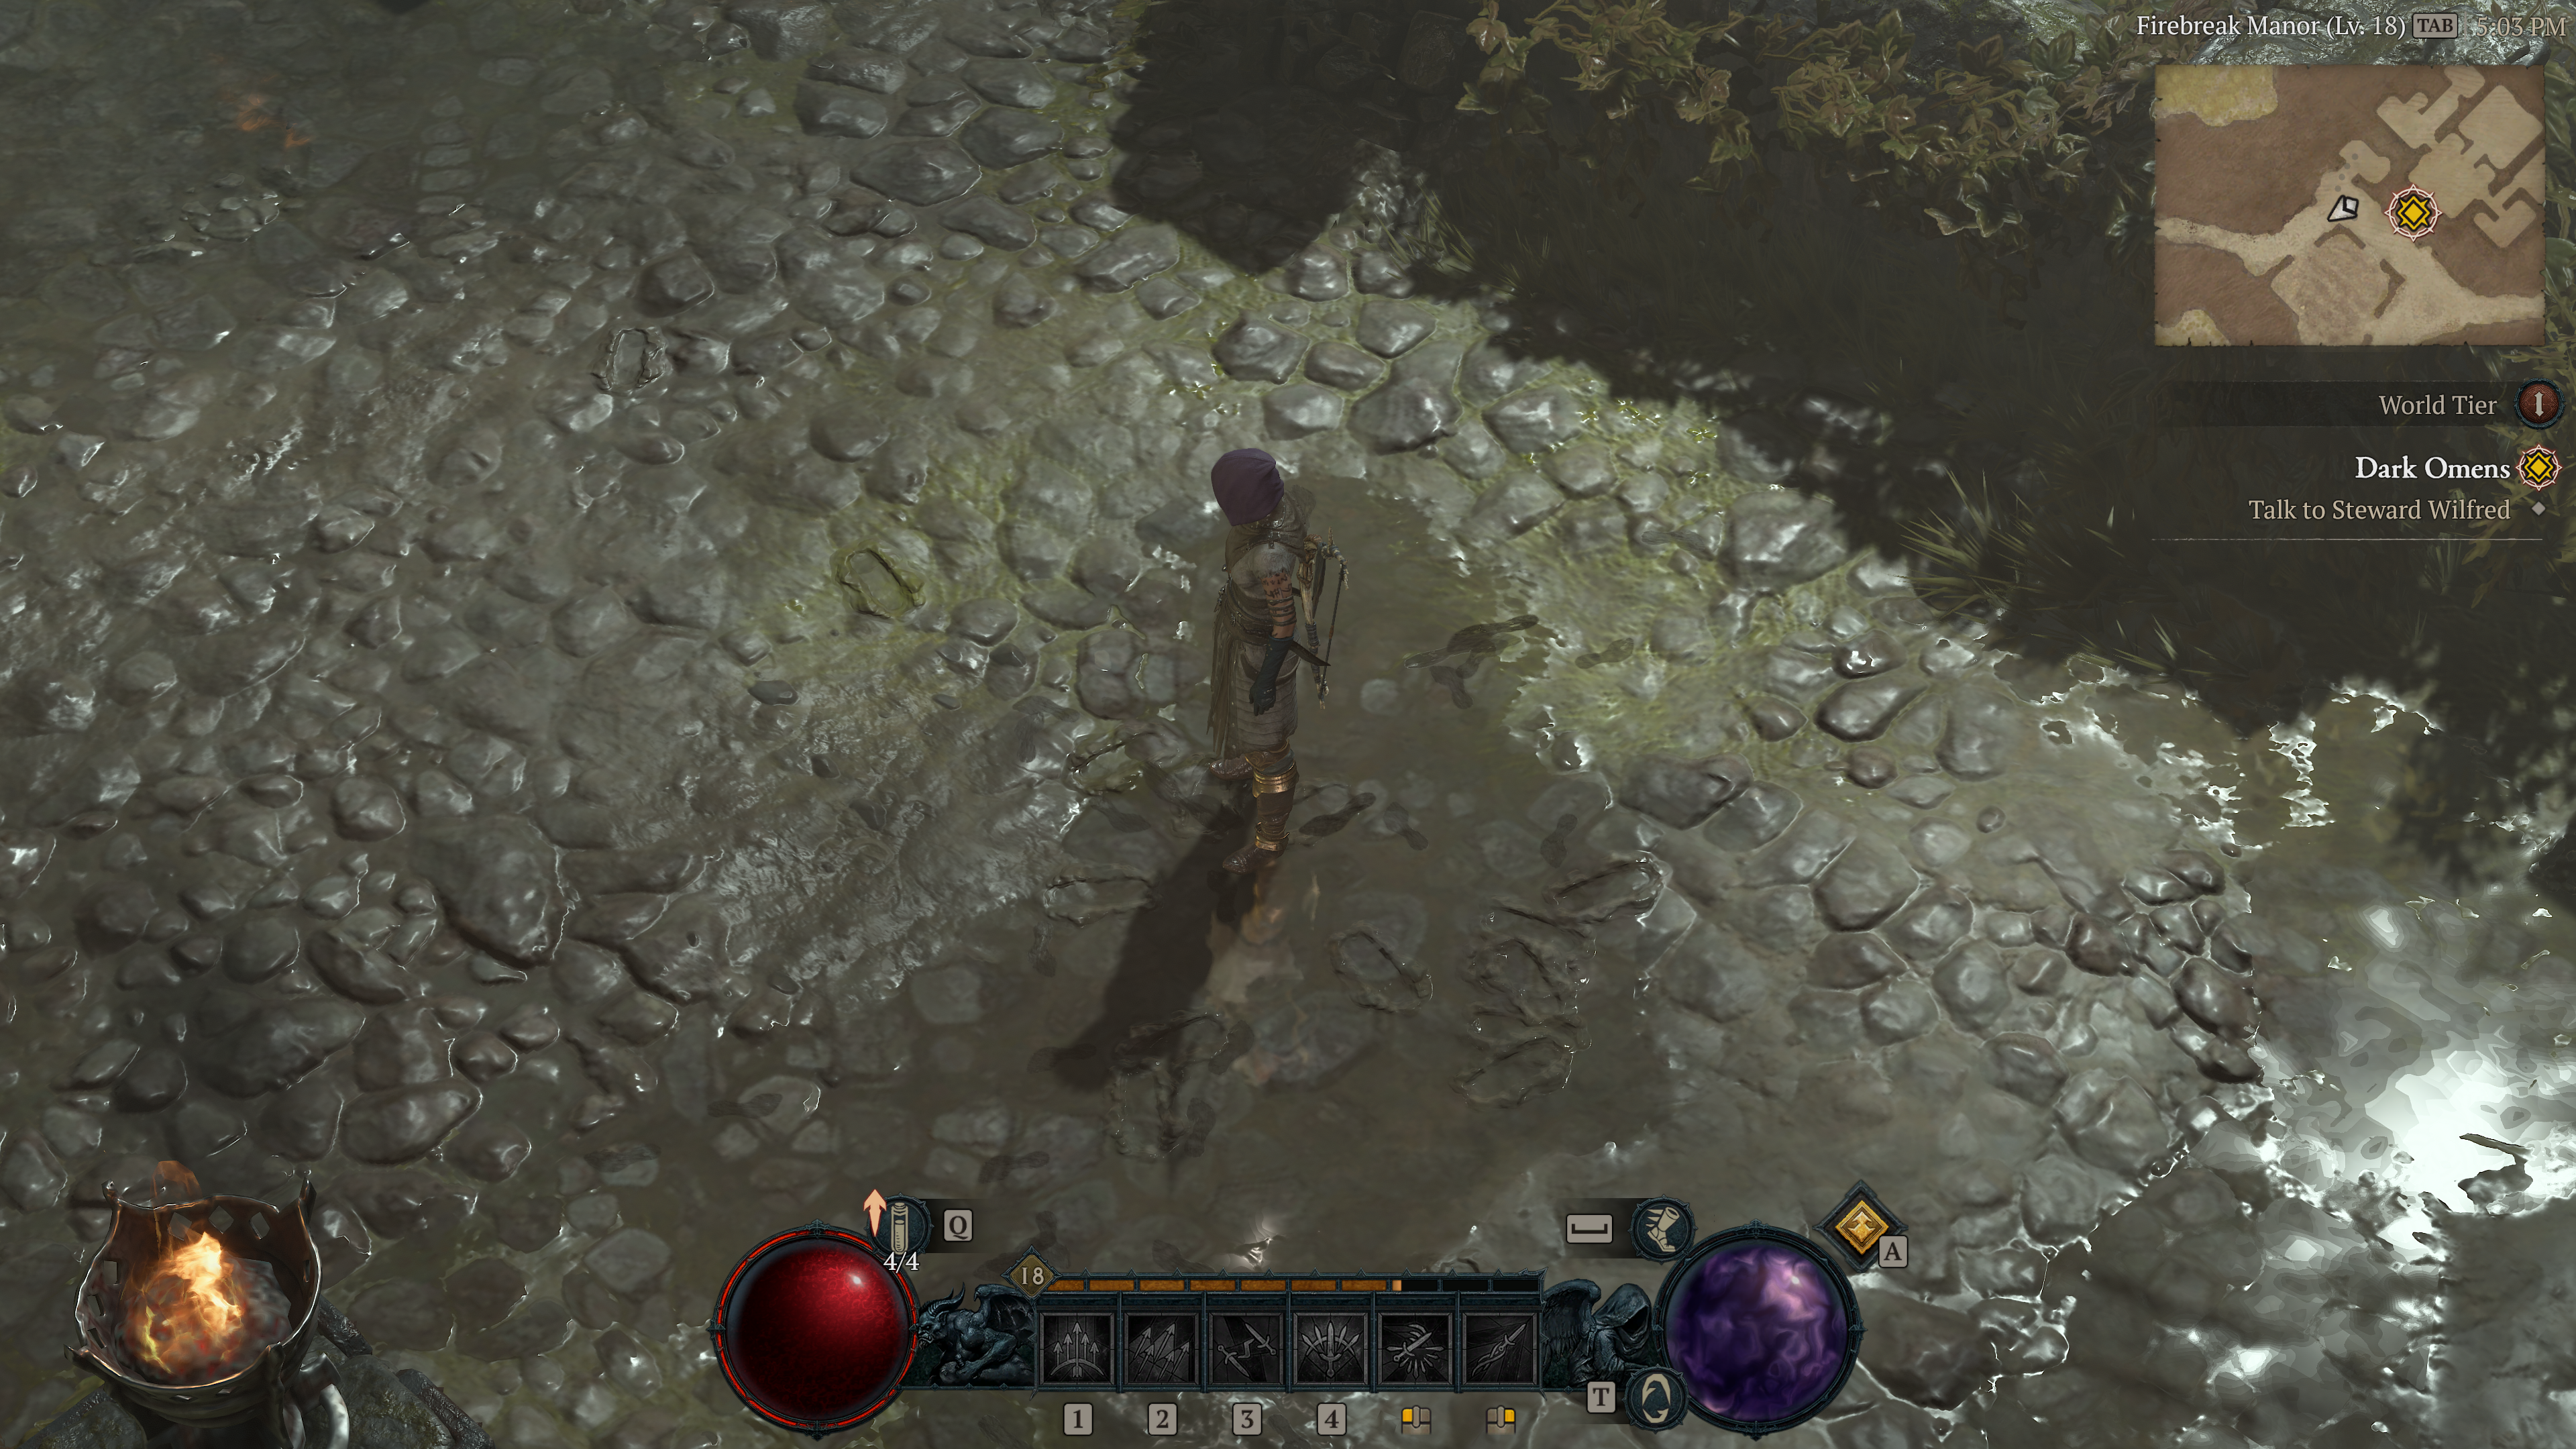
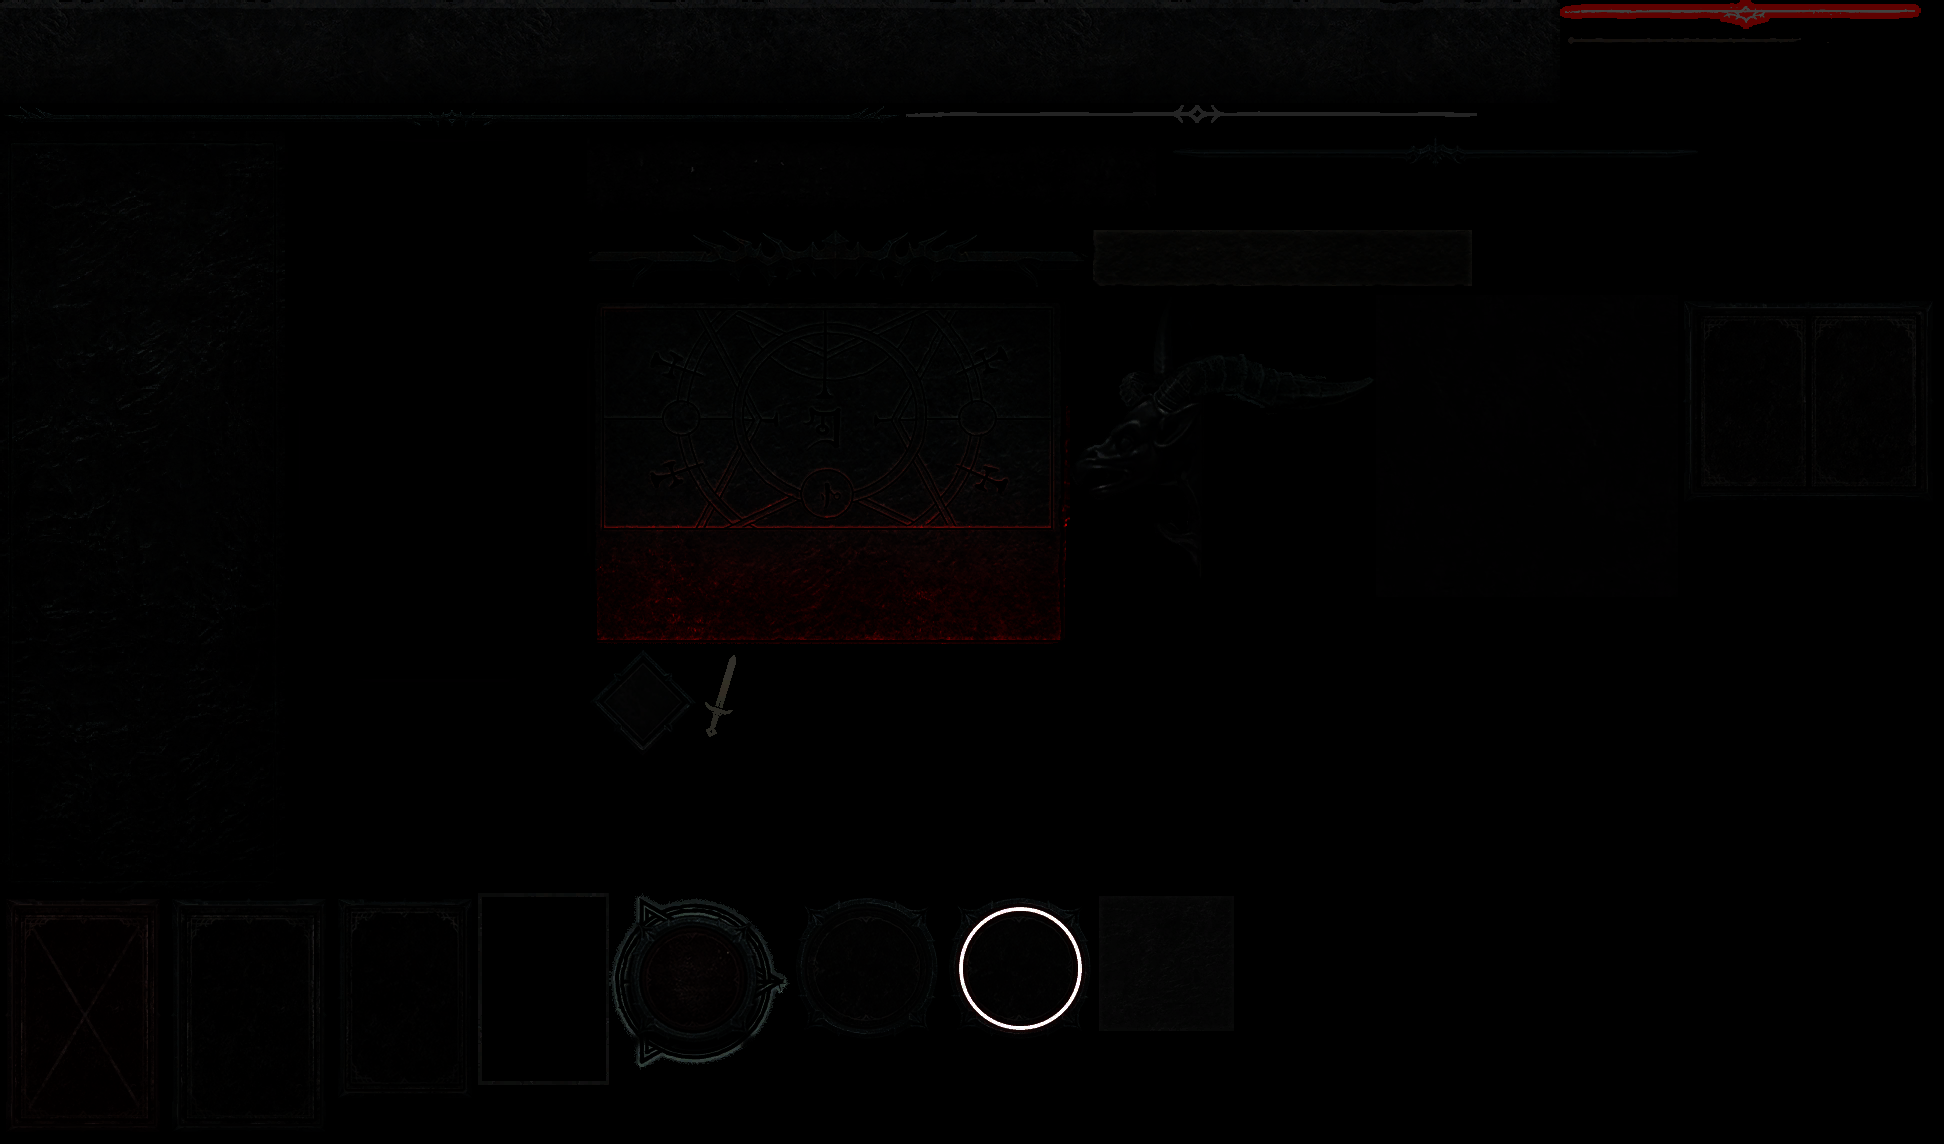
There is nothing fancy about the UI as far as i can tell, it is done in common fashion of endless list of DrawIndexedInstanced commands. The UI in Diablo 4 can vary from very basic gameplay UI (which is still complicated).
Up to very very complicated, specially when you open side menus (like Character menu “C” key).
and in action….
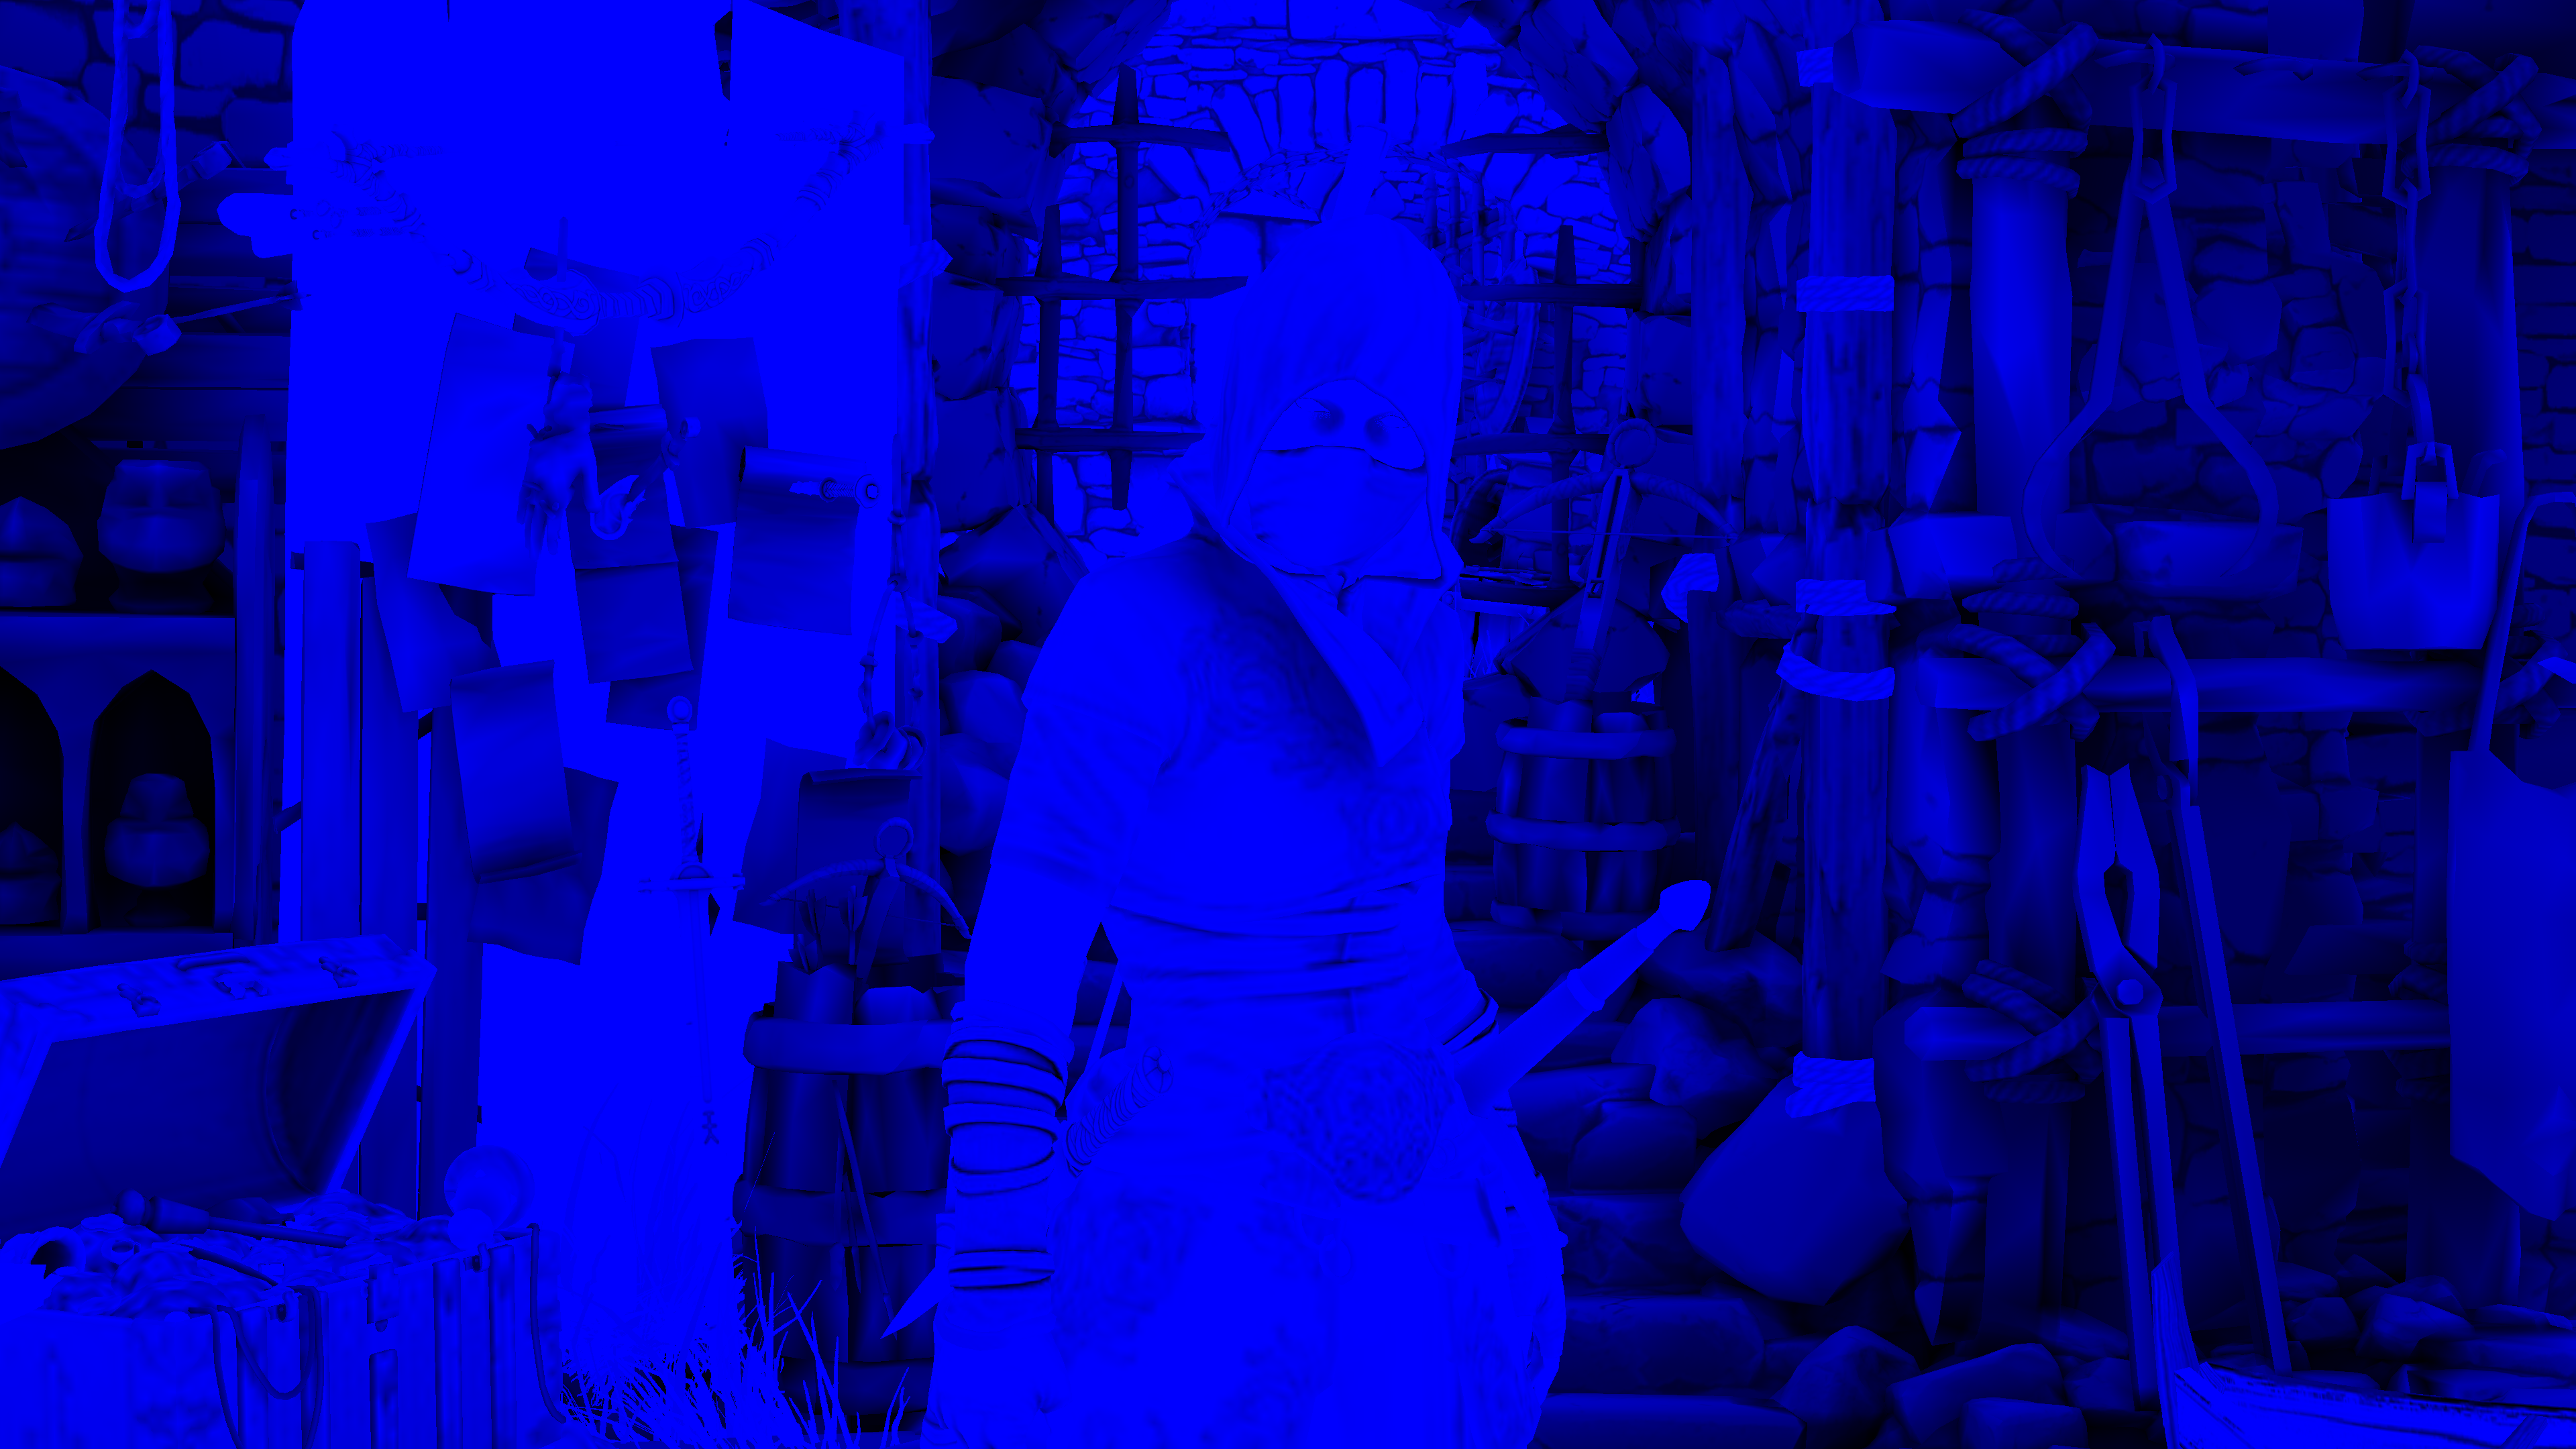
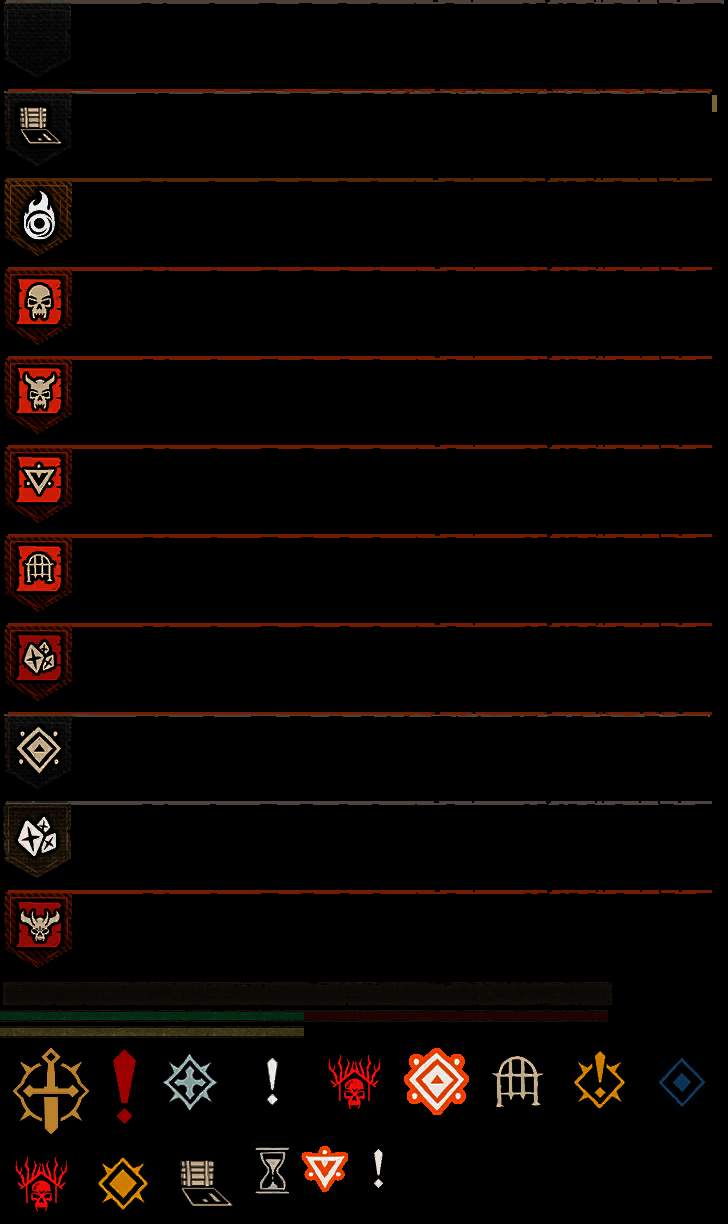
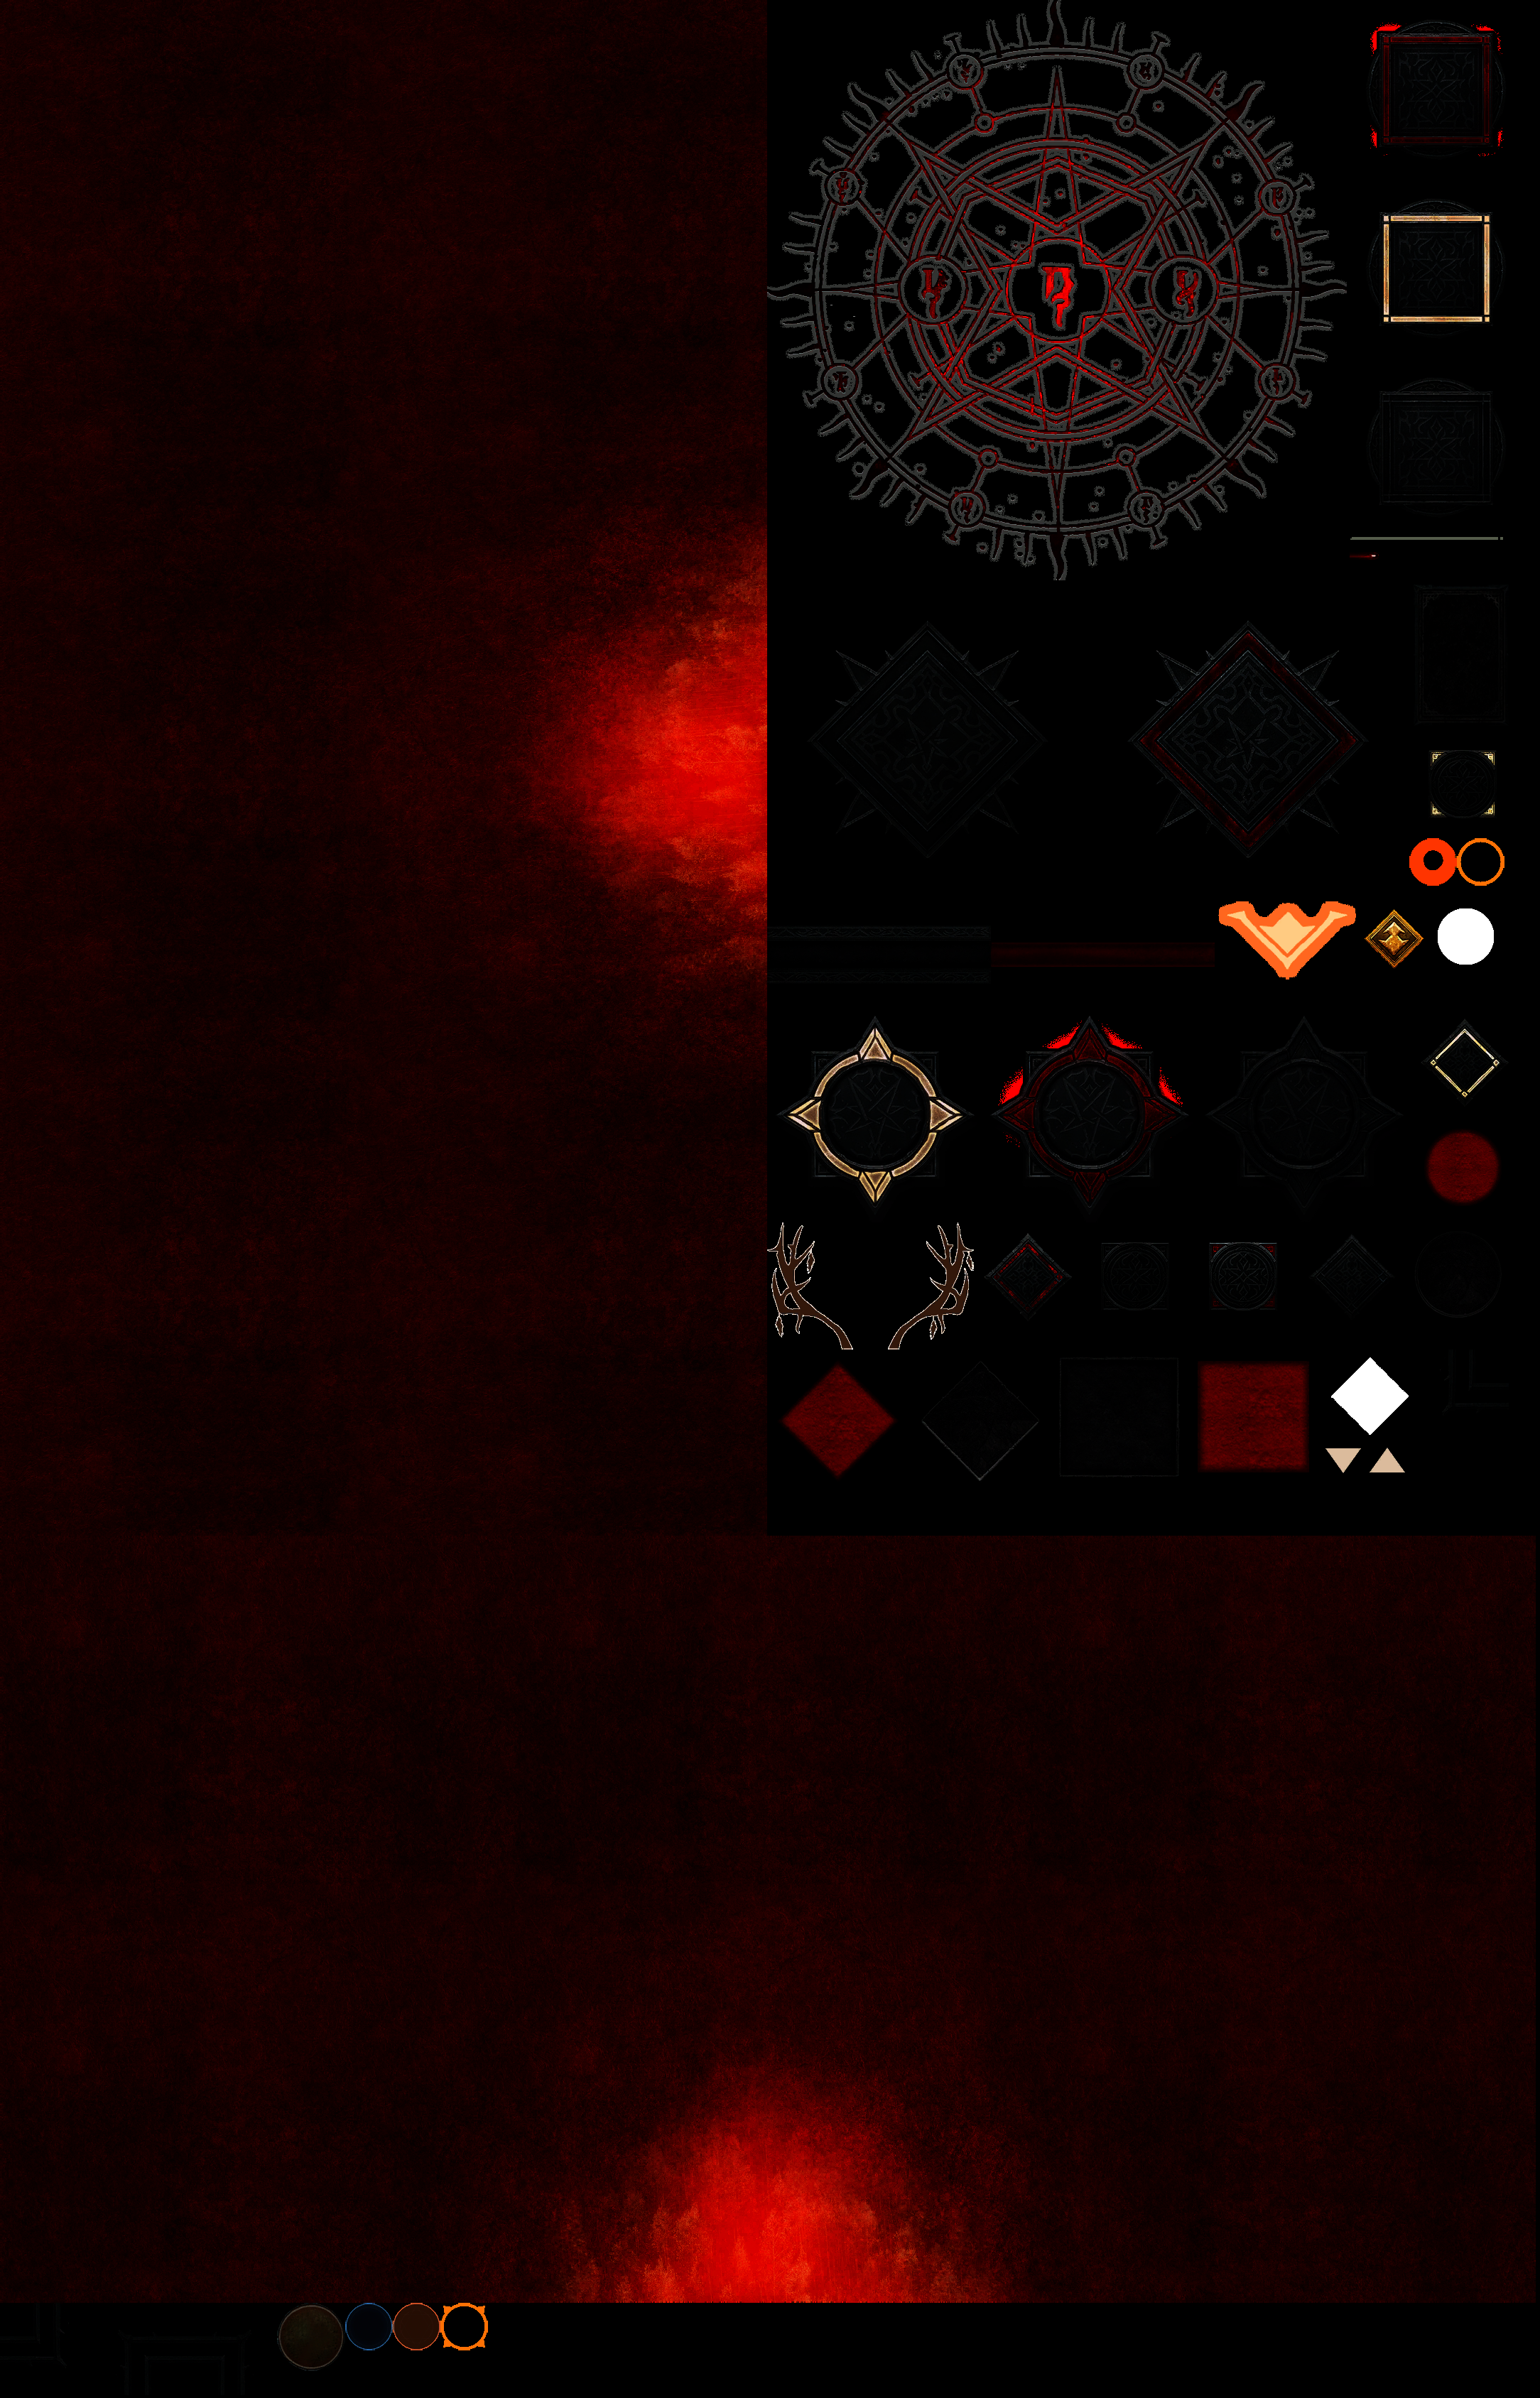
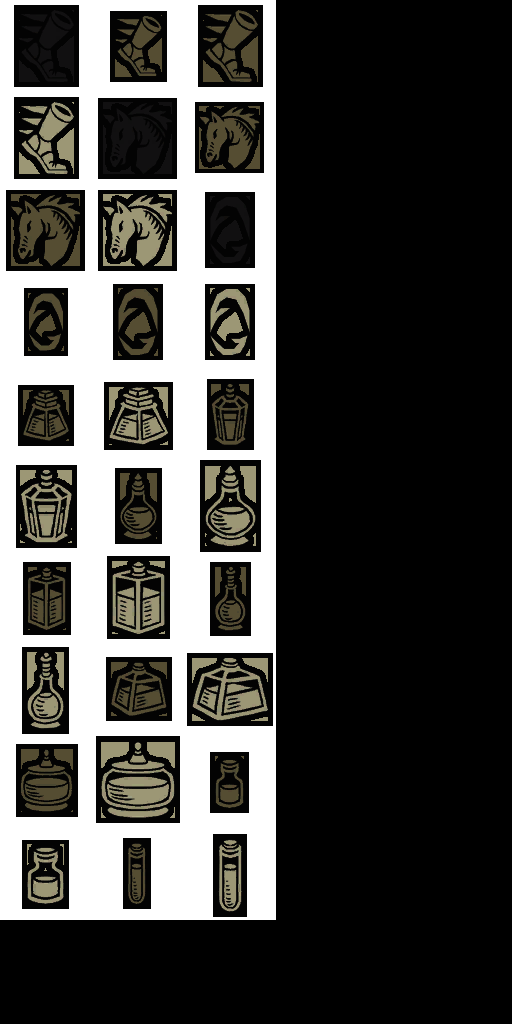
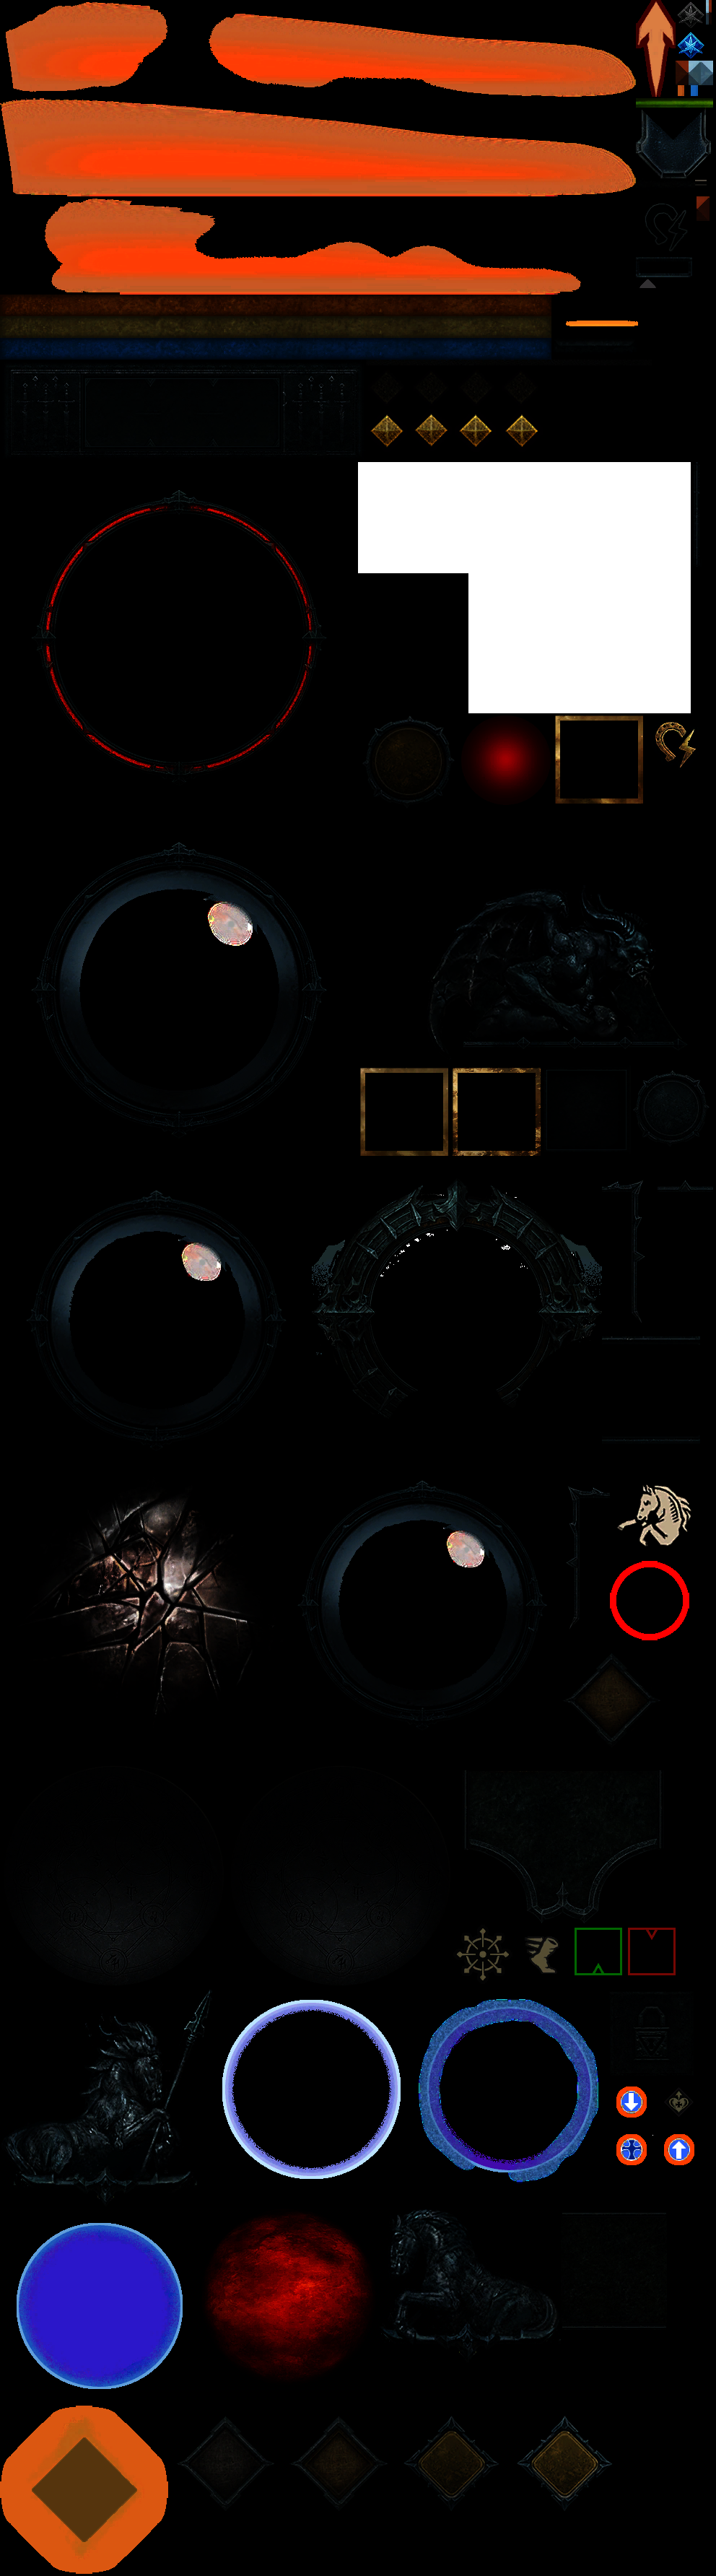
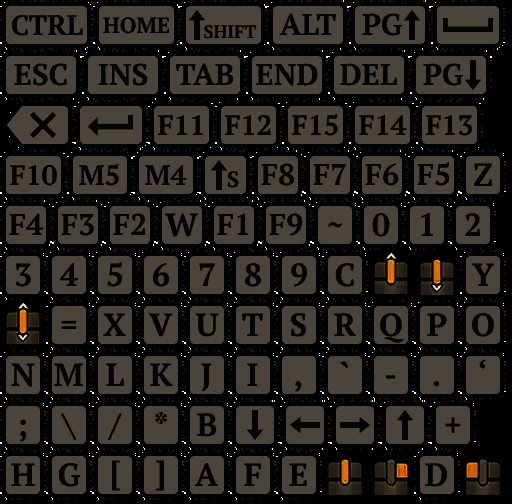
And for that purpose, a huge catalog of support textures (atlases is better definition) is used. Not all at once, but one or two per draw cmd. Here are in the fold below all what been utilized to render the UI for that previous (simple) frame!
Input Resources


and the other example in action…
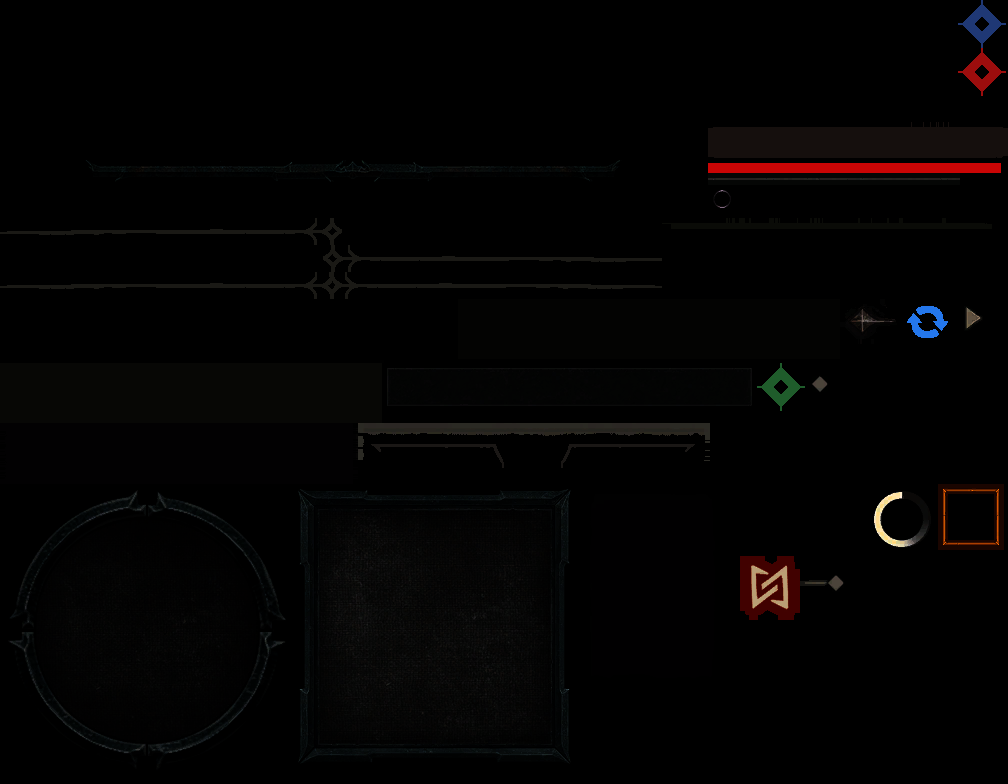
And of course for more UI there are more unique resources that are needed to paint the frame (the fold below)….
Some other Input Resources


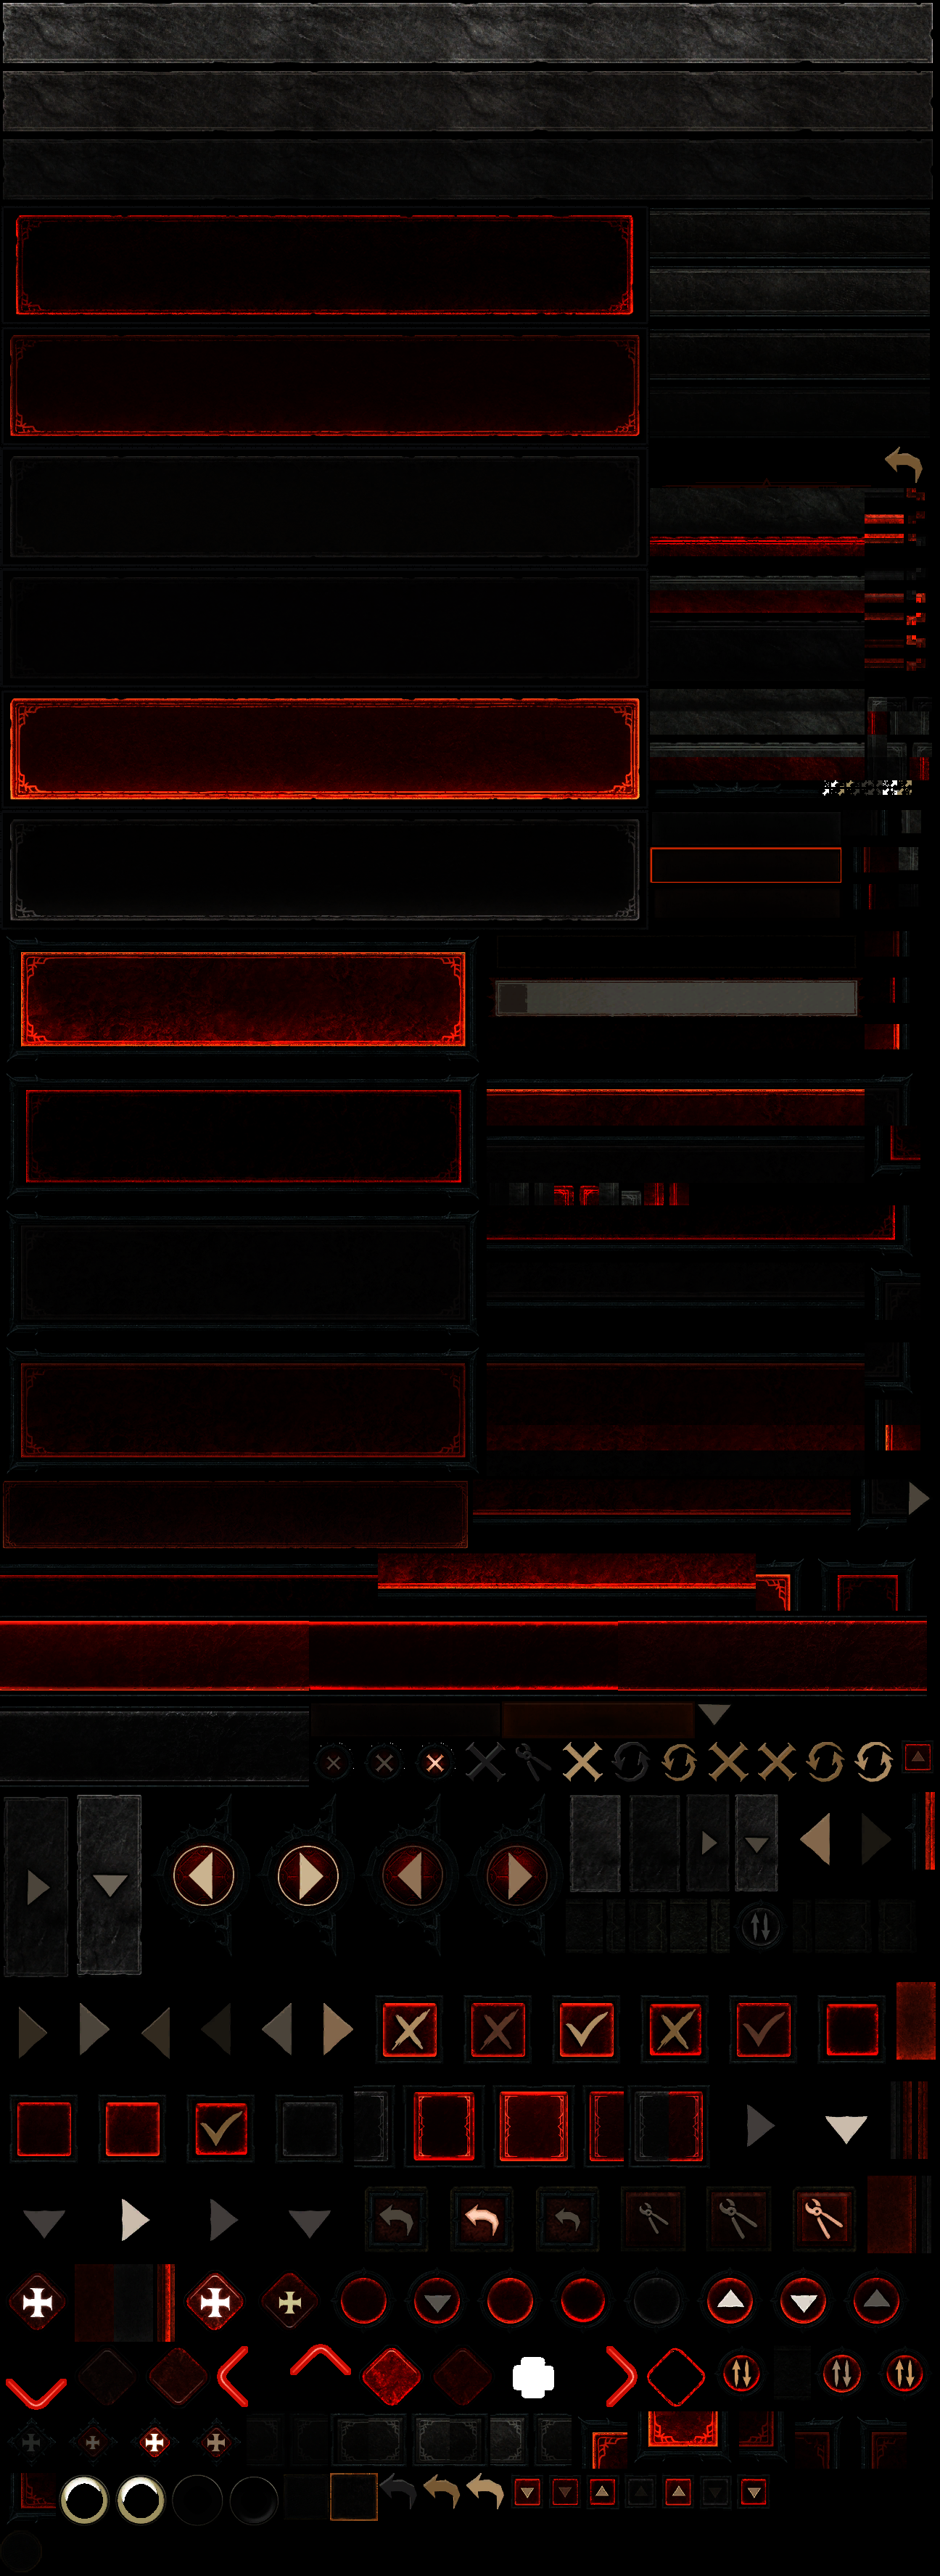


As you might’ve noticed that later example have much more unique resources utilized for the UI frame due to it’s complexity, but the most interesting one is the image of the player’s character. This image is an output of a full PBR/Deferred rendering for another 3d scene that has it’s own depth, GBuffer, background, skybox, TAA, Tonemapping, Luma, Bloom,…everything! It just renders to a different resolution, and the scene is less complex.

And if you took the time to look through those texture in details, you’re not wrong if you were wondering about the map. YES! the full map (6208*6208) is loaded, and then masked!
All this is fine to me, but if there is something that i can admire or take a pause about in Diablo 4’s UI, it may be the famous Blood & Energy bowls. The amount of layers & details in there are epic! Also while UI draws usually with standard rect/s (like any other game) but the bowl got their own custom meshes in order to shade them properly as a bowls of glass!
Cut-Scenes UI
Cut-Scenes as well have UI all the time, if not for subtitles, then for loading & escaping indicators. But loaded textures for Cut-Scenes could’ve been optimized though!

– “ESC” button icon
– Loading indicator
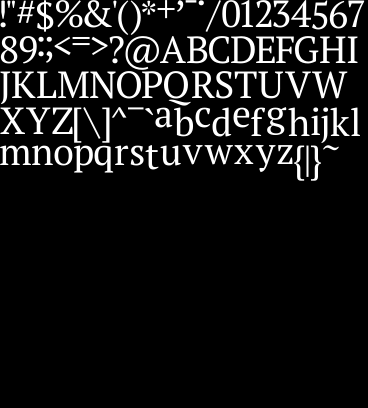
– Font Bitmap (Text & Shadow)
– Subtitles Background bar
Present
The final presentation usually BGRA8_UNORM_SRGB unless it is HDR enabled it is done in RGB10A2_UNORM. Keep in mind, most of the time, during the entire life of the frame, drawing was done into RGBA16_FLOAT, until that last moment before drawing the UI, it does branching to the based on the HDR status to the the final presentation format (used for all the UI writes, then presentation).
Life of a Frame [Rendering Graph]
By now, i just realized that looking to the table of content at the very top of this page, is a look to the Life of a Frame. i’ll try to compose a video or graph for that, but the reason it is not done yet, that it is really hard to find what i call “Golden Frame” which is a frame that can showcase every feature we discussed.
Engine General Observations
Here & There
There are quite a few things here & there that i did not mention or list above, but i want you to be aware of their existence. Due to the limited time, i was not able to dig those further. Those things such as: Shell Fur, Terrain Decaling, Terrain Virtual Textures, Wind, Vertex Animation, Refraction (possibly with Raytracing?).
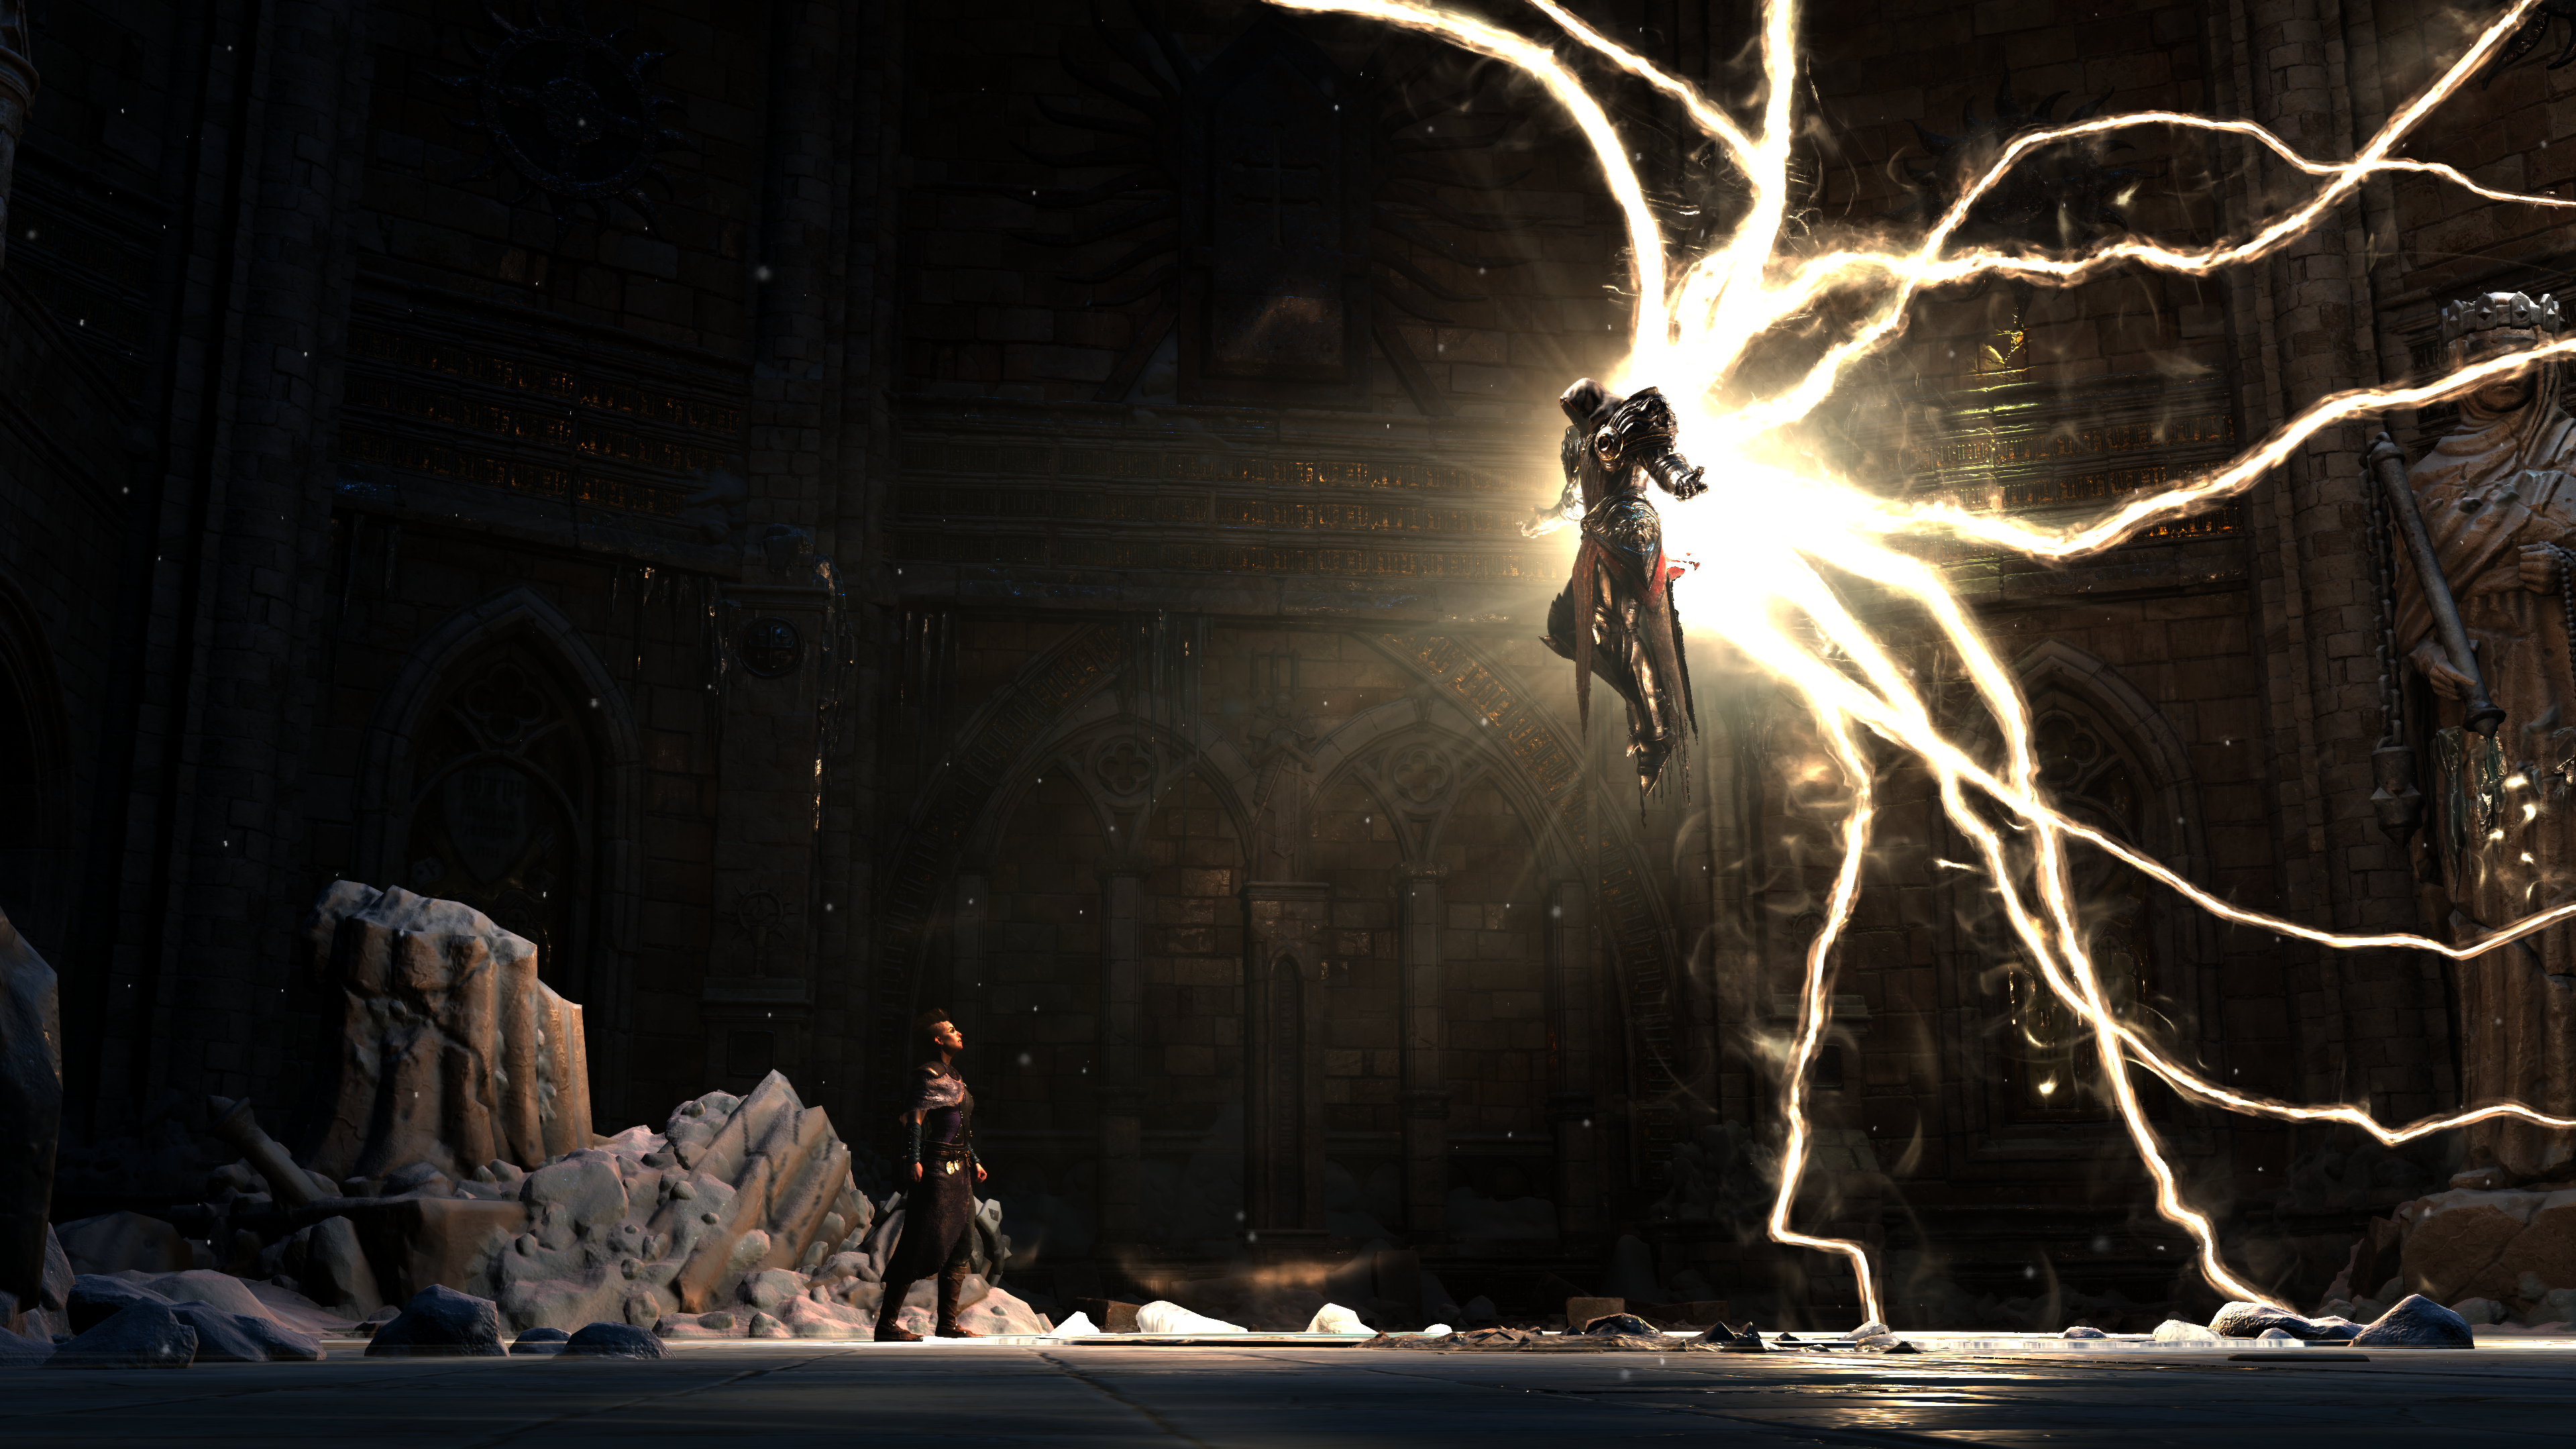
Tricks of the Trade
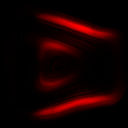
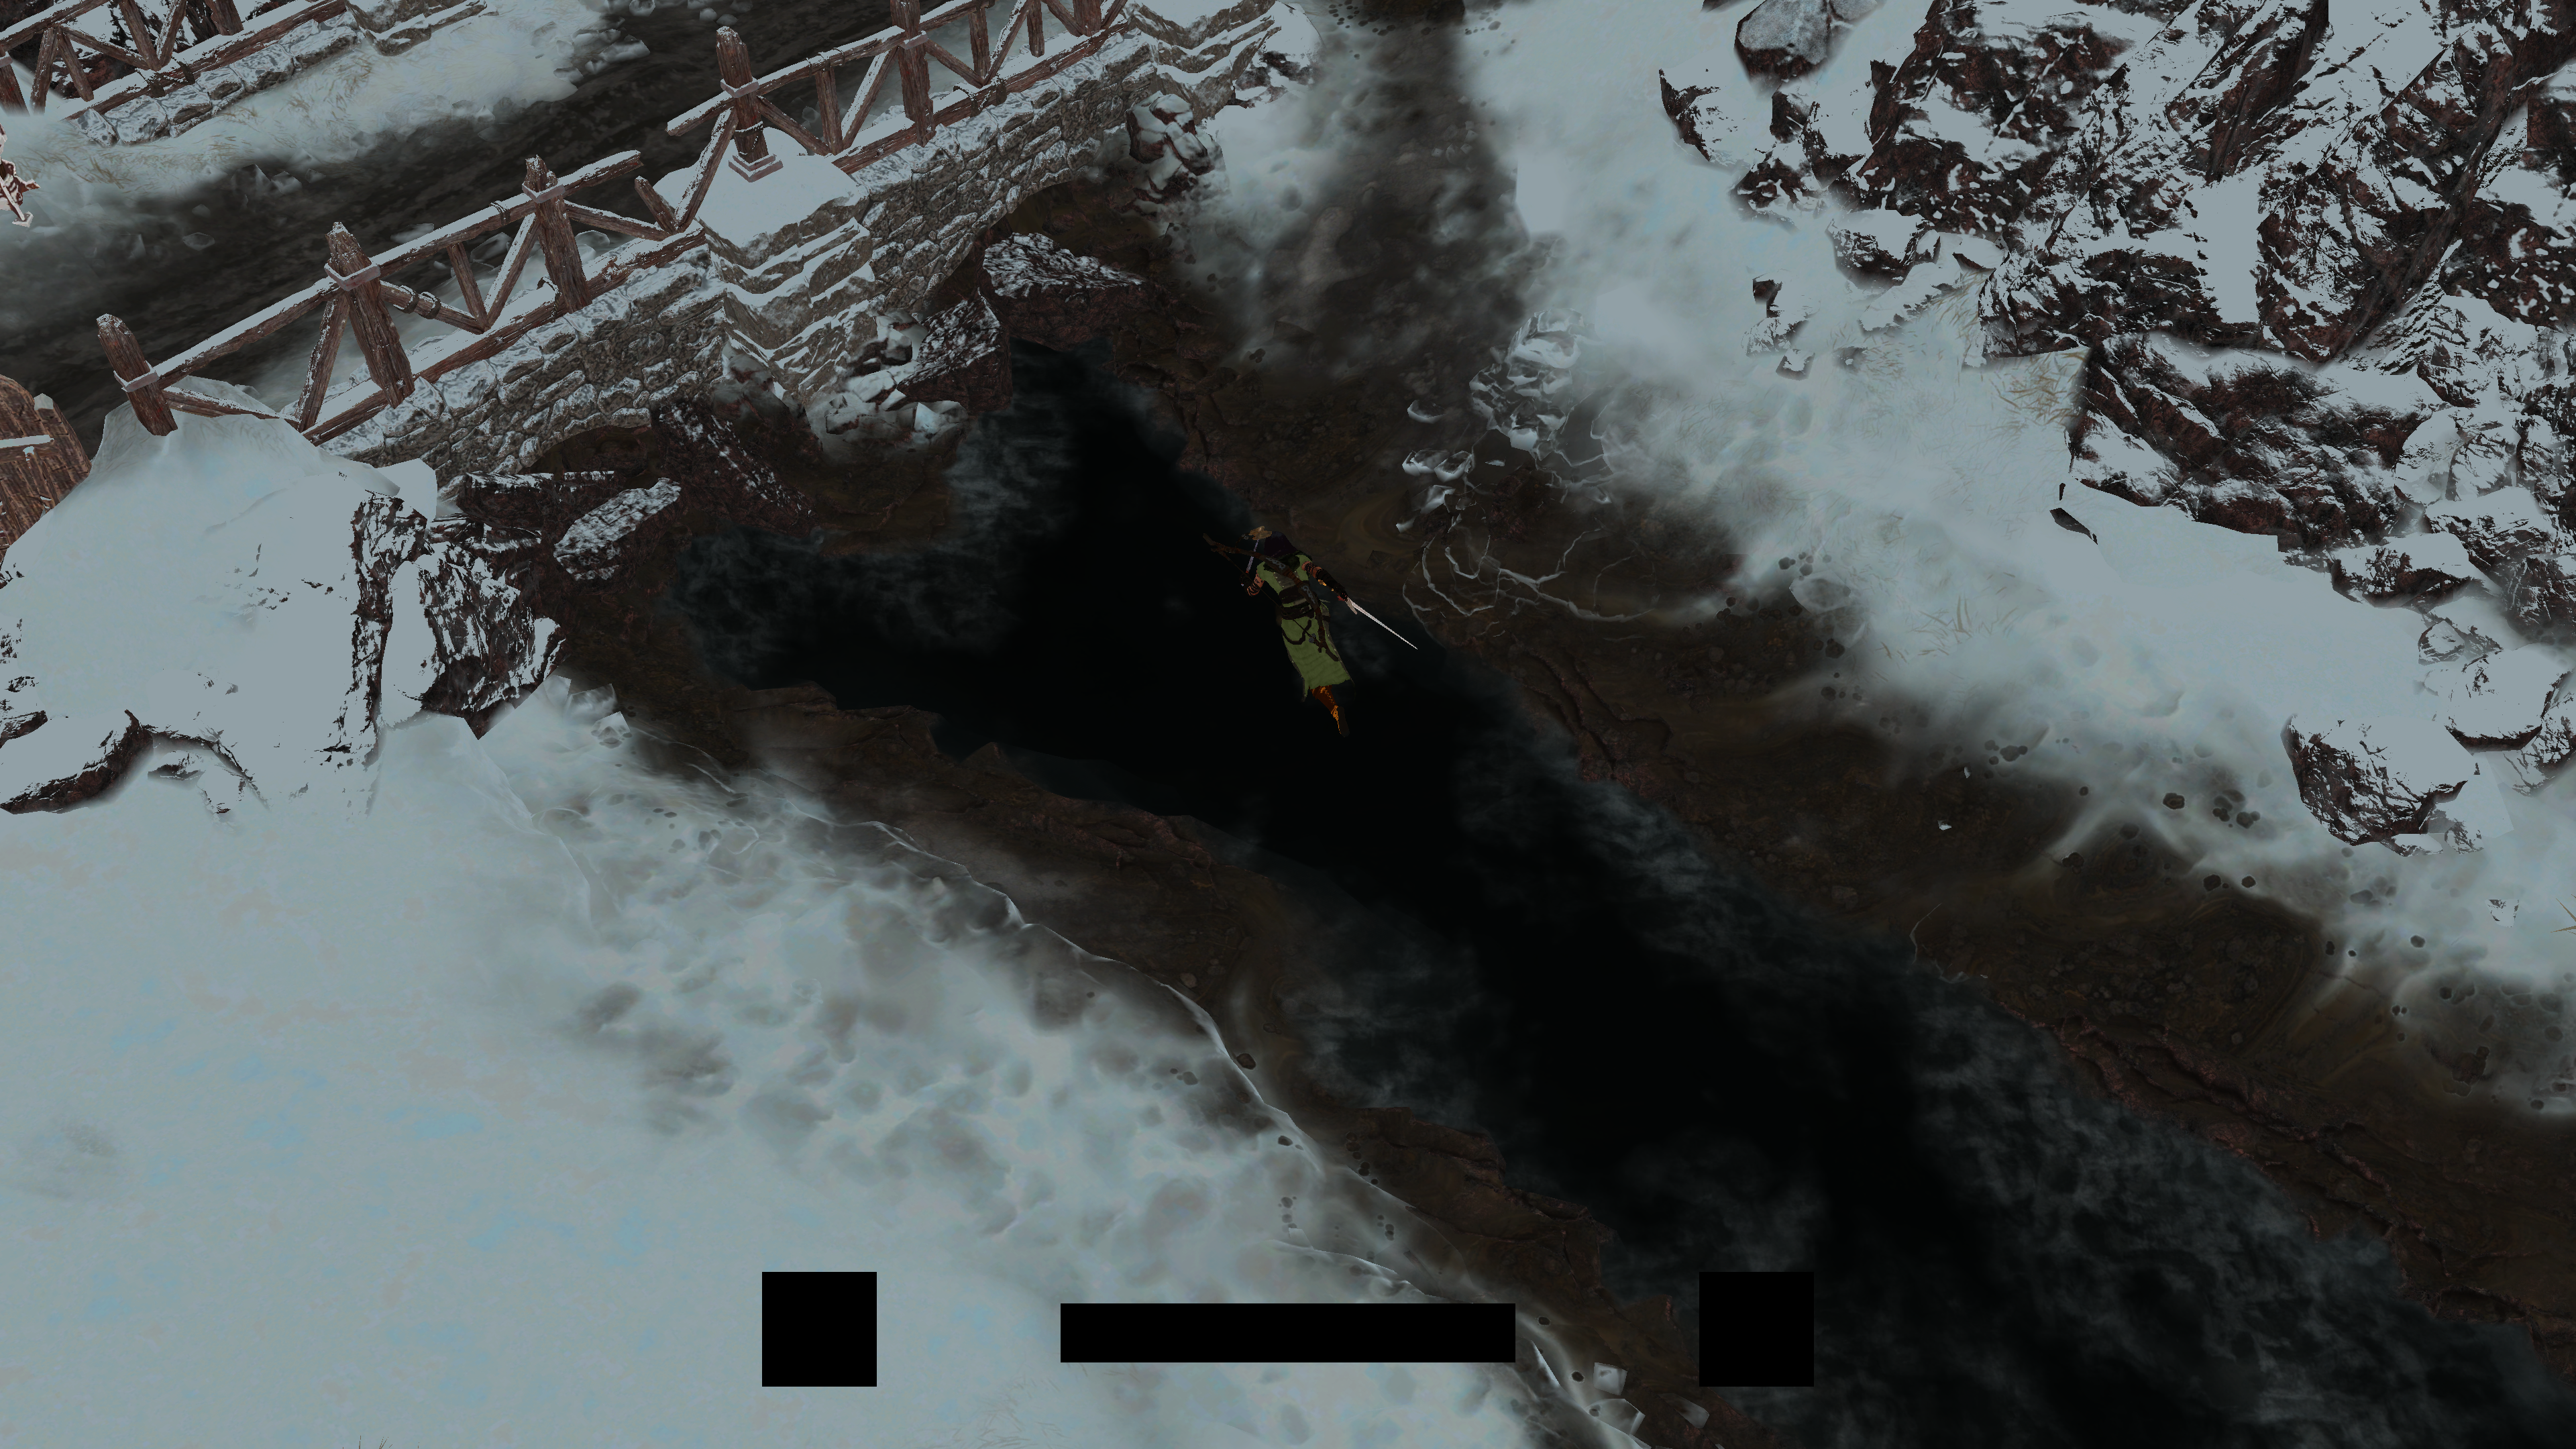
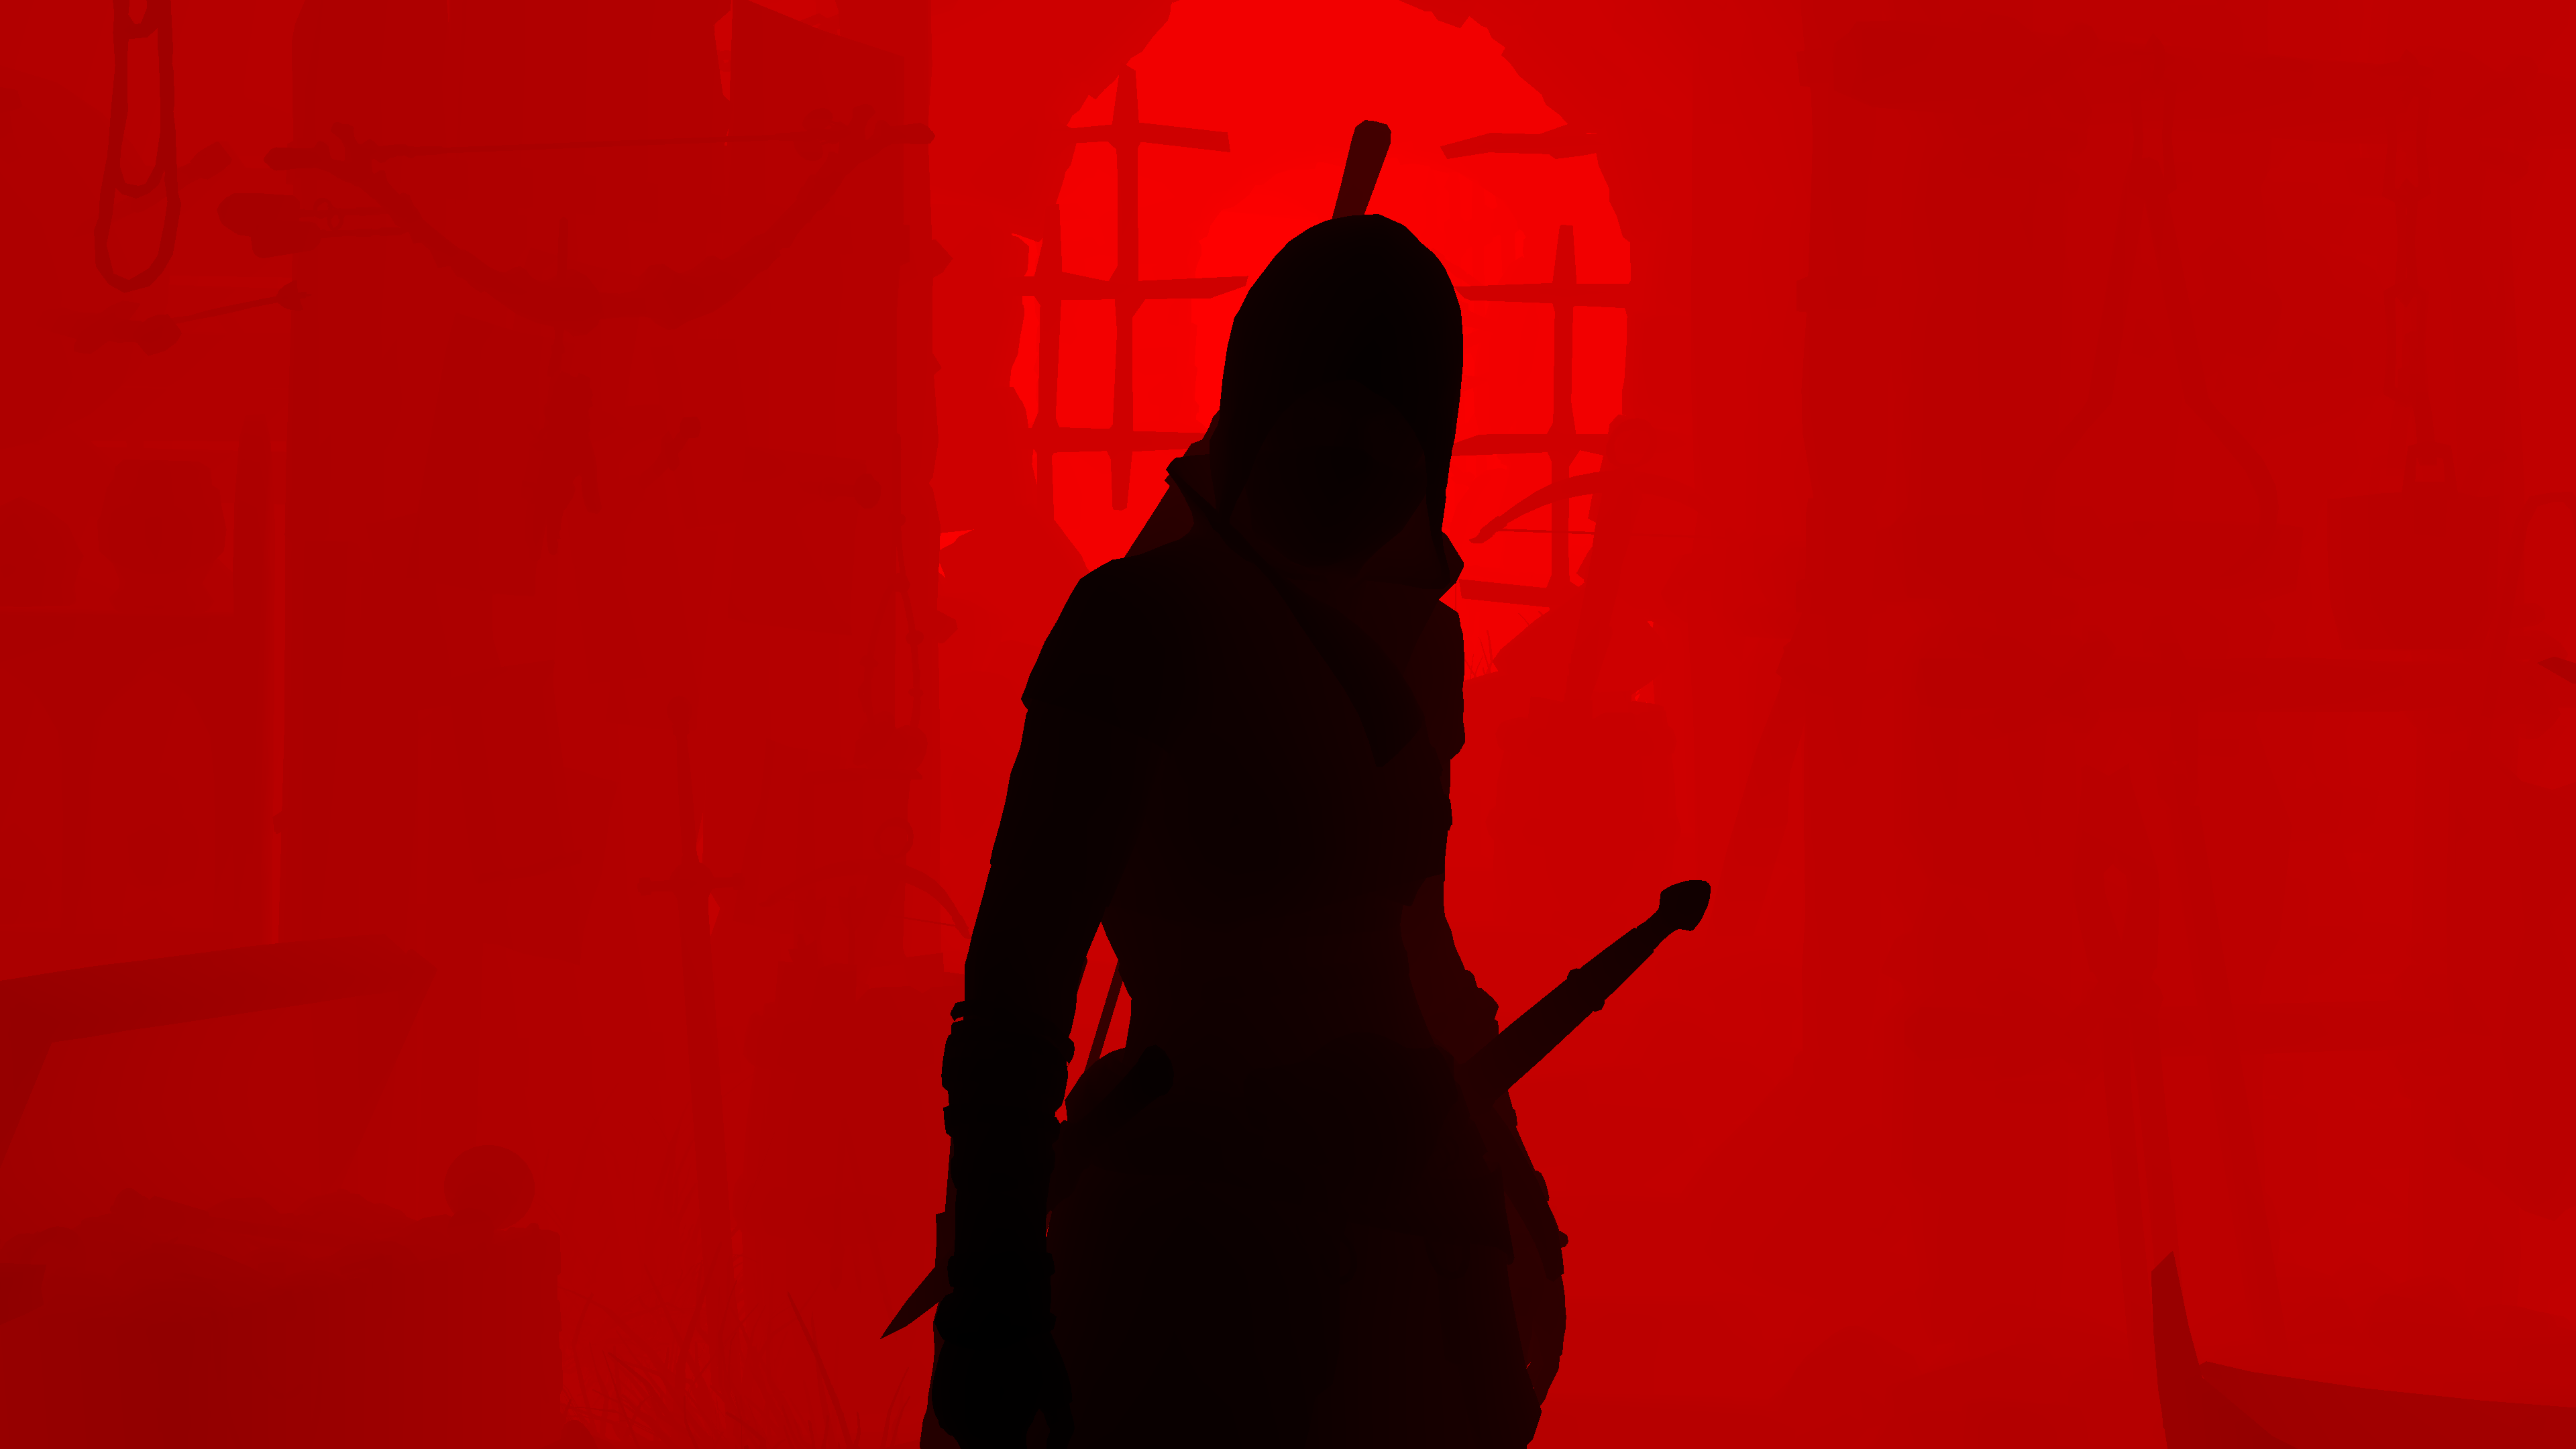
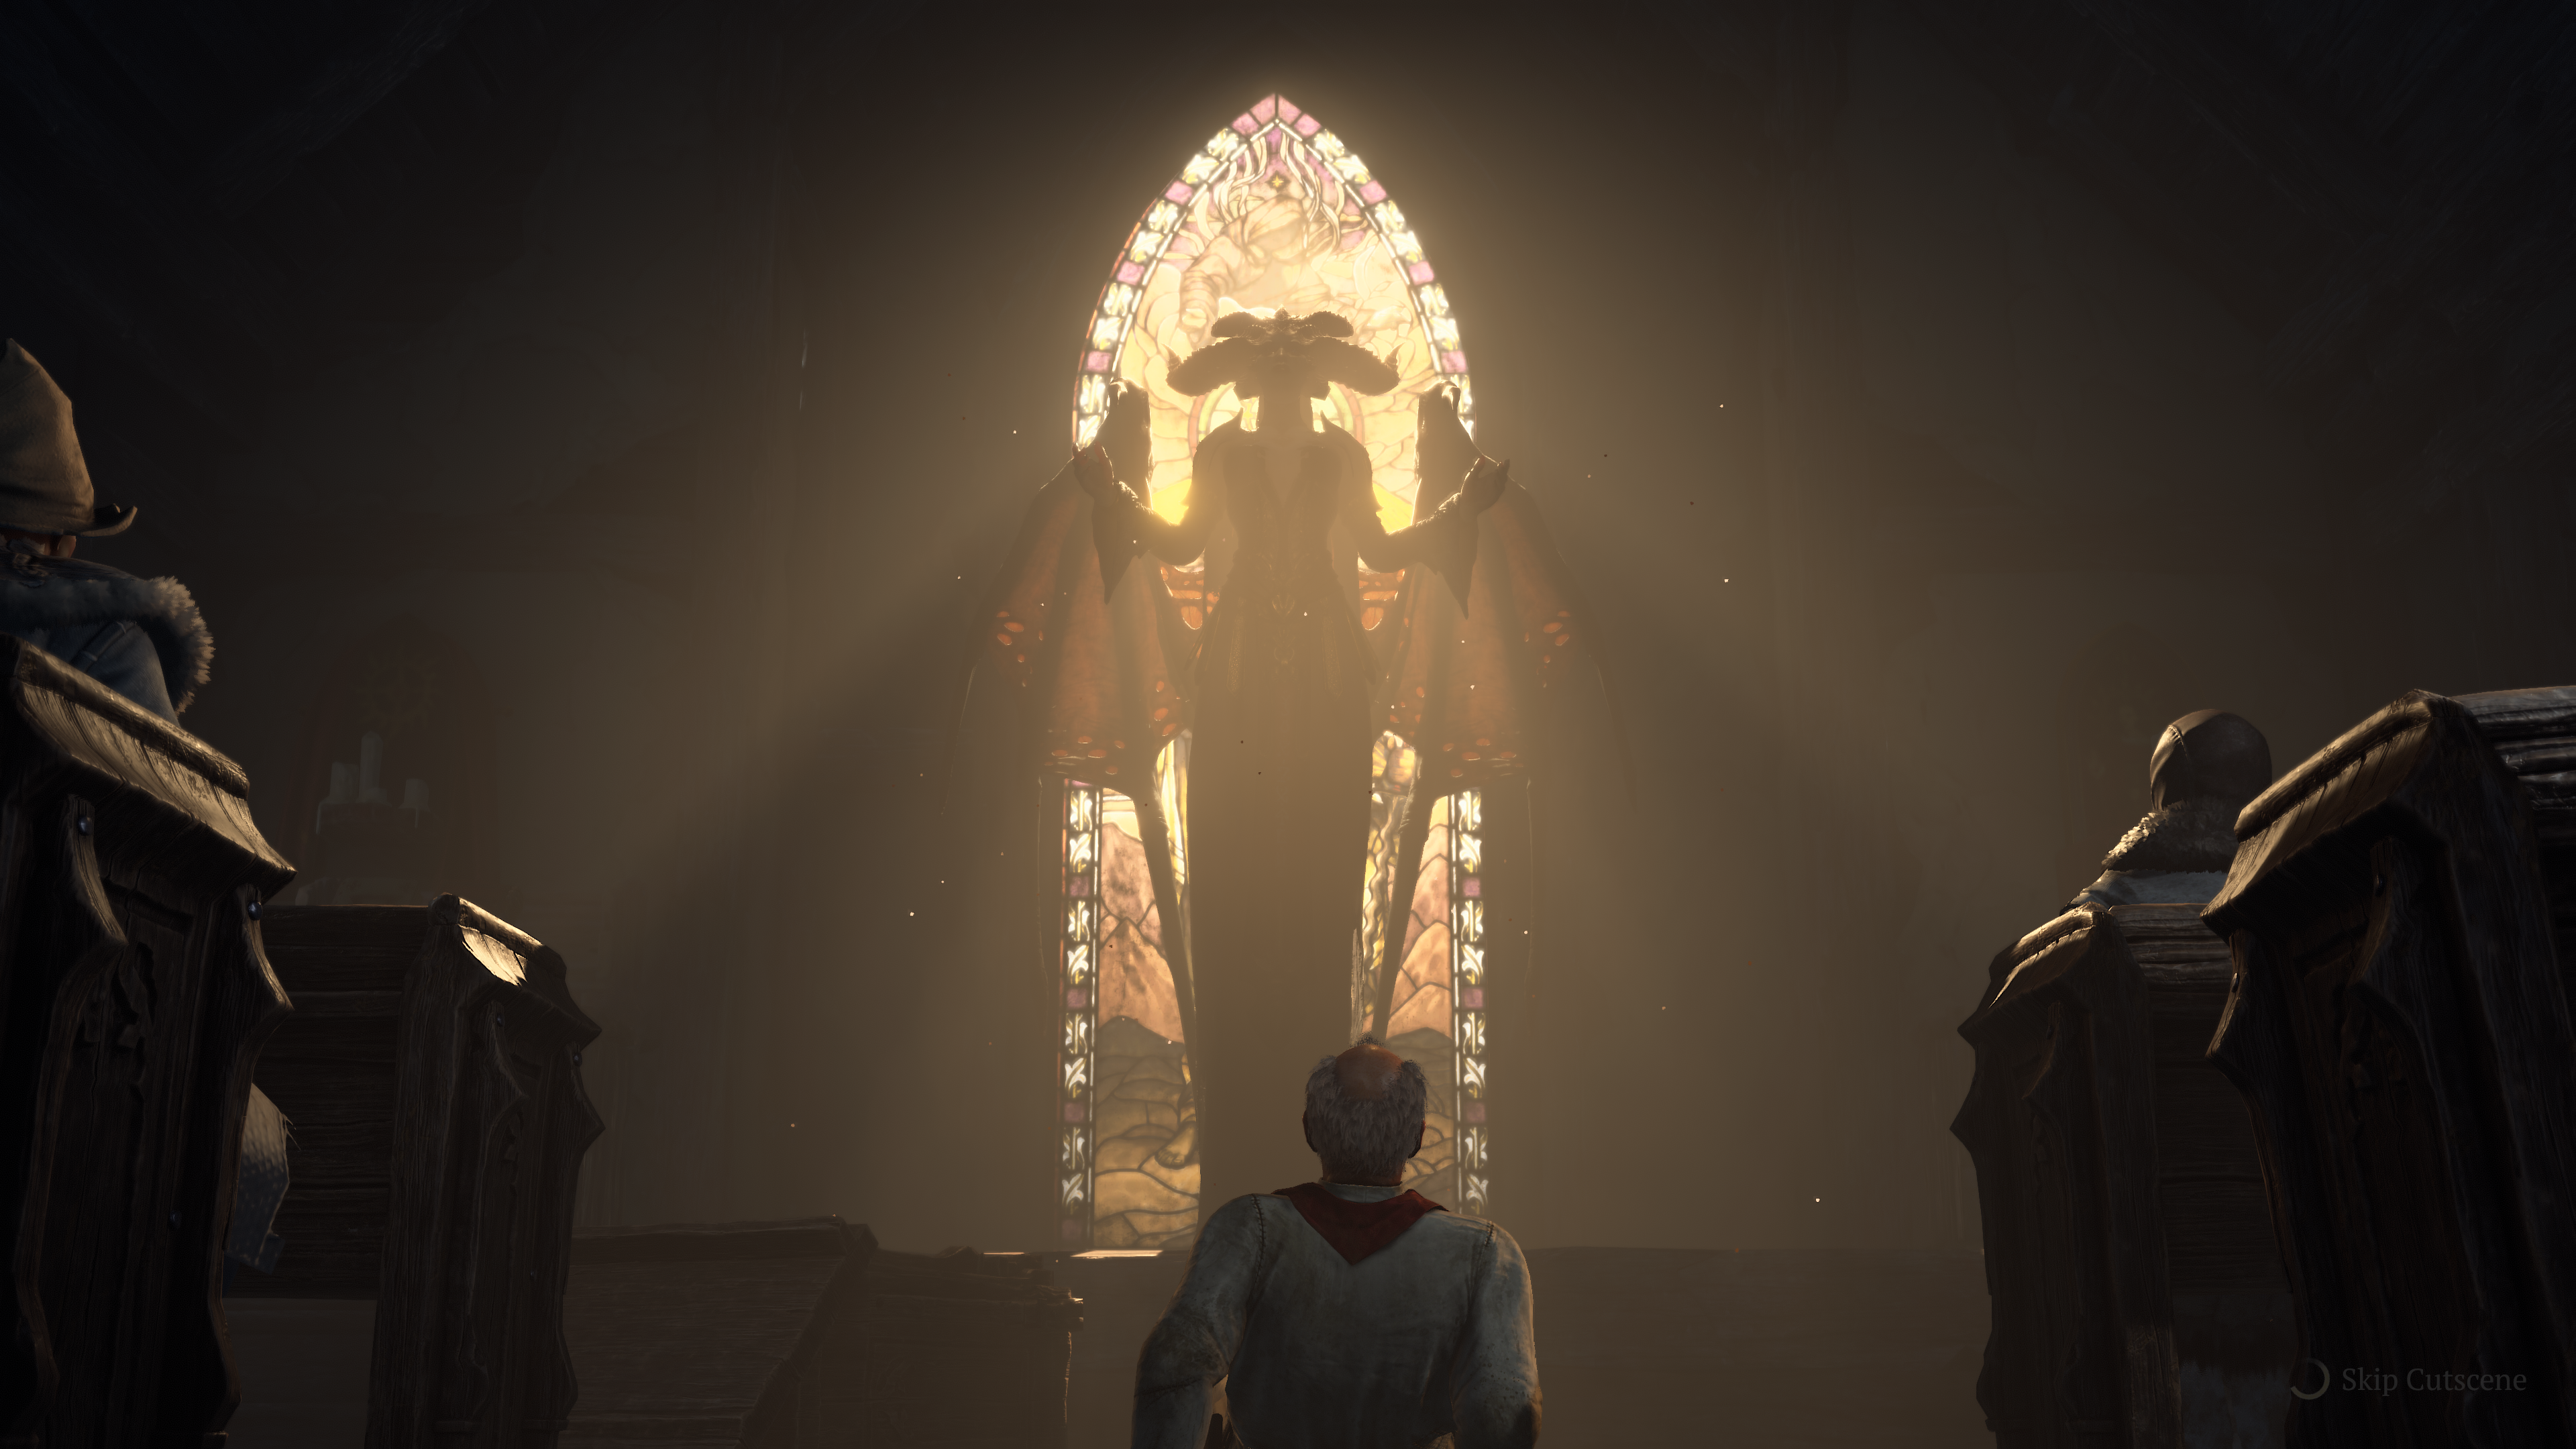
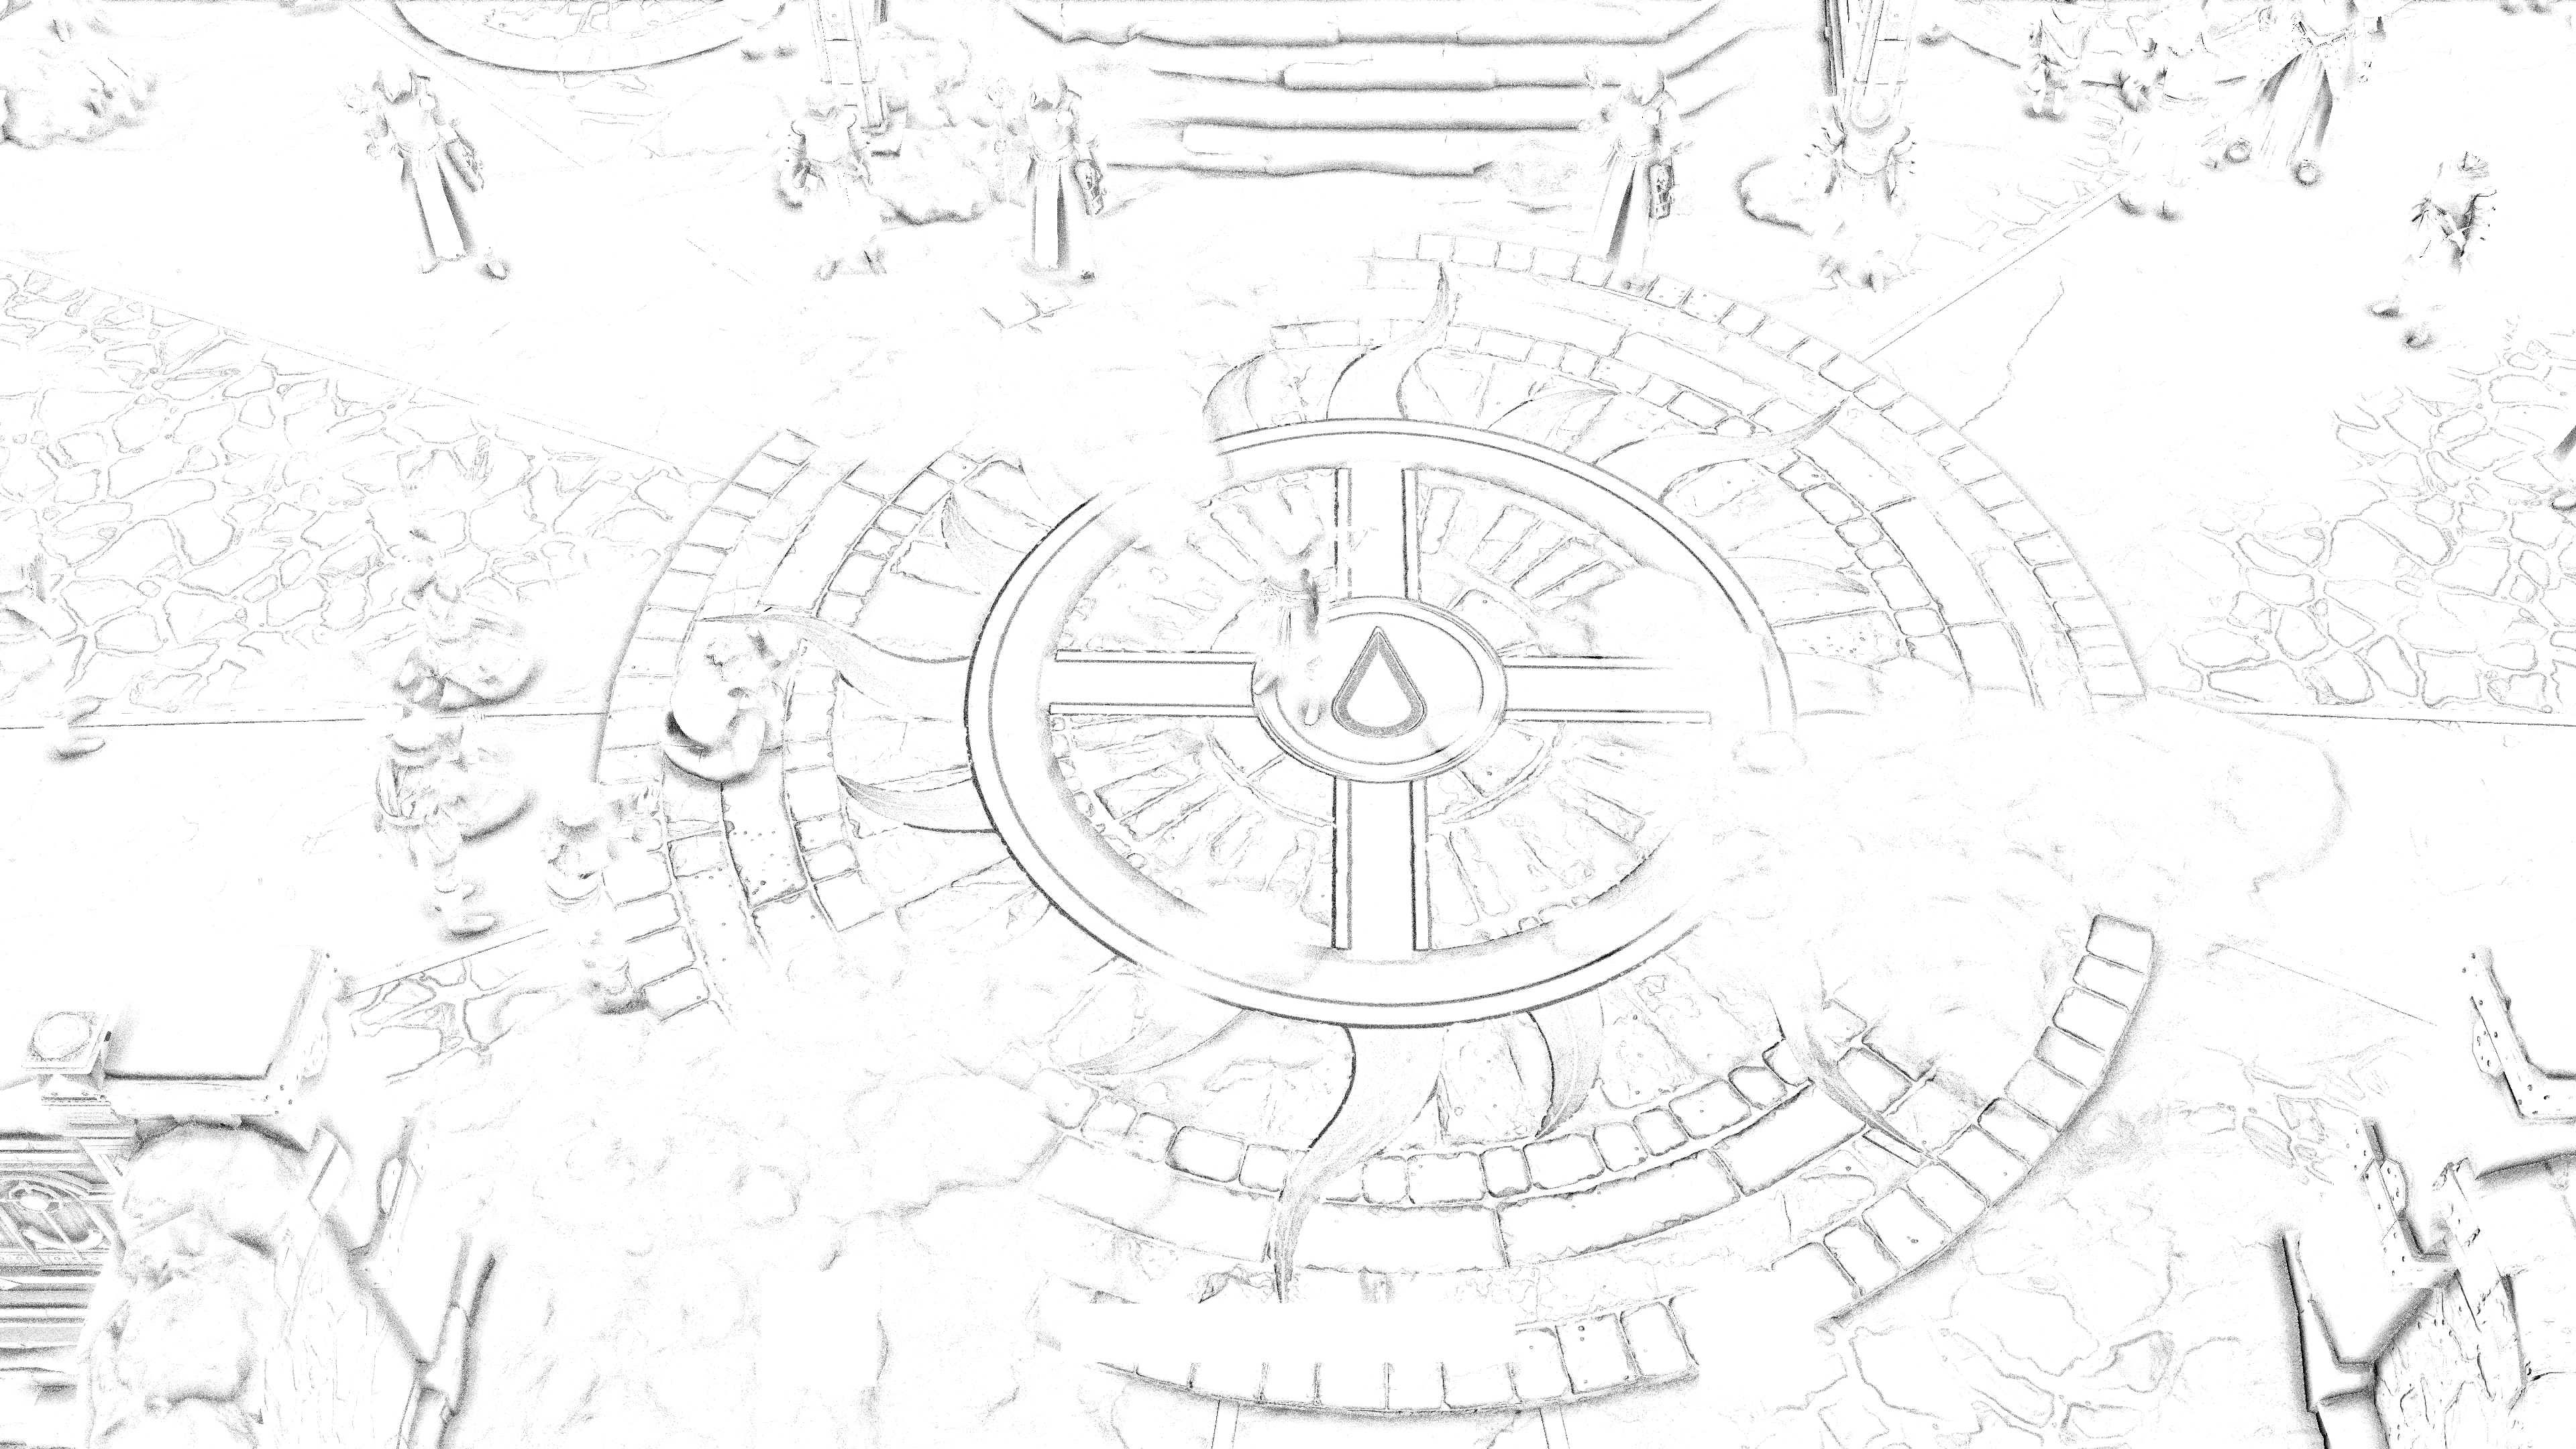
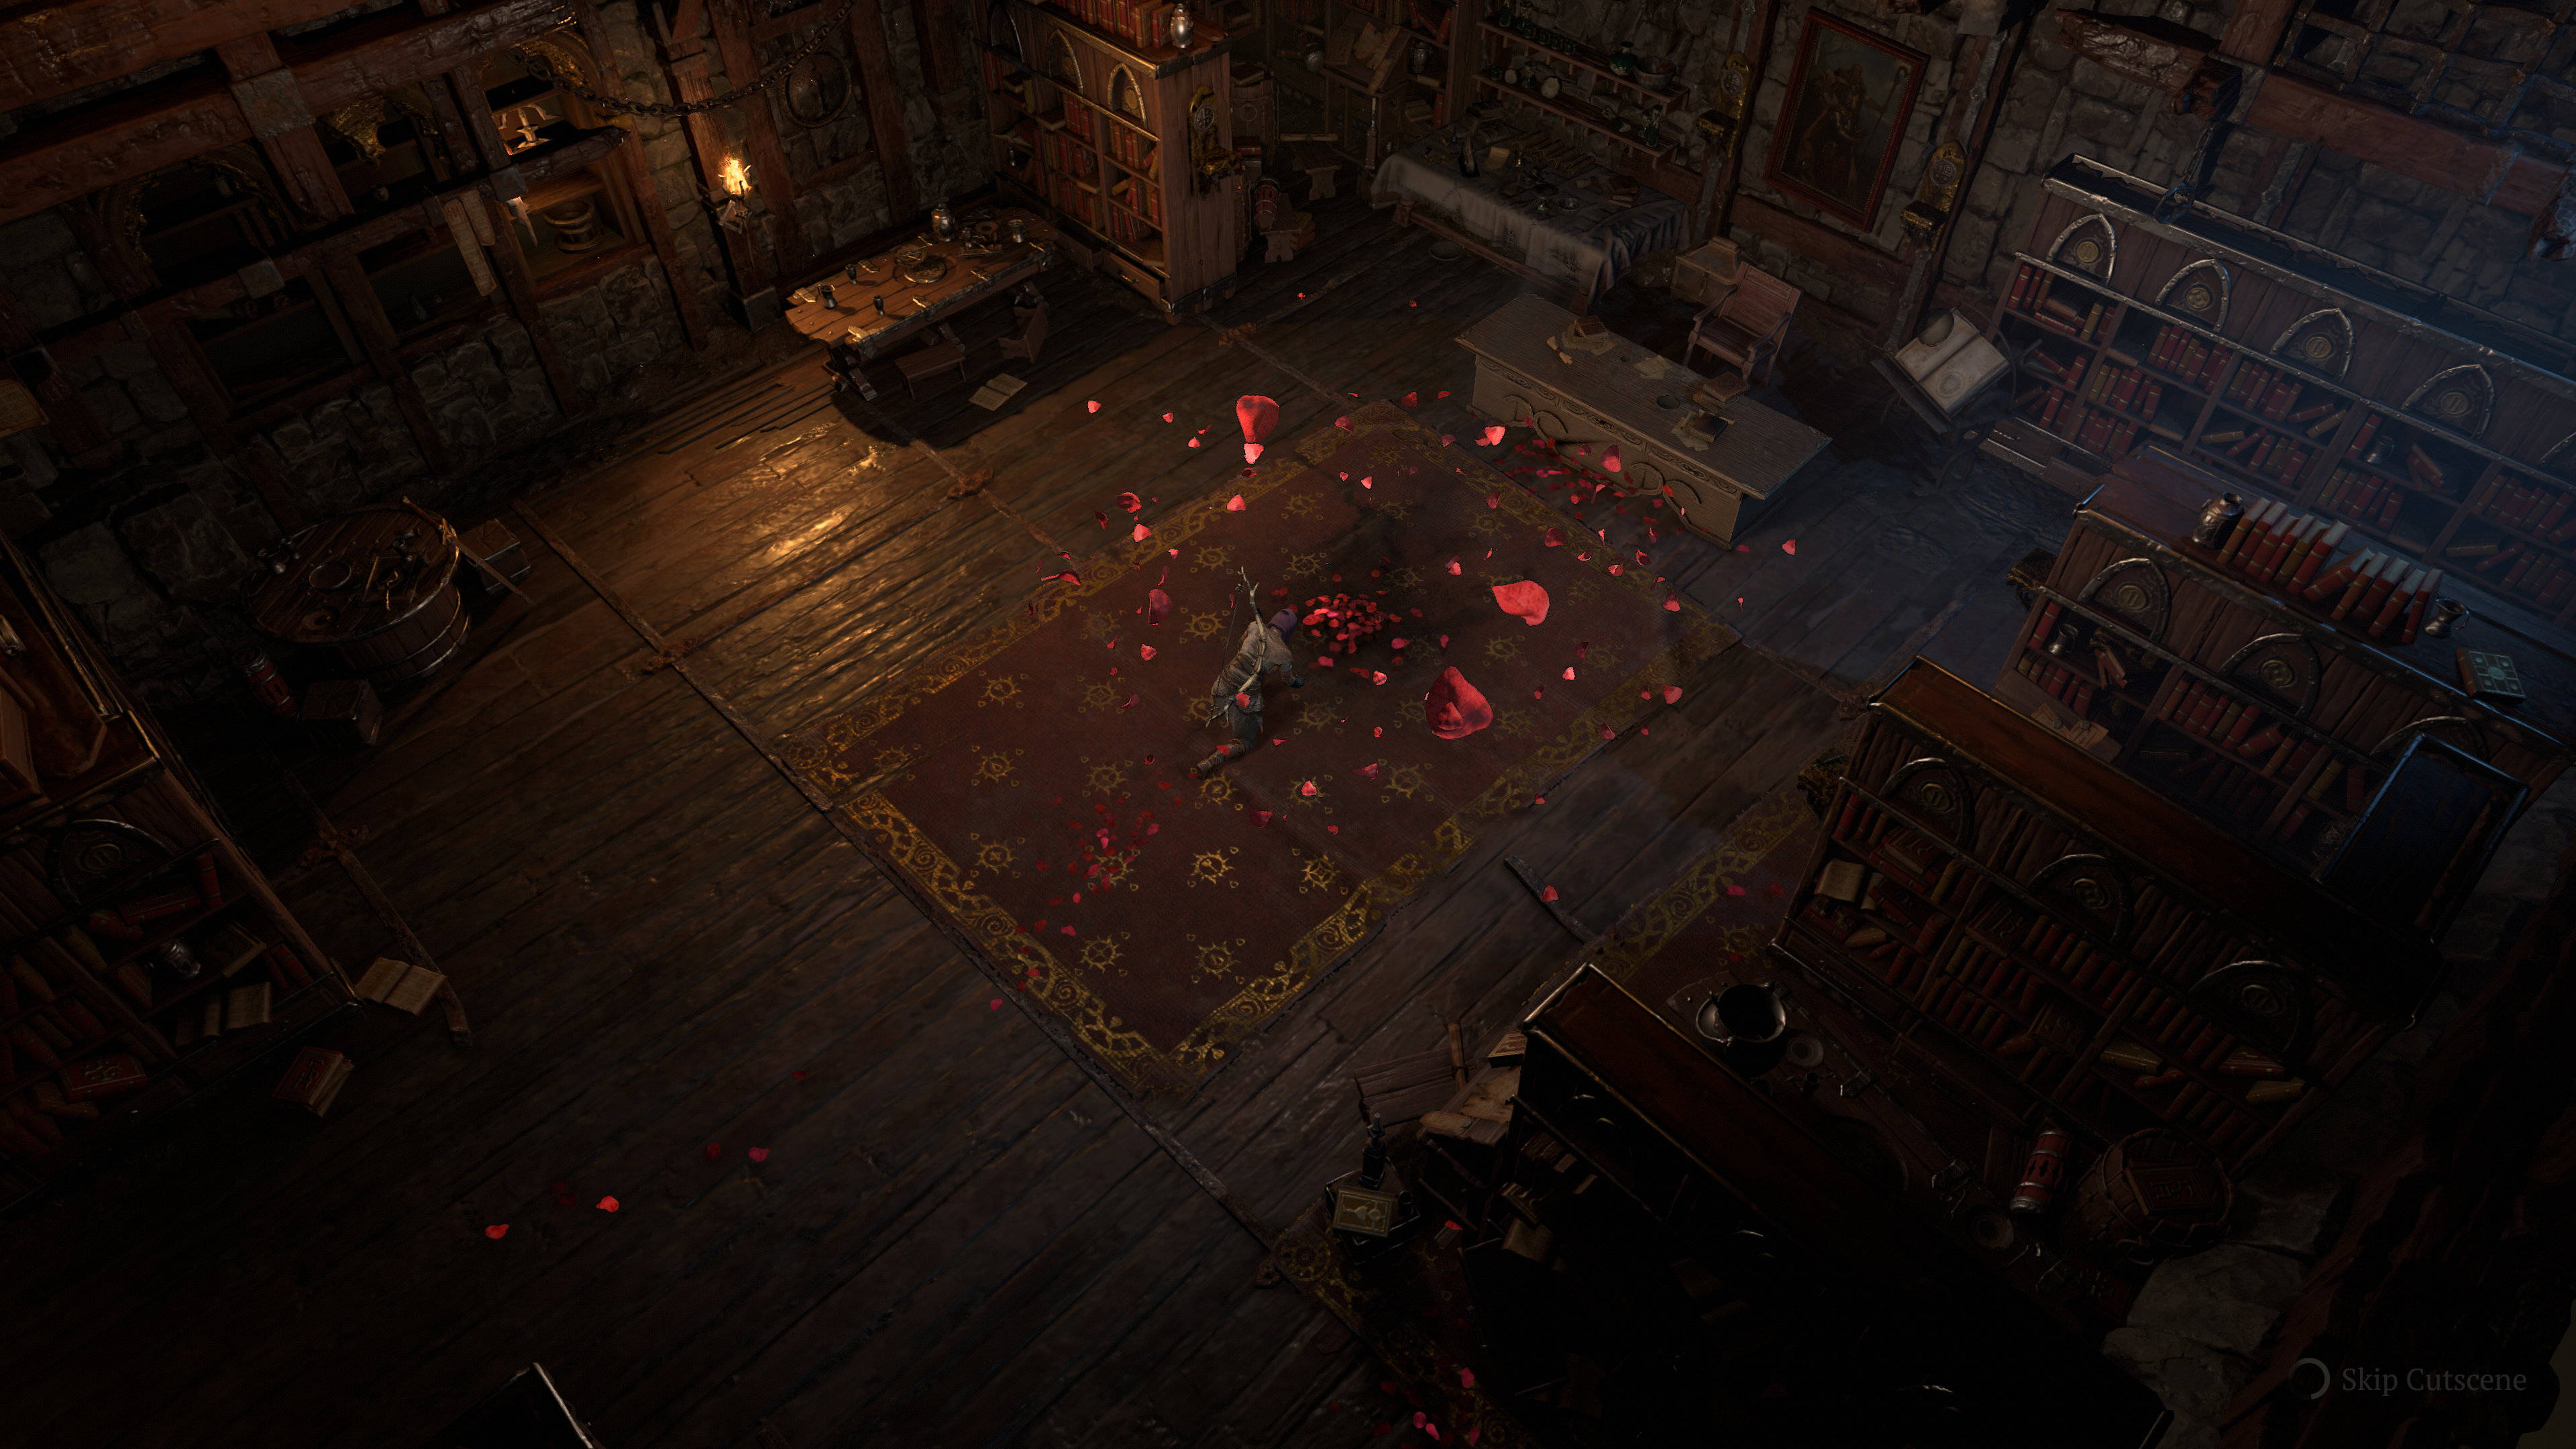
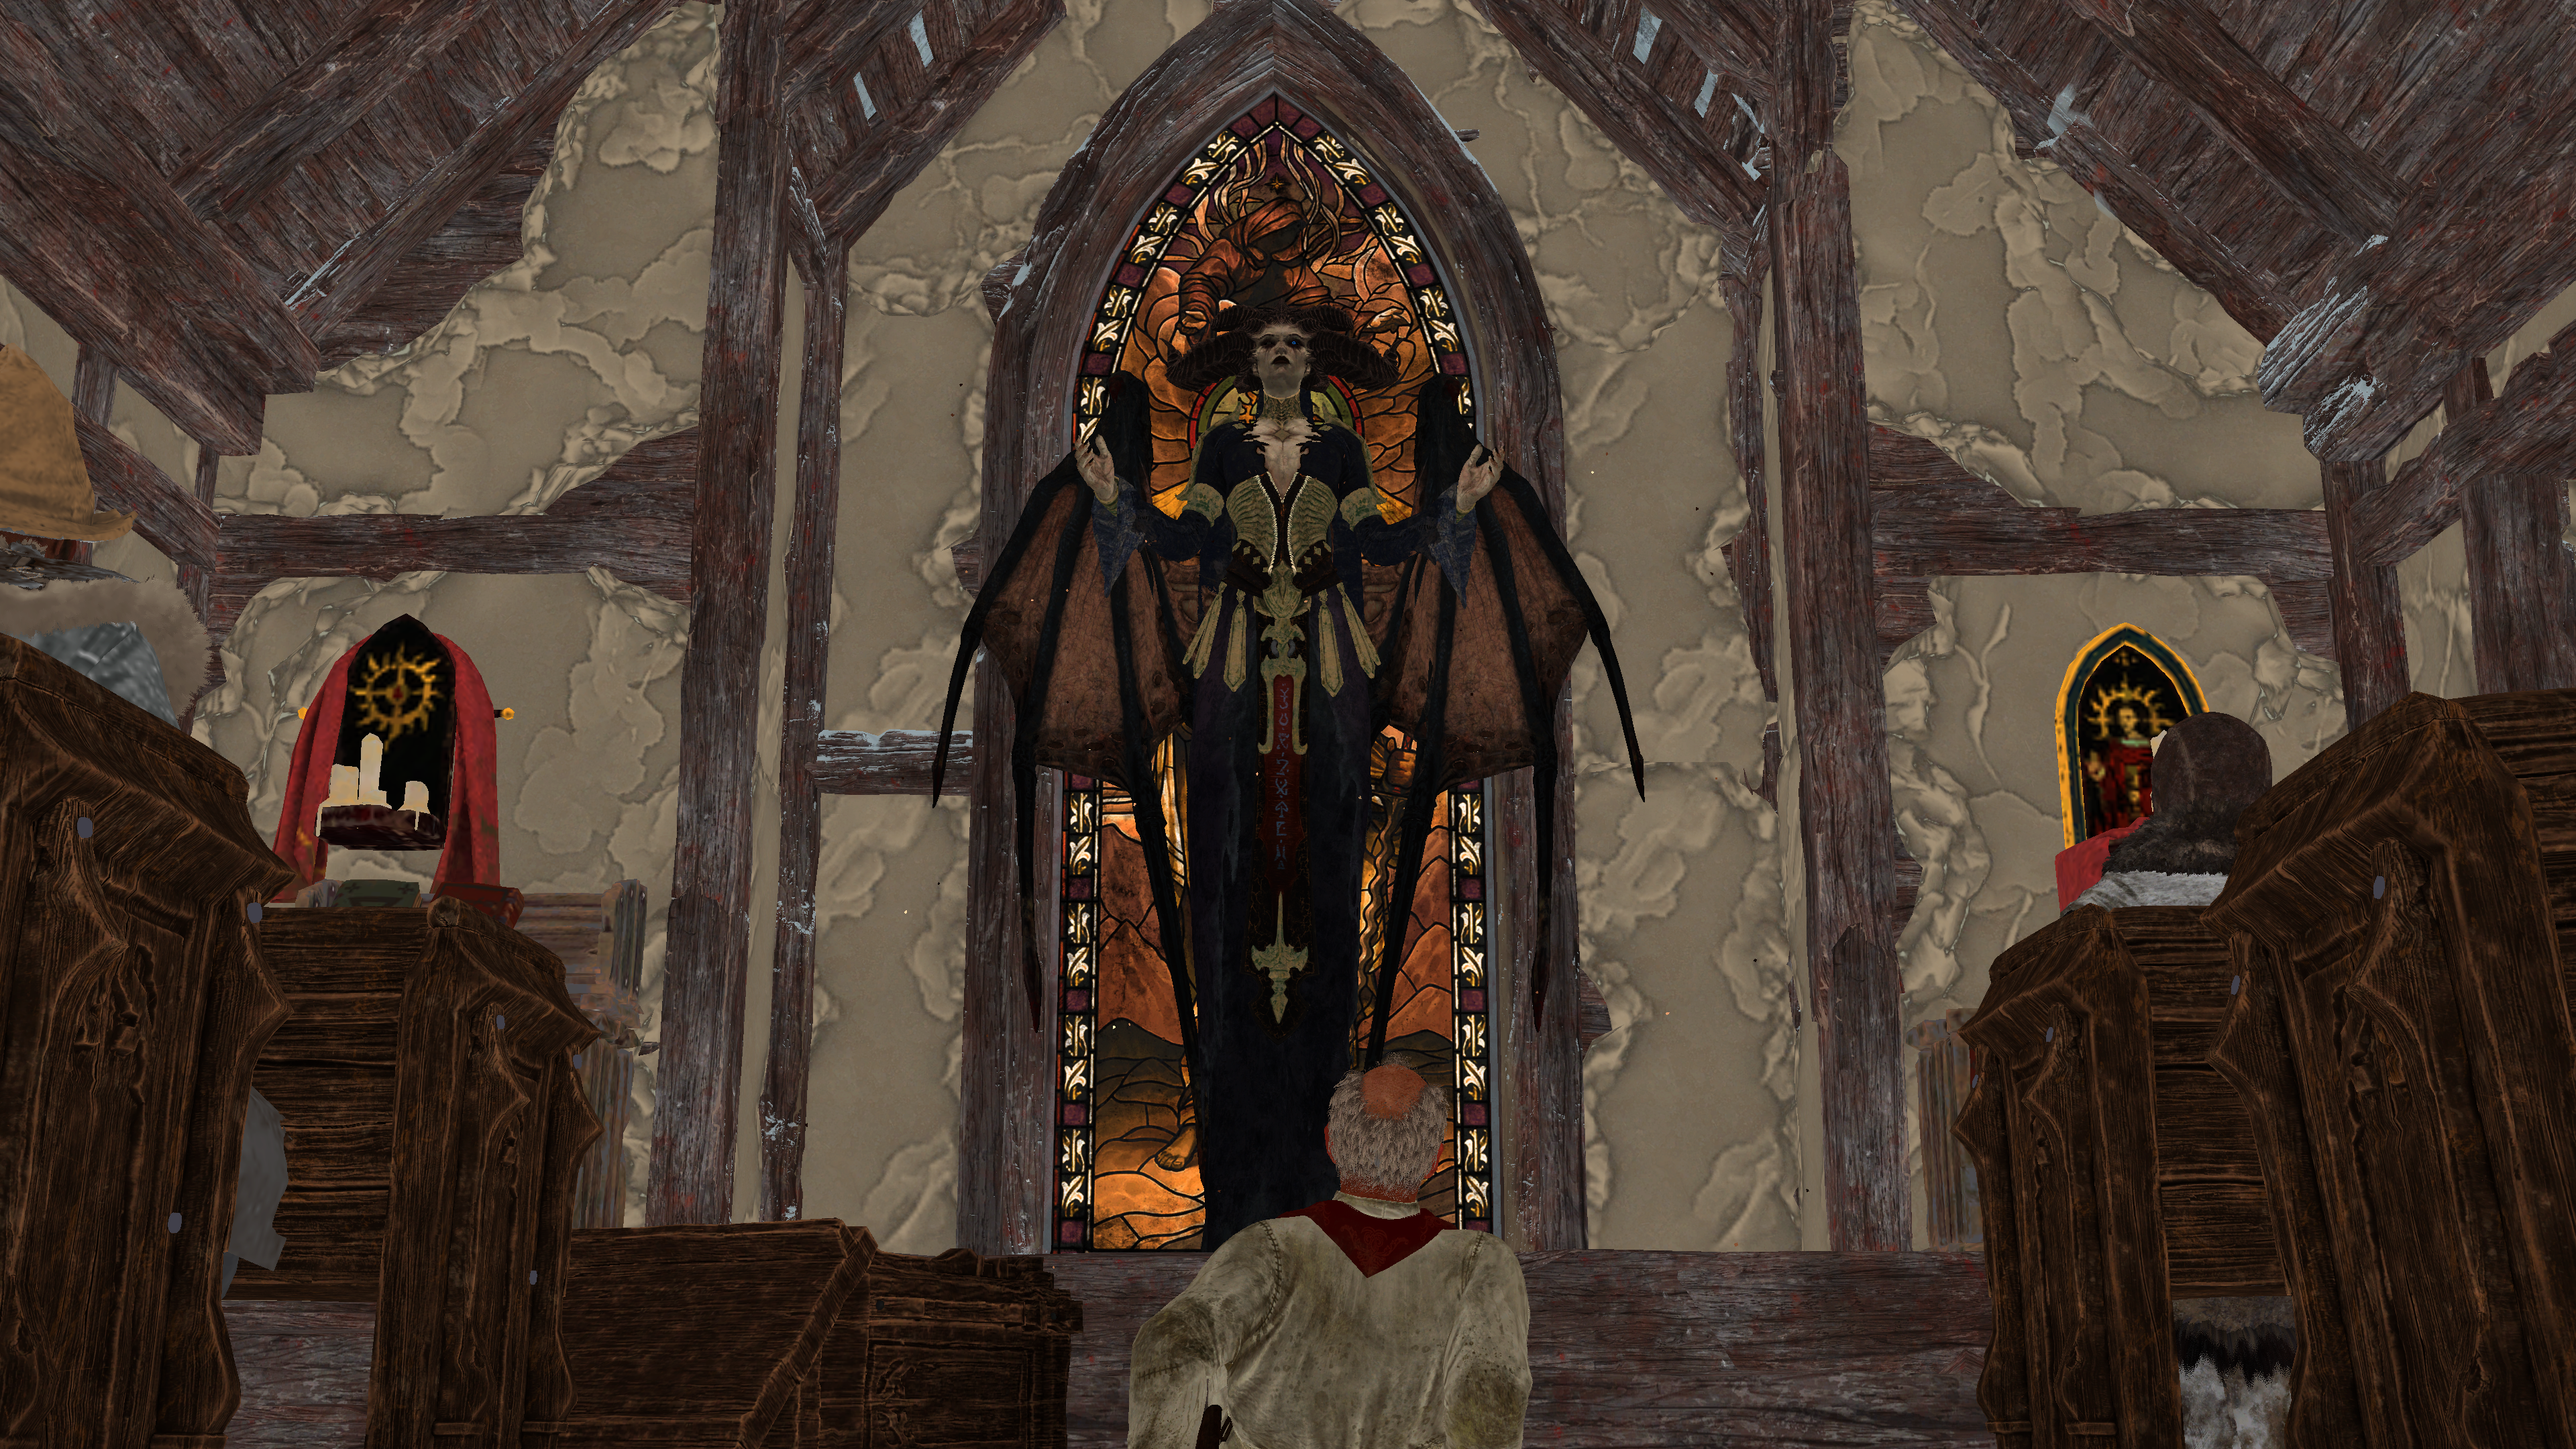
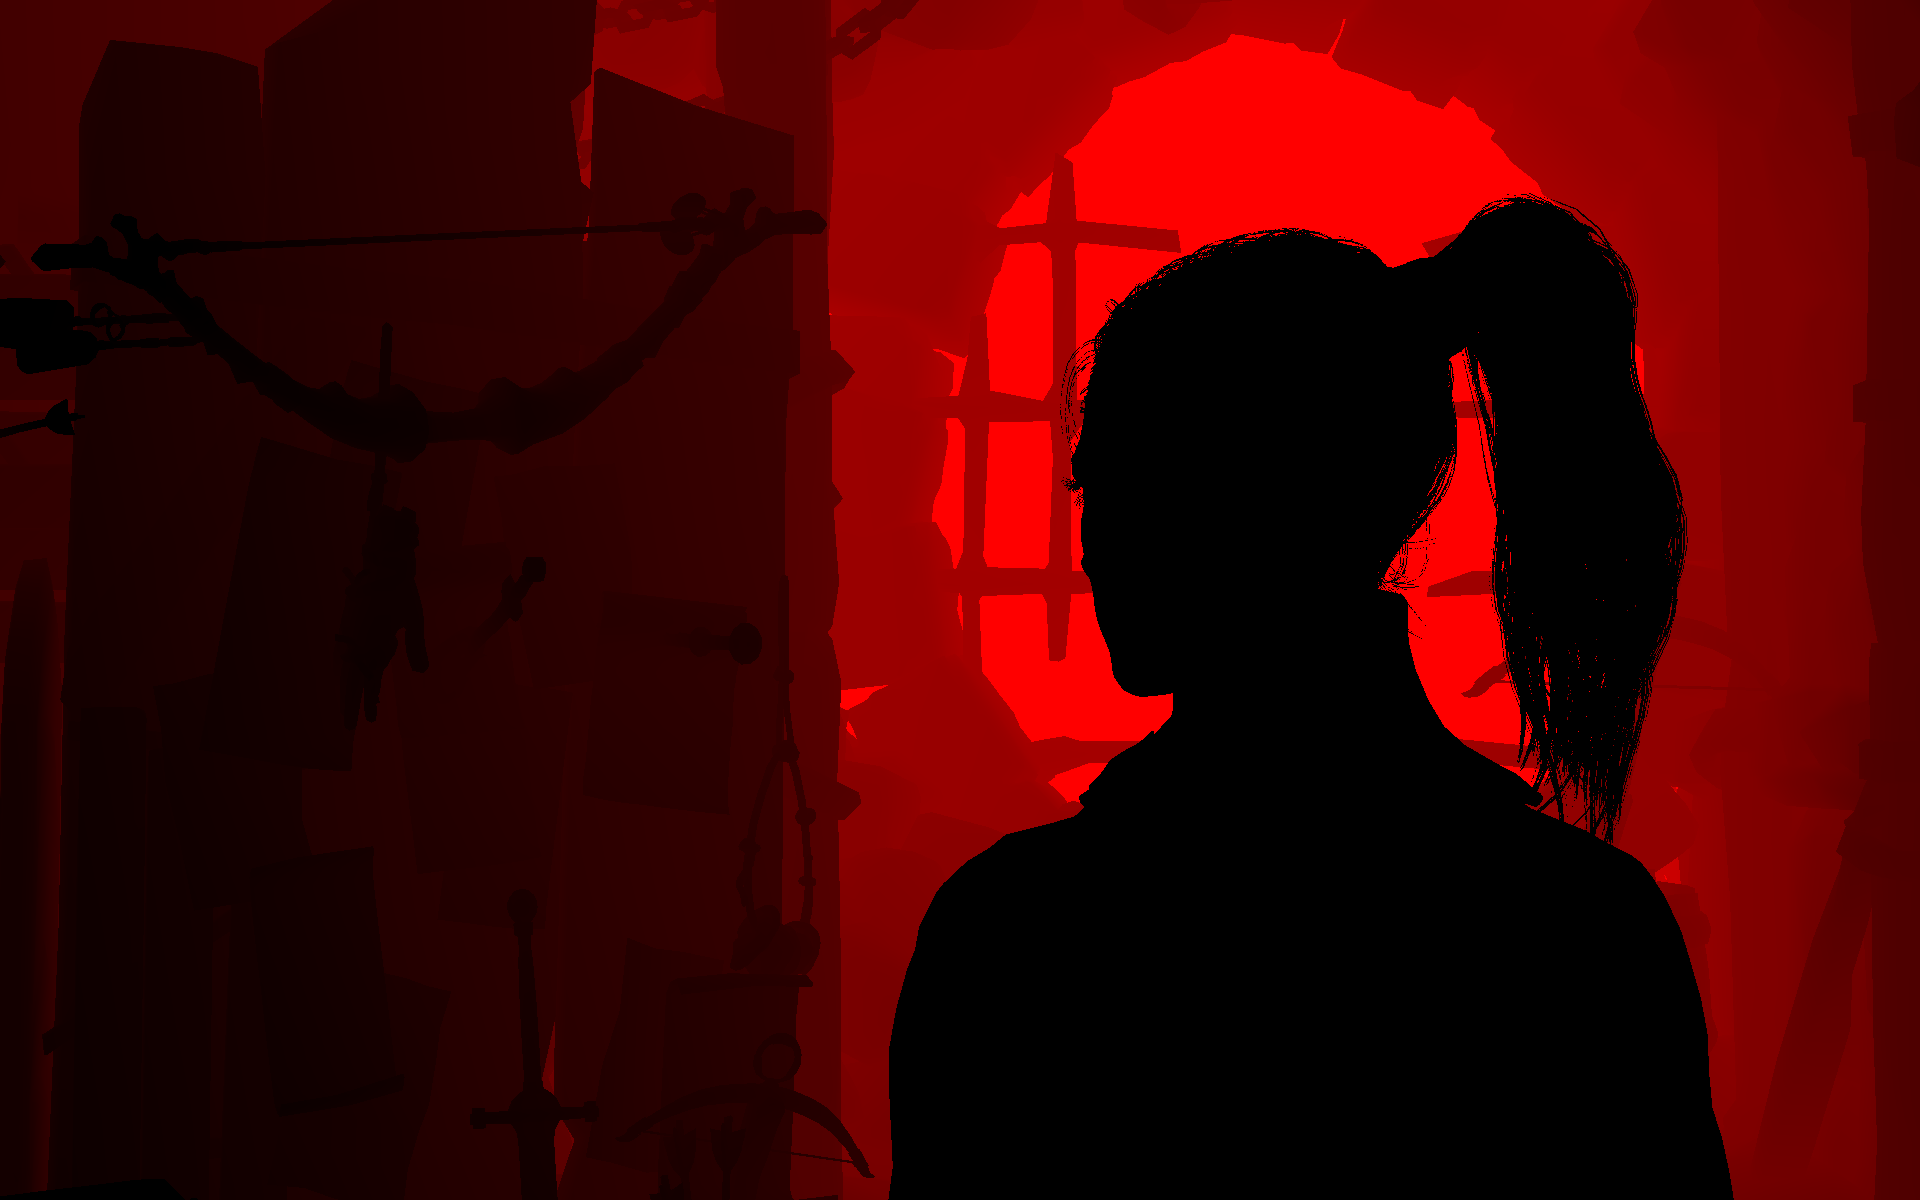
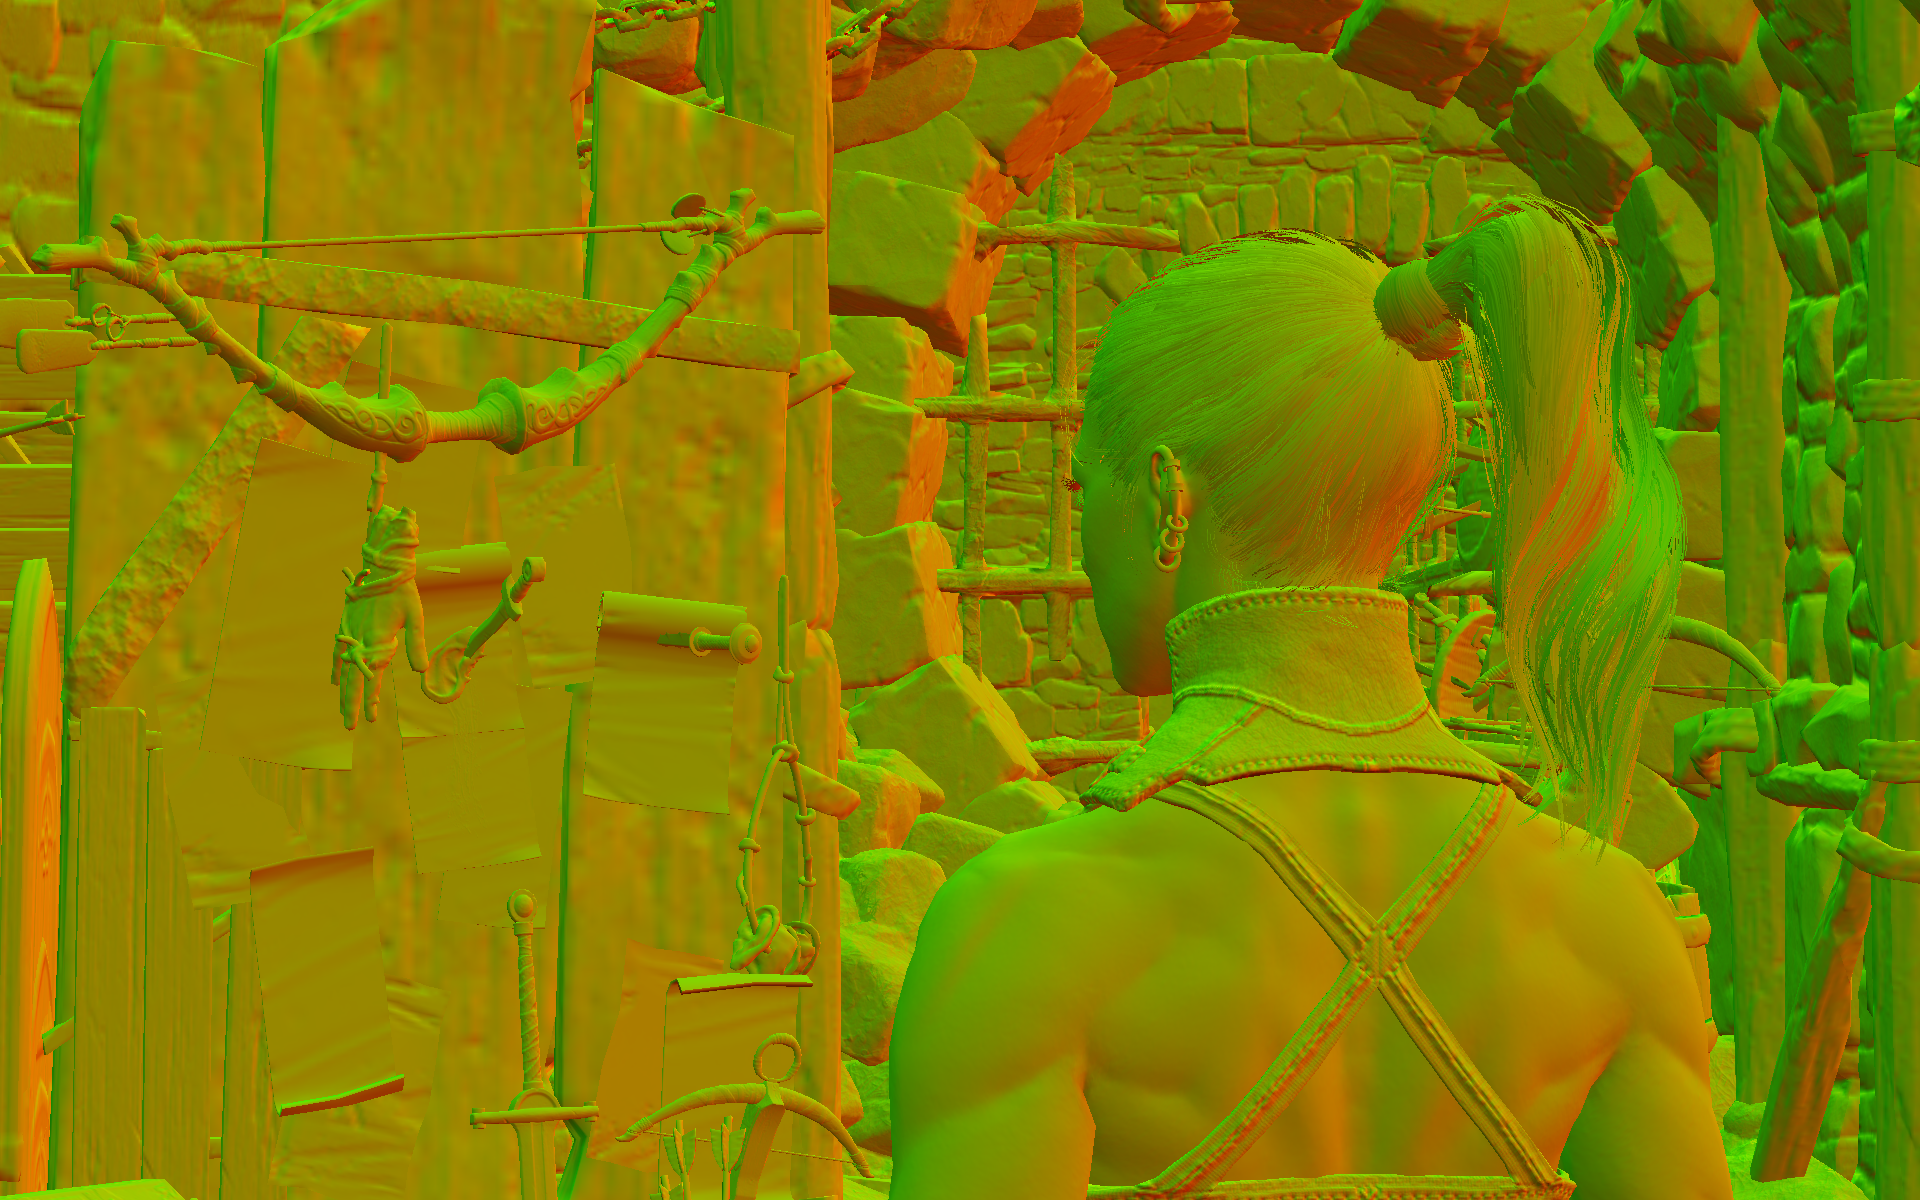
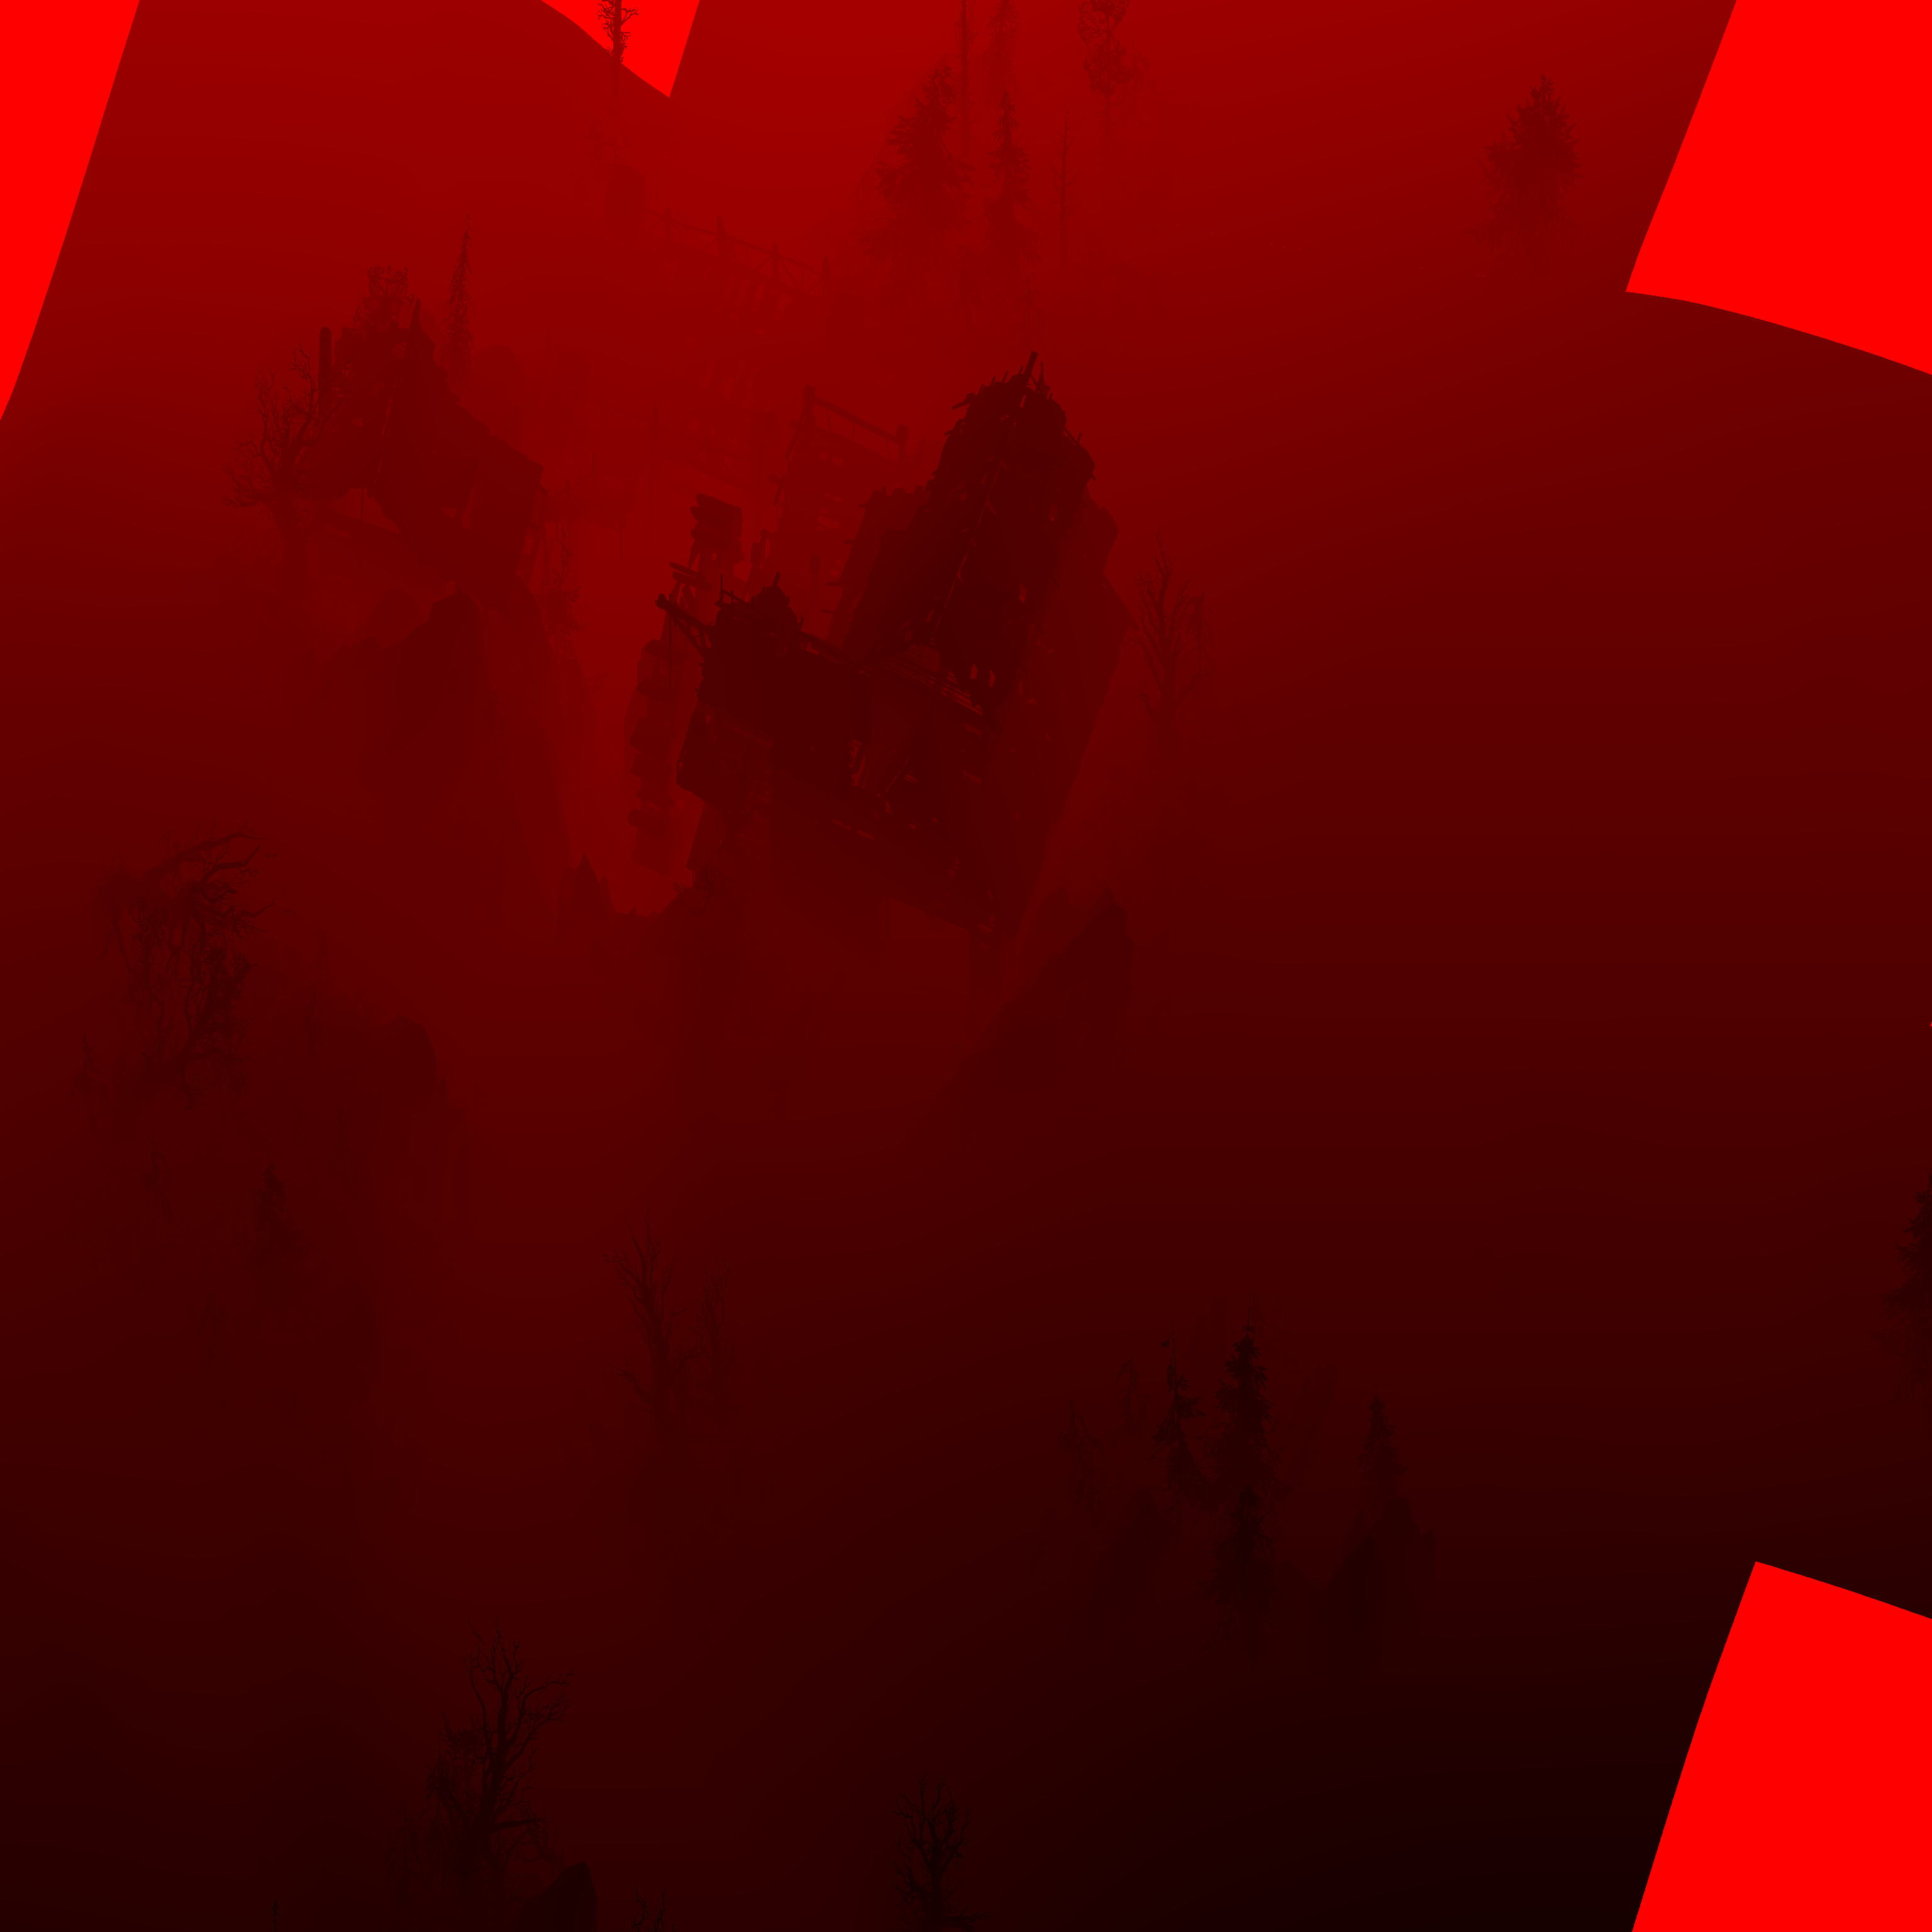
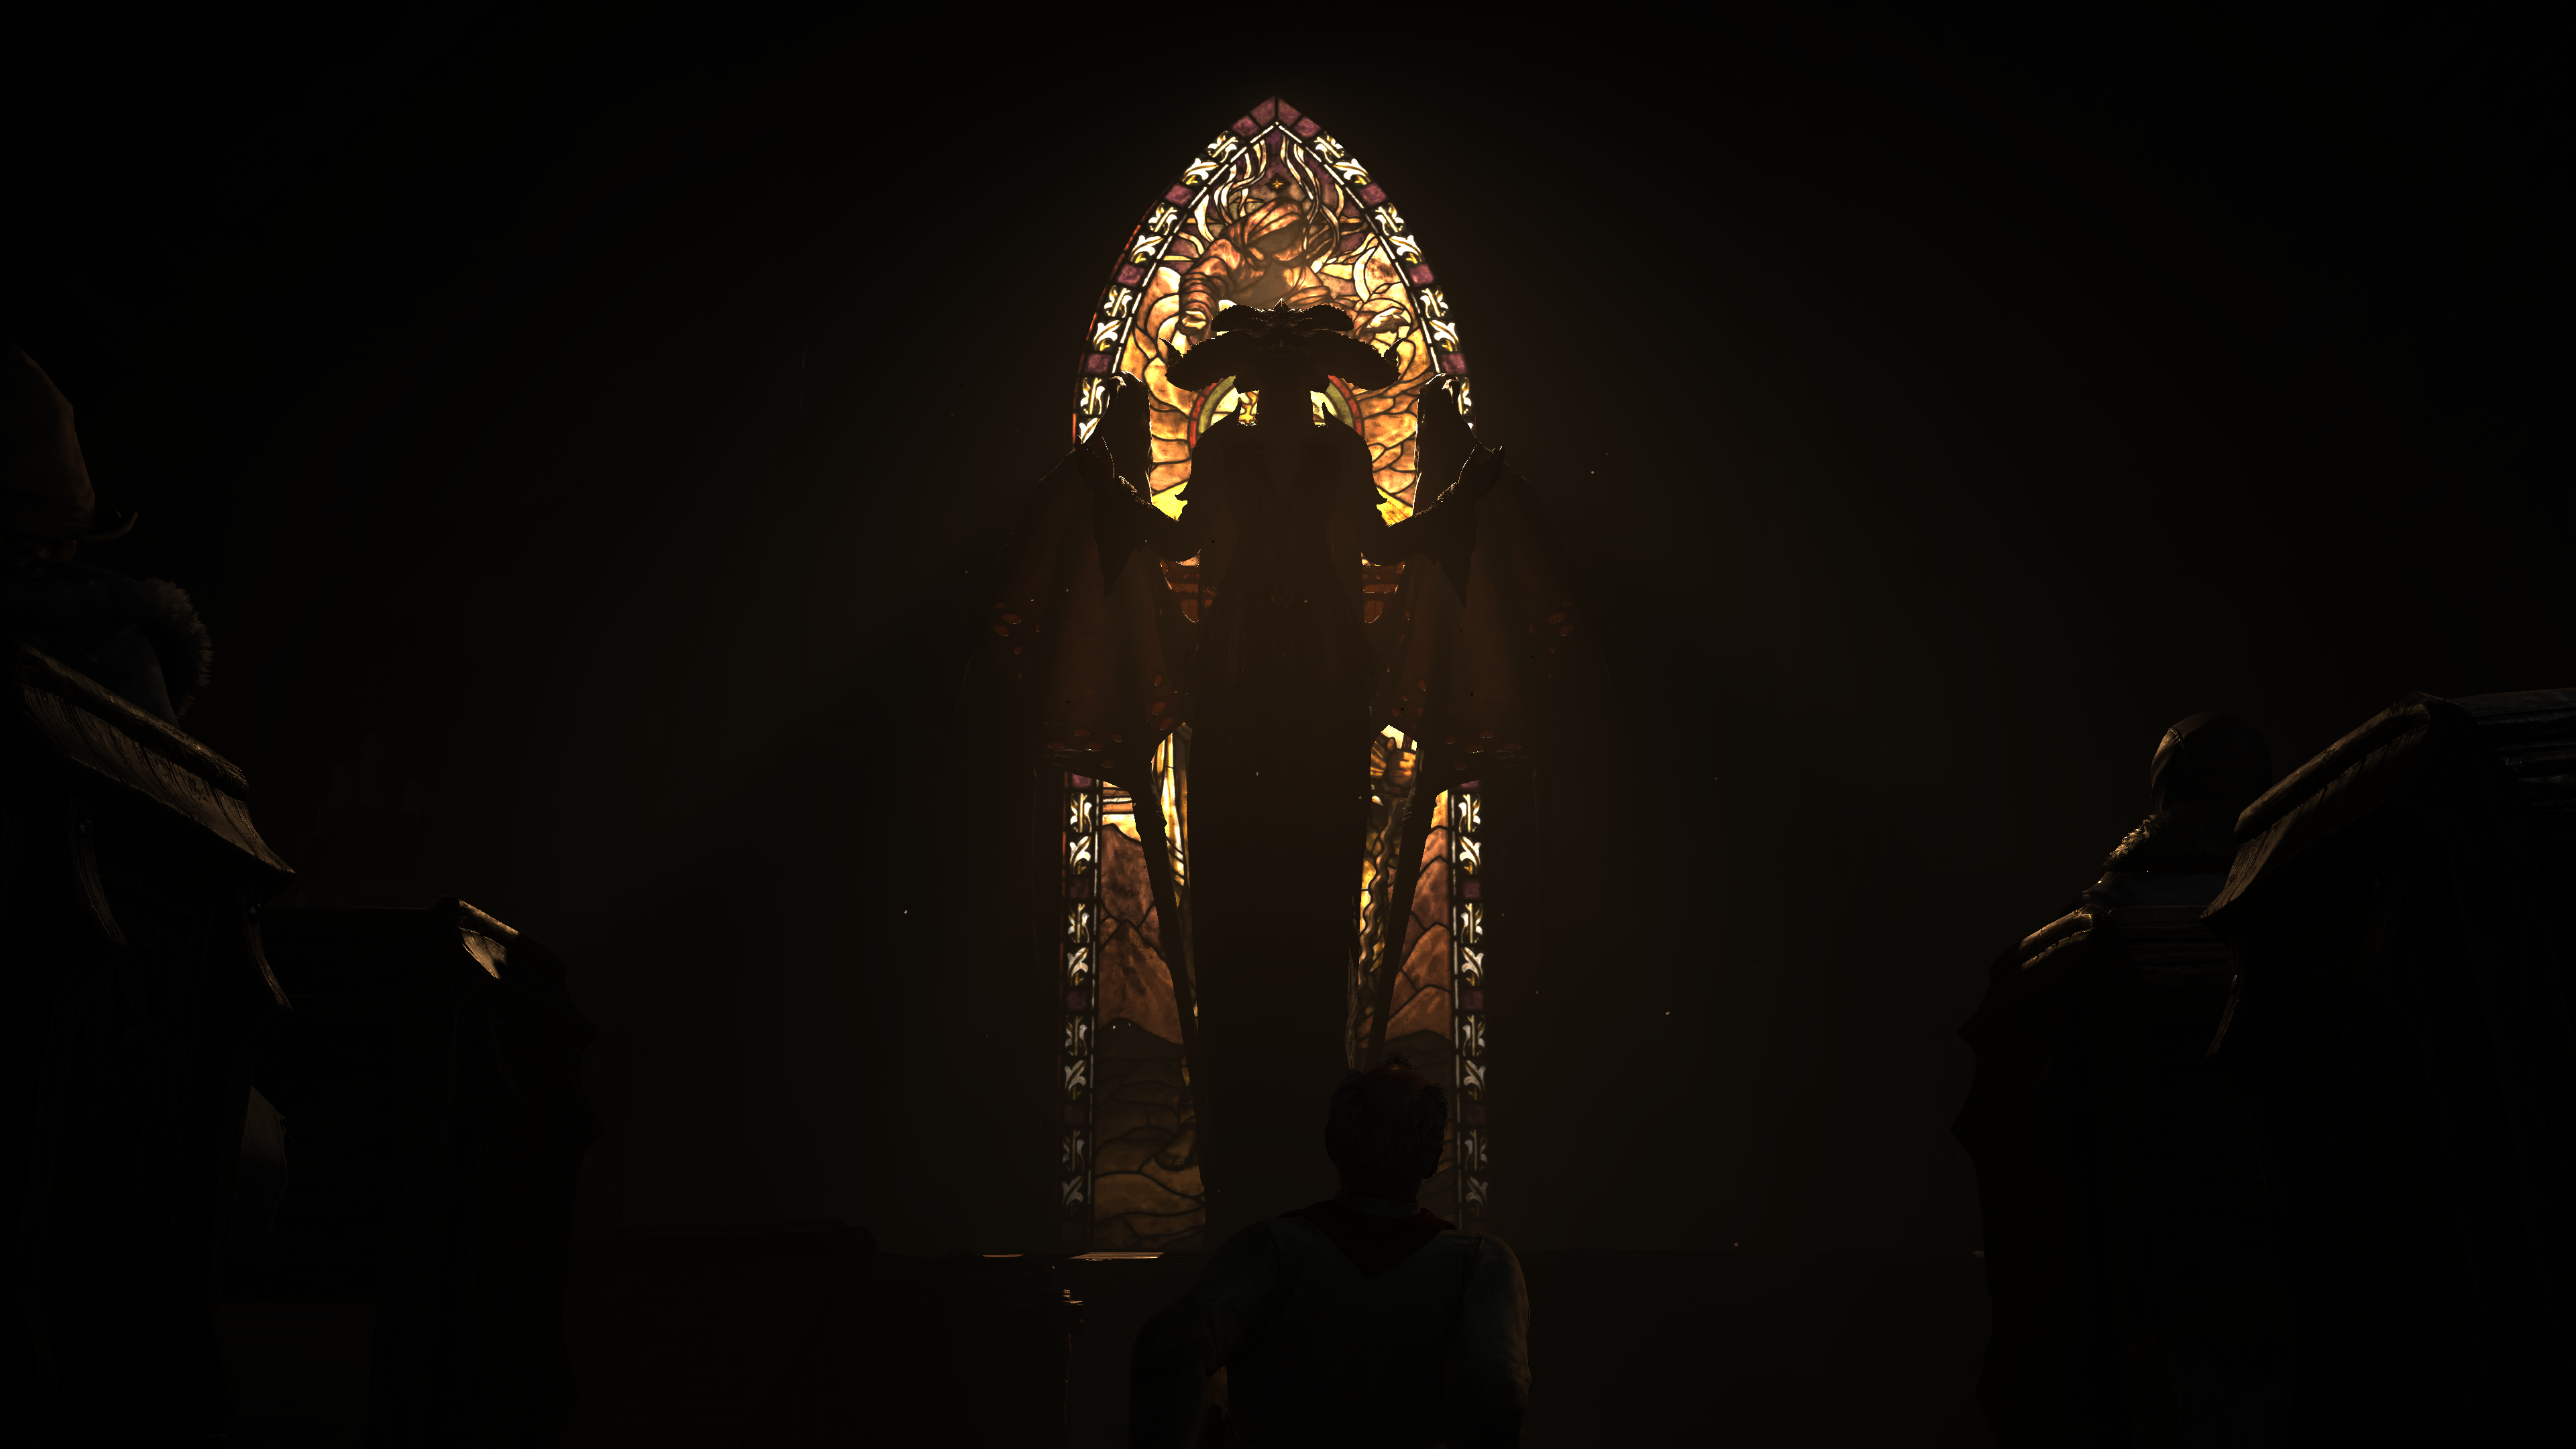
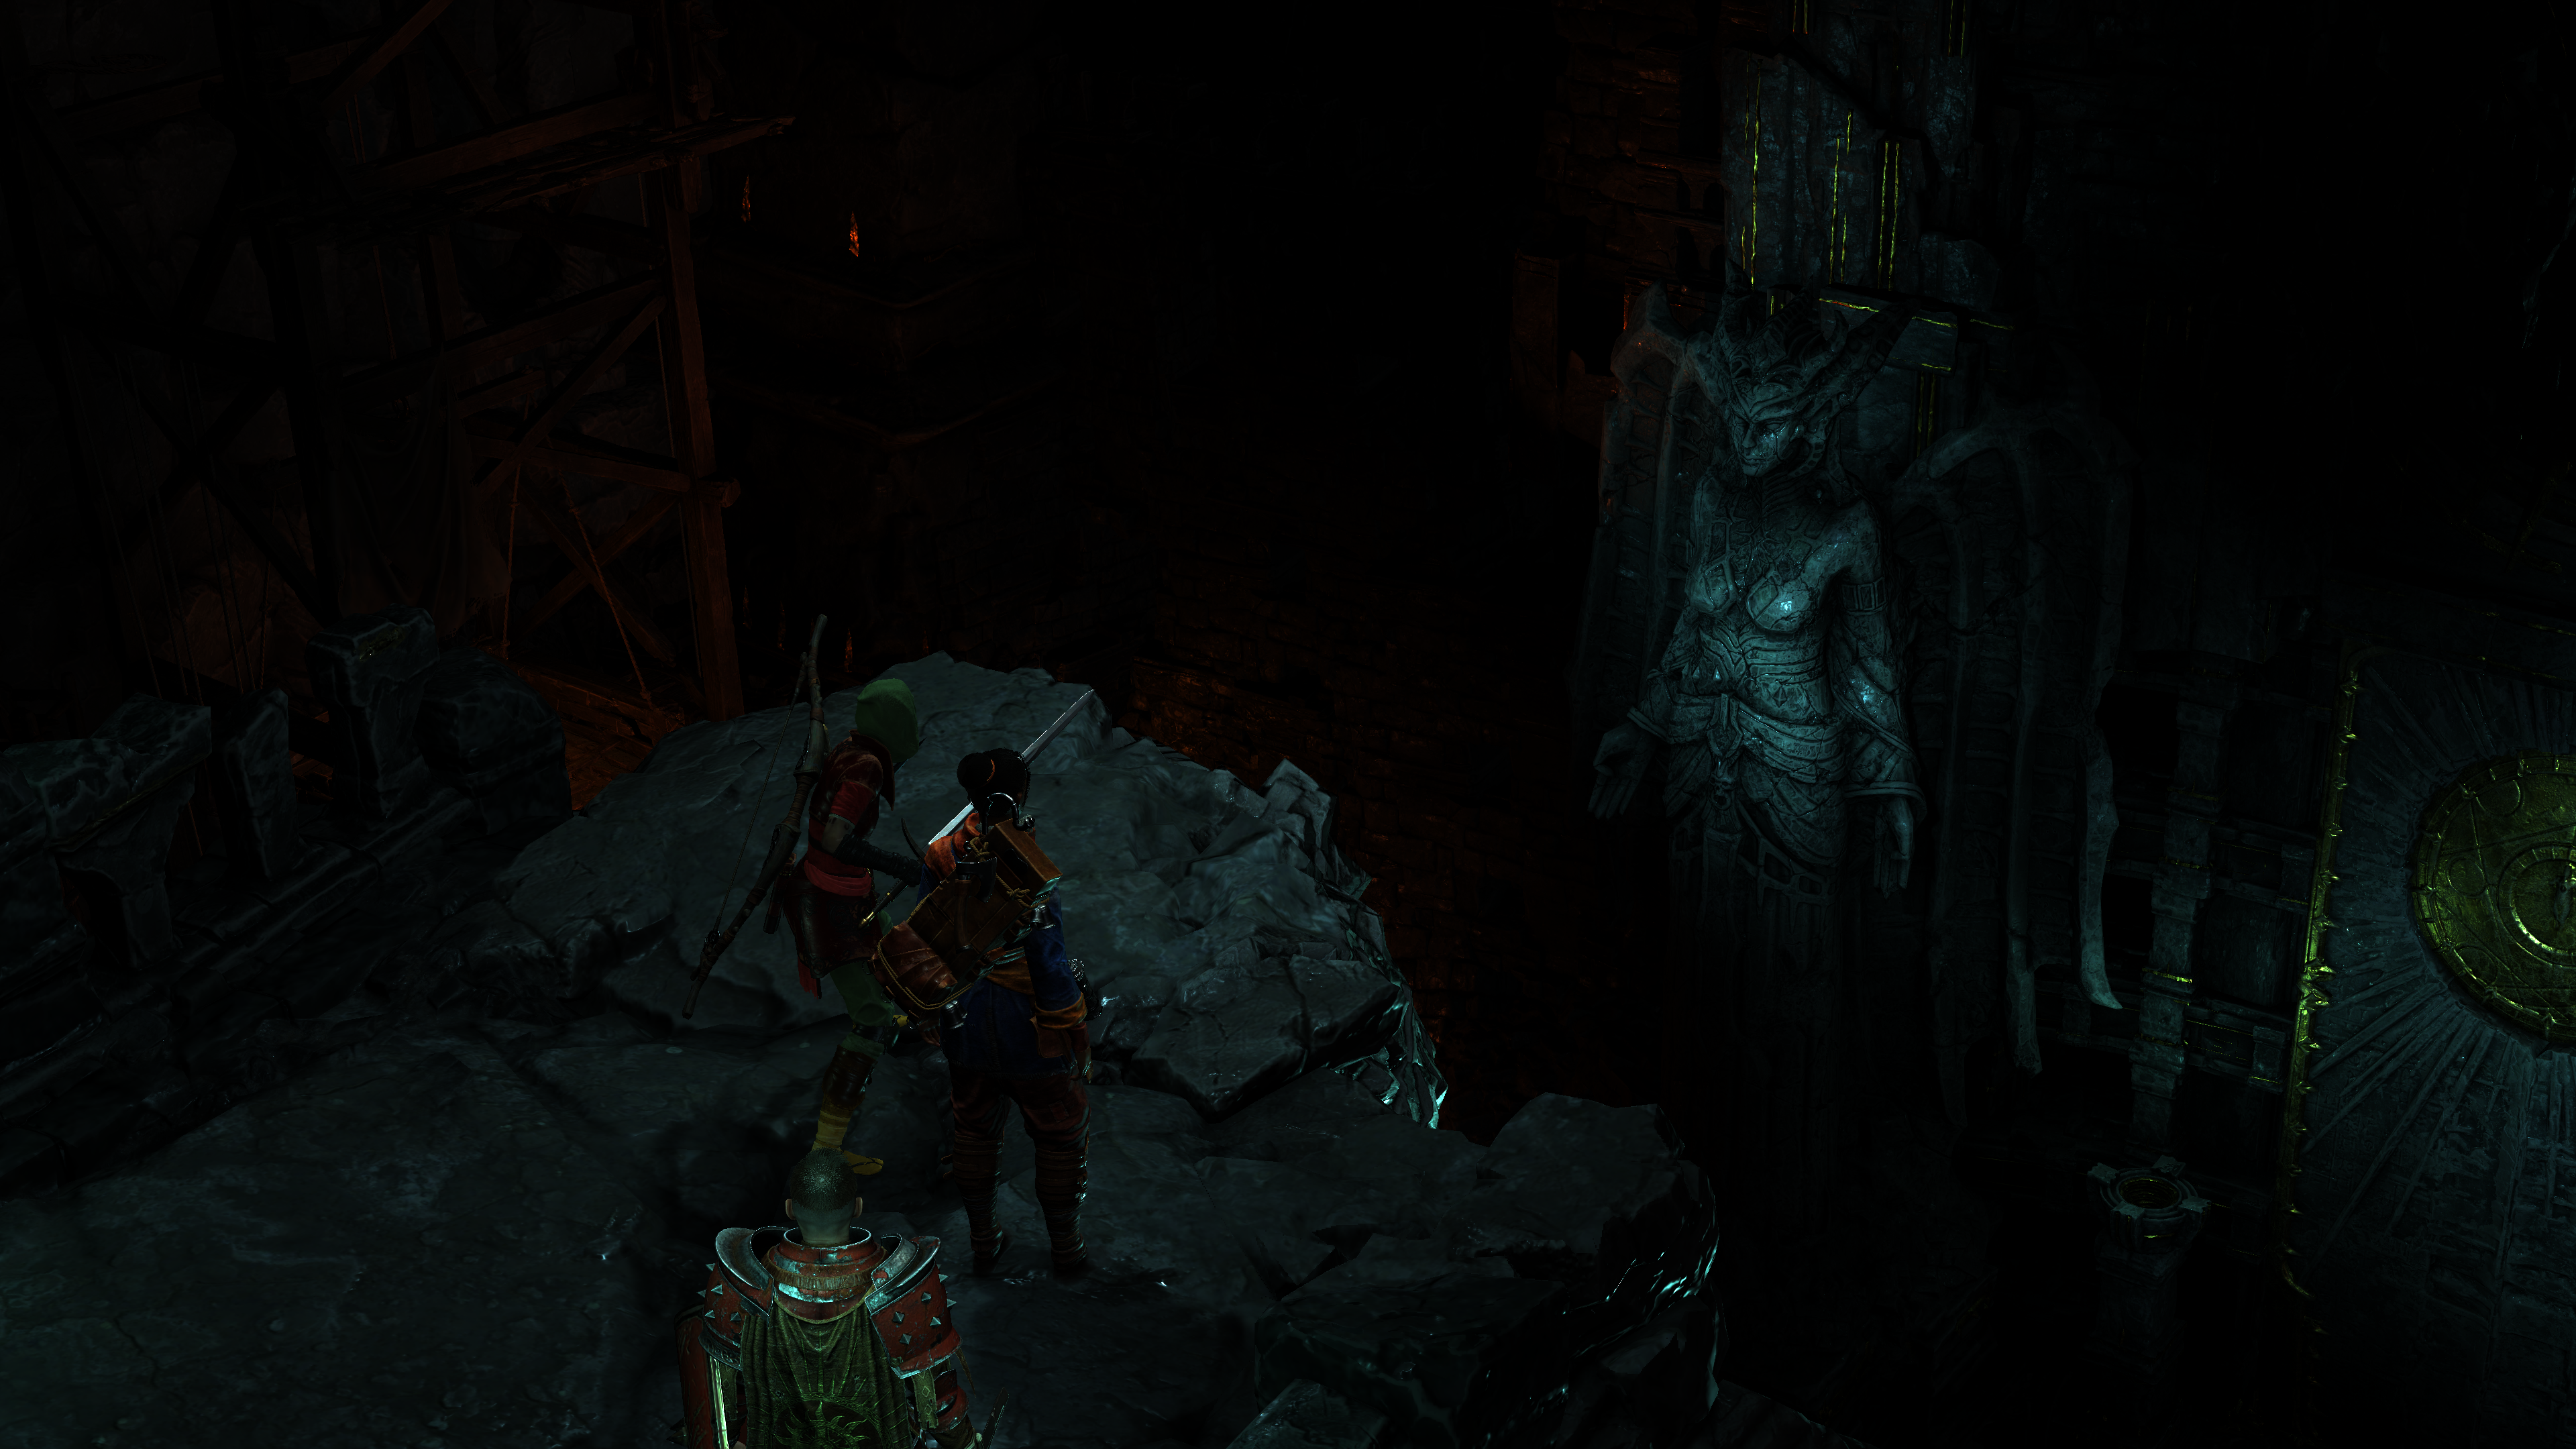
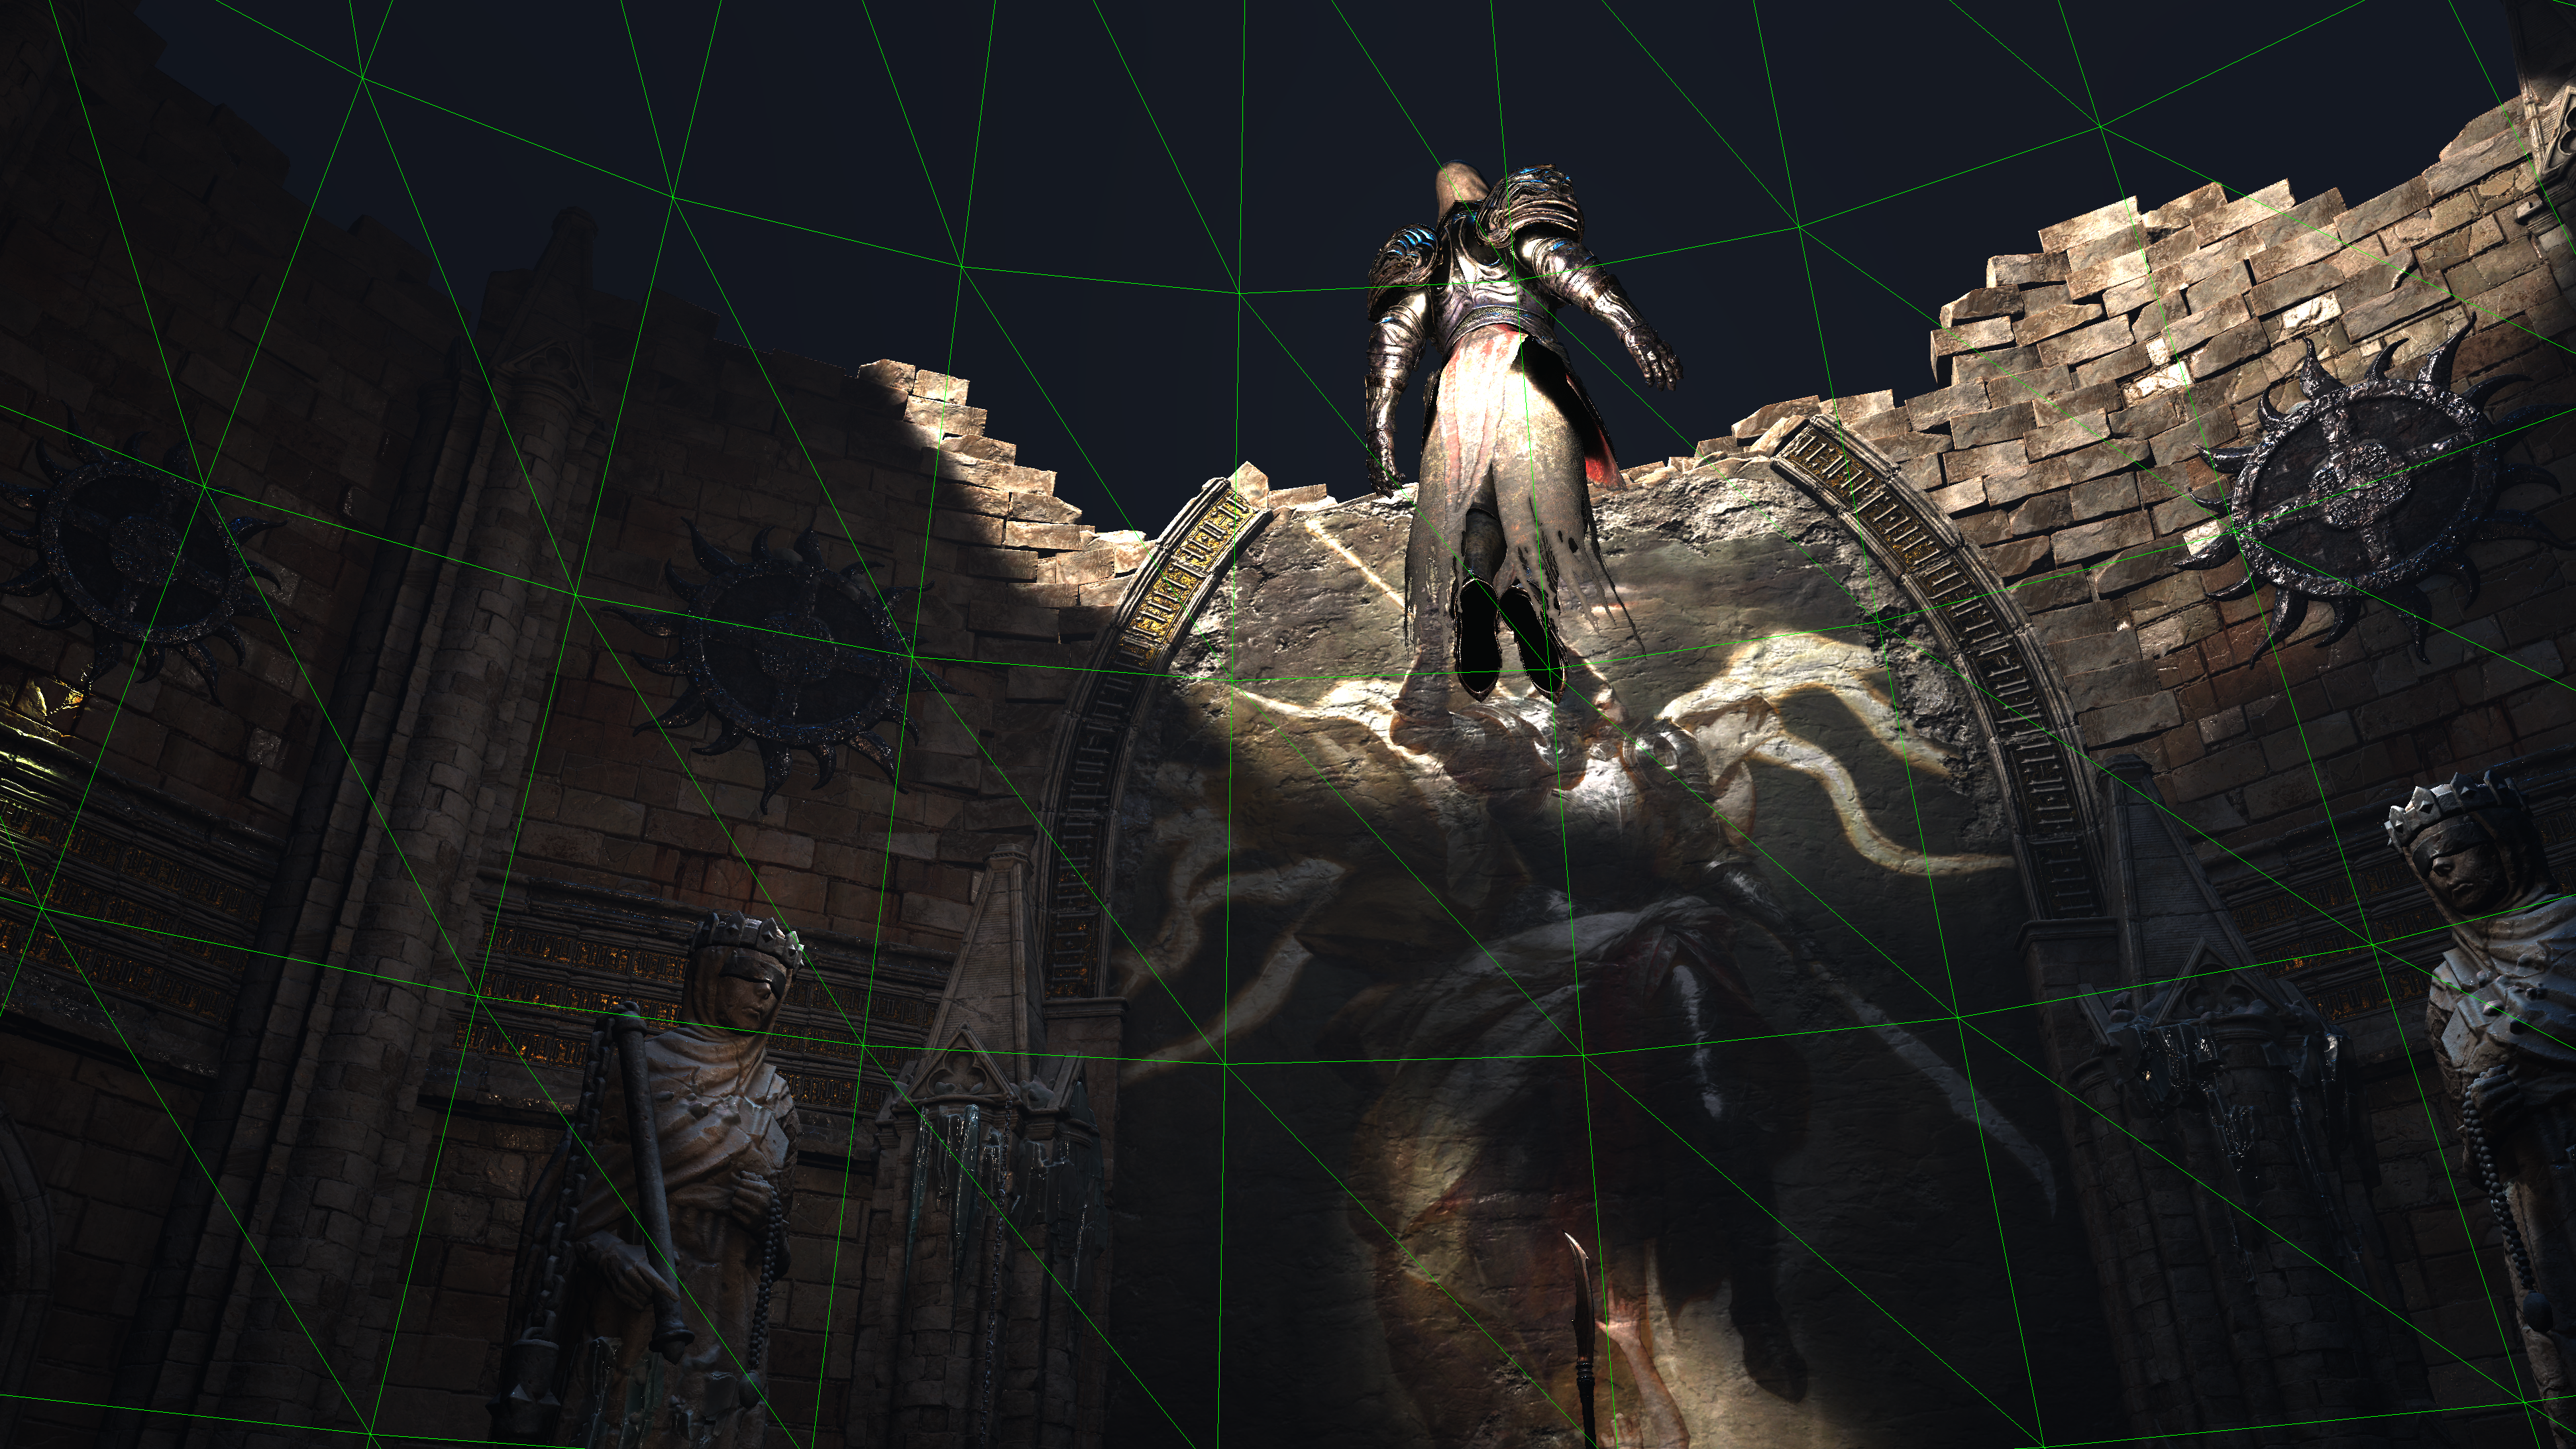
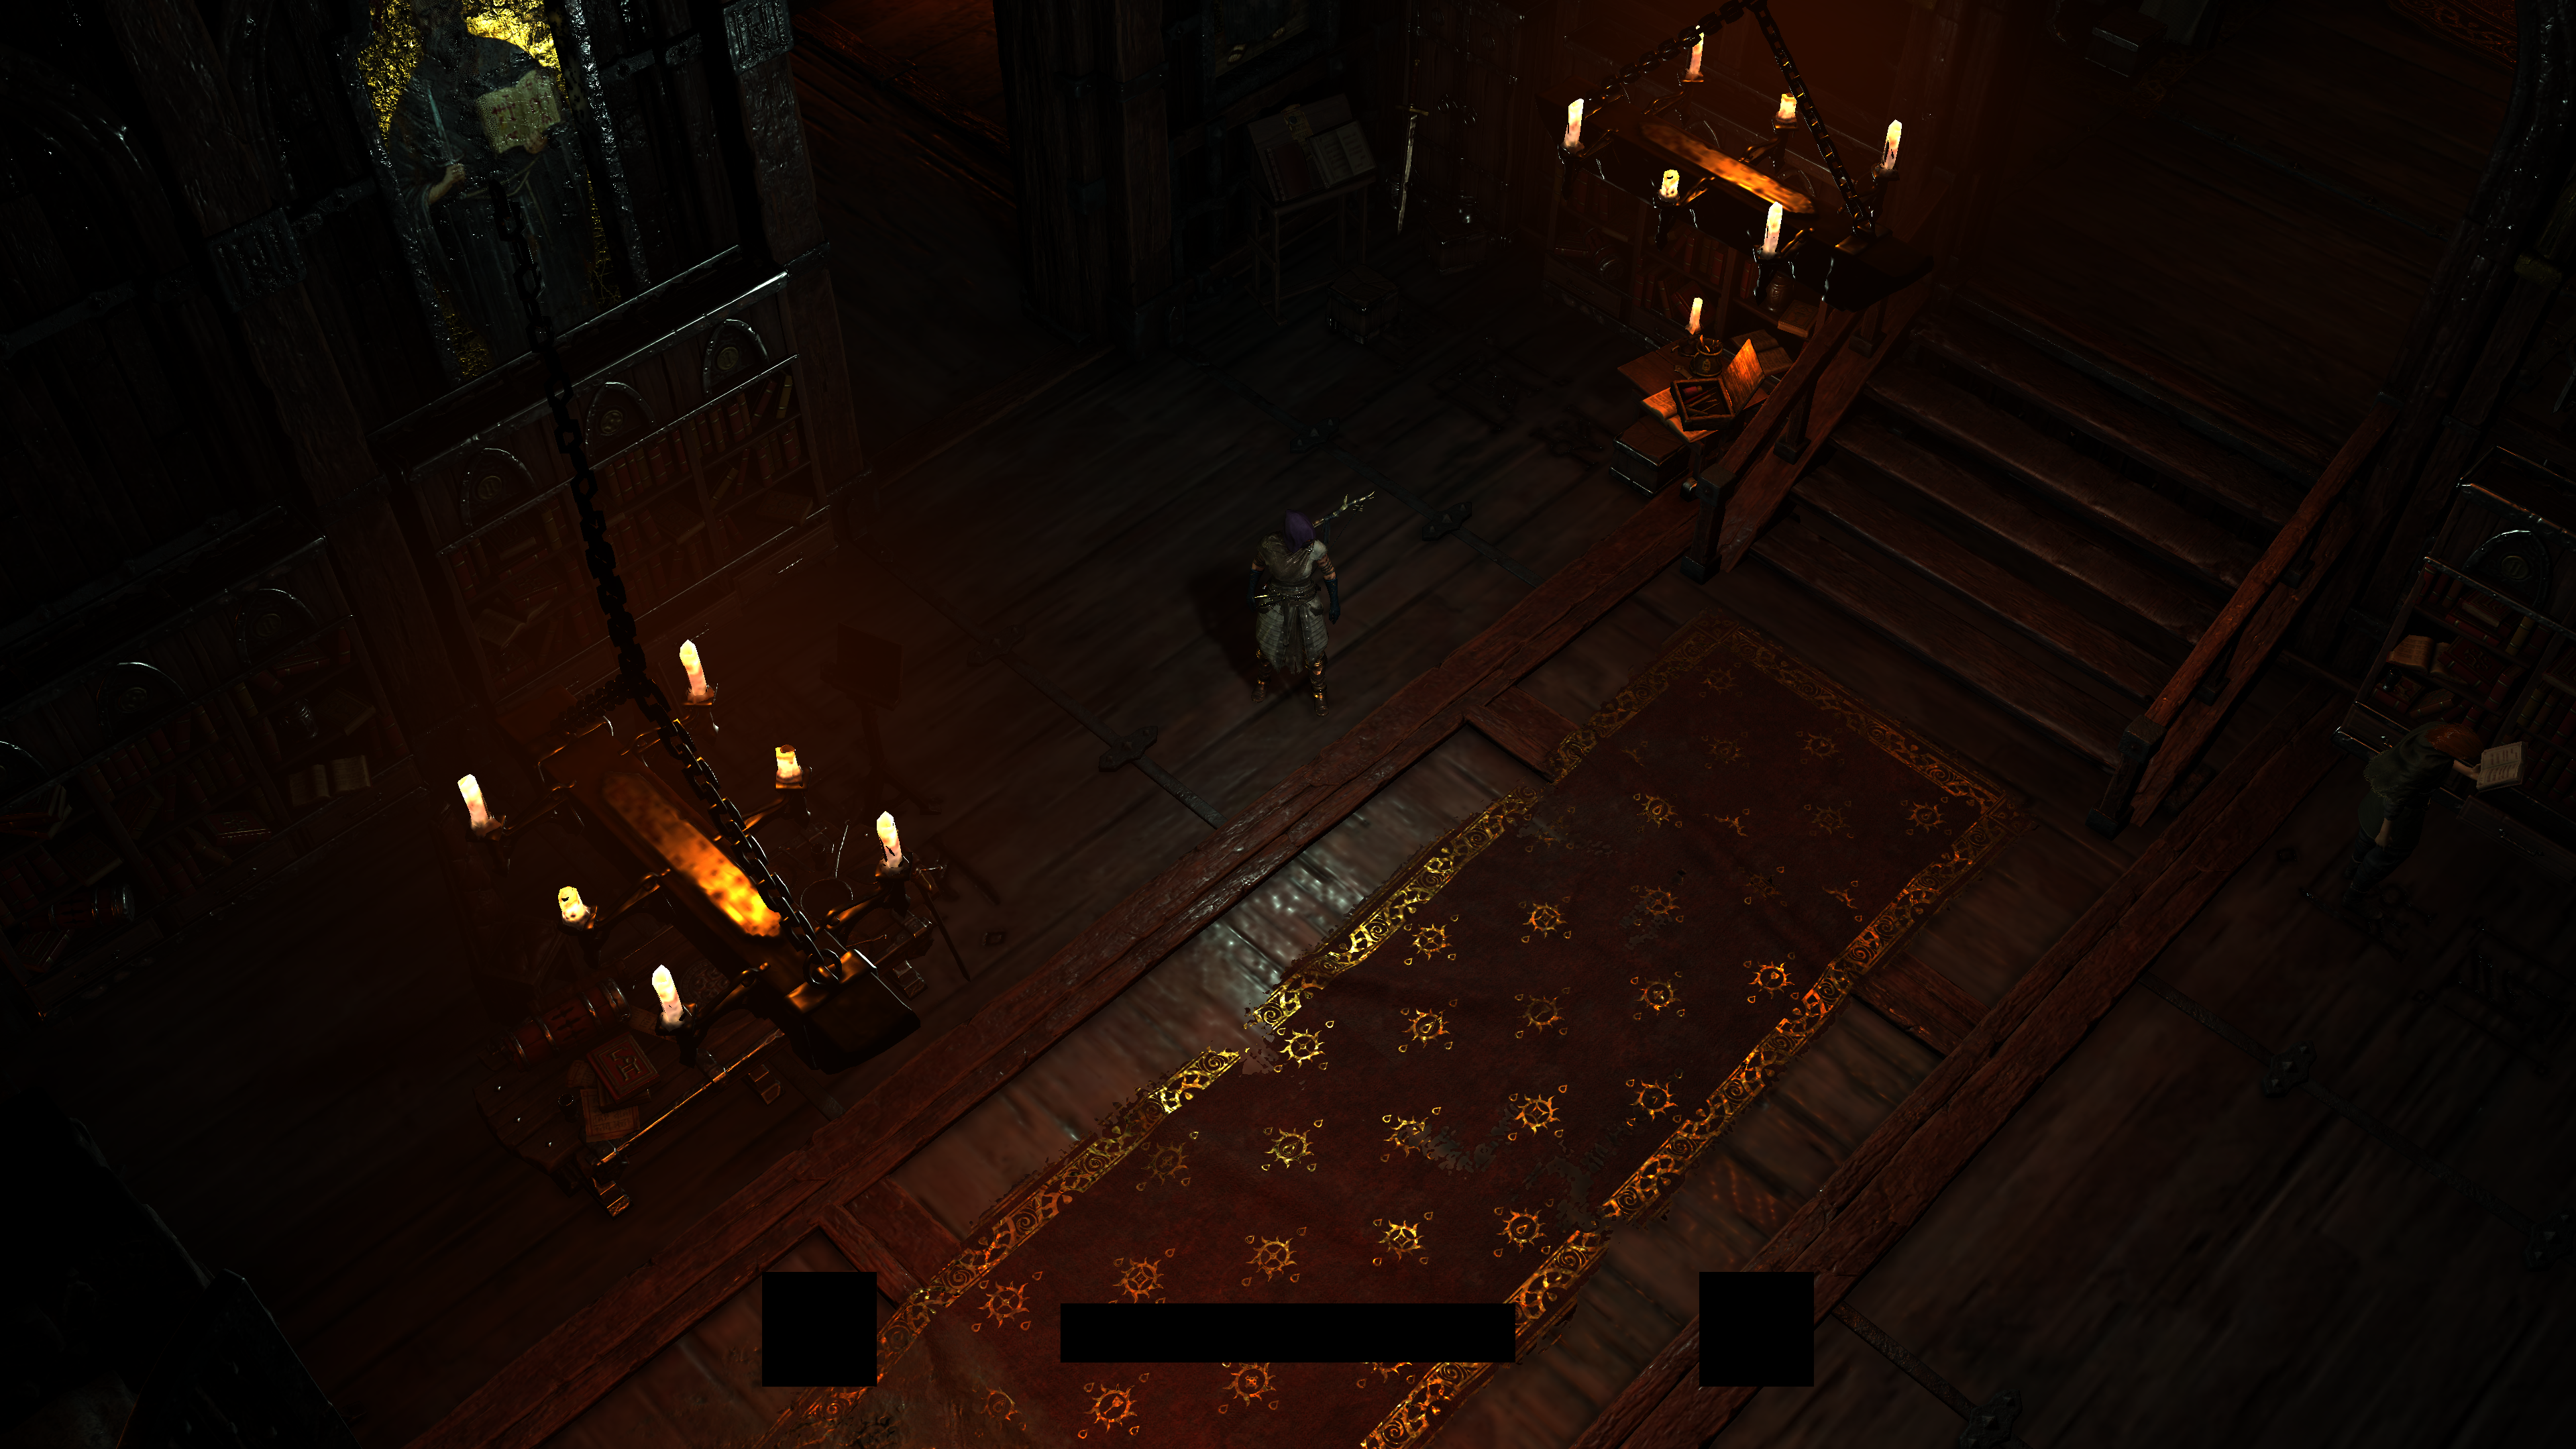
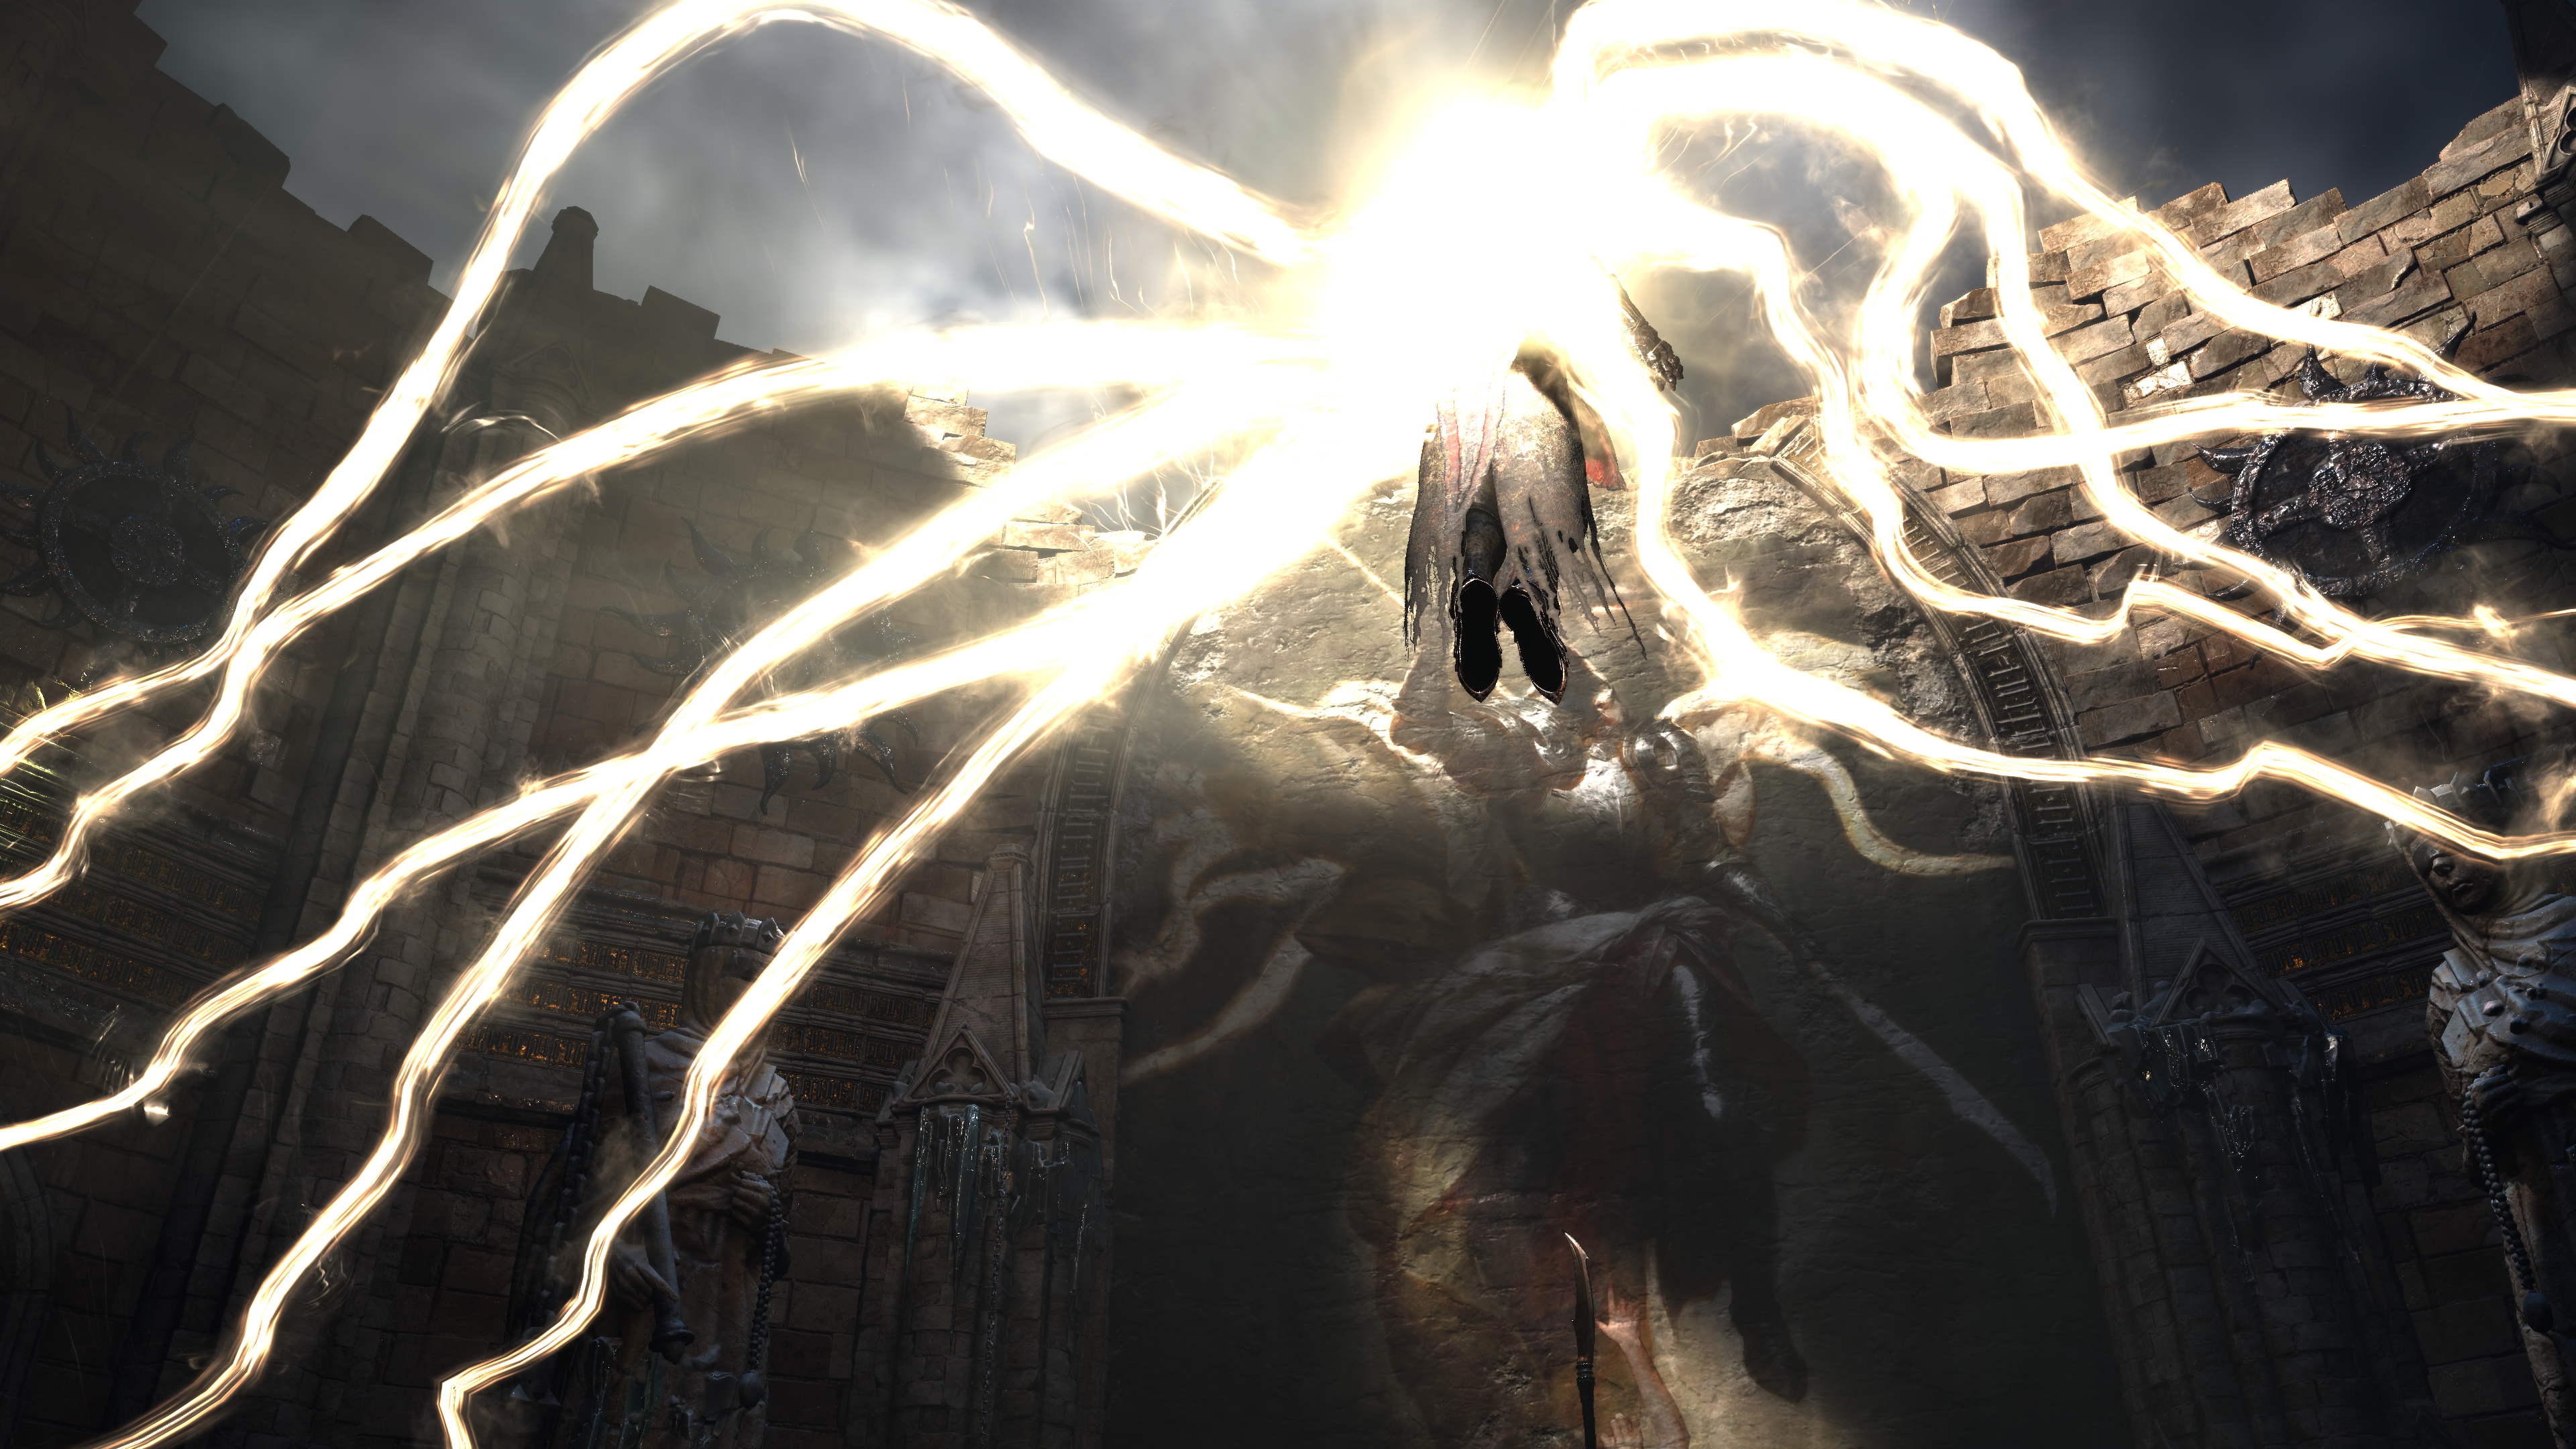
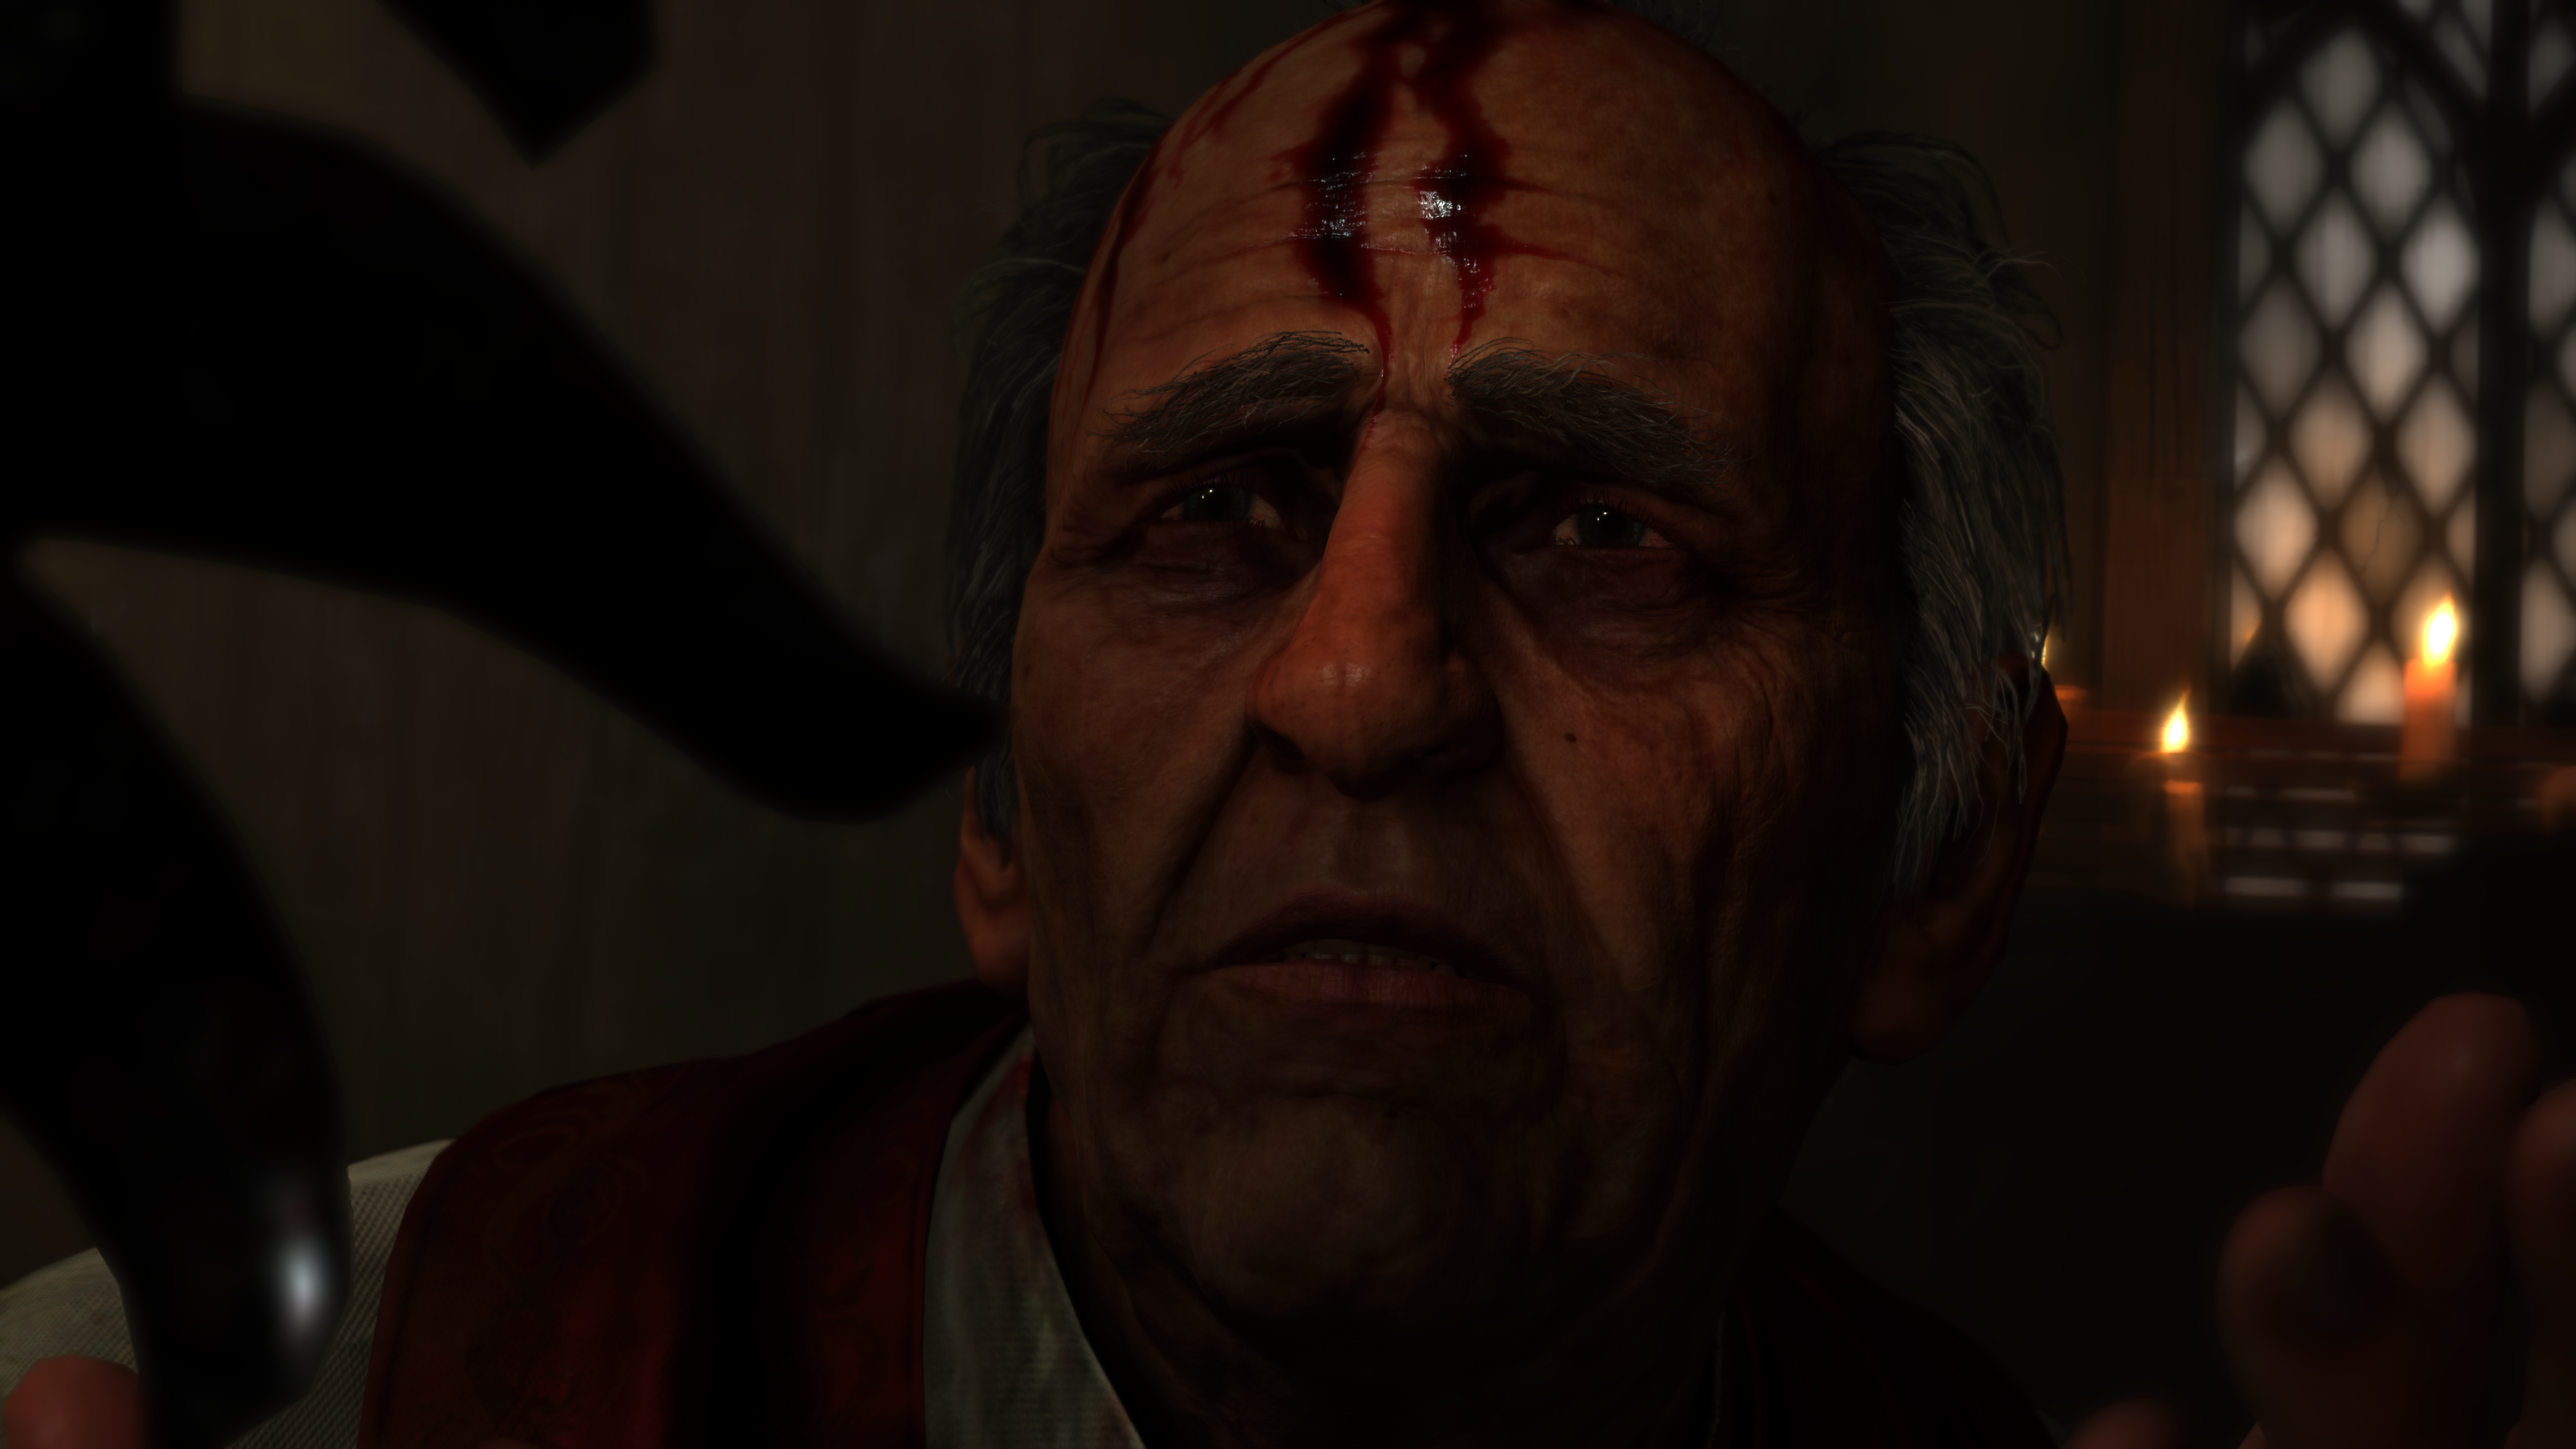
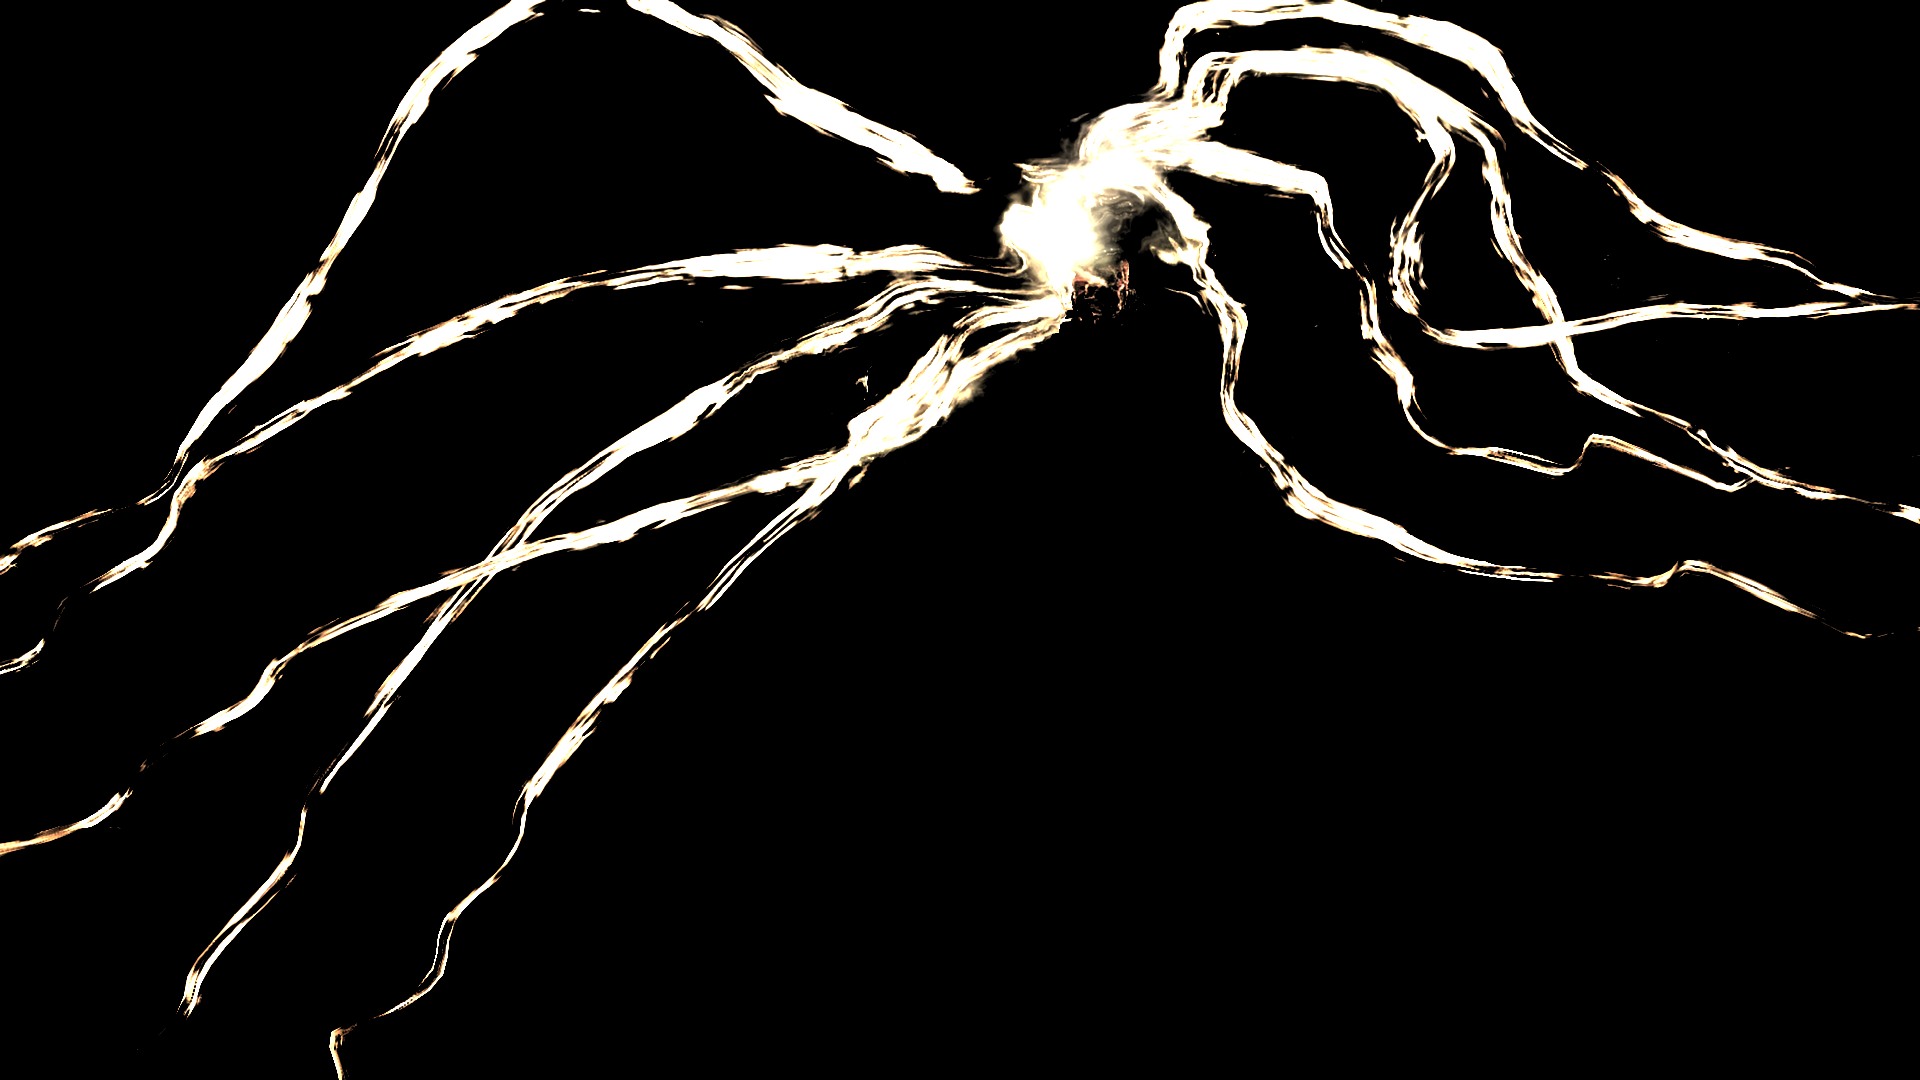
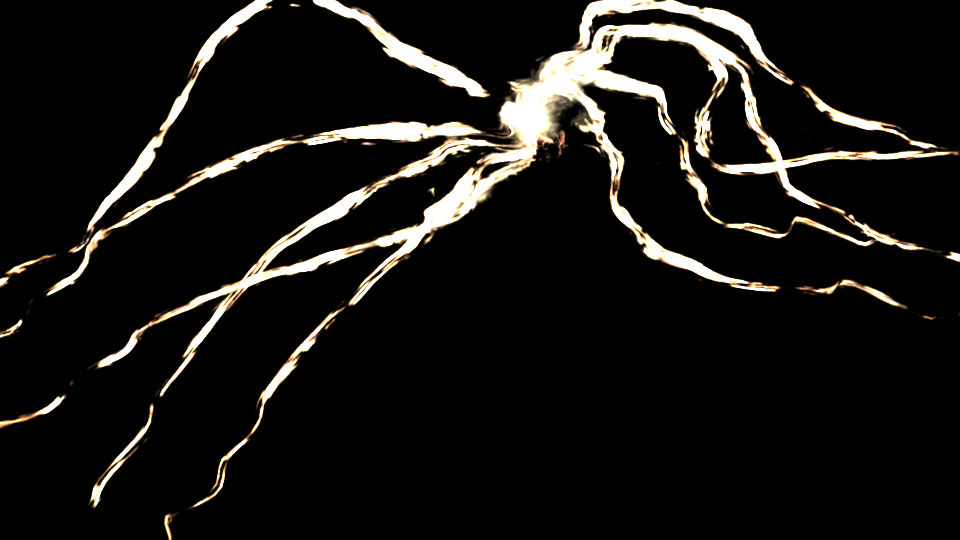
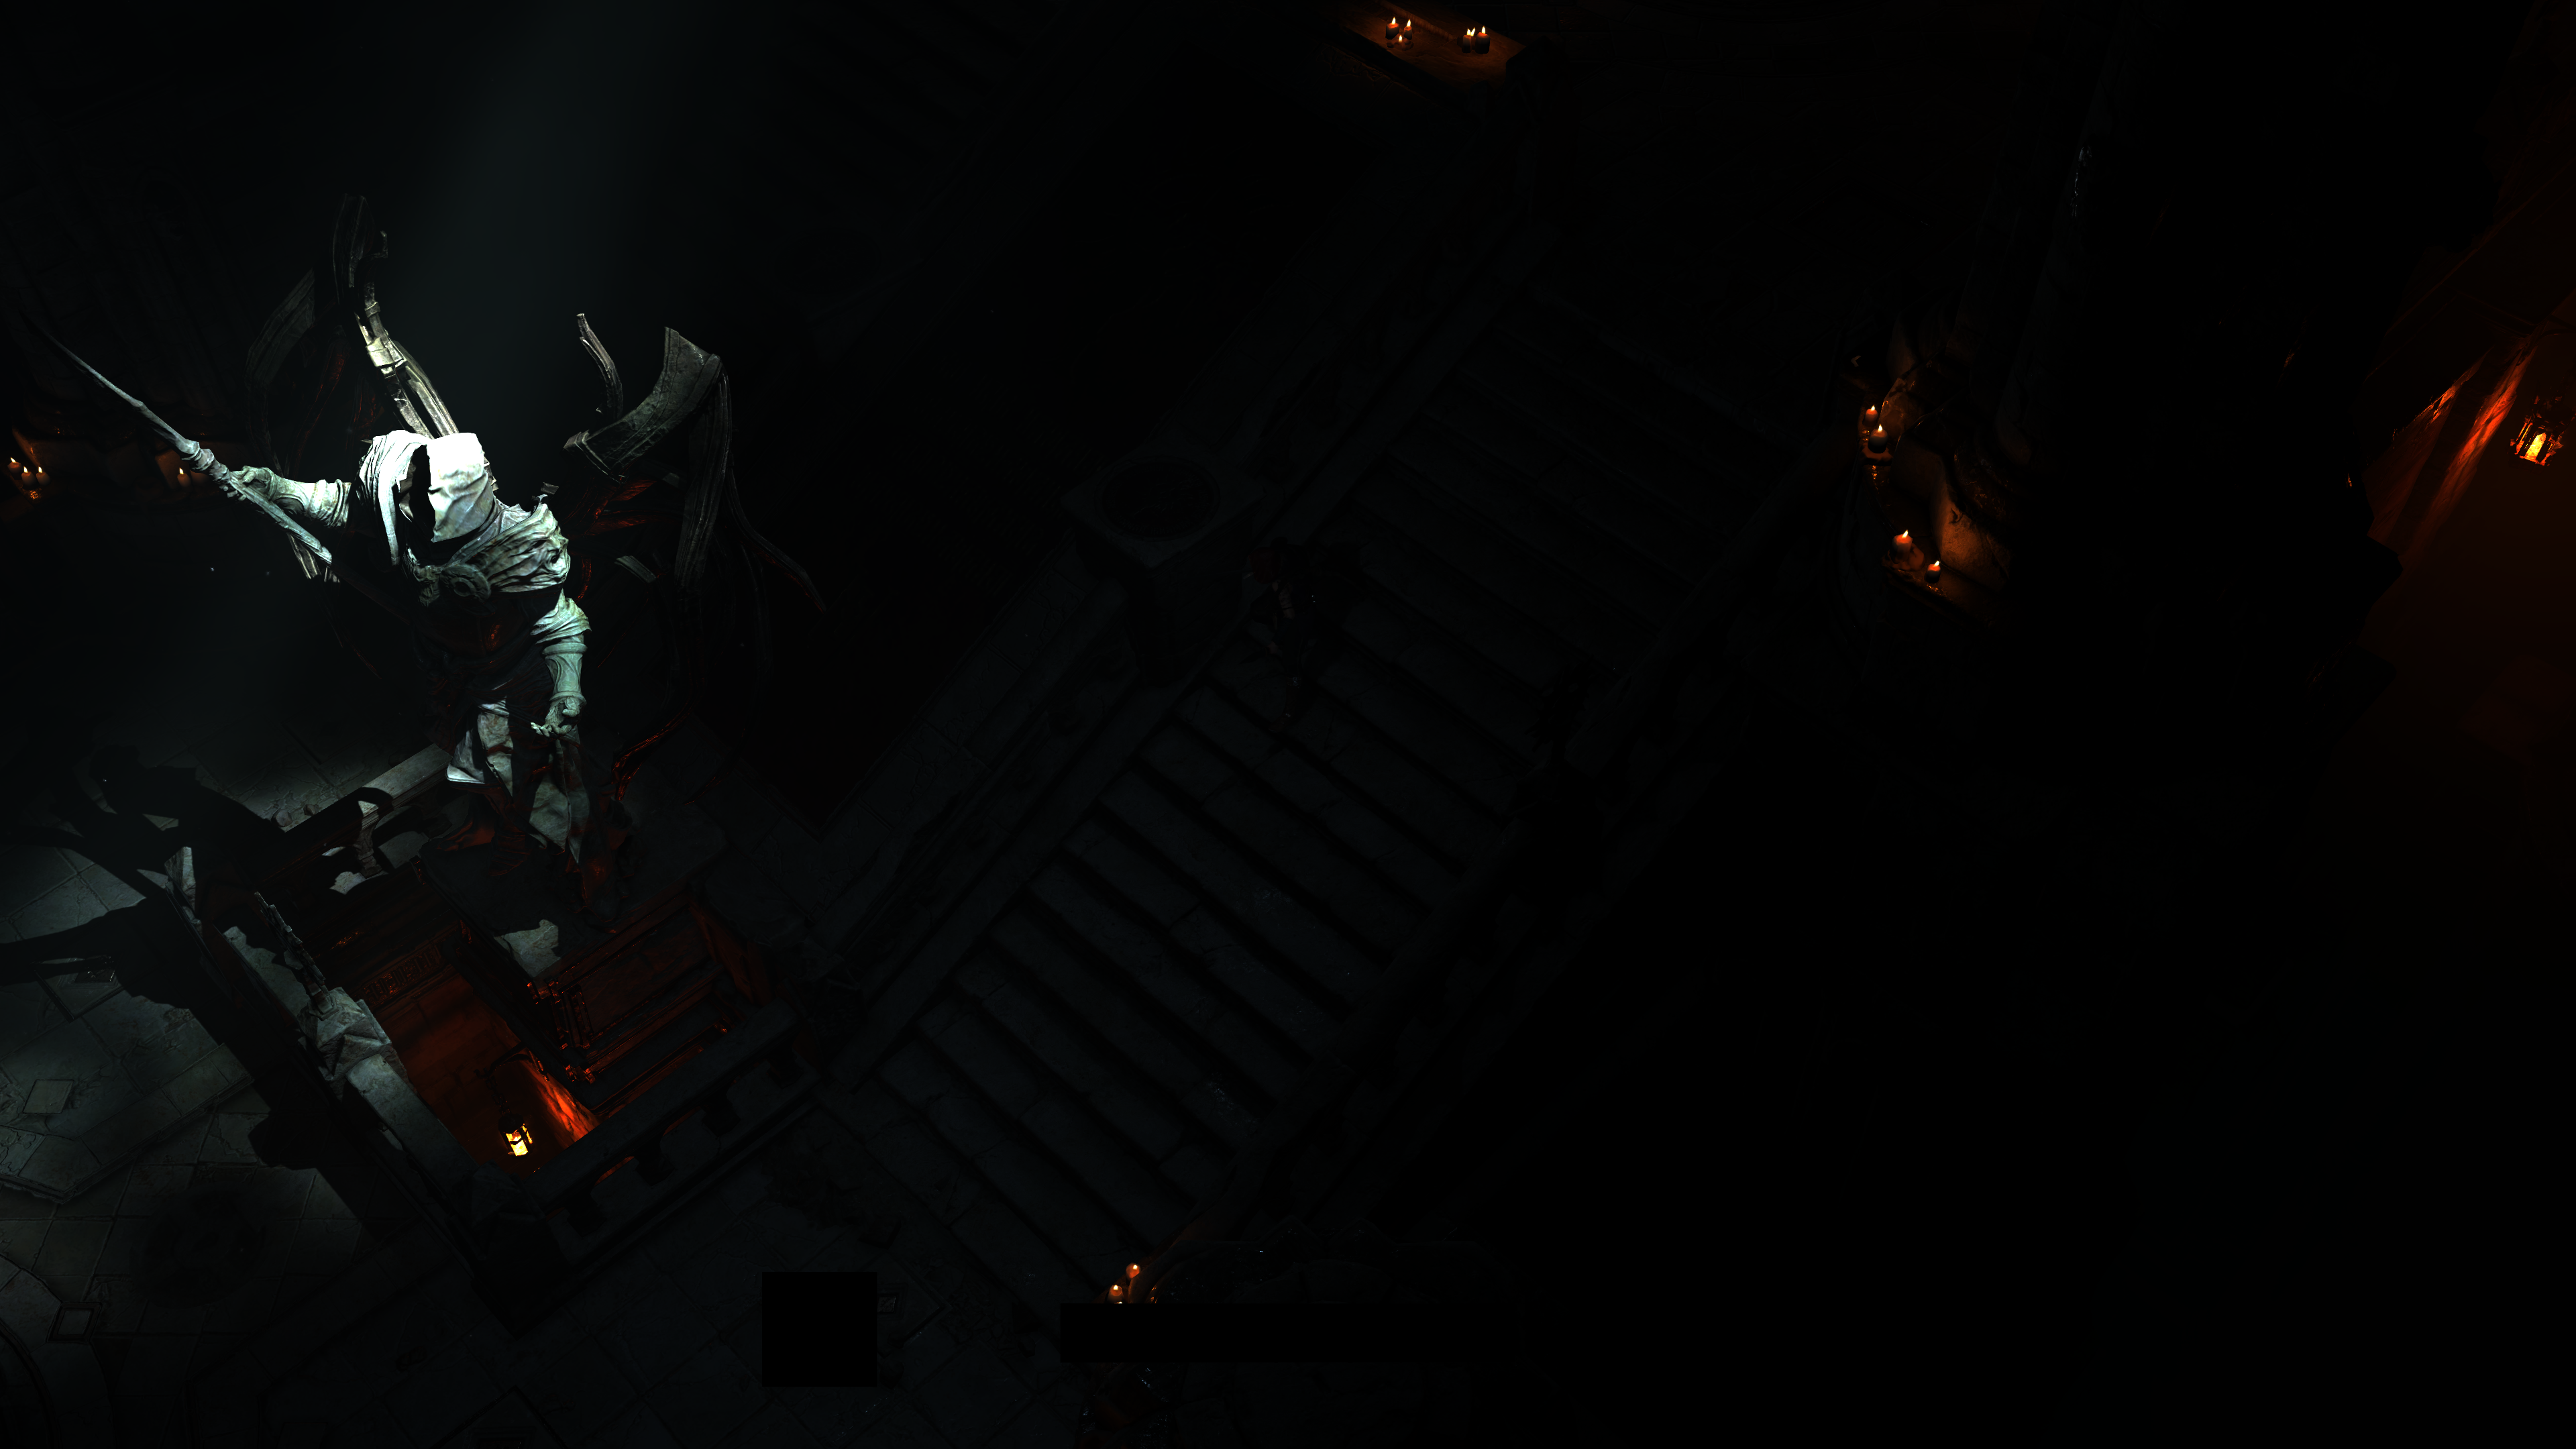
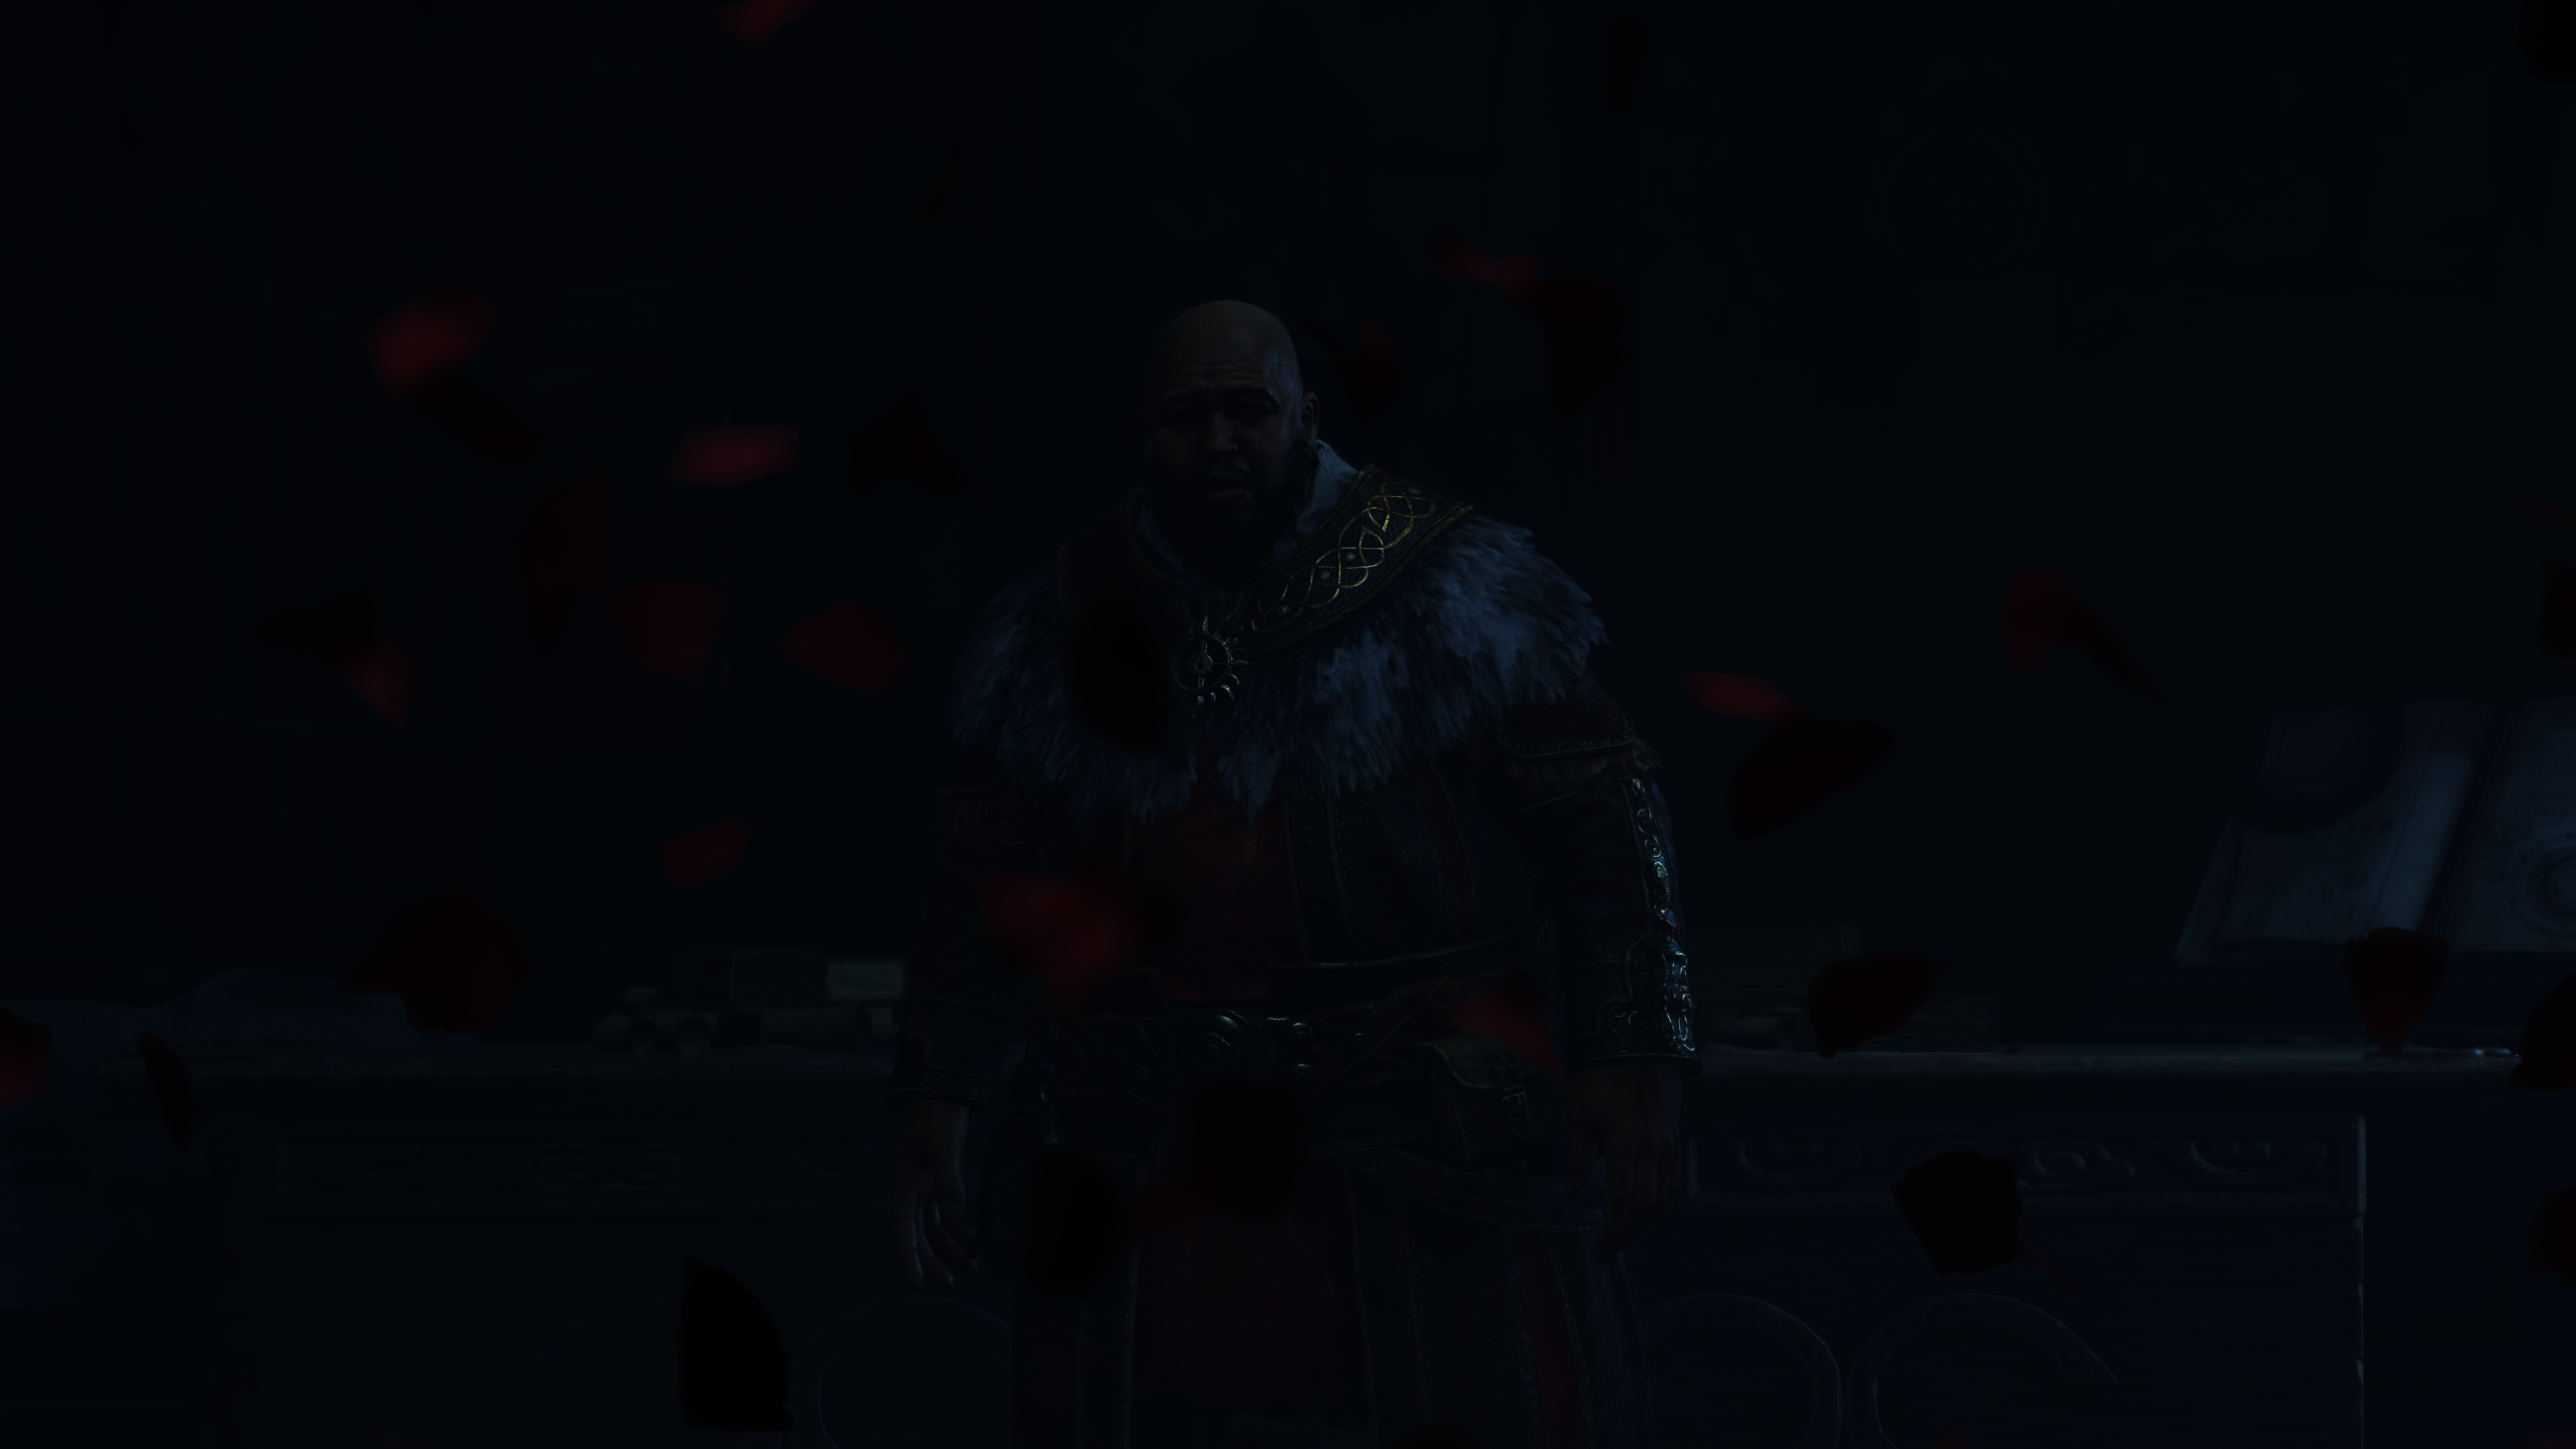
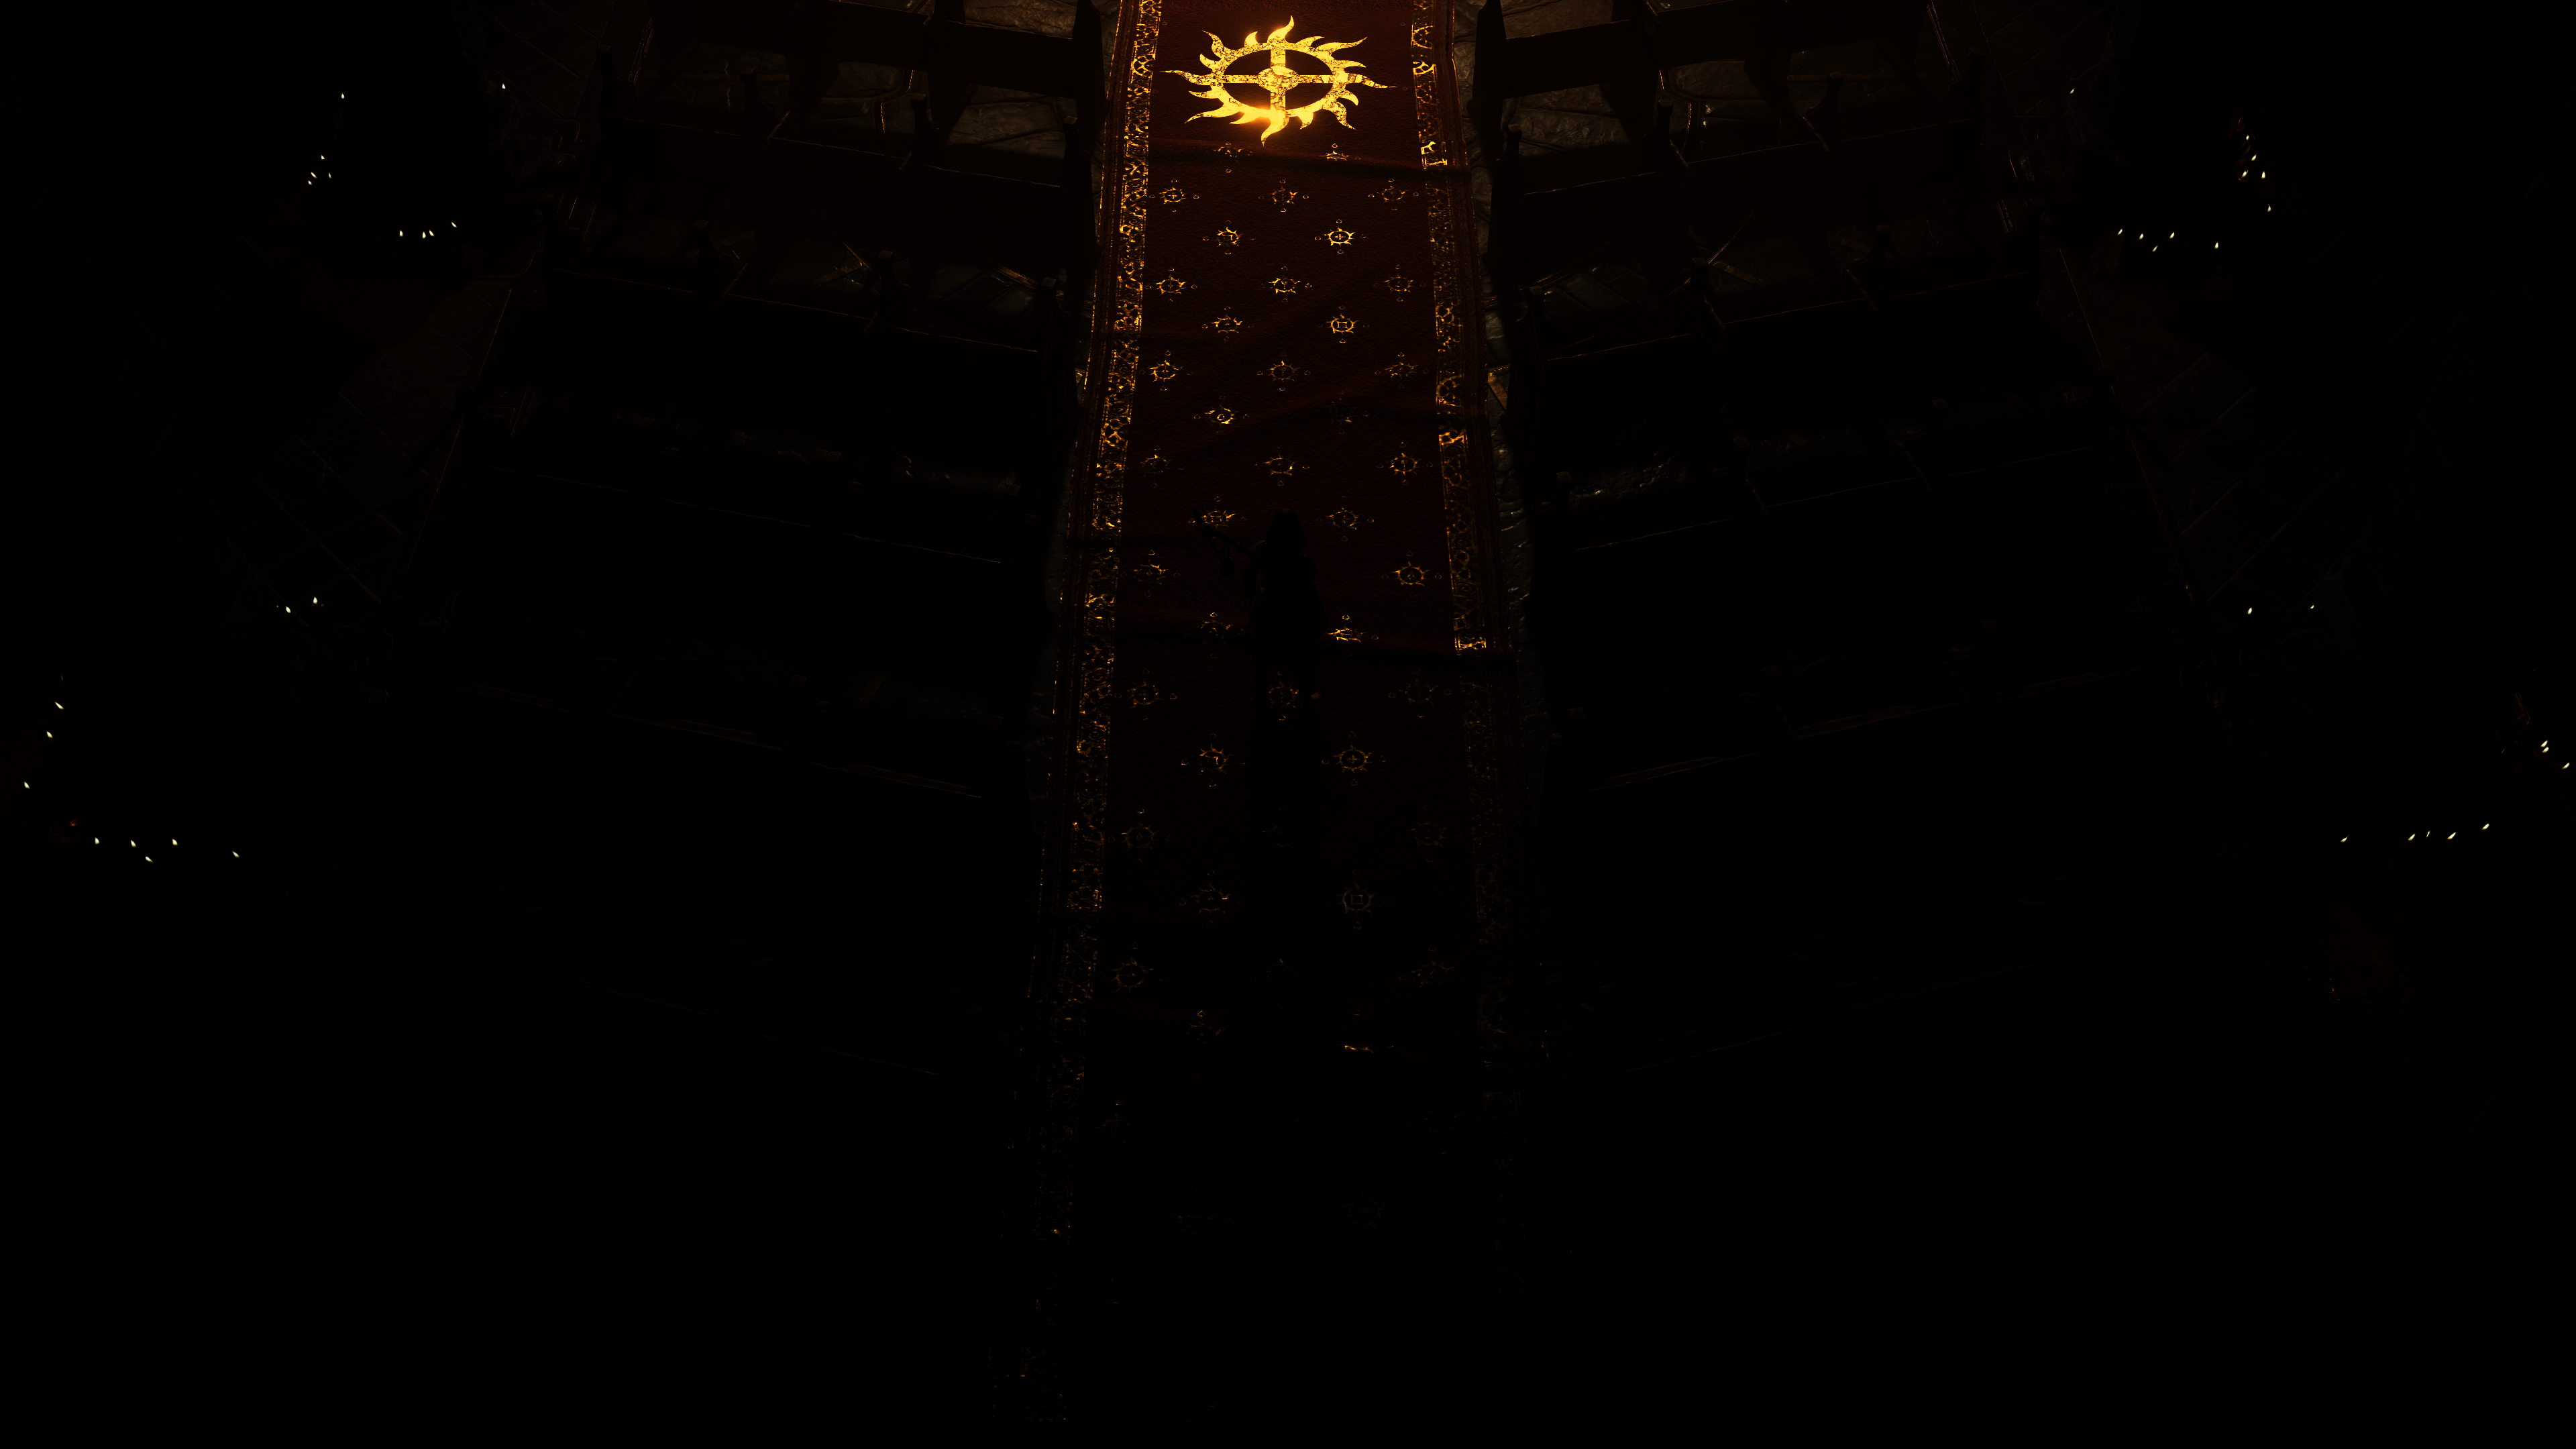
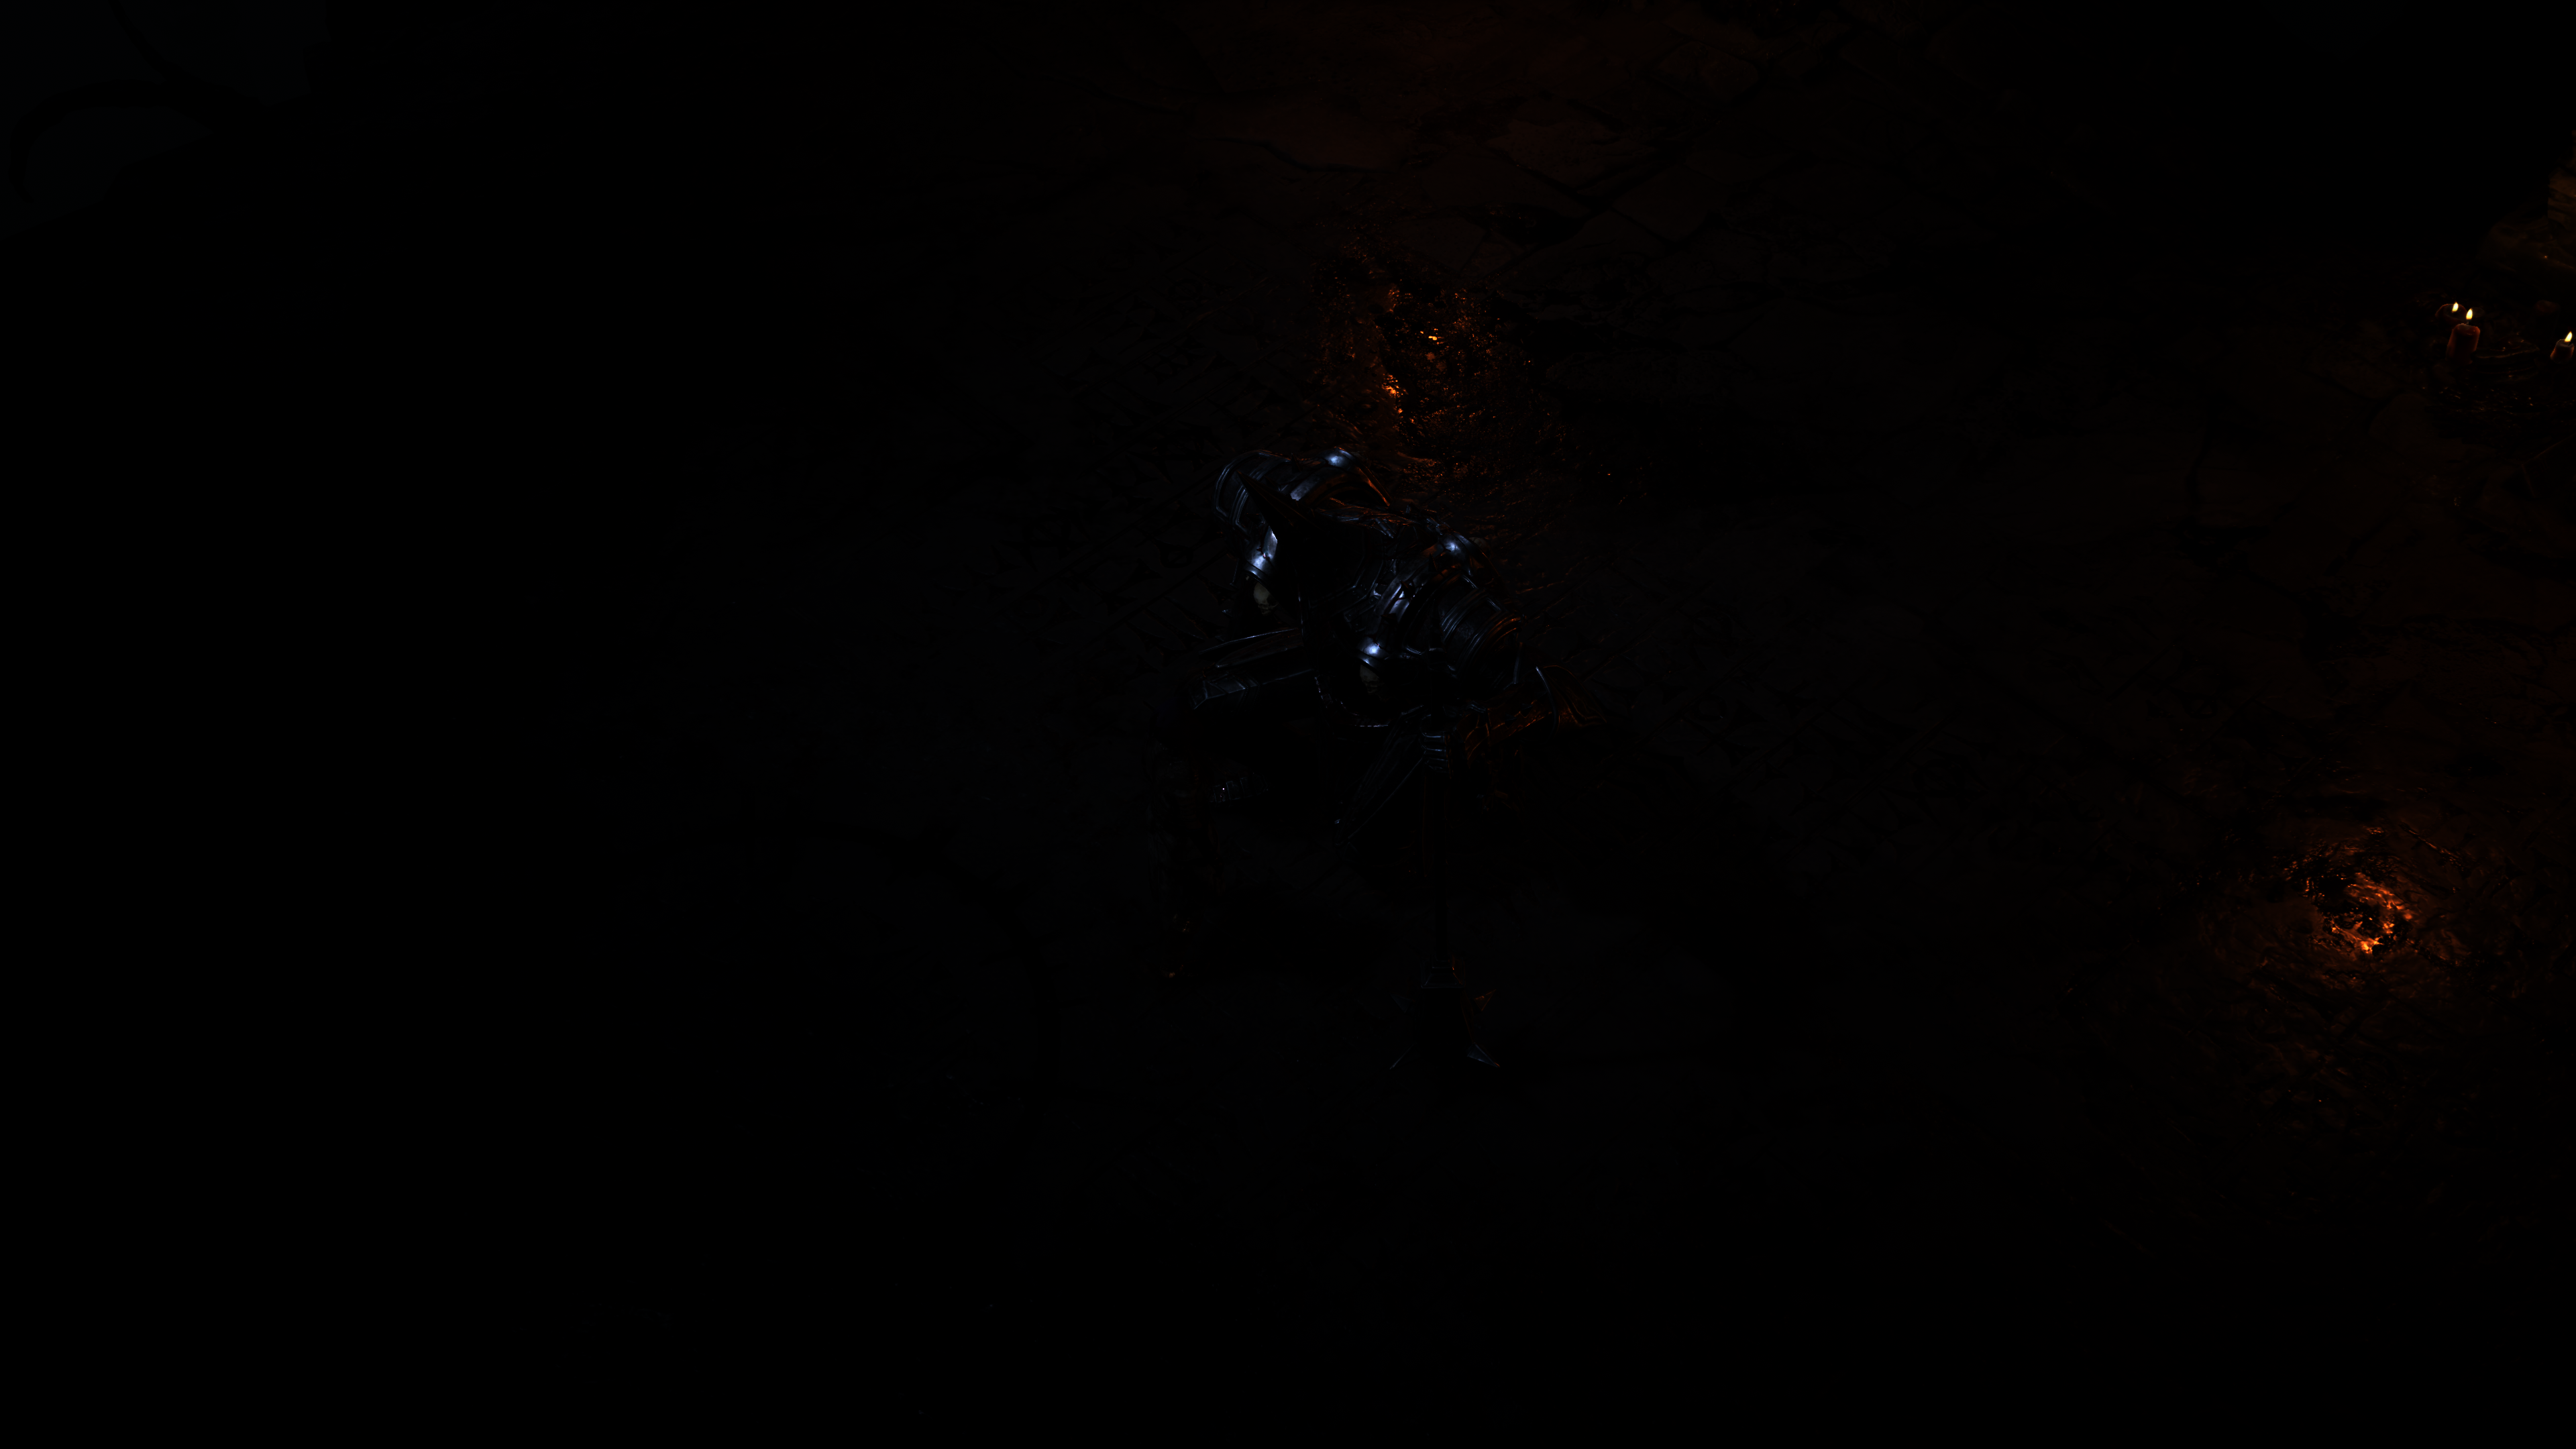
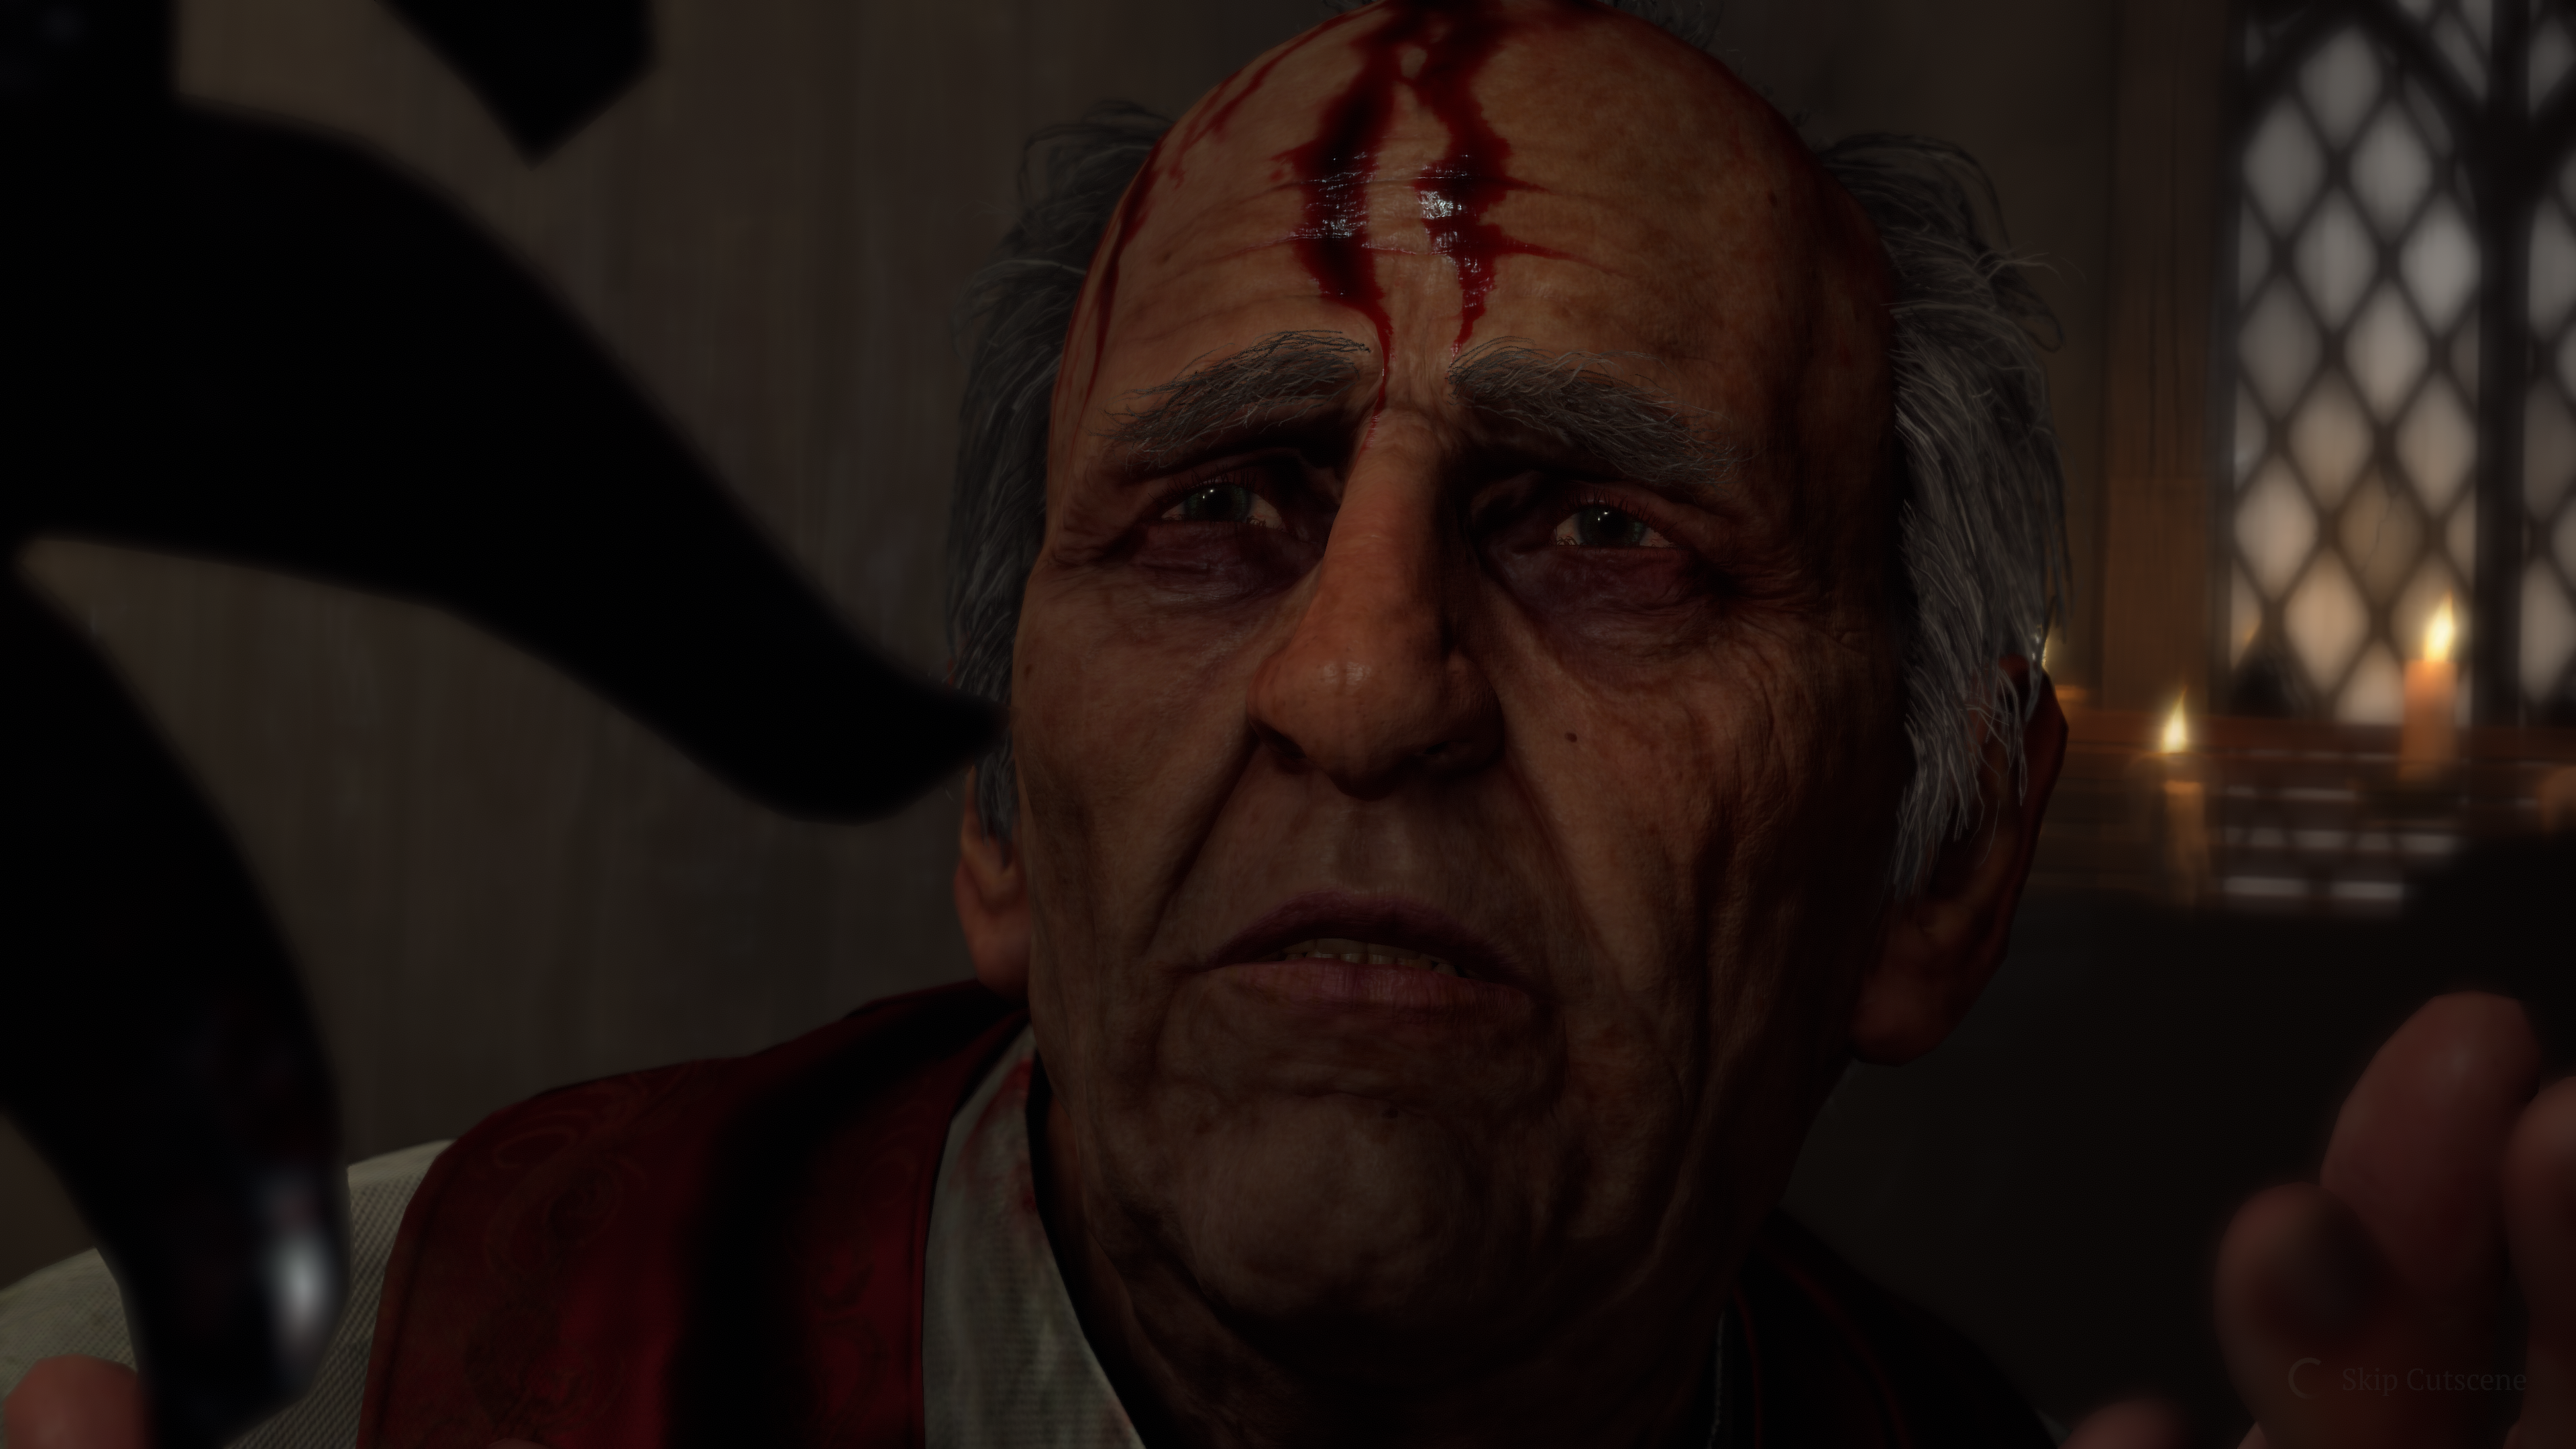
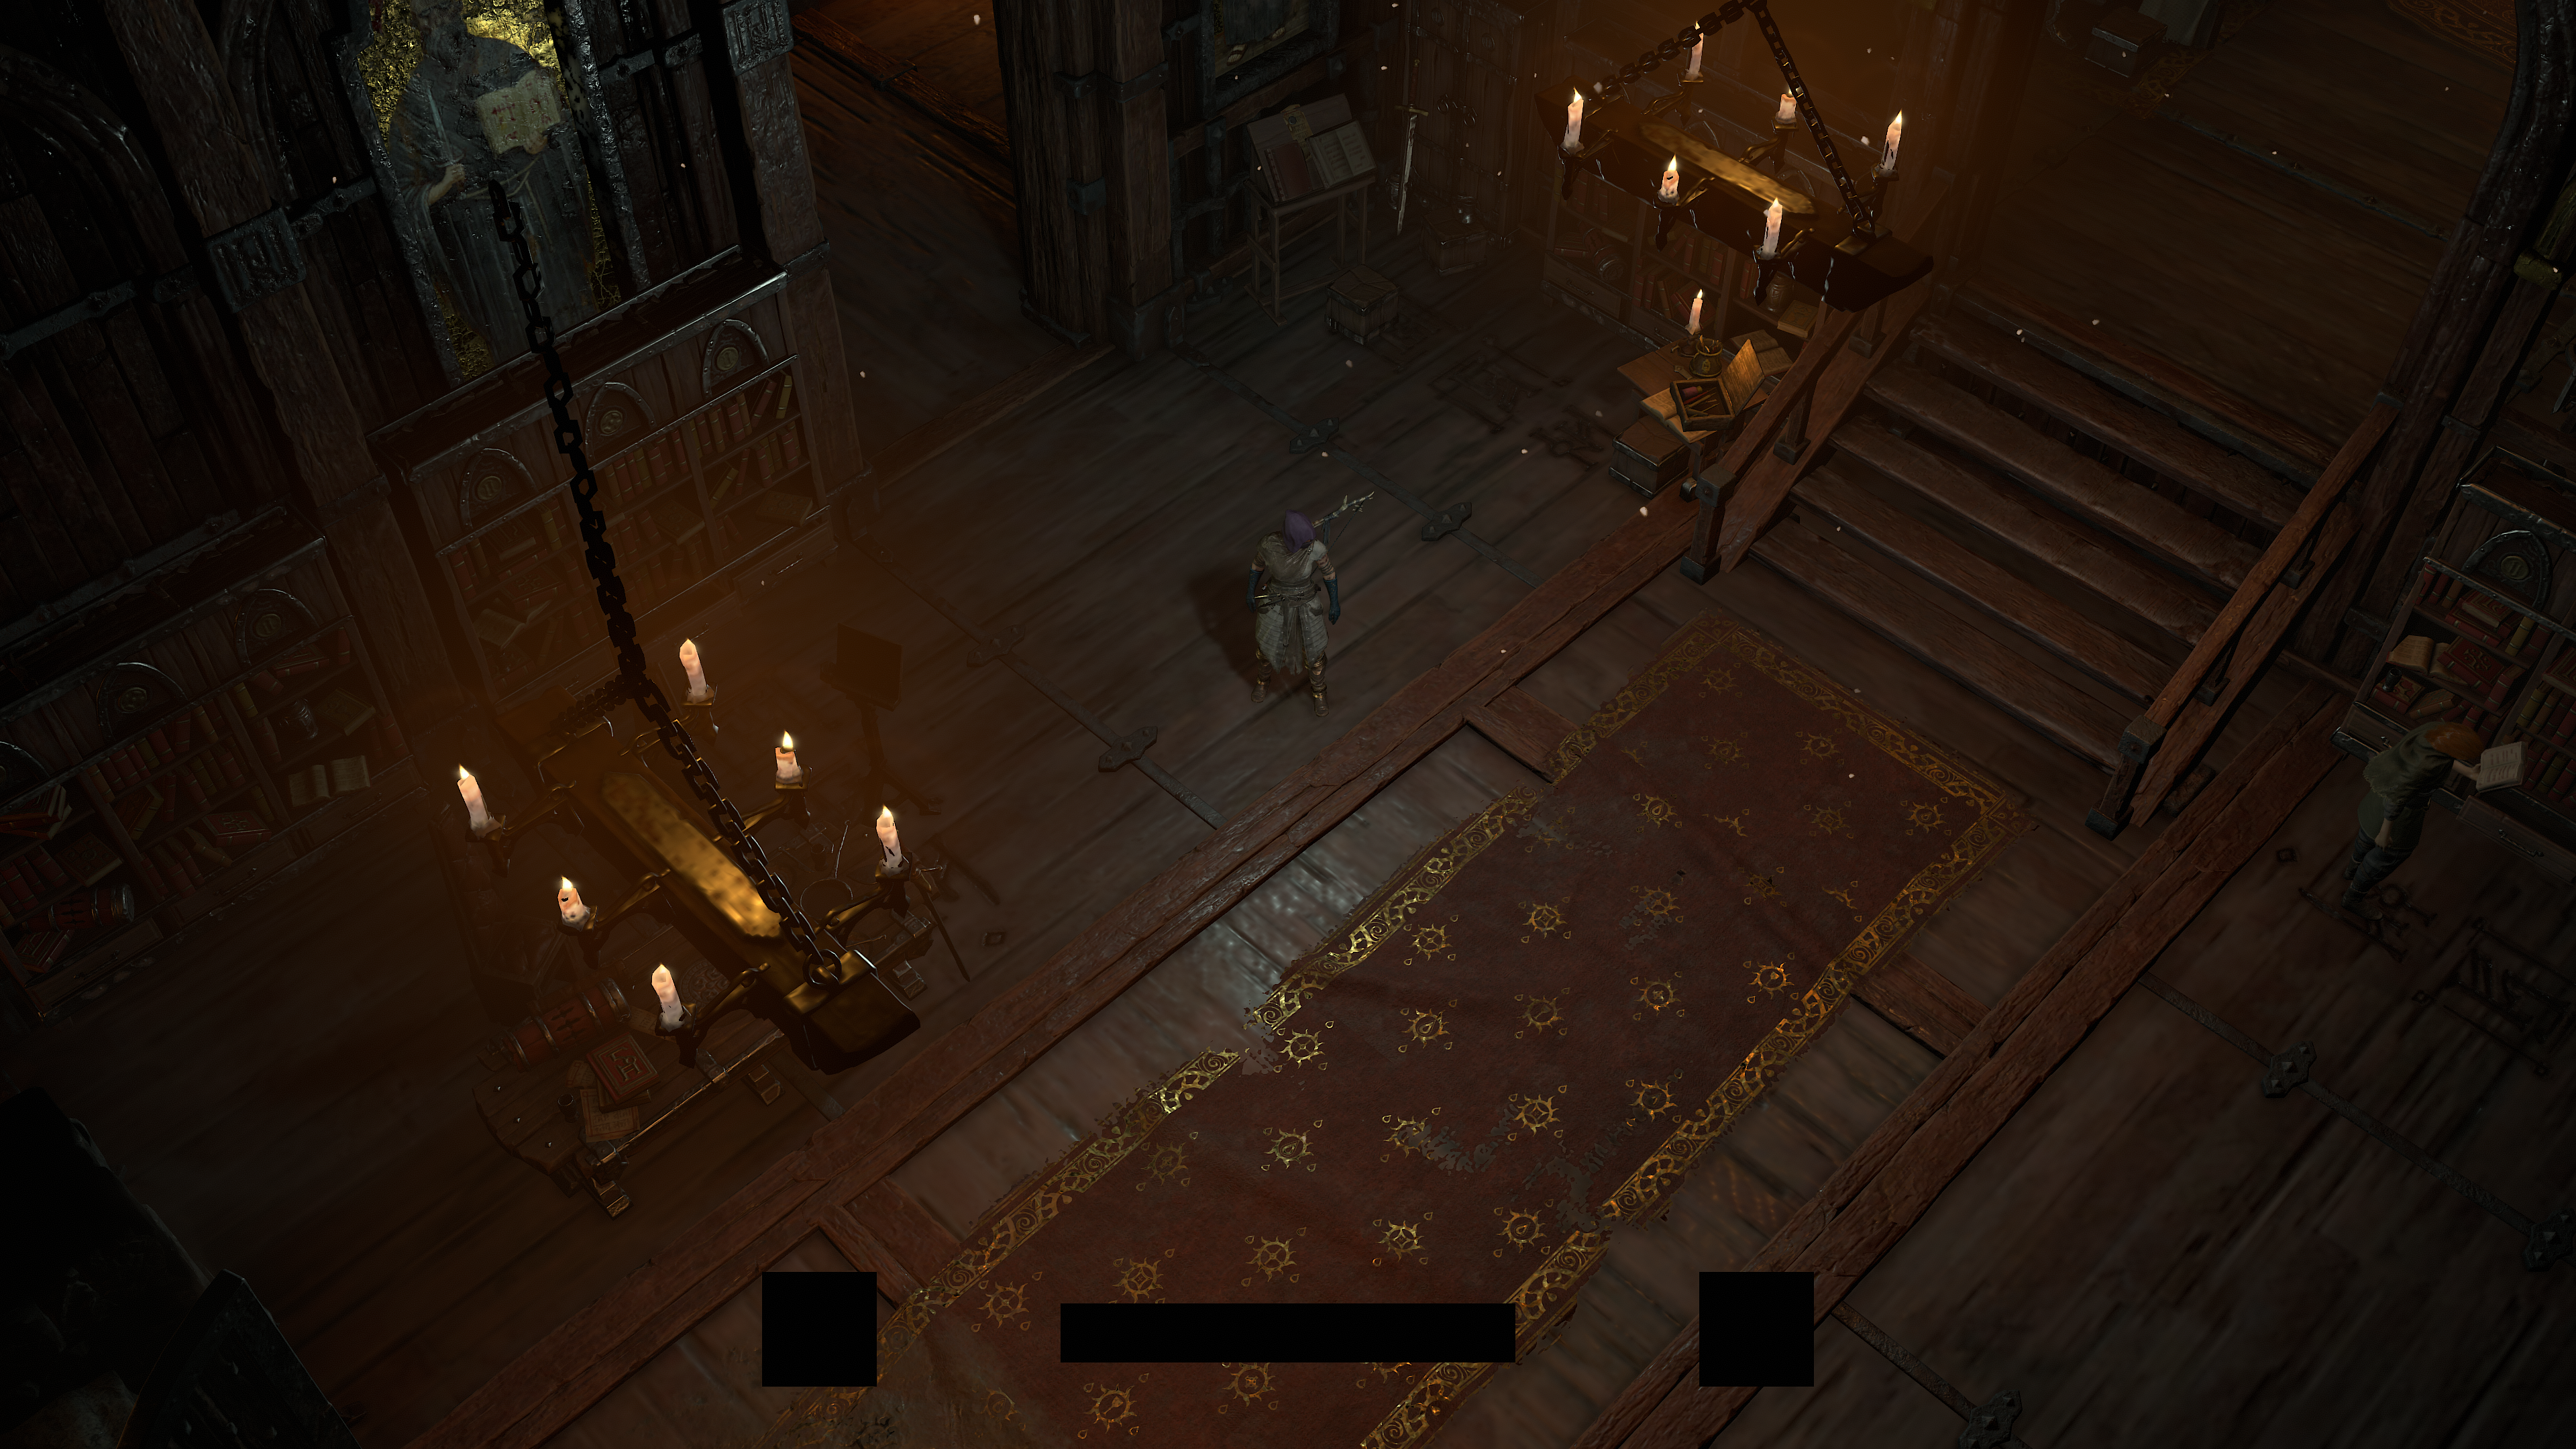
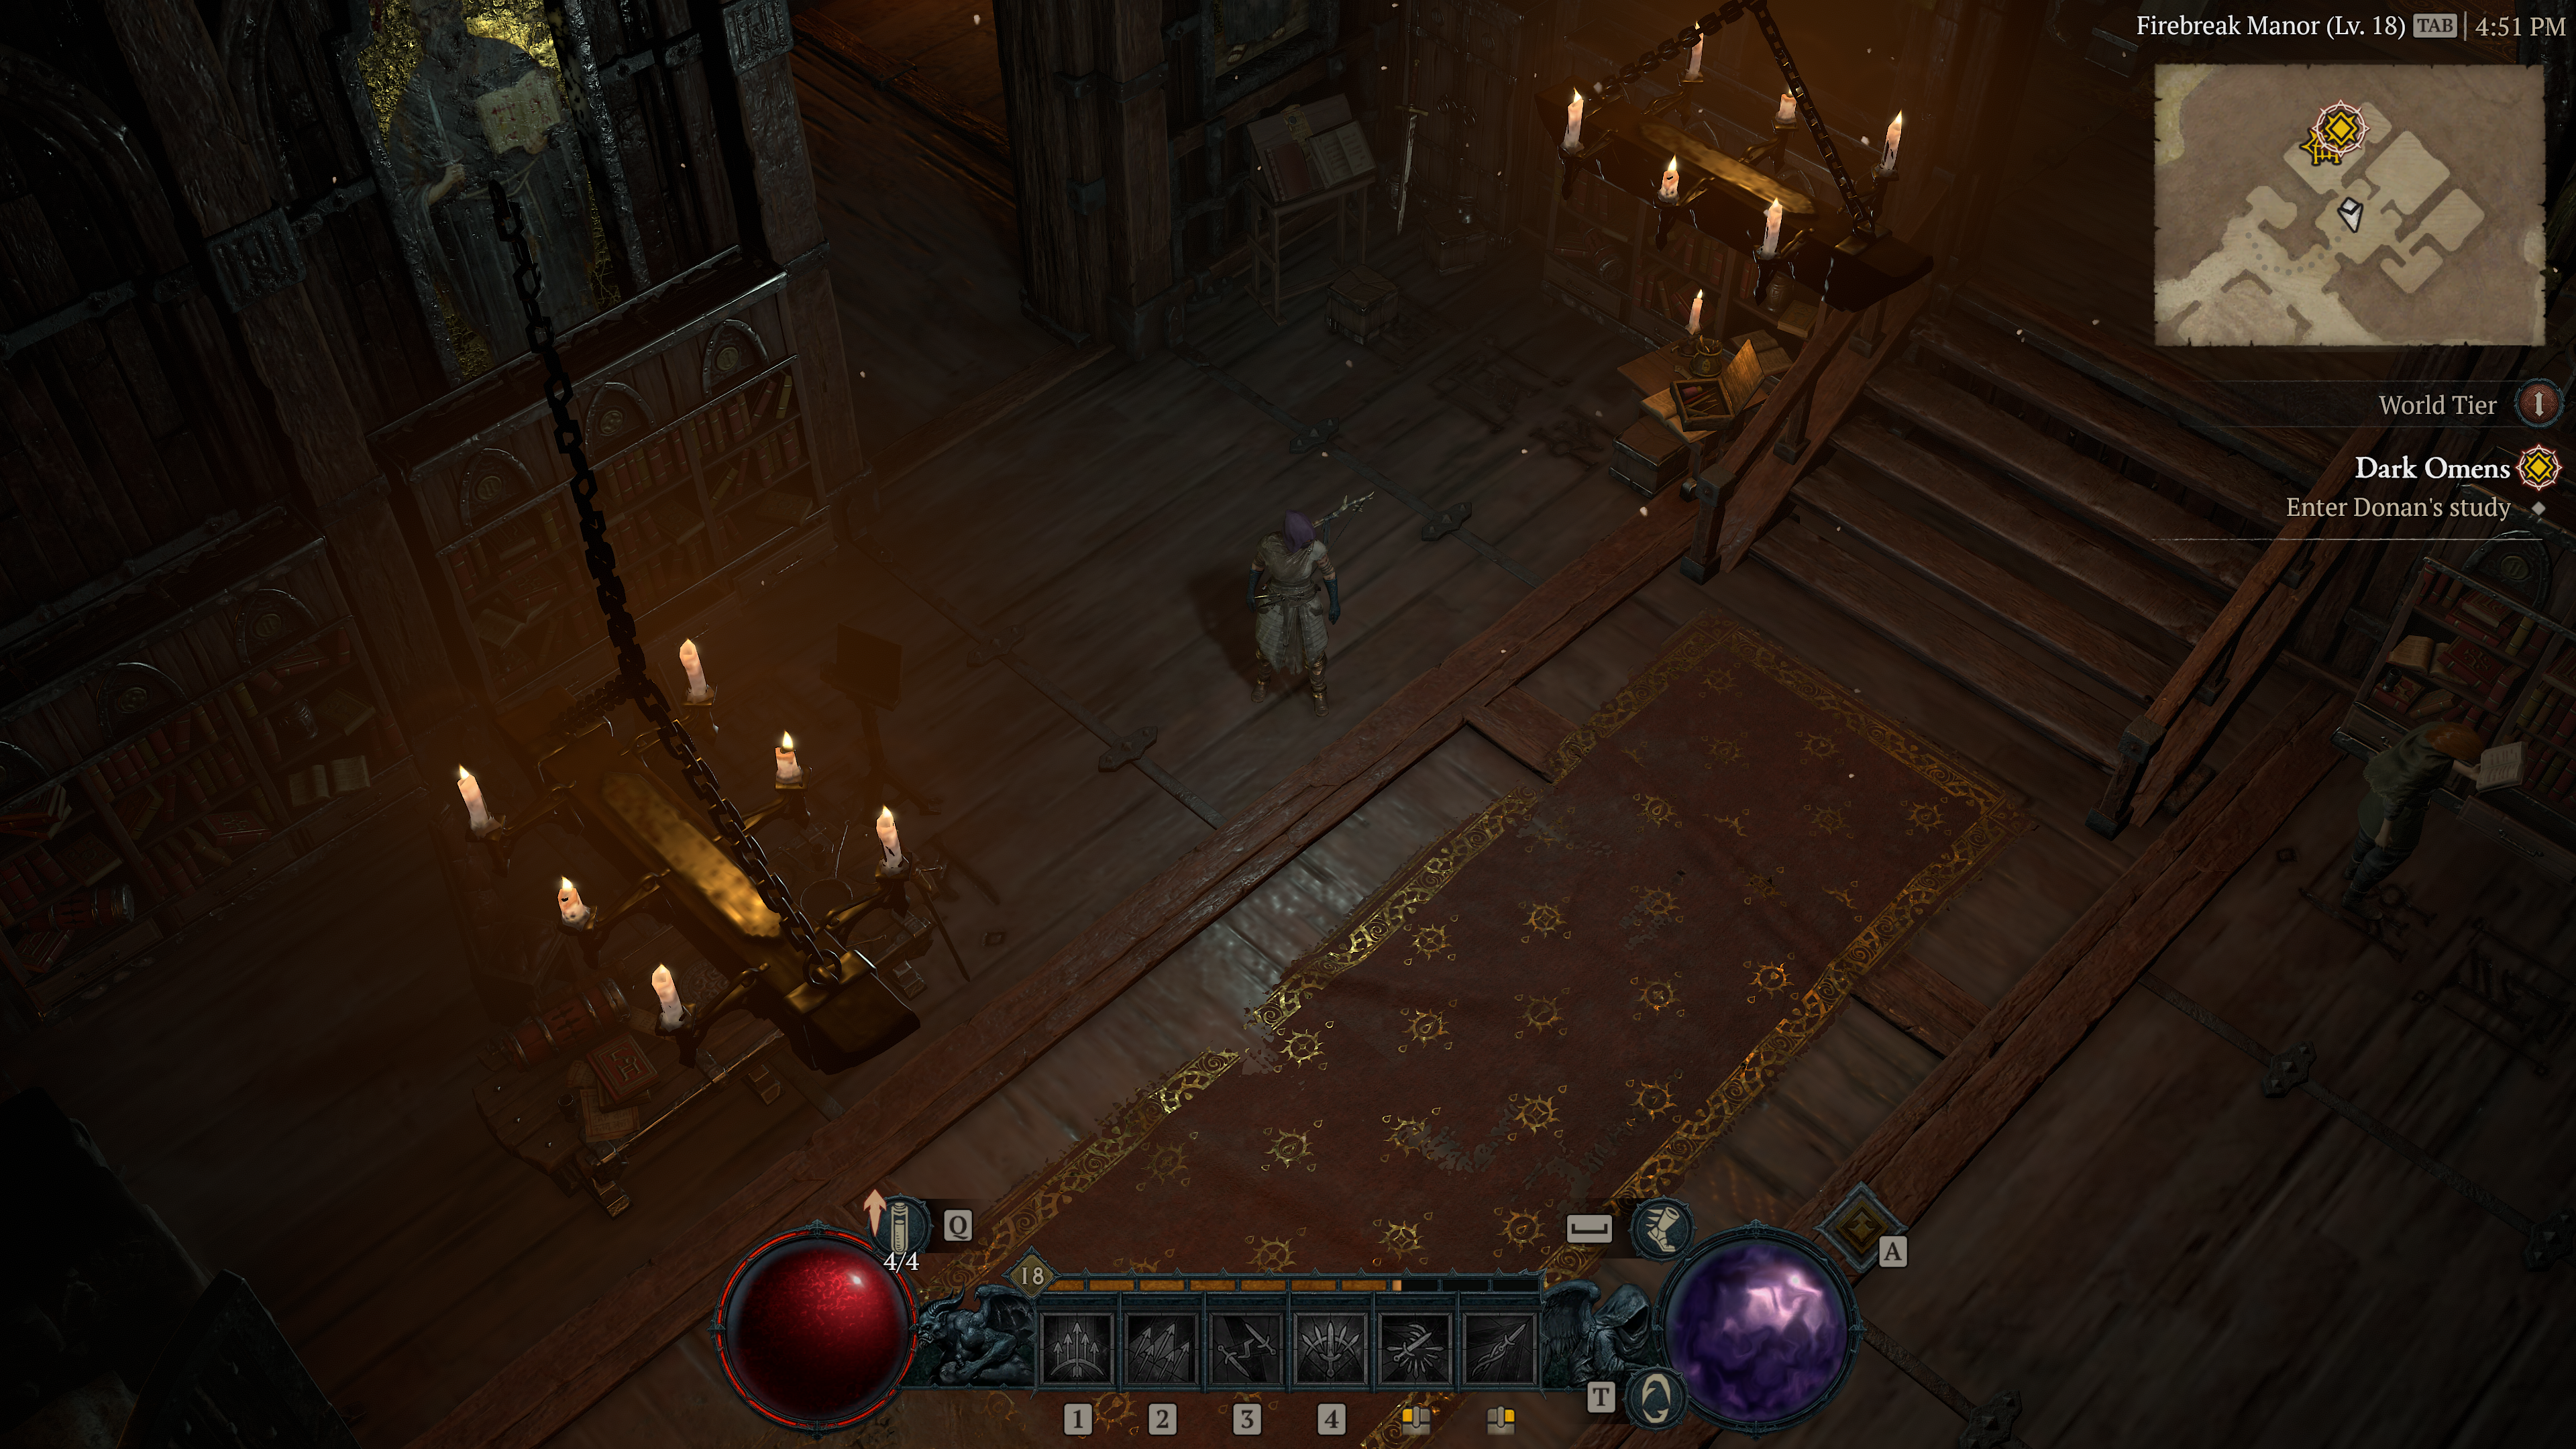
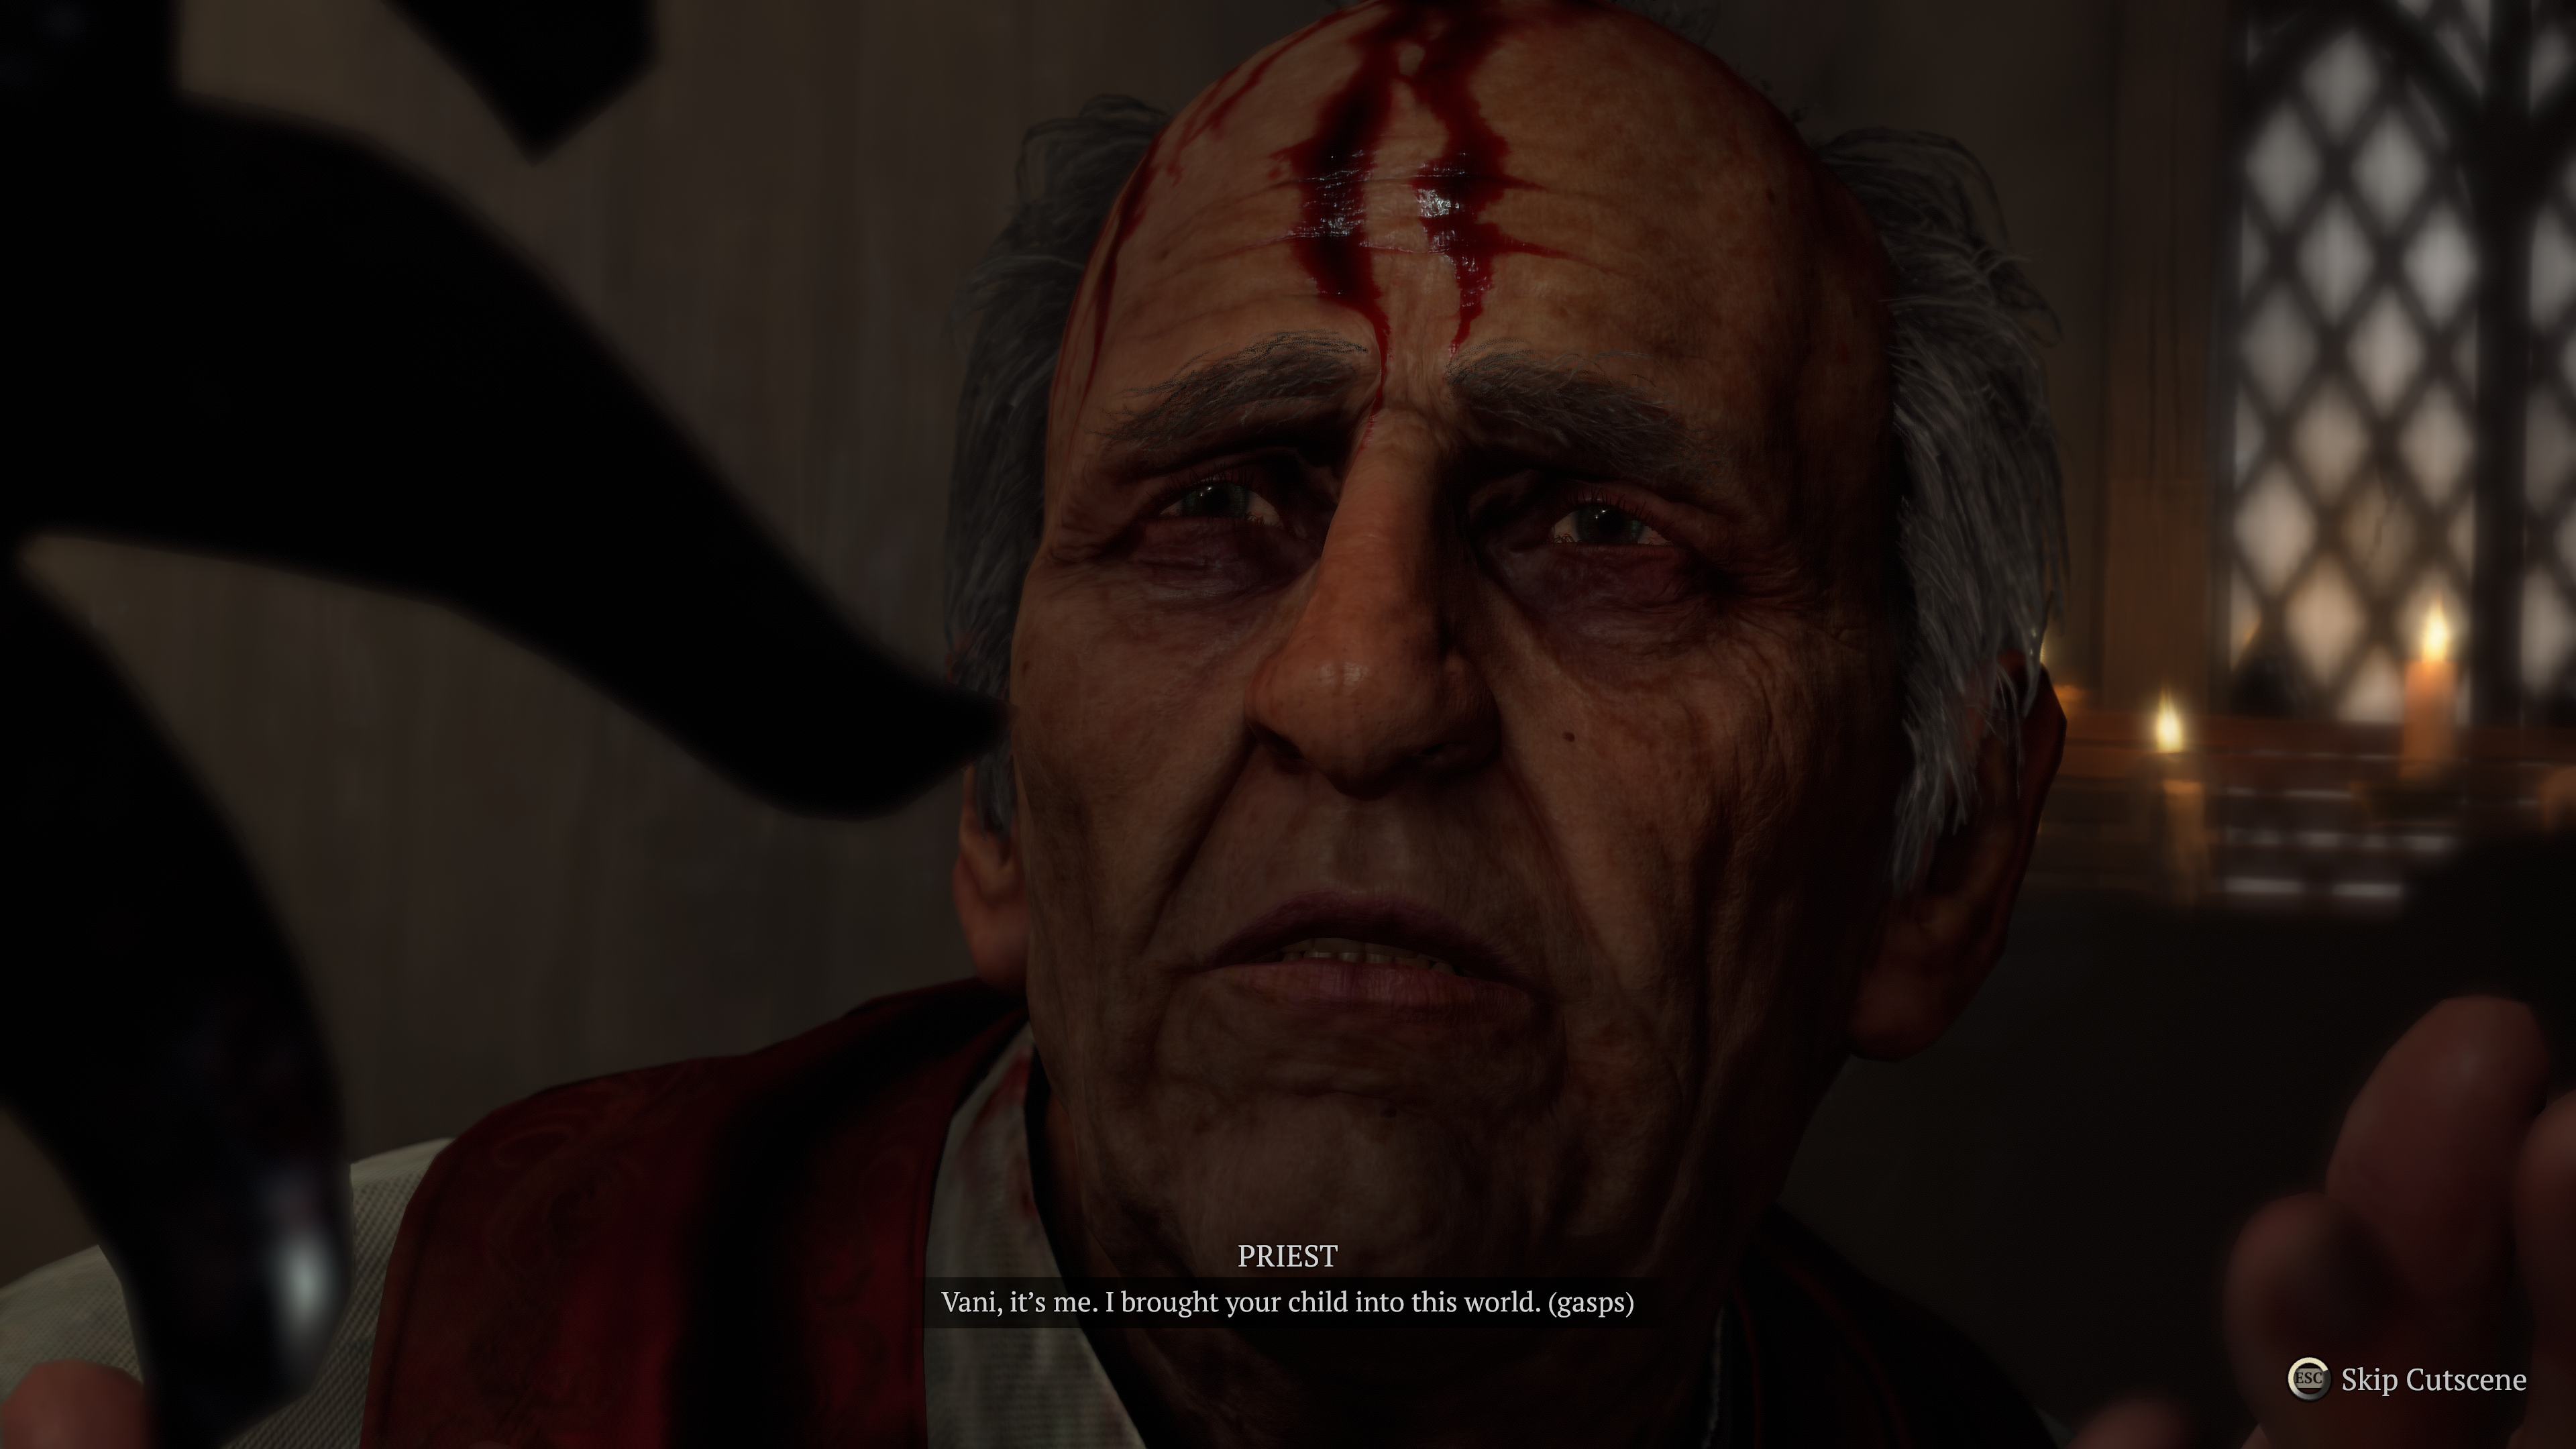
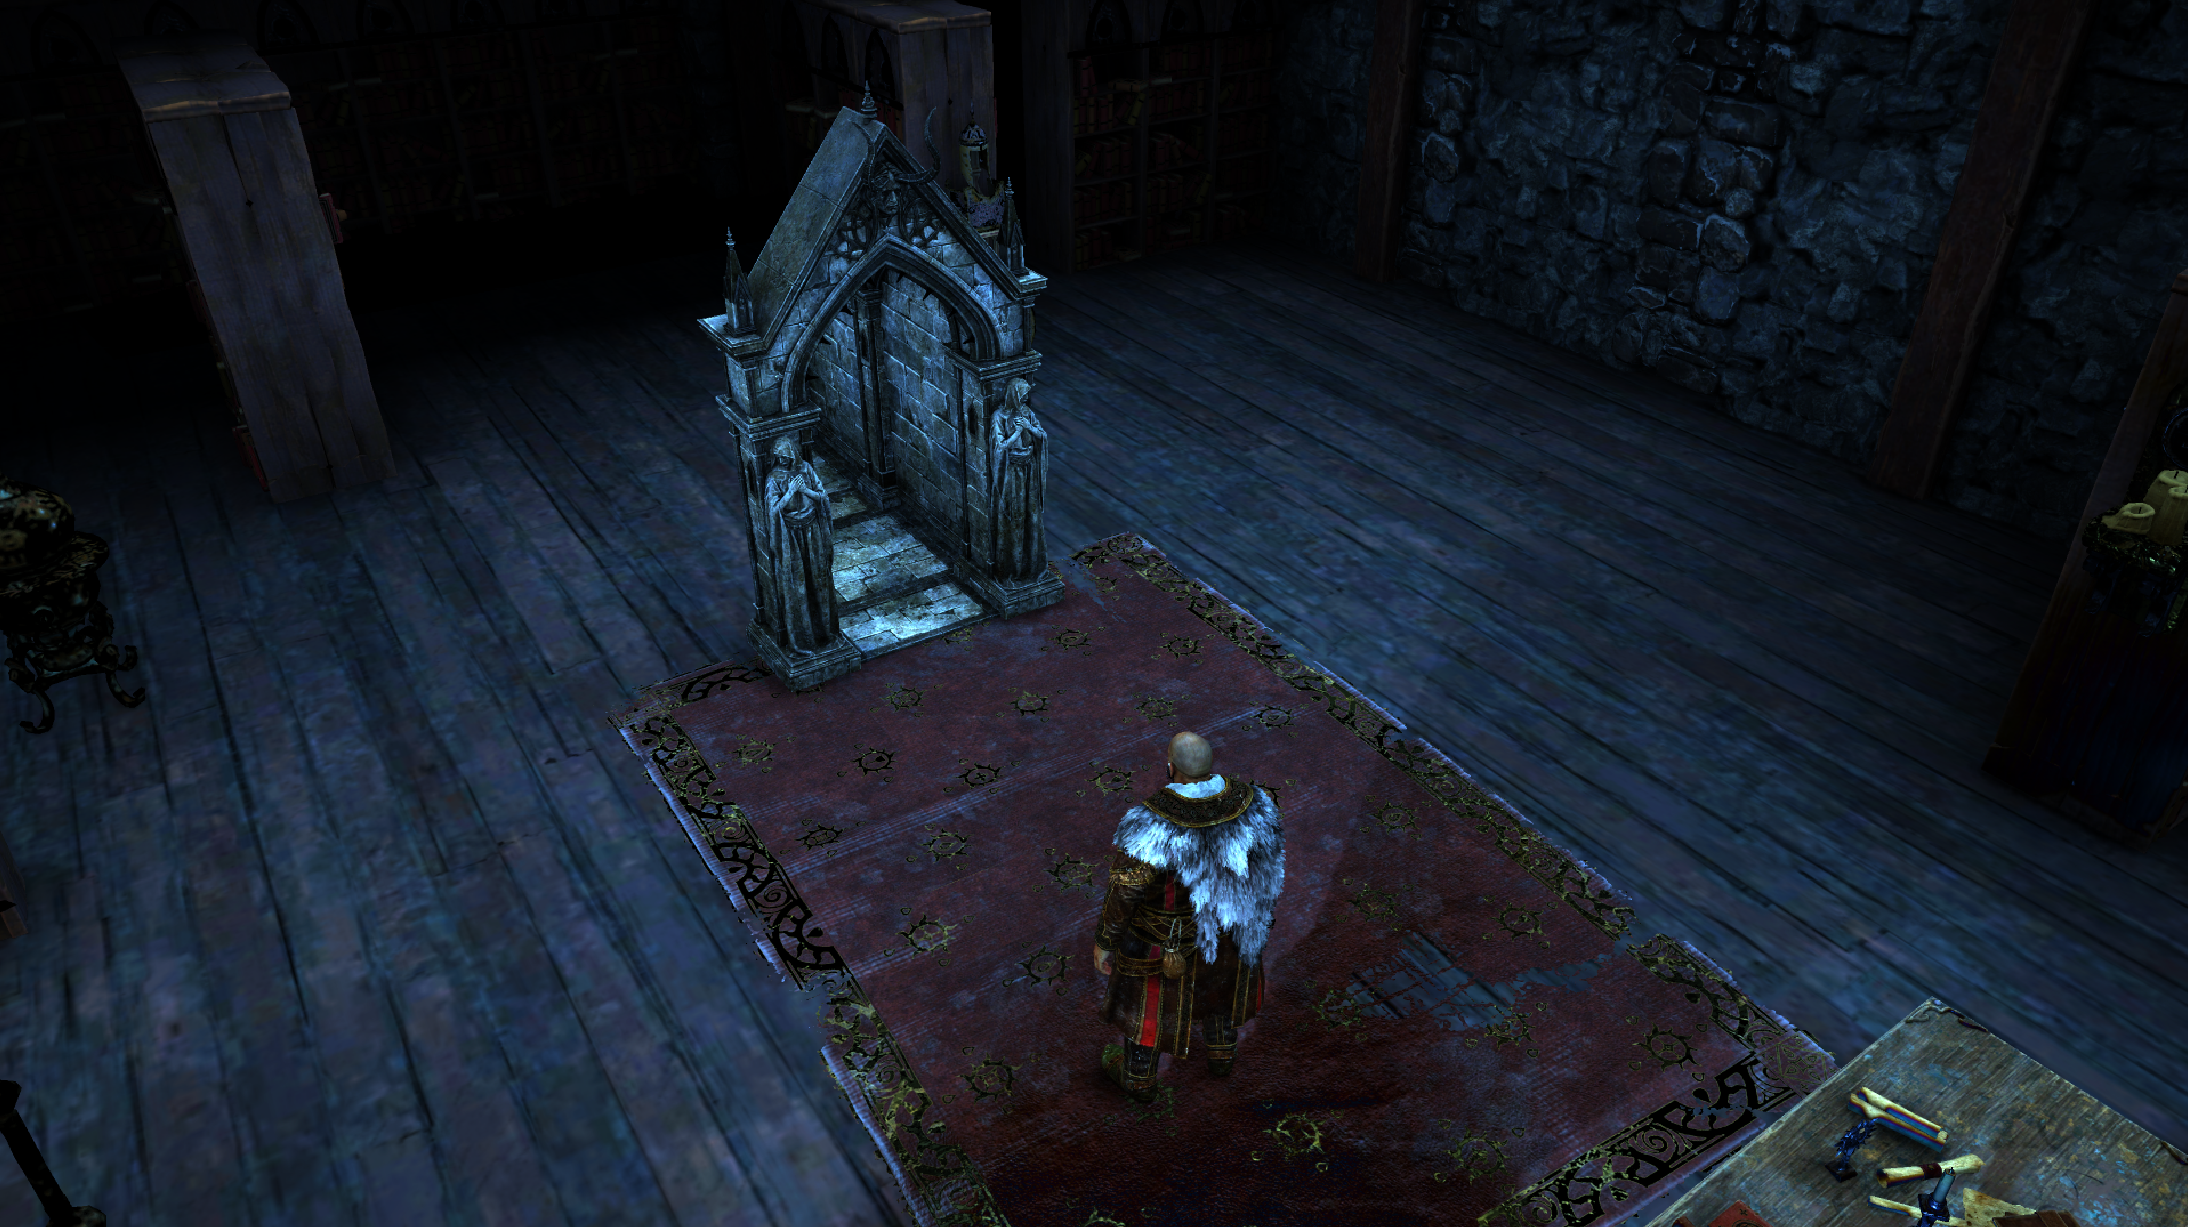
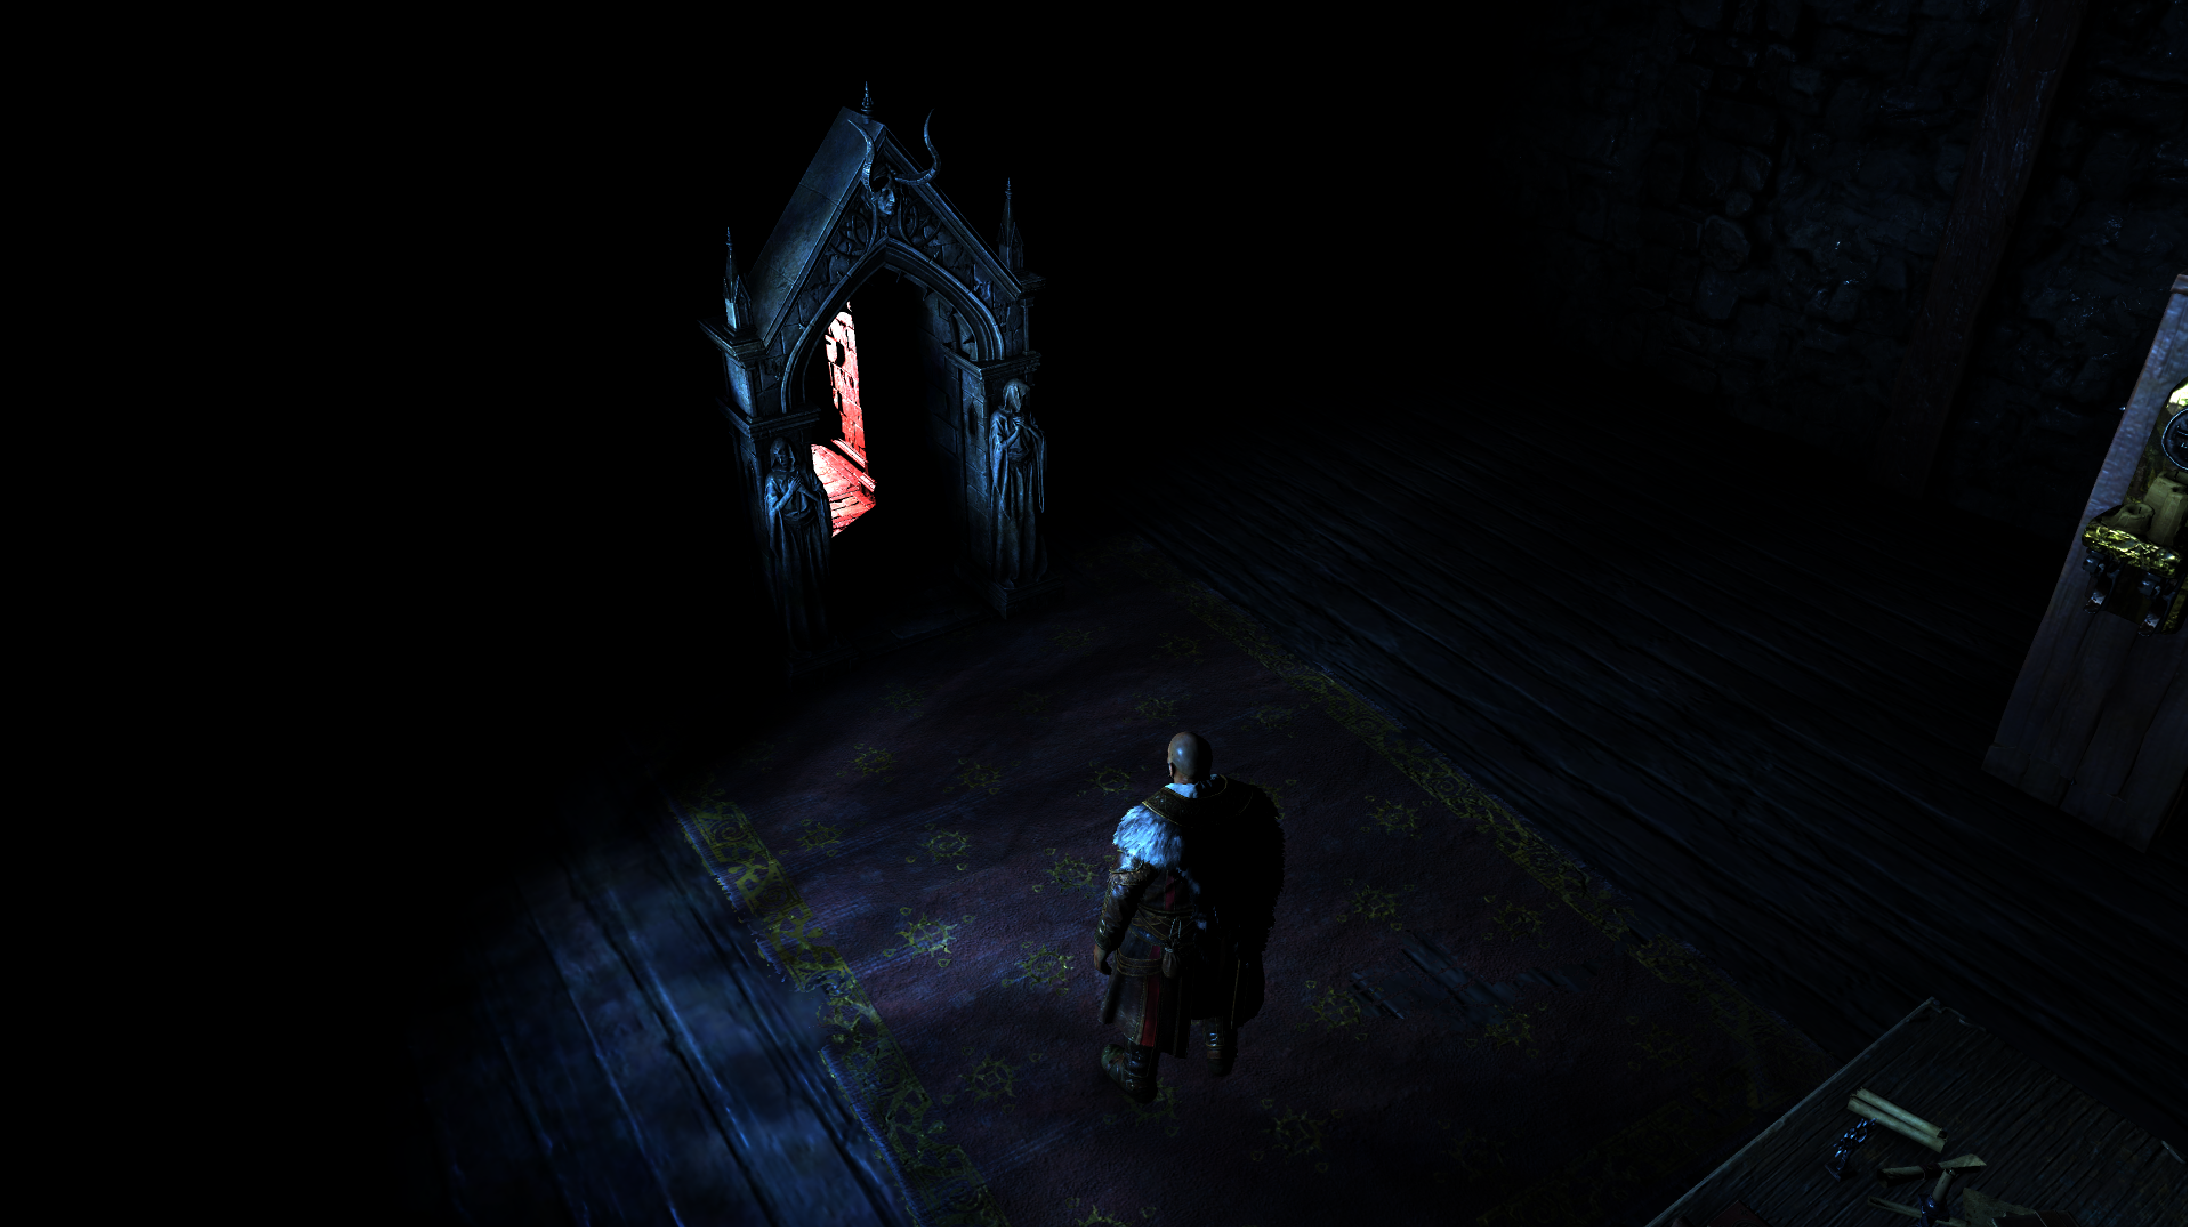
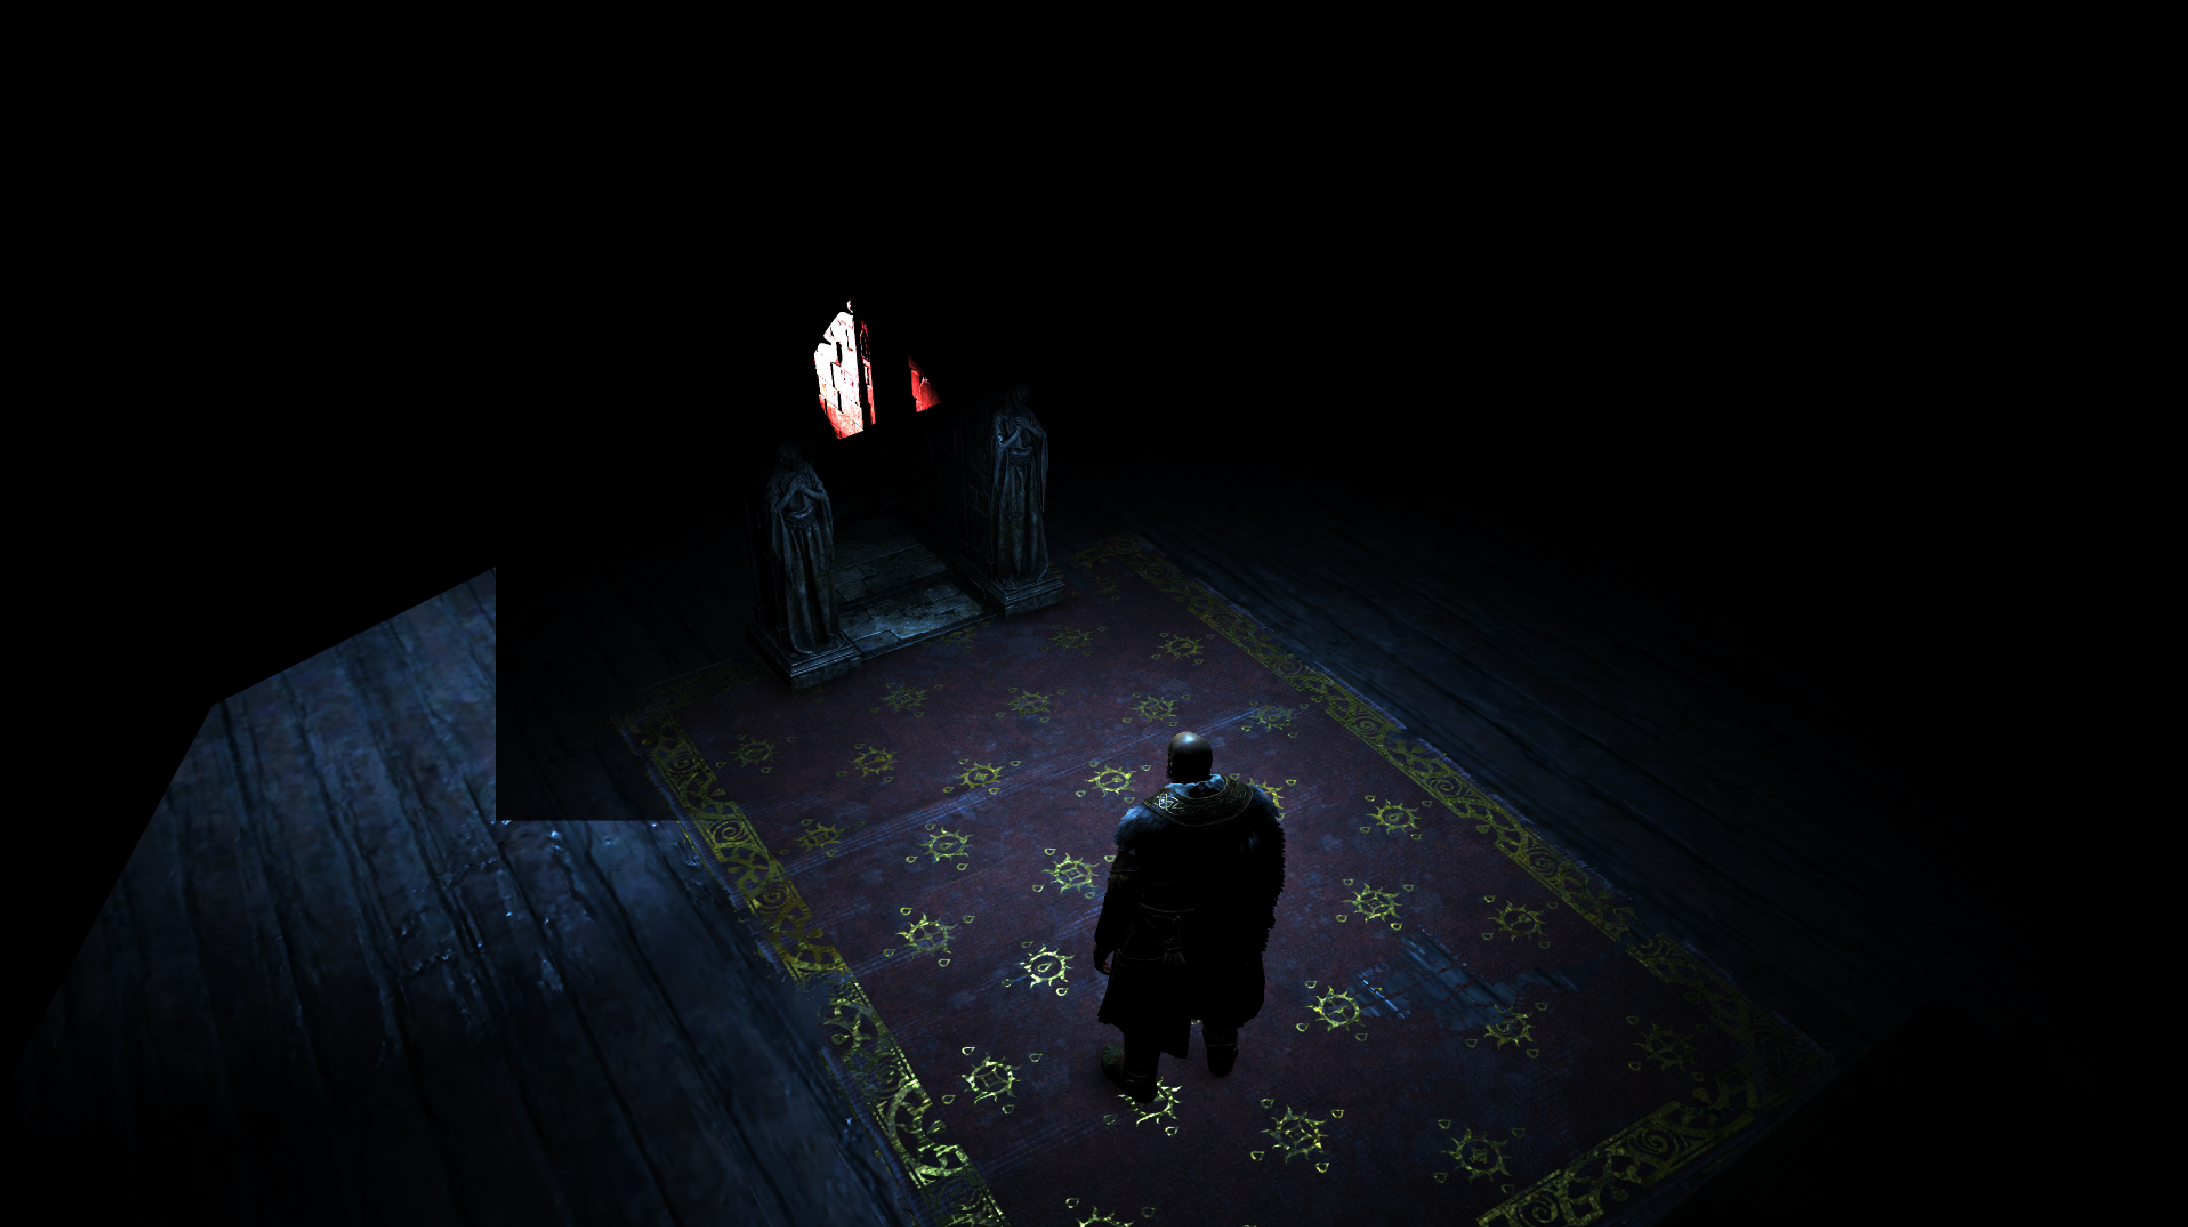
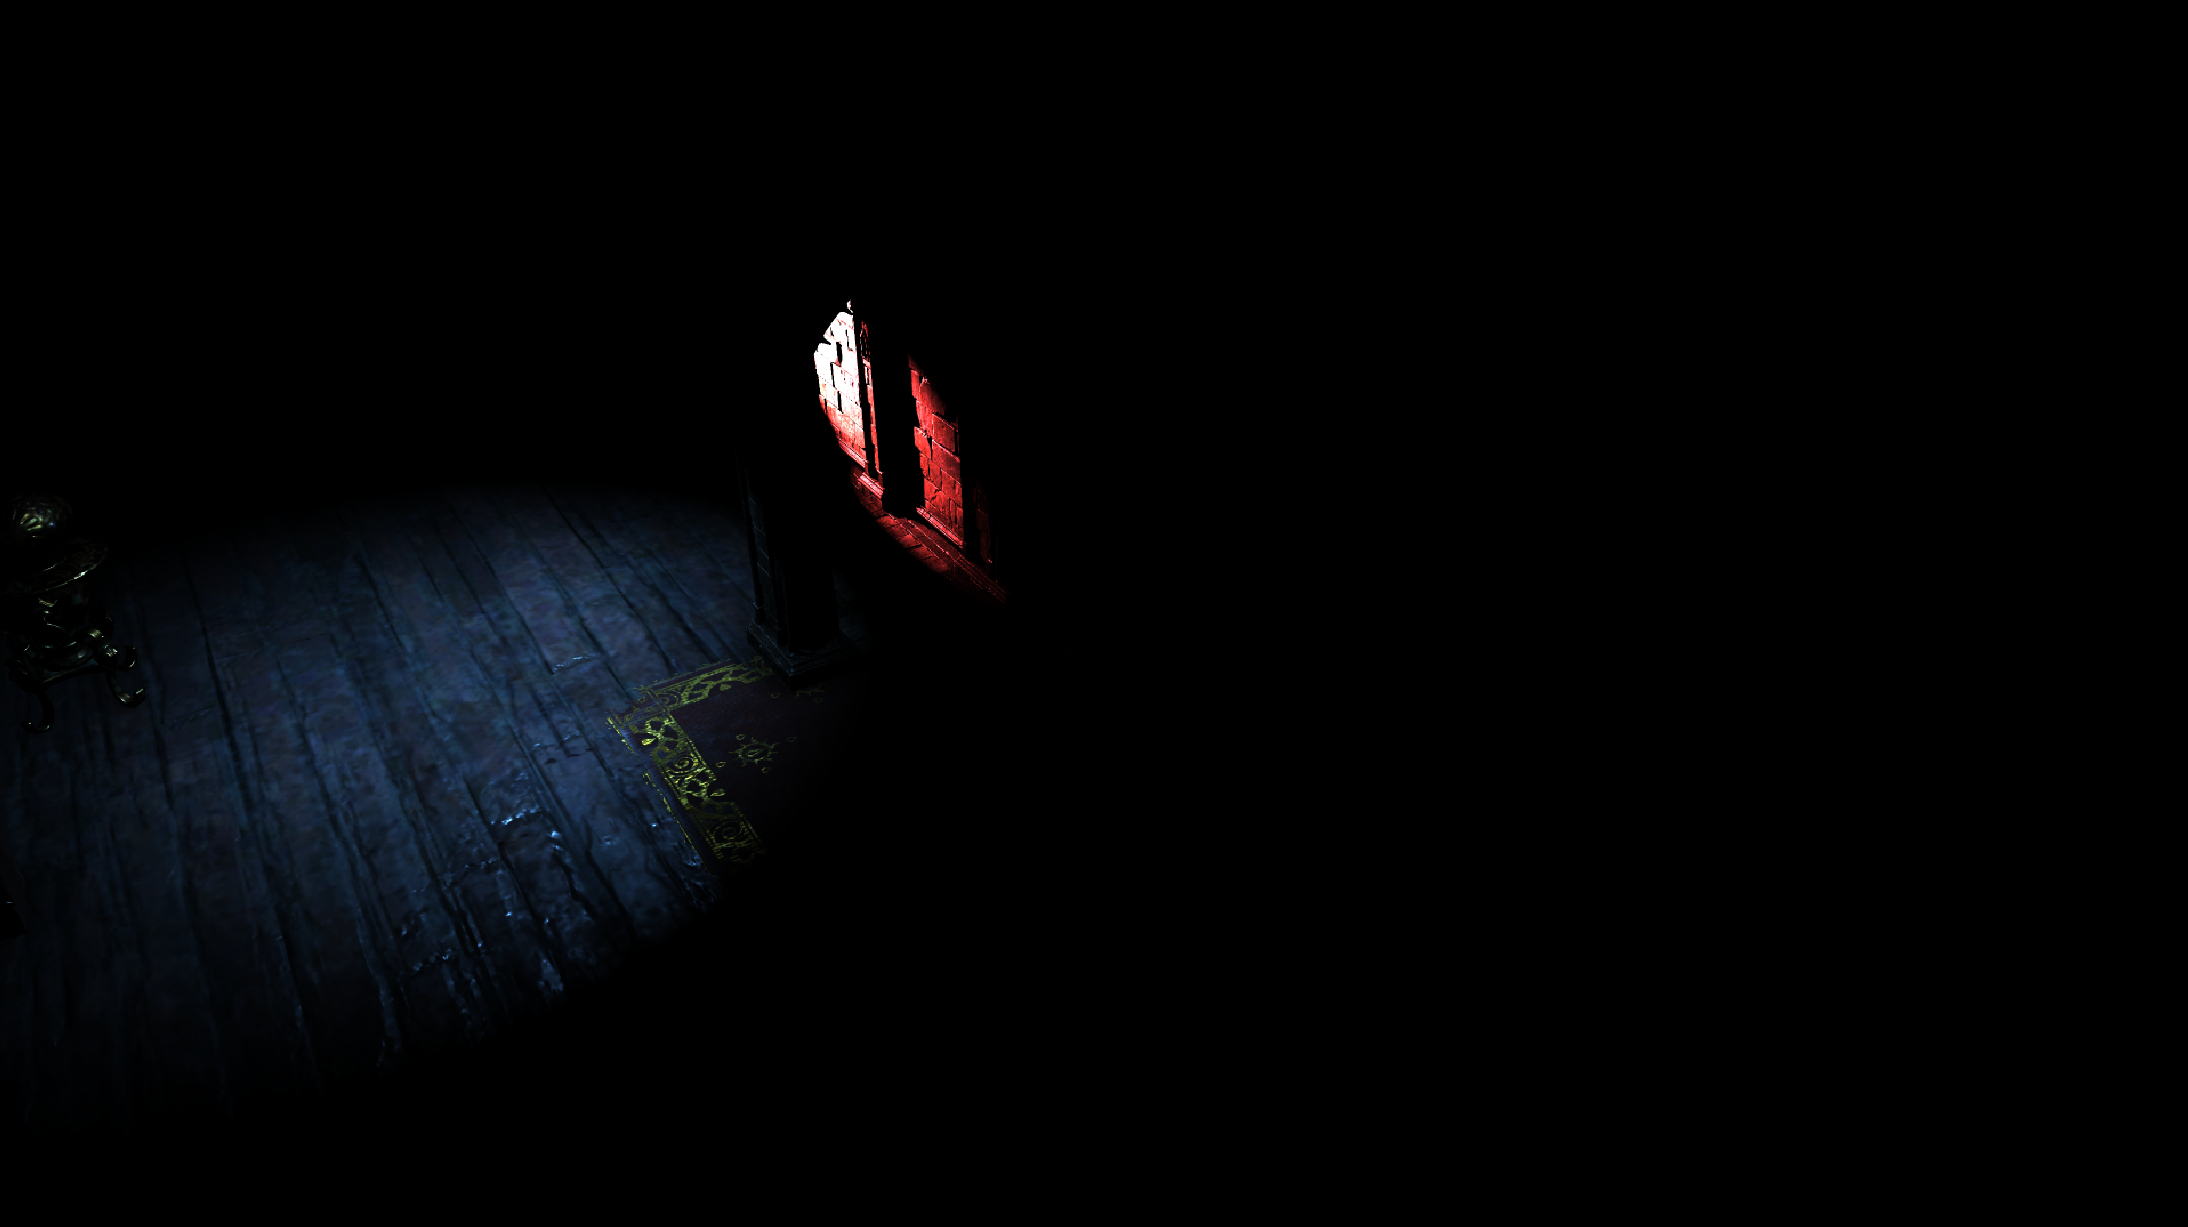
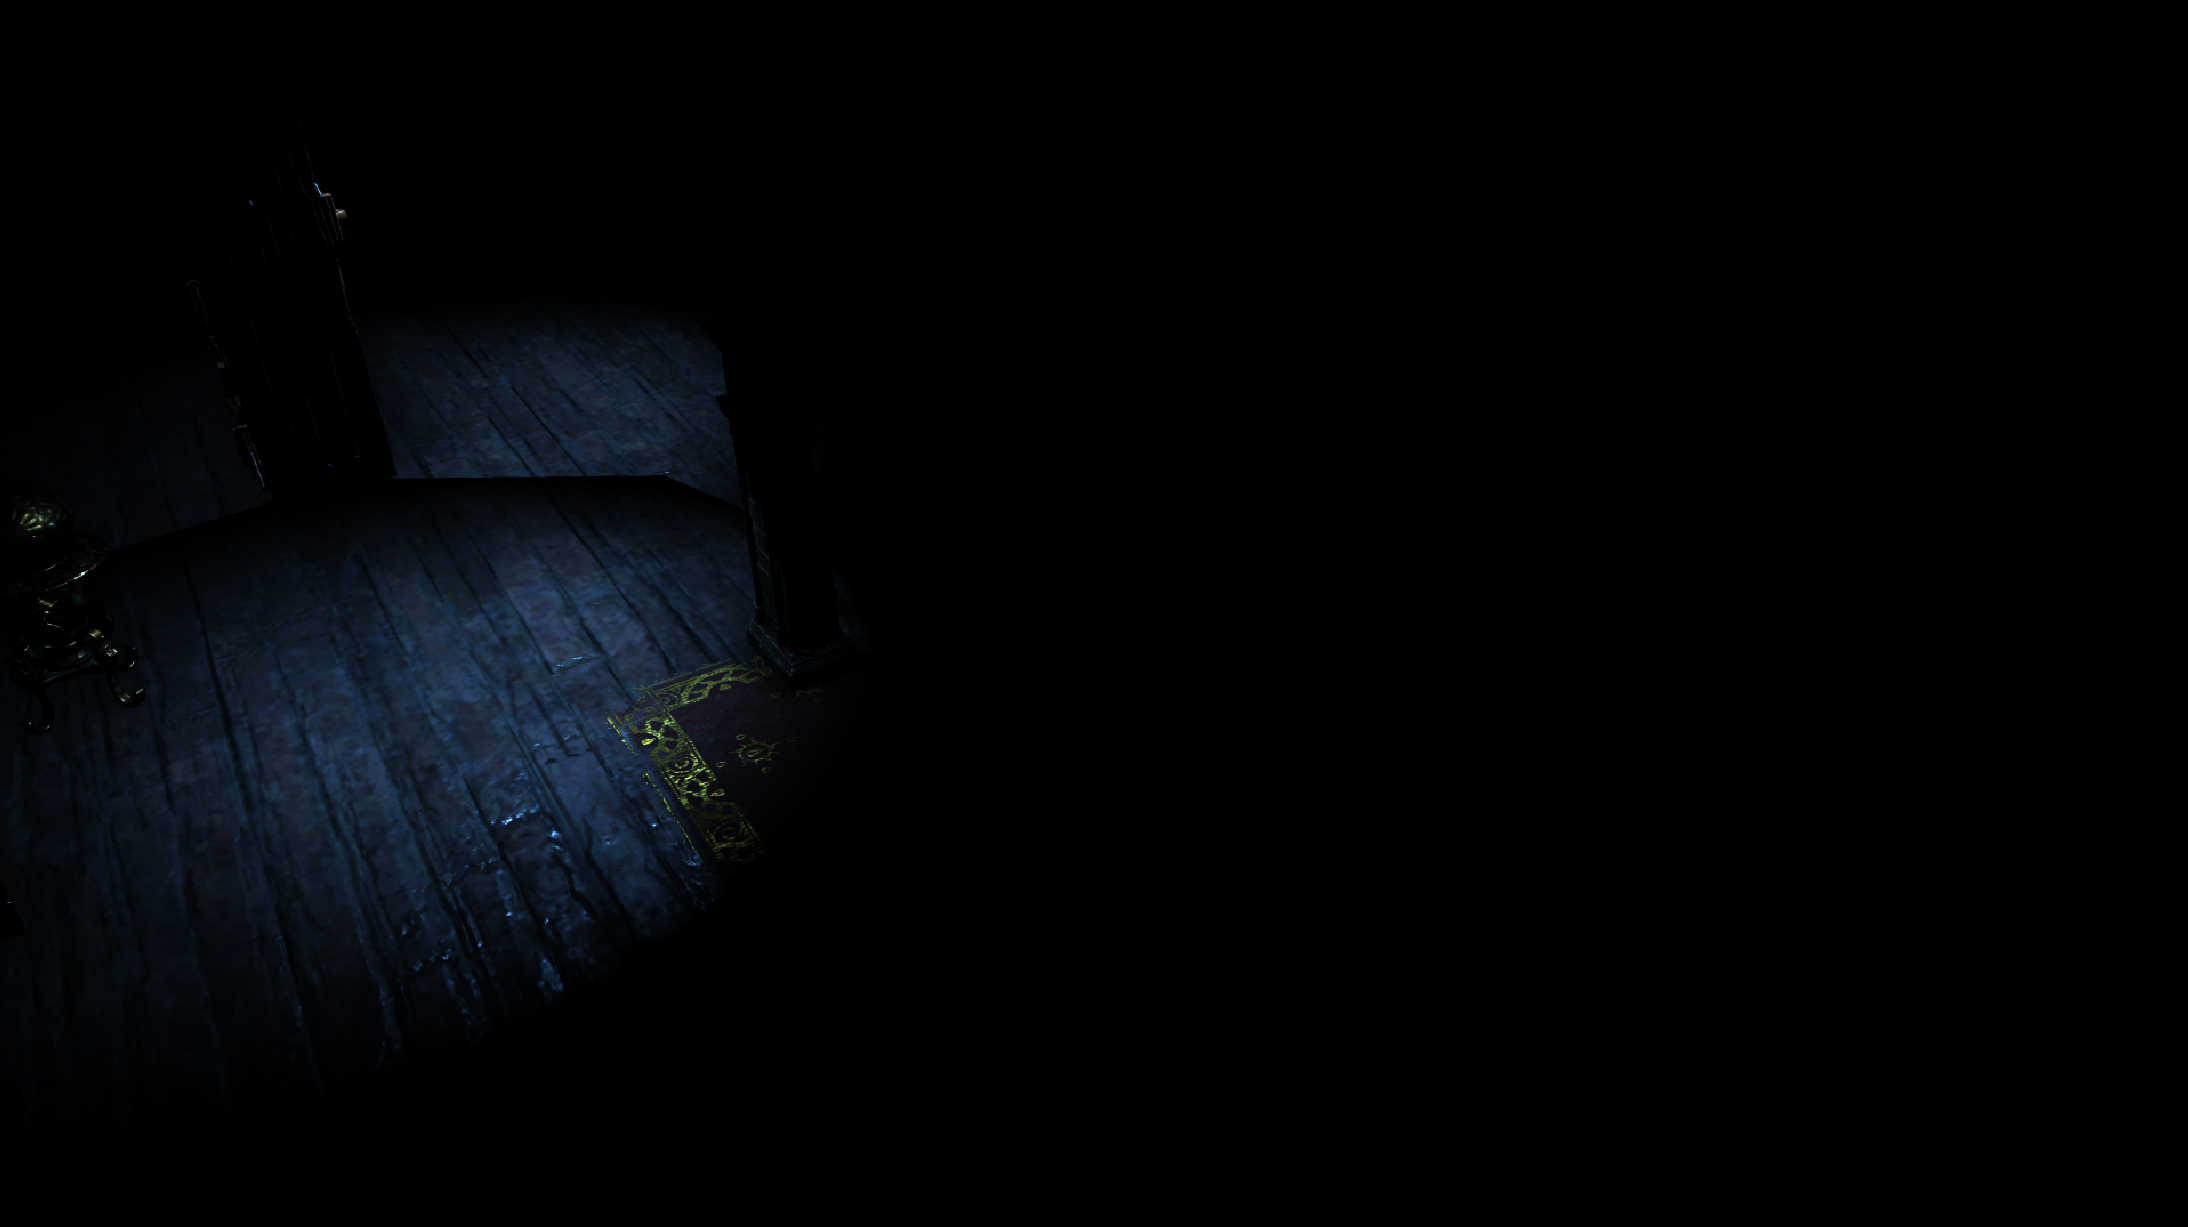
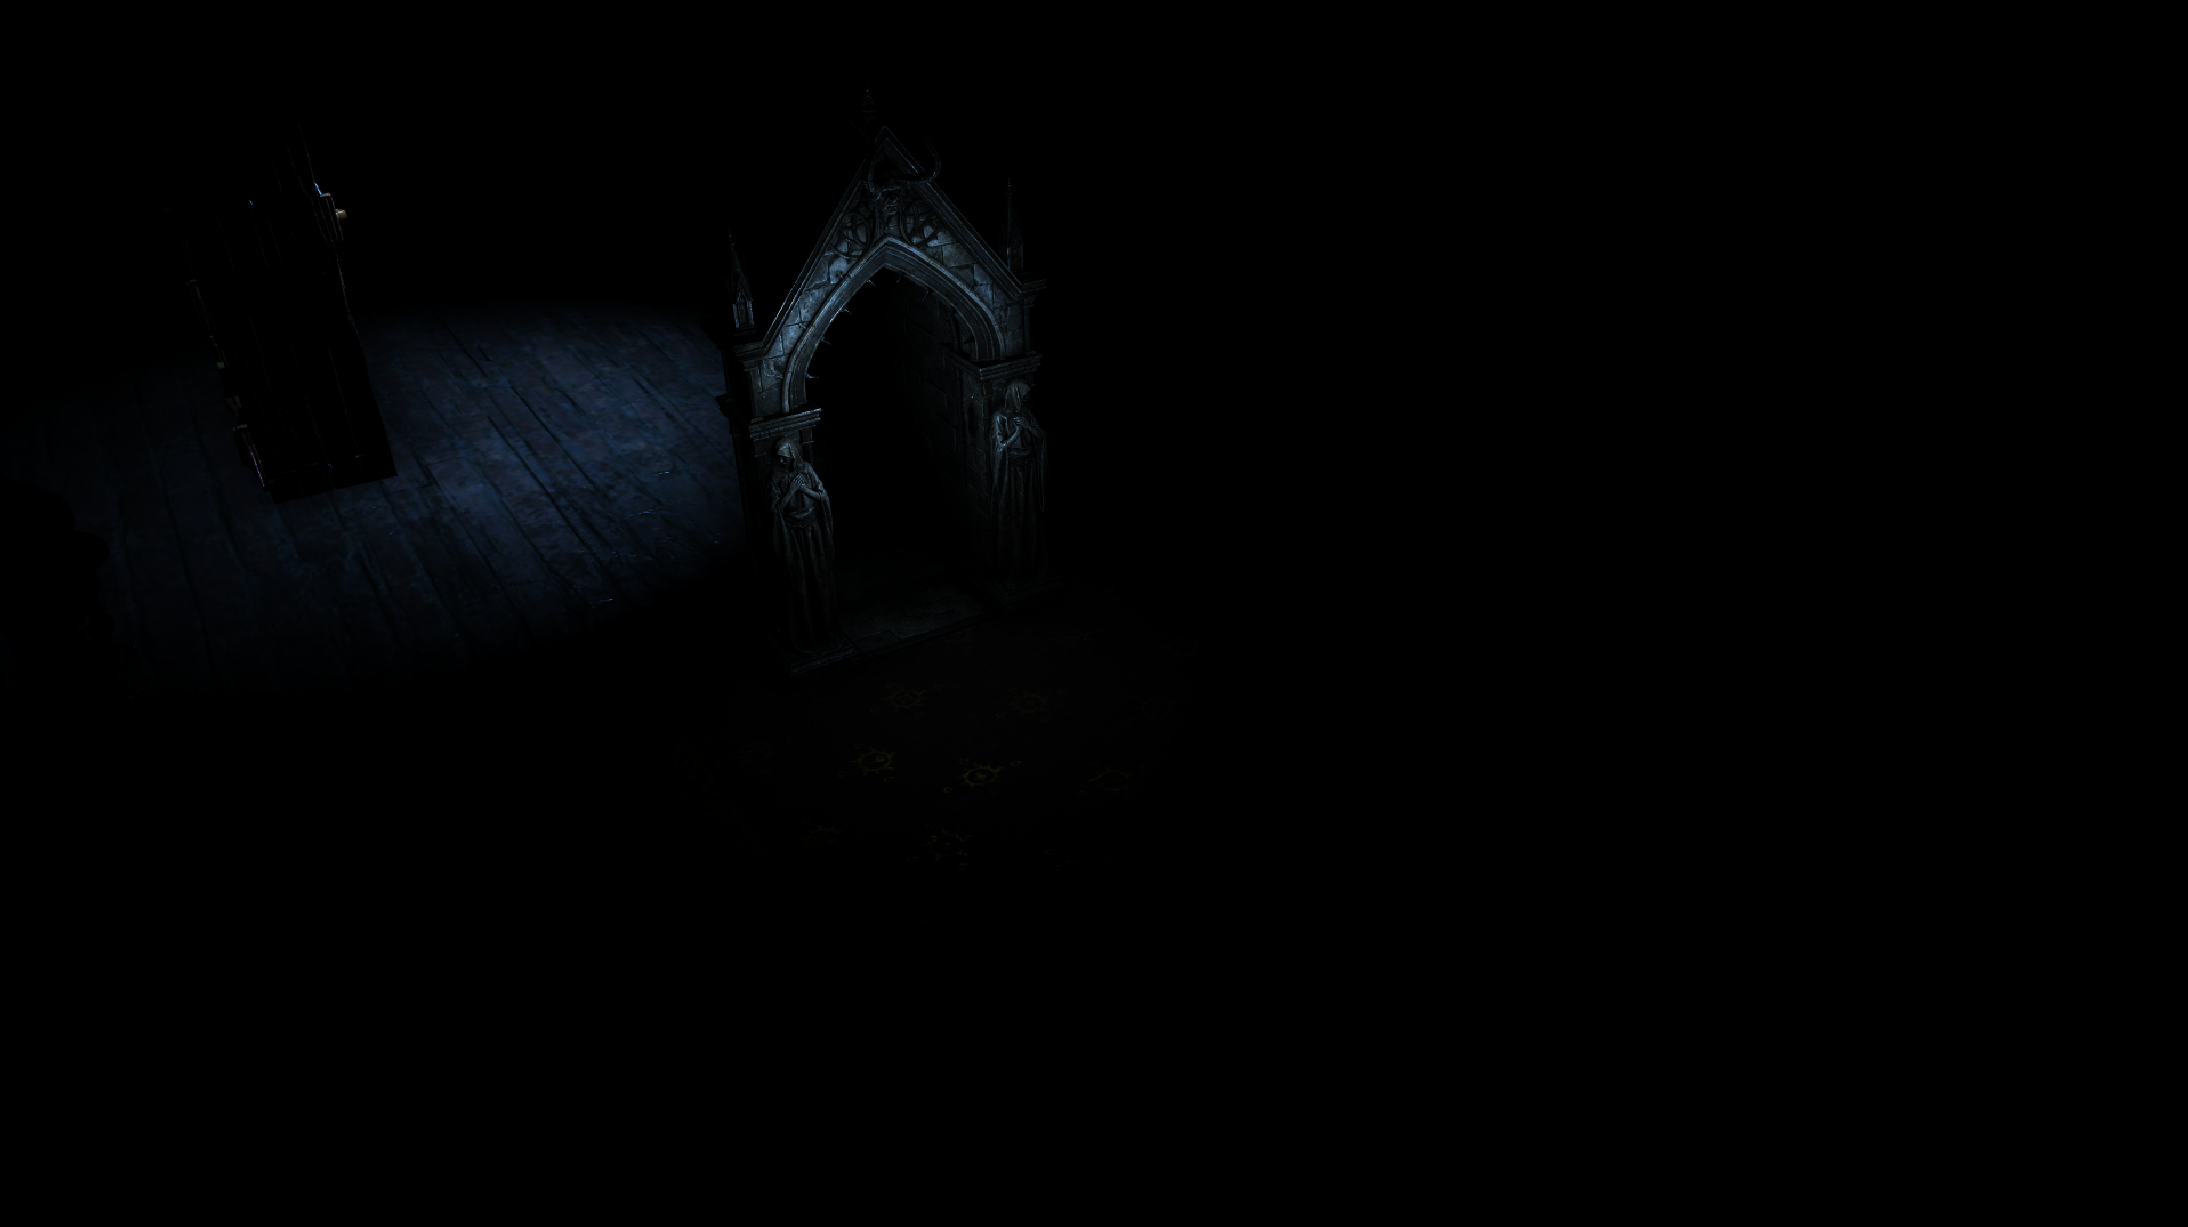
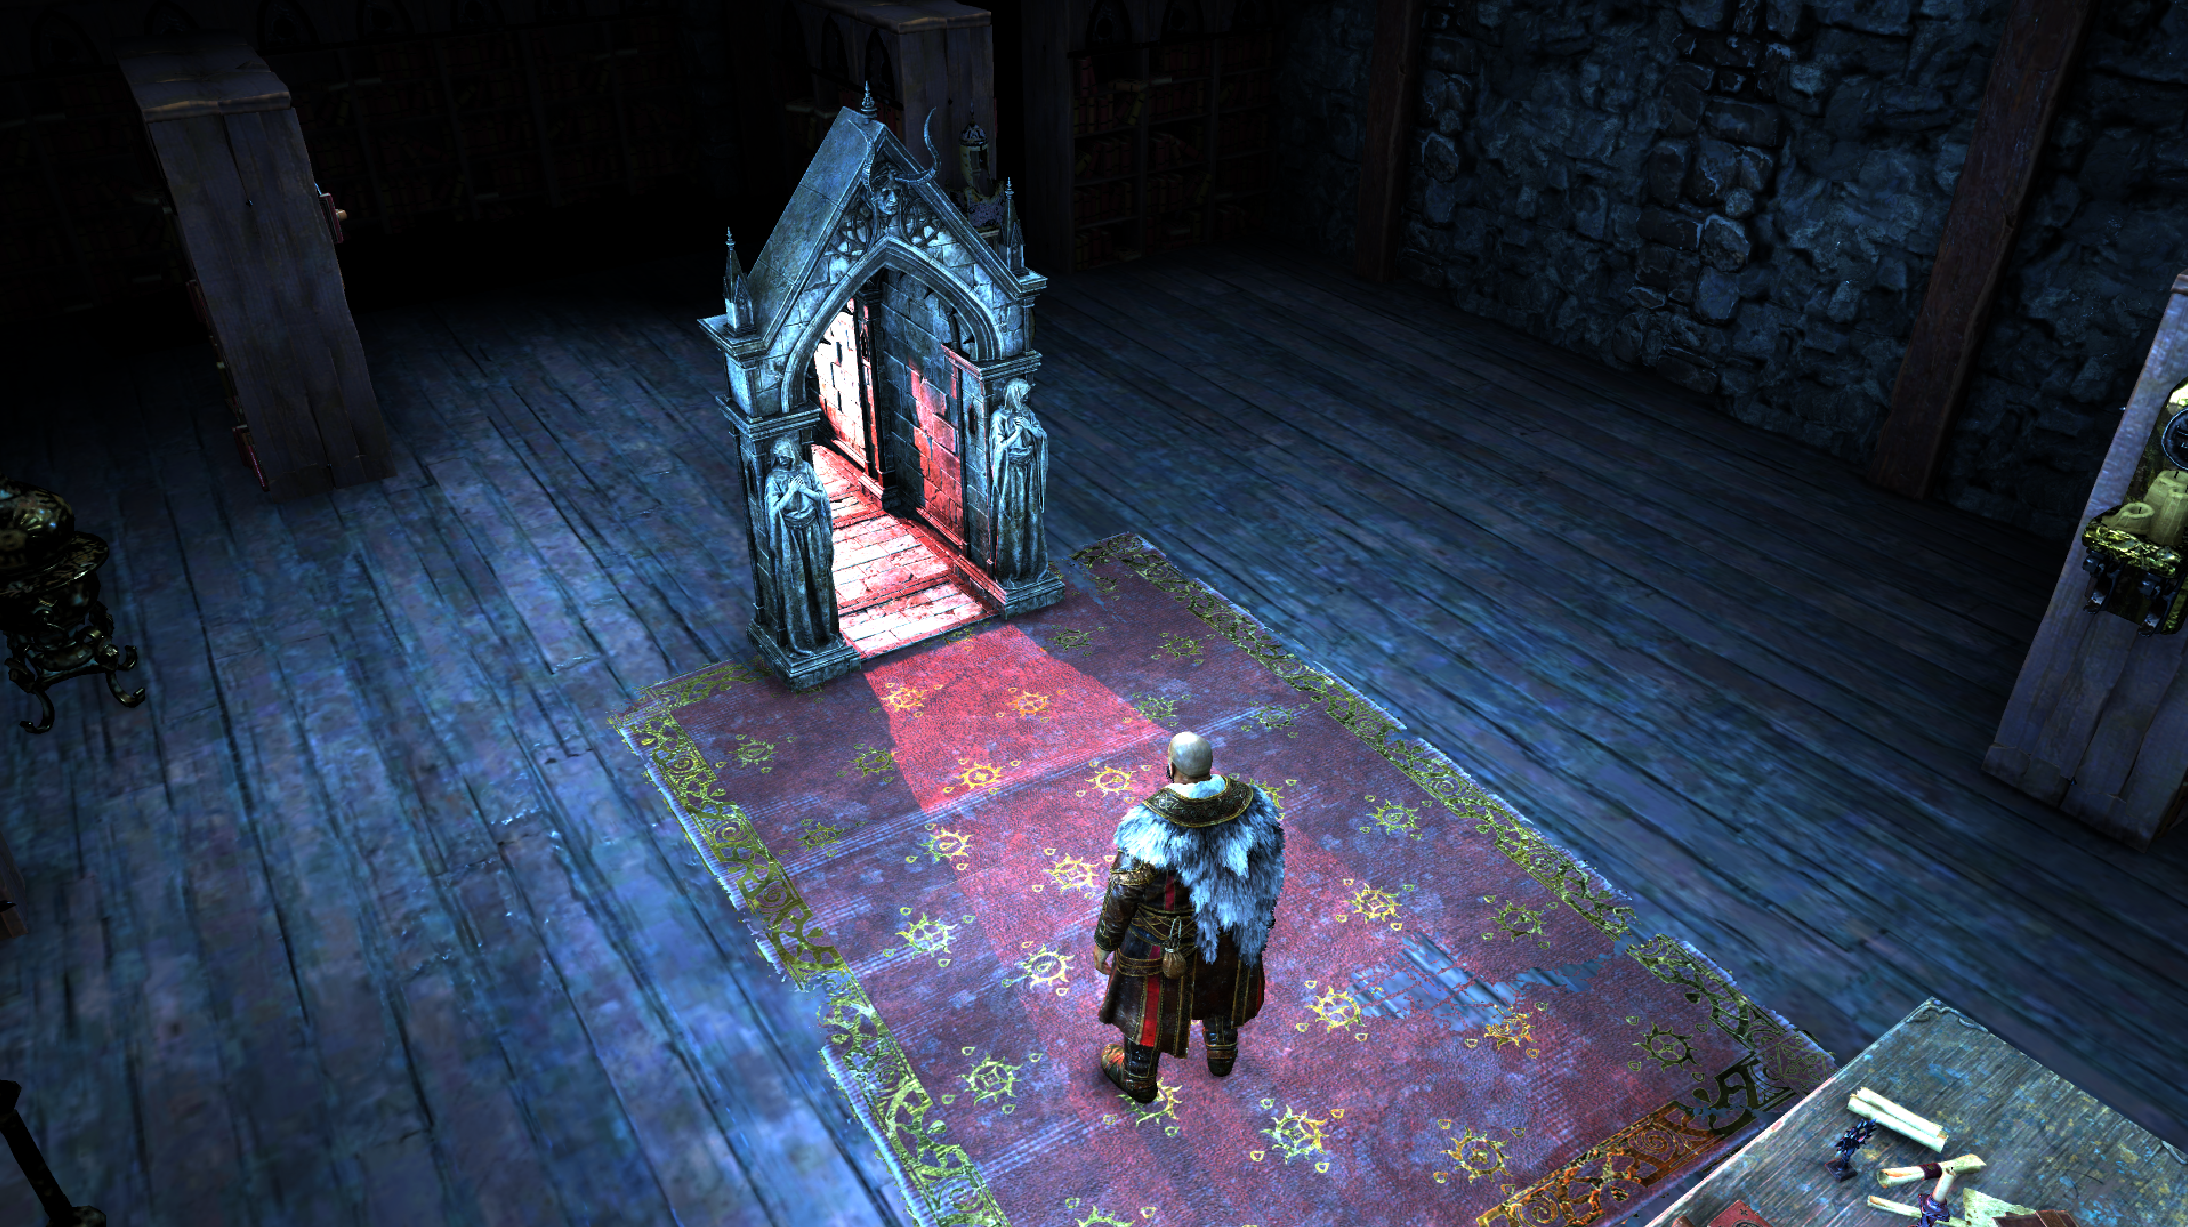
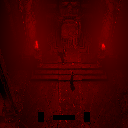
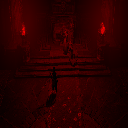
The engine powering (and of course the team) Diablo 4 seem to be filled with cool tricks. Yet i can’t find one that i liked more than this one below. If you’ve beaten the game or played long enough of it, then you might recall that little shot from a cinematic somewhere at Act II, when you get the memory at Donan’s study.
Coming from technical background, you might get little hooked with that simple shot. Not for any reason, but because you’ve seen many companies speaking about similar things in their games, and how they’re able to convey the feel of portals and other dimensions that looked like that one. But the idea of being a cinematic made things more easy for the team to decide (again, and again, this team knew well their boundaries, their timeline…their scope!)
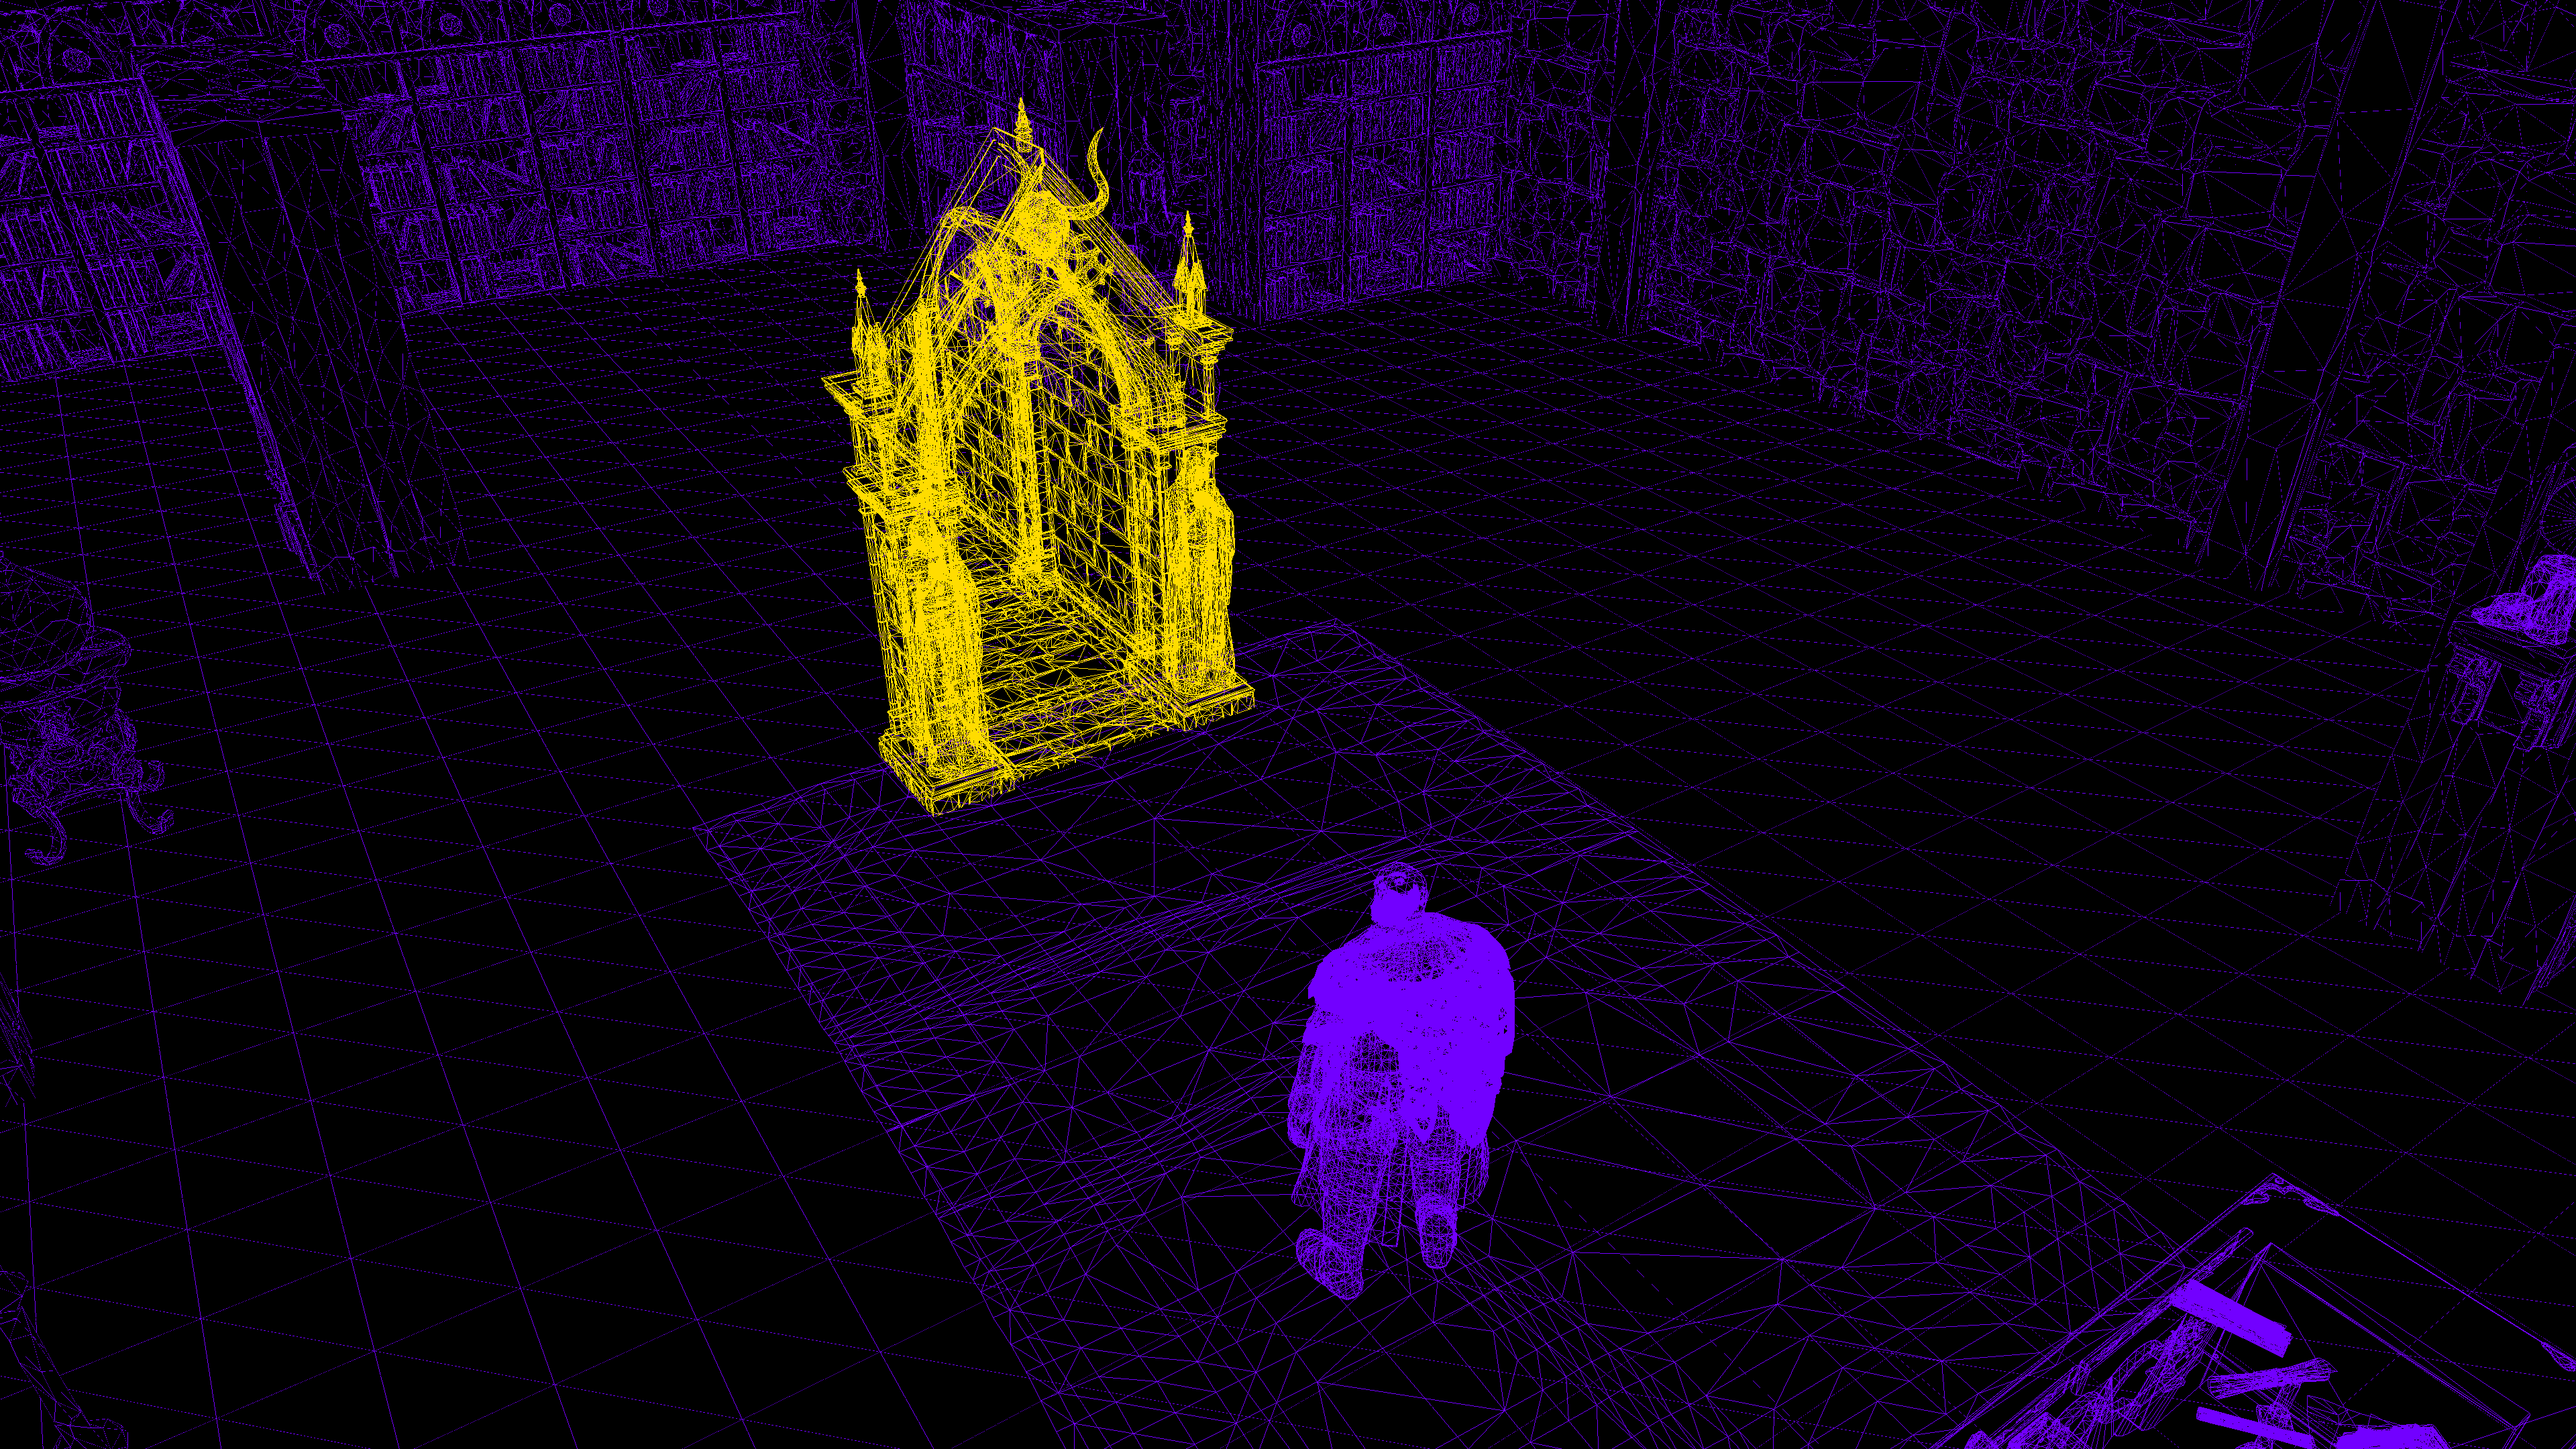
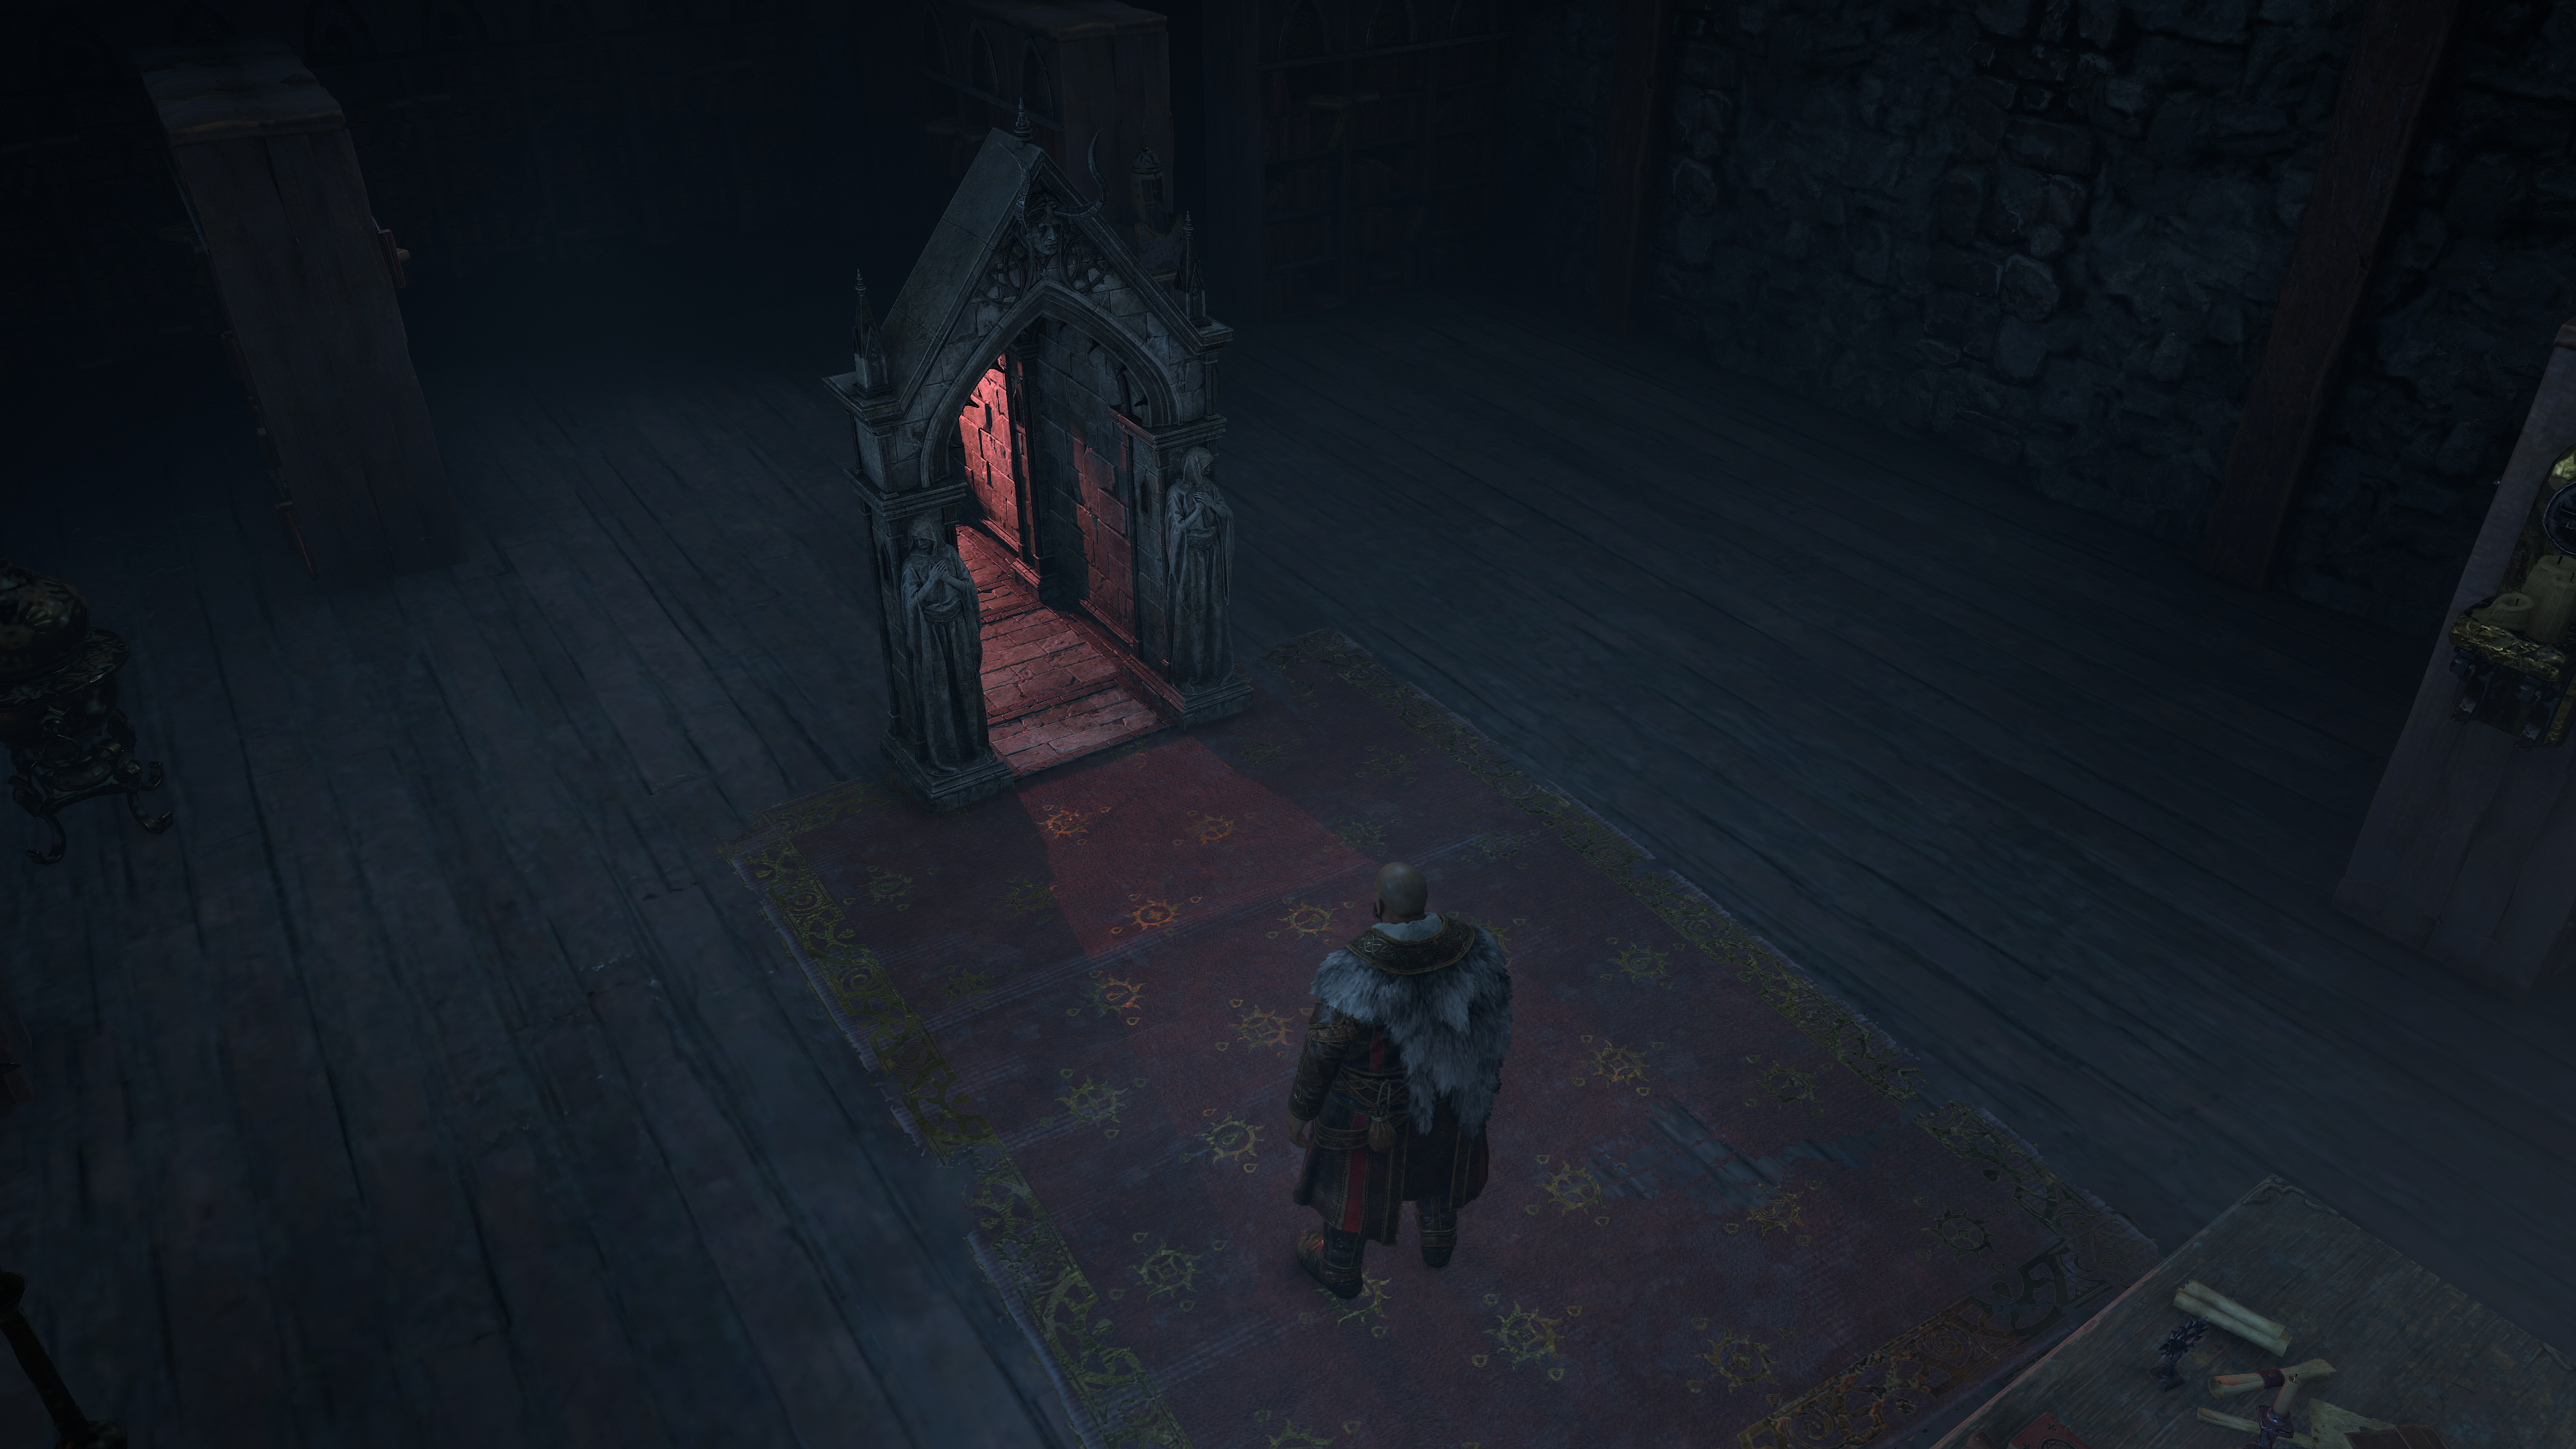
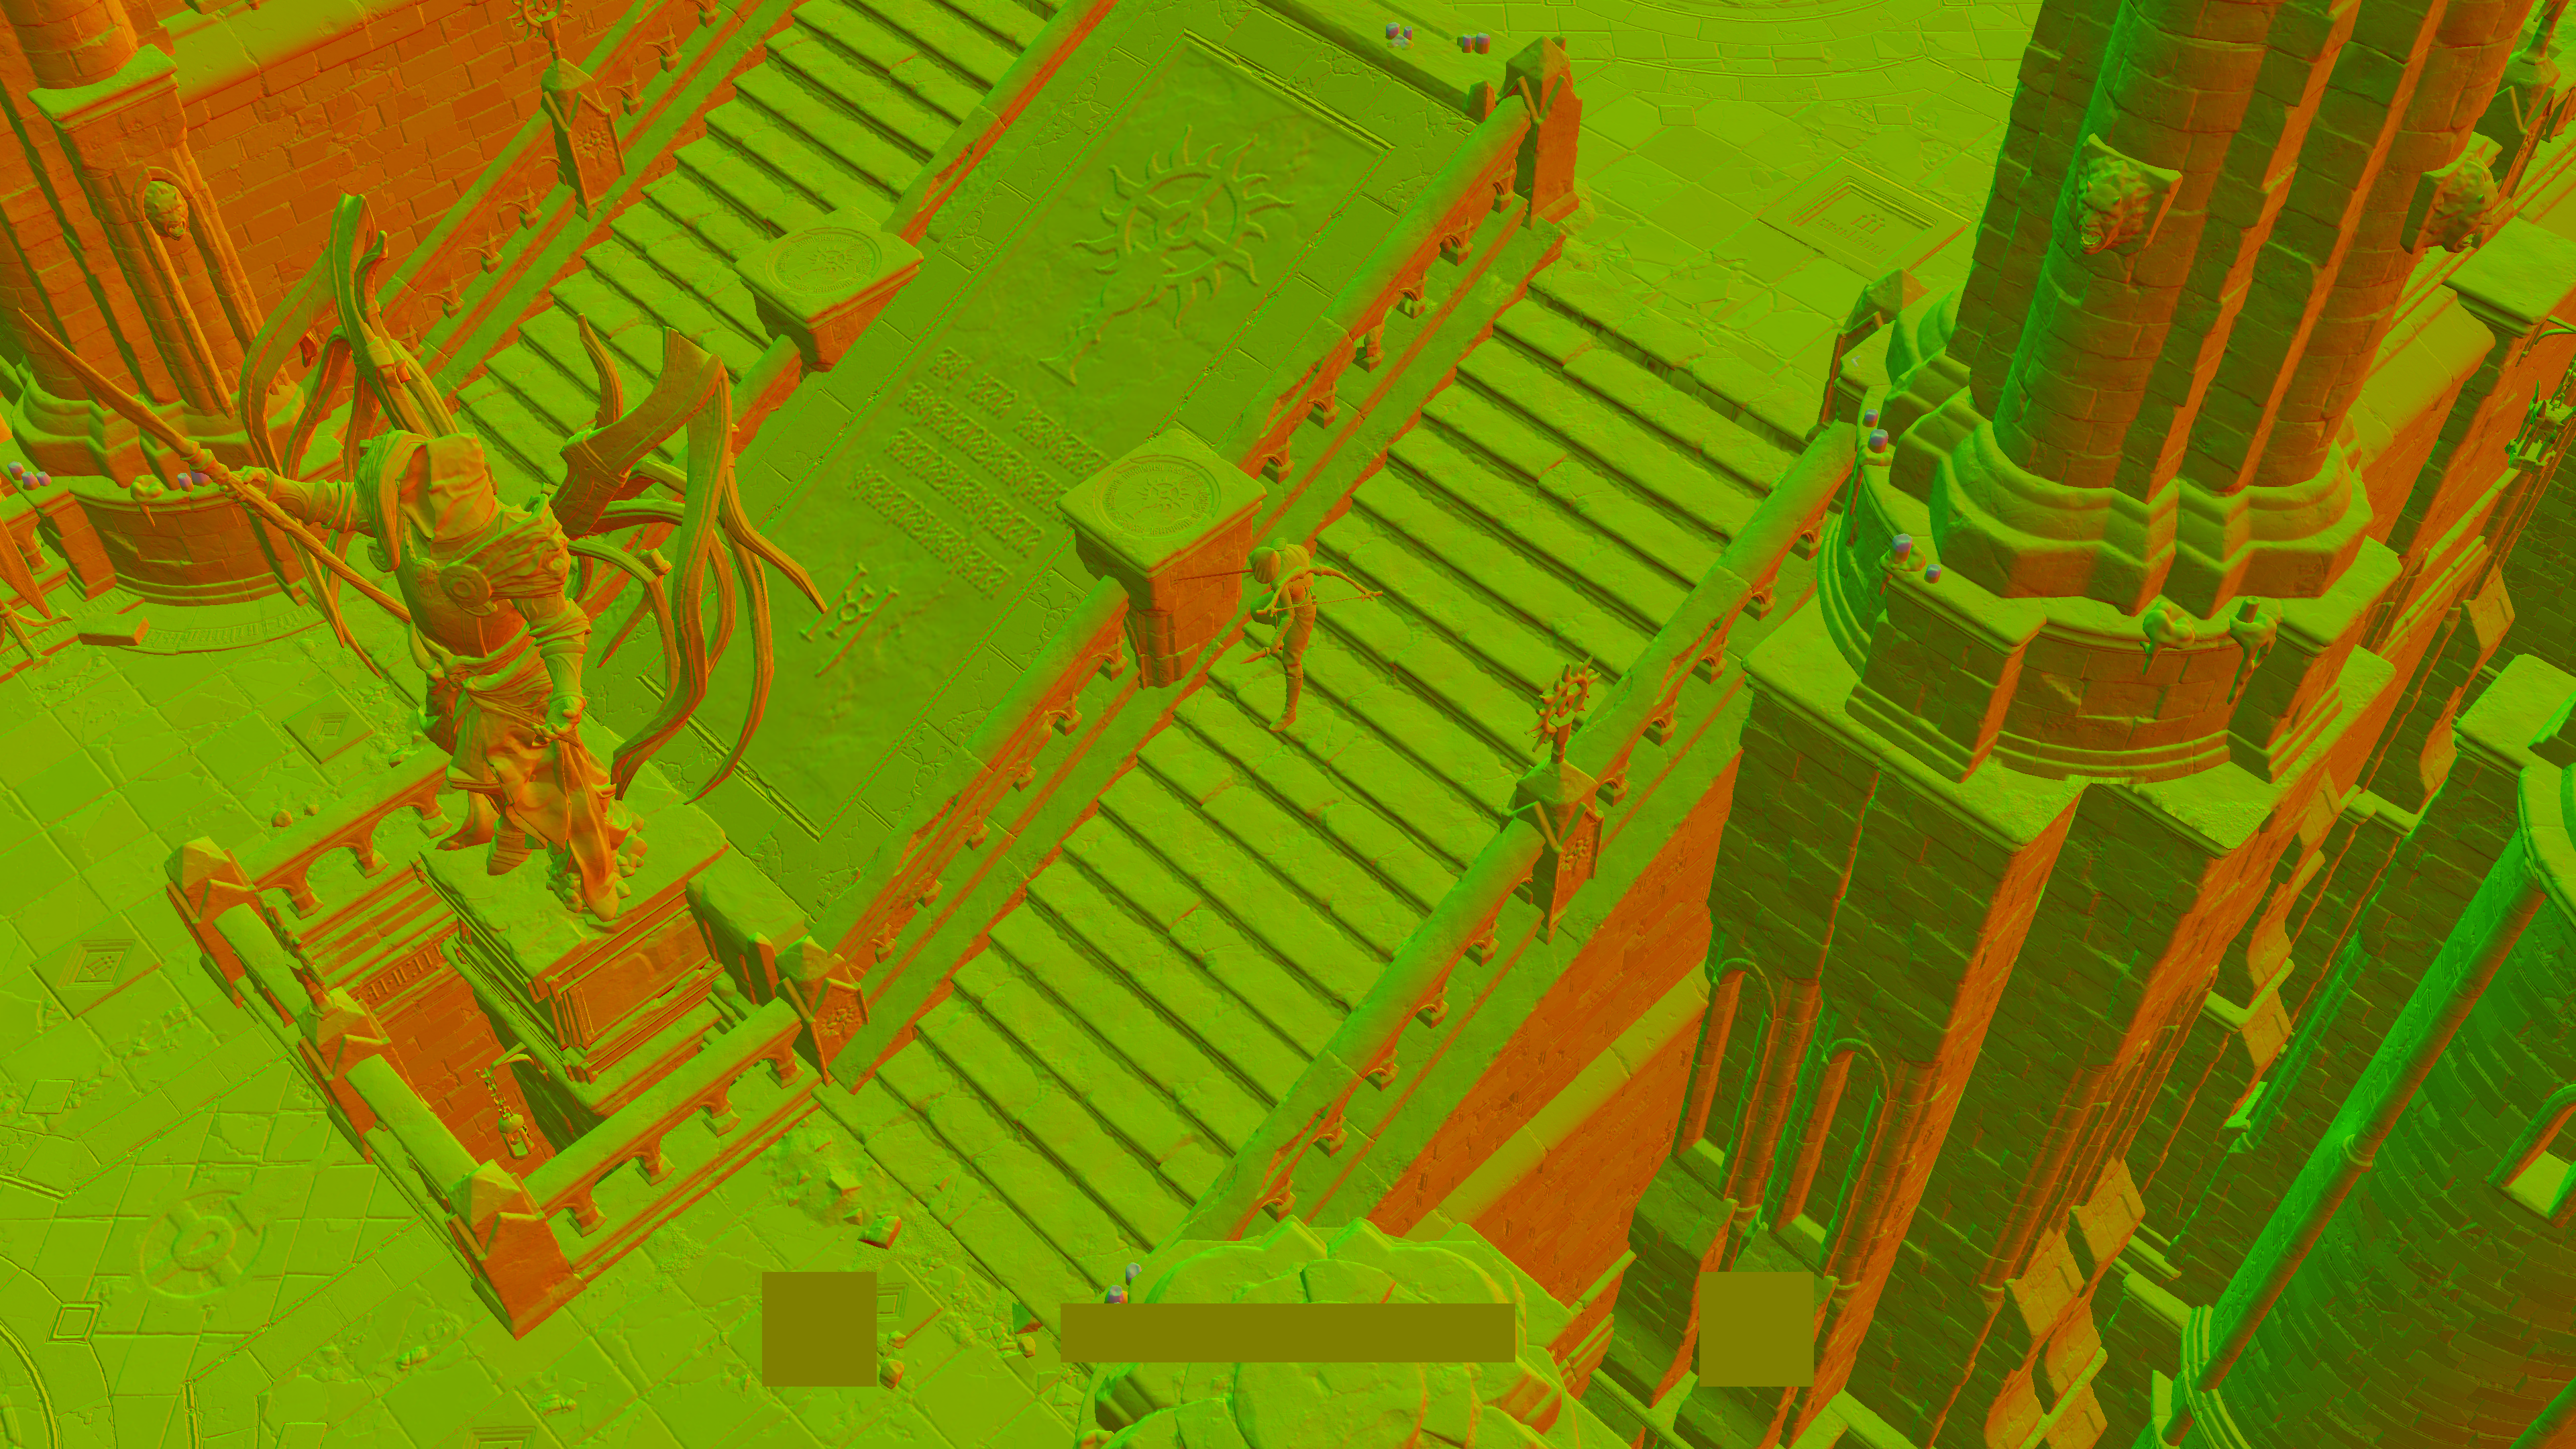
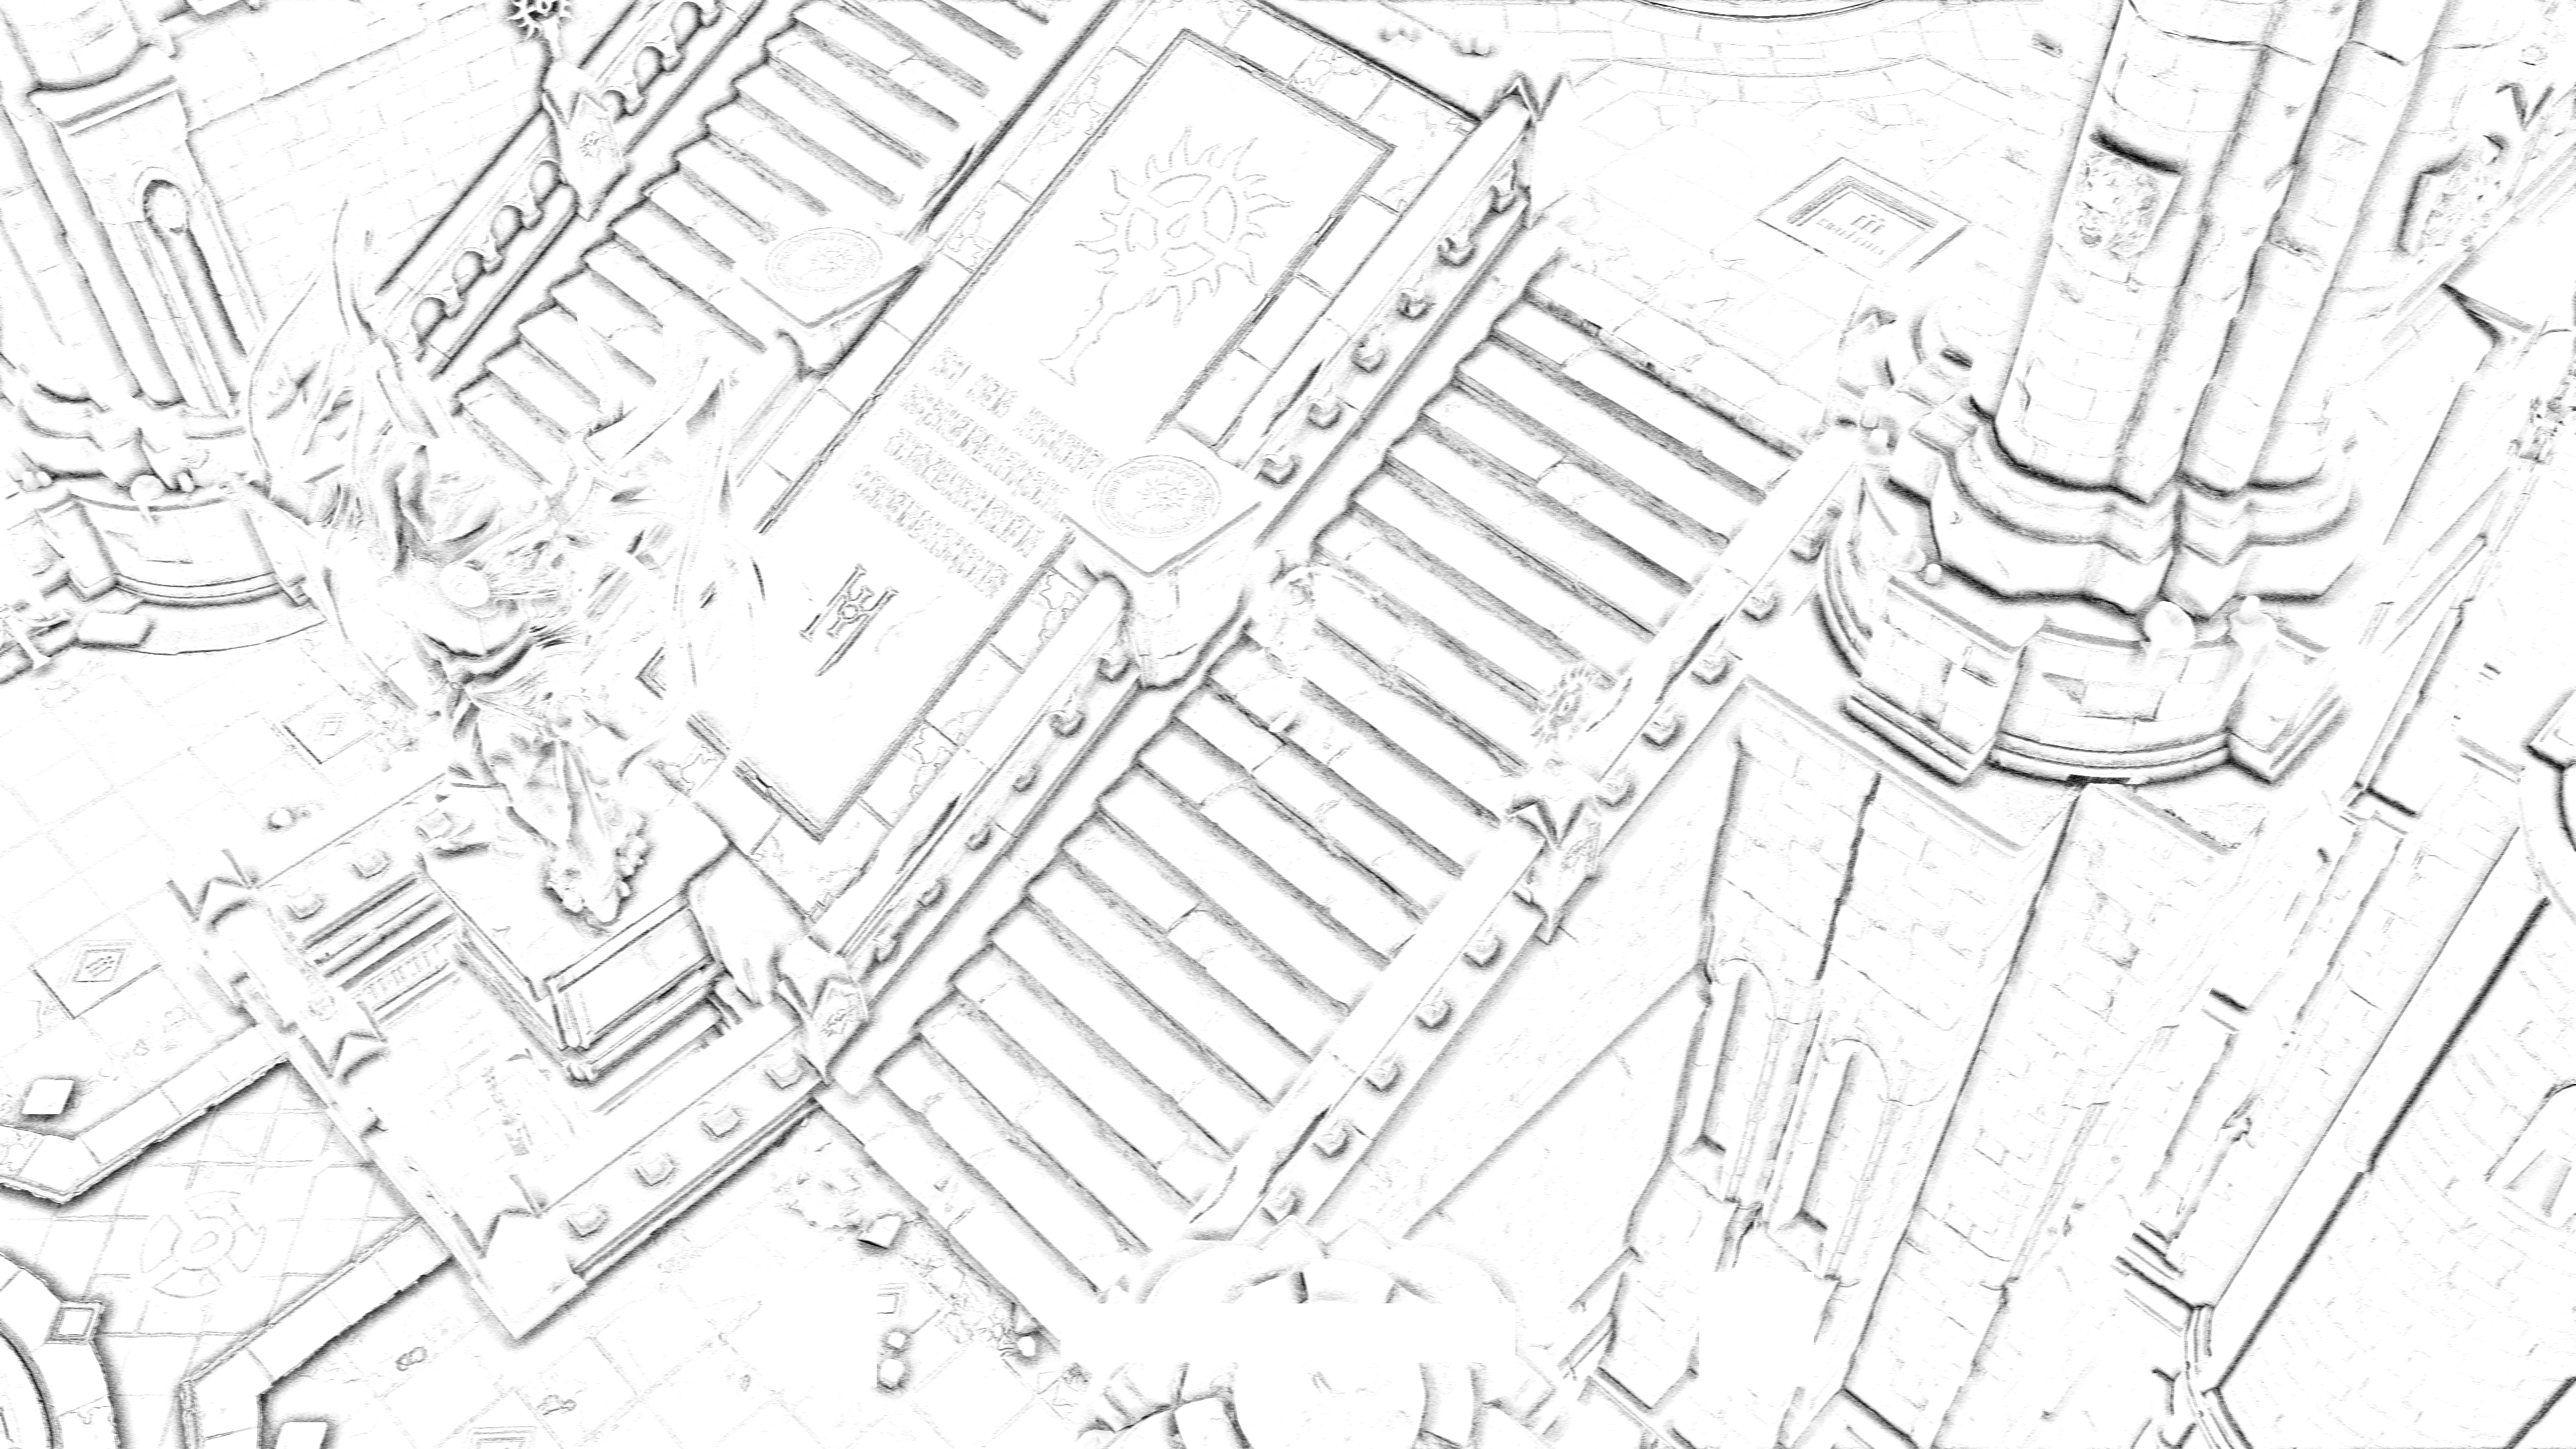
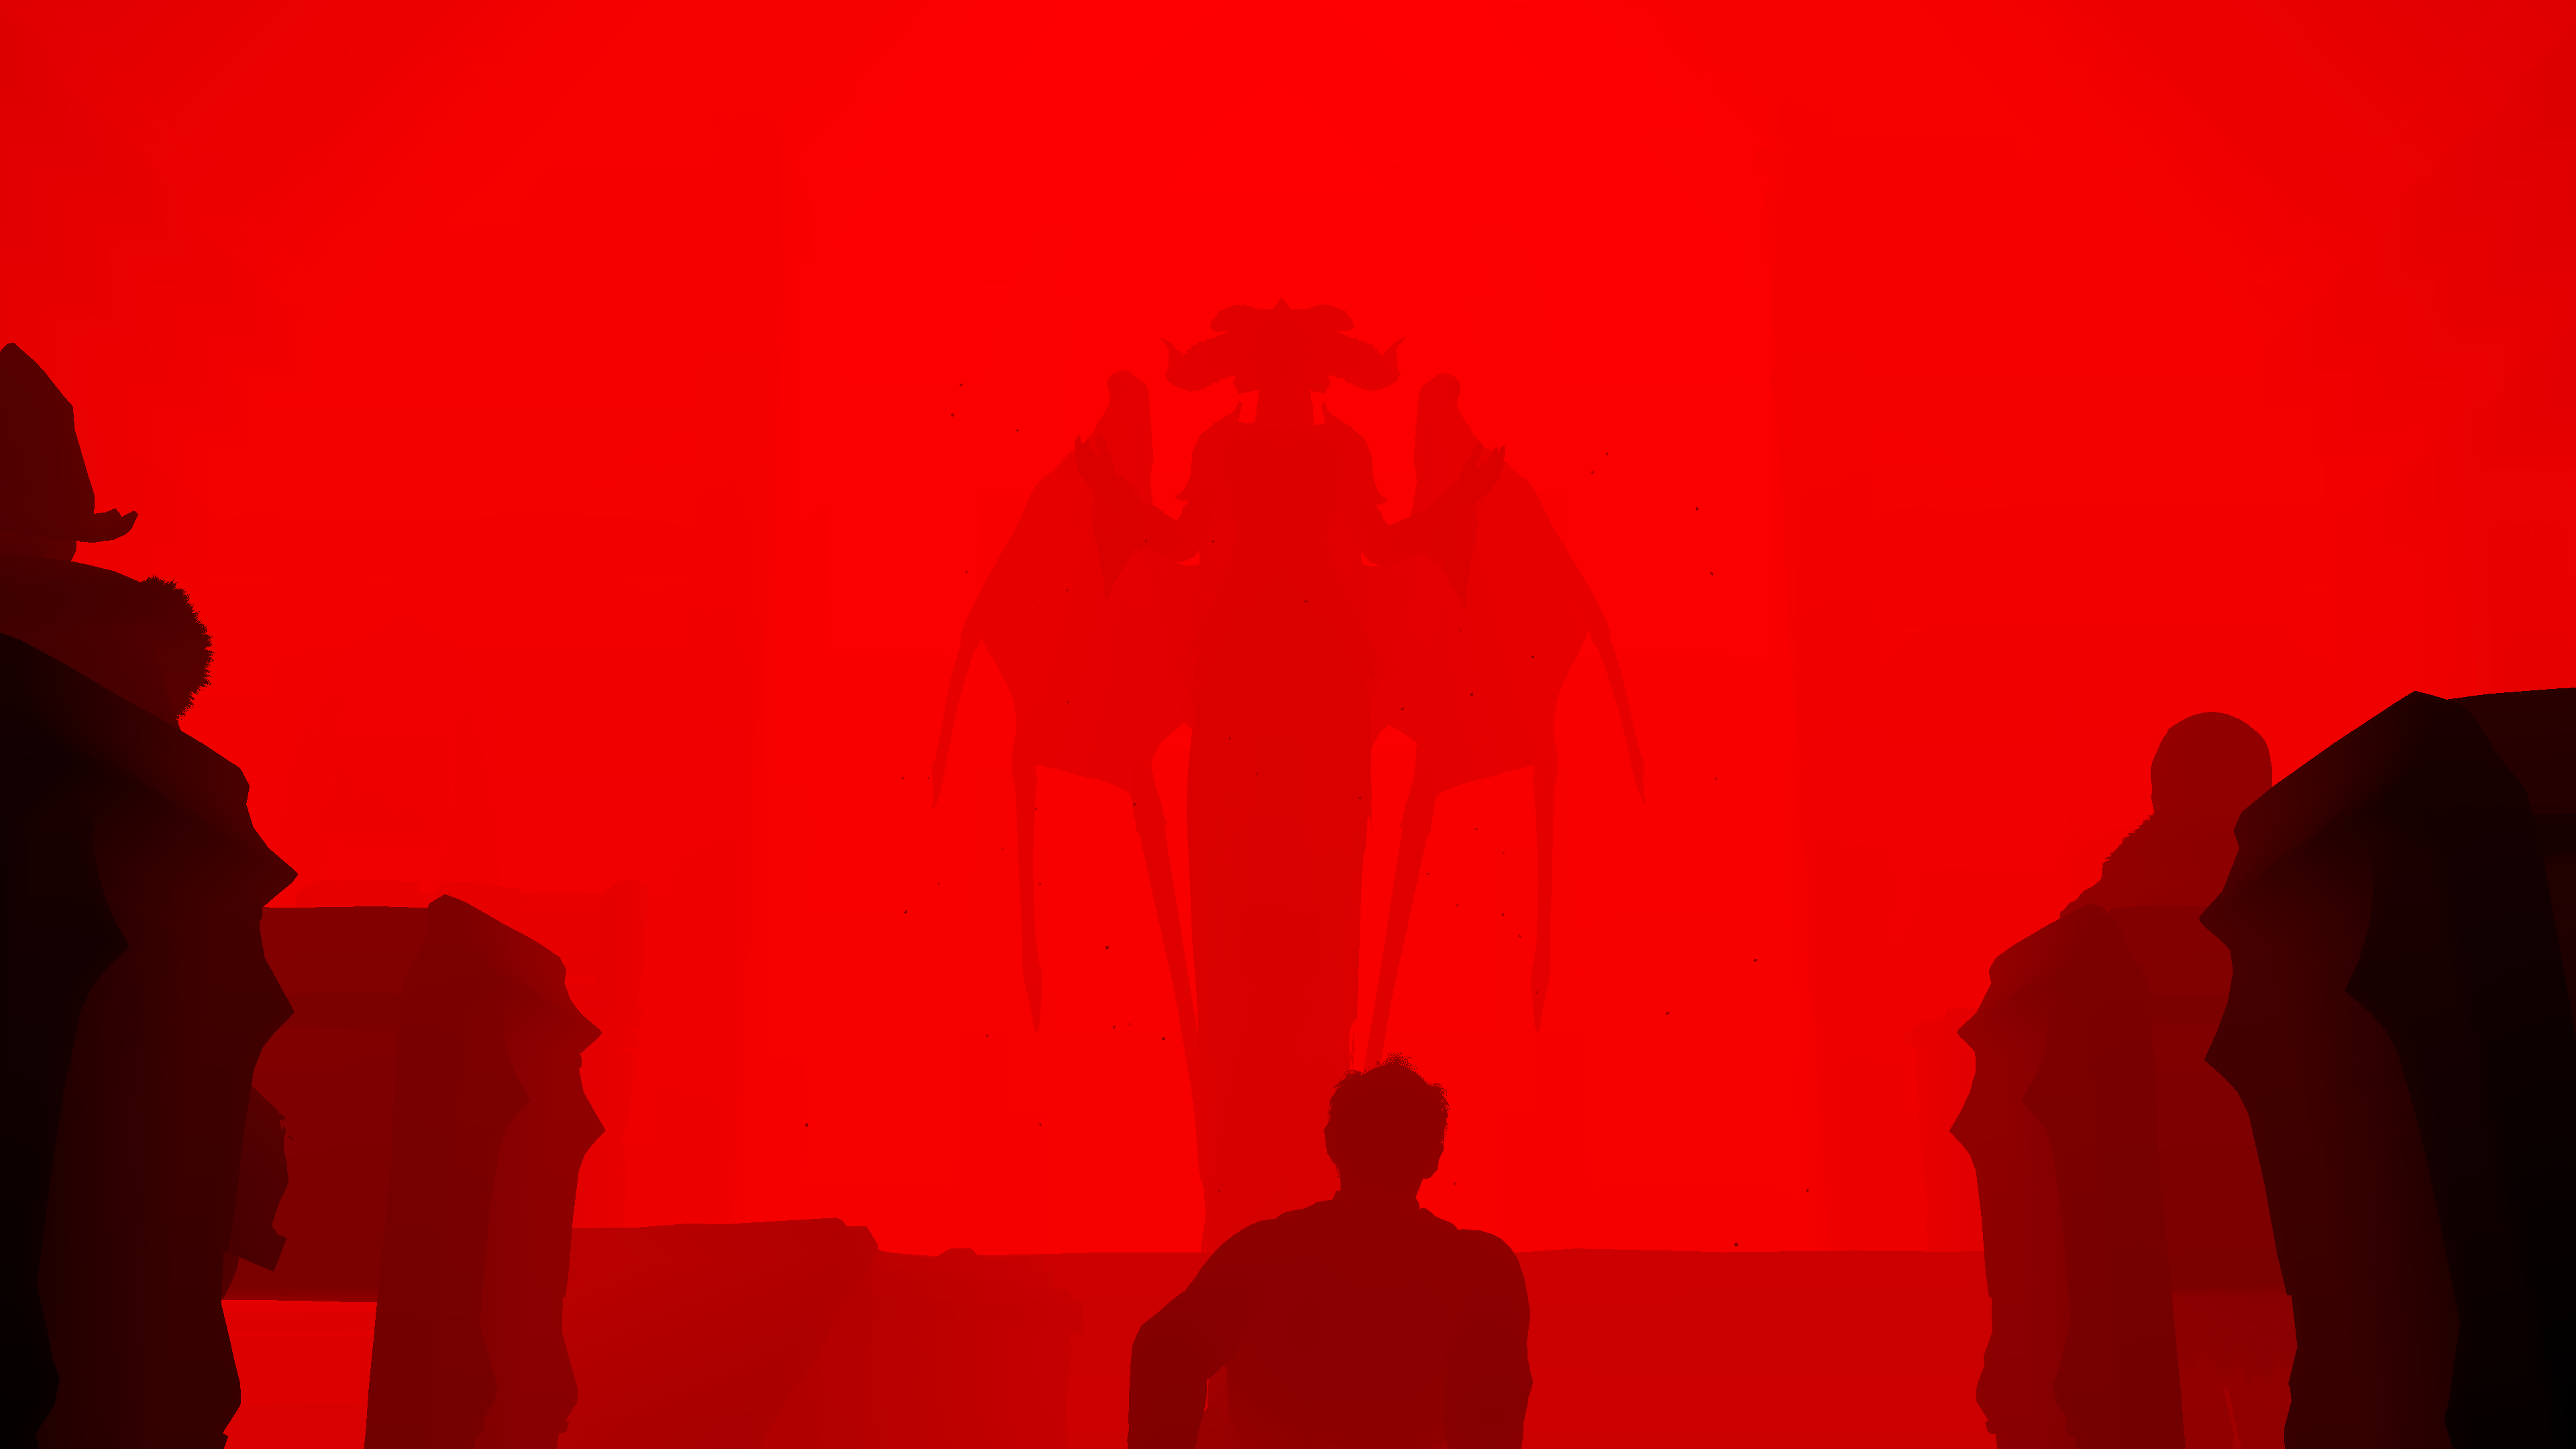
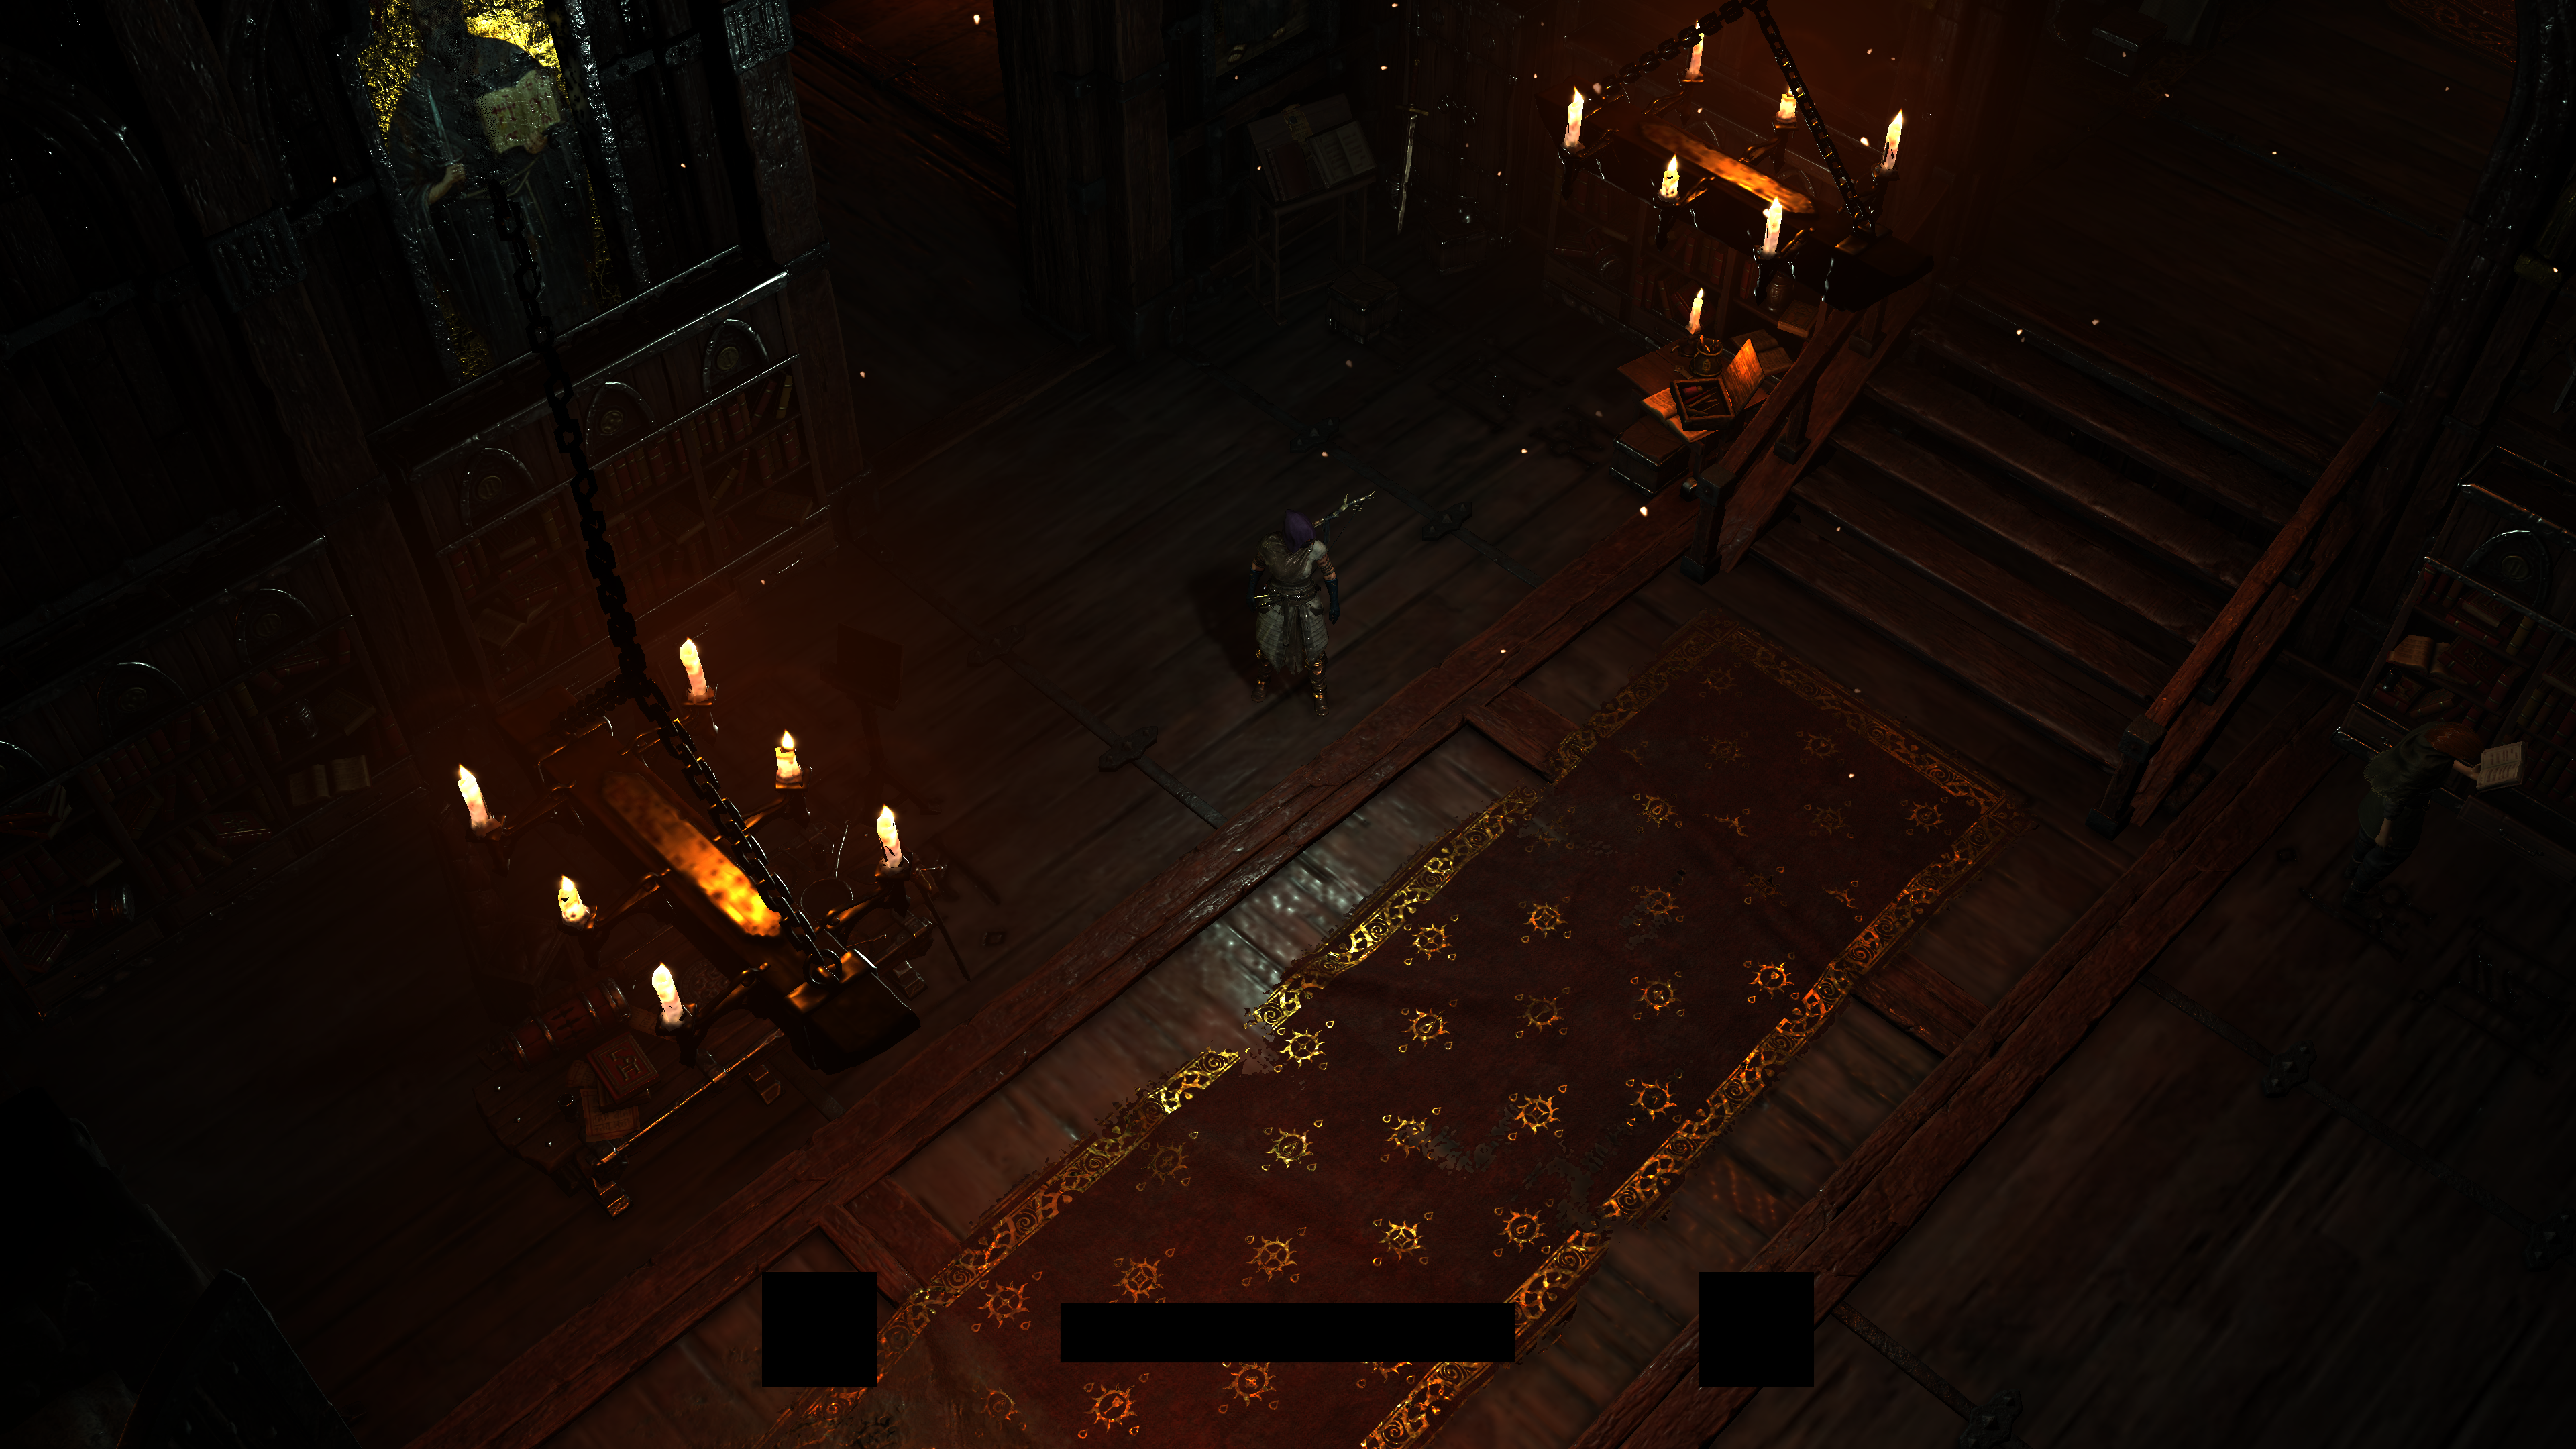
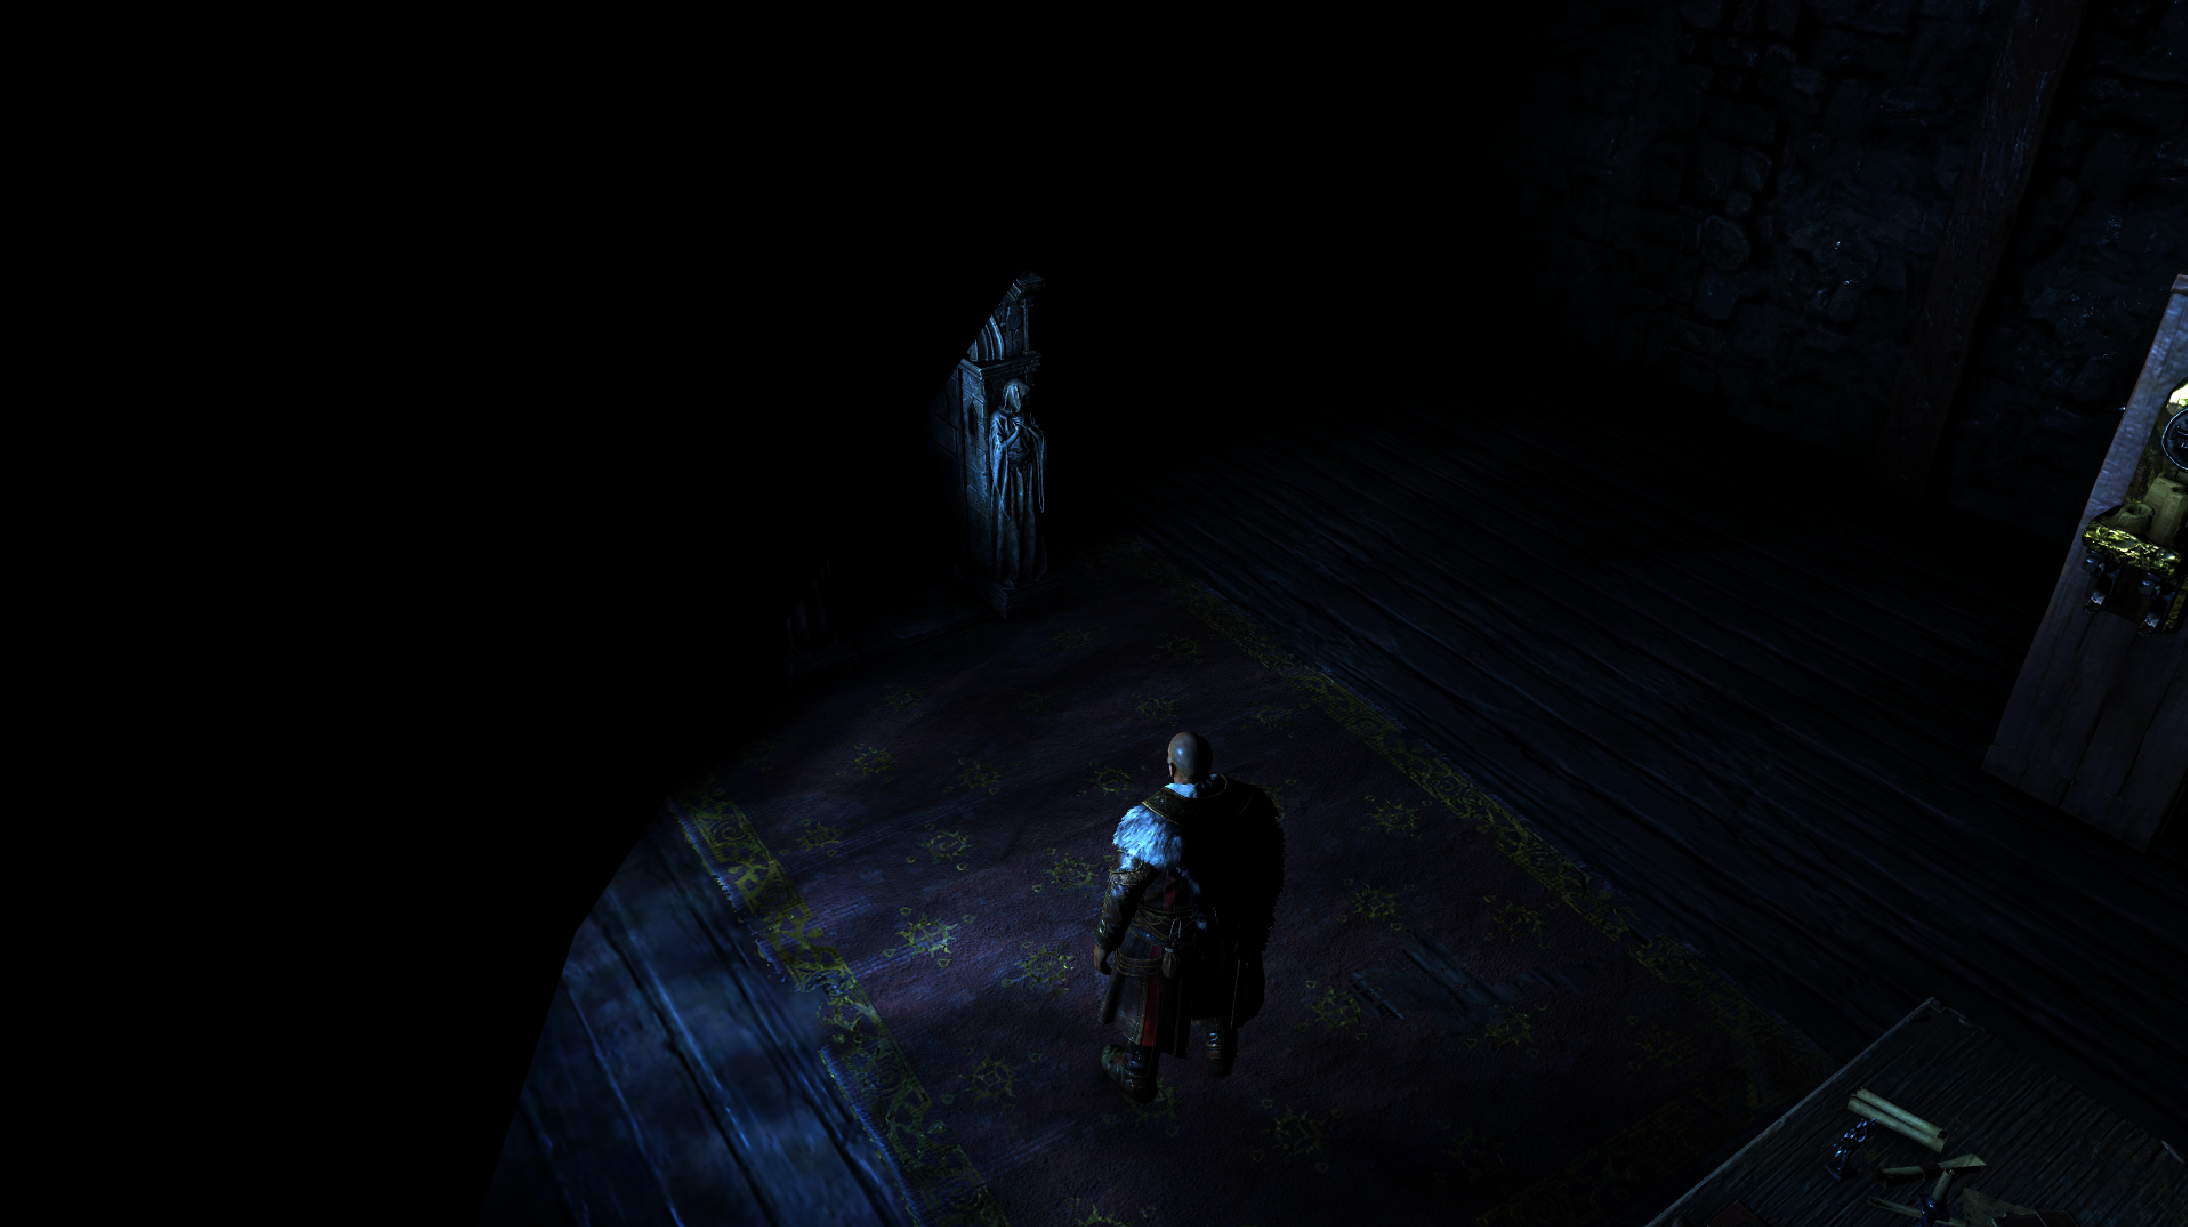
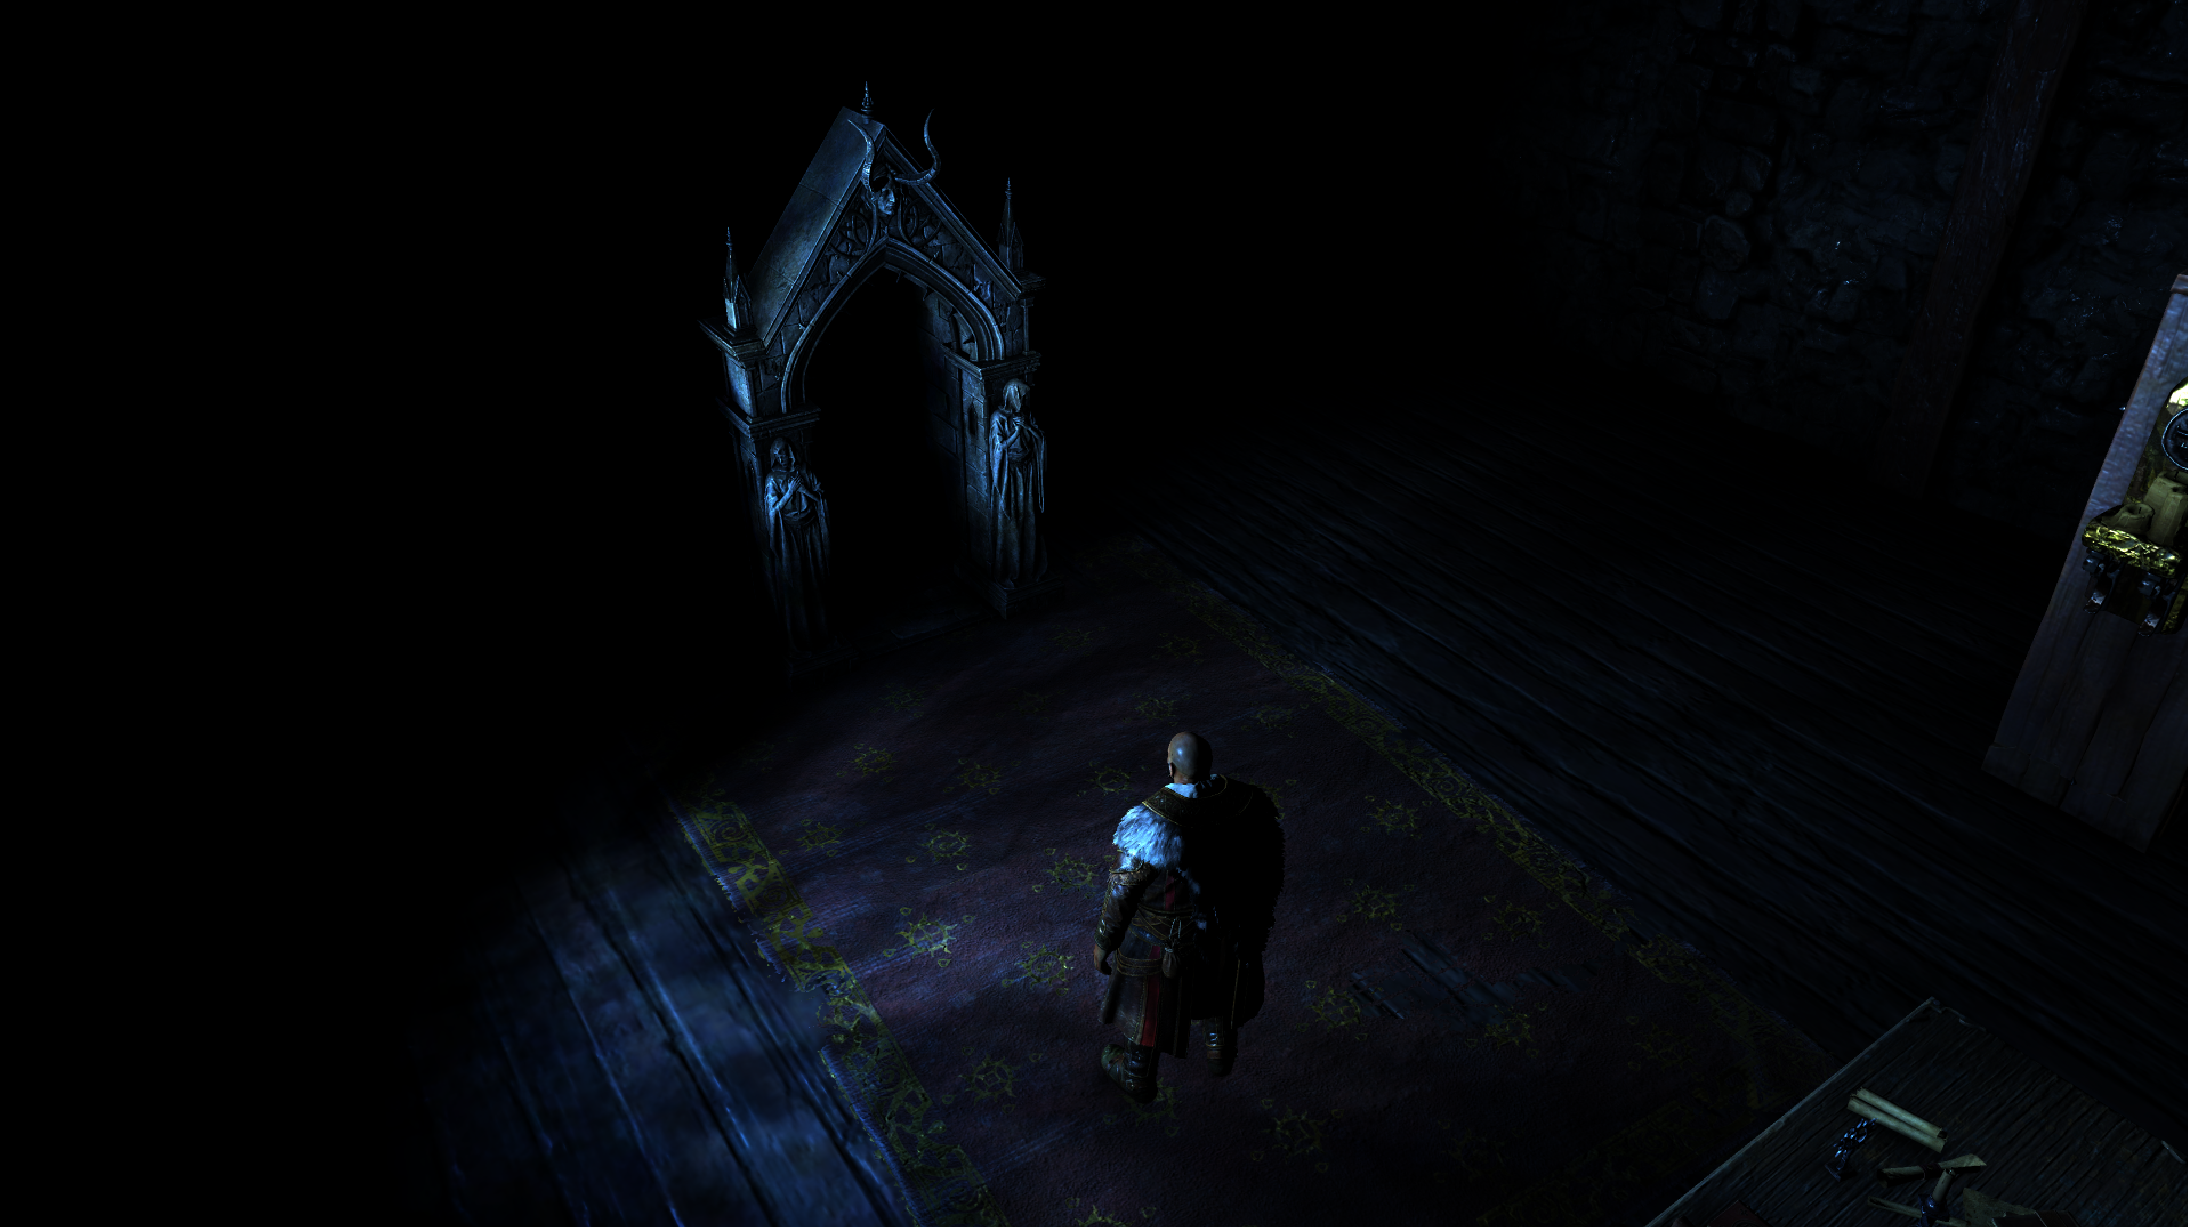
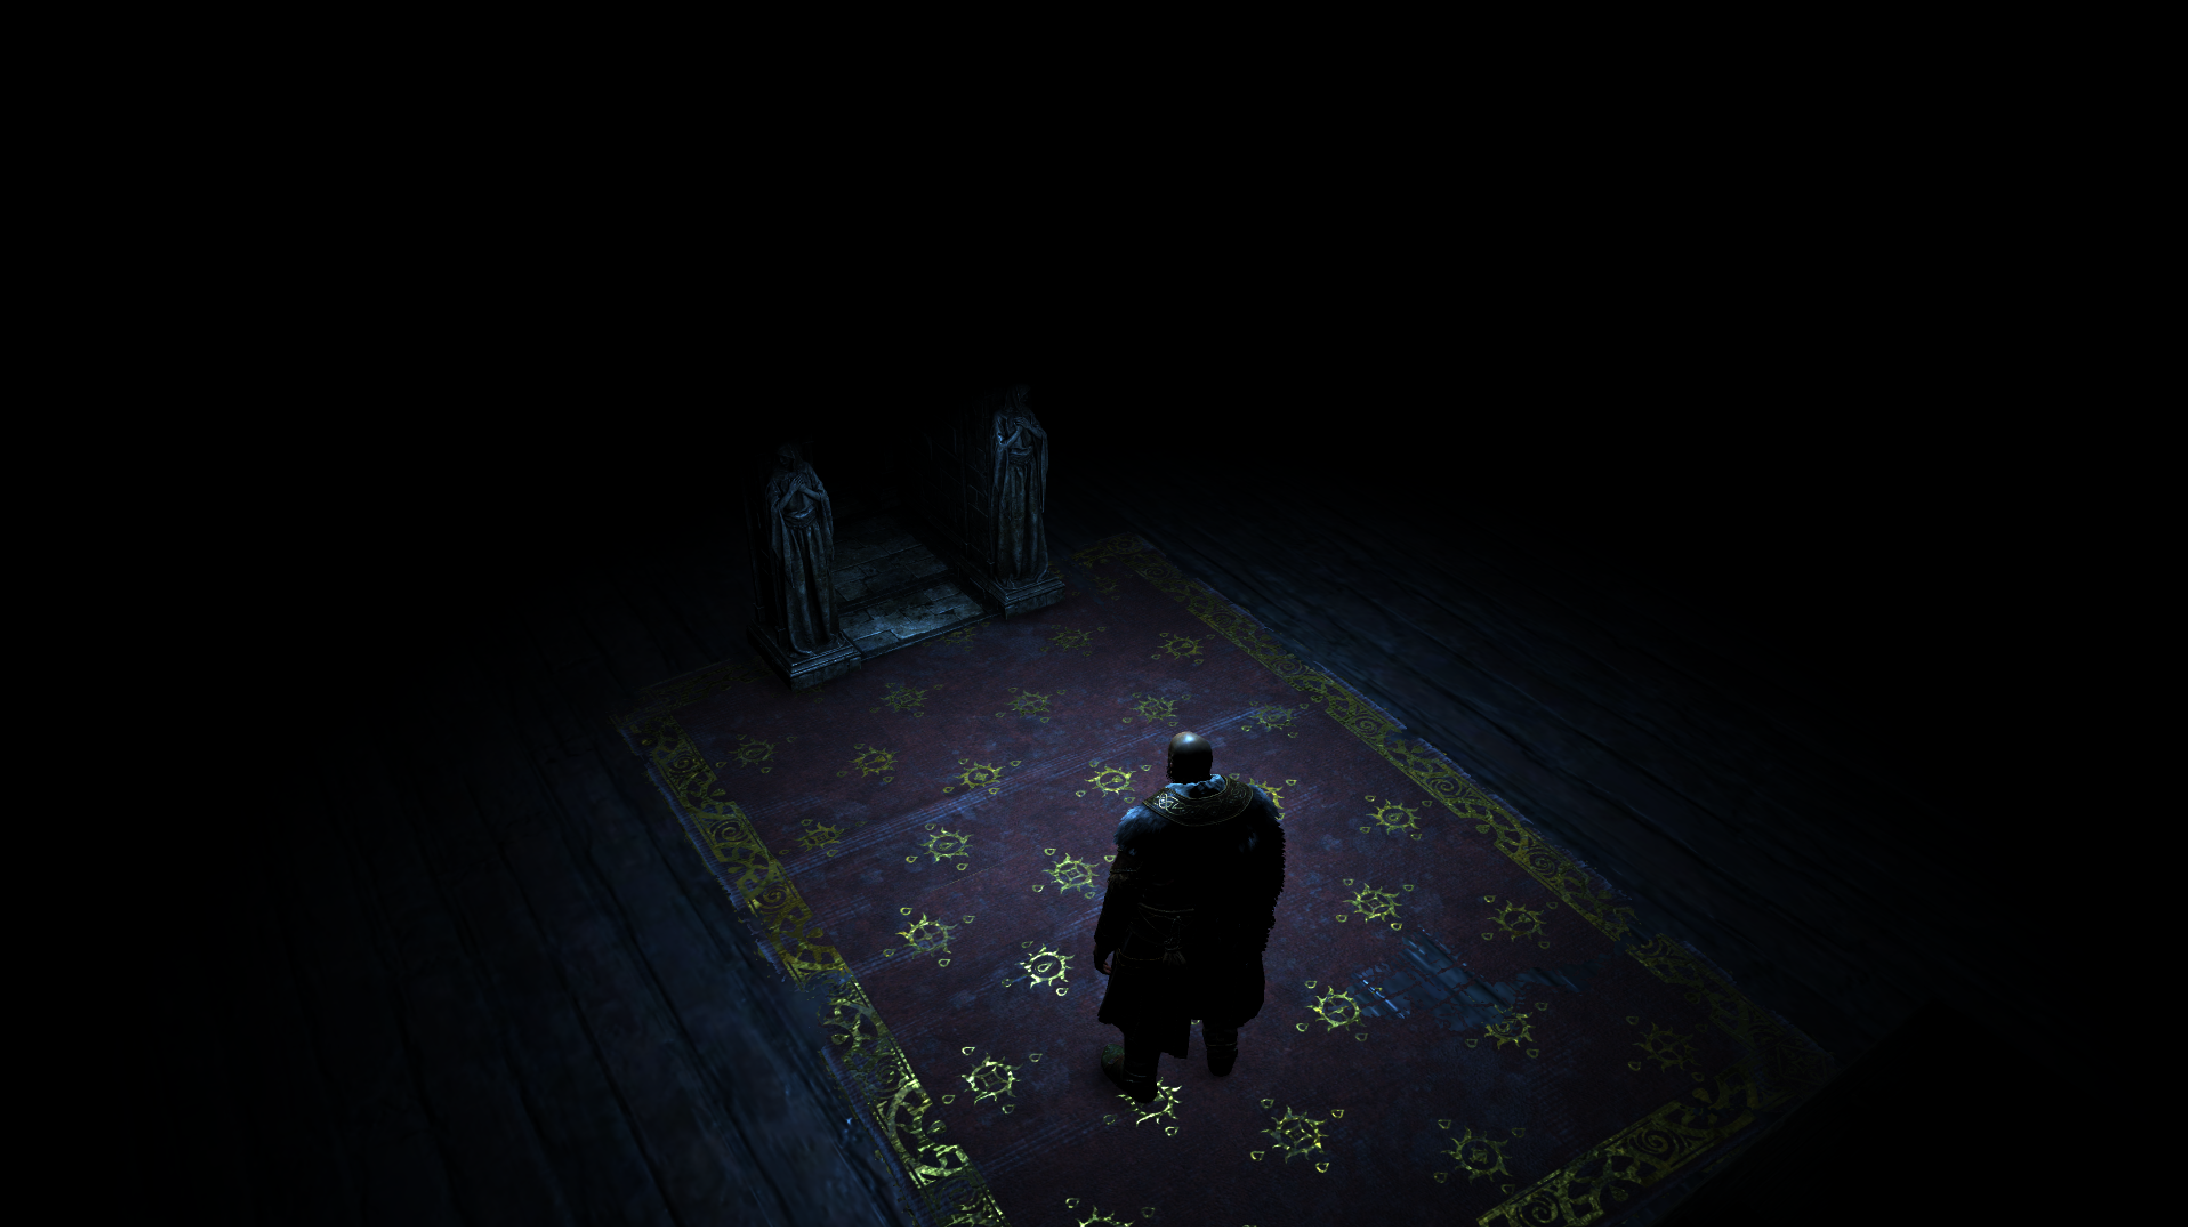
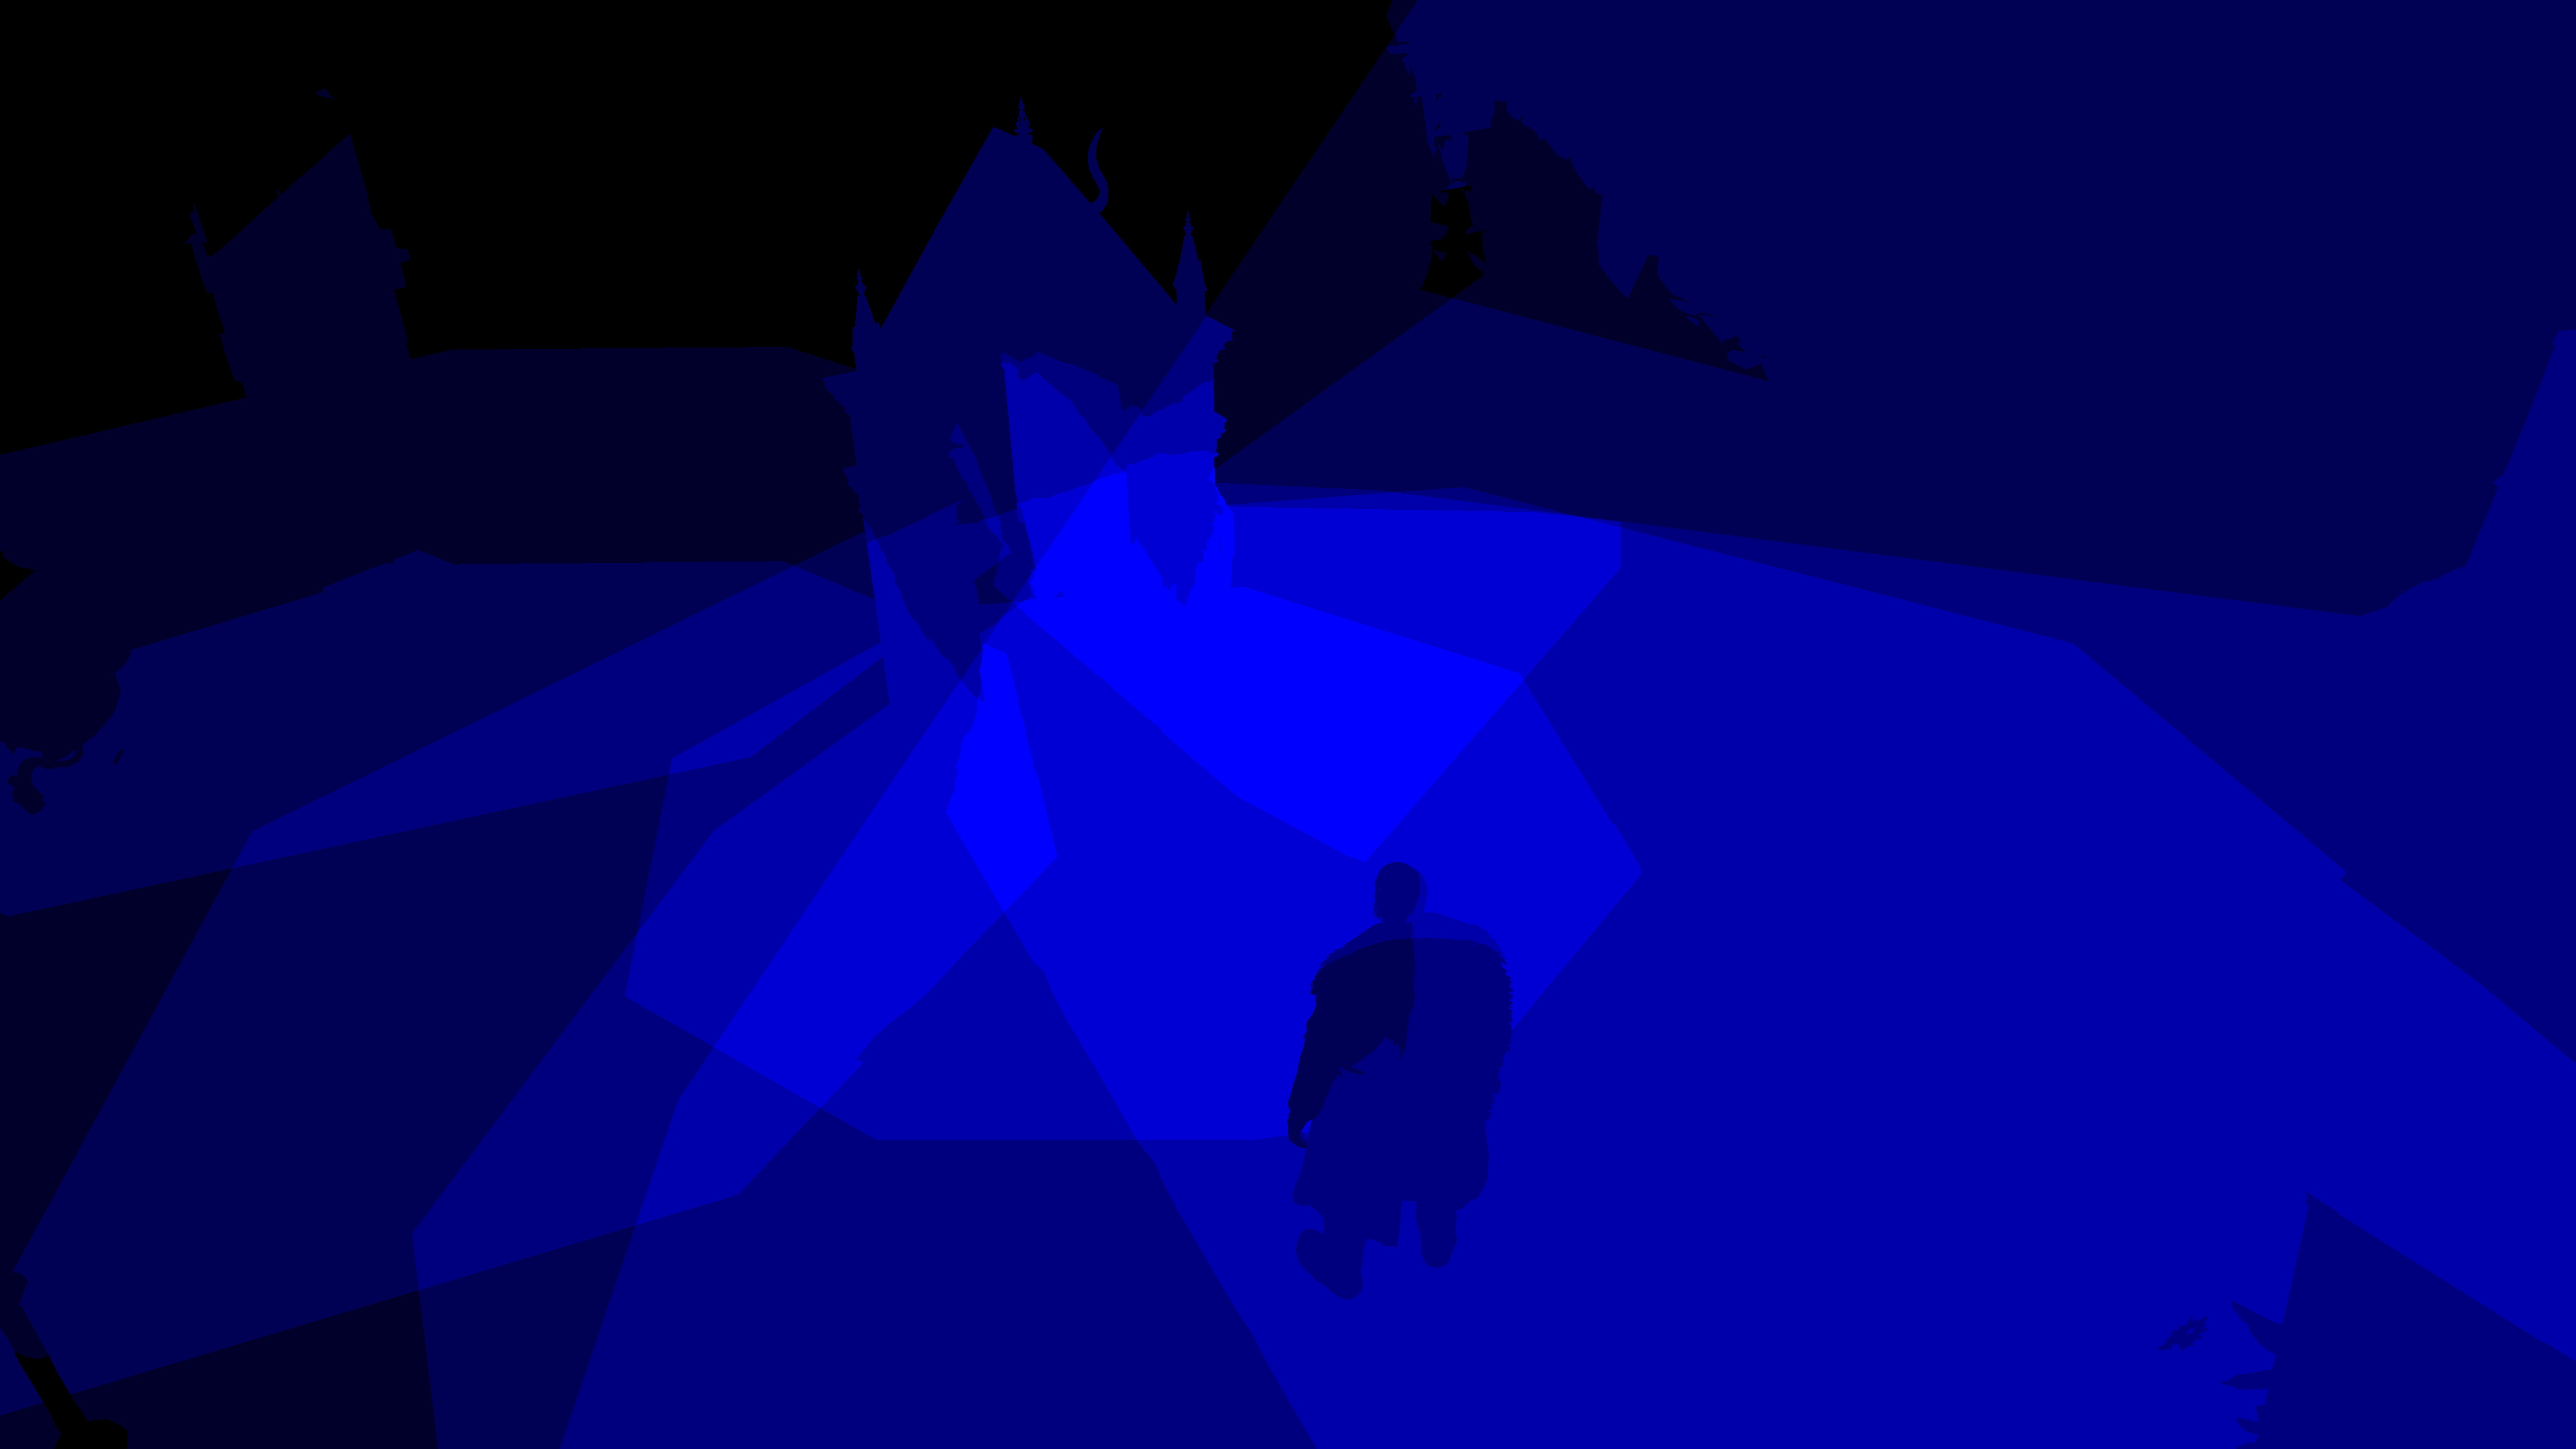
And if you didn’t get it from the wireframe…
Admit it, it’s simple & cool! Yes the fixed camera gave that a huge “go”, but they could’ve decided to complicate things if they needed to, but they knew their “scope”! This trick is a lesson to everyone likes to complicate things under the slogan of “we need to make it modular, so we can use it in other cases”…do you?!
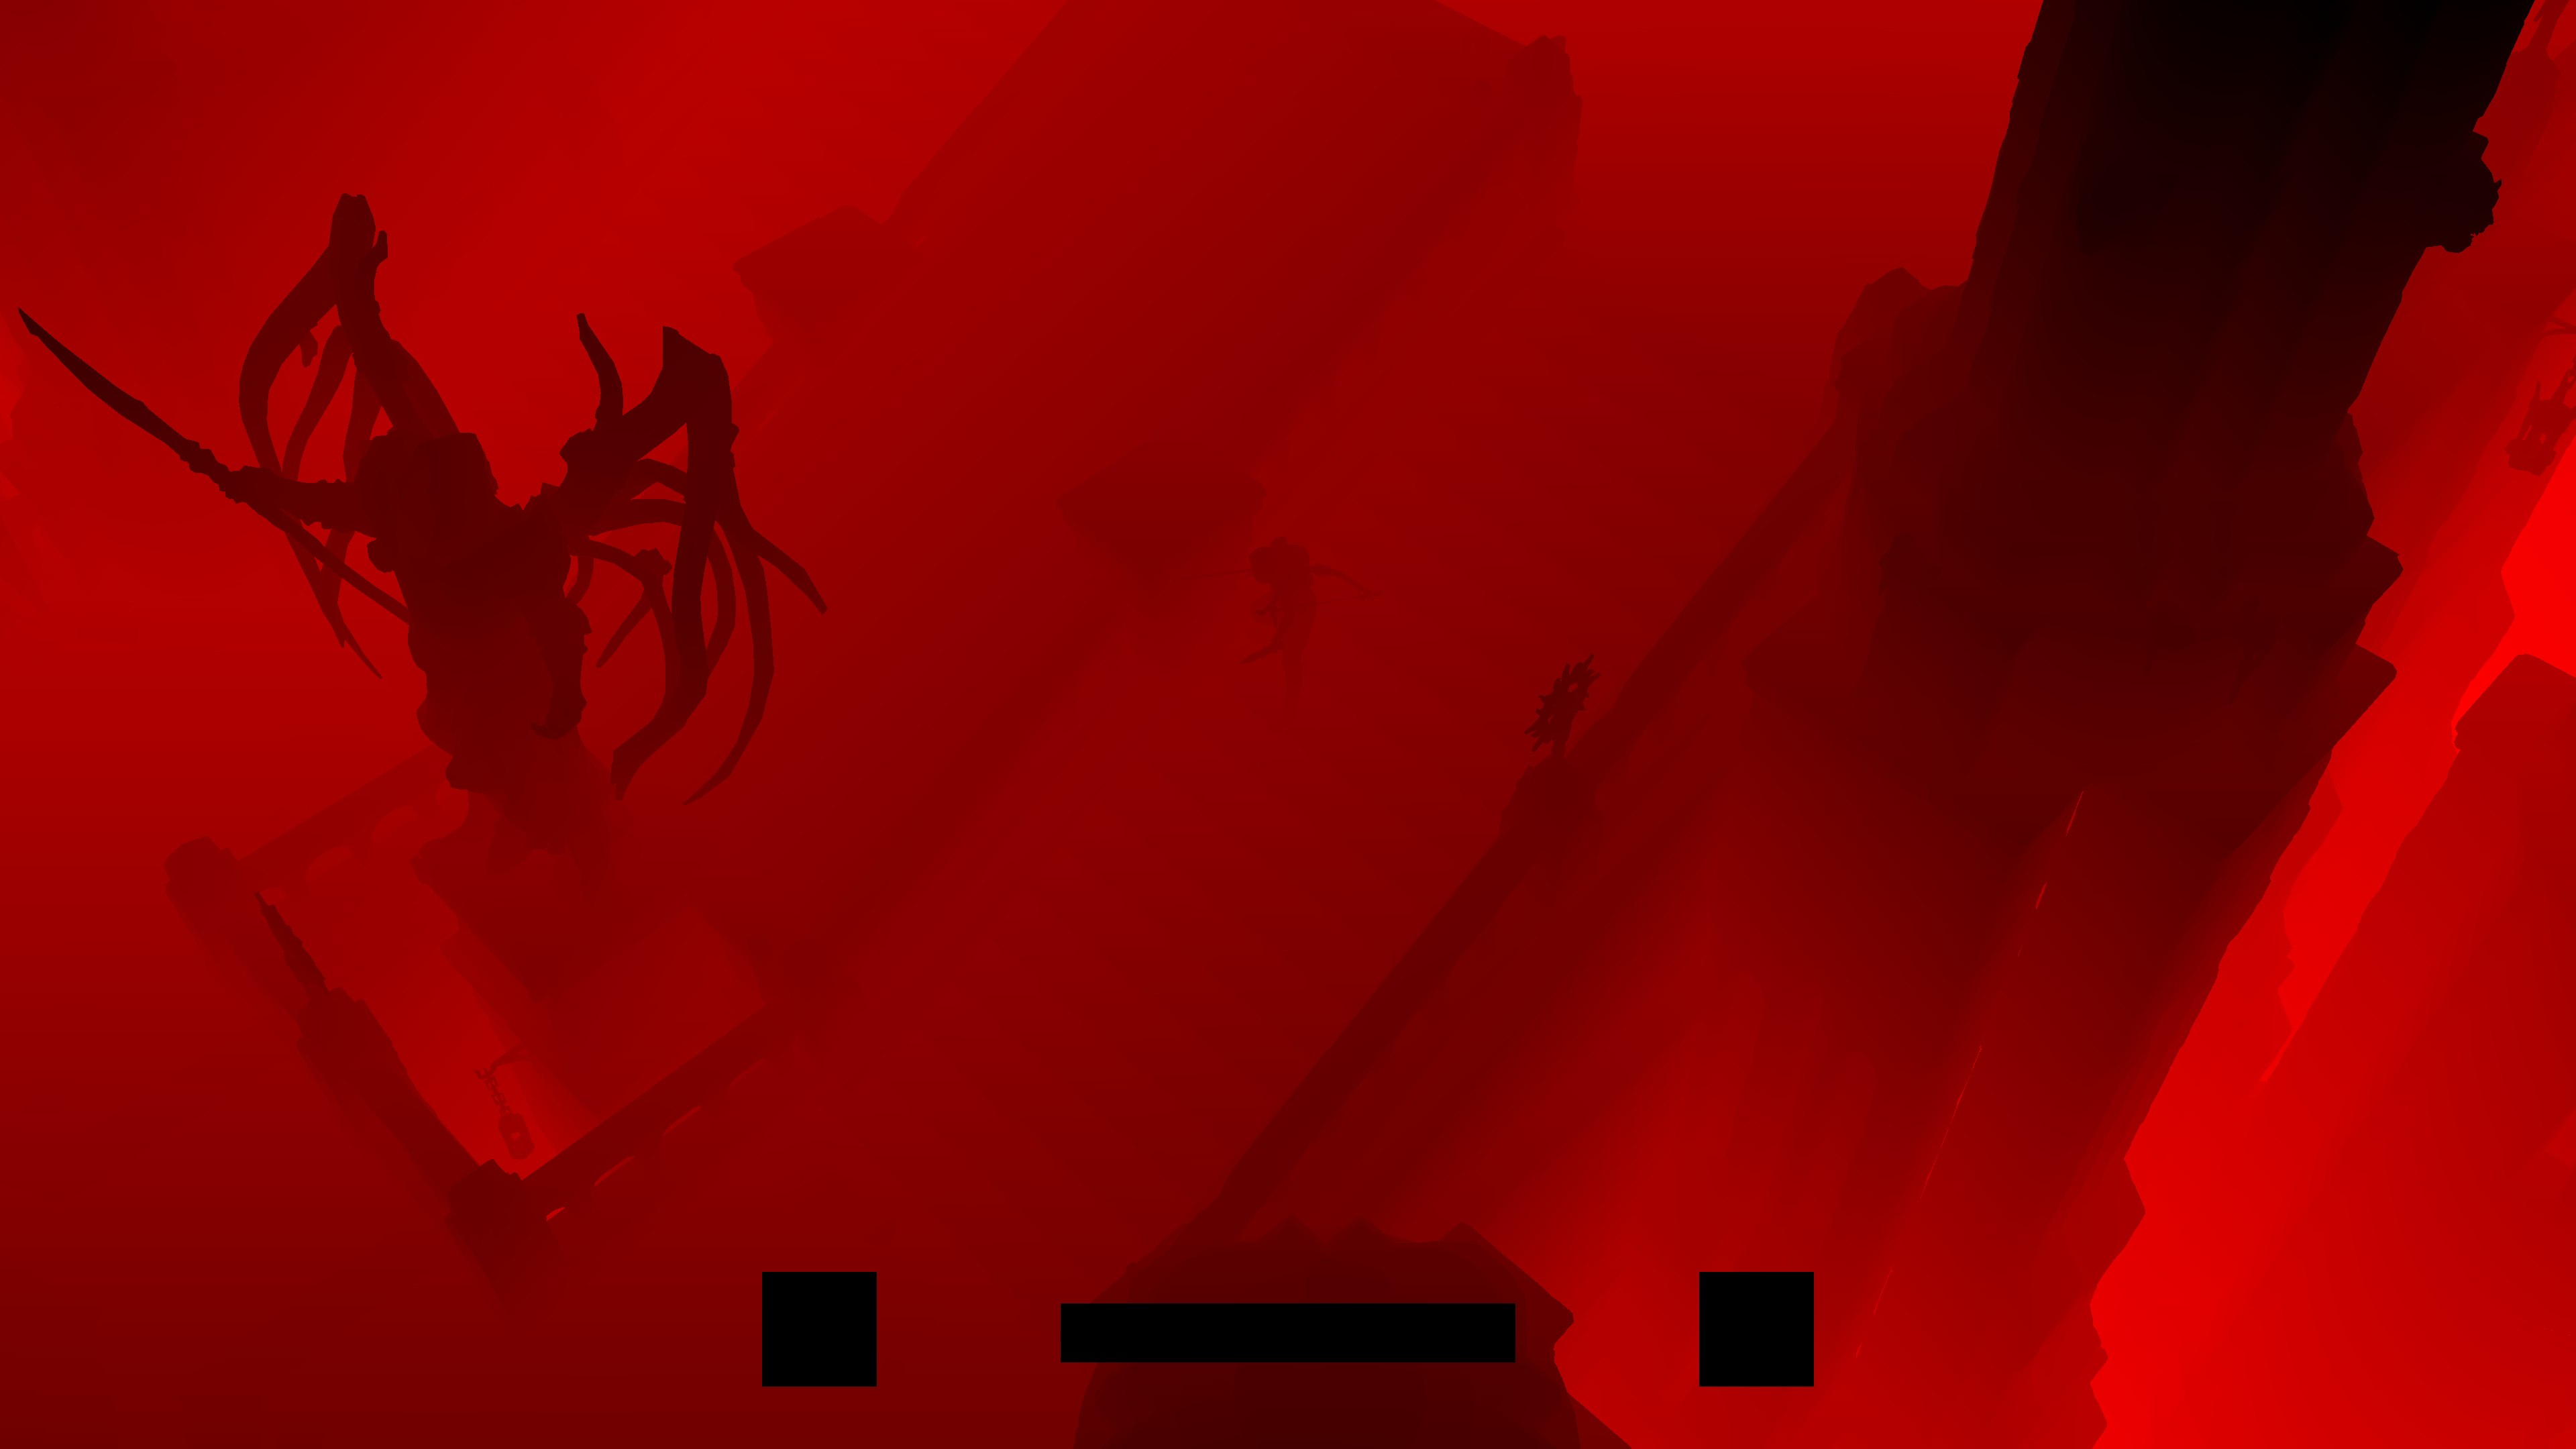
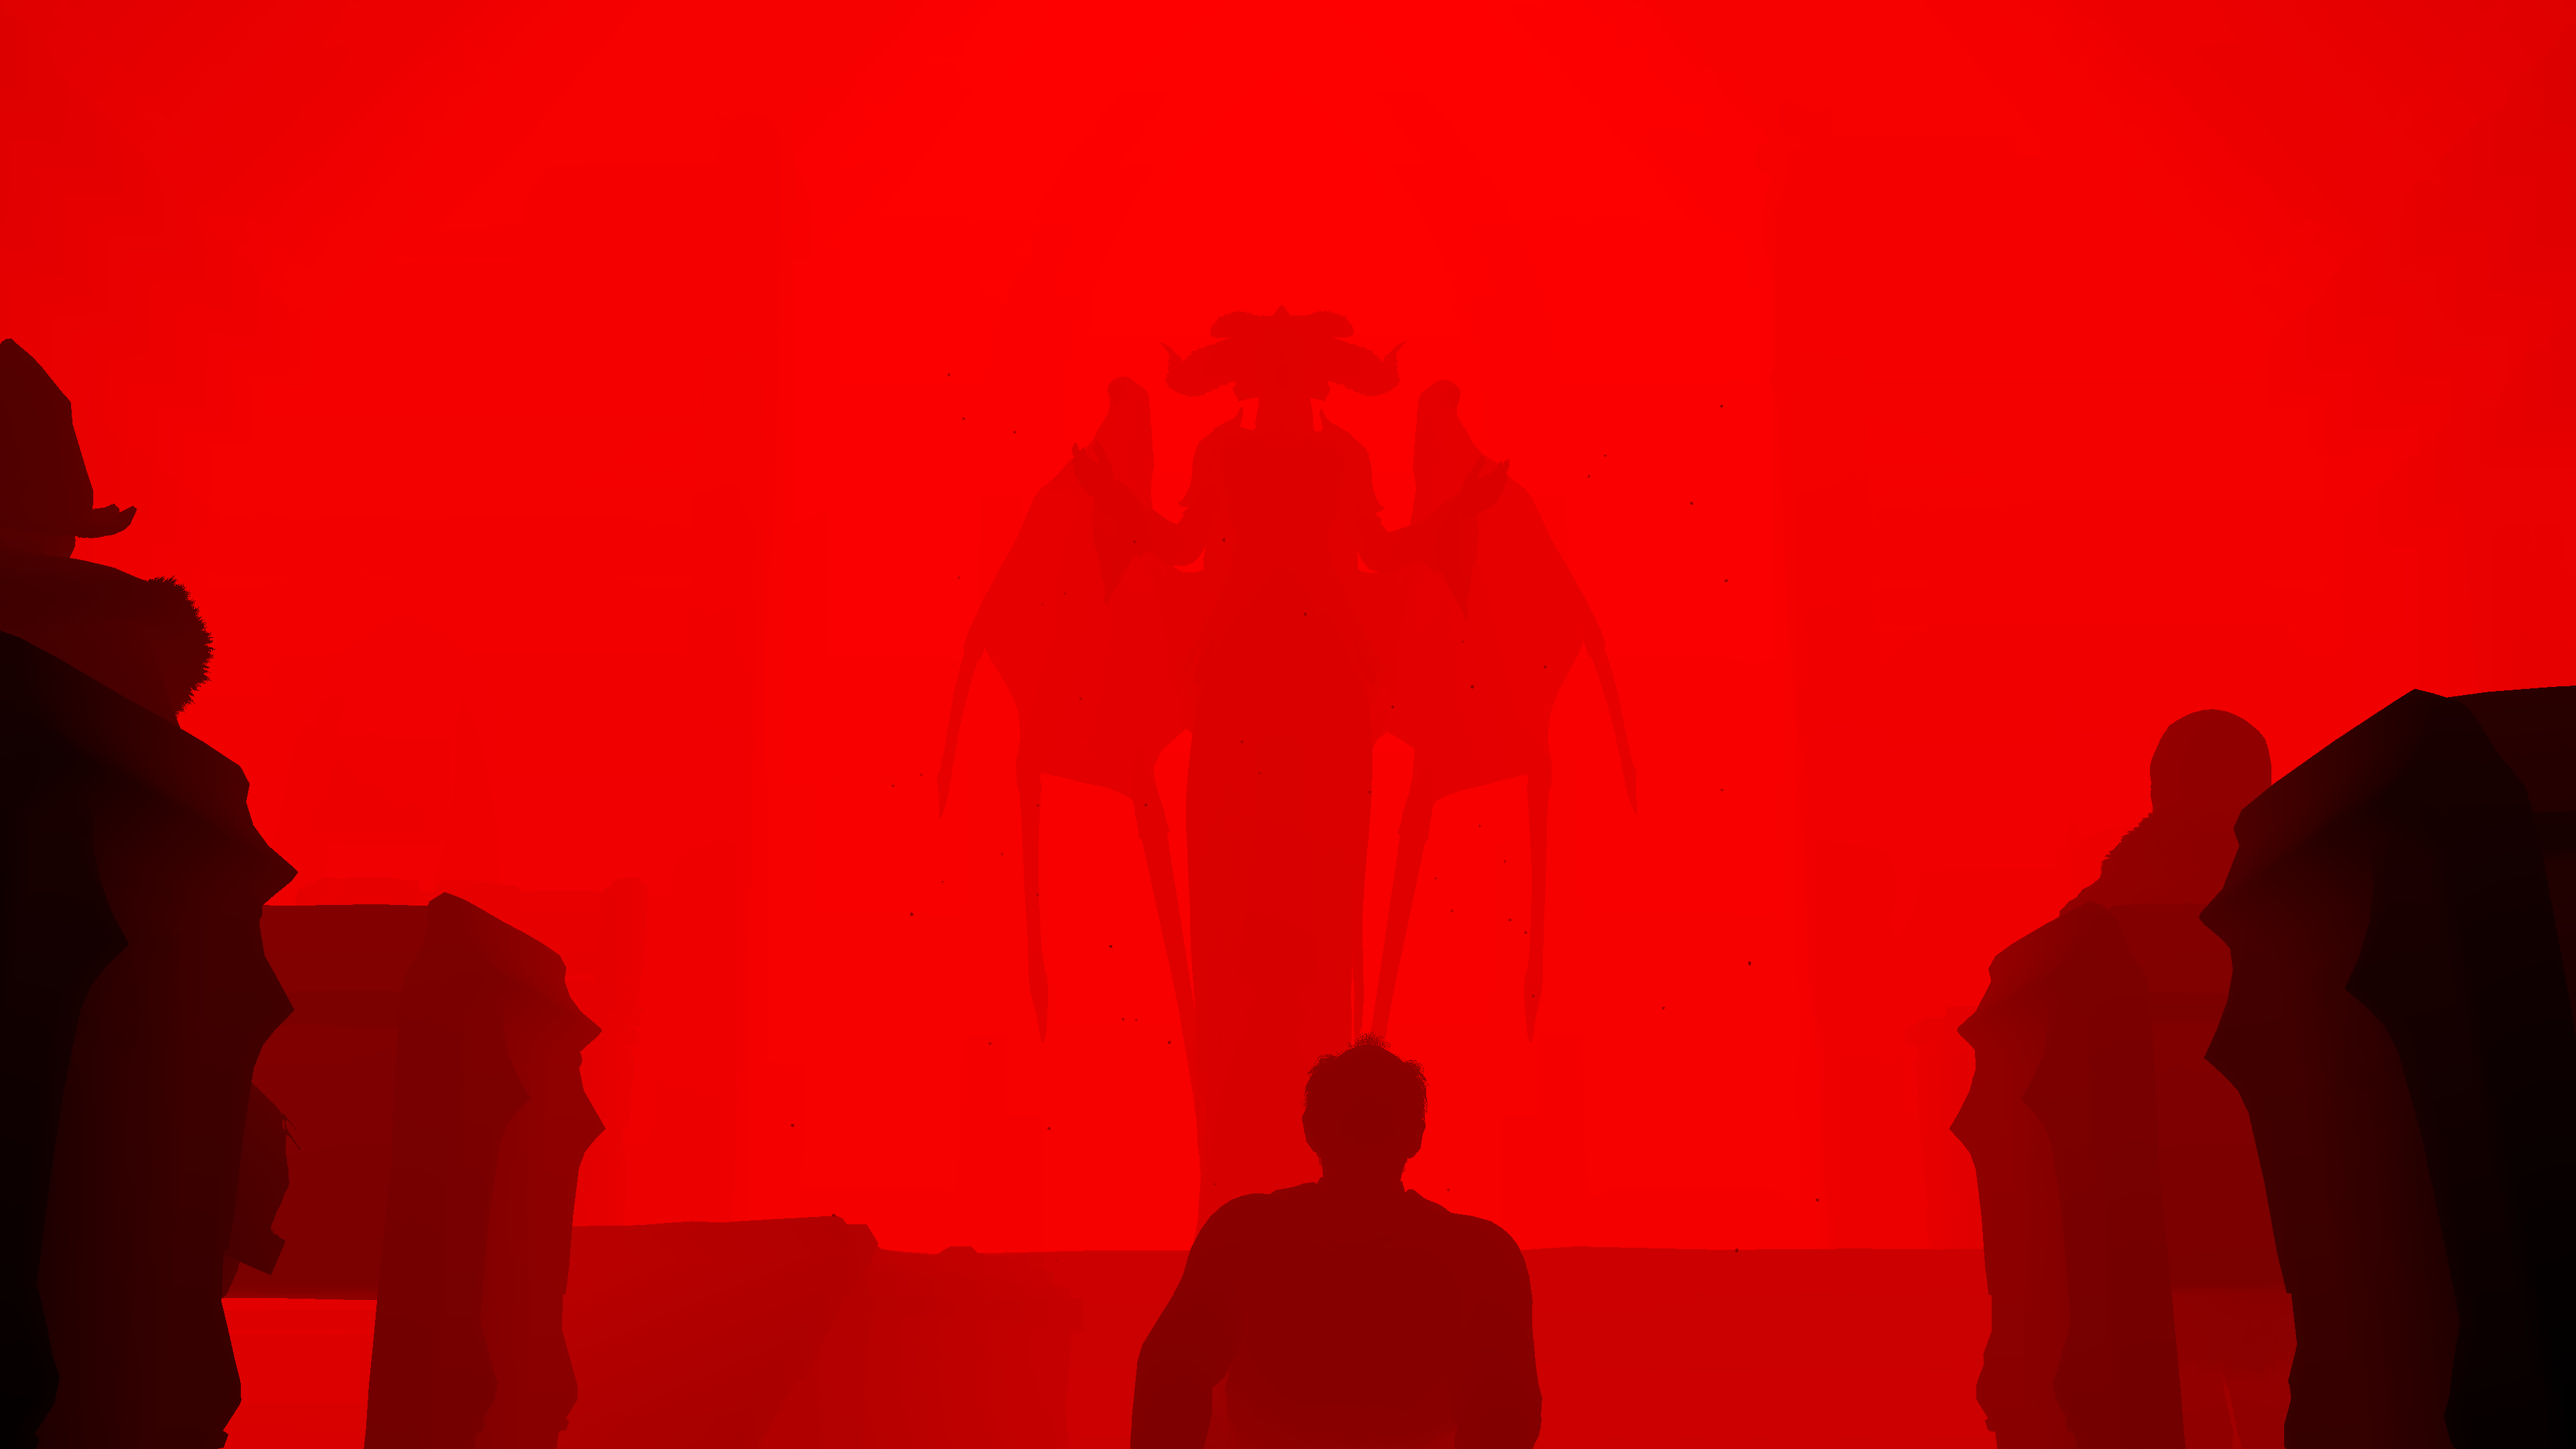
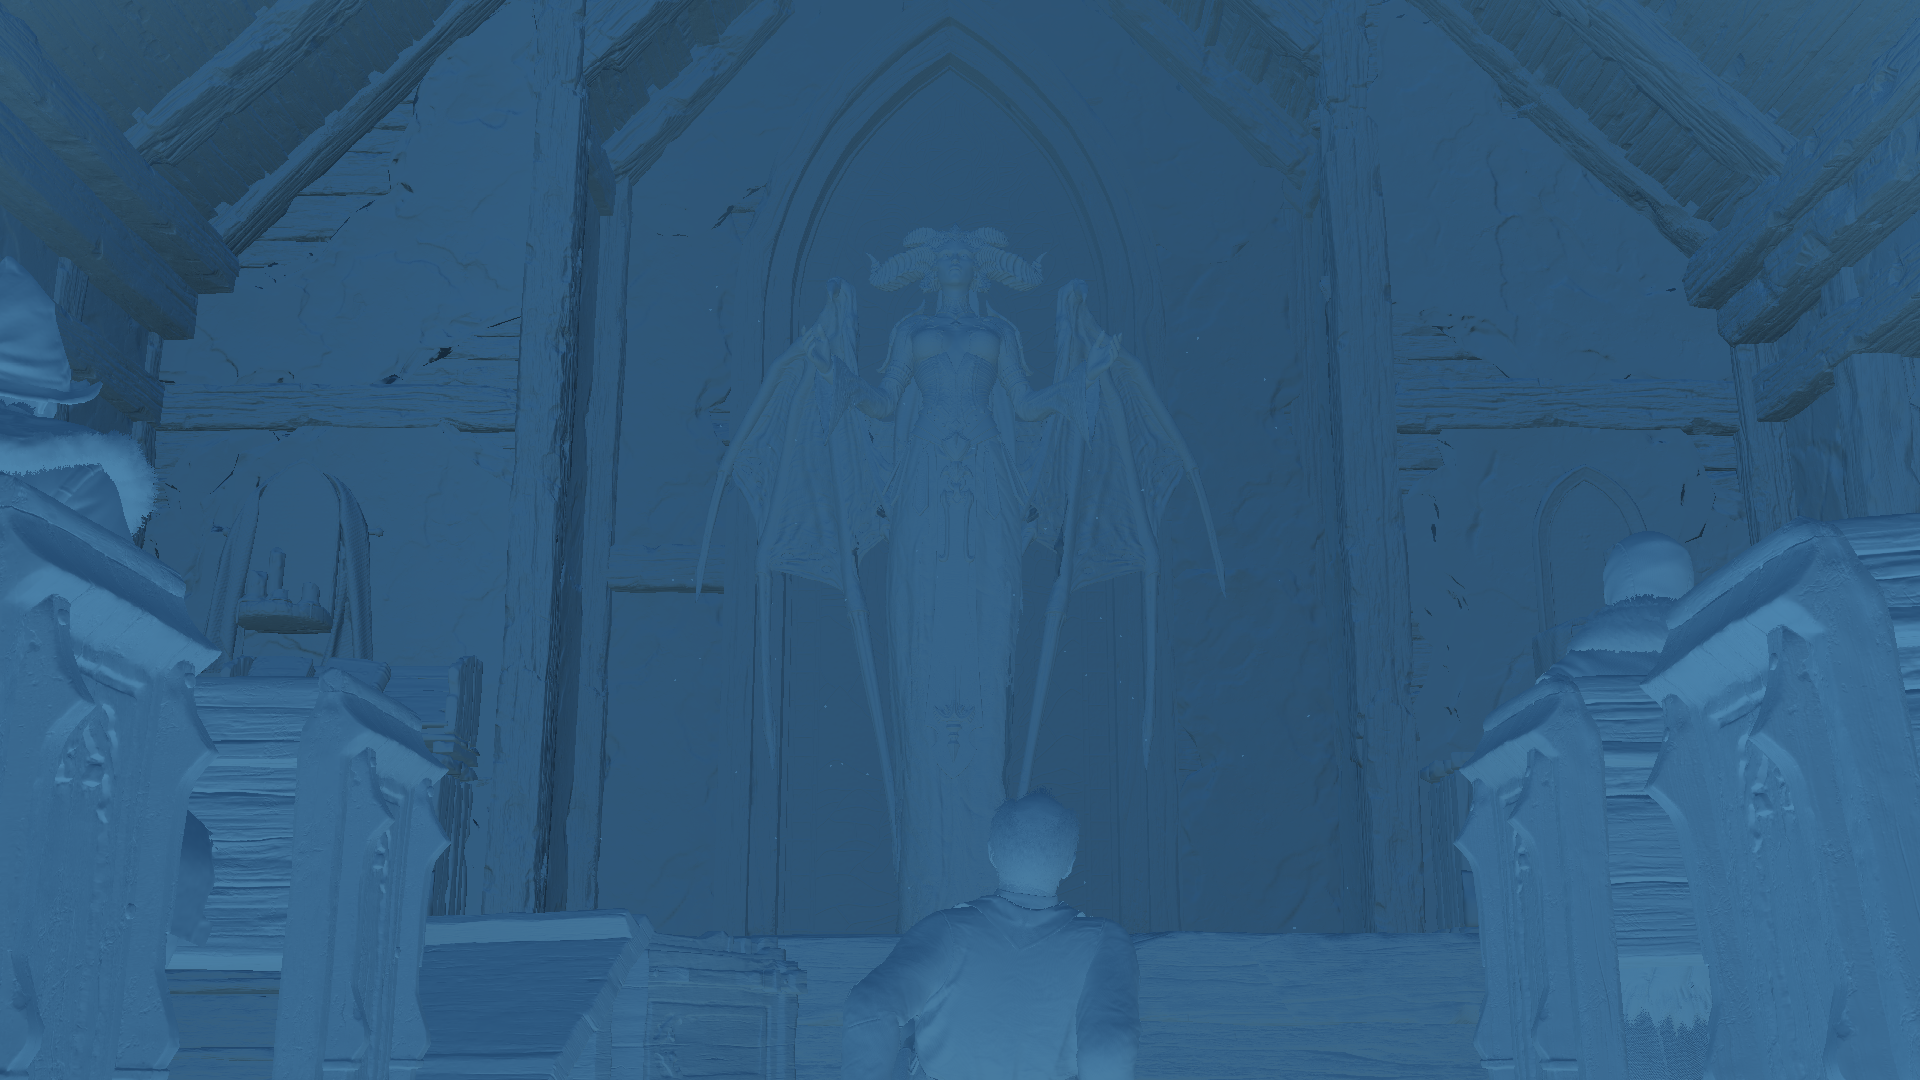
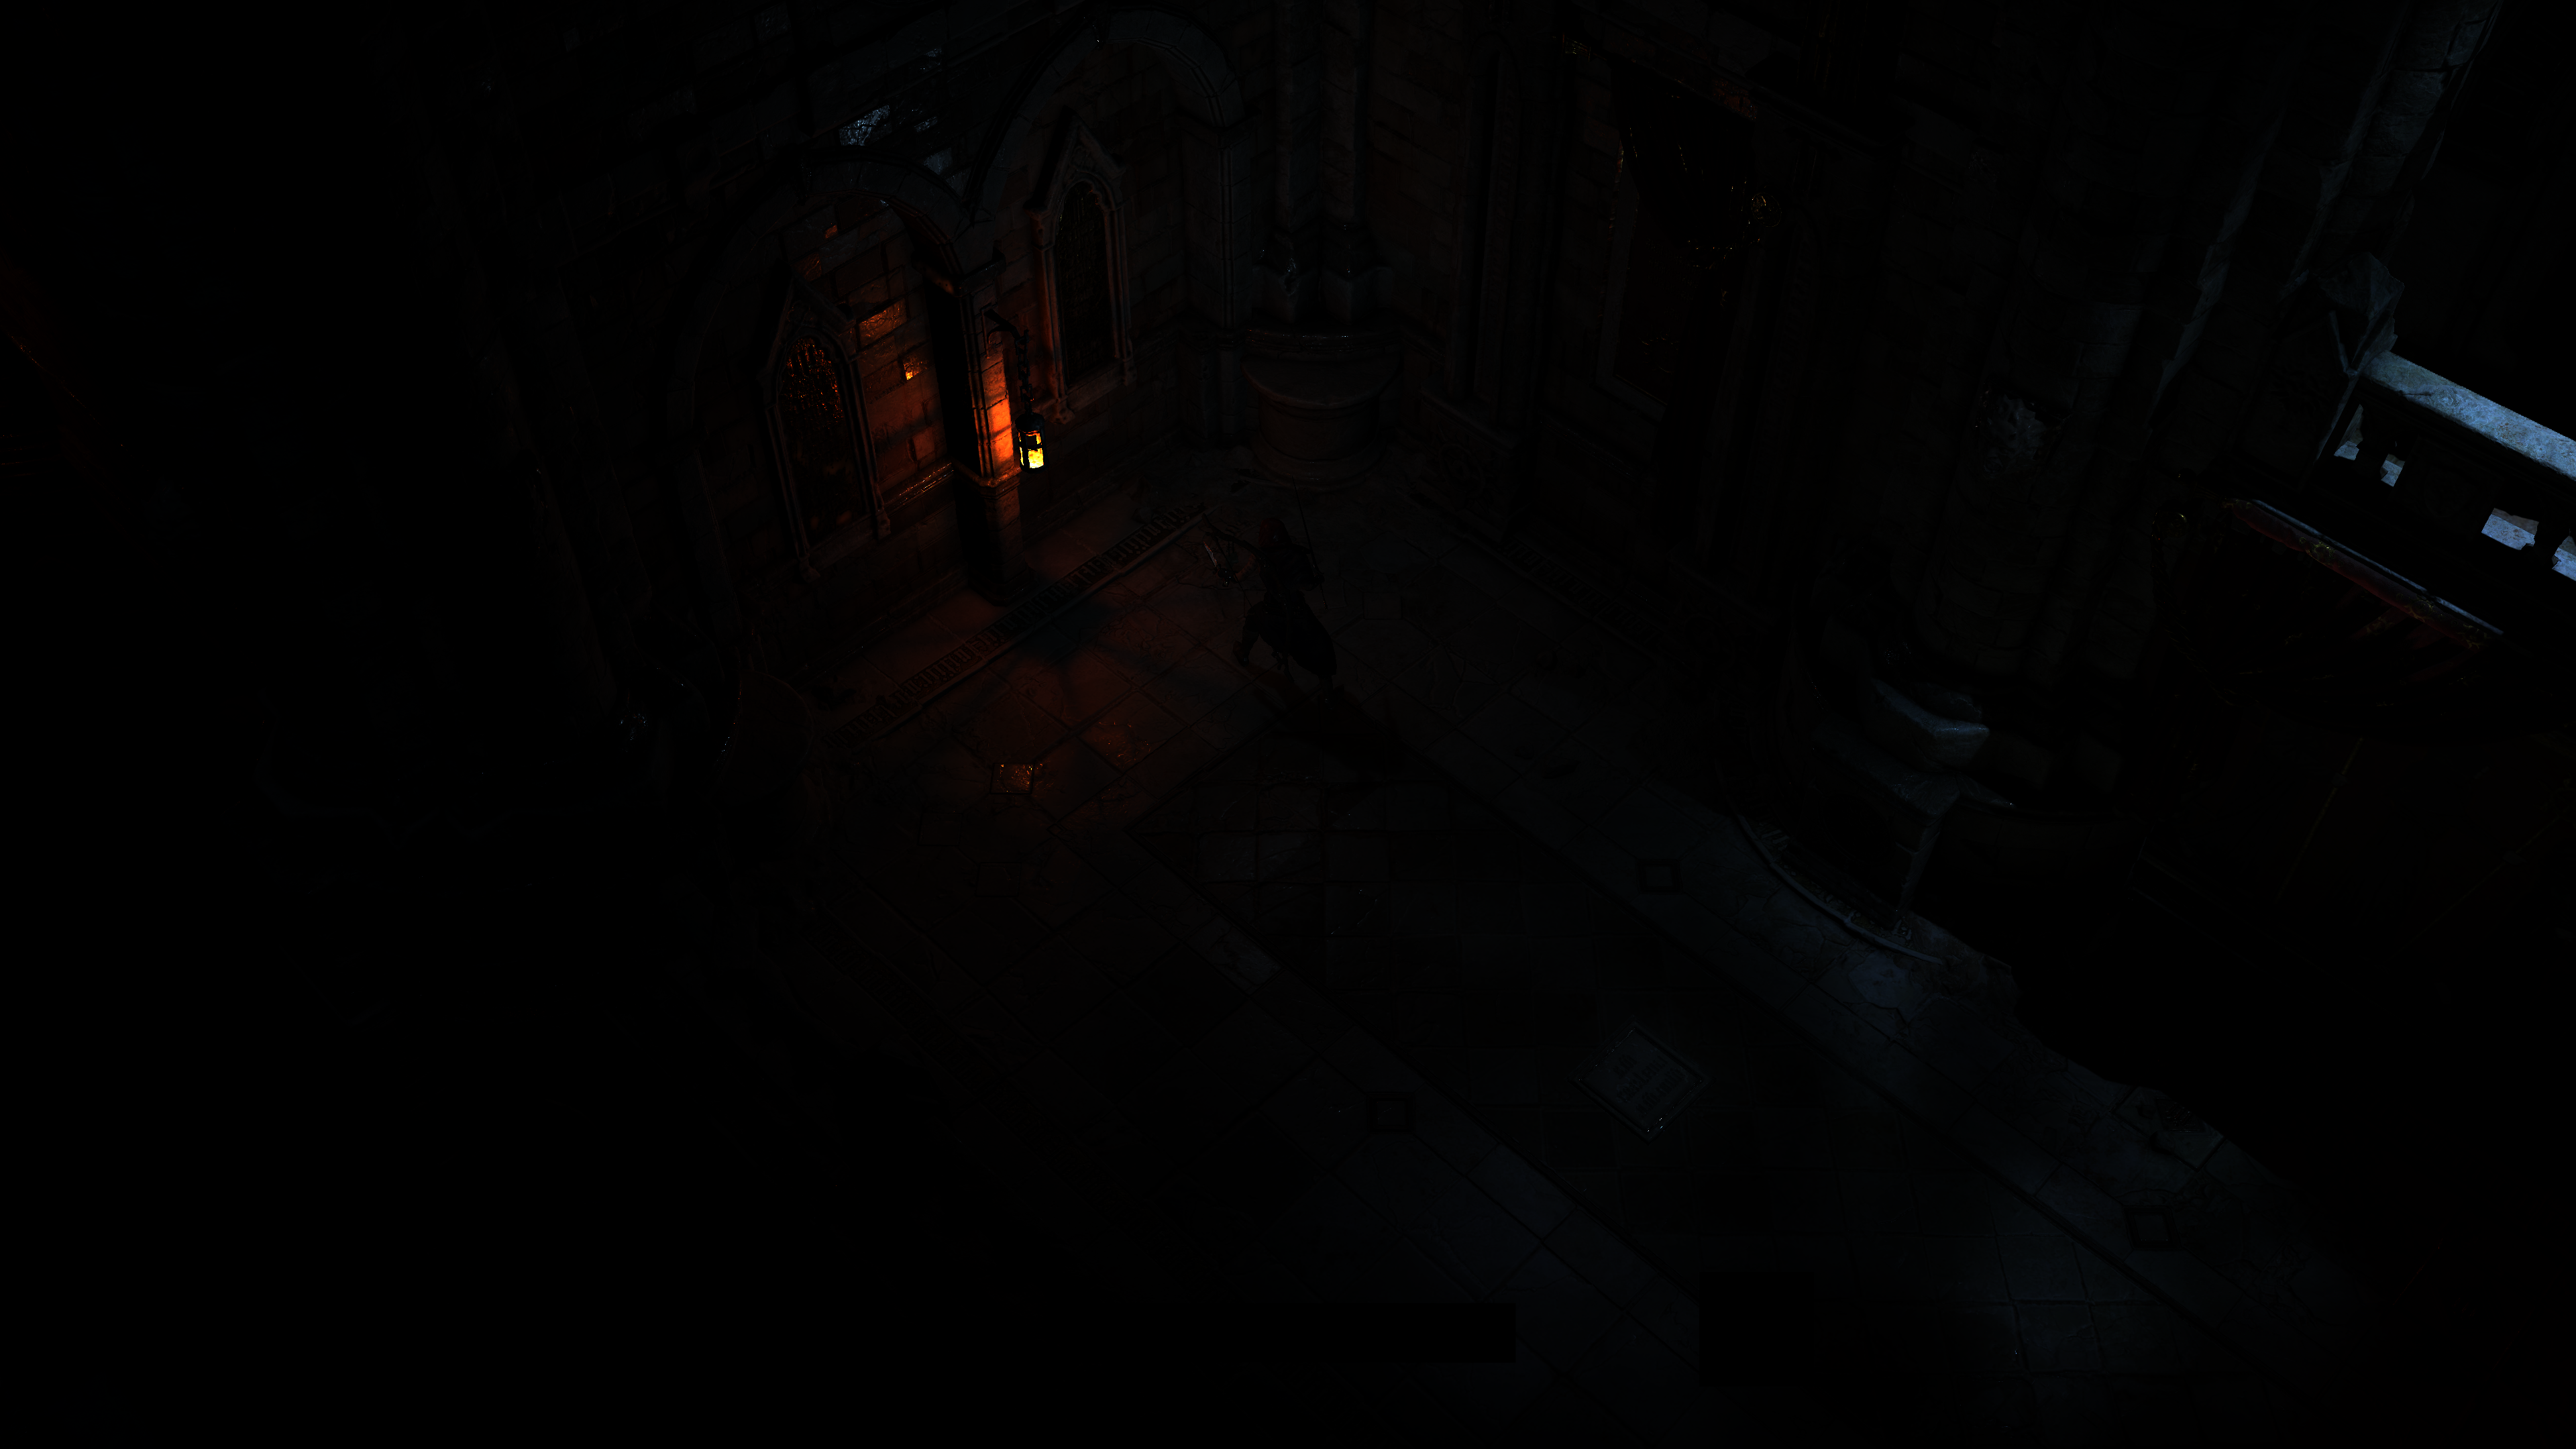
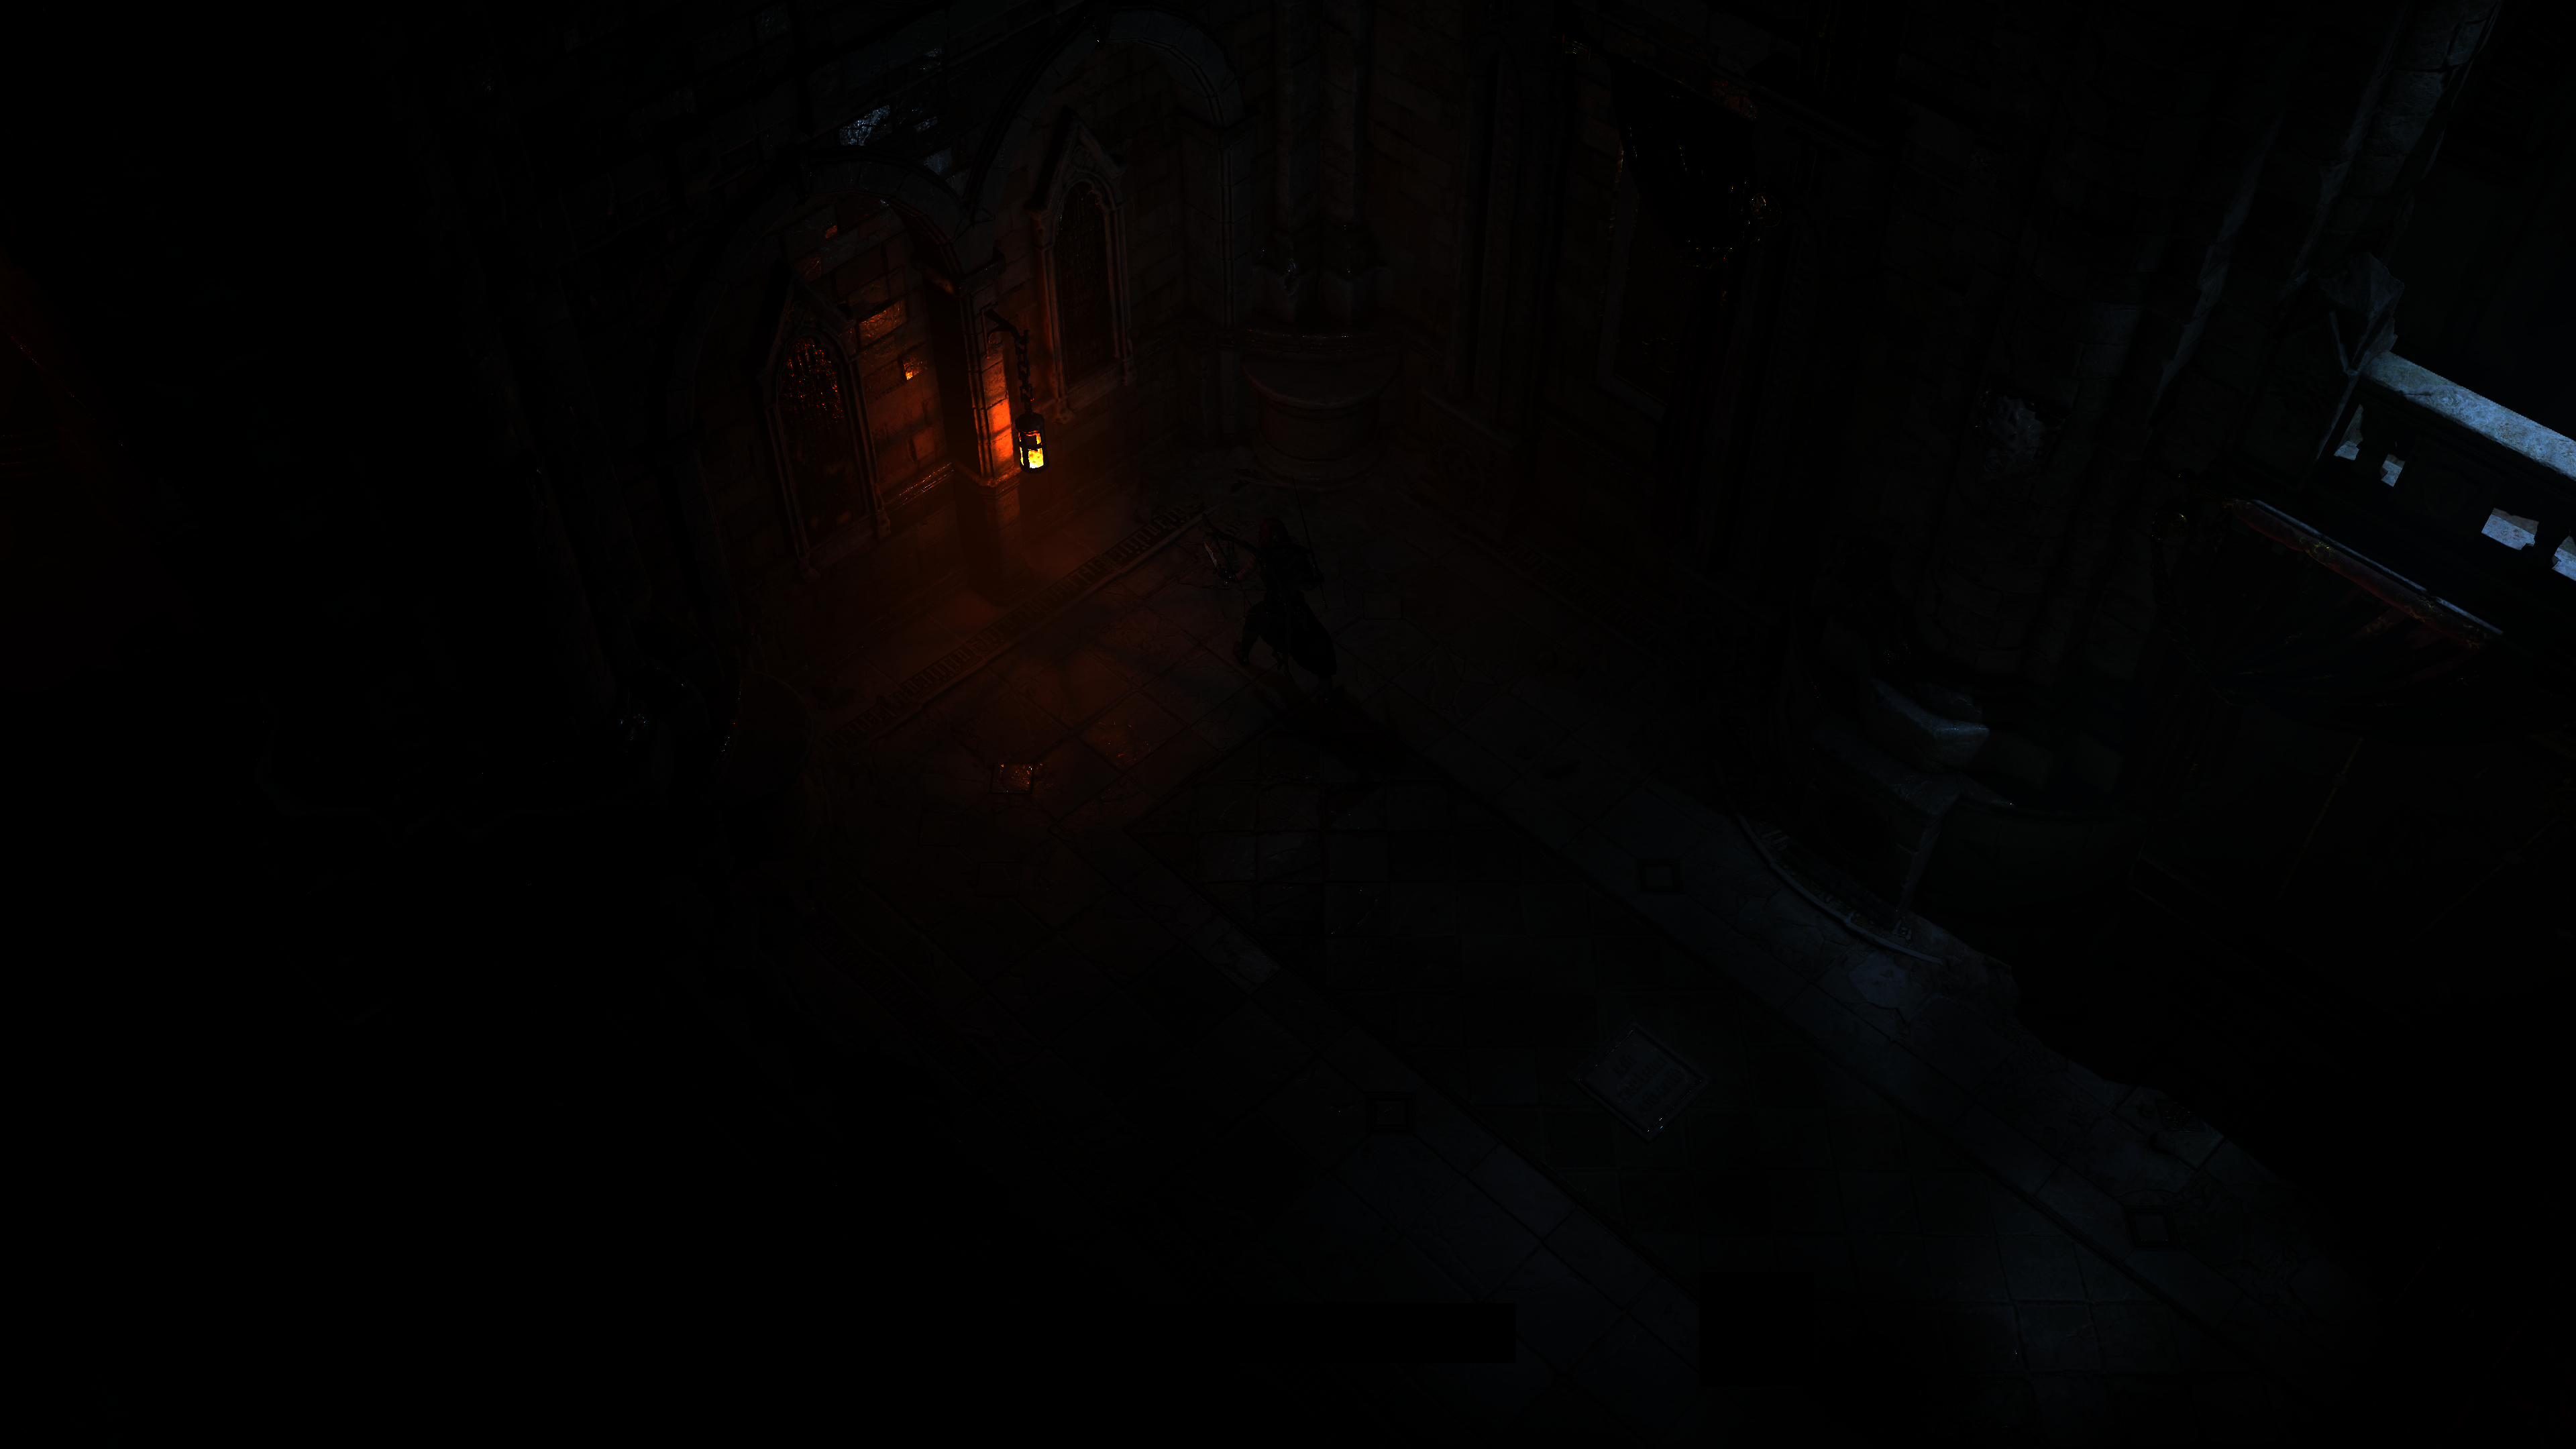
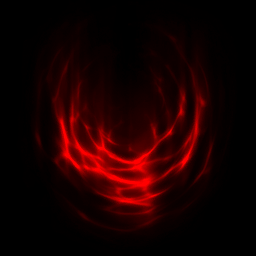
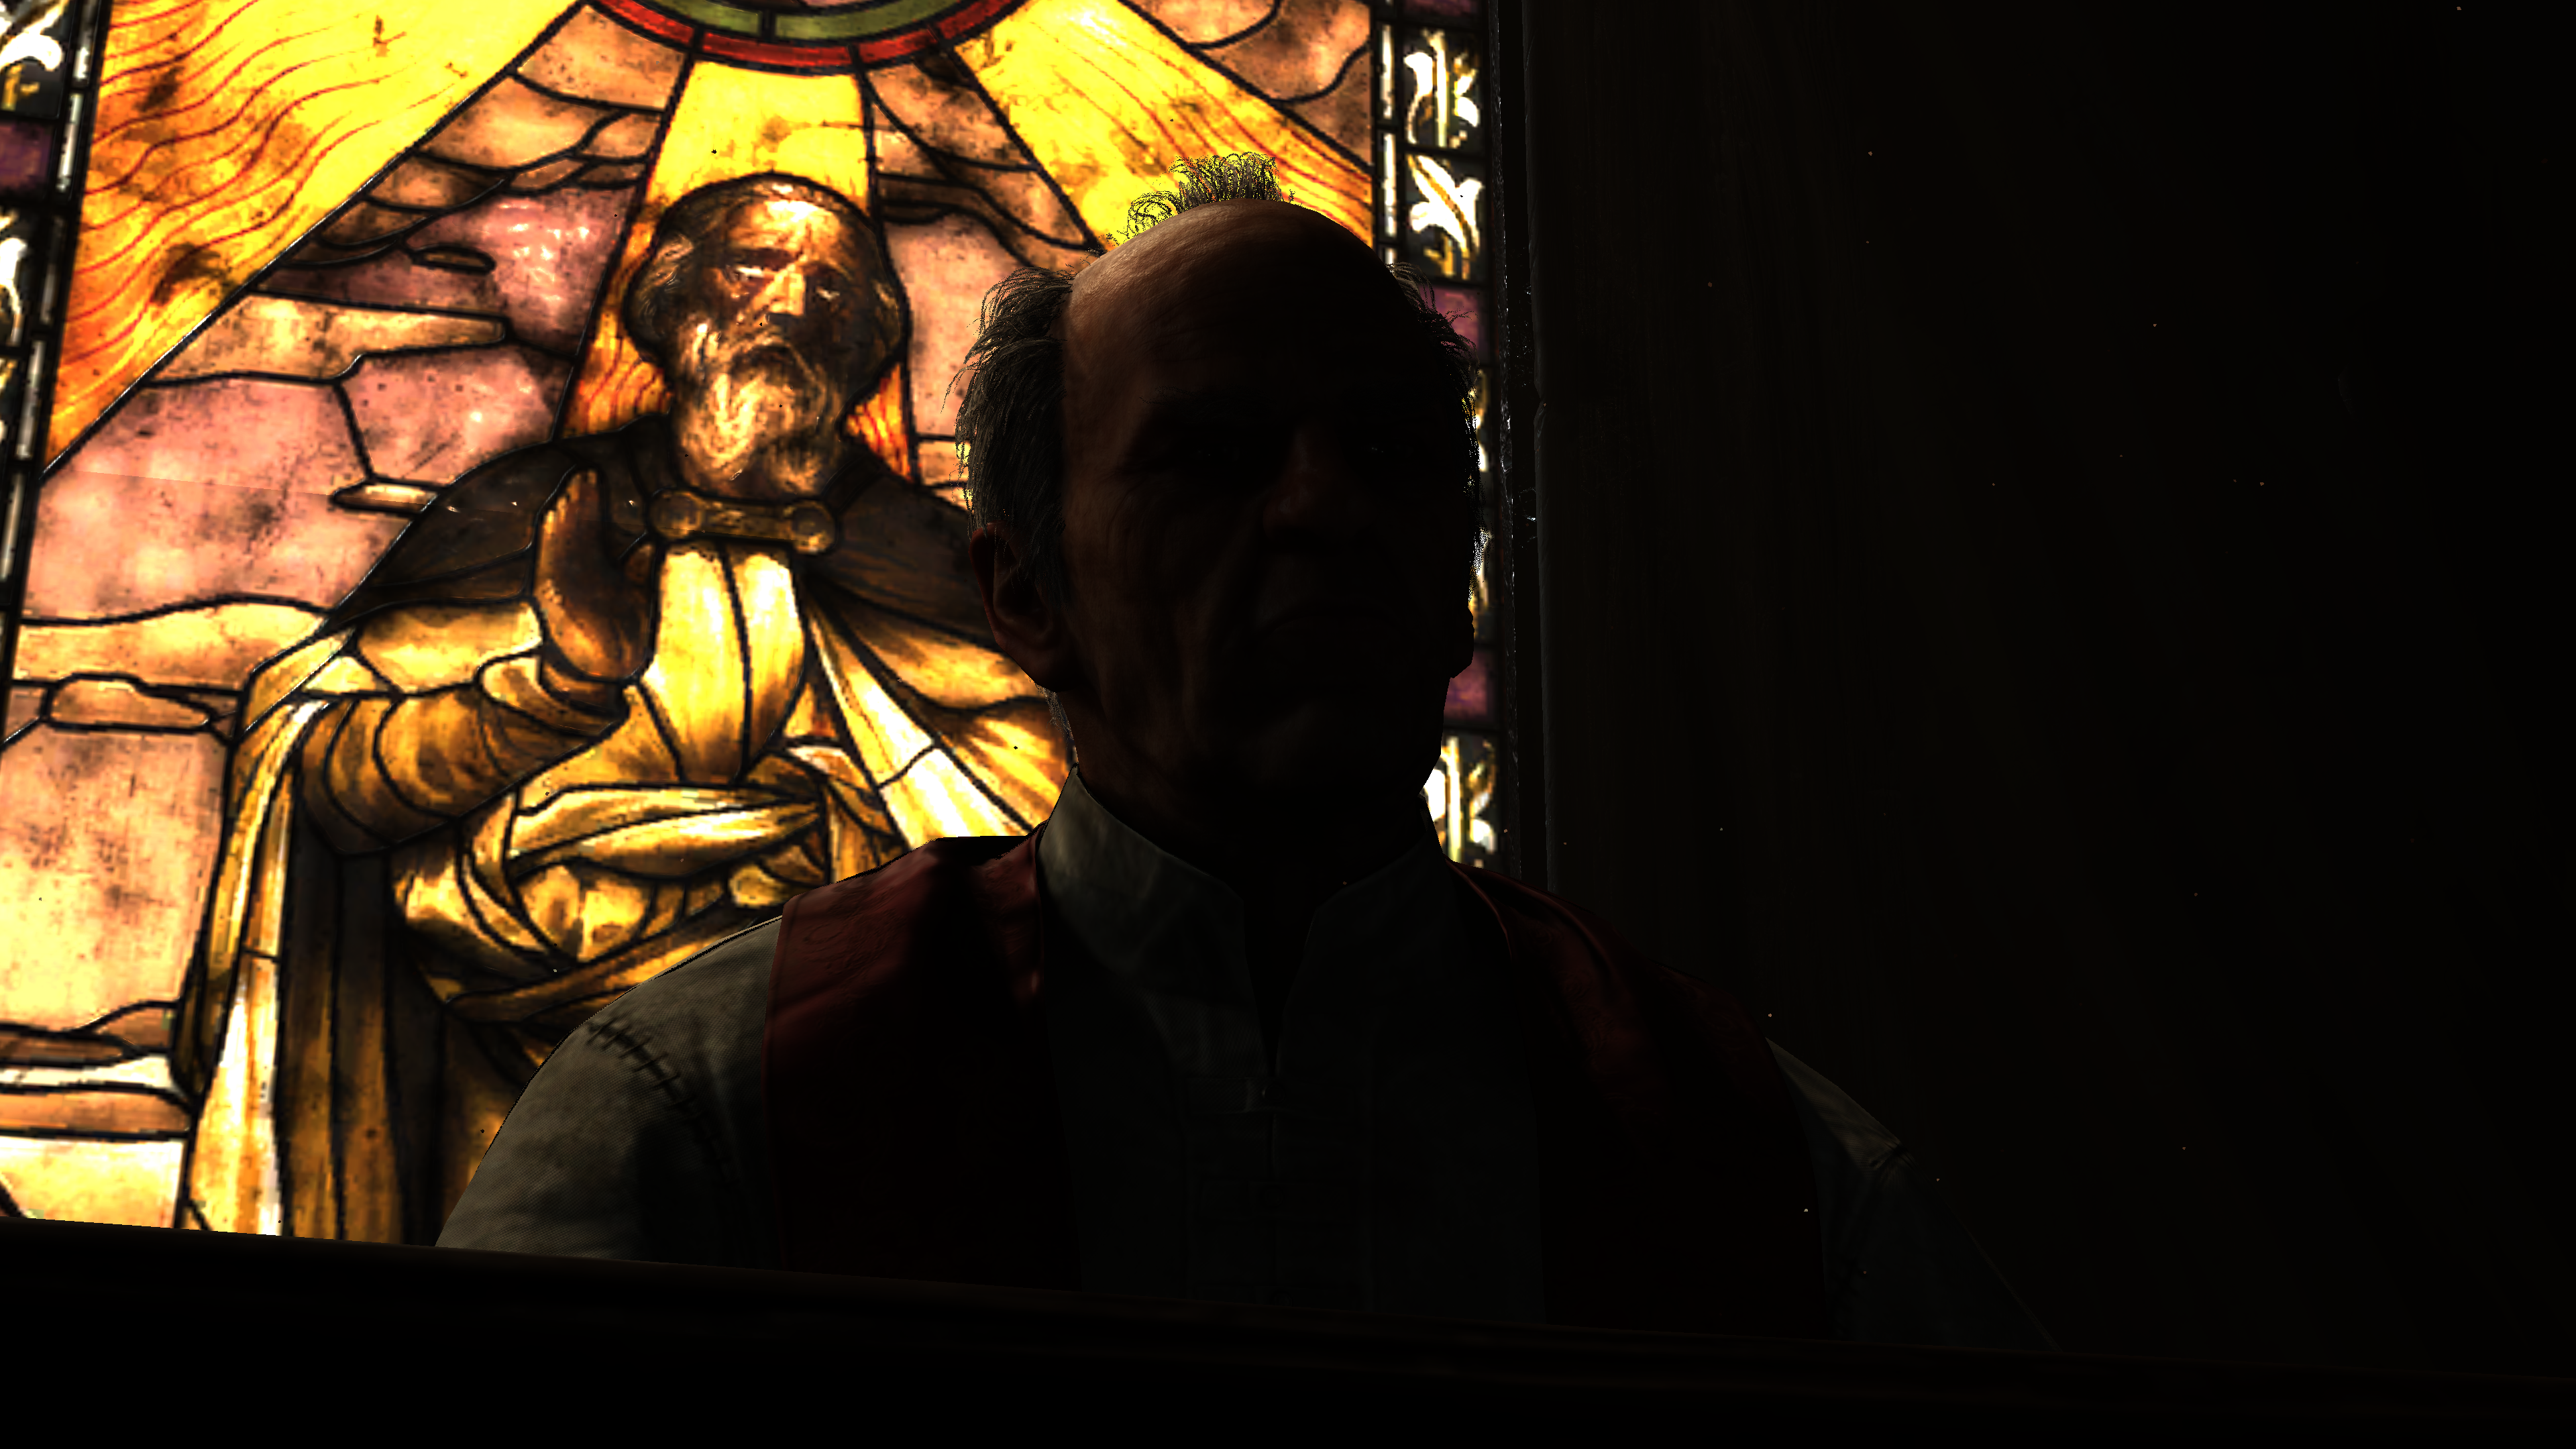
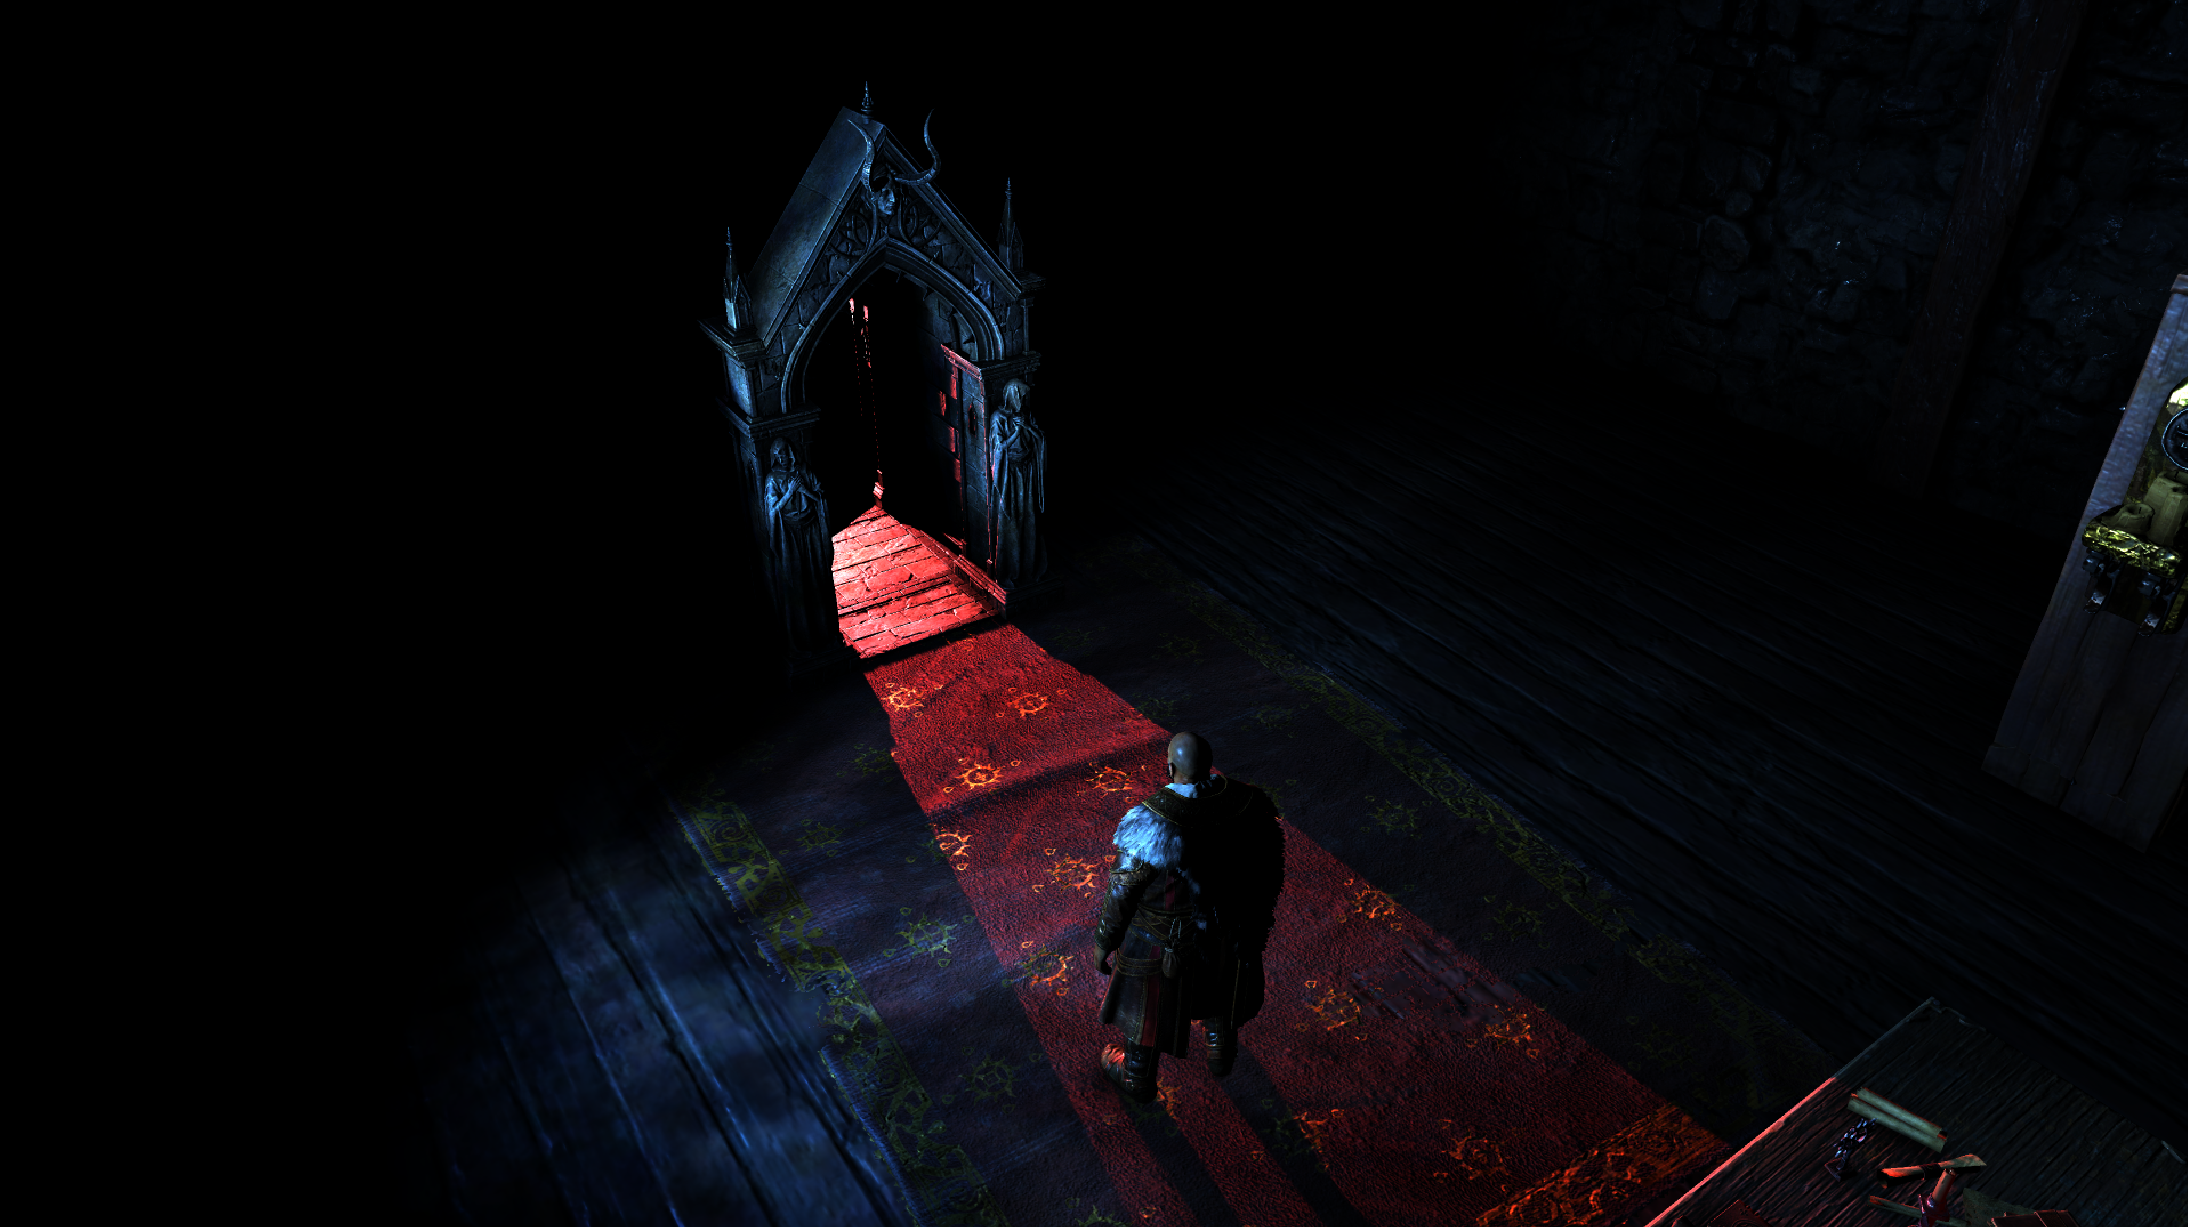
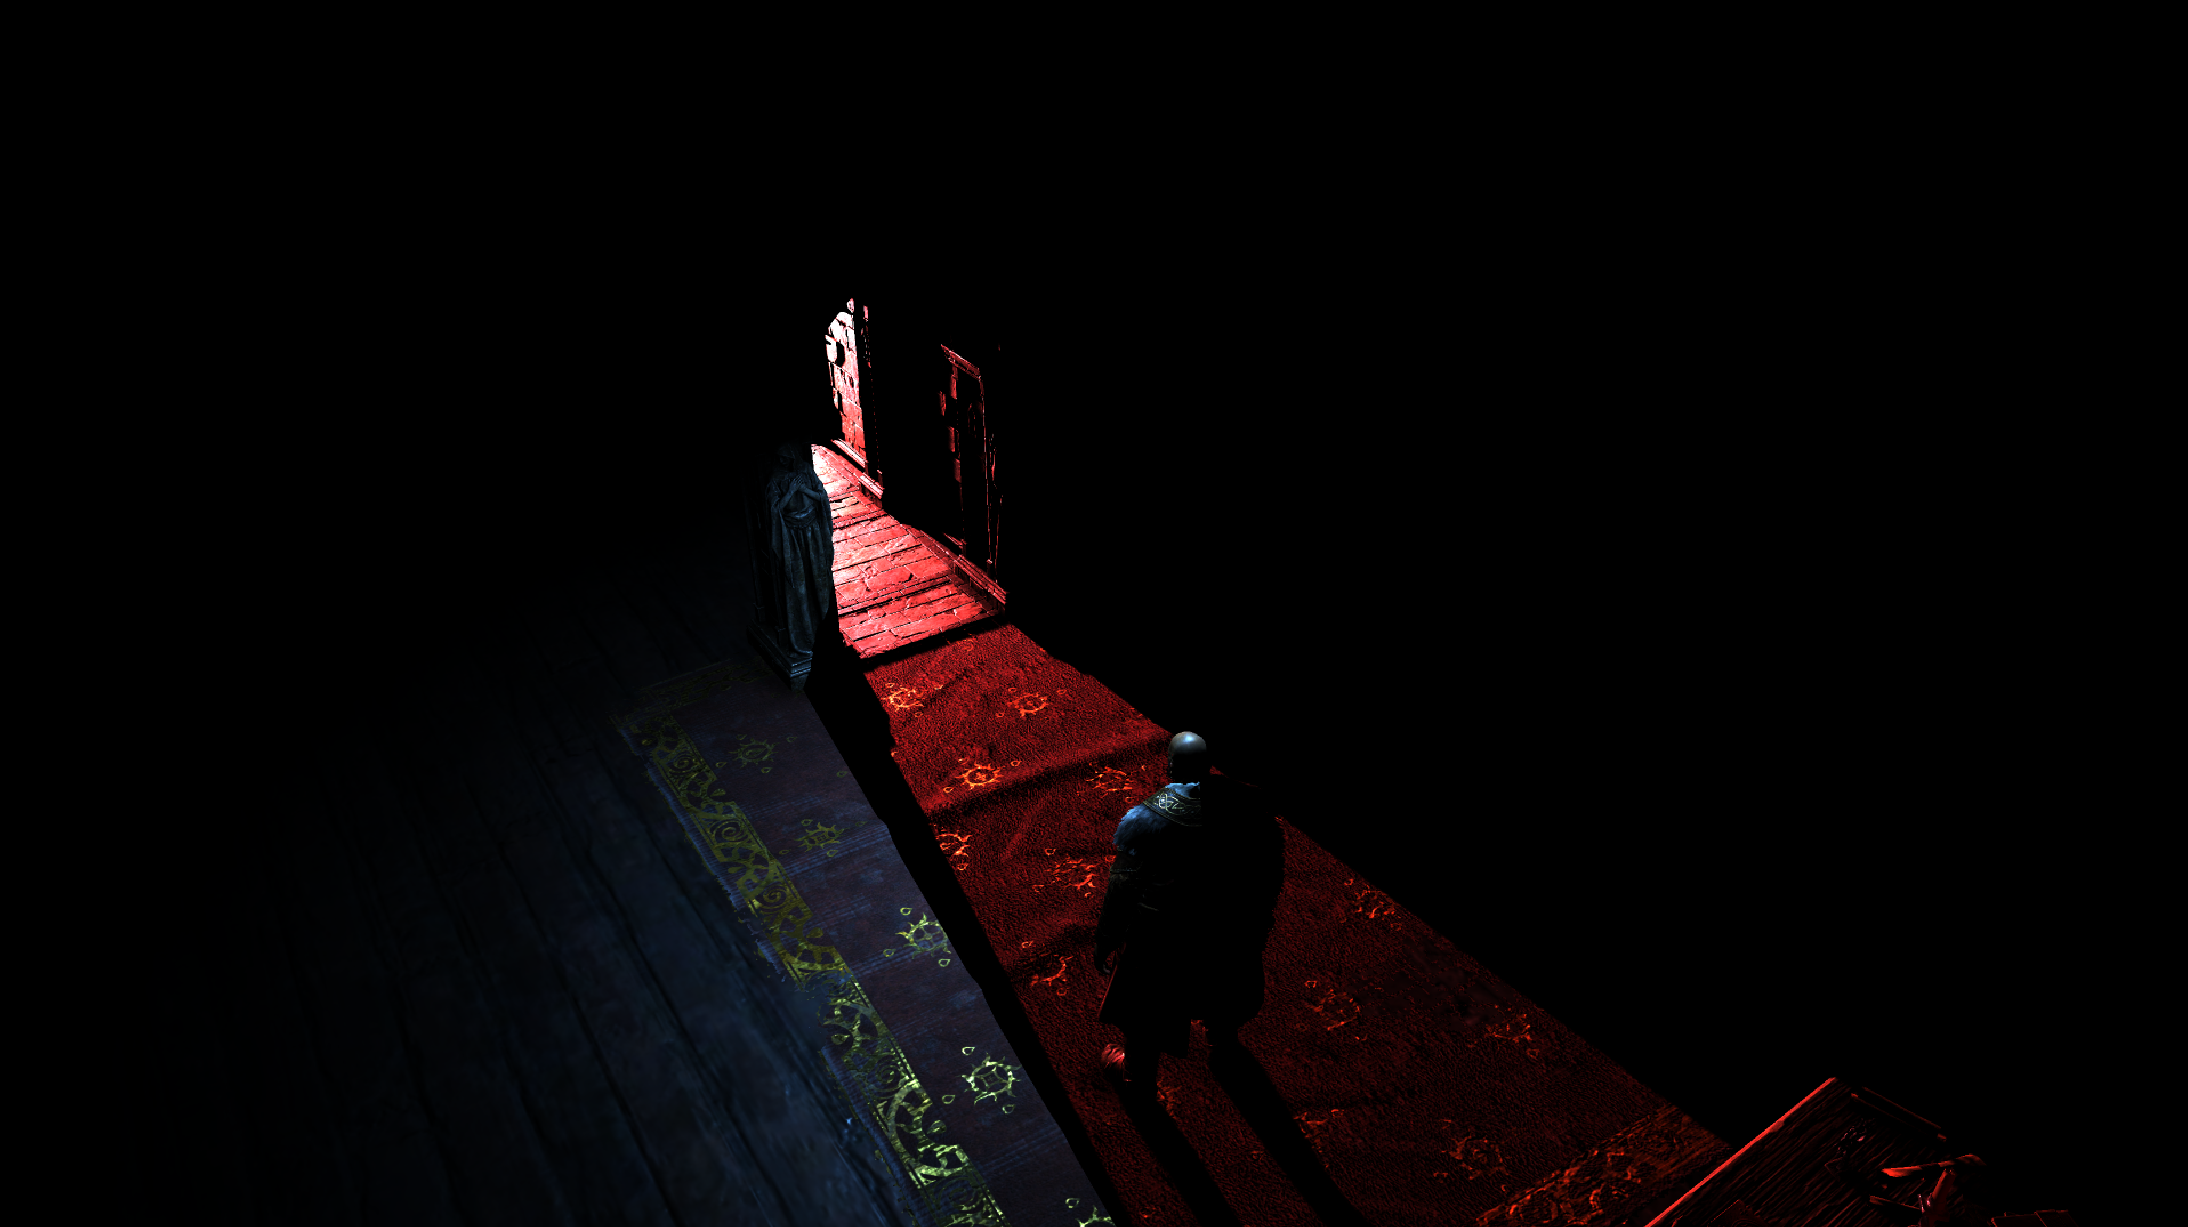
Lighting such an area can be very challenging, specially you’ve a very strong red light coming through the portal/gate, but this trick included few sub-tricks, one of them (i assume) the “negative light source” that was mentioned in the team’s article at Blizzard’s blog. Only by using a group of gbuffer lights (spot & point), the view get lit, some lights add to the lighting, where others take from it. Here are some details from the Lighting step of that given frame/shot.
last step of the 1st gif, is all lights put together
And if you like to see the steps individually, as usually (at least for me) many times it is hard to tell where is the start of the gif and the end of it without putting it in a gif editing dedicated software!

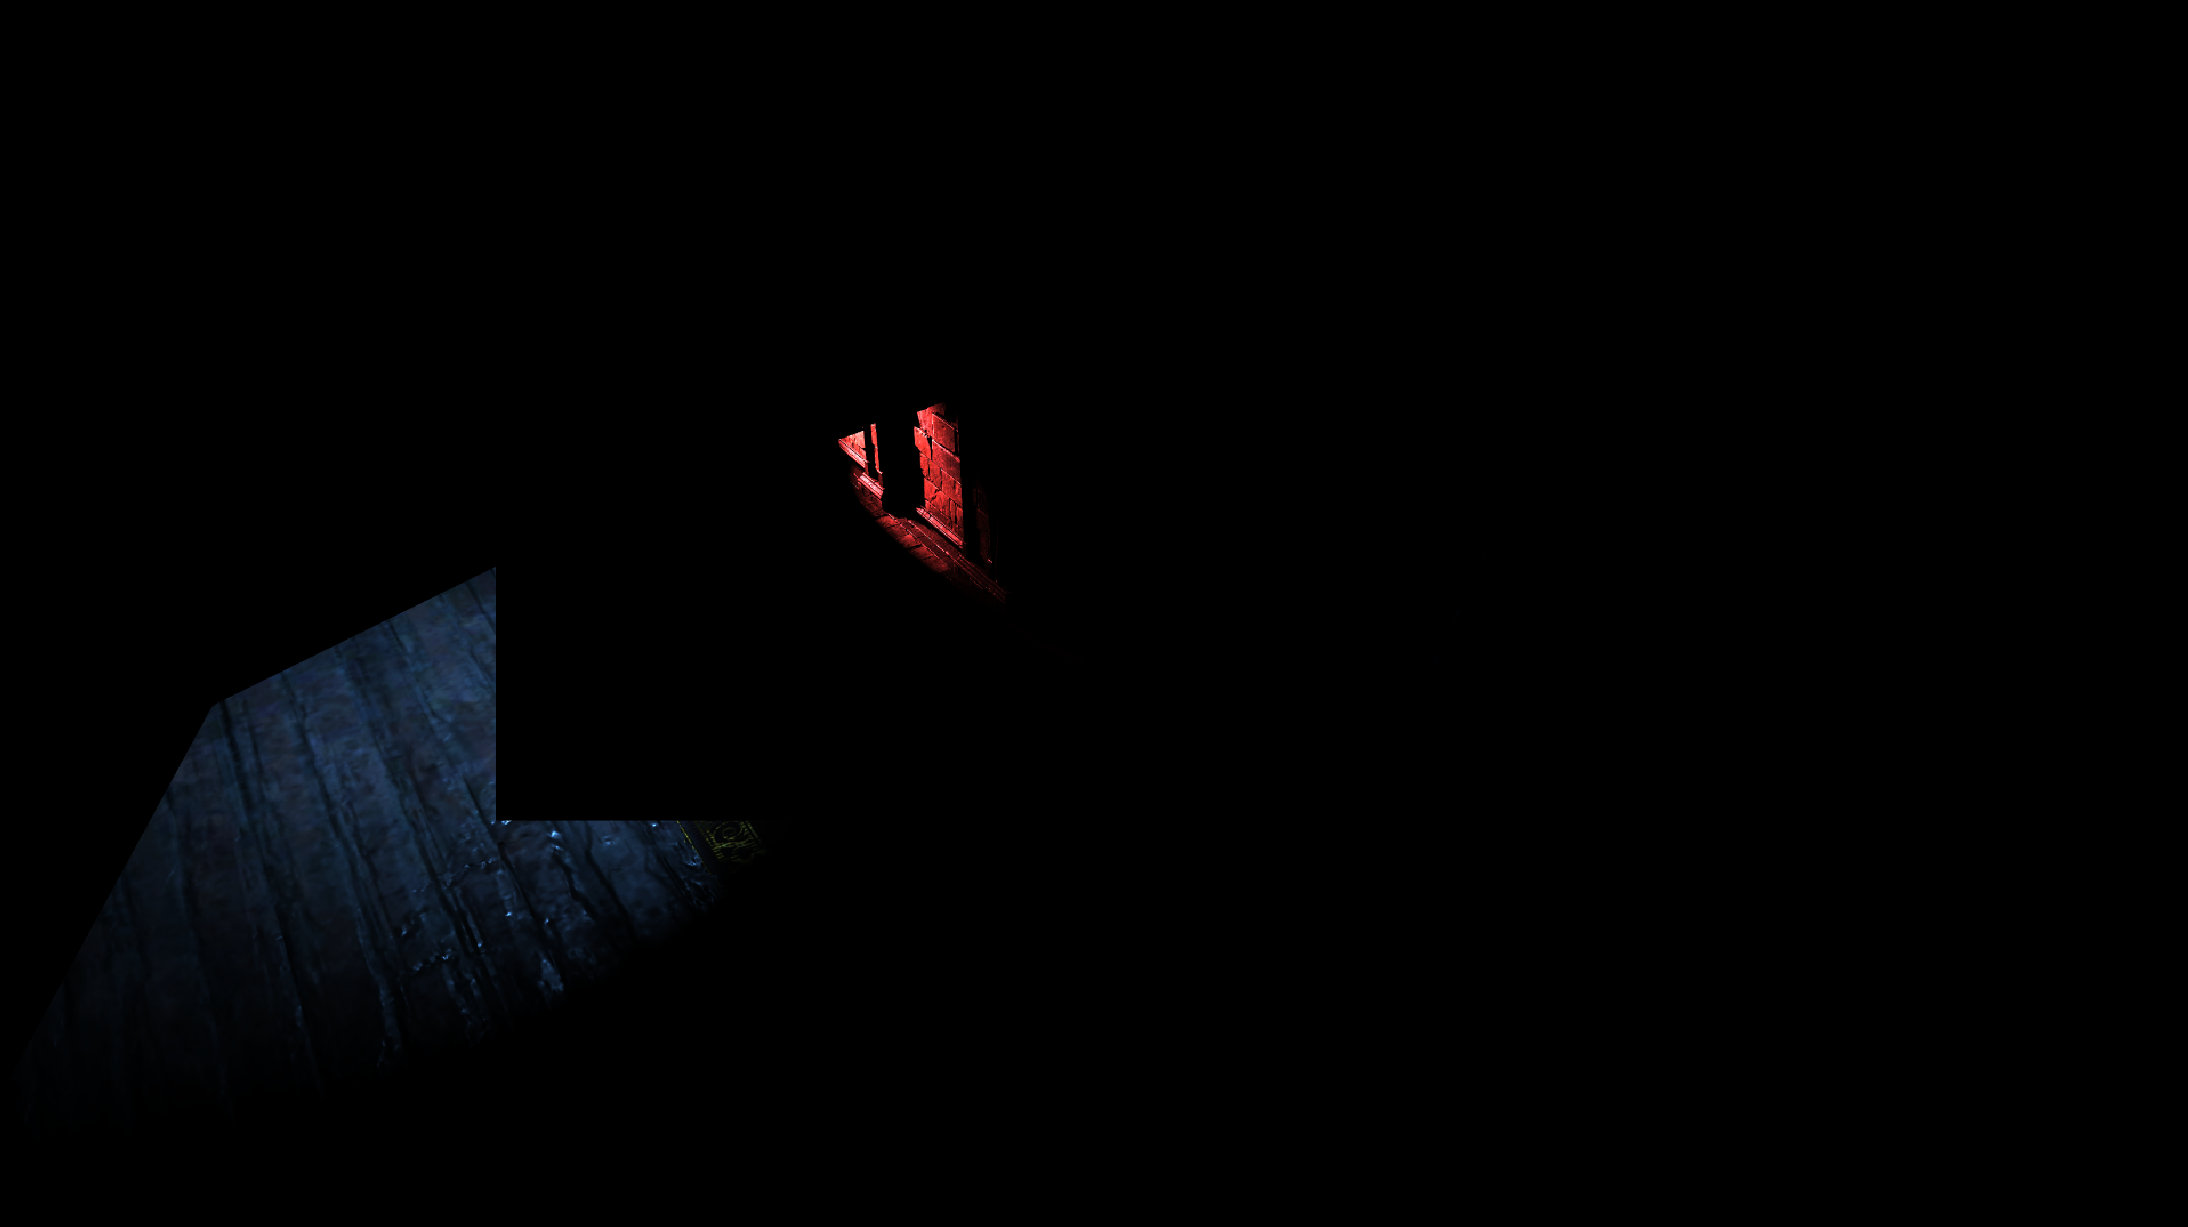

Those steps including the subtracting lights/shapes
And to put it all together in a progressive format, this would be how the light build up for such a scene.
You can click on the gif to watch in 4k at YouTube
Overall, here is the light influence (all radiuses) from the previous gif, but all put together to see what you can call “light sources overlapping viewmode”.
look what deferred lighting let us able to achieve (and more) on hardware of today…
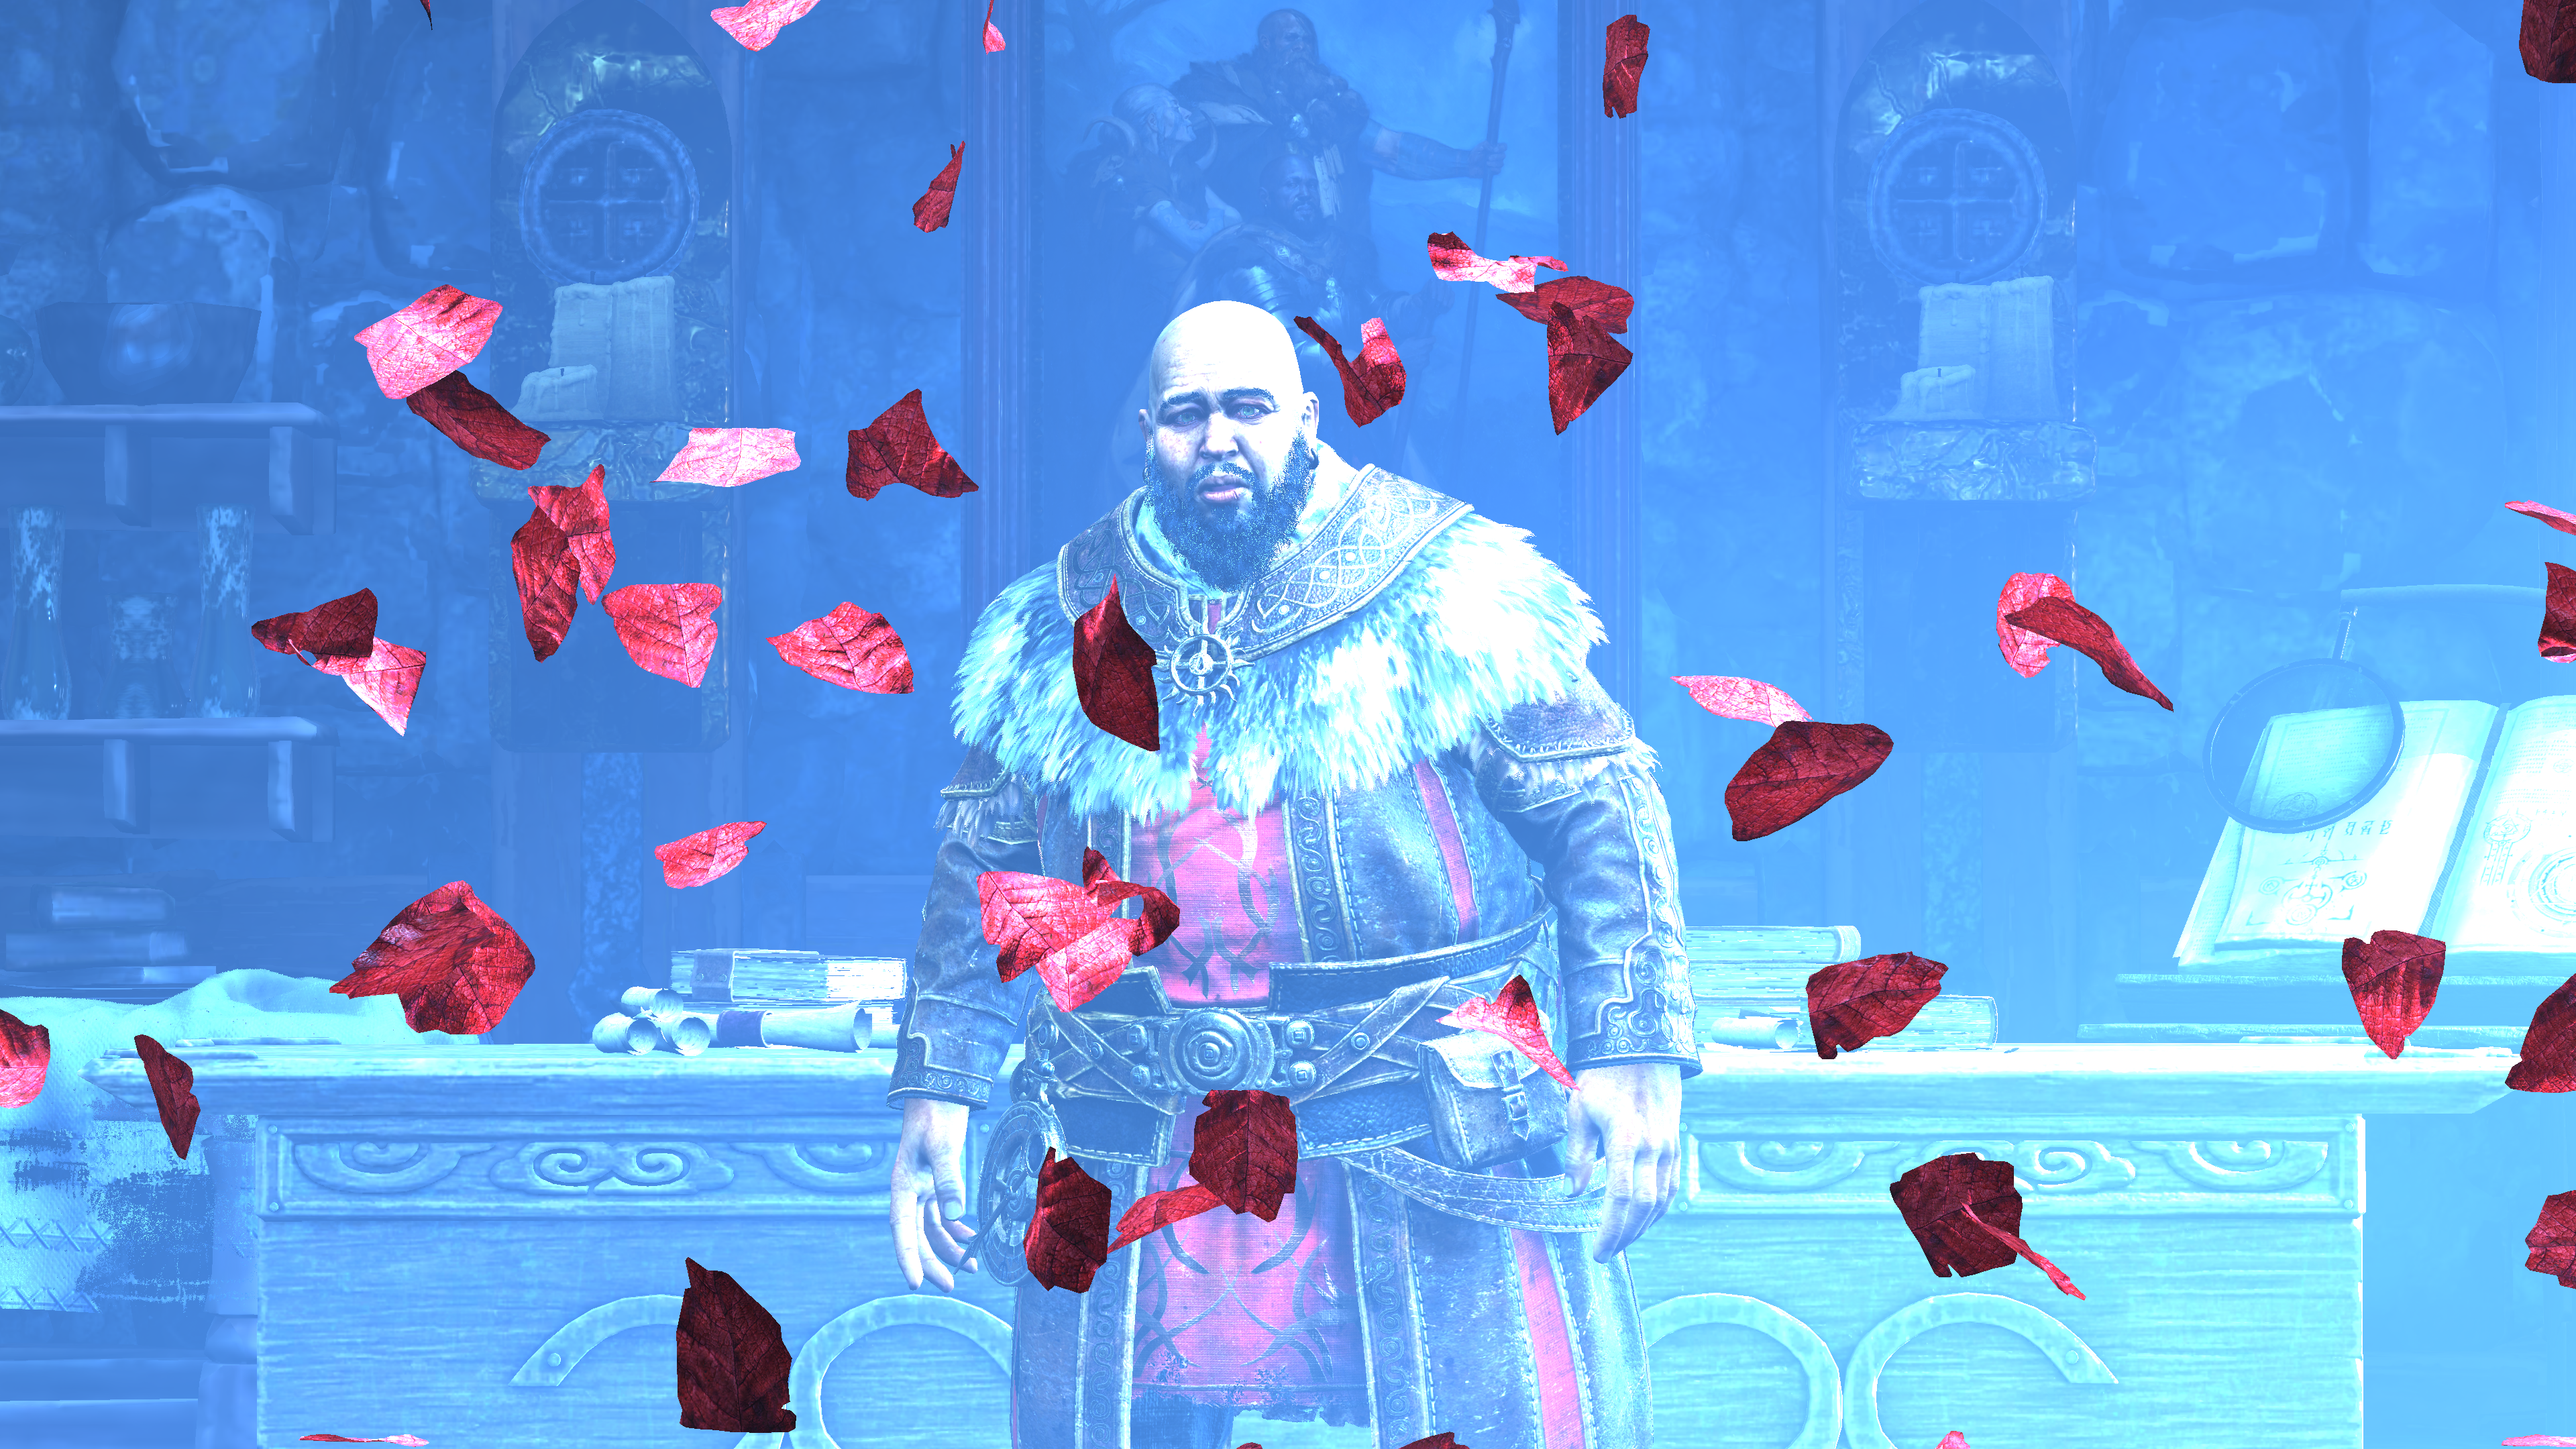
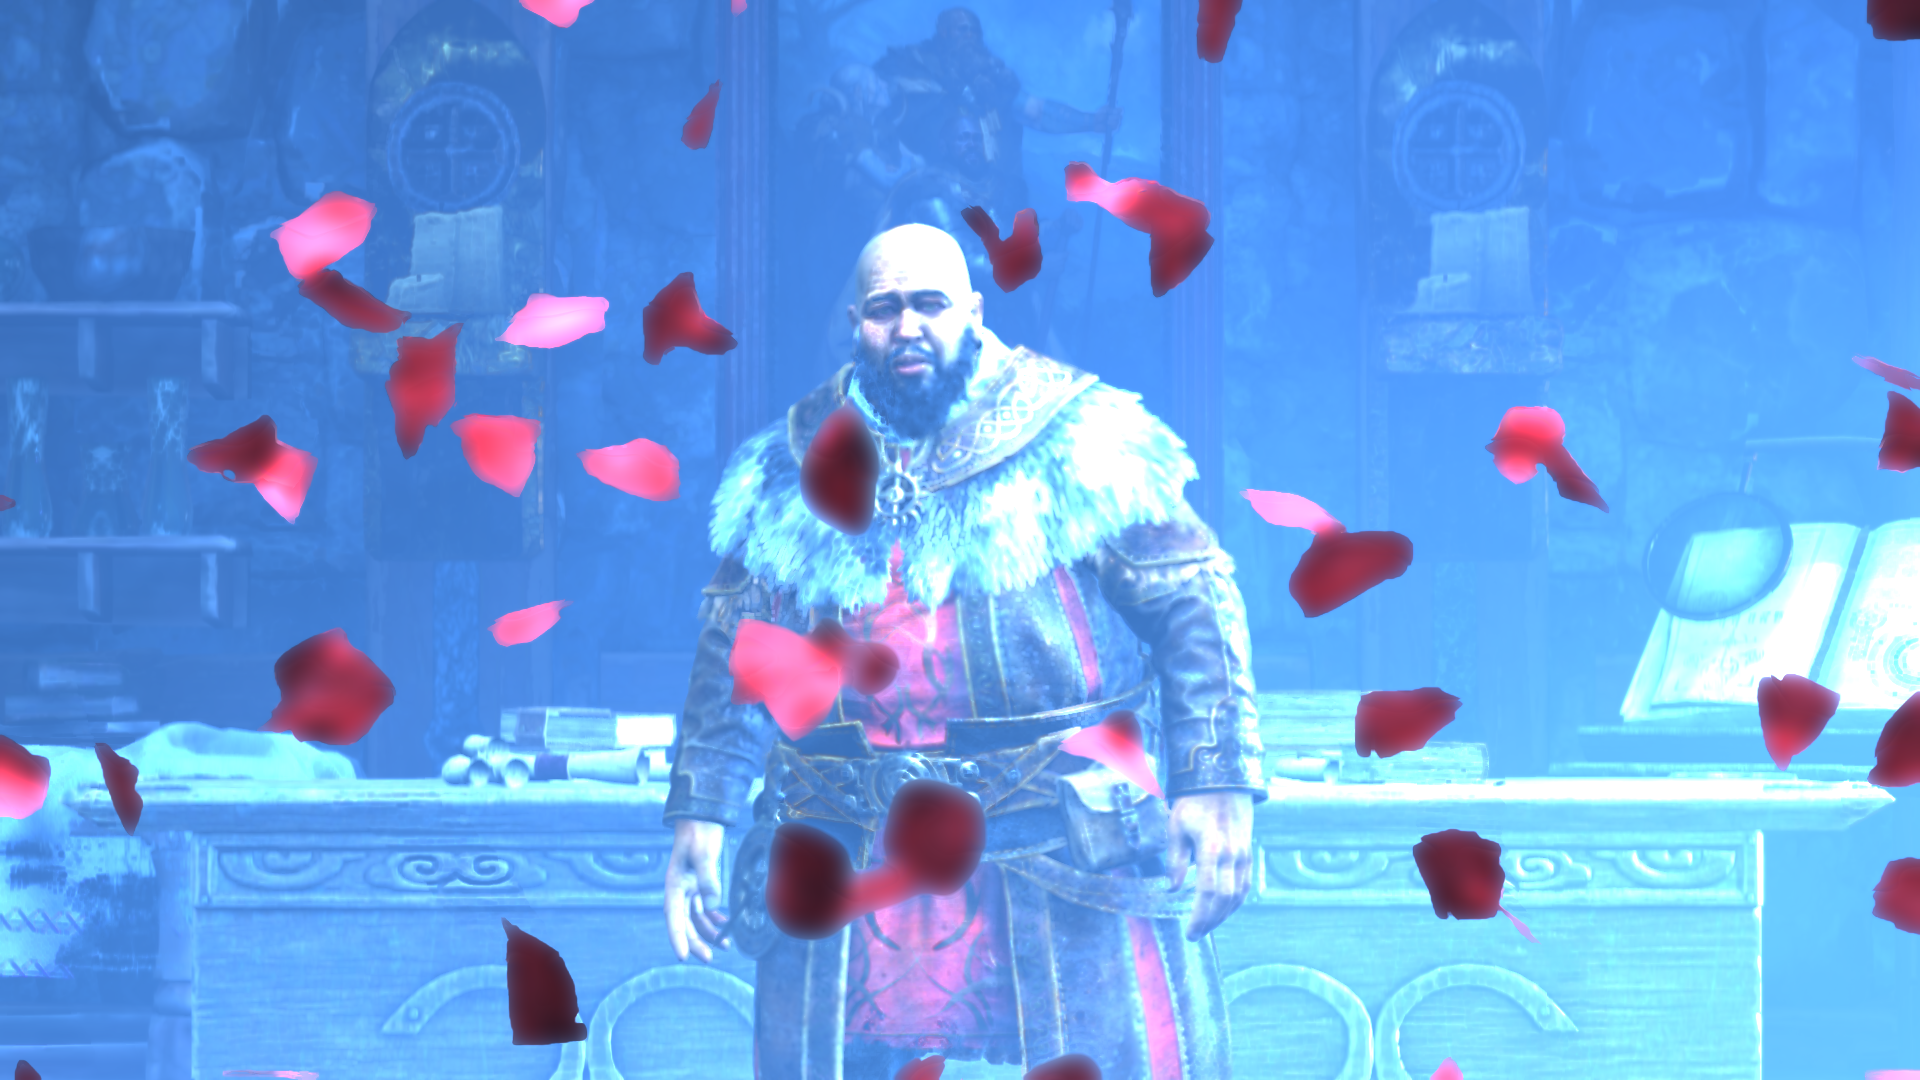
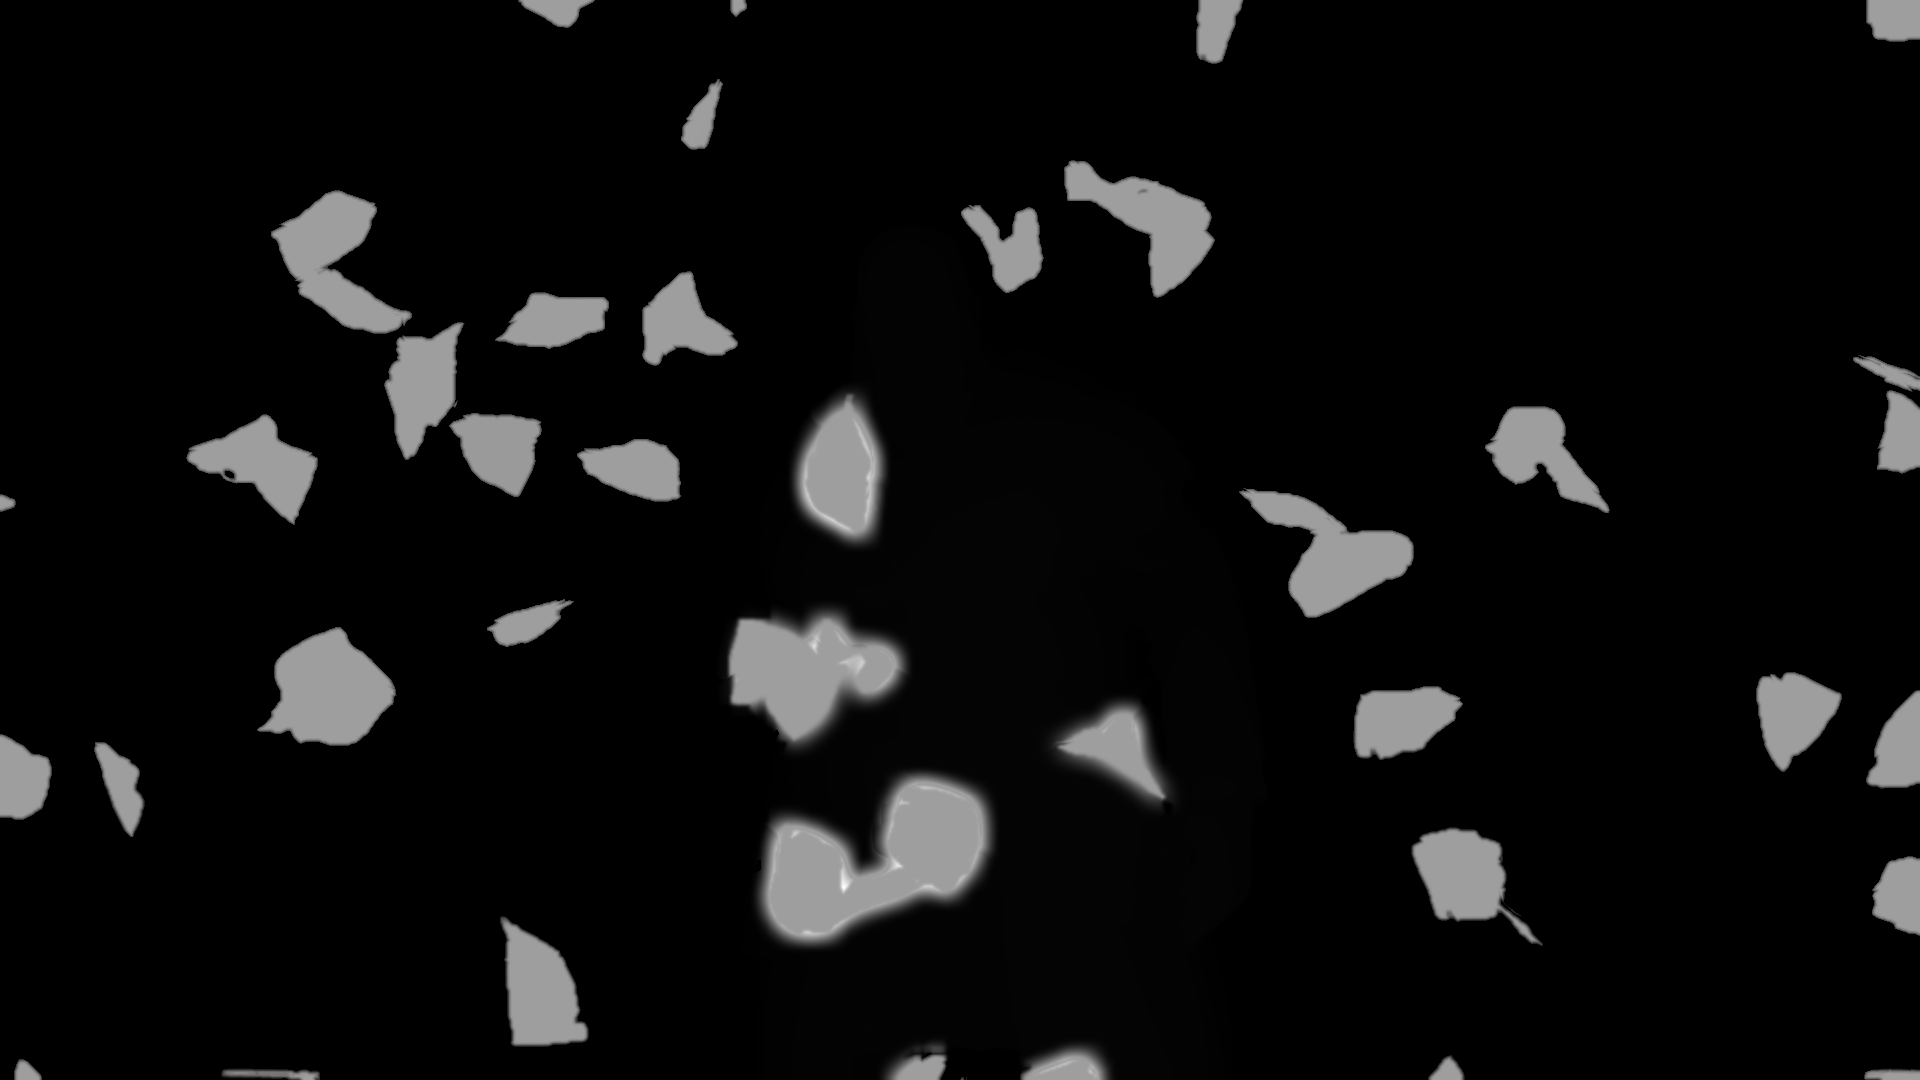
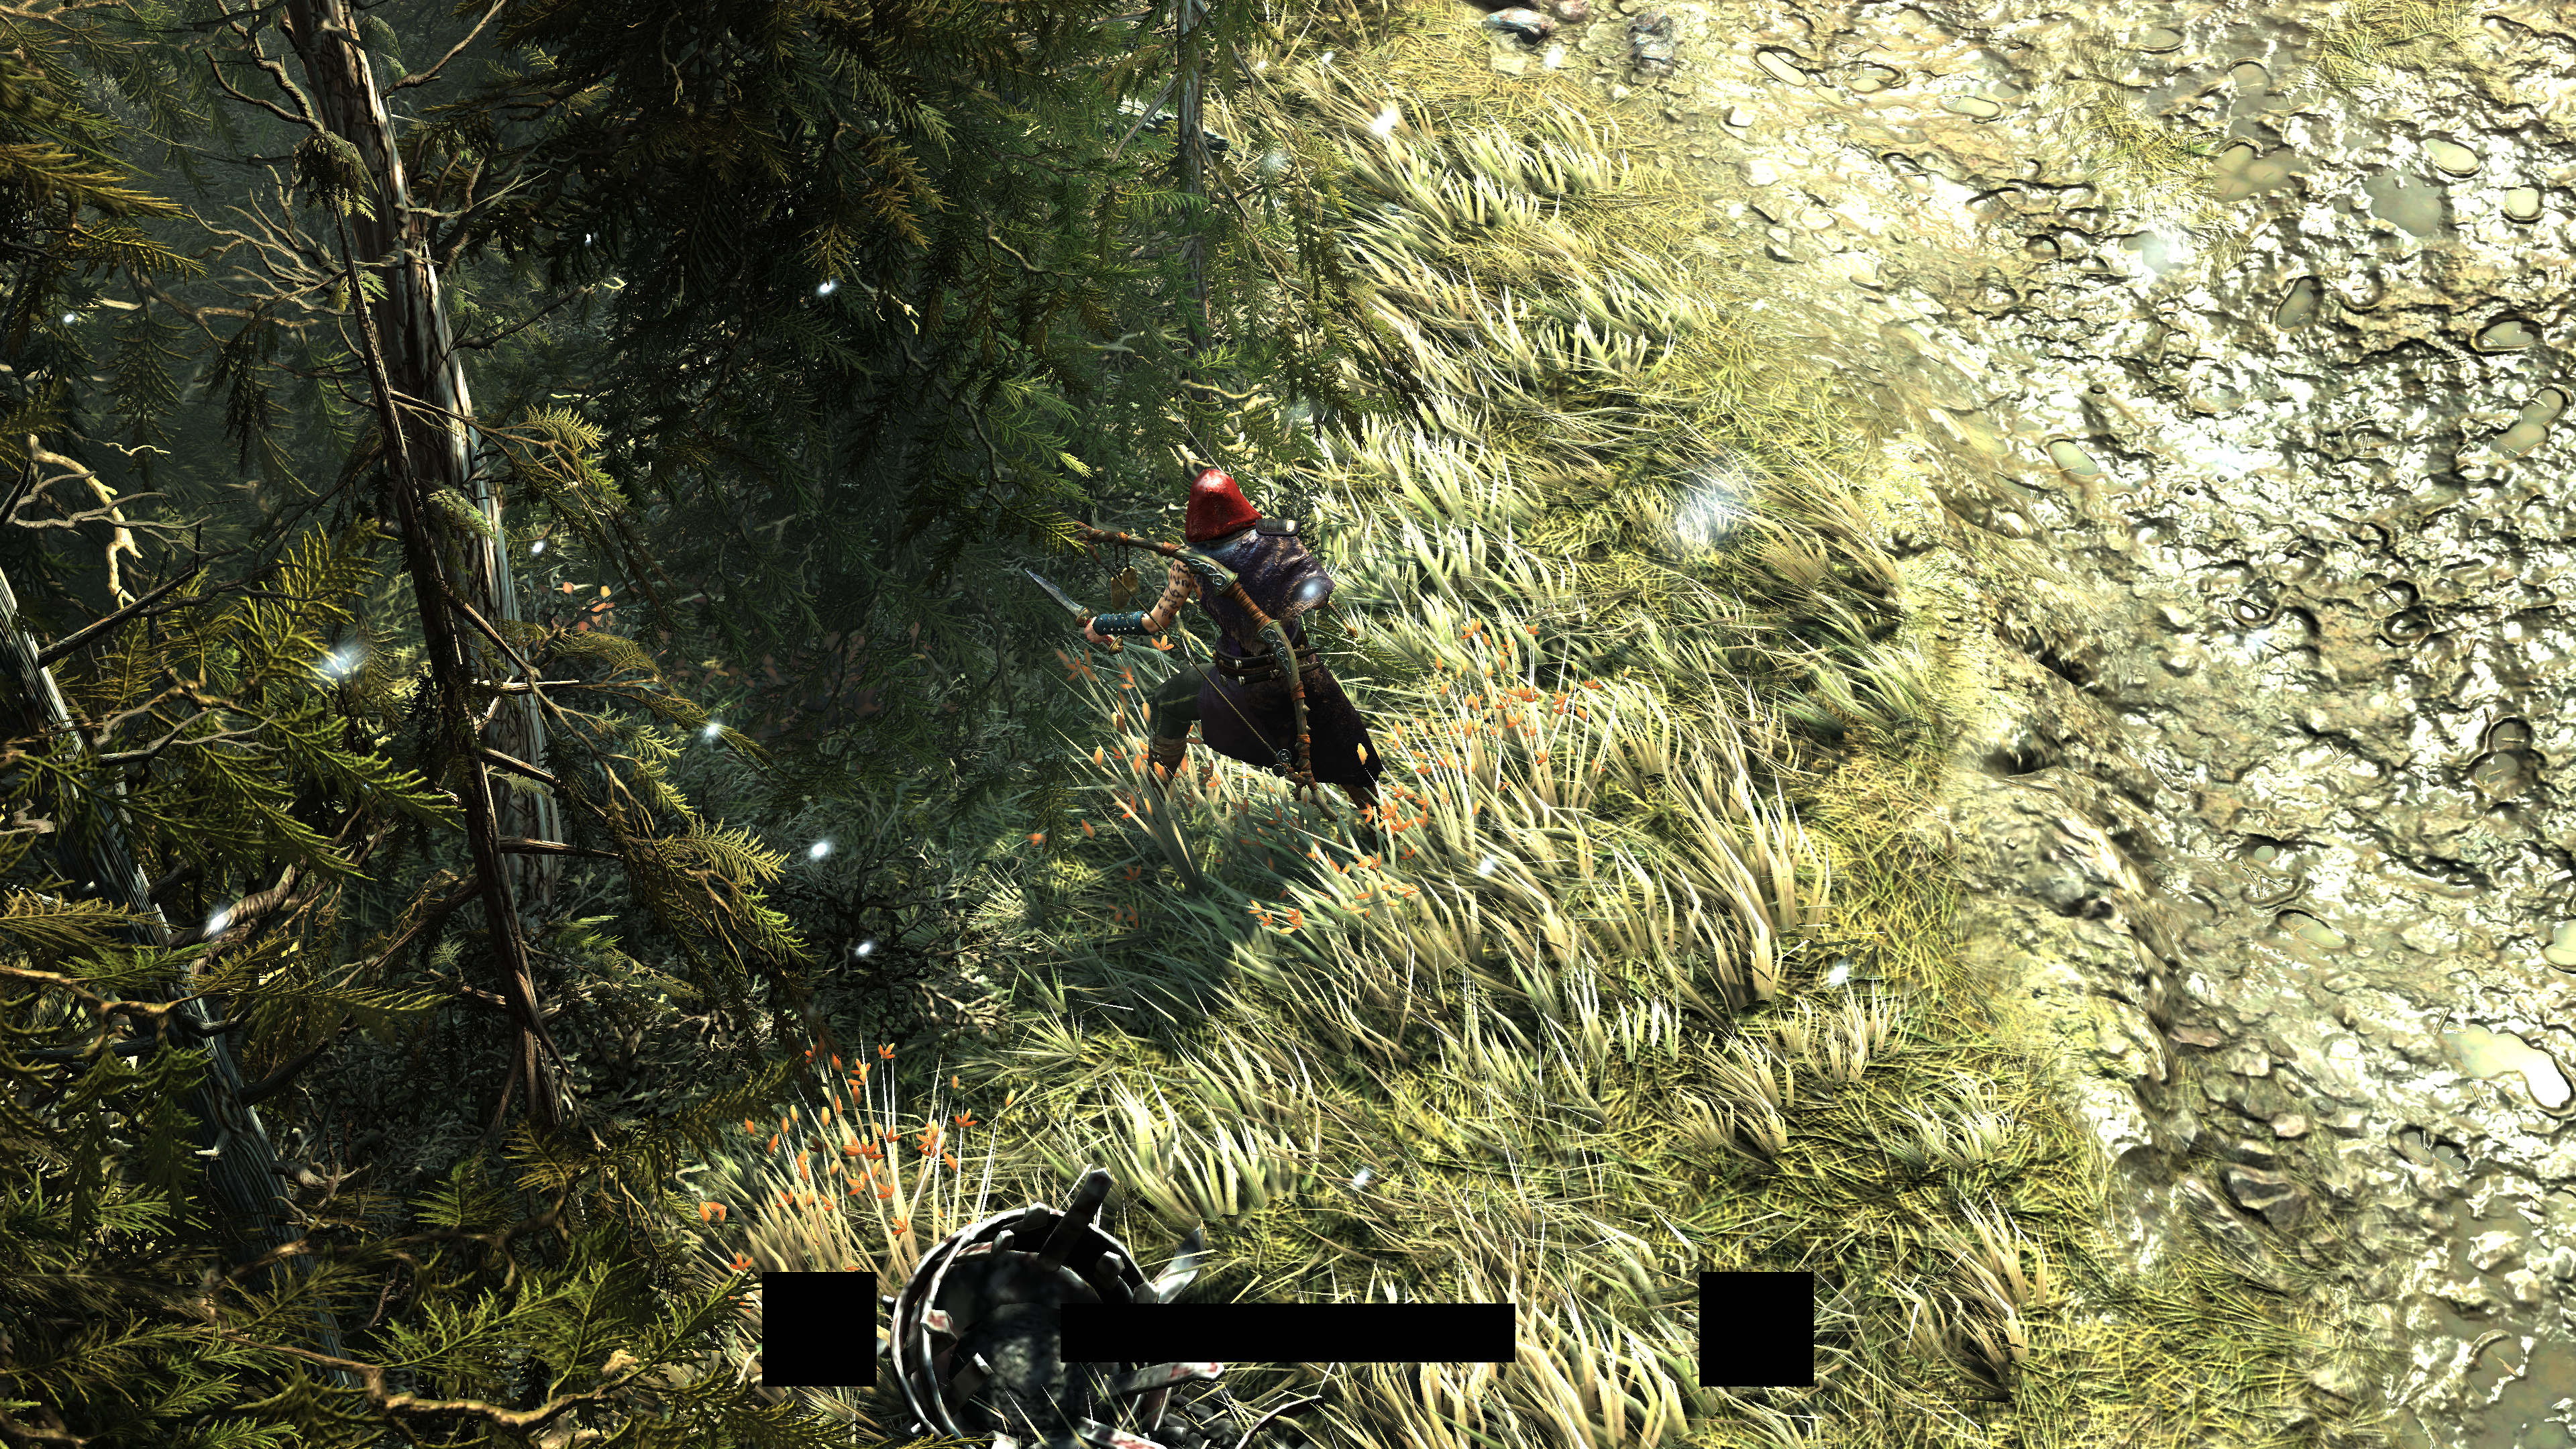
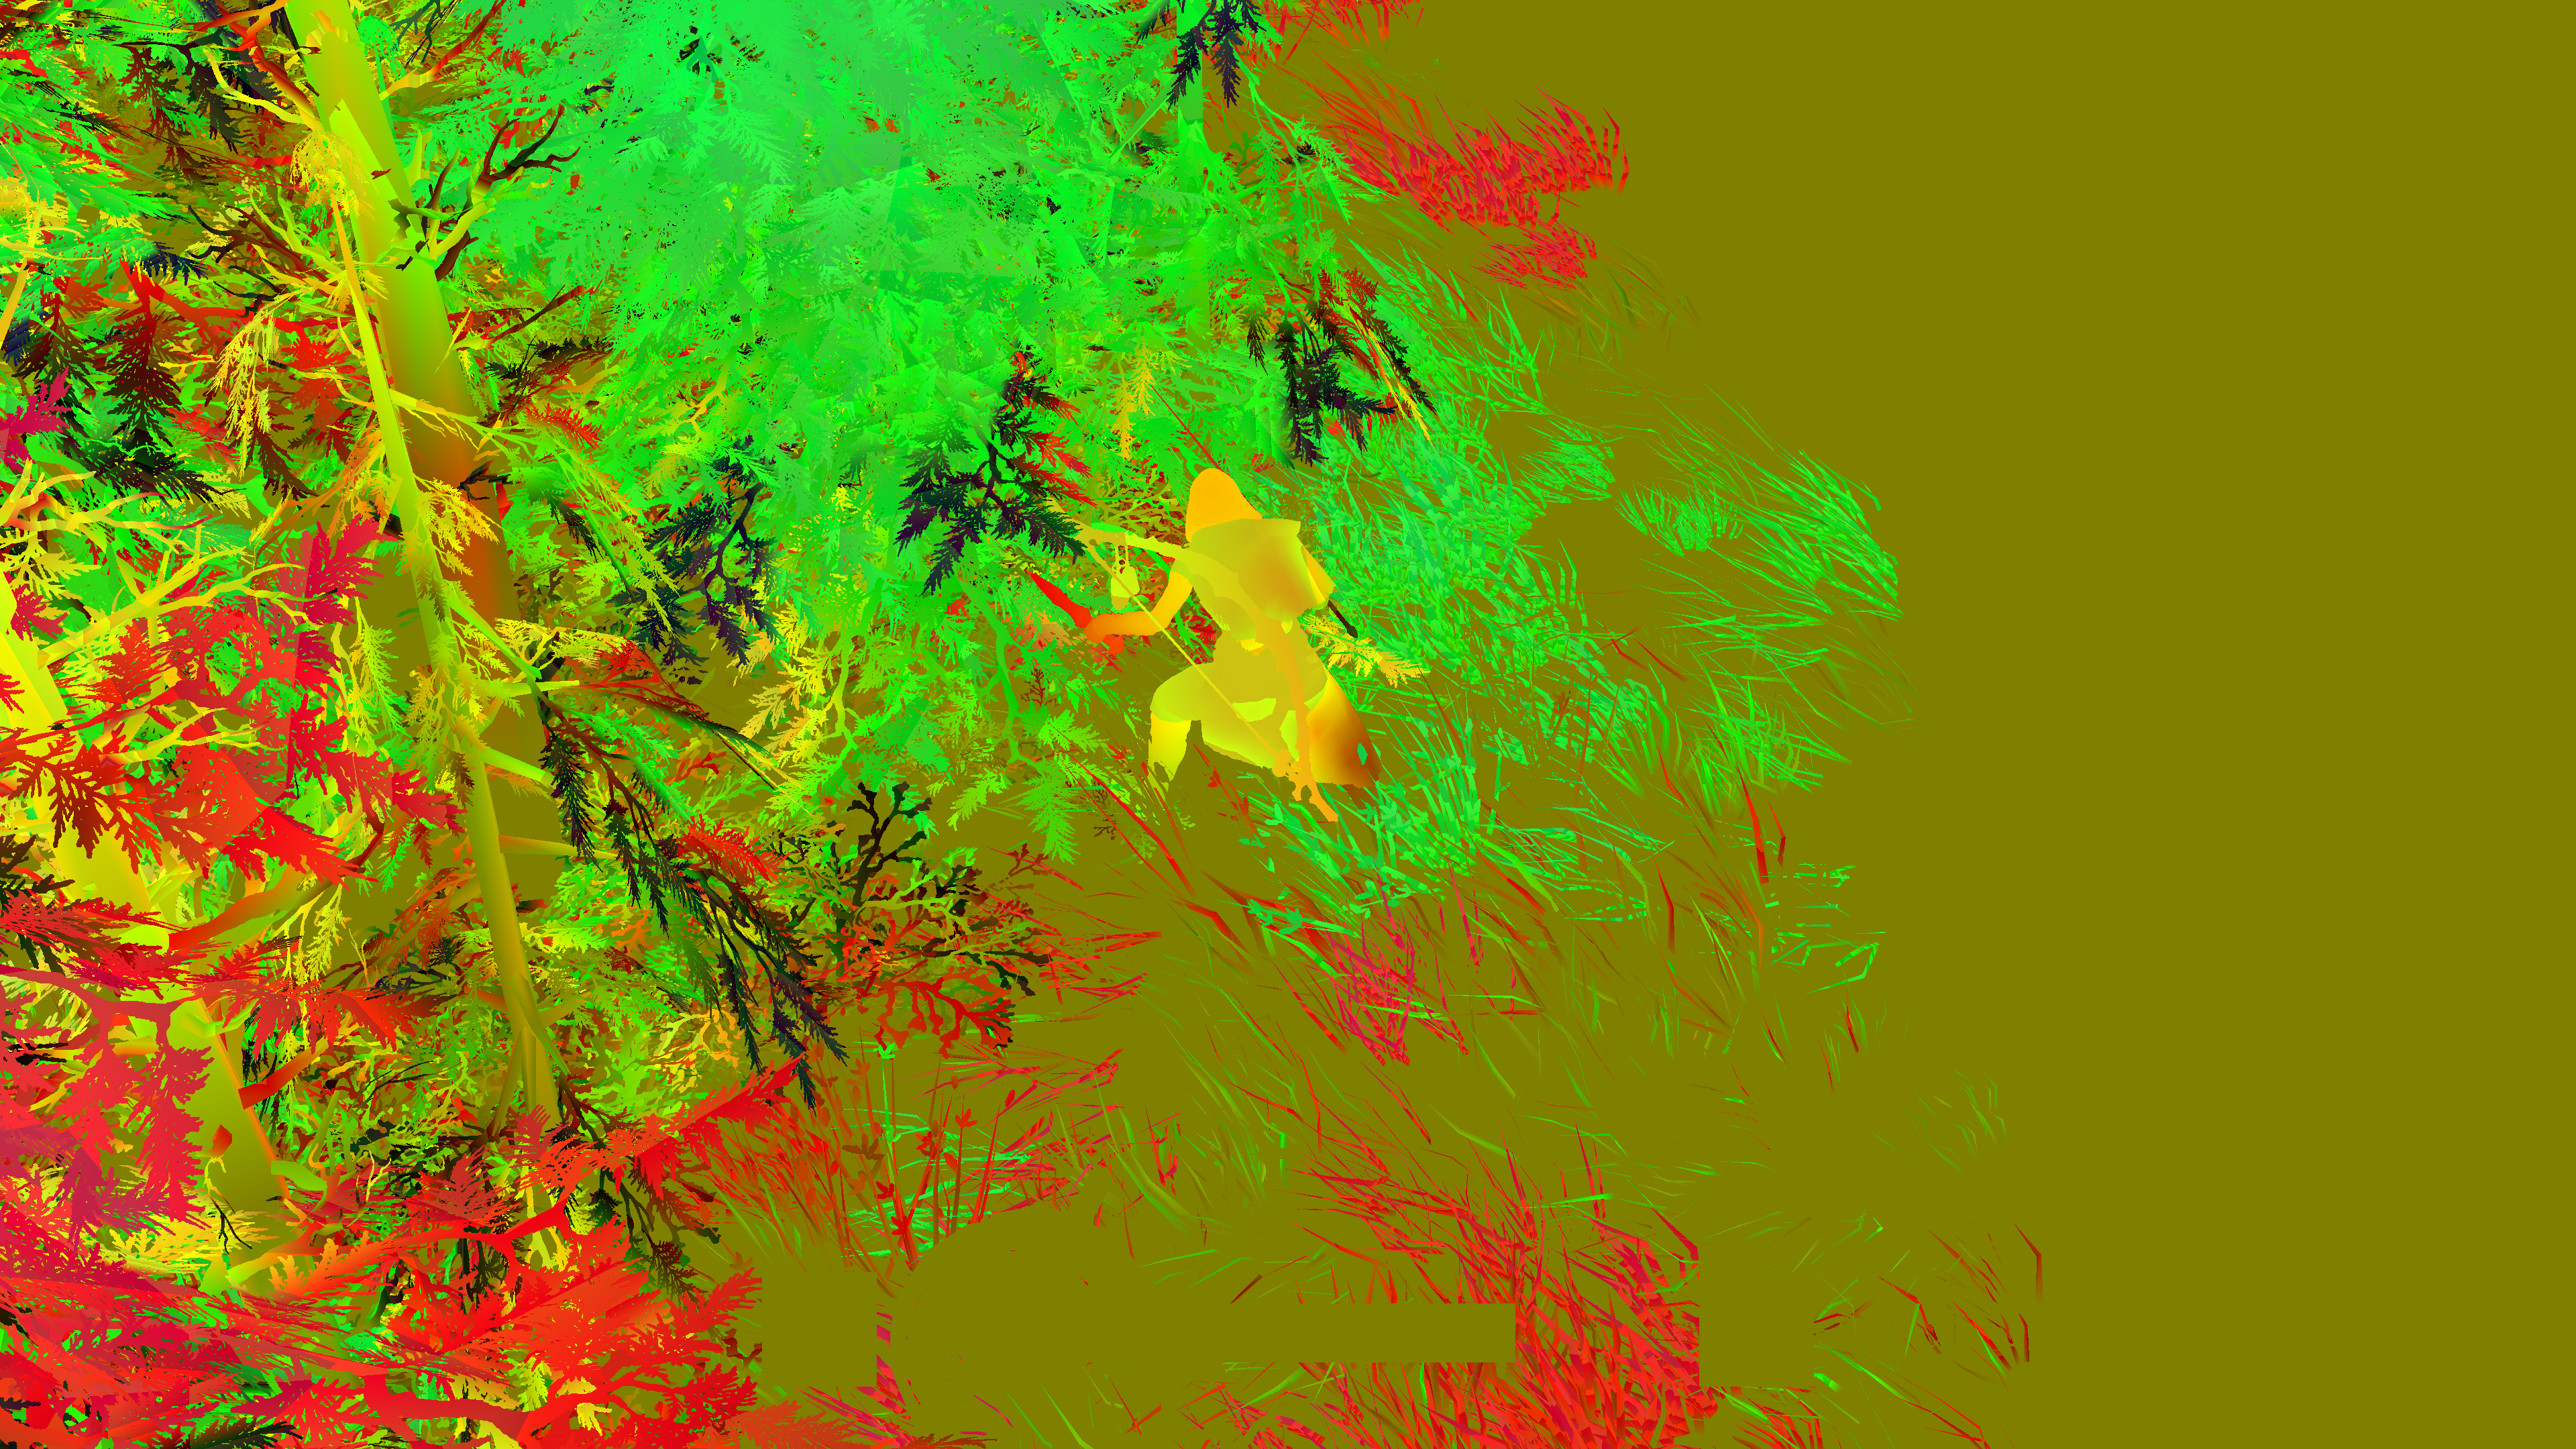
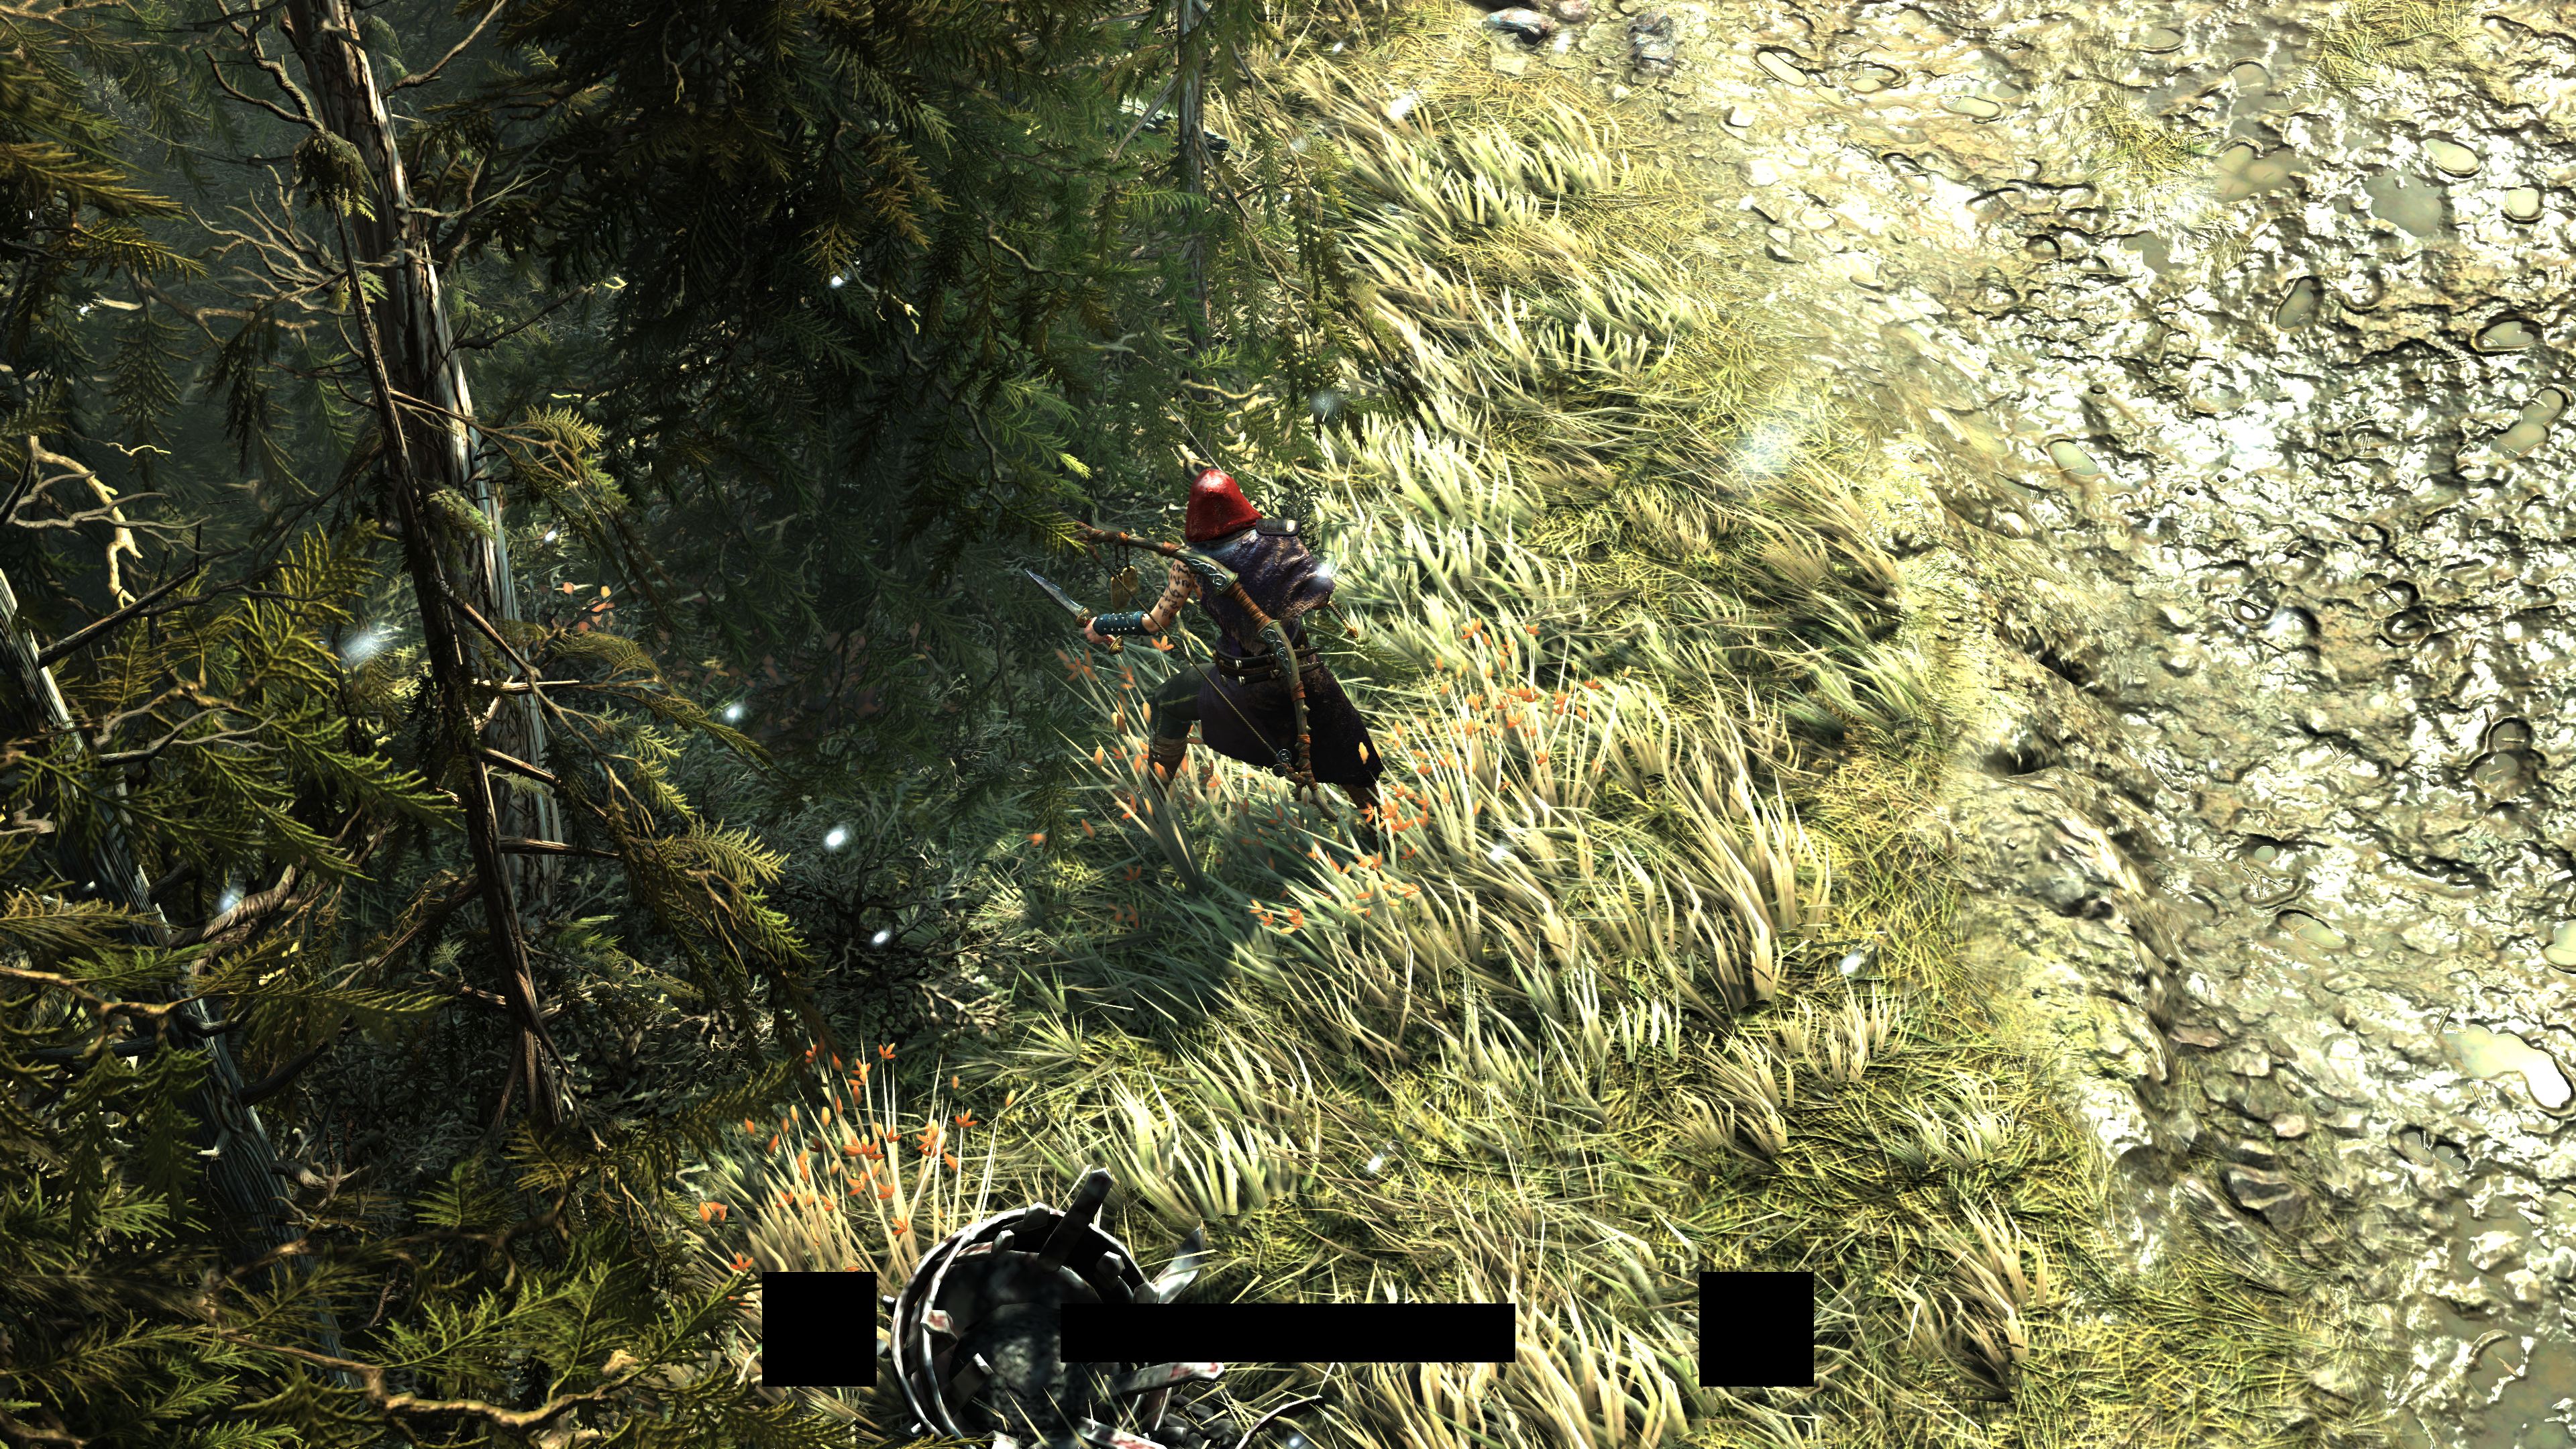
Attention to Details
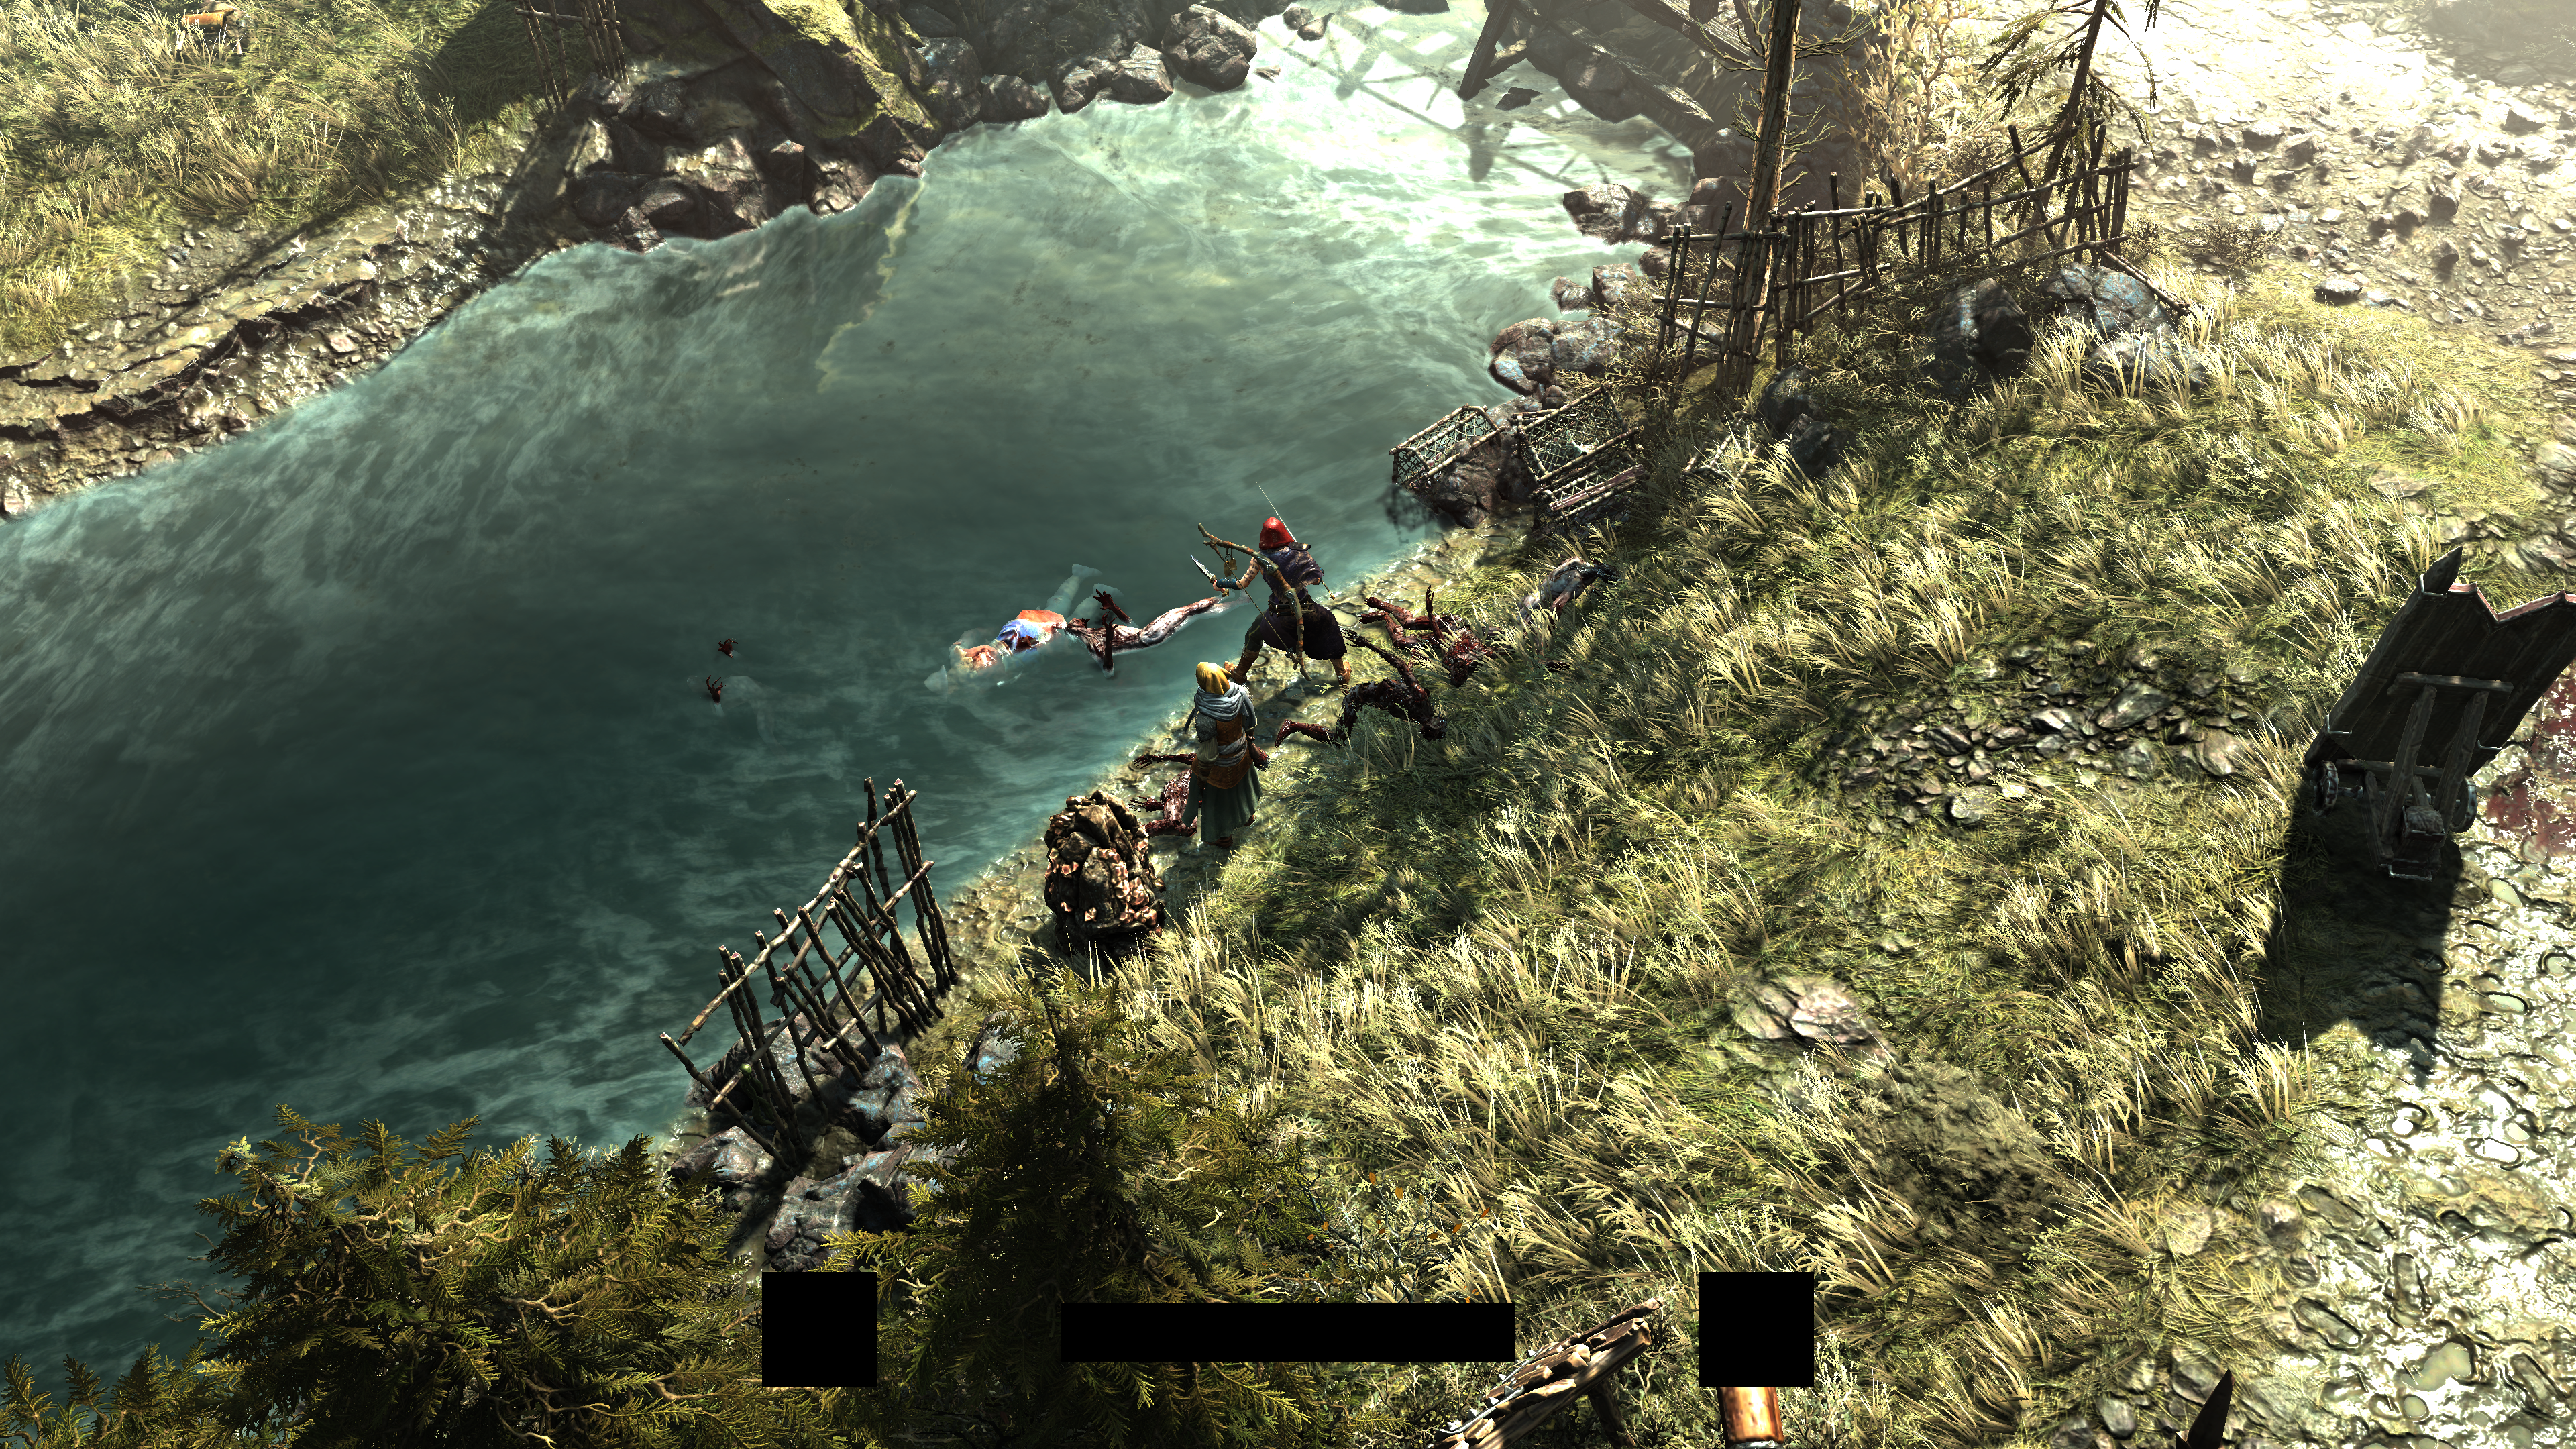
Don’t let the topdown far away camera trick you, this game is full of love and dedication to the craft. Lot’s of things made me take a pause while playing this game and keep just wondering (sometimes unfortunately during a bossfight😵💫). The amount of details in there forced me to store hundreds of captures for areas that caught my eyes🤩😍. From puddles, mud, snow, up to fabric, wood, stones & wildlife behaviors in the villages! To the open books pages and texts on papers on the floors. Ending up with the nice LOD pipeline & implementation (i didn’t see them, but the outcome speaks), your chances to see popping up LODs or even observer fading LODs (in characters i guess), it very low… Too much attention to details. But yet, i can’t find a simpler example better than the tiny petals!
Diablo 4 world, is truly a living world!
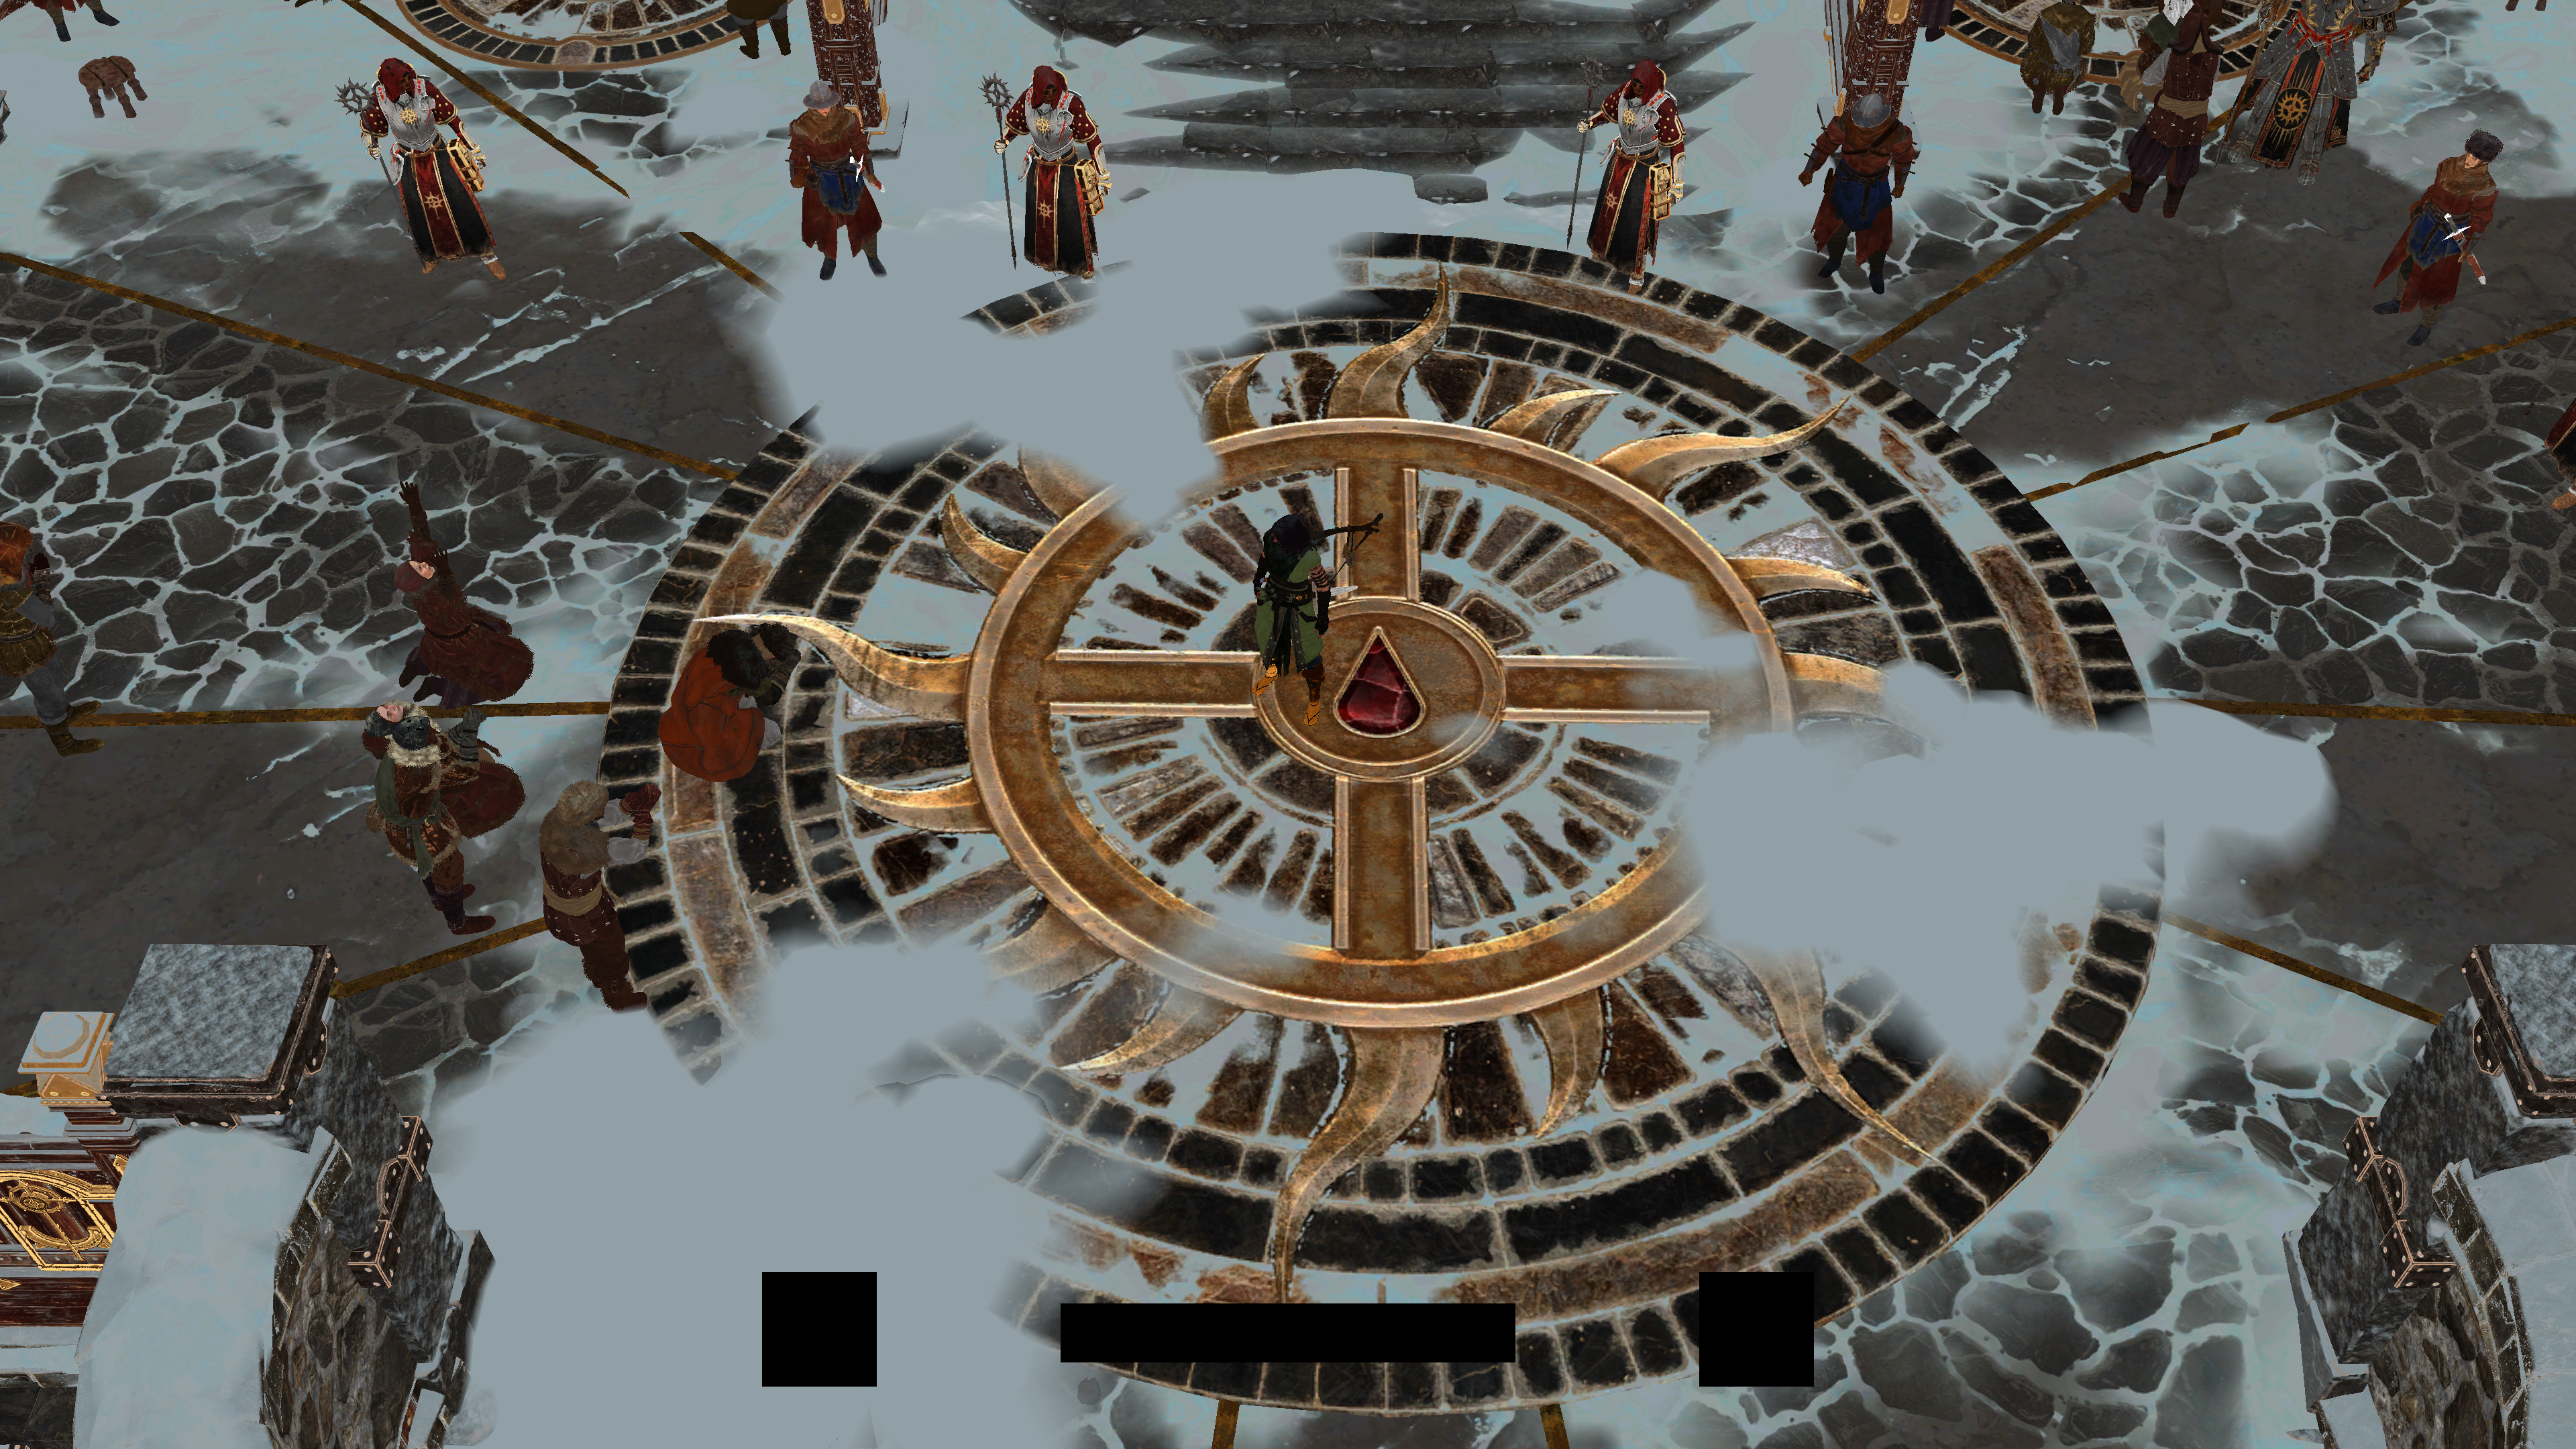
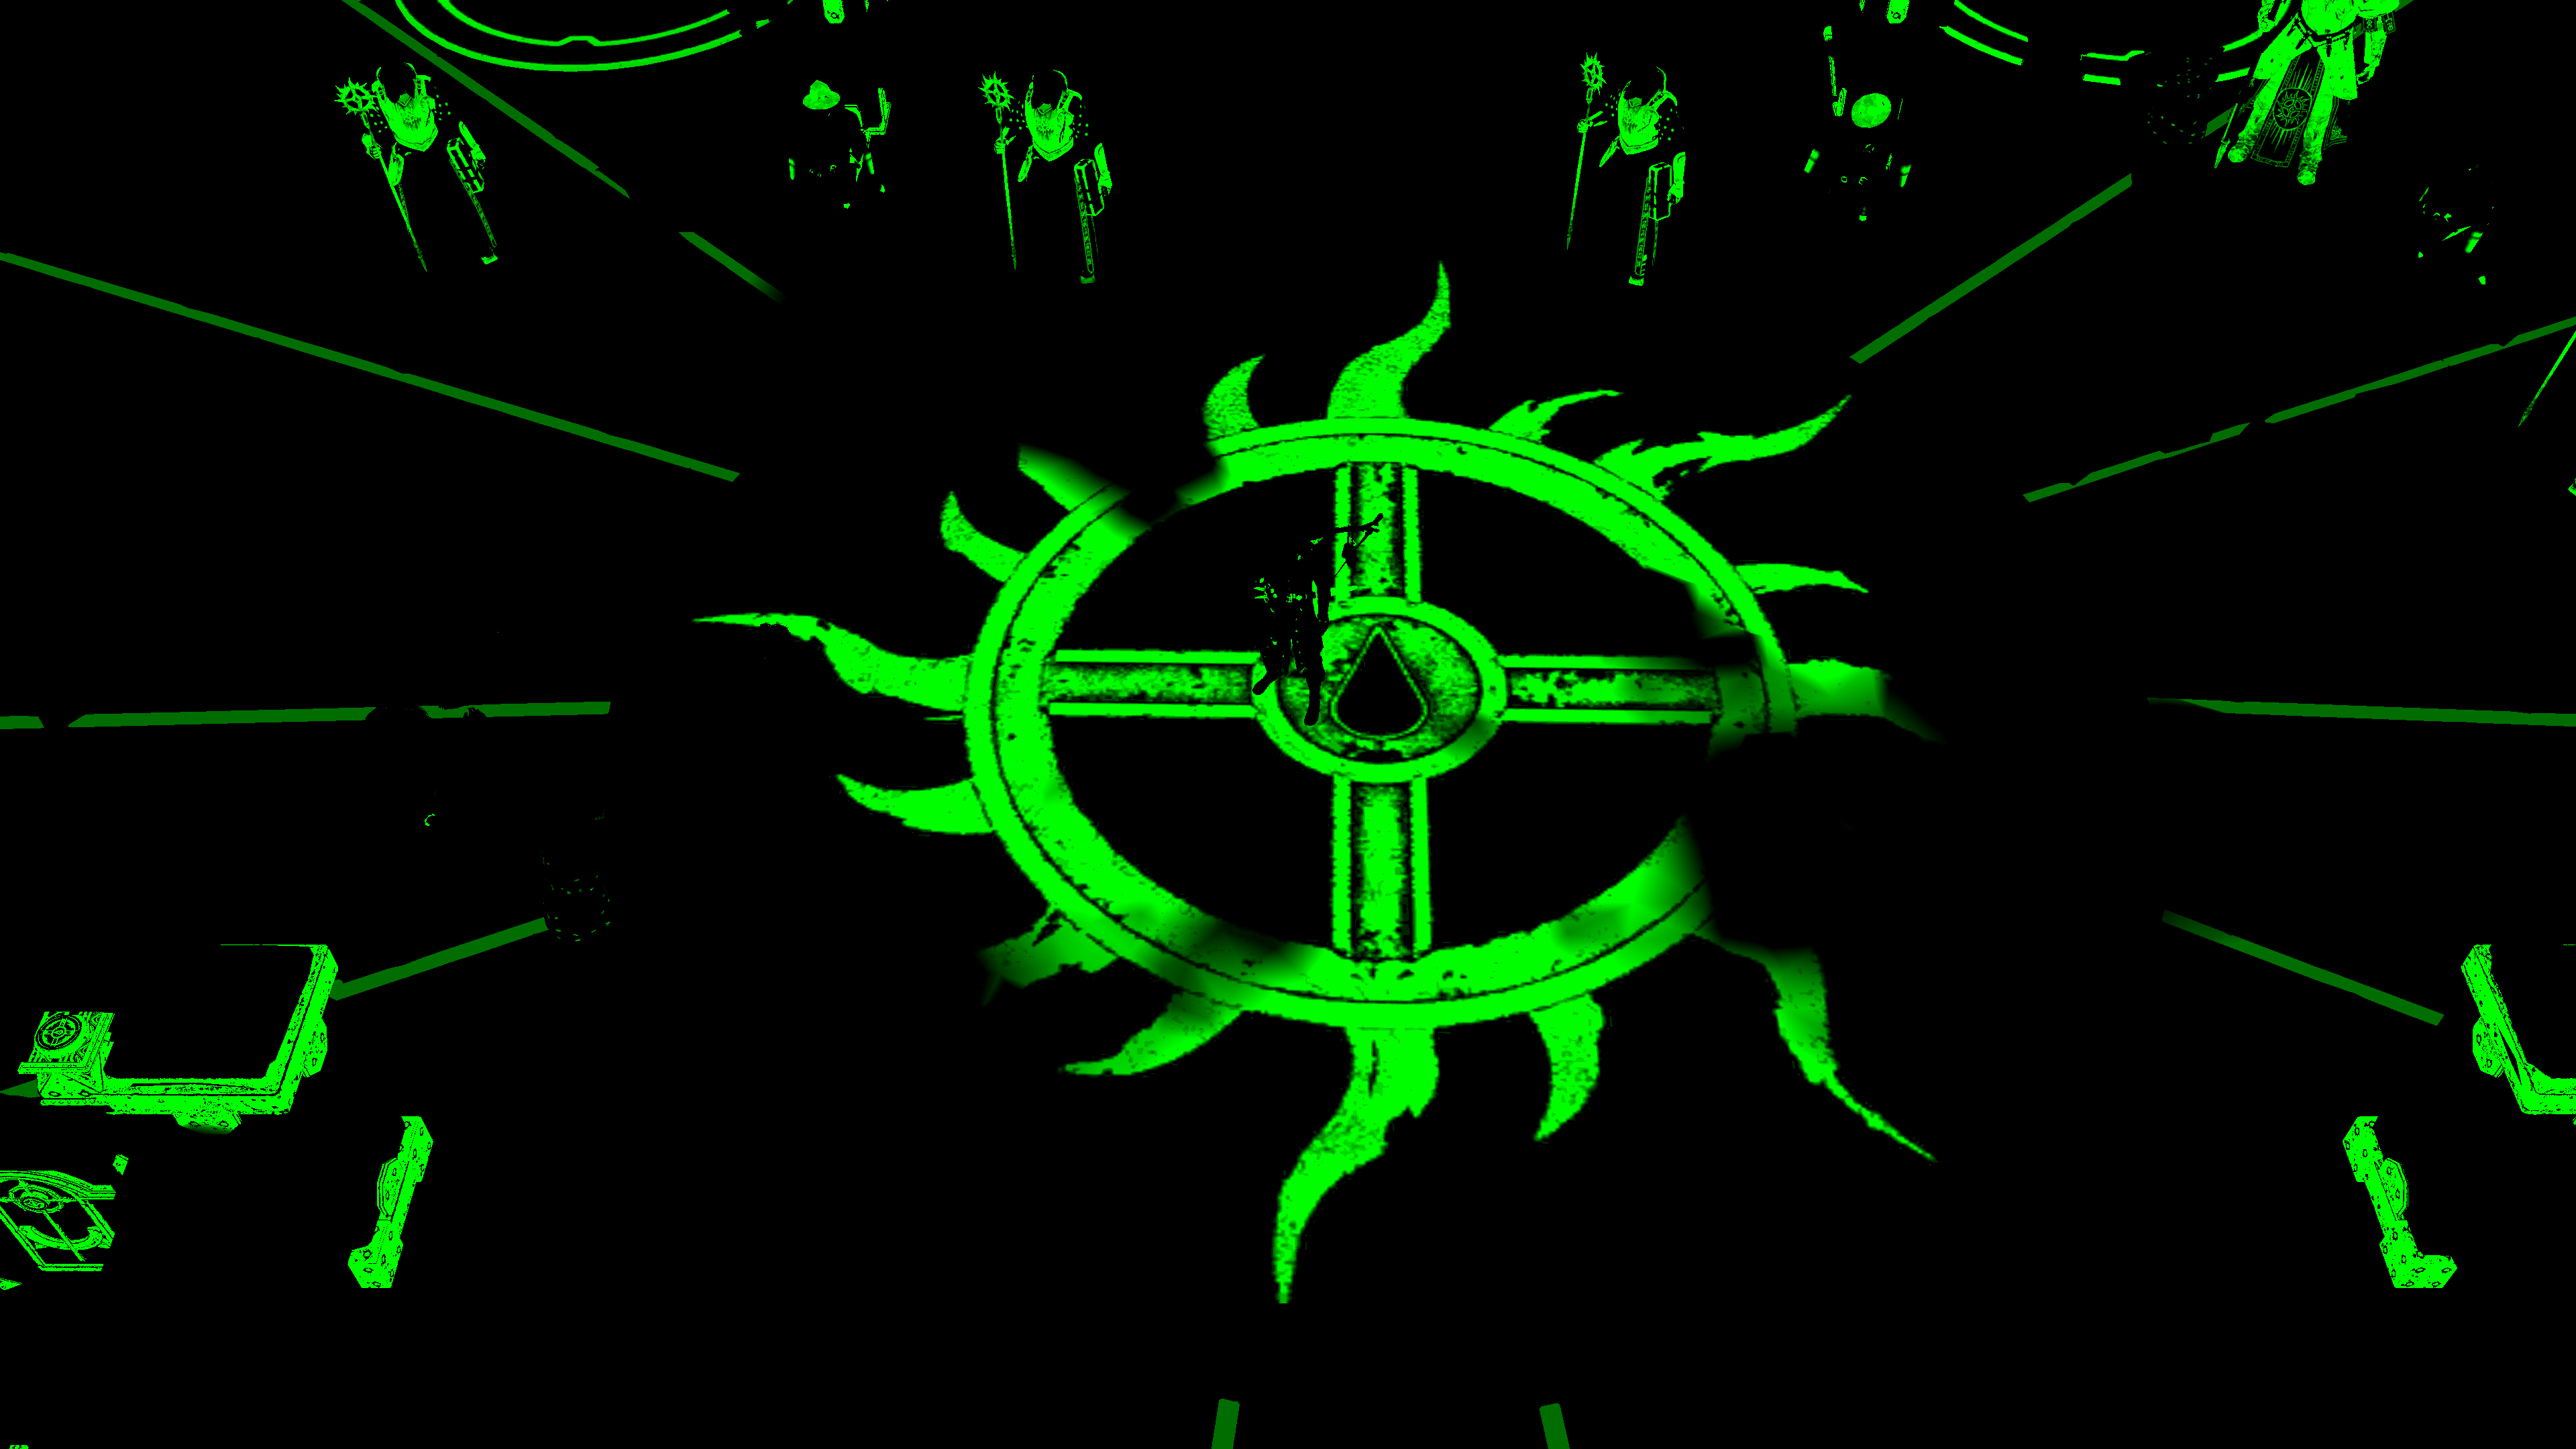
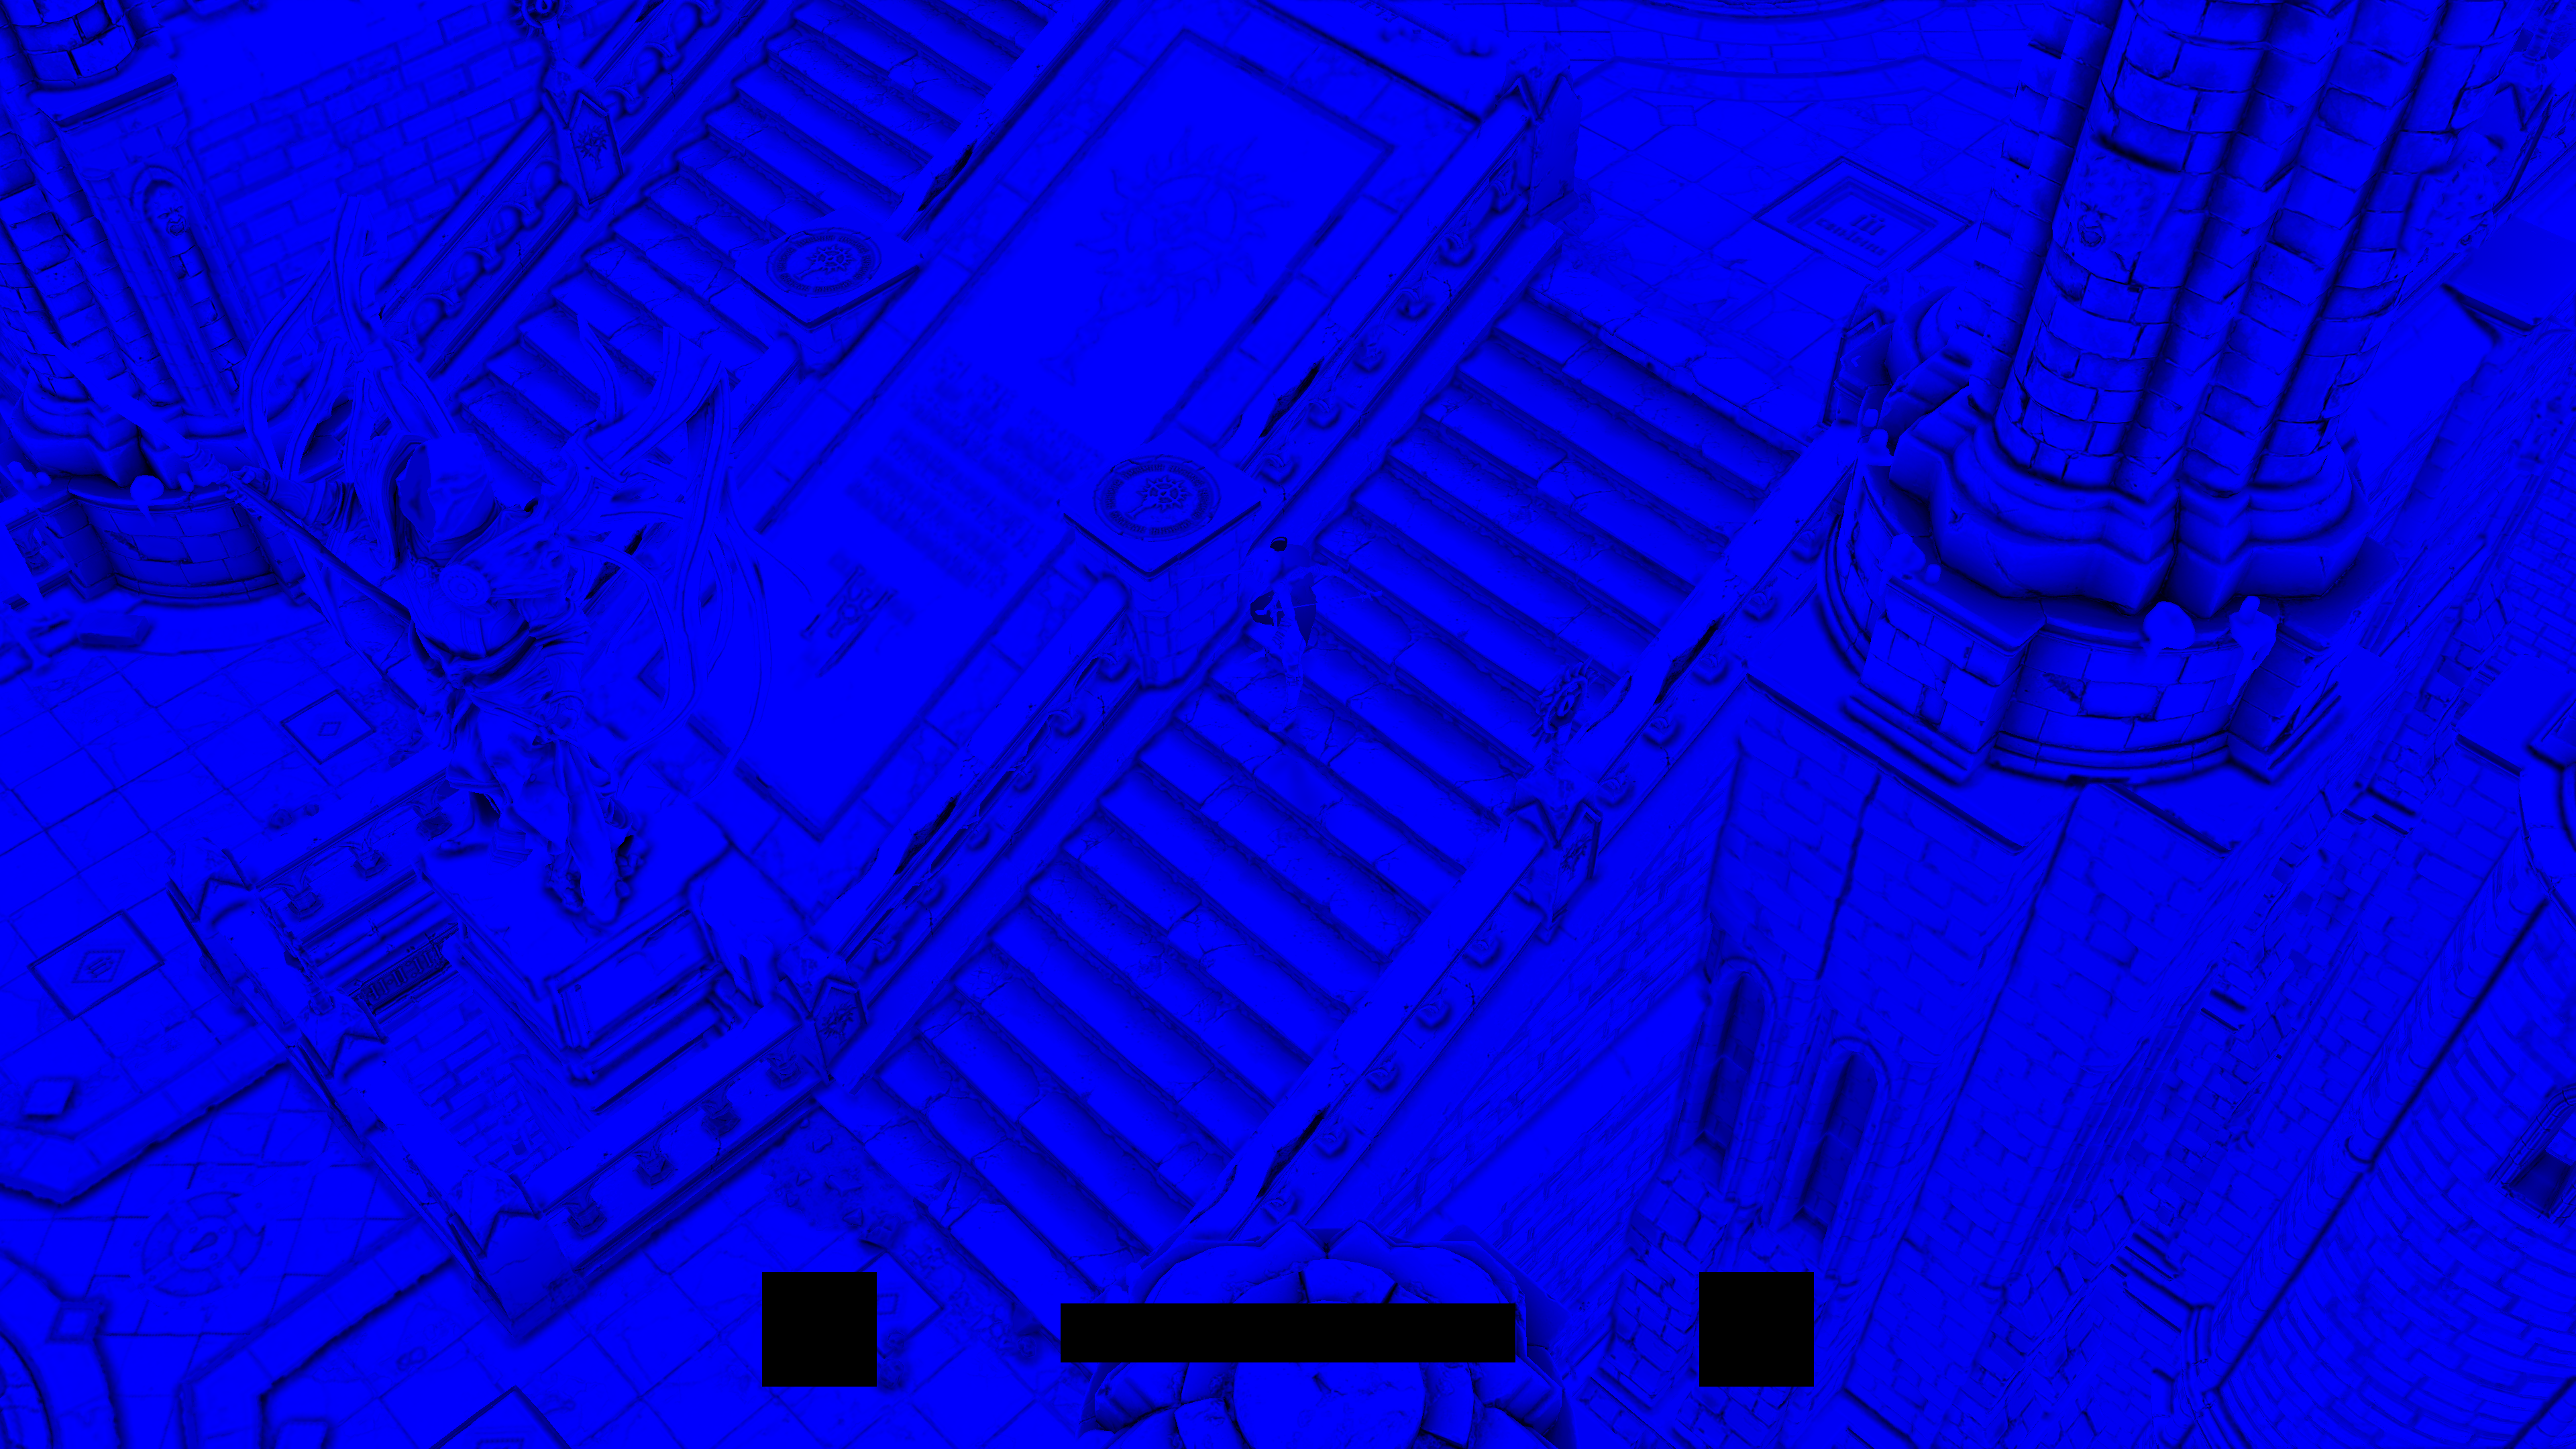
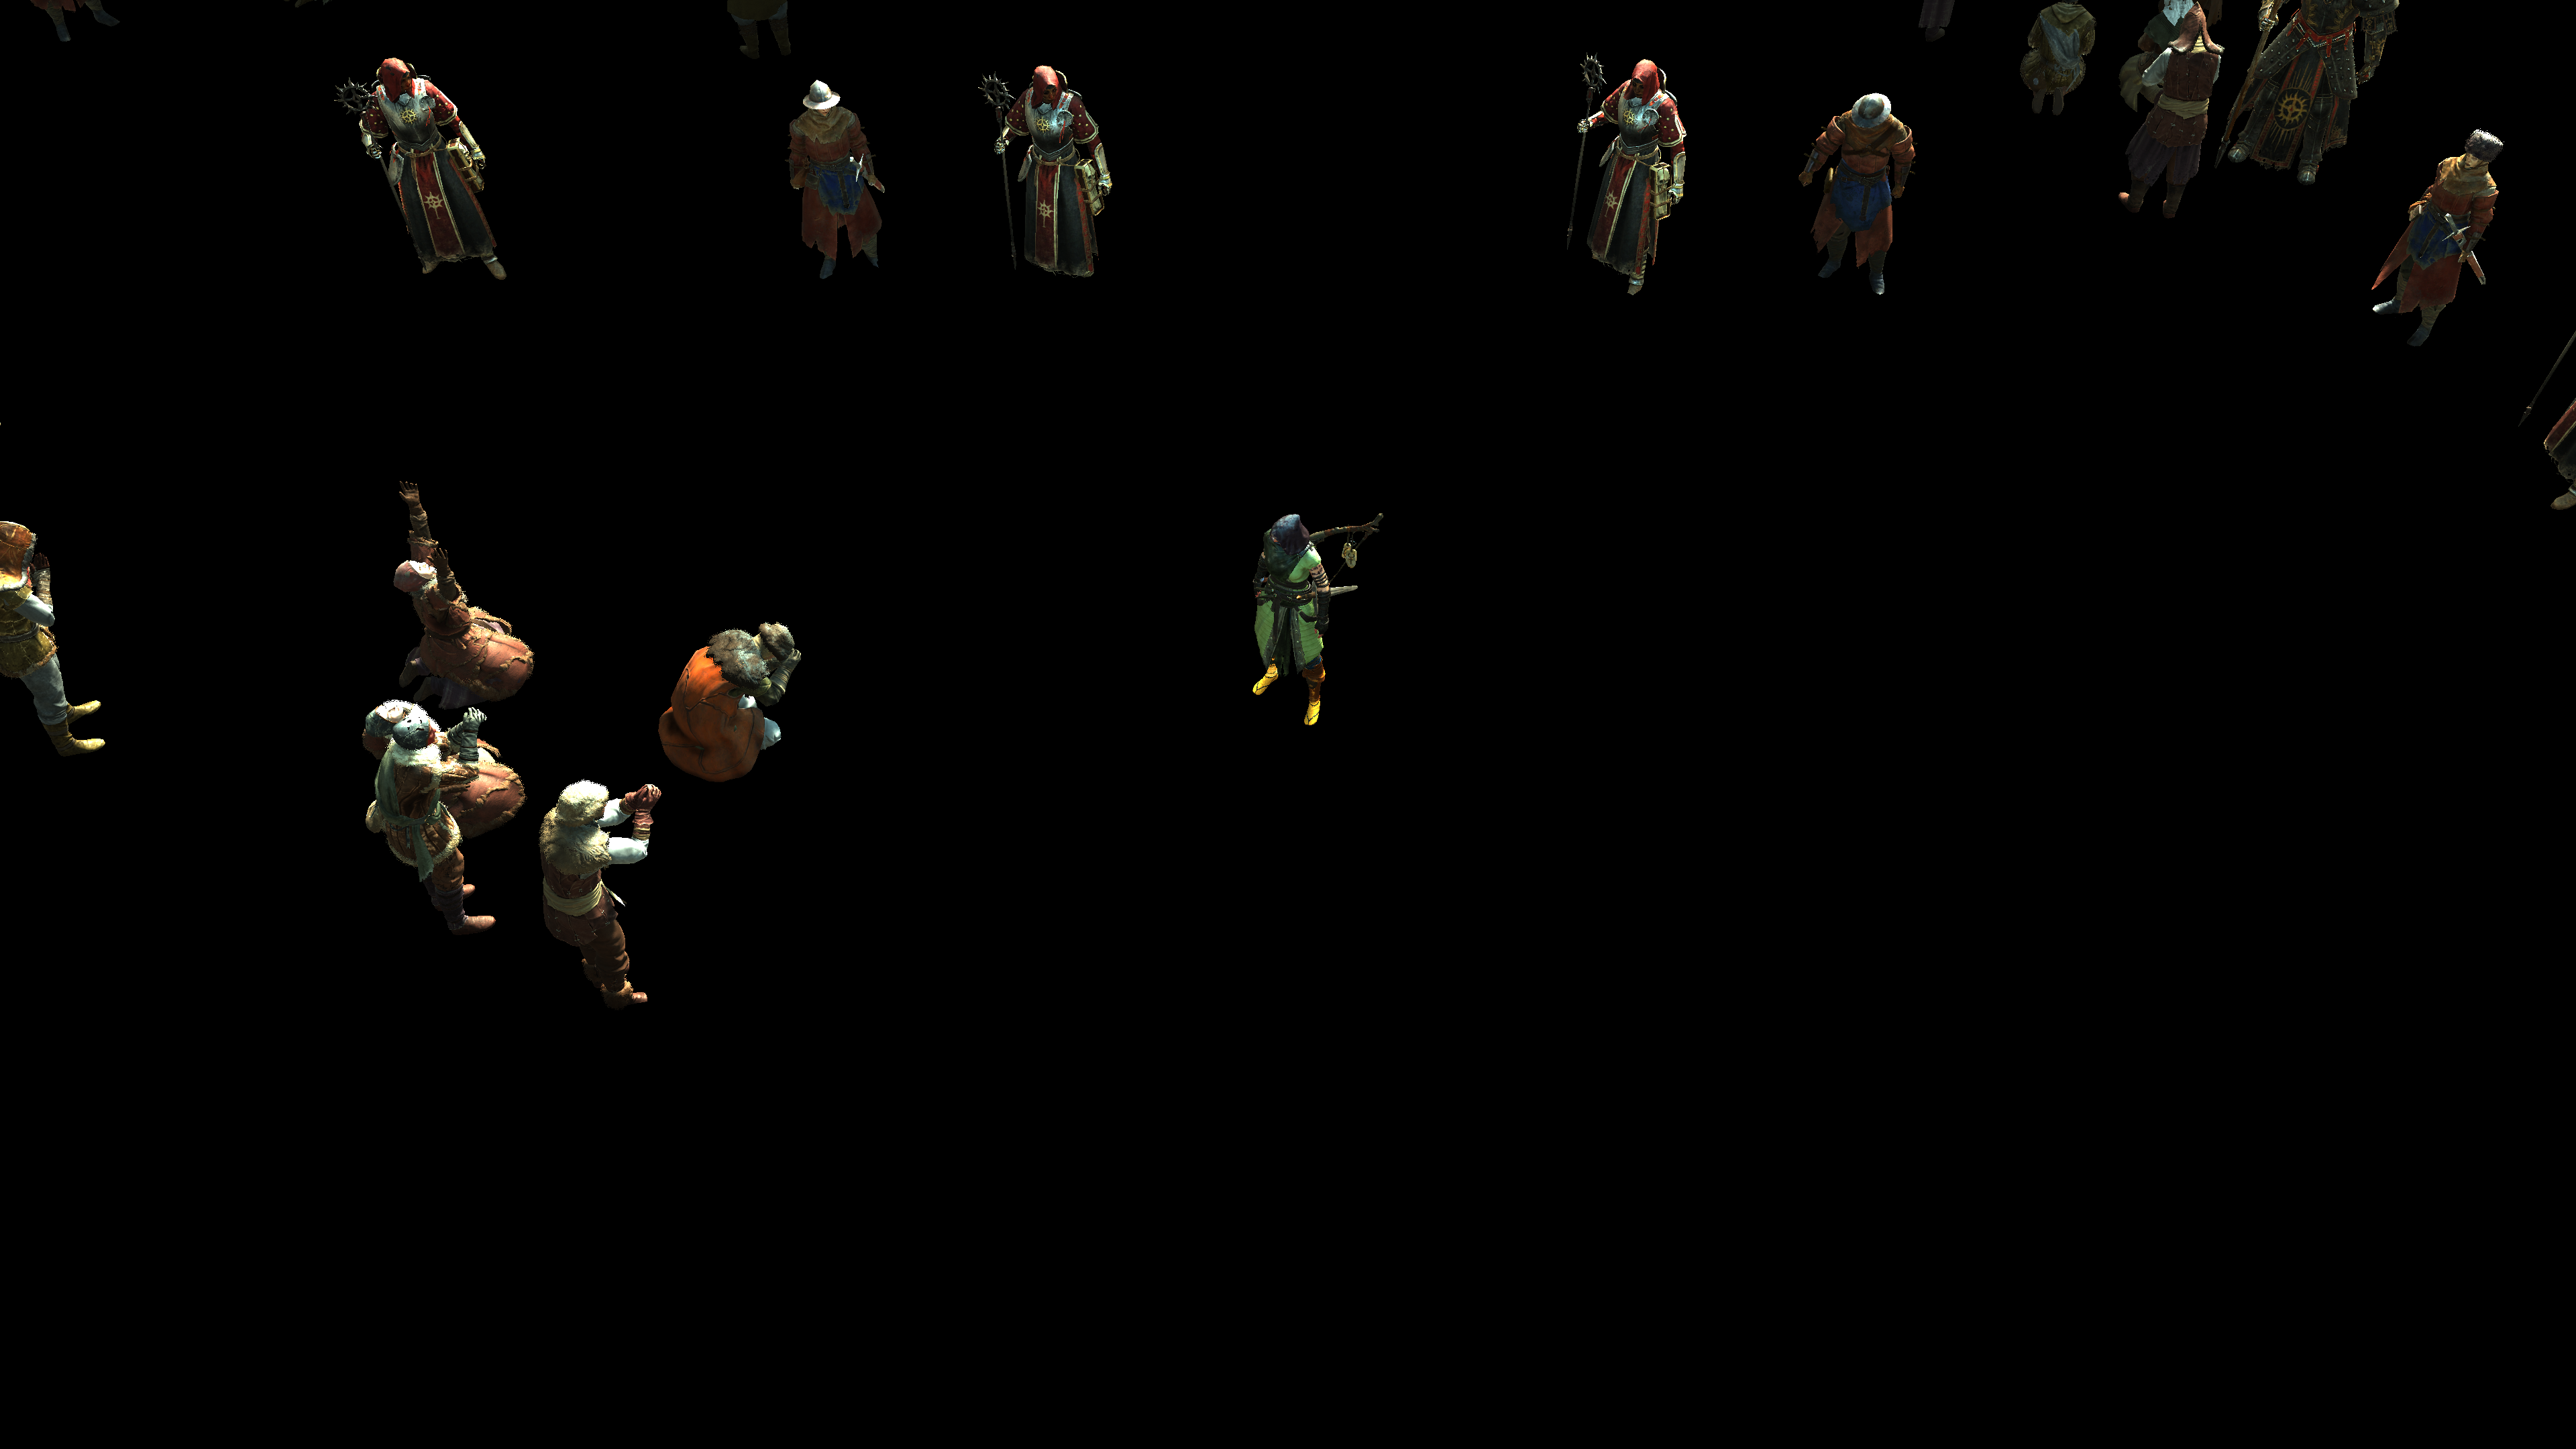
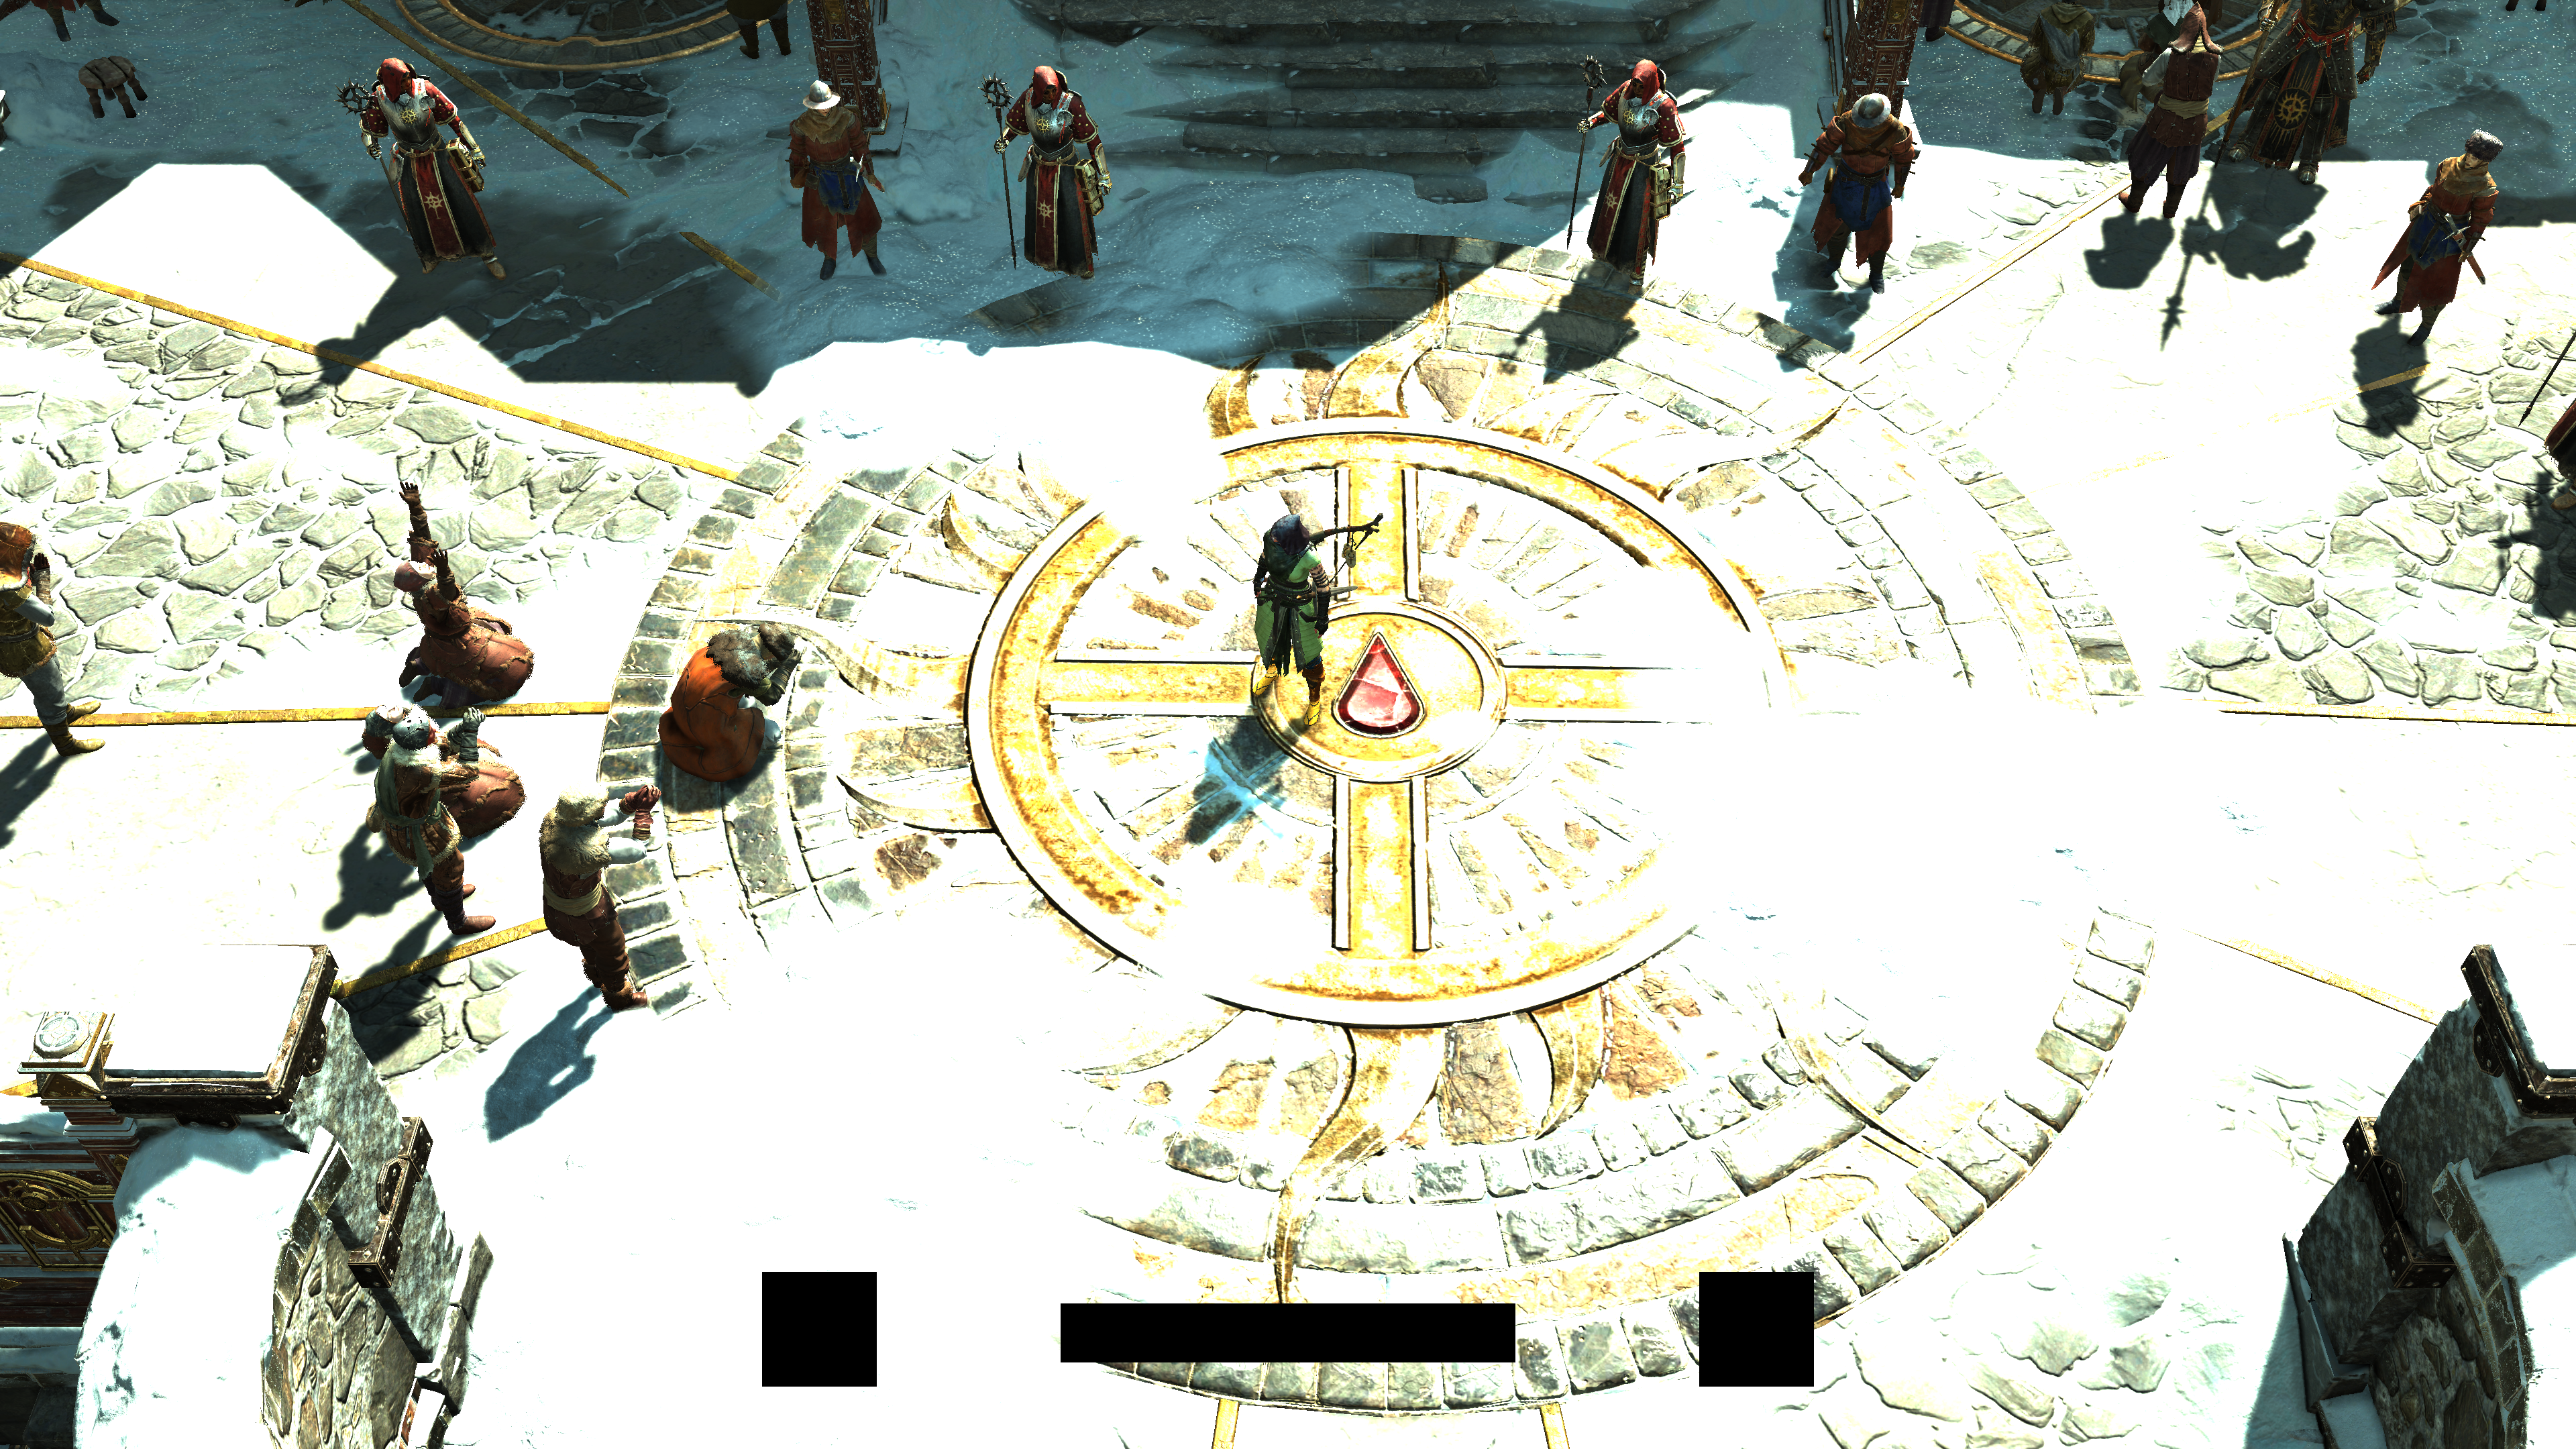
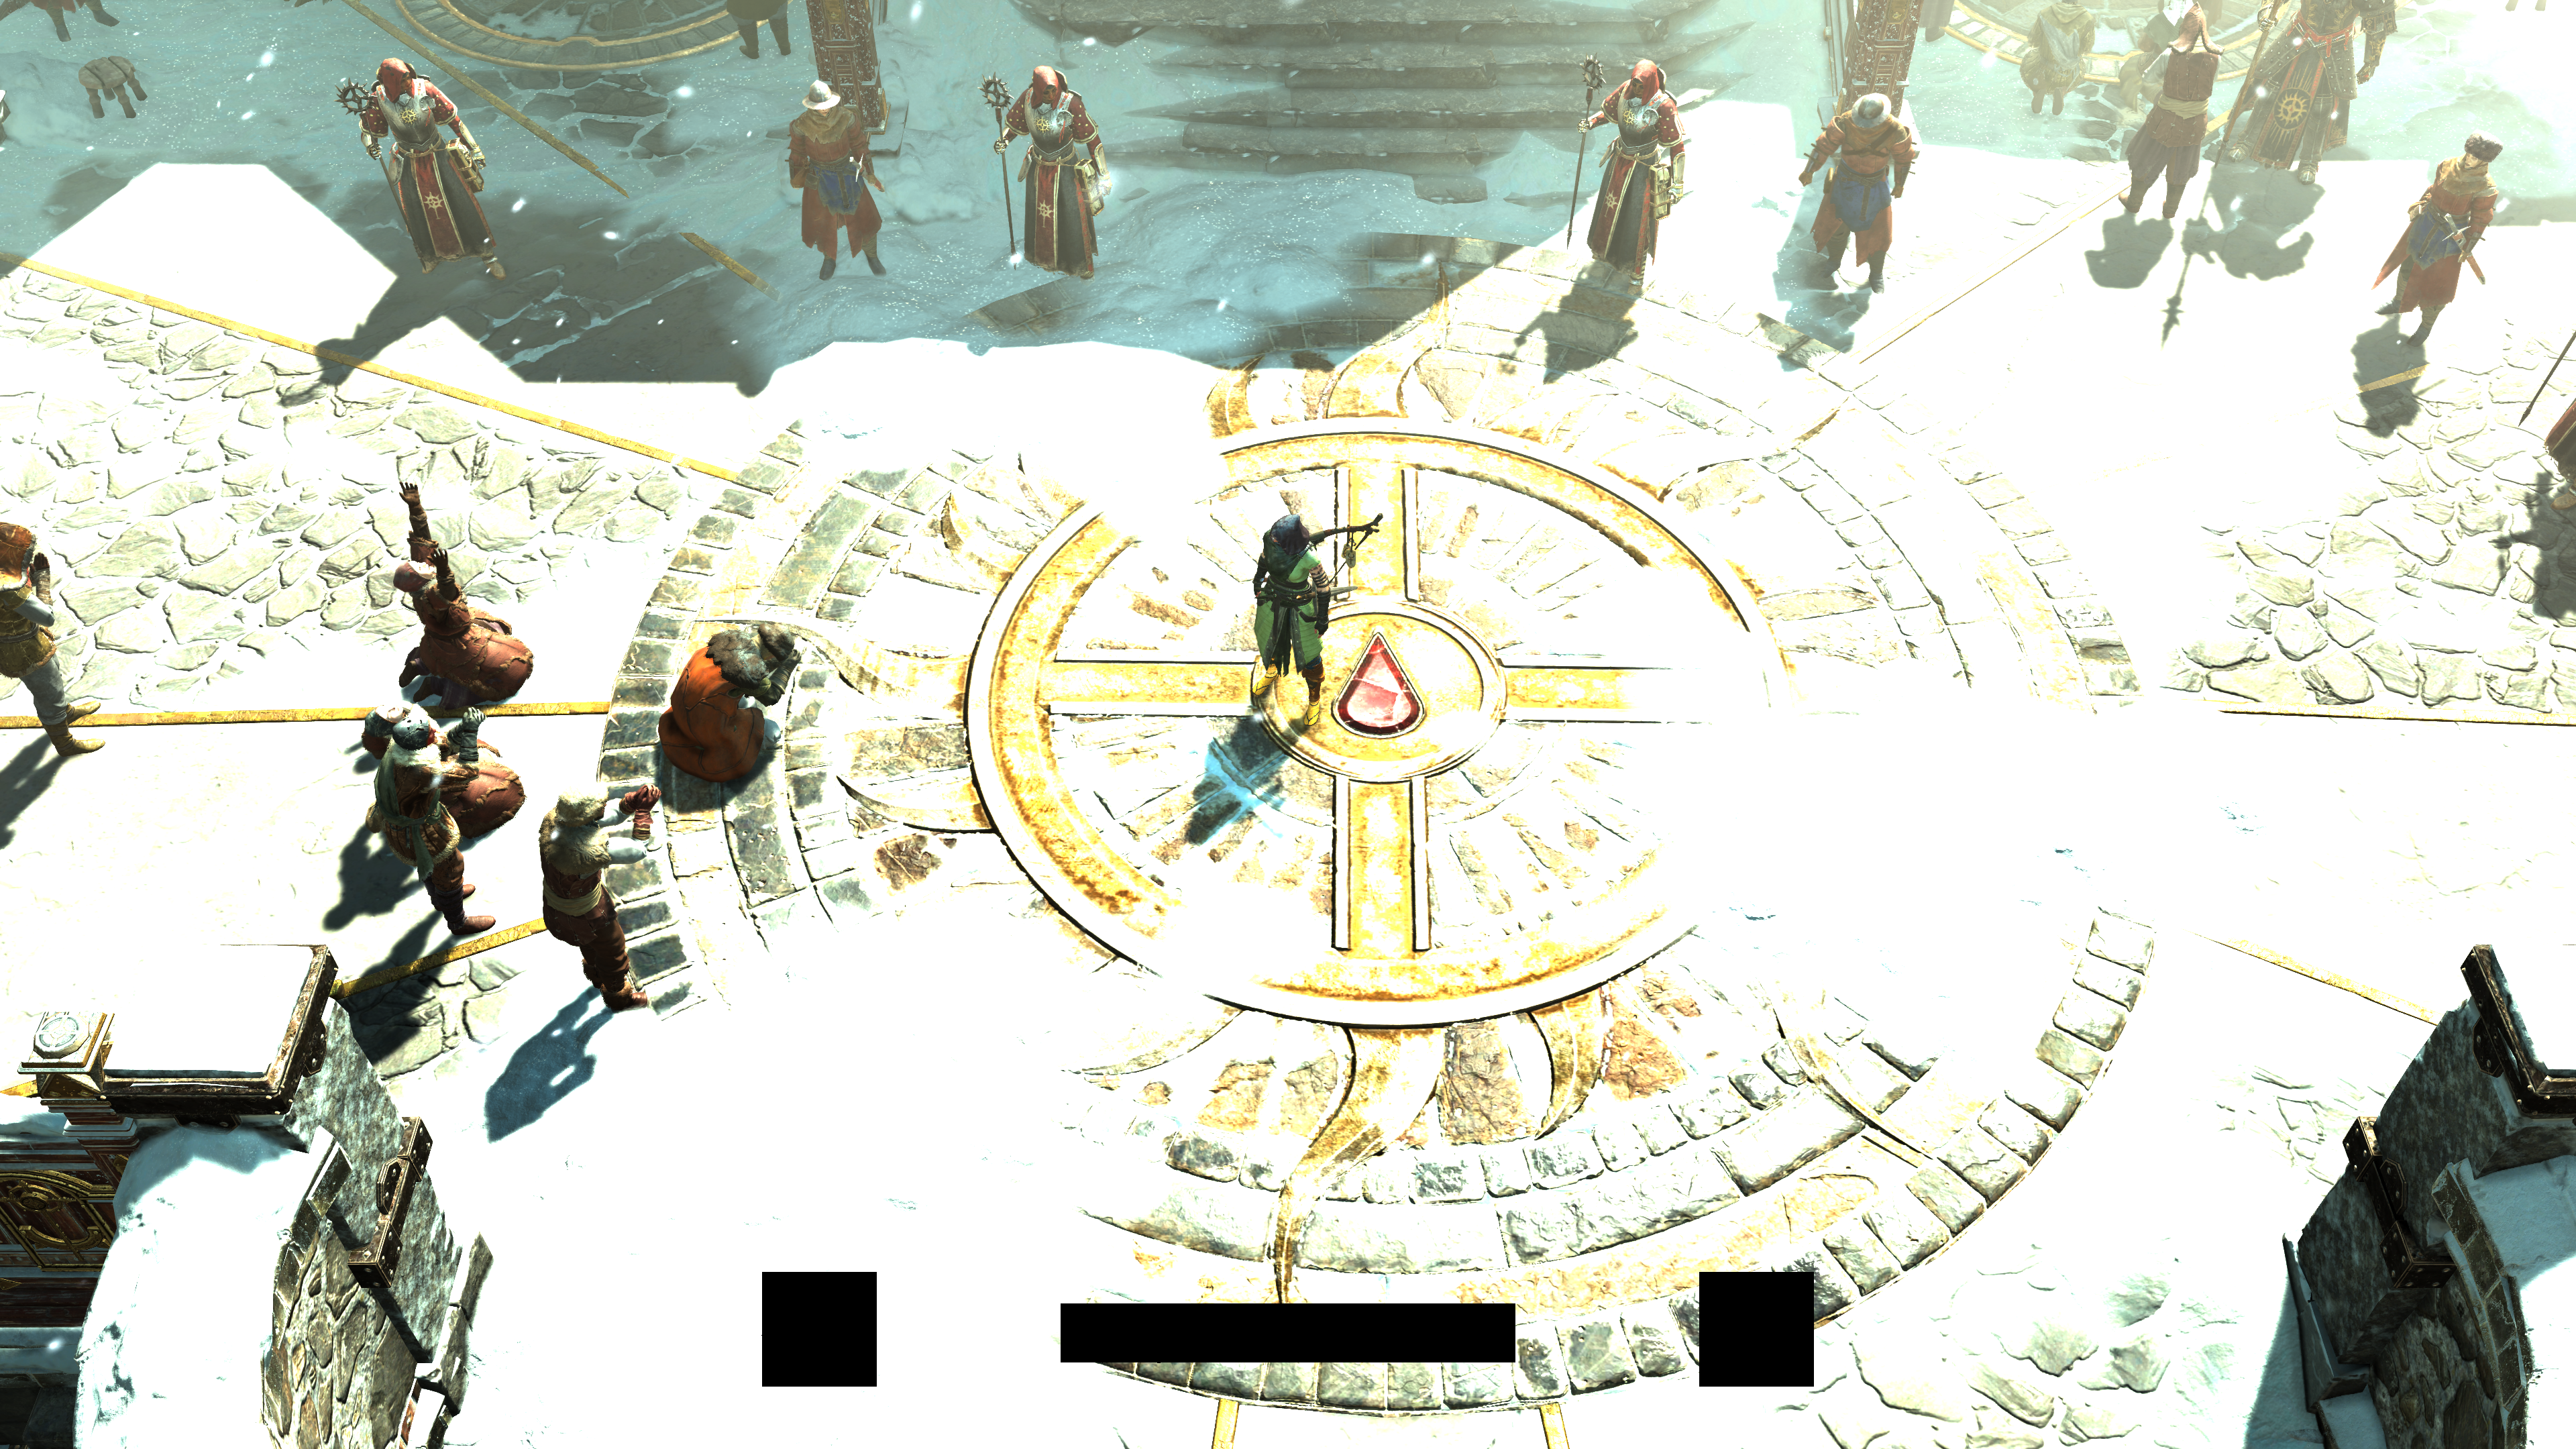
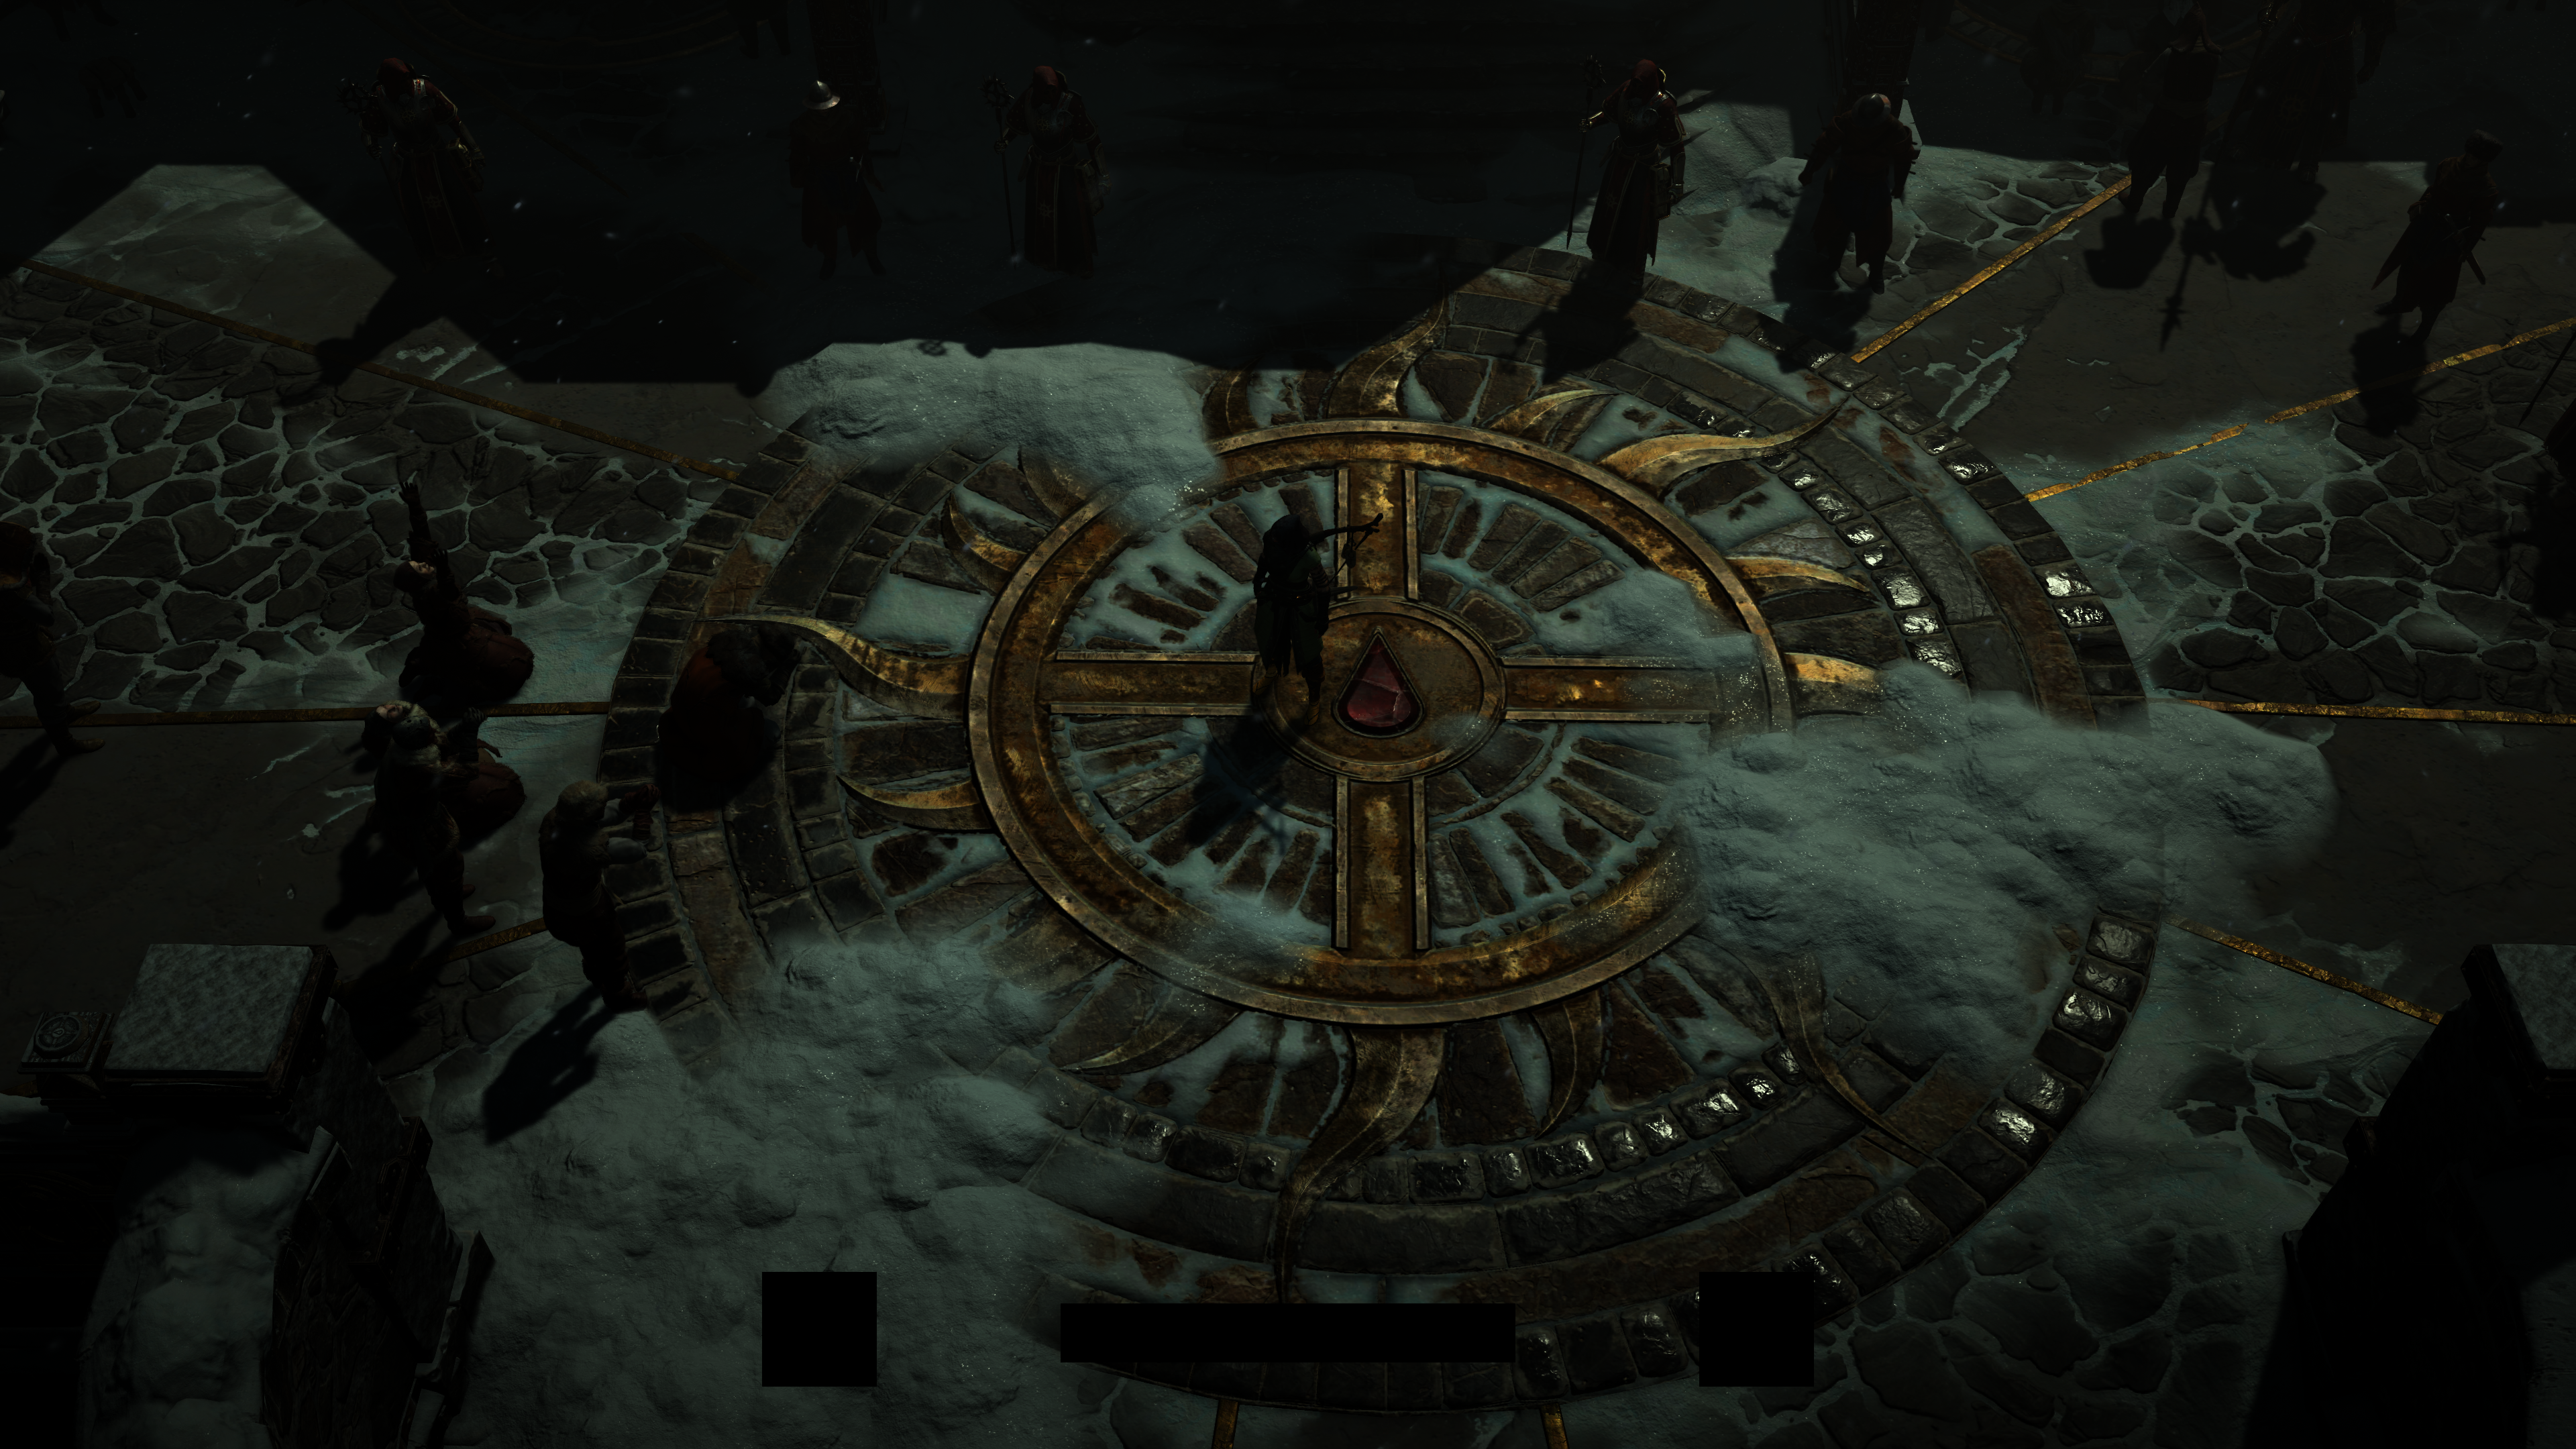
Smart Masking!
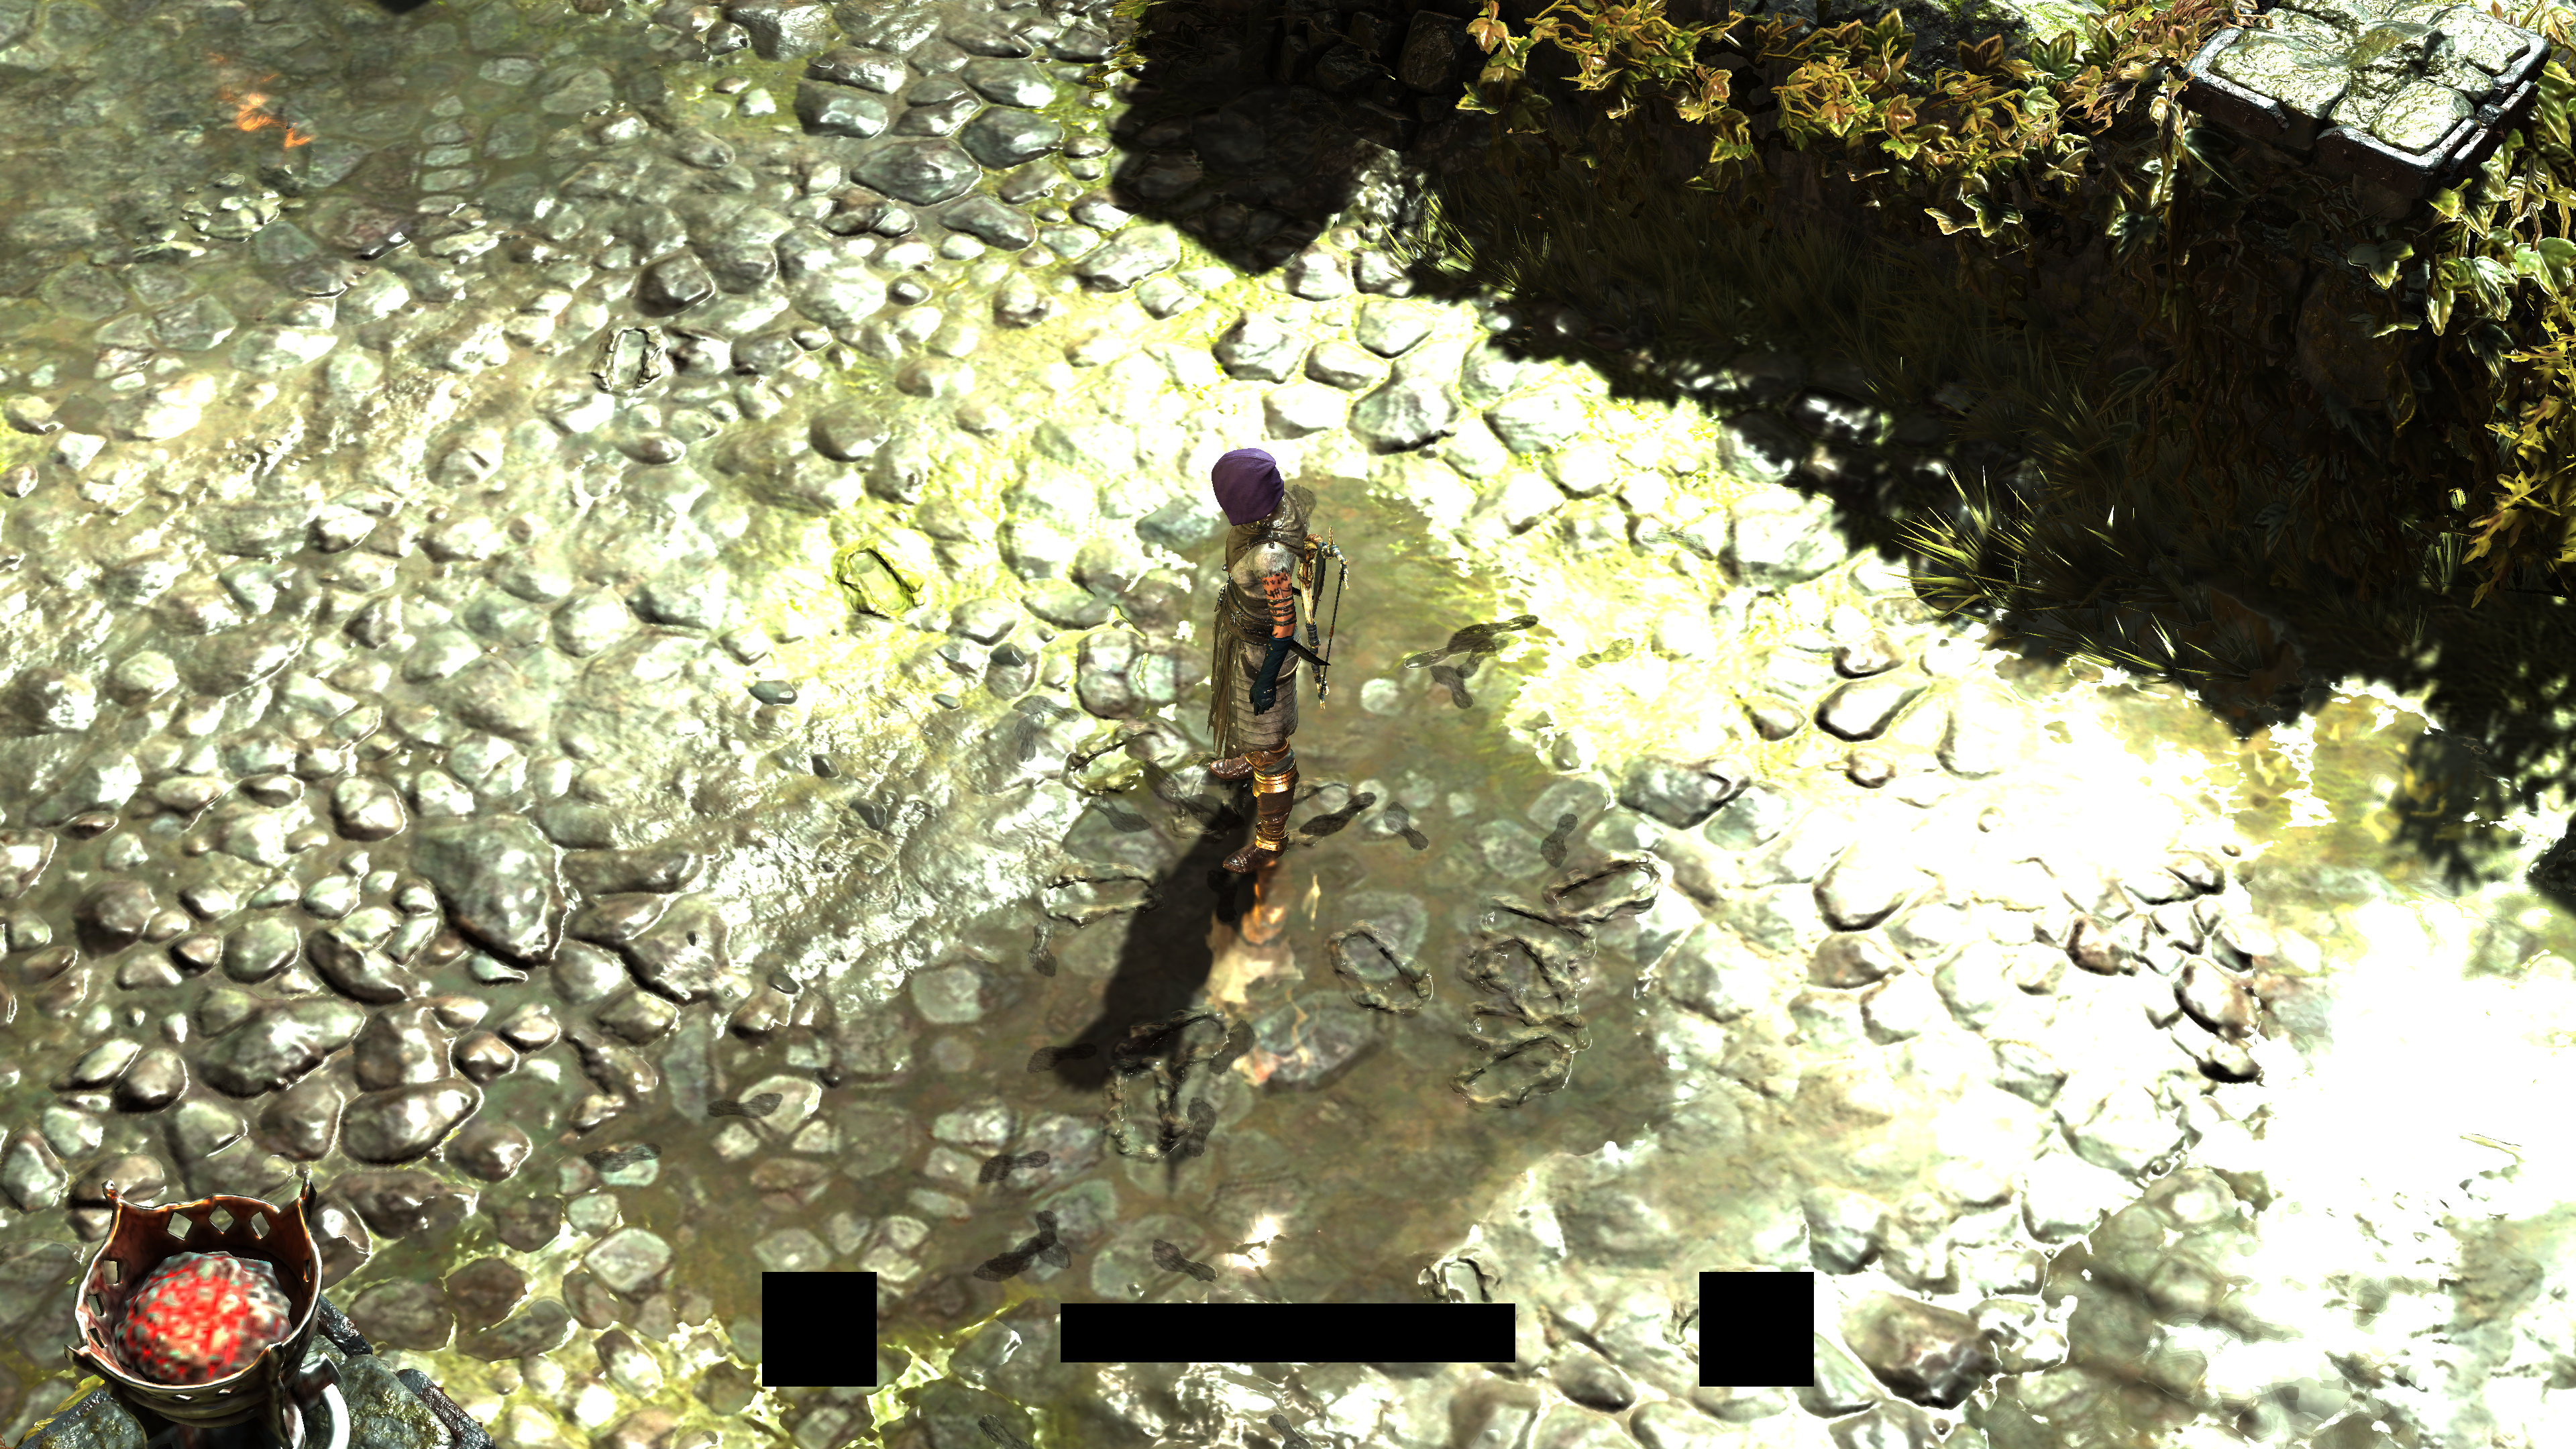
By now, you might have noticed how the engine is trying to save few pixels from being processed almost all the time. It is very common across the entire lifetime of a frame to find the UI masks obscuring pixels and not processing them. This is the case of course during gameplay, as actual gameplay or gameplay cinematics the UI will always be present, and the game will be always considering the “minimal” amount of pixels that can be skipped using those masks.
This is neat, and this is not only for the famous diablo’s center of screen UI, but this goes sometimes to any other parts of the UI, as if the mask is carried over from the previous frame.
i like this type of optimizations to the bones! But unfortunately this very useful trick is not 100% utilized 🙄
This is a good area of improvement, but also a good inspiration, as yet none of my previous investigations (at least the ones that made it to articles here in the blog) included such a trick!
Before leaving this part, i want to raise a little point. Now you may be thinking that this technique could be a little unfair to something such as averaging luminance as it will indirectly contribute to the average if the mask was blacking out a huge portion of the screen…For example, the two frames below, how come such bright scene to result in that dark average, where darker scene have brighter luminance average?
Think about it…and then check my humble opinion folded below.🧠😏🤓
MHO…
You can be partly true to think that way. If there is a larger percentage of black color in the luminance image, when downsampling it, it will get darker. On paper that might sound correct. But in practice it is not, remember that when you size down the texture, you down size everything in there. So if you though hypothetically that the frame’s half is solid black or even contains few black, this does not change anything, as you eventually still have the color black in one half of the frame.
To prove this further, here are the exact same fame, same lighting condition, but with & without the huge HUD mask, and yet the final outcome still the same, despite the “settle” difference in the majority of the downsizing steps.
And the steps…


So as long as there is a minimal amount of masking that results in a minimal amount of pure solid black color in the frame, this won’t change the final luminance average value, it all “shrinks” and “interpolates” after all! Or in another word, how much black we’ve when we reach the 2*2 is what gives the final call for the final value stored in the 1*1.
And if you think: “well, both frames above have HUD masking (black), this won’t be the case when there is no masks”
Then you’re still wrong, still “does not change anything”….we go all ways from the full resolution down by halves, but eventually we meet each other at the 2*2, and in there…only in there, the decision is taken. Here is a frame below, with & without the HUD mask, for exact same area, and yet, still same final luminance value..exact same one!
And steps…


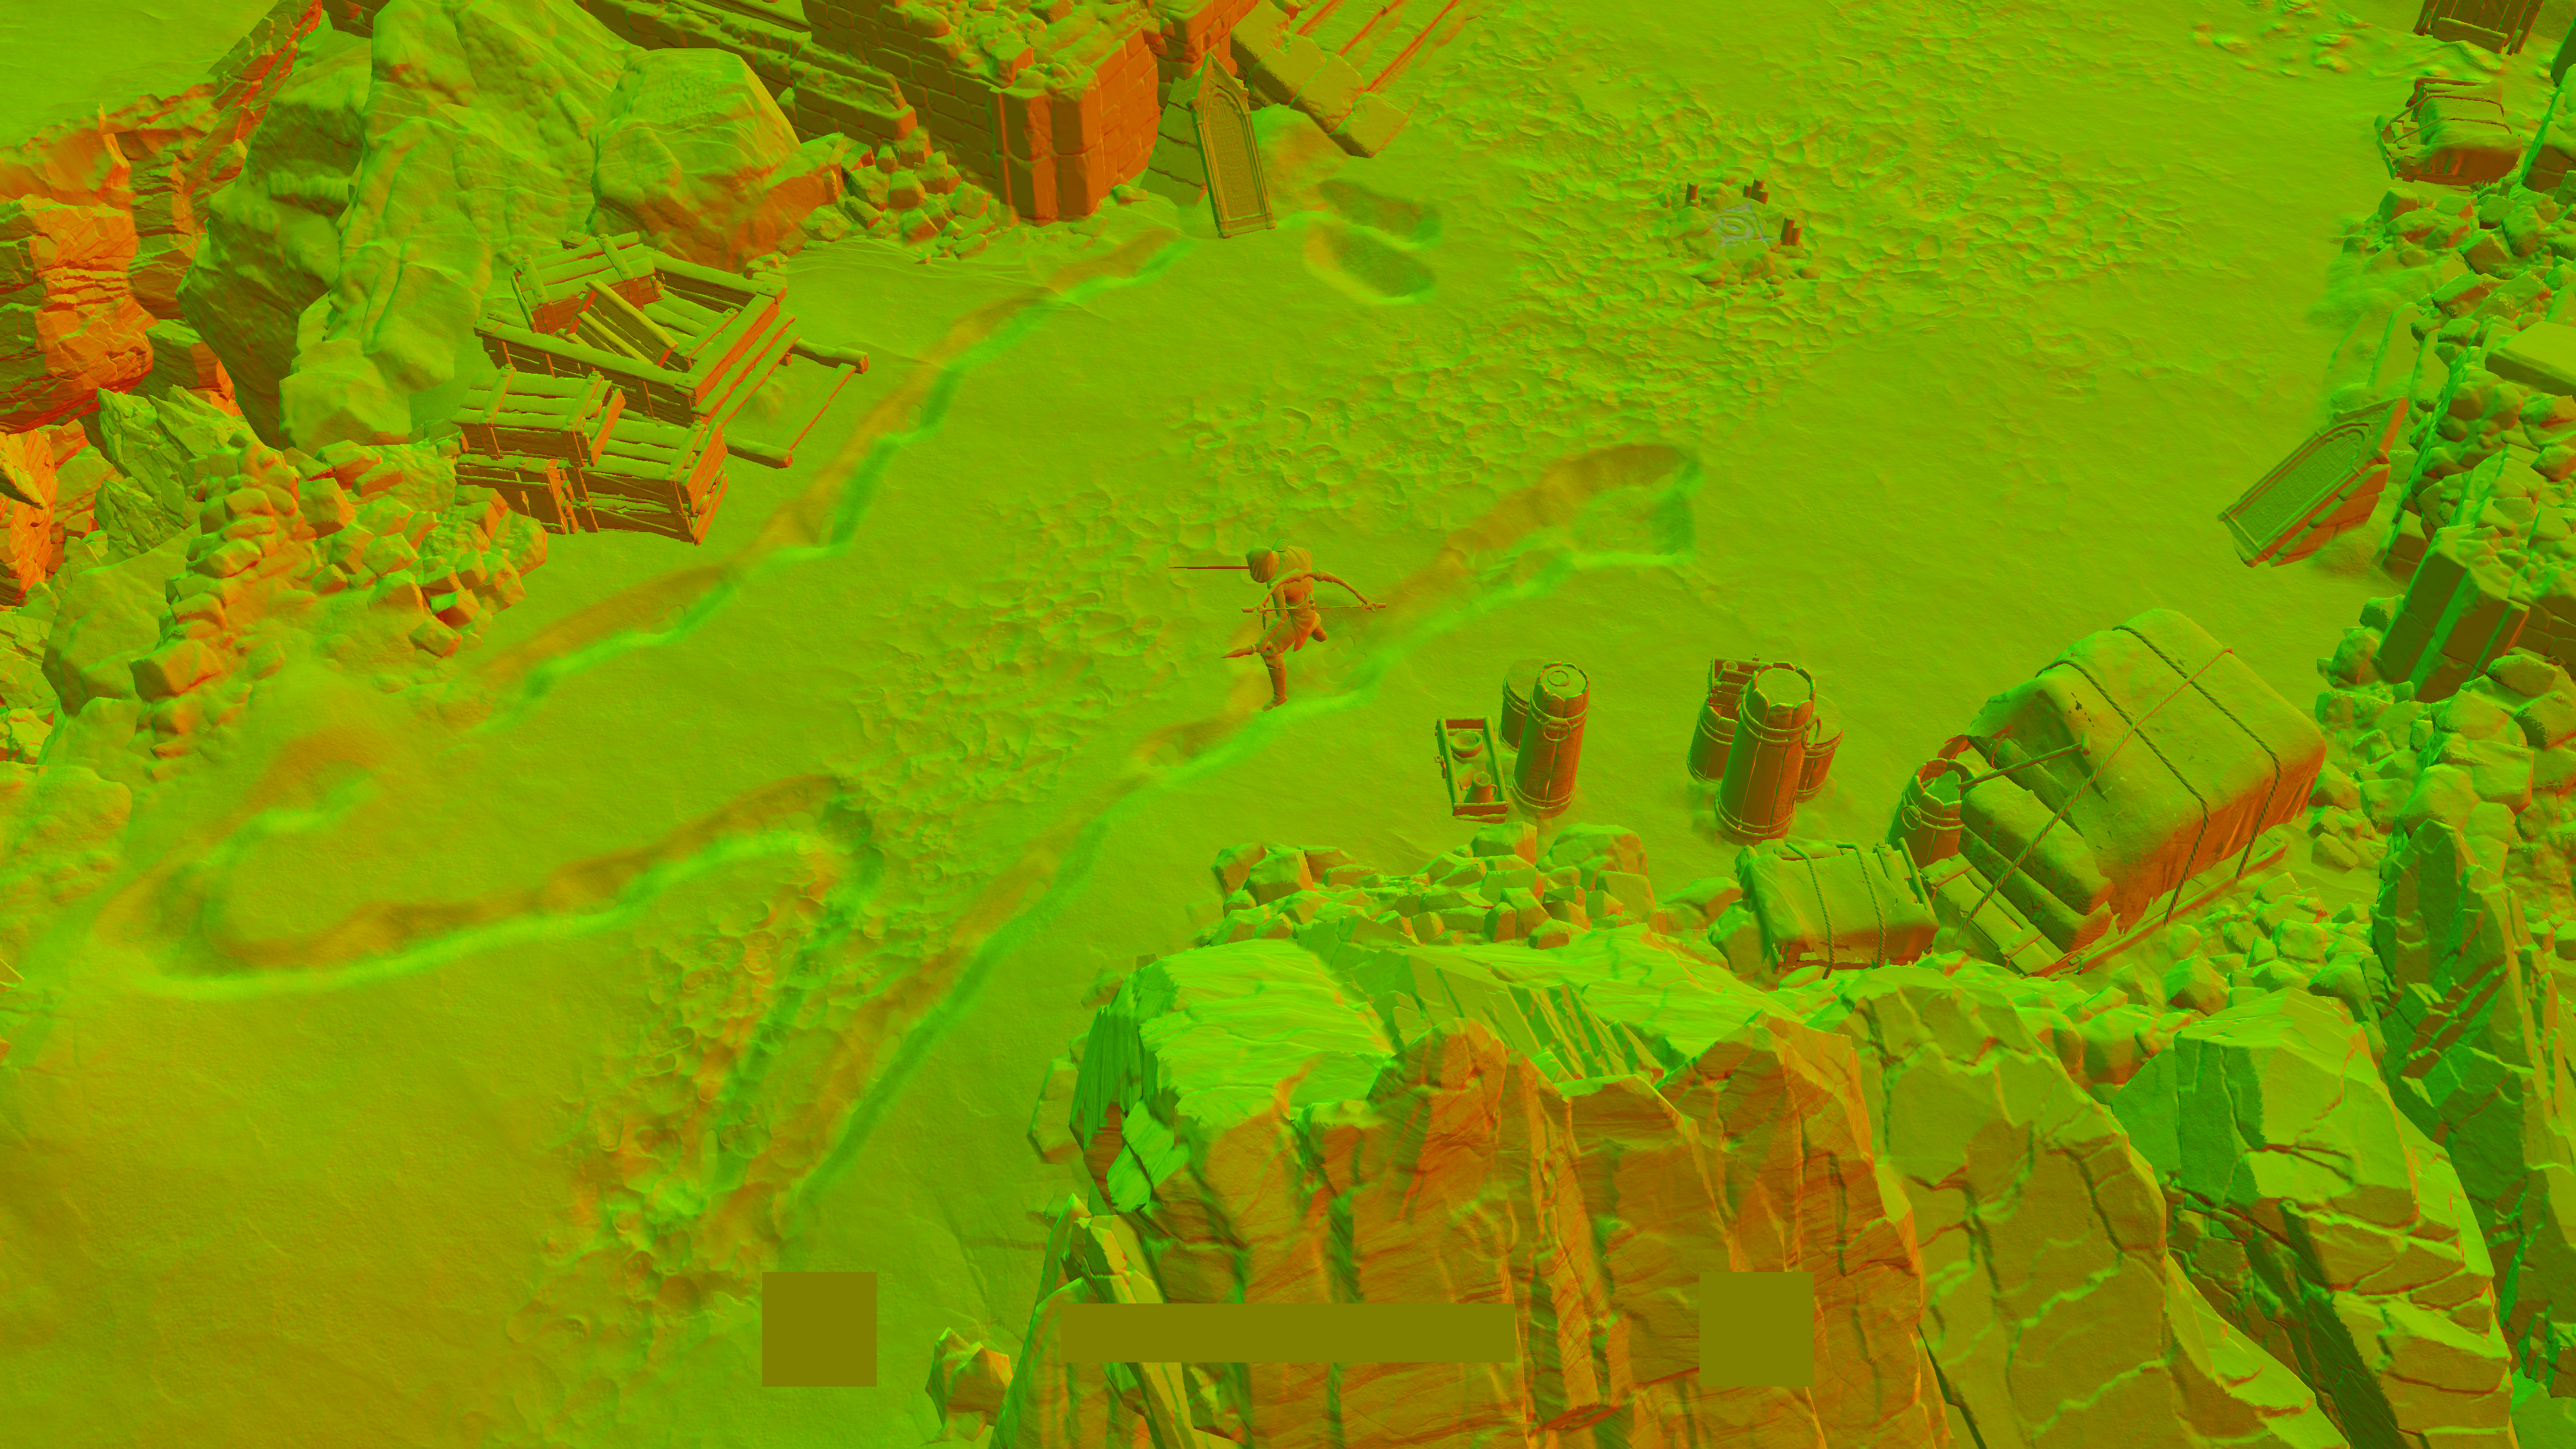
Tools to Empower
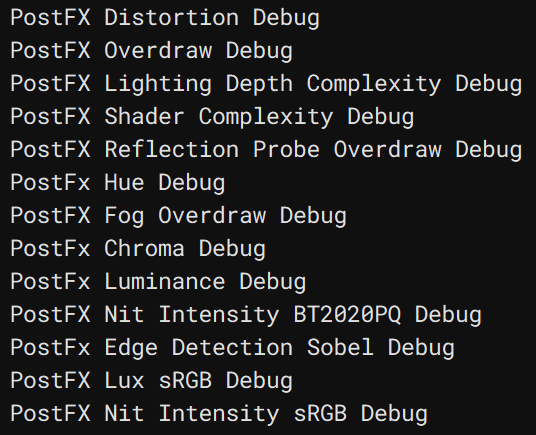
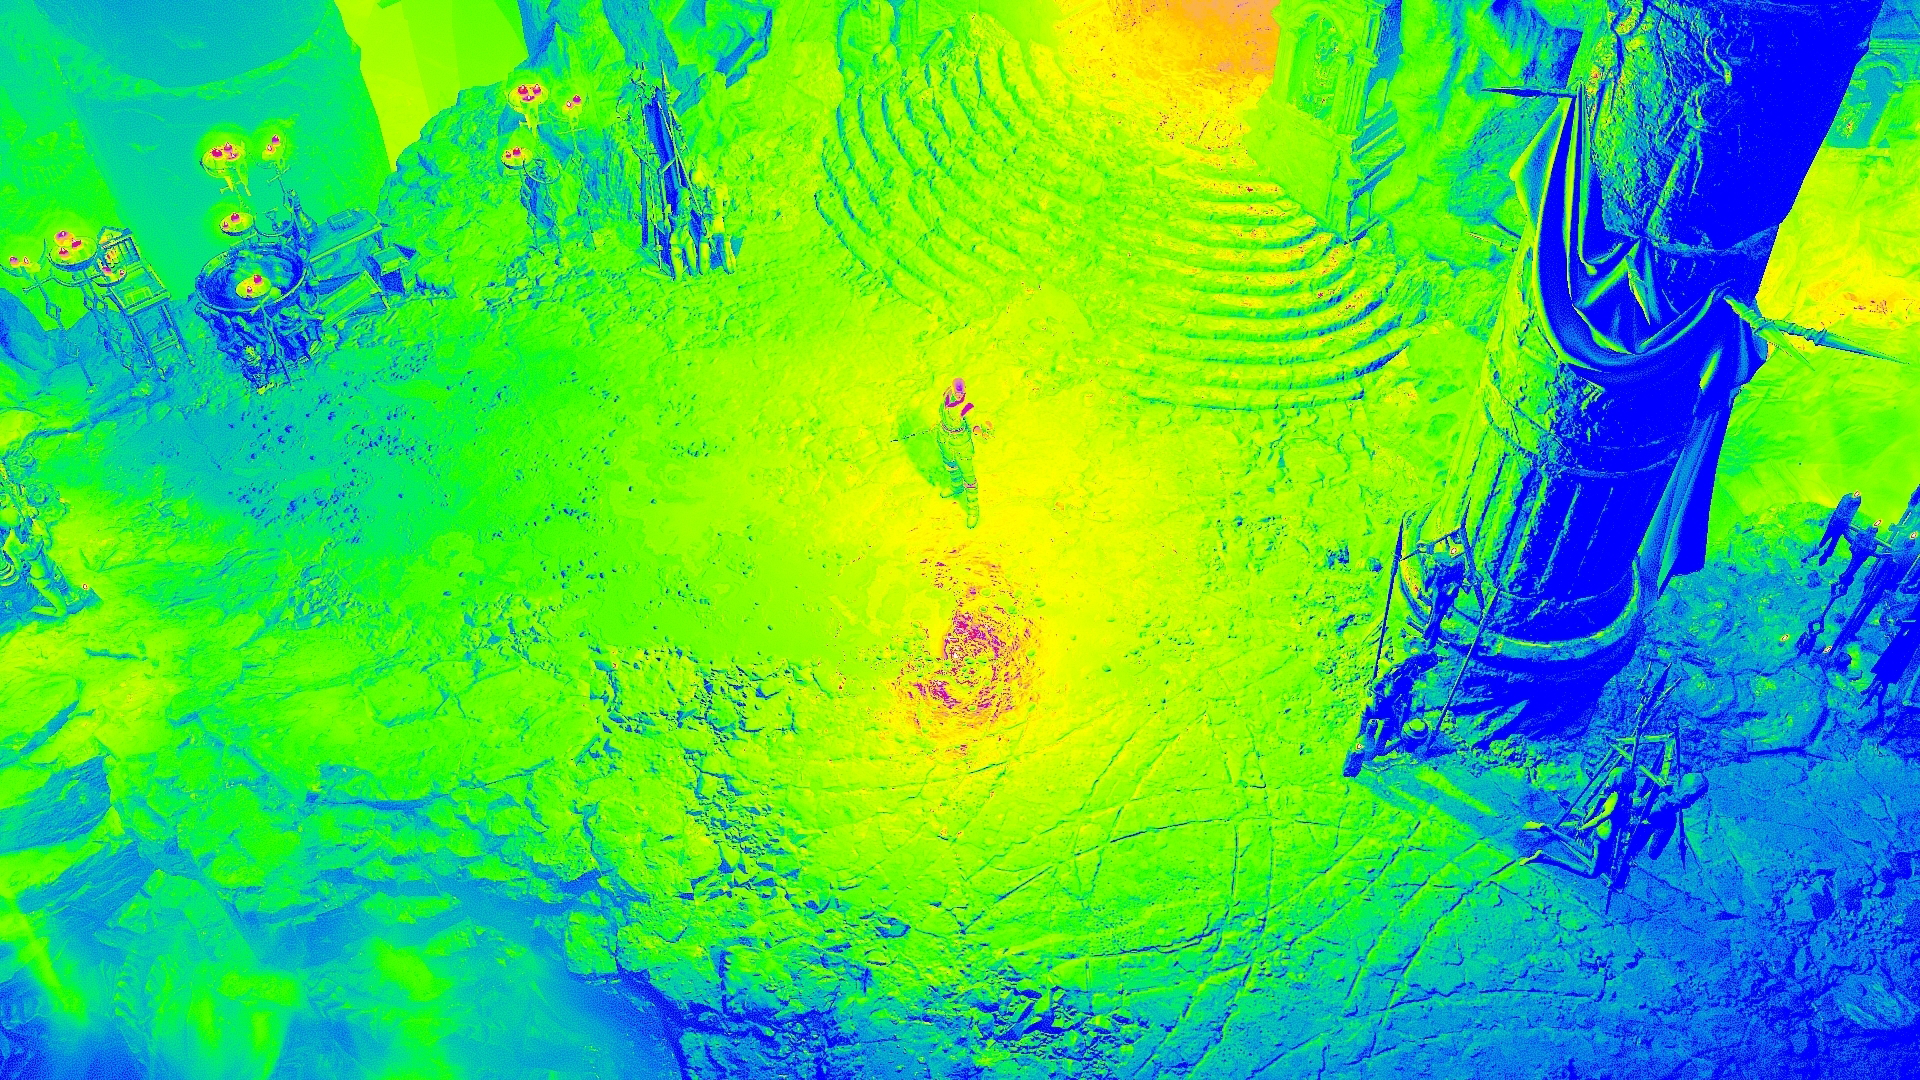
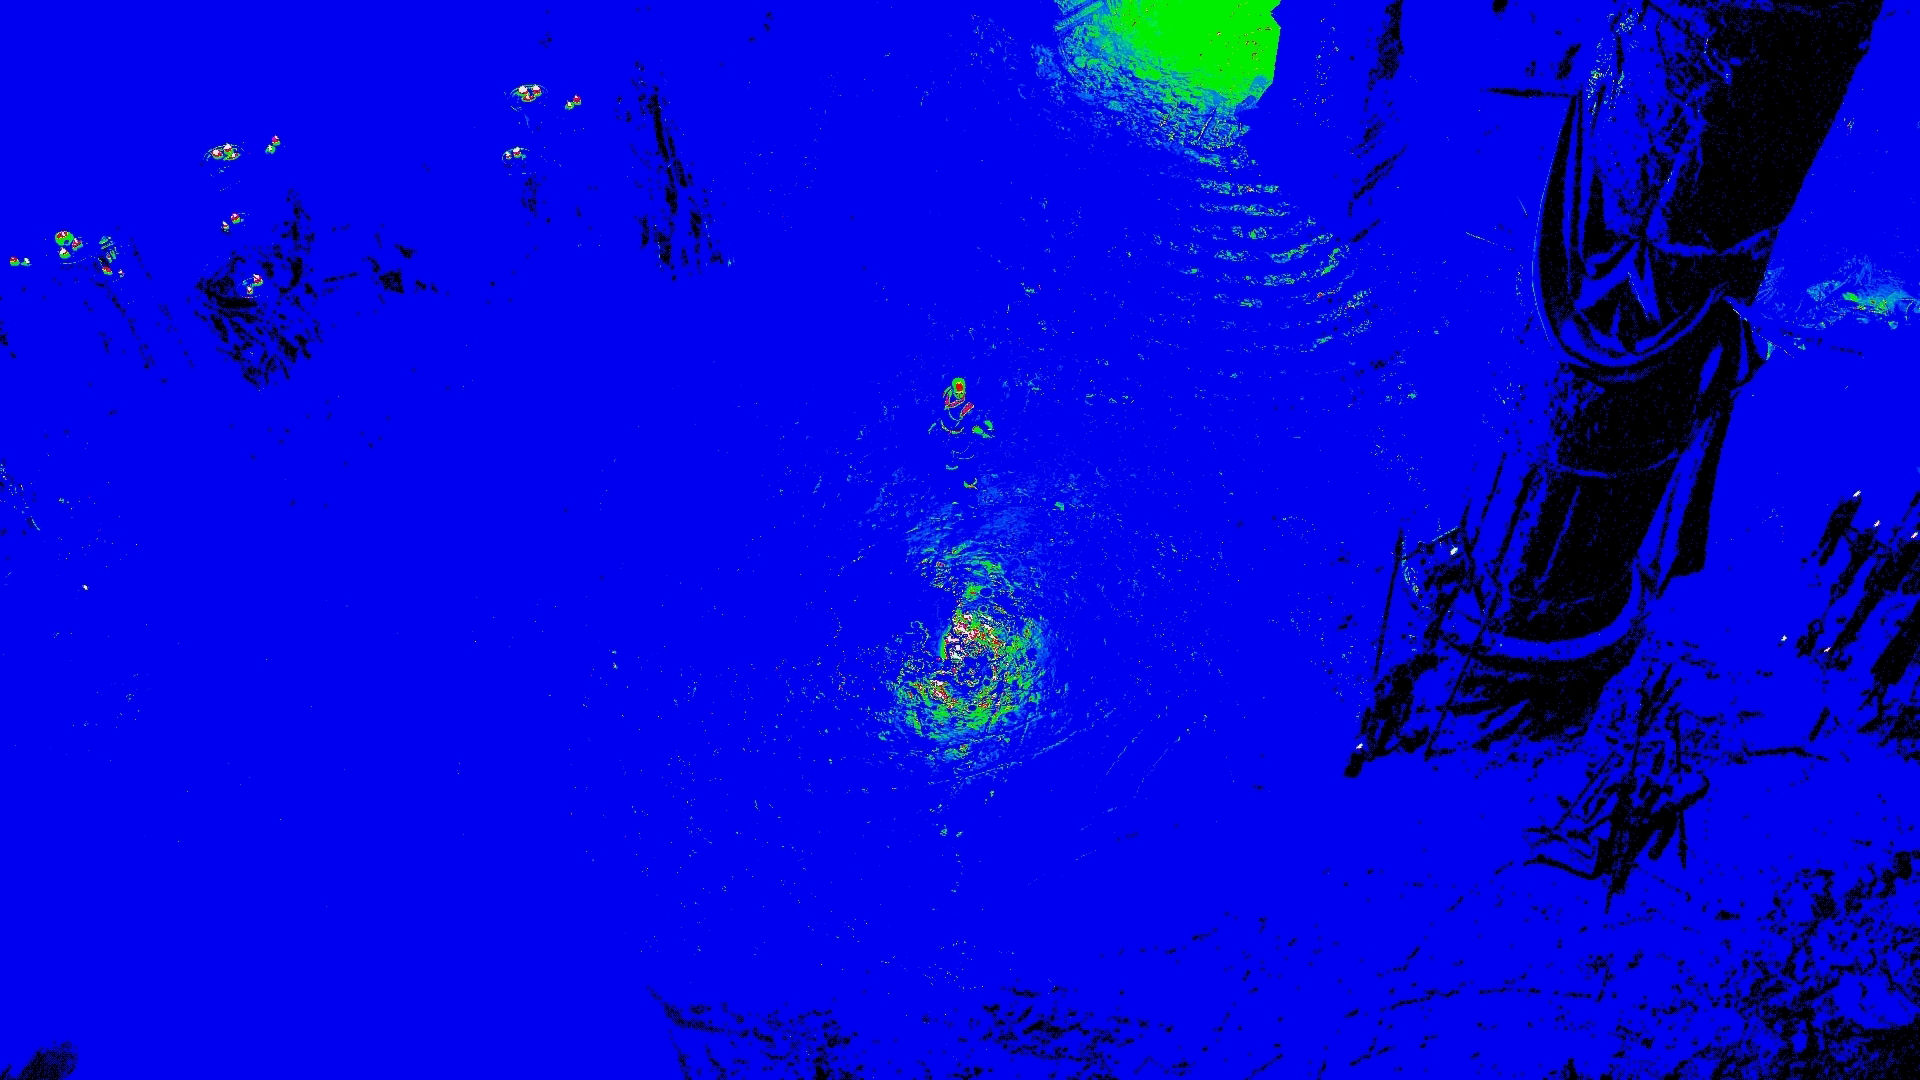
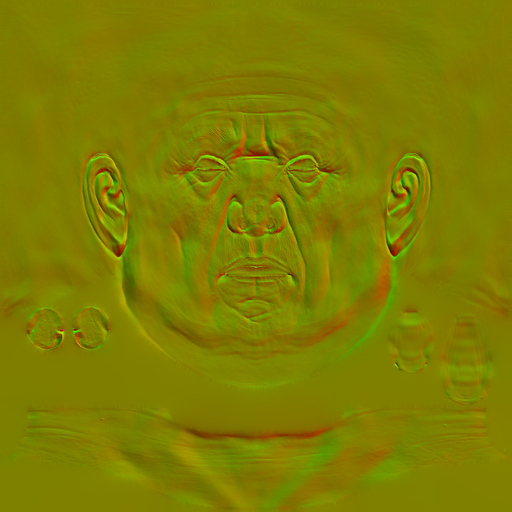
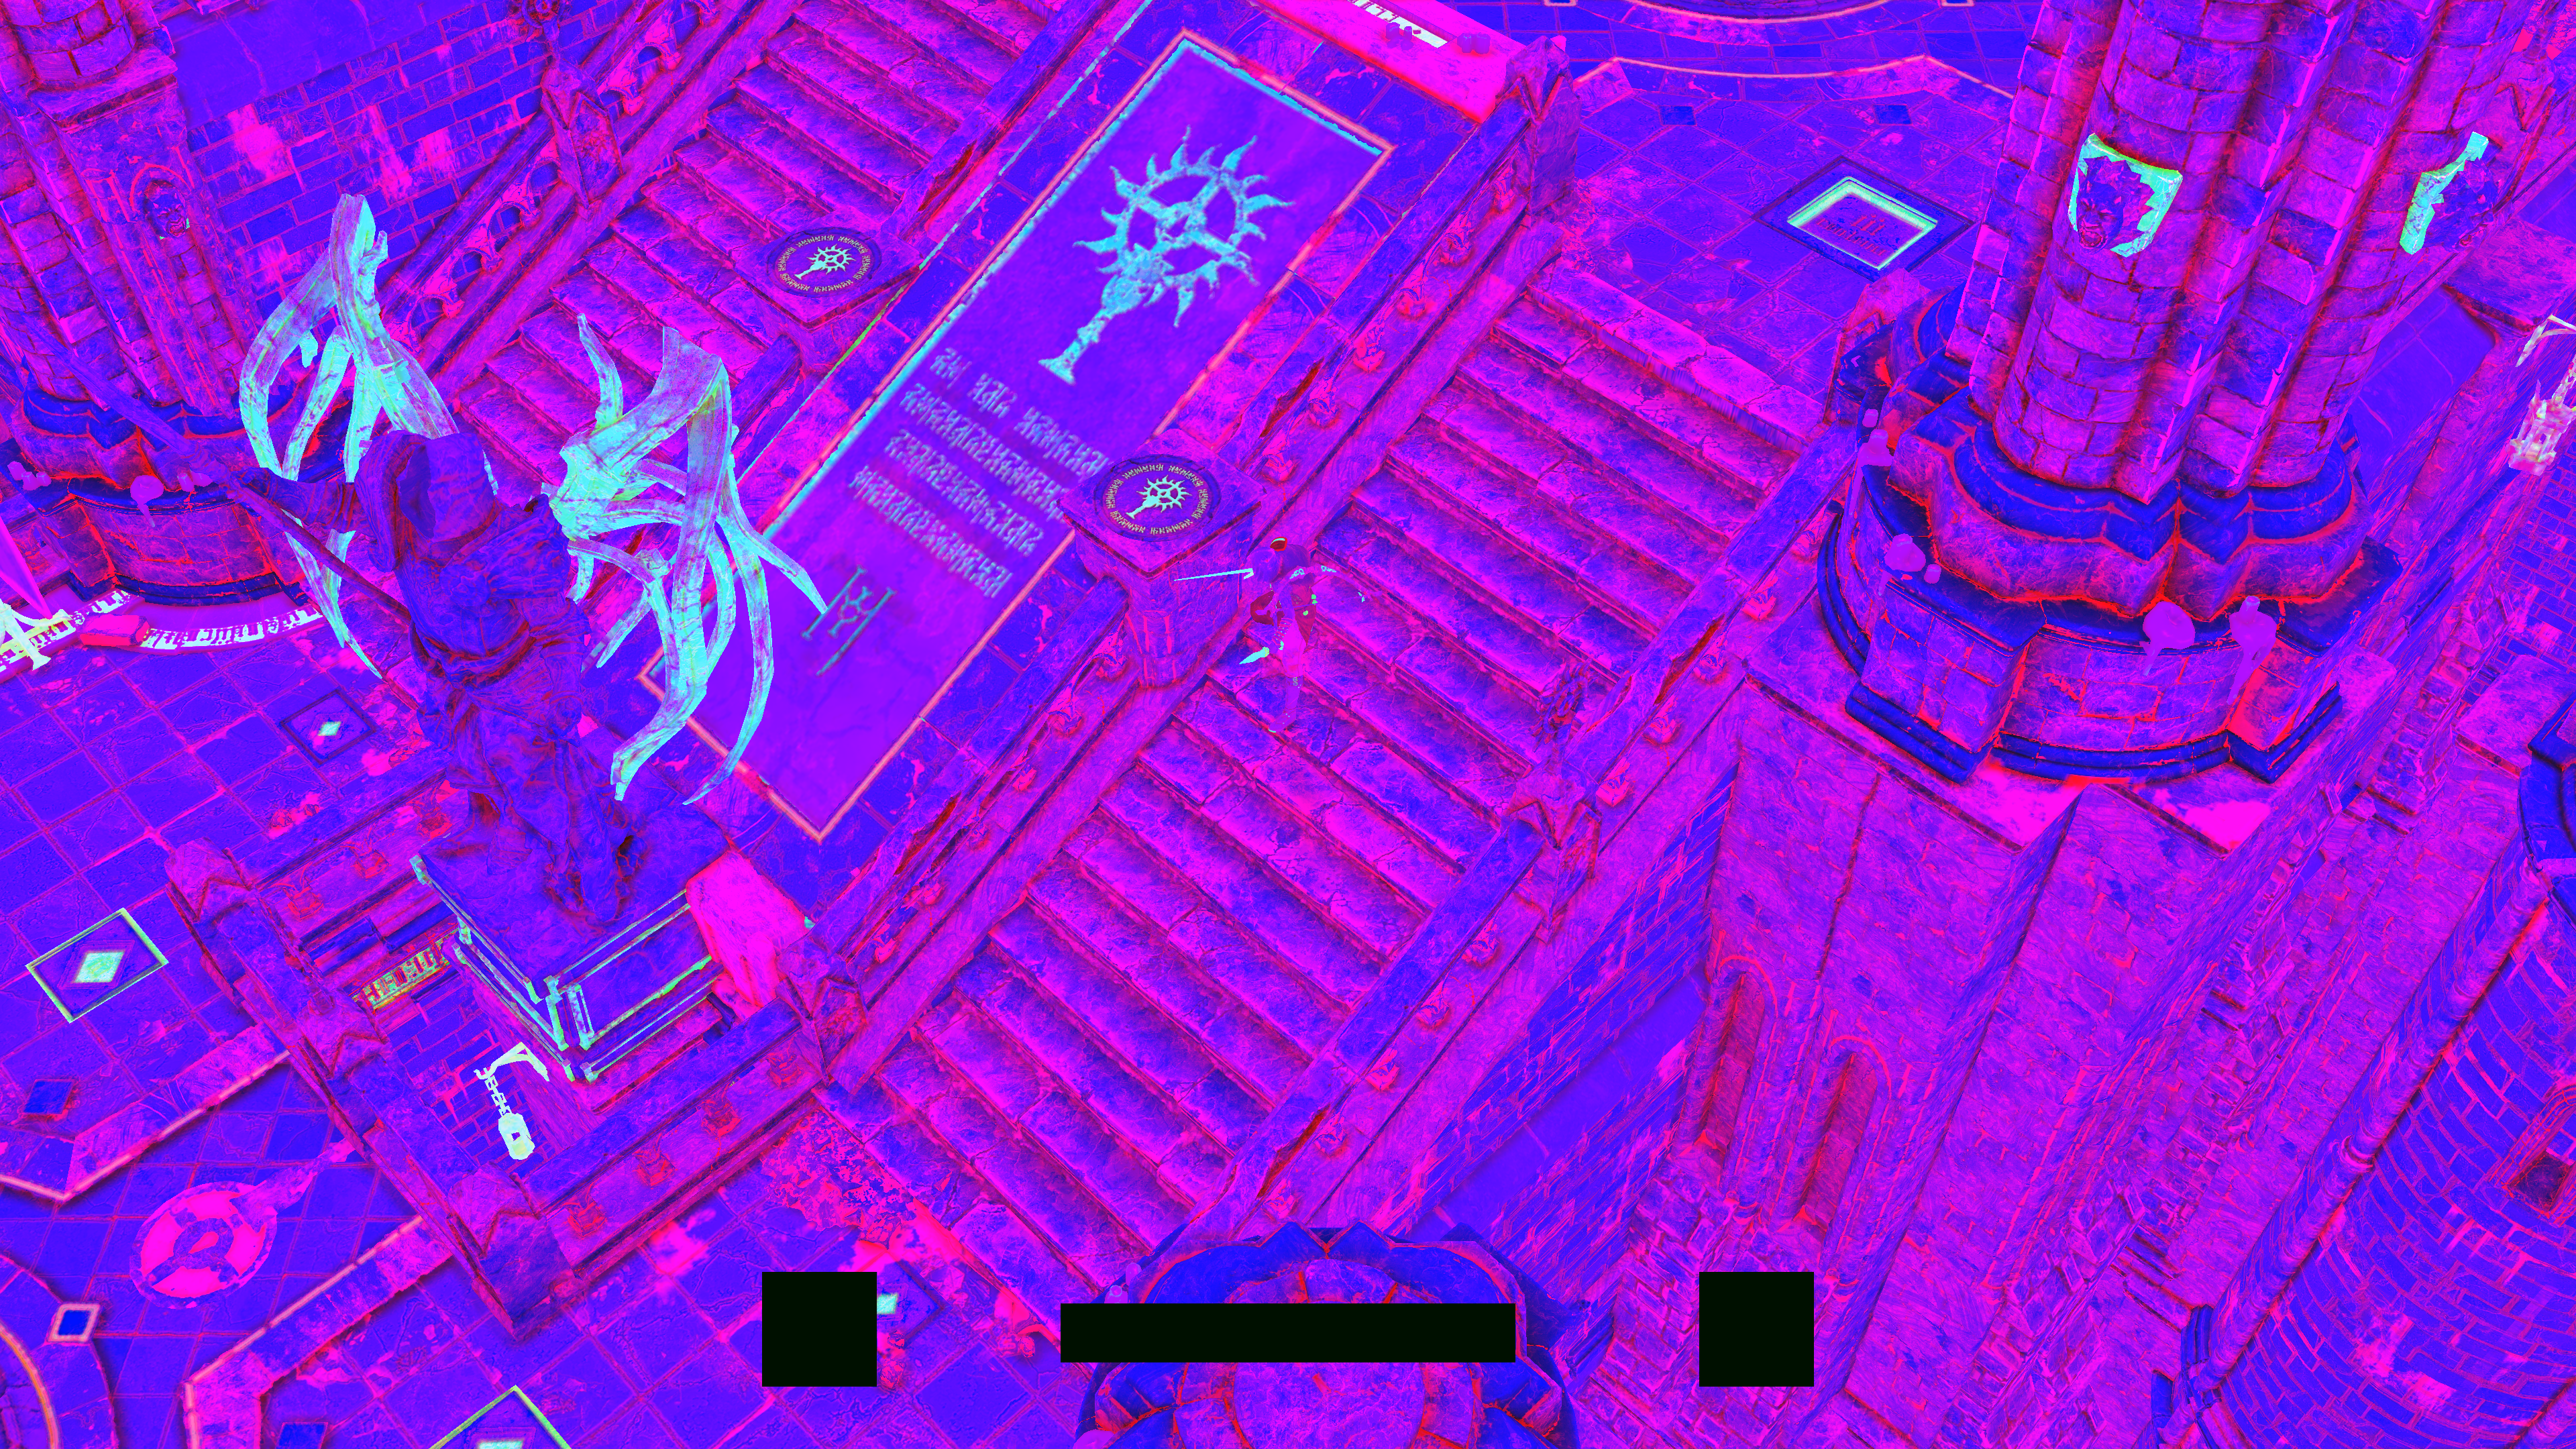
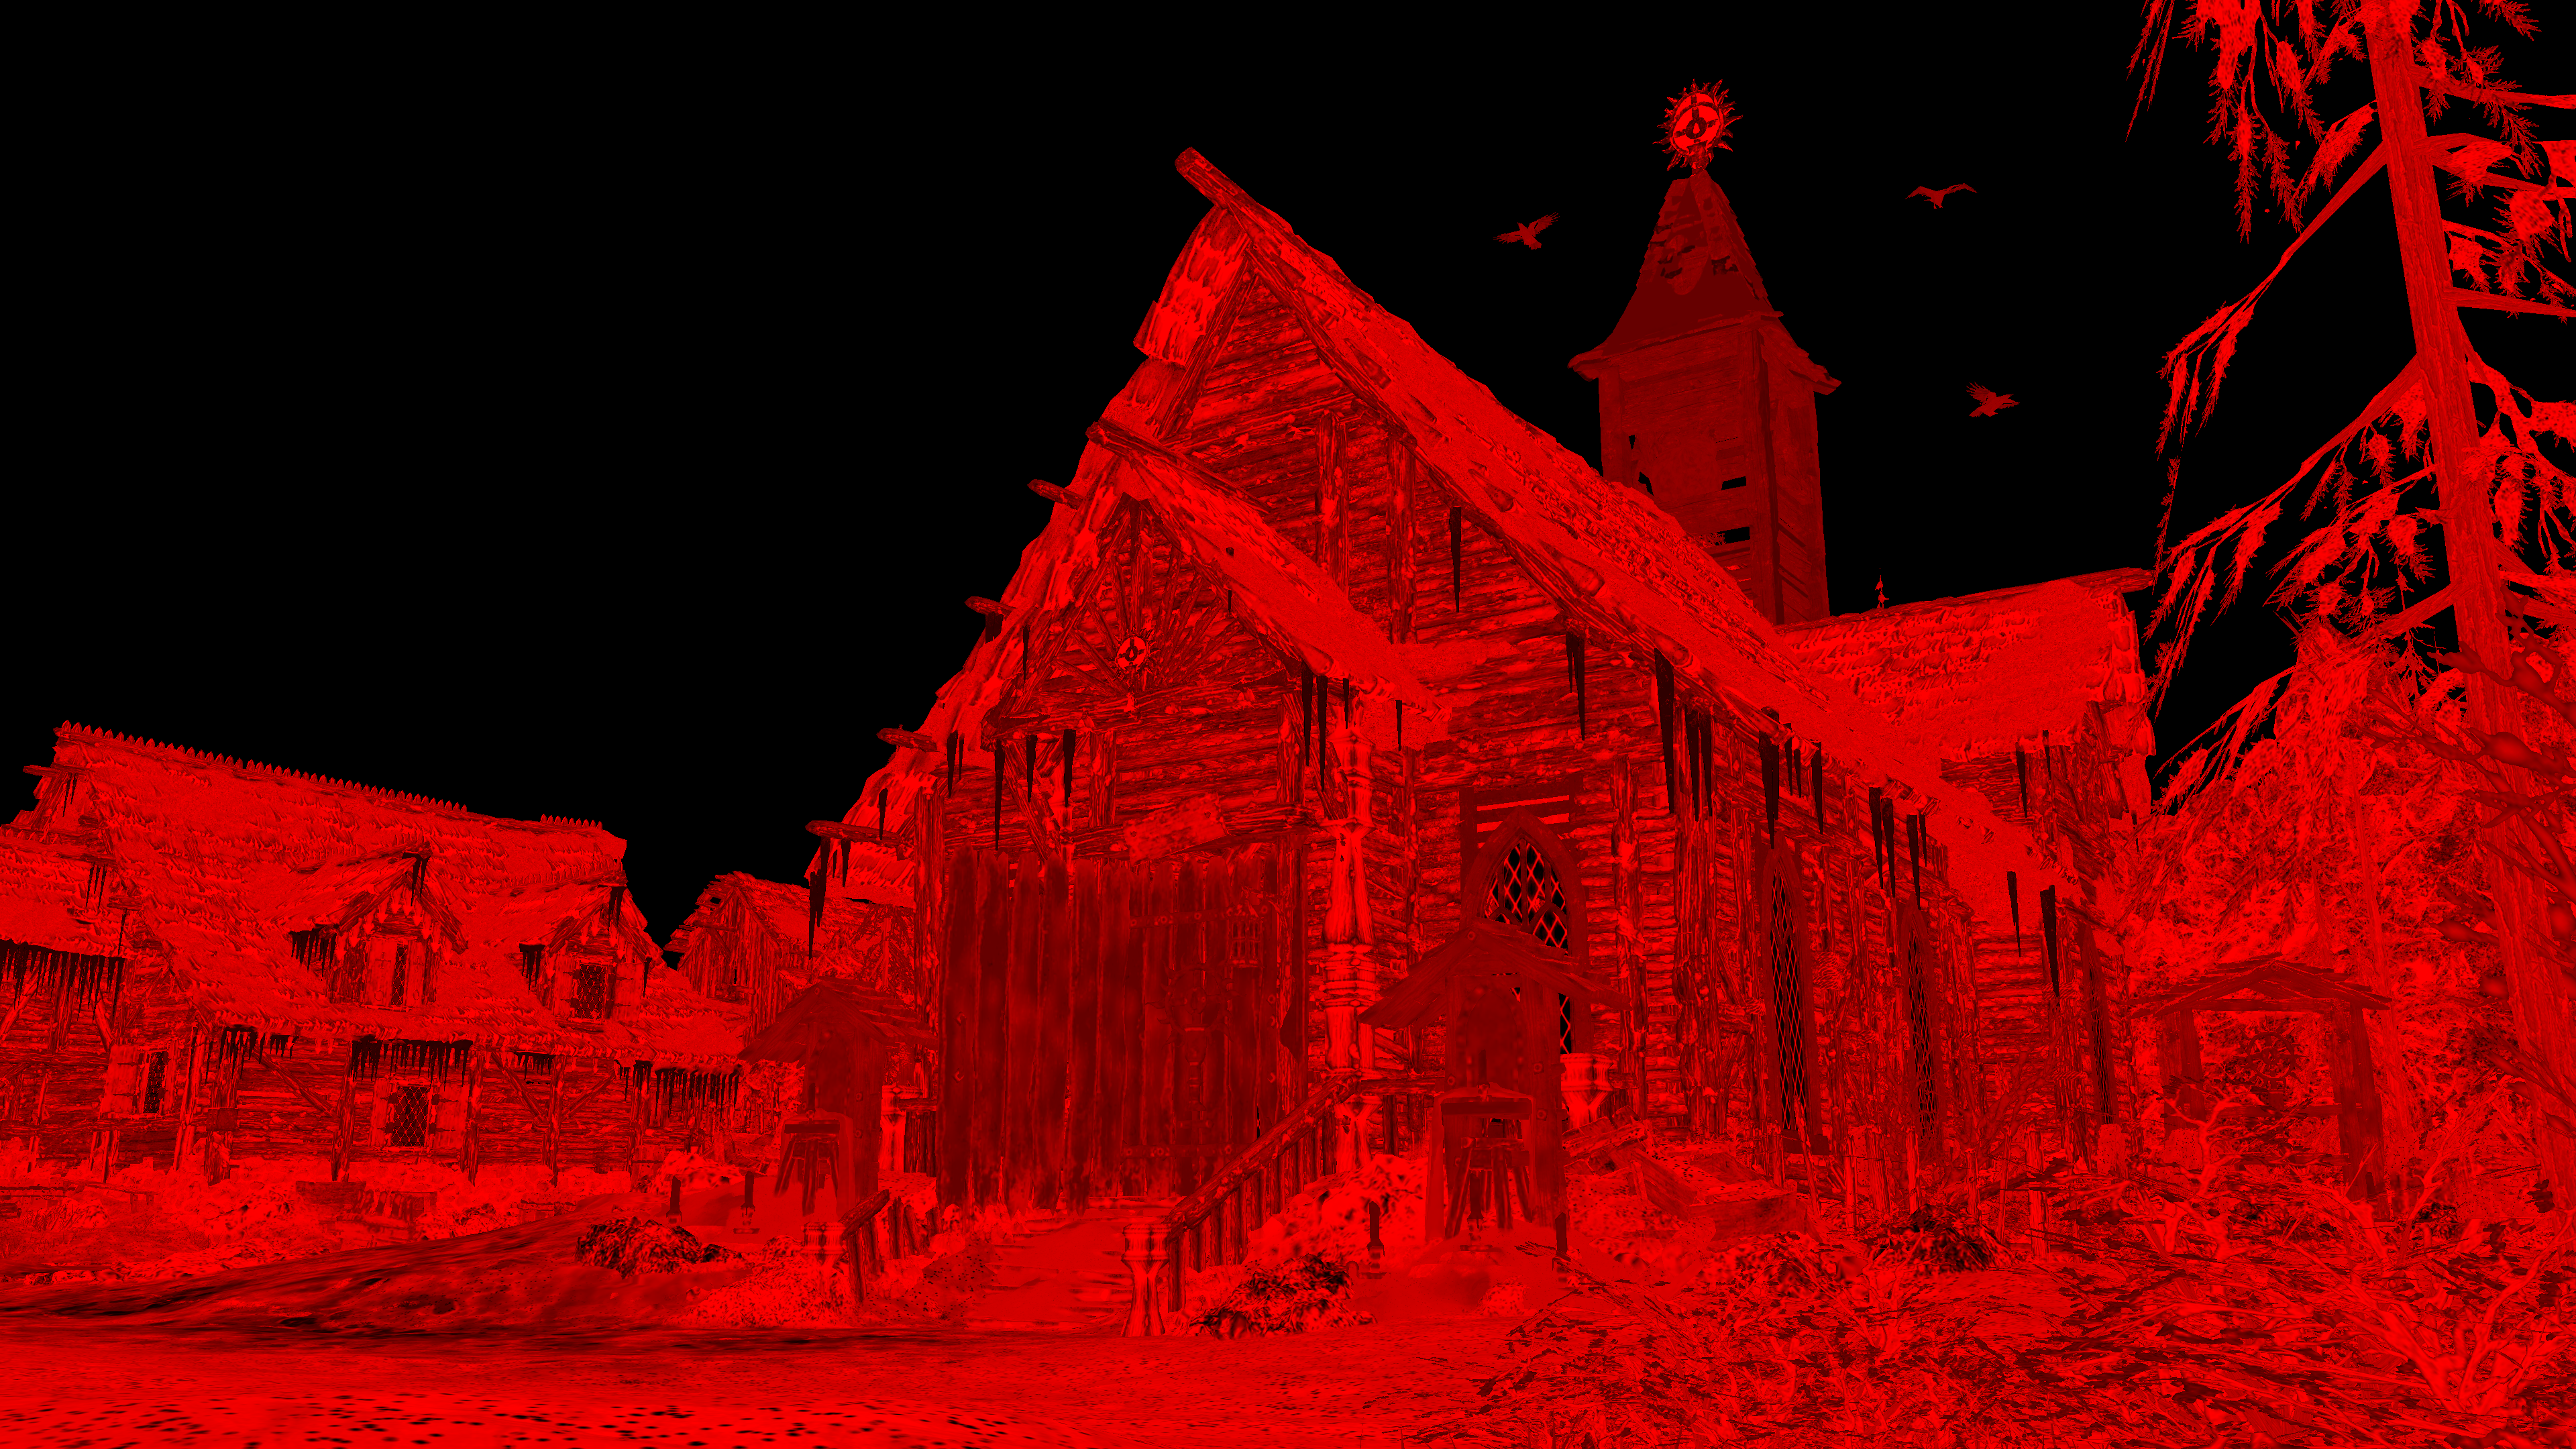
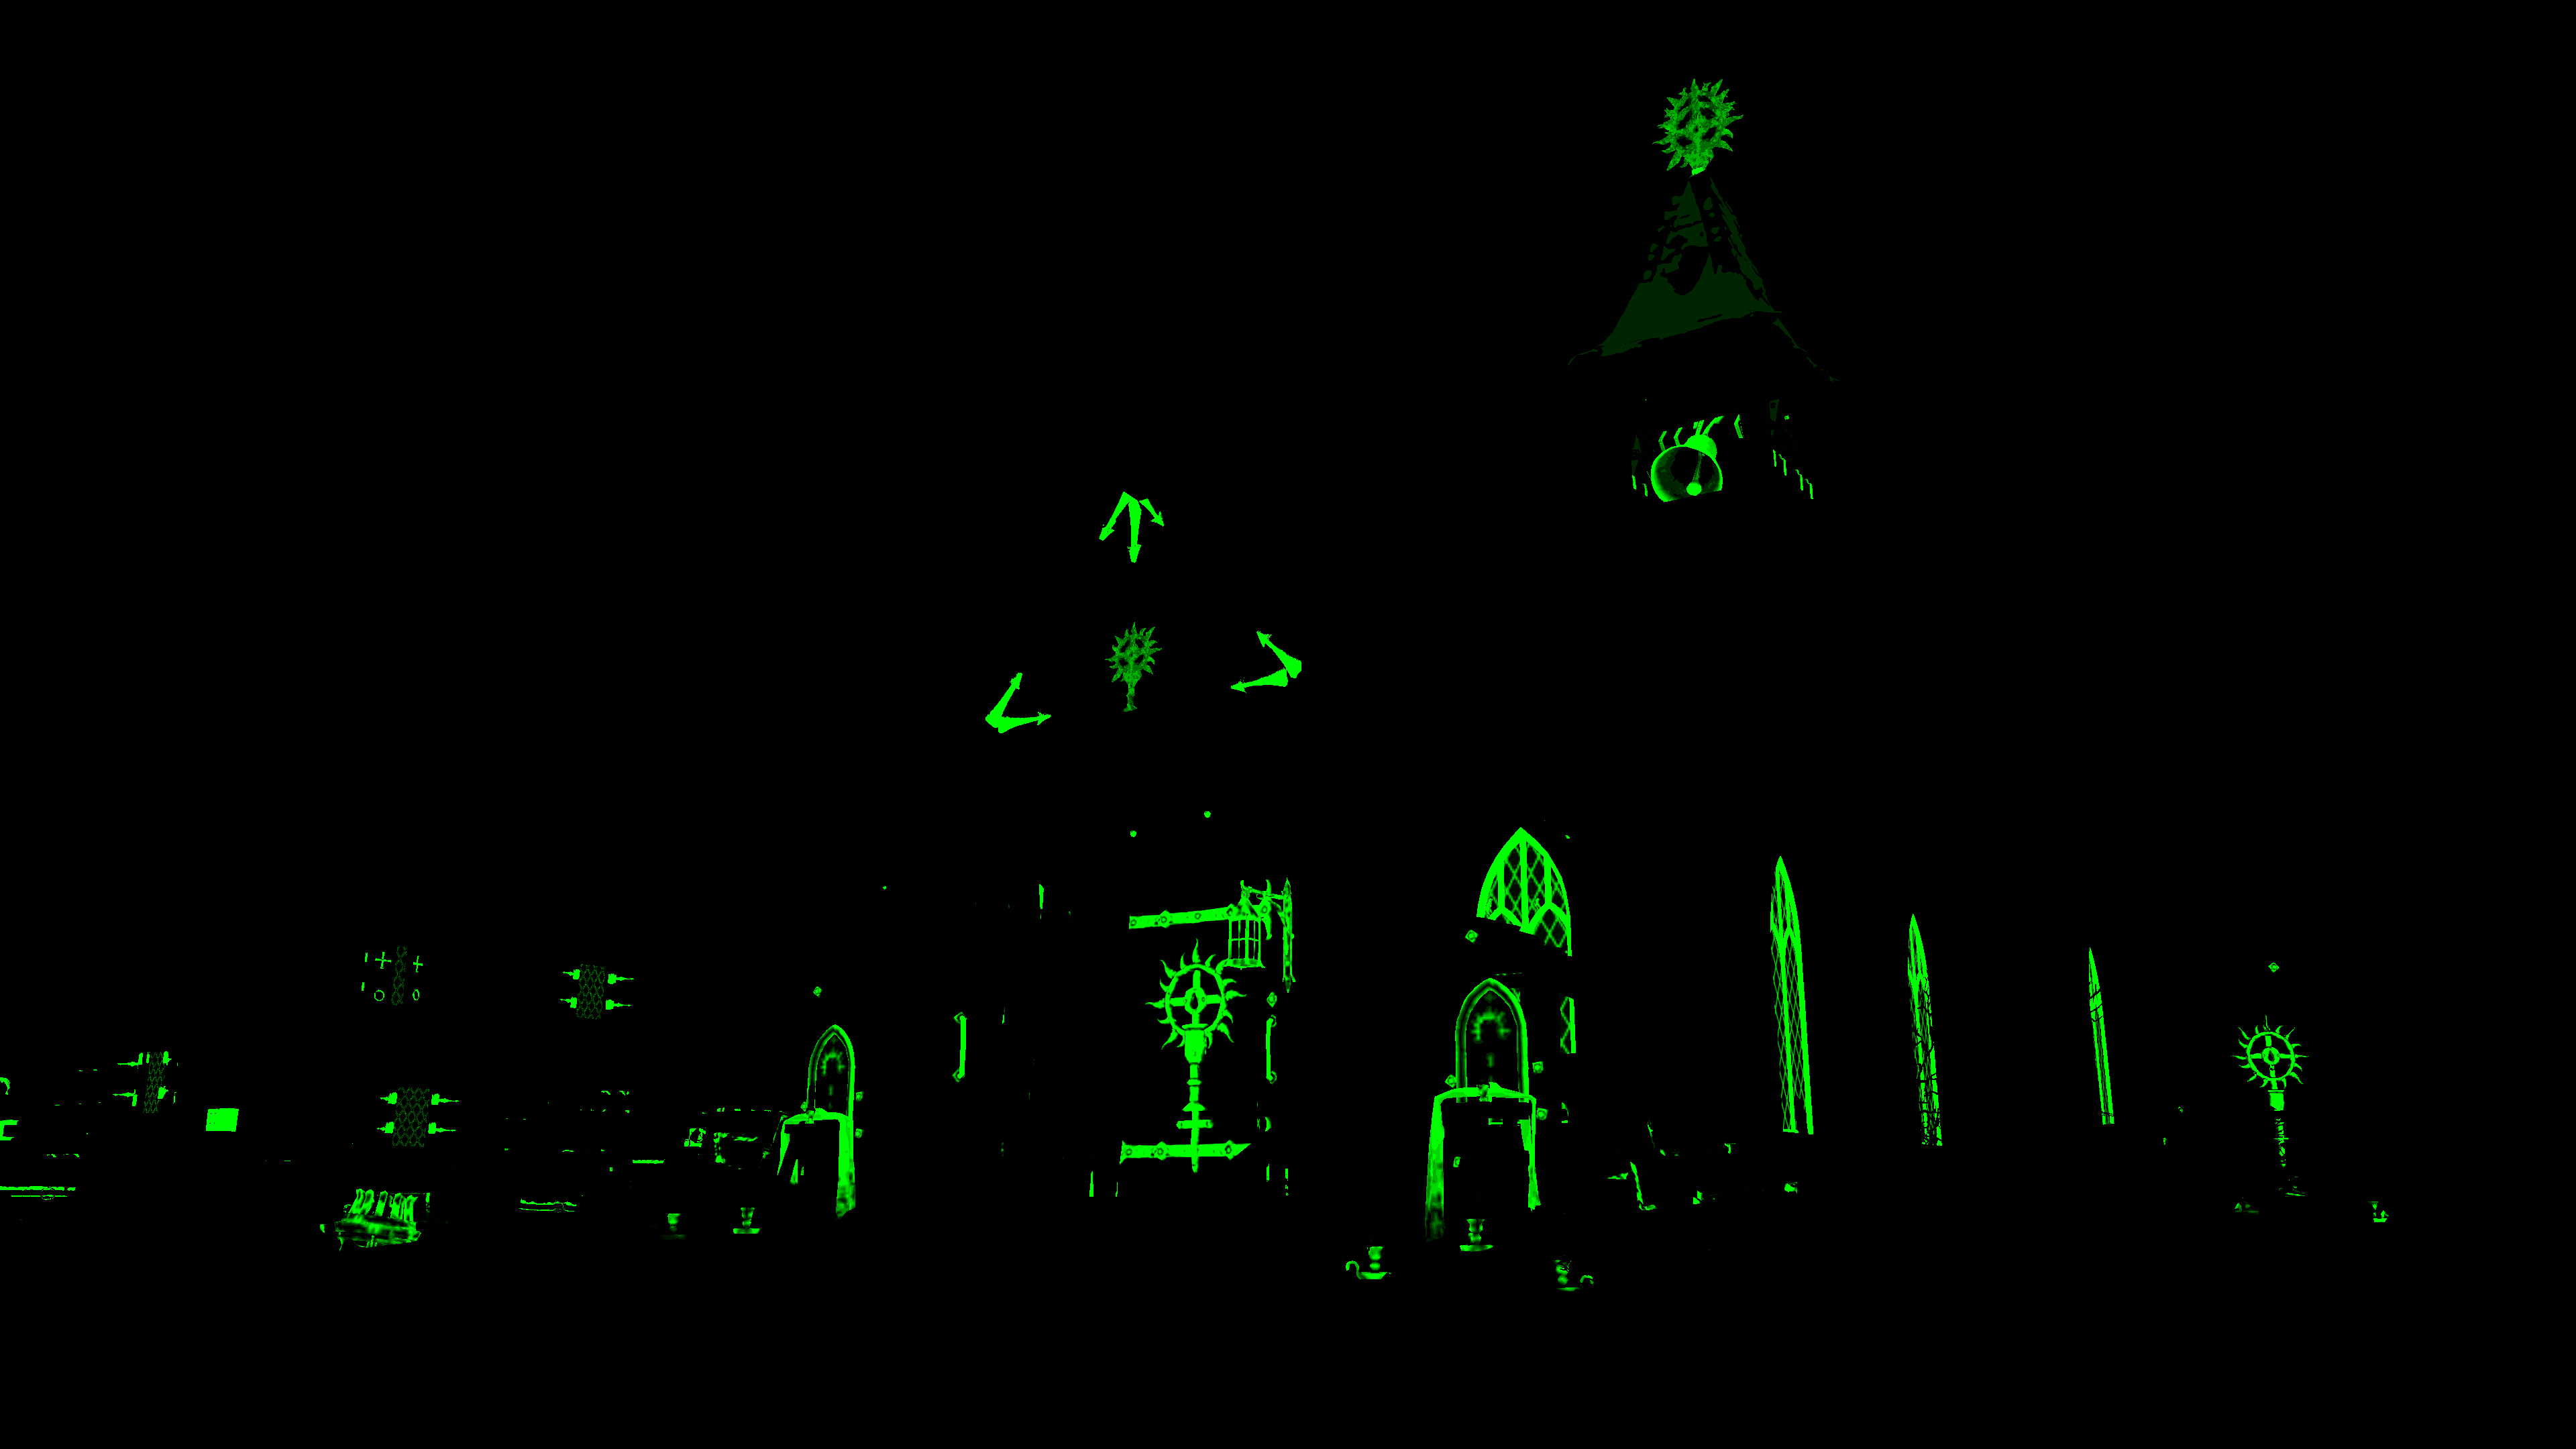
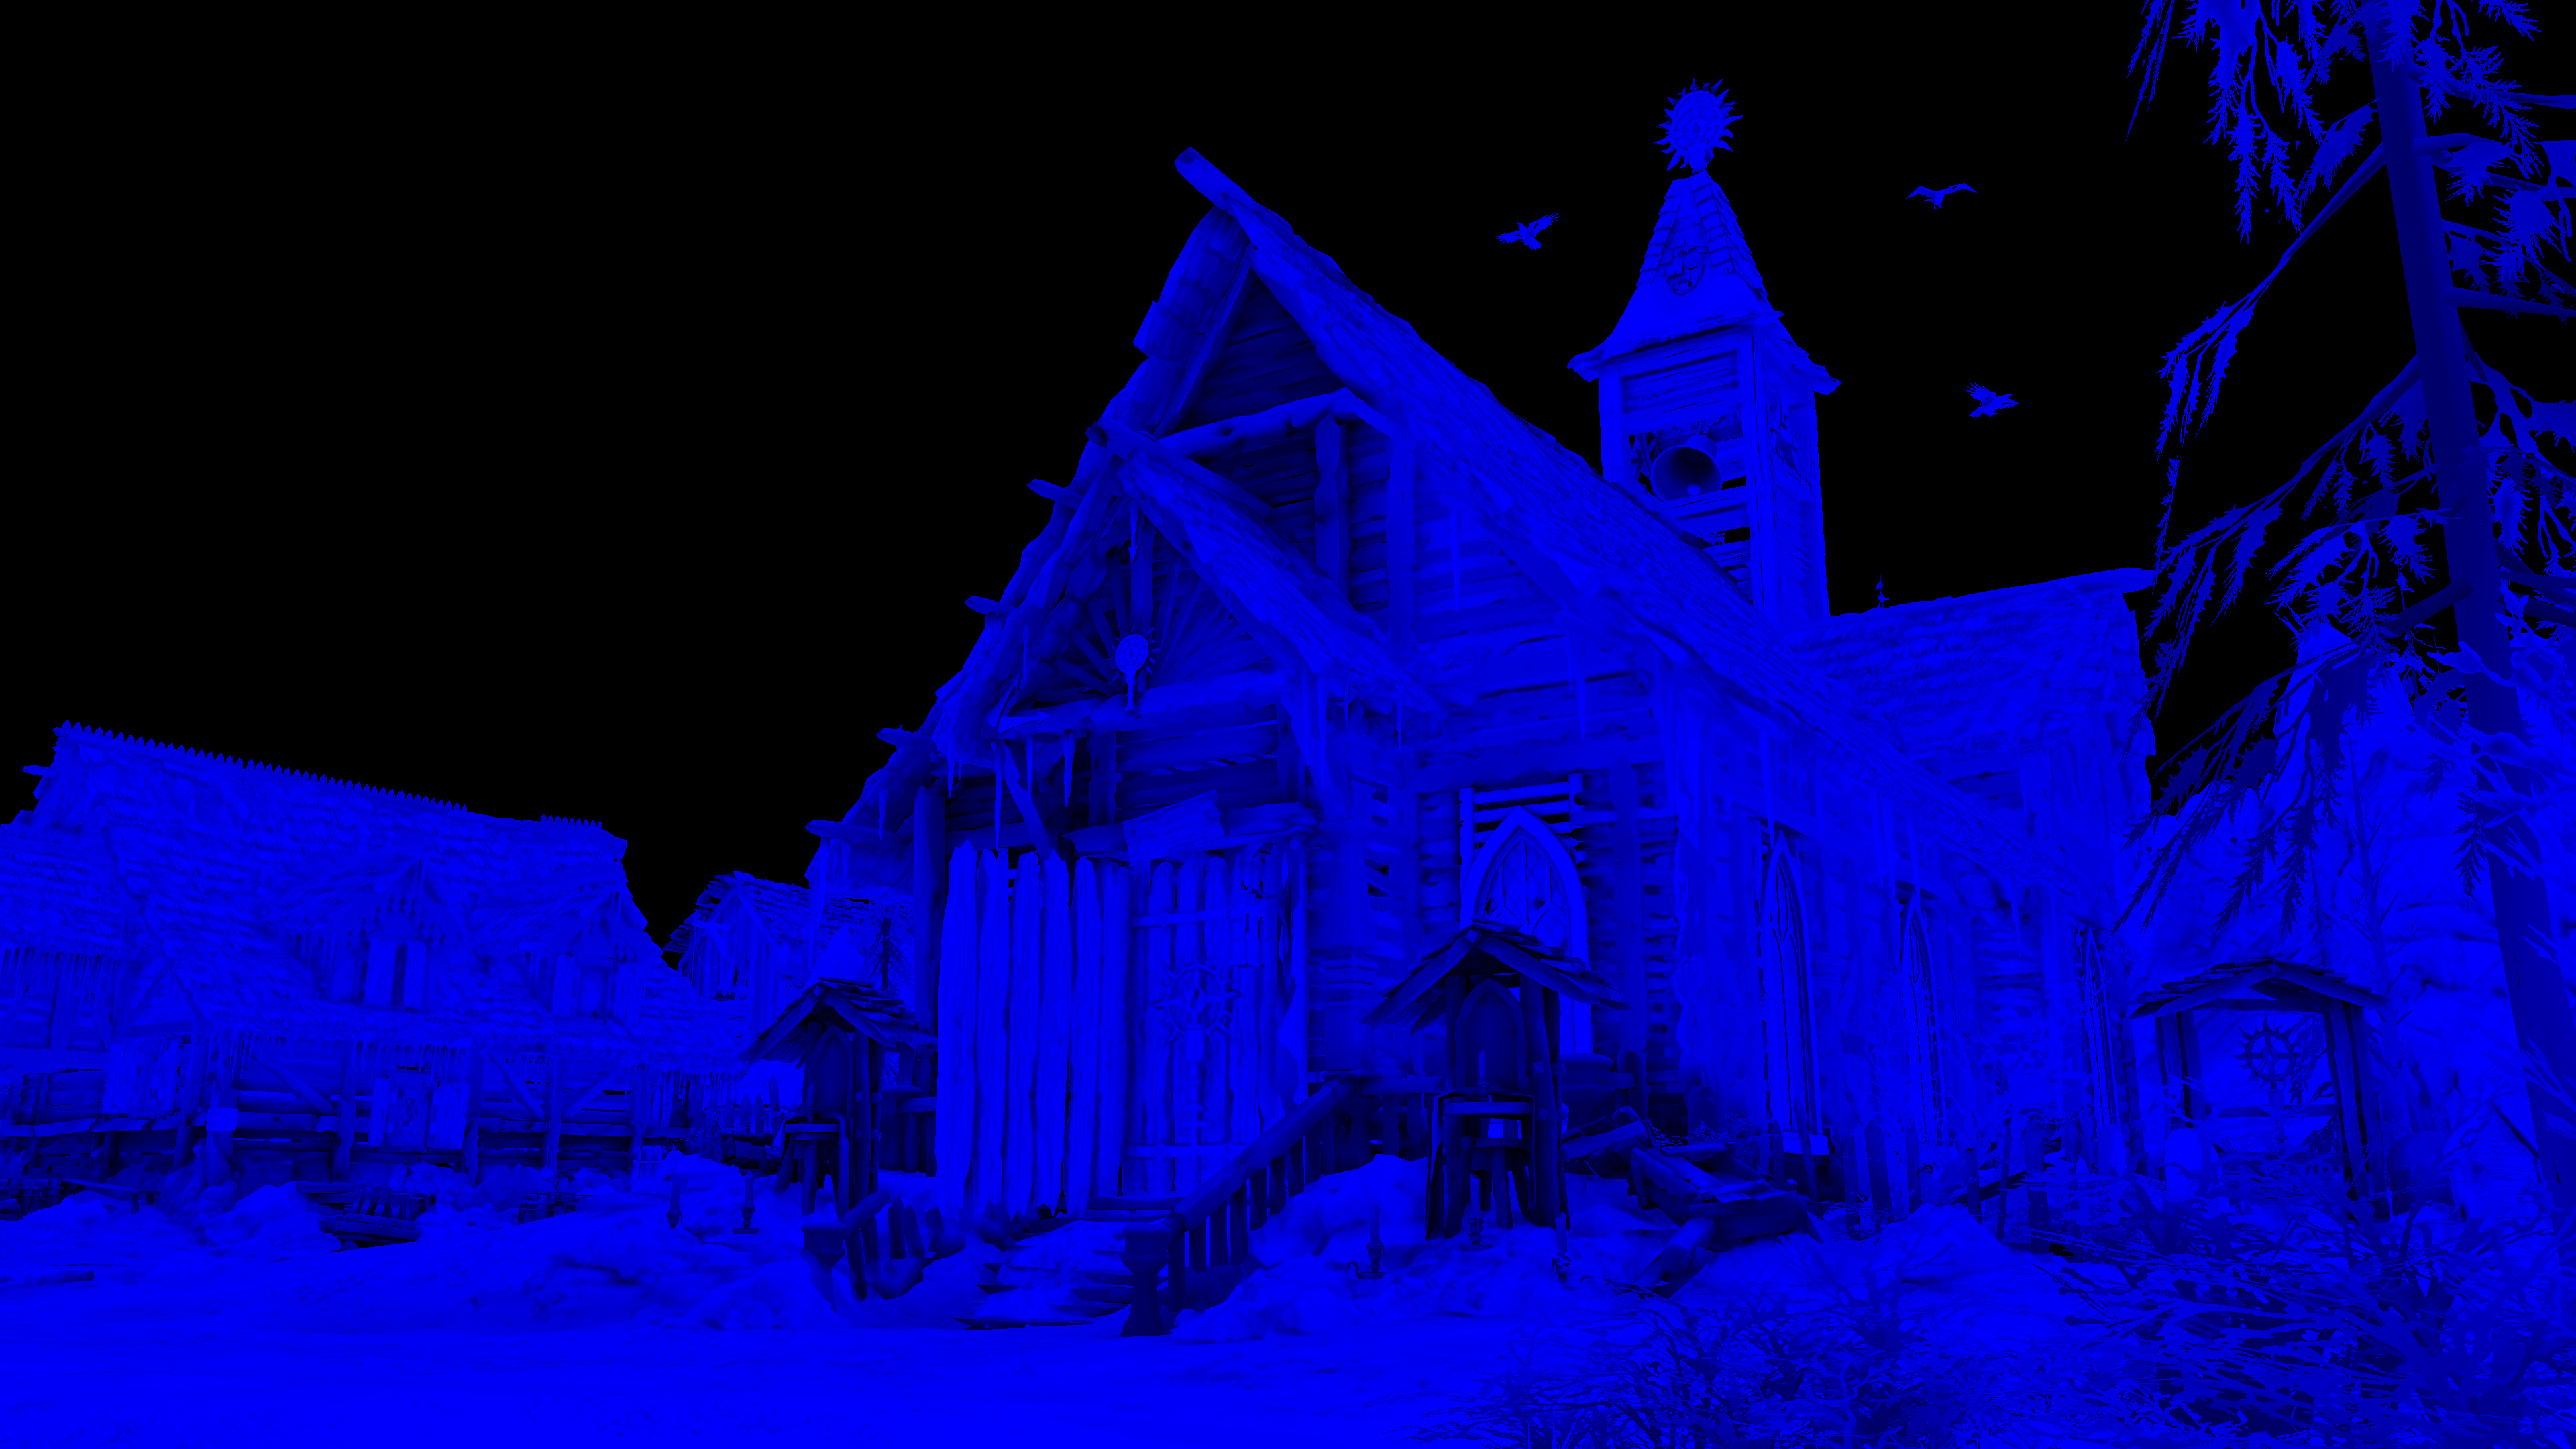
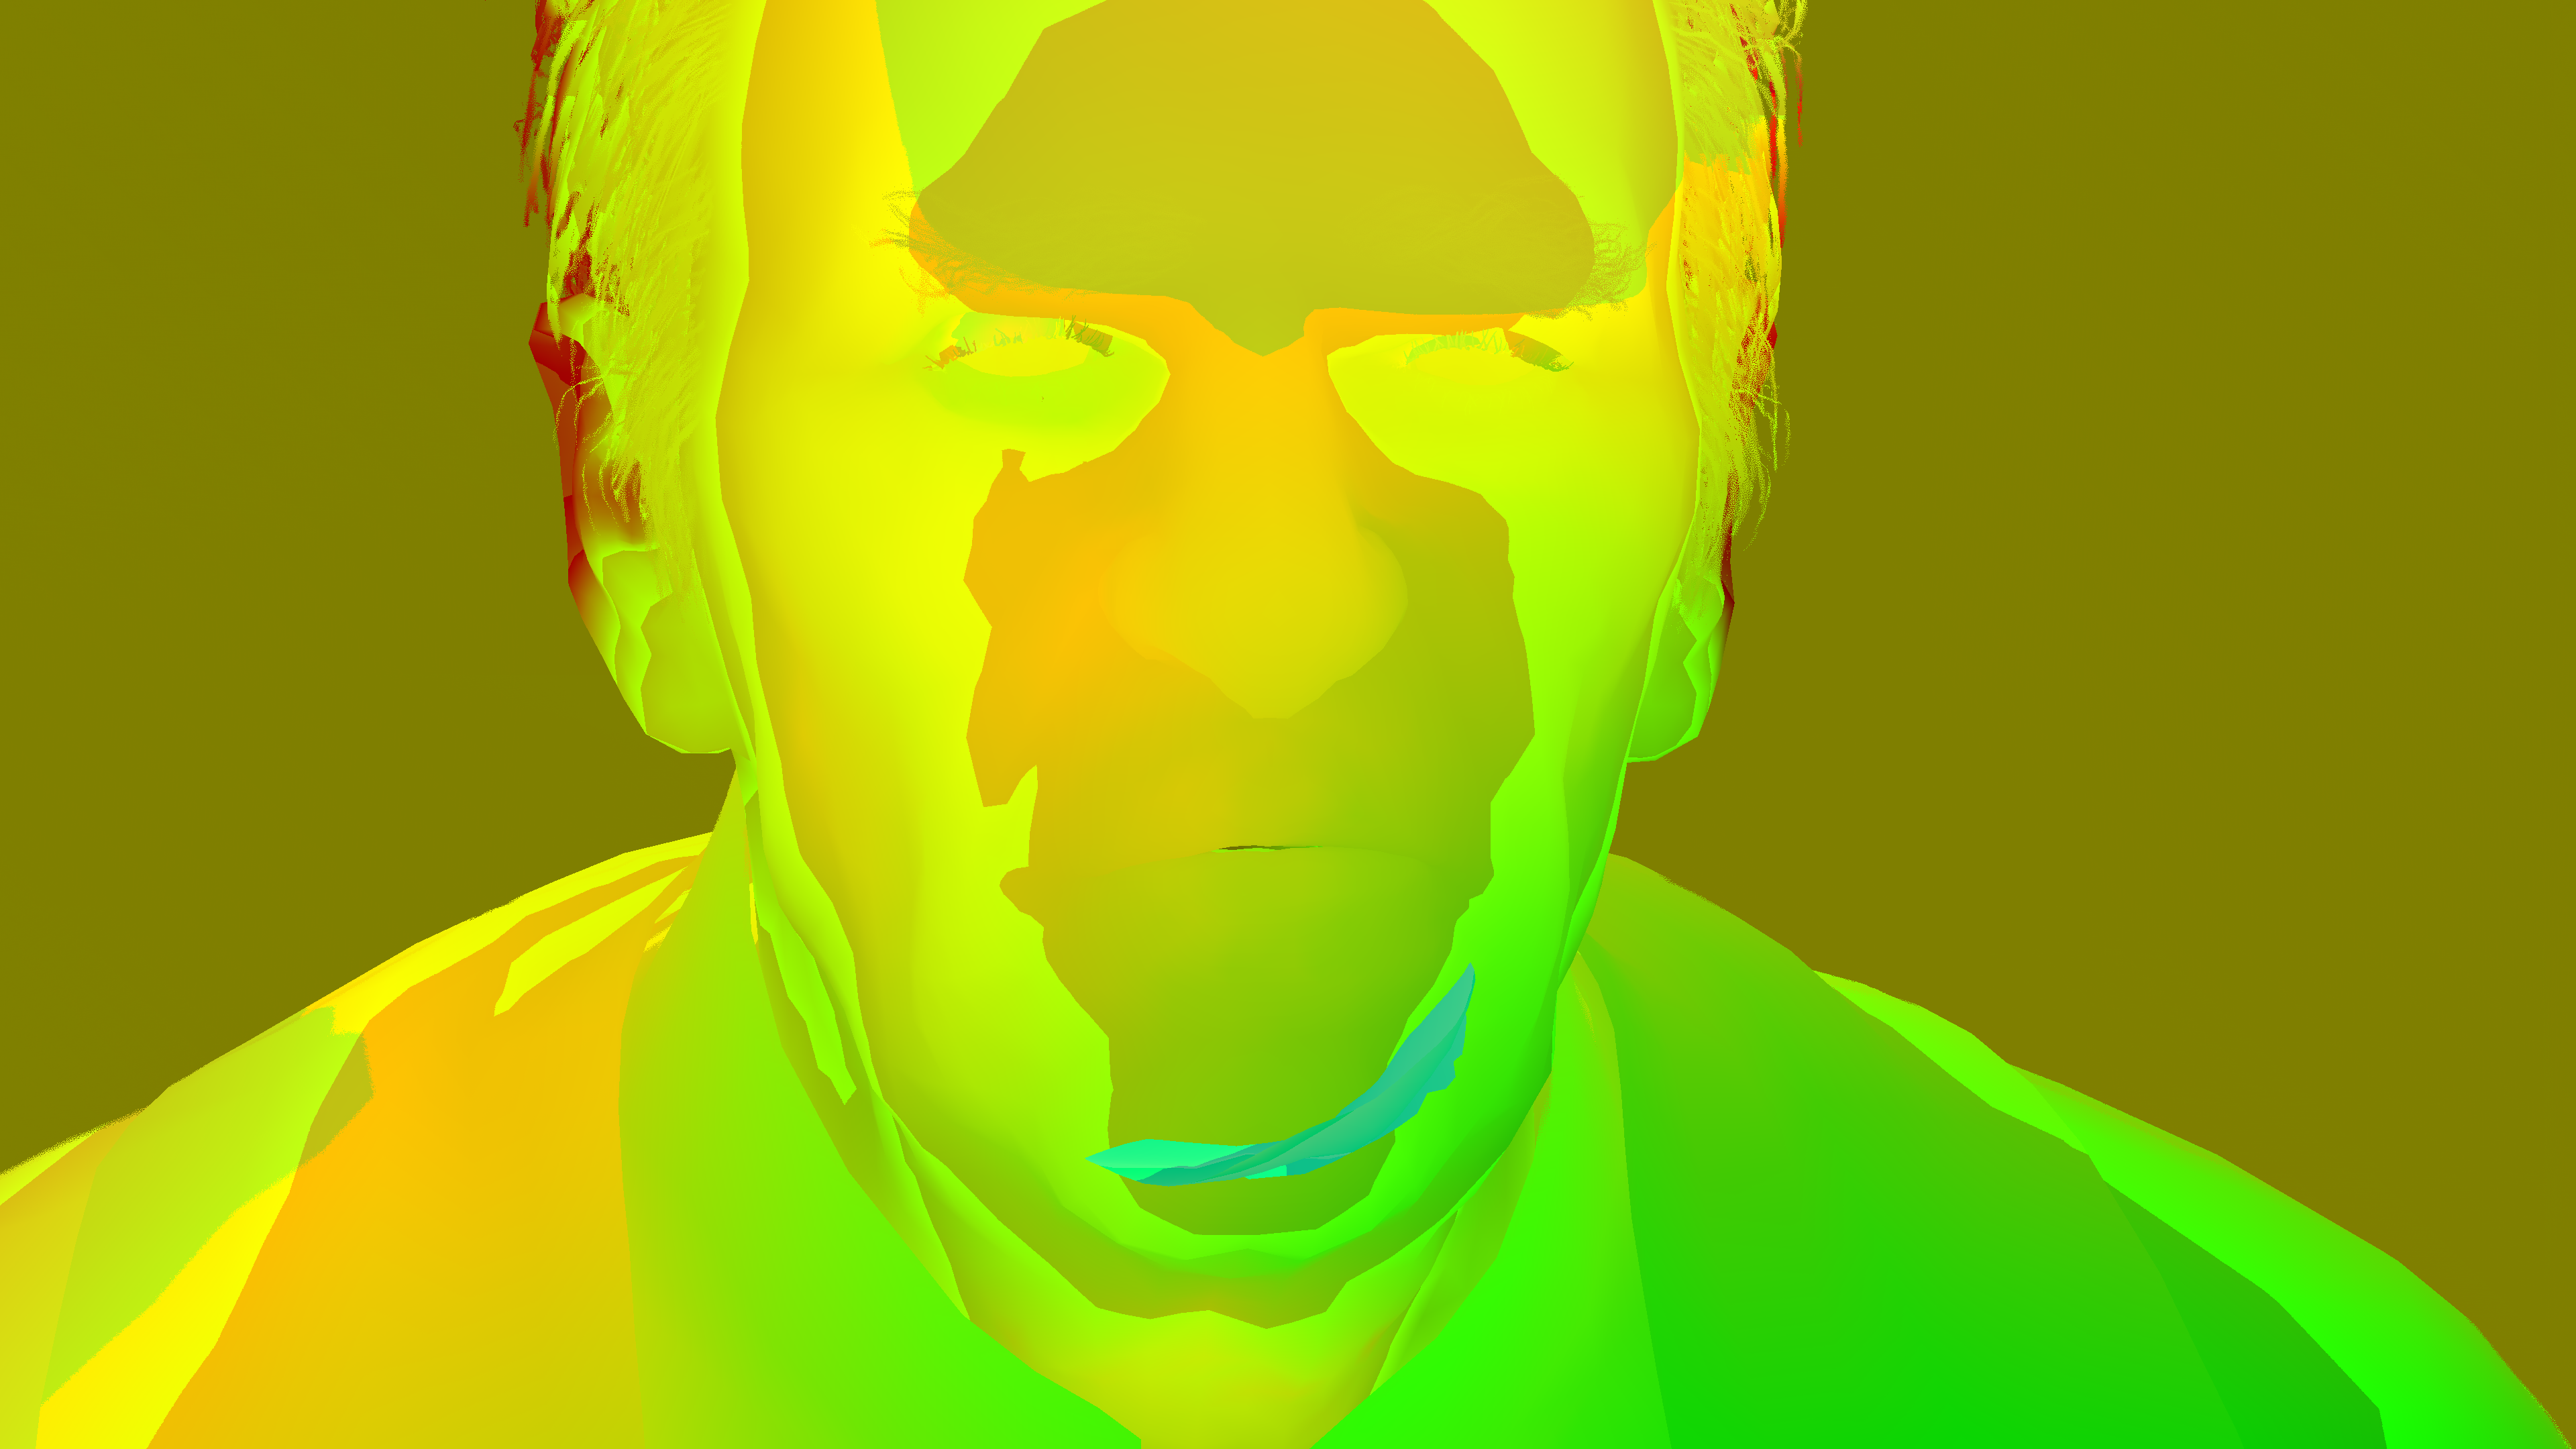
A nice engine, is not only a nice machine that deliver the game/product. But also it is a good toolset. And from a simple glimpse, it feels that the engine powering Diablo 4 had some good debugging tools. How many engines (in-house or commercial) you worked with ever had debug modes for Nits, Edge Detection, Lux, Hue, Chroma, Luminance or Distortion!
Those ones below are not everything i found, but are the most interesting ones i found some traces for, and of course, can’t trigger those (yet) in shipping build, it seems that those had their own shaders in development builds most likely.
You probably know that i care too much about debug modes (viewmodes) in Engines 🙃 For me, viewmodes are usually a core element in any task regardless it is a crash or a new feature!
This is why (Watch out…a personal project bullet ahead….🫣) i spent almost 6 months worth of my free time working in only the viewmodes for my previous baby engine Mirage.
Motion Blur
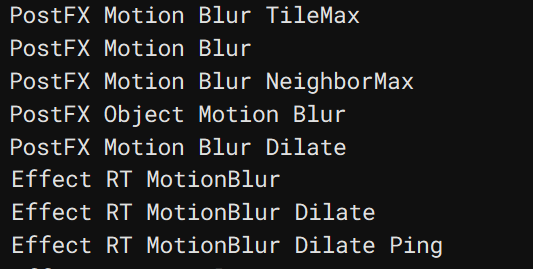
One more observation, that i was able to spot some trails for “Motion Blur” within the game binaries, but in fact, i was neither able to distinct MB visually during my hours of play nor was able to find any MB data within the captured frames (which was a lot of frames). Not to mention, that it was not mentioned in the Graphics settings. So it was a little interesting to observe. Was it there, was it sacrificed to keep good perf? is it still there but works under exact and specific conditions? maybe when RT enabled which was not my case? idk!
Epilogue
To Blizzard team, hope you did not get upset from me keep calling it Diablo 4 and not Diablo IV 😅 it’s just me!
To everyone, i apologize from you if the gifs & videos are lil less than previous articles. This specific type of footage takes time & effort to make as i export & build them frame by frame, and currently i’m little busy between playing the game (i’m passed halfway through so far) and working on my engine (already late behind my personal 2023 plan). But as you know, the free time is always limited and can’t fit everything, which made me decided to scarifies partly the video/gif editing part when not really needed. Due to the same reasons, there are few sections that i decided to only leave names/titles of just to make you aware of their existence, but not to fill info or any footage/data (very very few sections), because my original plan was to was work on this for 3 weekends (including some local holidays) and to publish it by the last weekend of June, as i’ve other things planned for July (i usually finish those during a weekend, and then give a tidy pass in the following 2 nights & then publish at mid-week), so if any of those sections that has no details interests you, feel free to poke me about, and i can arrange sometime to grab some more details.
This game is long, and i do like to play each act couple of times, so i’ll take sometime to beat it. So i’m expecting there will be another cool frames during the coming acts of the story, specially that i’ve seen some cool frames & areas while watching YouTube reviews of the game (some seemed to be full CG though, like the first ever cinematic in the game). So i might be adding stuff here & there to the article (or even tweet those) to expand the examples with some more from the late parts of the game, fix some typos (i’m a master in typos, No.1 in North America for 5 years in a row!) but the general layout and pipeline remains the same, and no changes will be in there.
Don’t let Diablo 4’s nature disappoint you technically, this game has a lot hidden under the hood of a cute diorama-like game. The pipeline may not be as long as any of the previous ones we went through in the past, specially in terms of compute shaders. Yes it is not as huge as pervious games we explored here, but this is not necessarily a negative sign, in fact, Diablo 4 was able to achieve more with less and was able to correctly focus on it’s scope without going wild chasing needless features & graphical dreams! The guys knew their game well, knew the limits of the scope, and delivered on that! For example, they could’ve (if they needed) added volumetric clouds sim in the sky during gameplay that will cast realistic clouds shadow on the terrain/map at day time. But they didn’t, because it is simply “out of the scope”. They could’ve added much more realistic water movement that can make the banks wet, but they didn’t because it is something “out of the scope”. They could’ve gone with mor realistic fur, but that simple old trick did just fine and it “delivers in the scope”…And many more things that we see in AAA games that might not add to the experience or enhance the visual target drastically, but yet still get some time (effort & budget) wasted on….
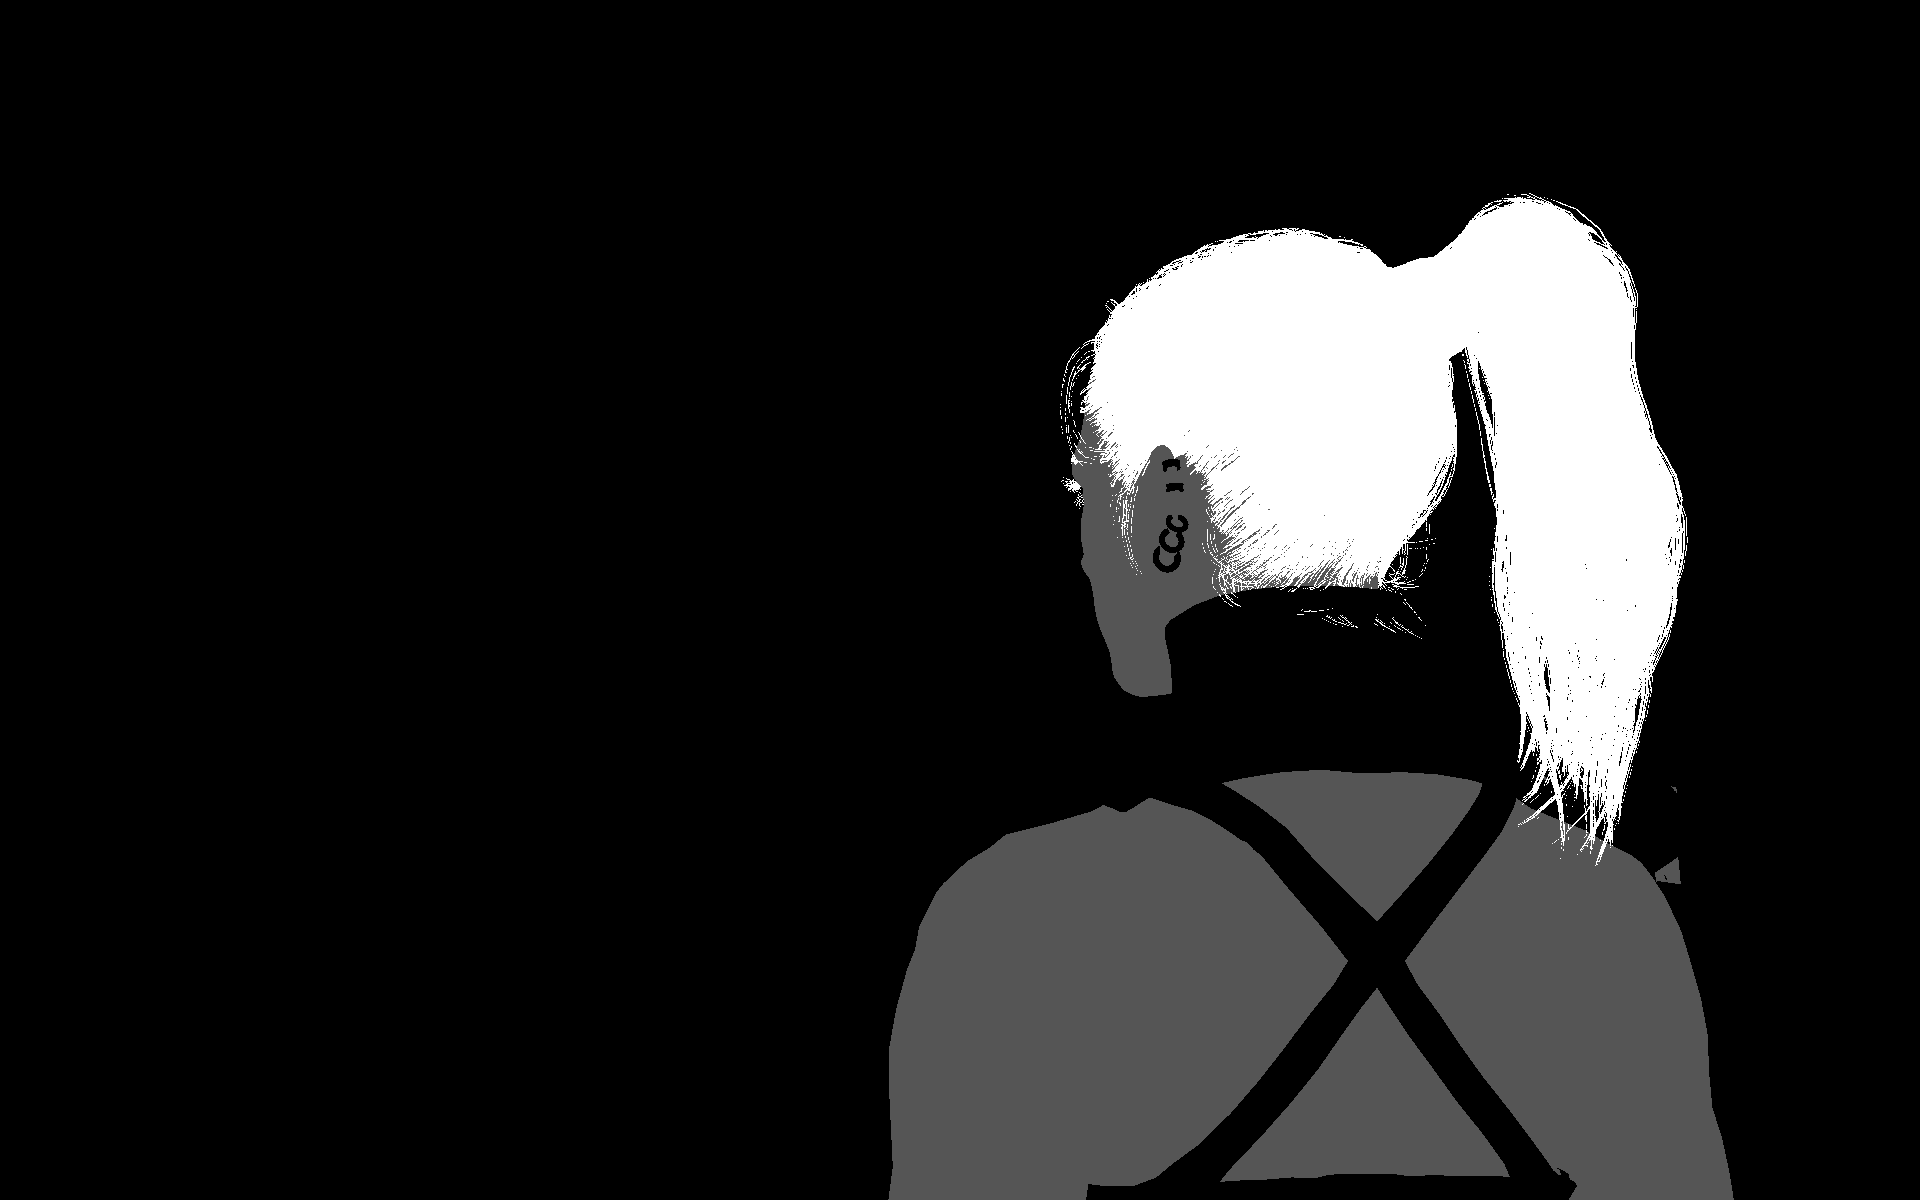
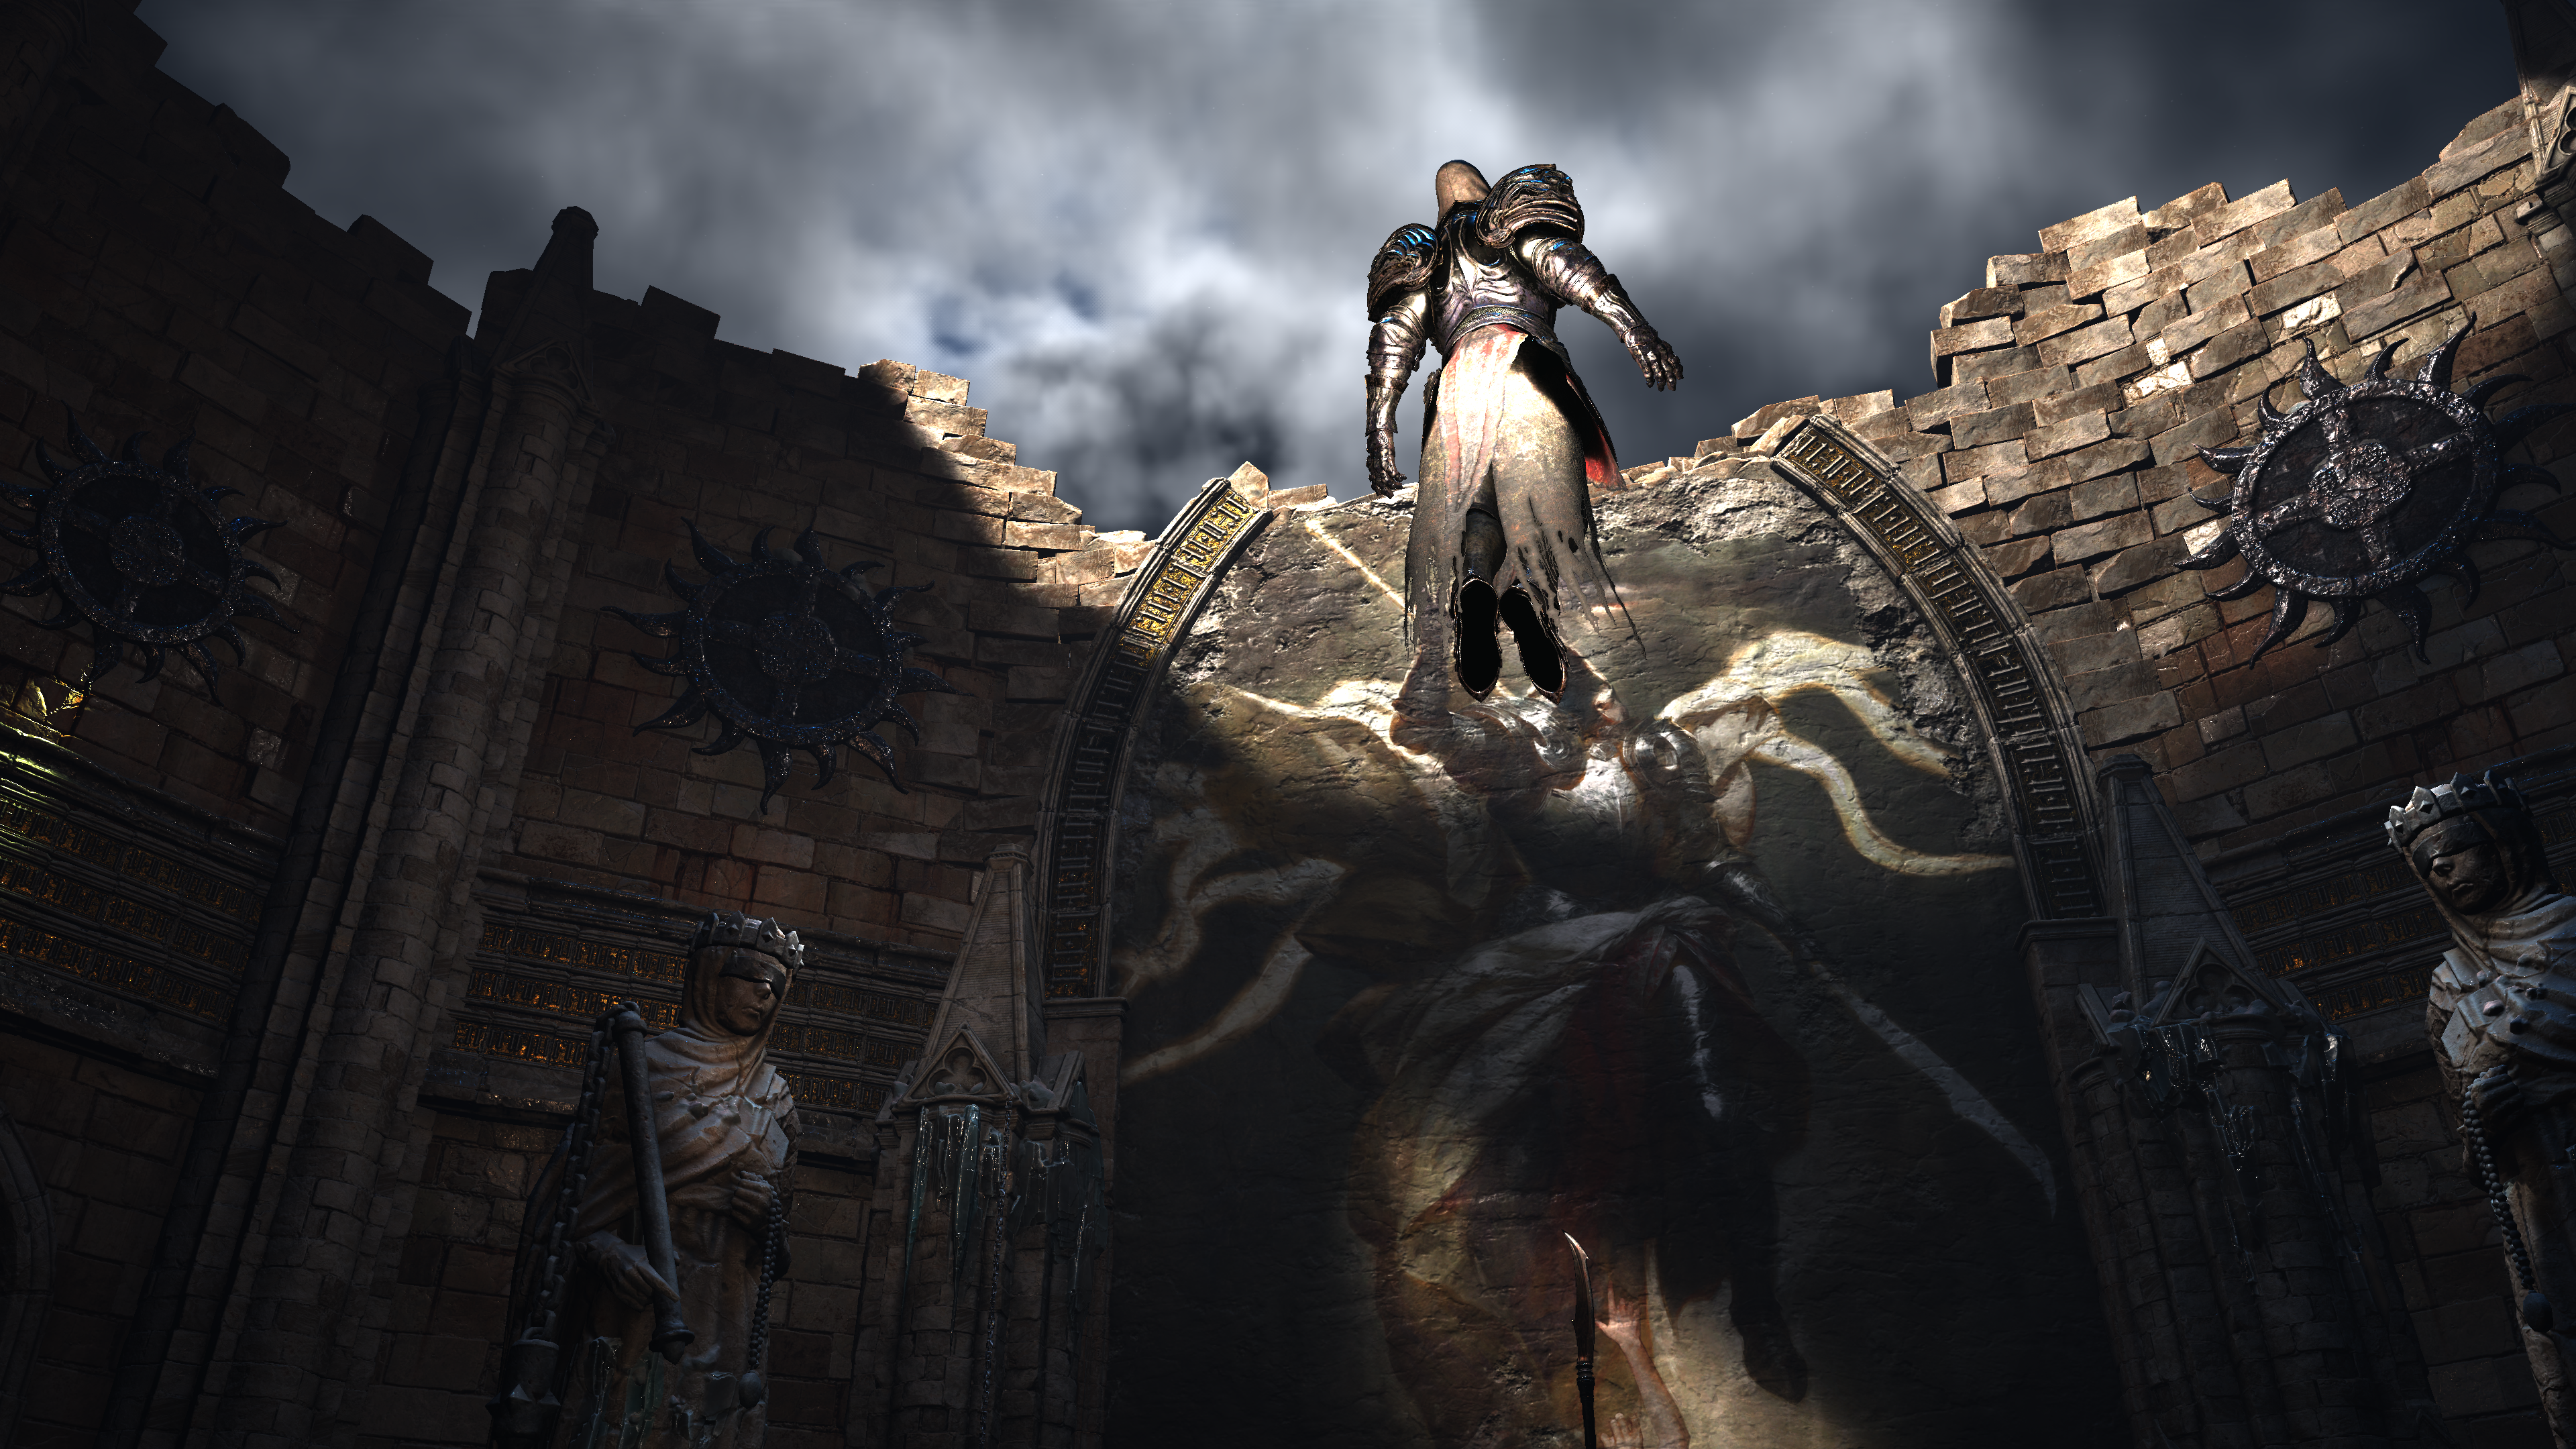
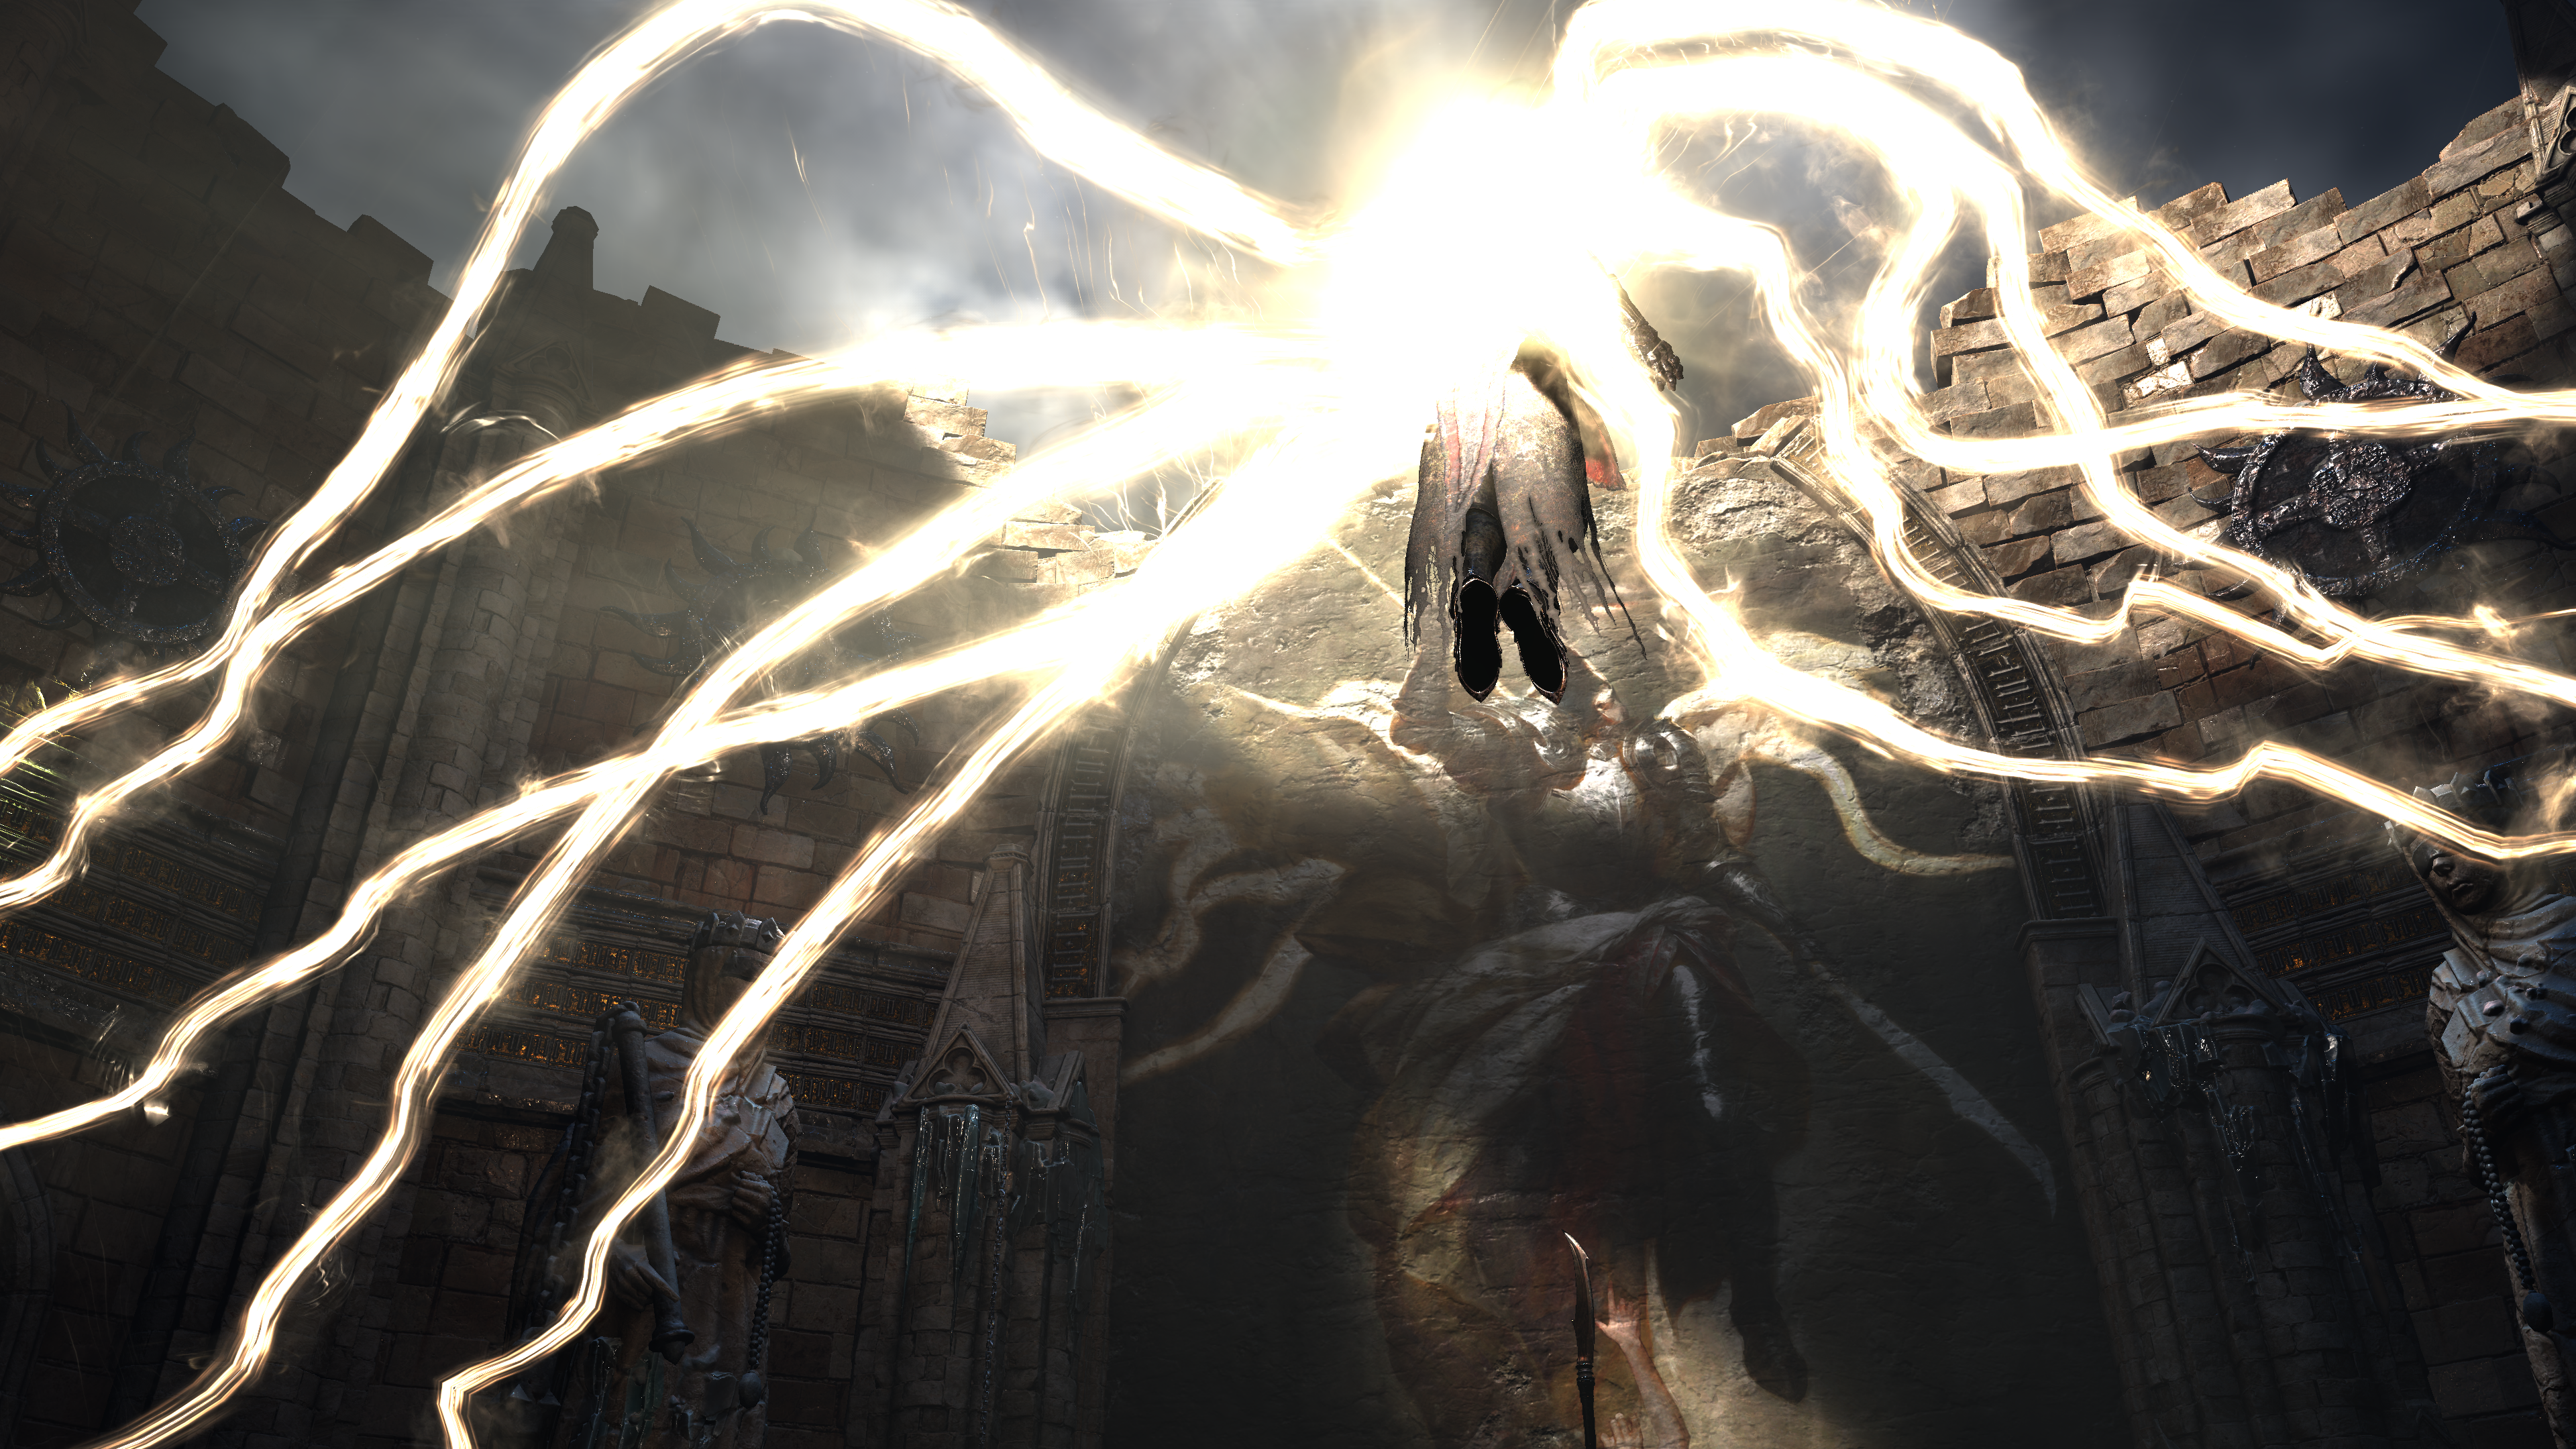
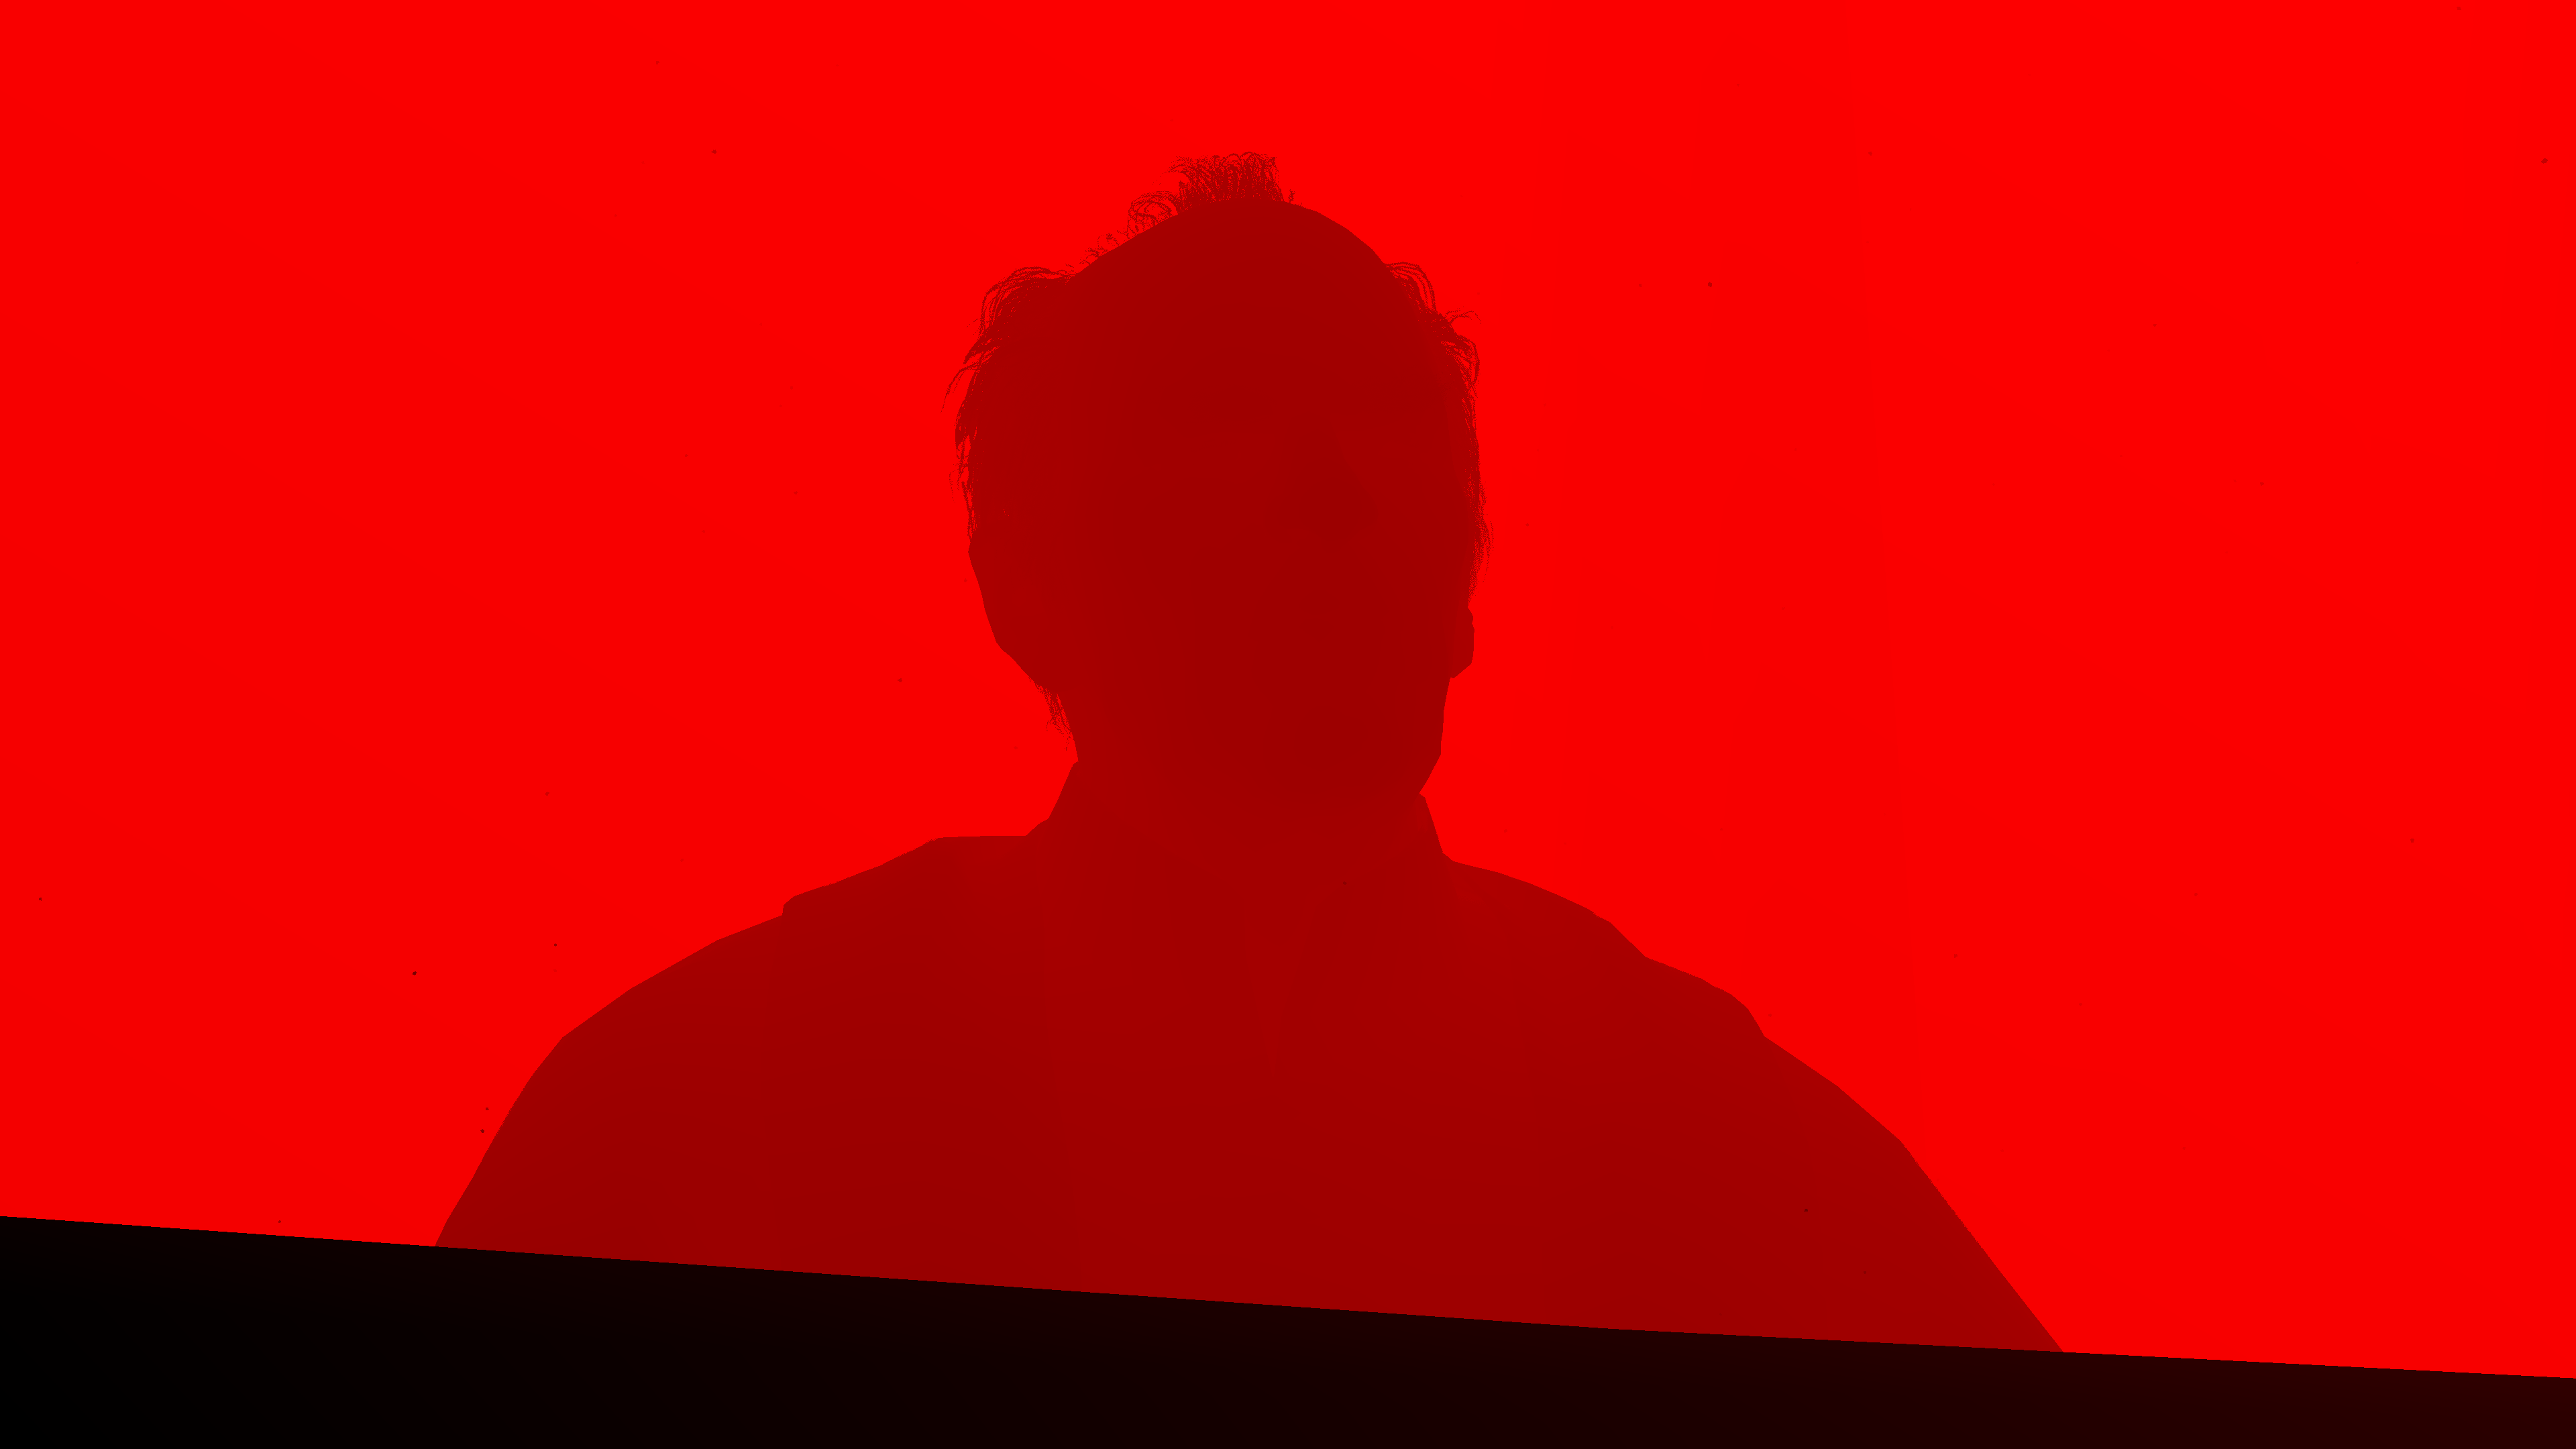
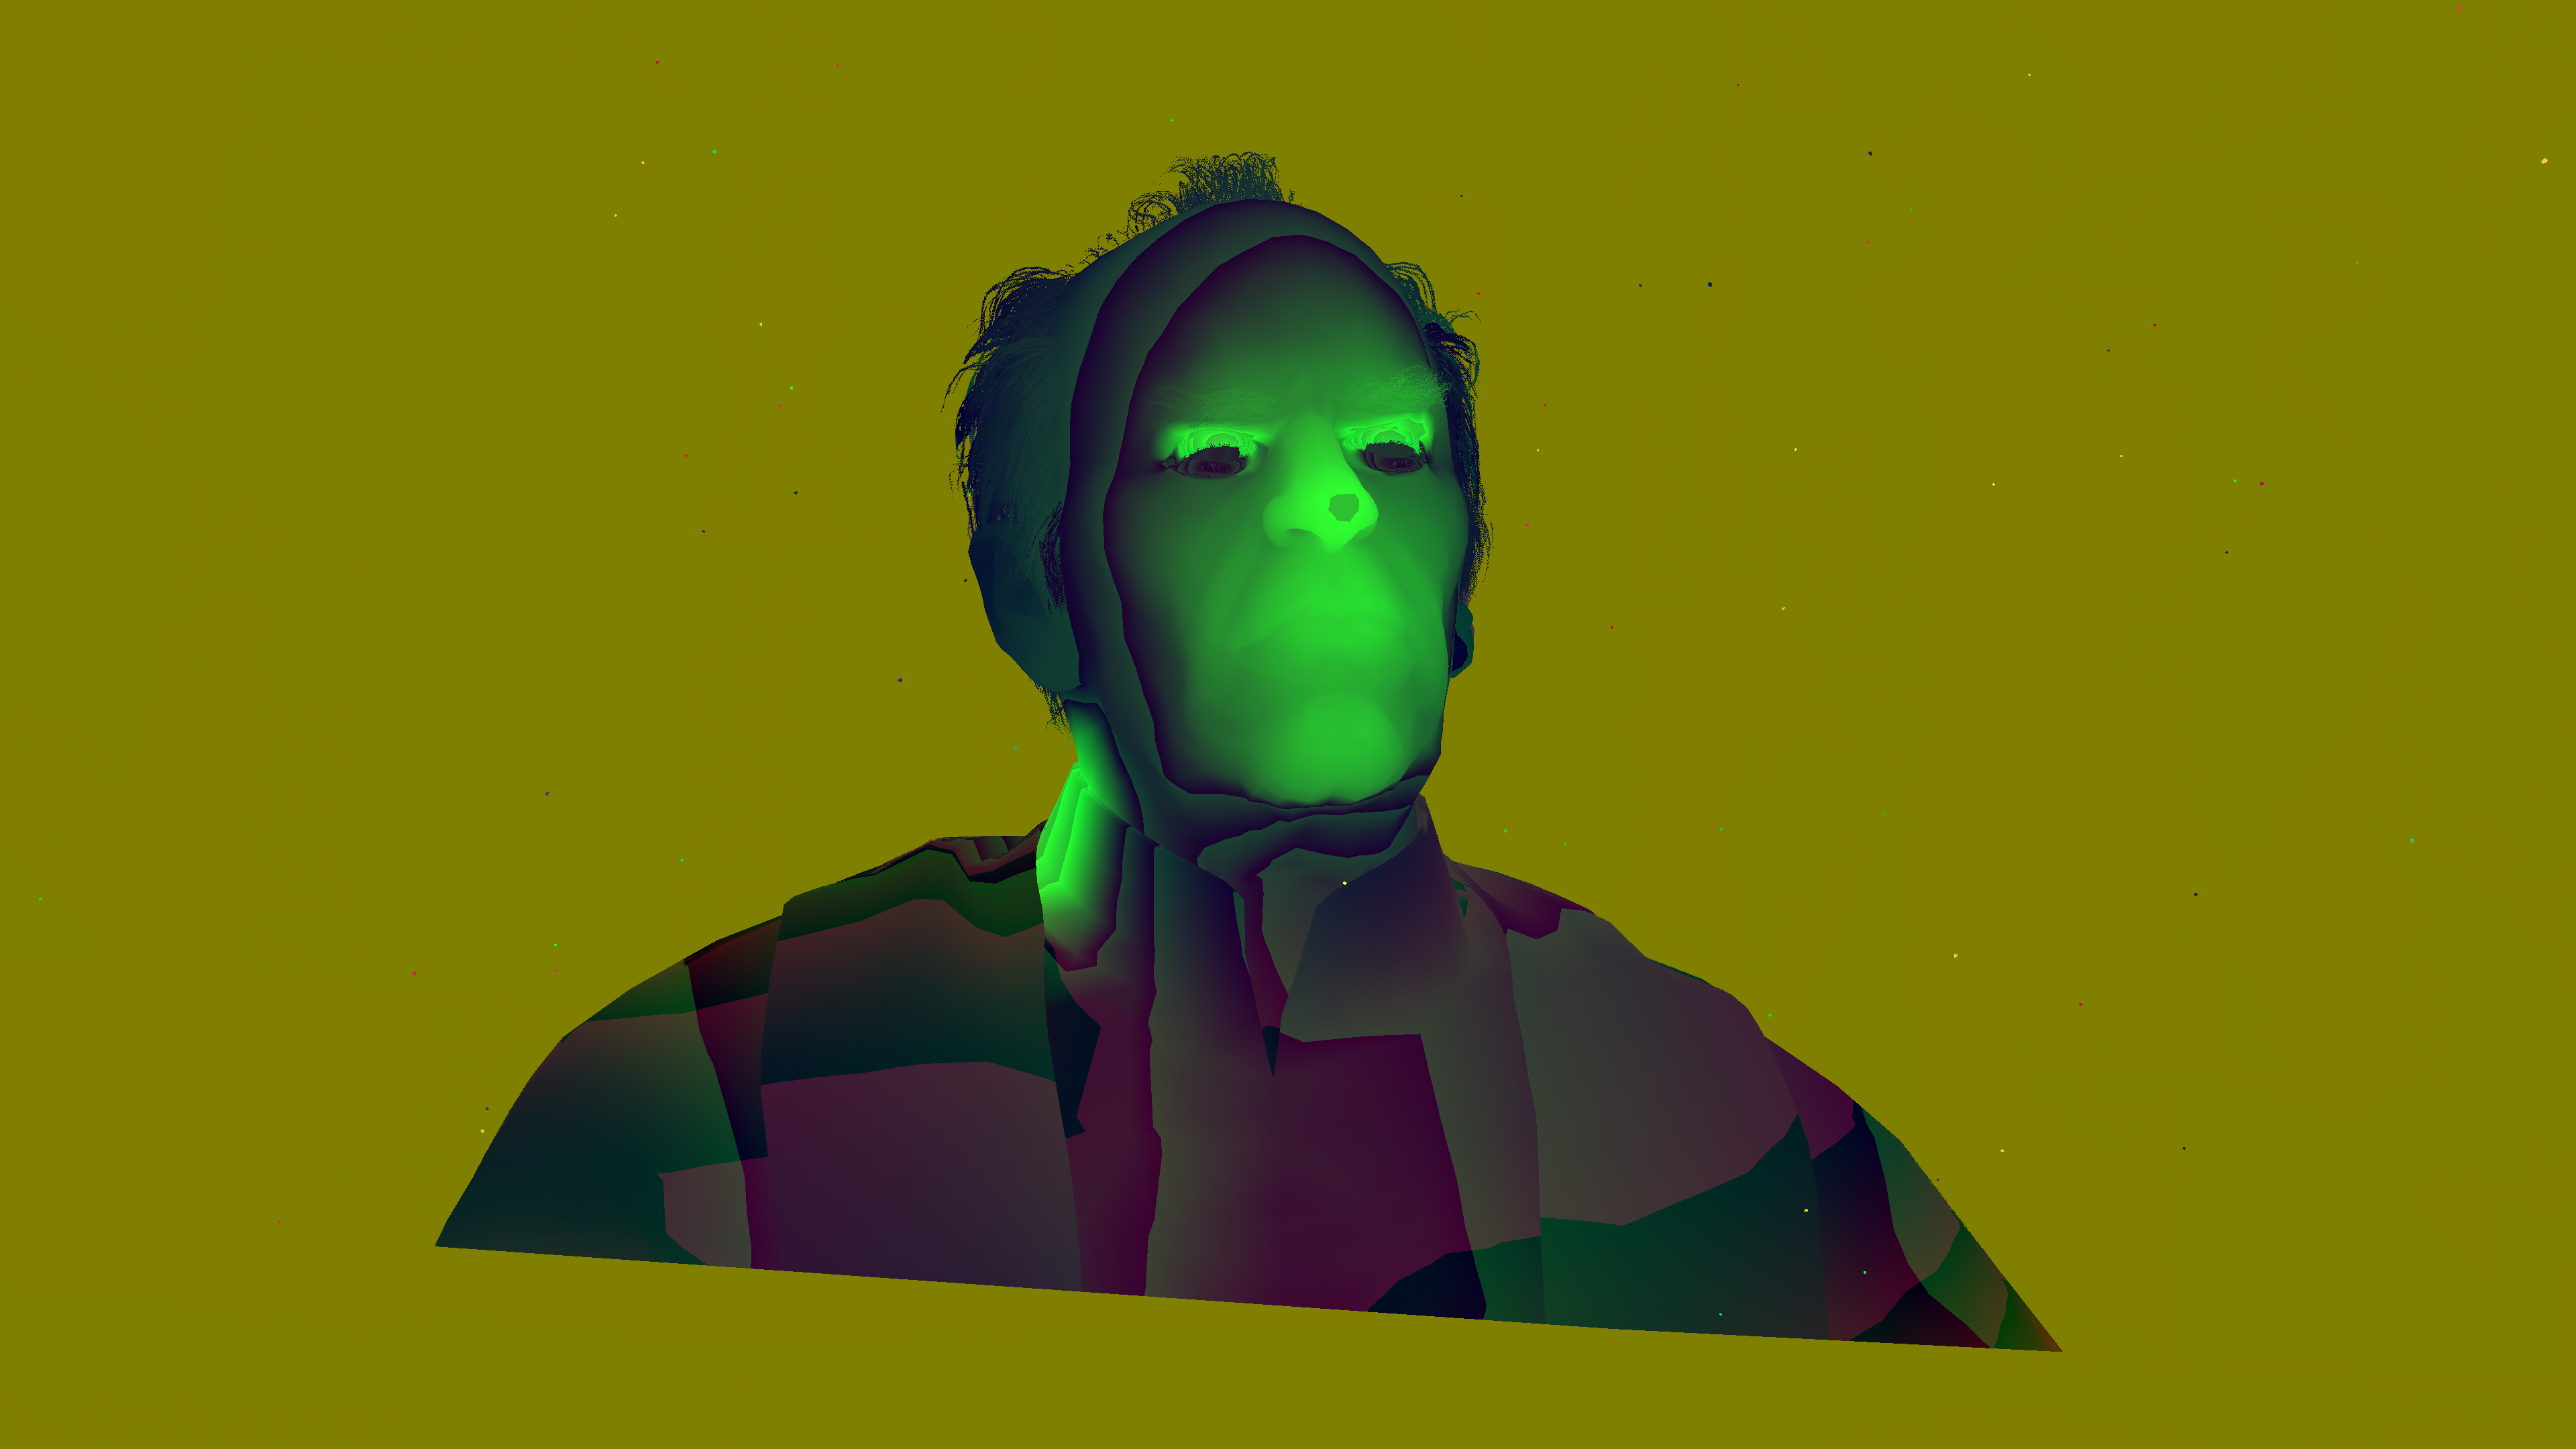
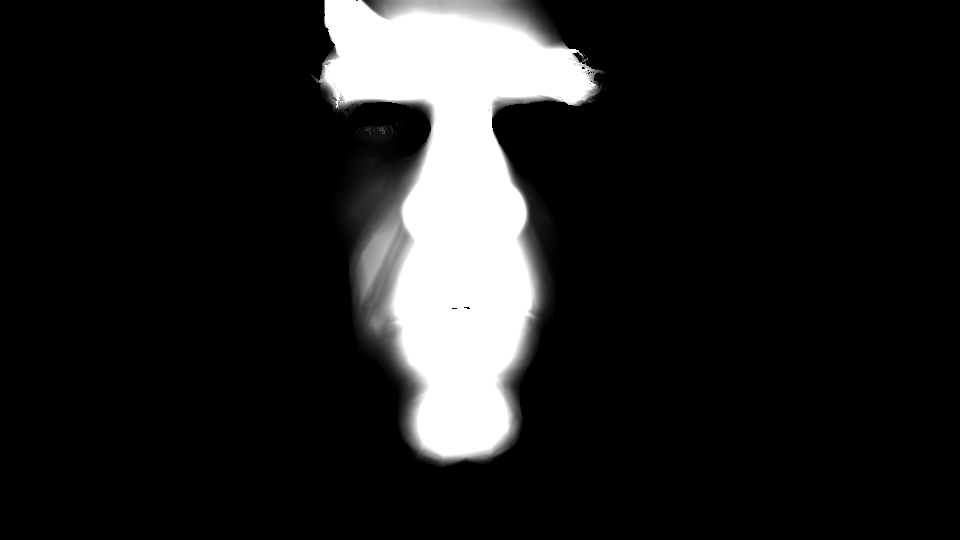
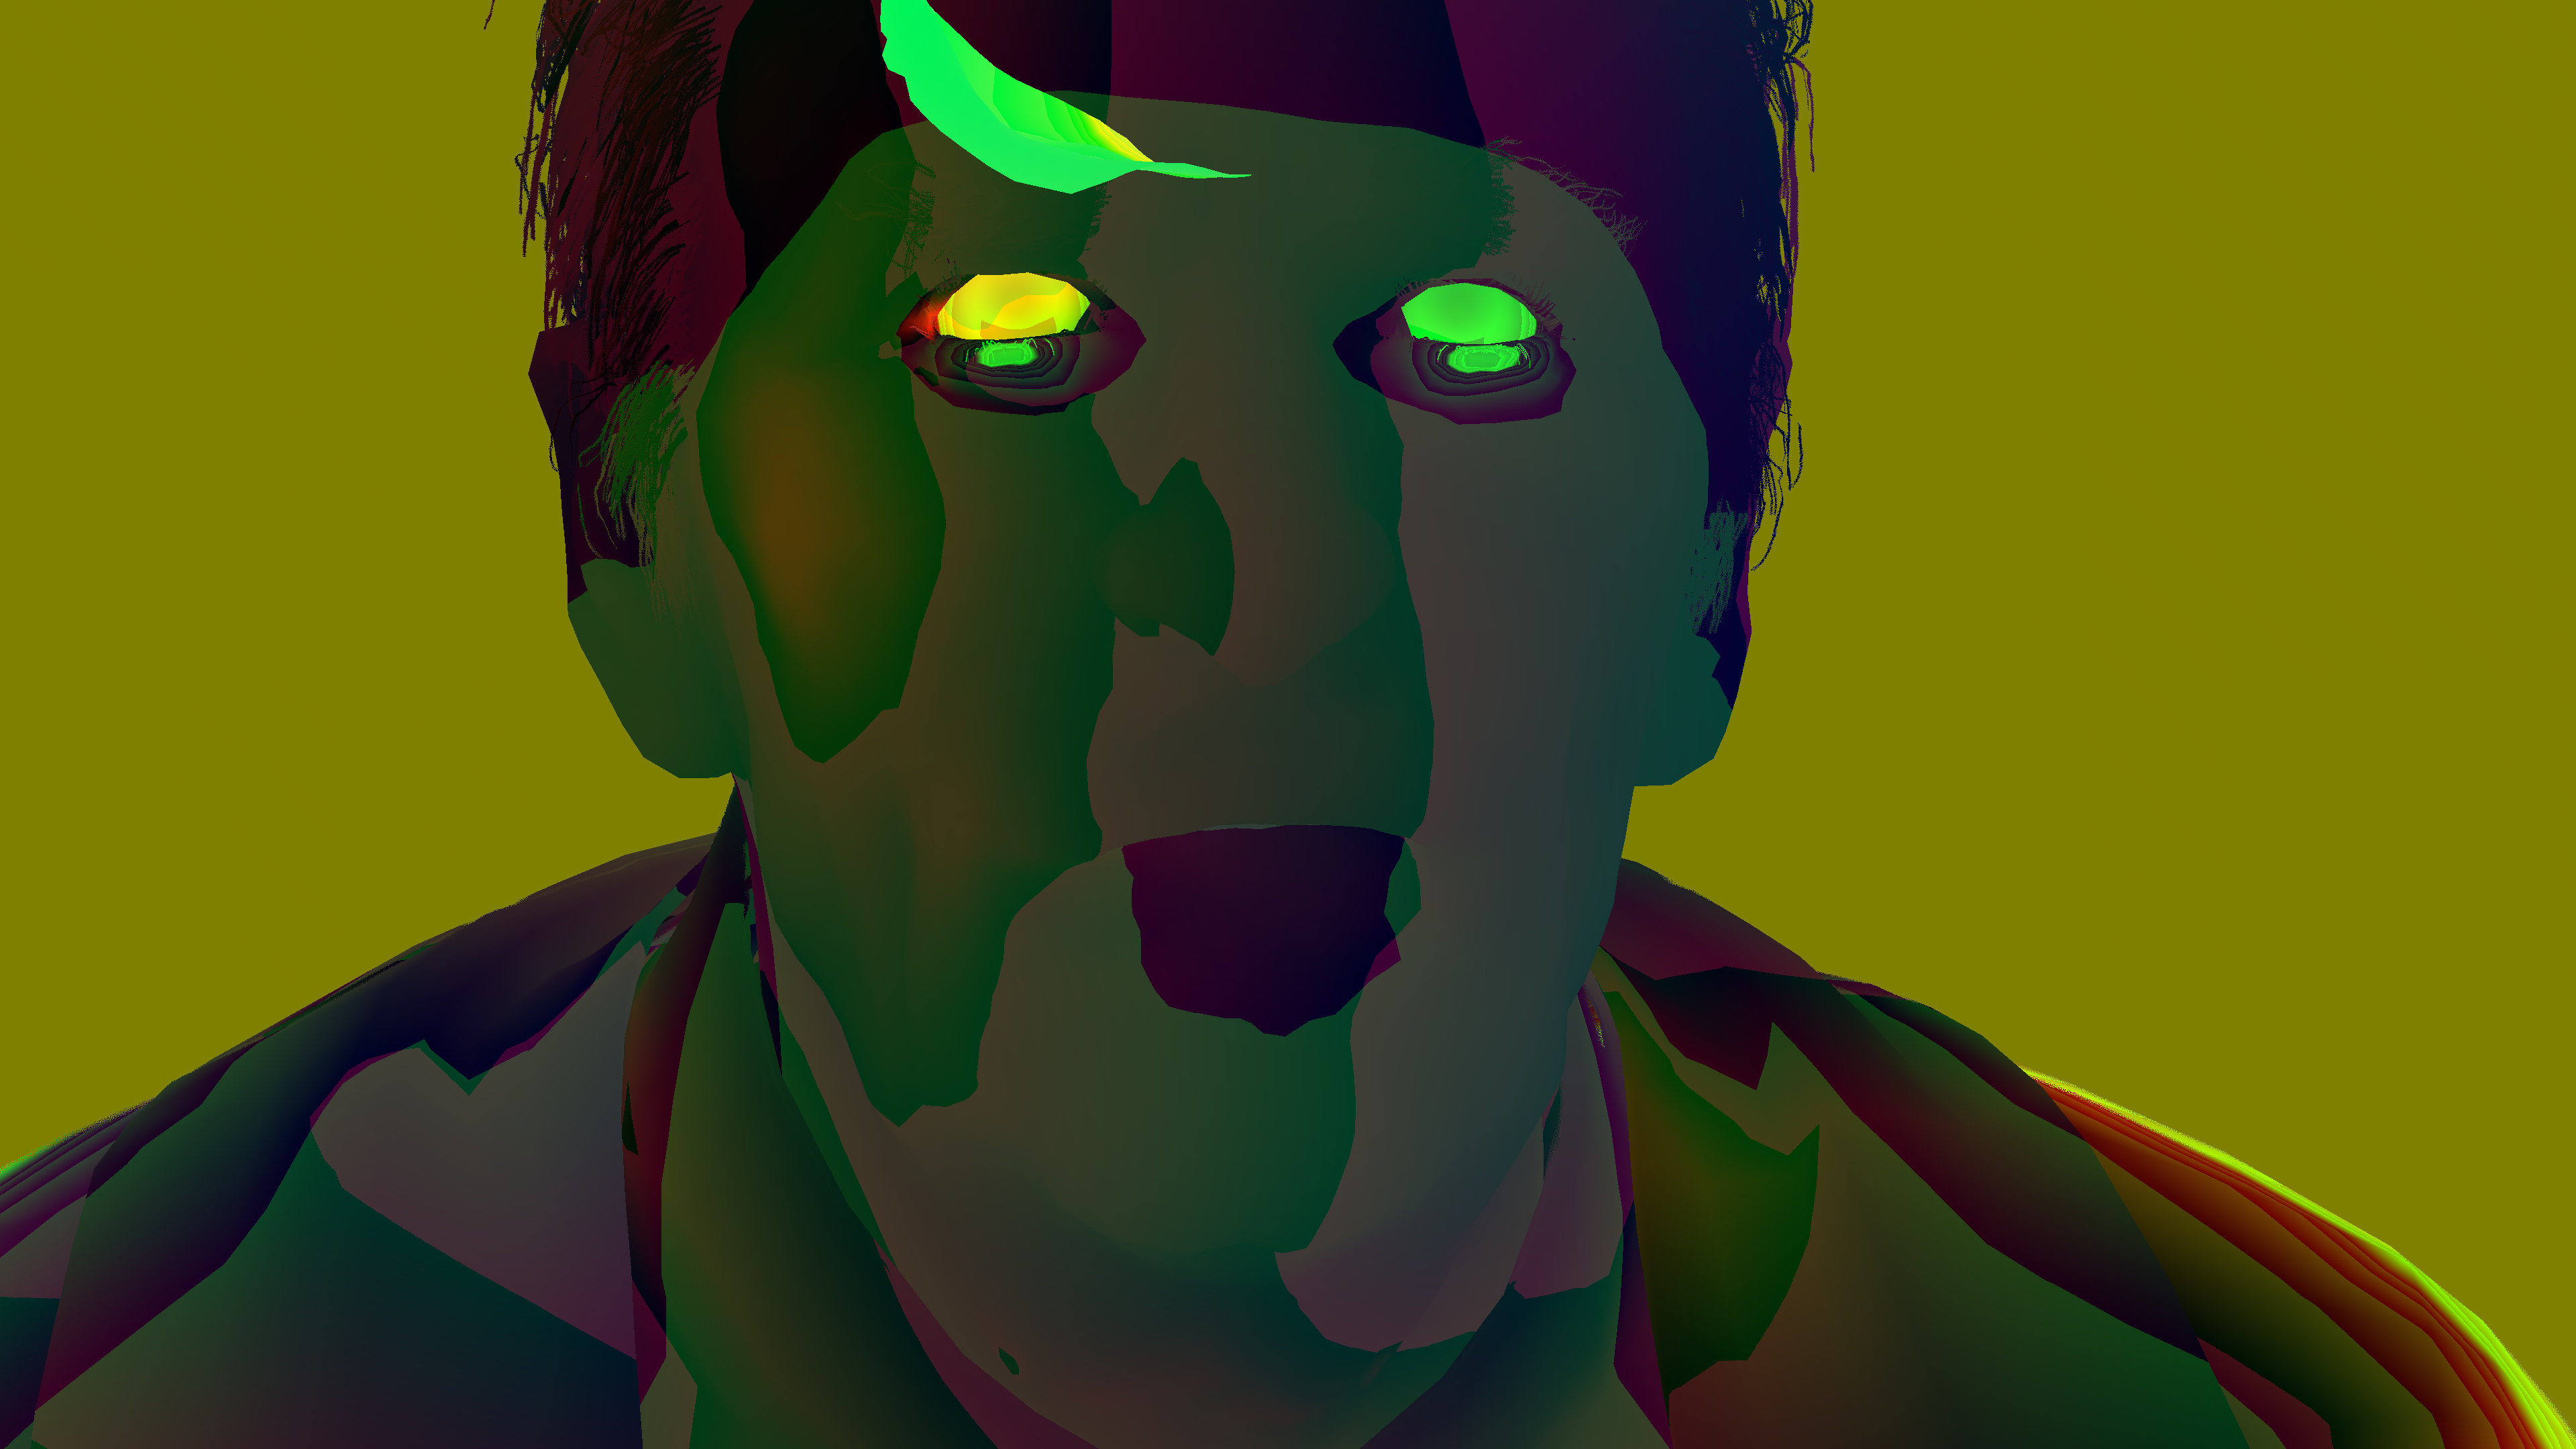
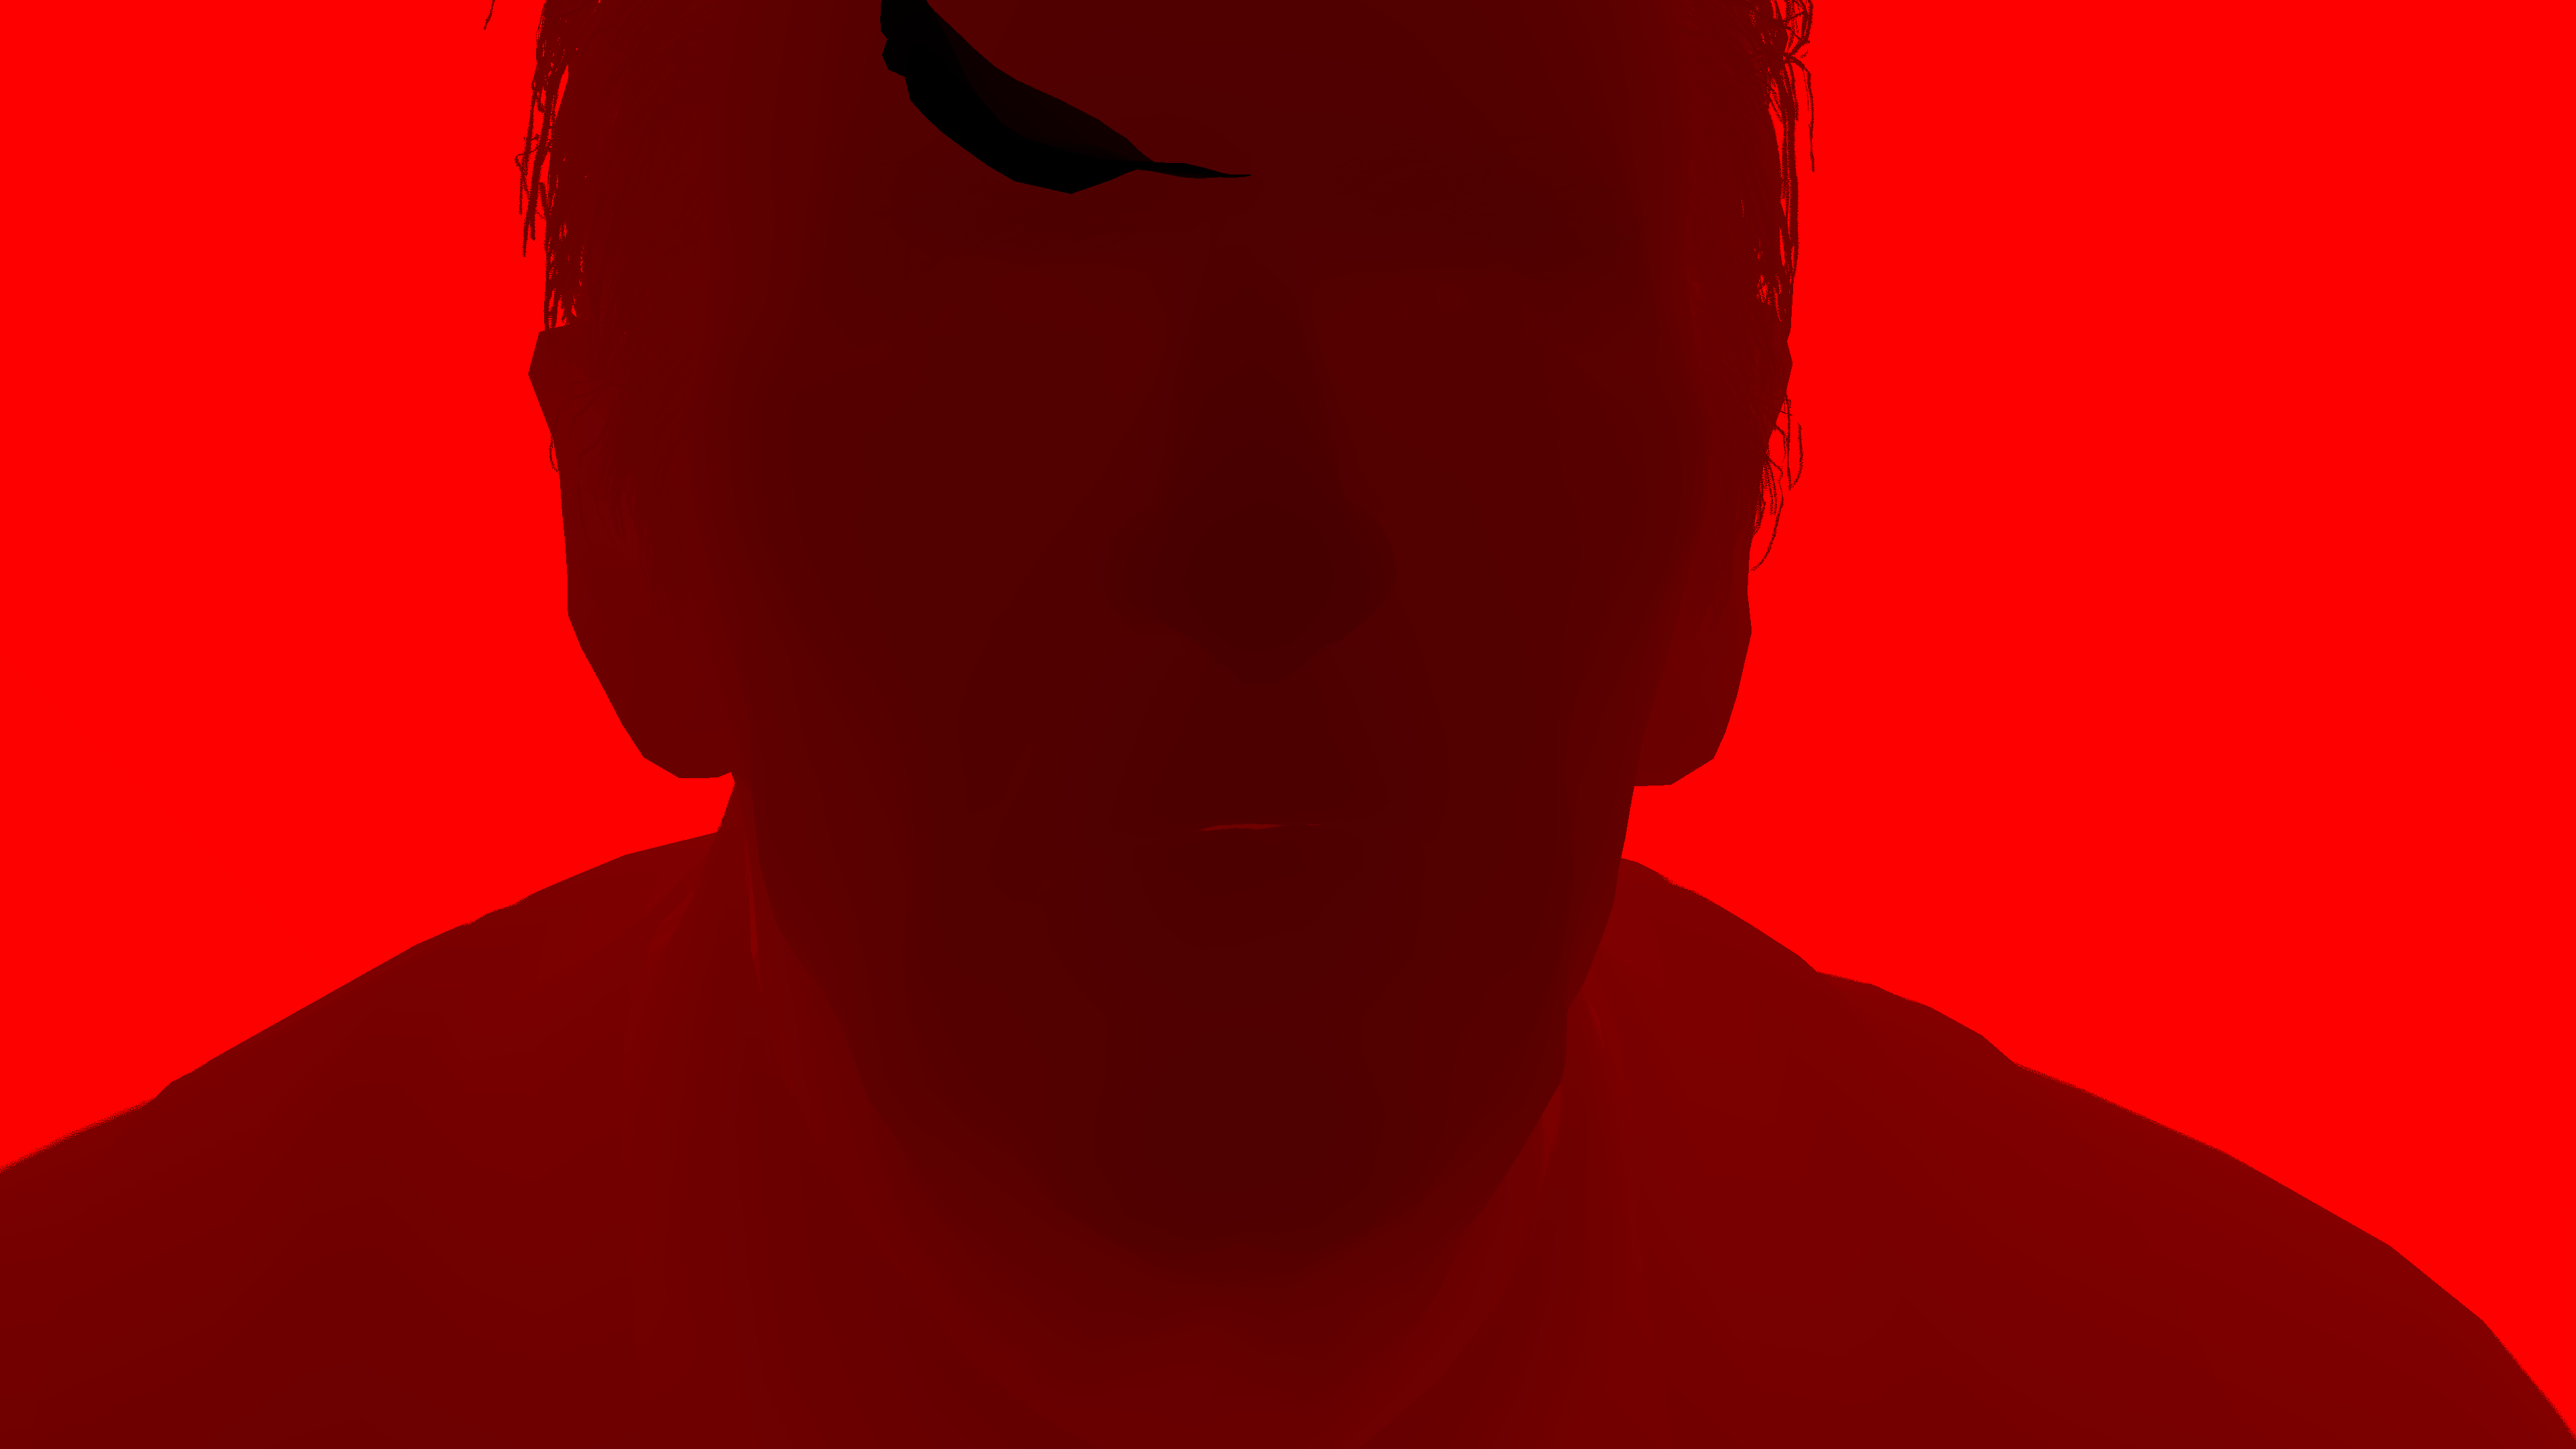
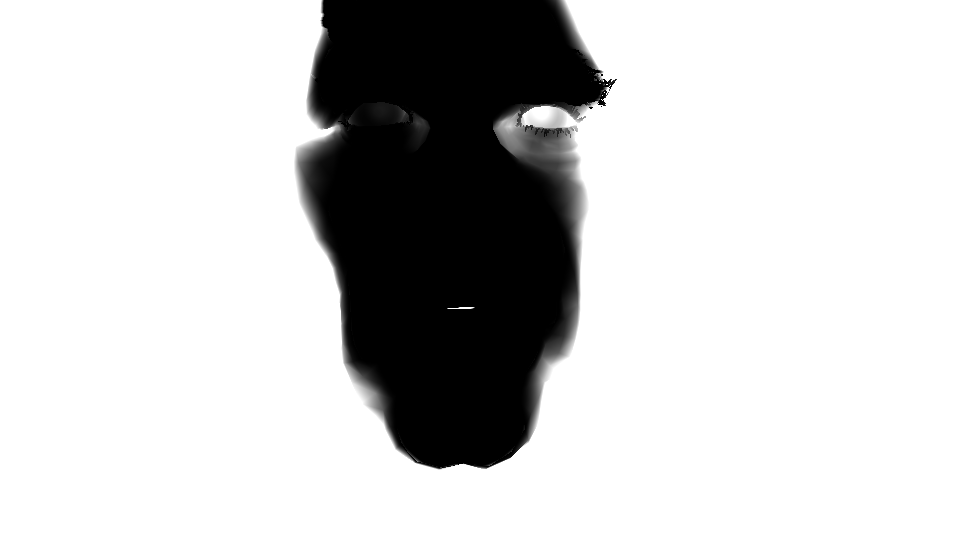
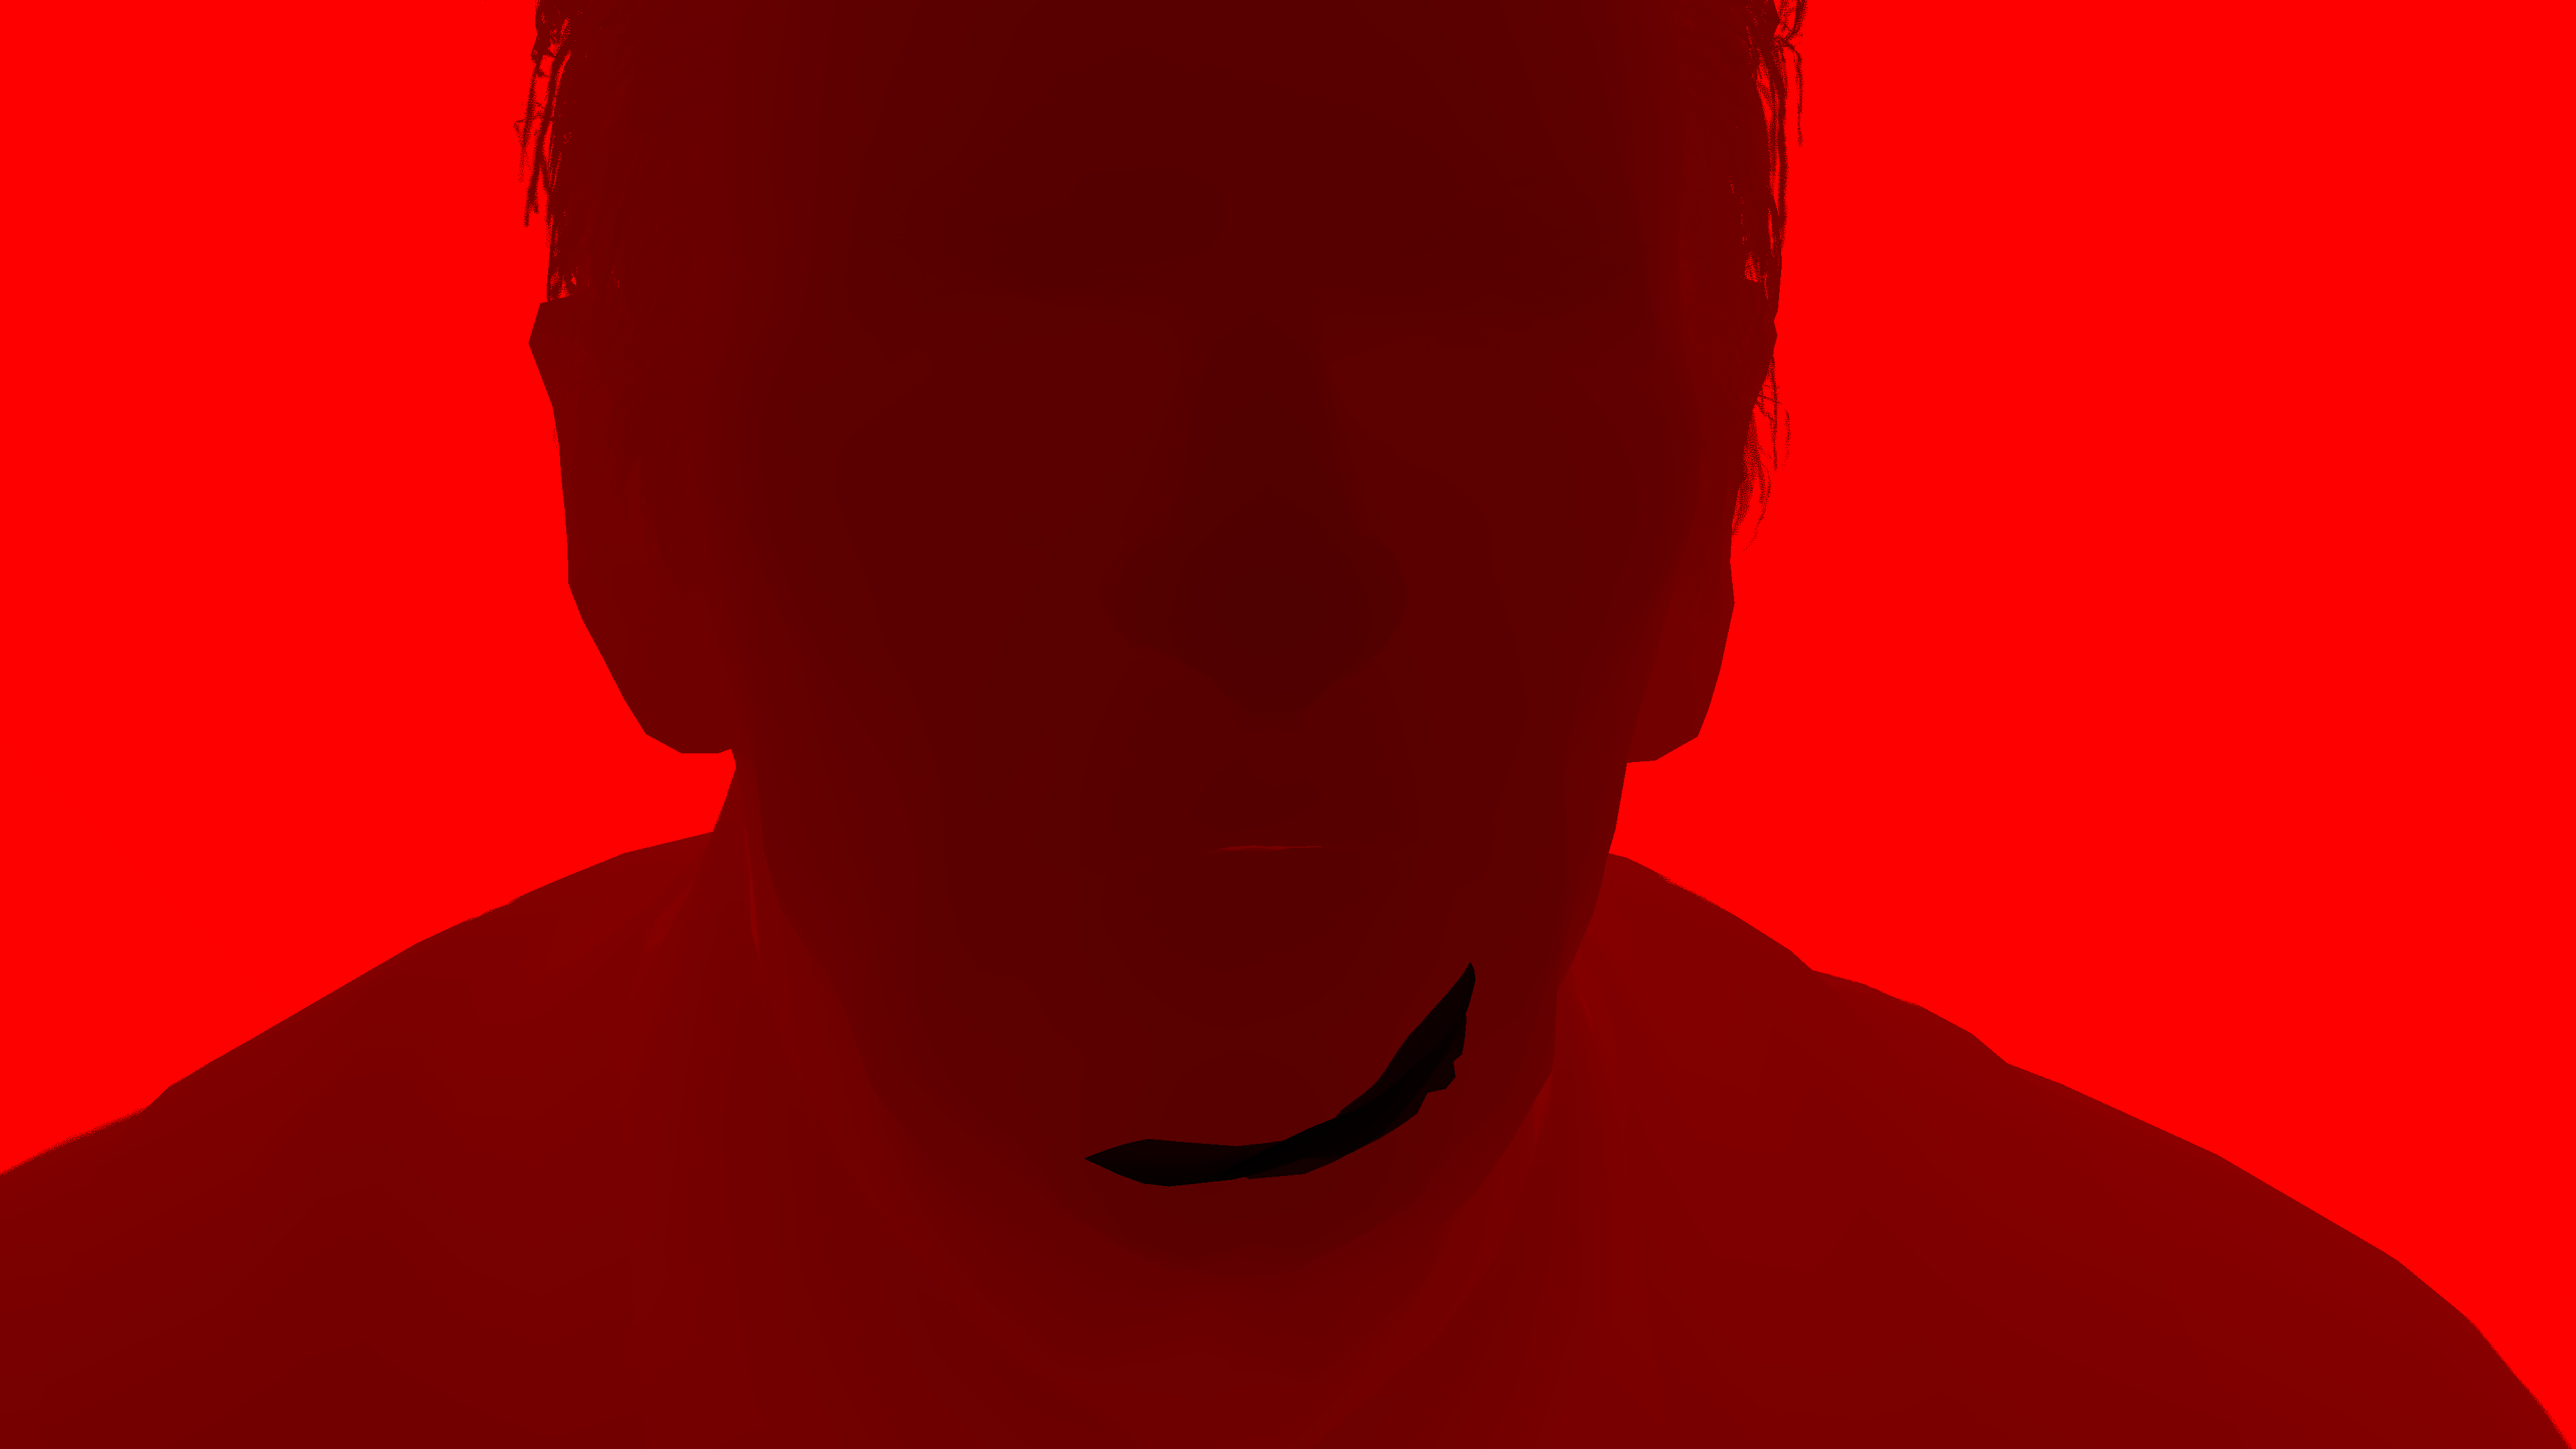
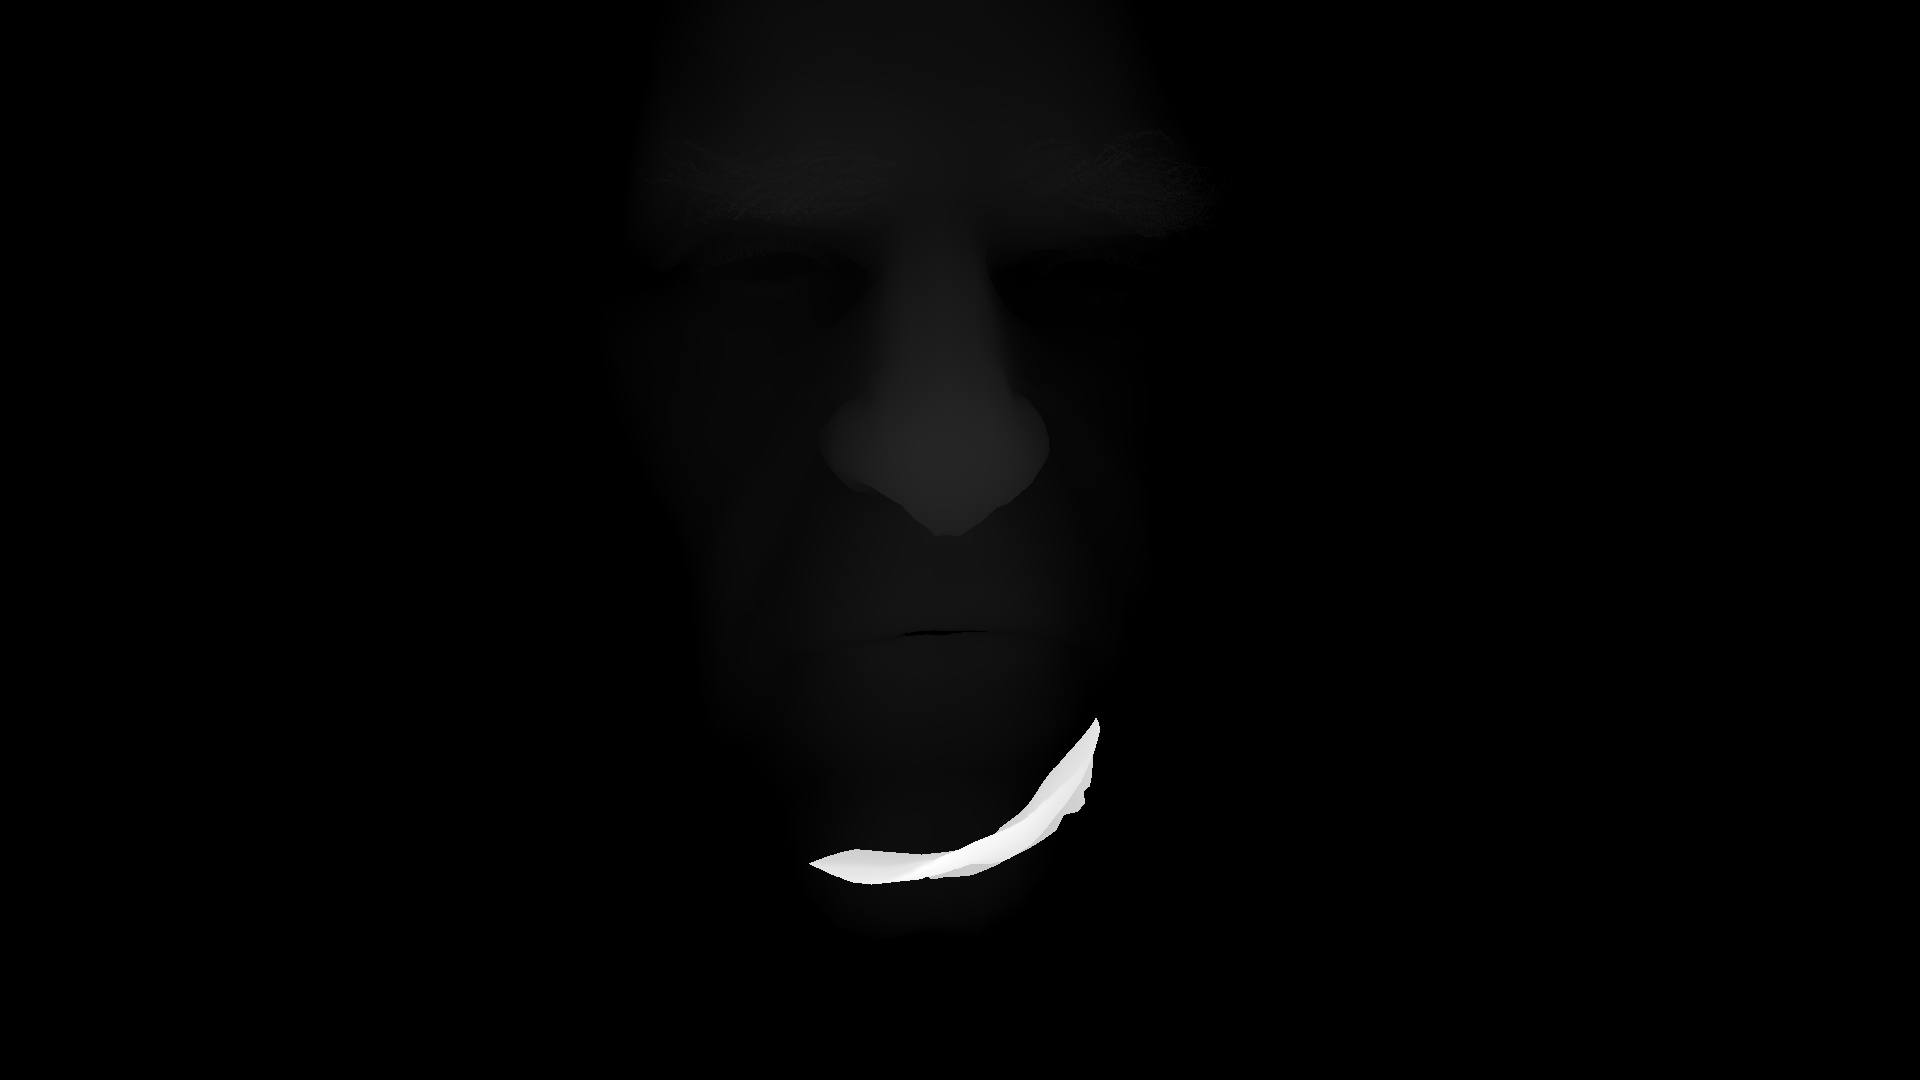
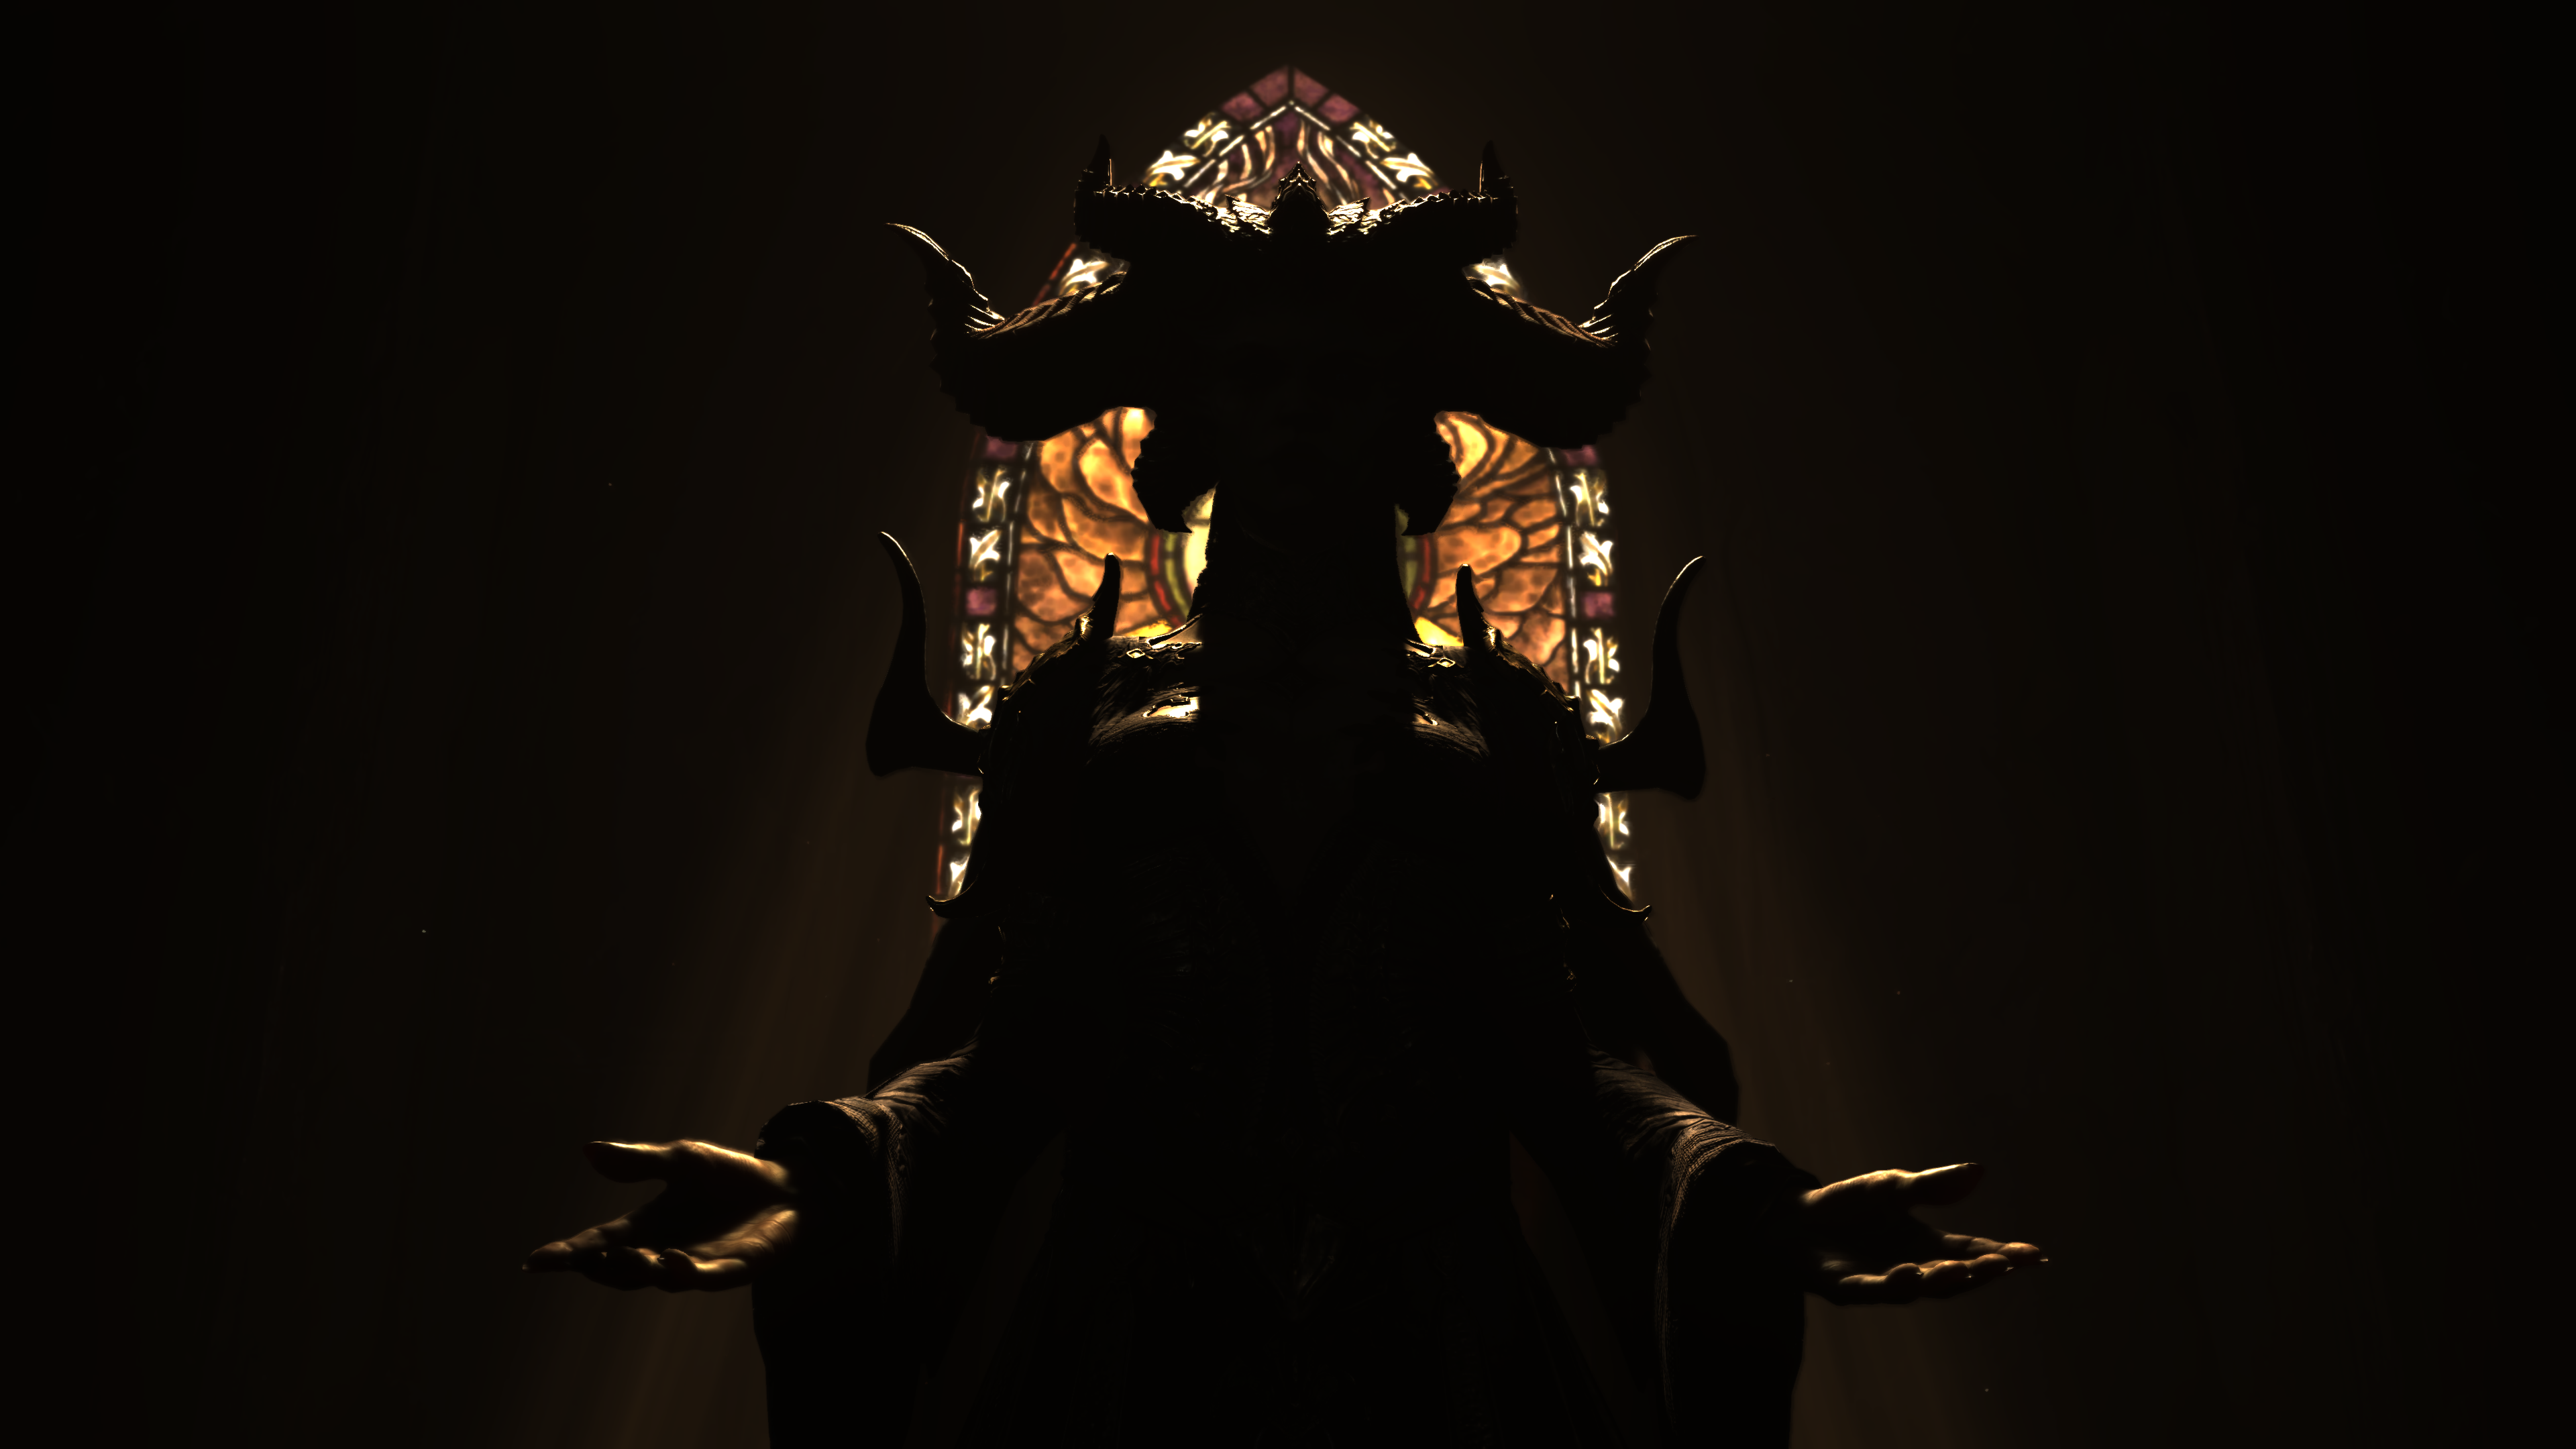
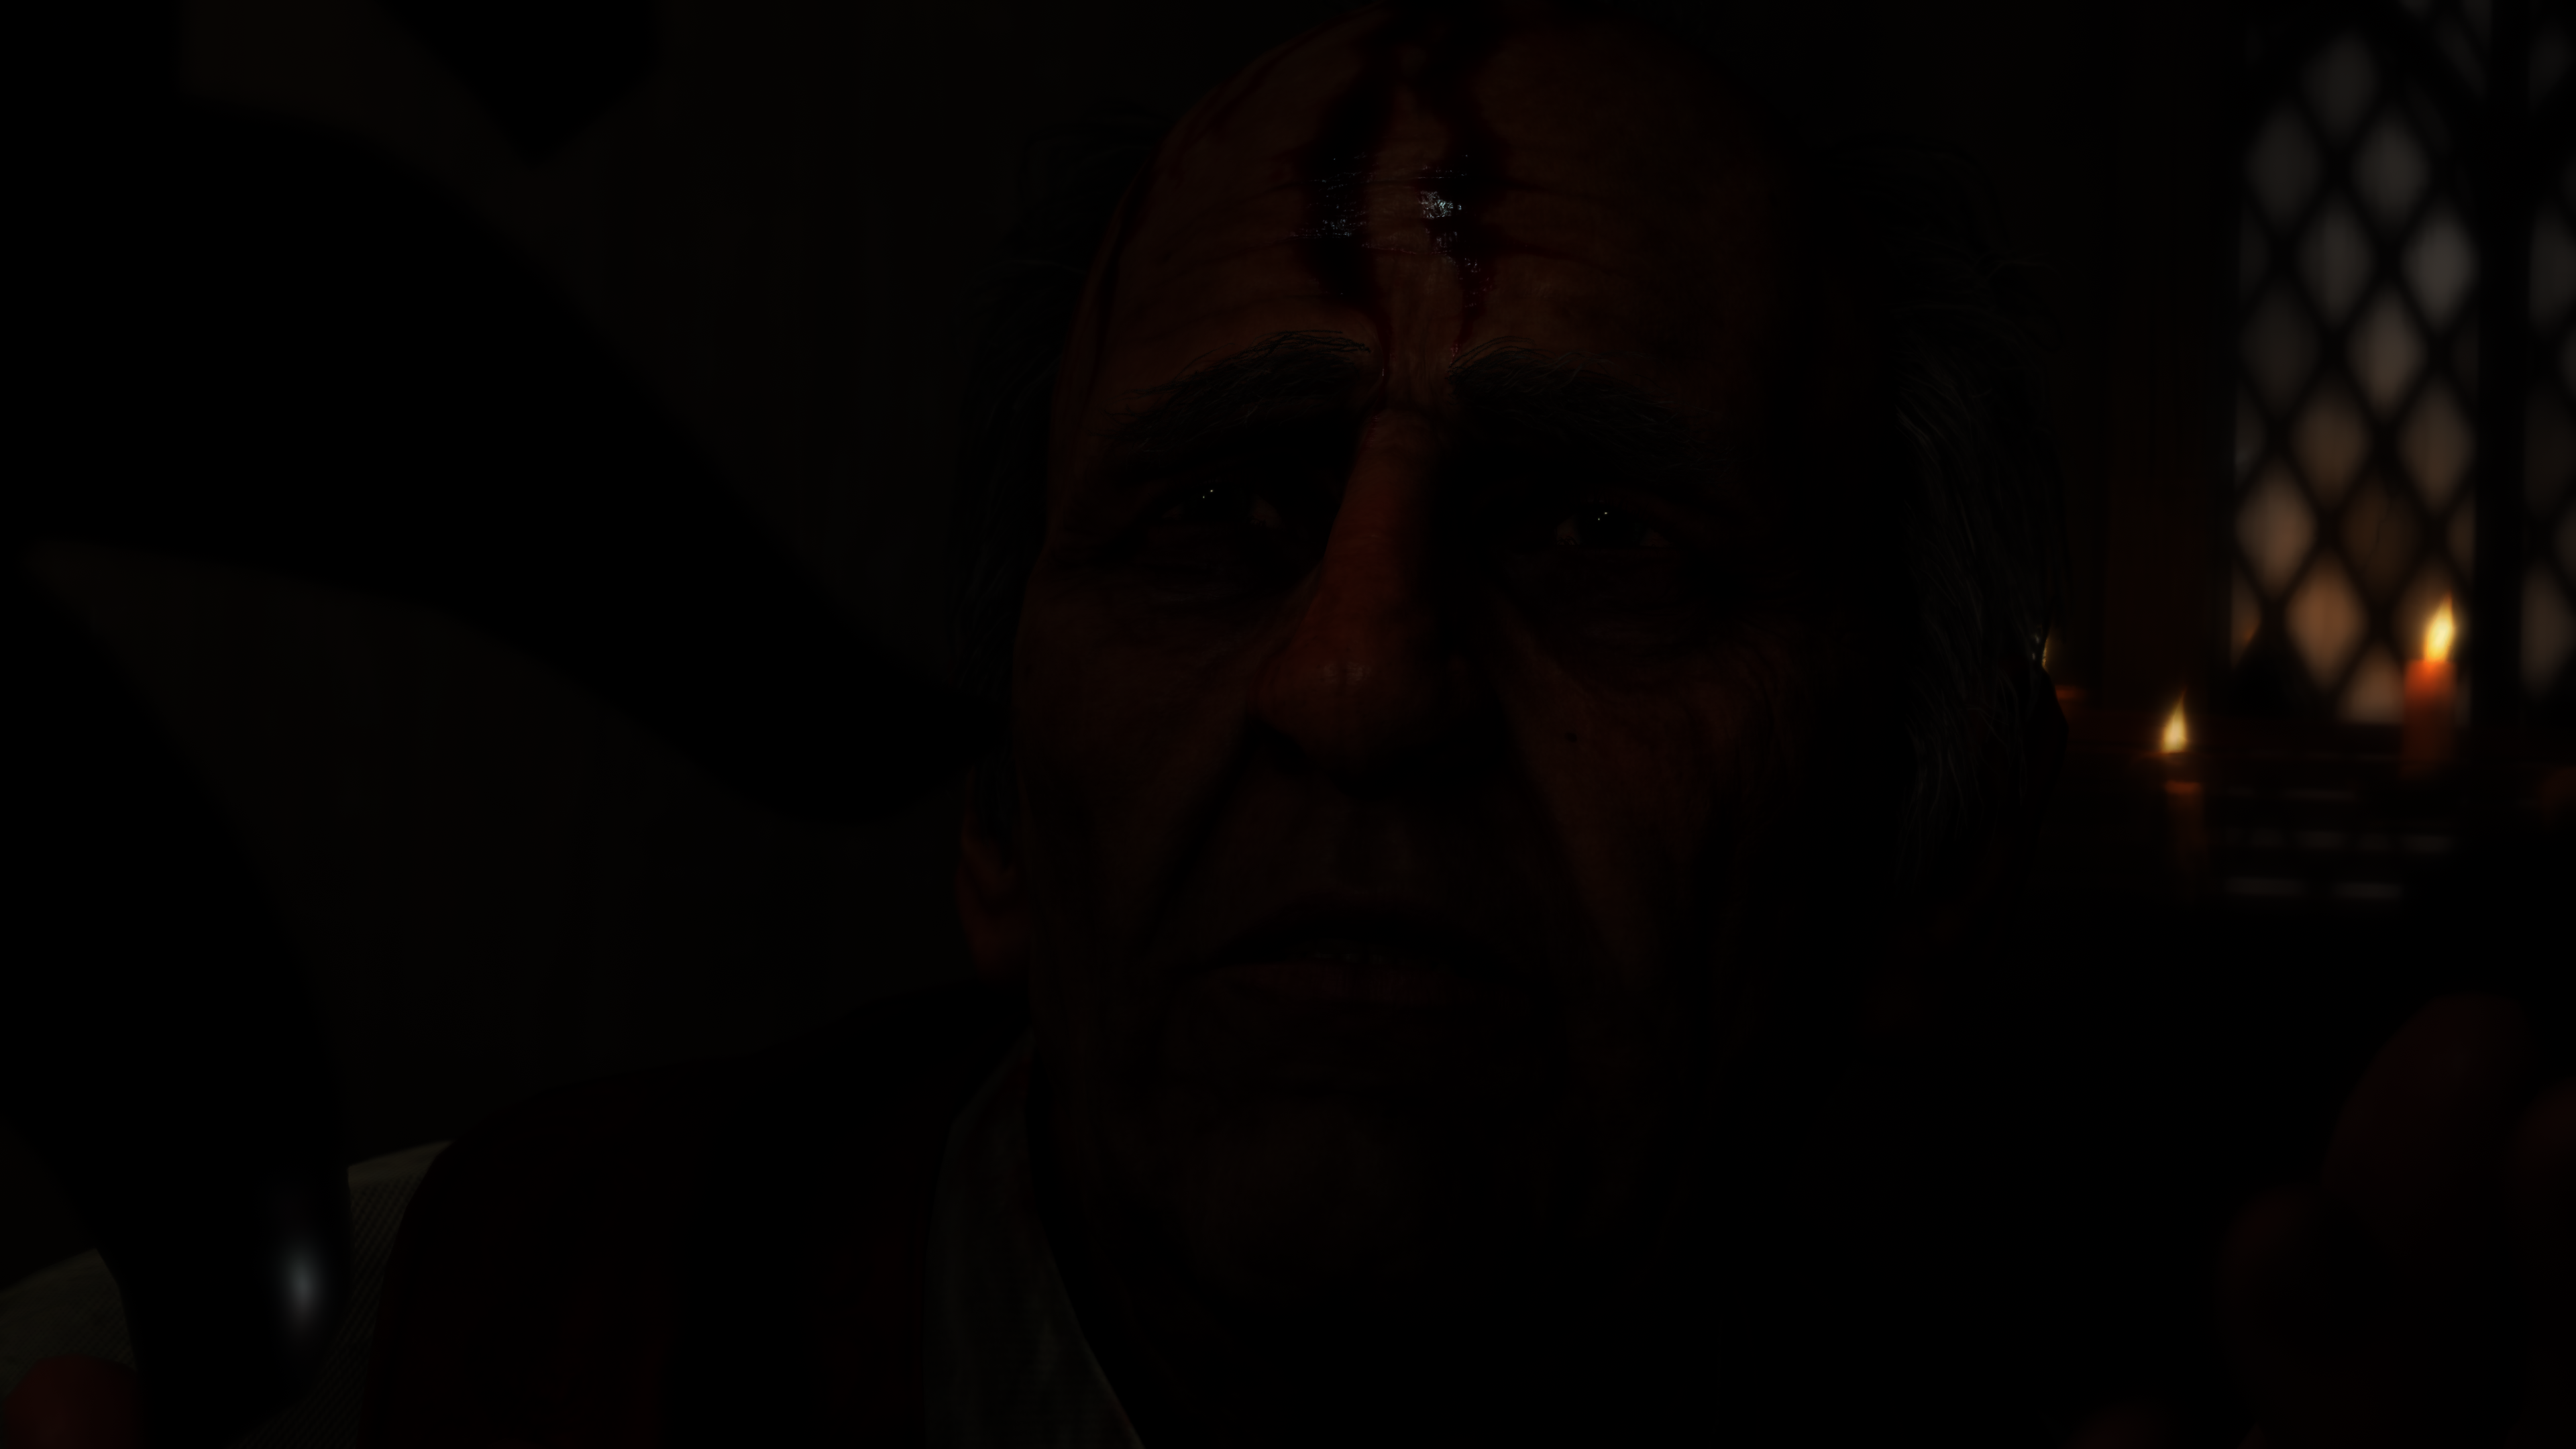
Anyways, one good last outcome from this study, that now i know that uncle Inarius does not really has a face geometry. i had a bet on that topic while playing and before i dig through the captures, but it turned out that there is not face, and he has nothing beyond his two sided hoodie! Now i lost my bet! 🙃
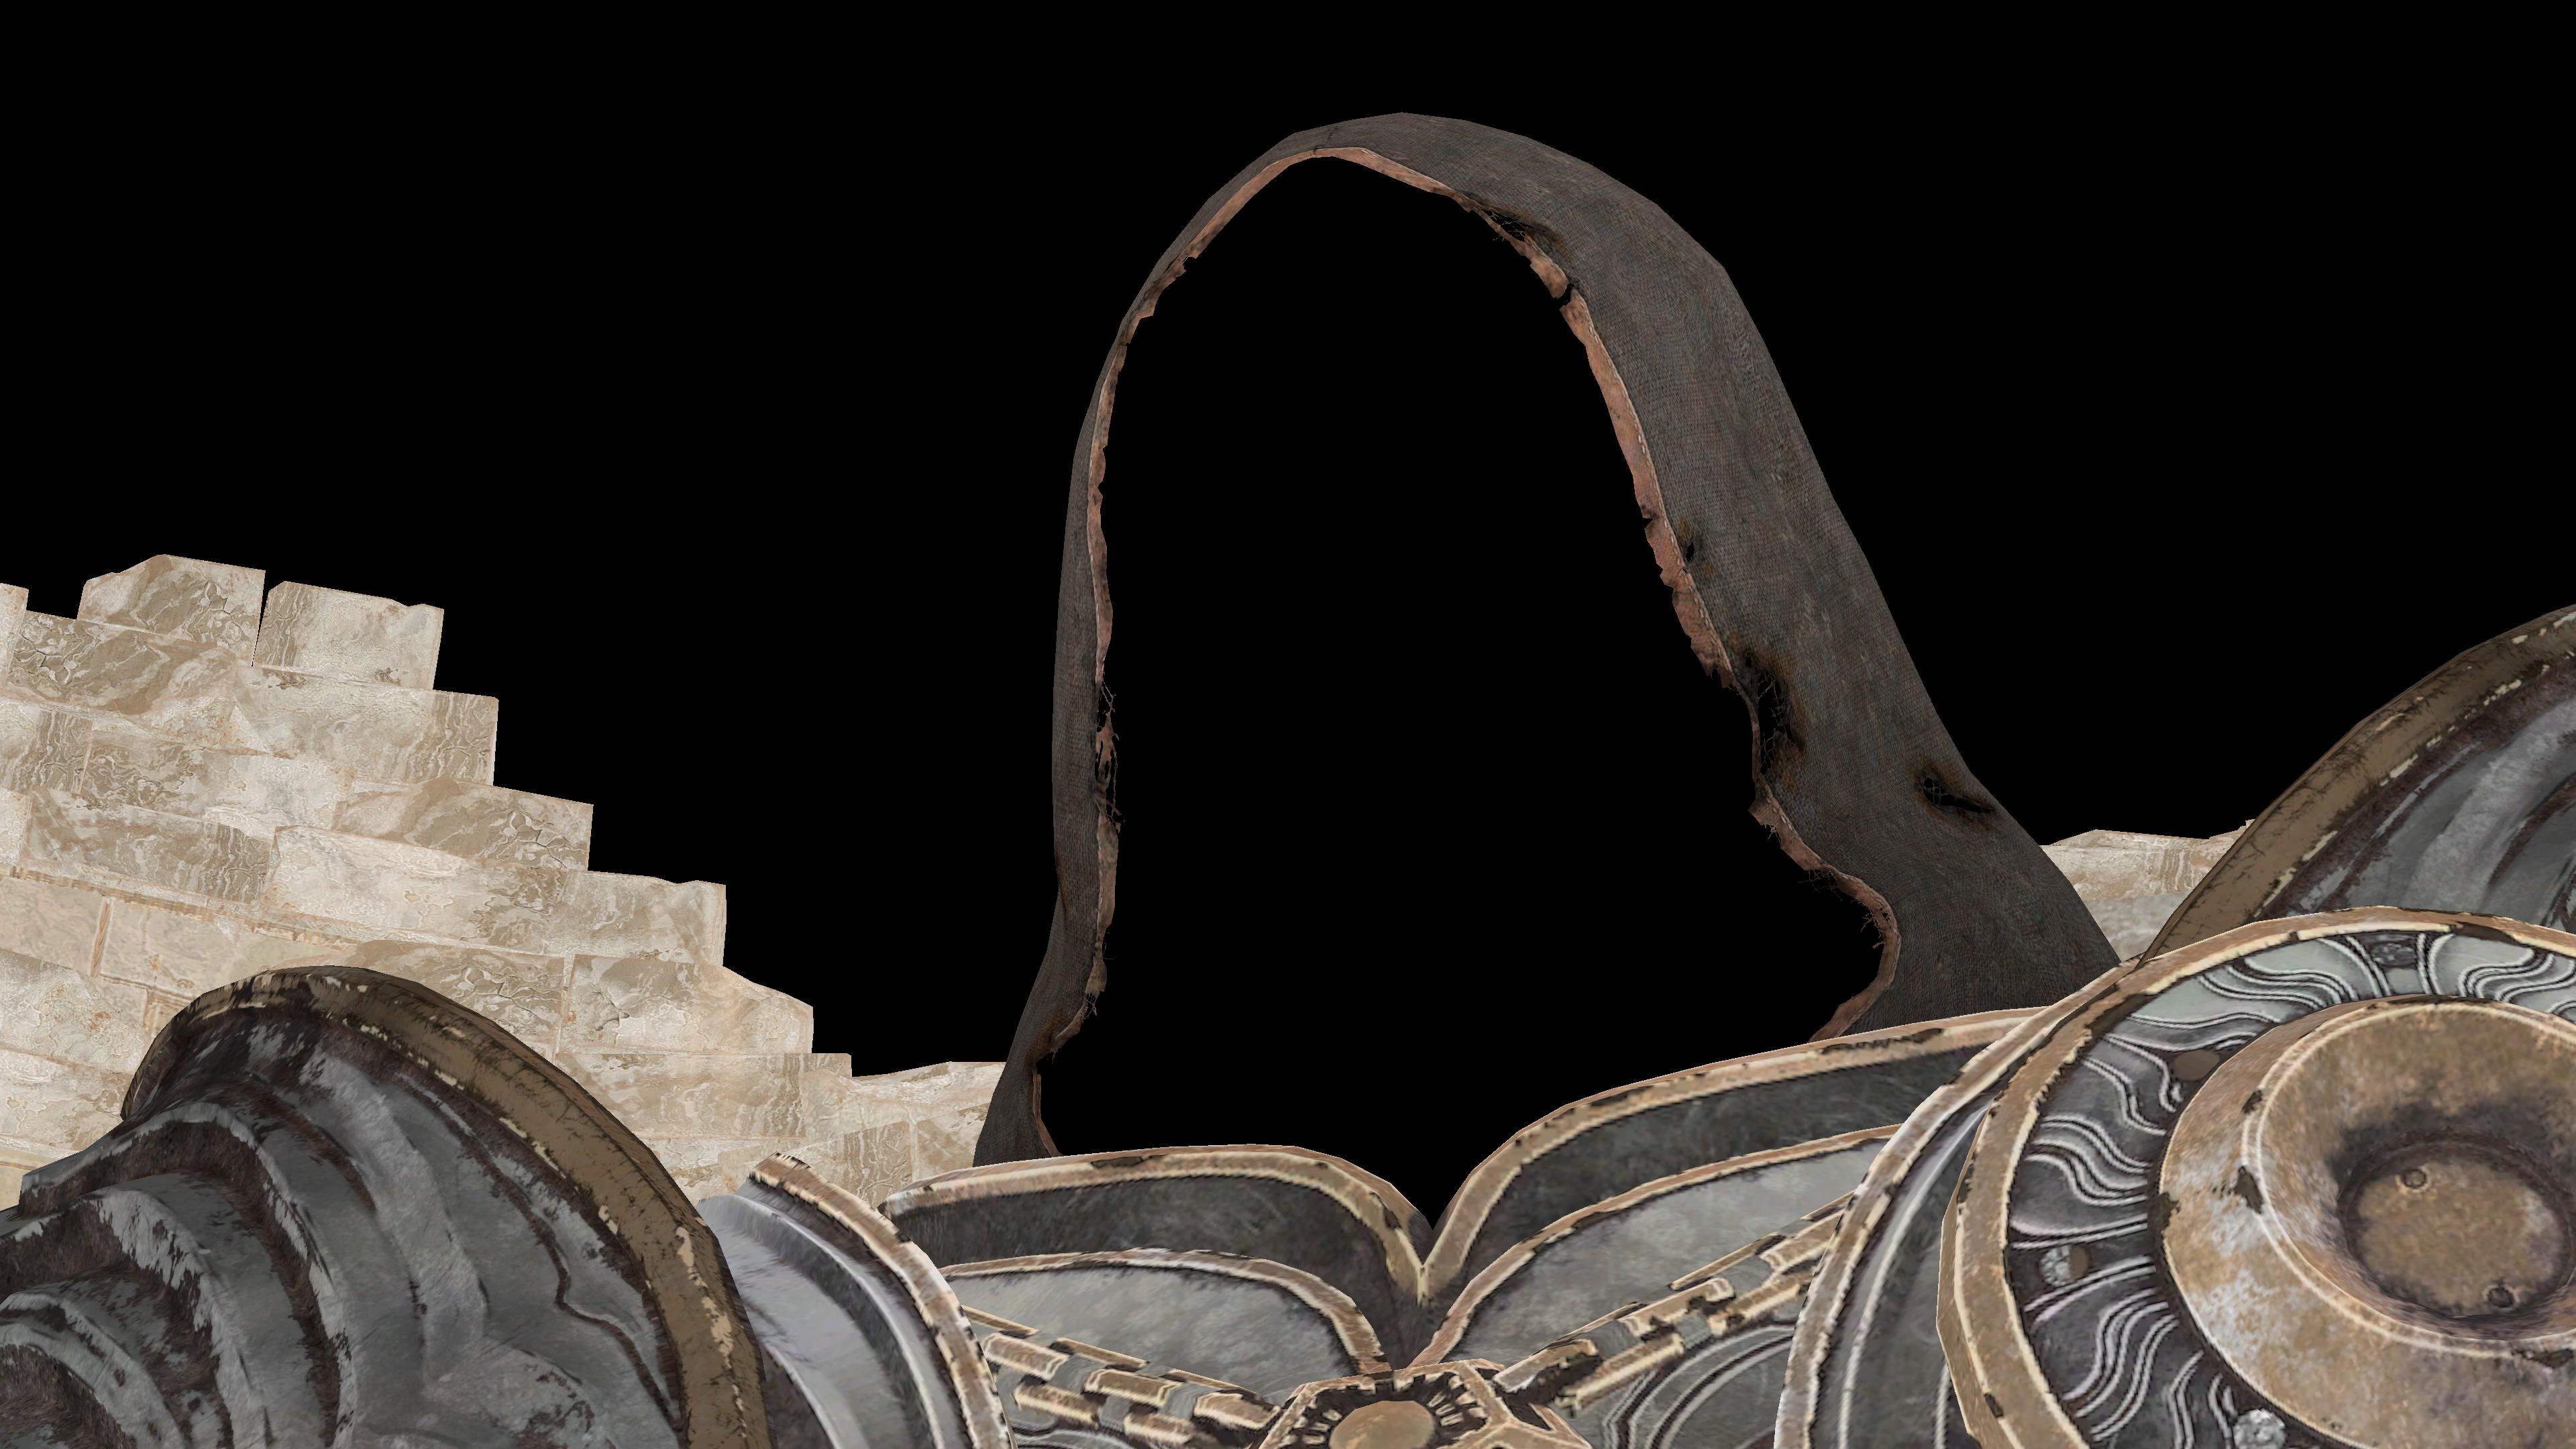


Last but not least, i enjoyed playing Diablo 4 (and still will enjoy it more) and it’s story/lore, it certainly brings some vibes of Diablo 2 to me, but not to a 100%! There are things here & there that i did not like in the “modernization” of the game, but it is definitely a good game, that i can still spend more time playing & replaying and have fun…on PC..without technical issues…in 2023!🤯 (this is a lot to ask nowadays😩, don’t tell me about it!)
-m
Related Readings & Videos
PEELING BACK THE VARNISH: THE GRAPHICS OF DIABLO IV
HDR10 Vs HDR10+ Vs Dolby Vision – Understanding The Difference
GPU Gems – Chapter 16. Real-Time Approximations to Subsurface Scattering
GPU Gems – Chapter 23. Depth of Field: A Survey of Techniques
GPU Gems 3 – Chapter 28. Practical Post-Process Depth of Field
Wikipedia – Depth of field
Wikipedia – Circle of confusion
Temporal Reprojection Anti-Aliasing in INSIDE
Engine Optimization: Fast High-Quality Cloudscape through Noise and Reprojection
VOLUMETRIC CLOUDS (WIP)